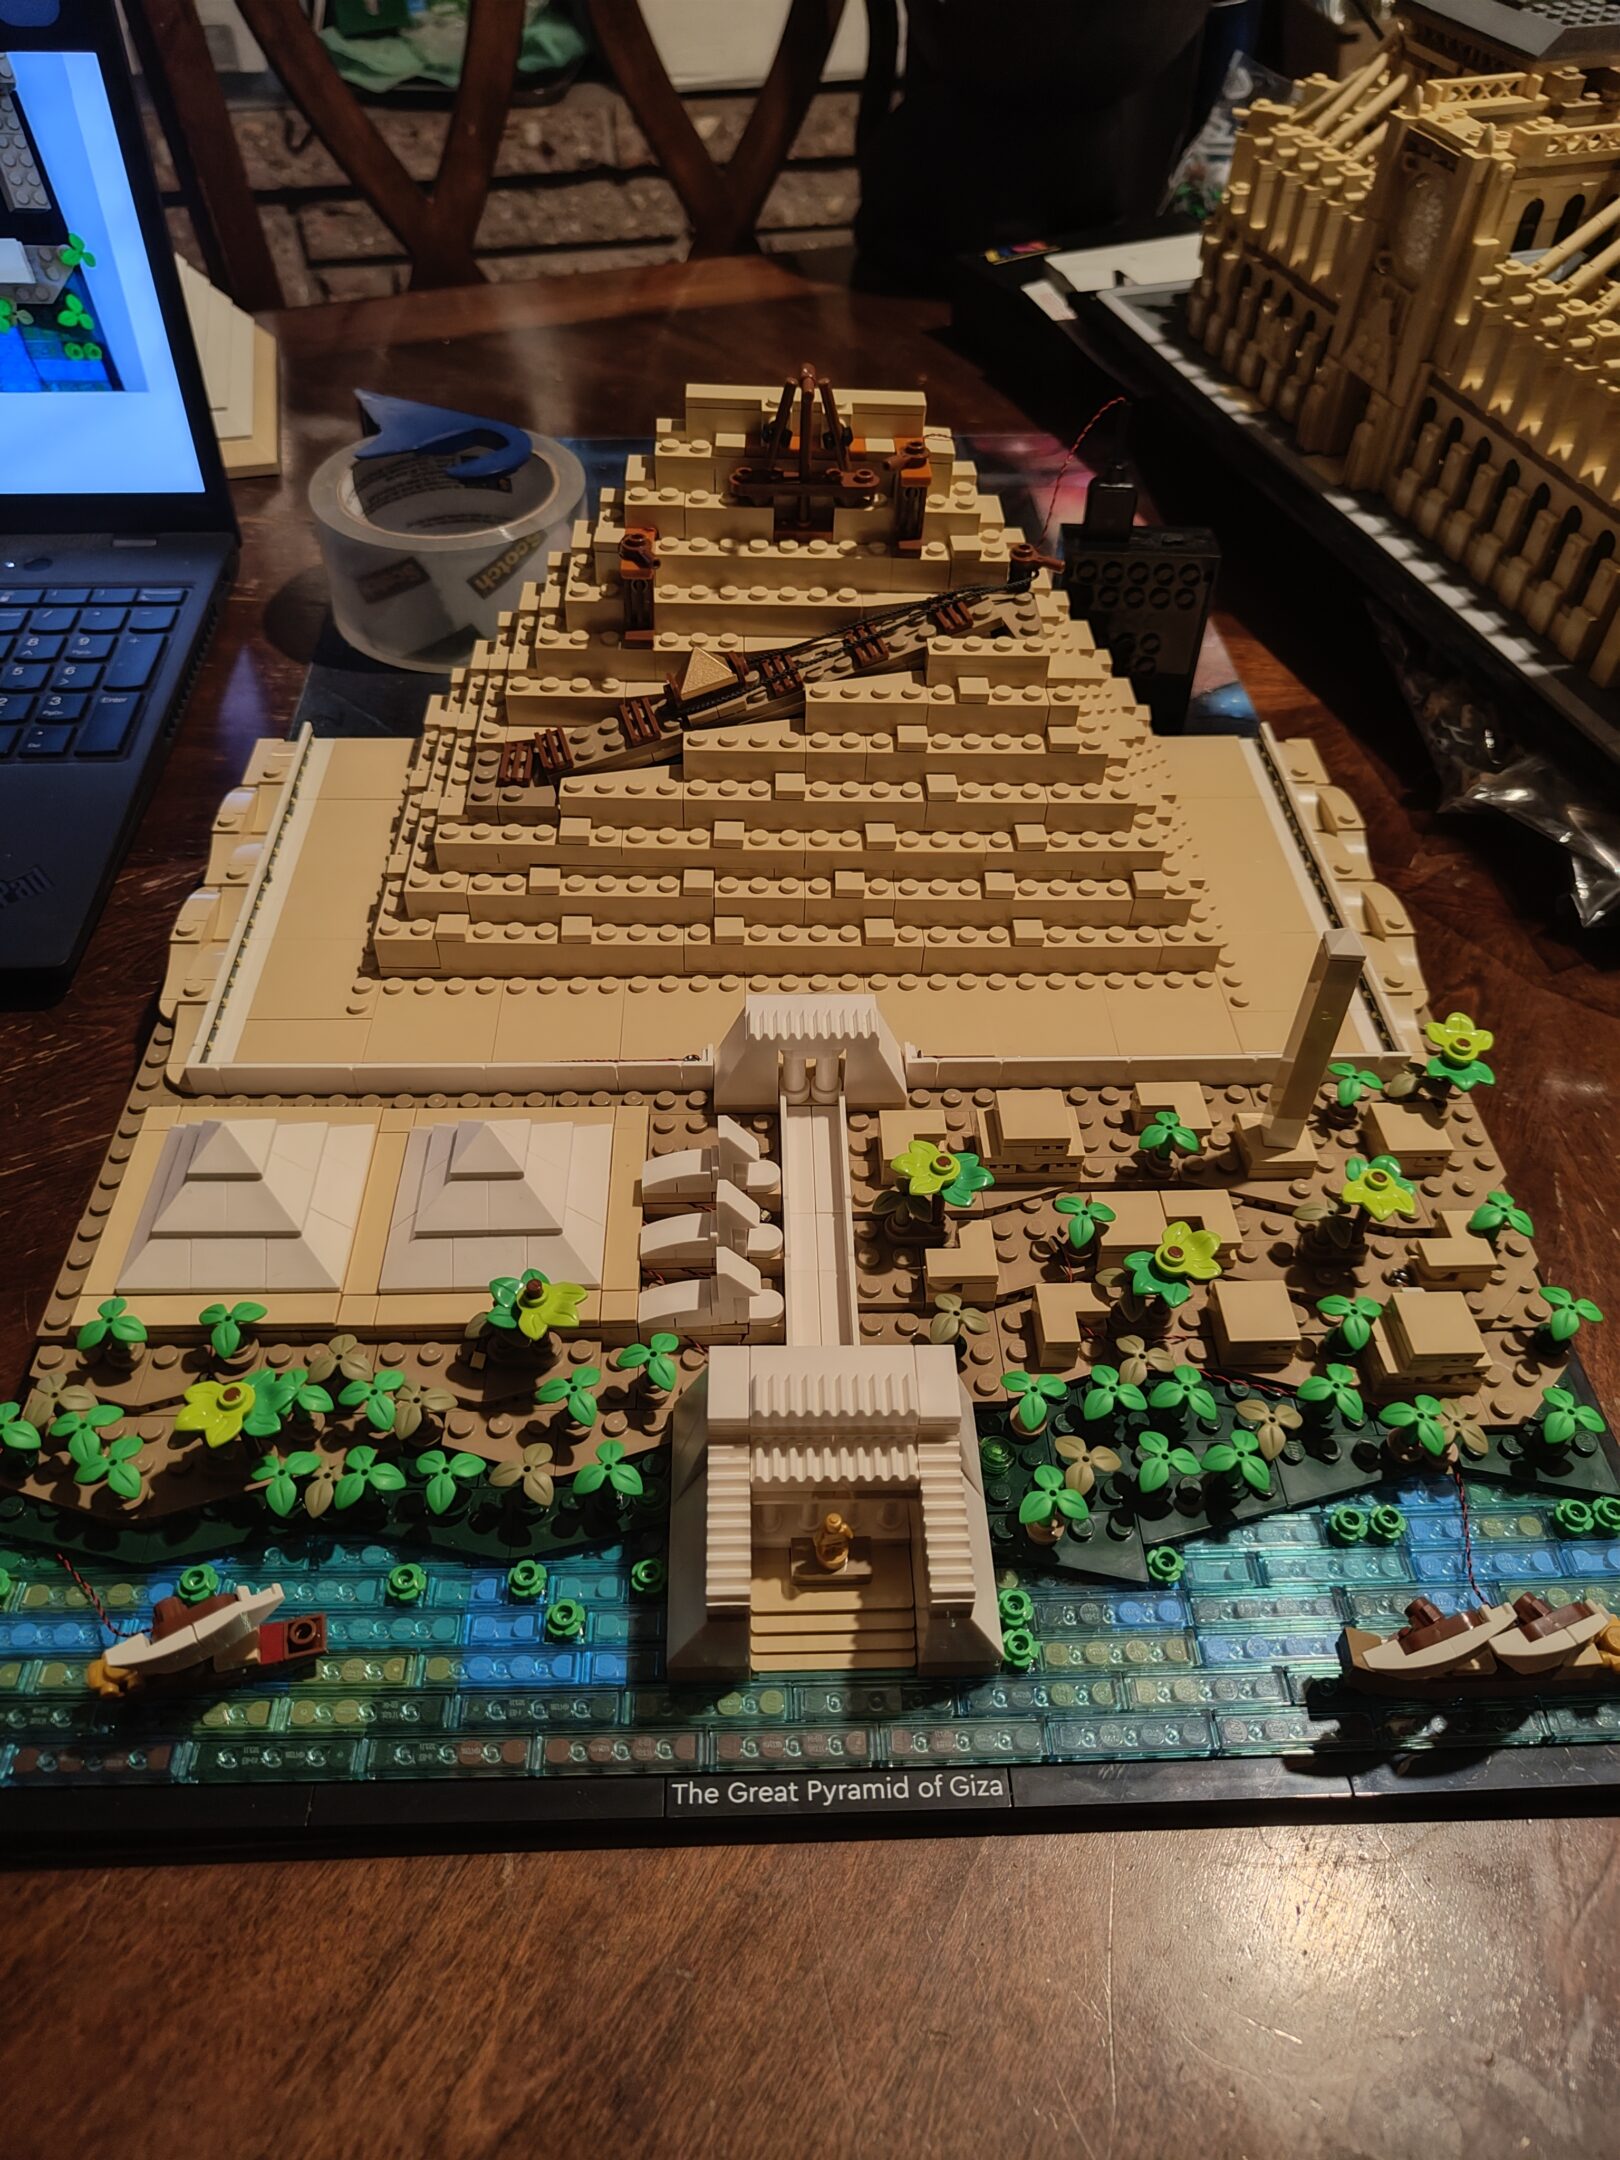
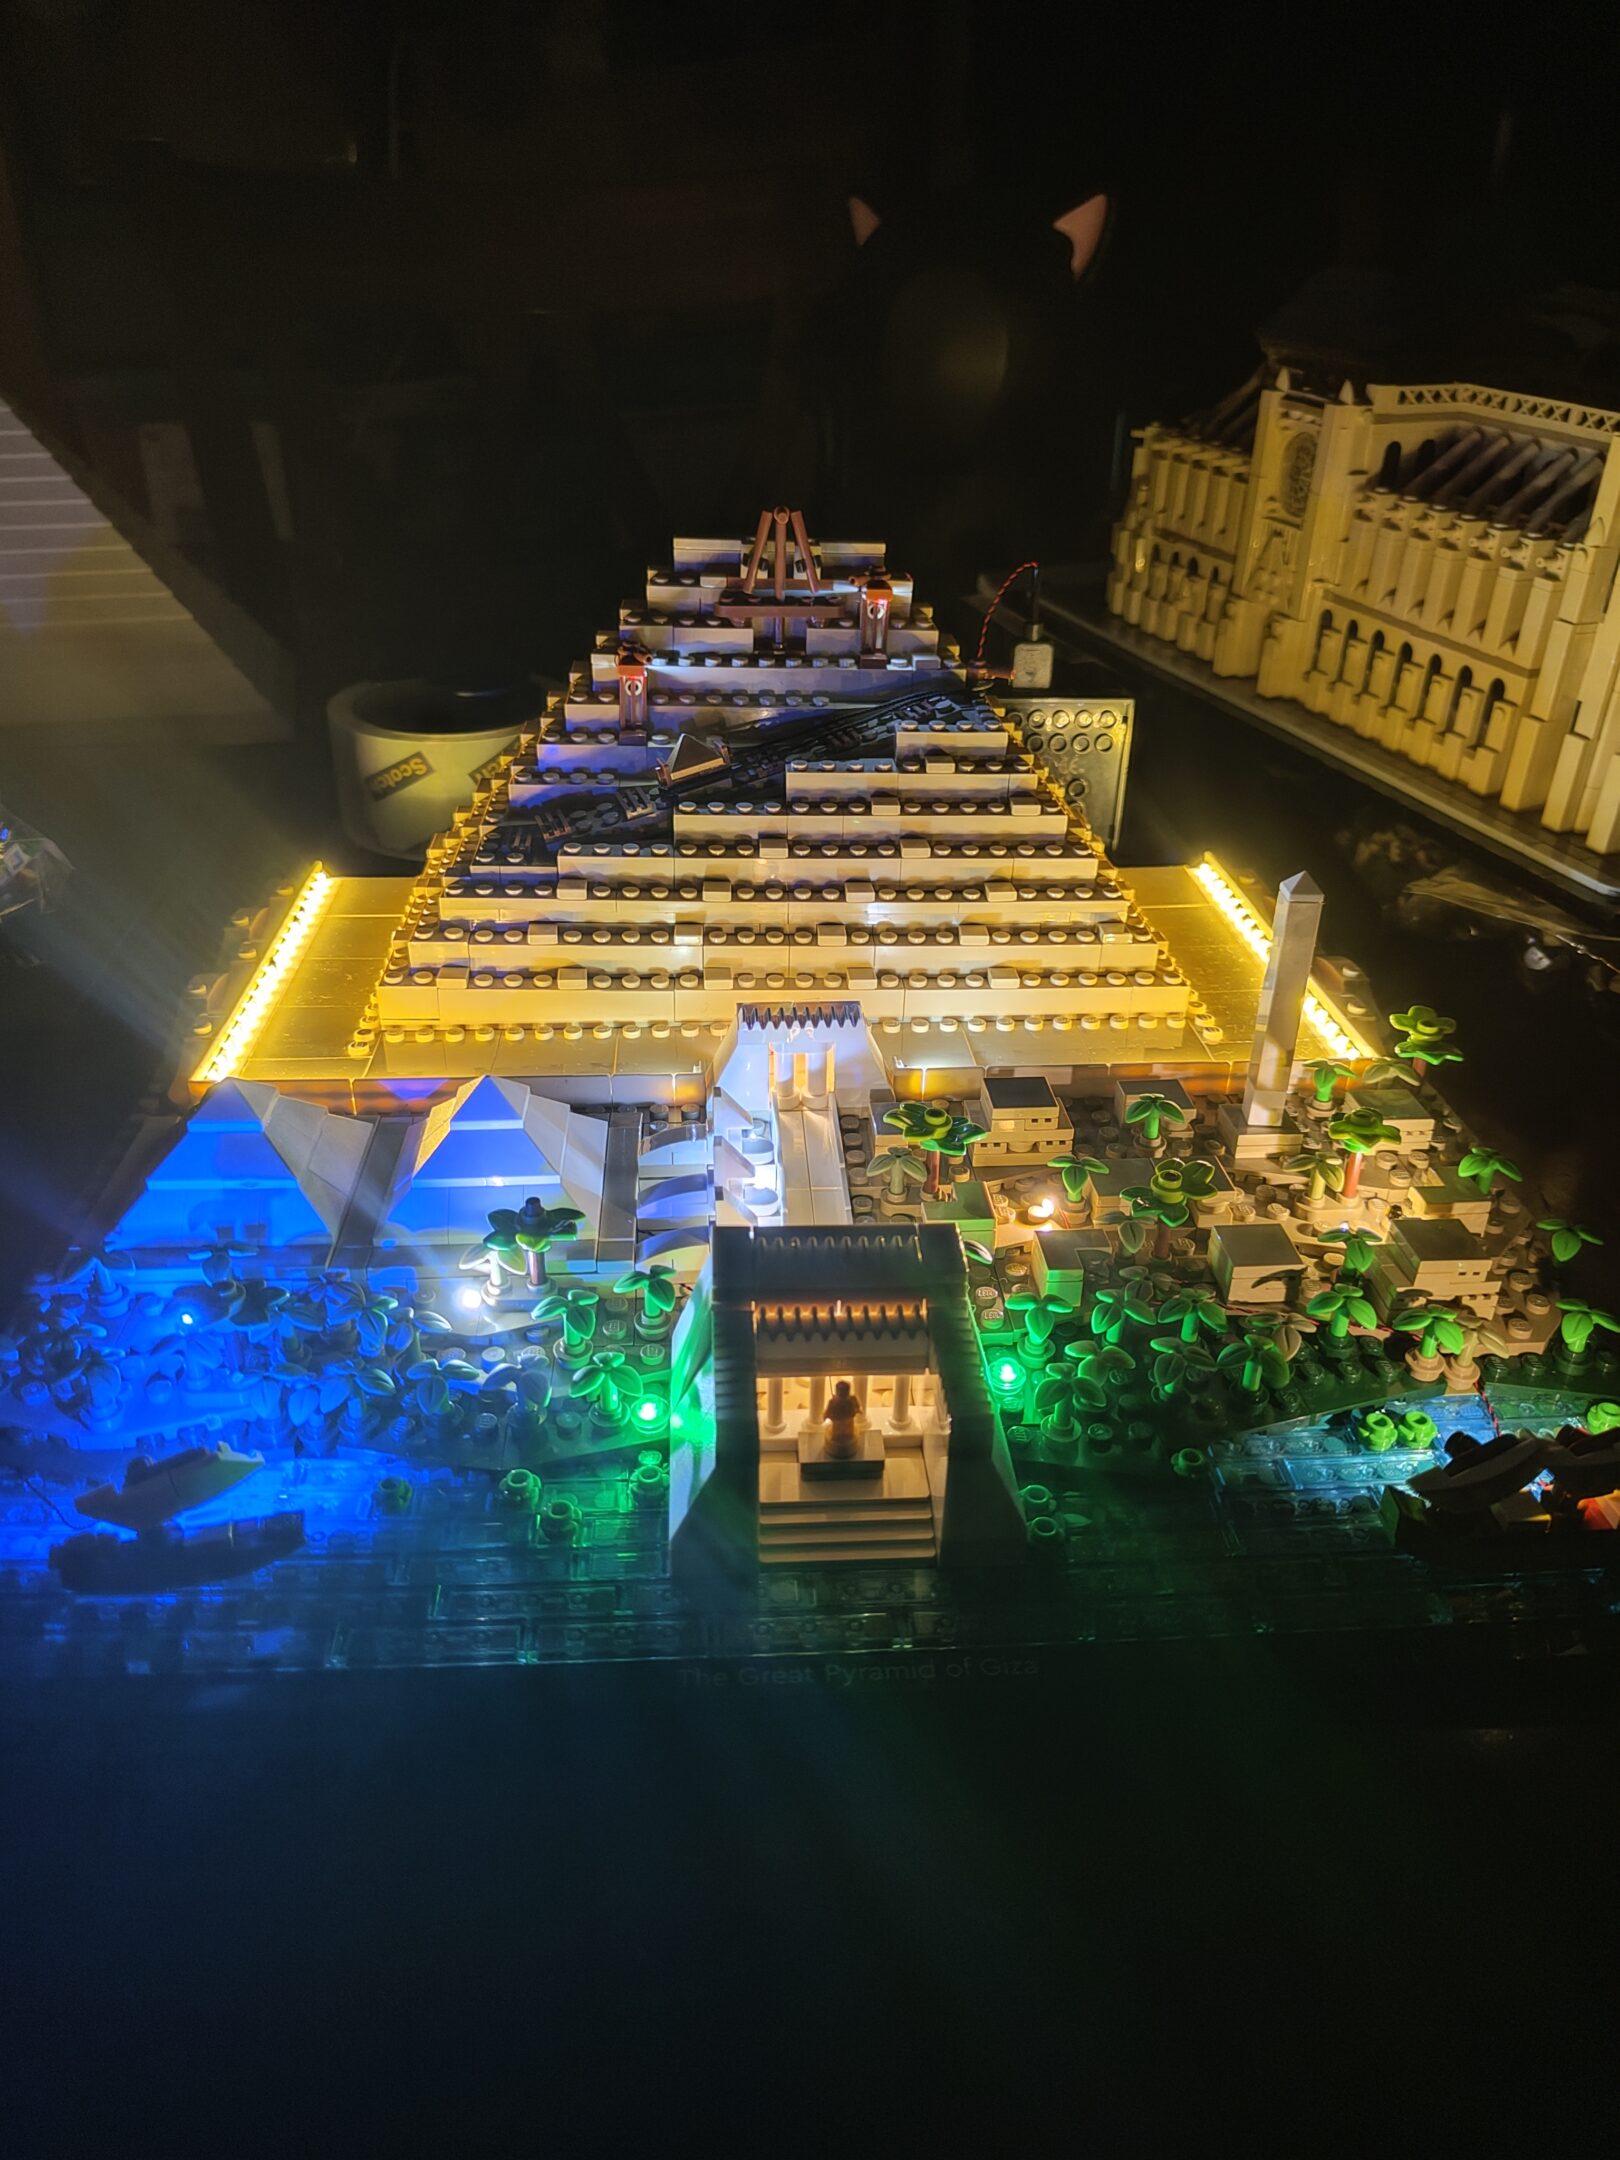
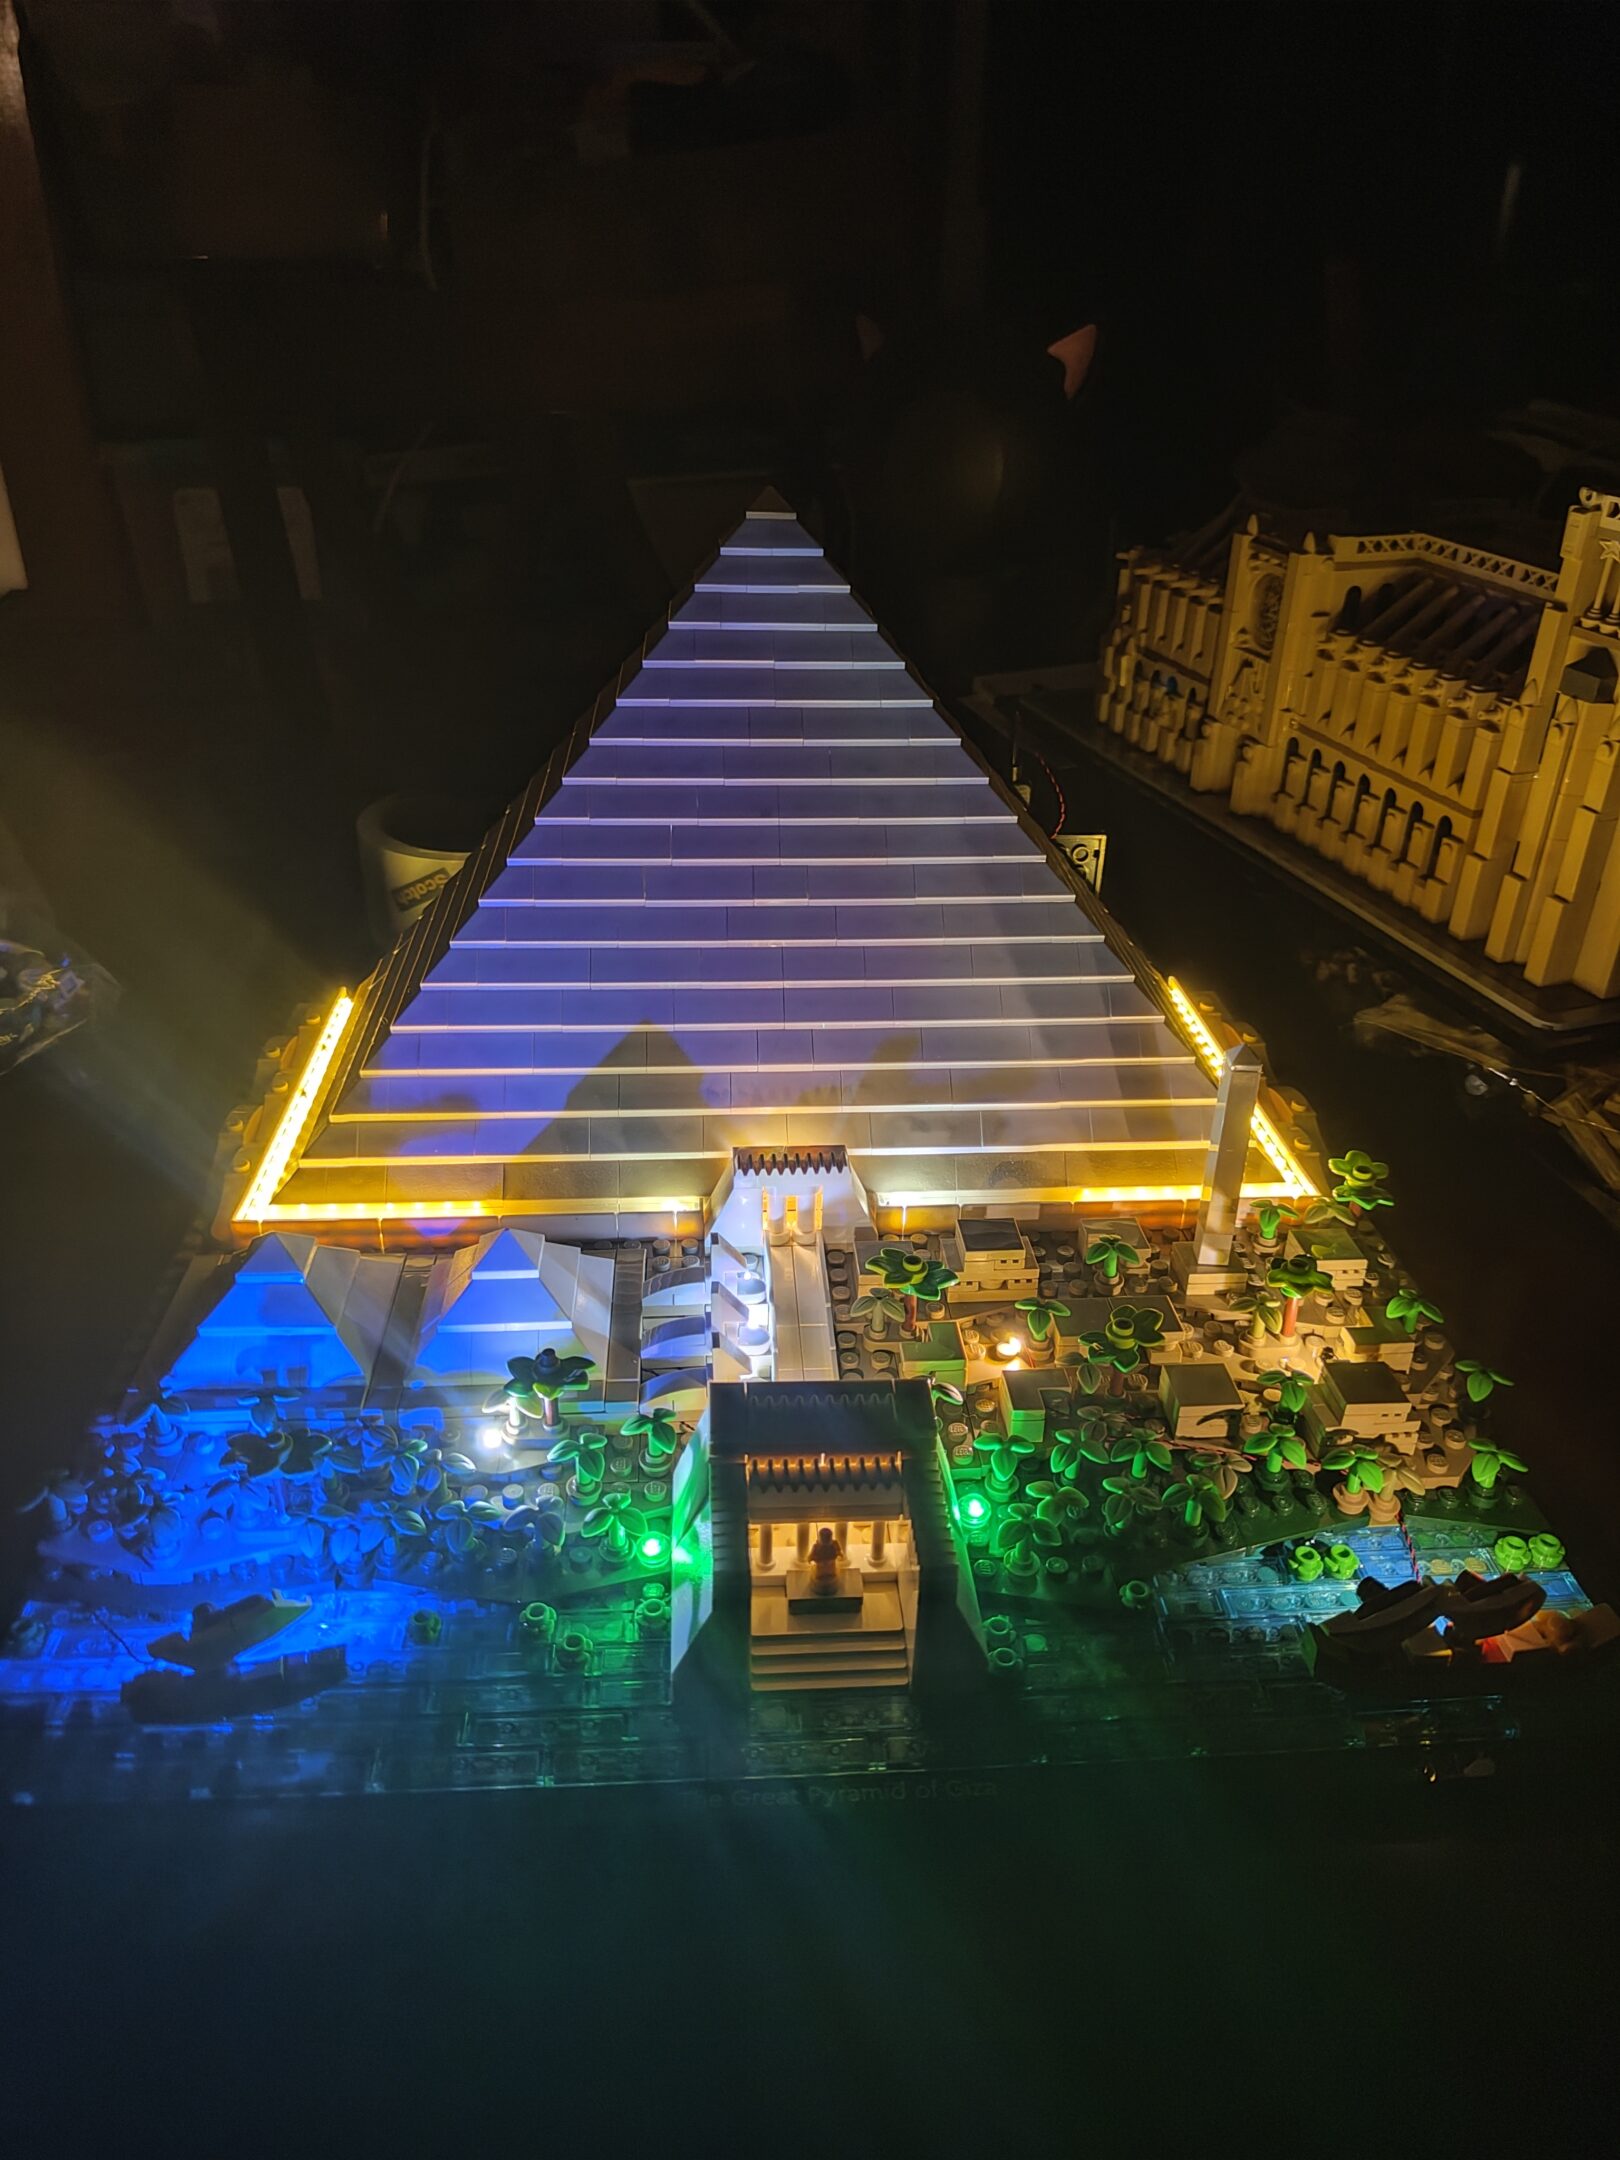
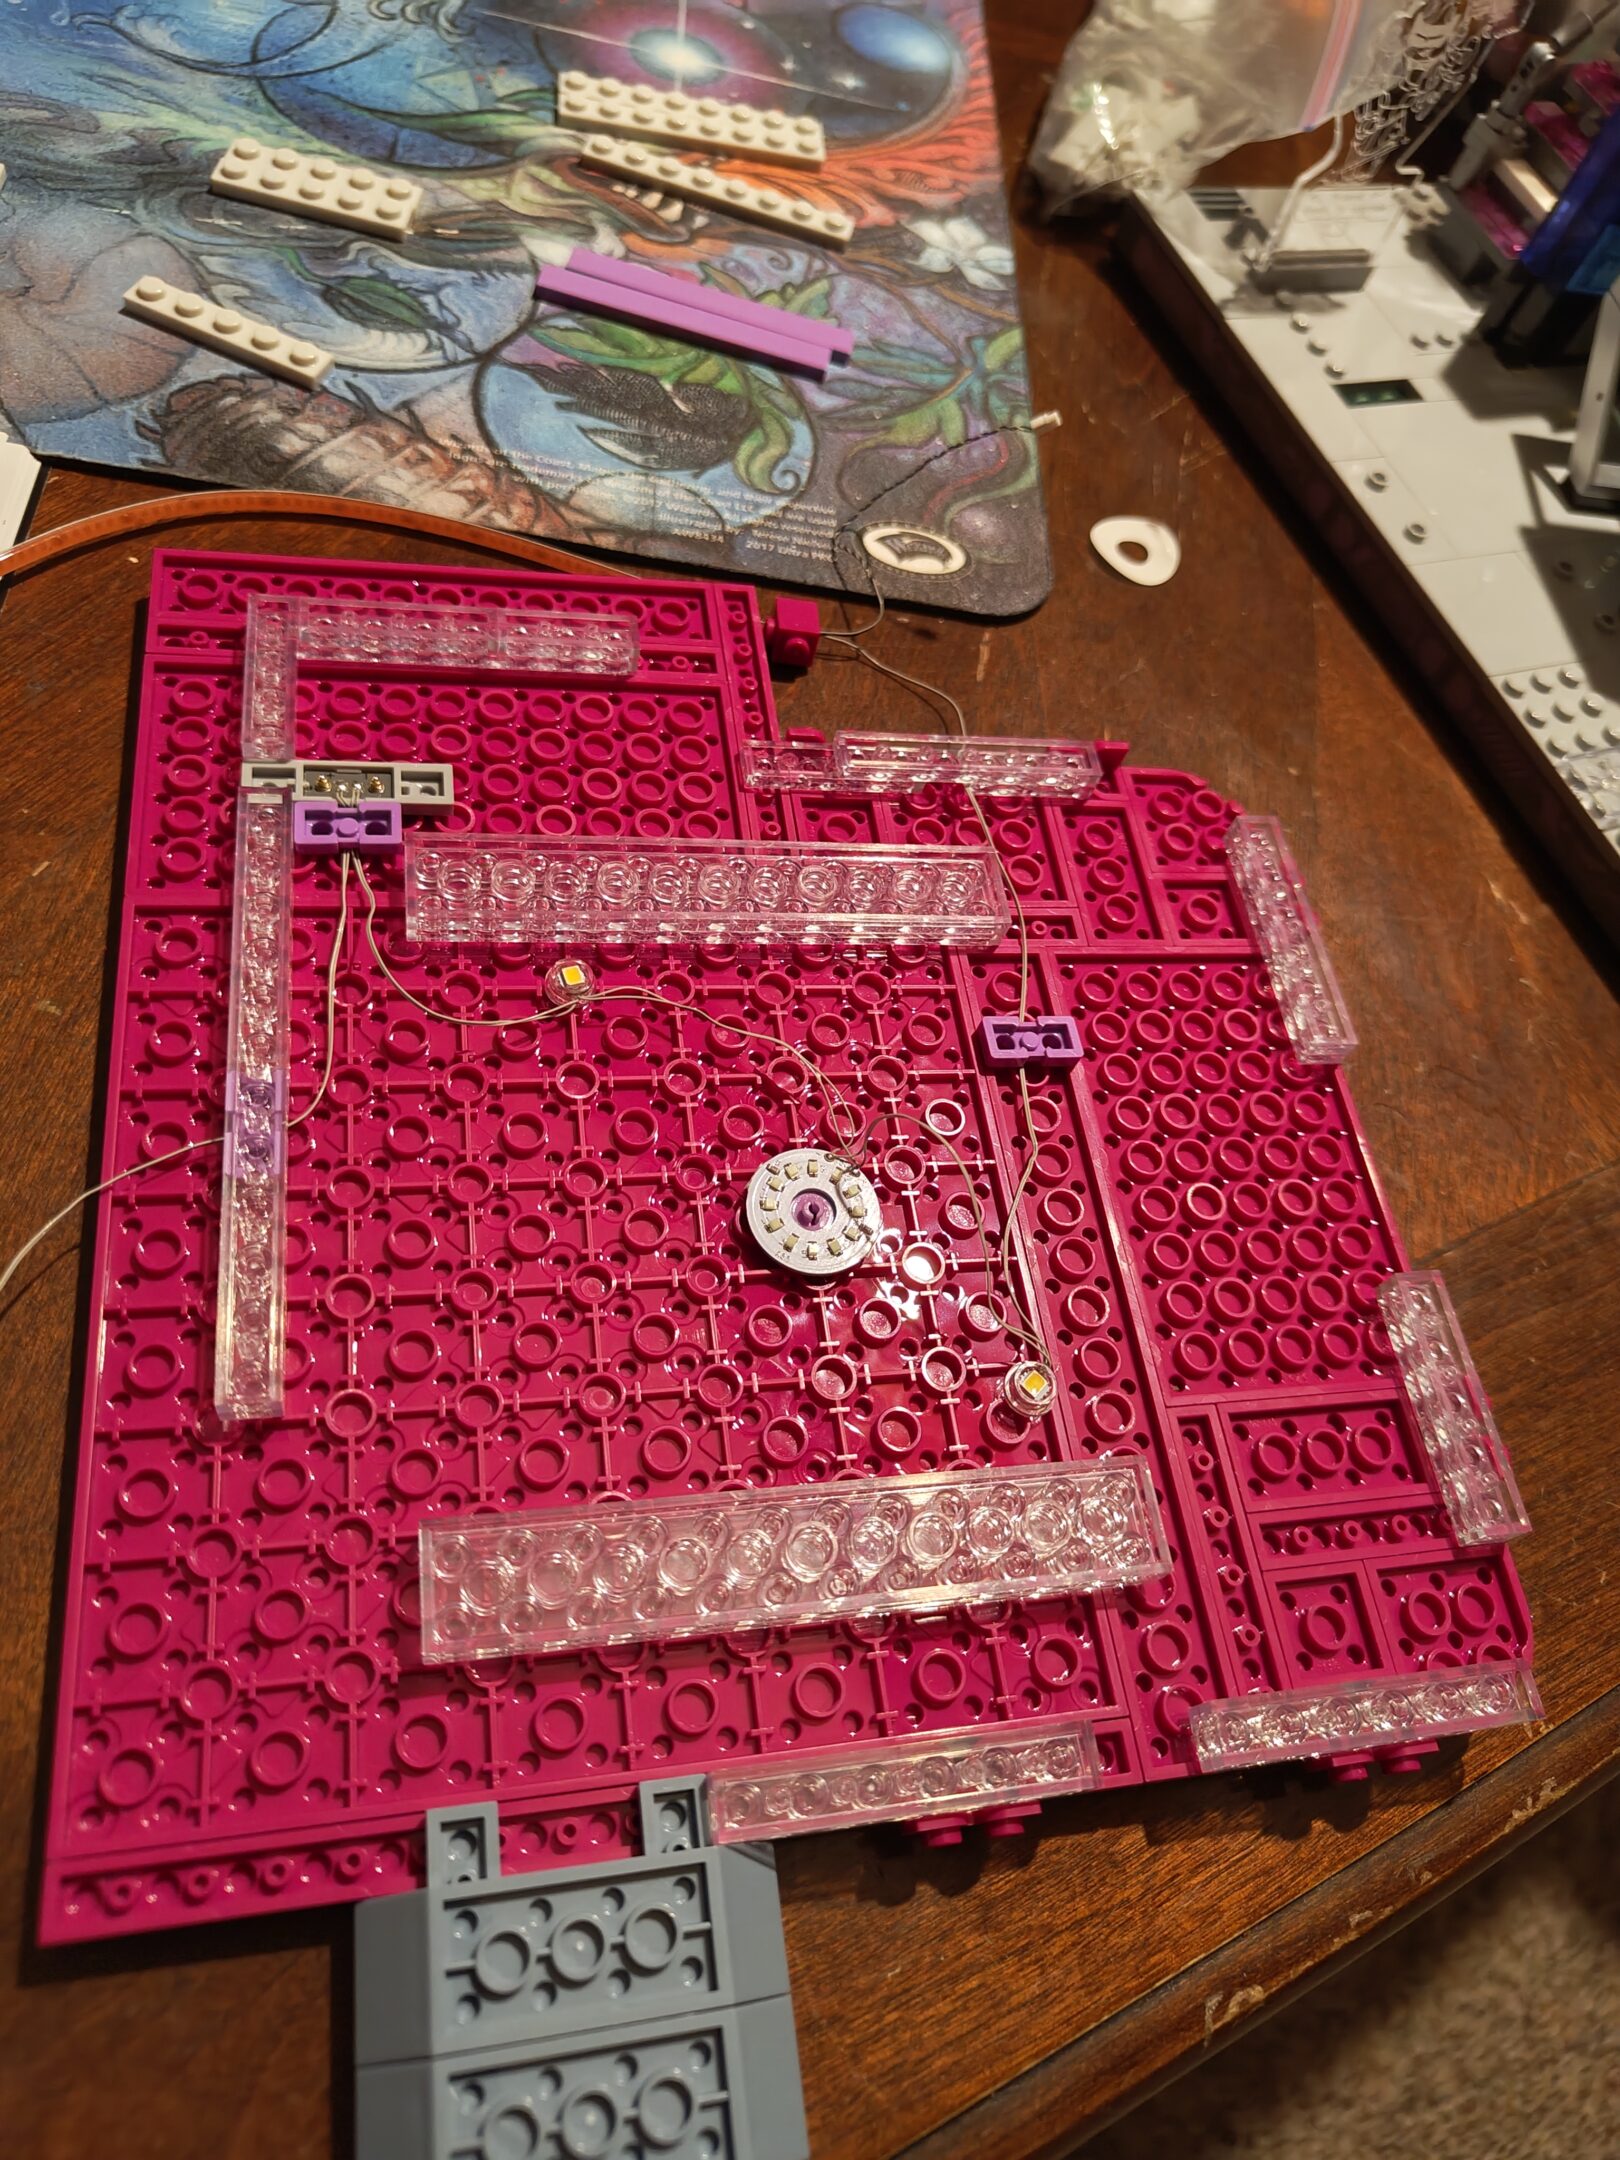
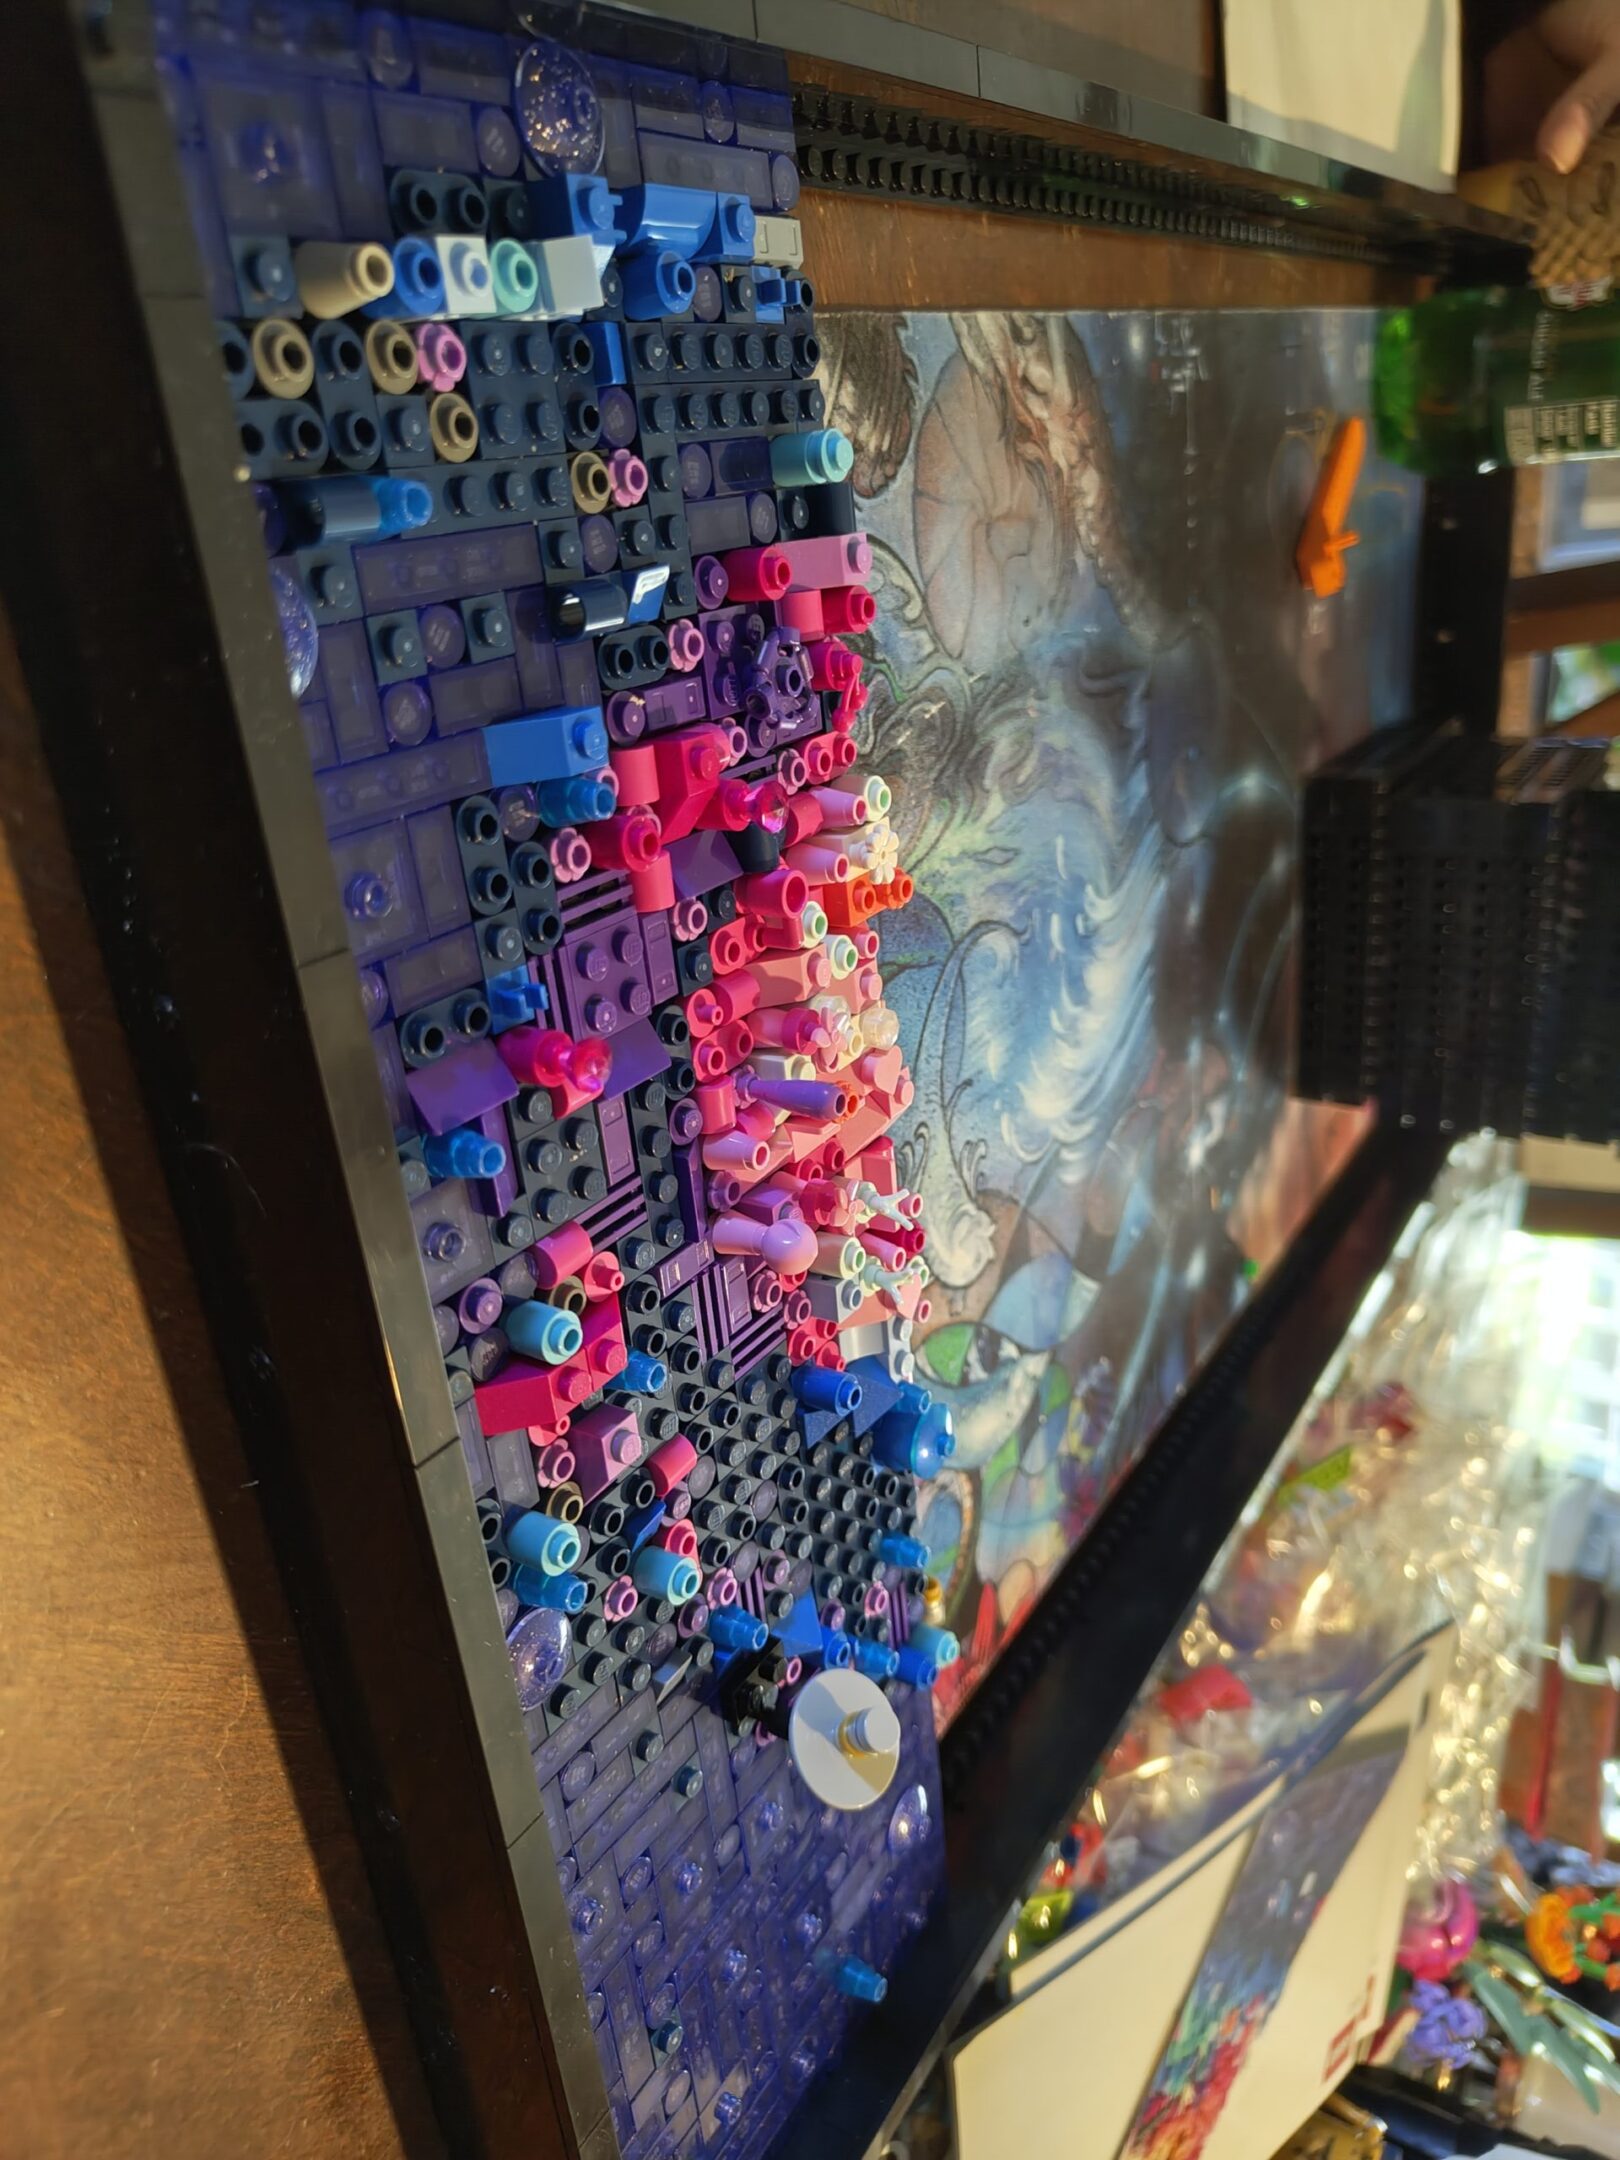
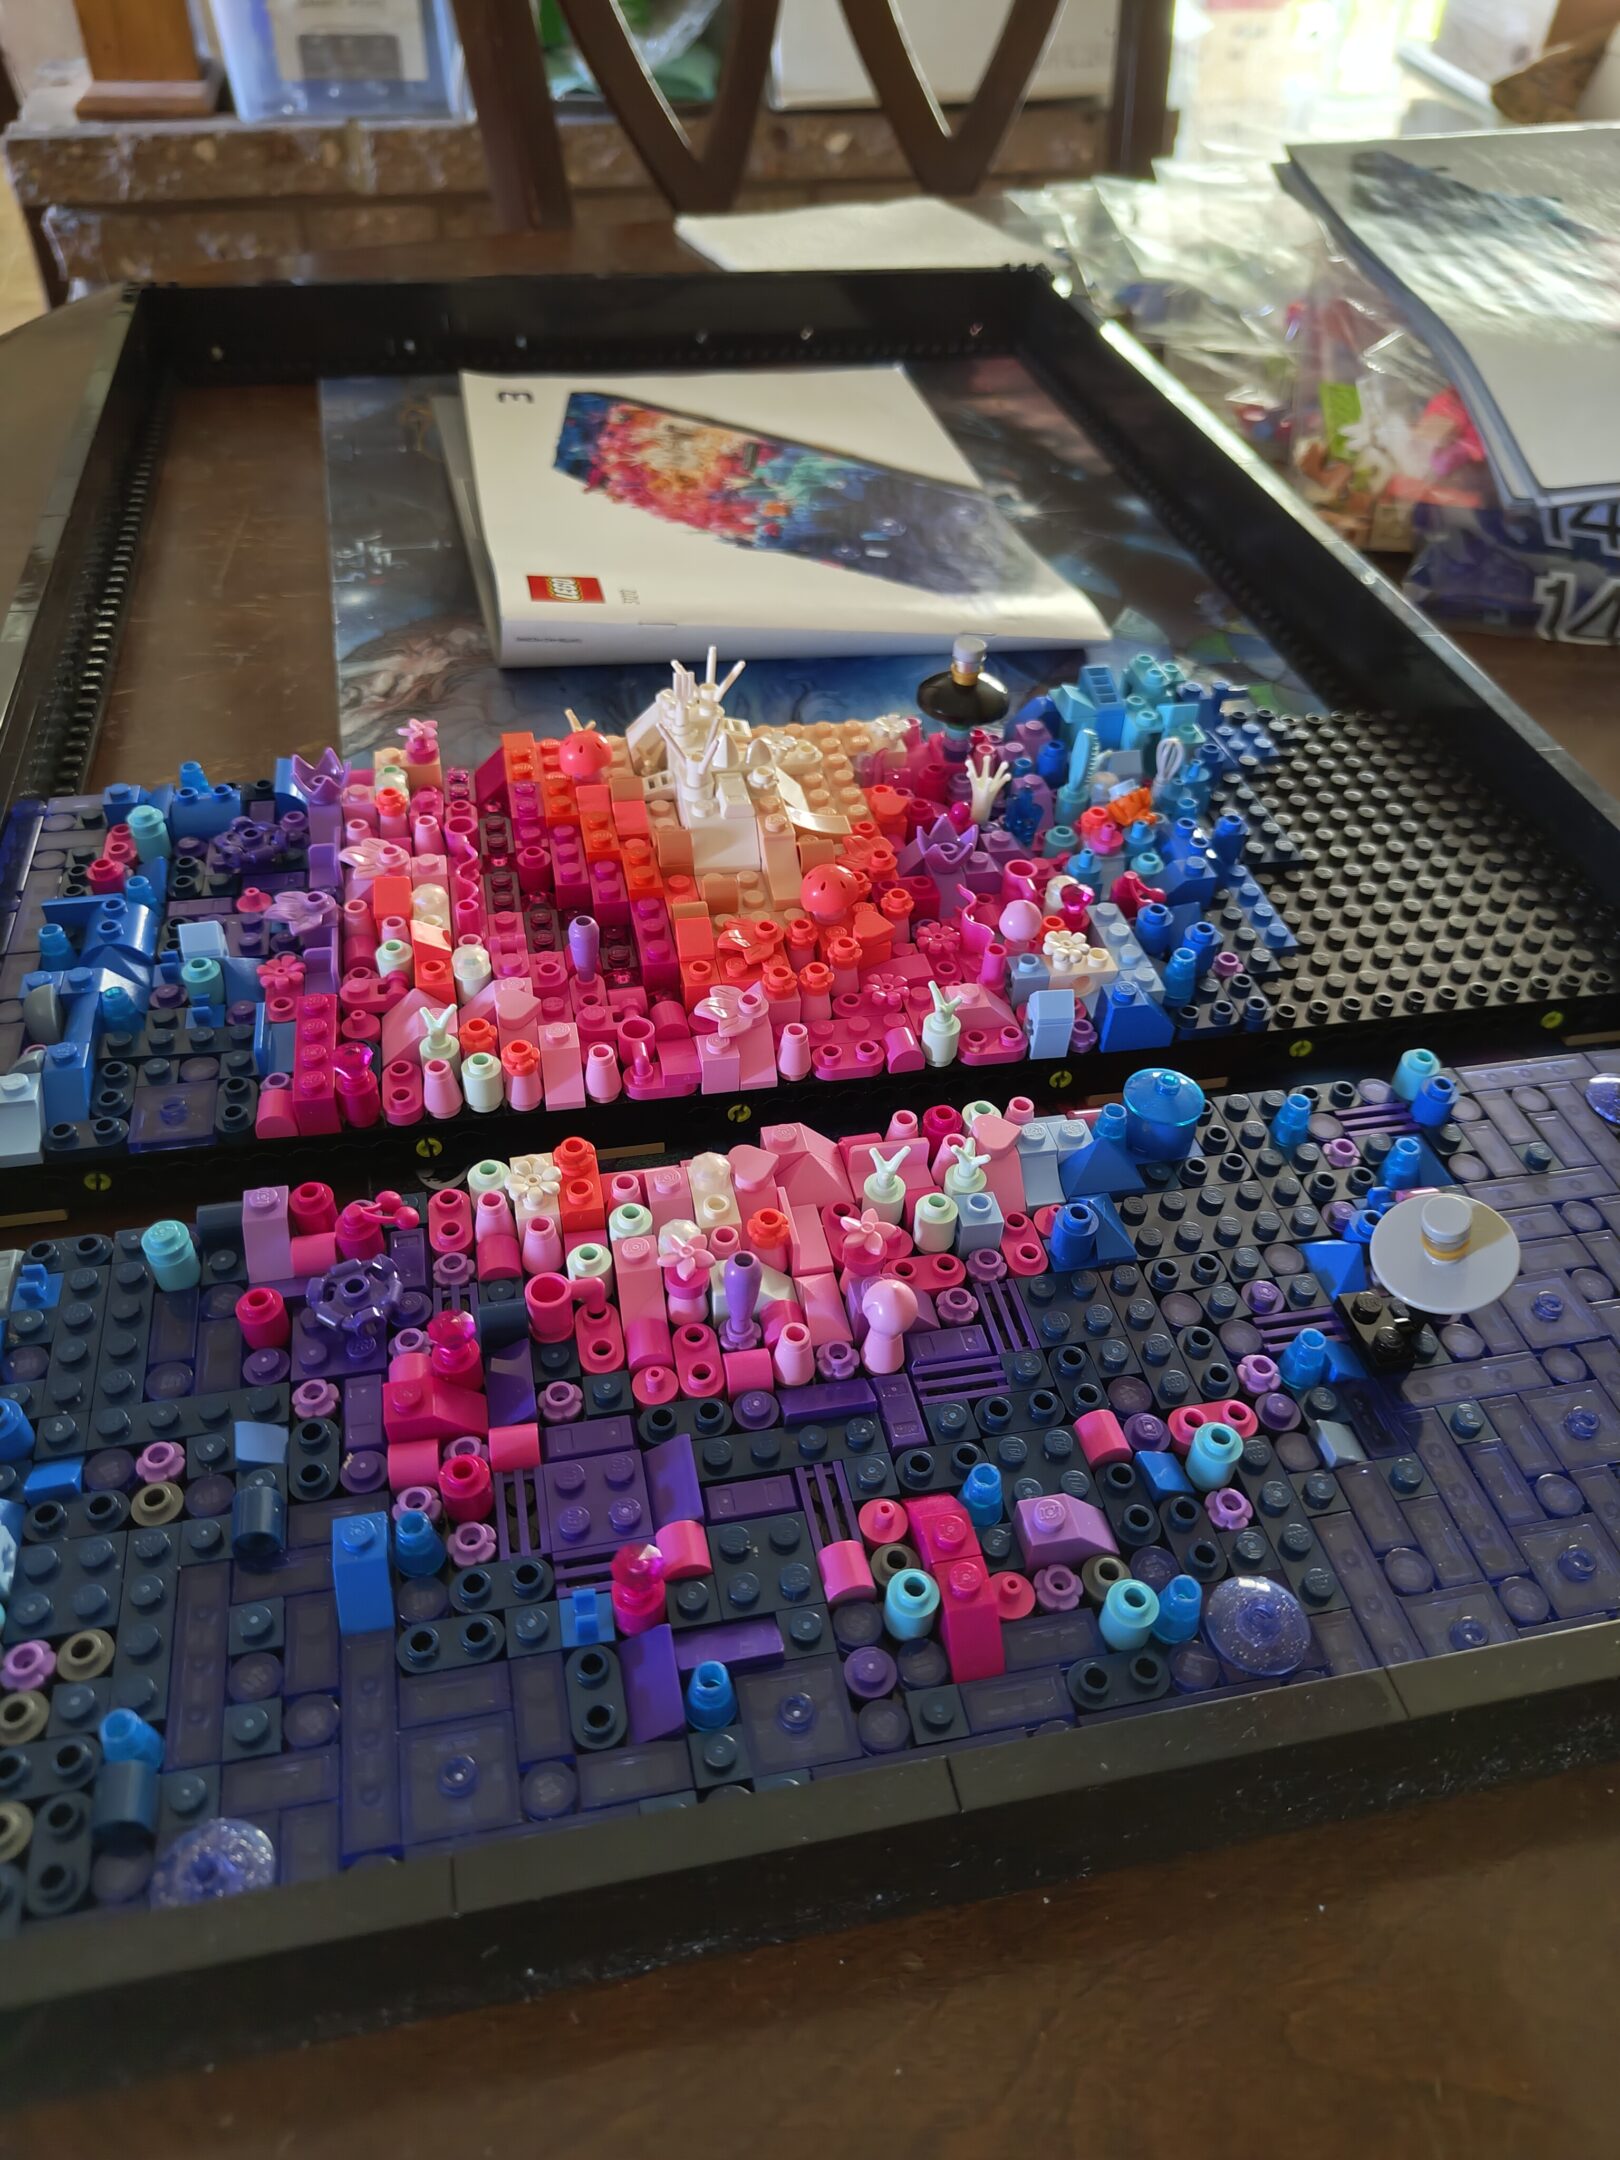
finally got around to doing some of the light kits i picked up, well one of them anyway. i made a mistake and picked giza to go first this was probably one of the hardest things i’ve done with lights and bricks because none of the lights are integrated into bricks, it was all just leds on wires (and two light strips that were together side-by-side but perforated to separate) and a couple hubs, think 25 connections in total. wild. but anyway it looks cool and now to try and figure out how to get power to it inside the cabinet
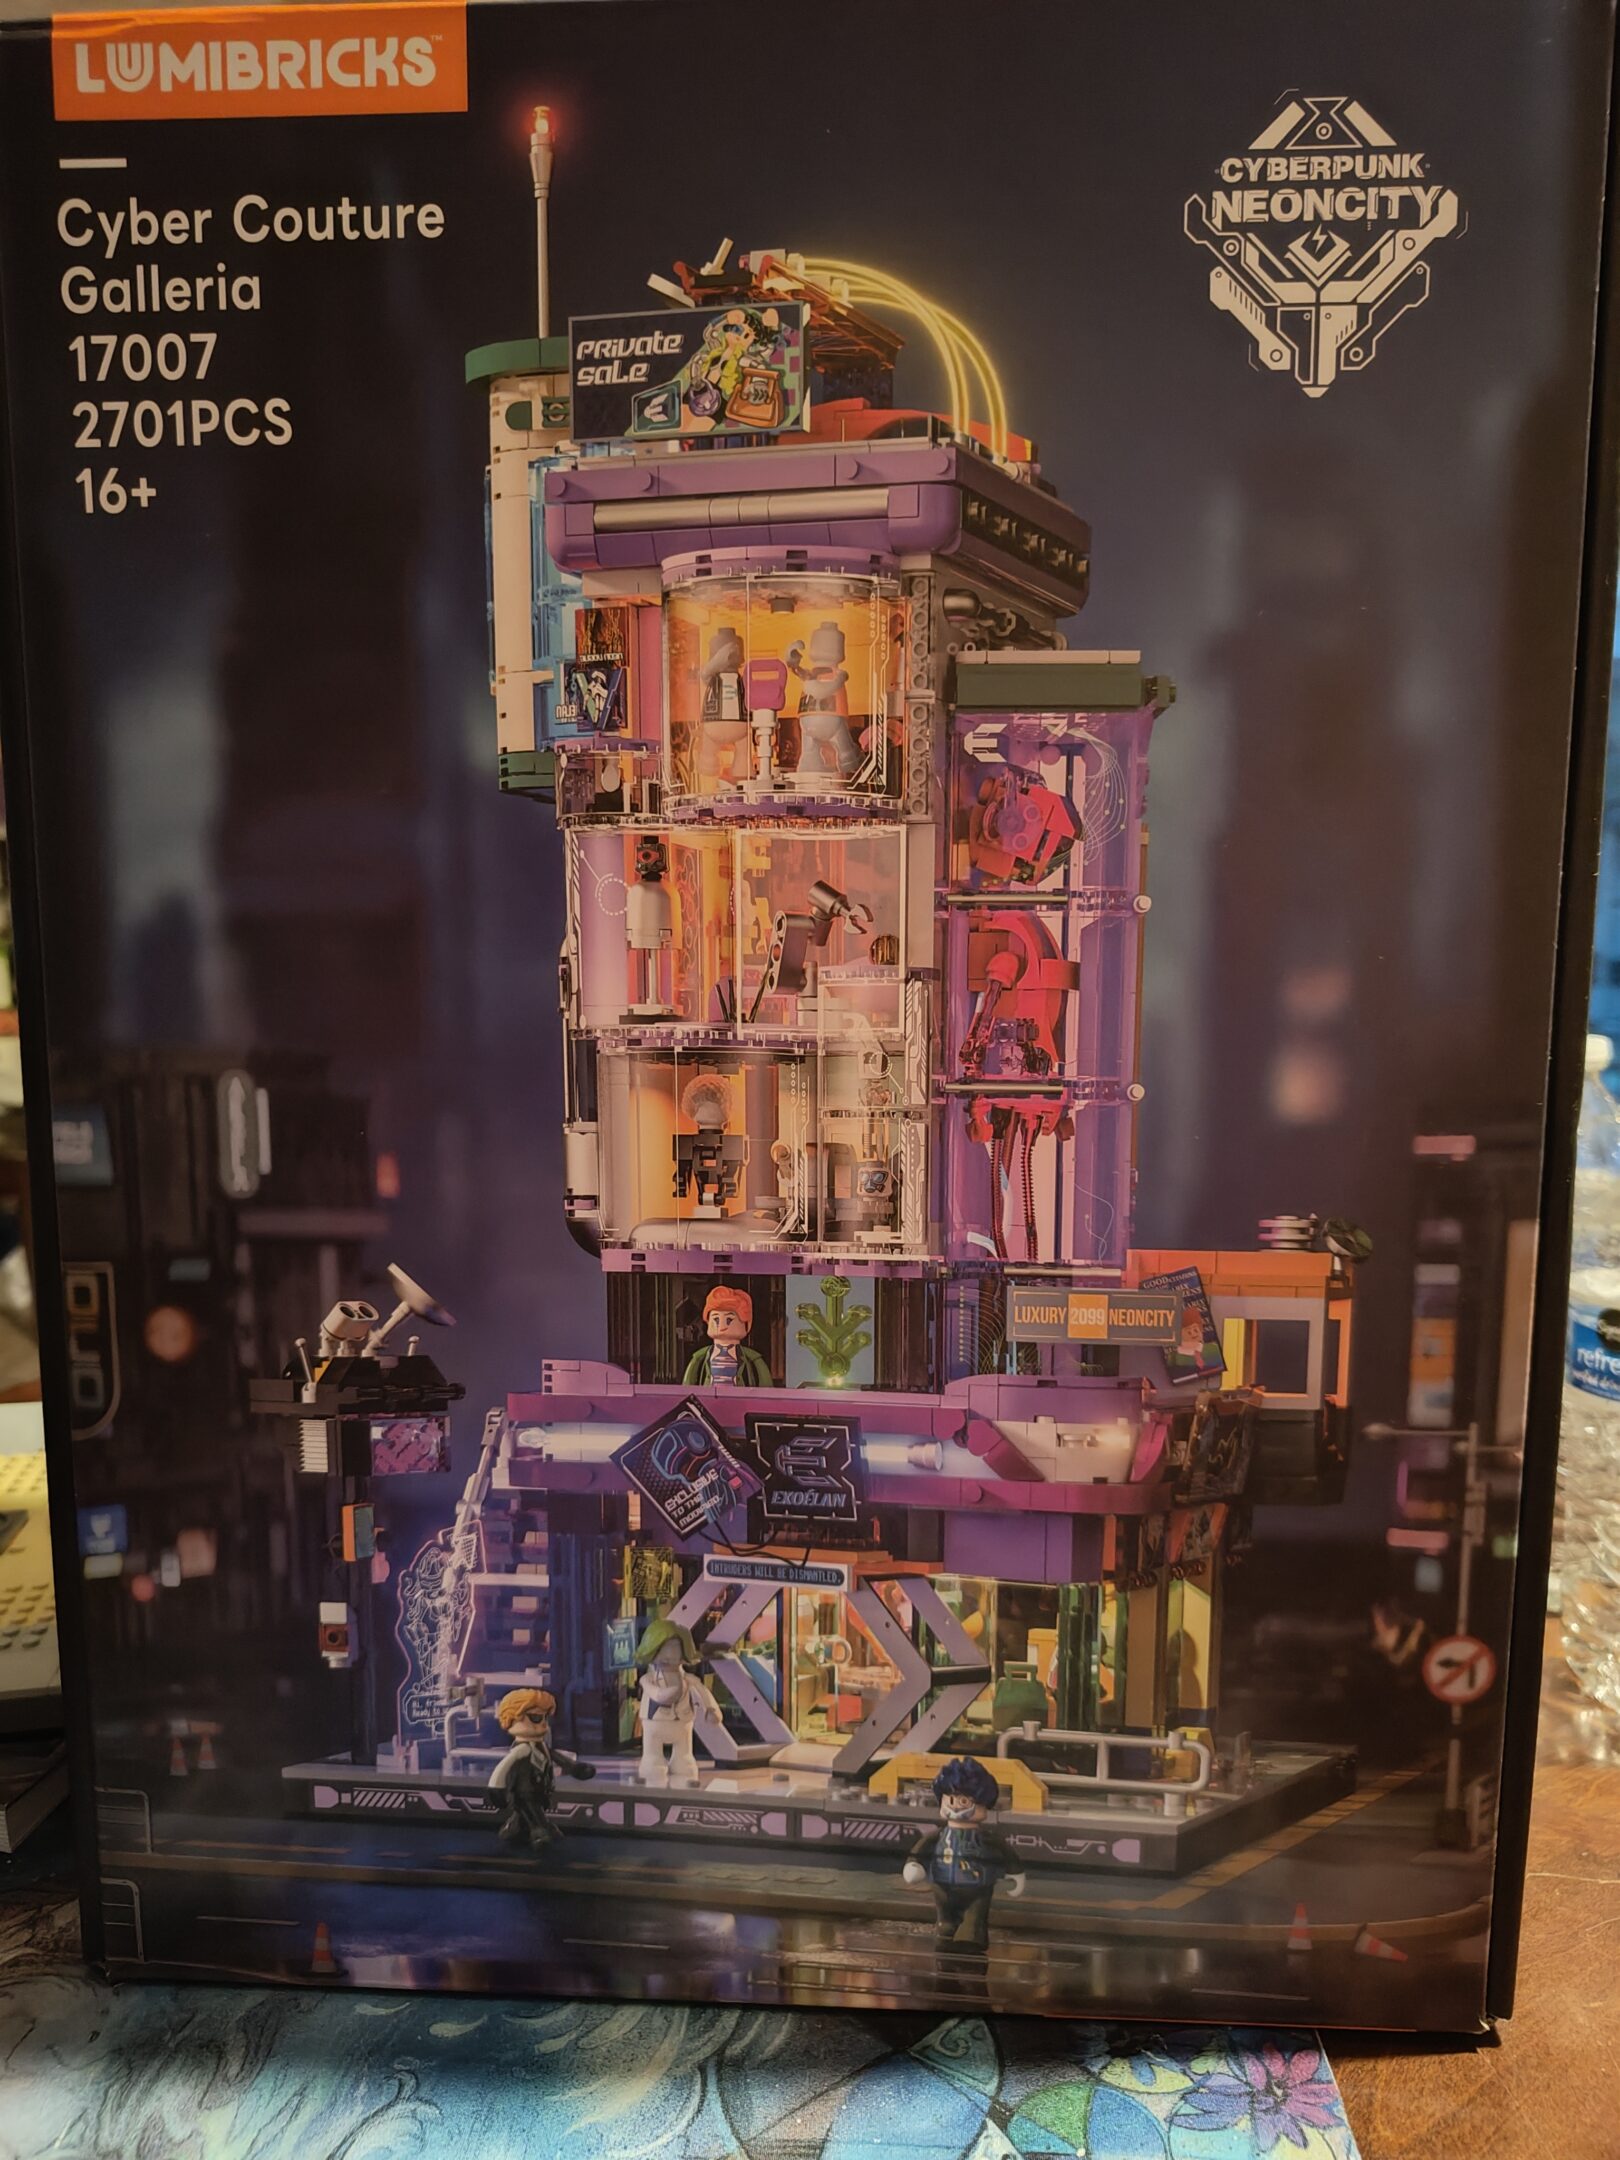
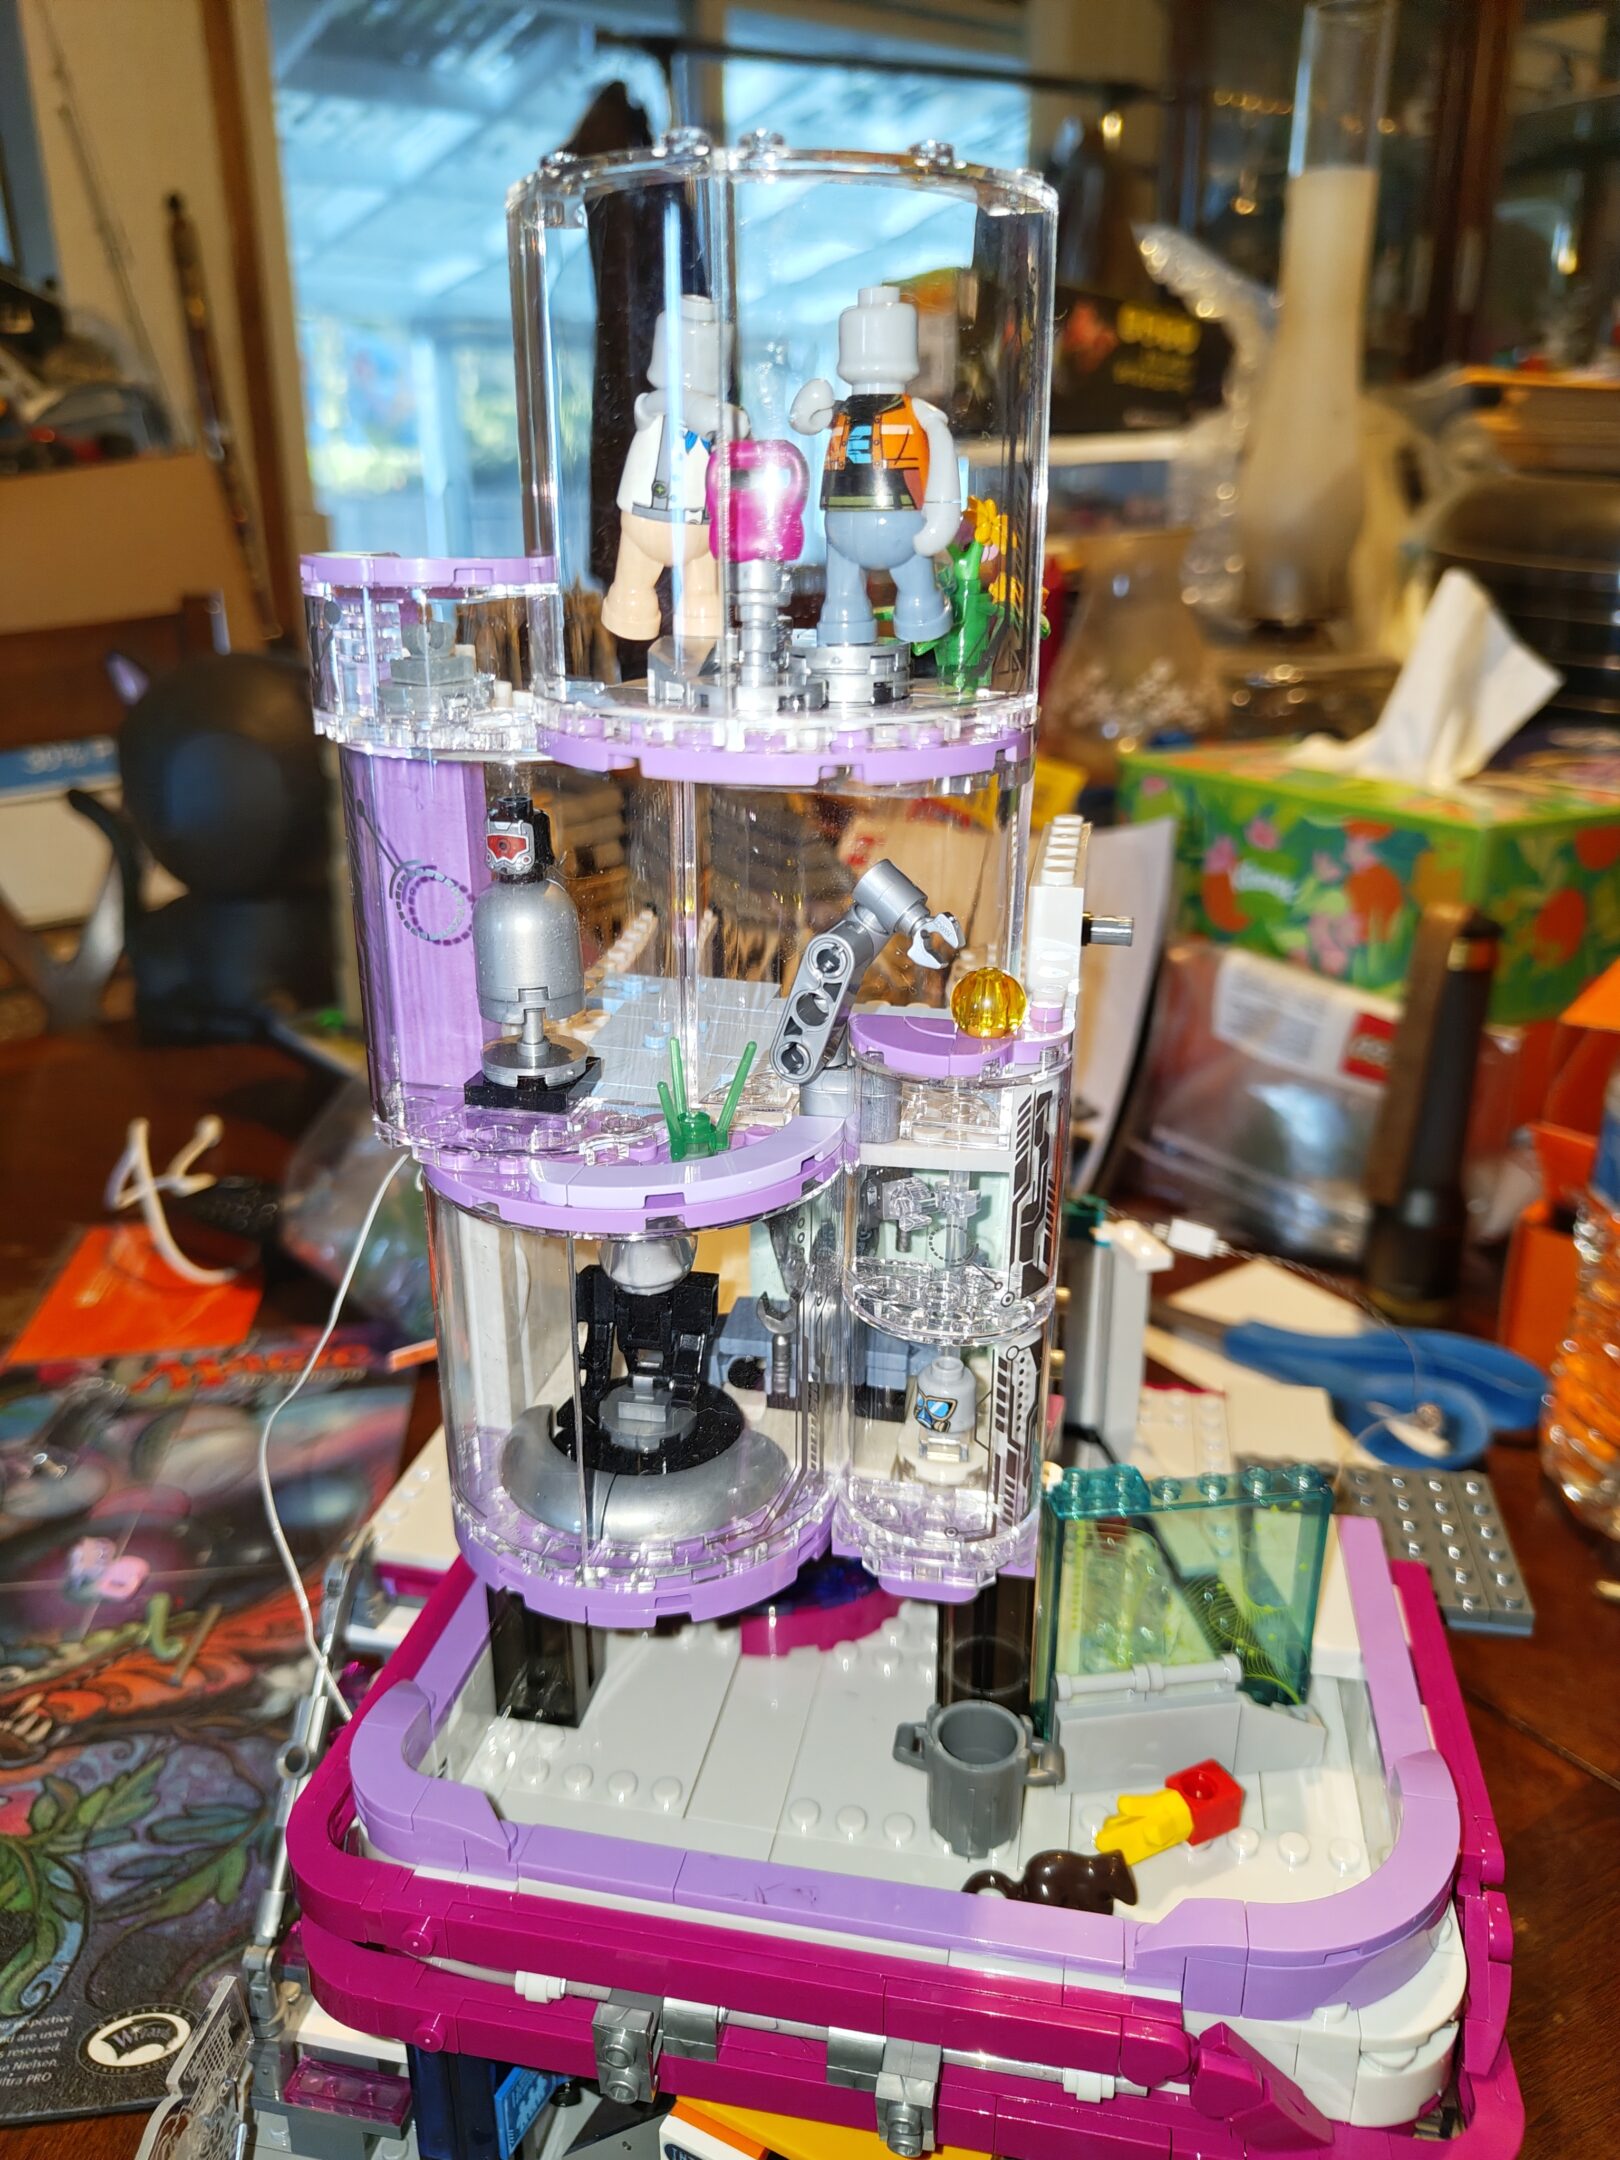
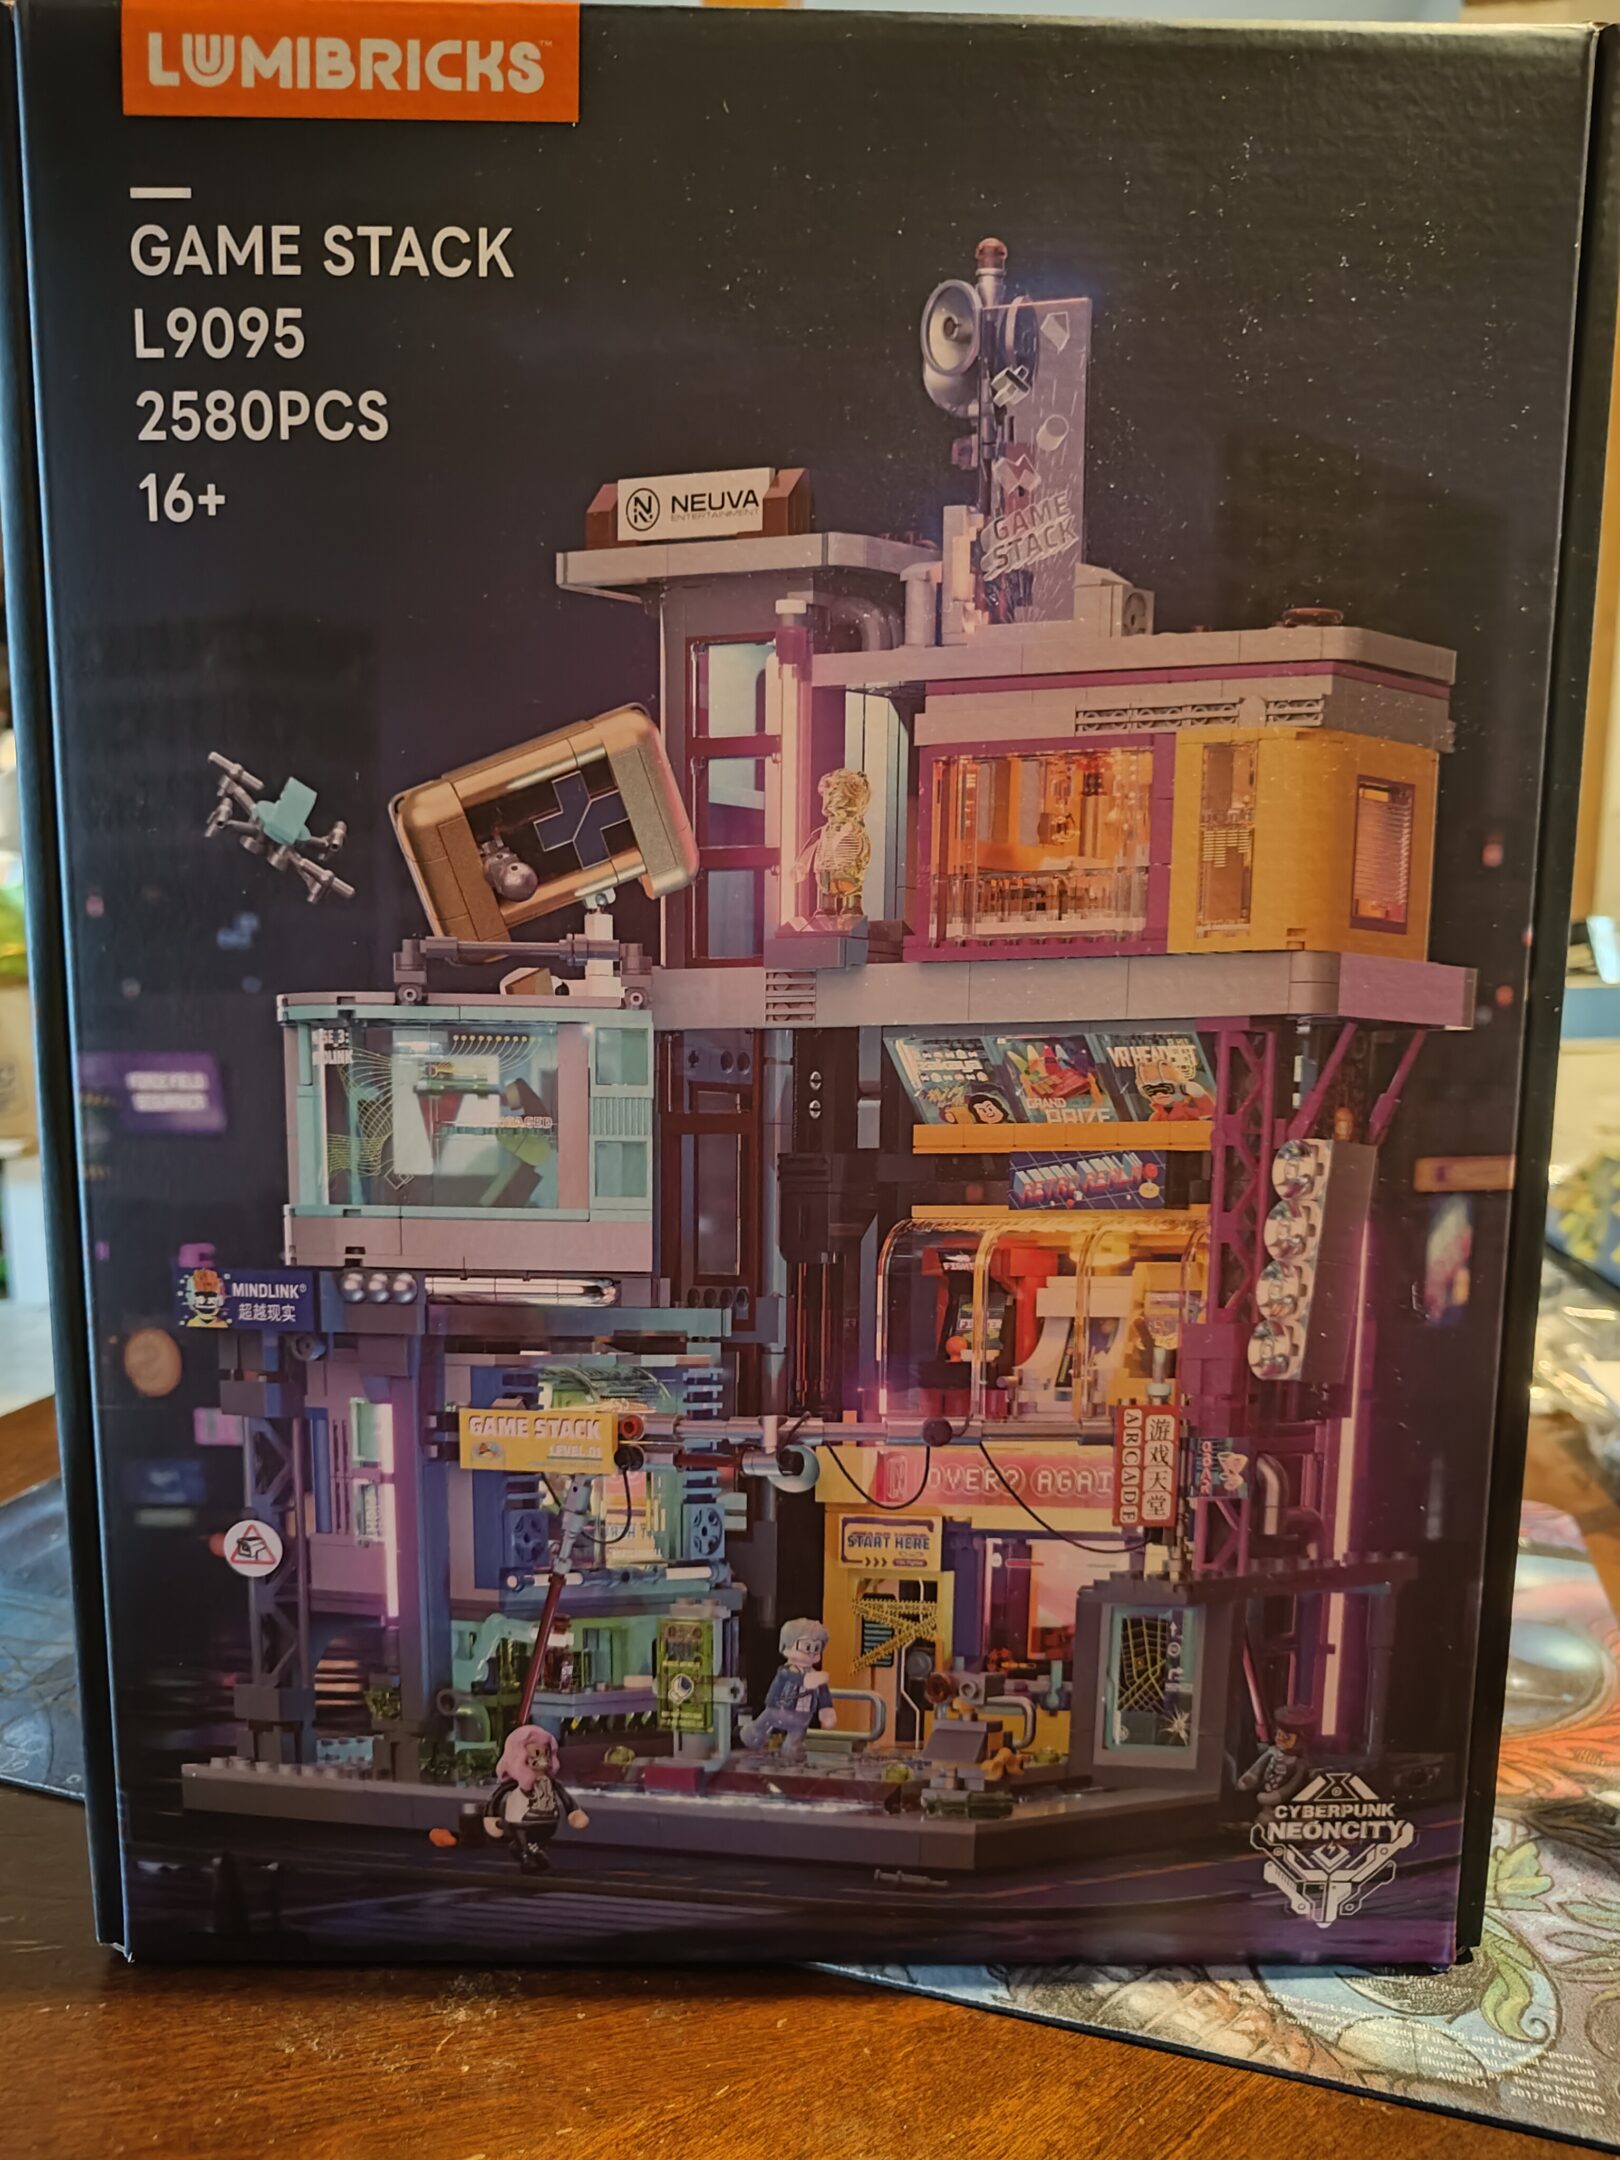
wooooo finally new cyberpunk set released january 6th, it’s here and i started it on sunday (the 11th). haven’t made it very far, only the first set of bags, but got the block built and it’s just upwards from here. less wiring in this set than i expected; the game stack had a ton it felt like (5 bags to the 3 in this set). anyway i’m super pumped but i also got a bunch of light kits for the other architecture sets we’ve done and those instructions aren’t nearly as good — or printed — as these lumibricks sets. lego does have a lighted brick thing now in 2026 they were showing off at ces but it’s just not the same. i love the cyberpunk dystopia aesthetic, what can i say?
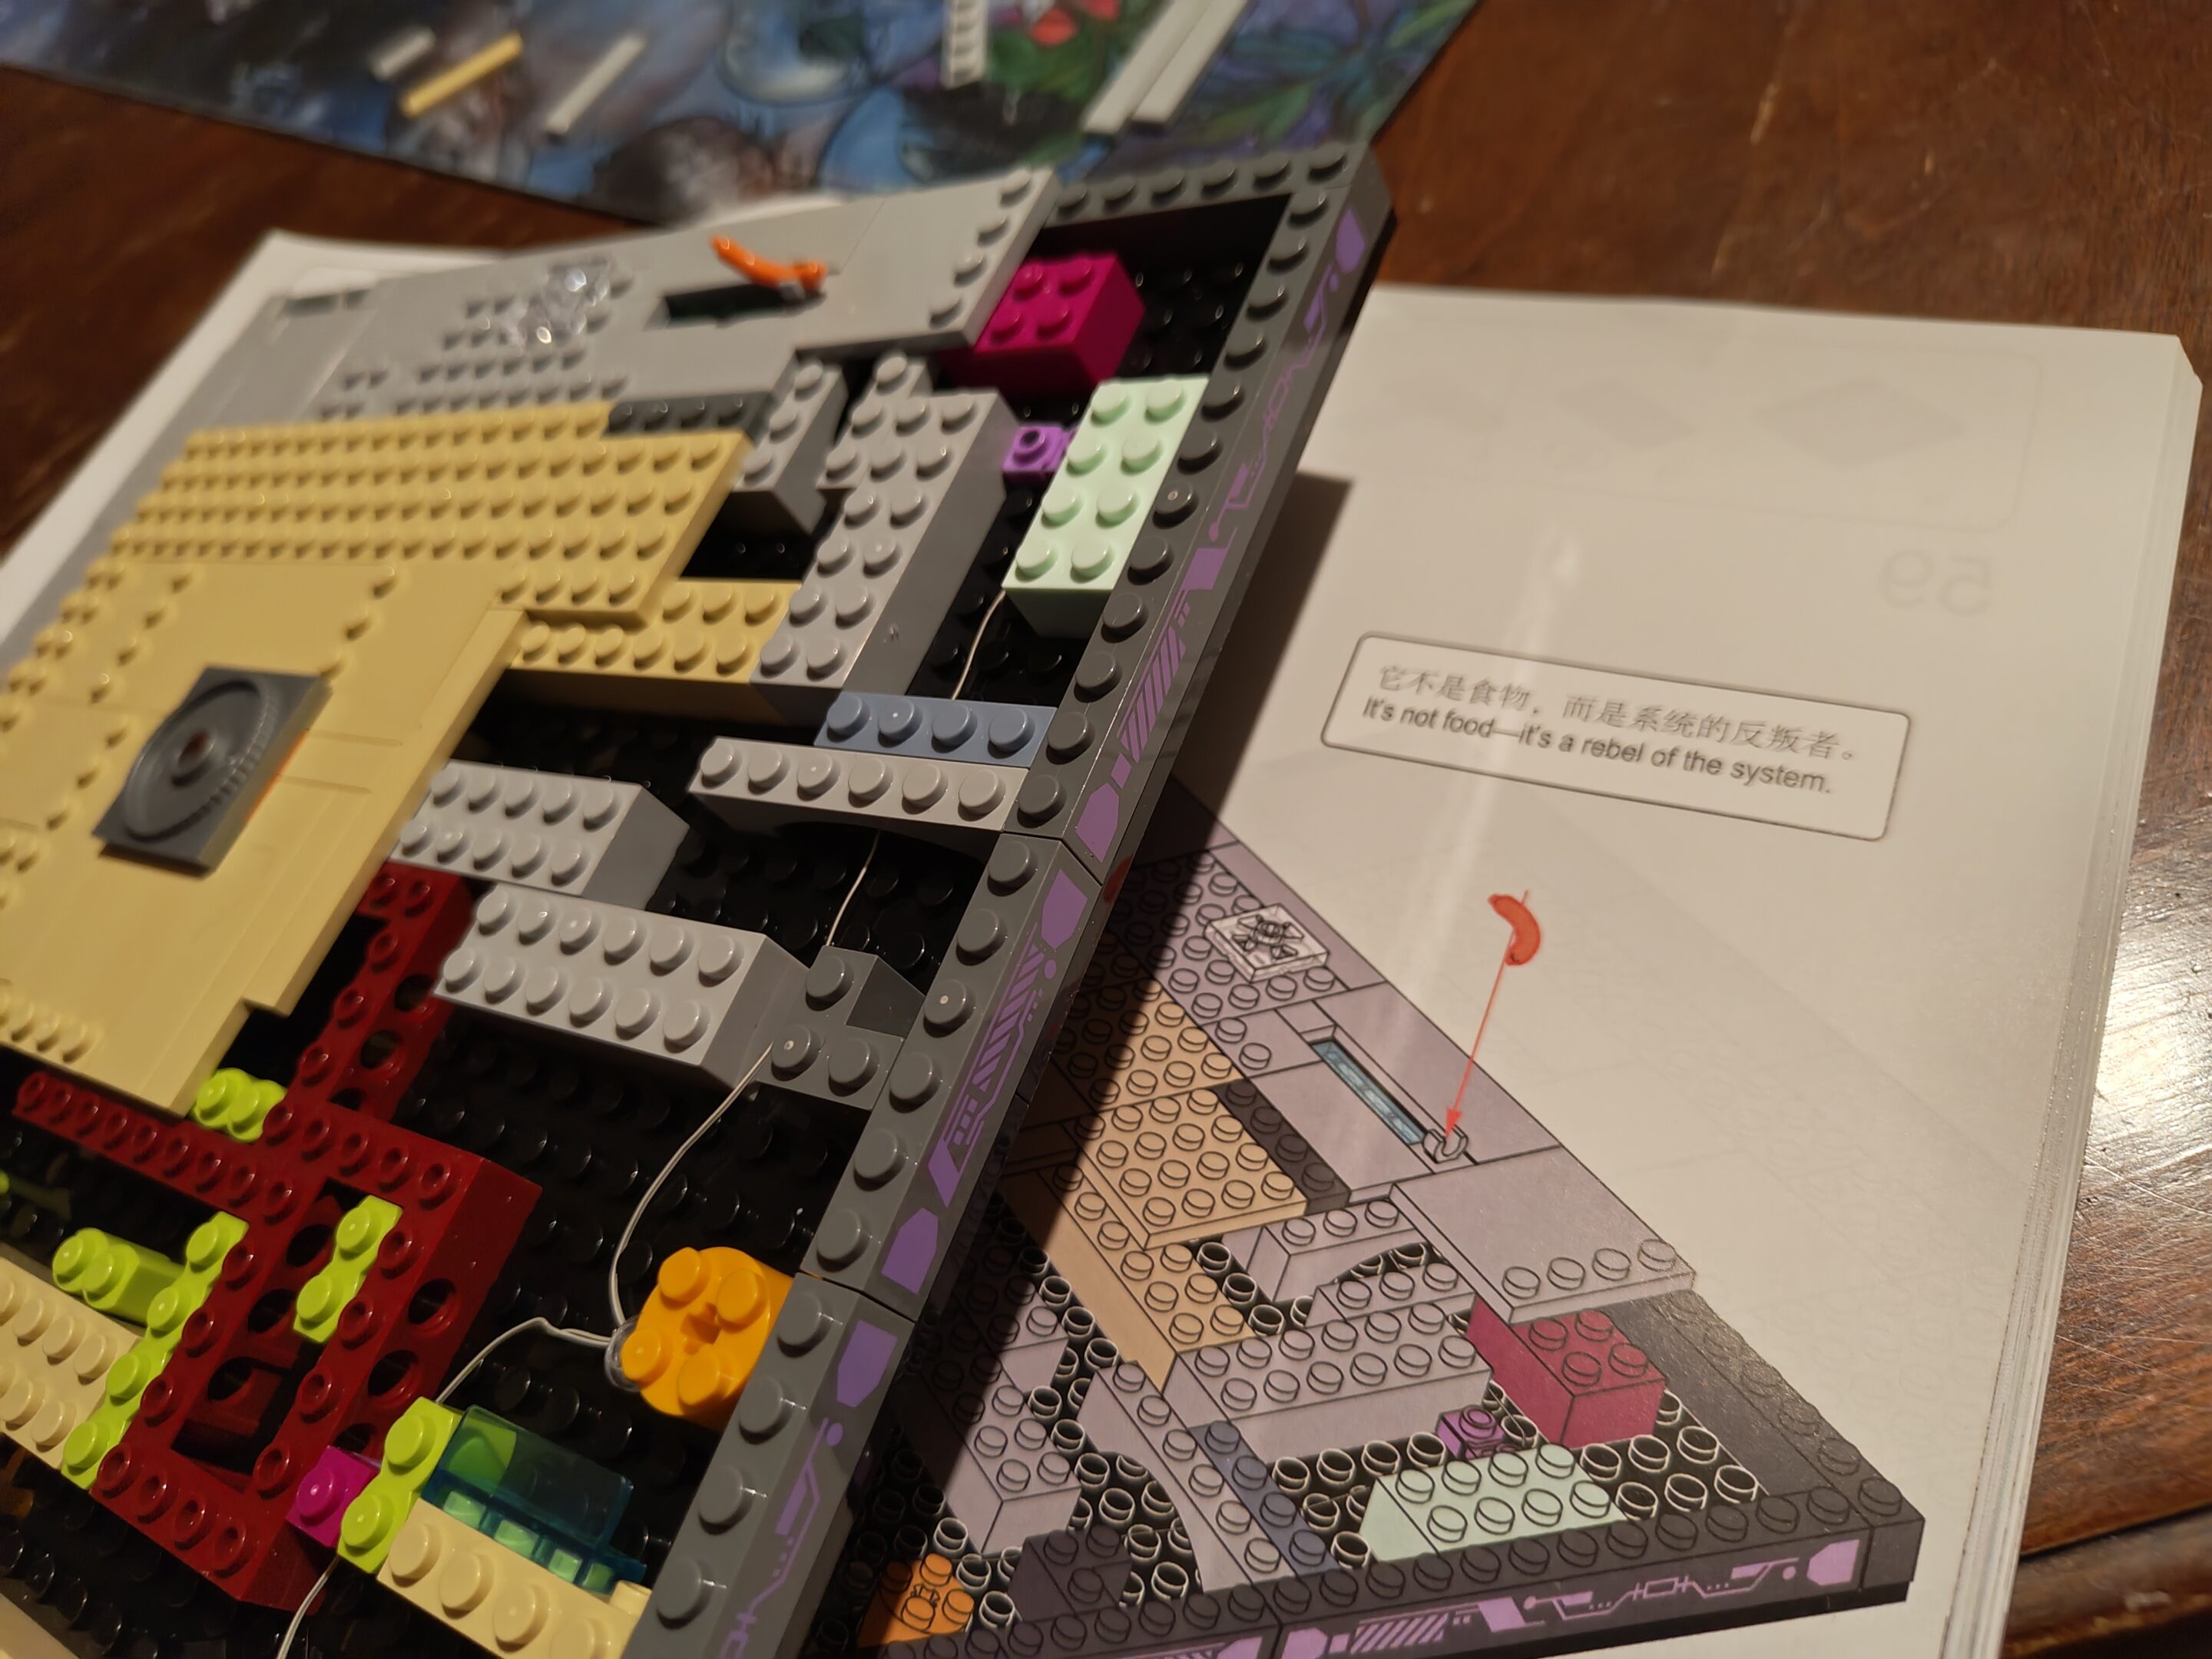
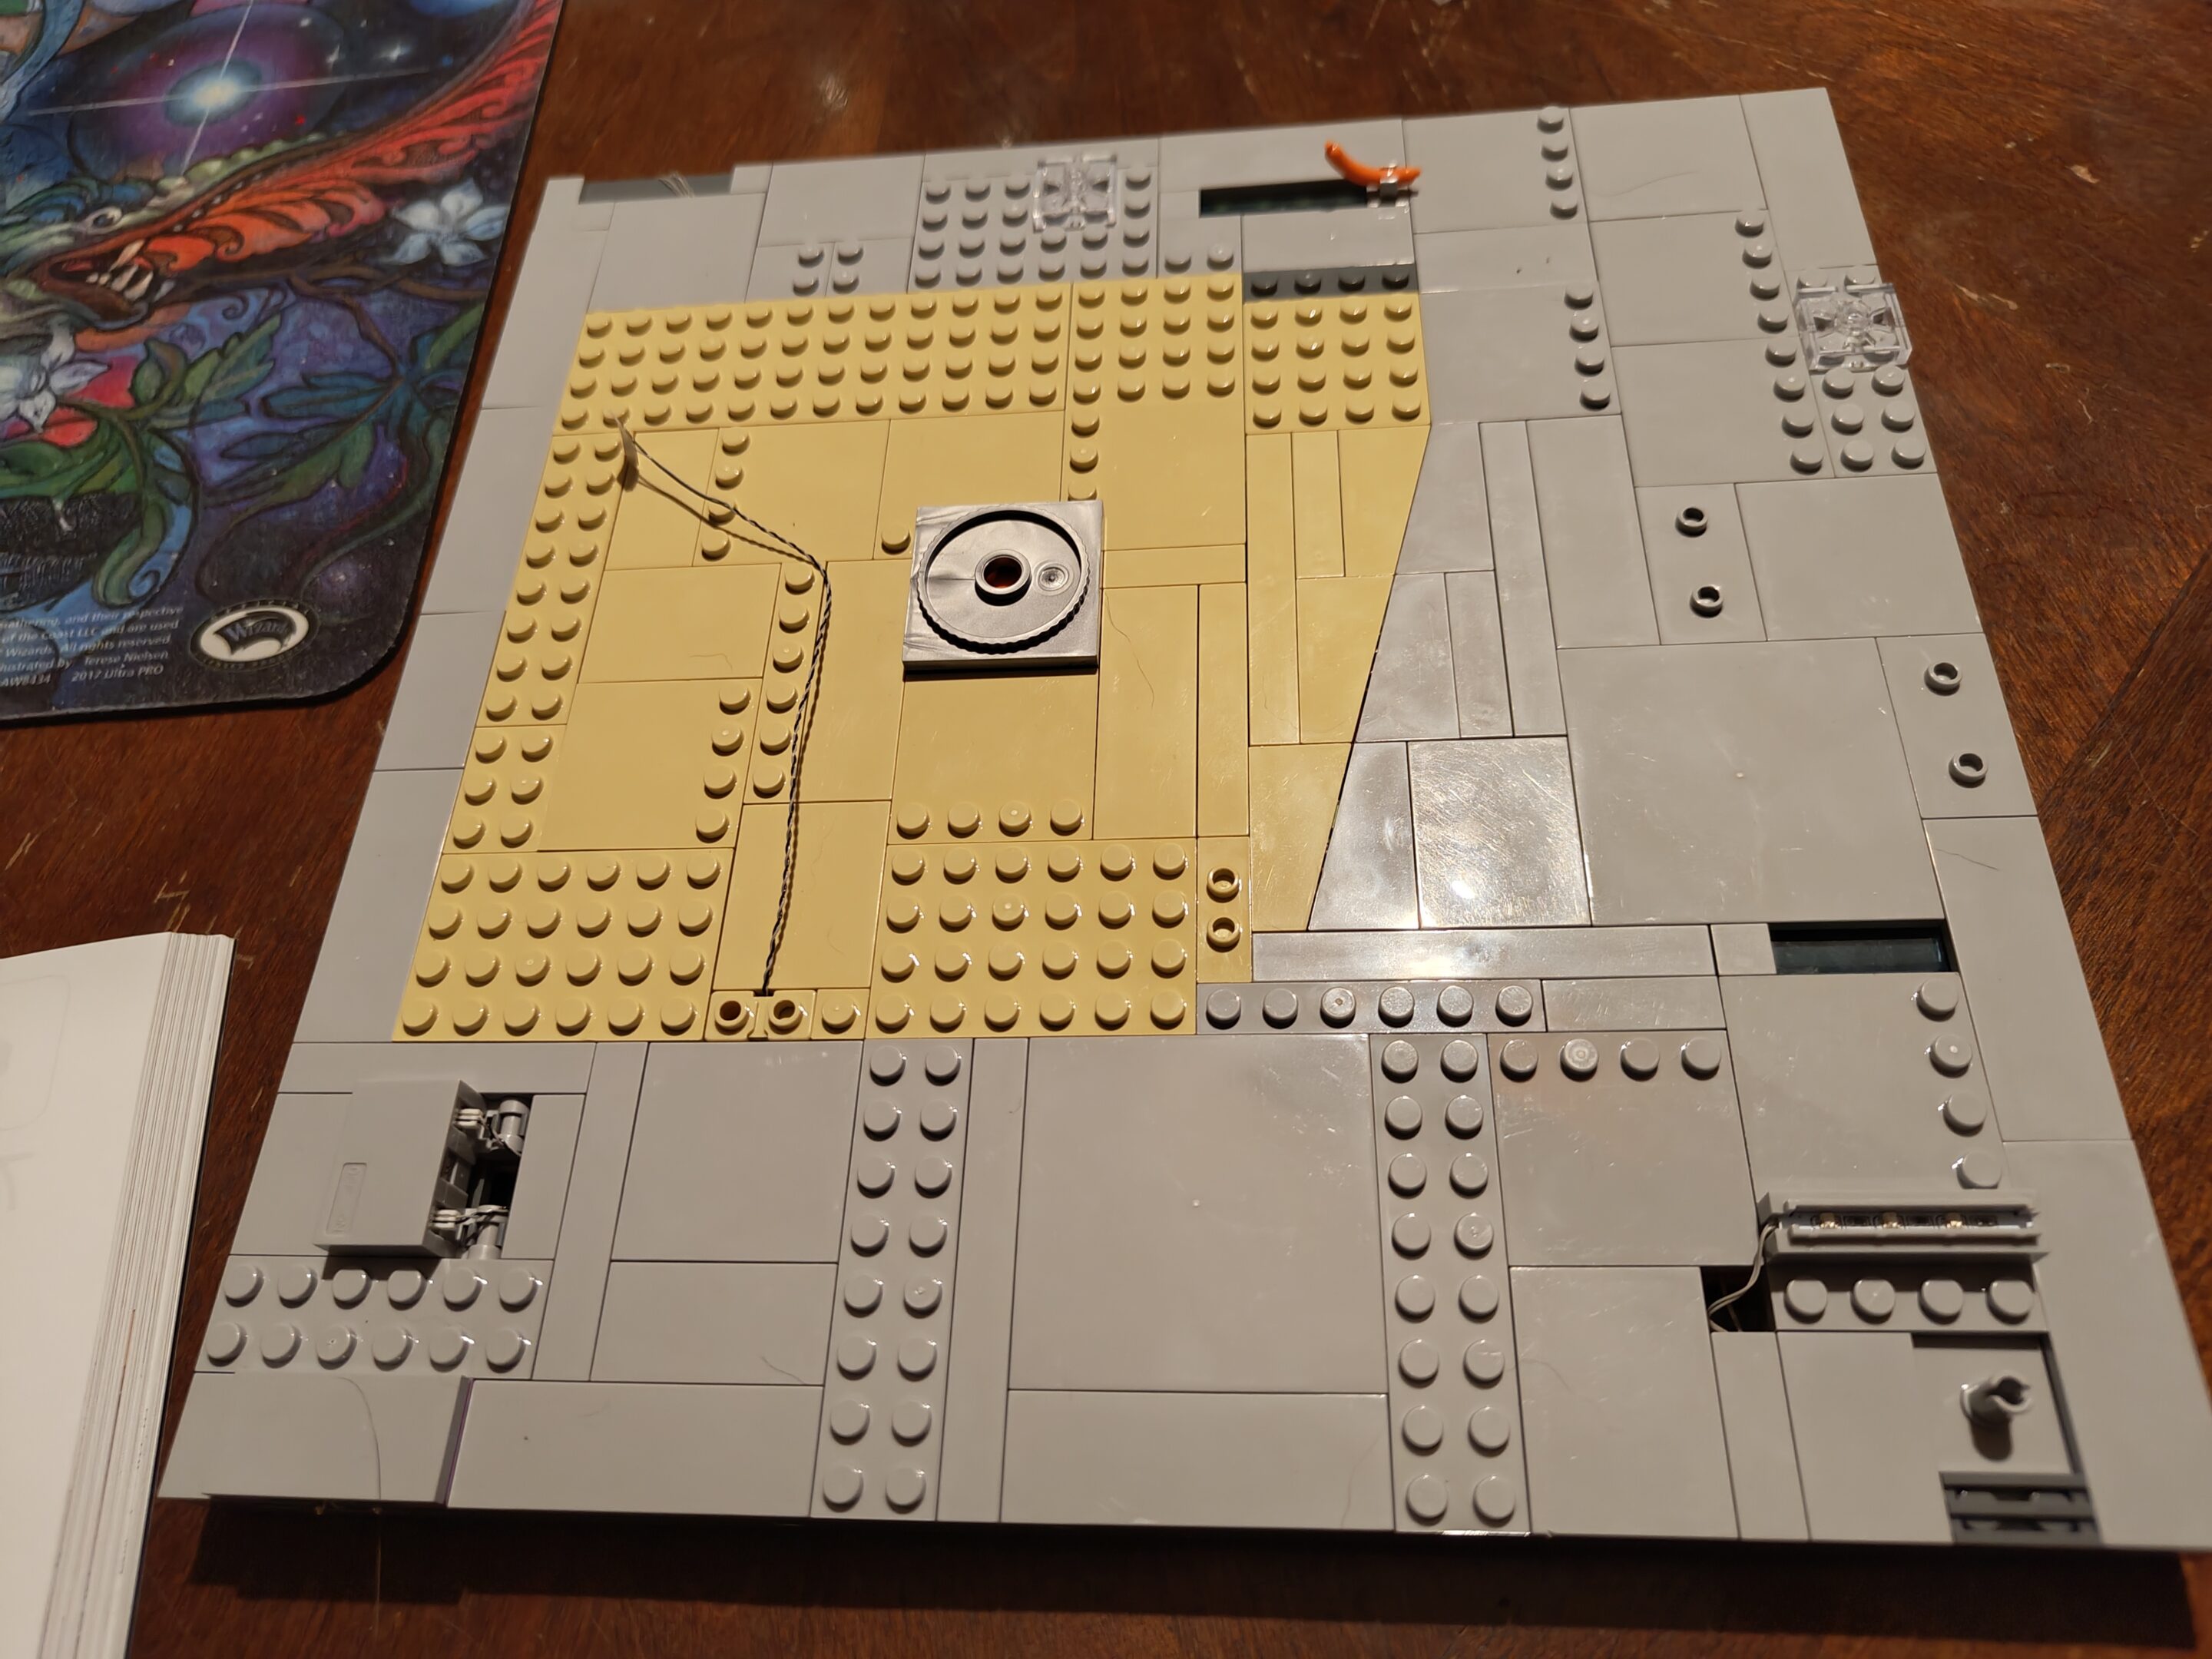
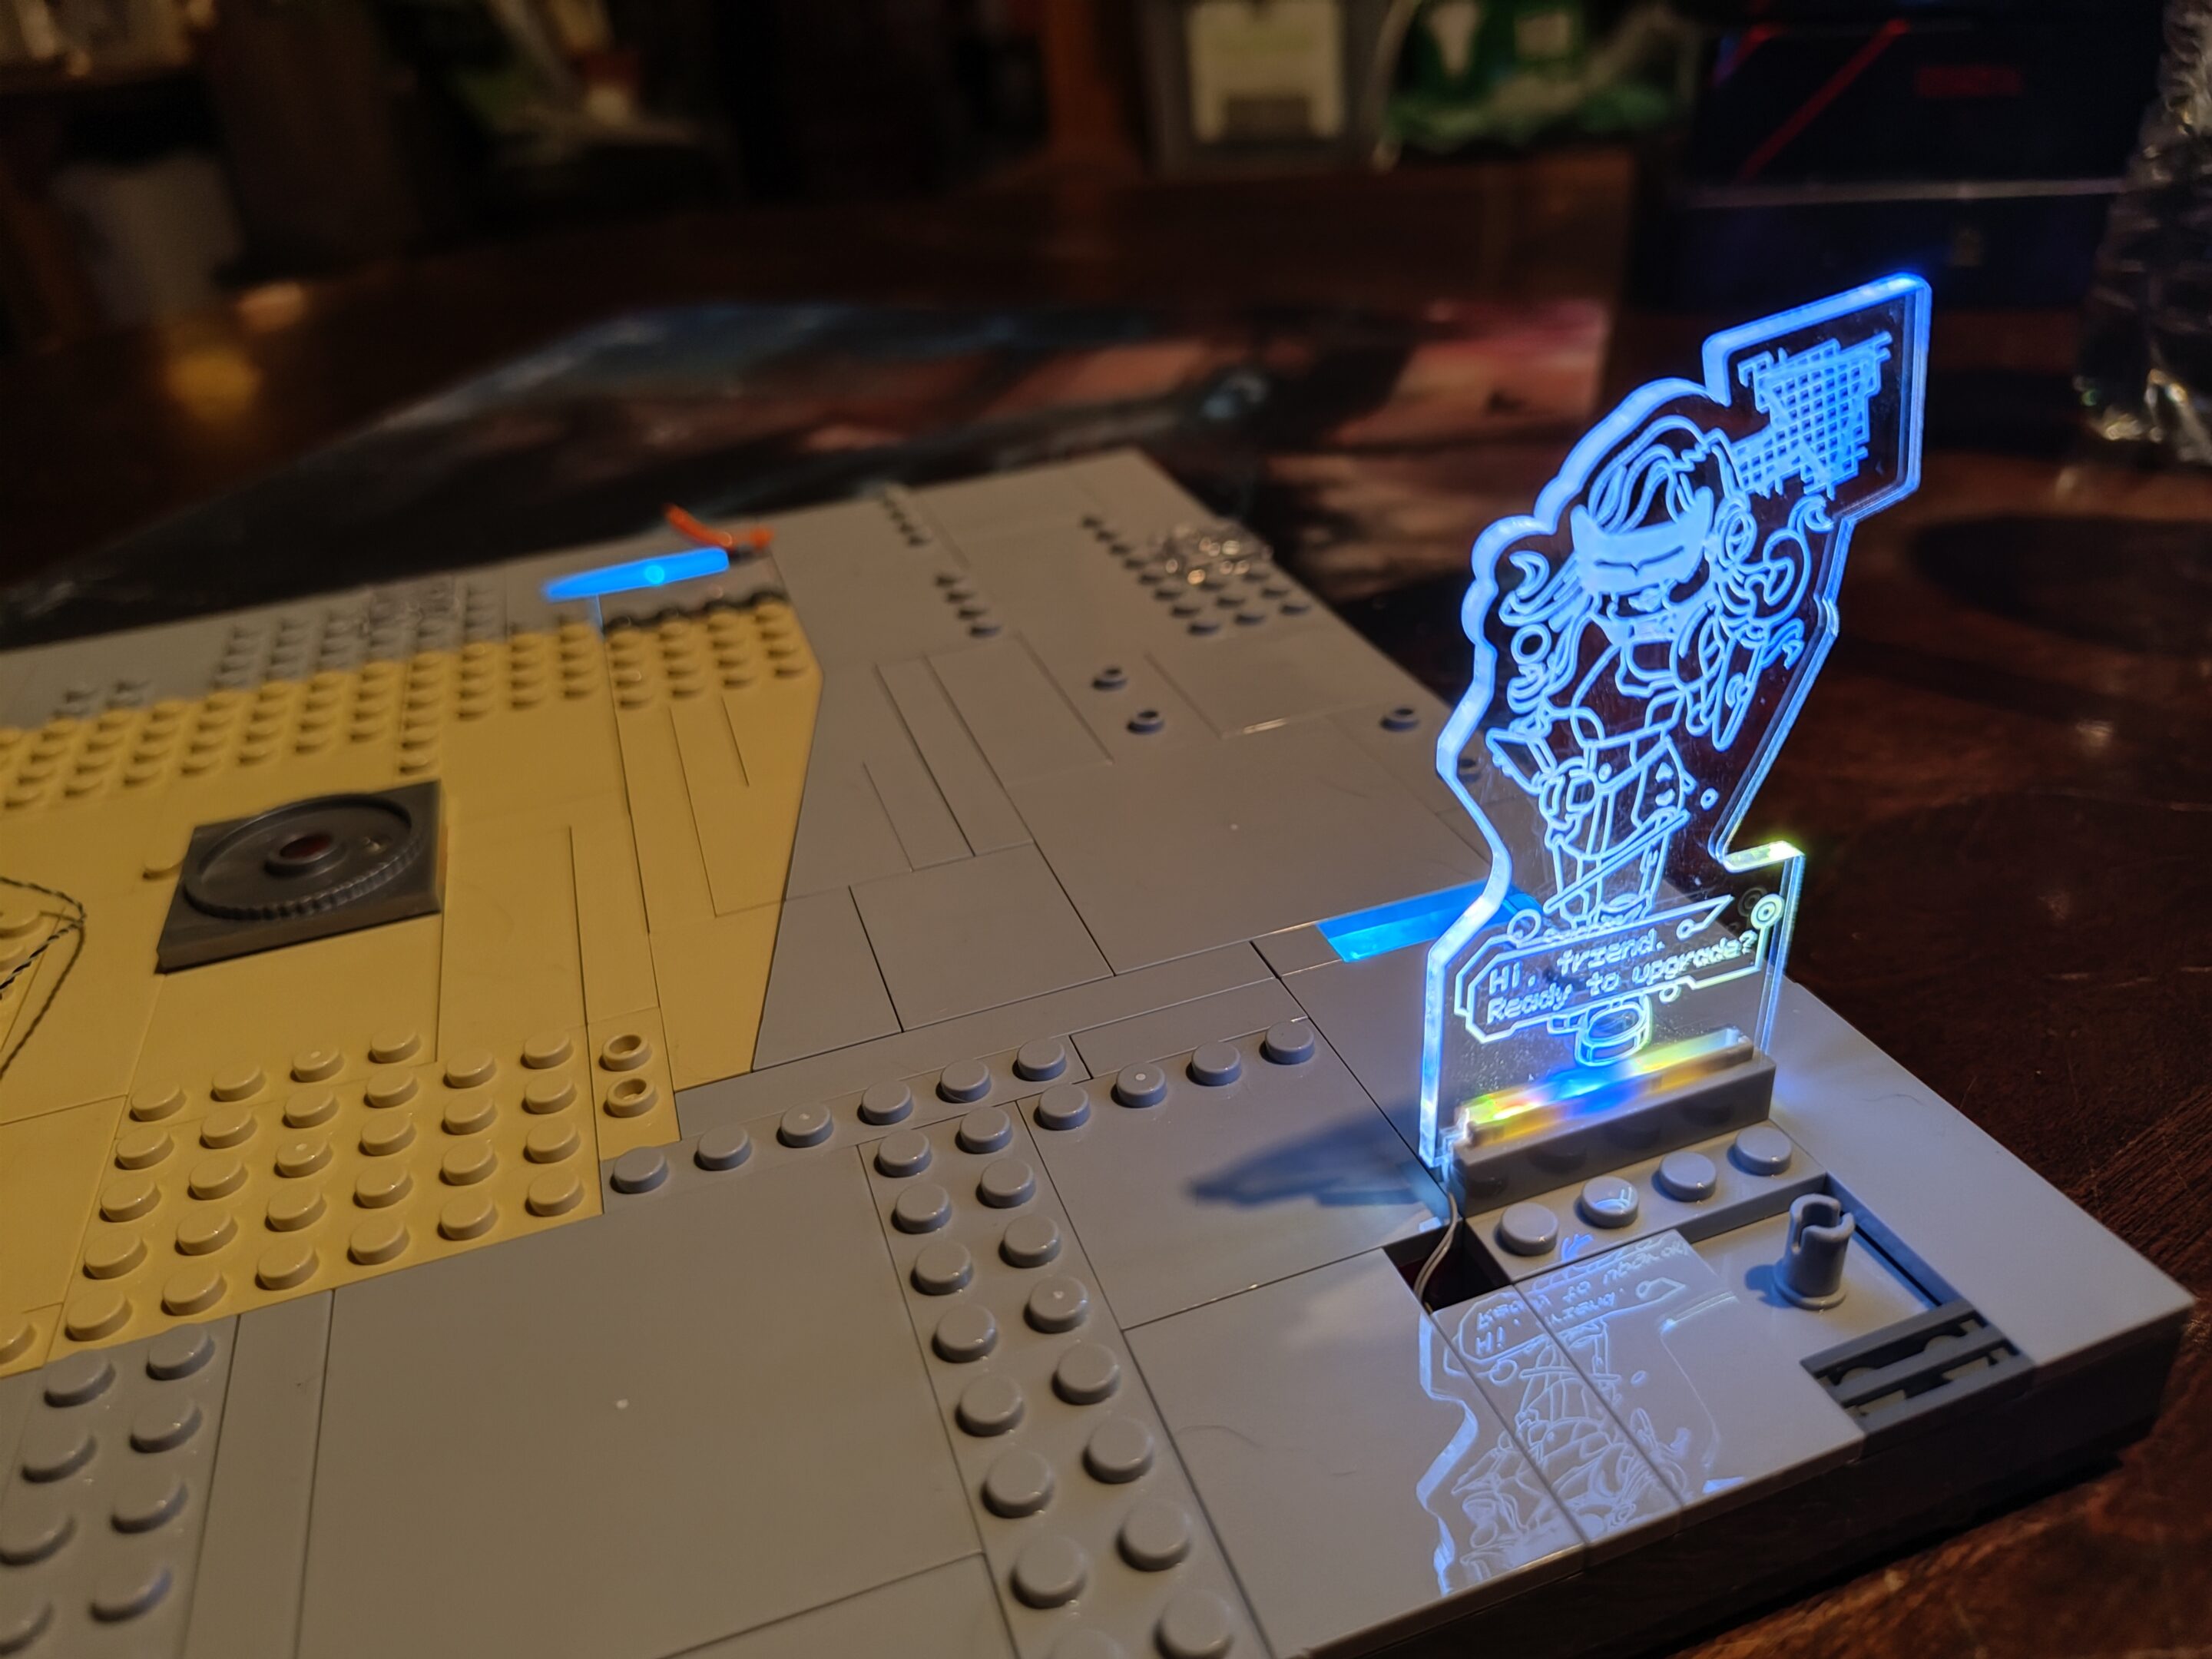
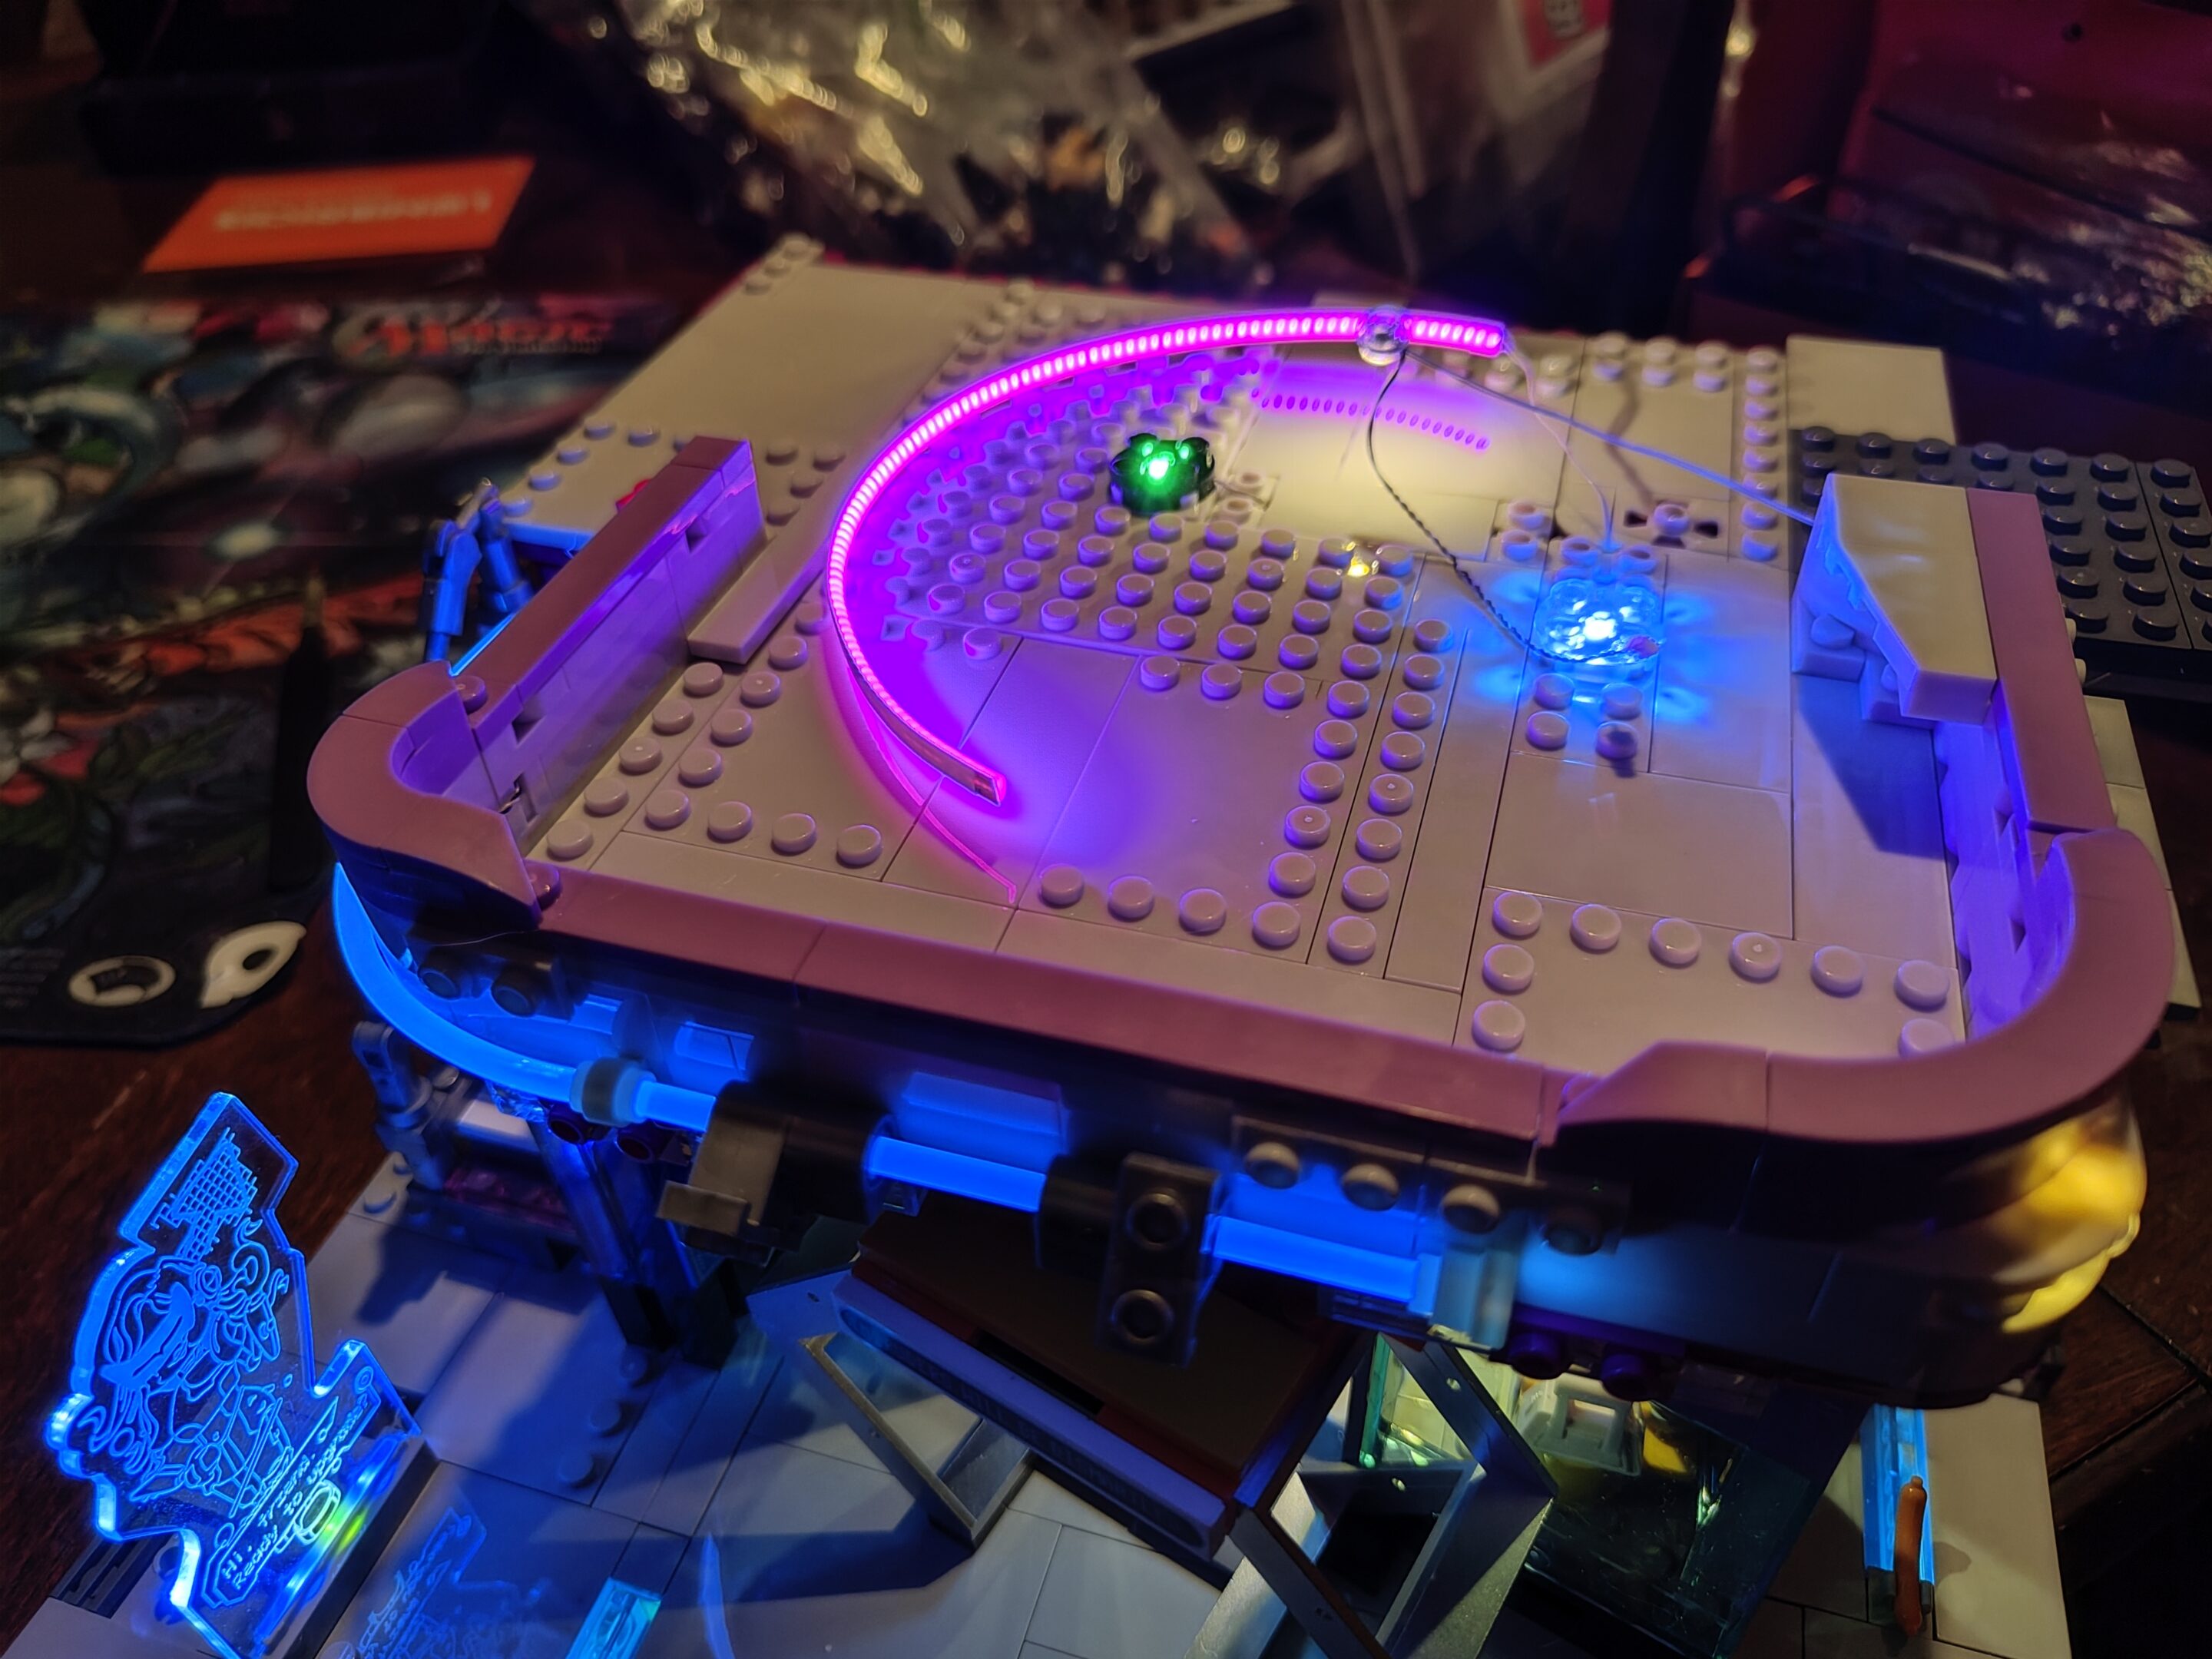
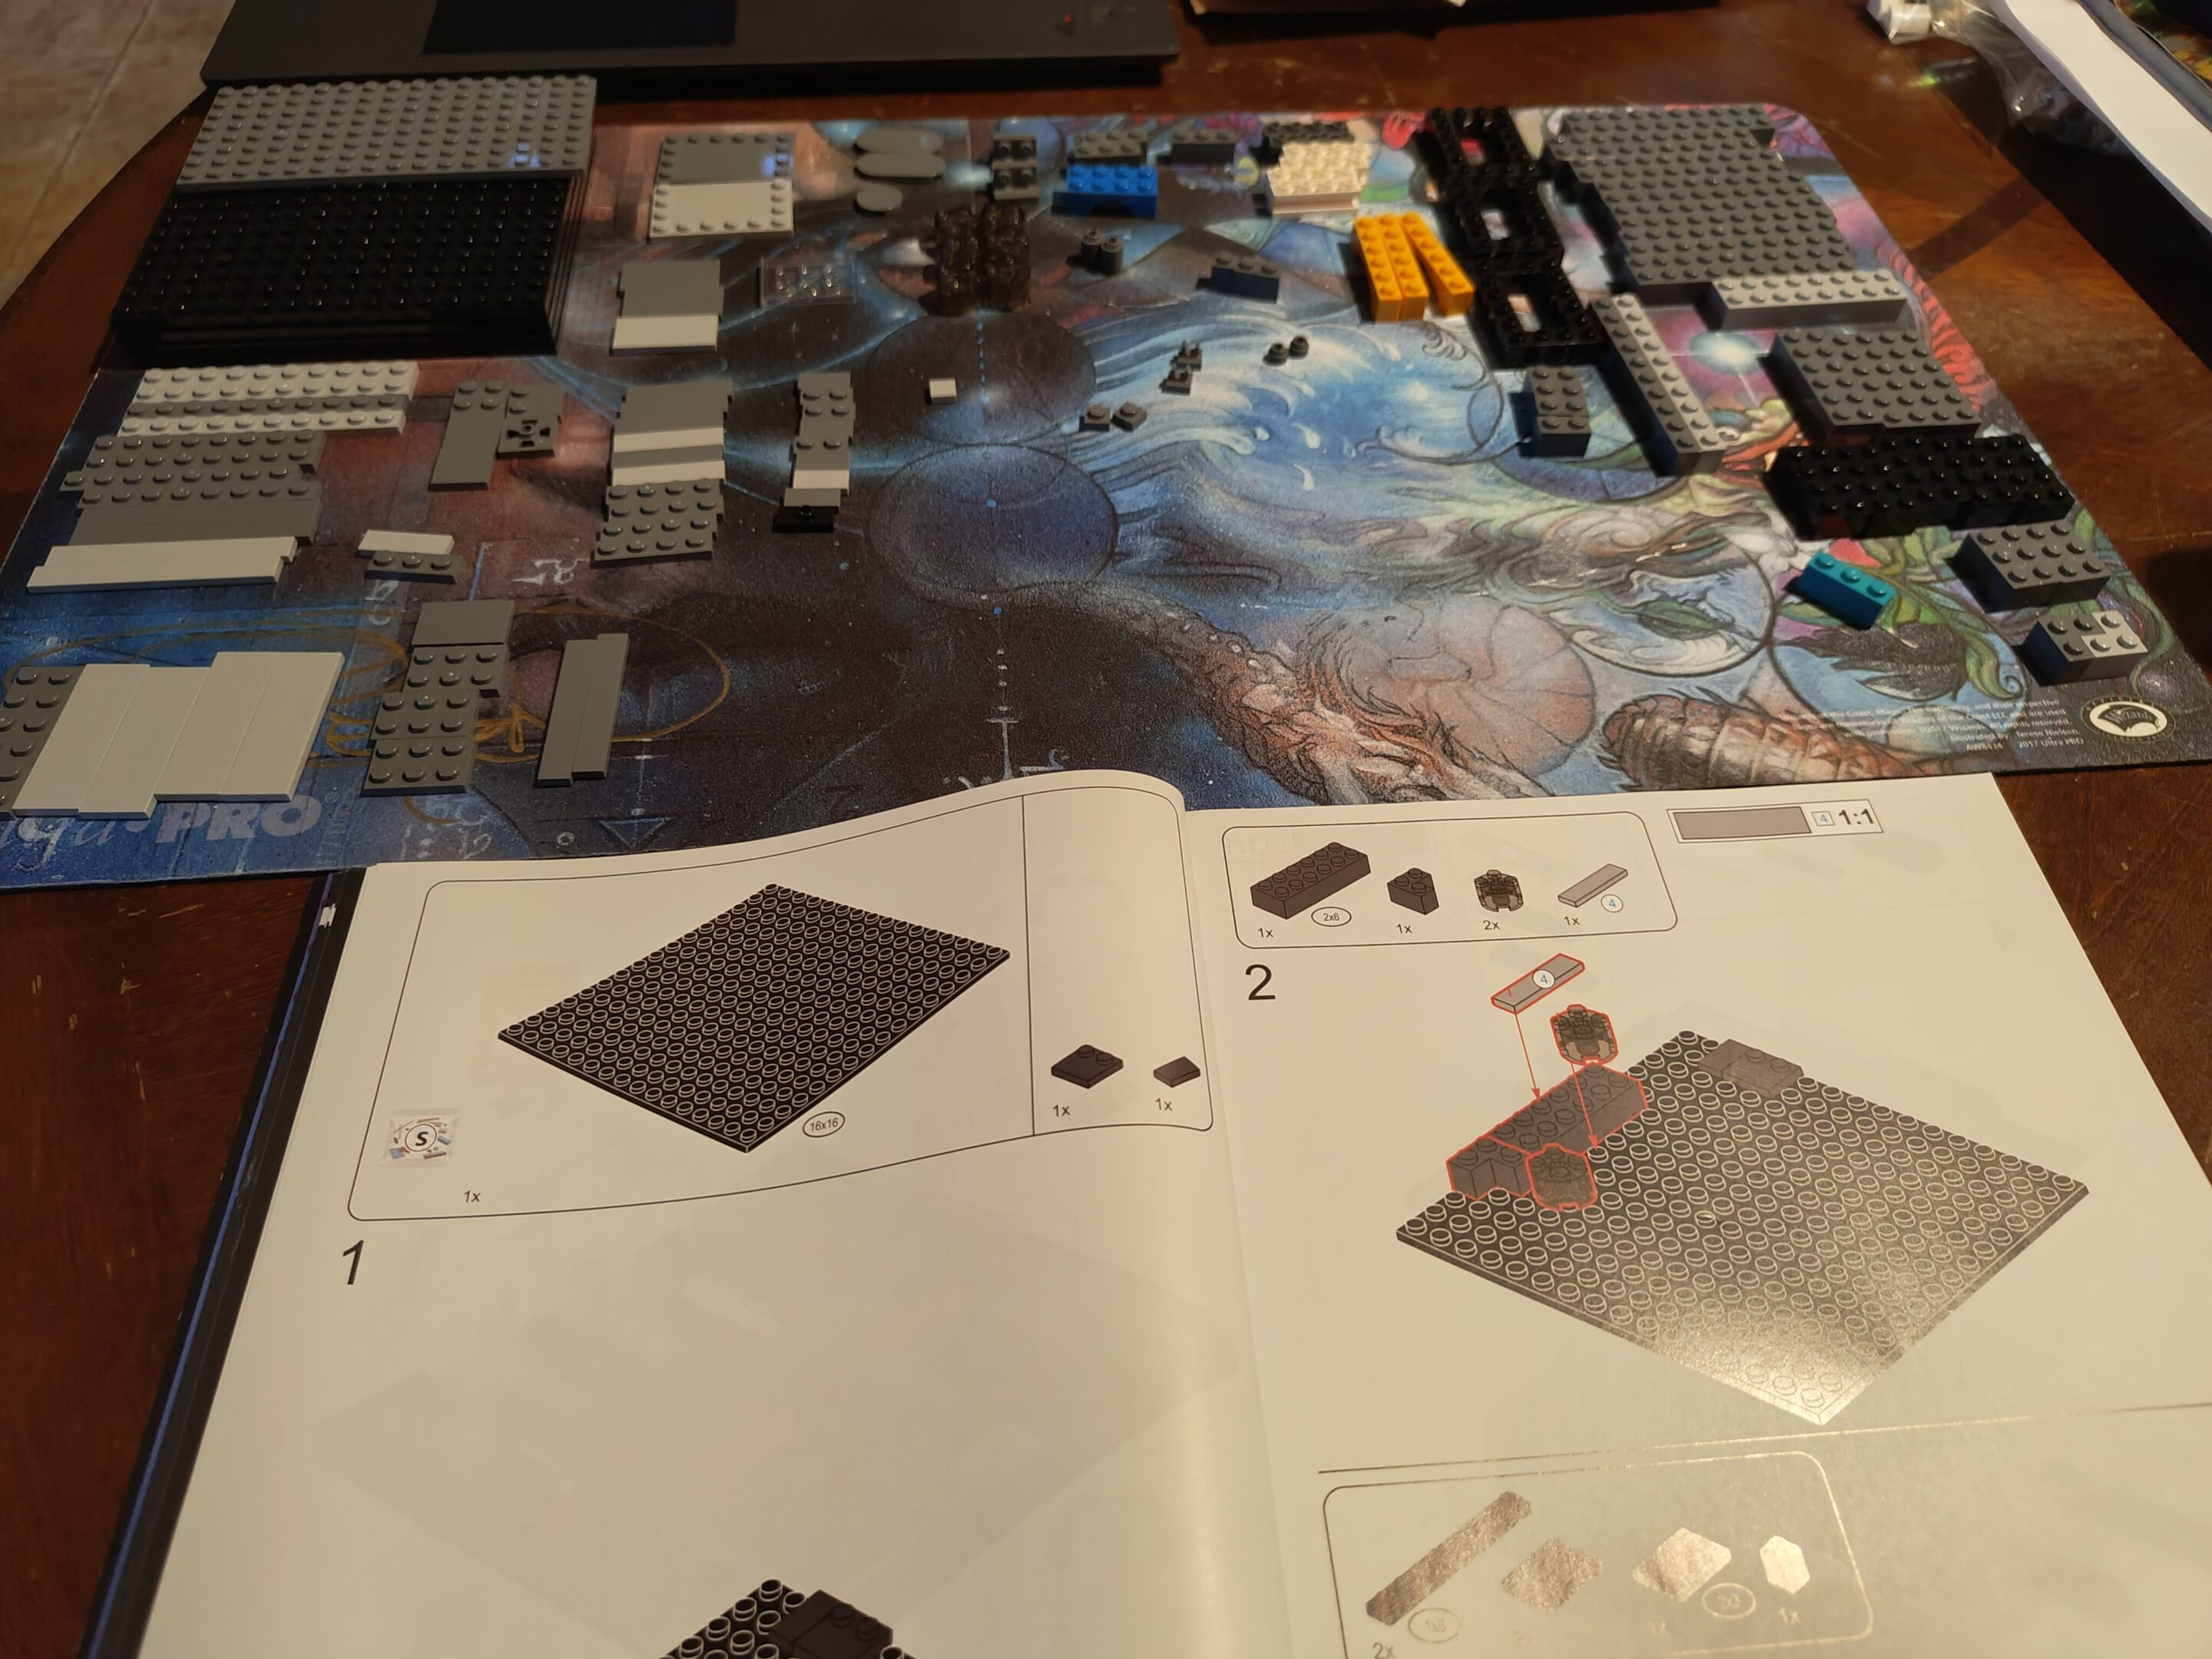
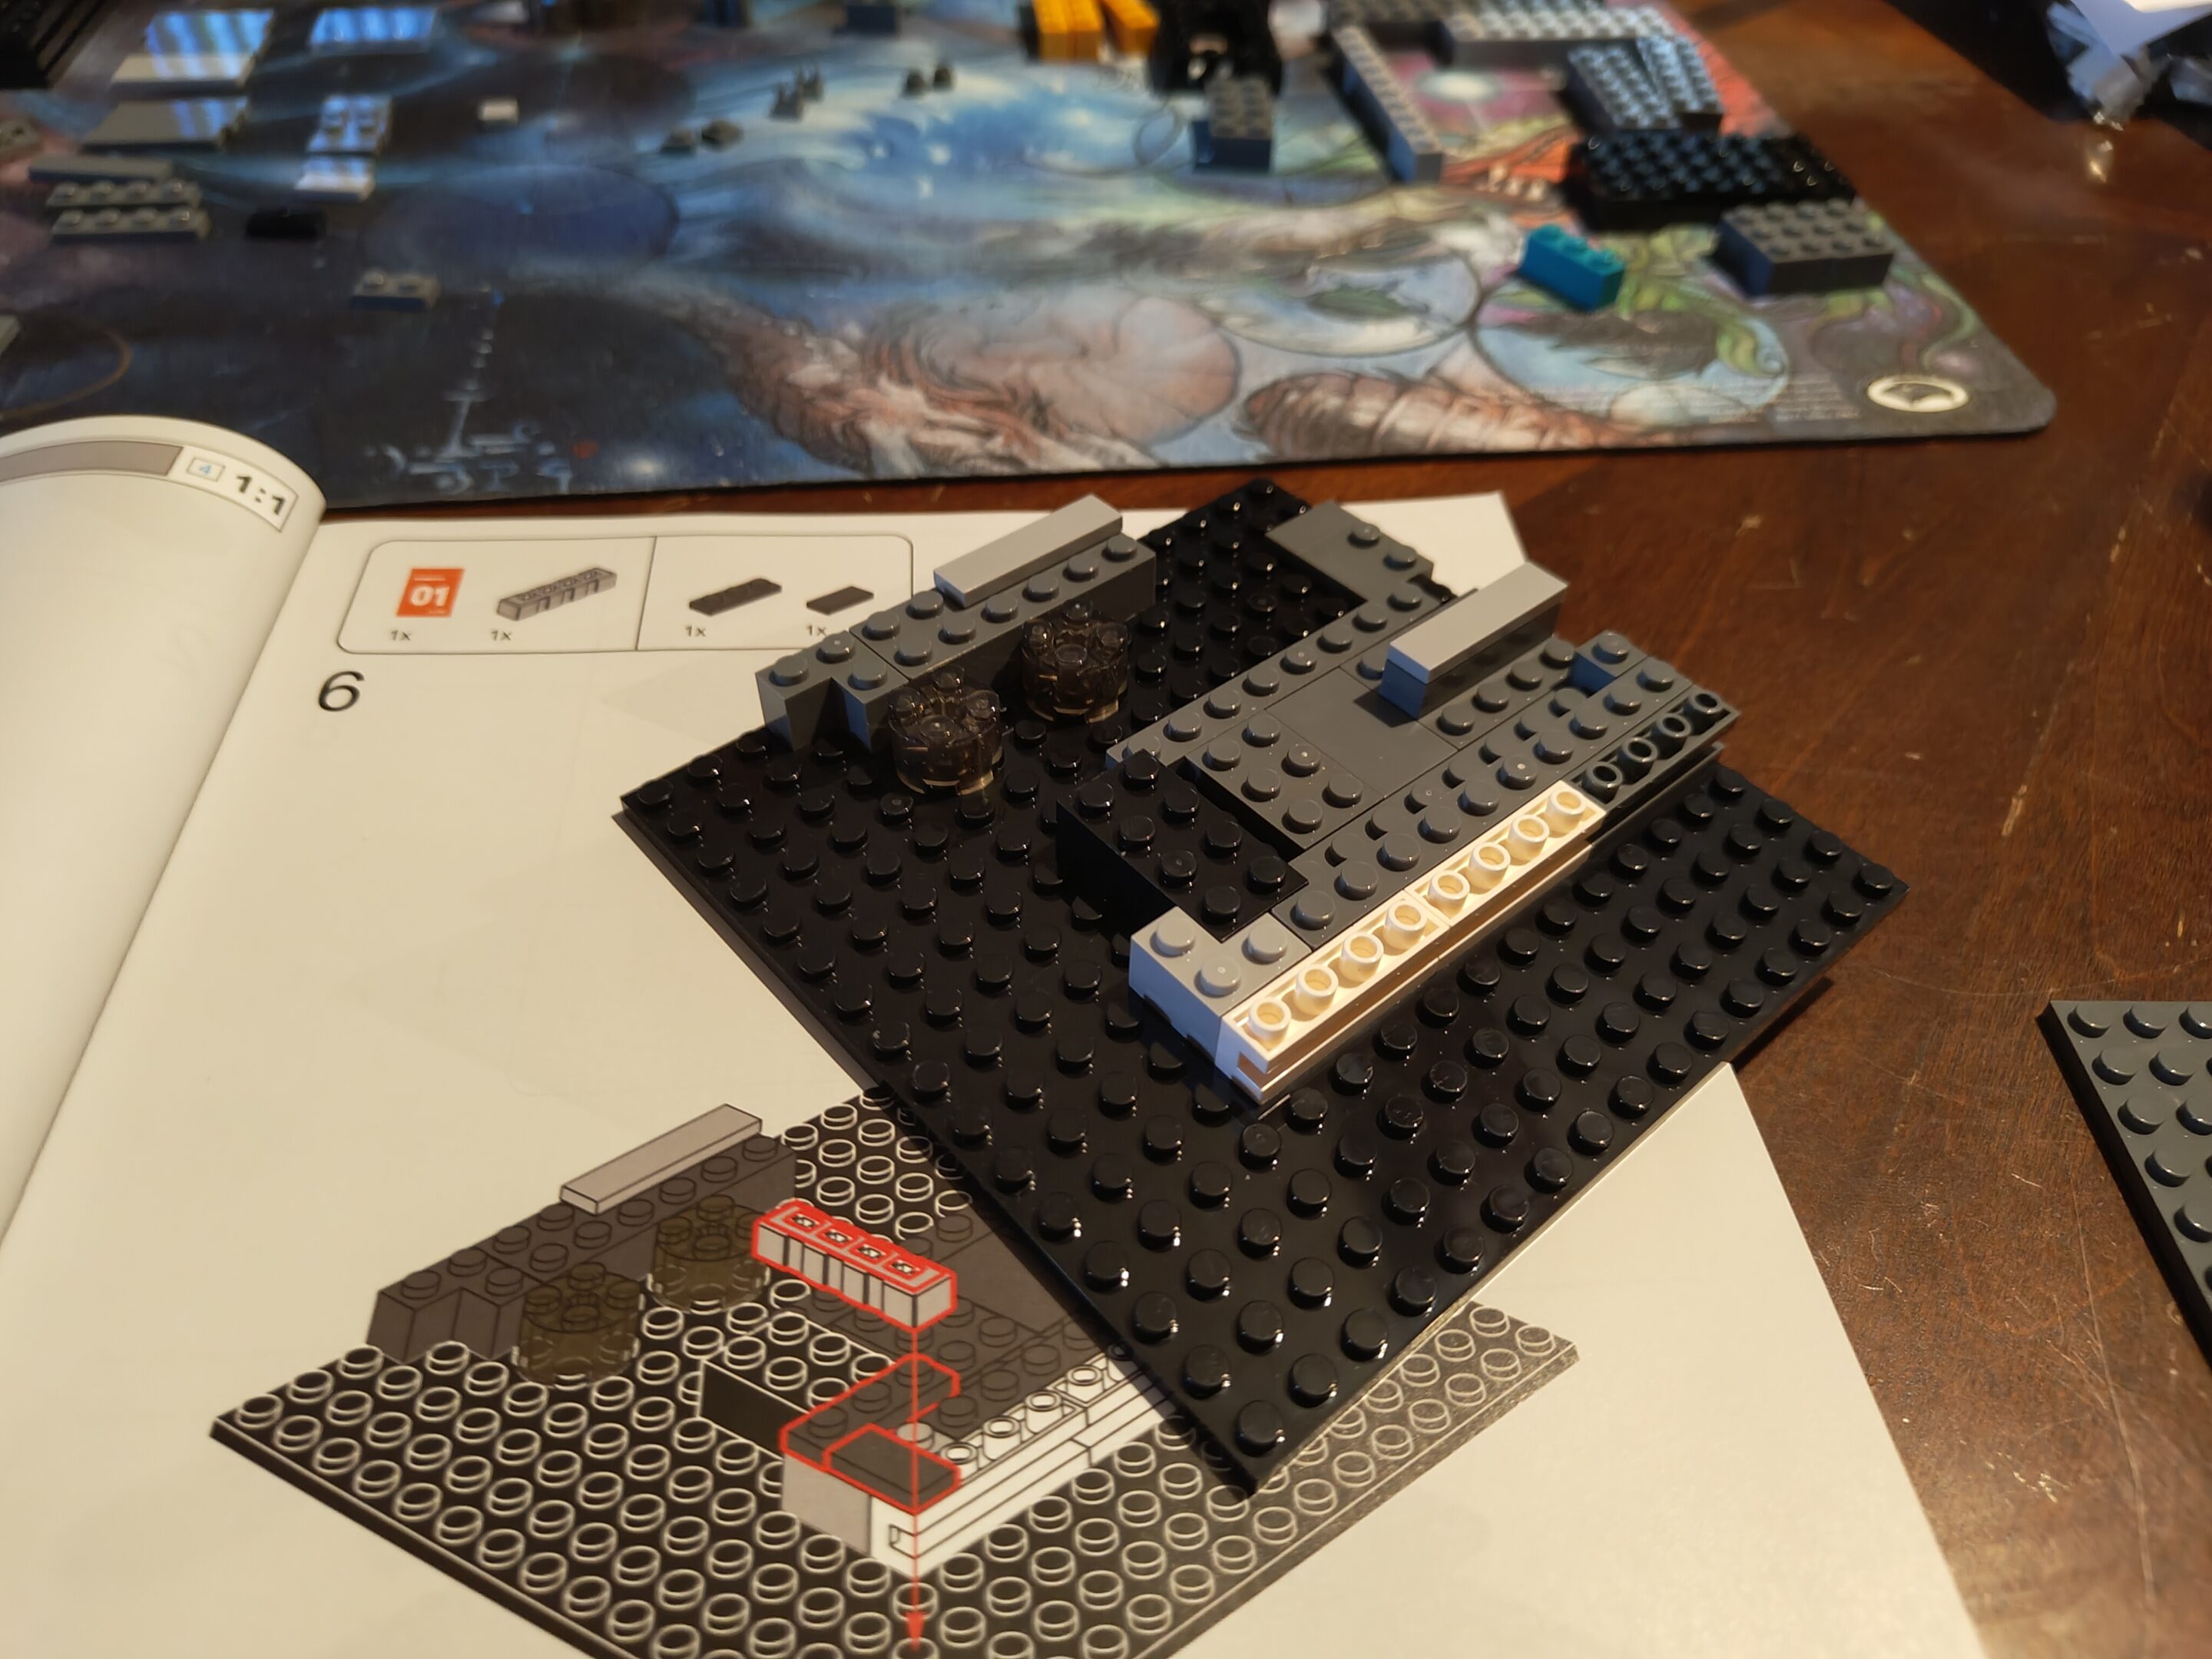
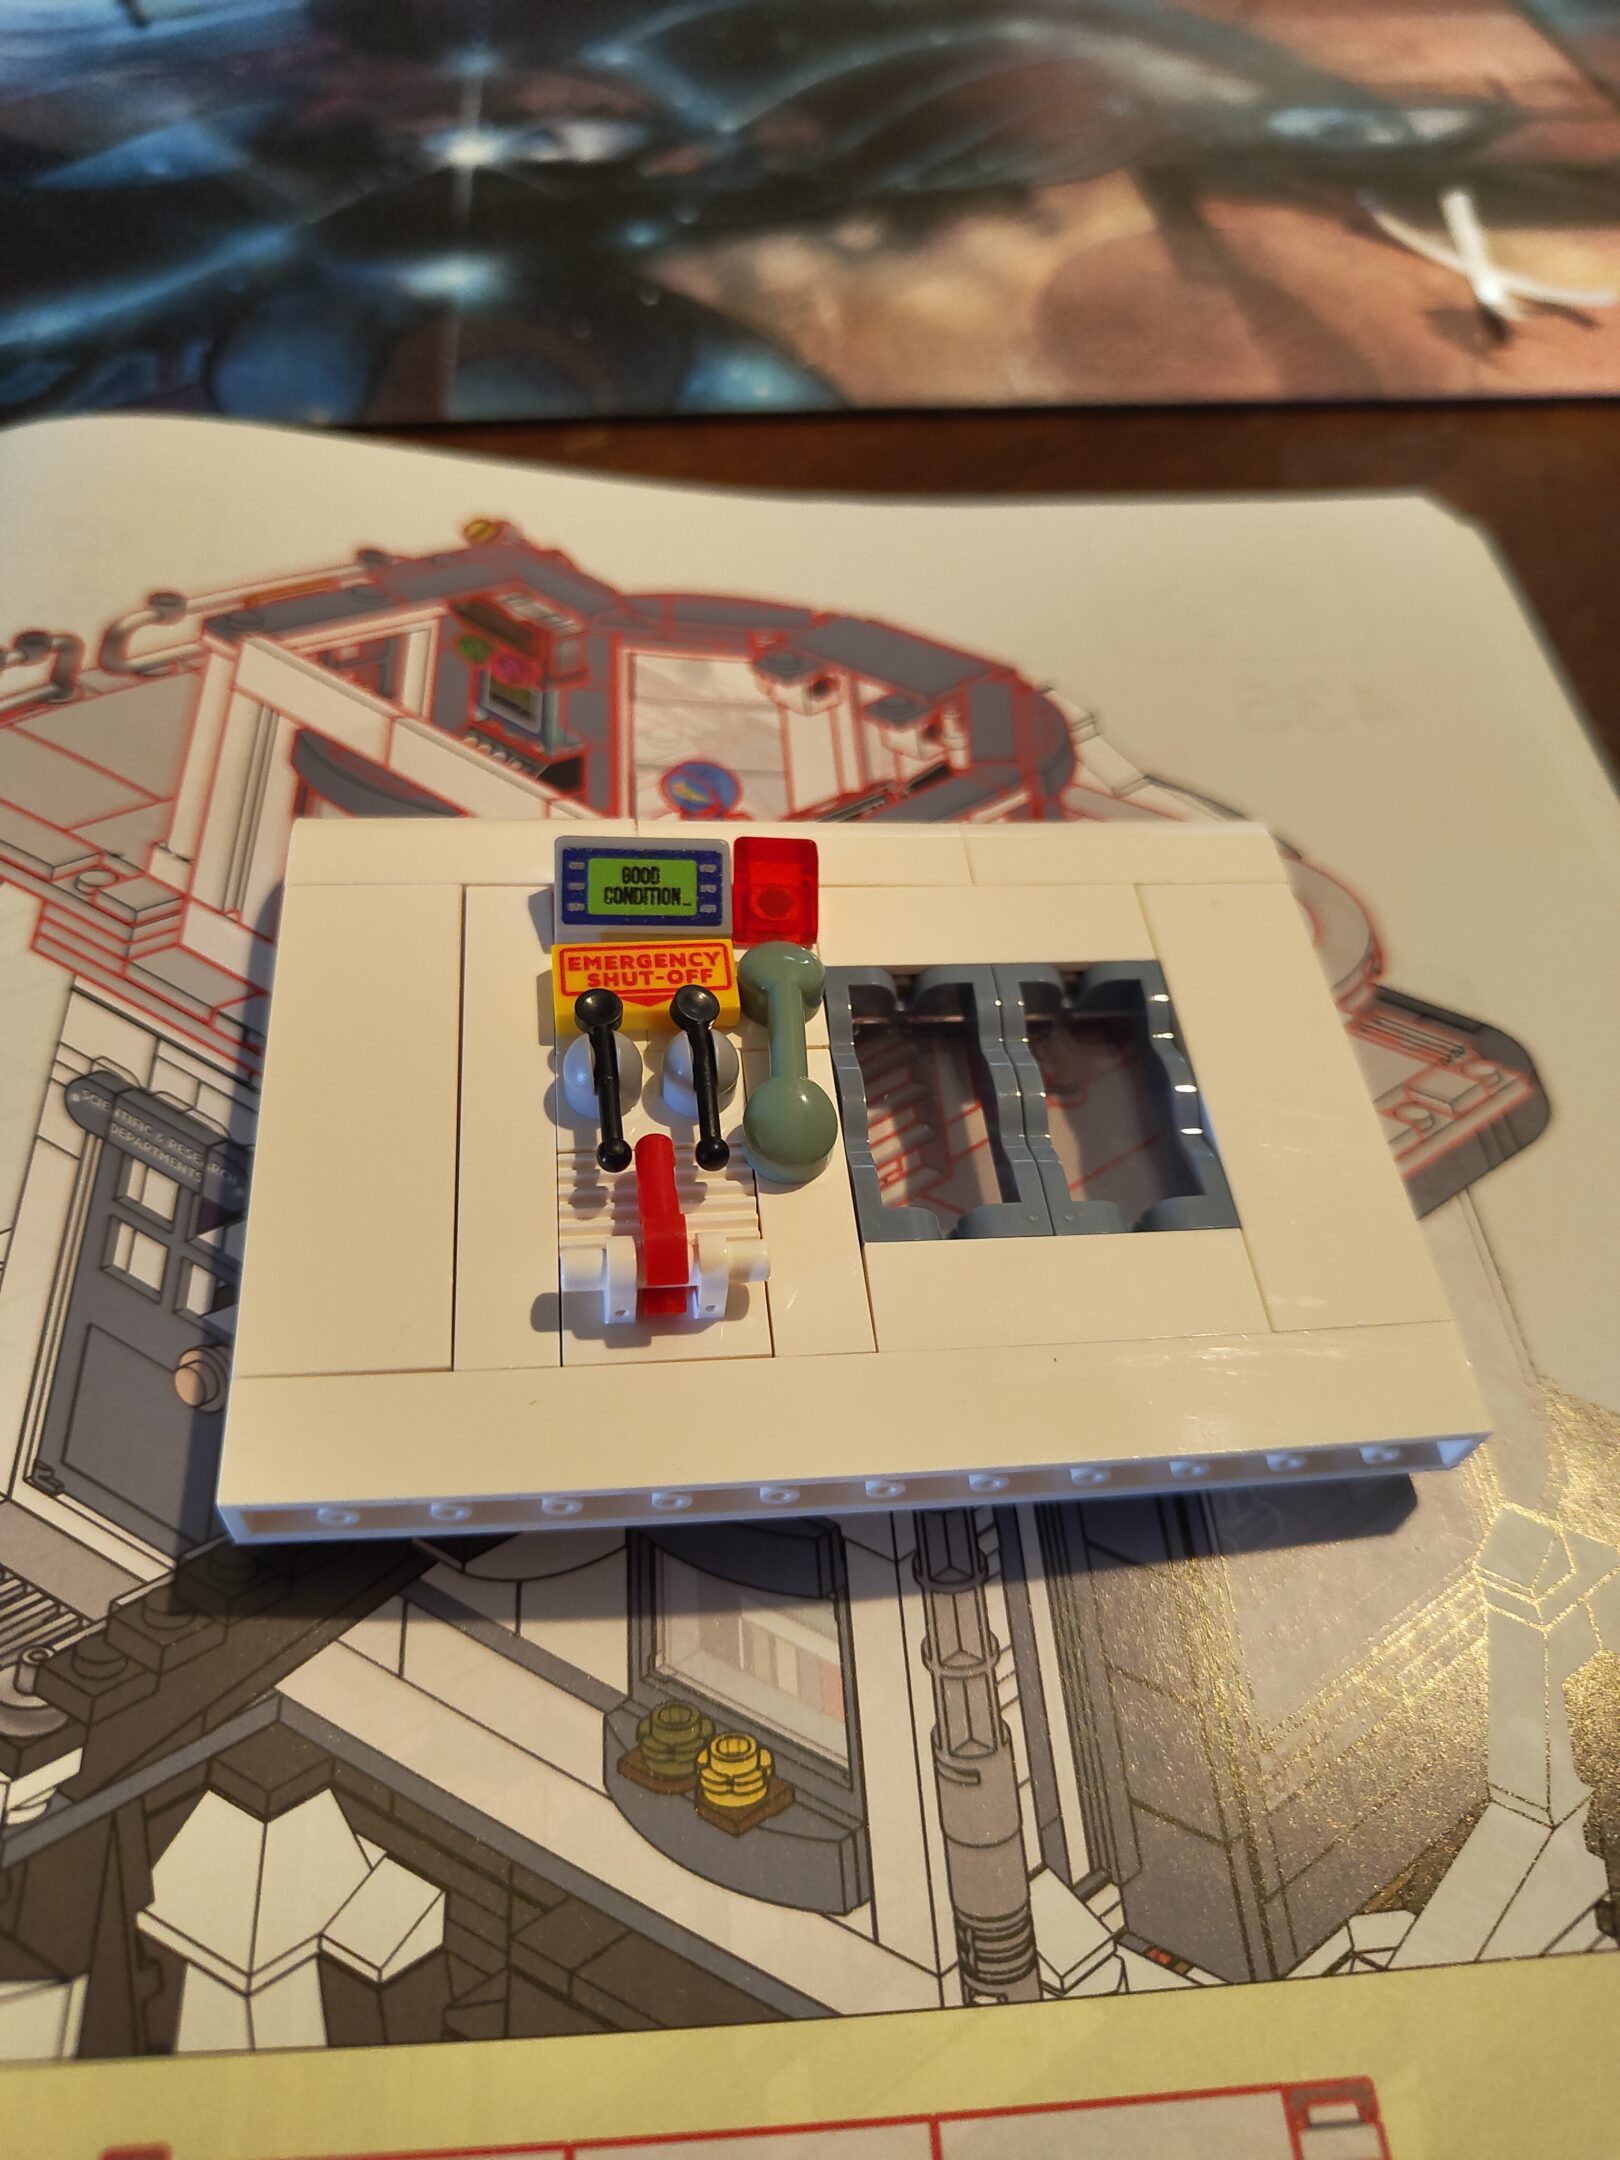
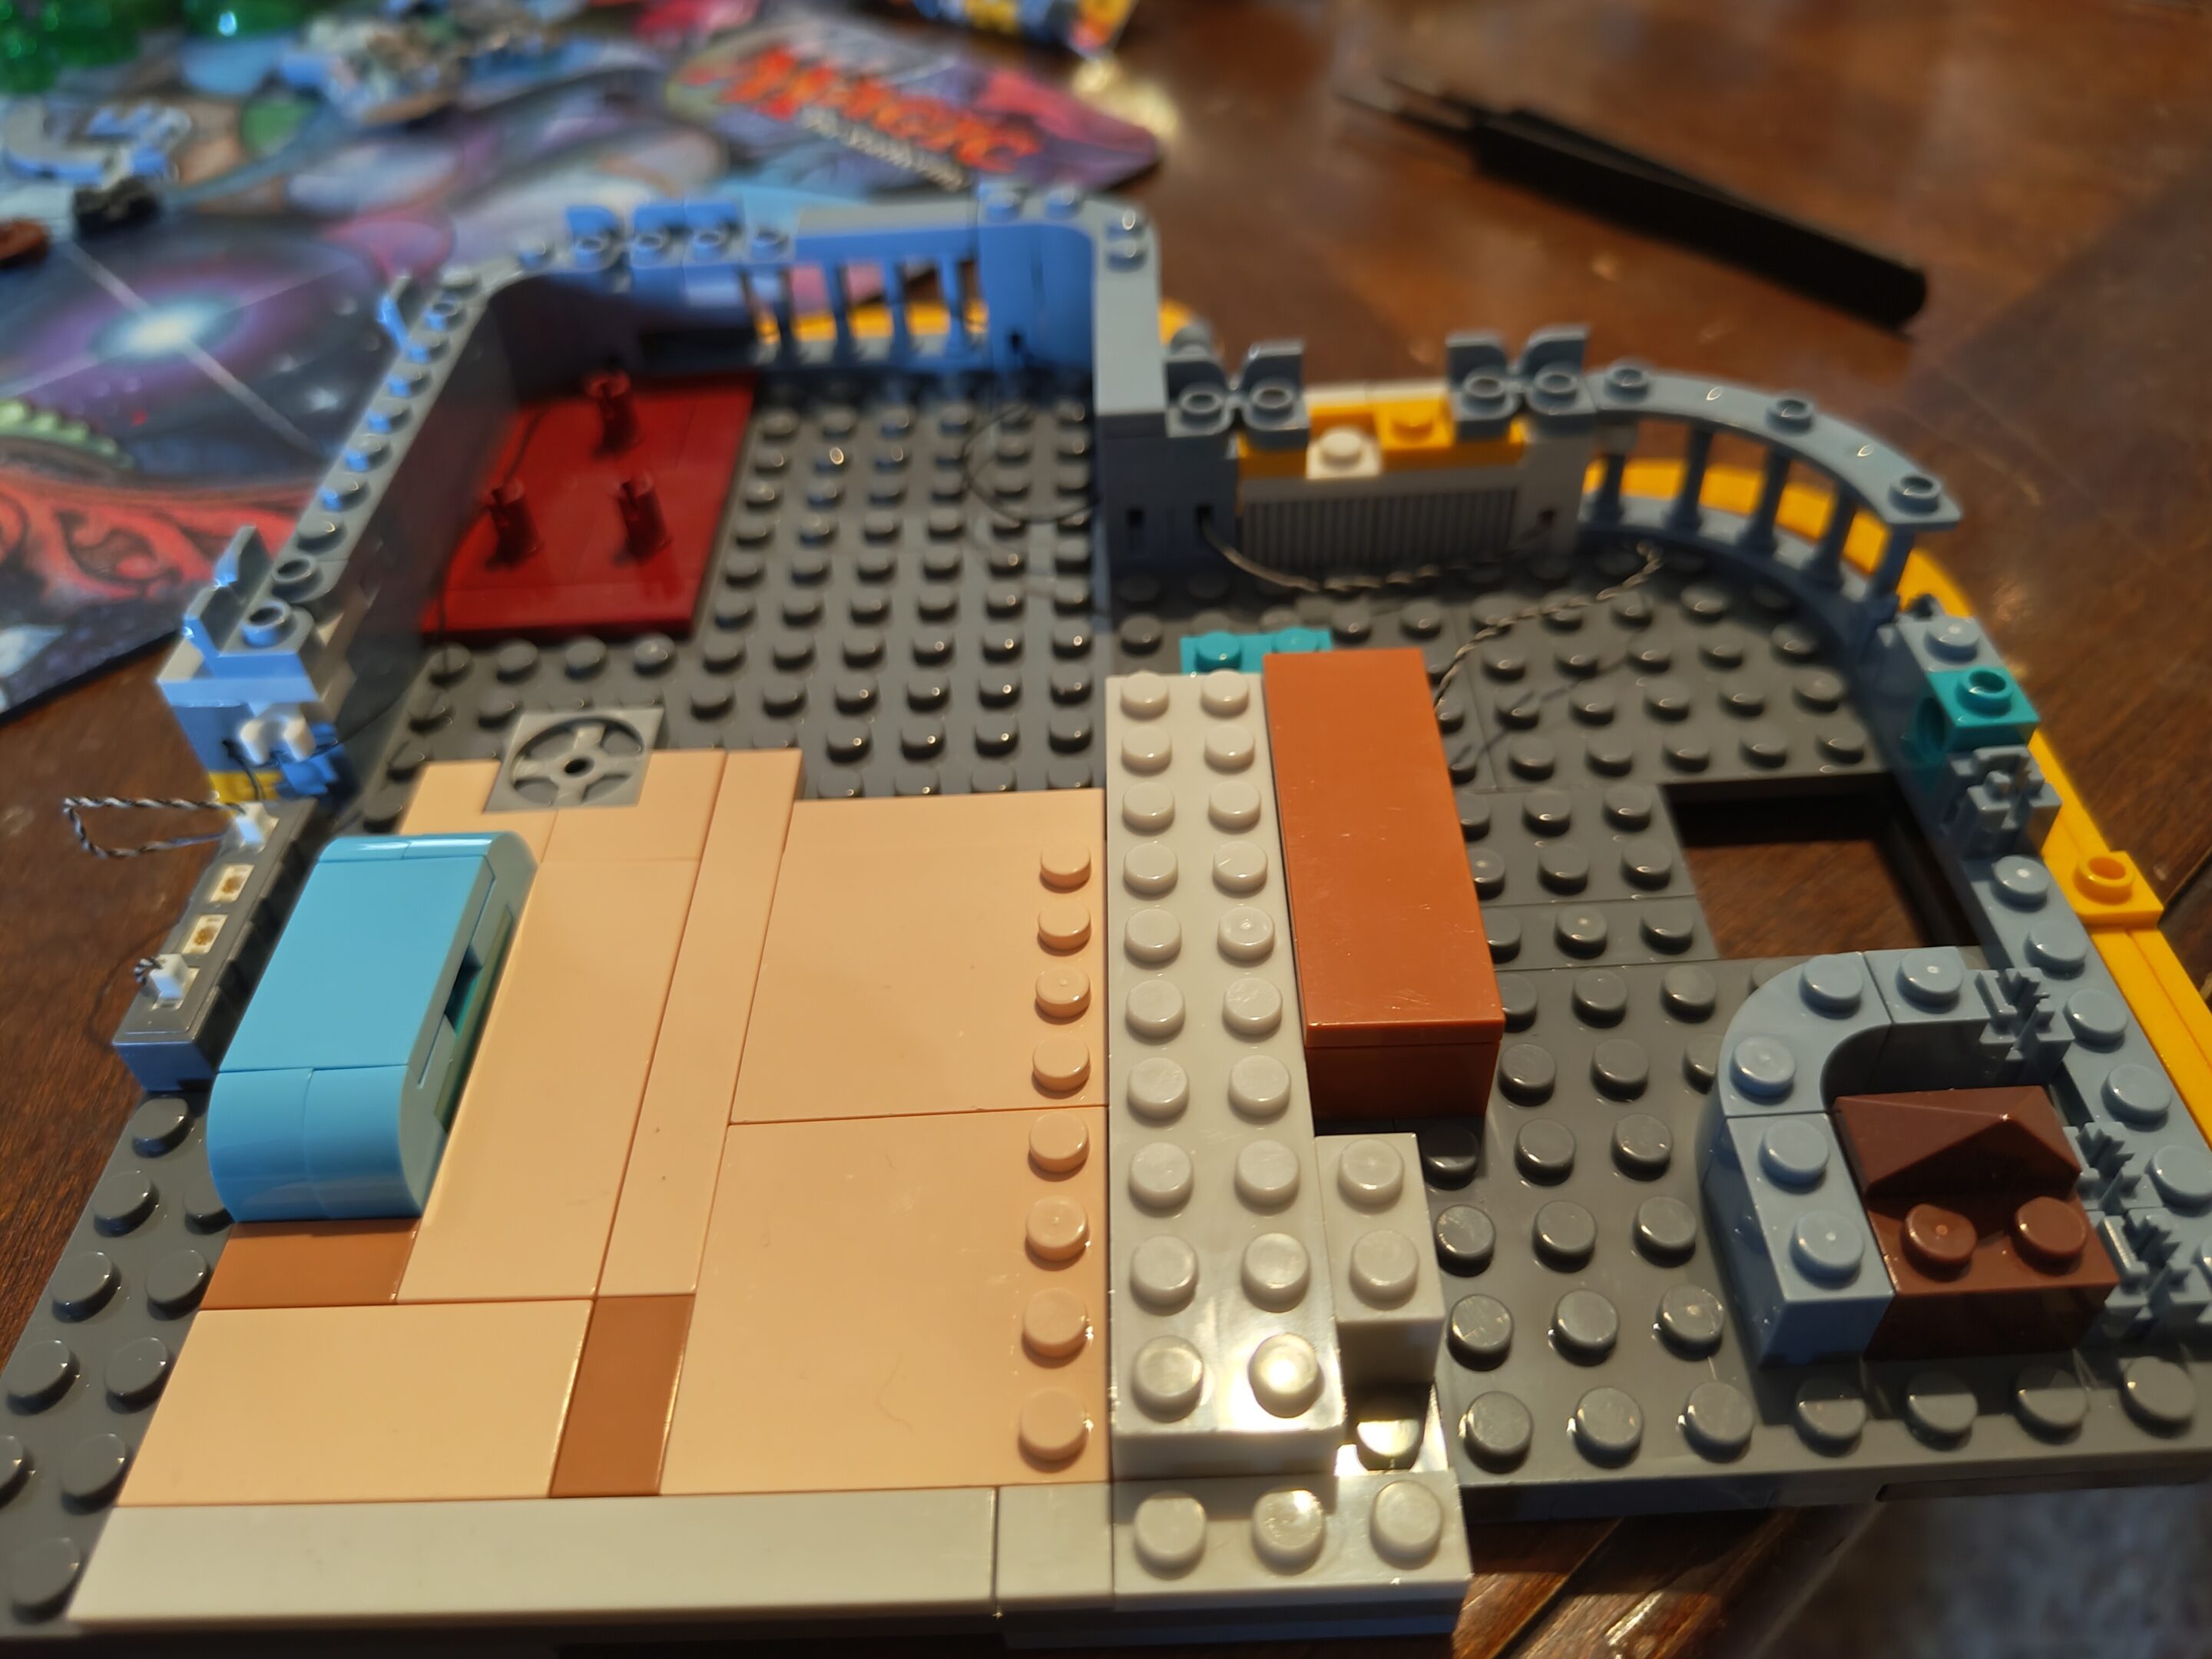
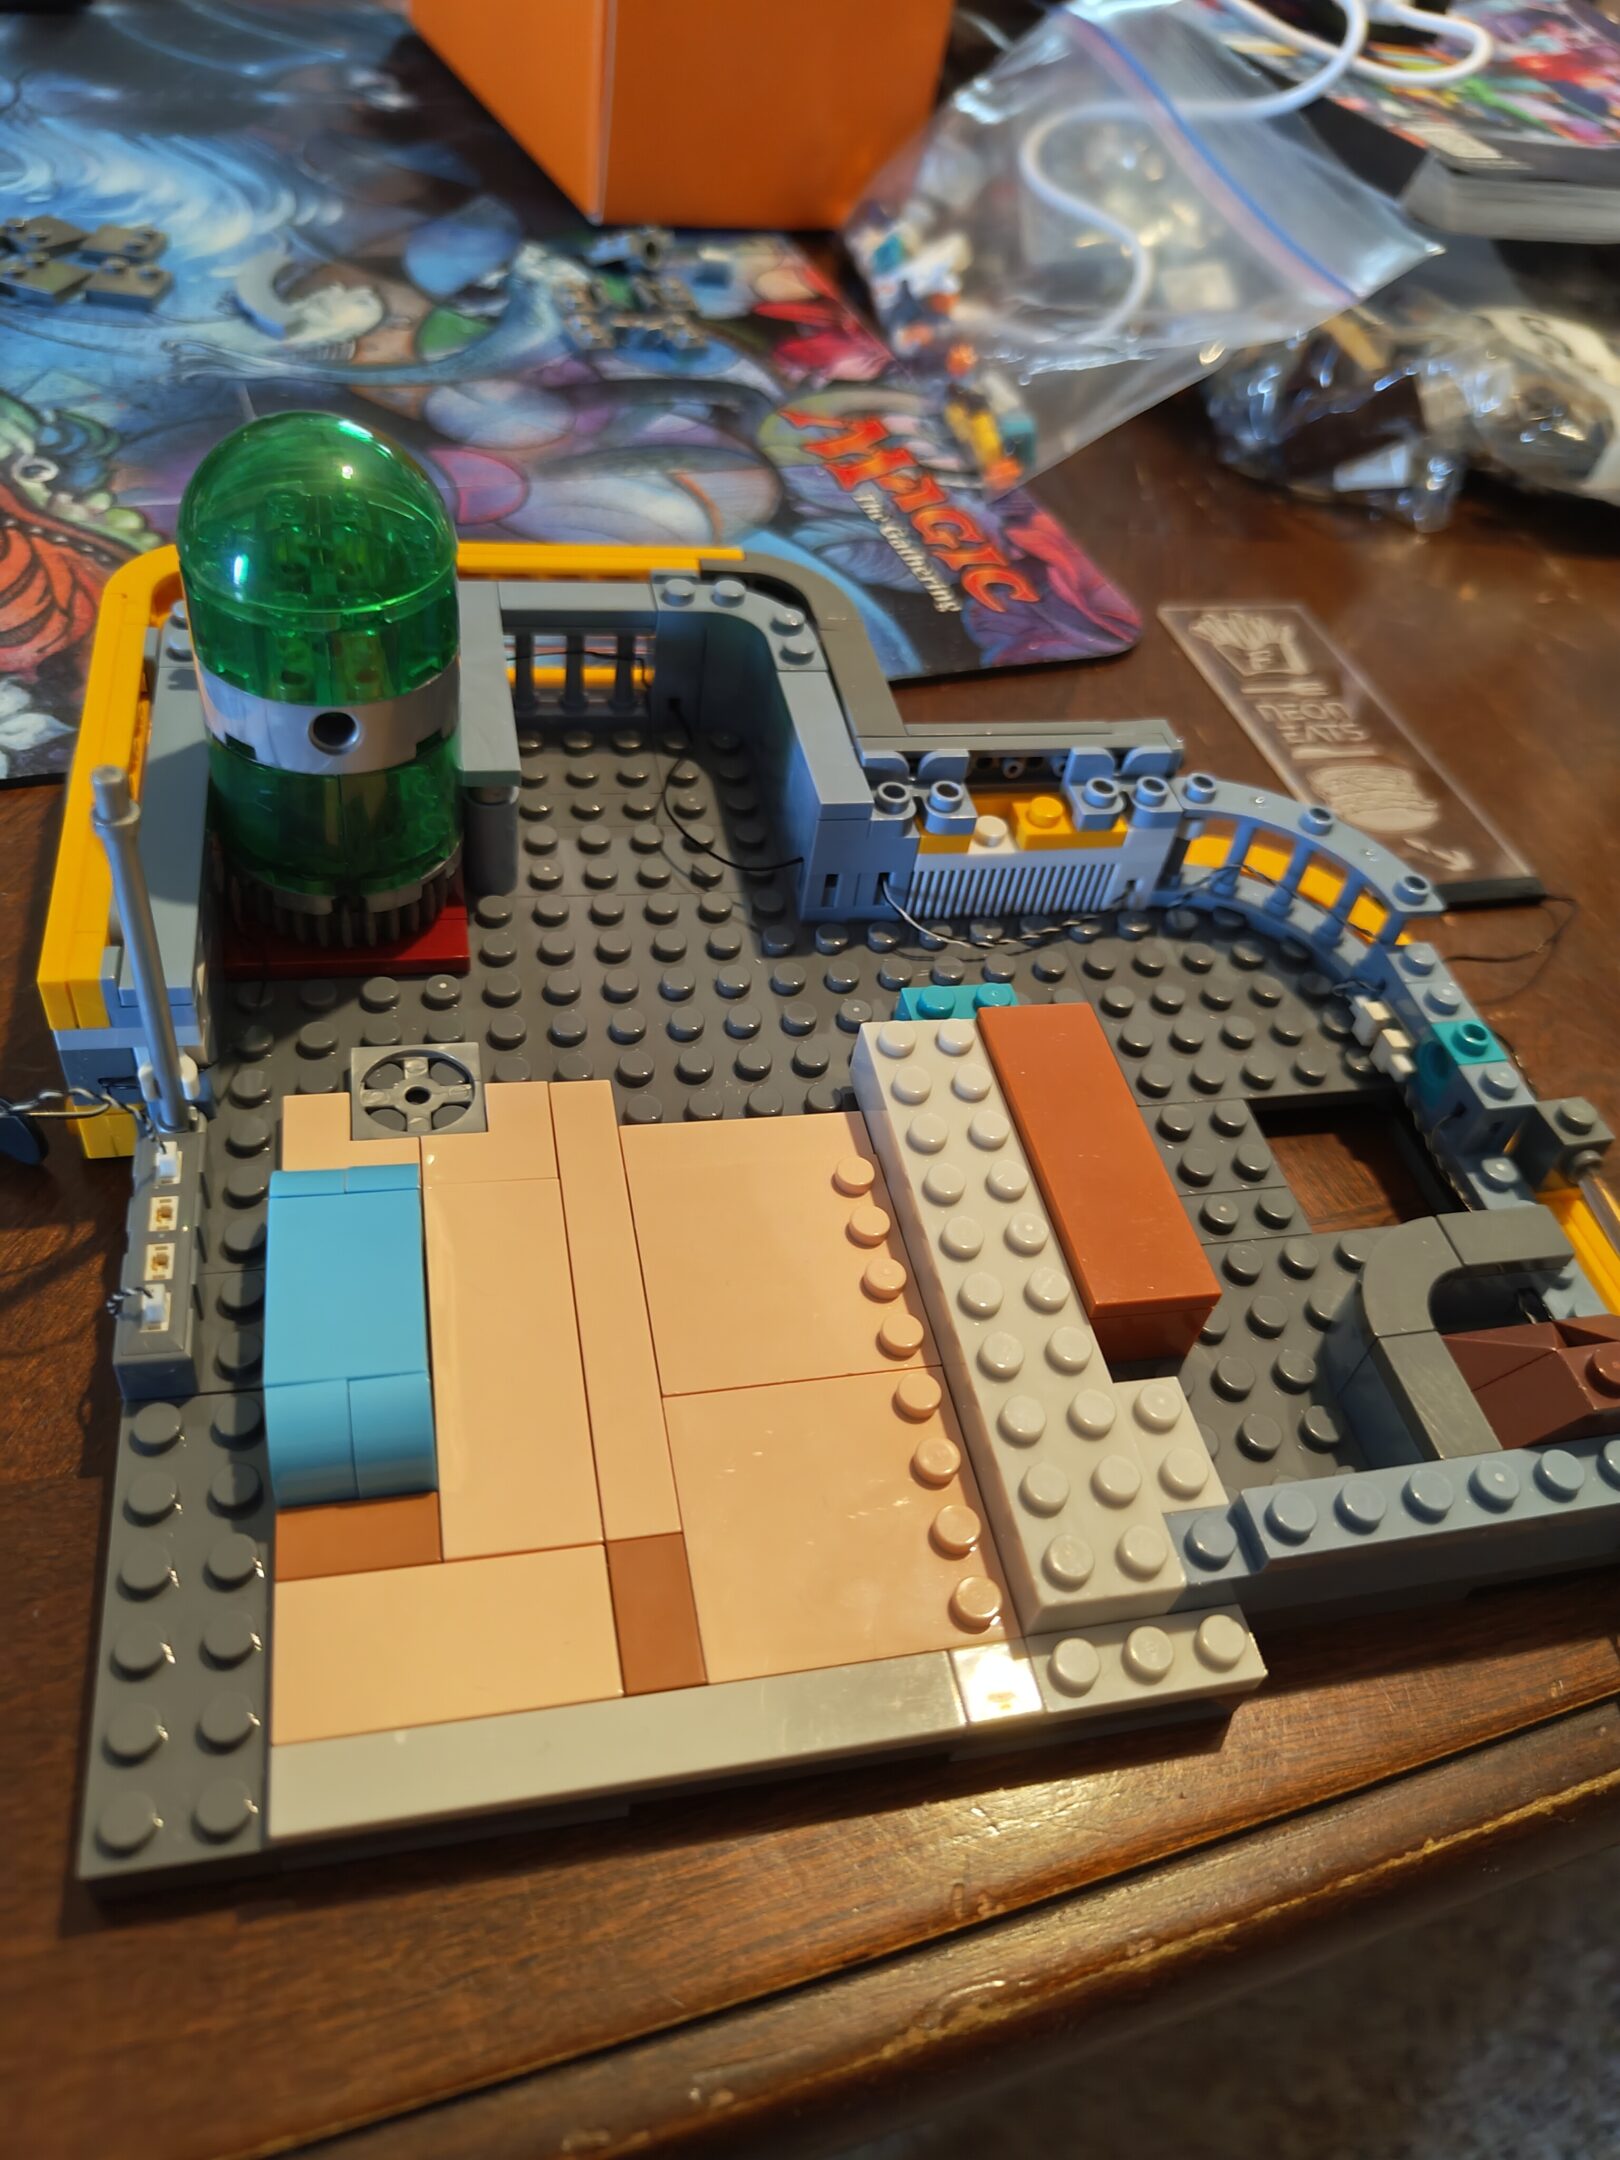
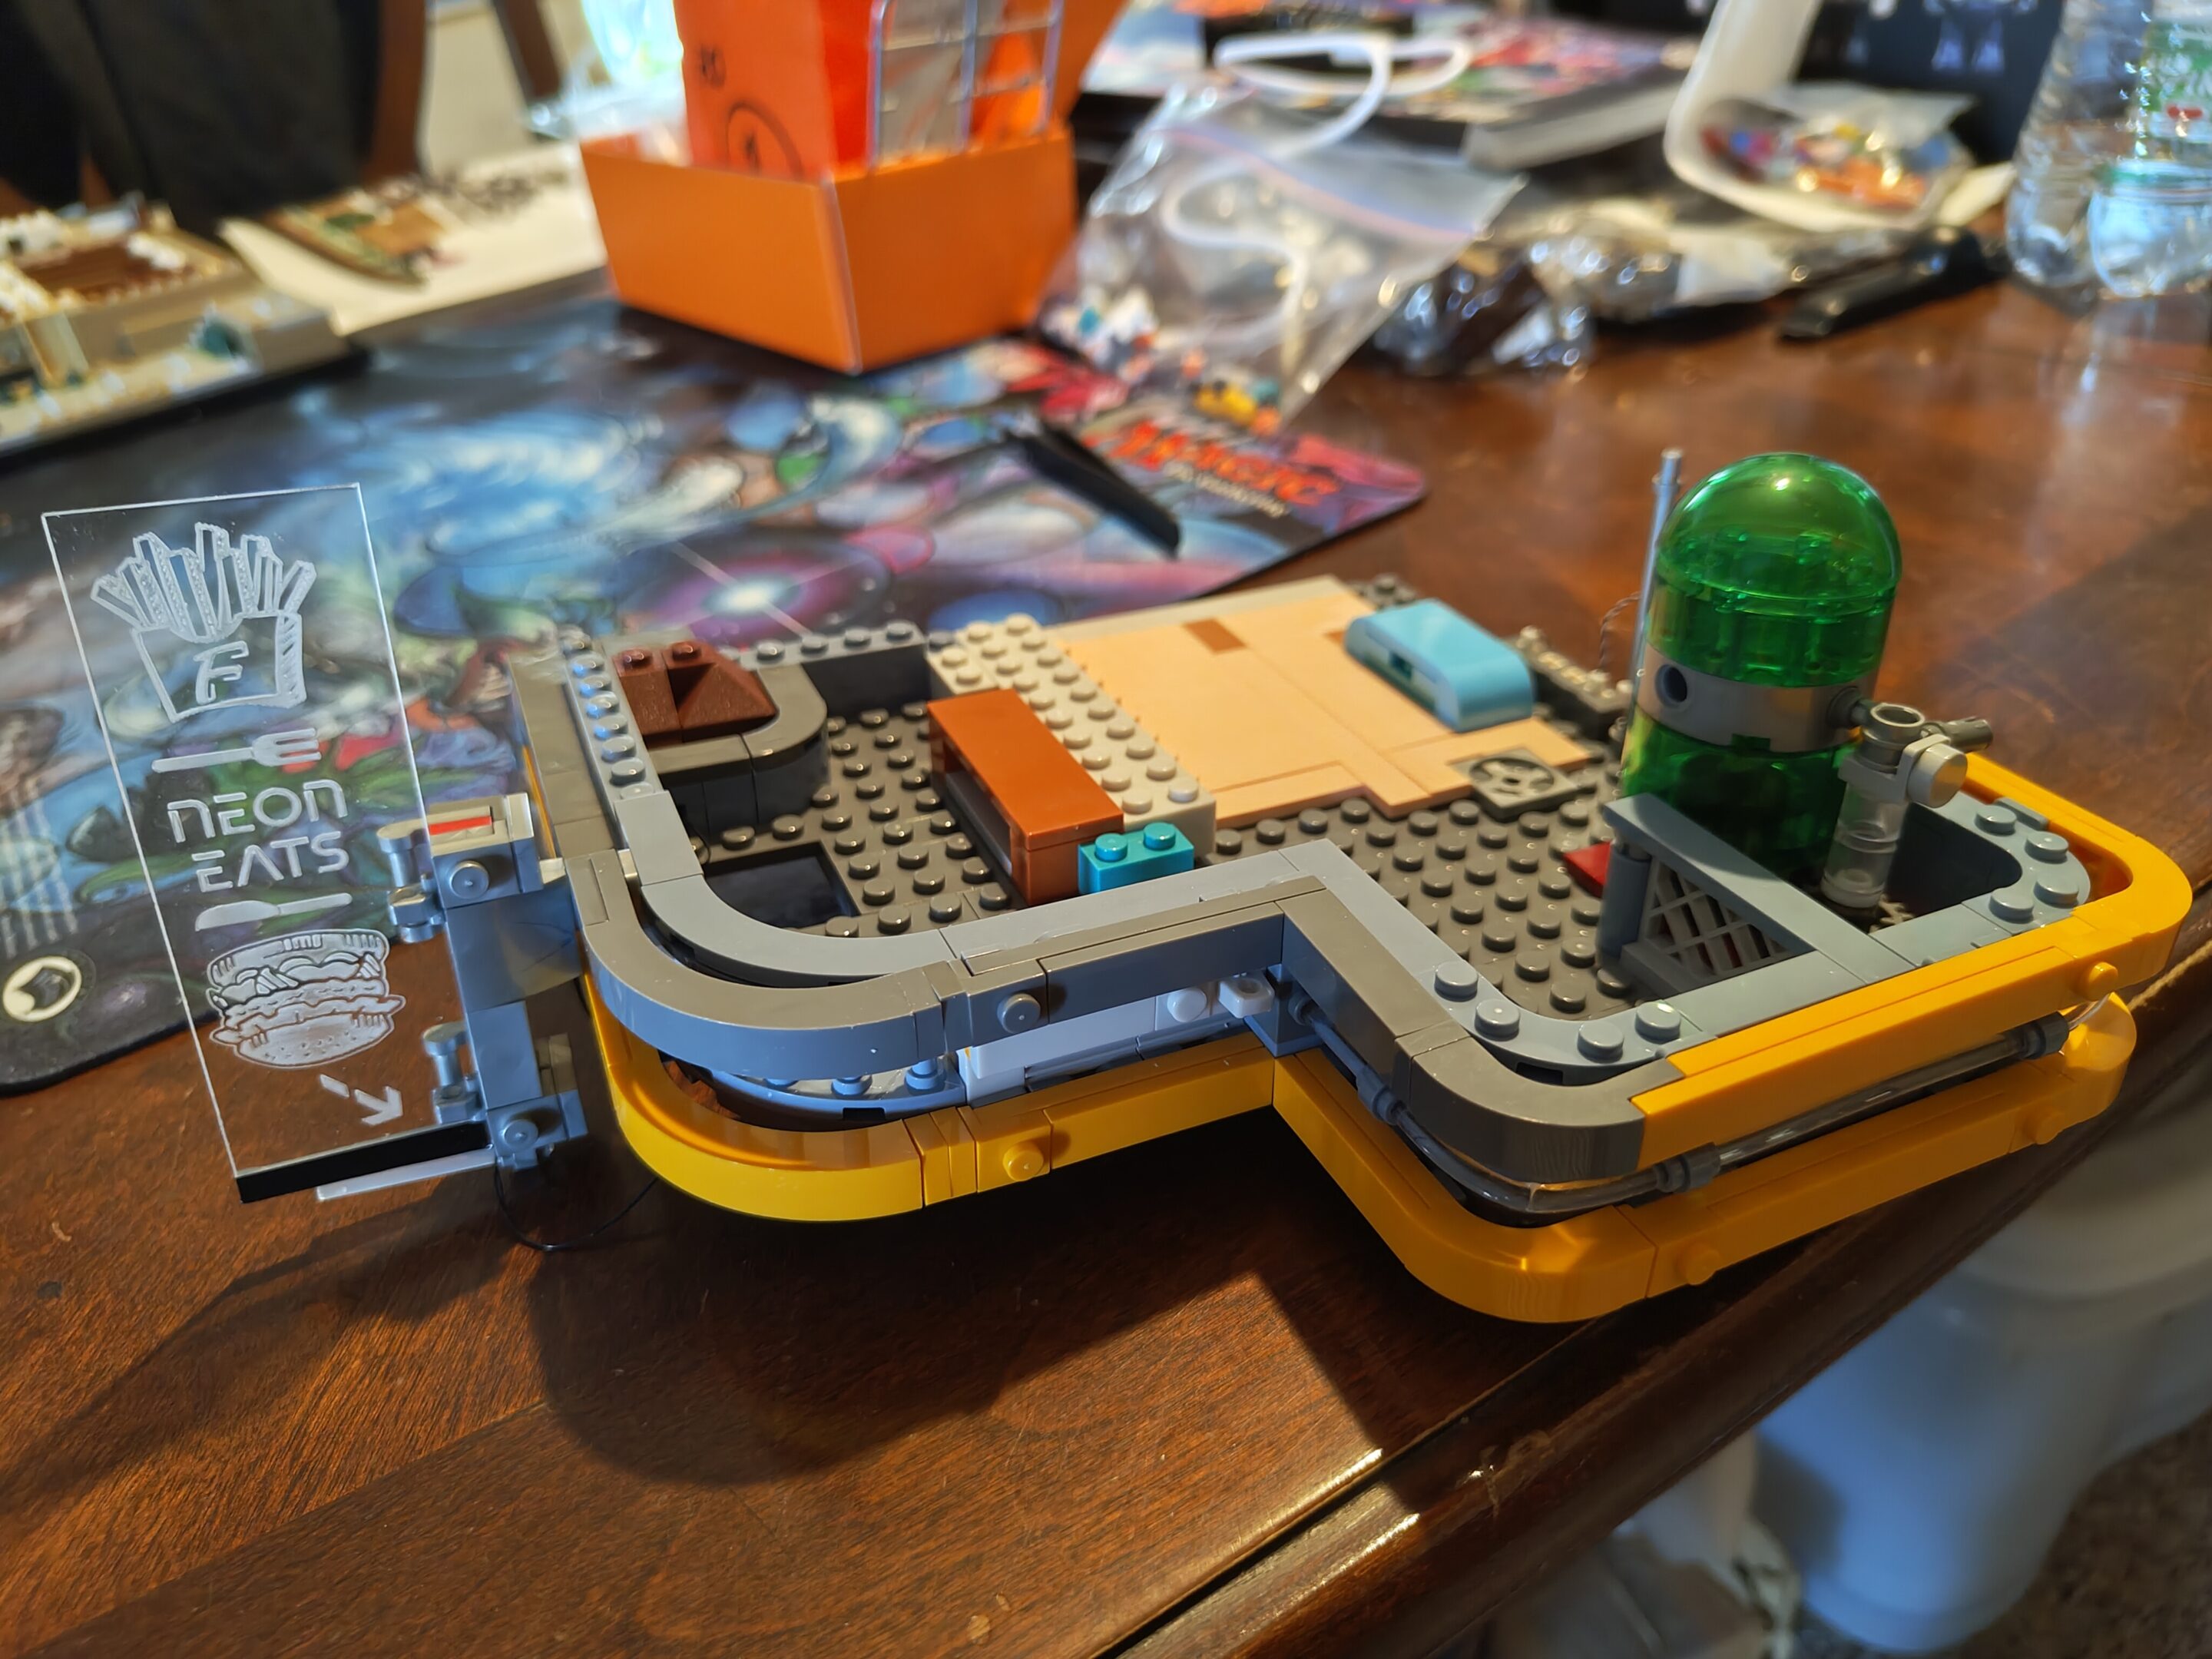
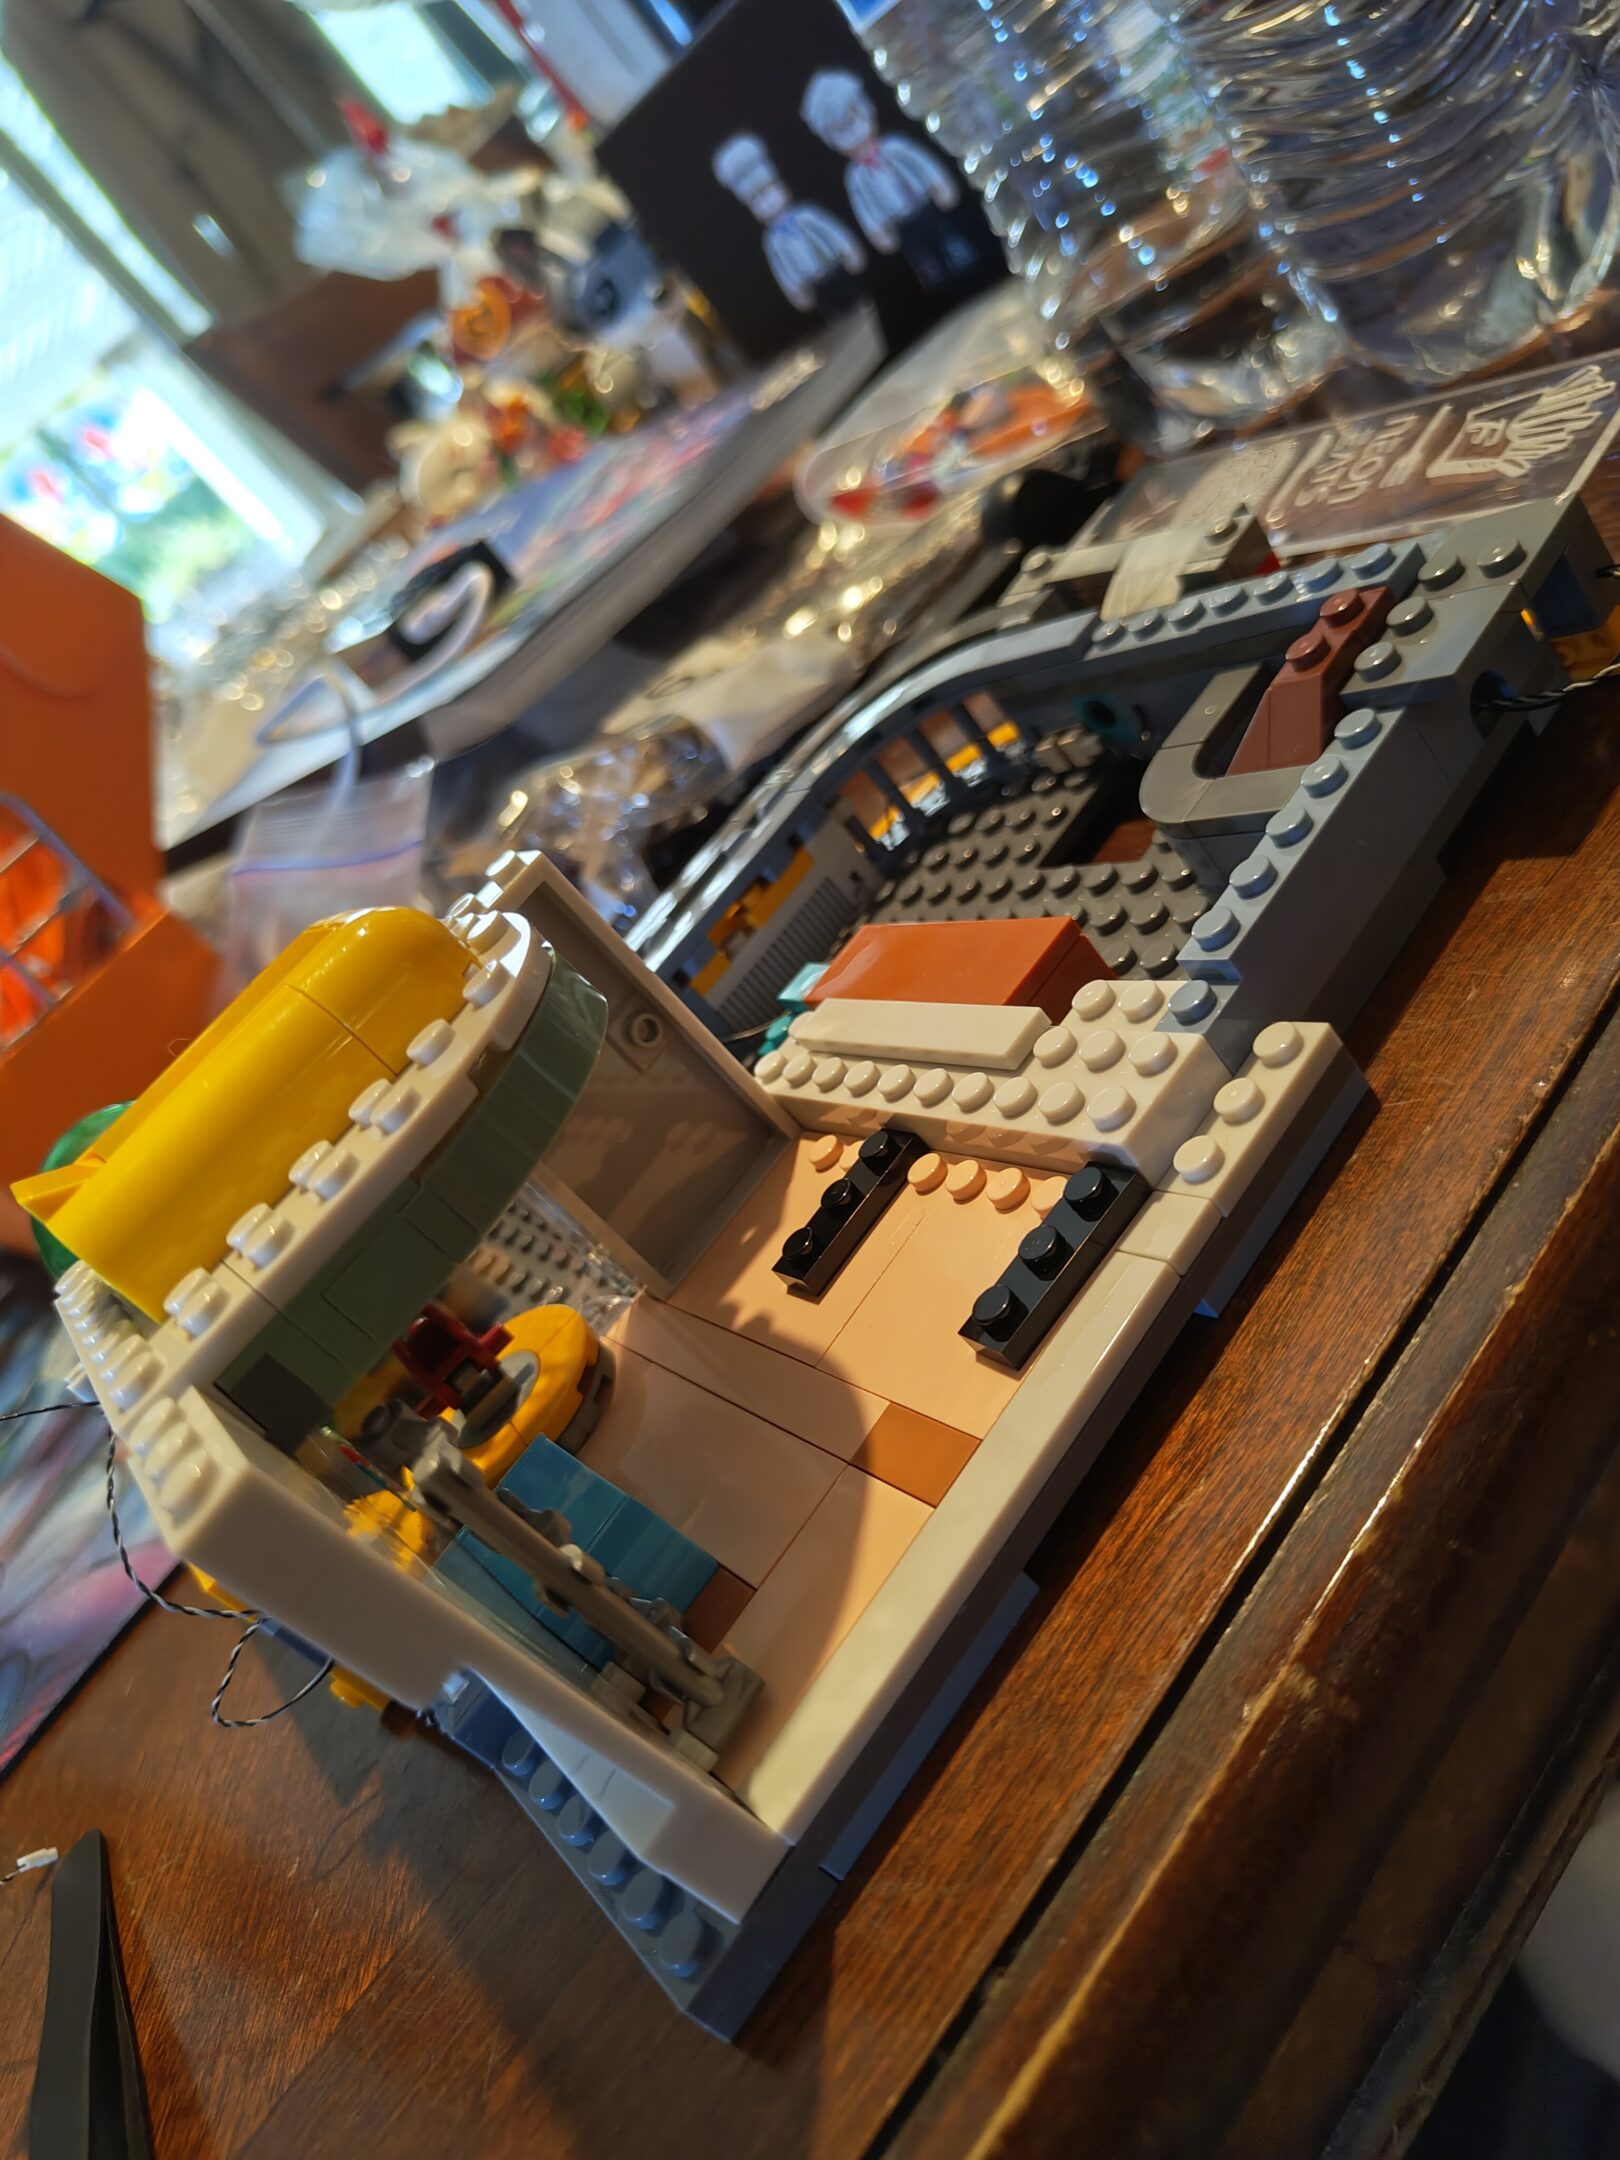
box frontbox rearsubfloor: checkorange banana is not foodbaseplate finished, minor wiring.hi friend. ready to upgrade?
bunch of bits done between last upload and this upload so here we go. forgot to take pictures at the end of building today so this last bit looks a little incomplete. oh well
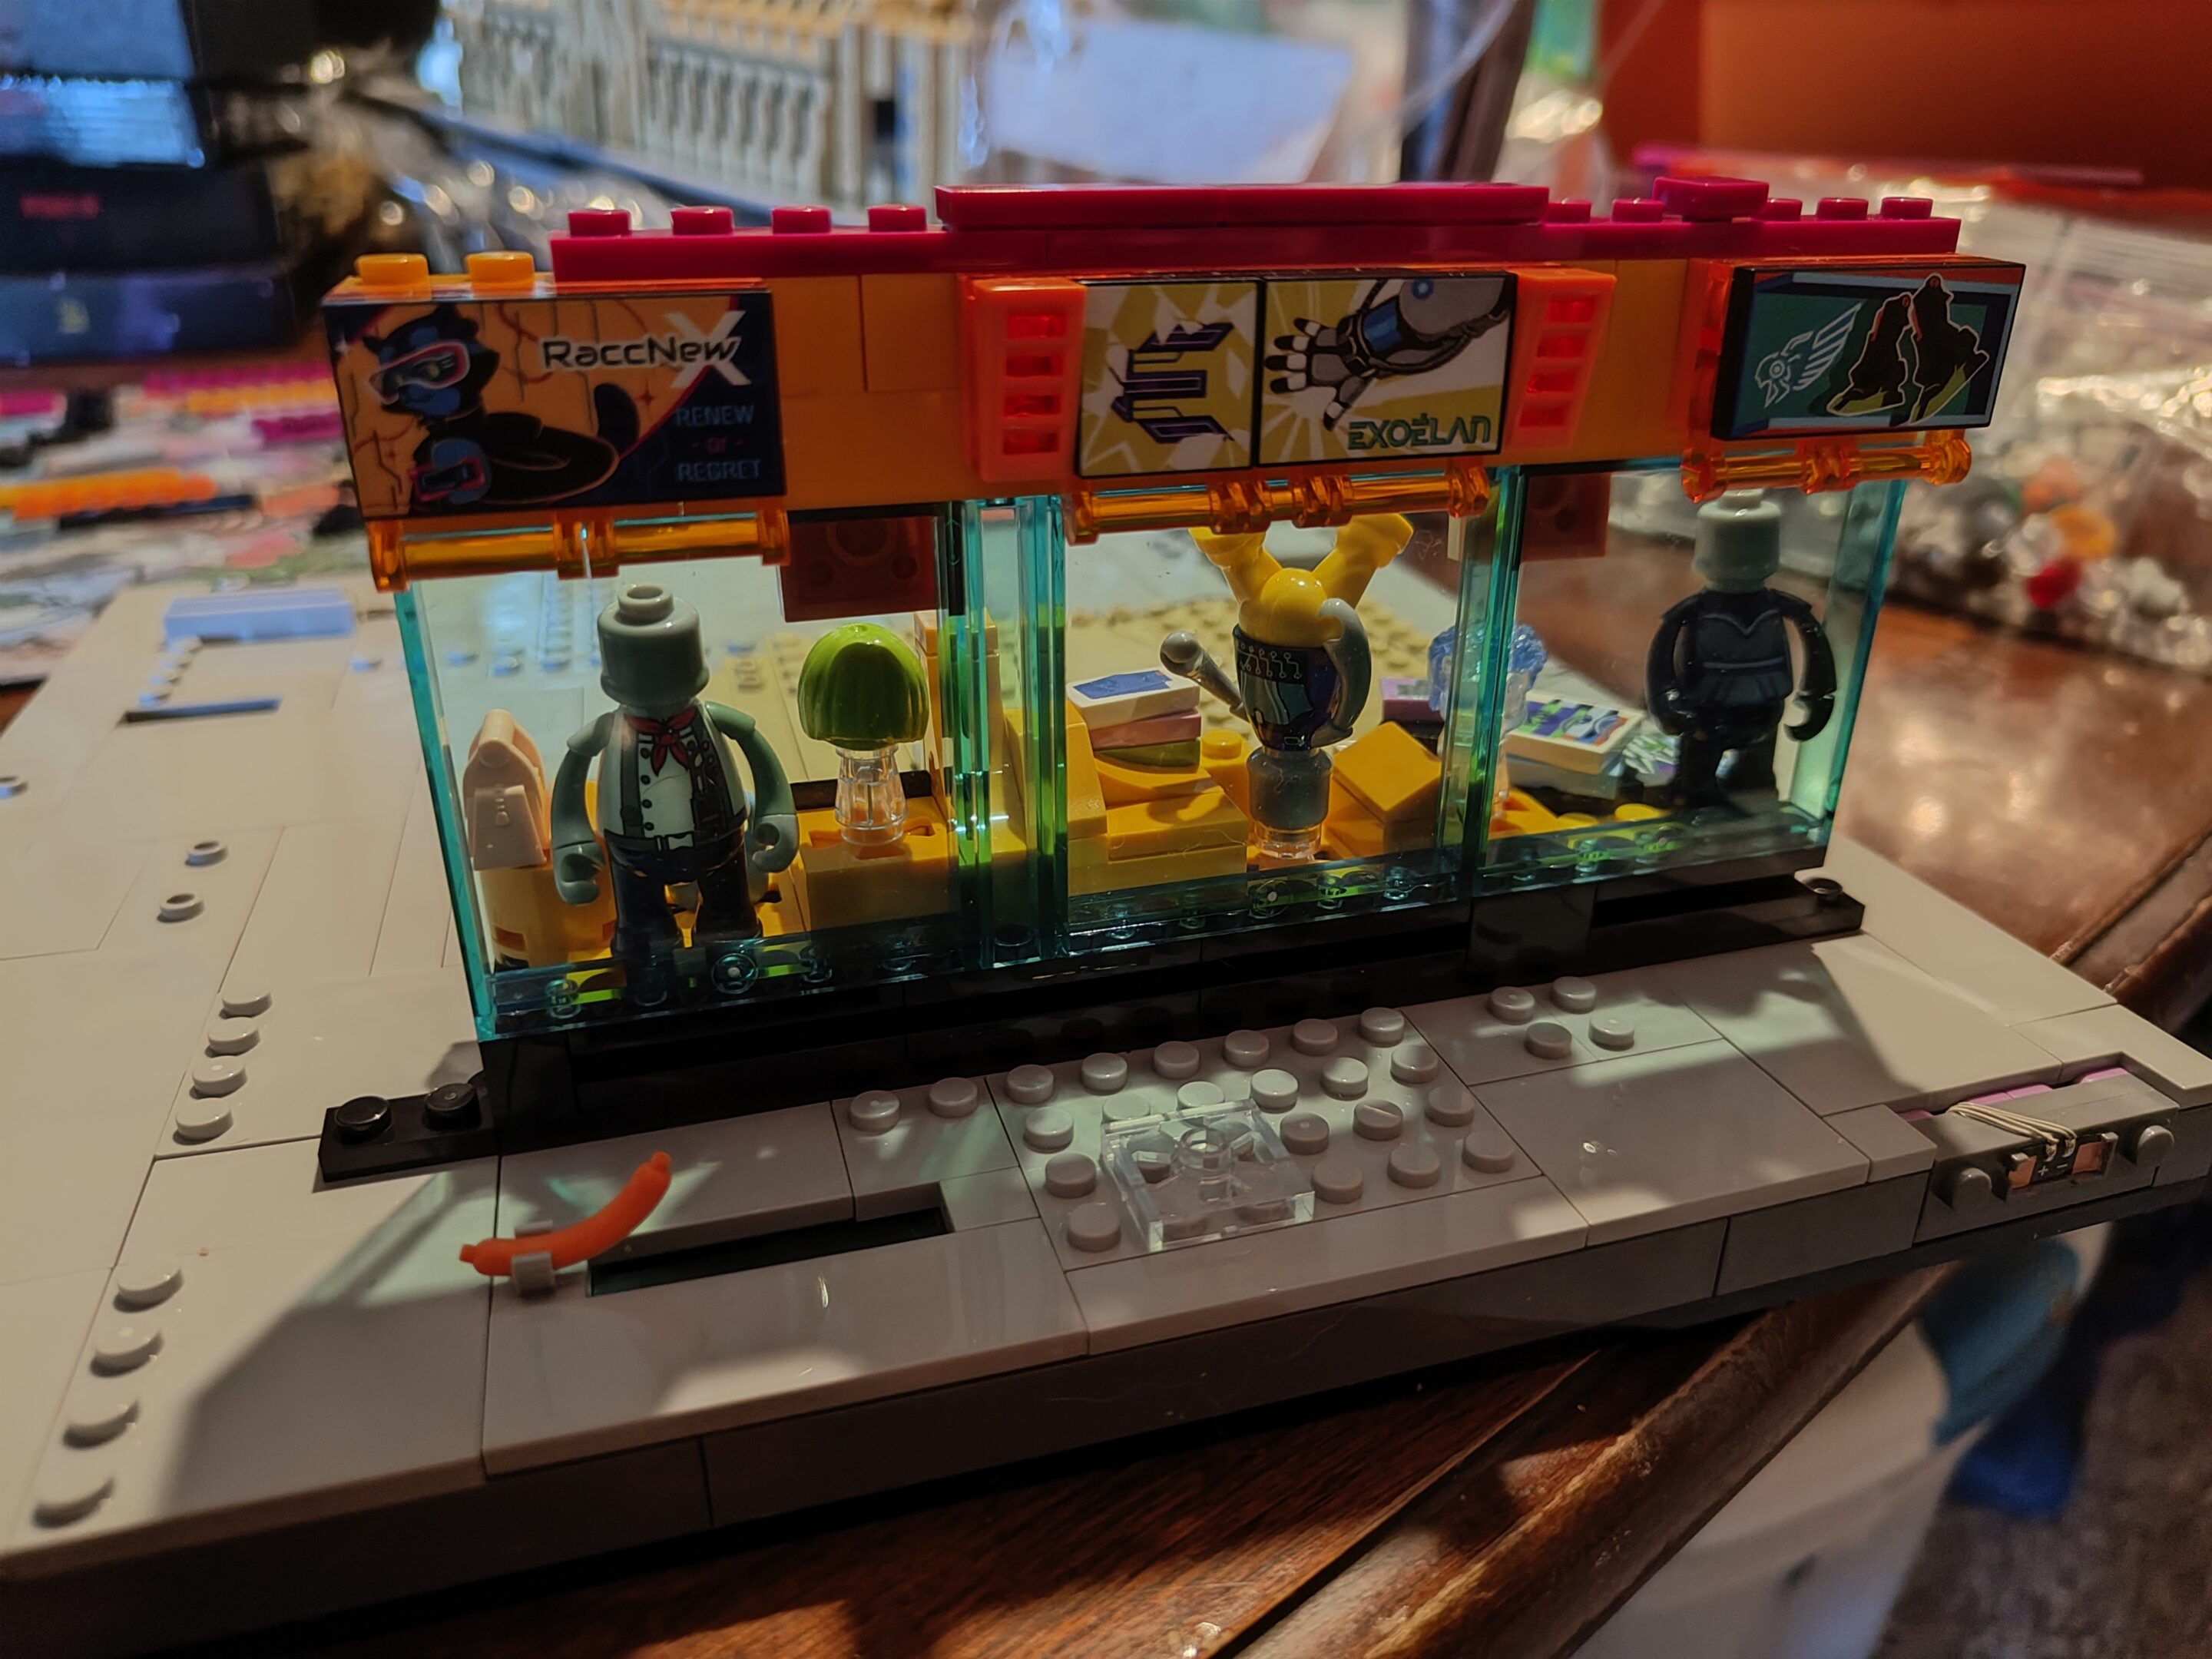
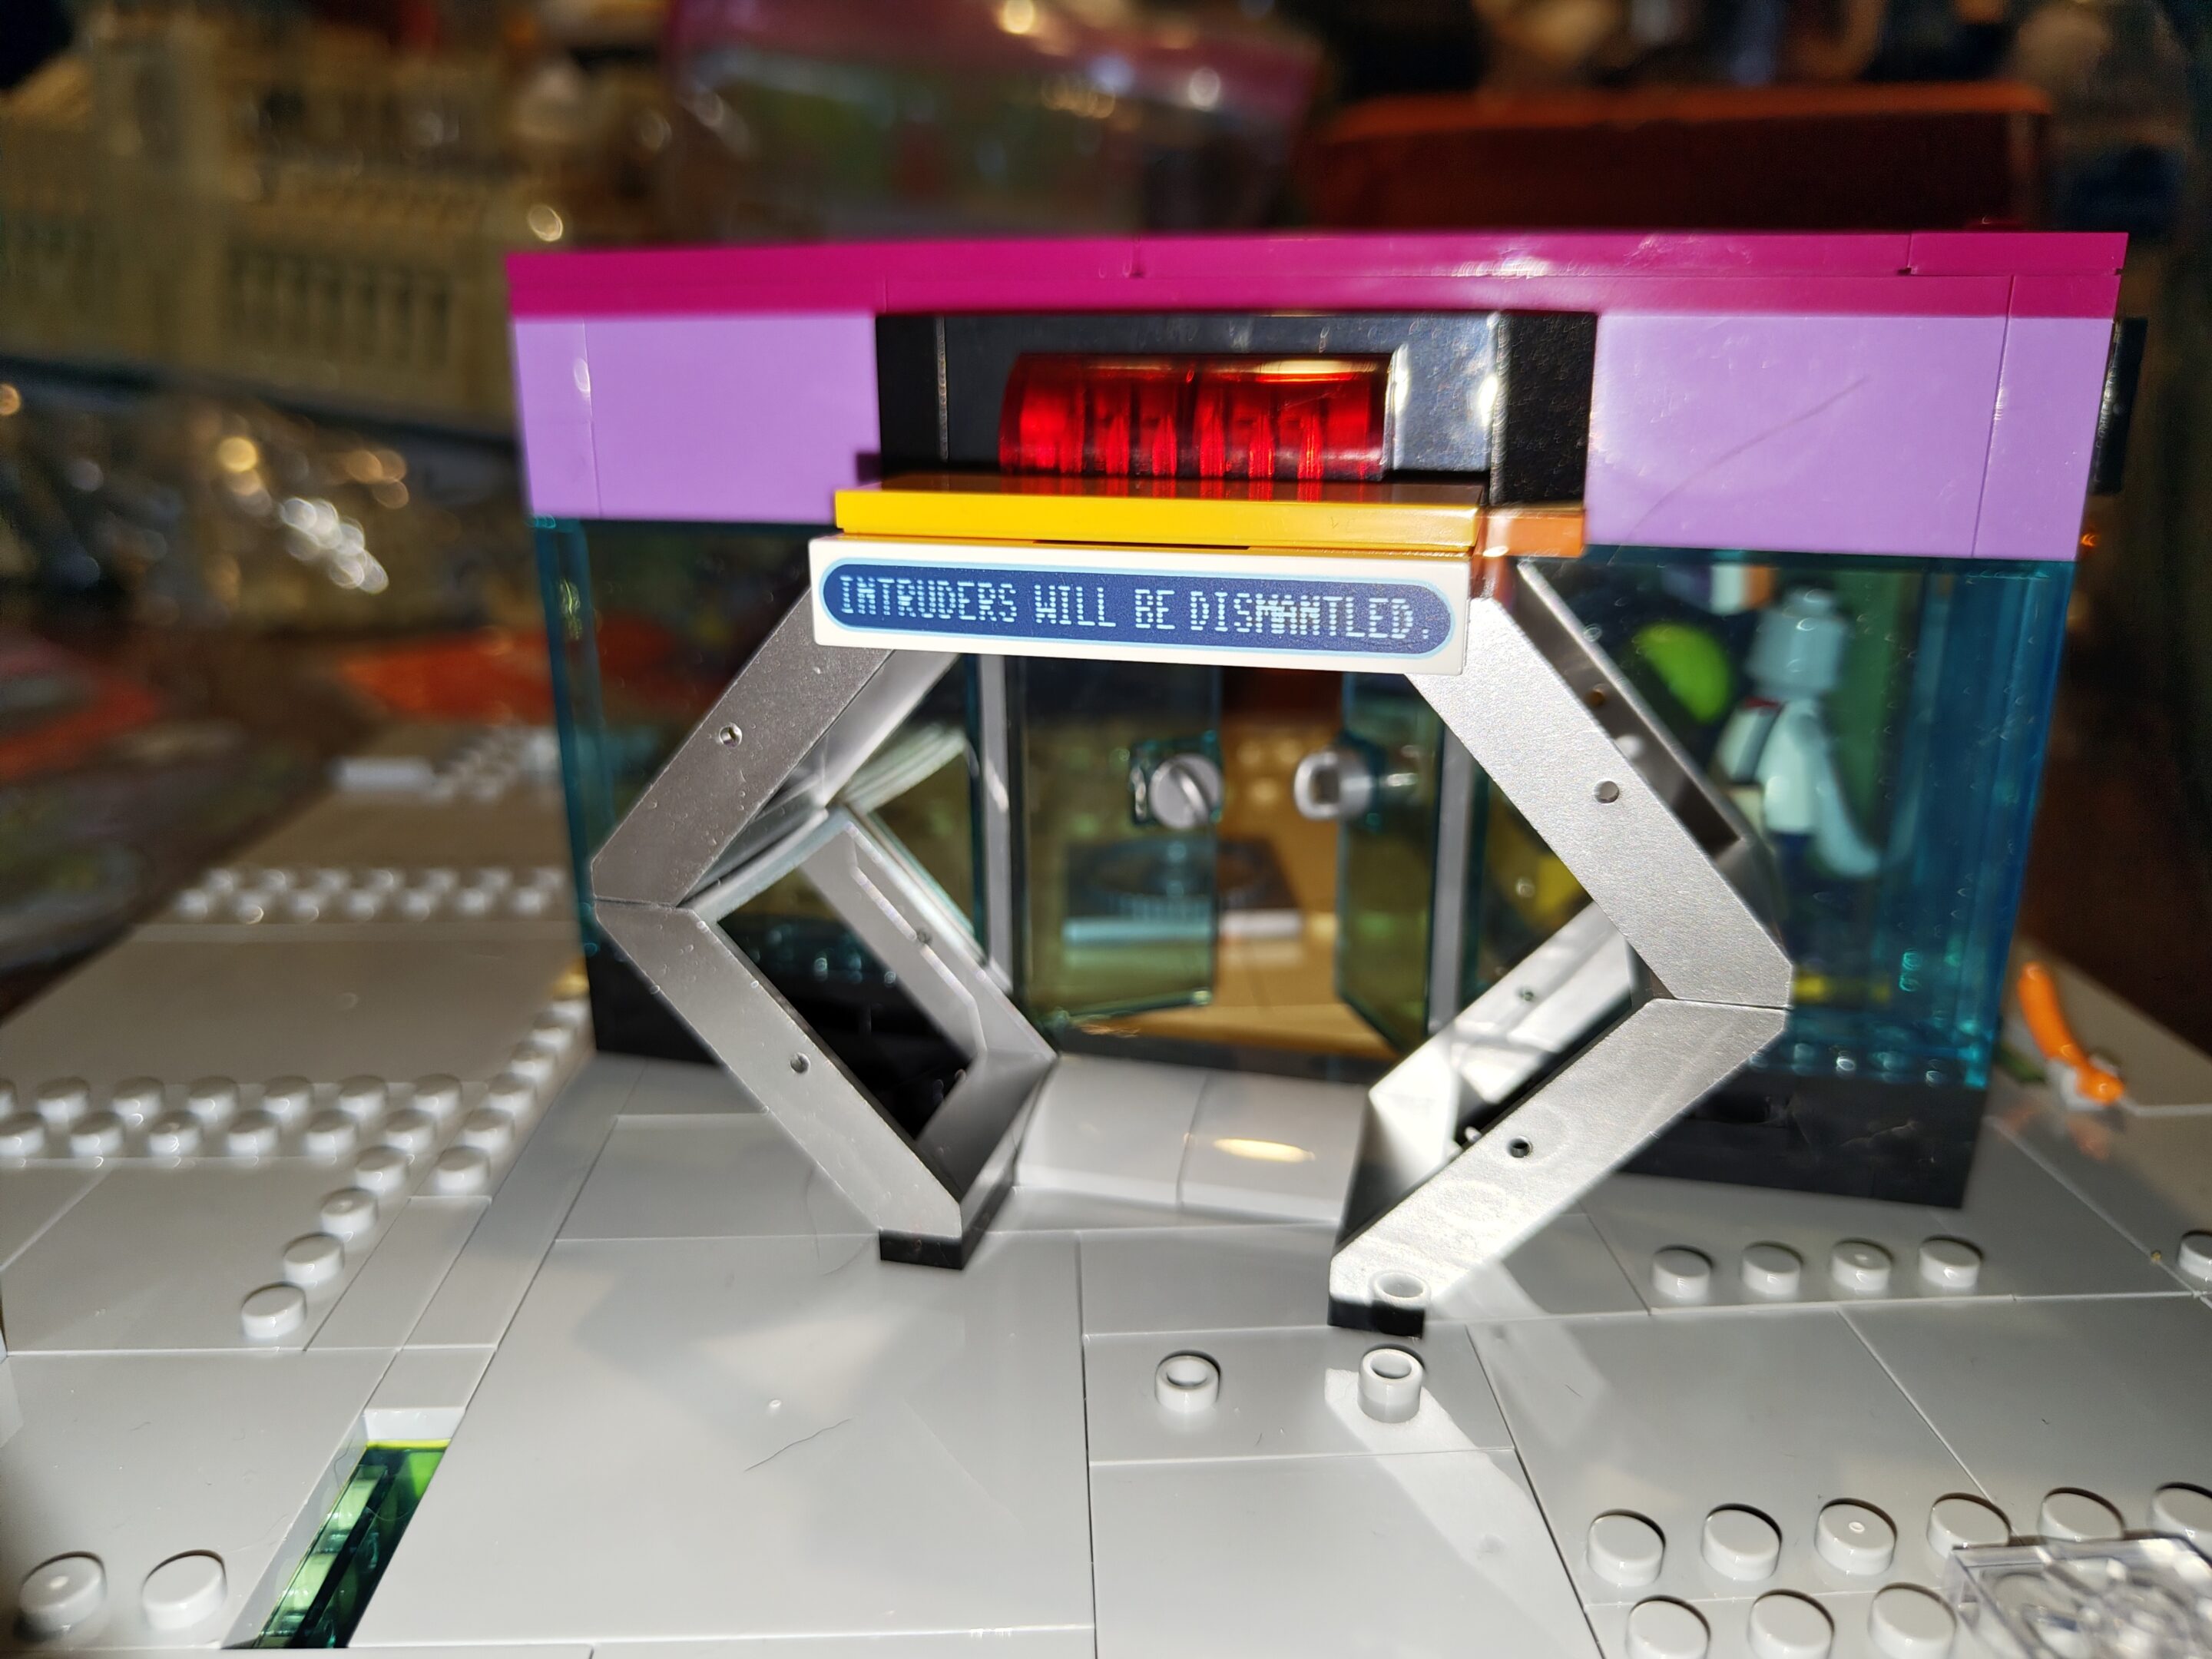
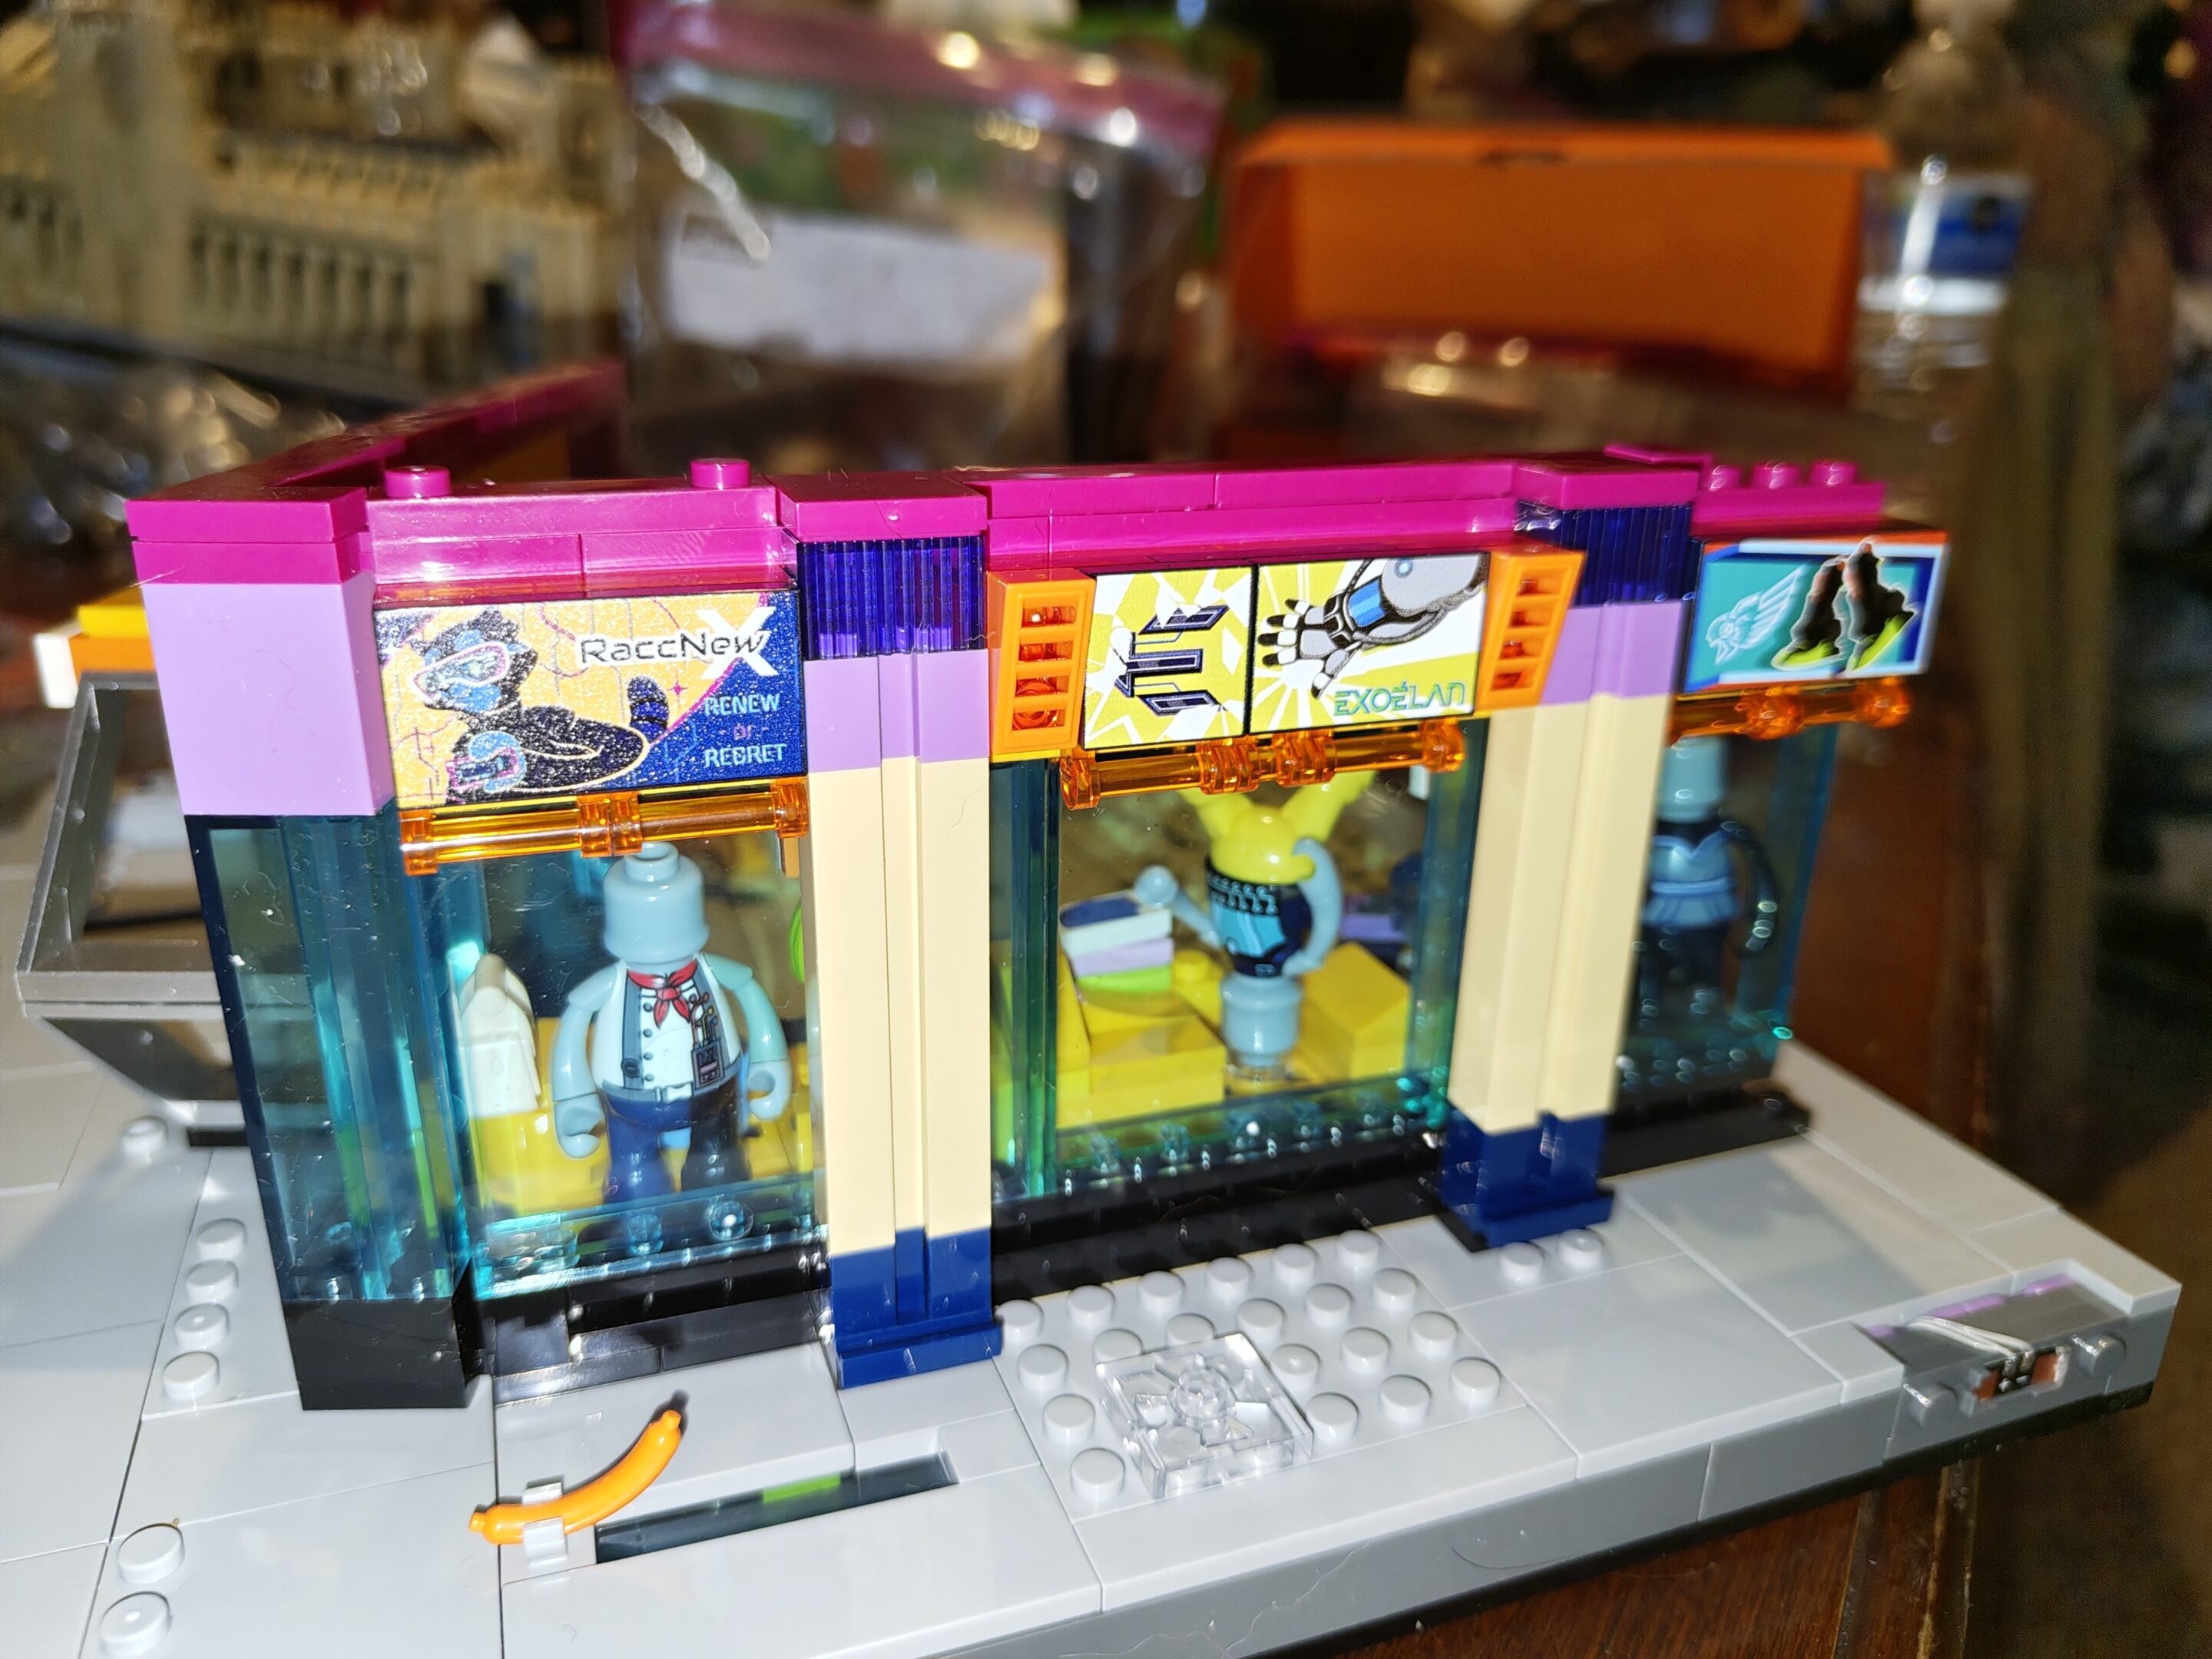
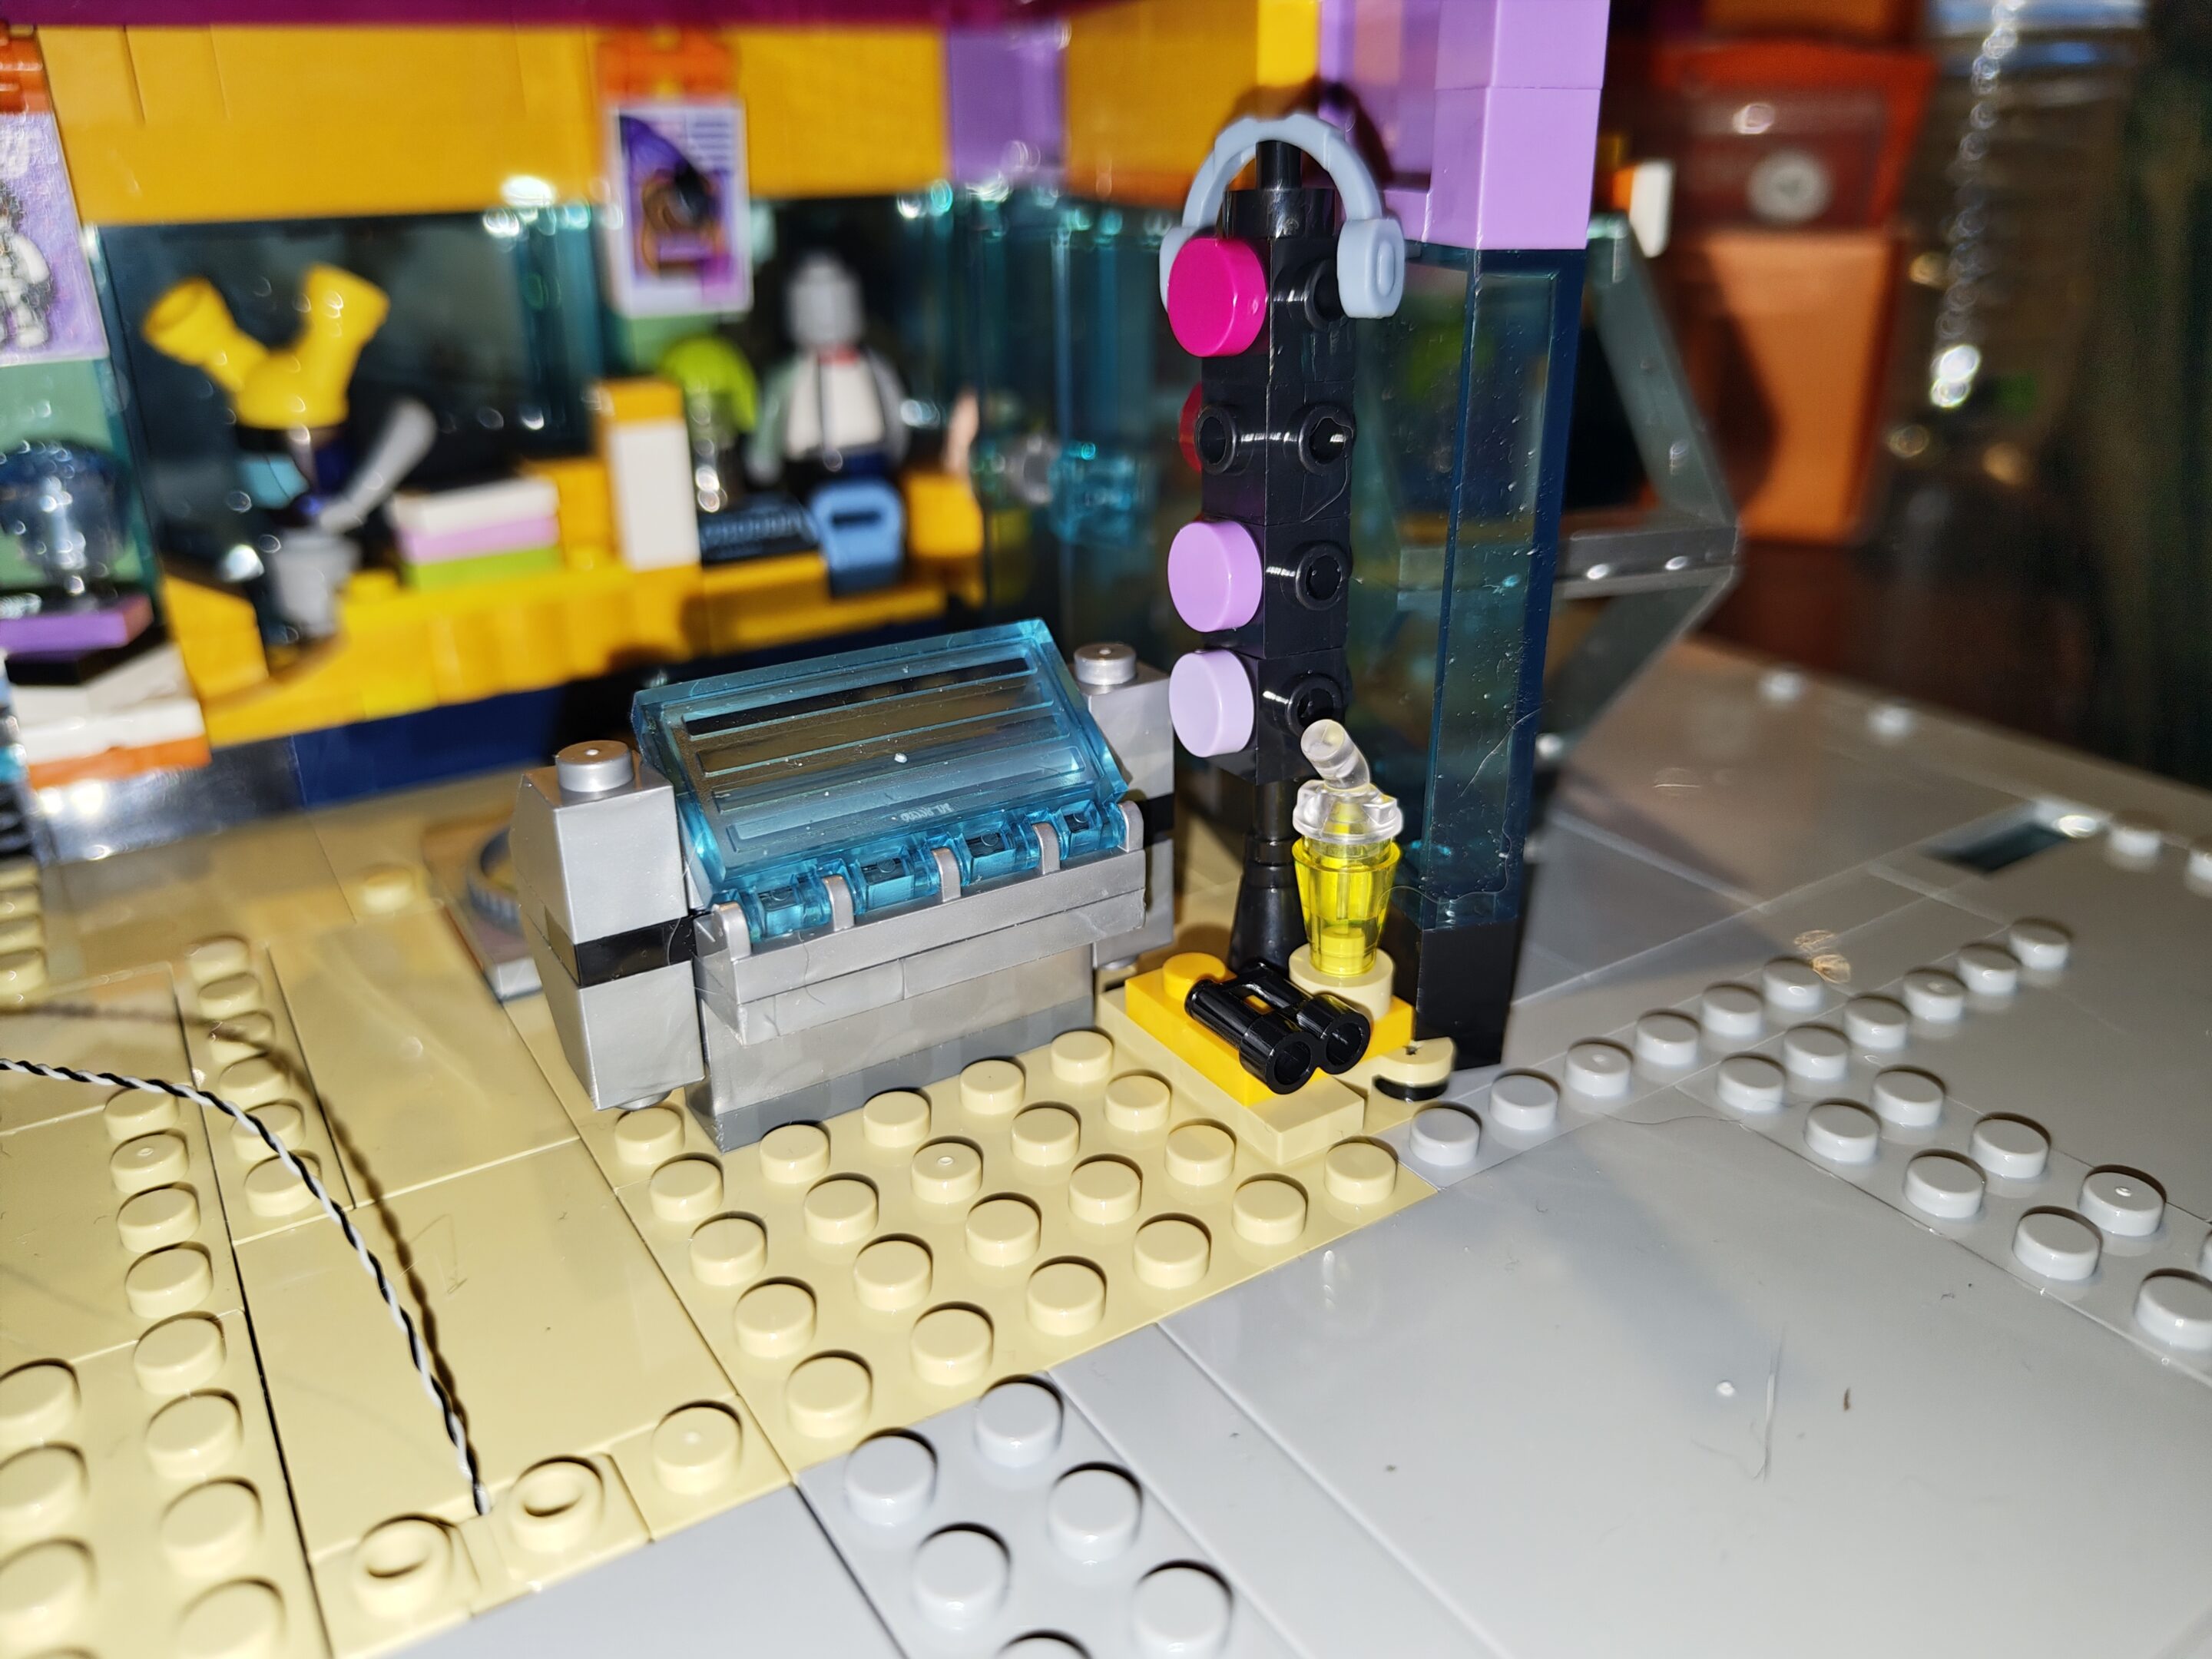
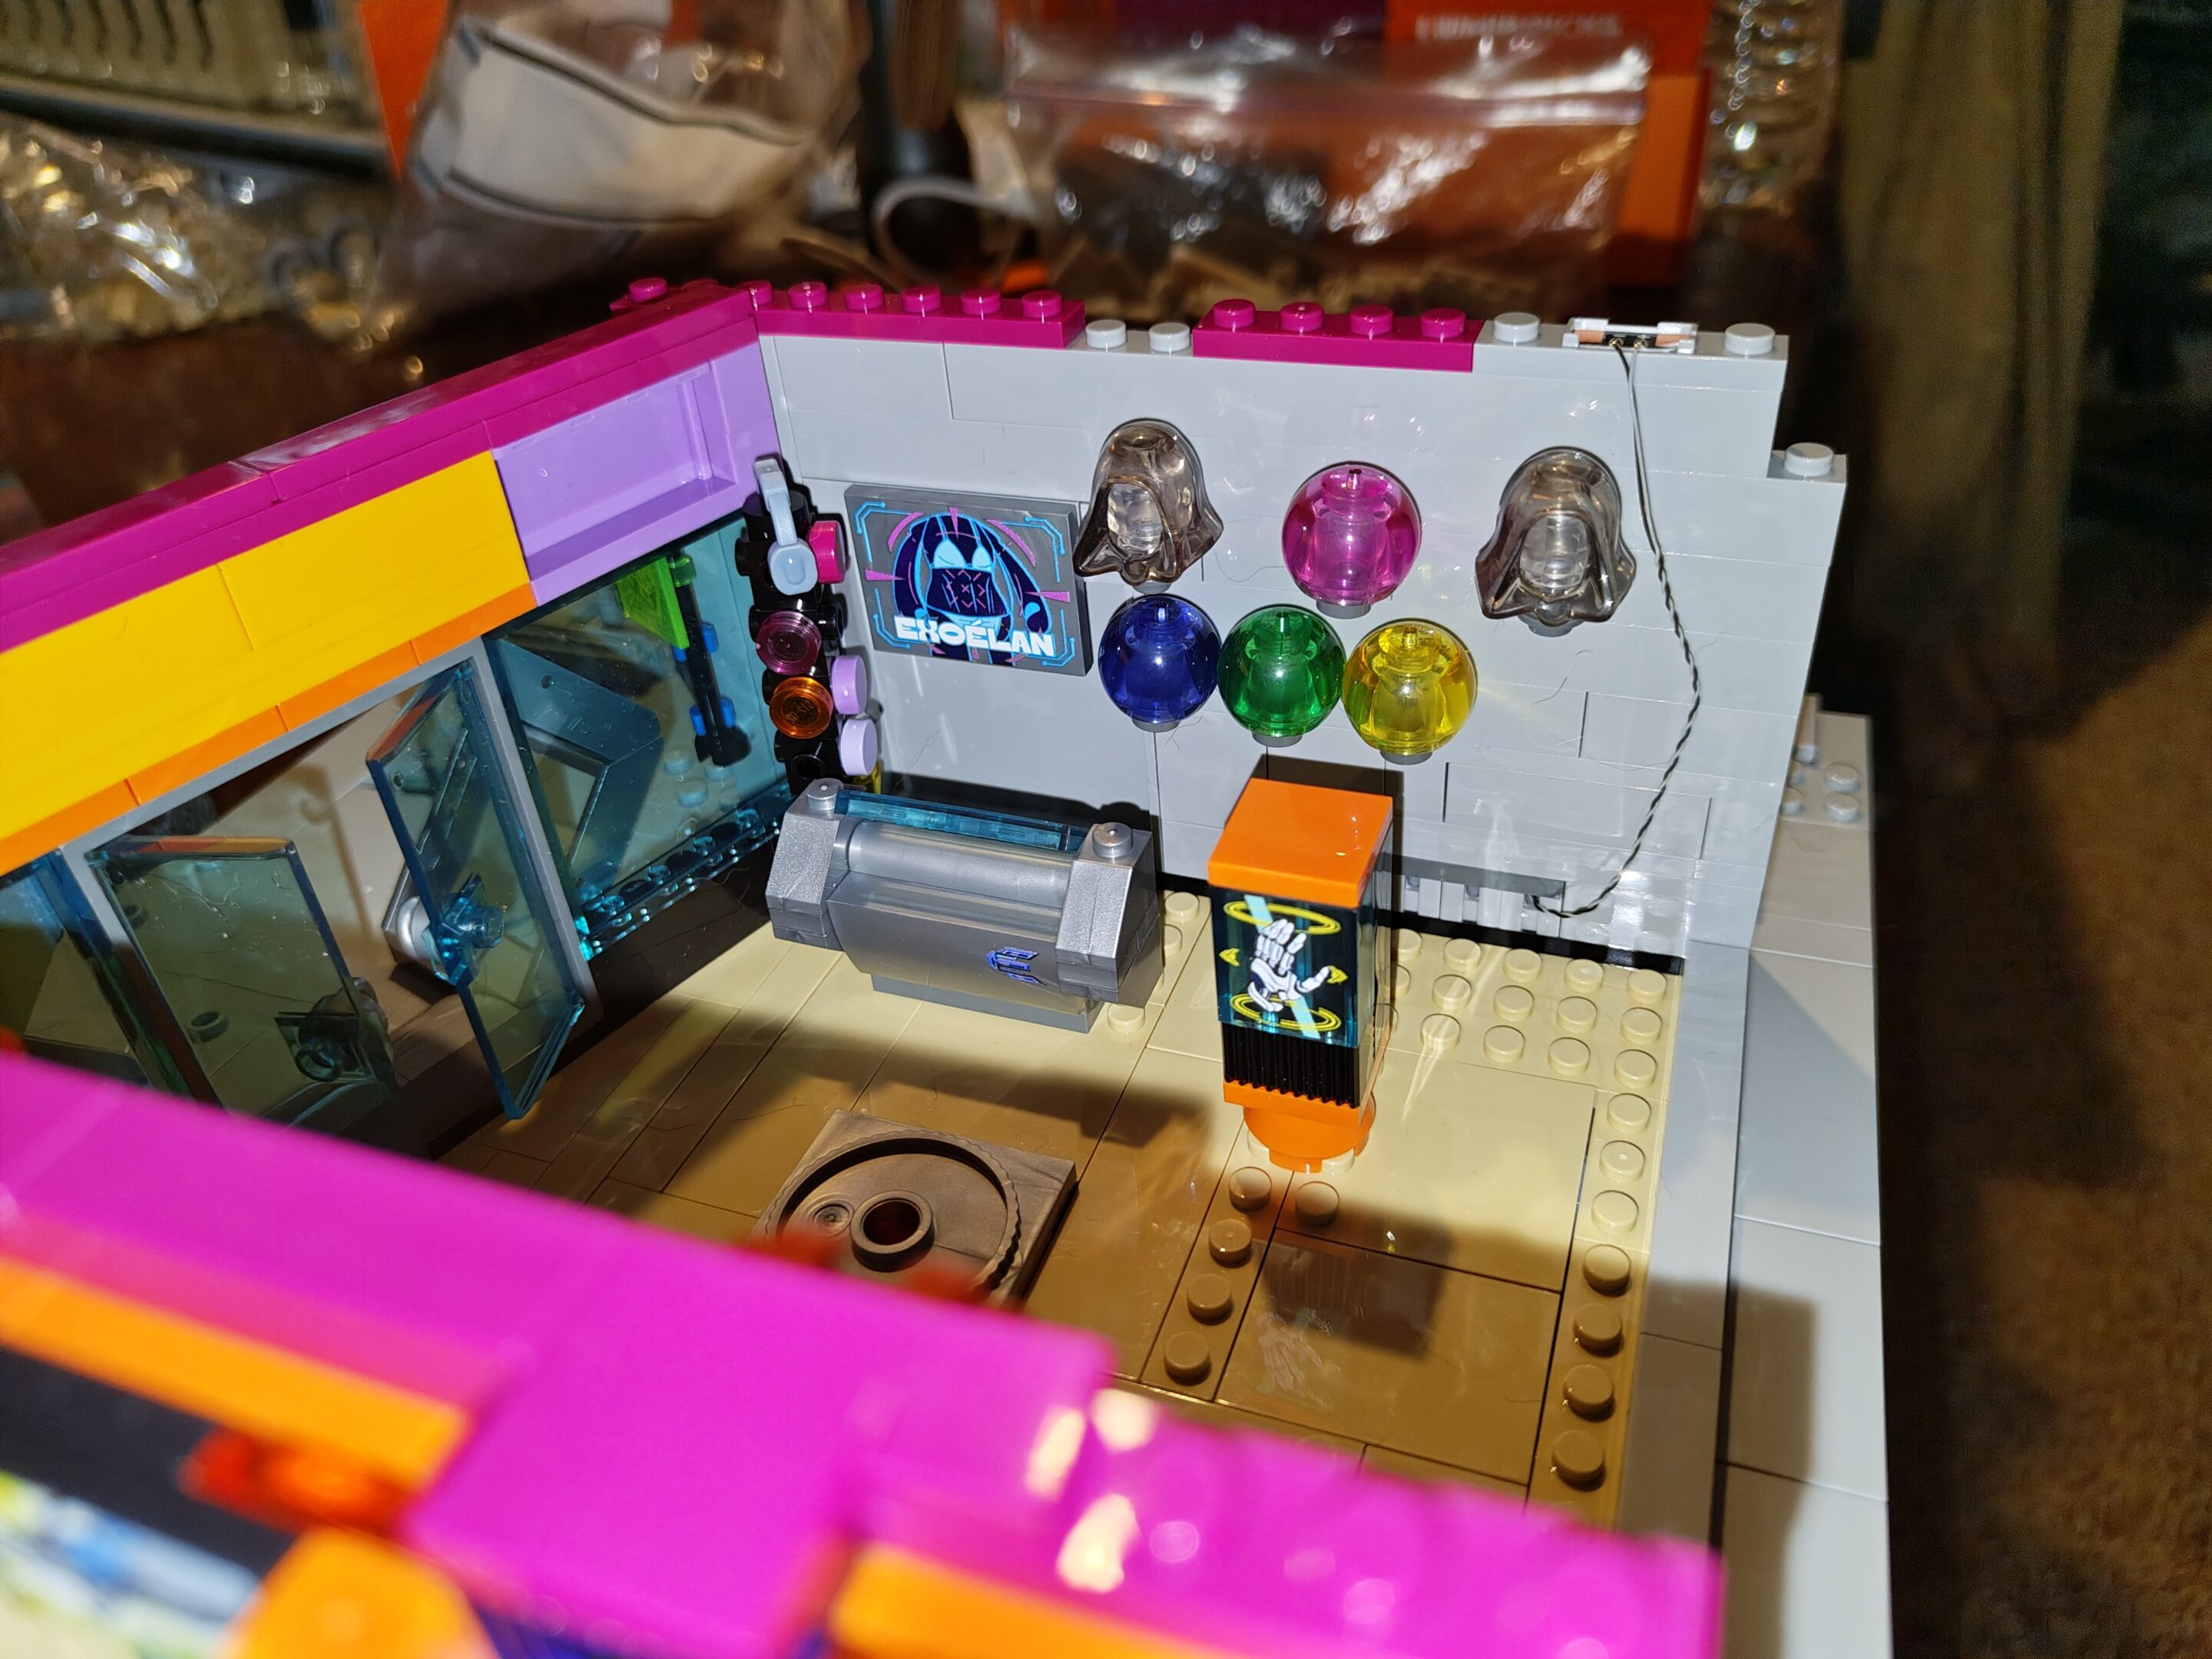
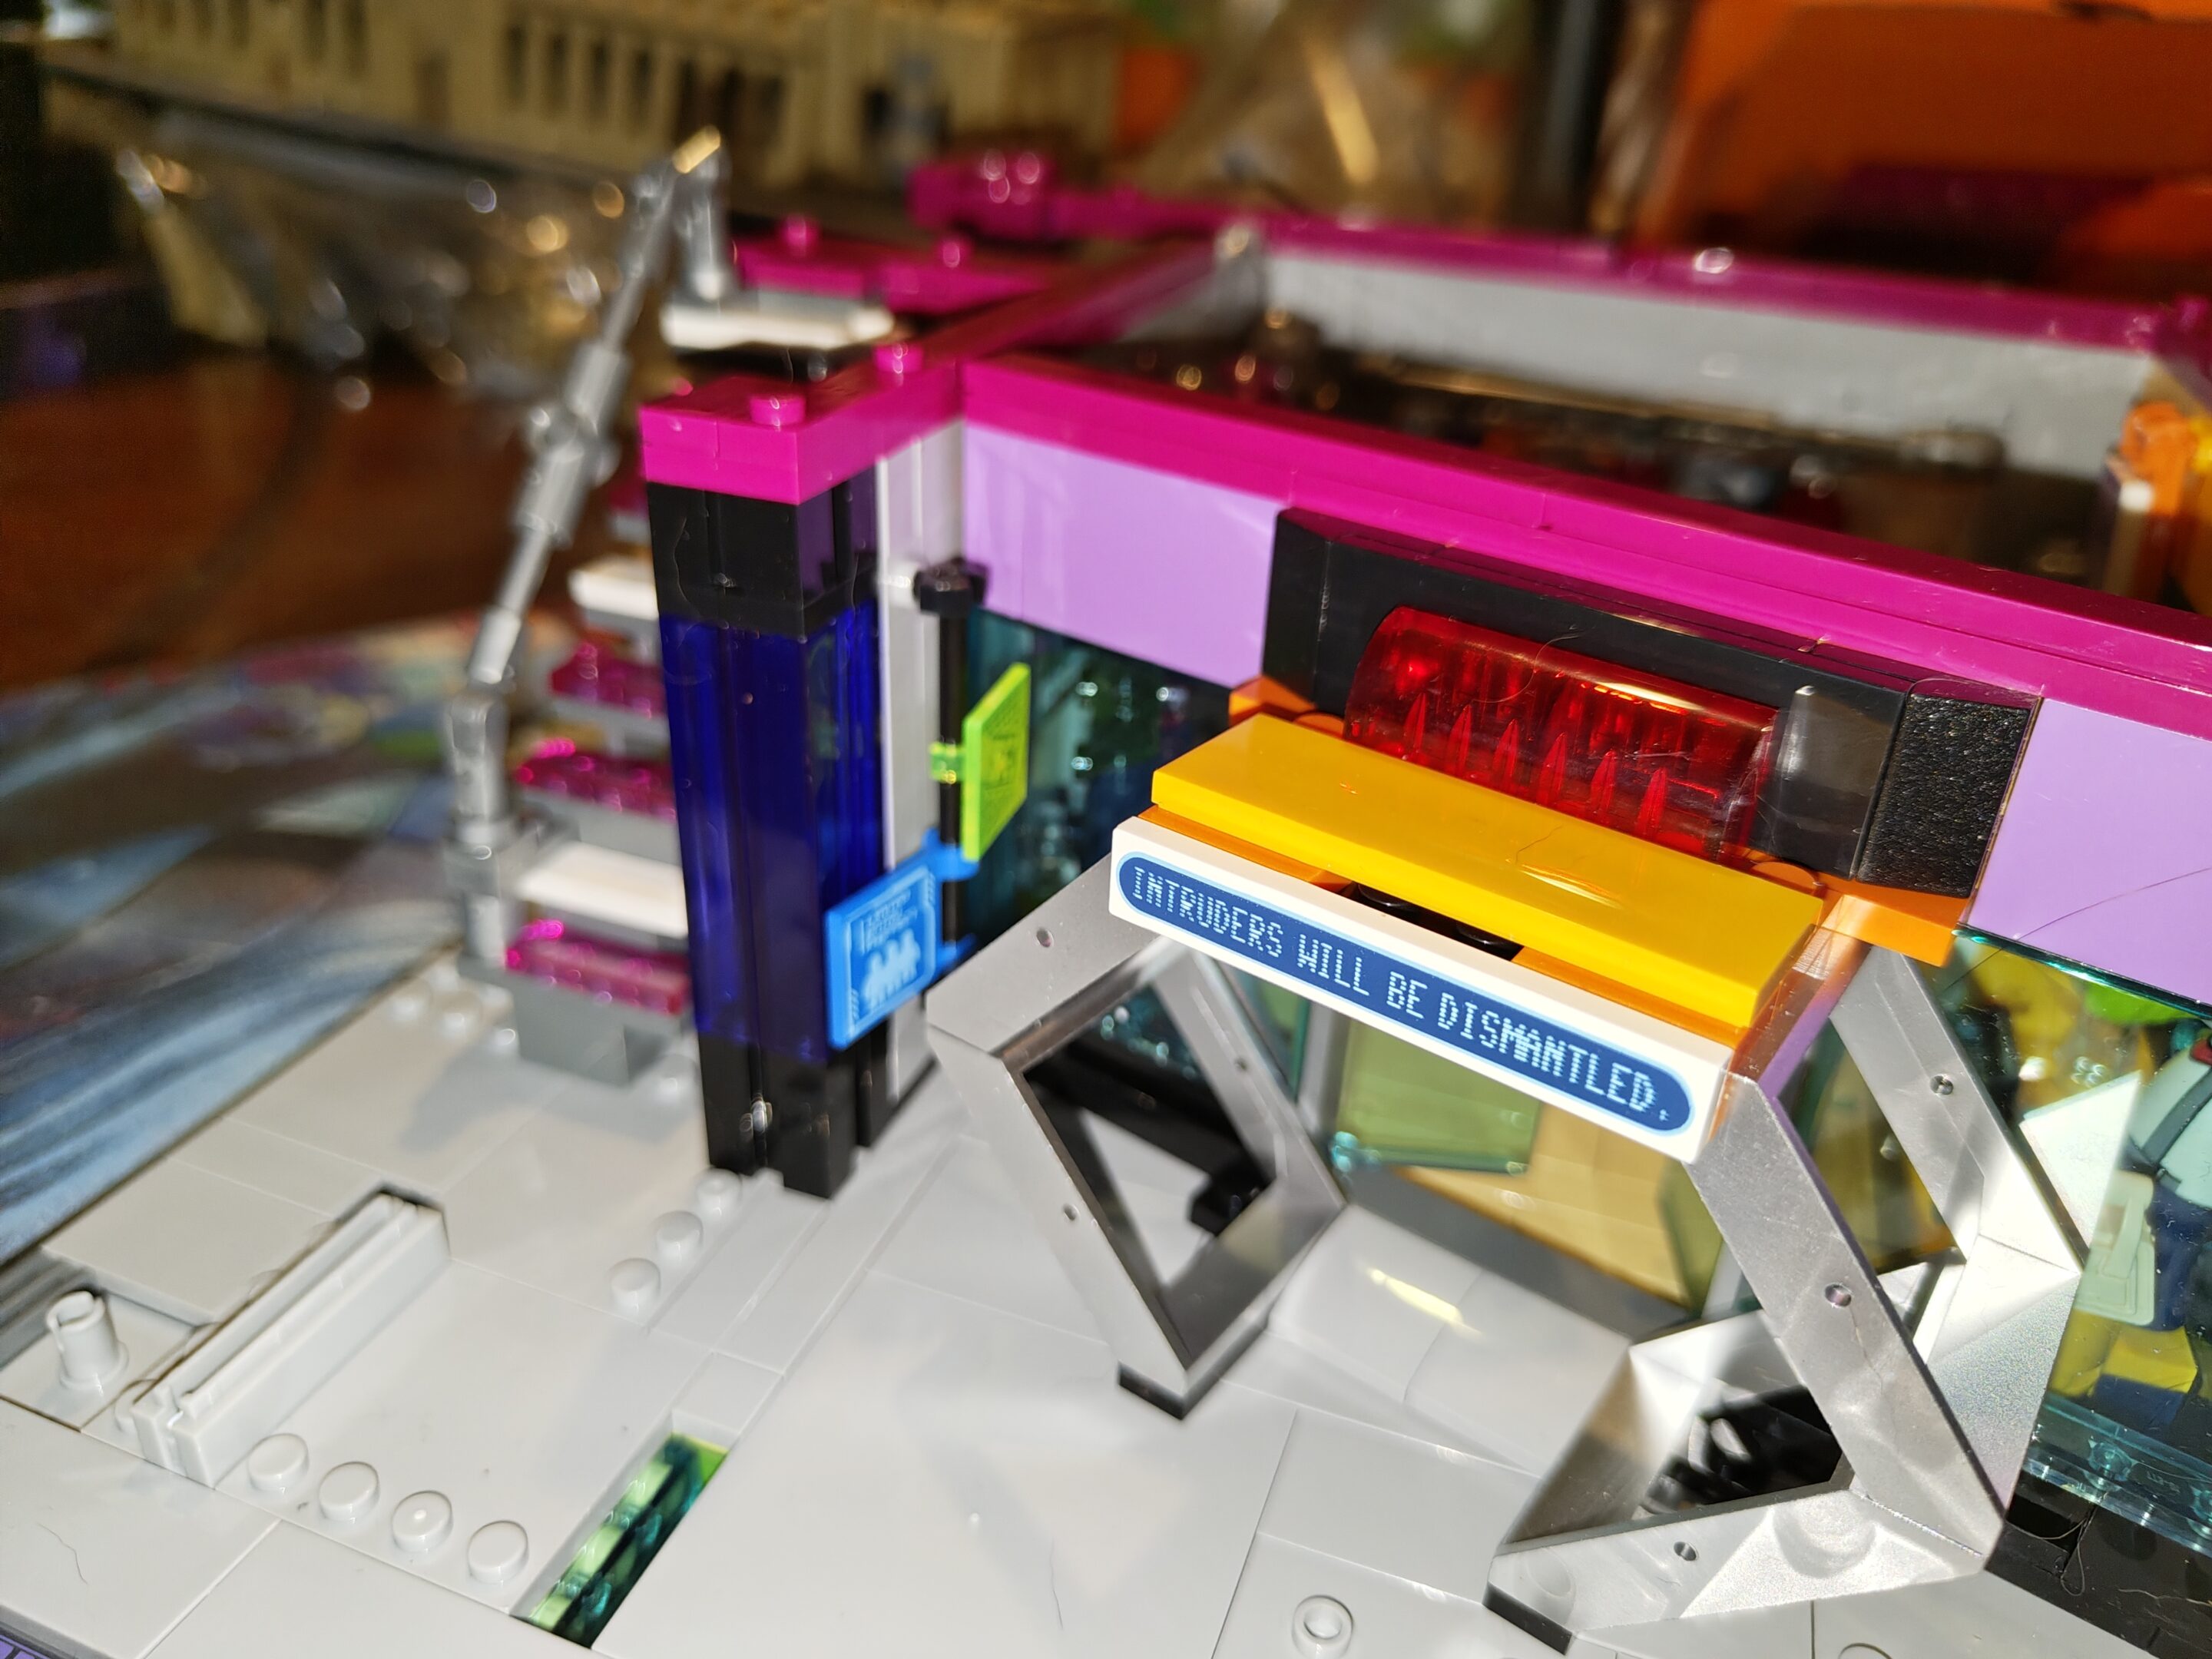
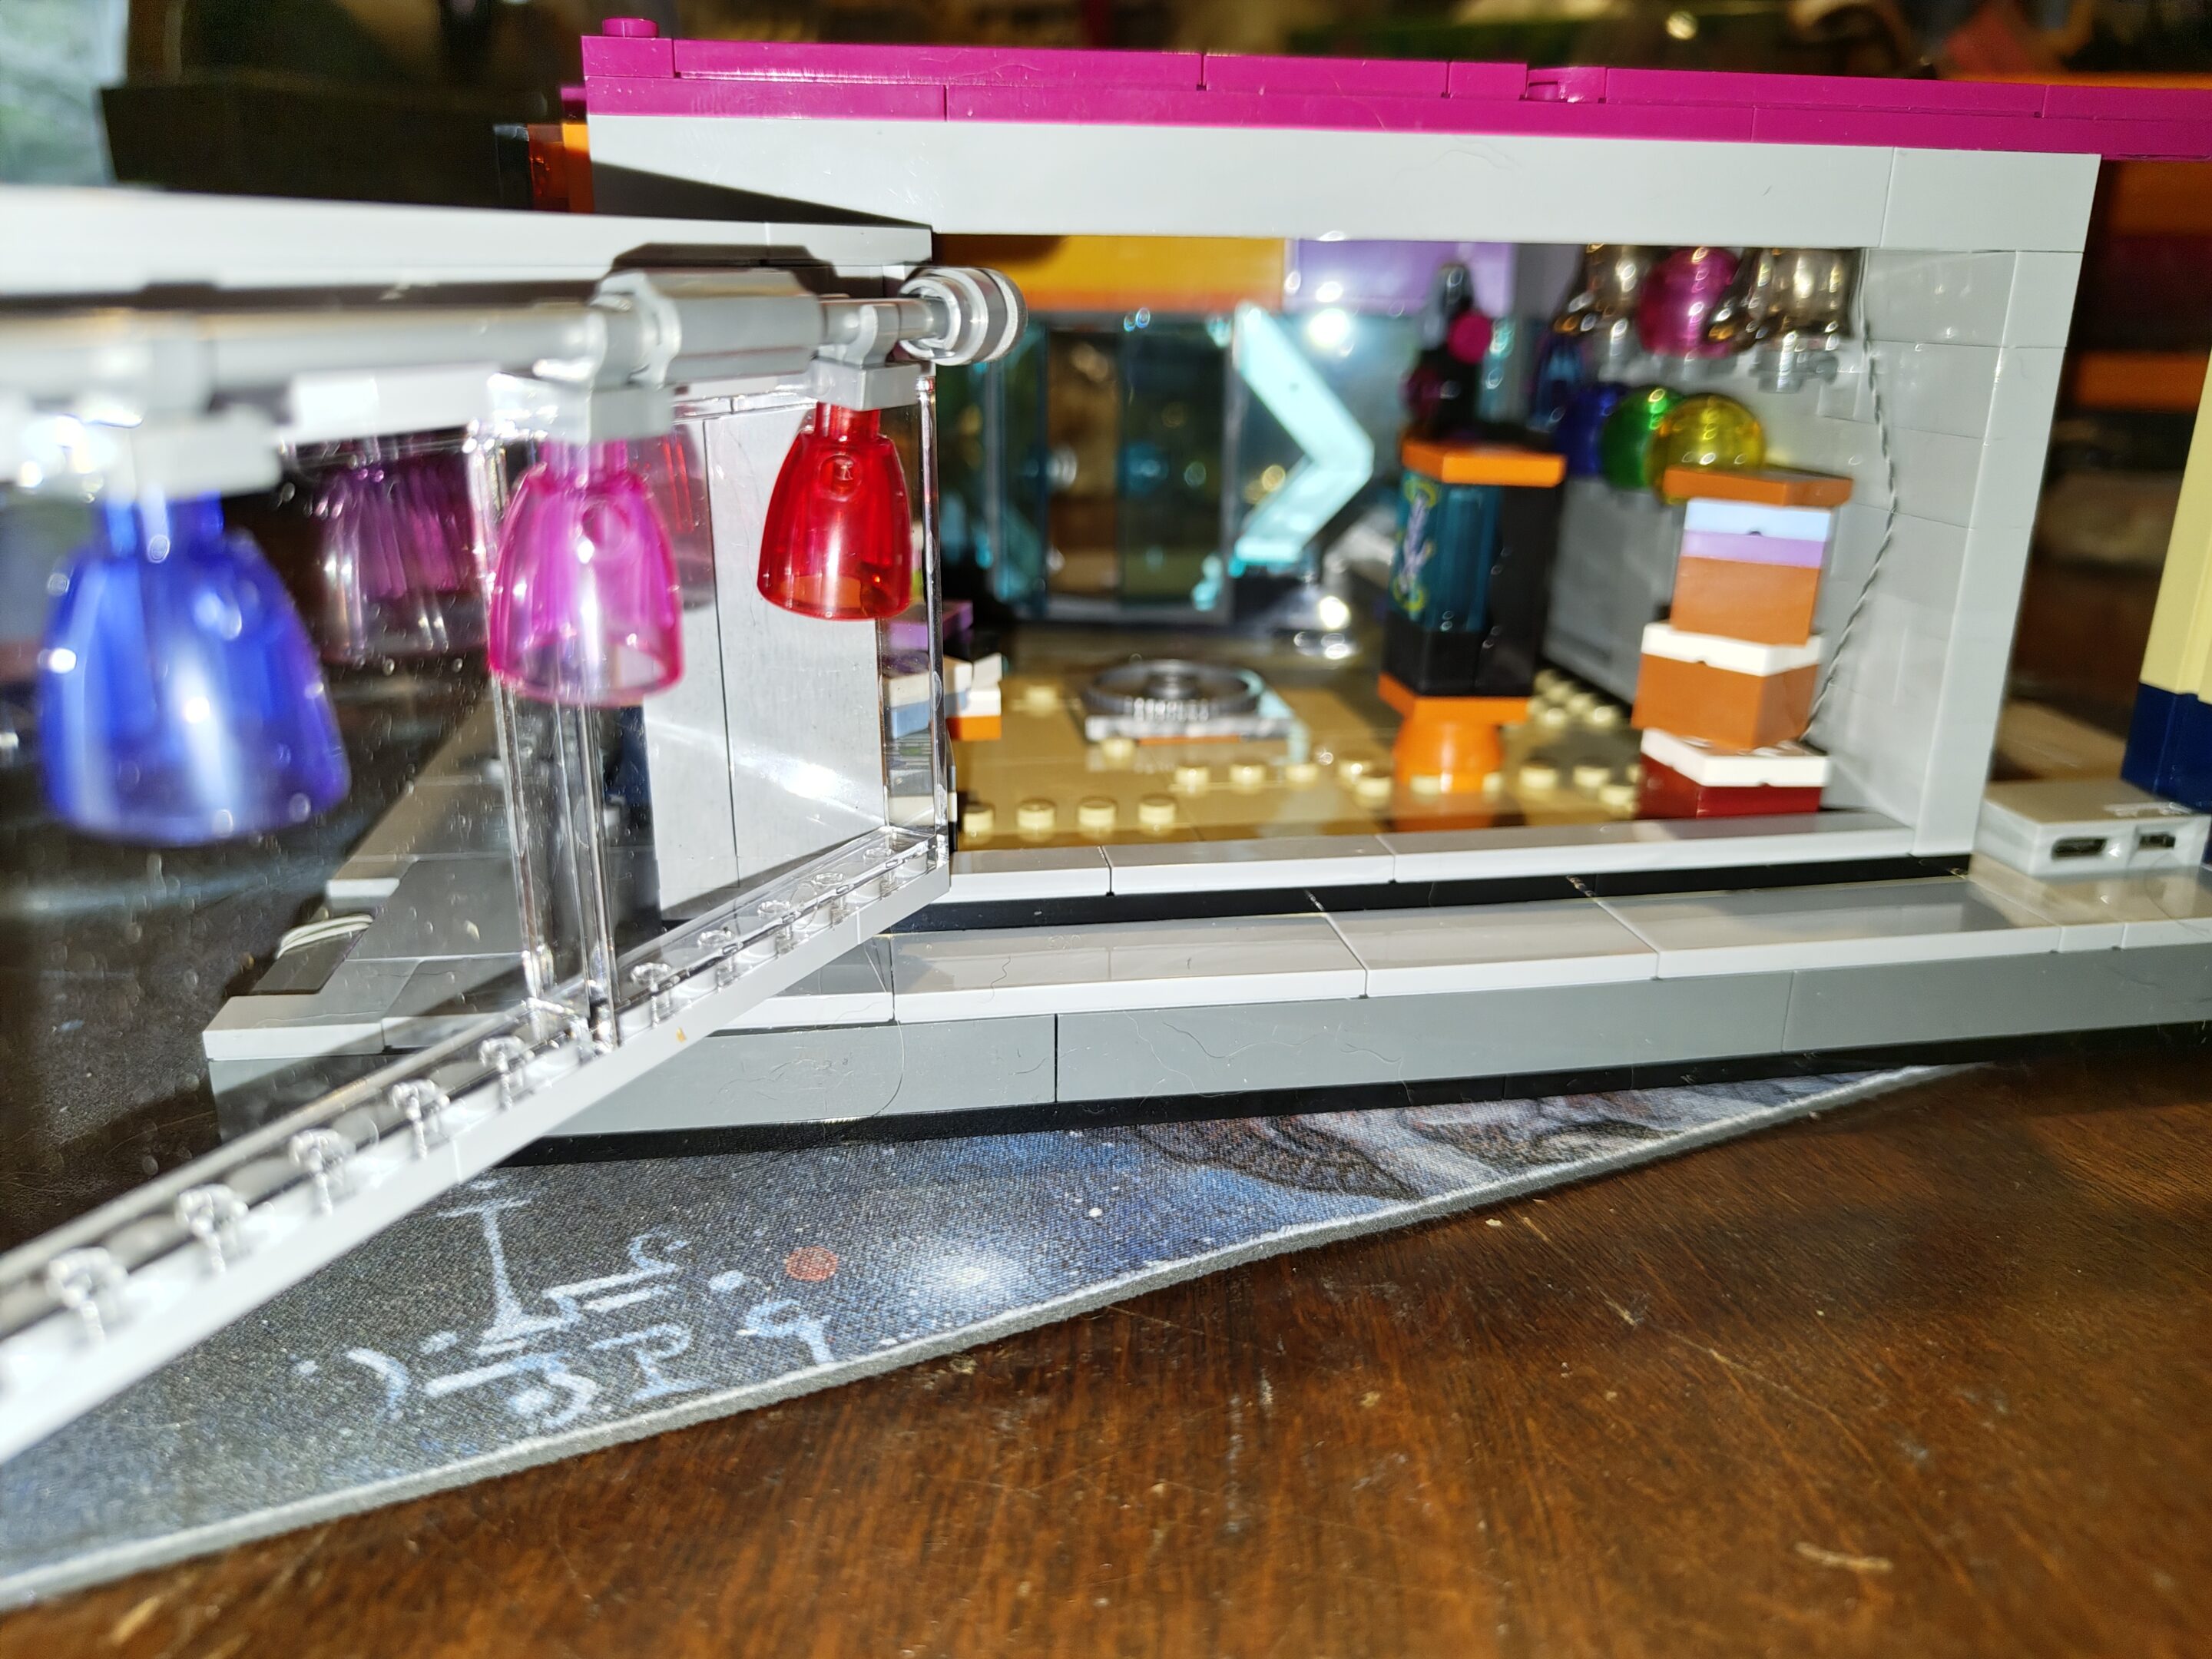
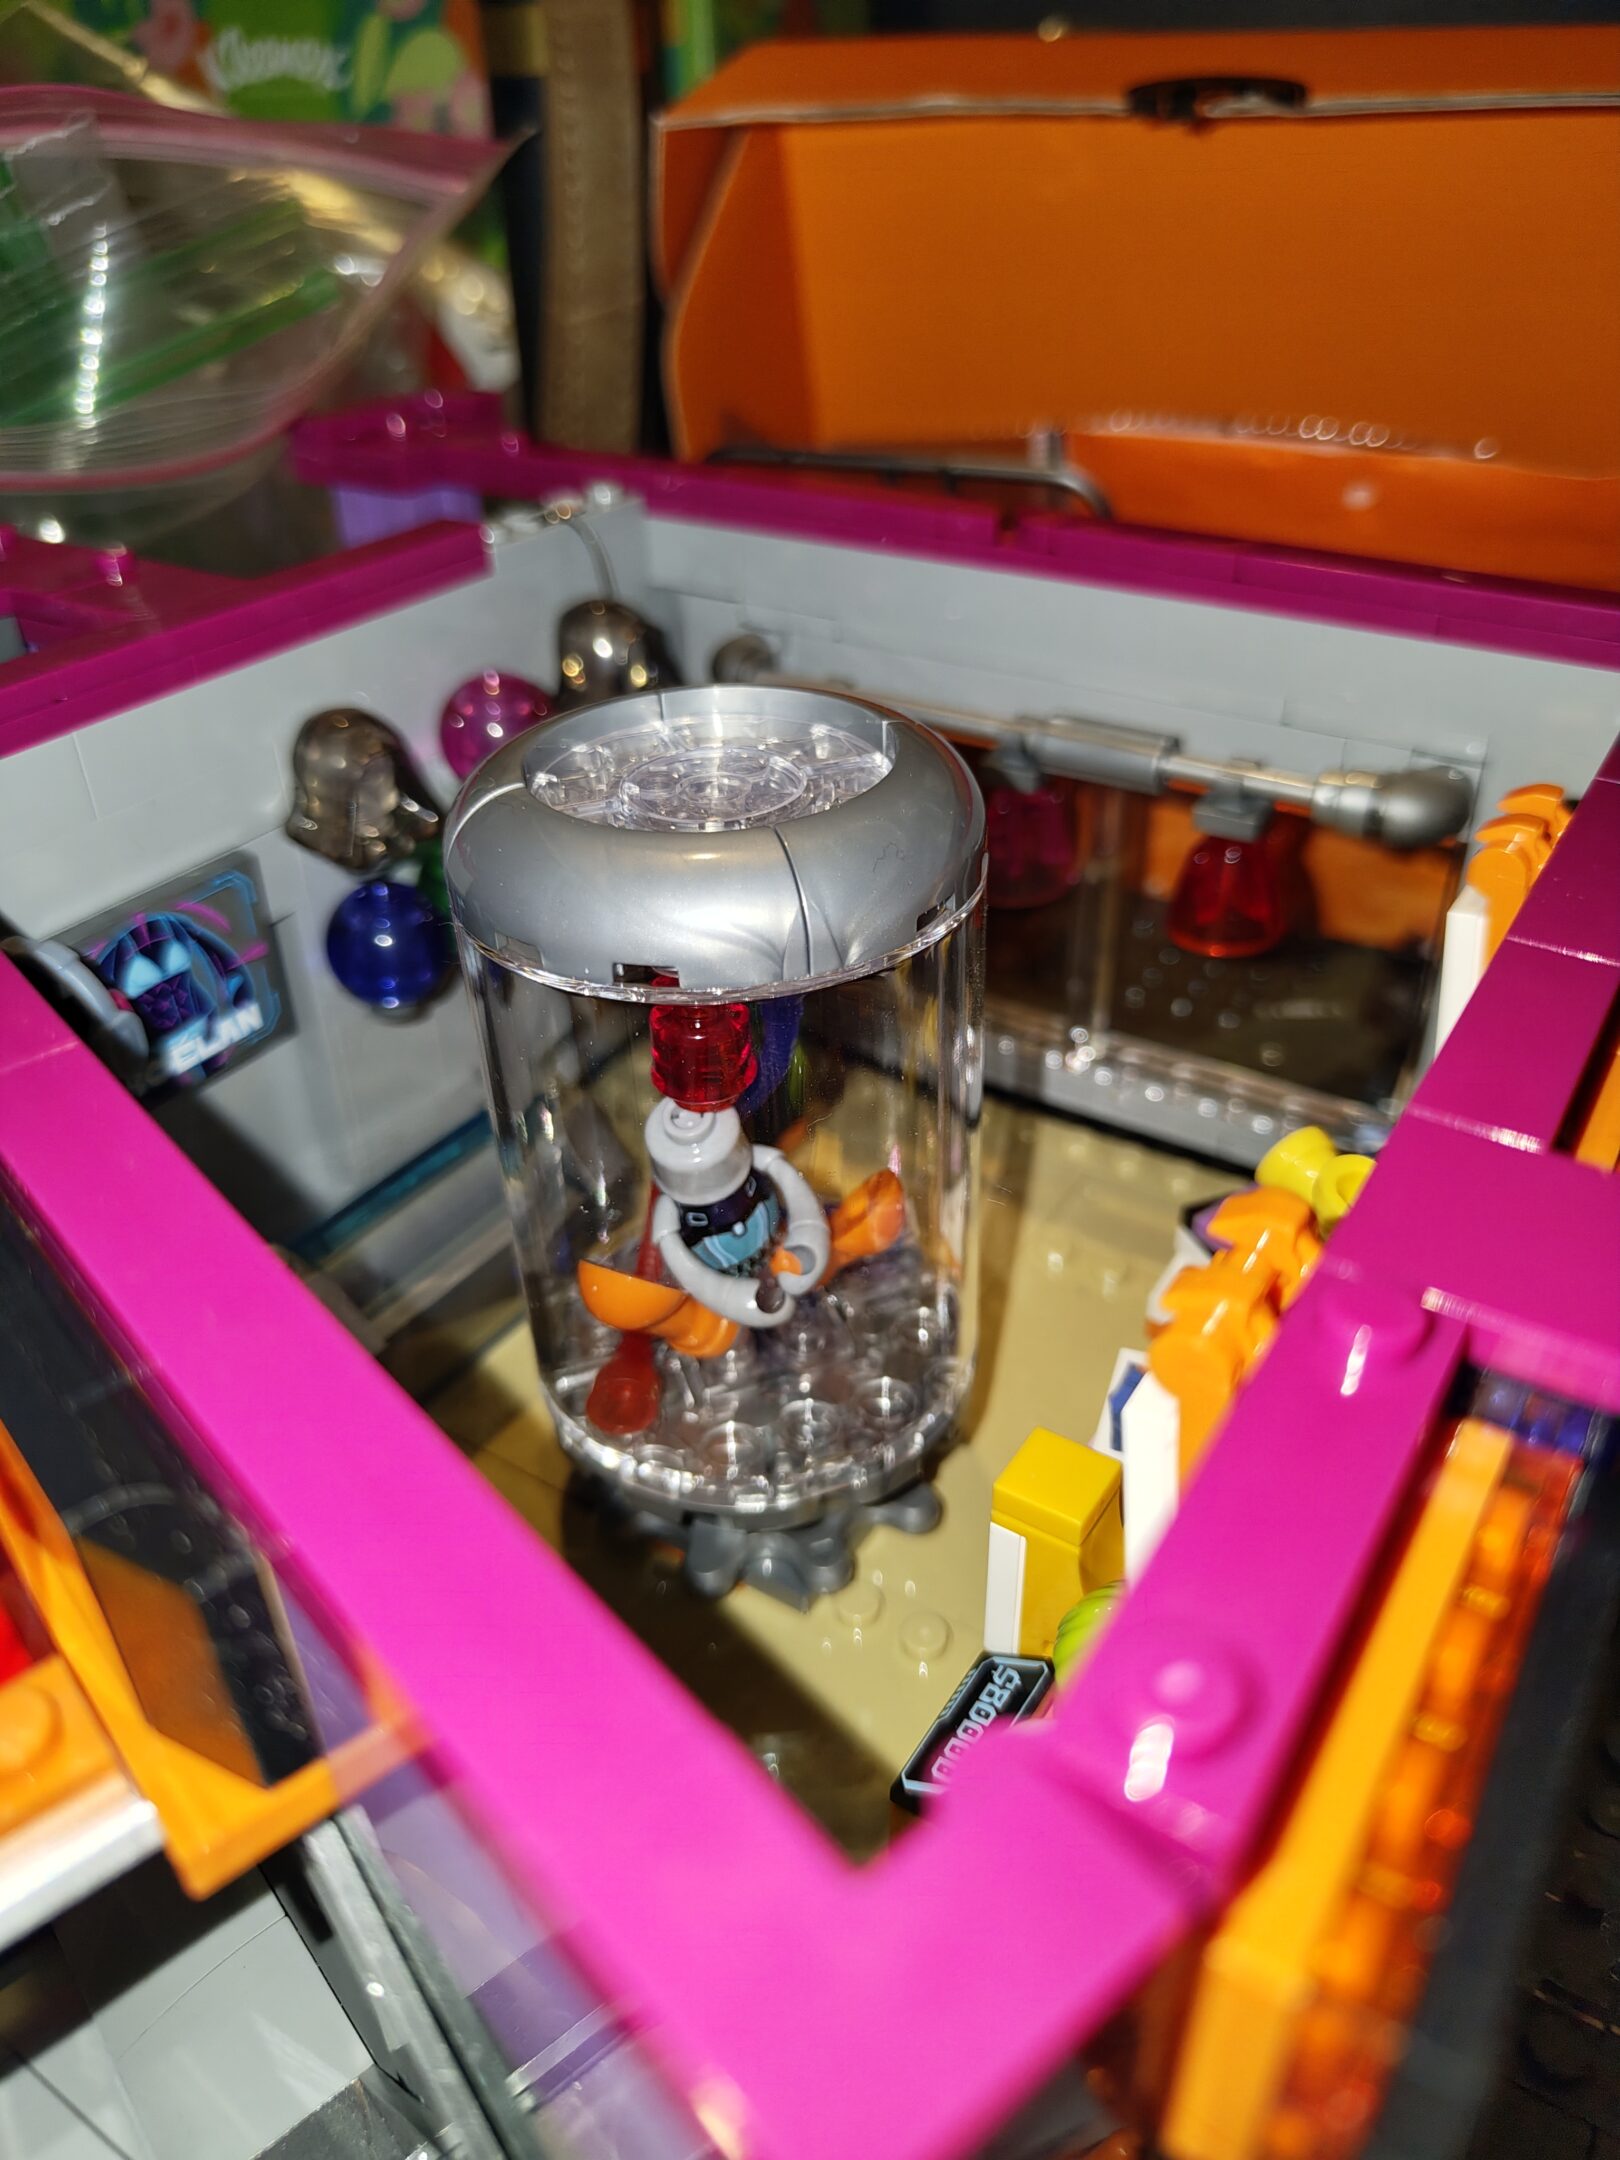
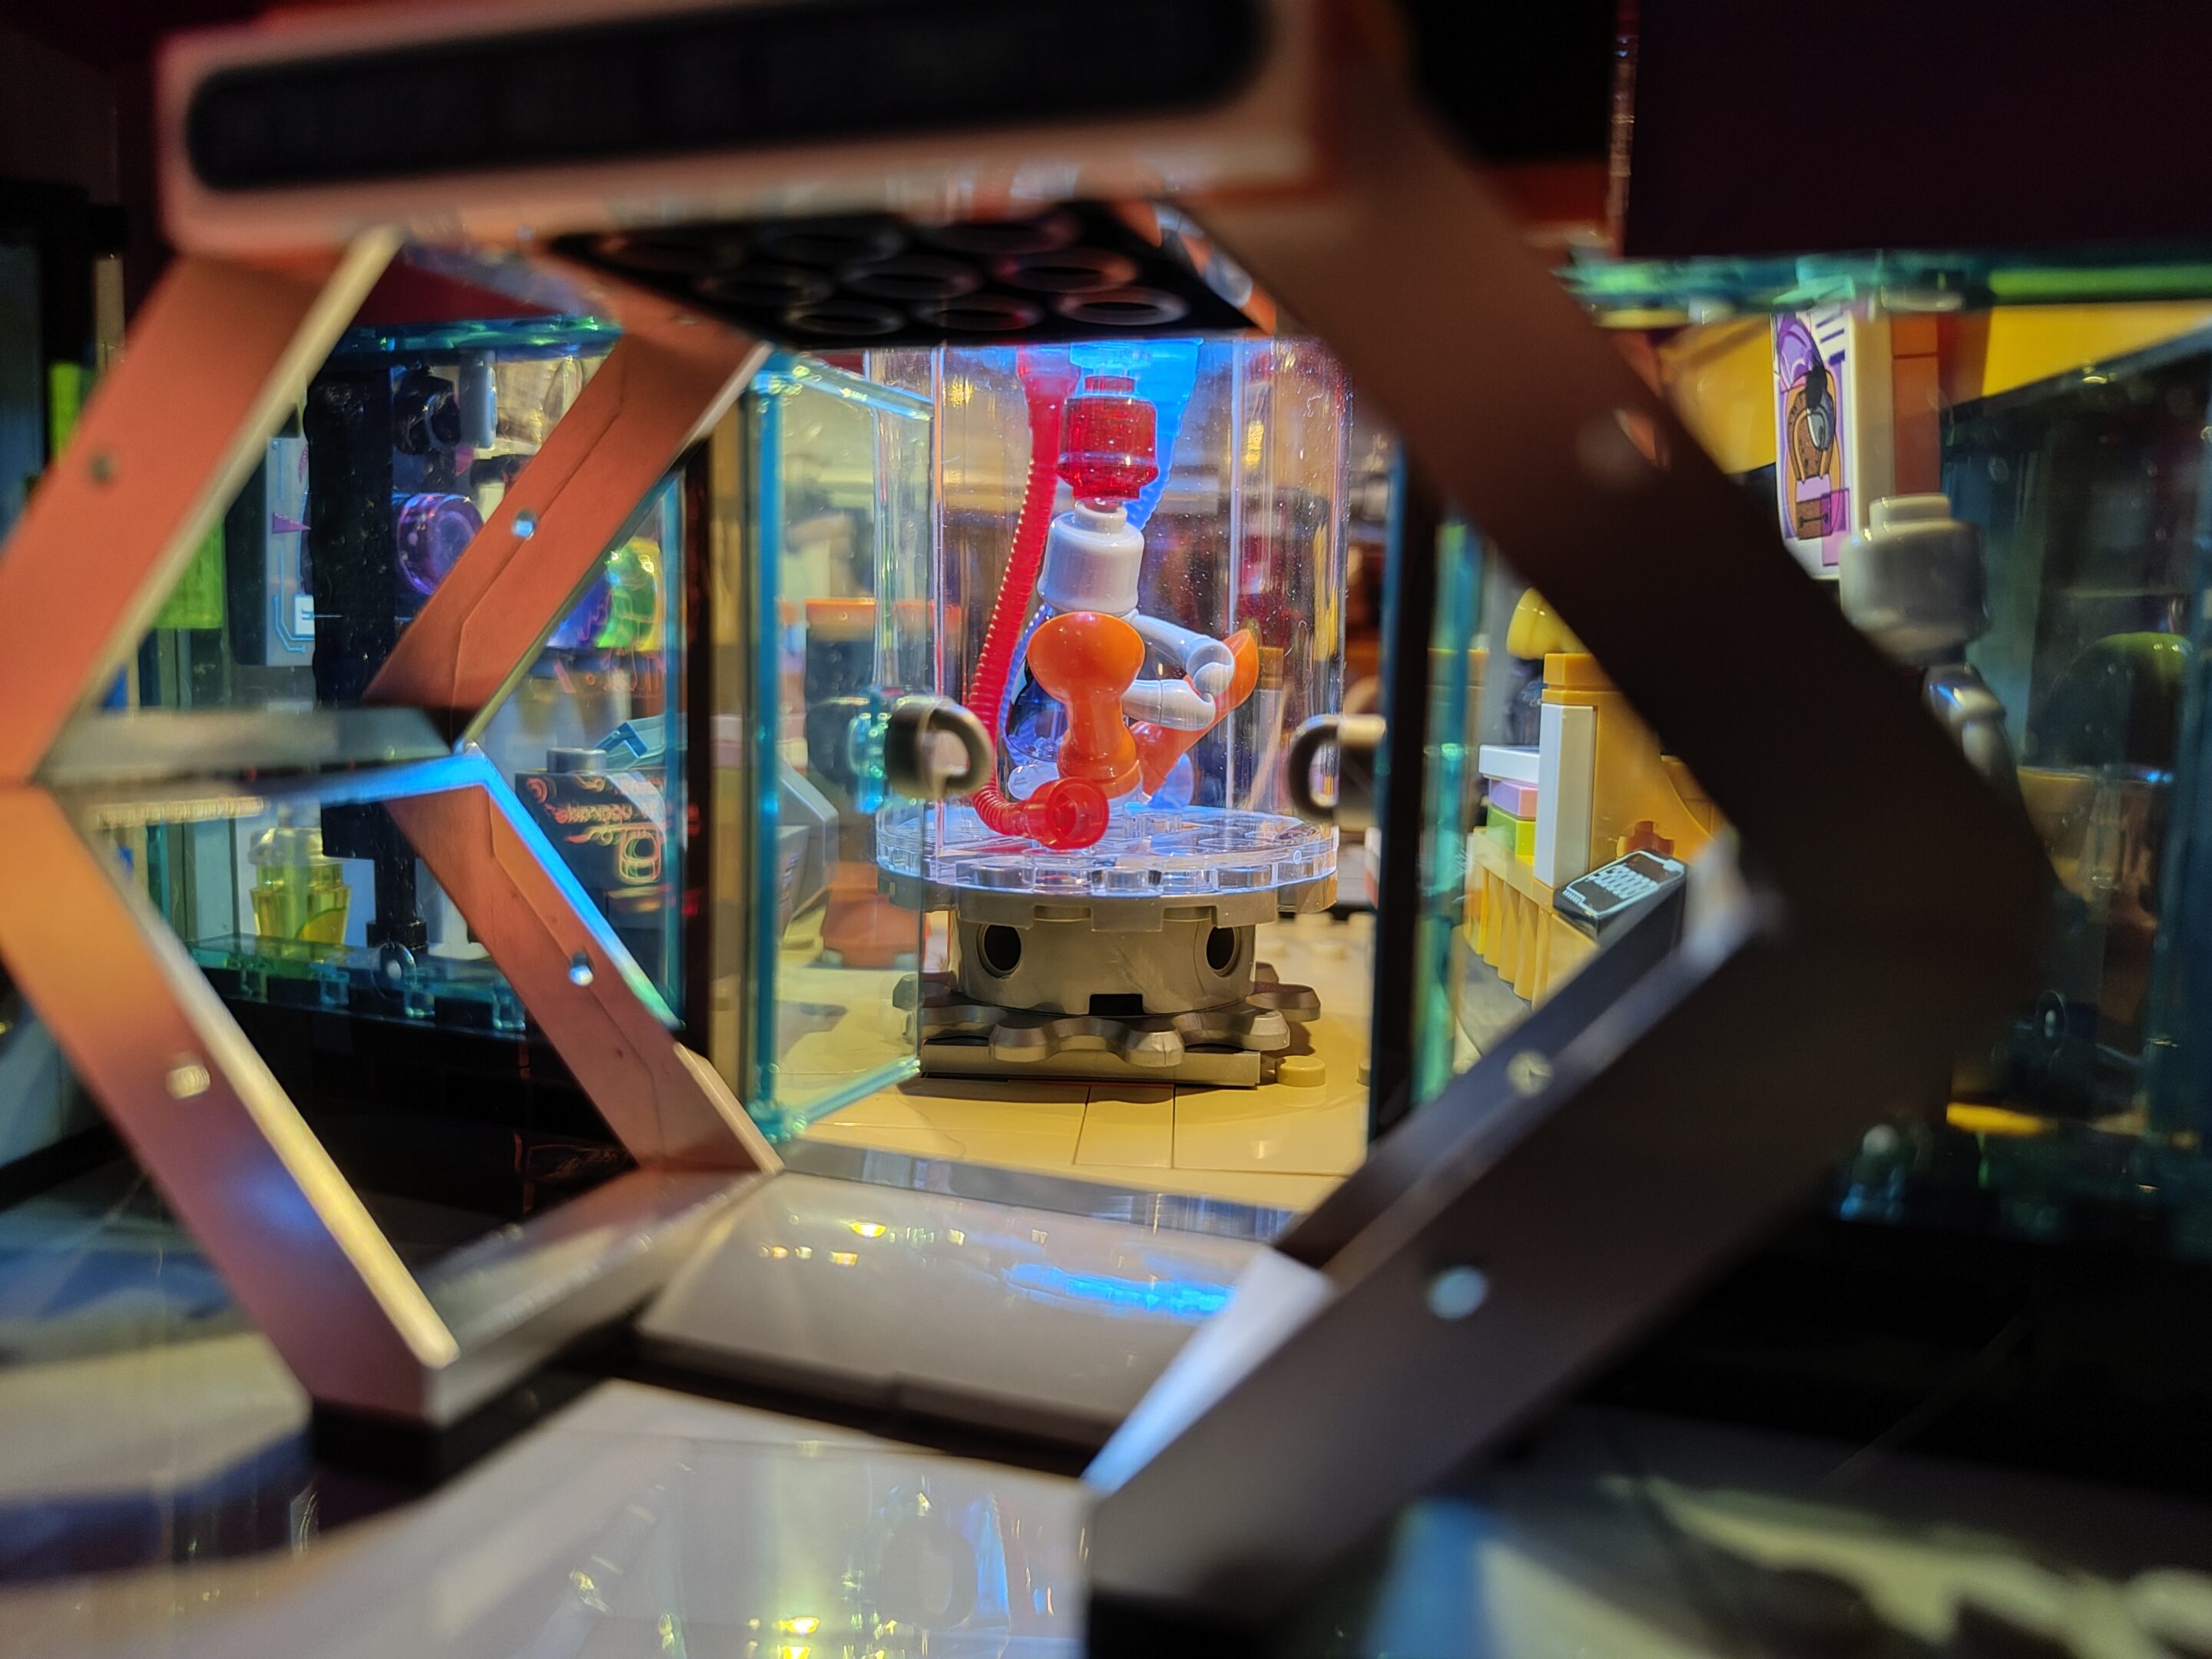
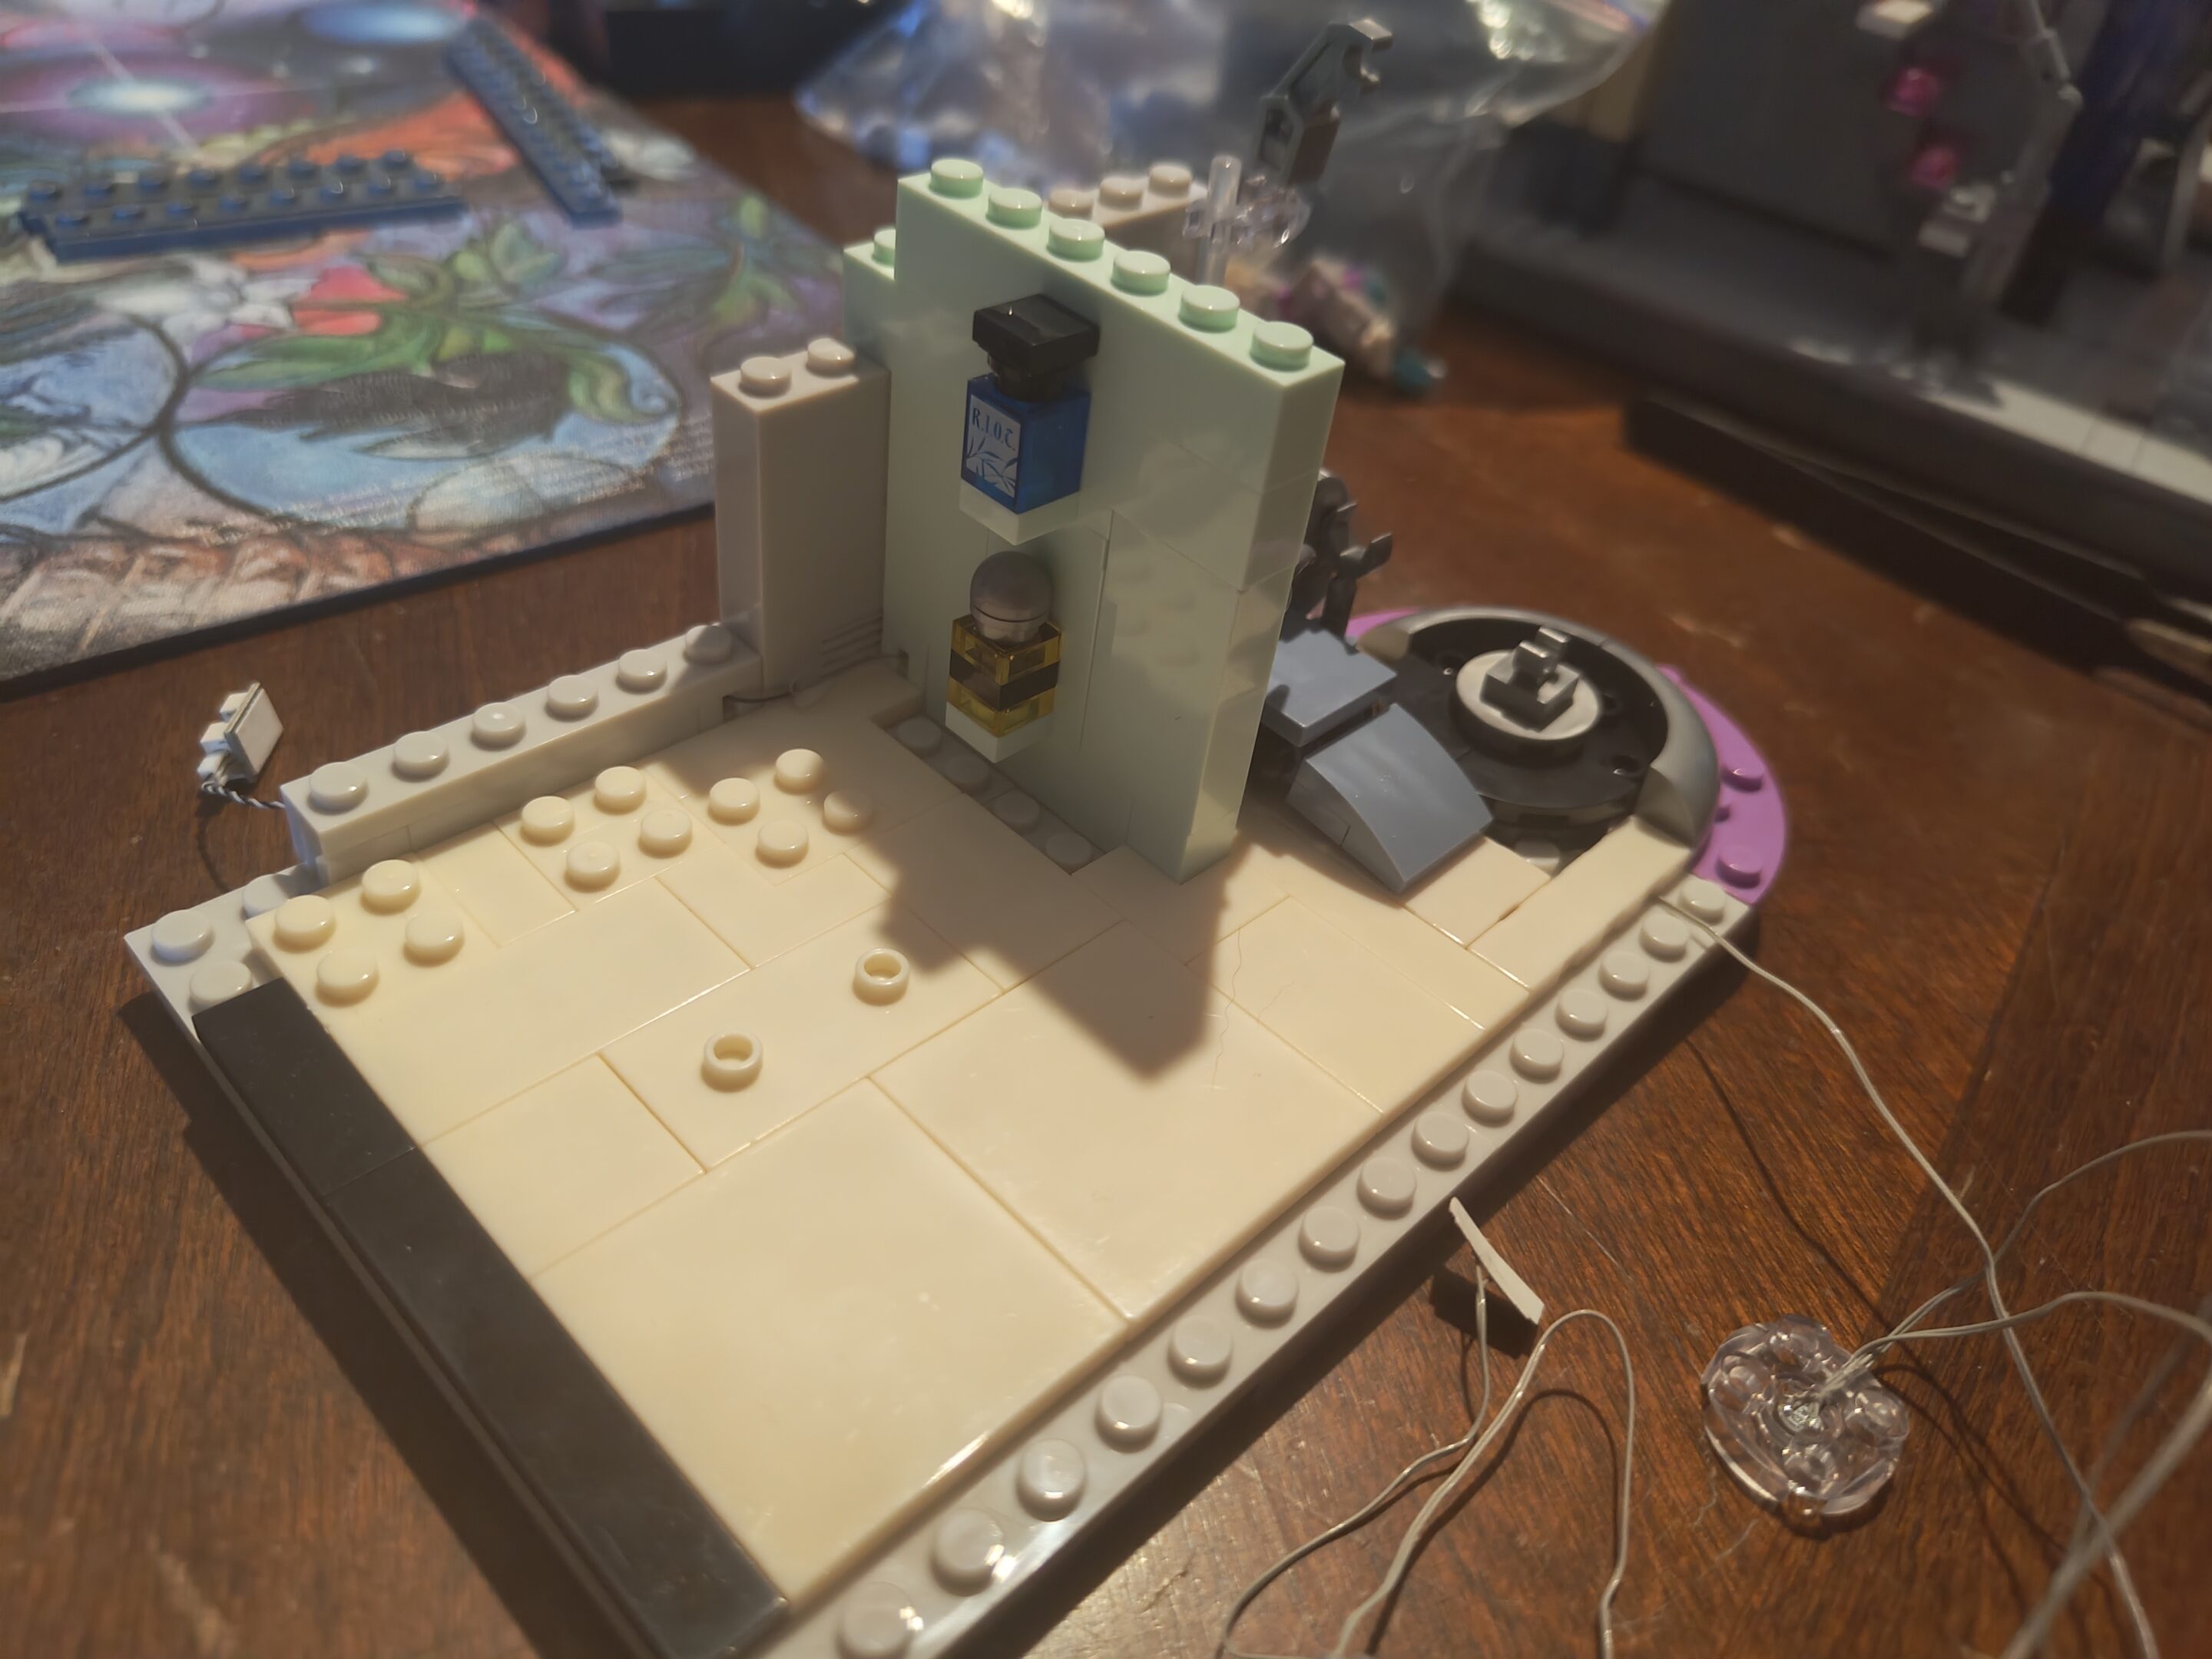
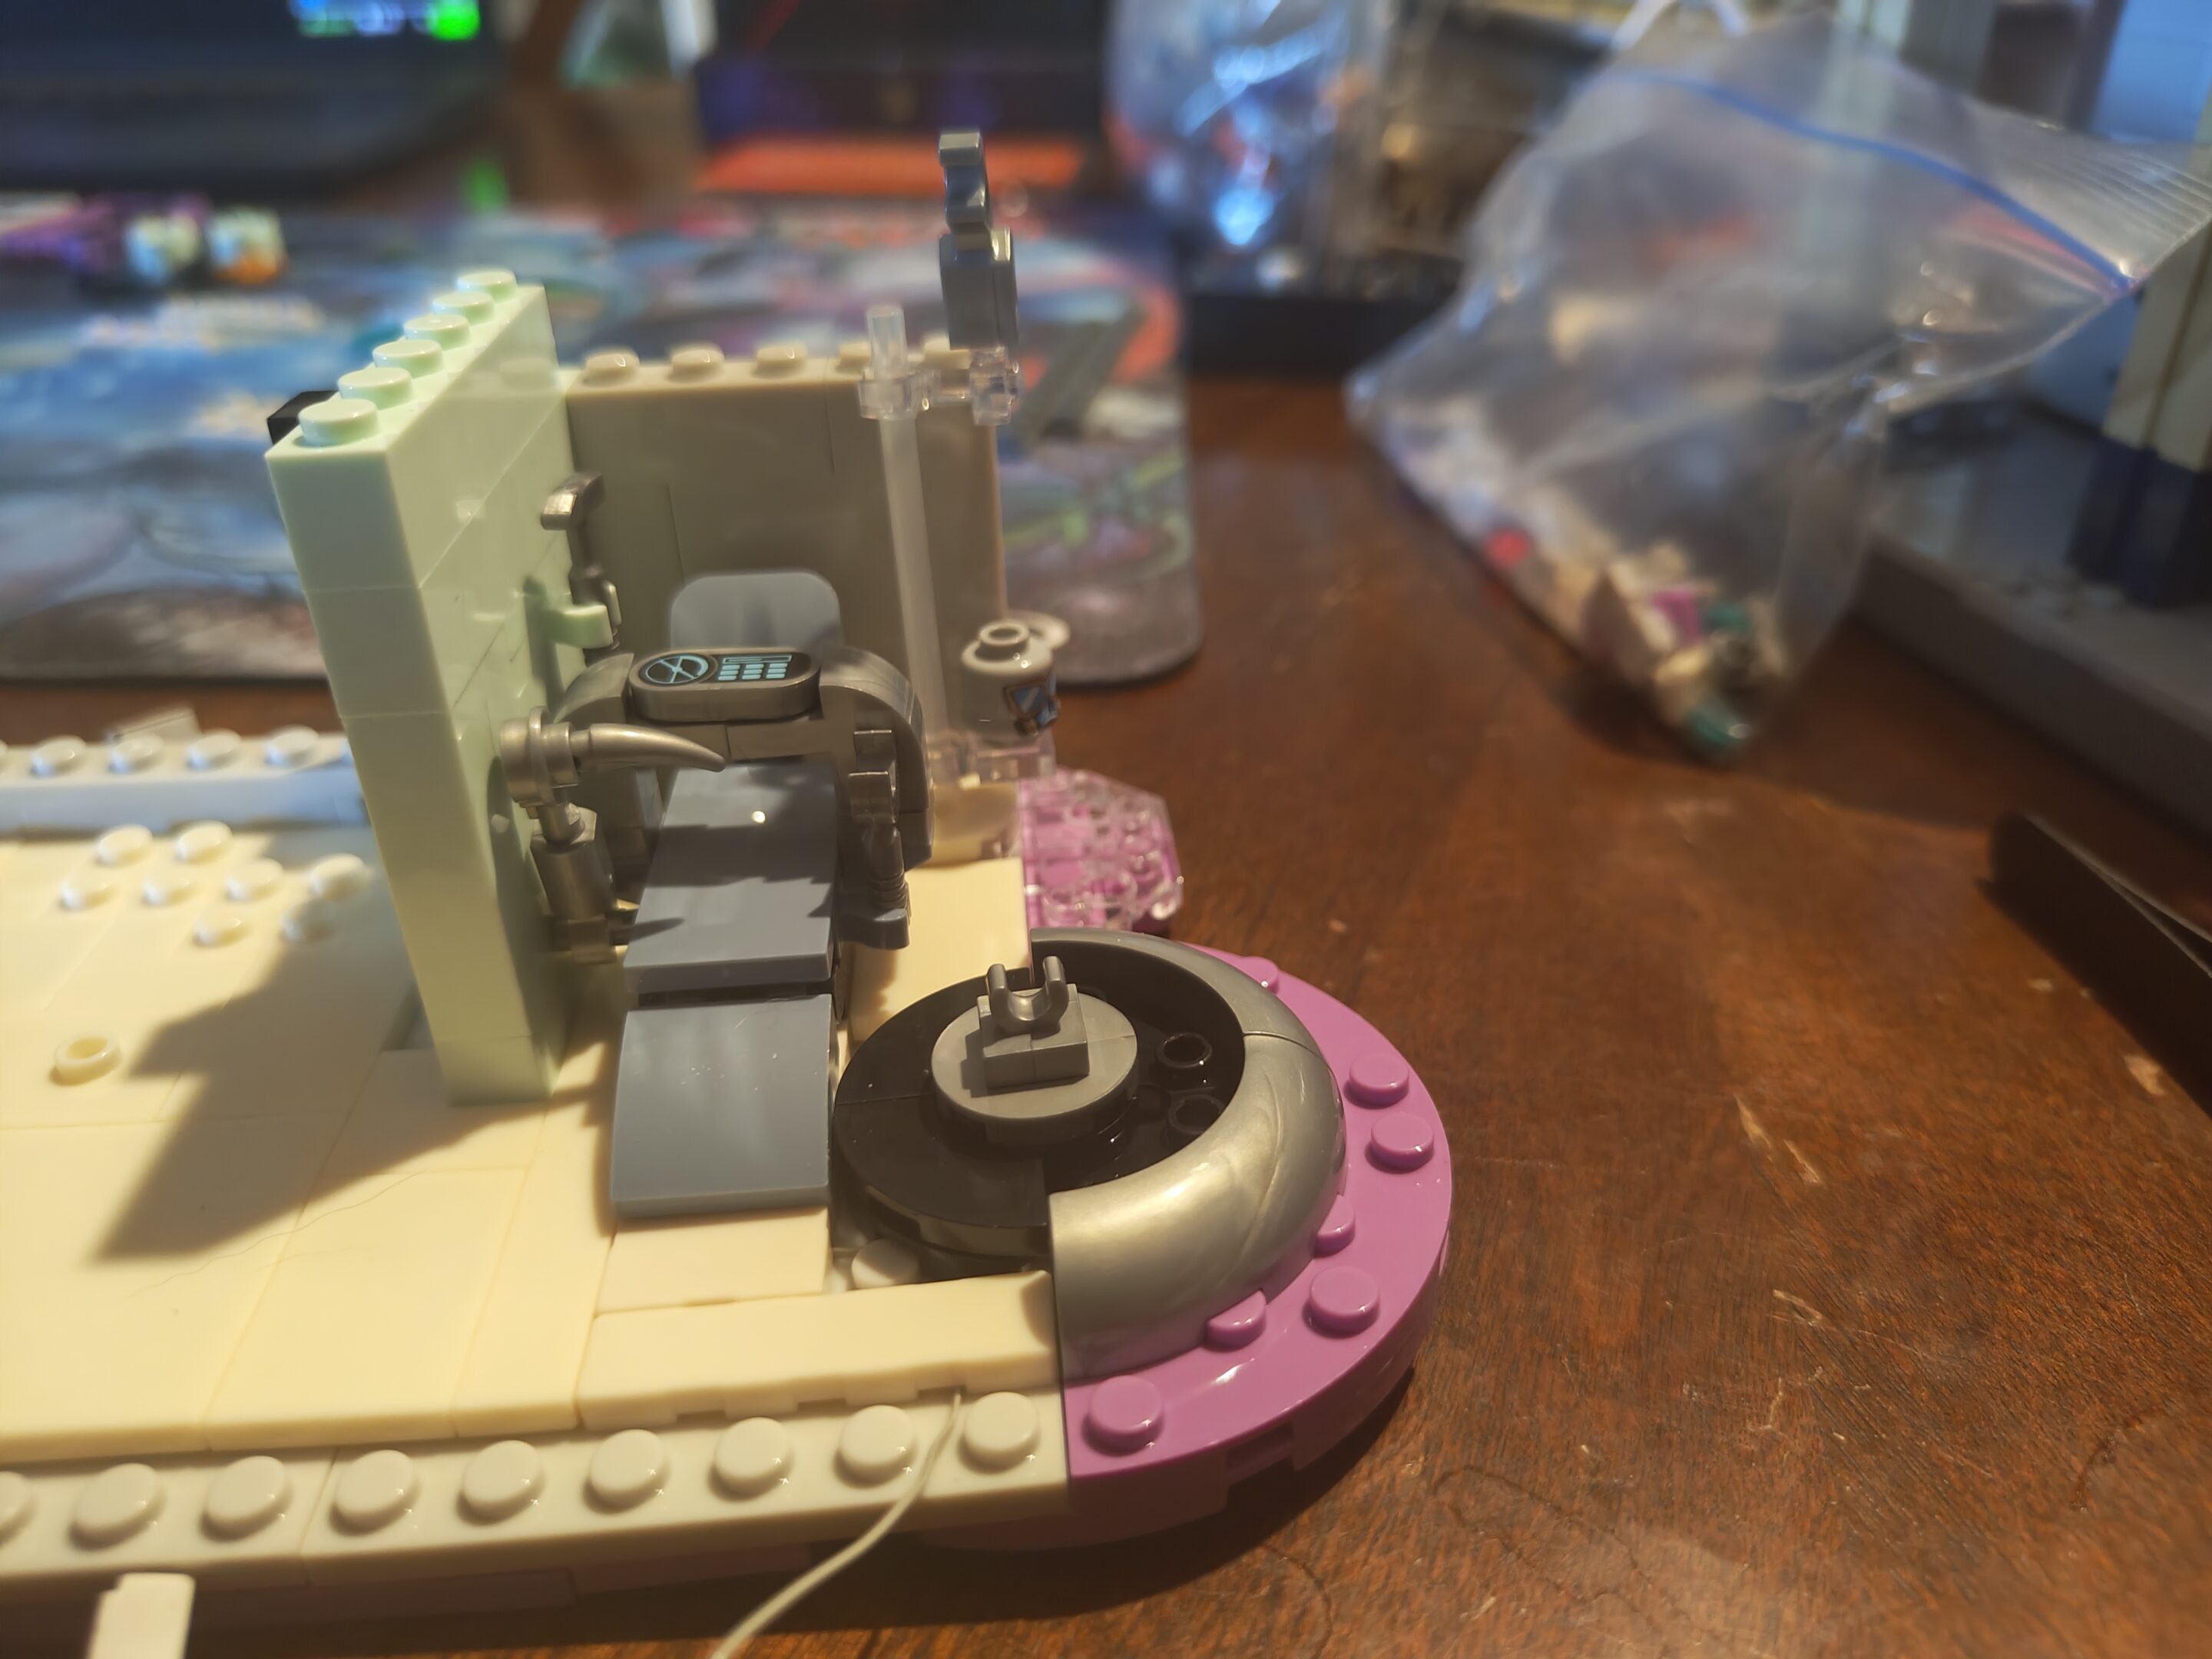
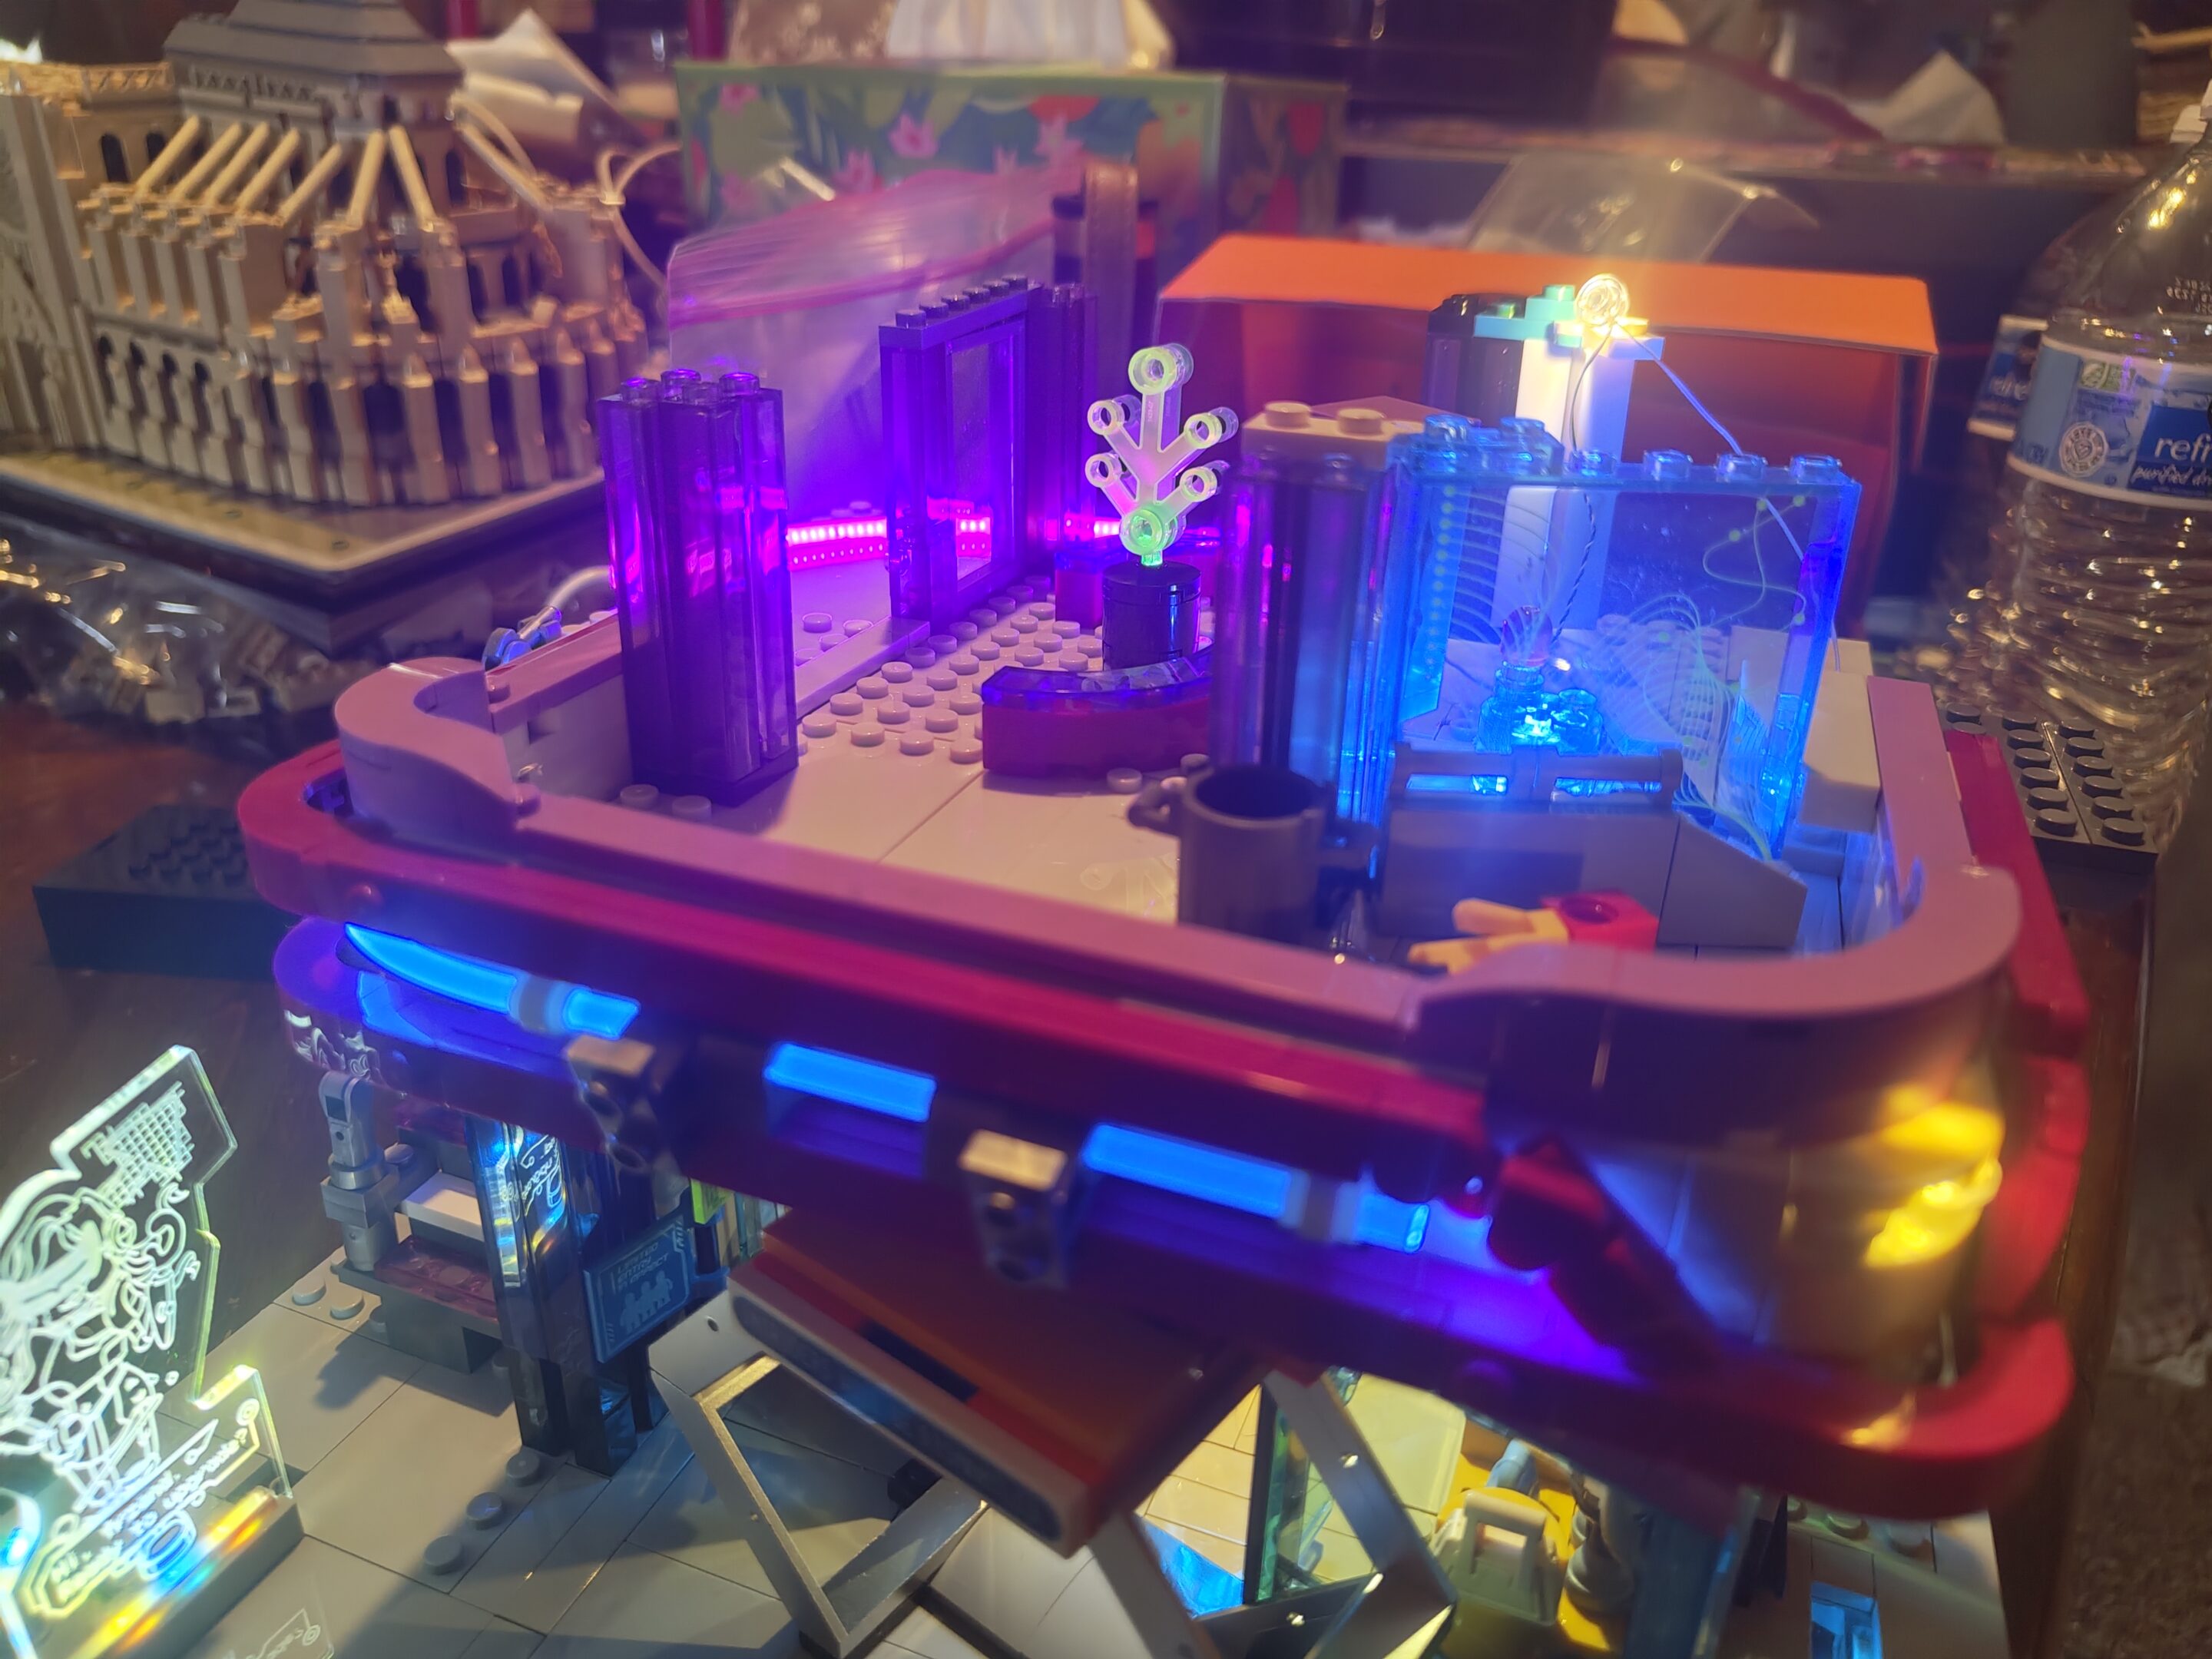
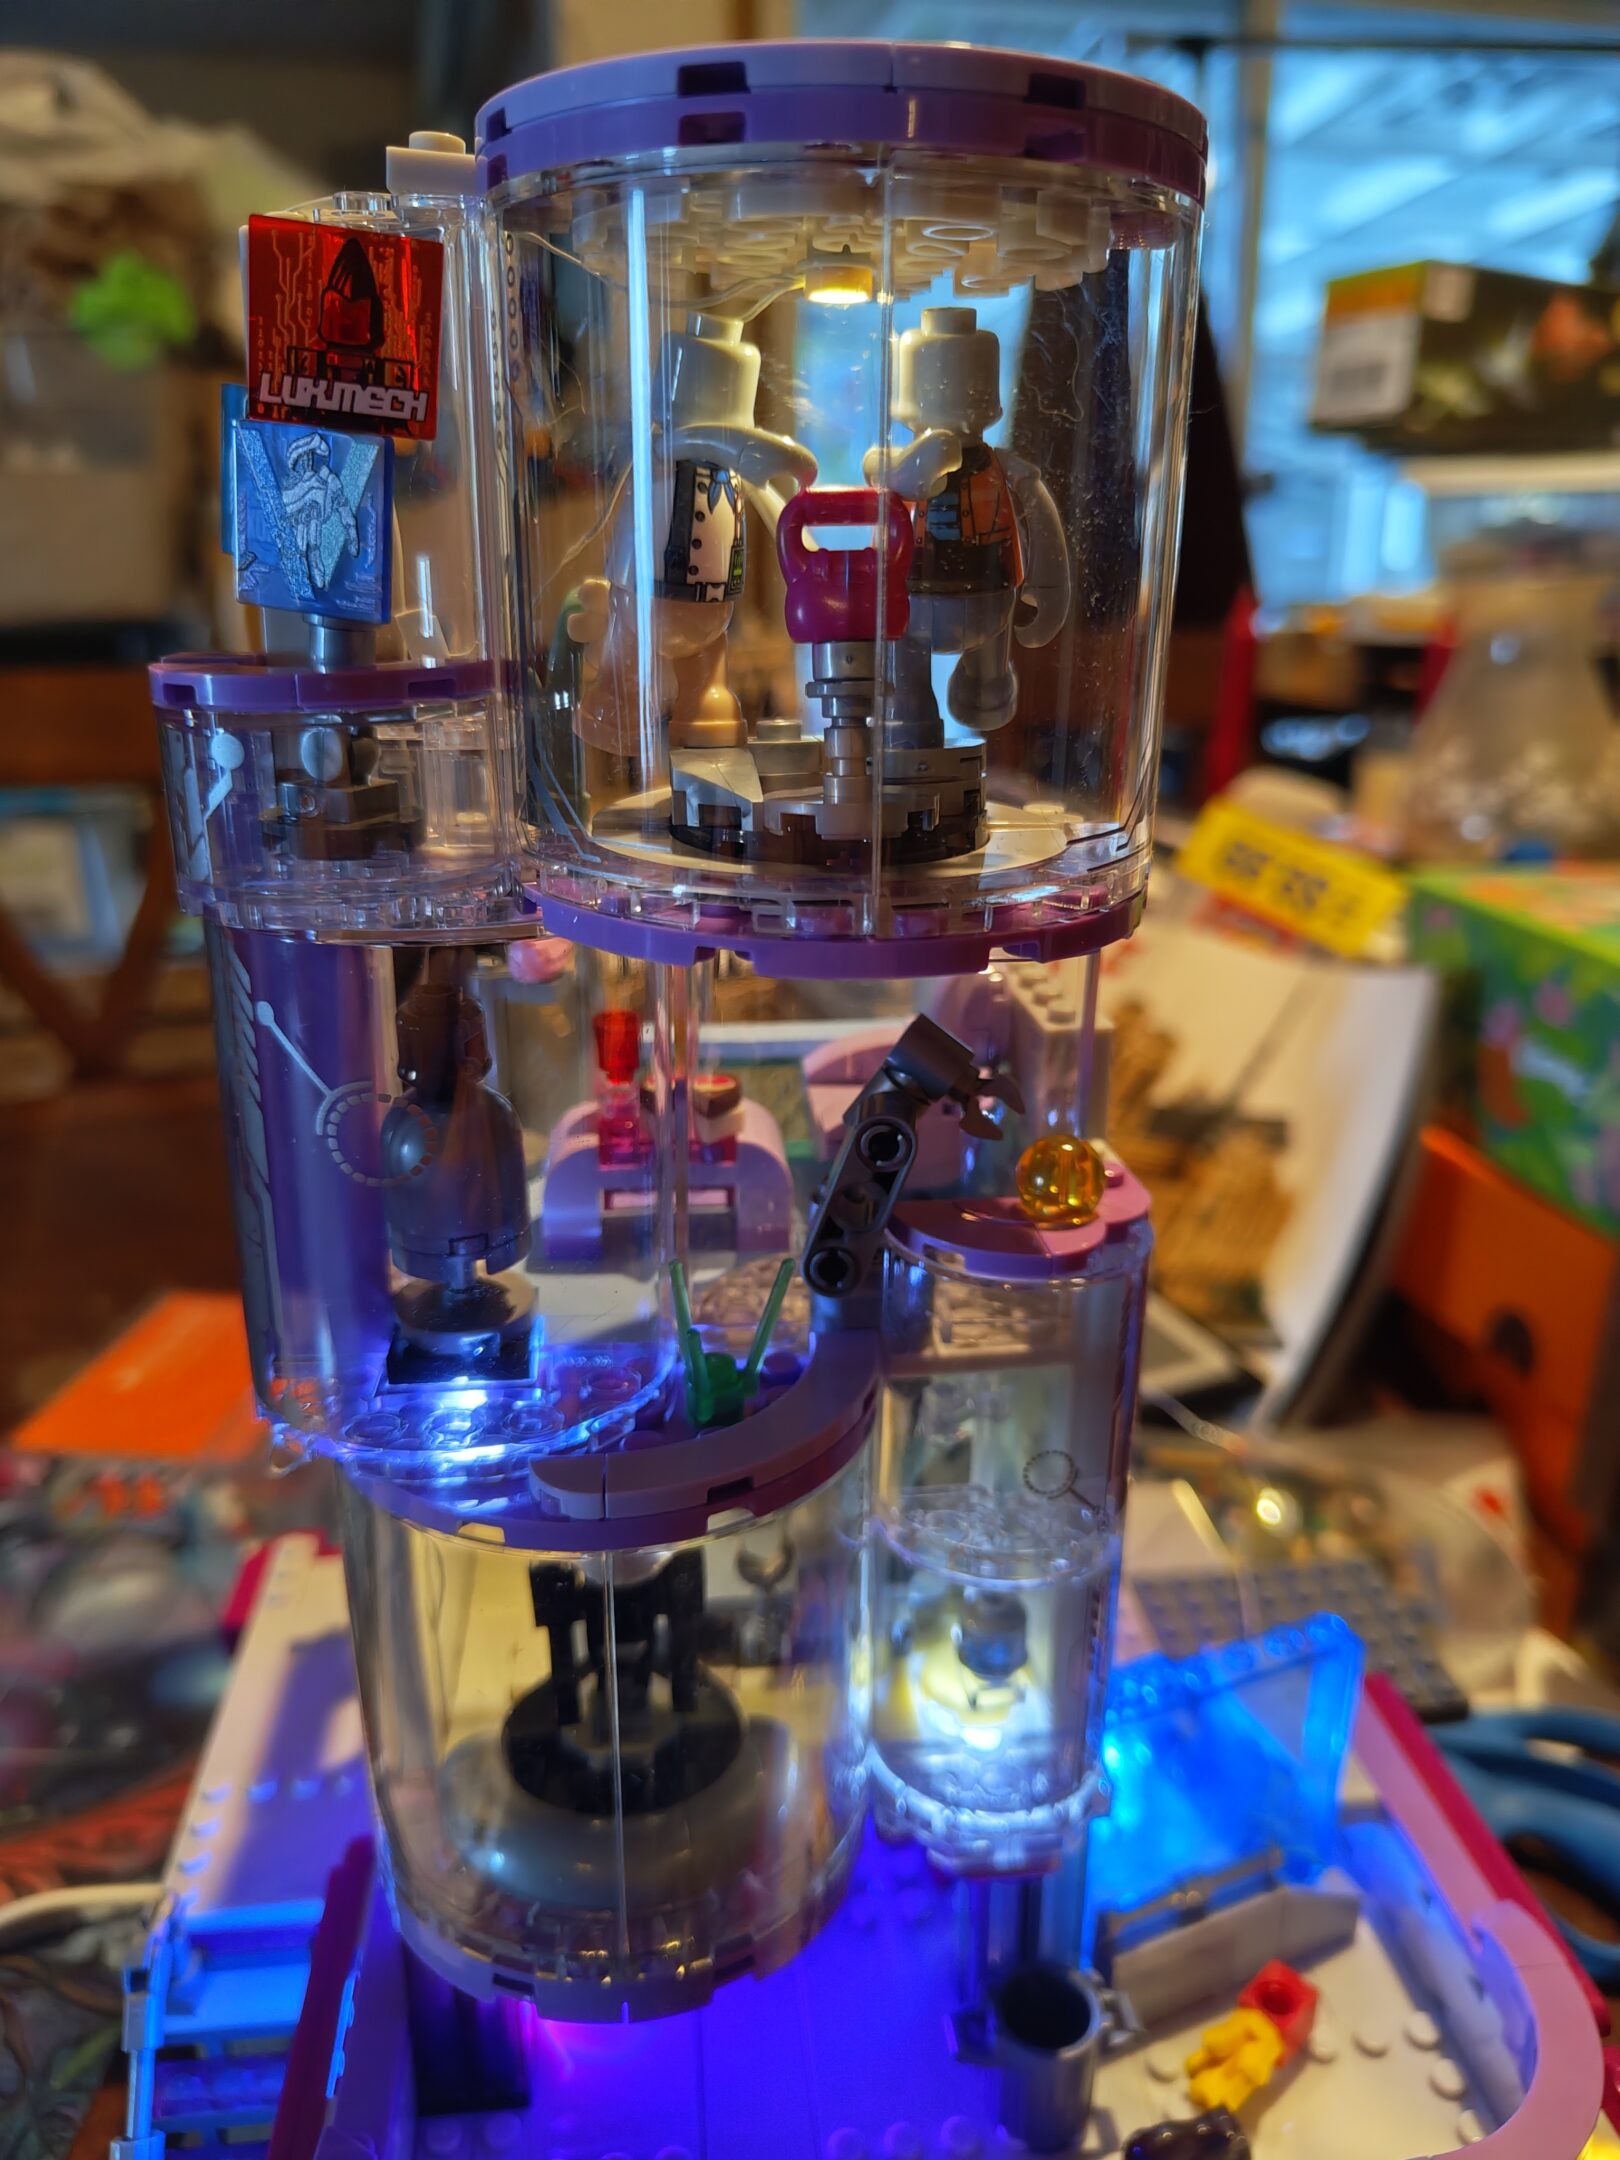
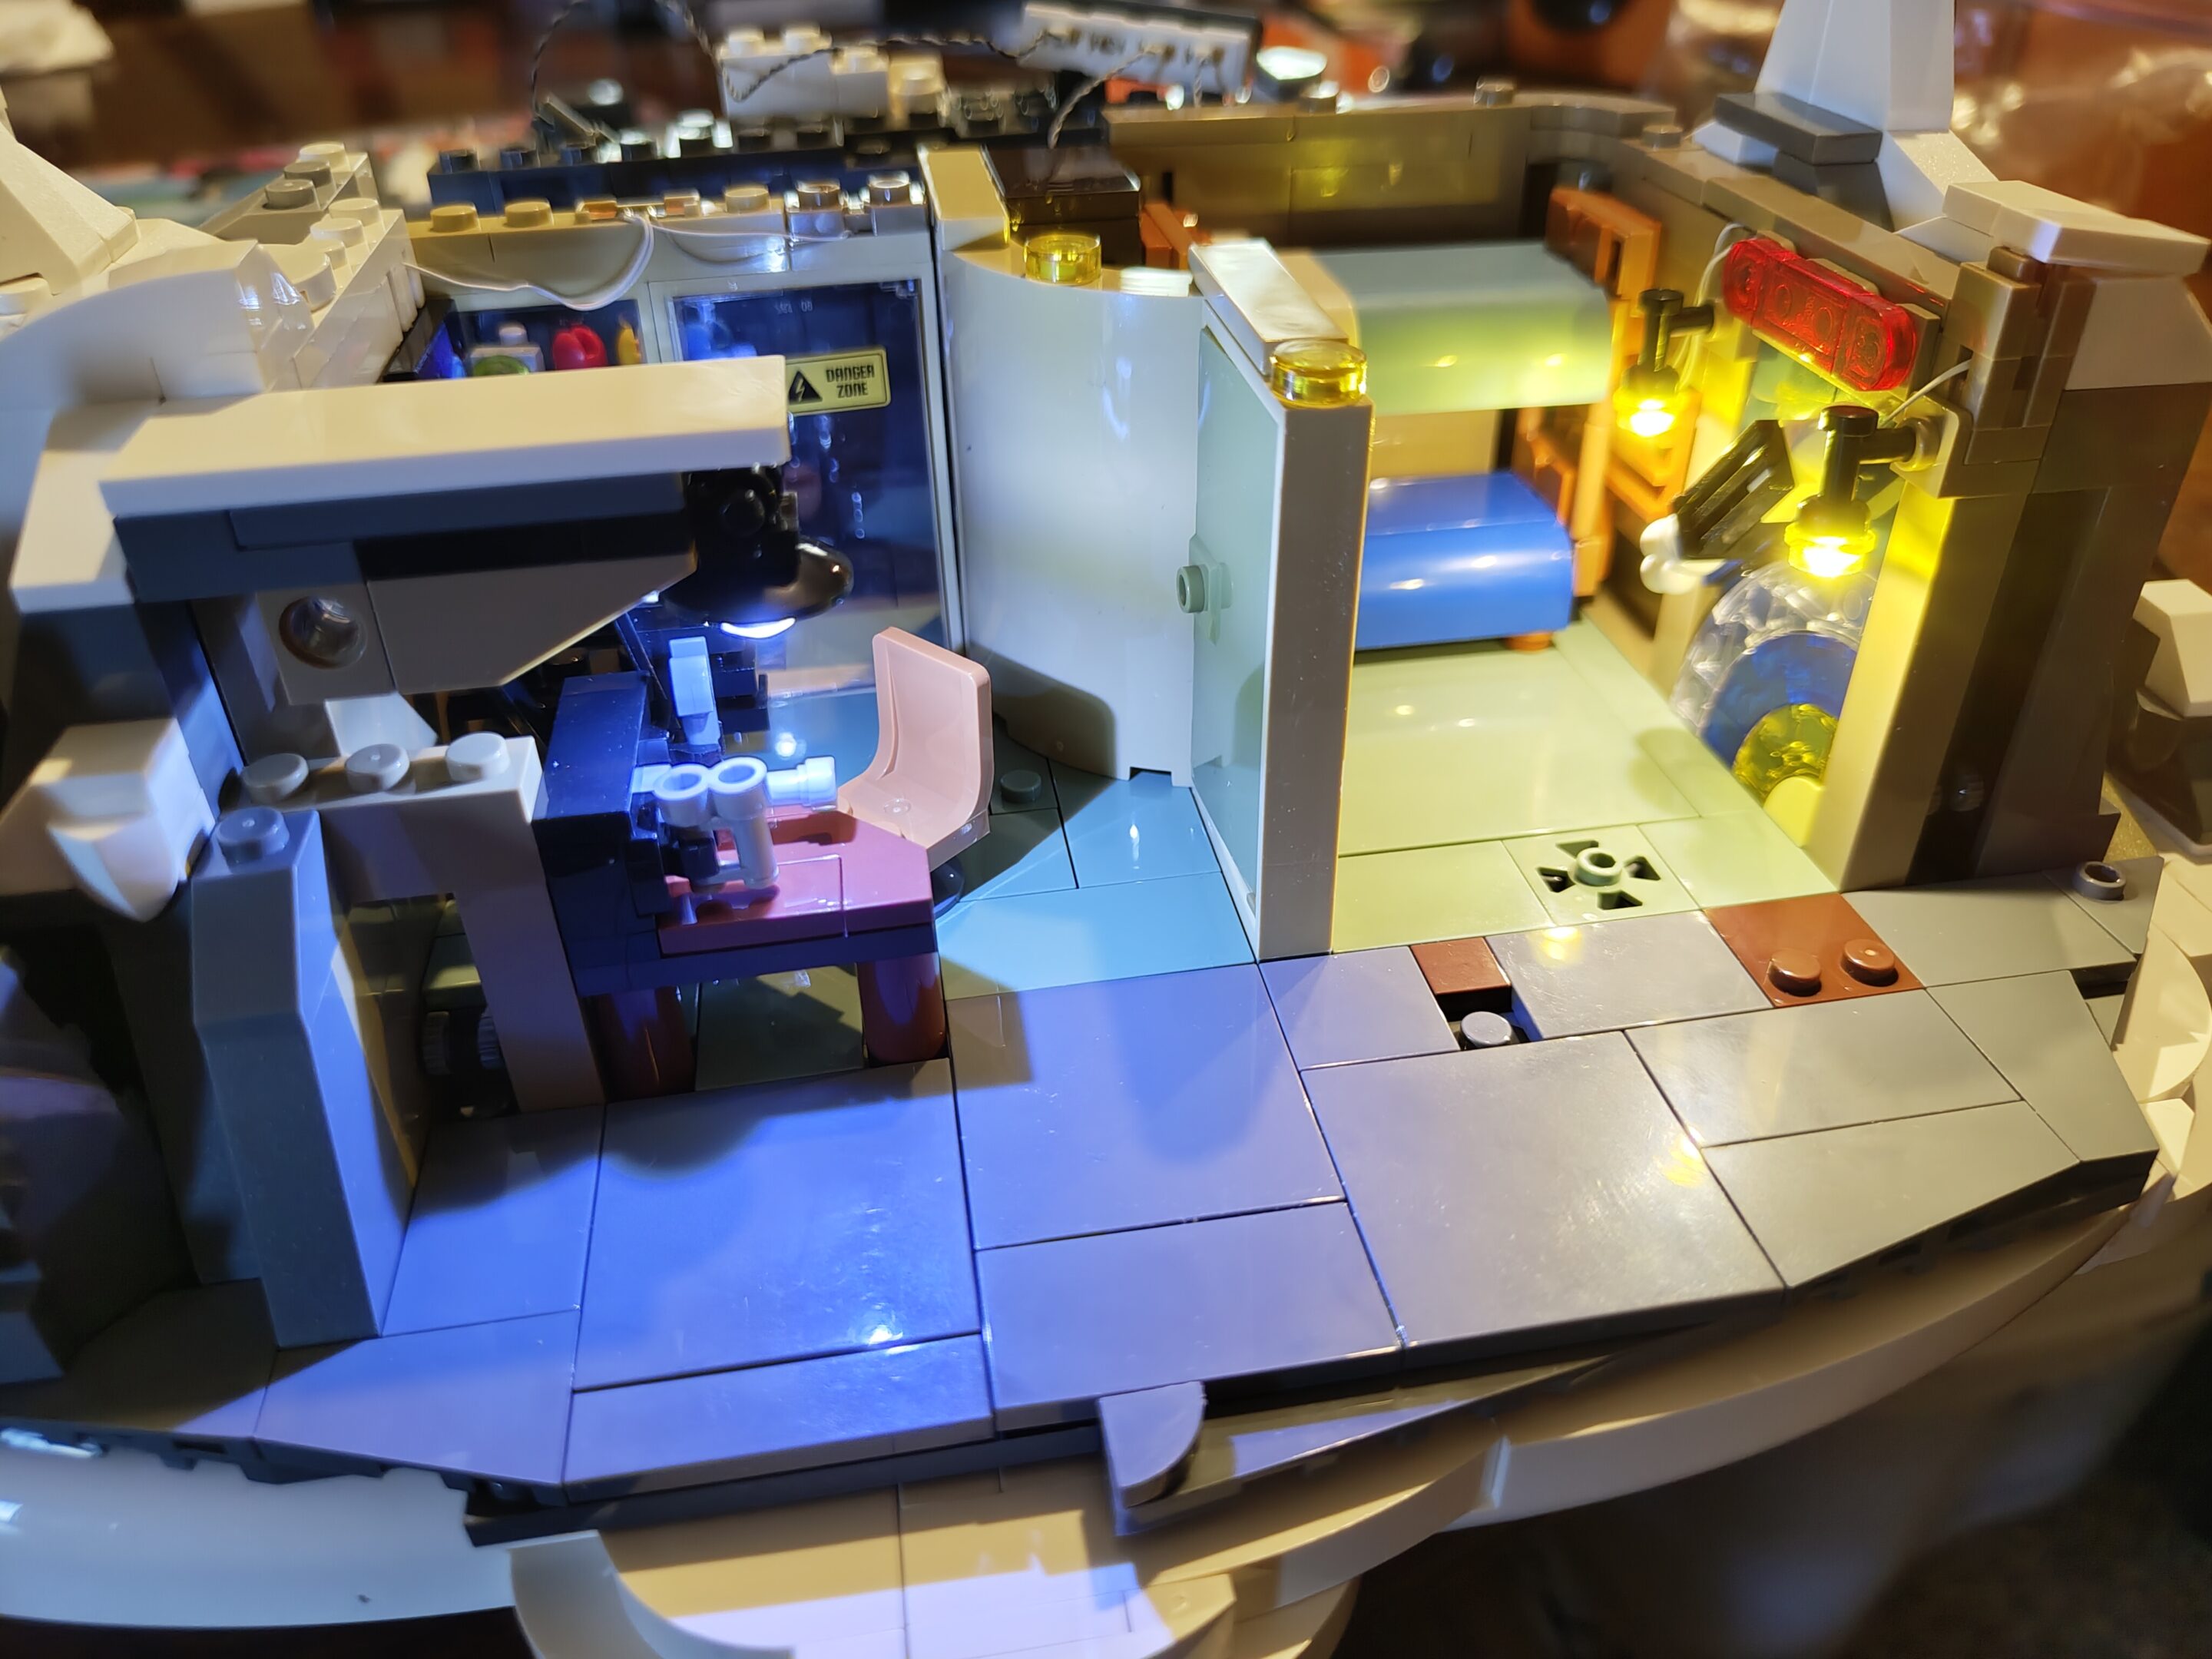
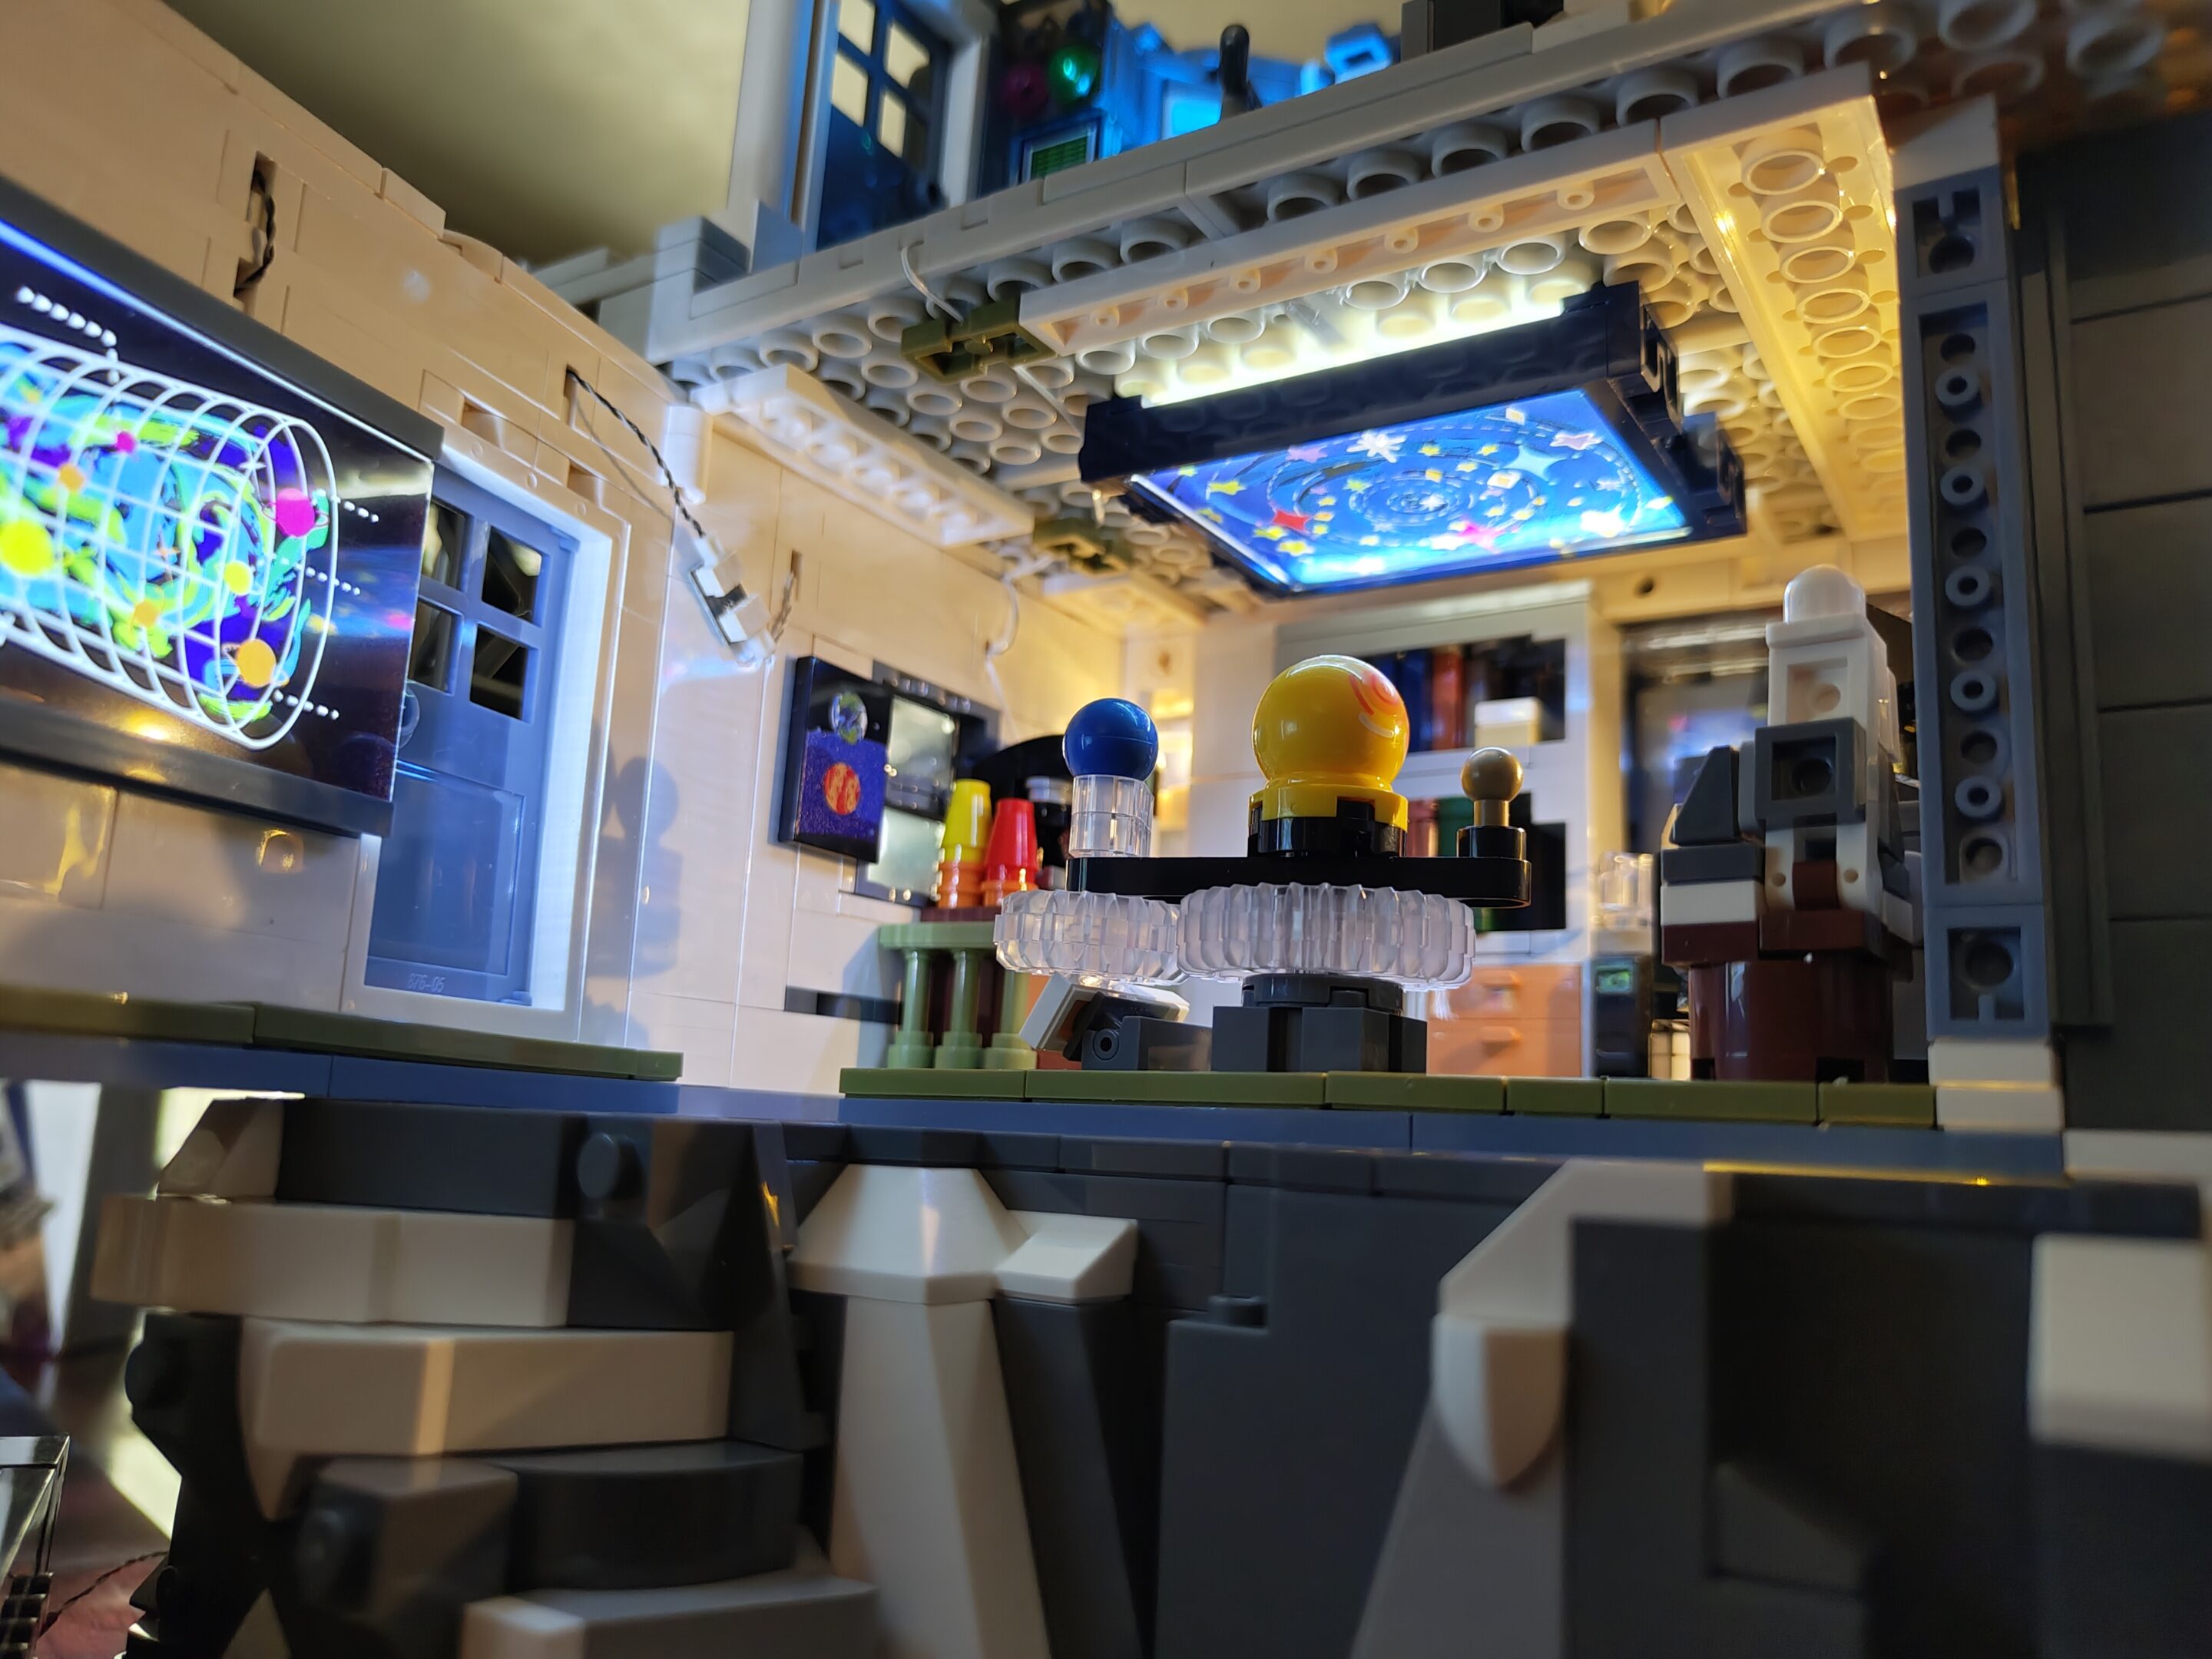
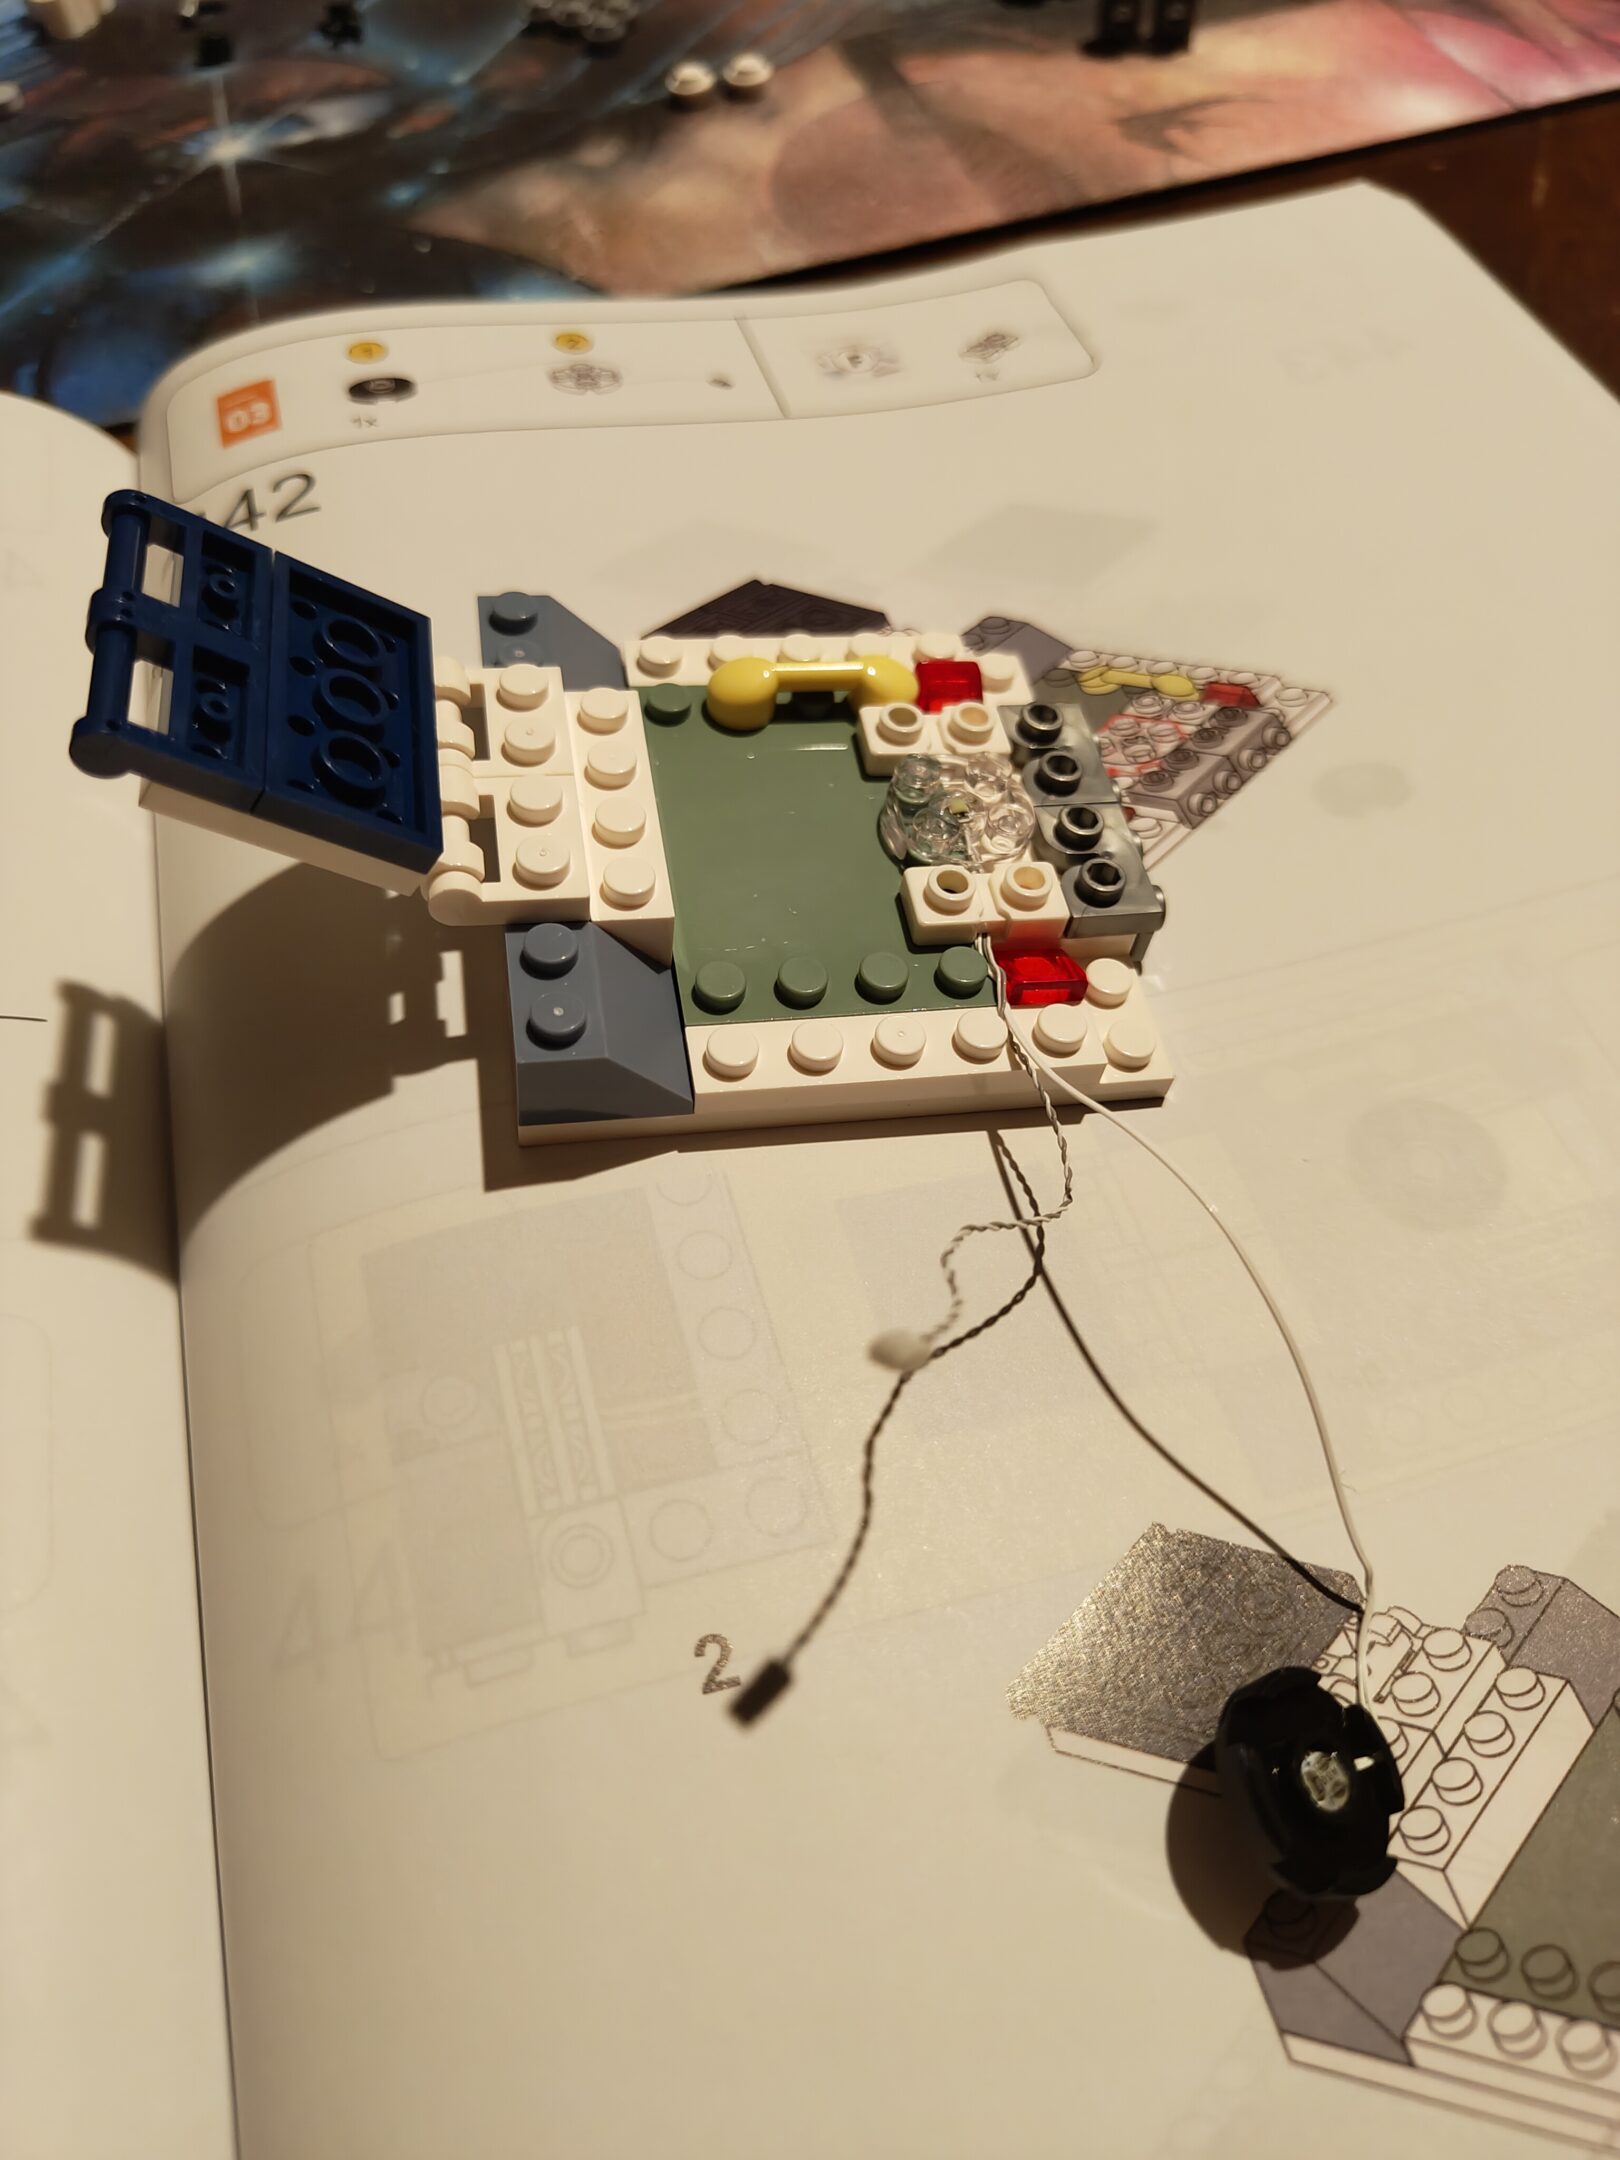
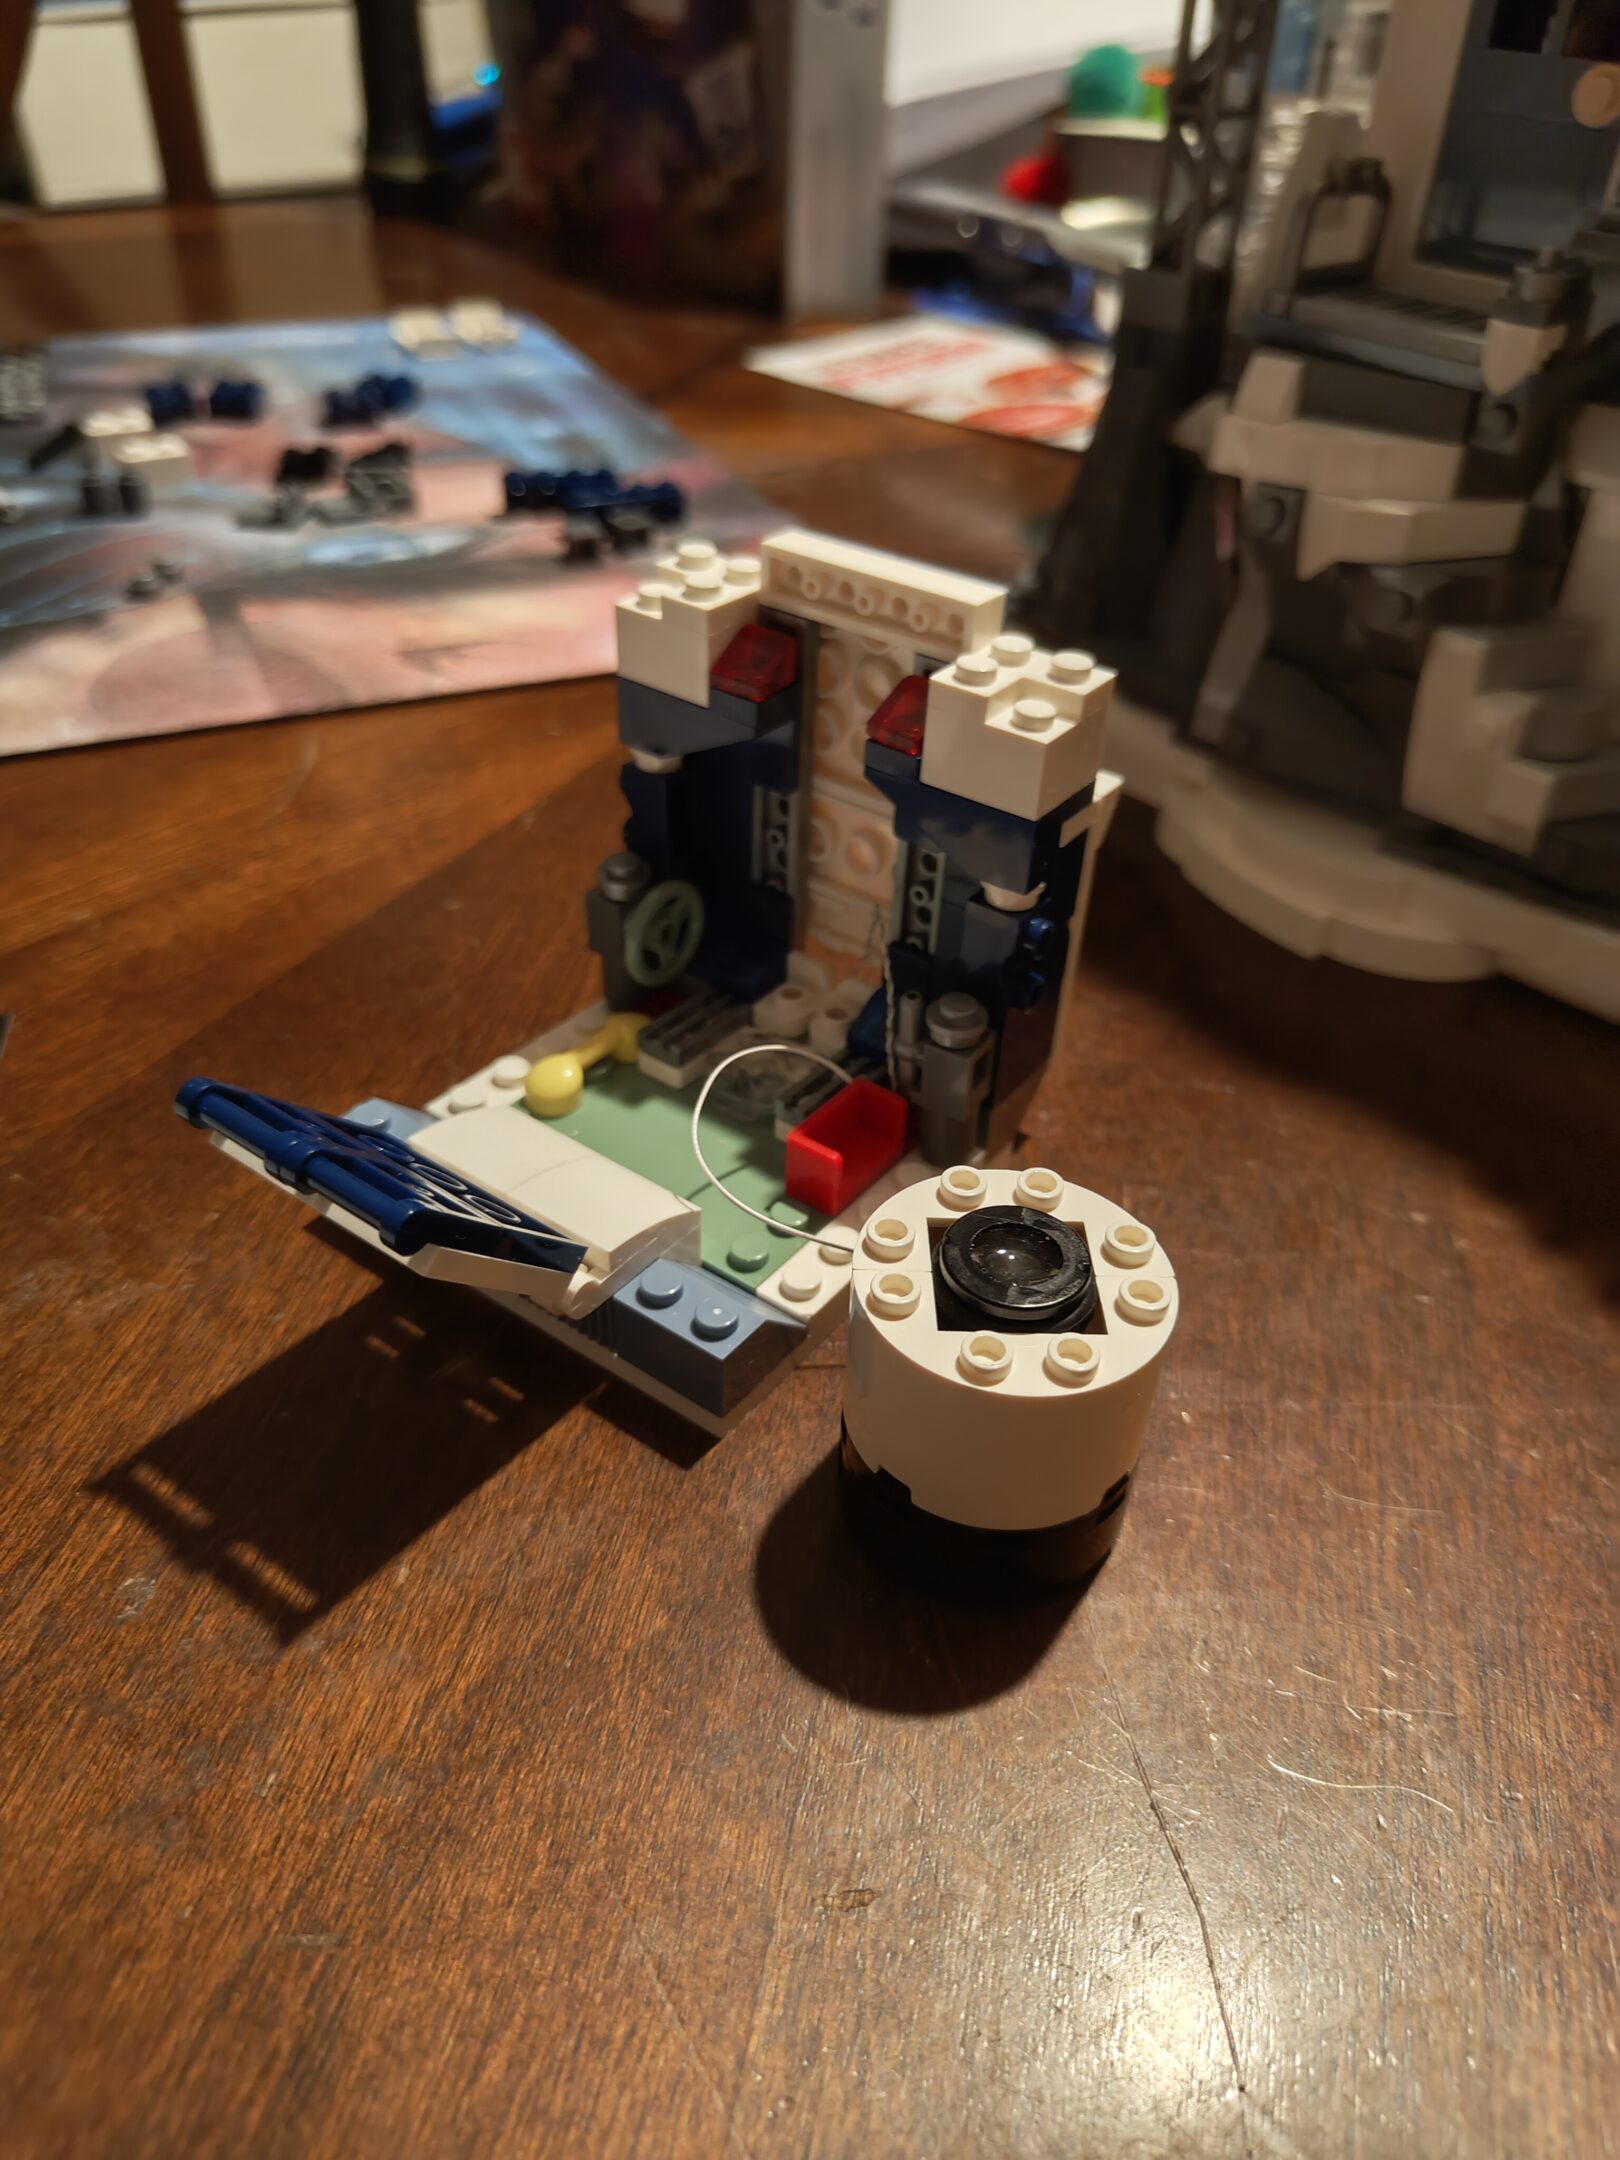
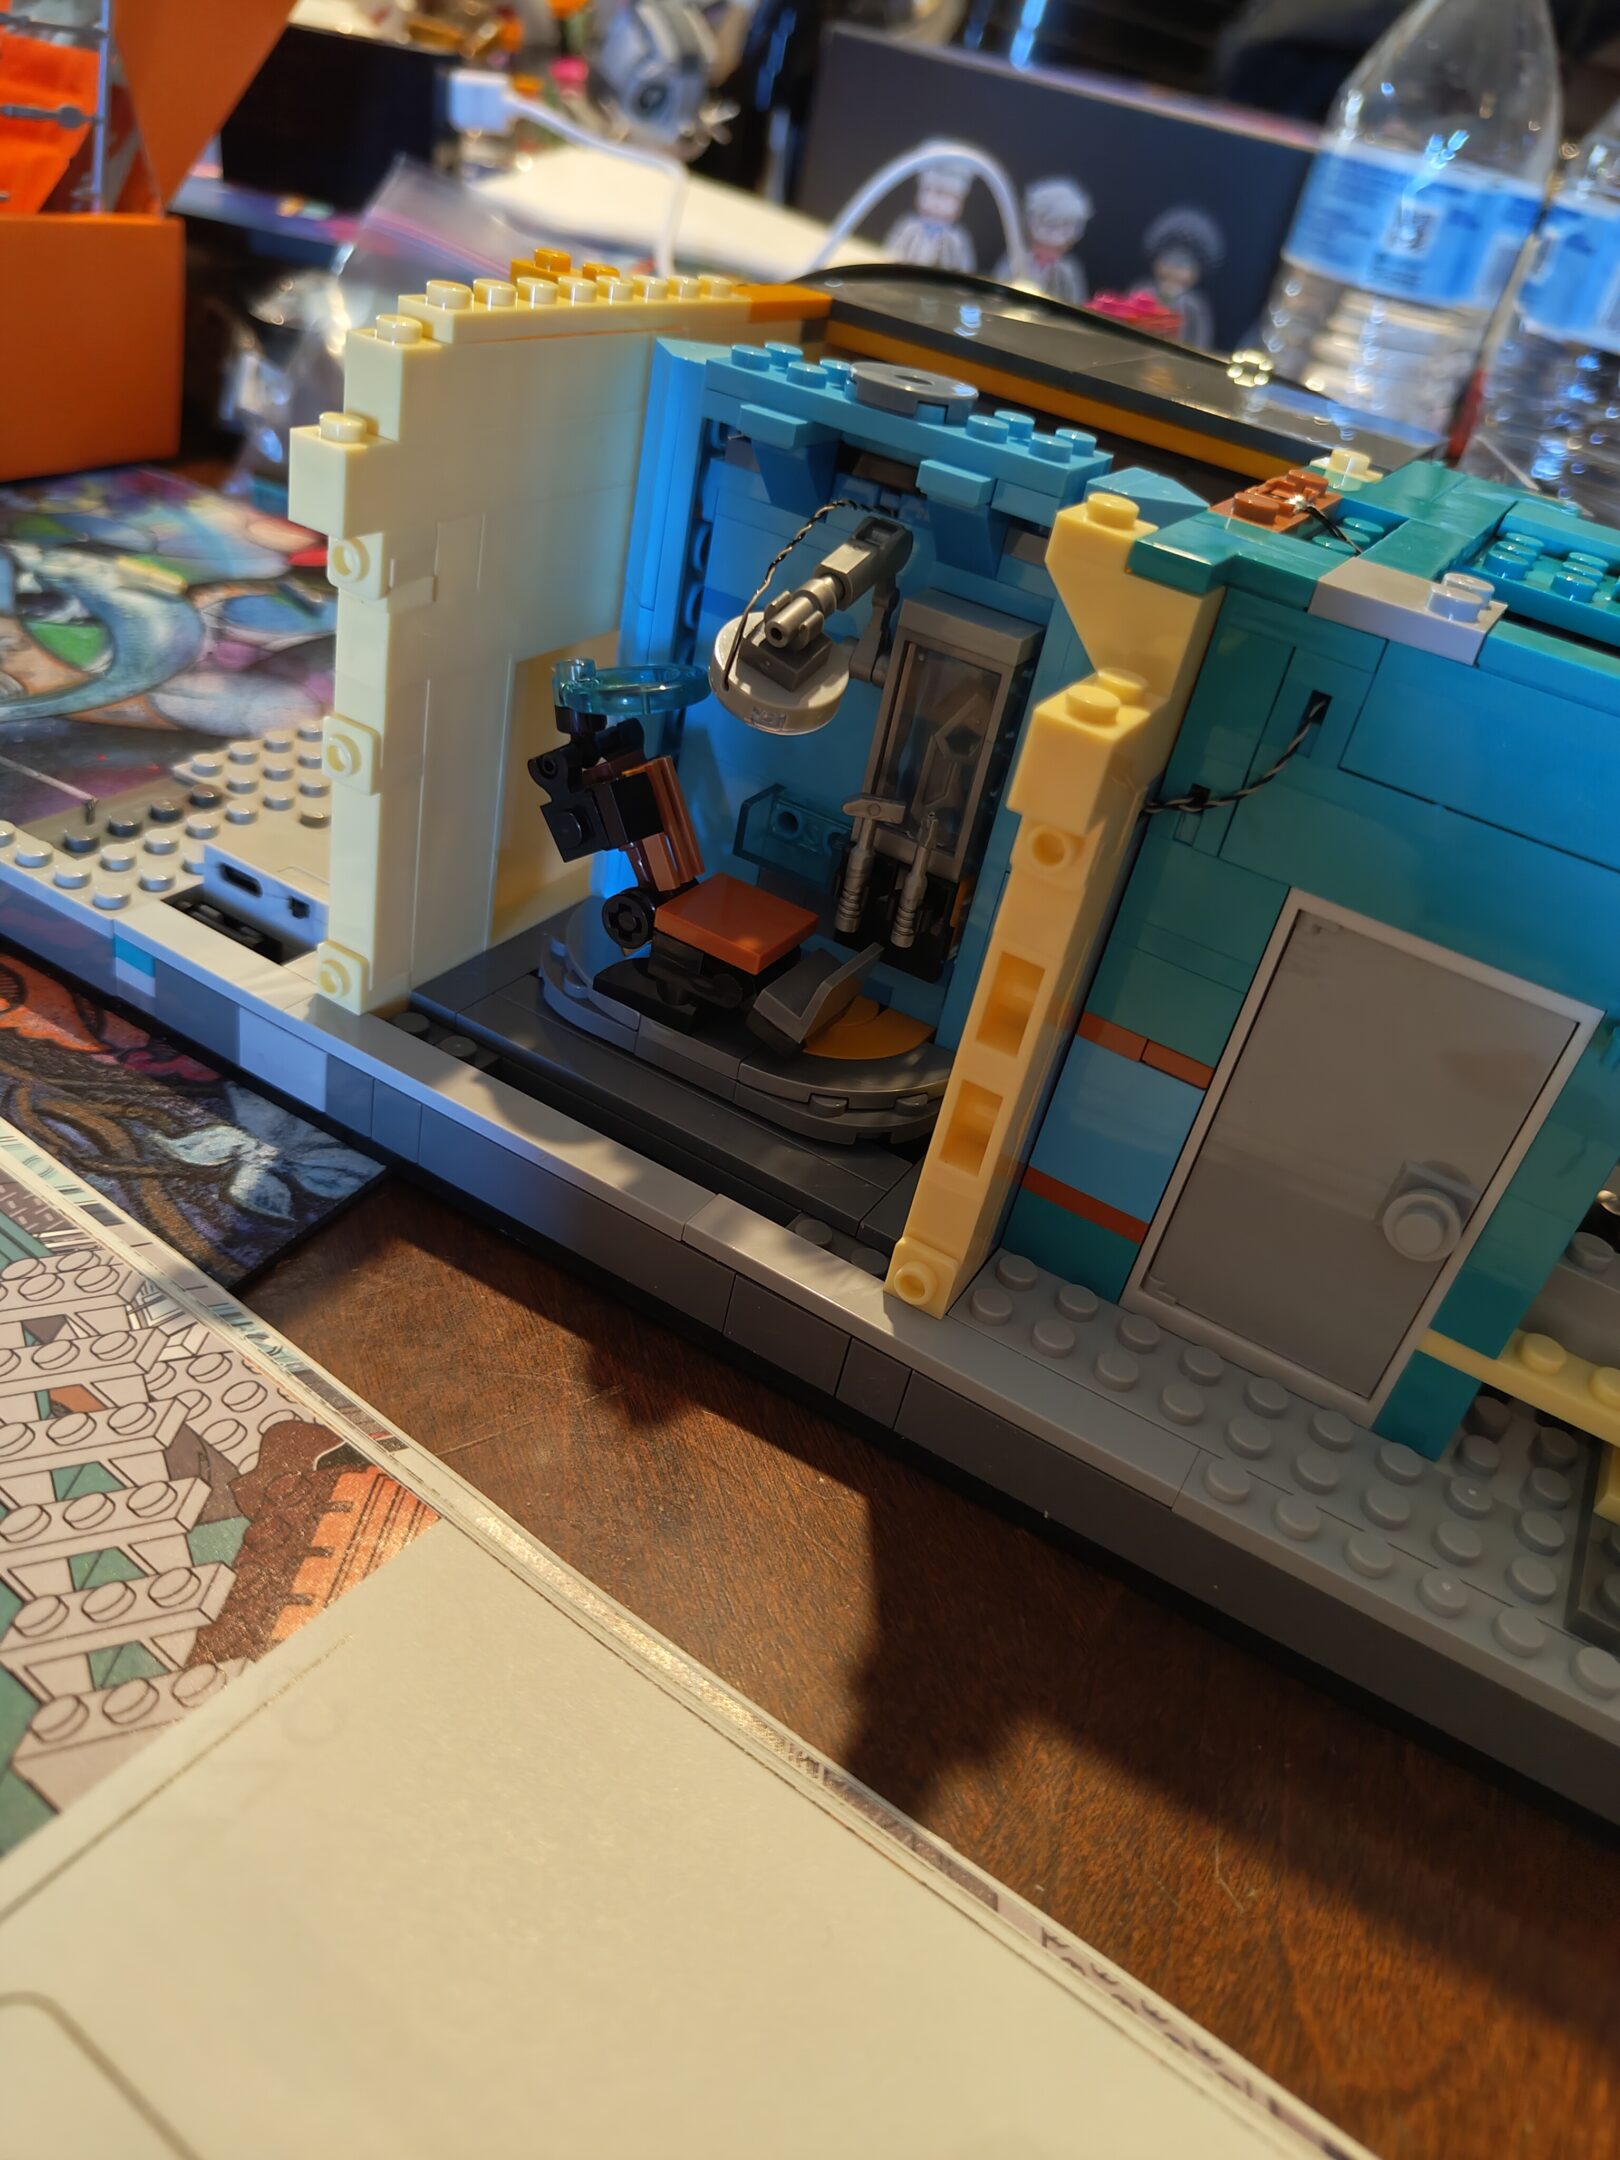
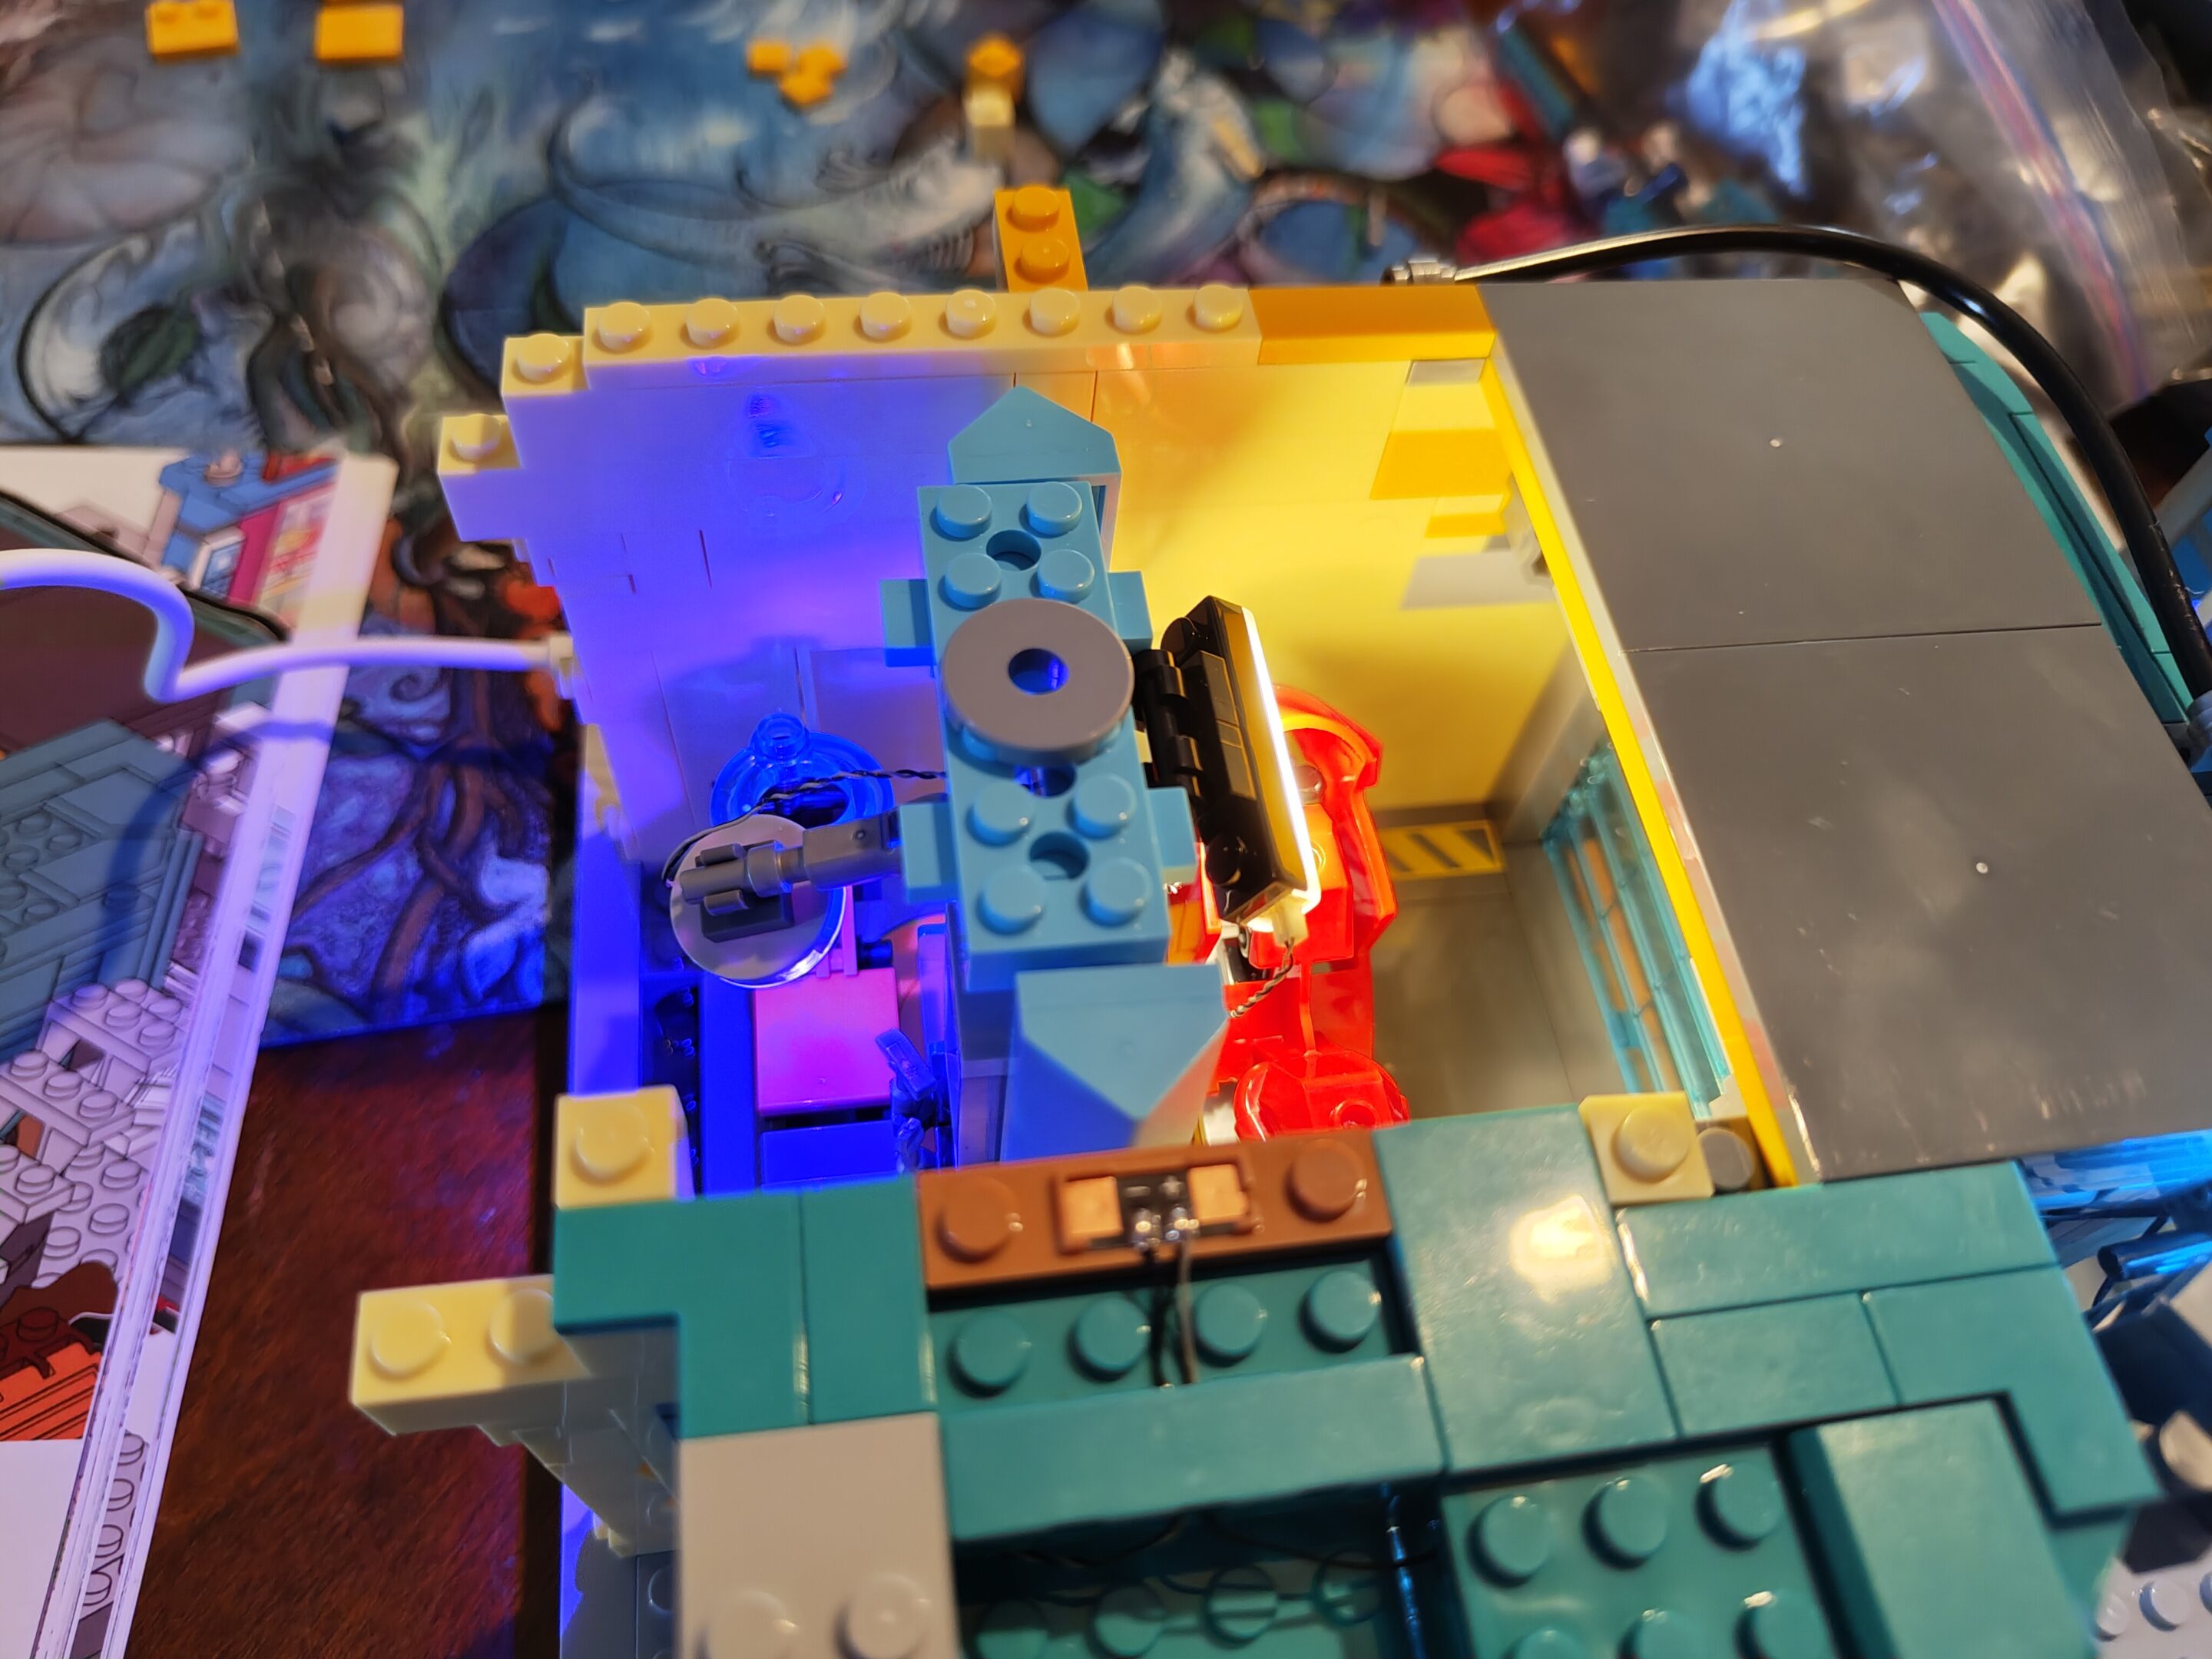
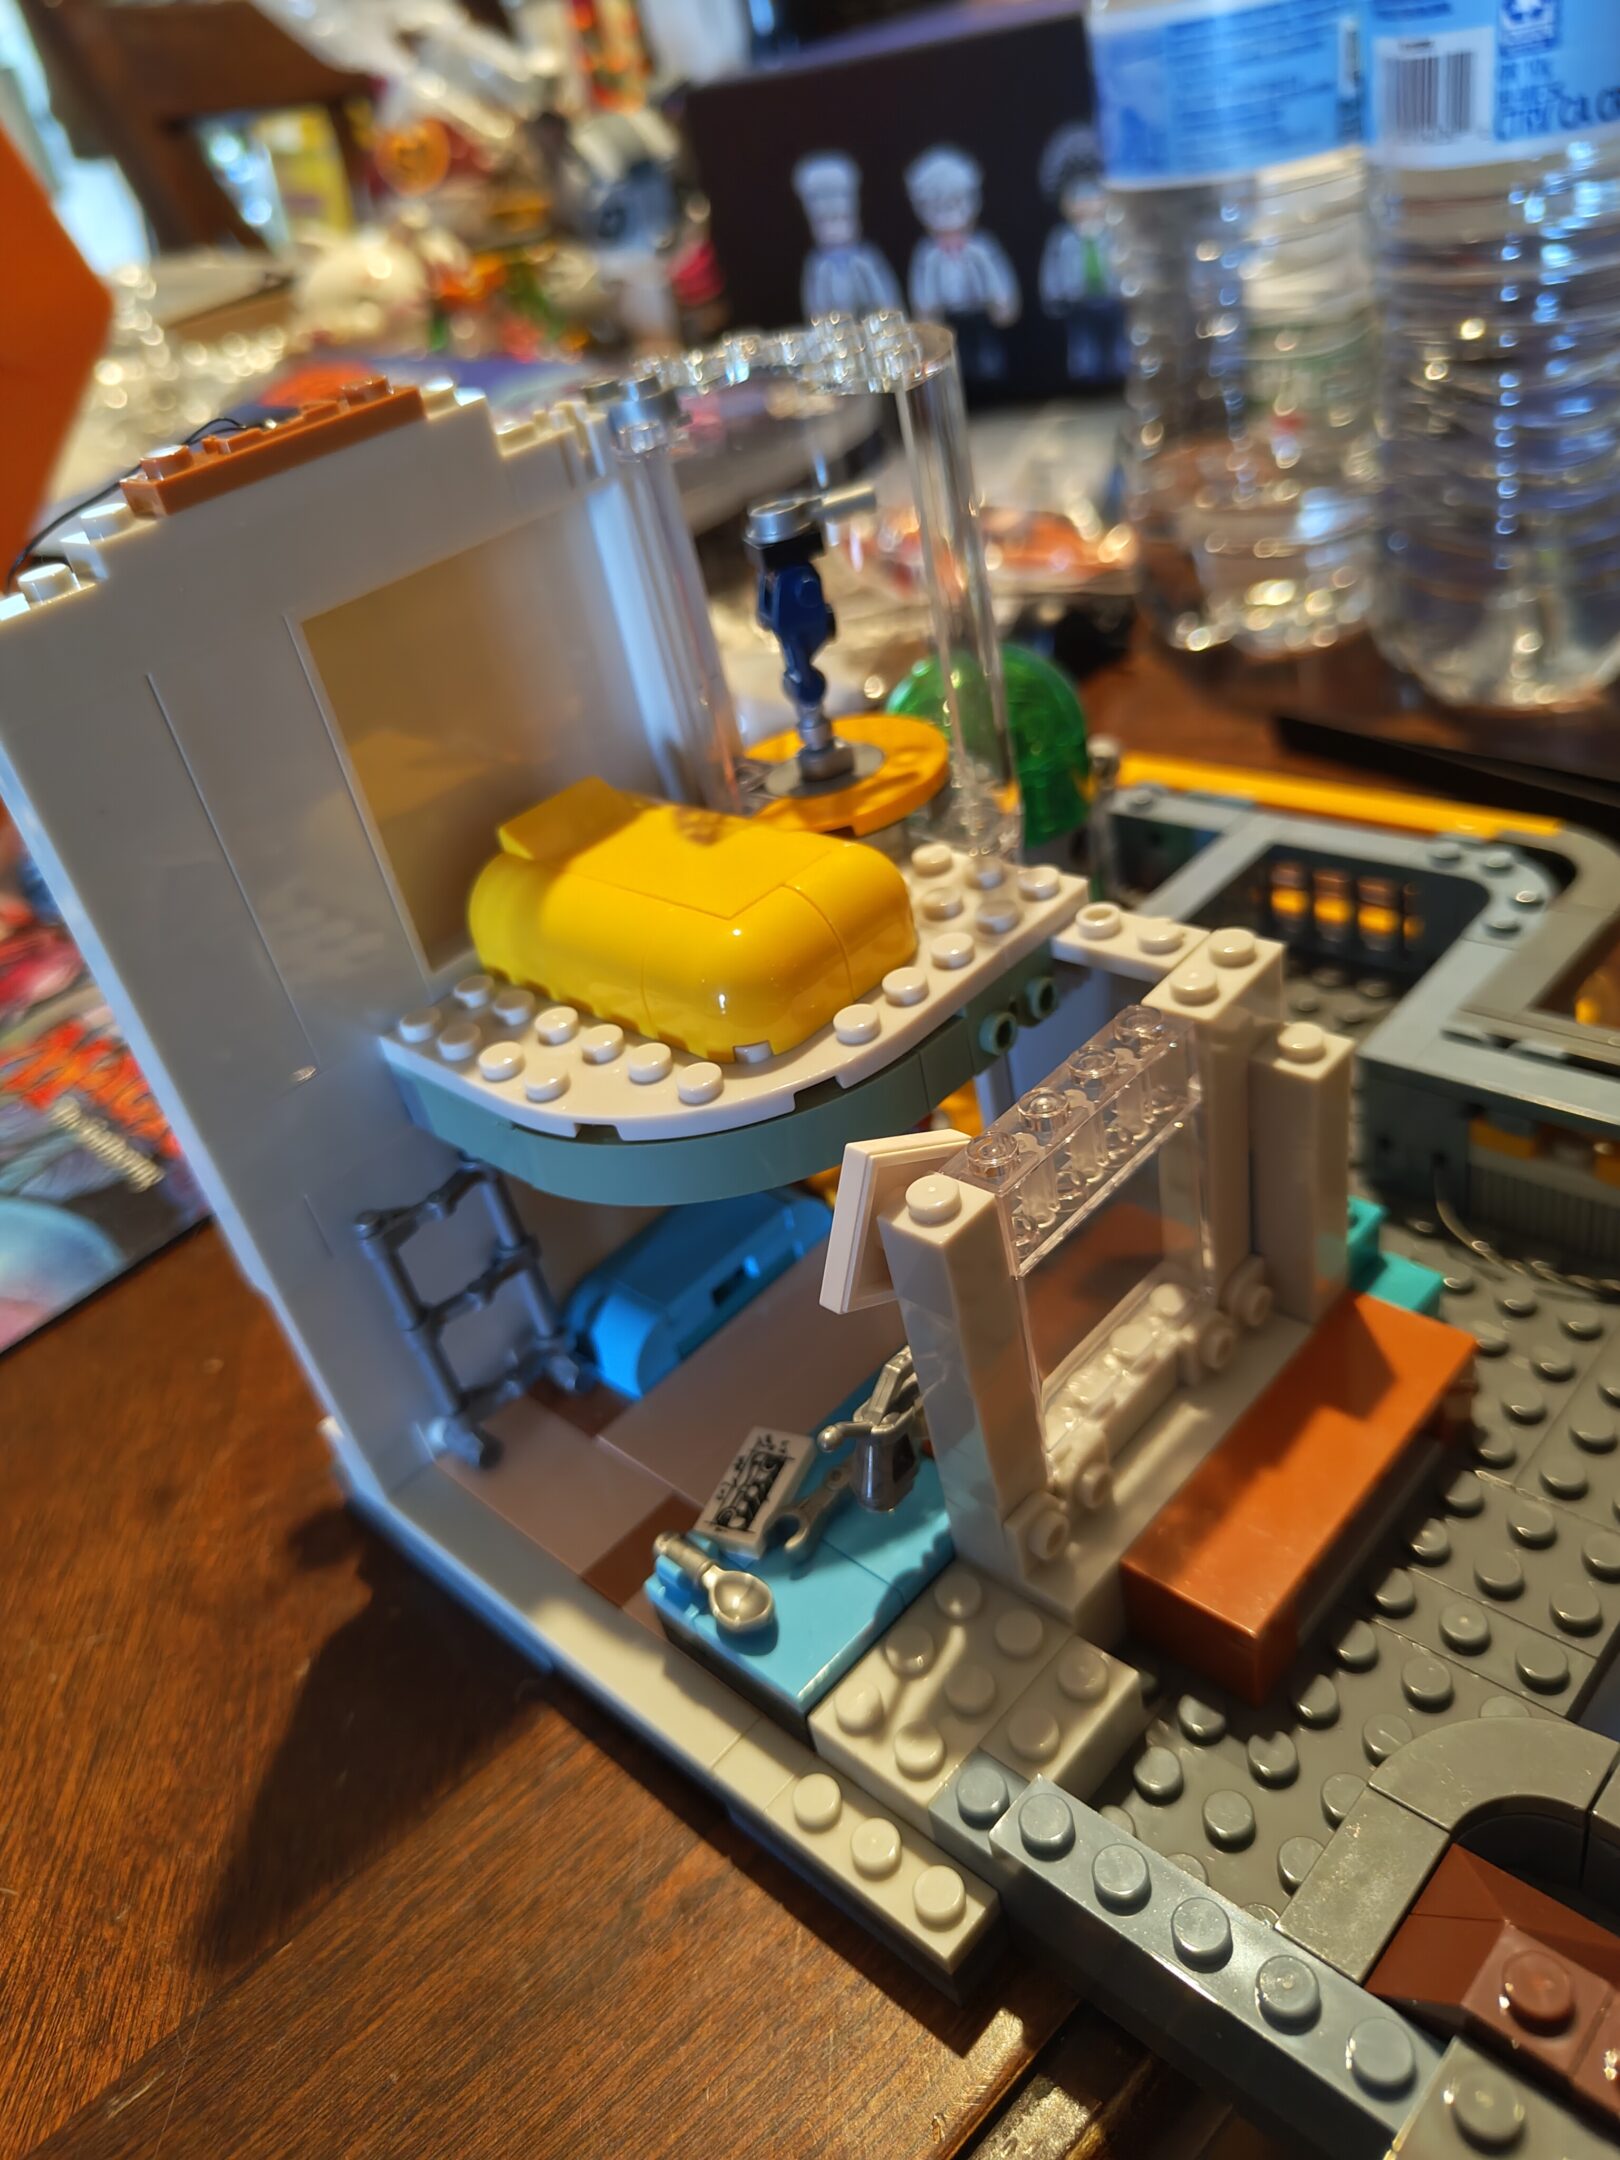
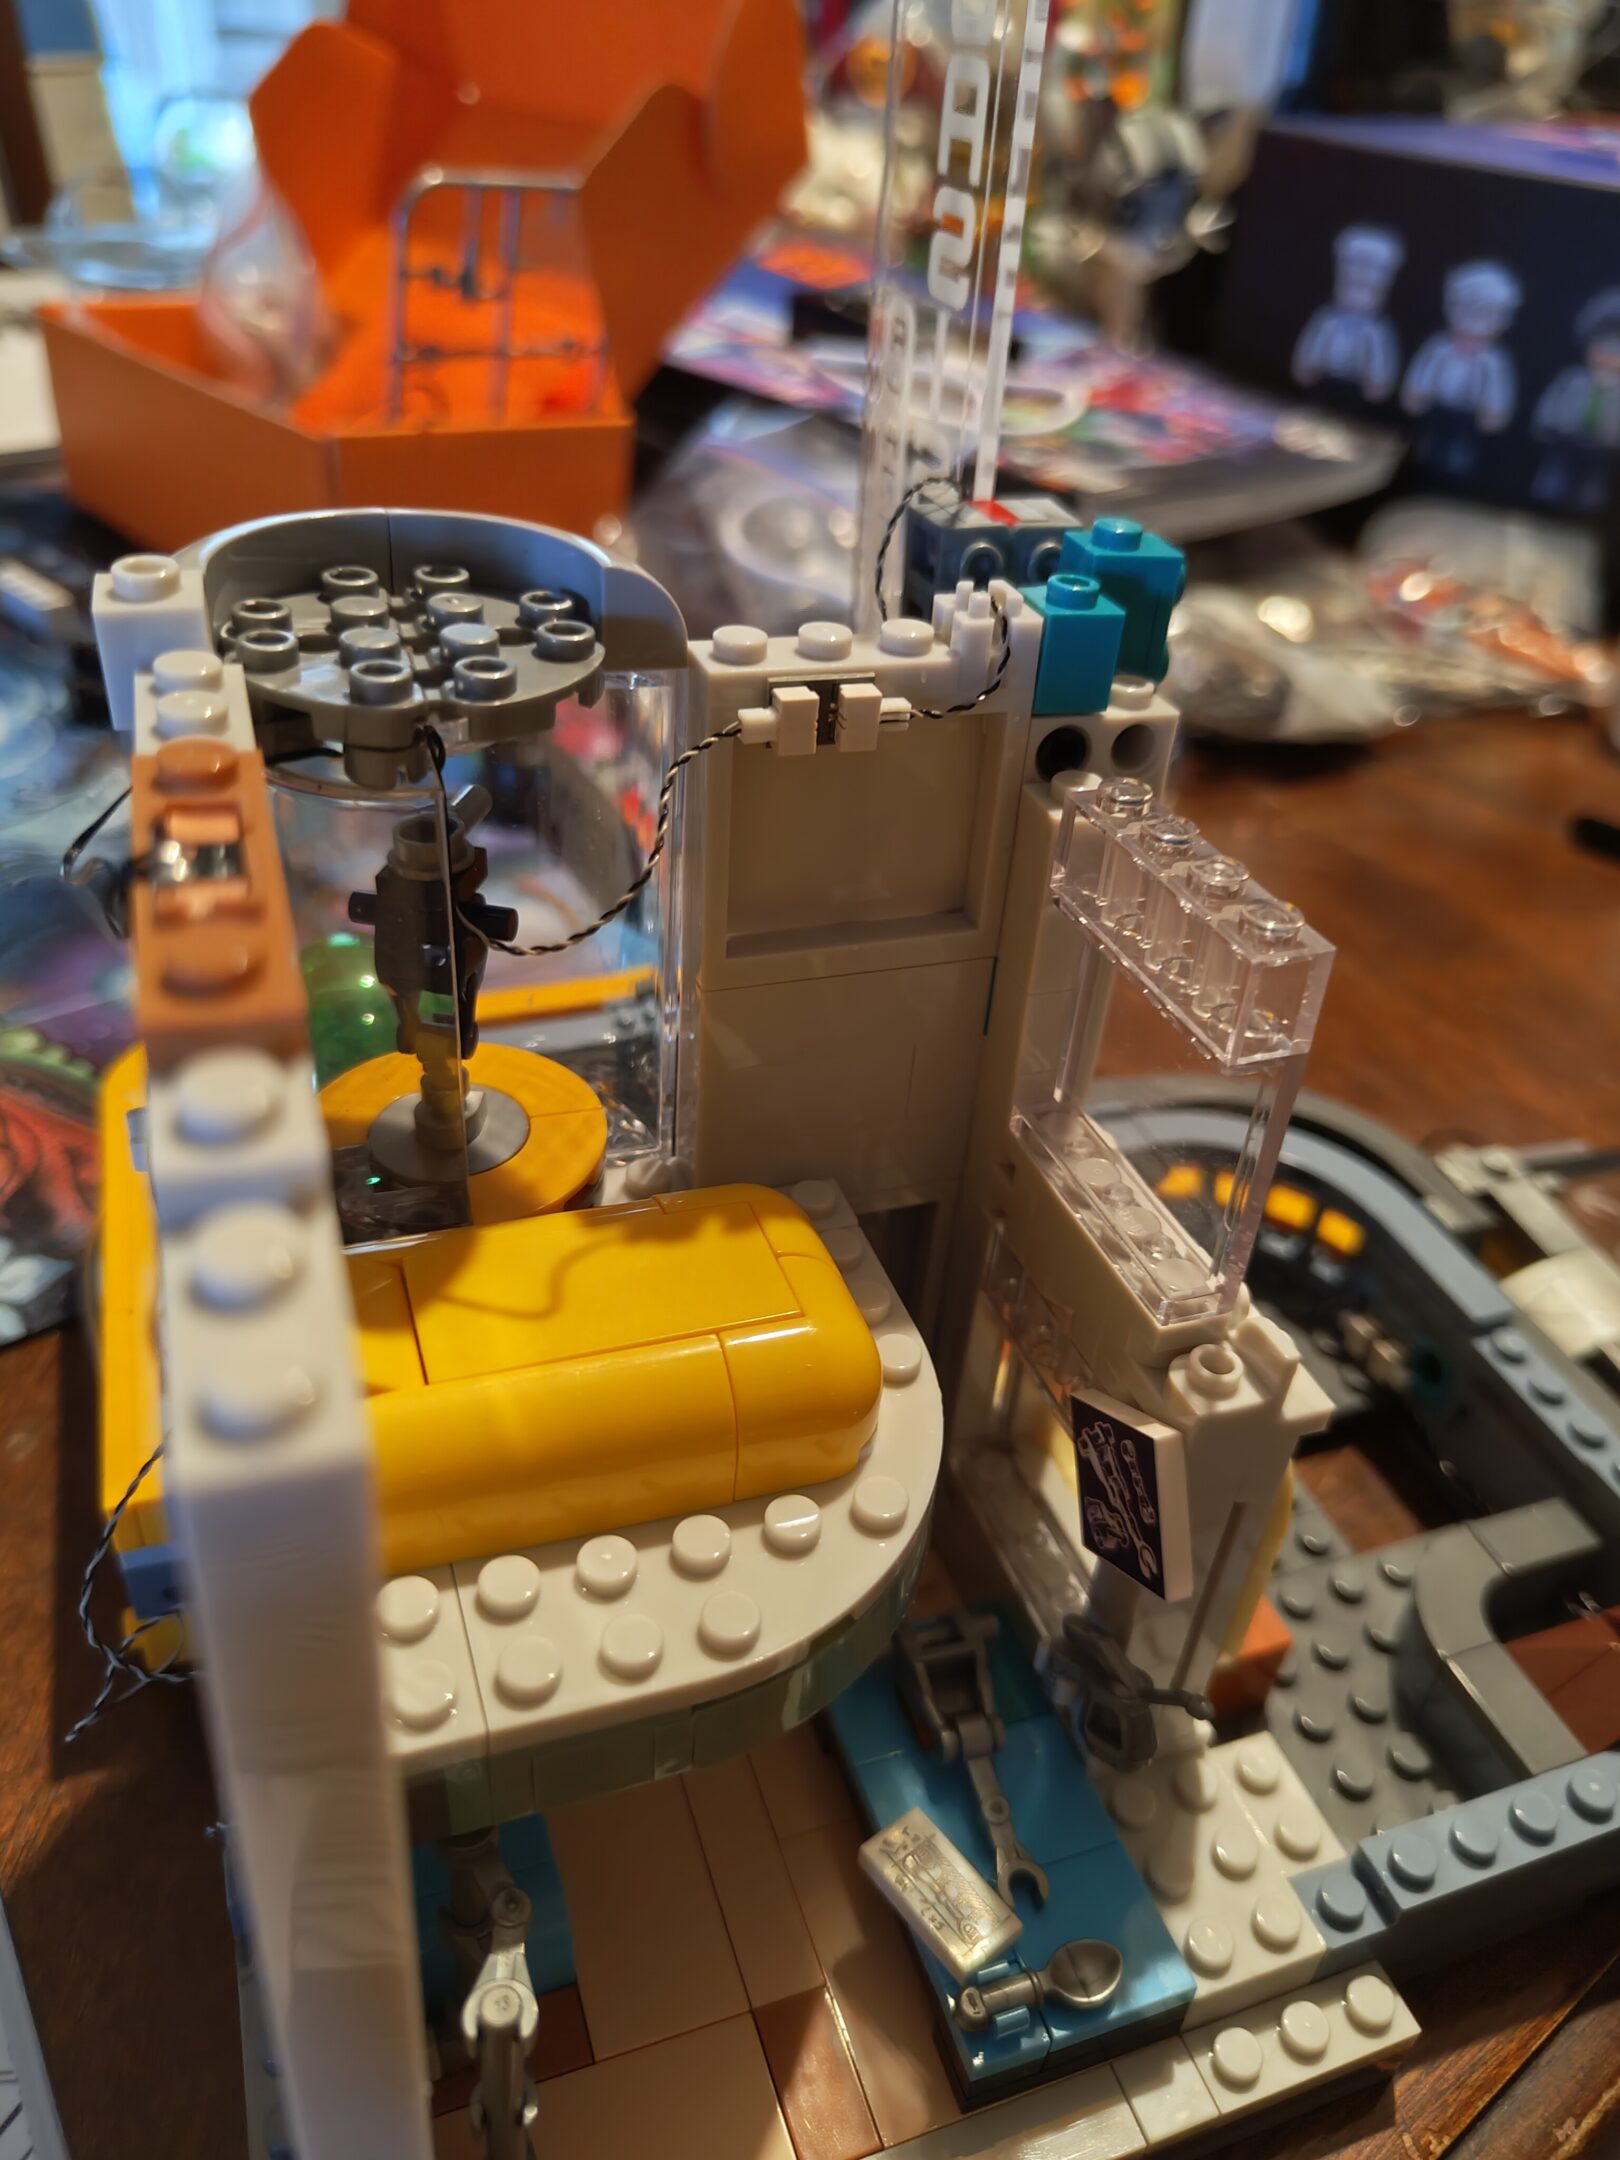
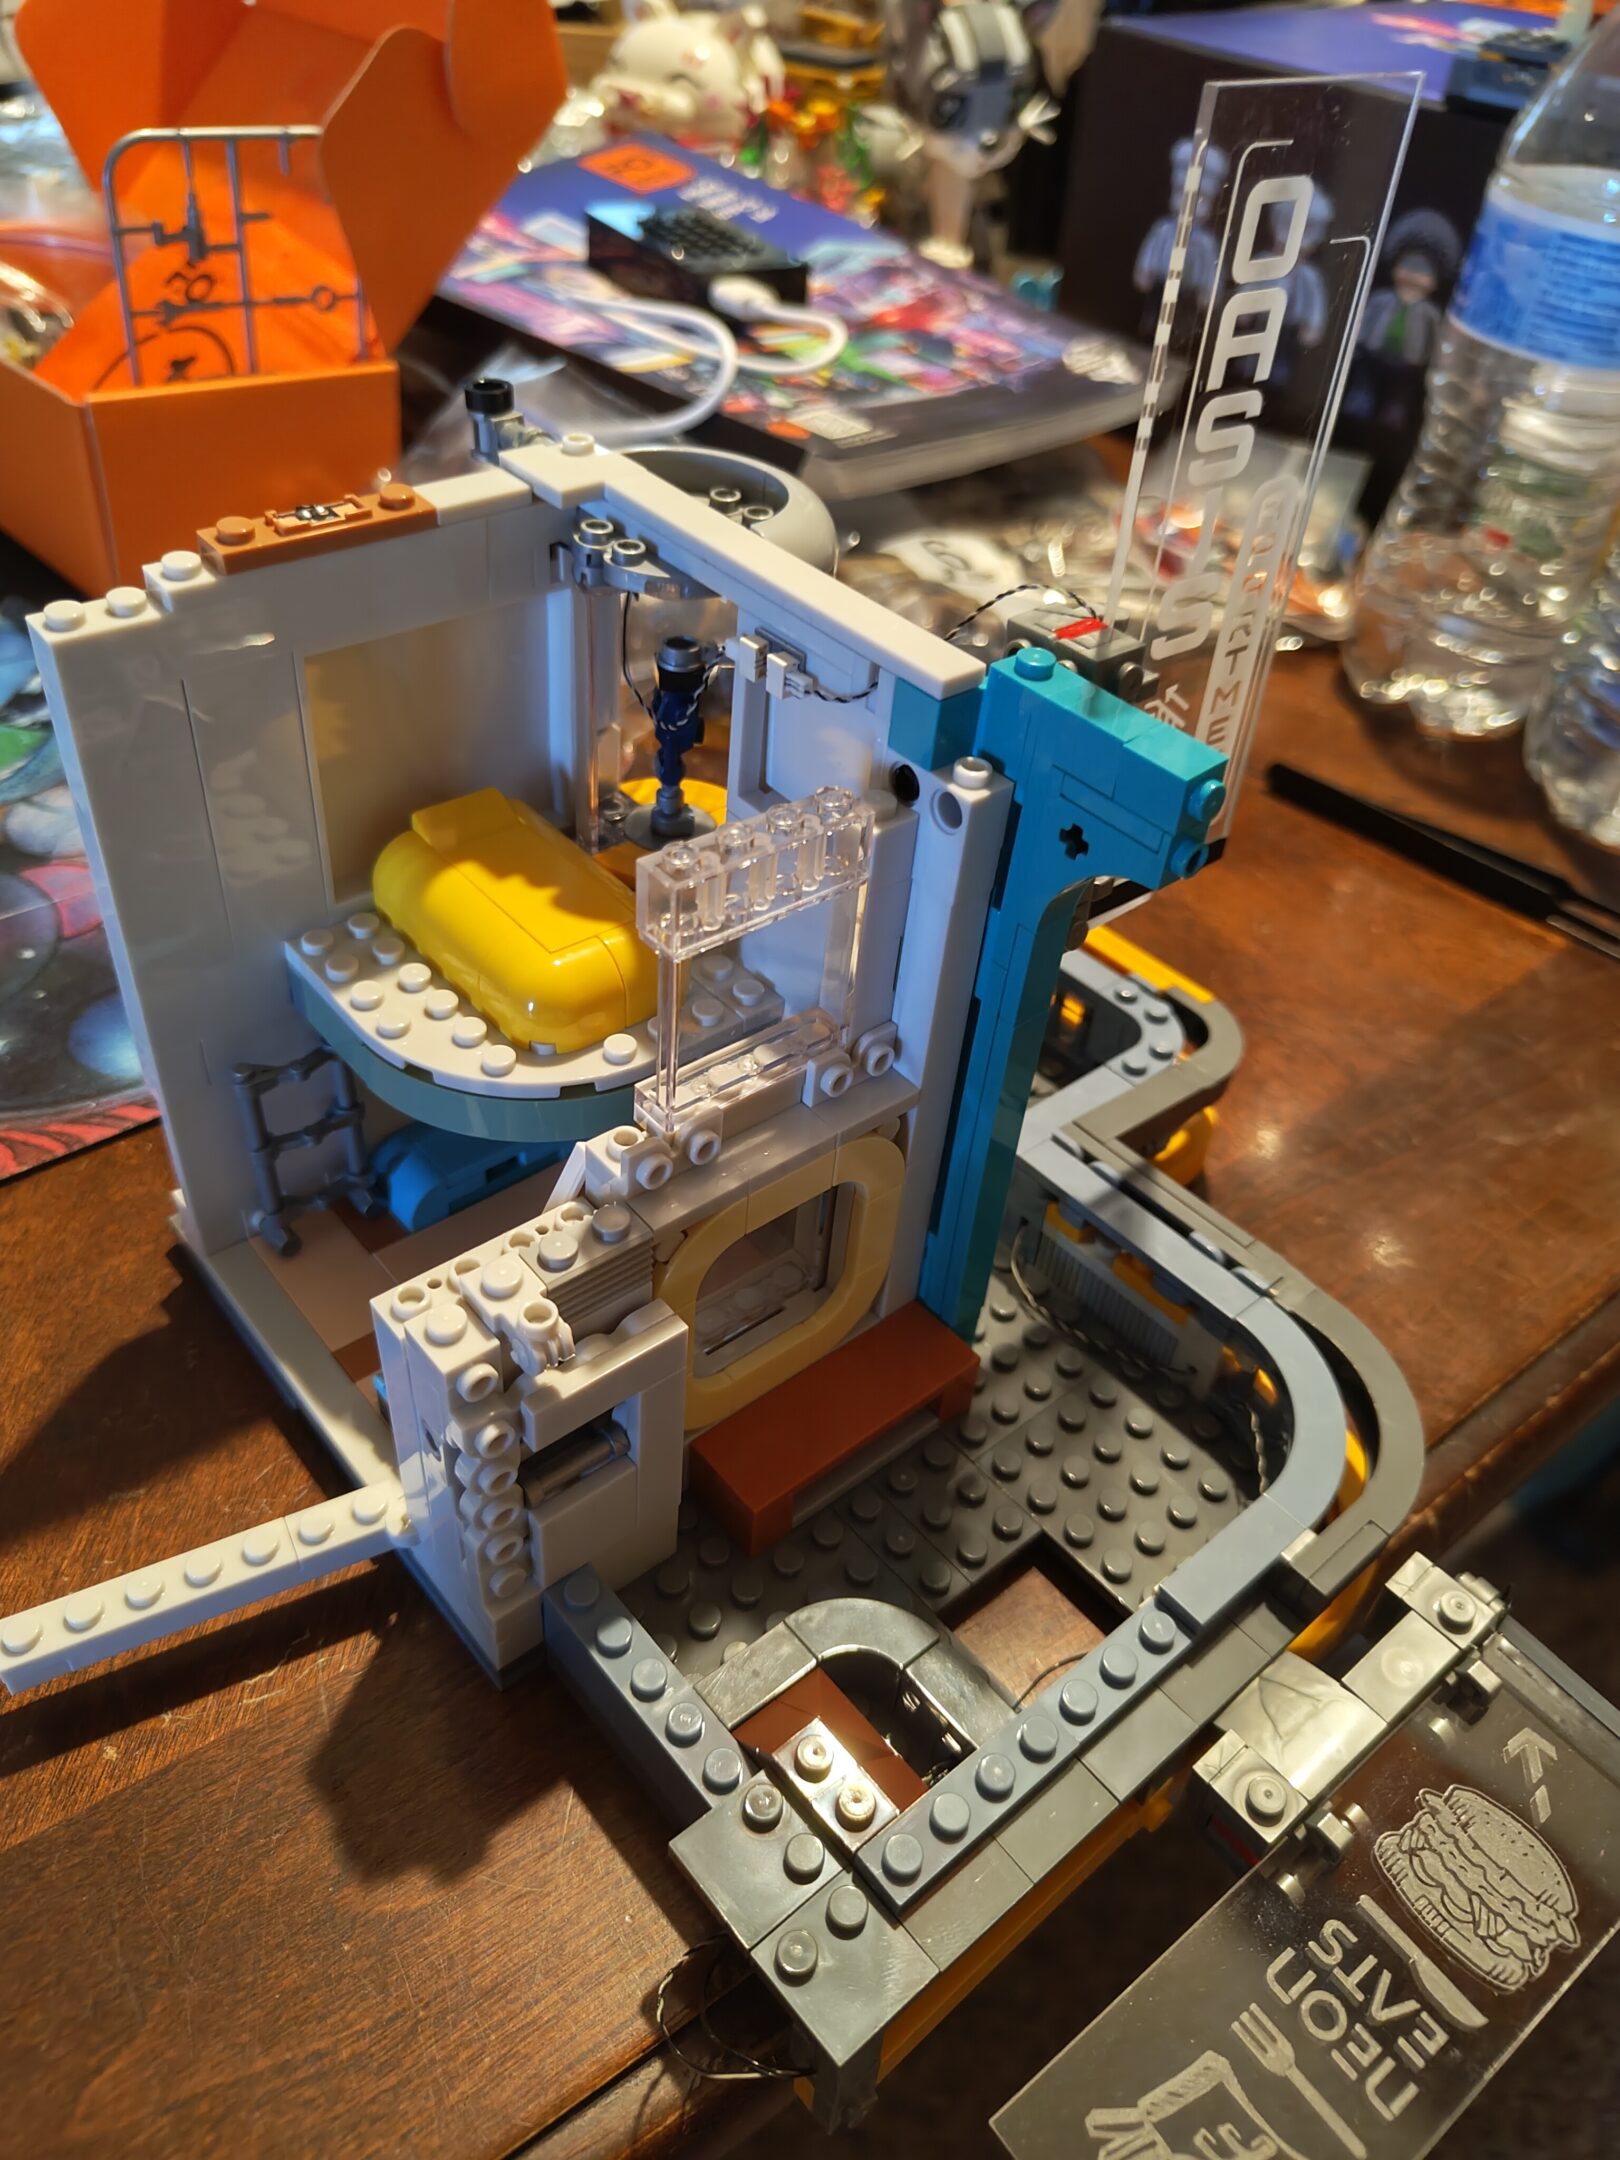
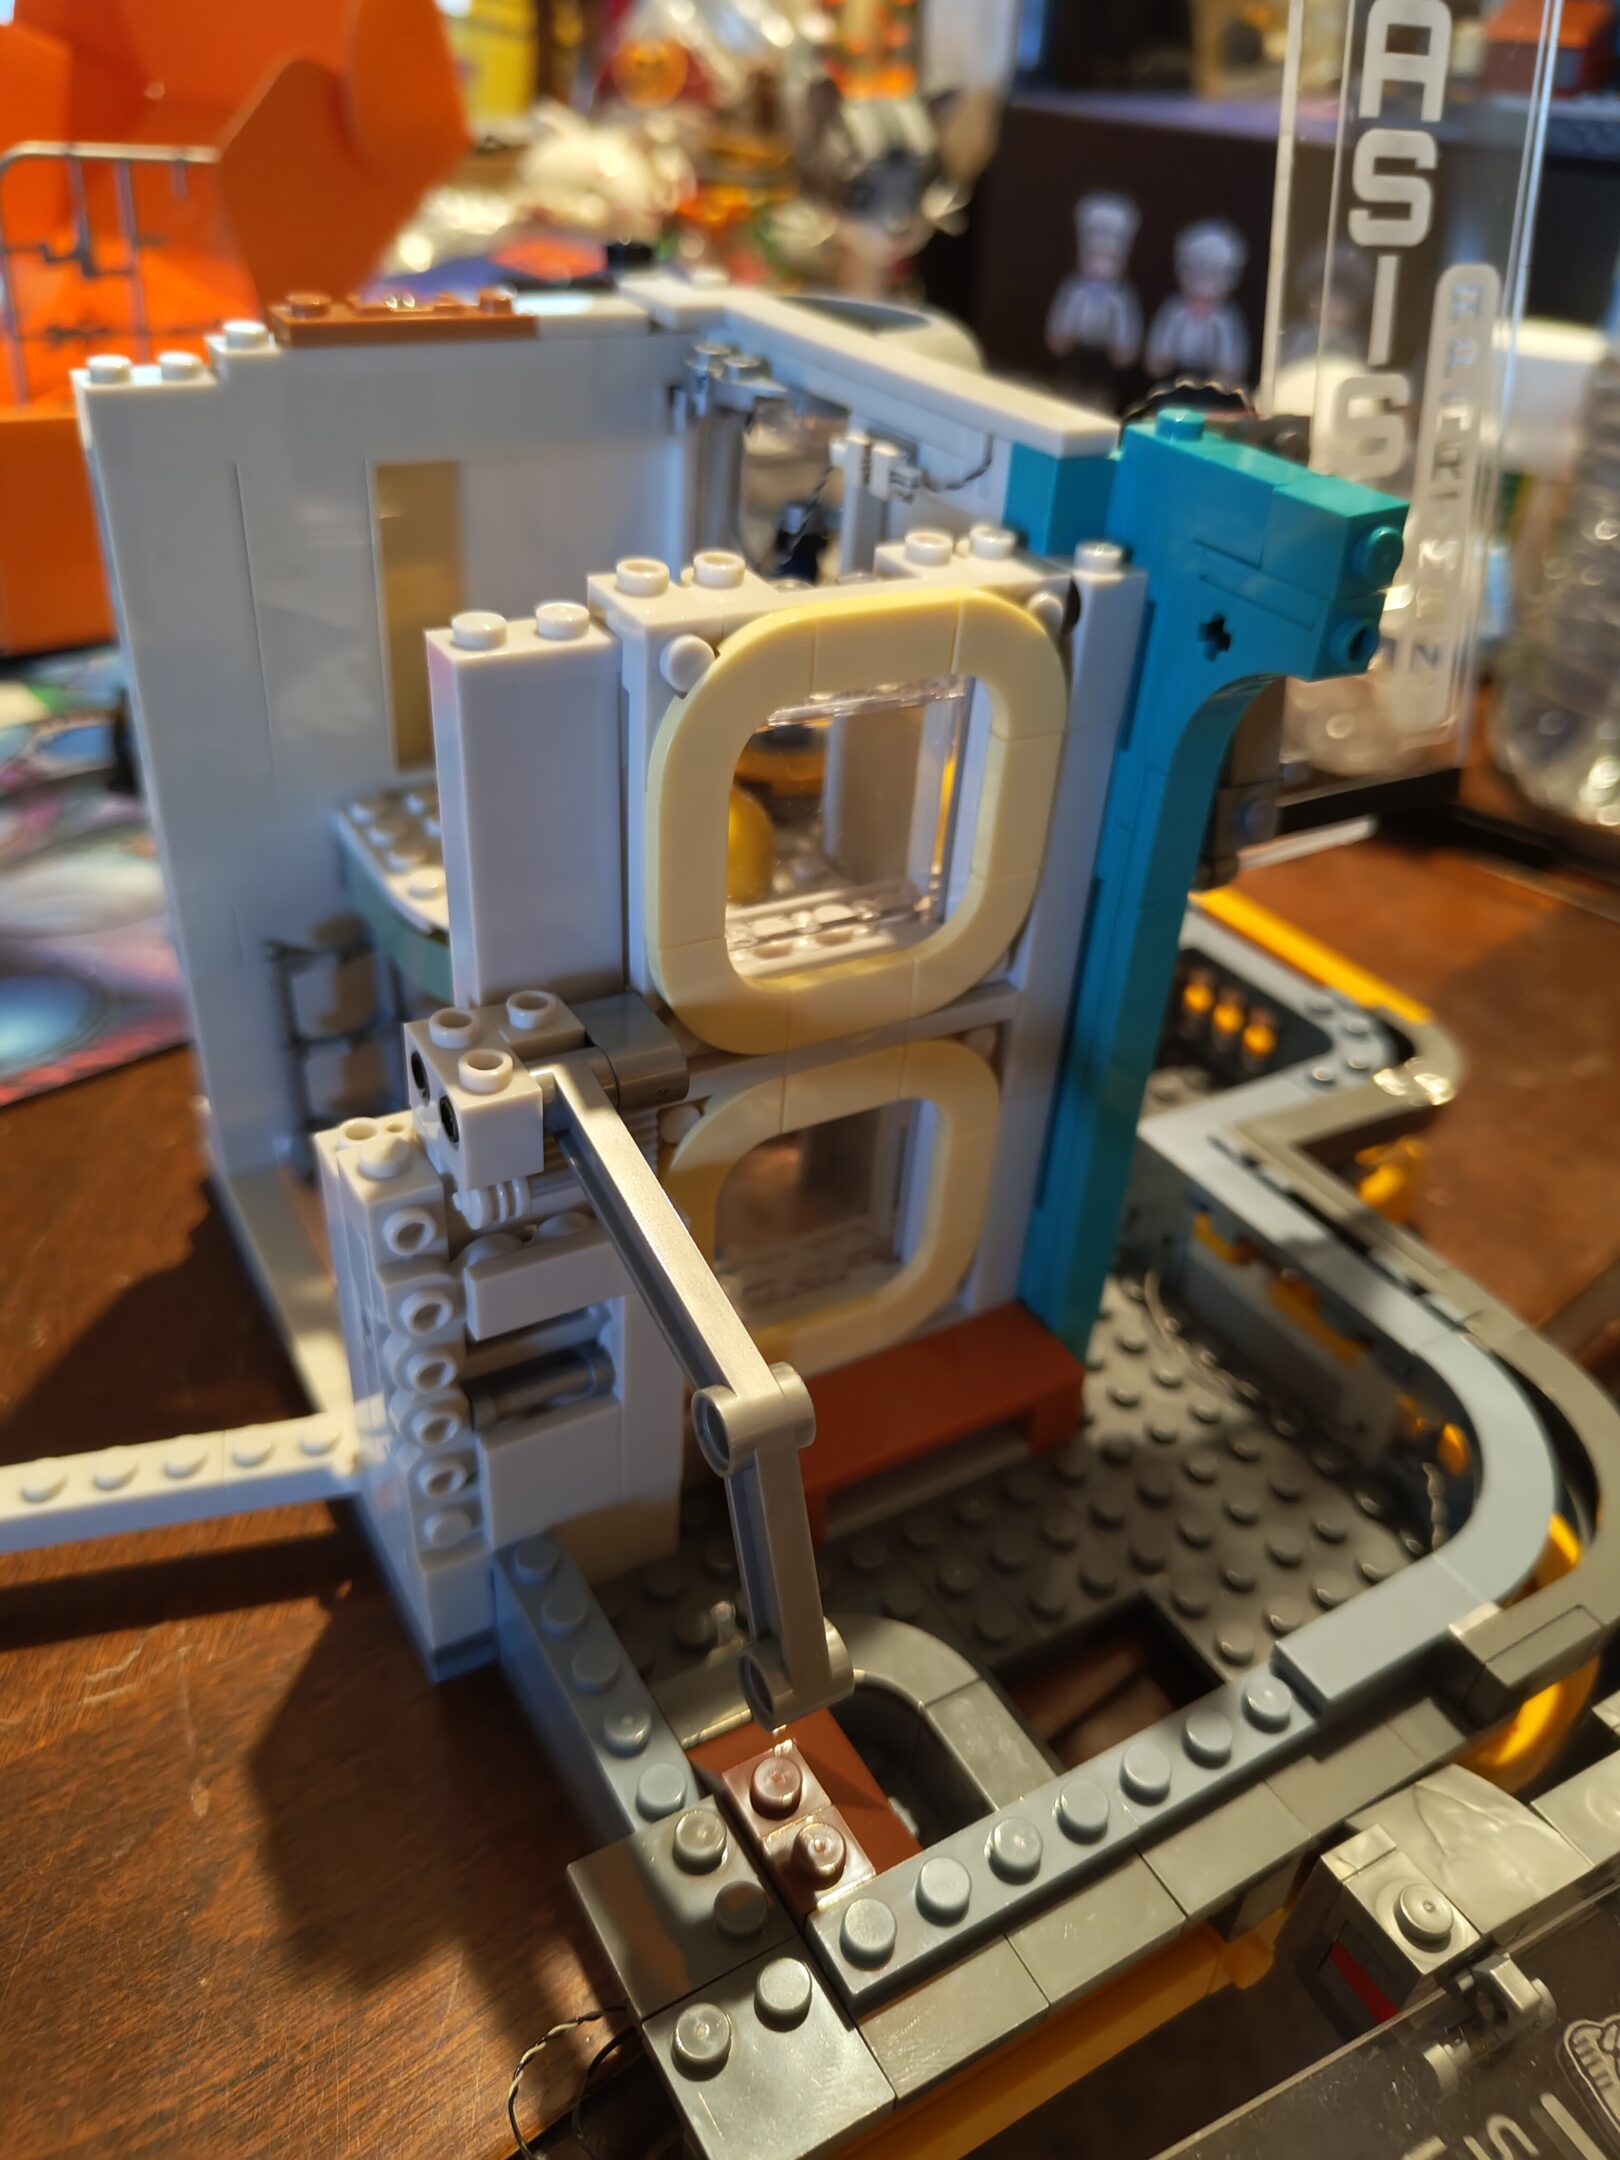
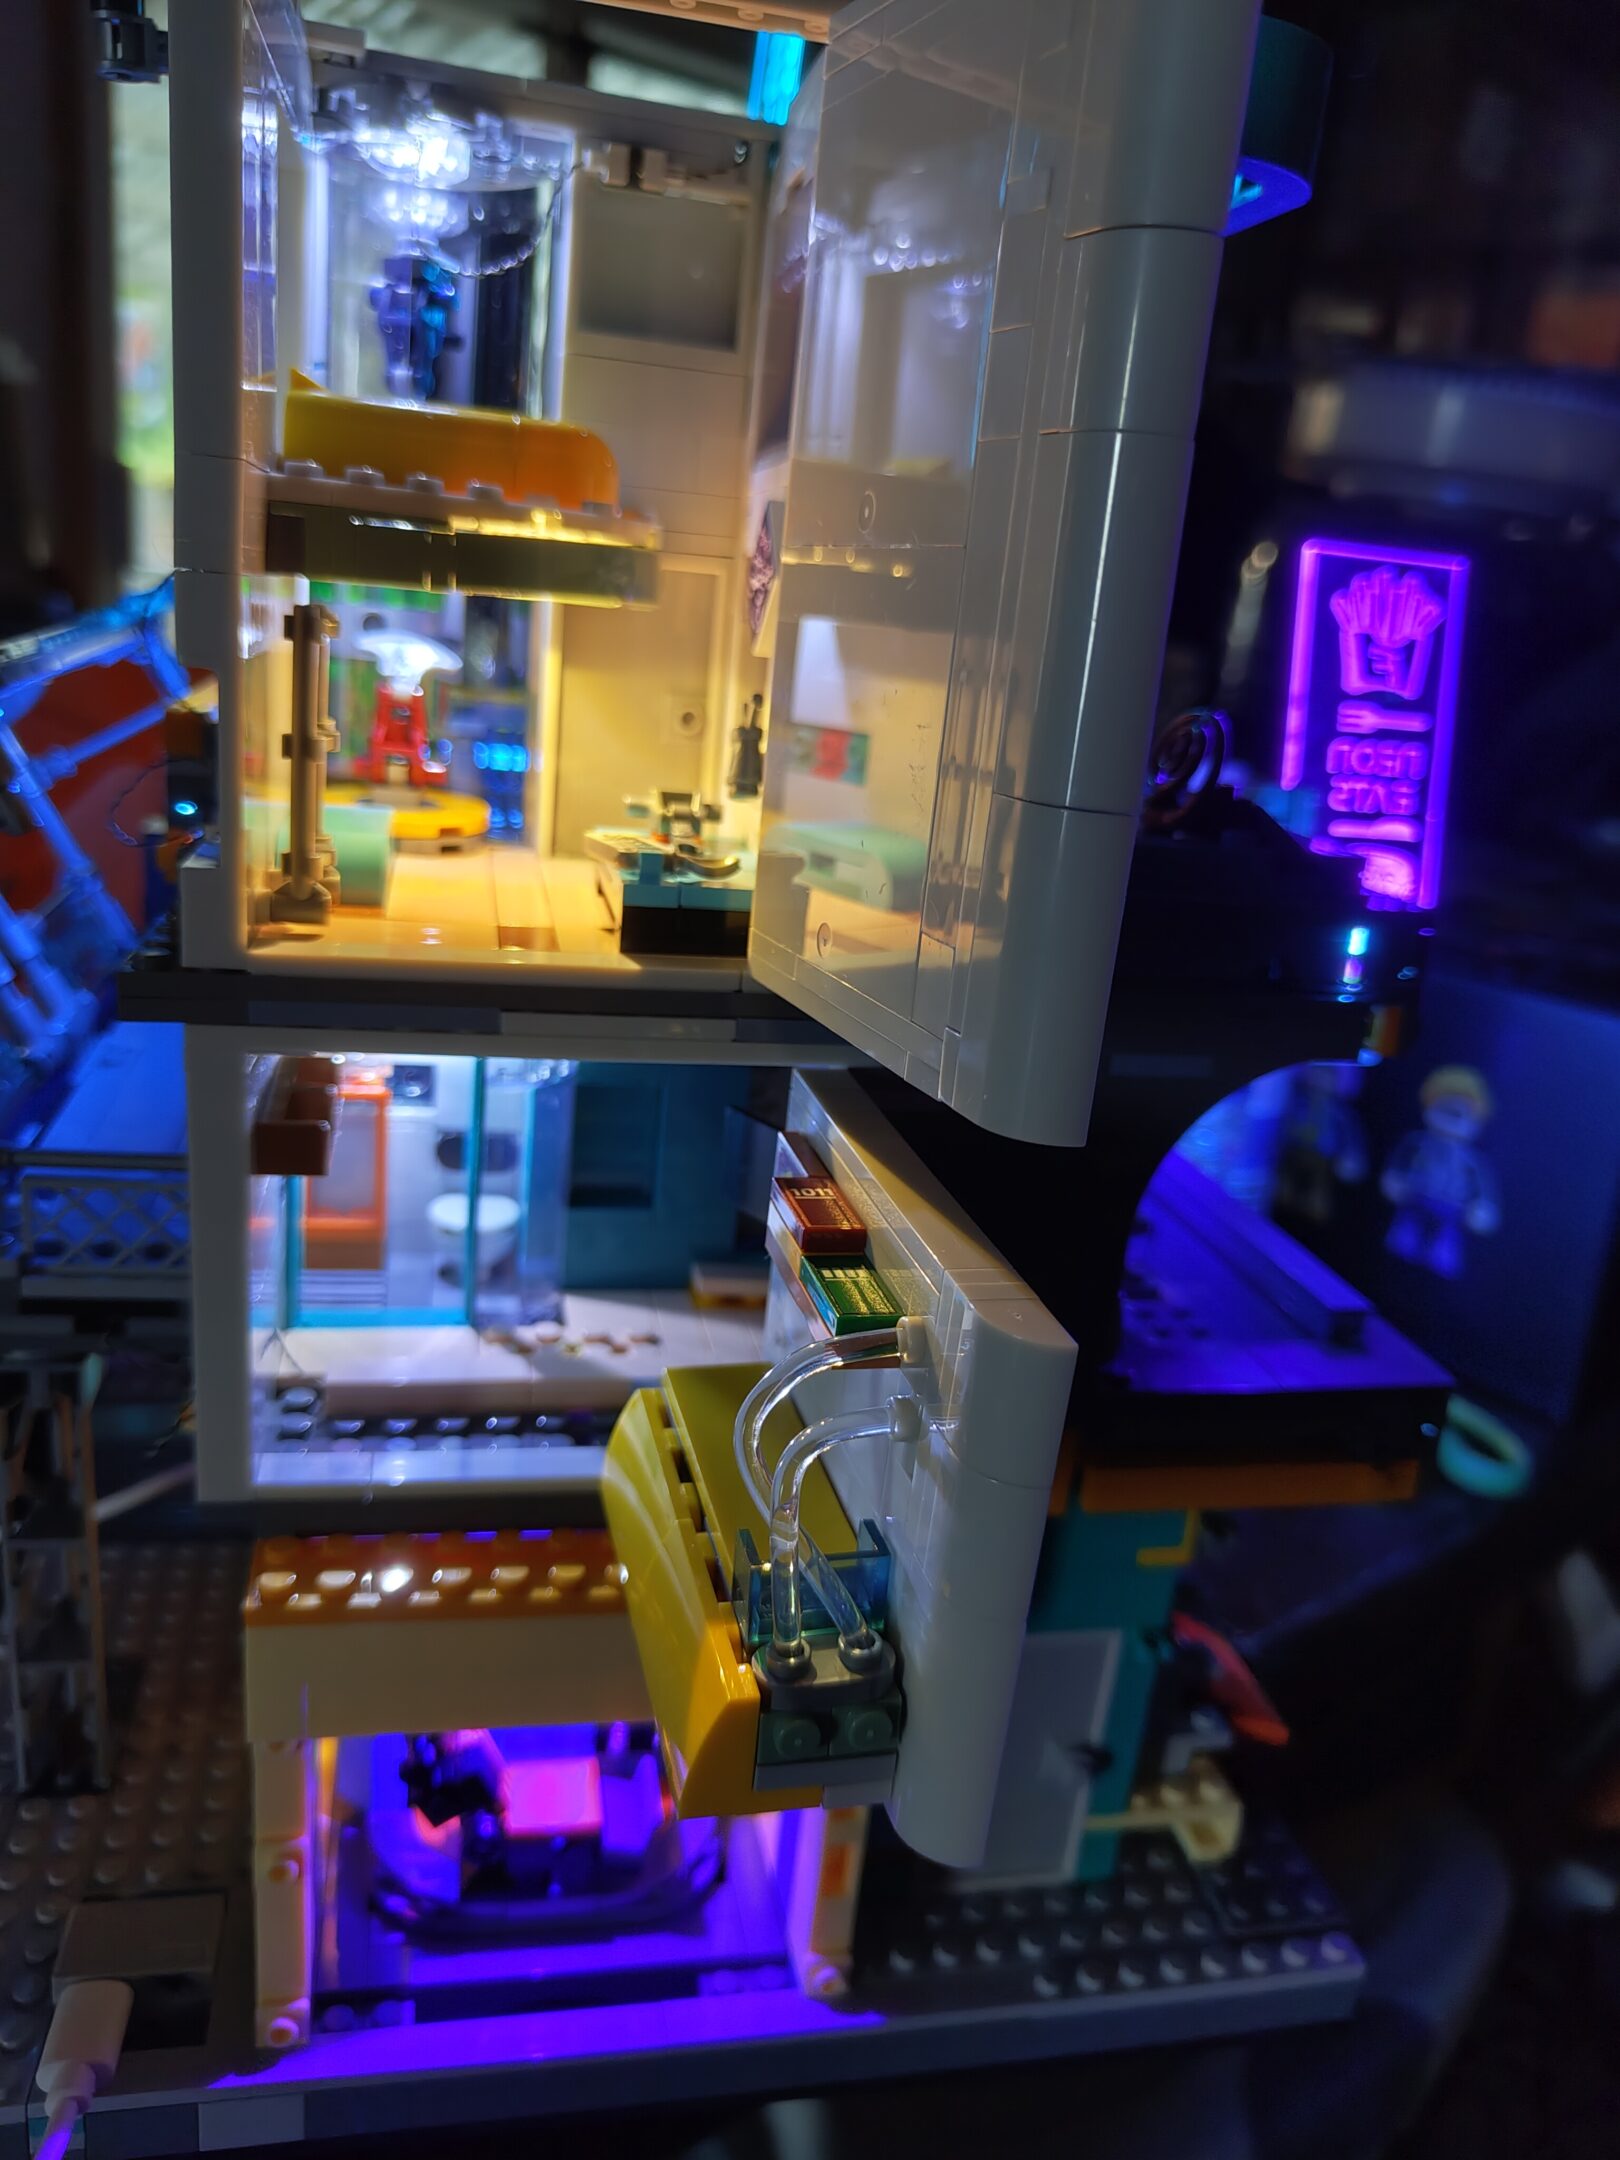
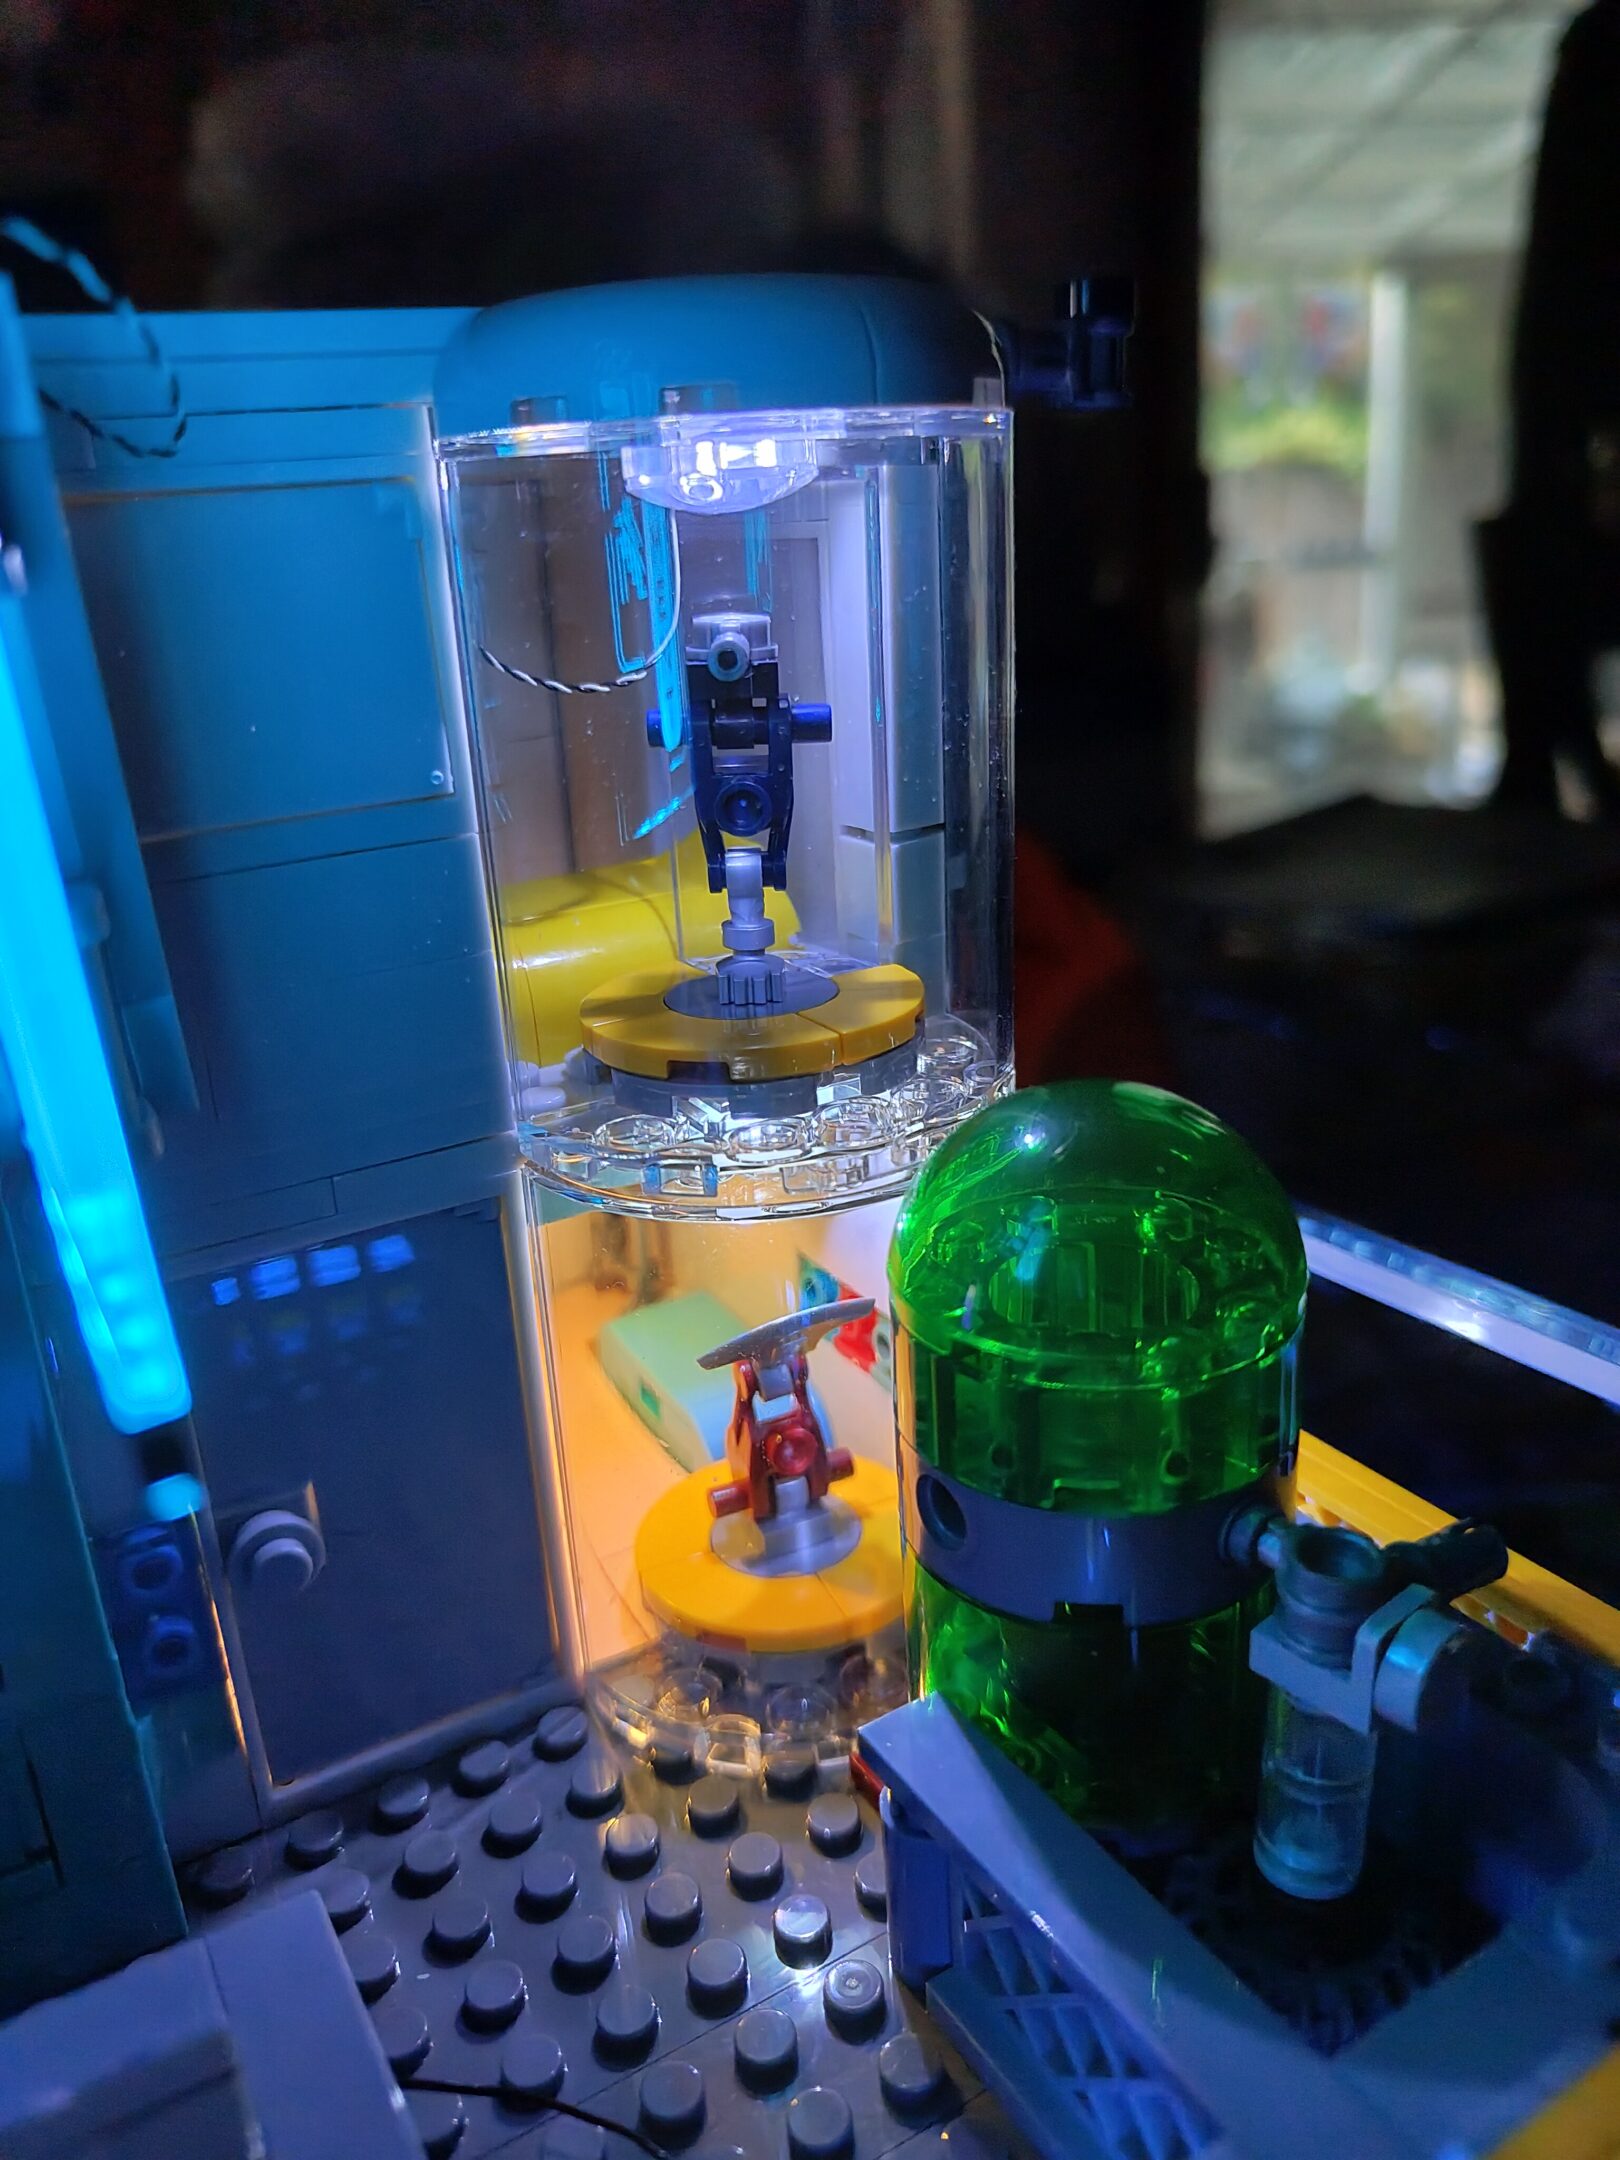
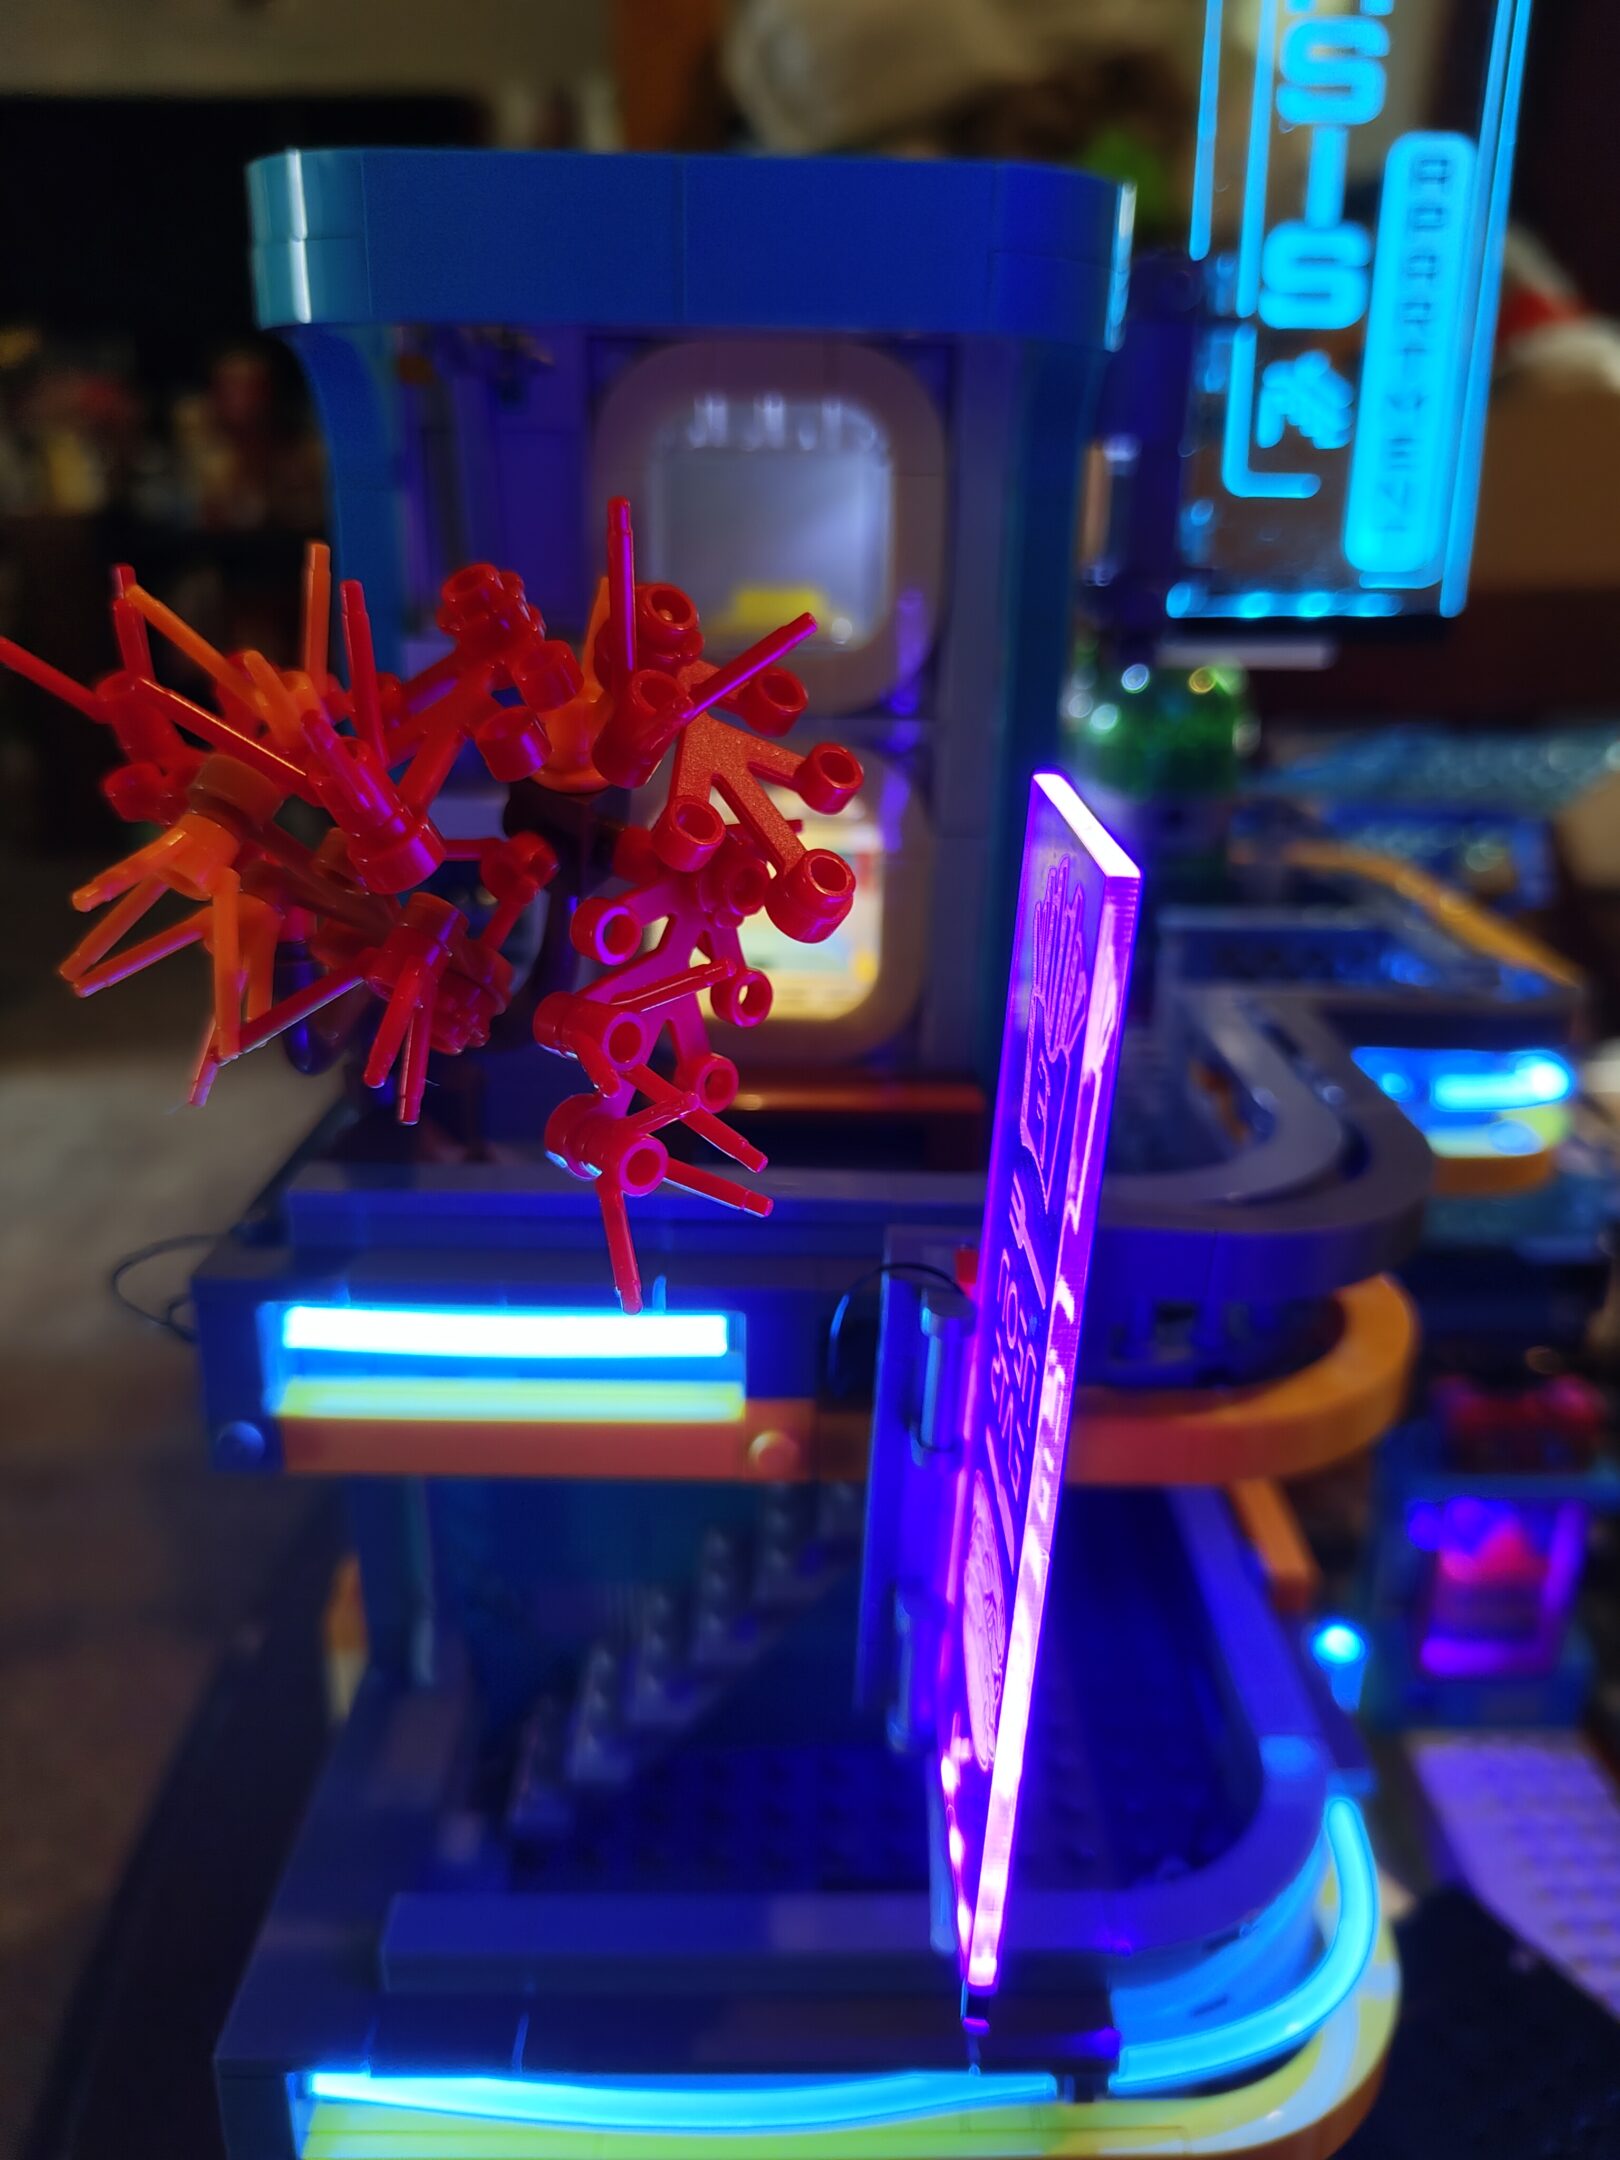
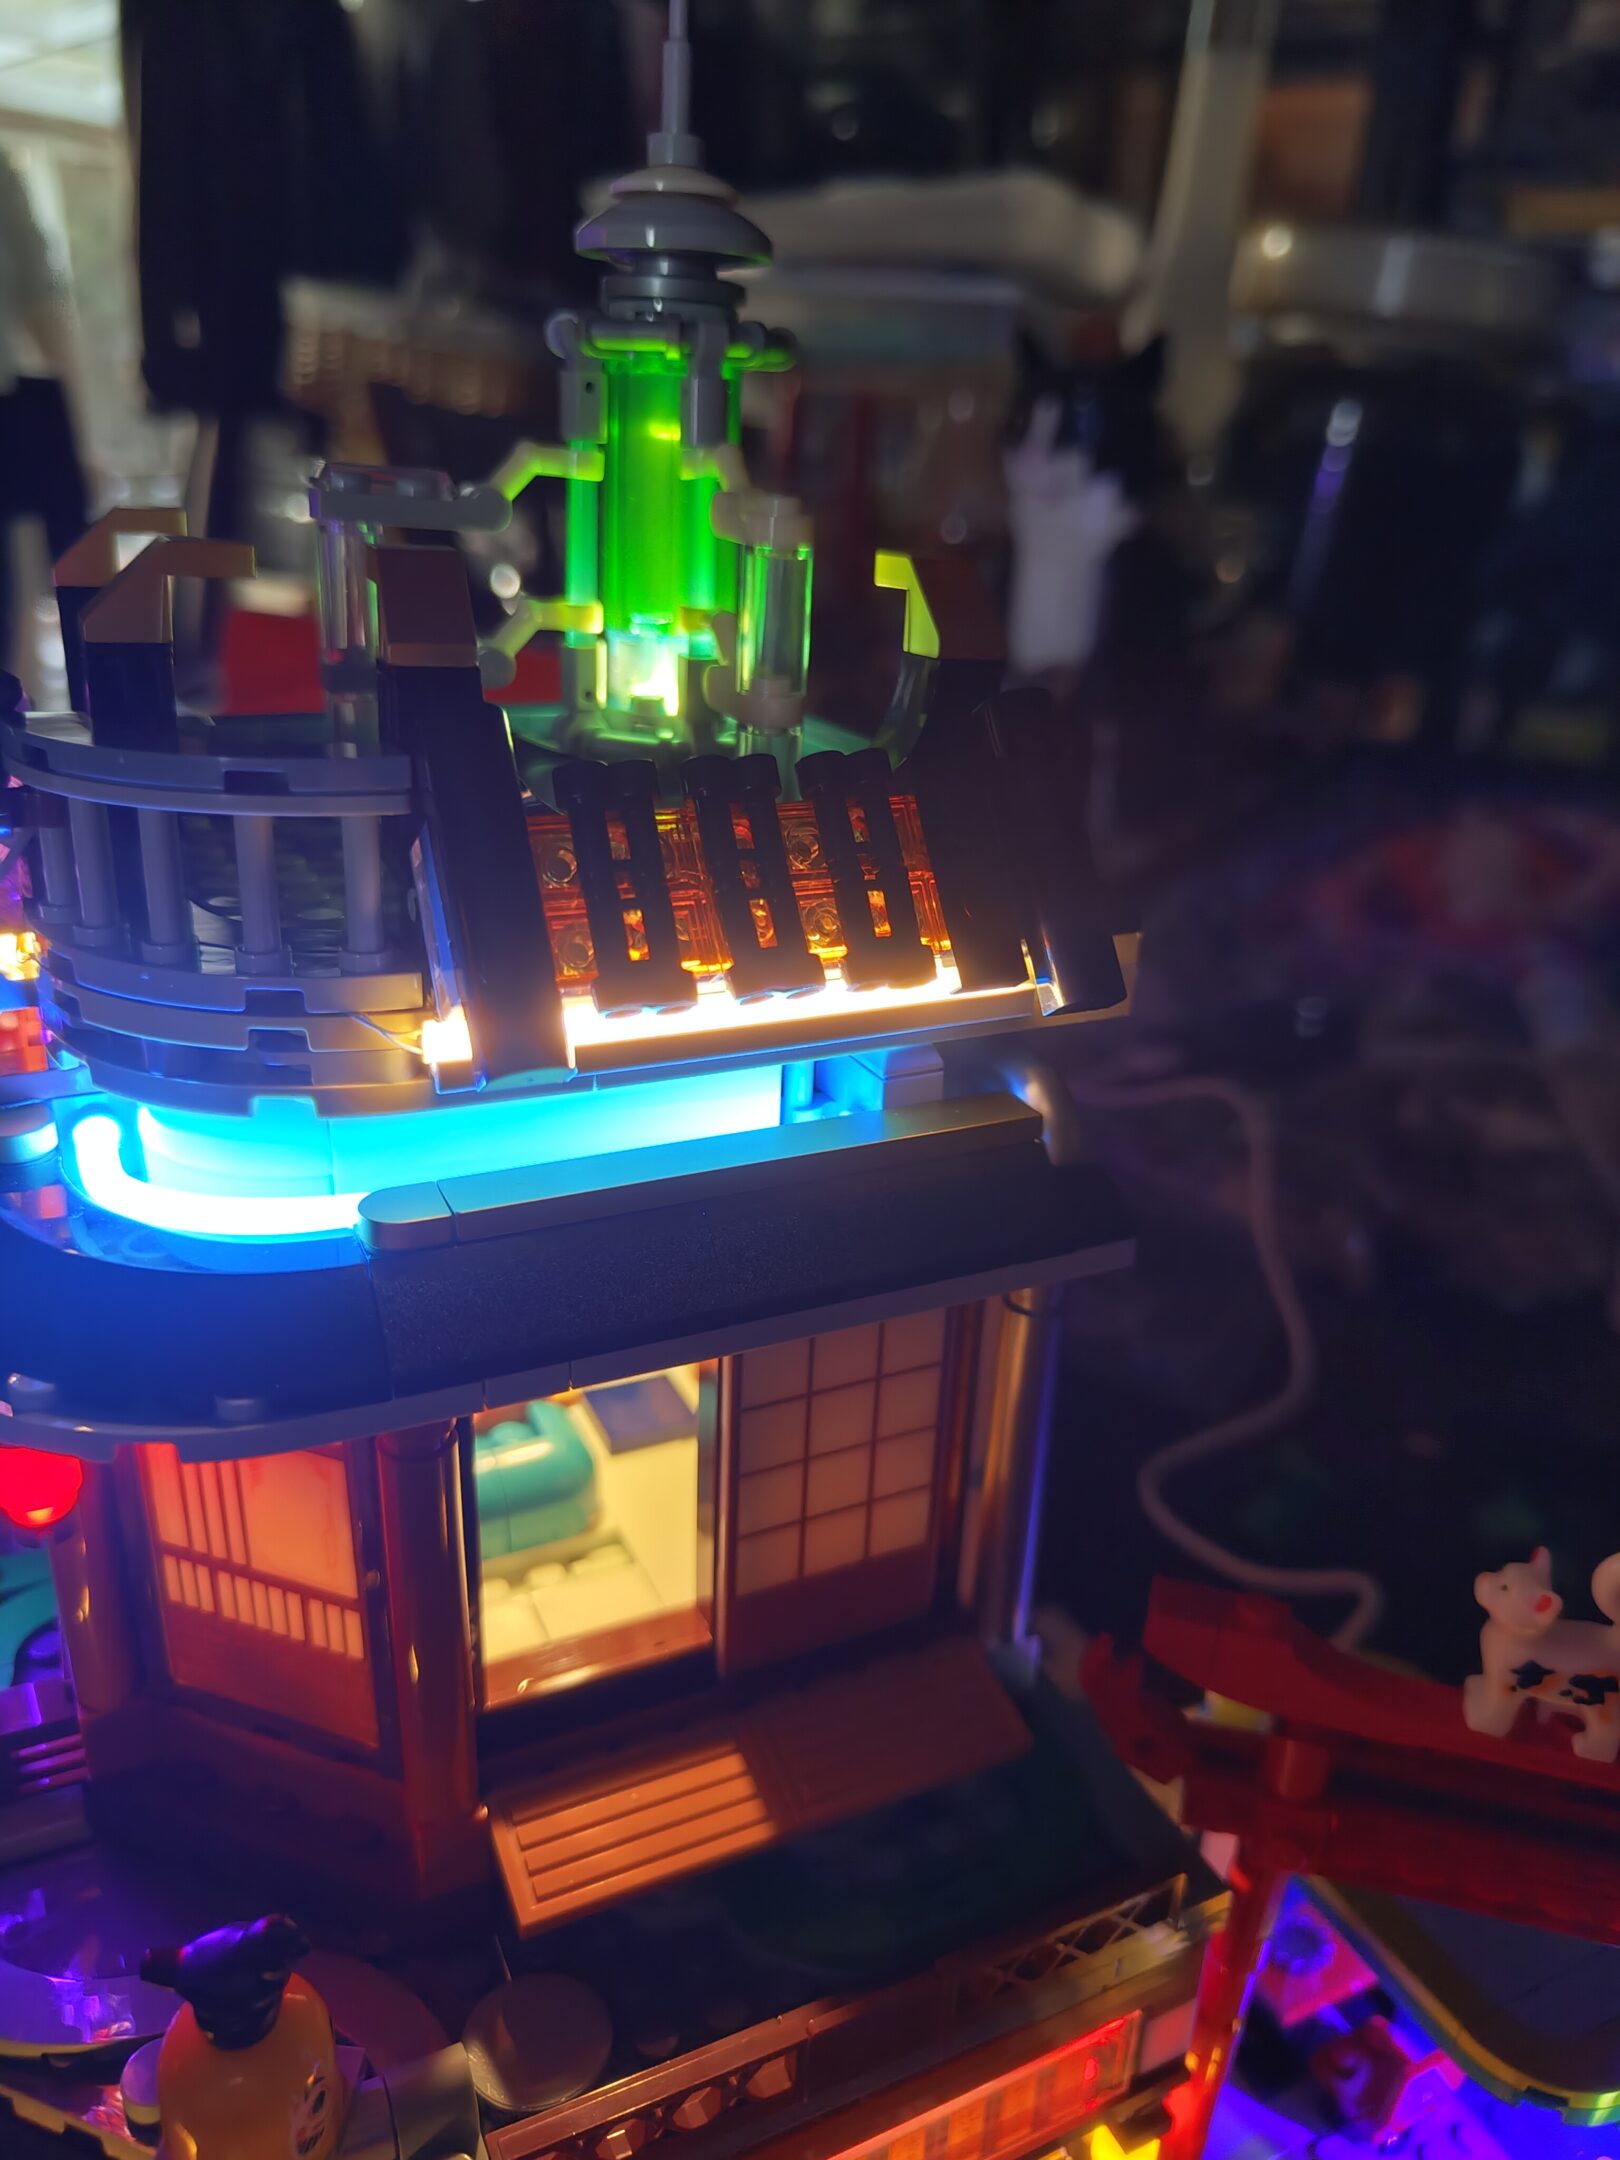
mannequins in a windowdon’t intrude, i guessawning bannerslemon water dispenser, for the builderbaubles on a wallmore signsthe back wall/window swings outand this little dude spins aroundthe second floorthe second floor’s wiring (and lighting for 1st floor)it’s lit, fammore lights, just kinda hanging outthe awning decorations around the 2nd floor. and ‘neon’forgot to get more pictures of this stepbioscanner chair and tools. robot doc on the clamper not picturedneon effect tubing, lights, a lit tree. these sets are so cool
home sick today, did some lego with mom and some on my own
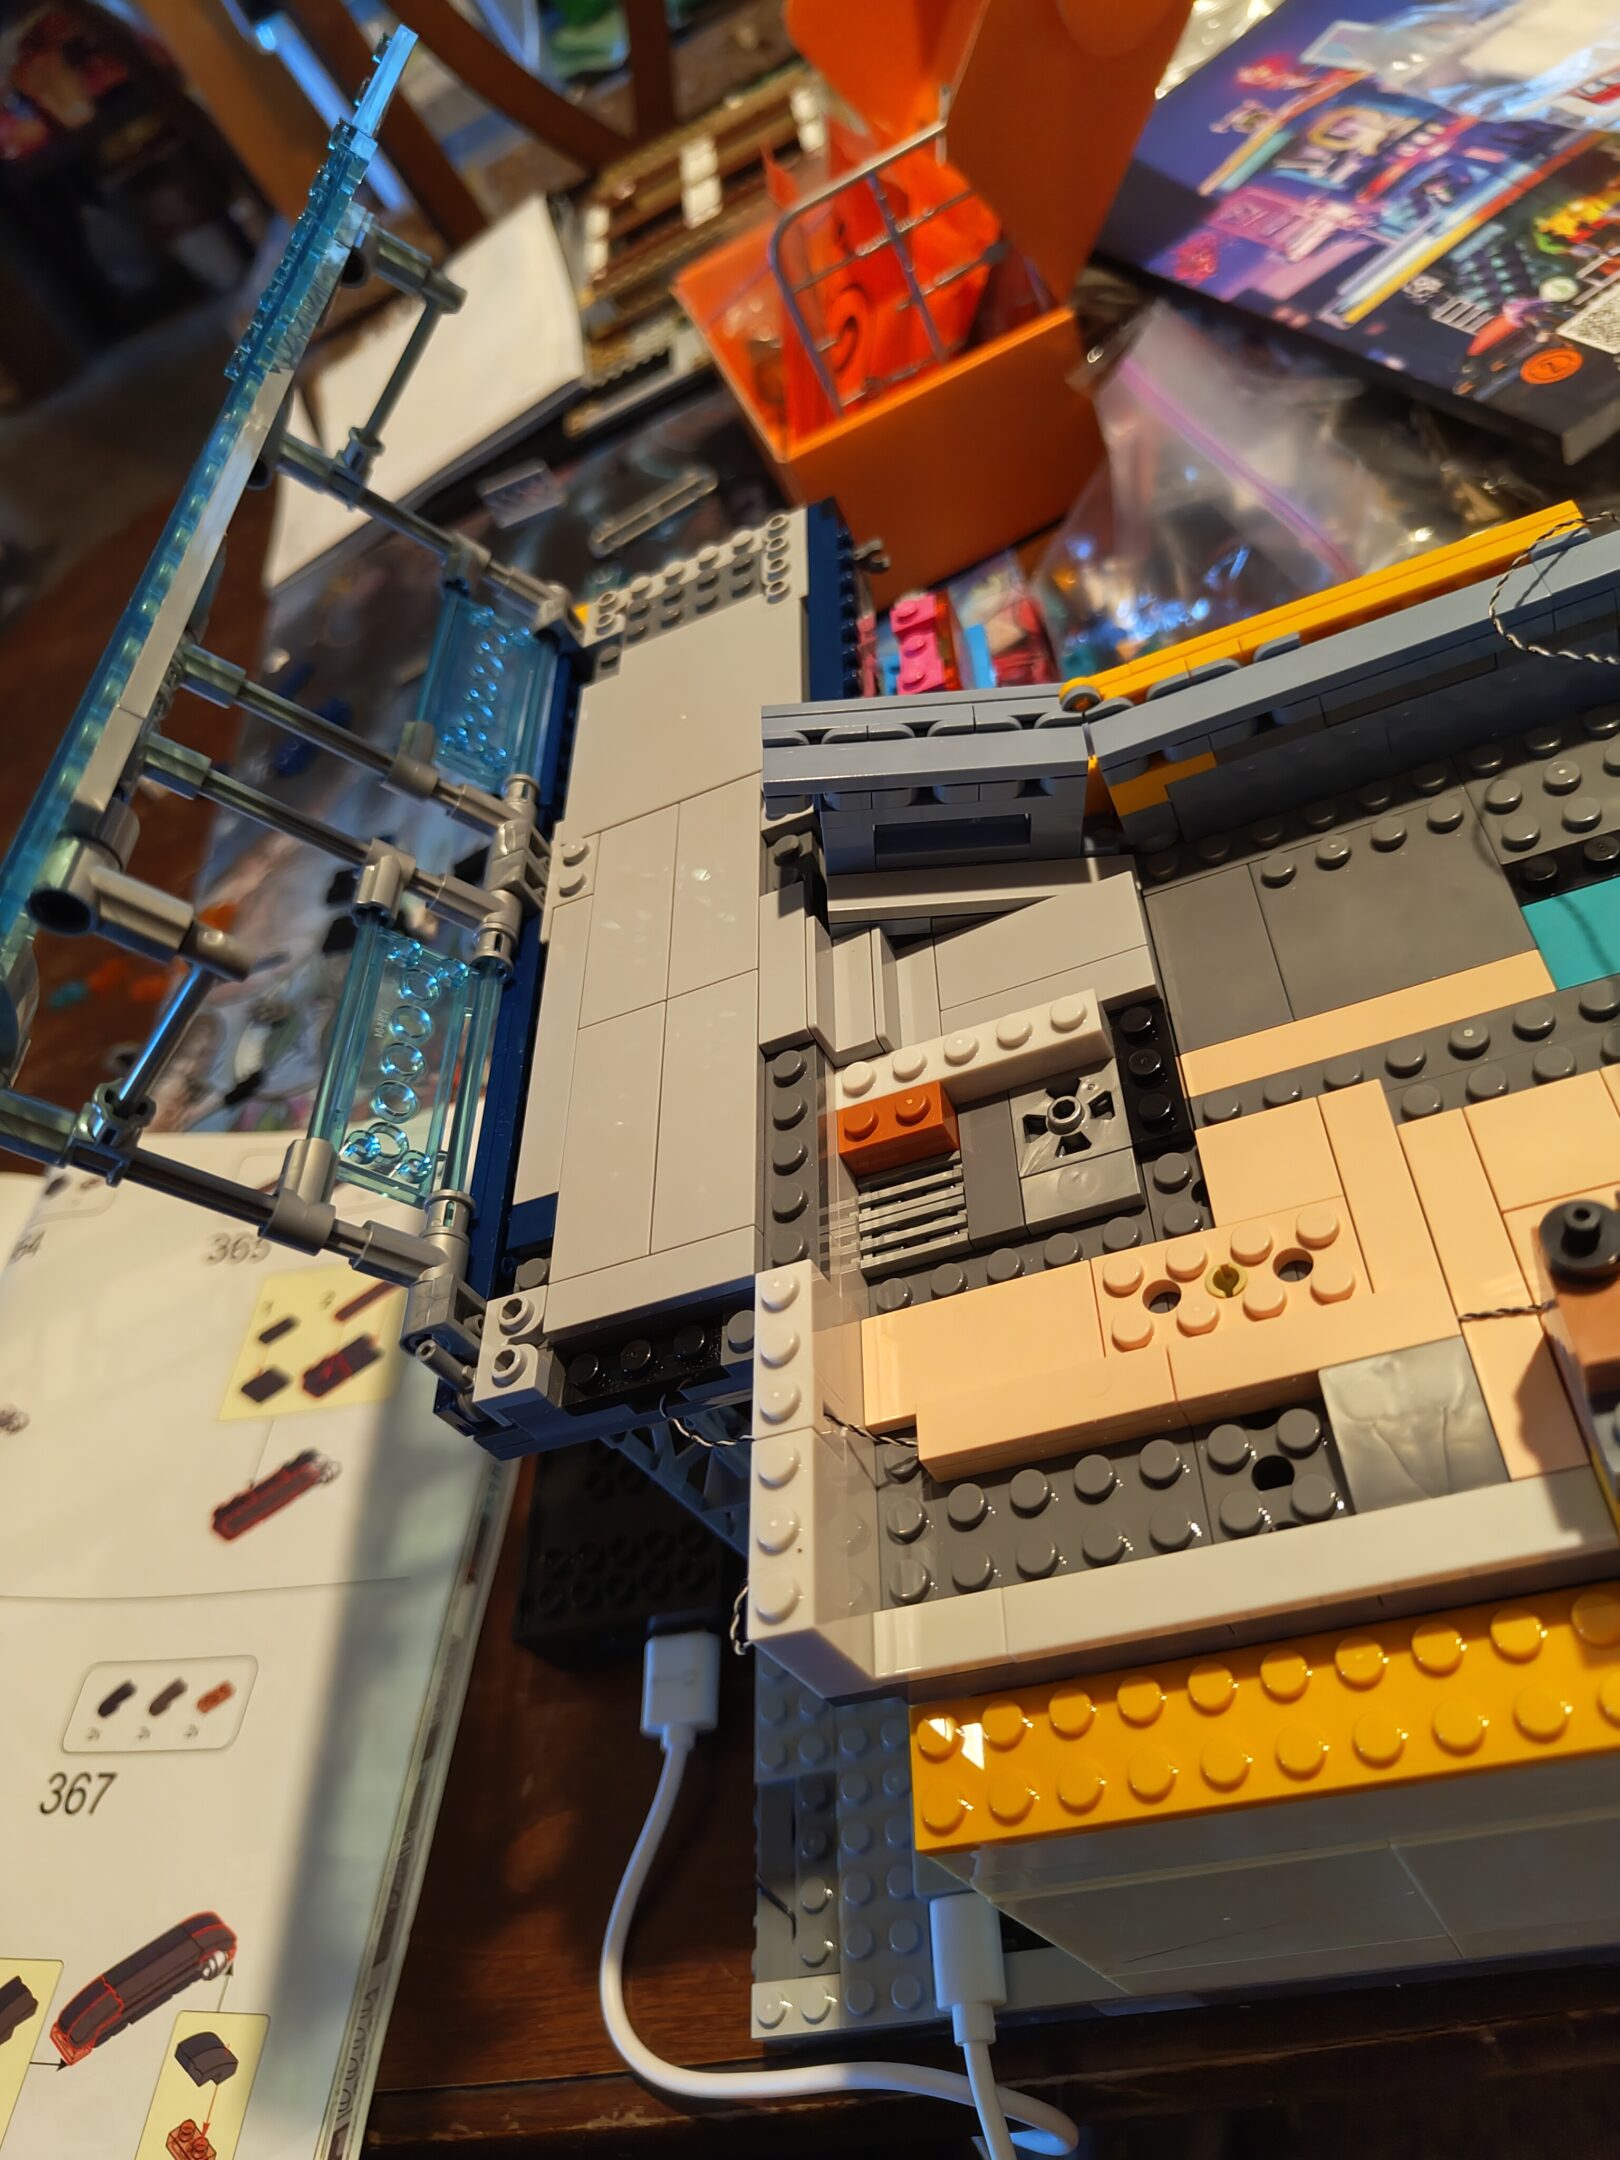
wish there was more support here for these windowsgalleria really coming togetherinterior lights: check. window support: ???
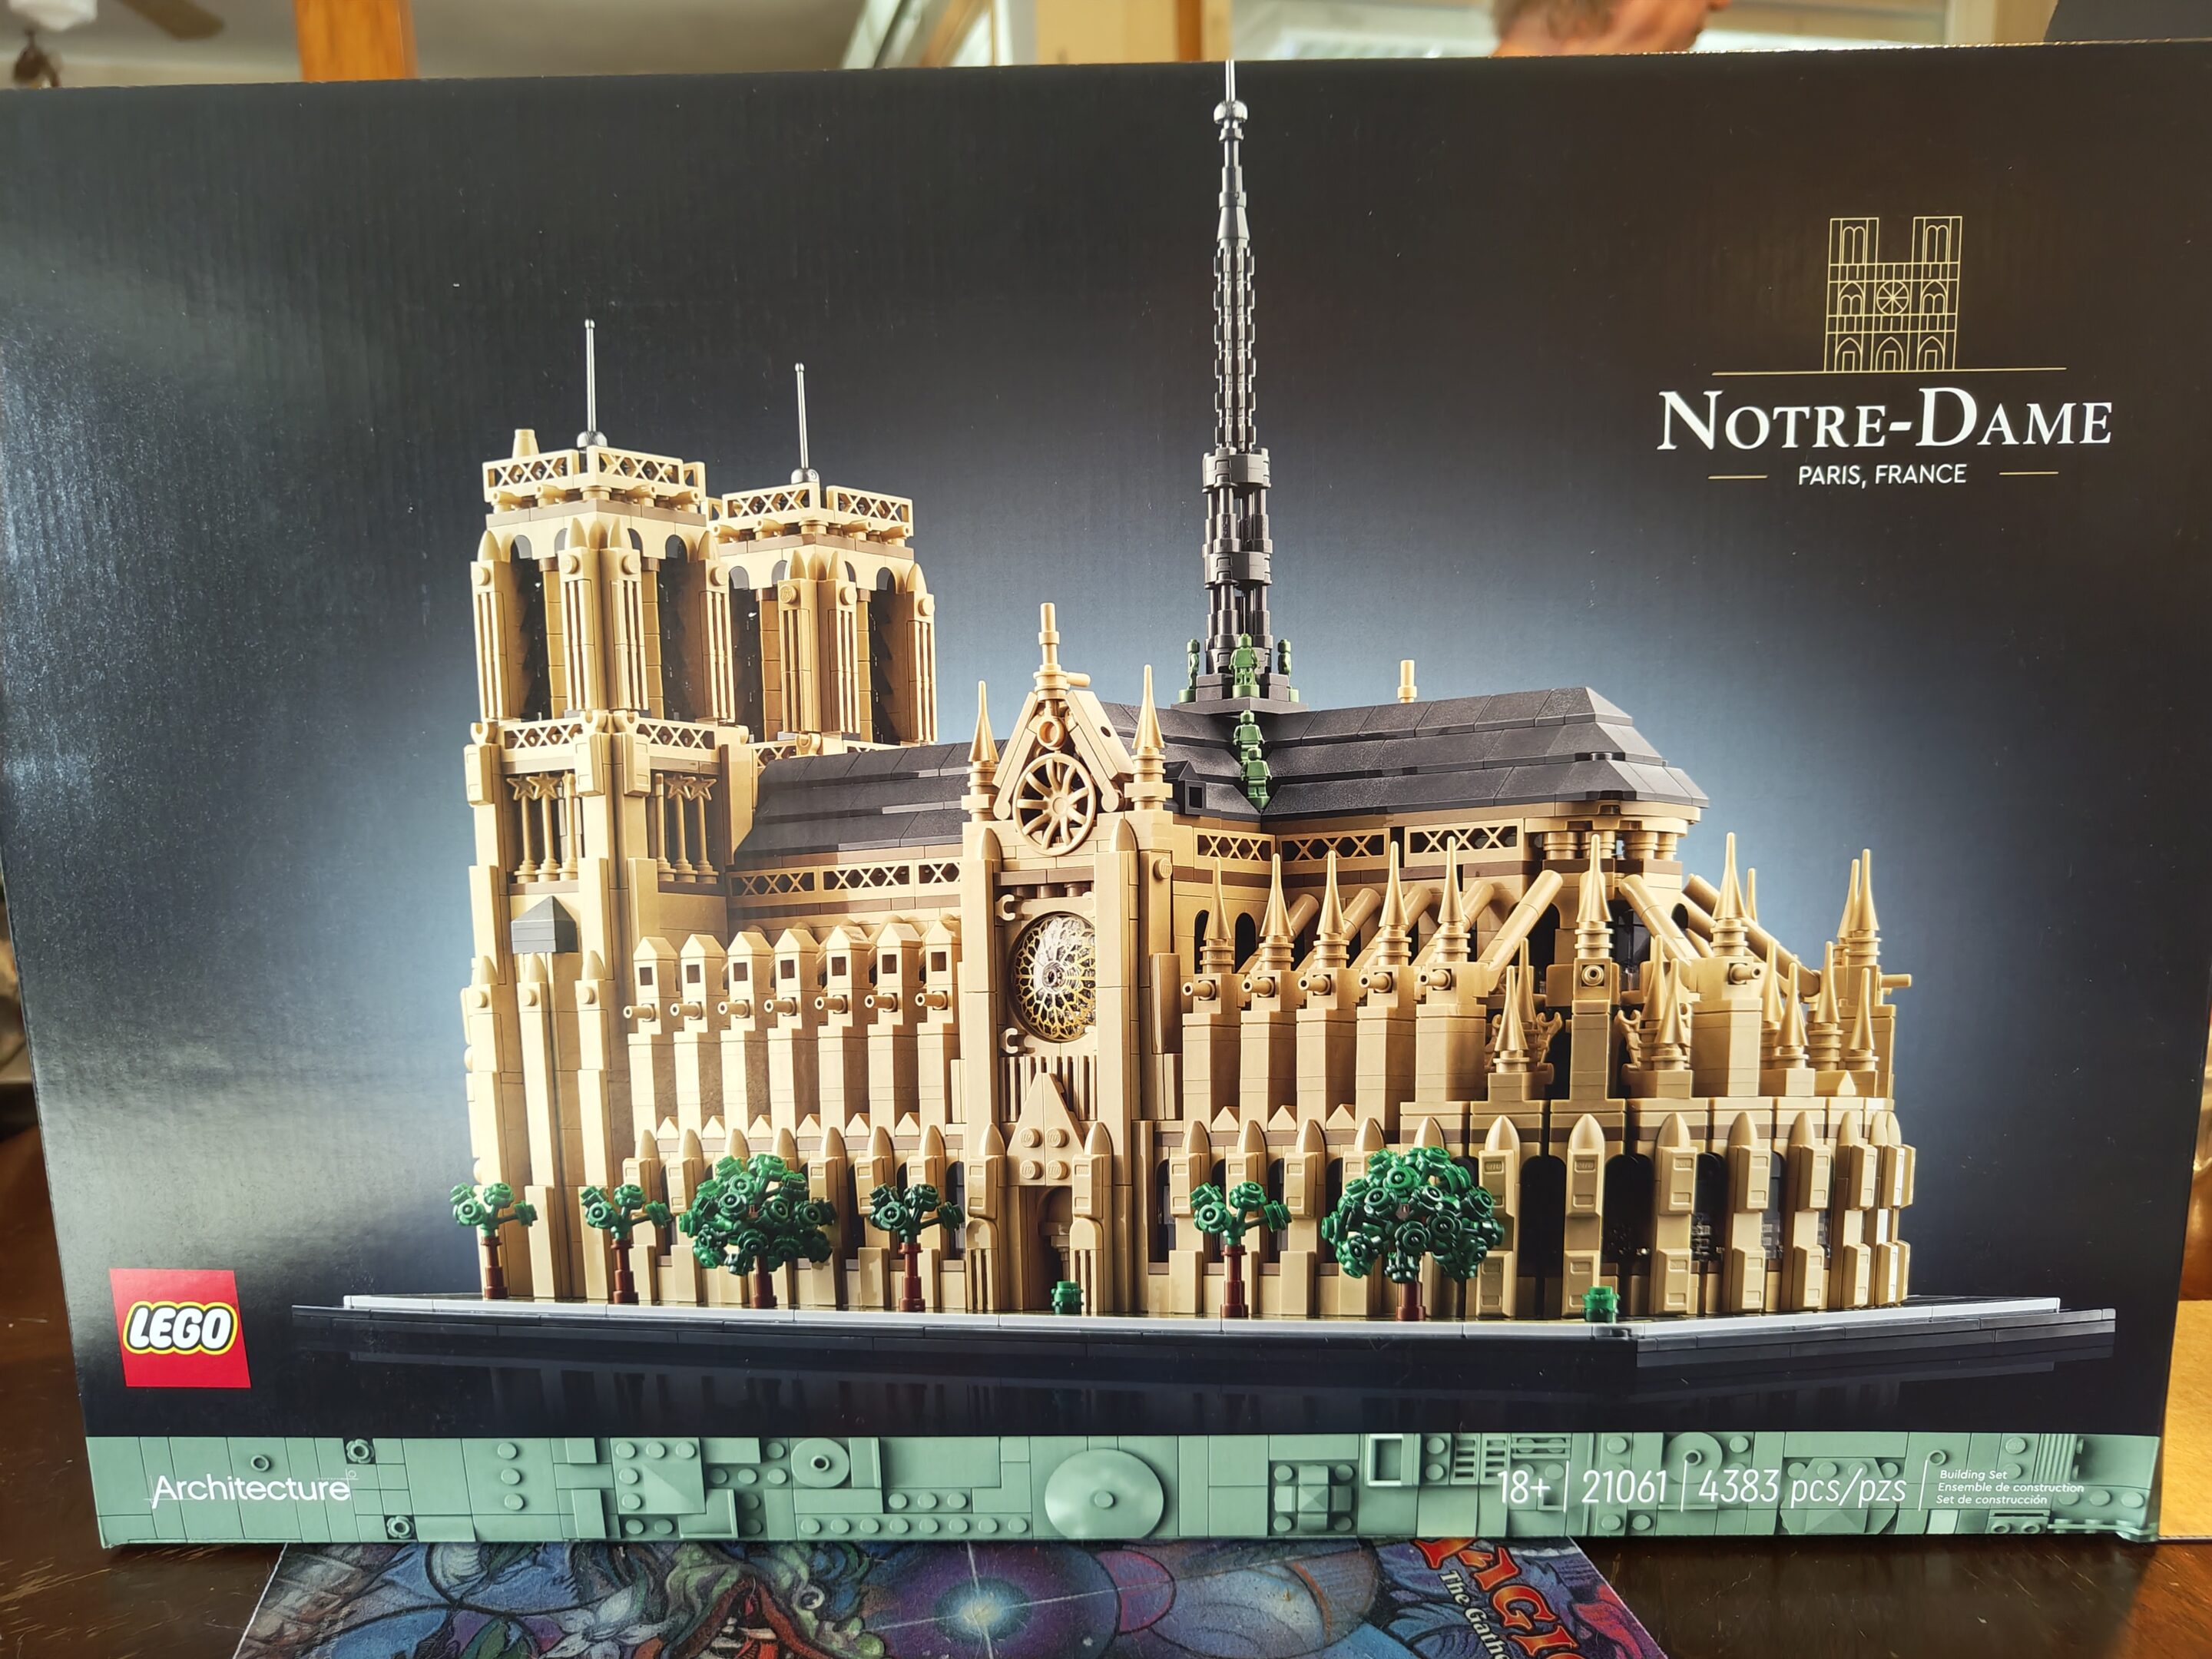
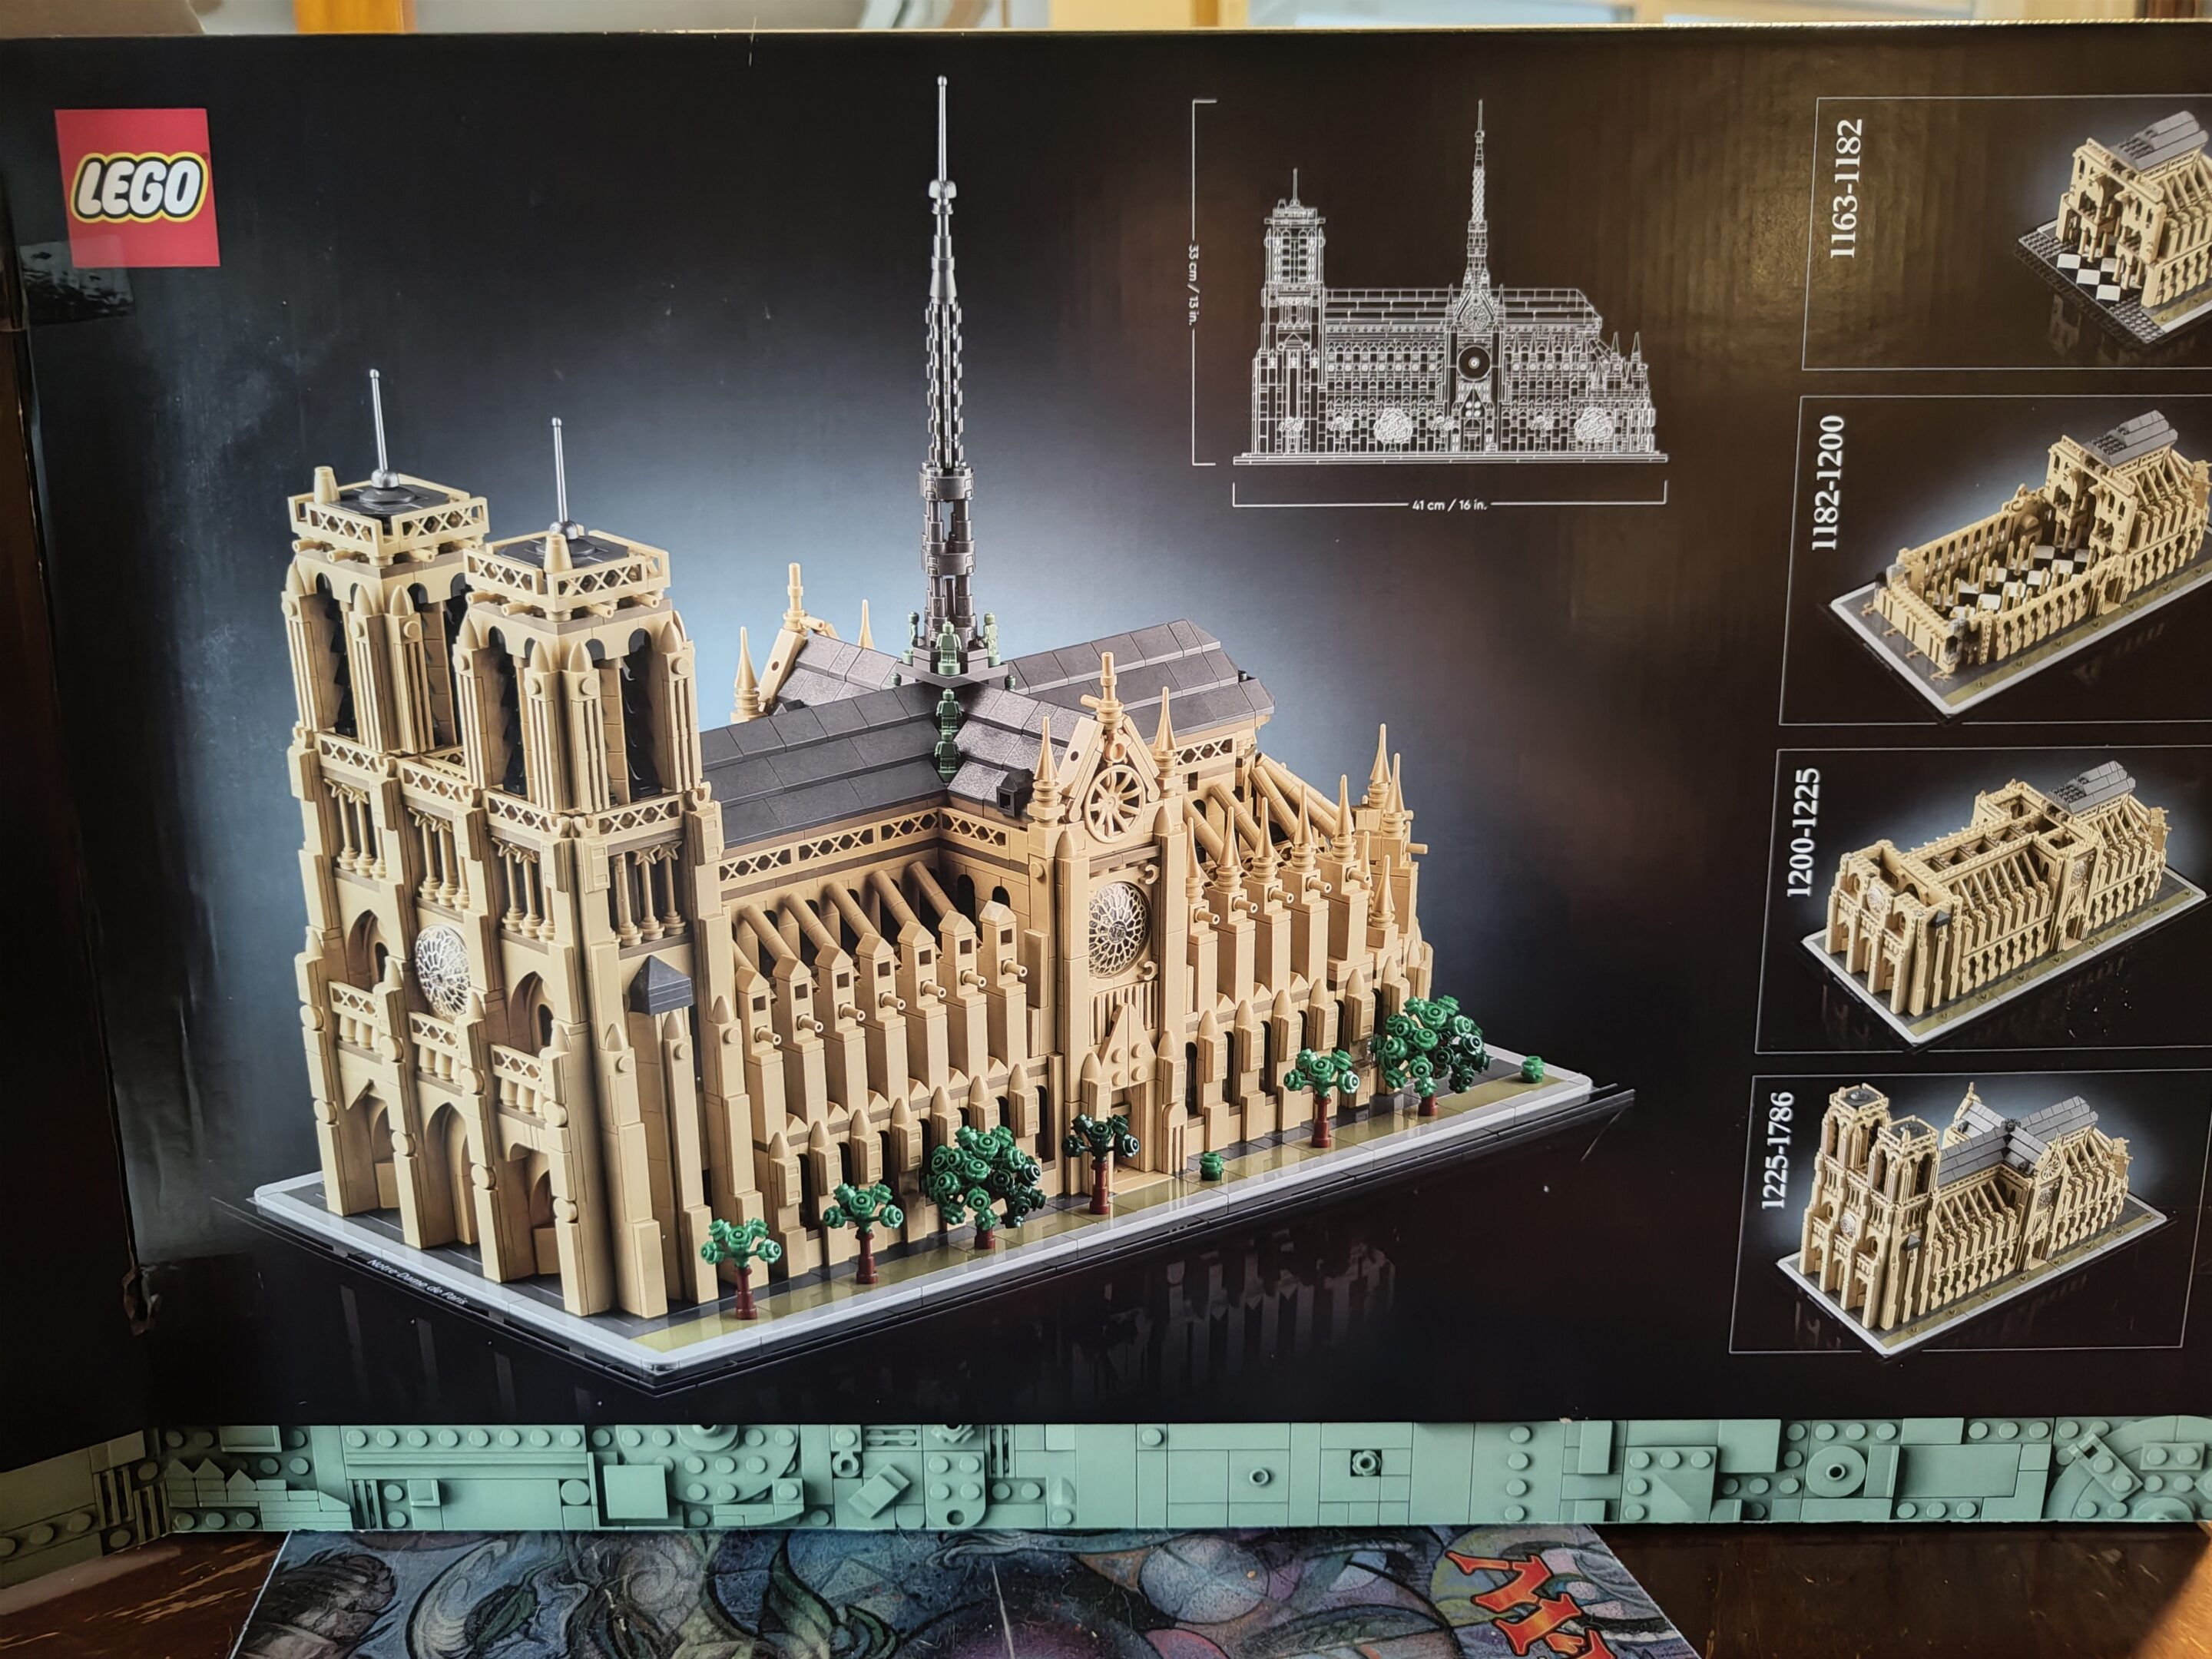
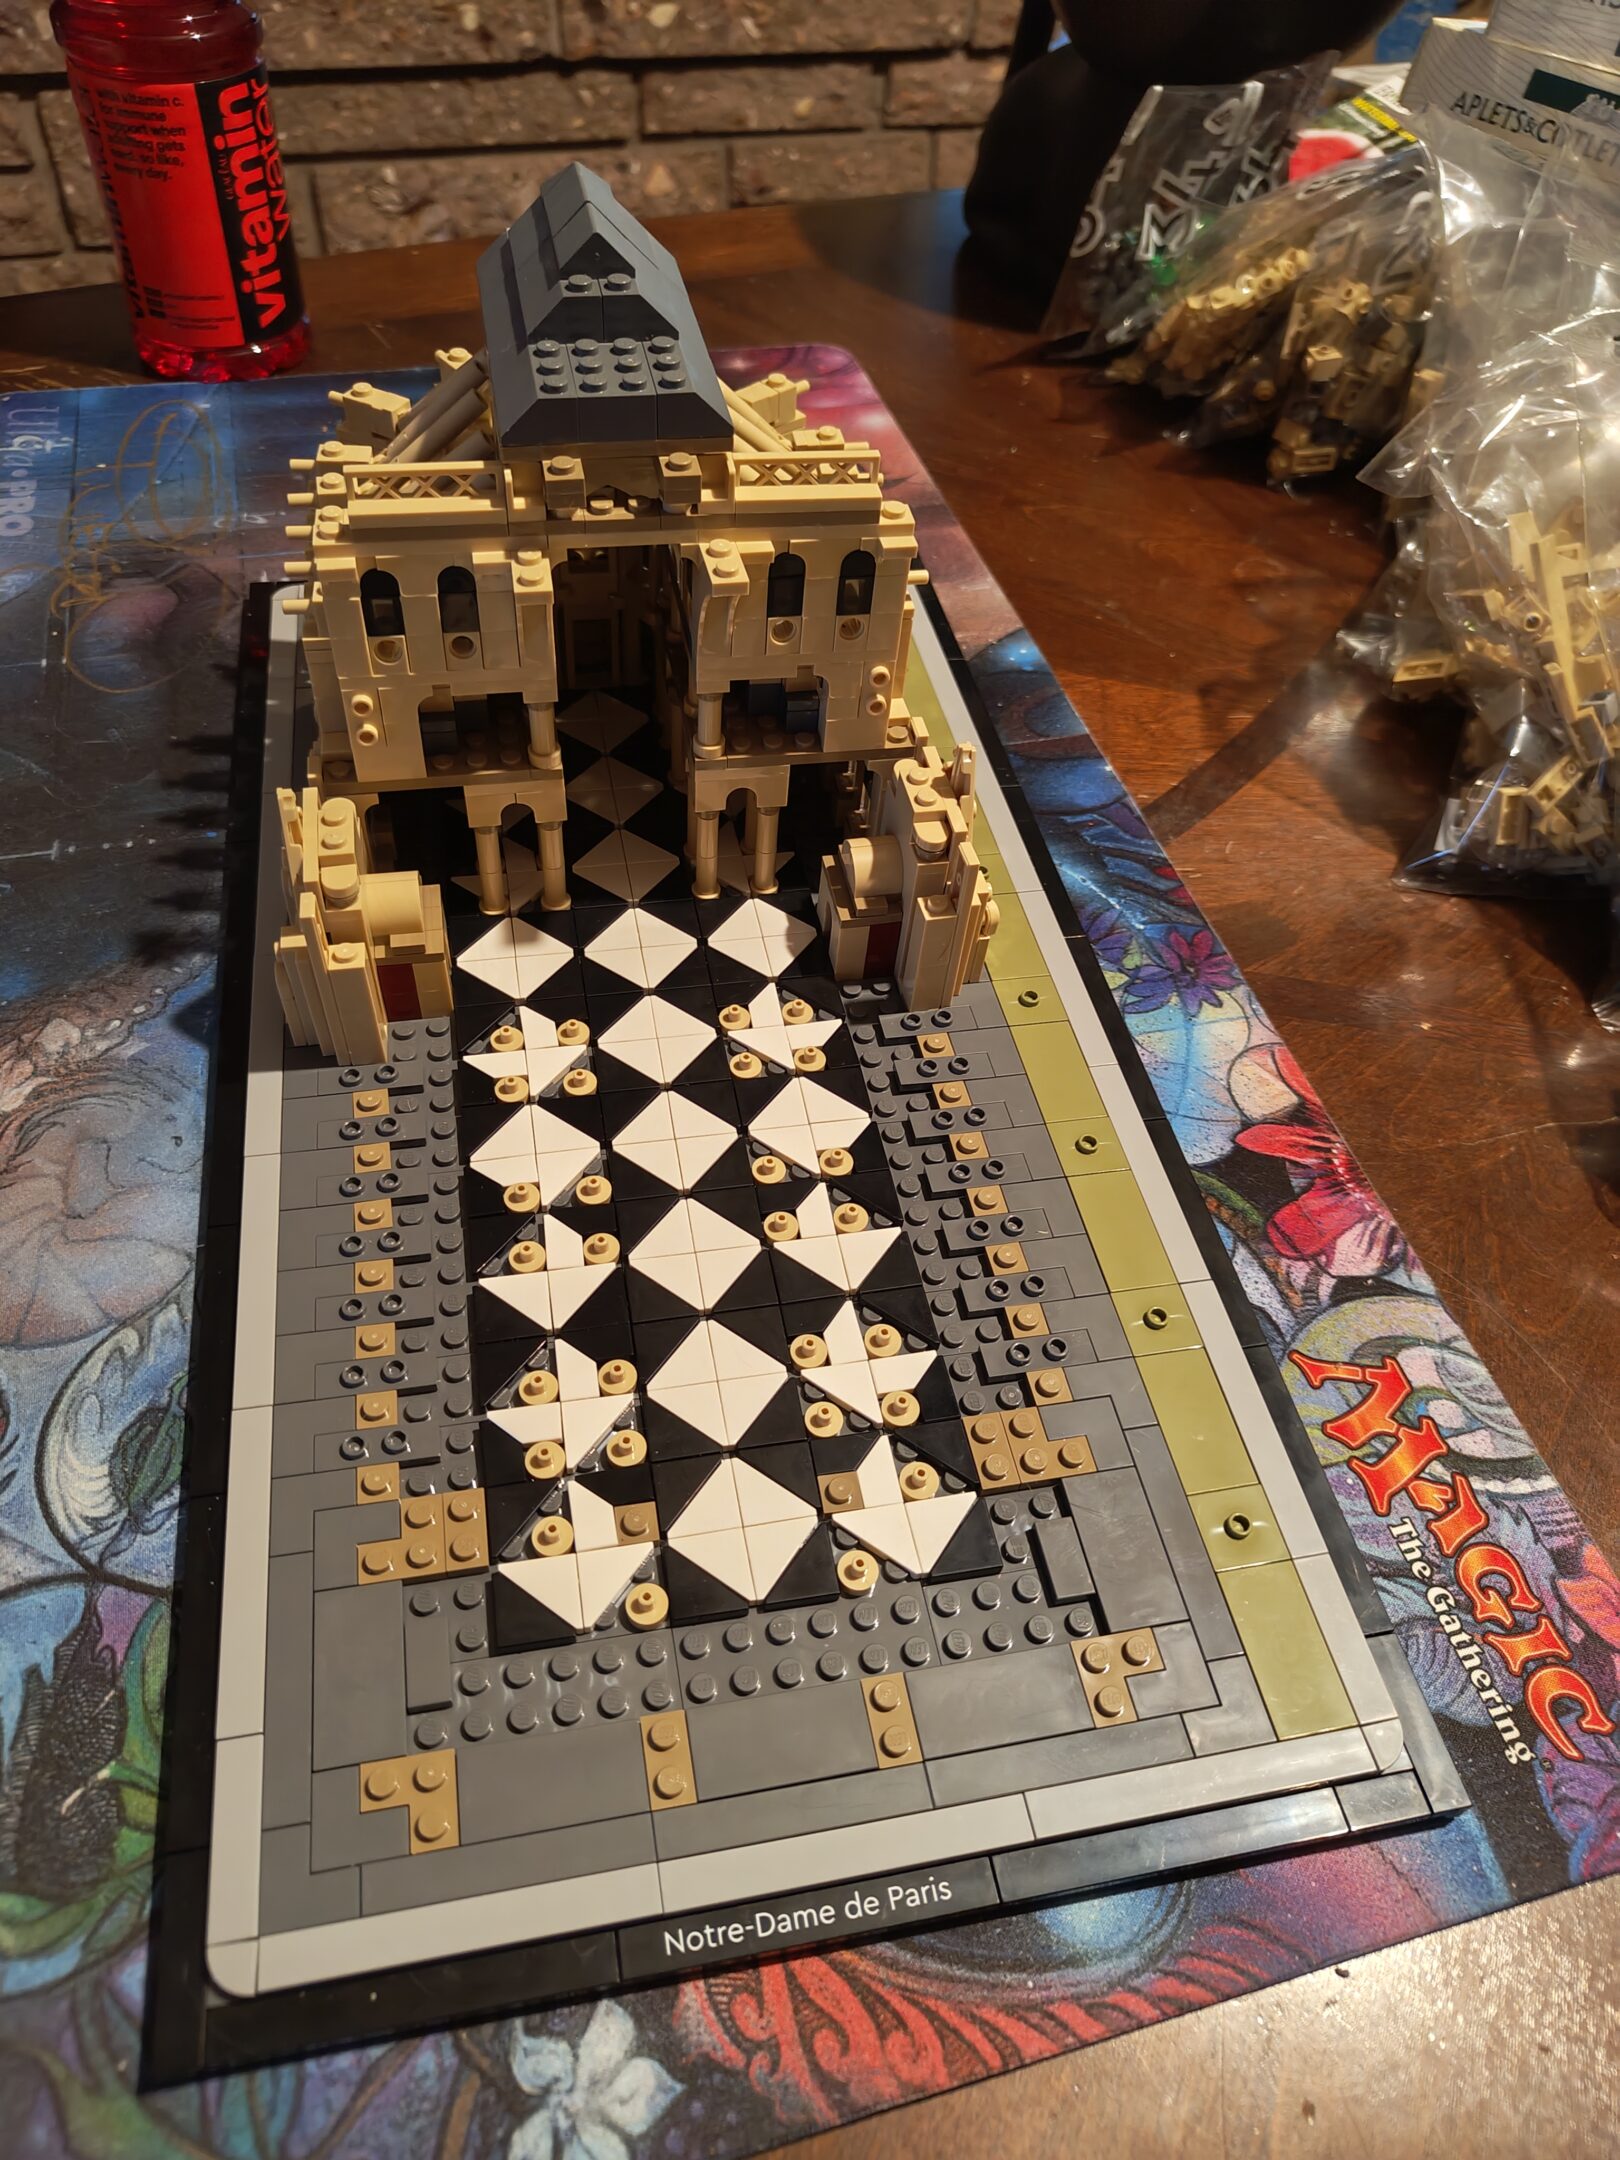
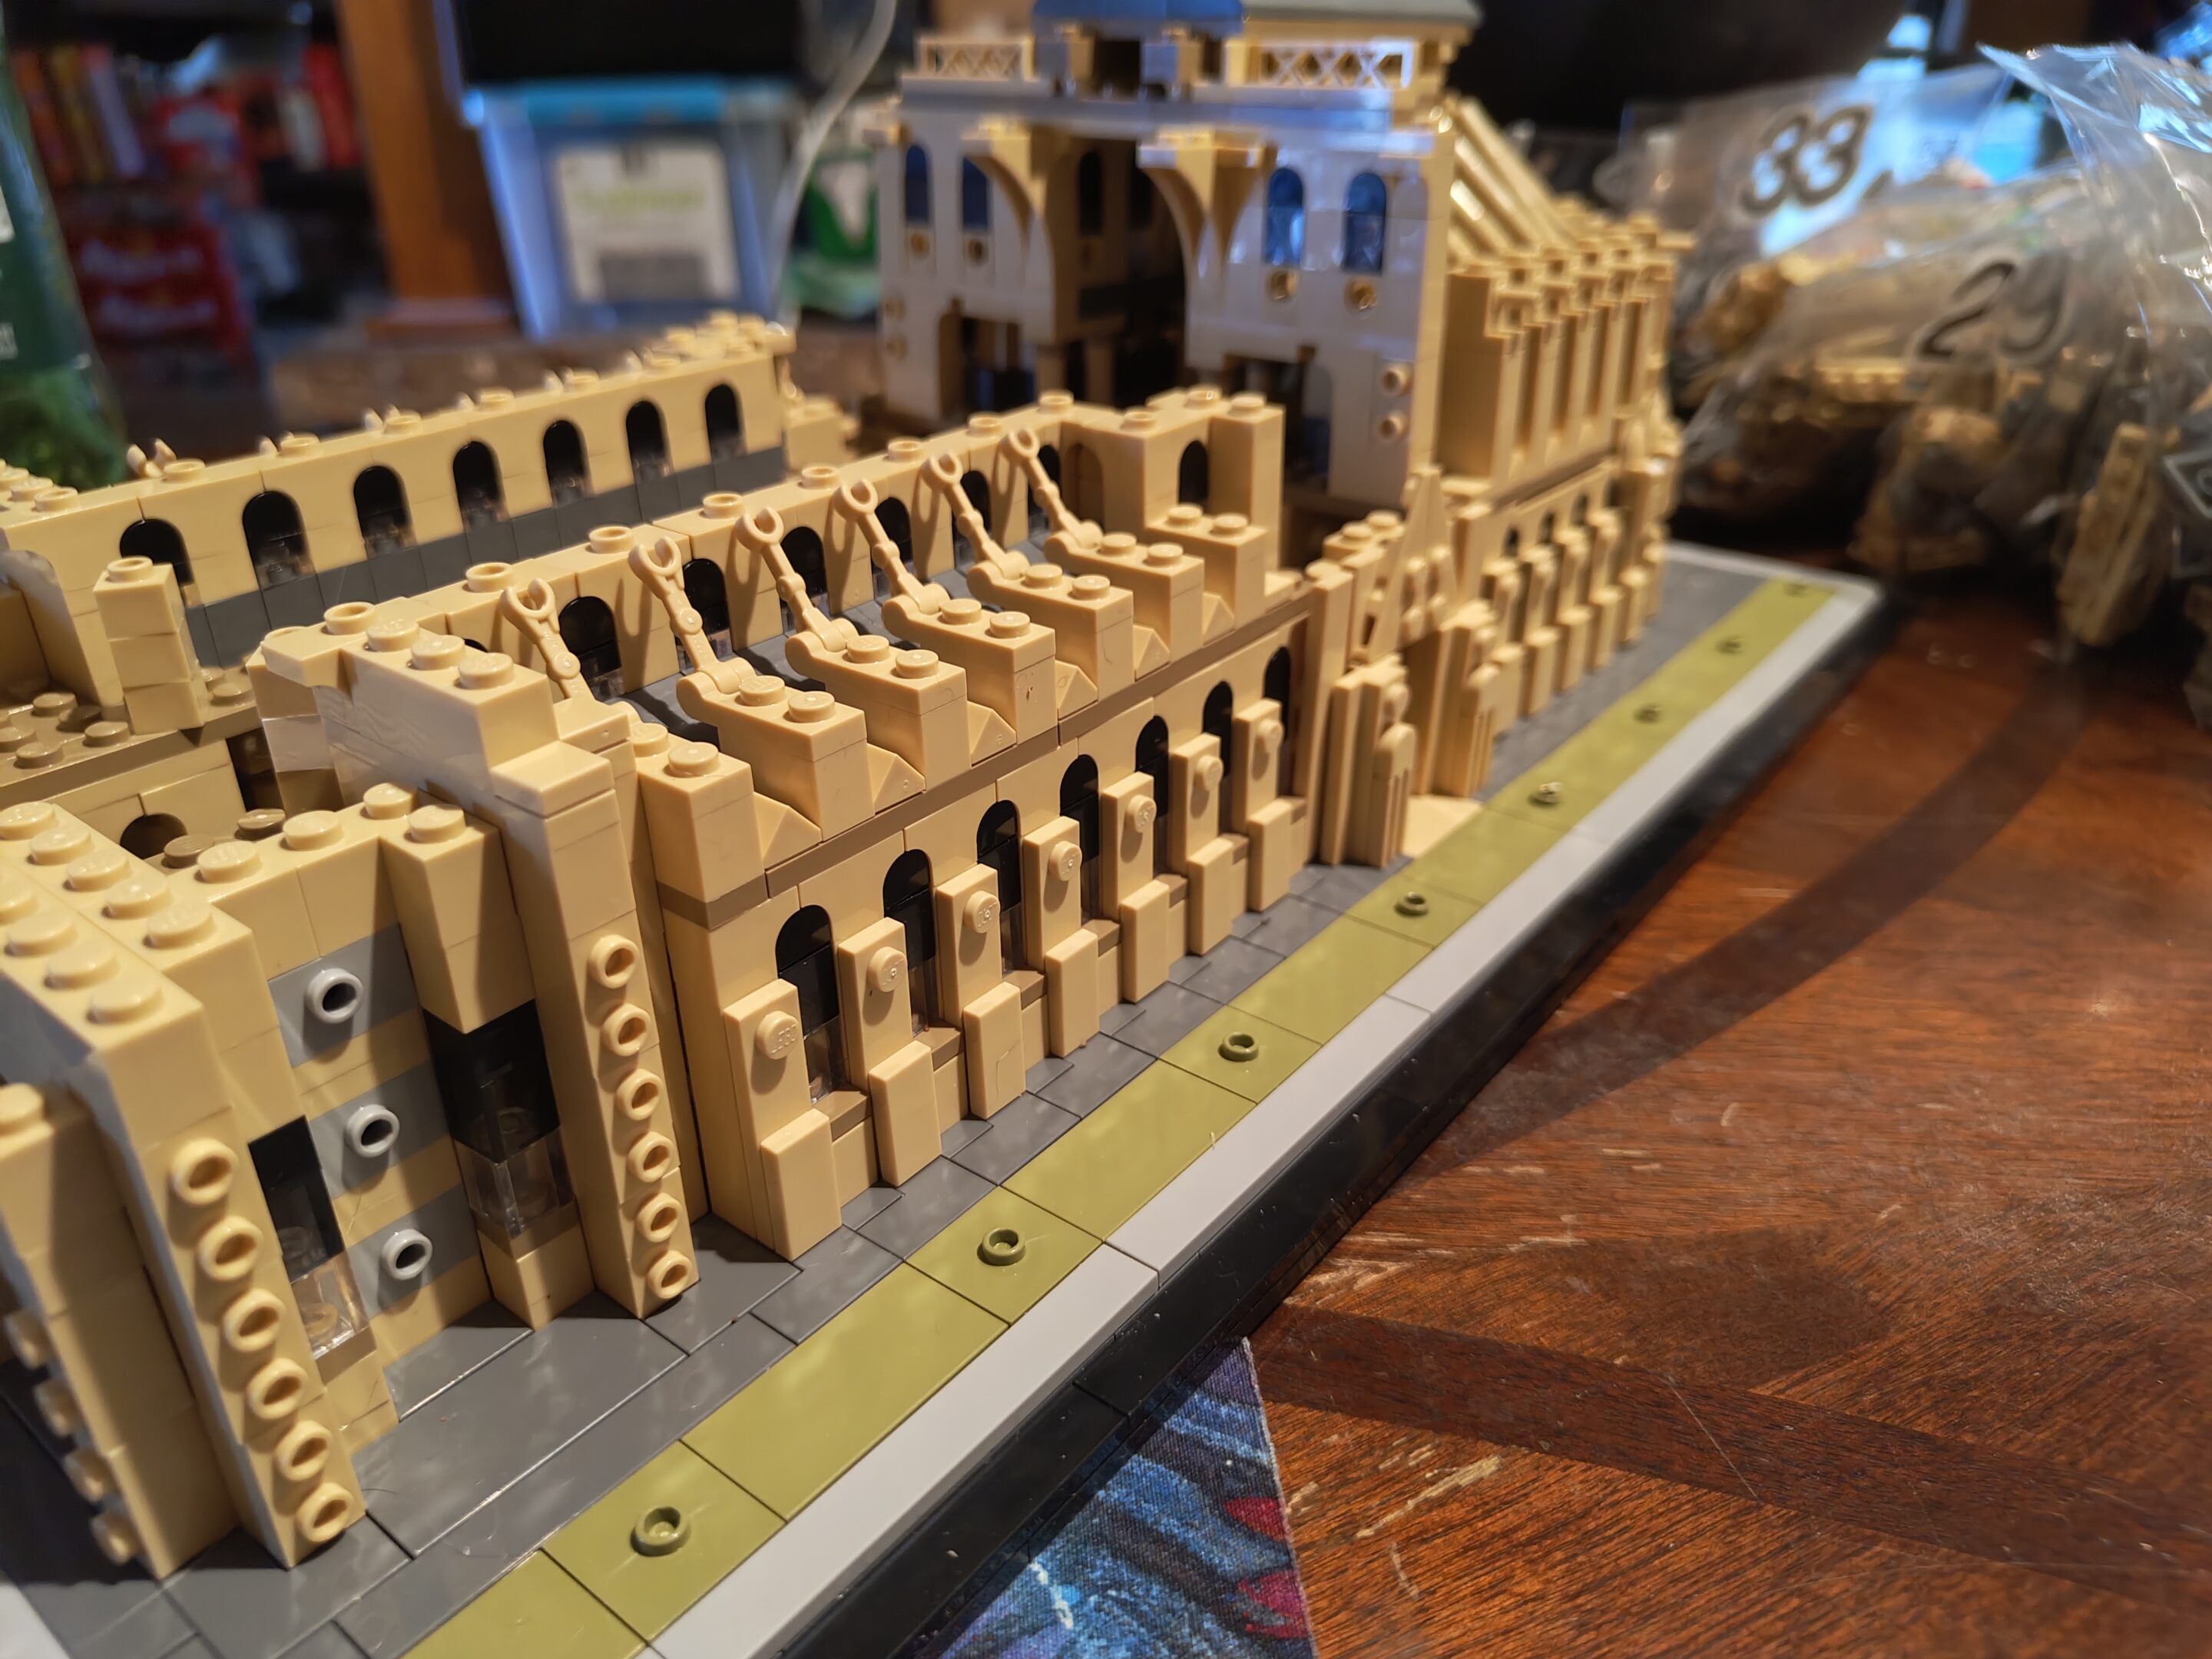
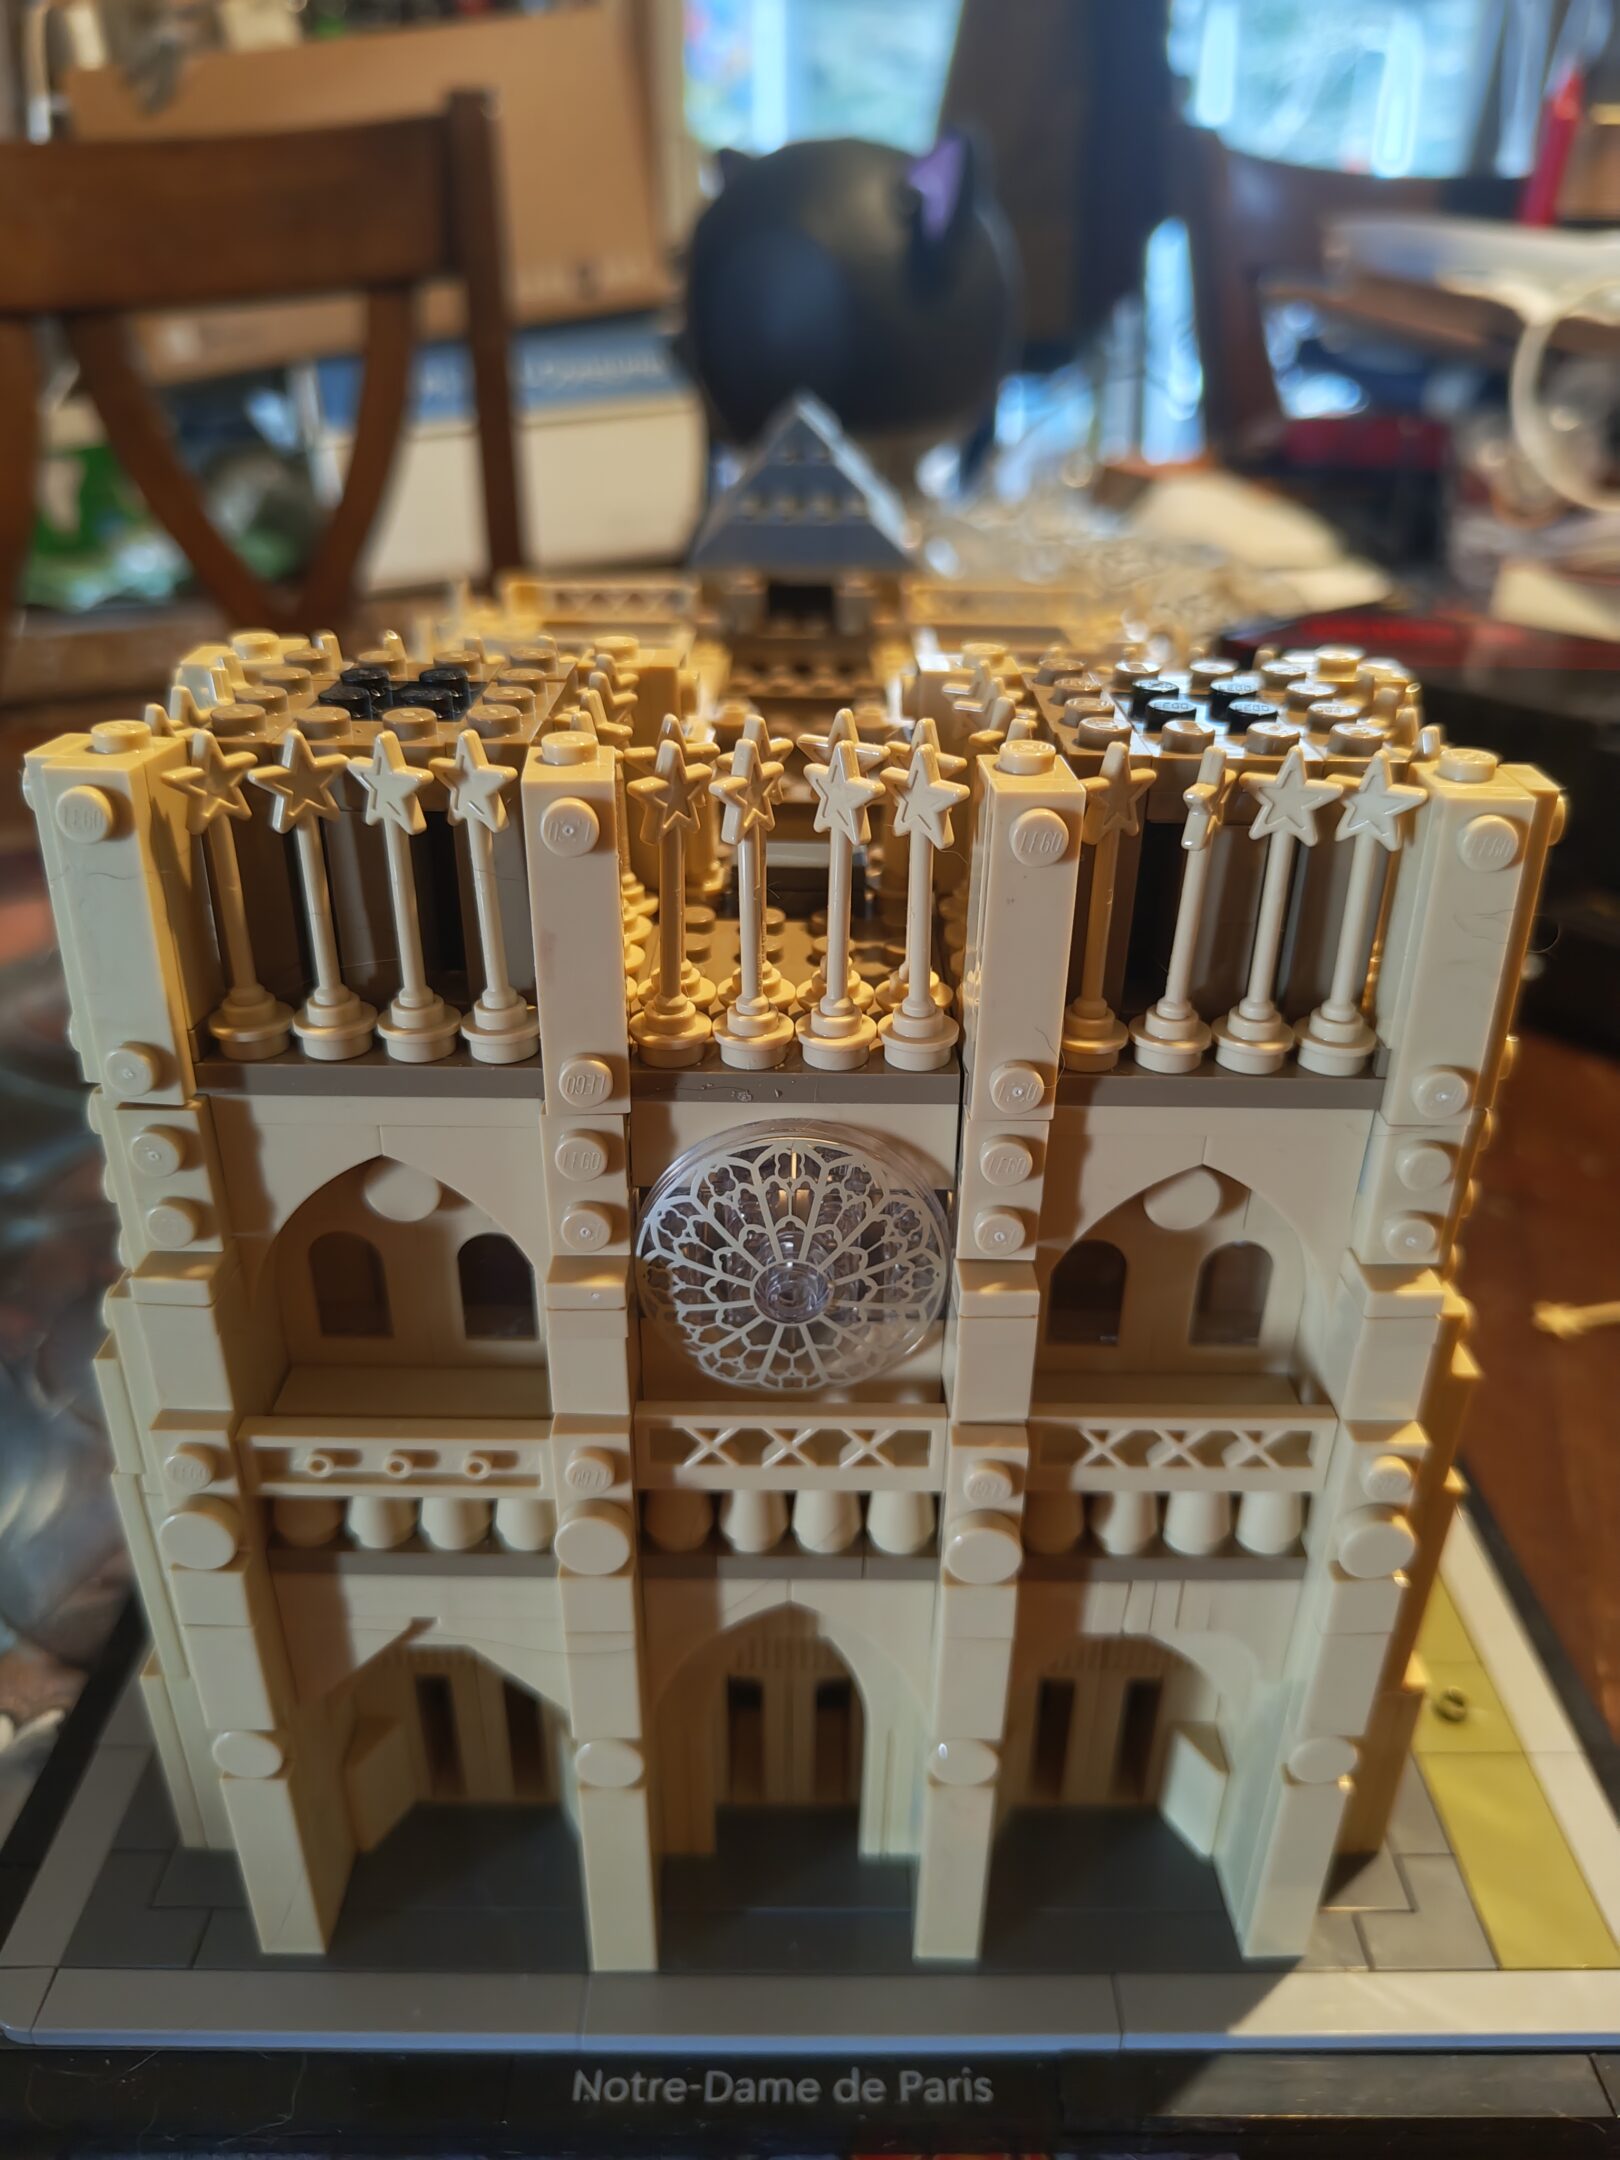
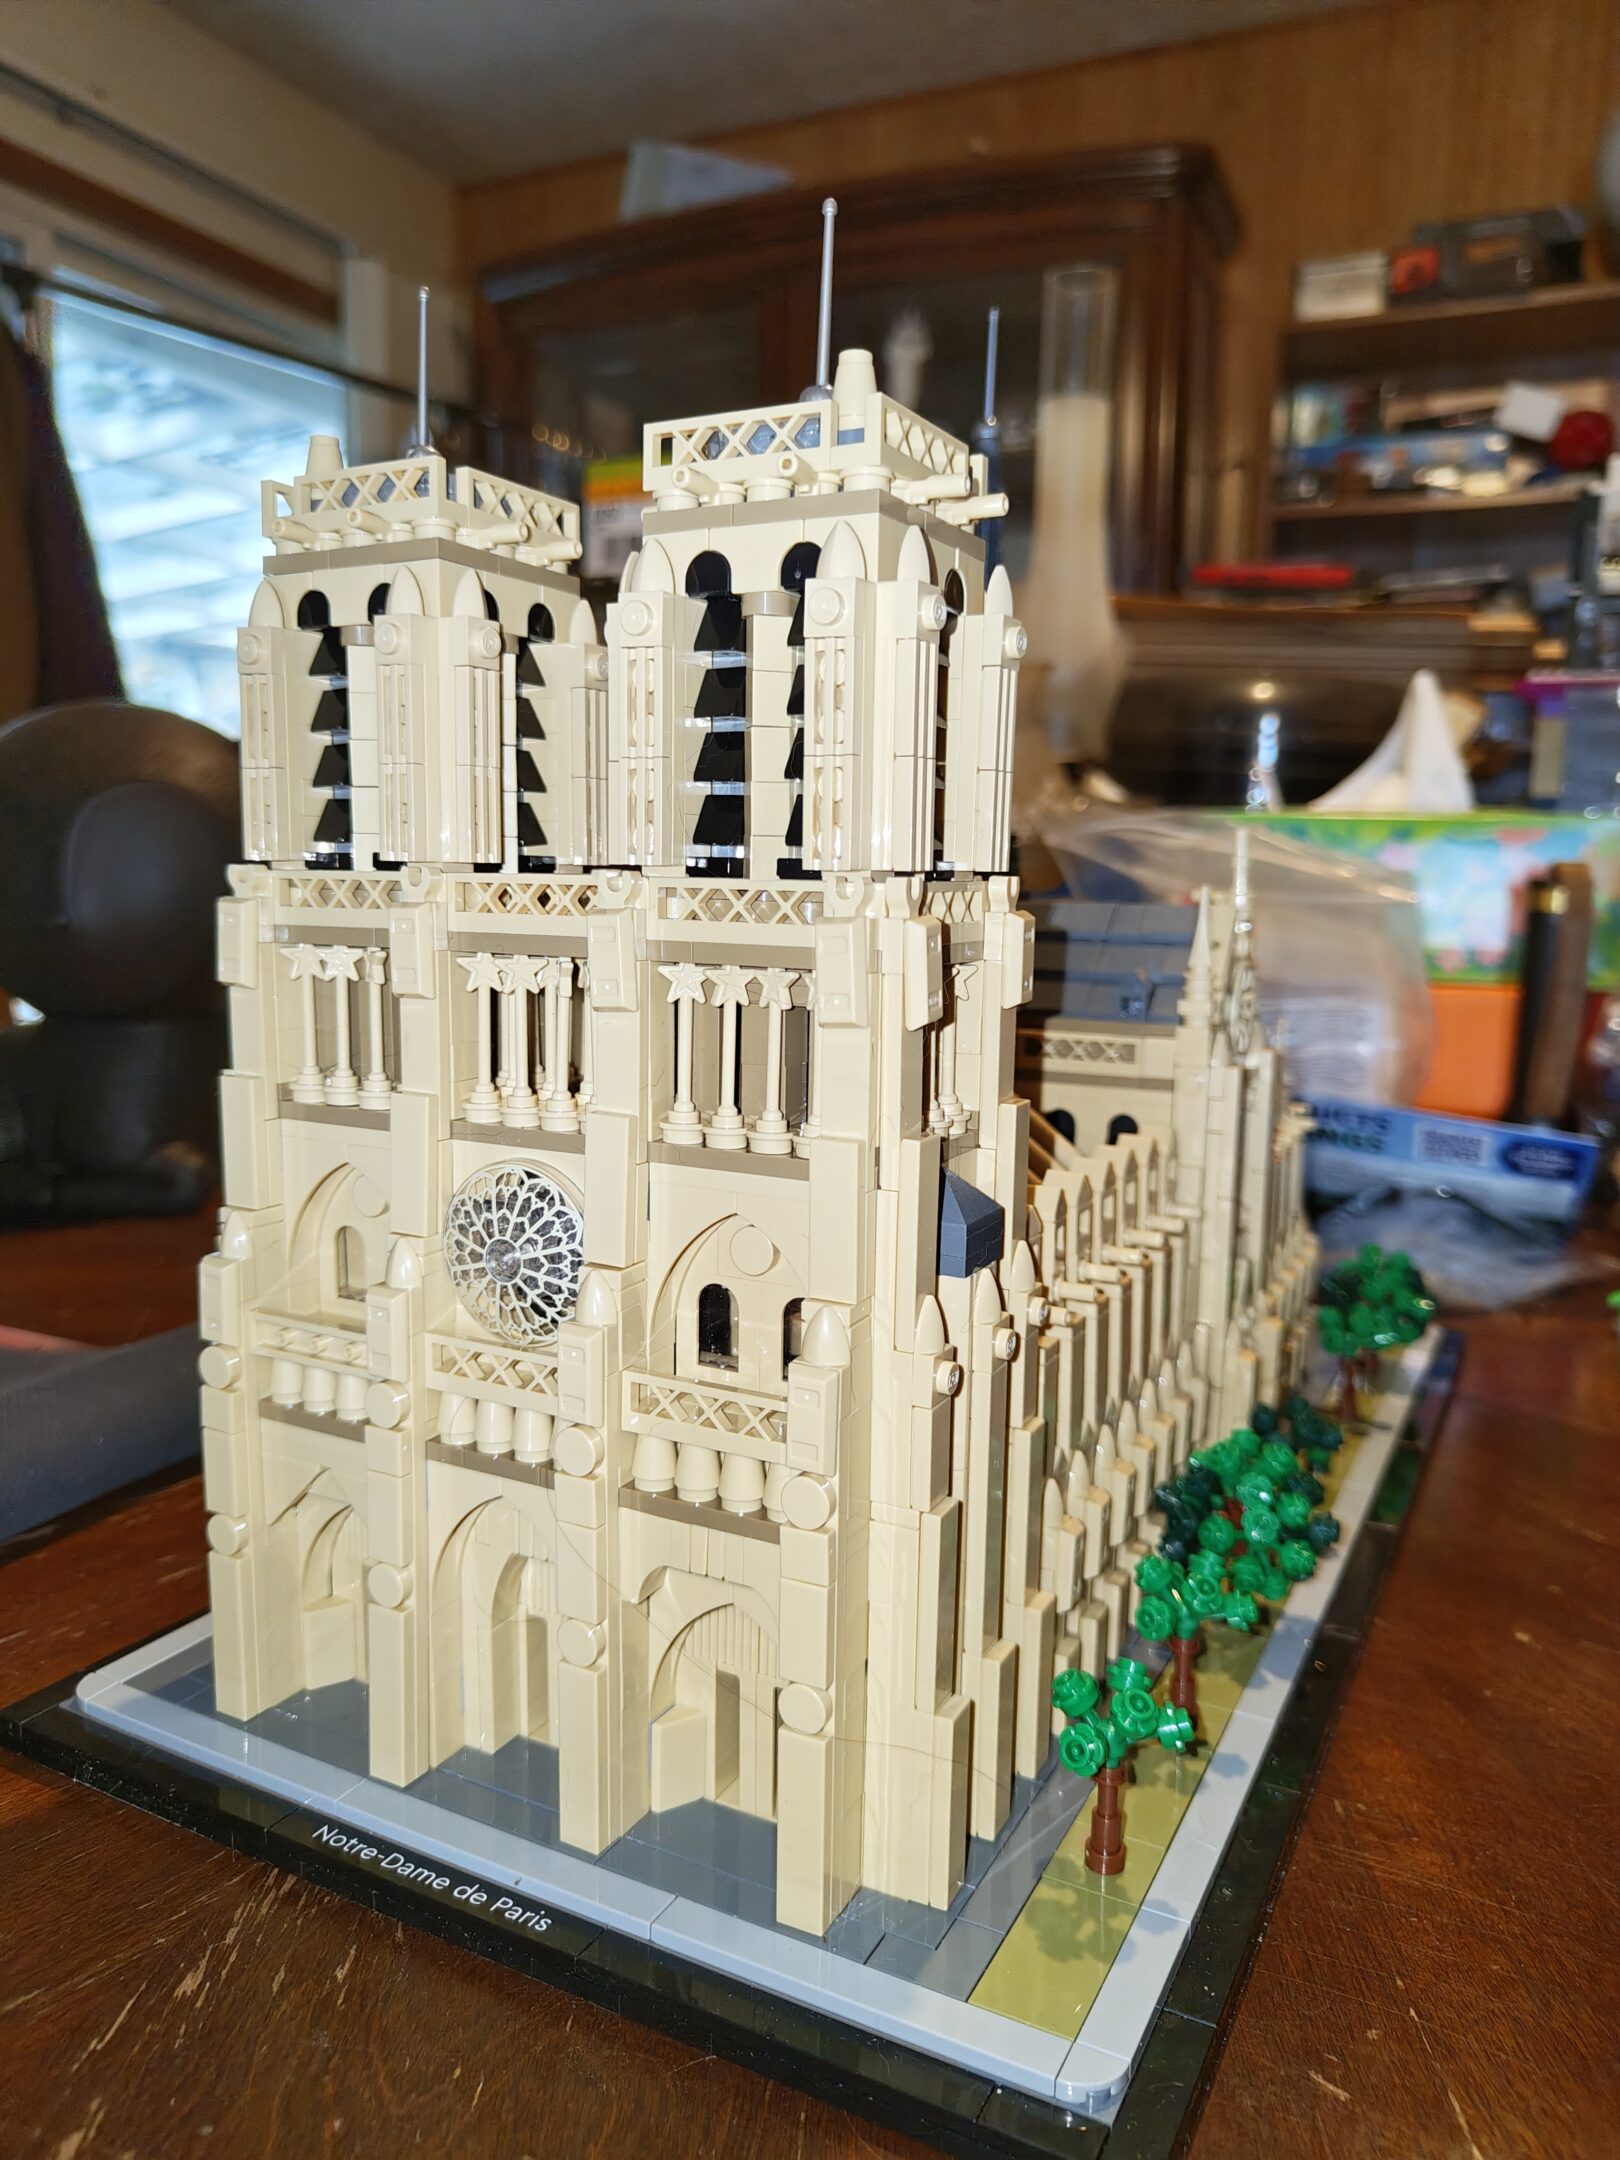
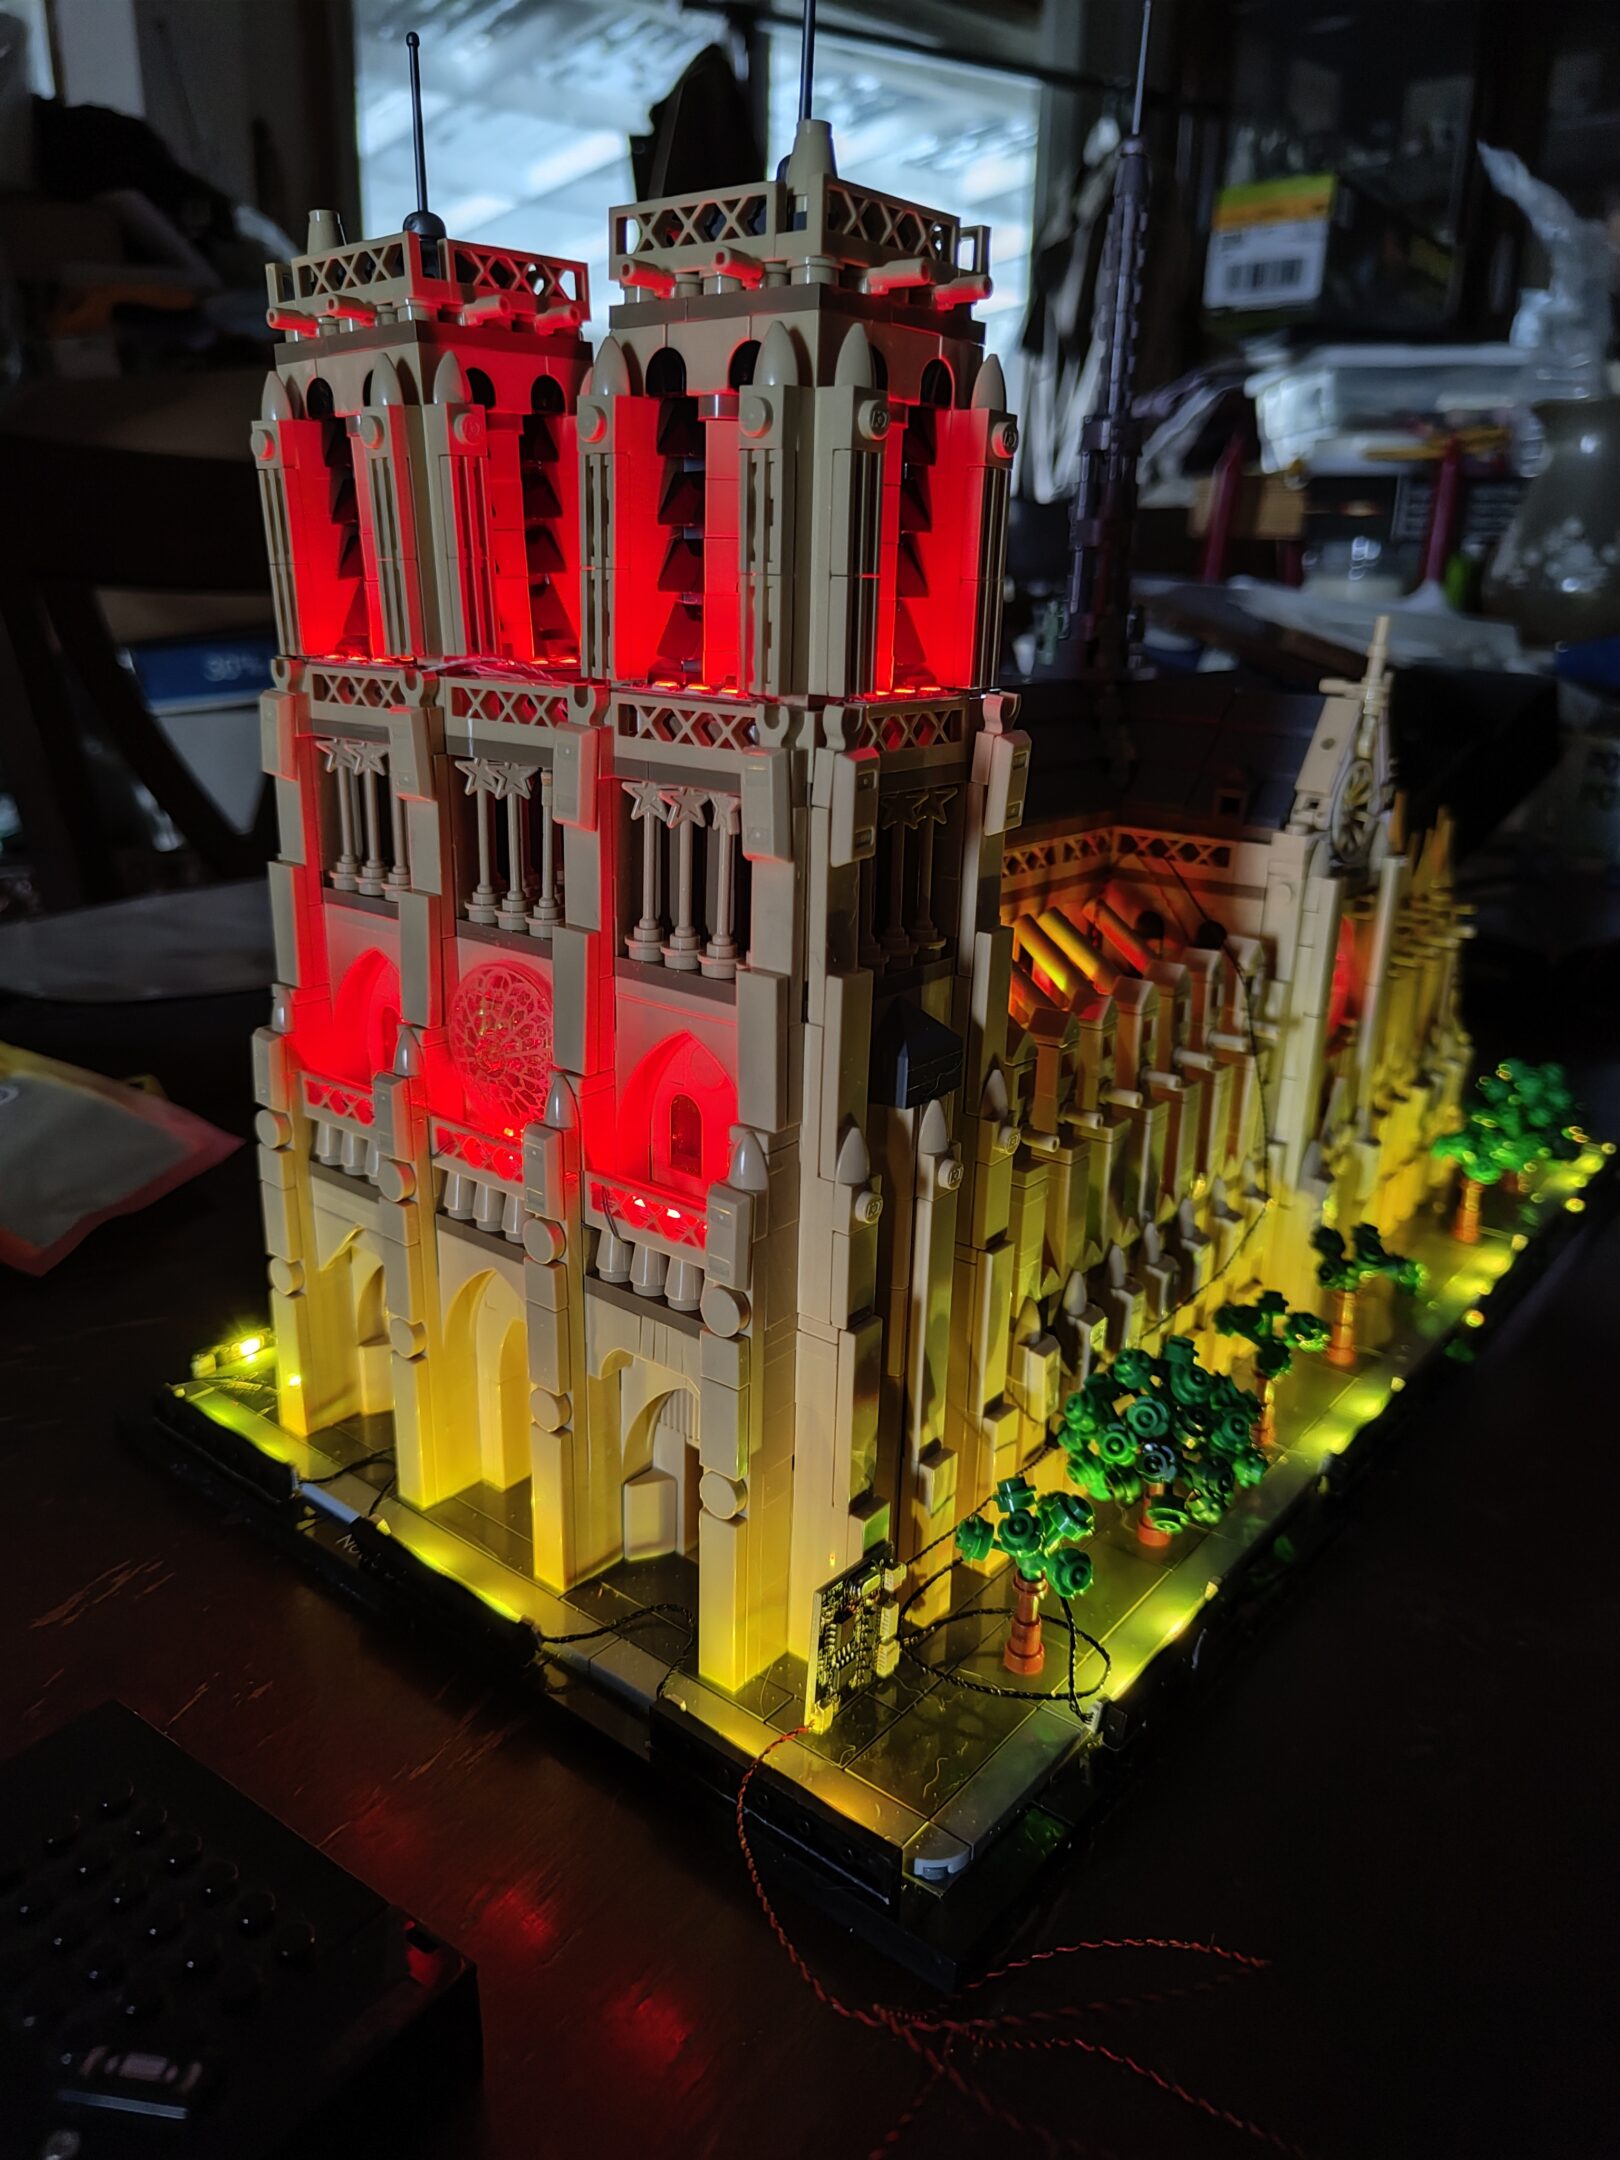
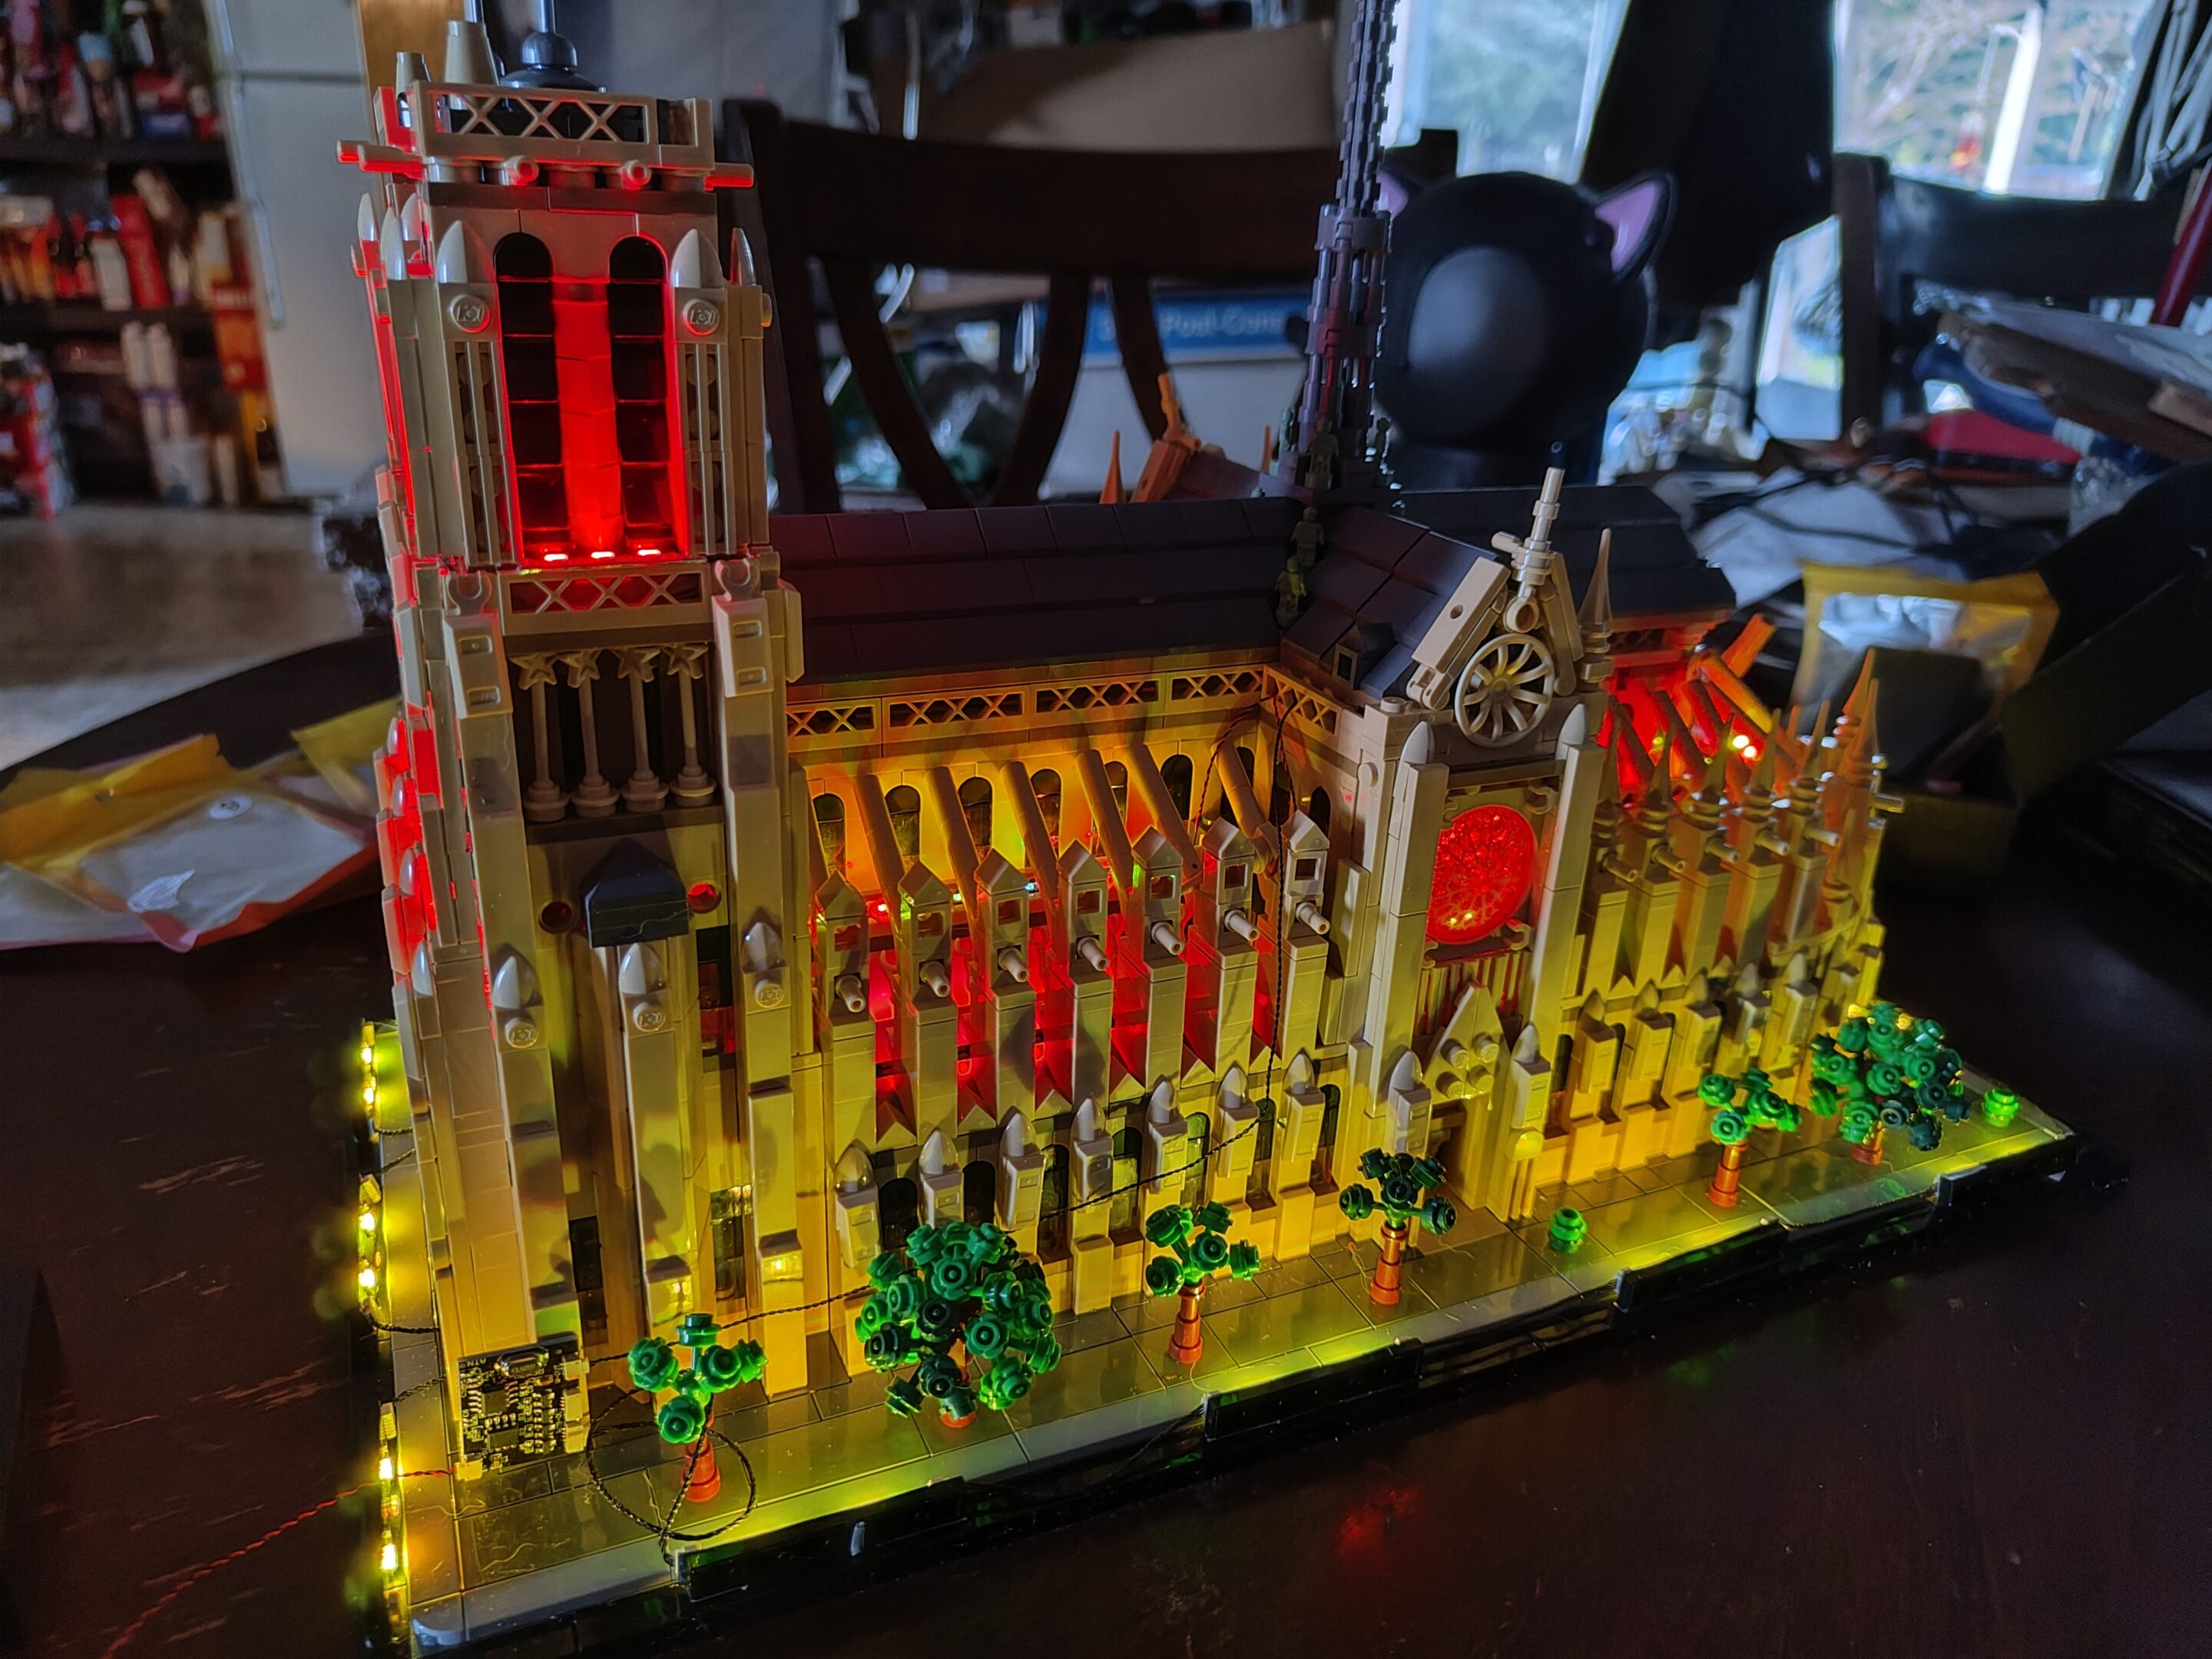
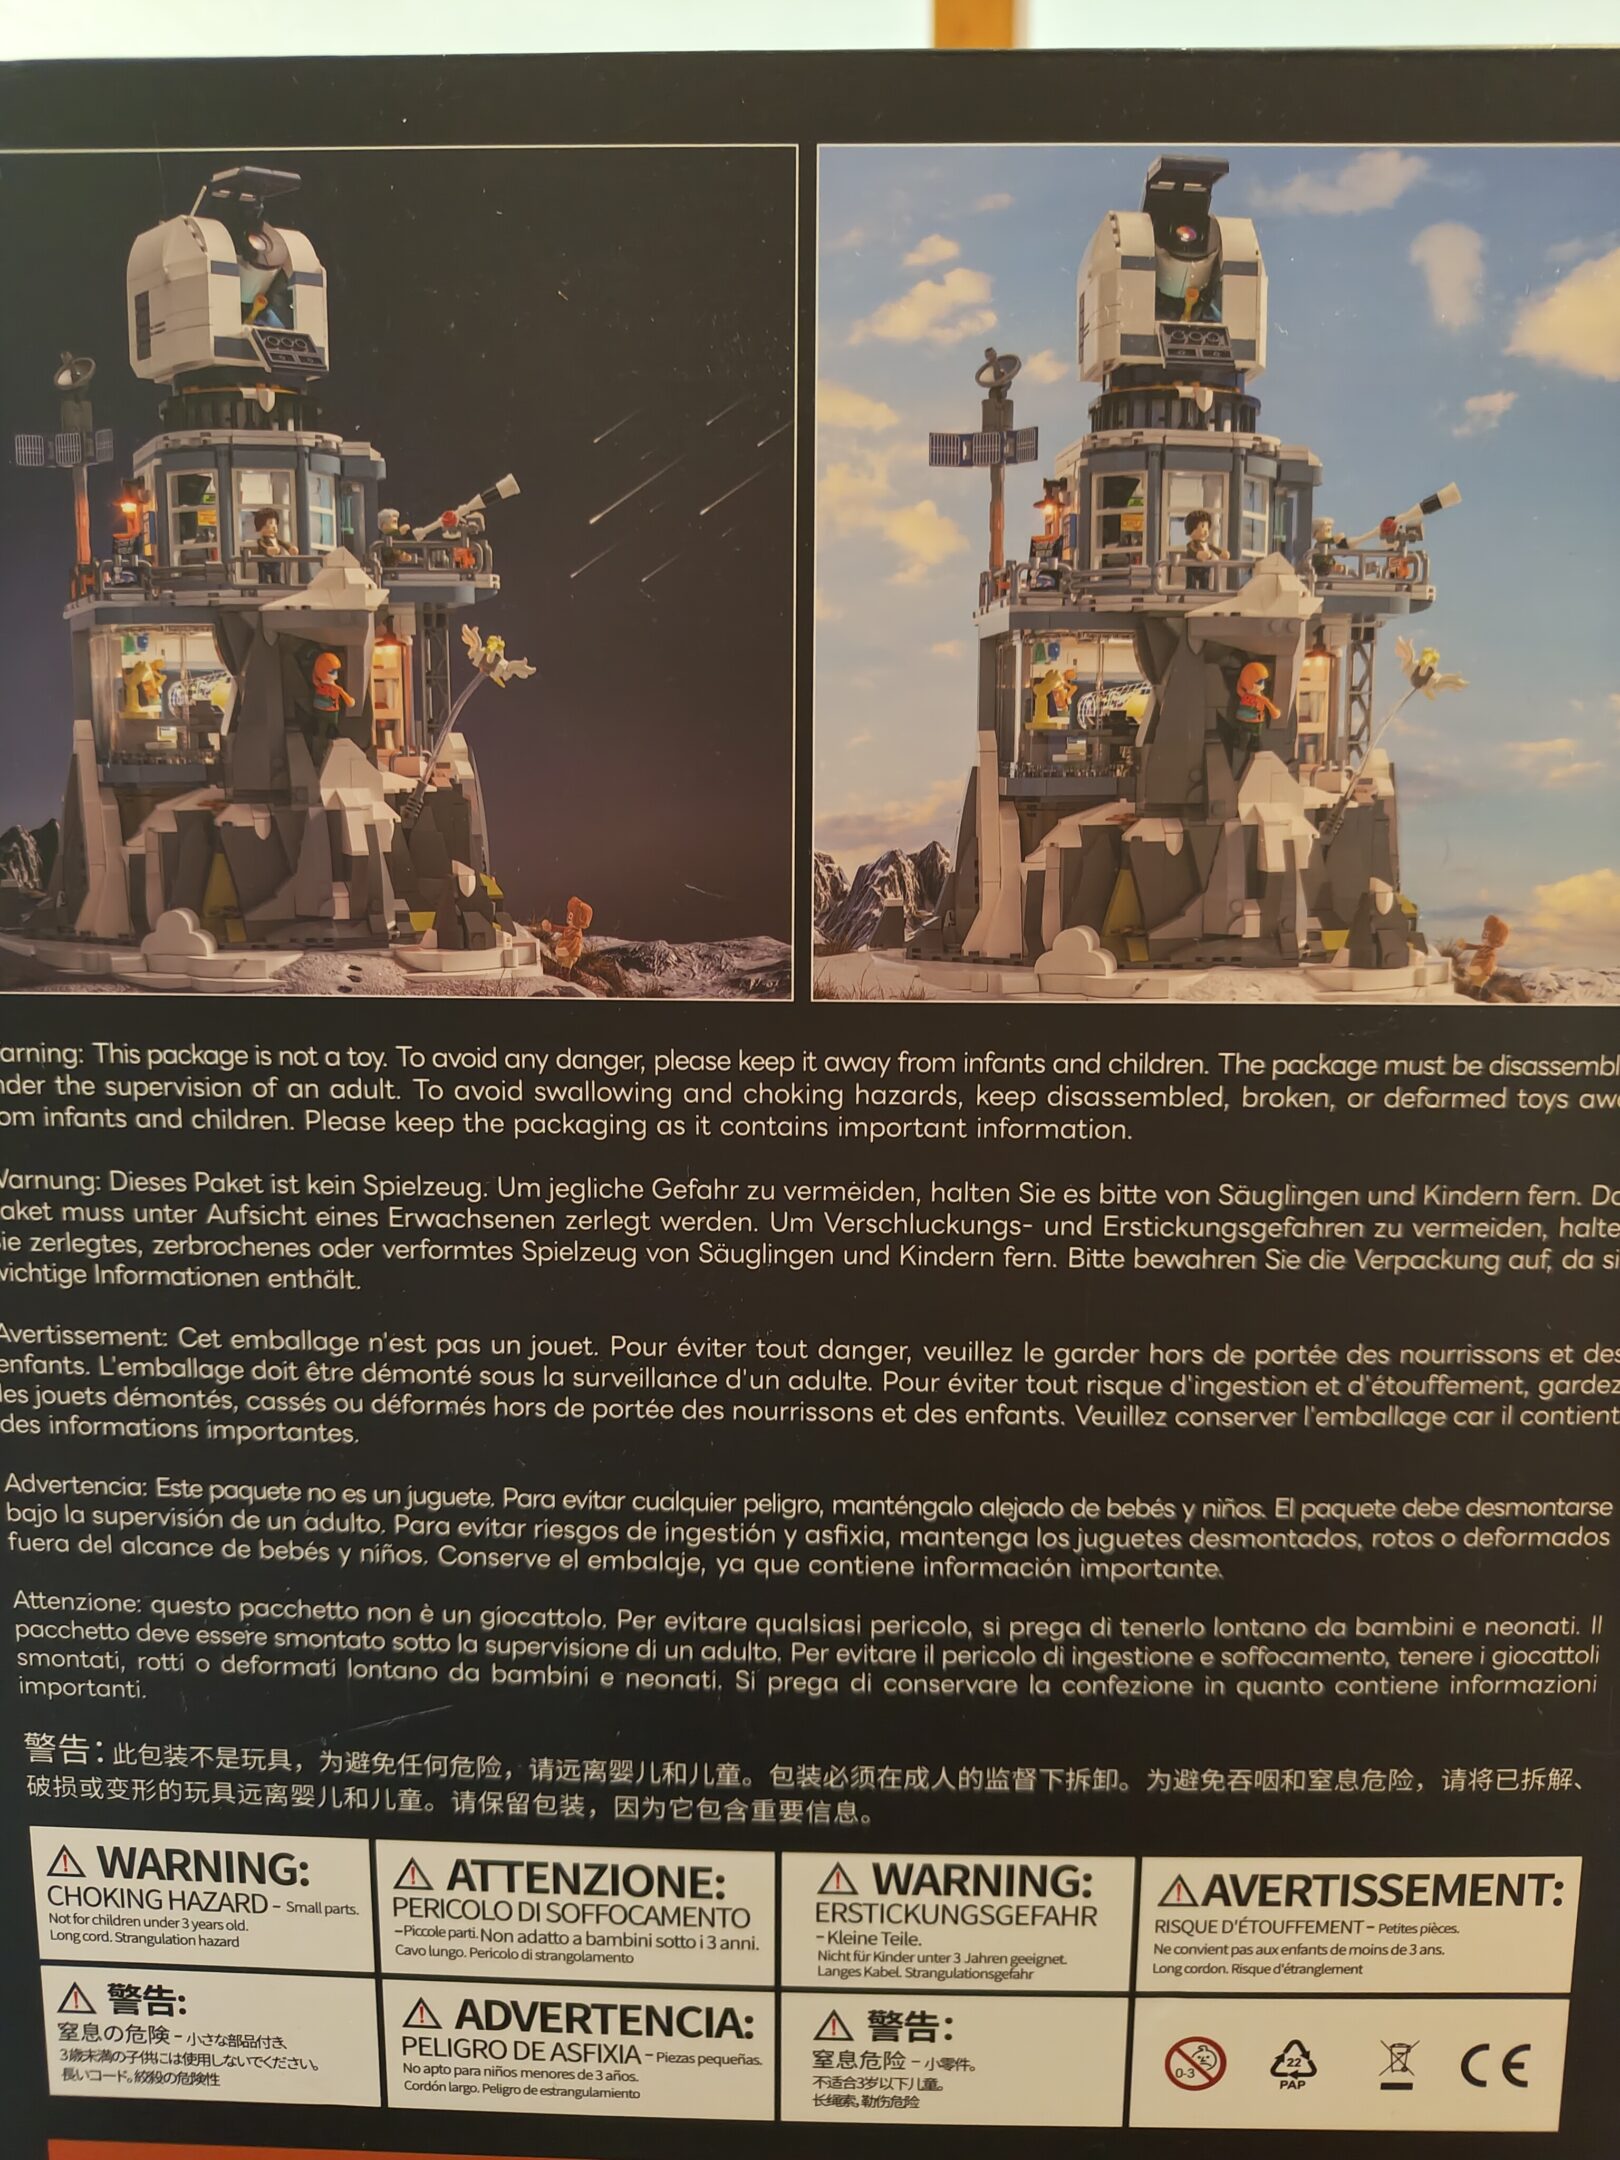
picked this up for the next big project with mom, figured a big cathedral was castle-ish enough that mom would be interested, and hopefully i’ll have the lights in for the enterprise soon since mom has seemed really interested in that one too. huzzah projects, here come some pictures. oh also i thought it was neat they had a timeline on the back of the box (and i think we sort of build on in that order too). i didn’t really know it took them six hundred entire earth years to build the thing. at least it should take us less time?
UPDATE jan 25th (got busy, didn’t upload) we finished and i added lights, here’s the video. warning, is flashy.
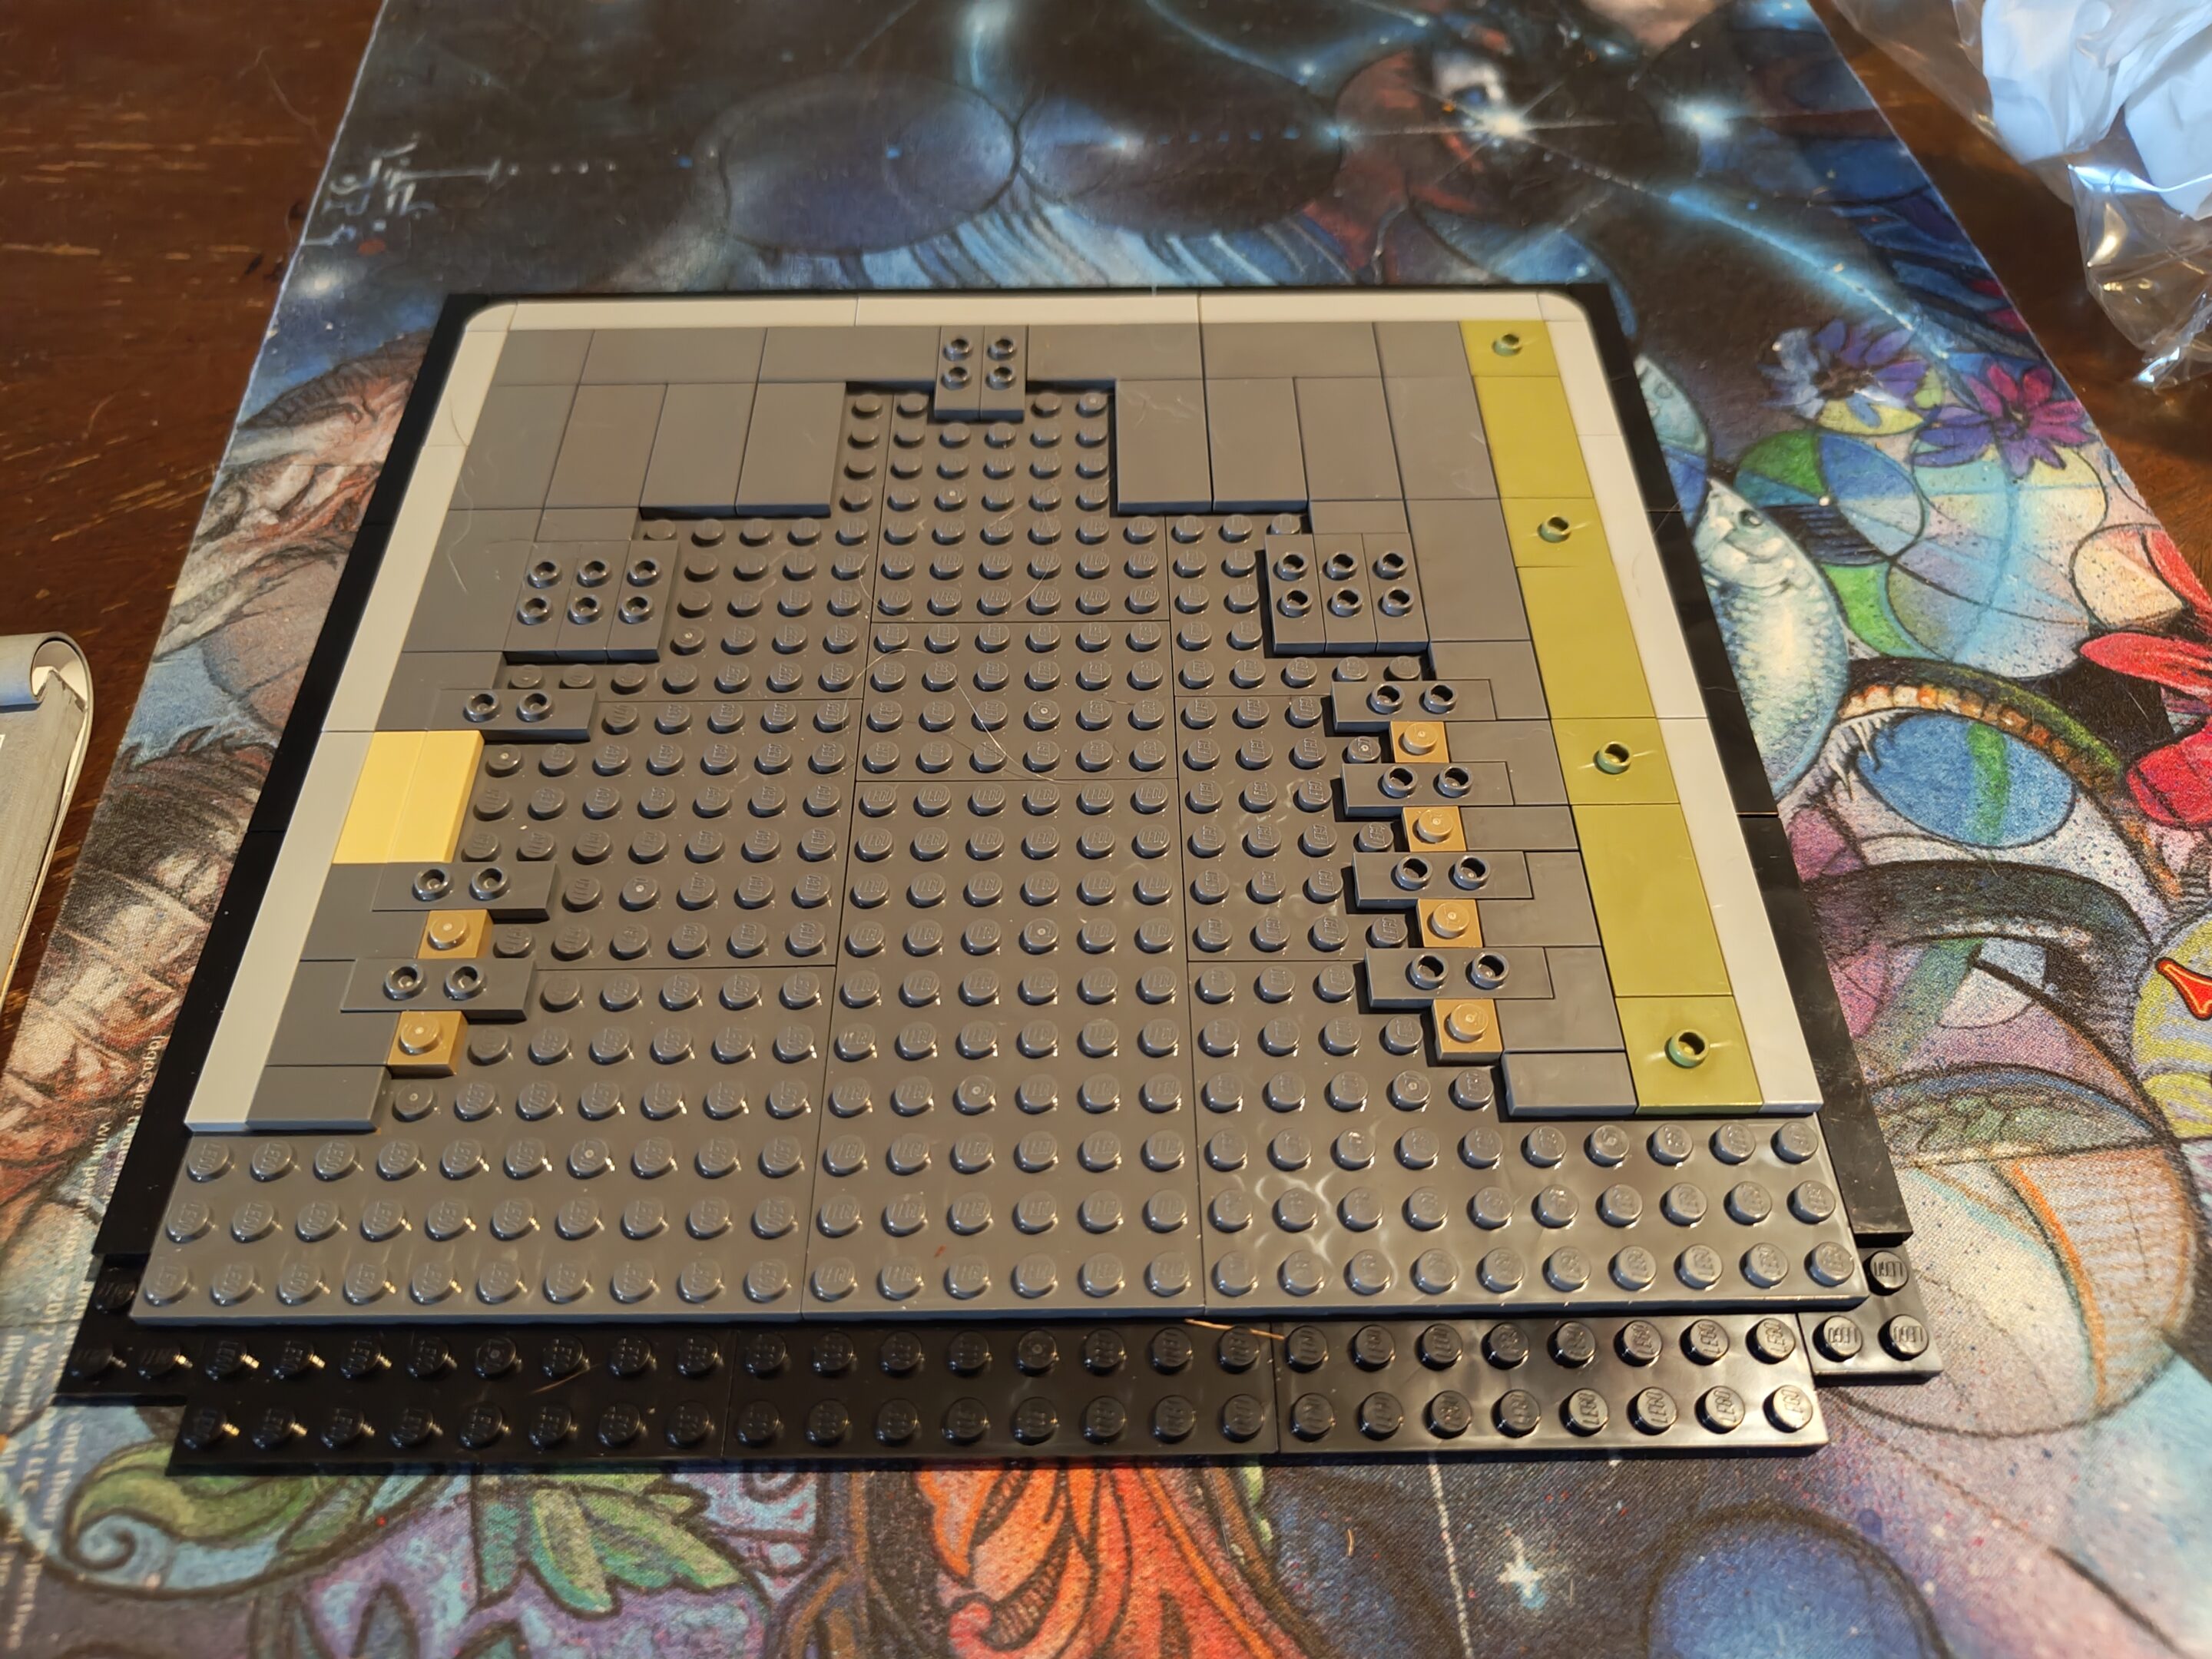
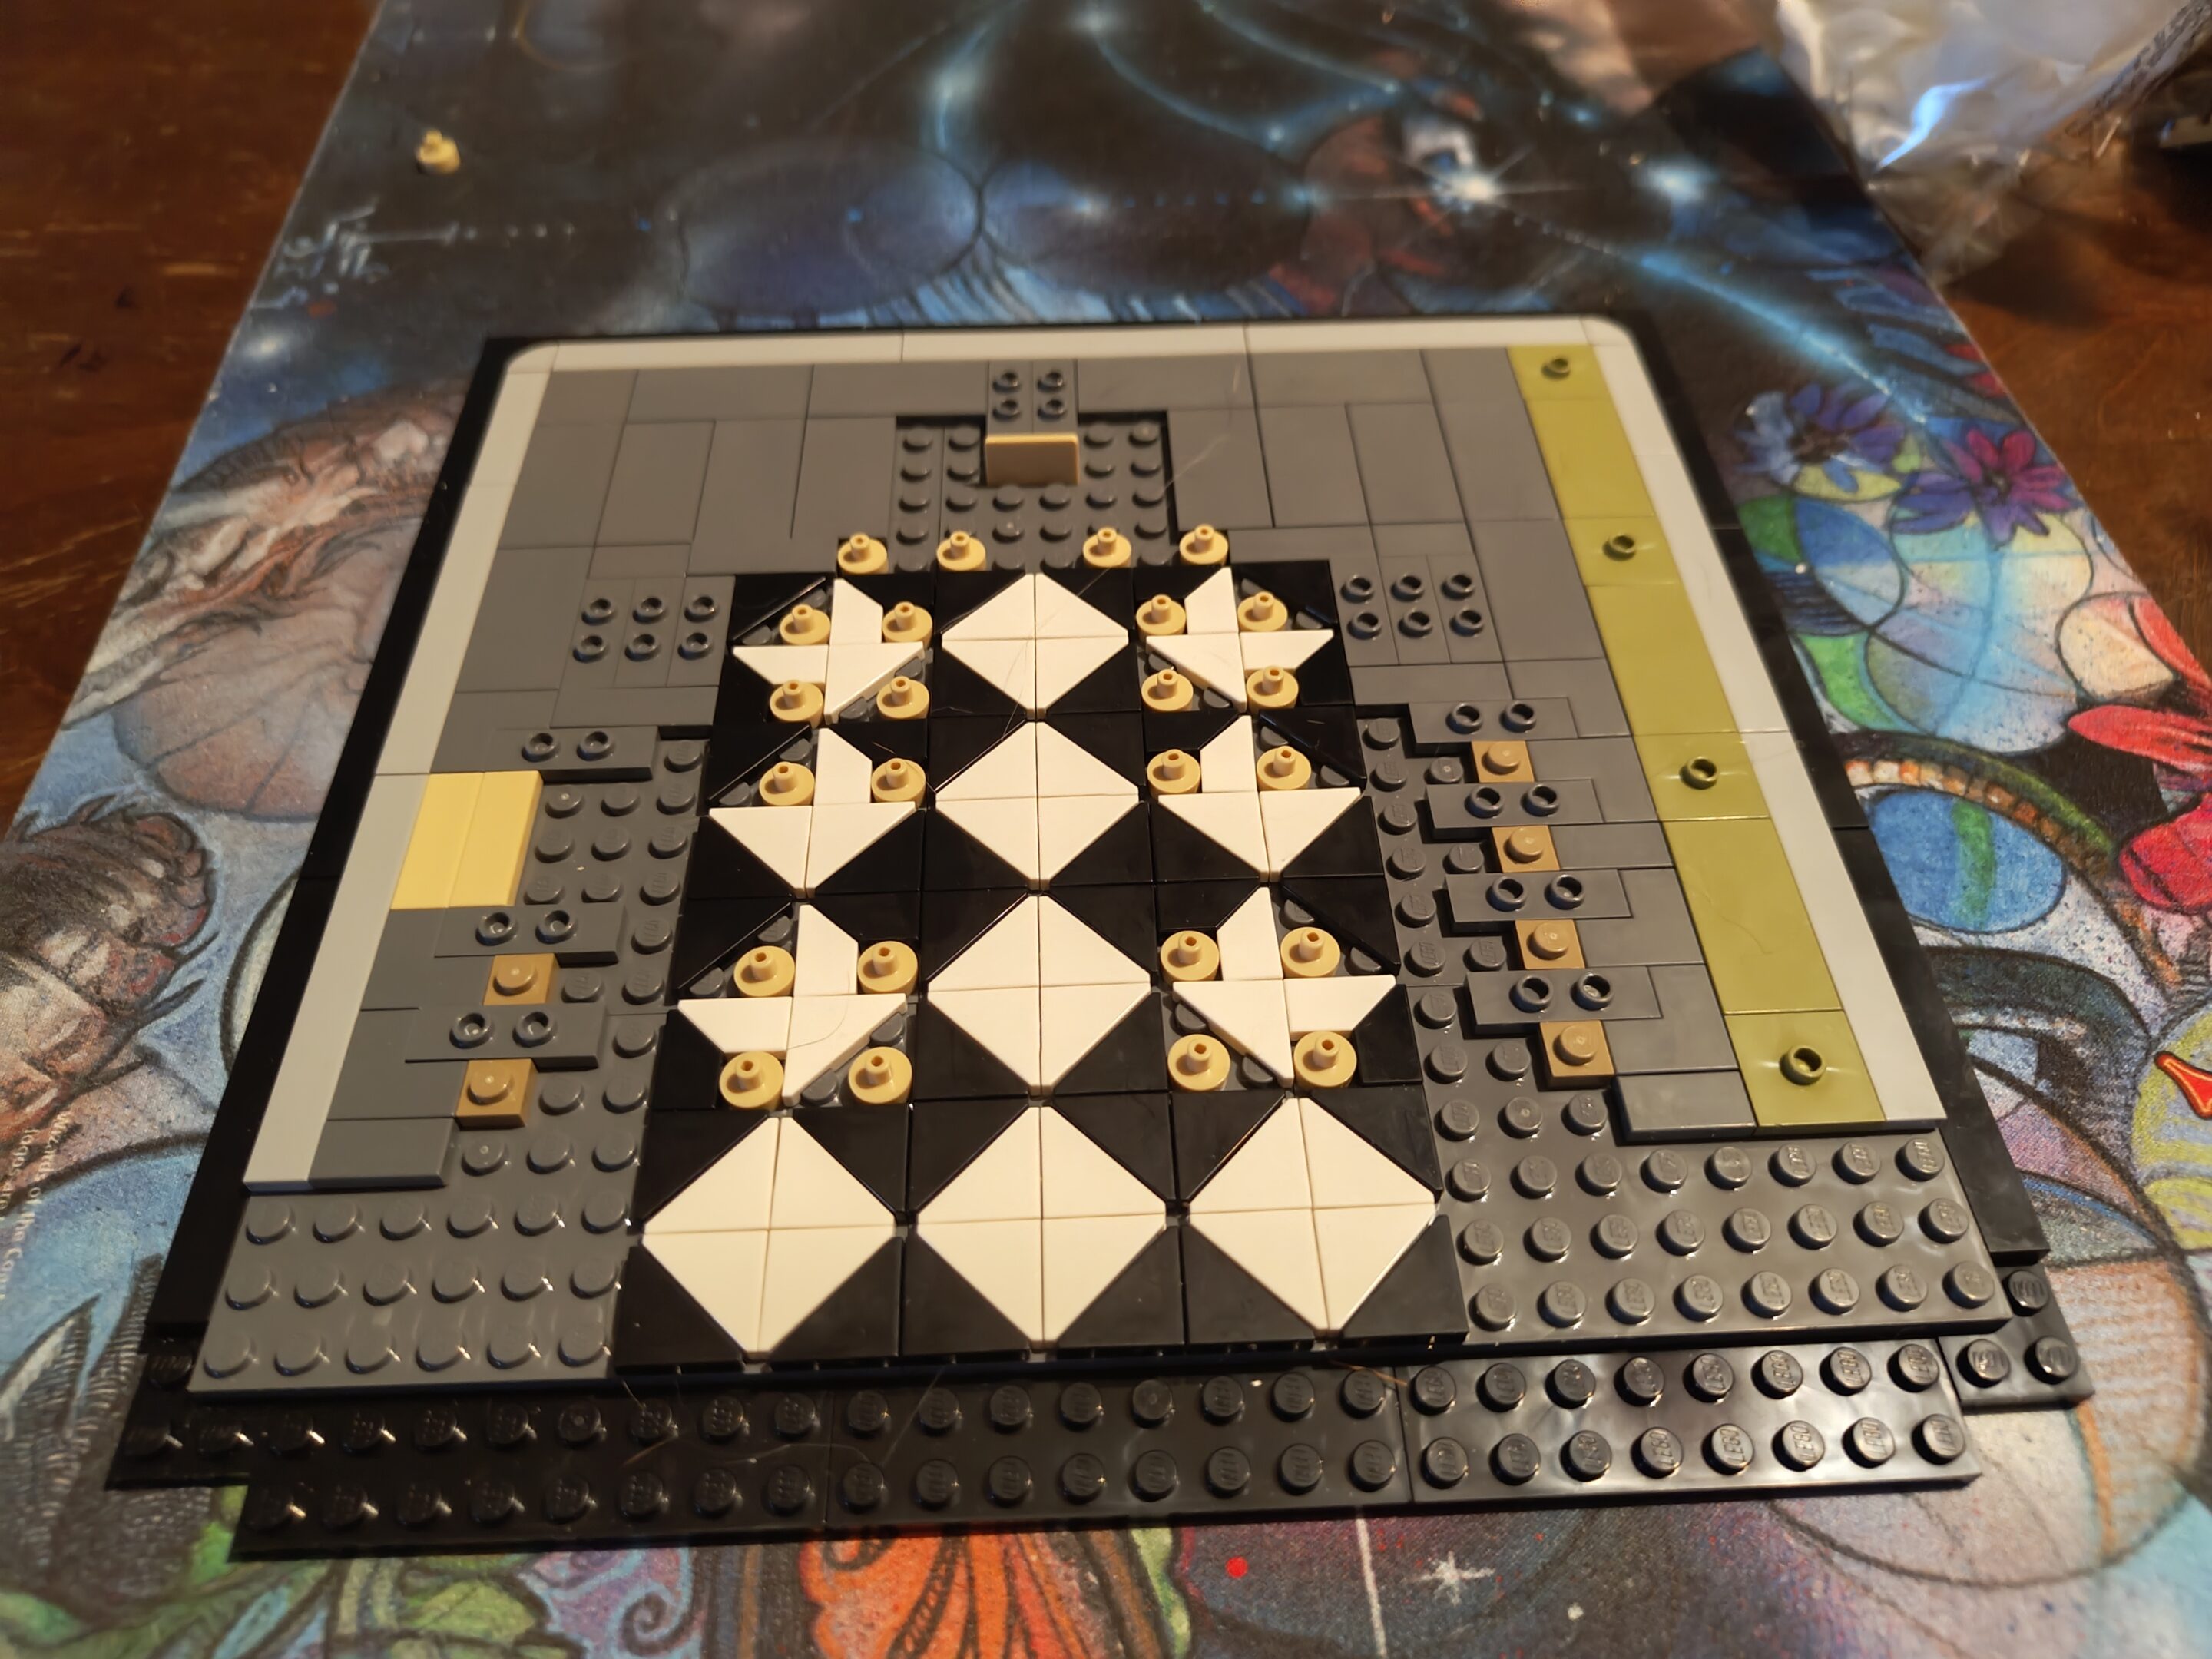
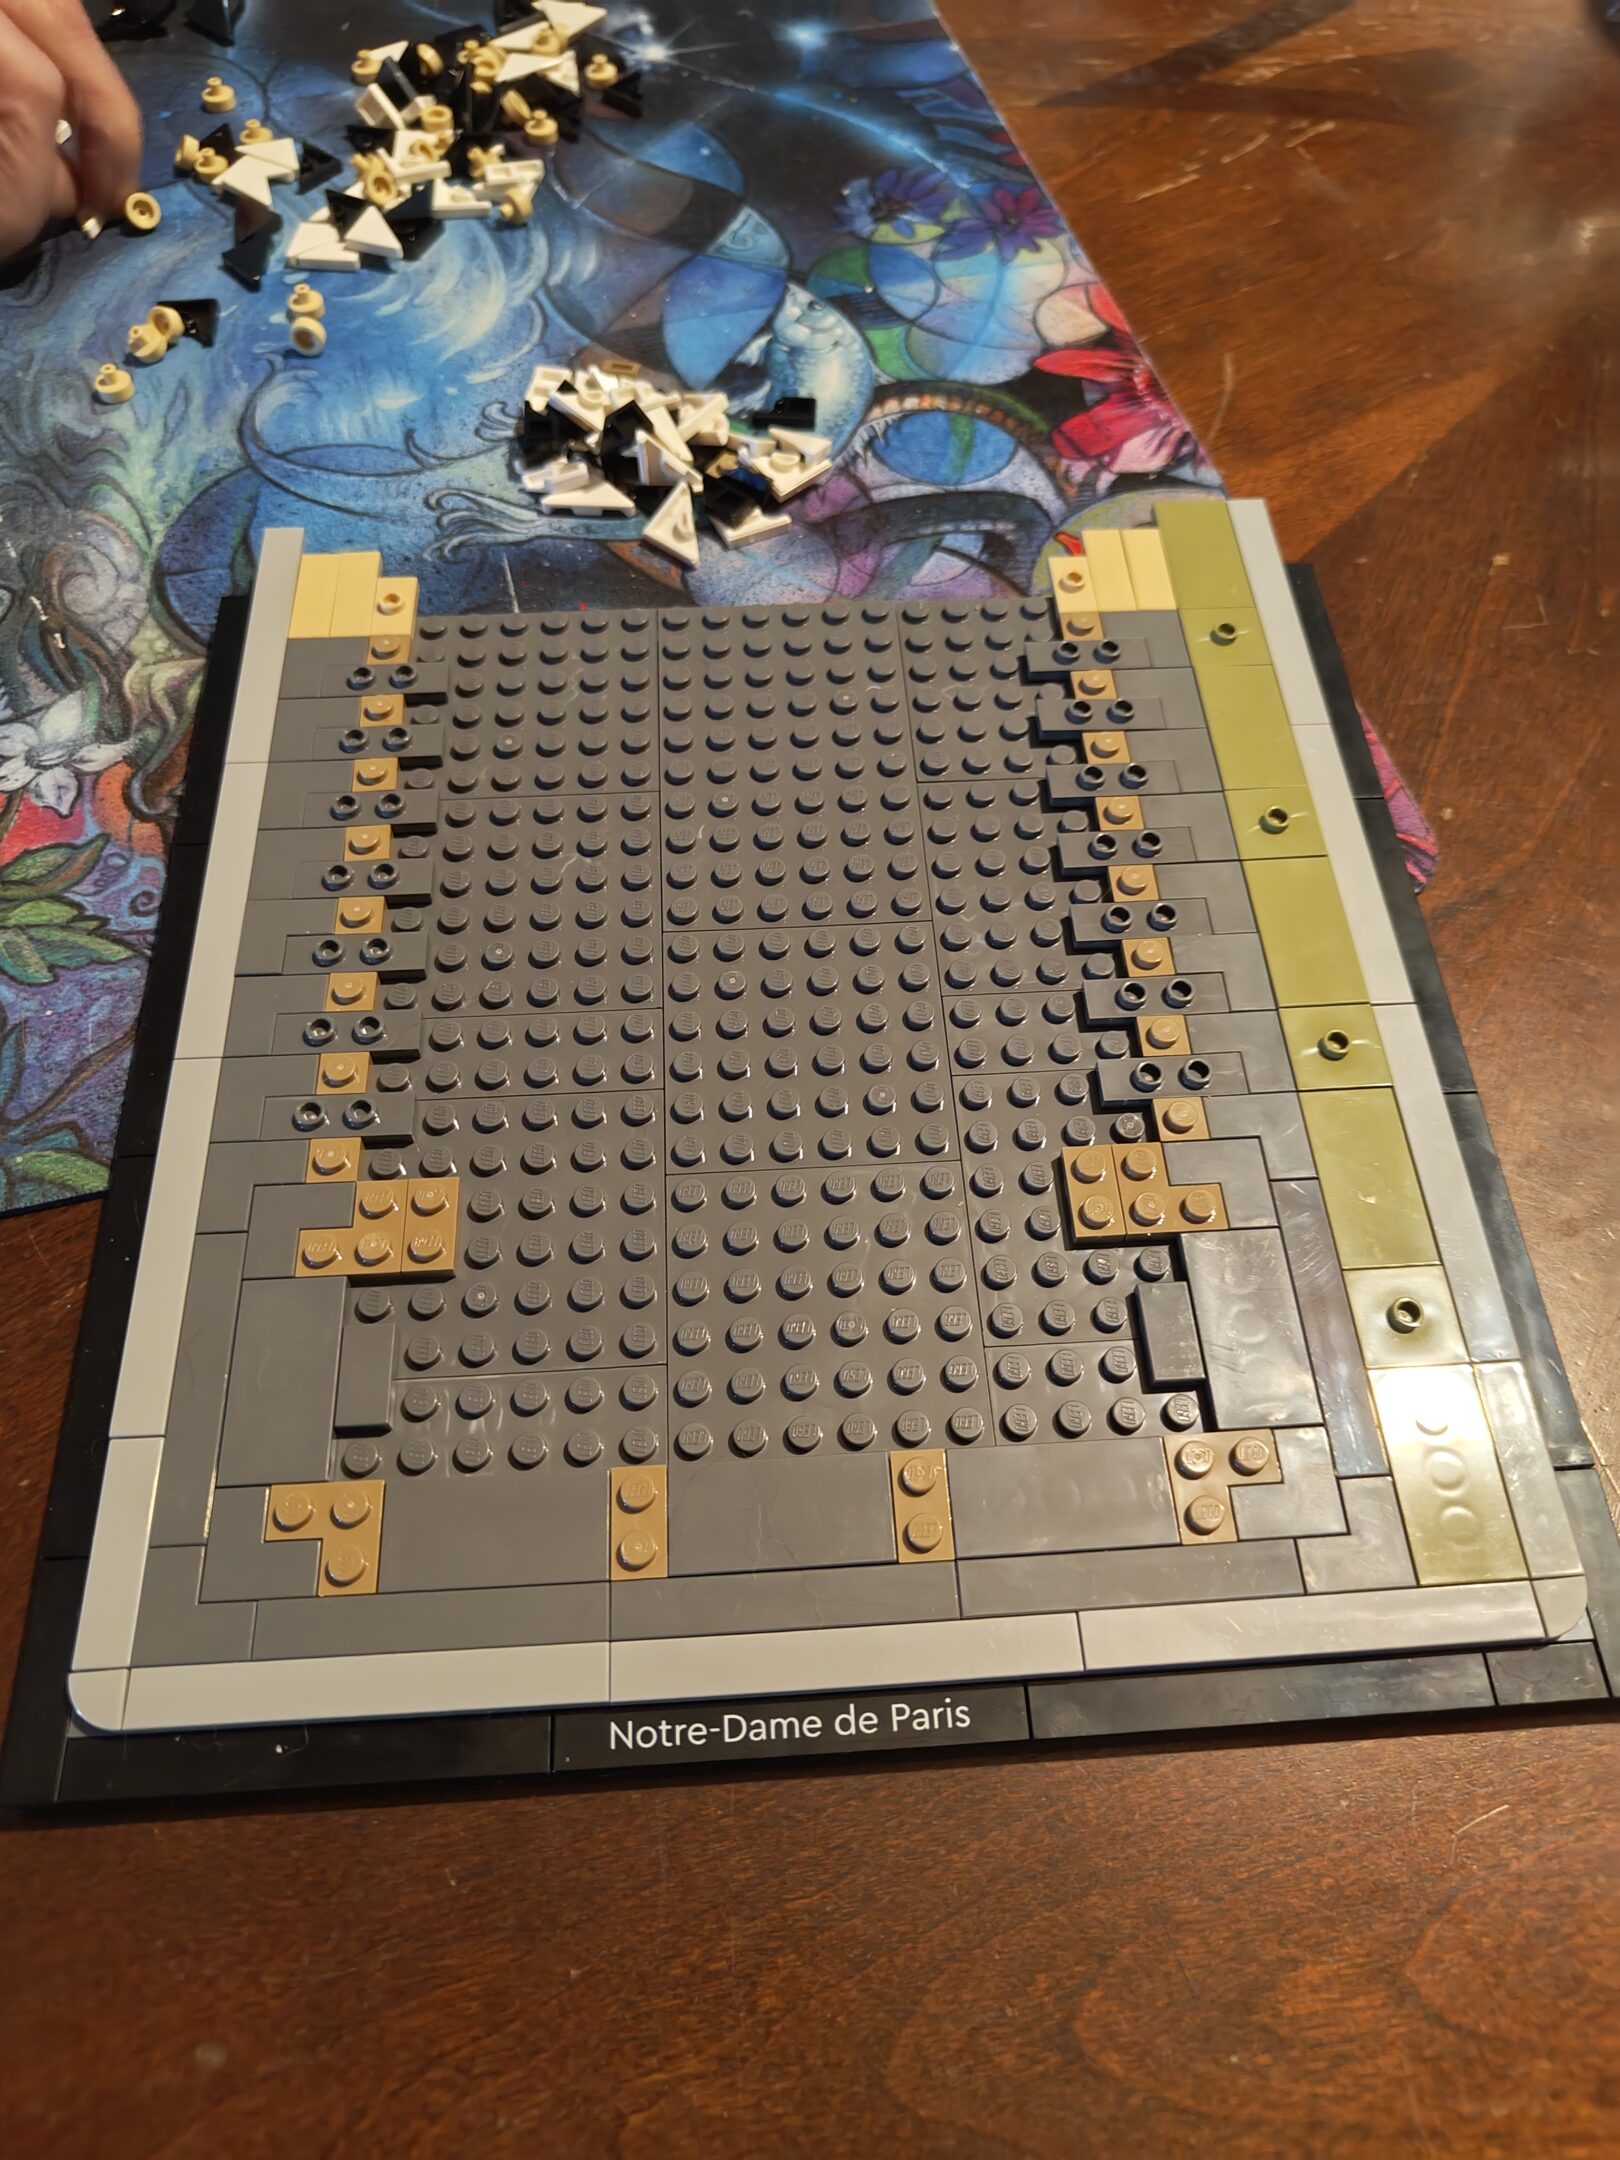
box frontbox backfirst bag of pieces made this part of the base second bag done, with floor pattern (and pillars to be?)
update: thursday, december 25th. we (i) don’t really do holiday things but mom and i did spend a little time together today doing lego stuff and i do like those days where we’re both up for it.
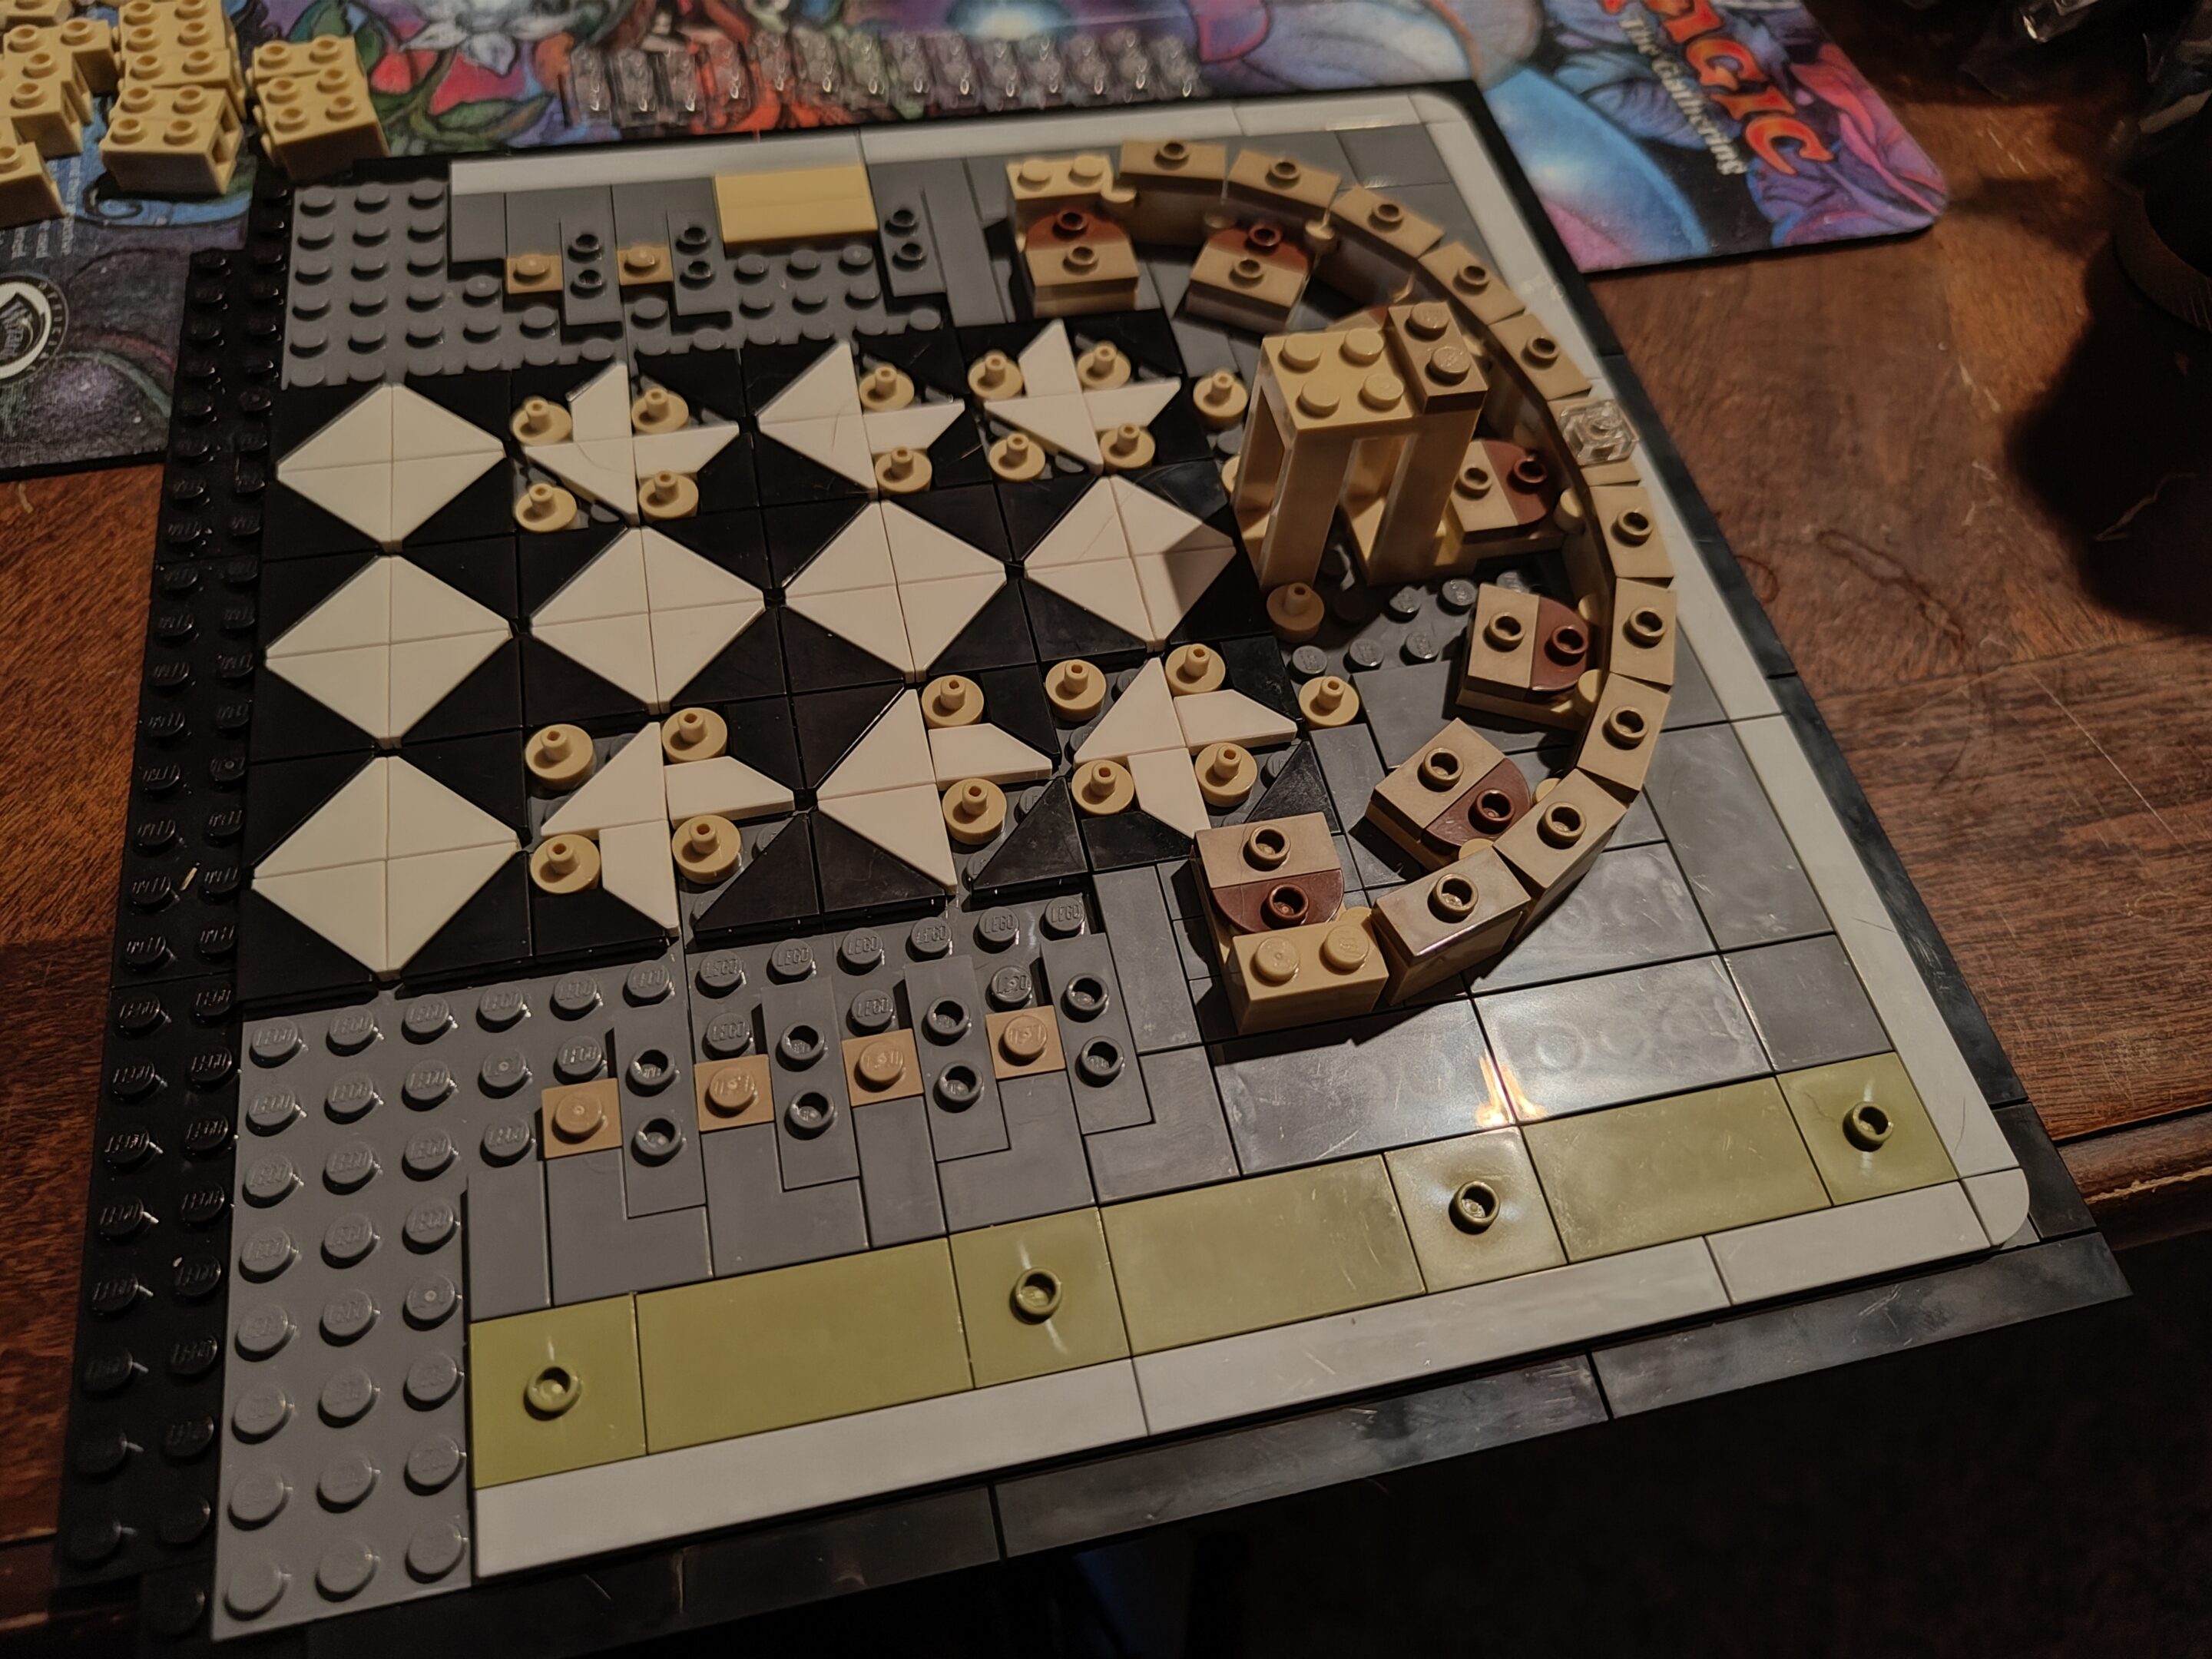
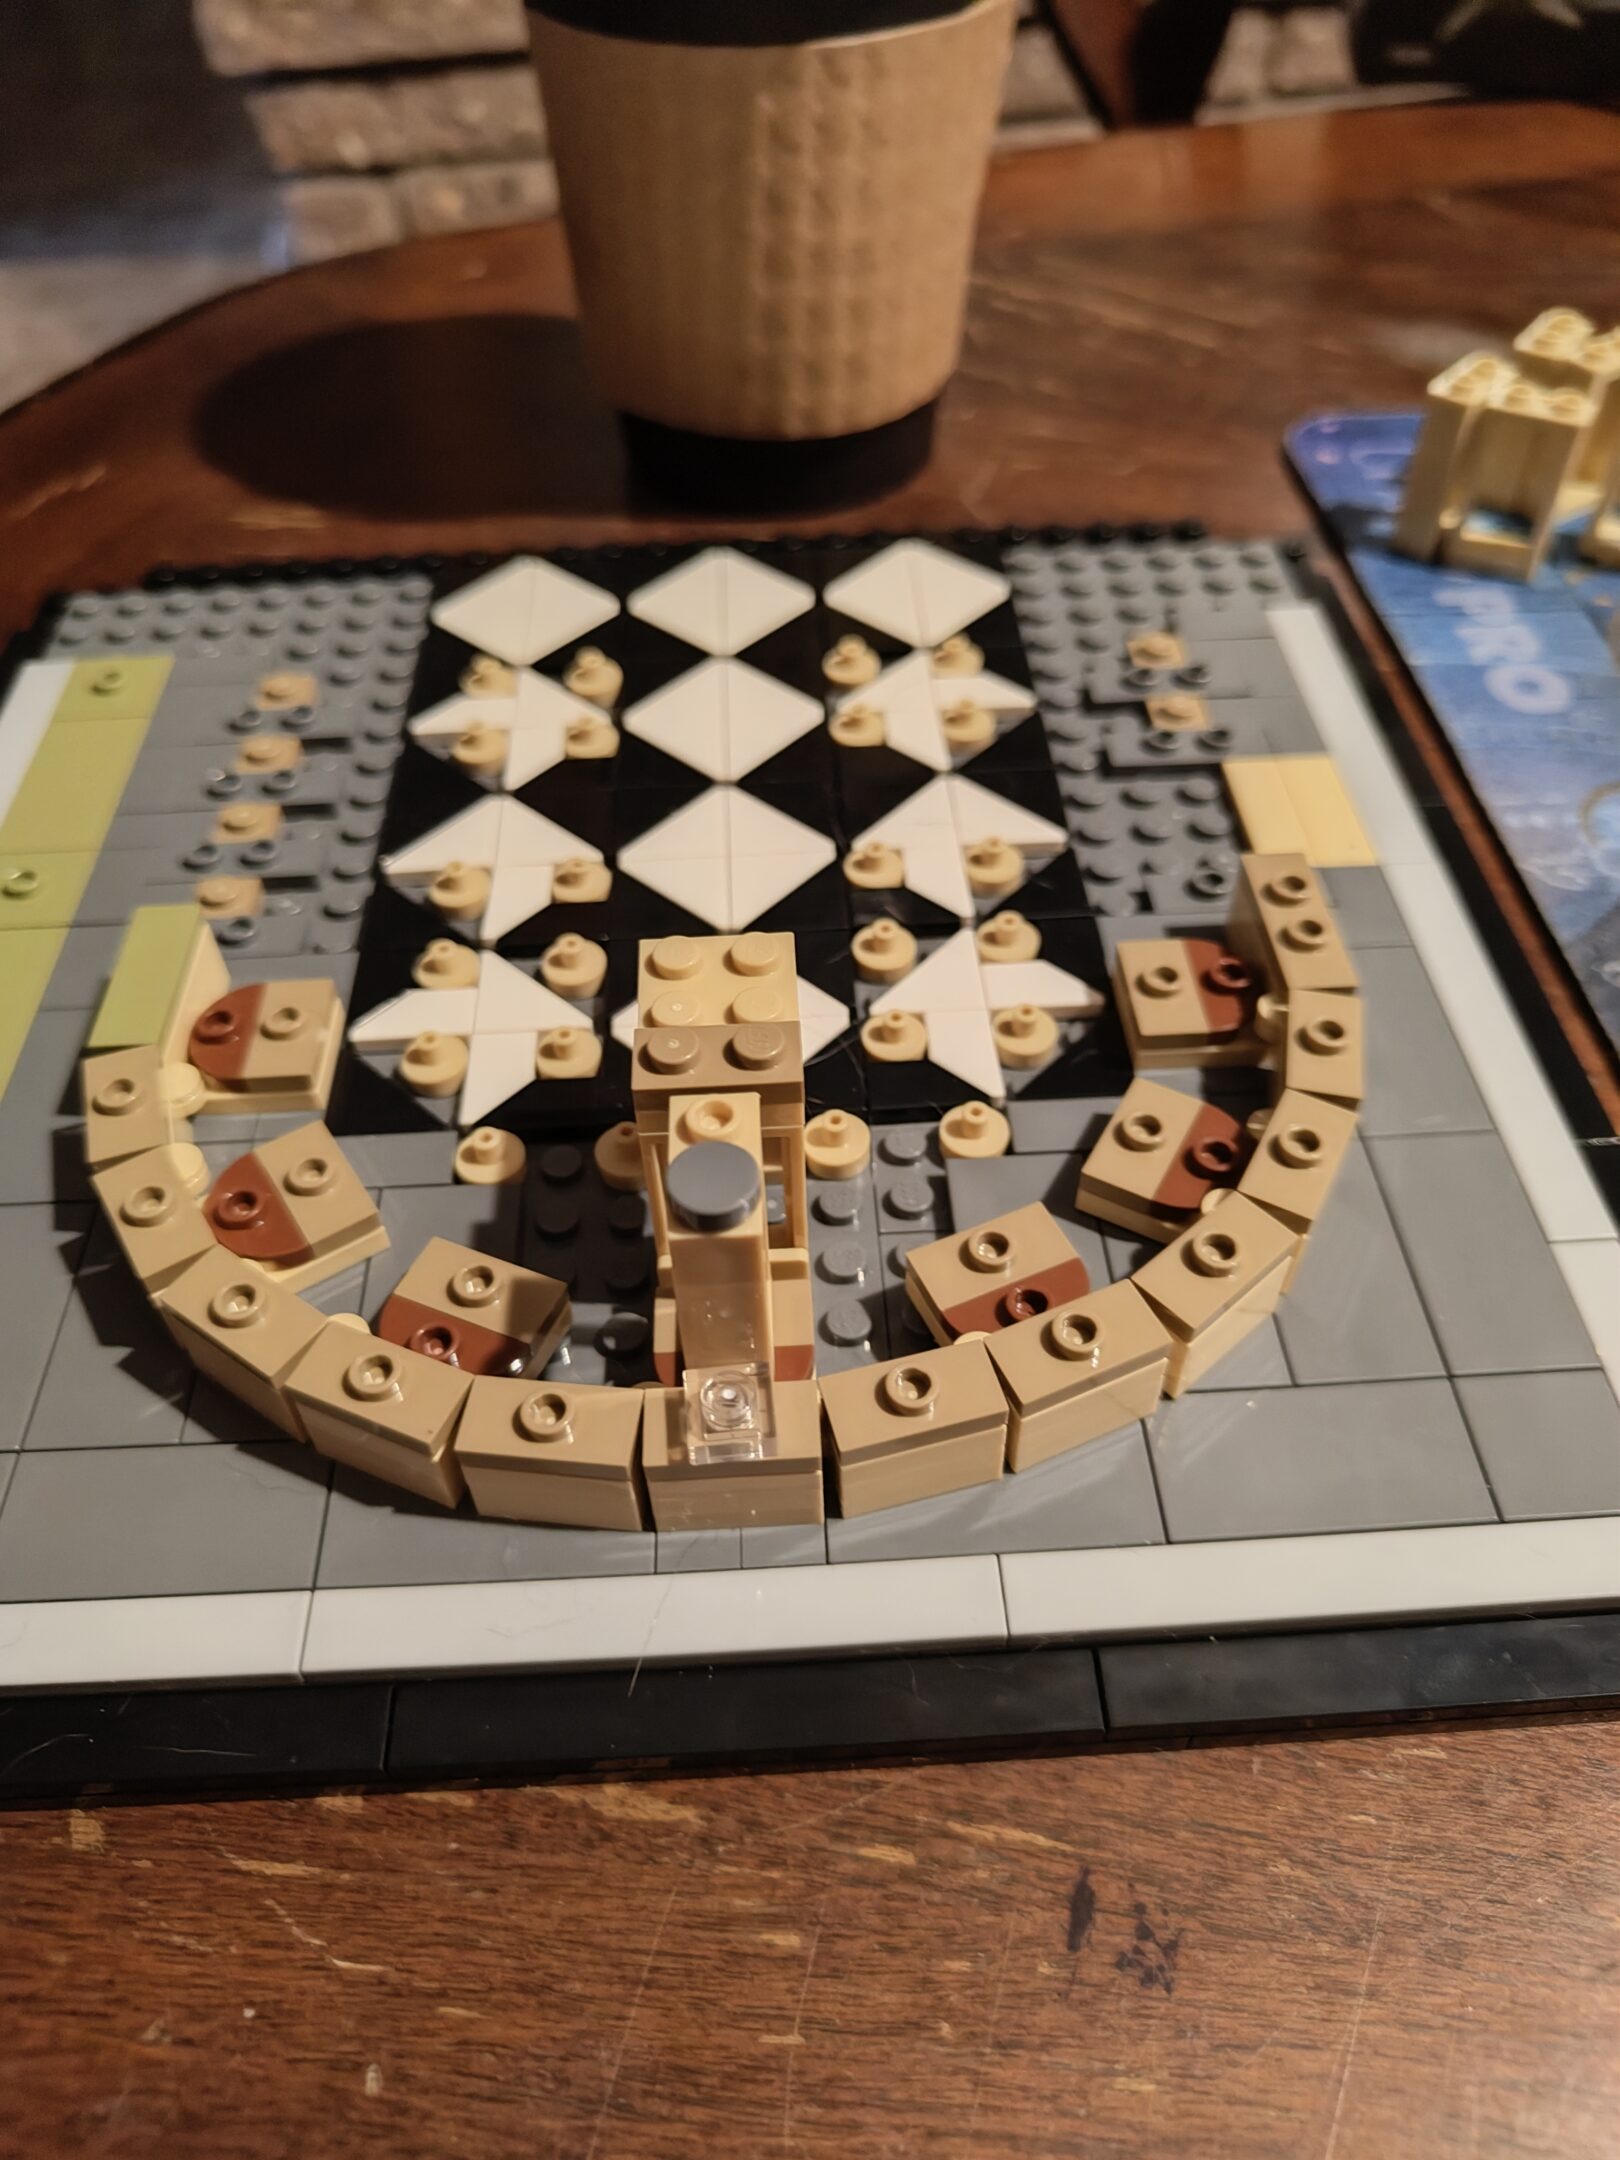
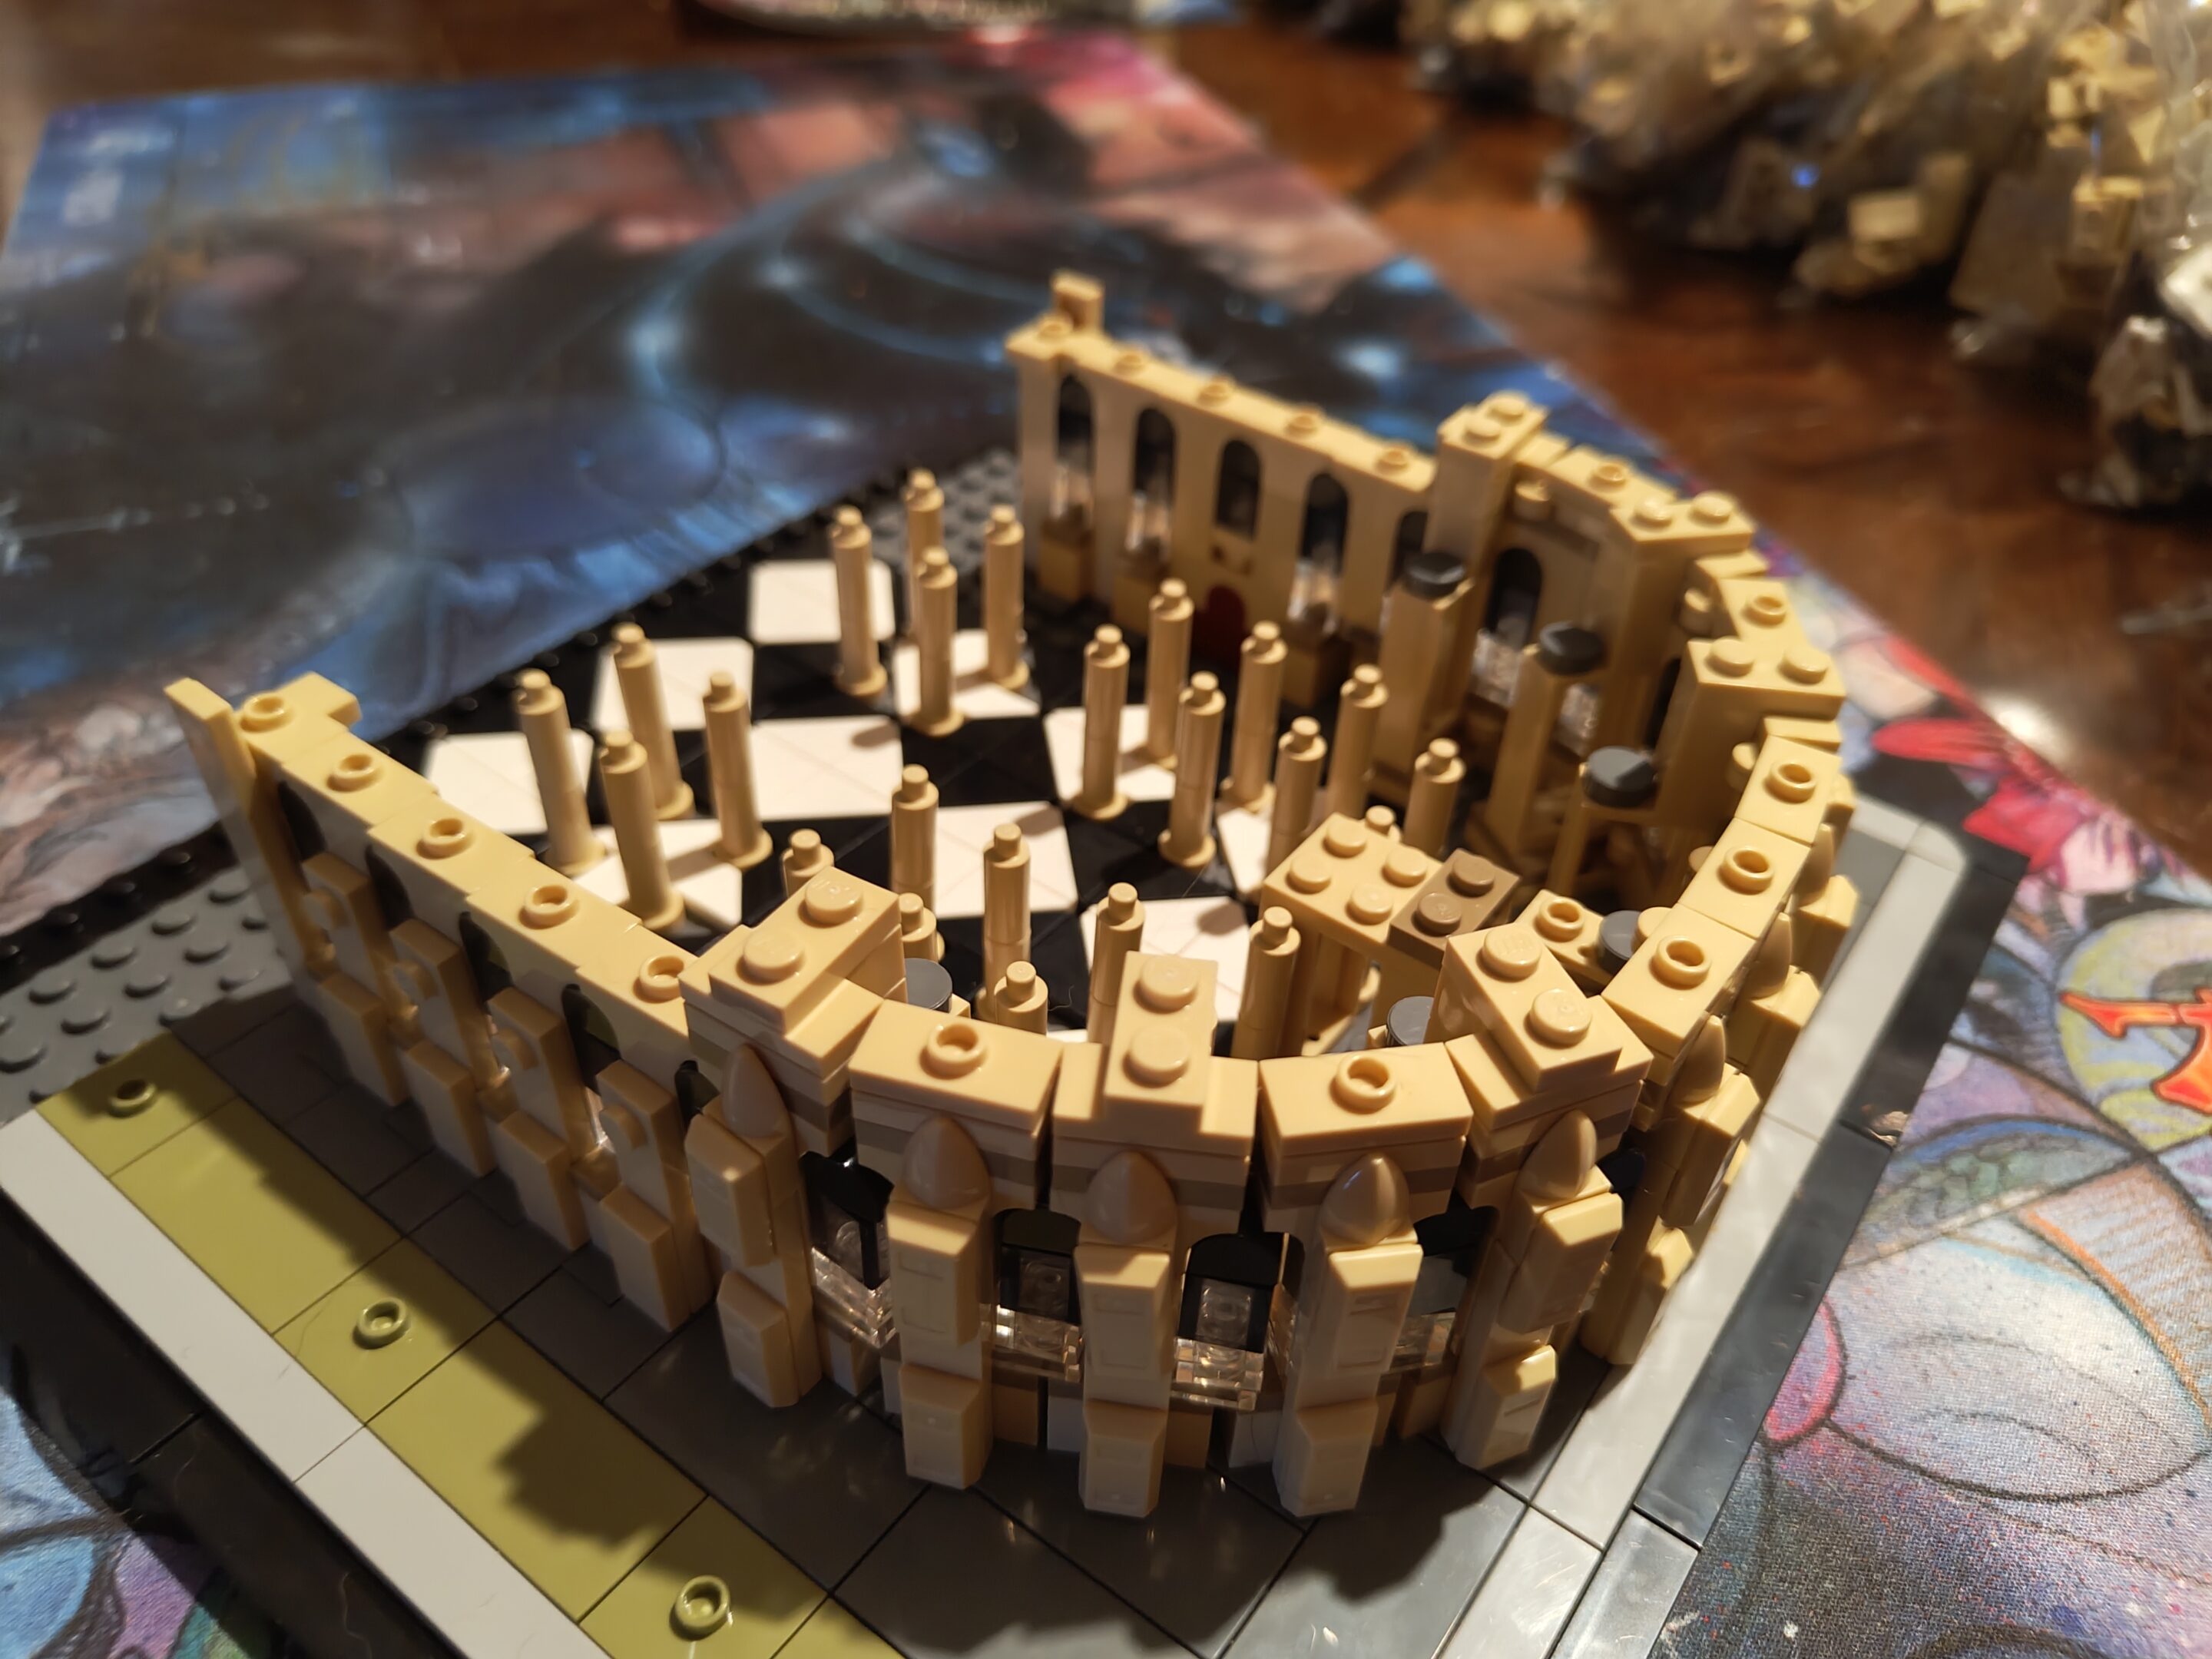
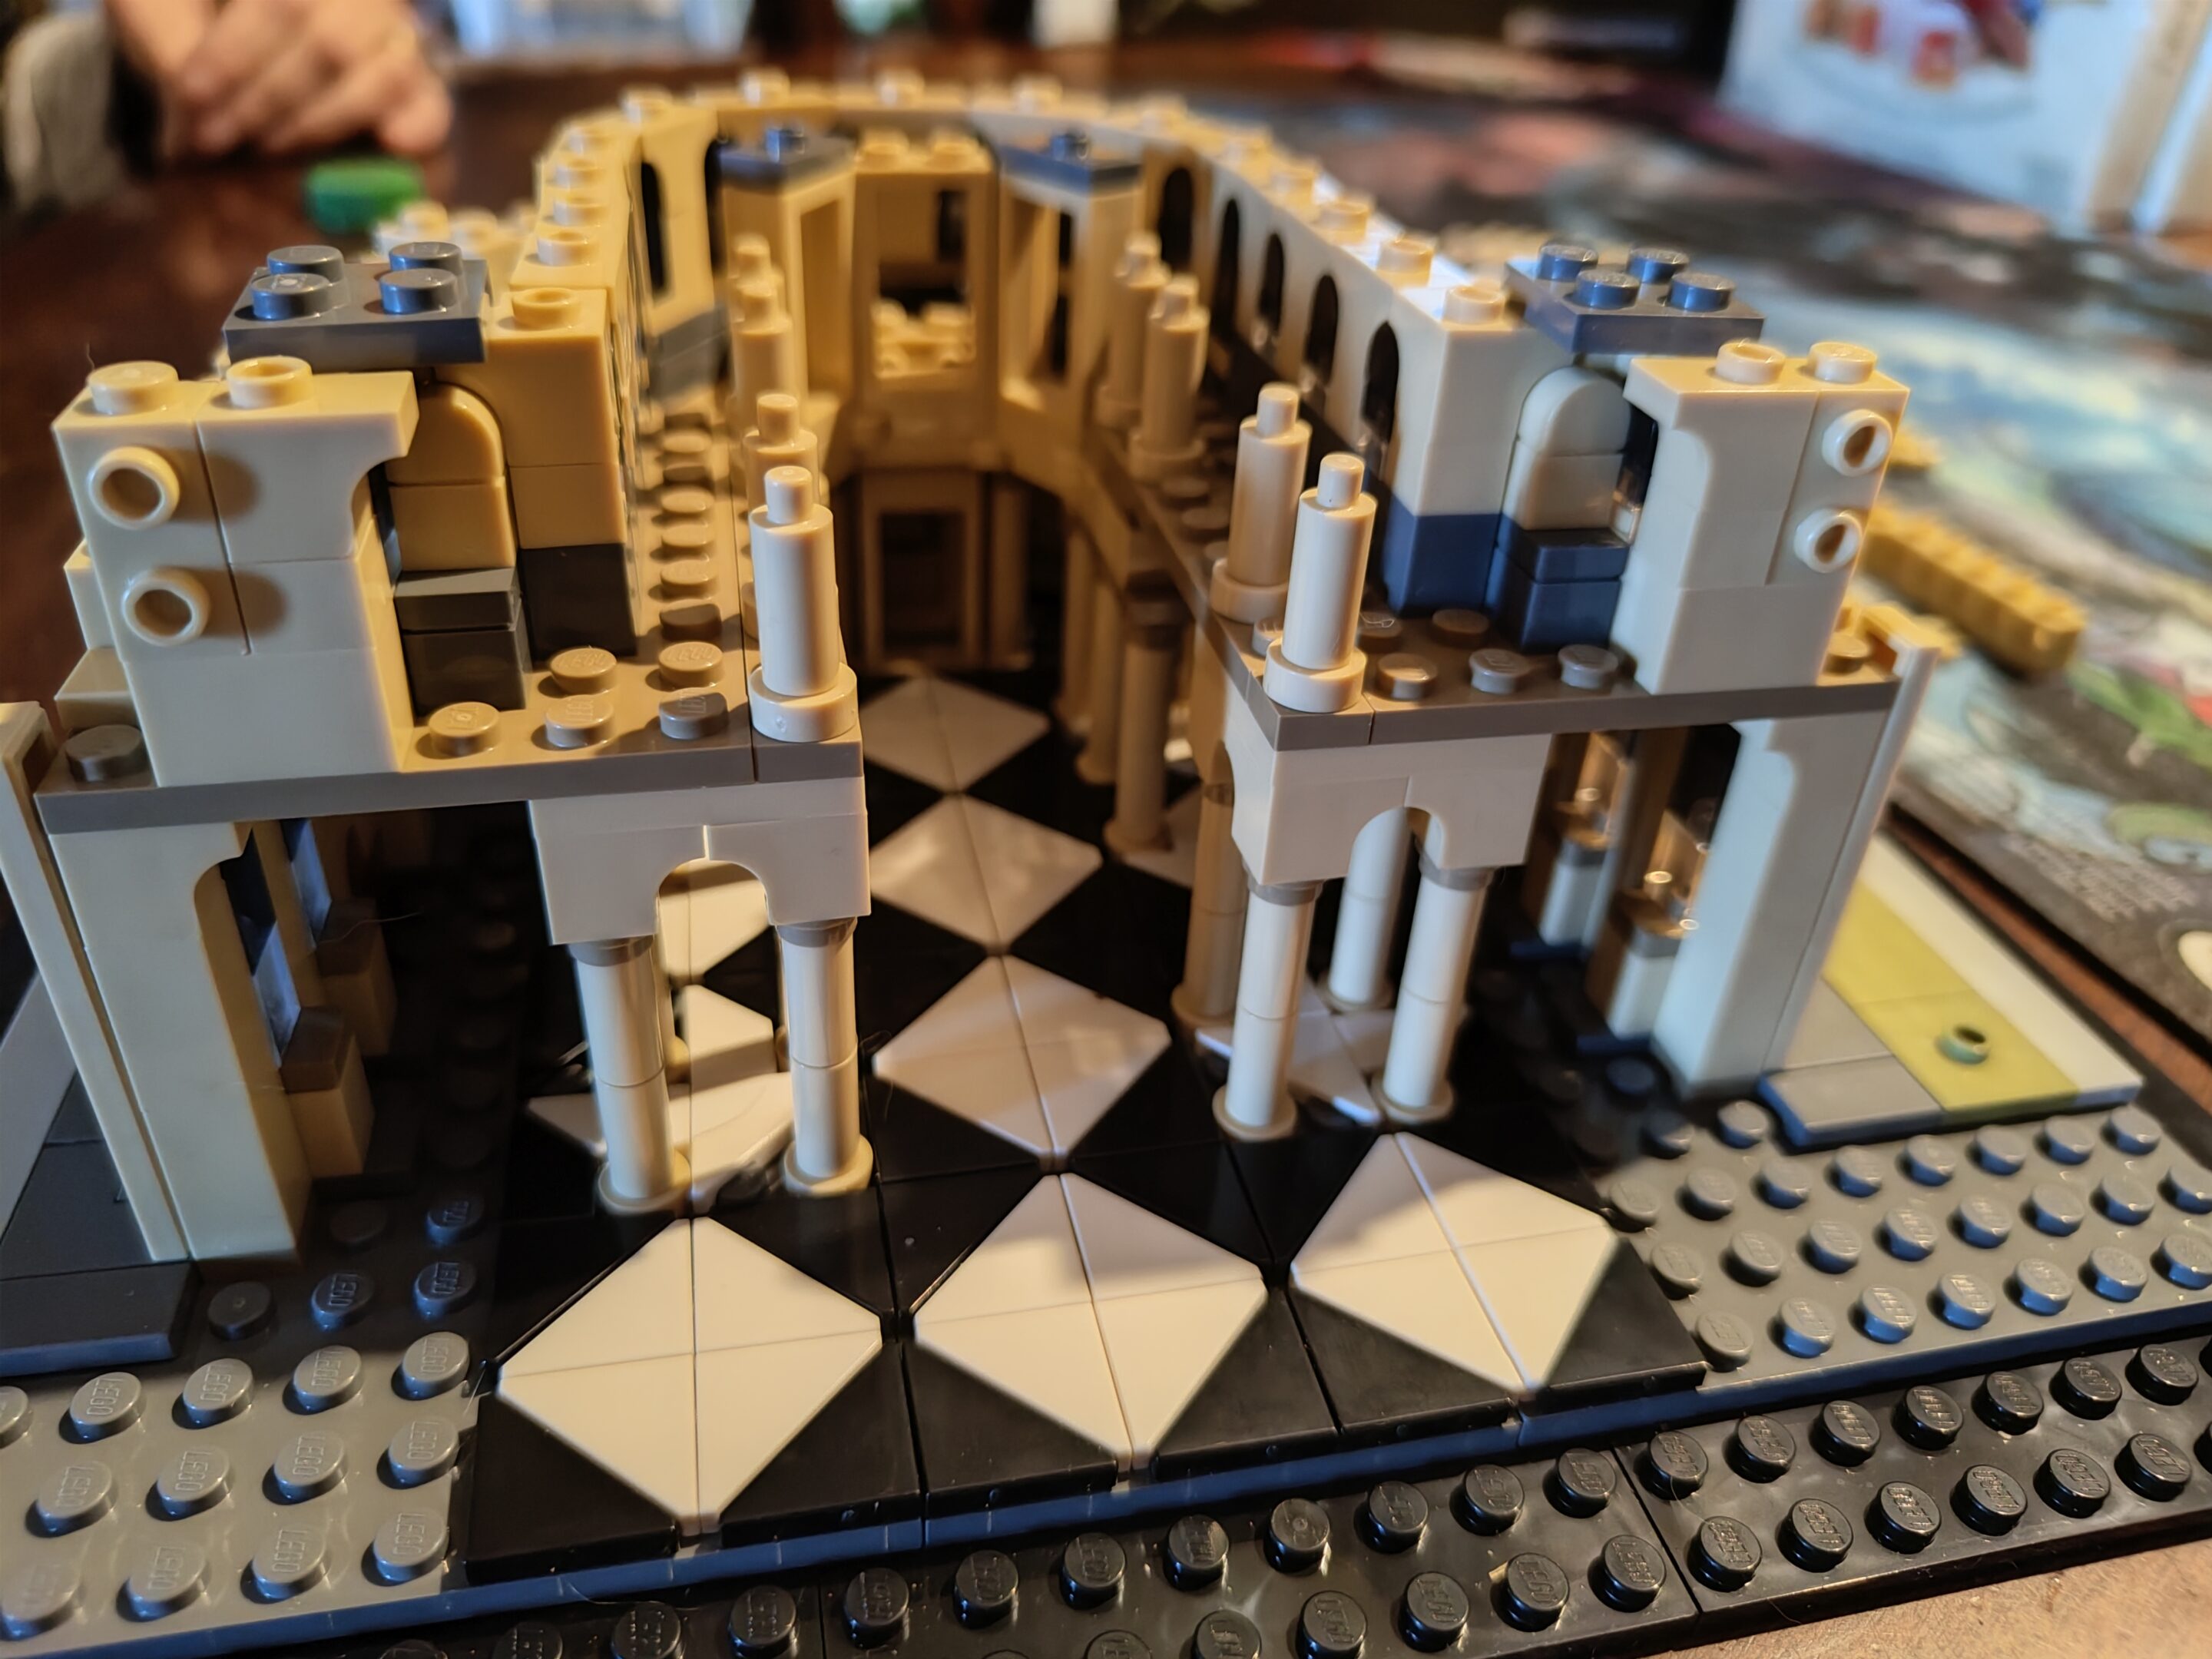
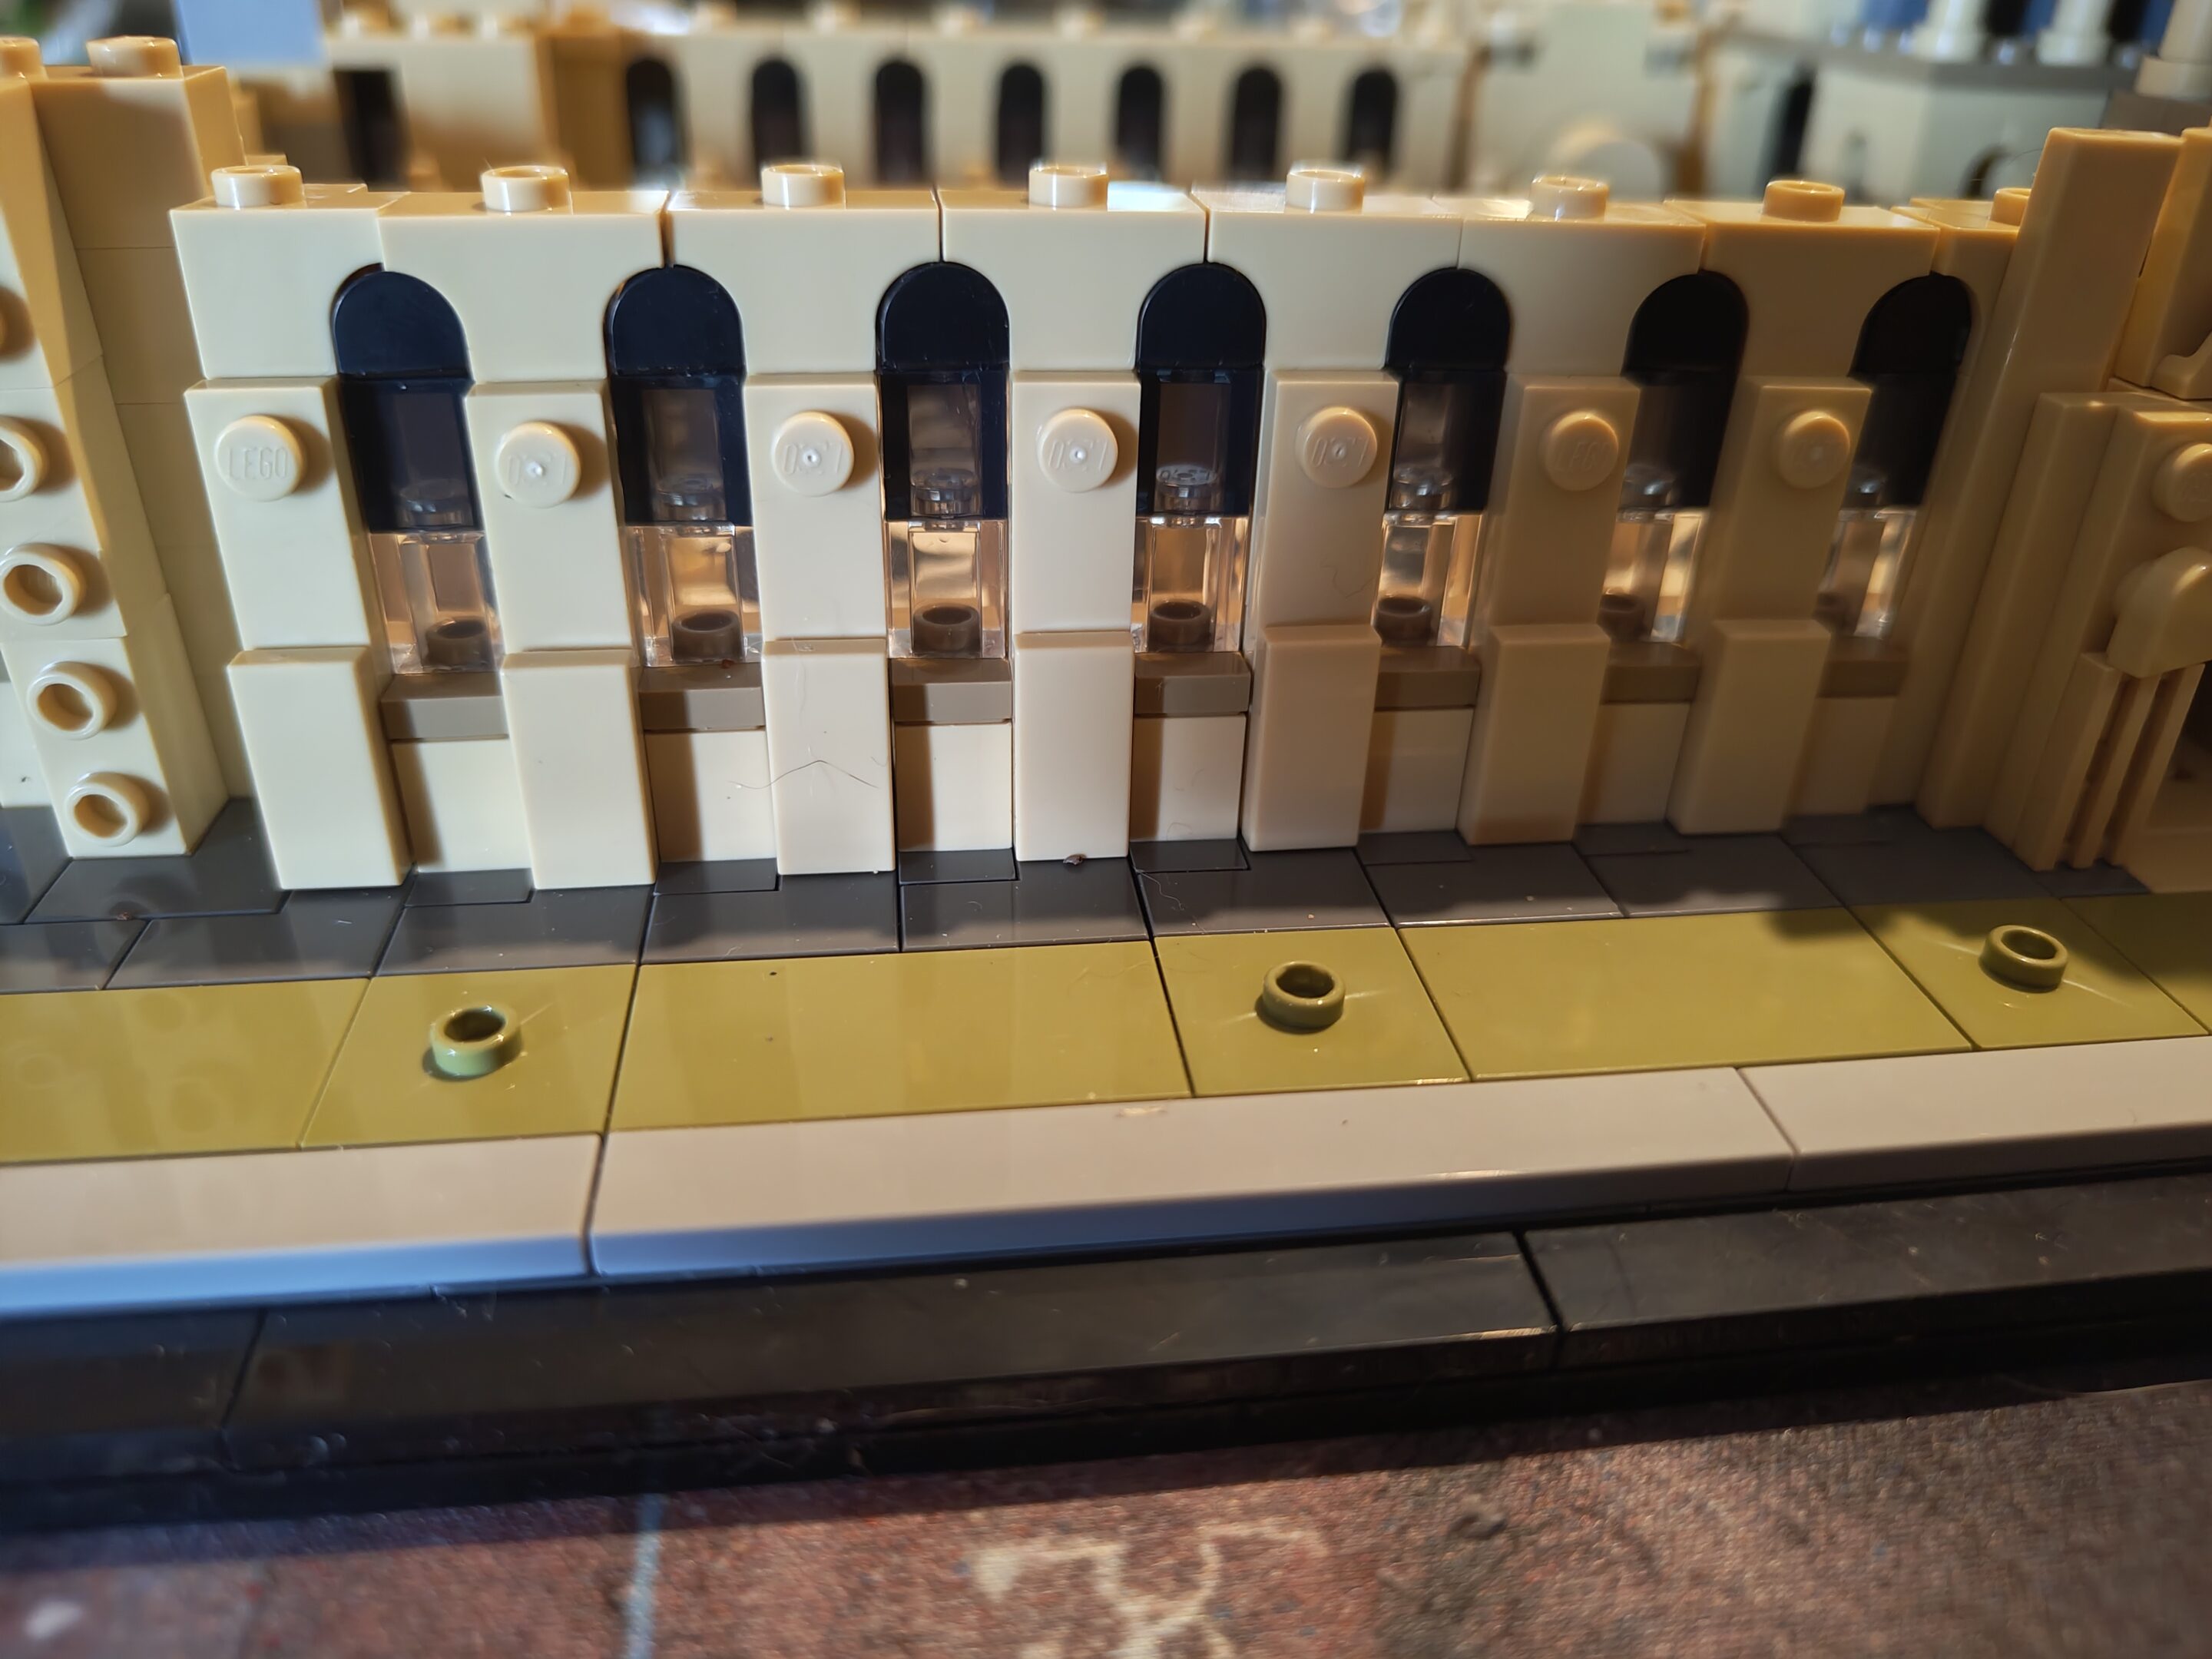
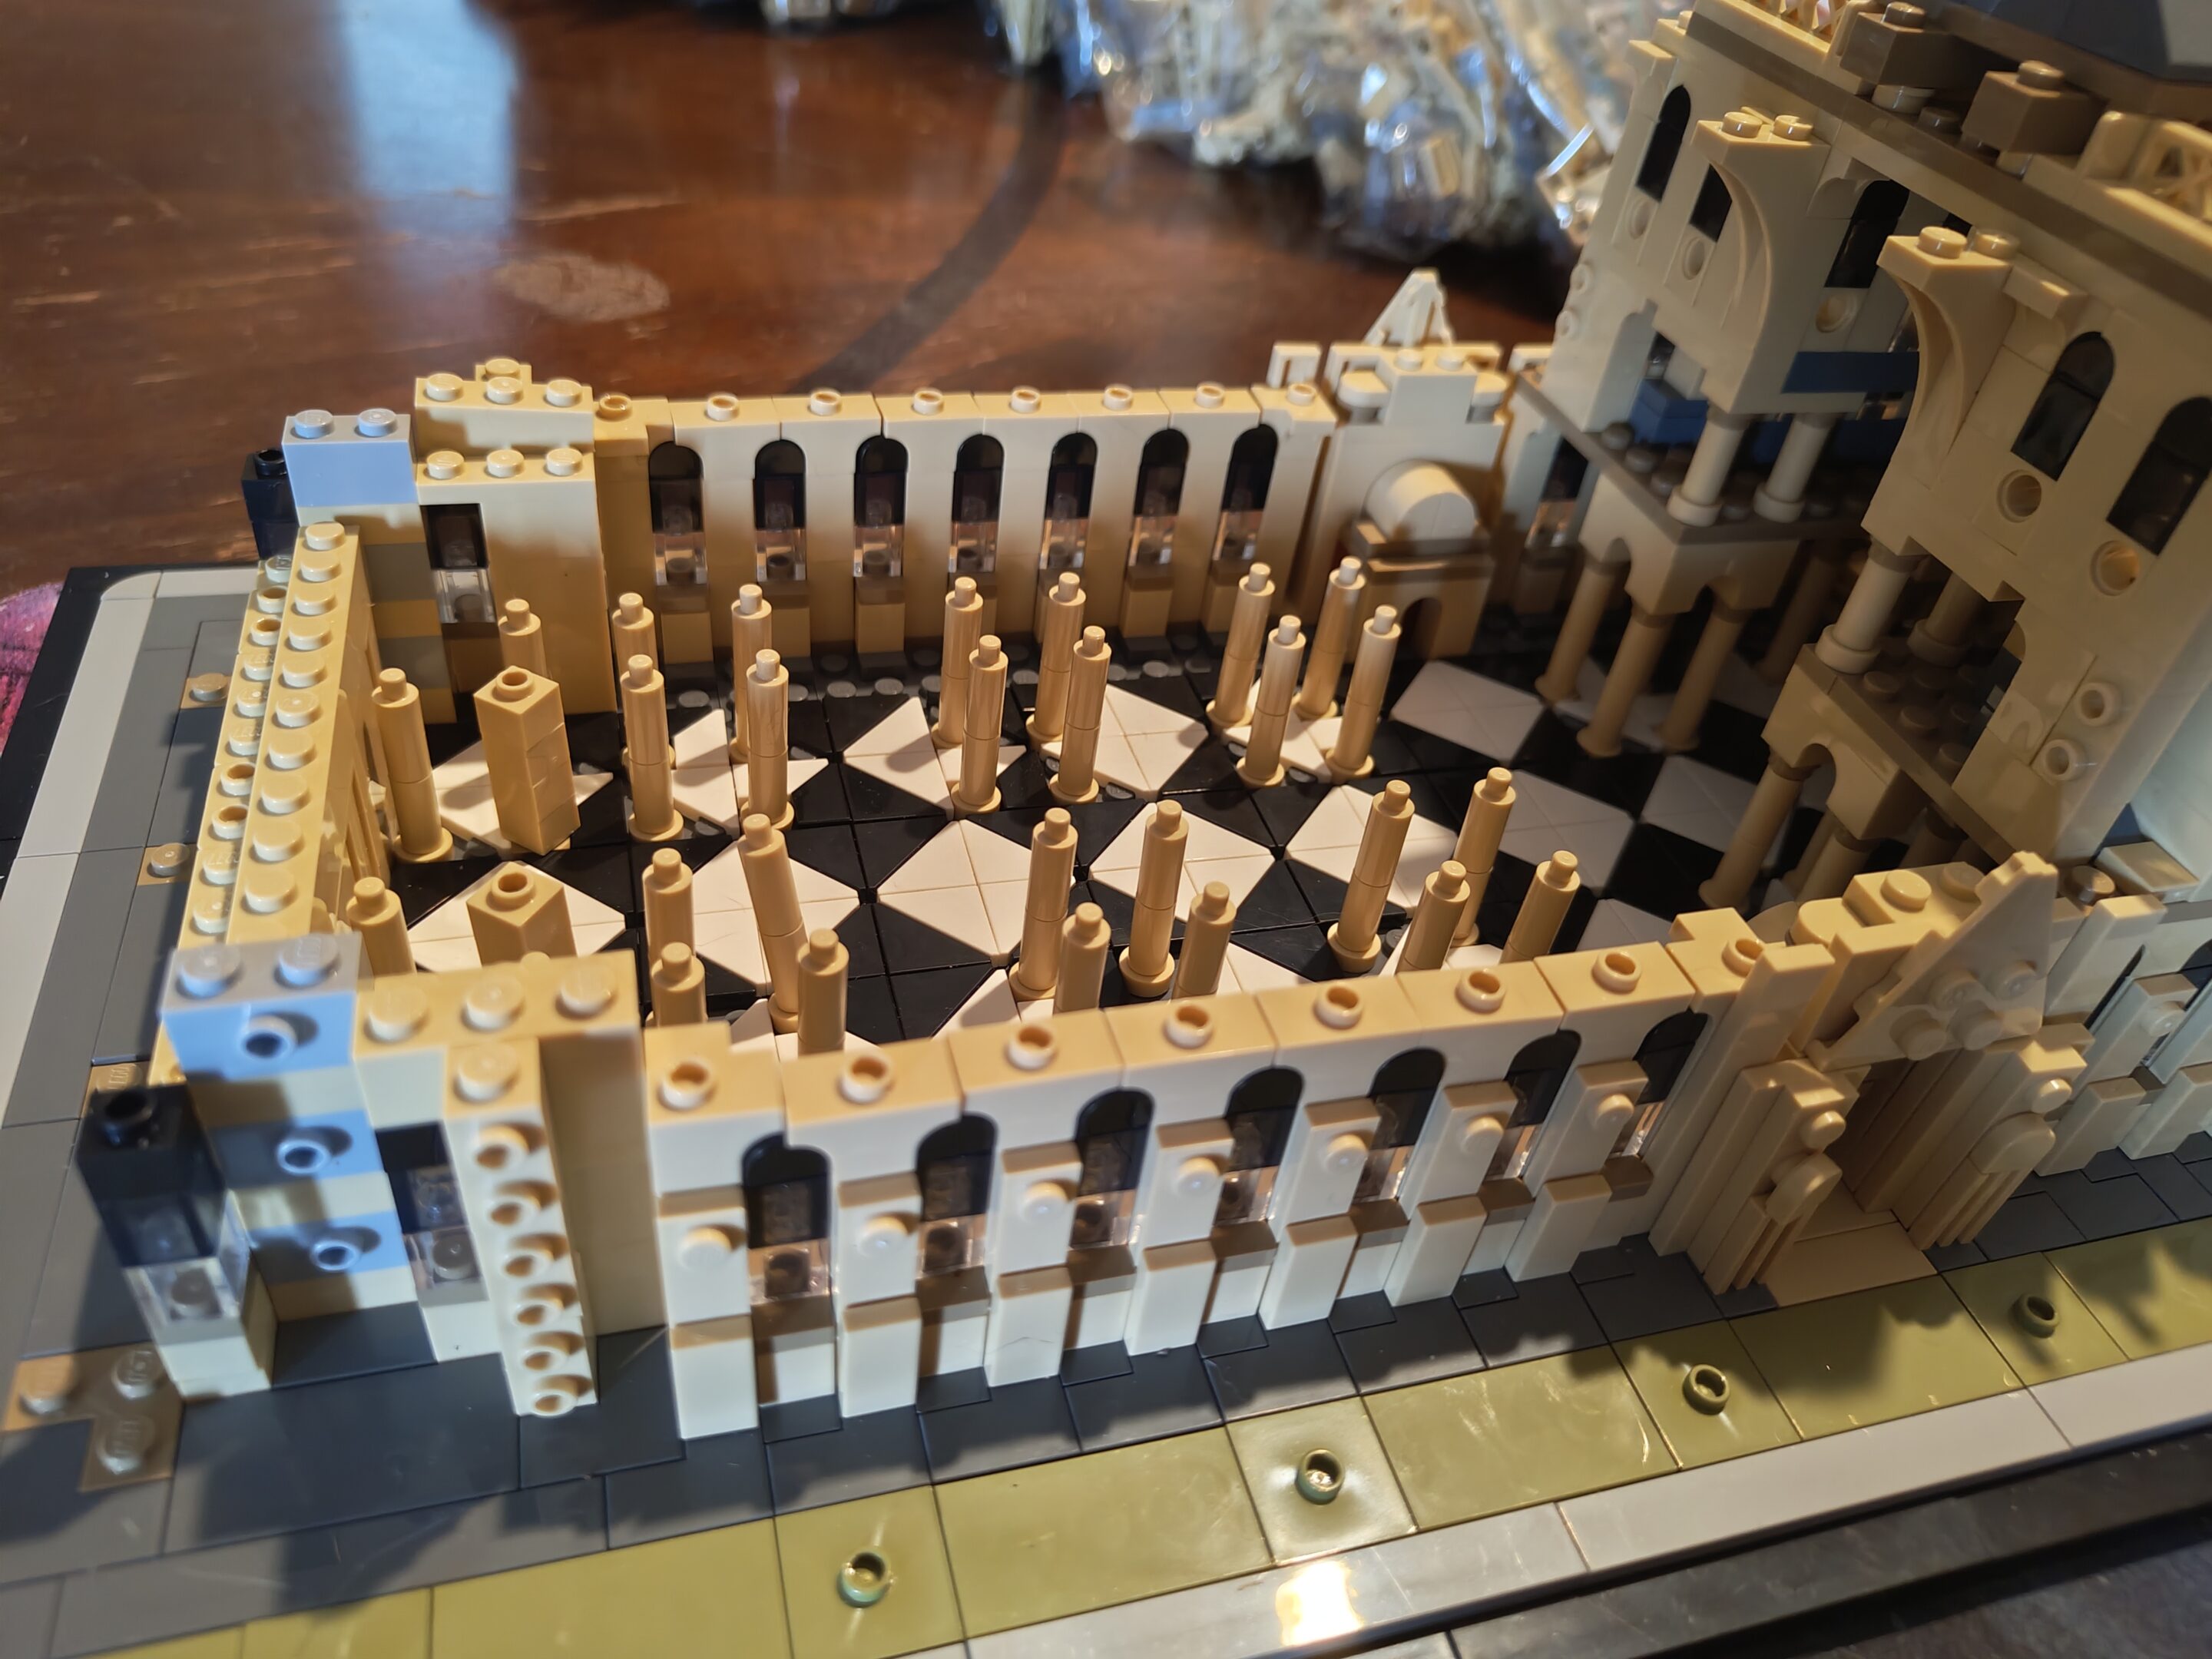
didn’t realize this section of the wall would be curvedwas pretty neat building it, thoughexterior viewinterior view (24 pillars here)windowsforgot to put all these 2:1 convertors in but got them in the end
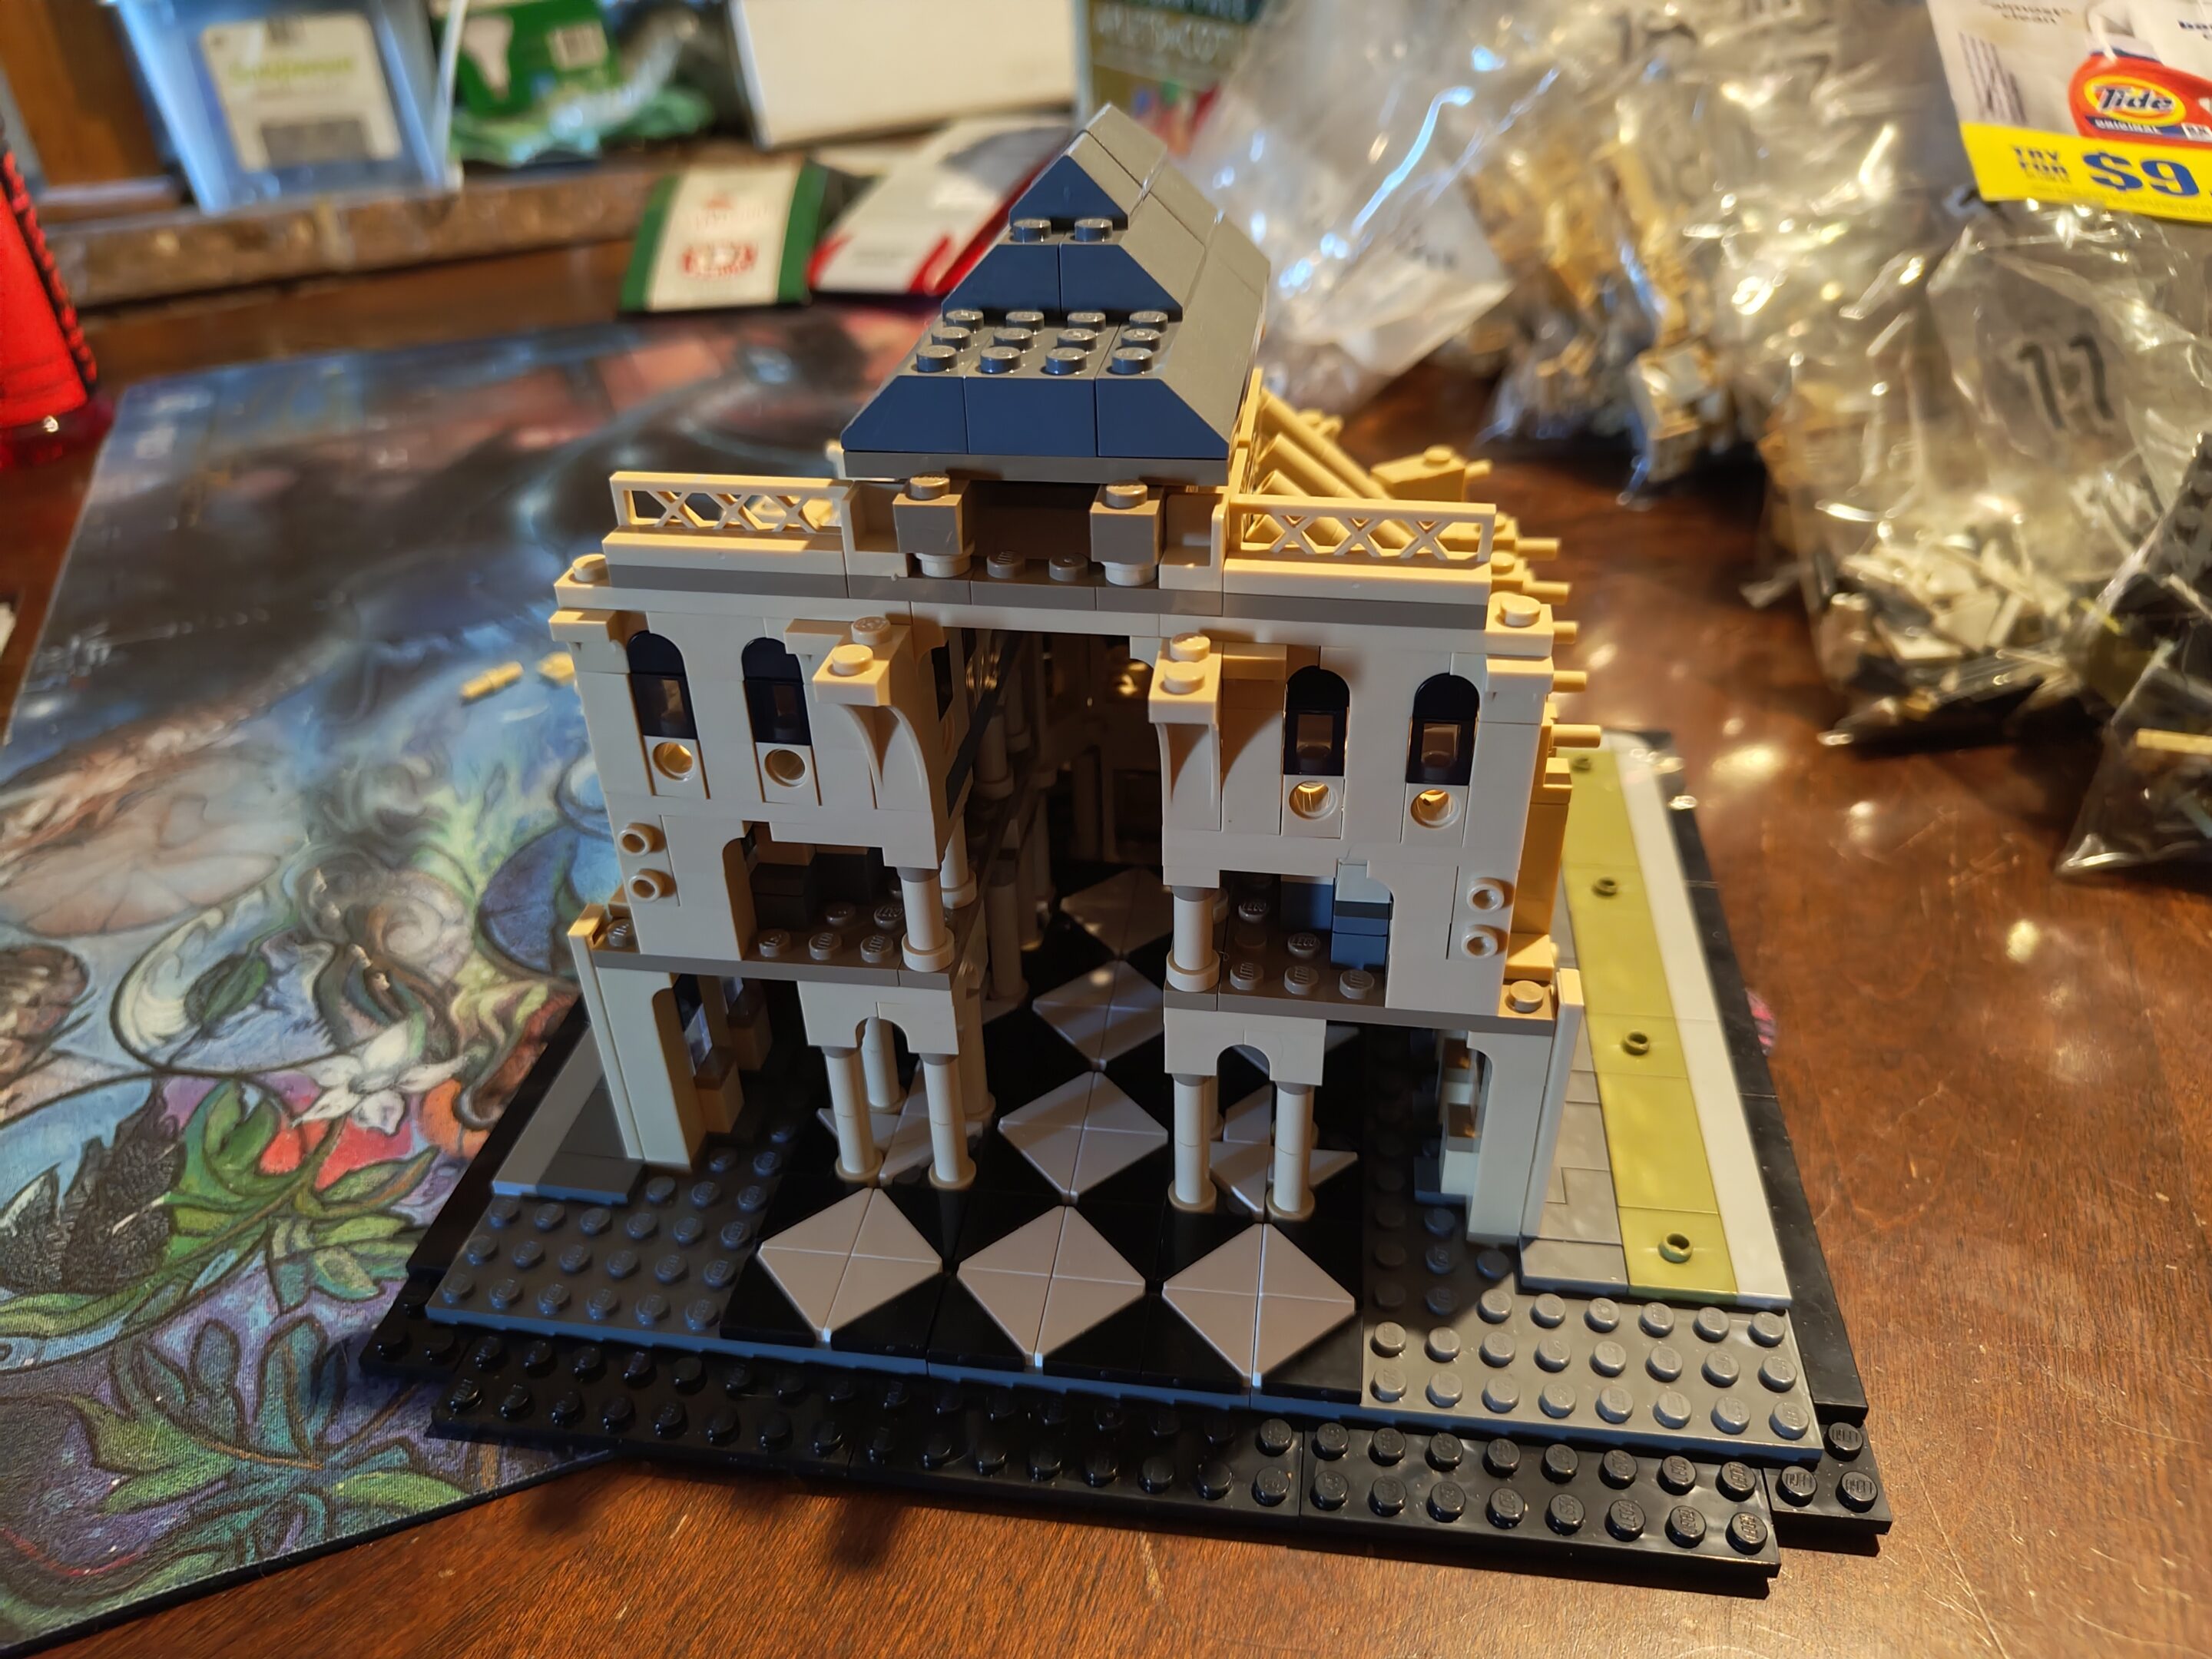
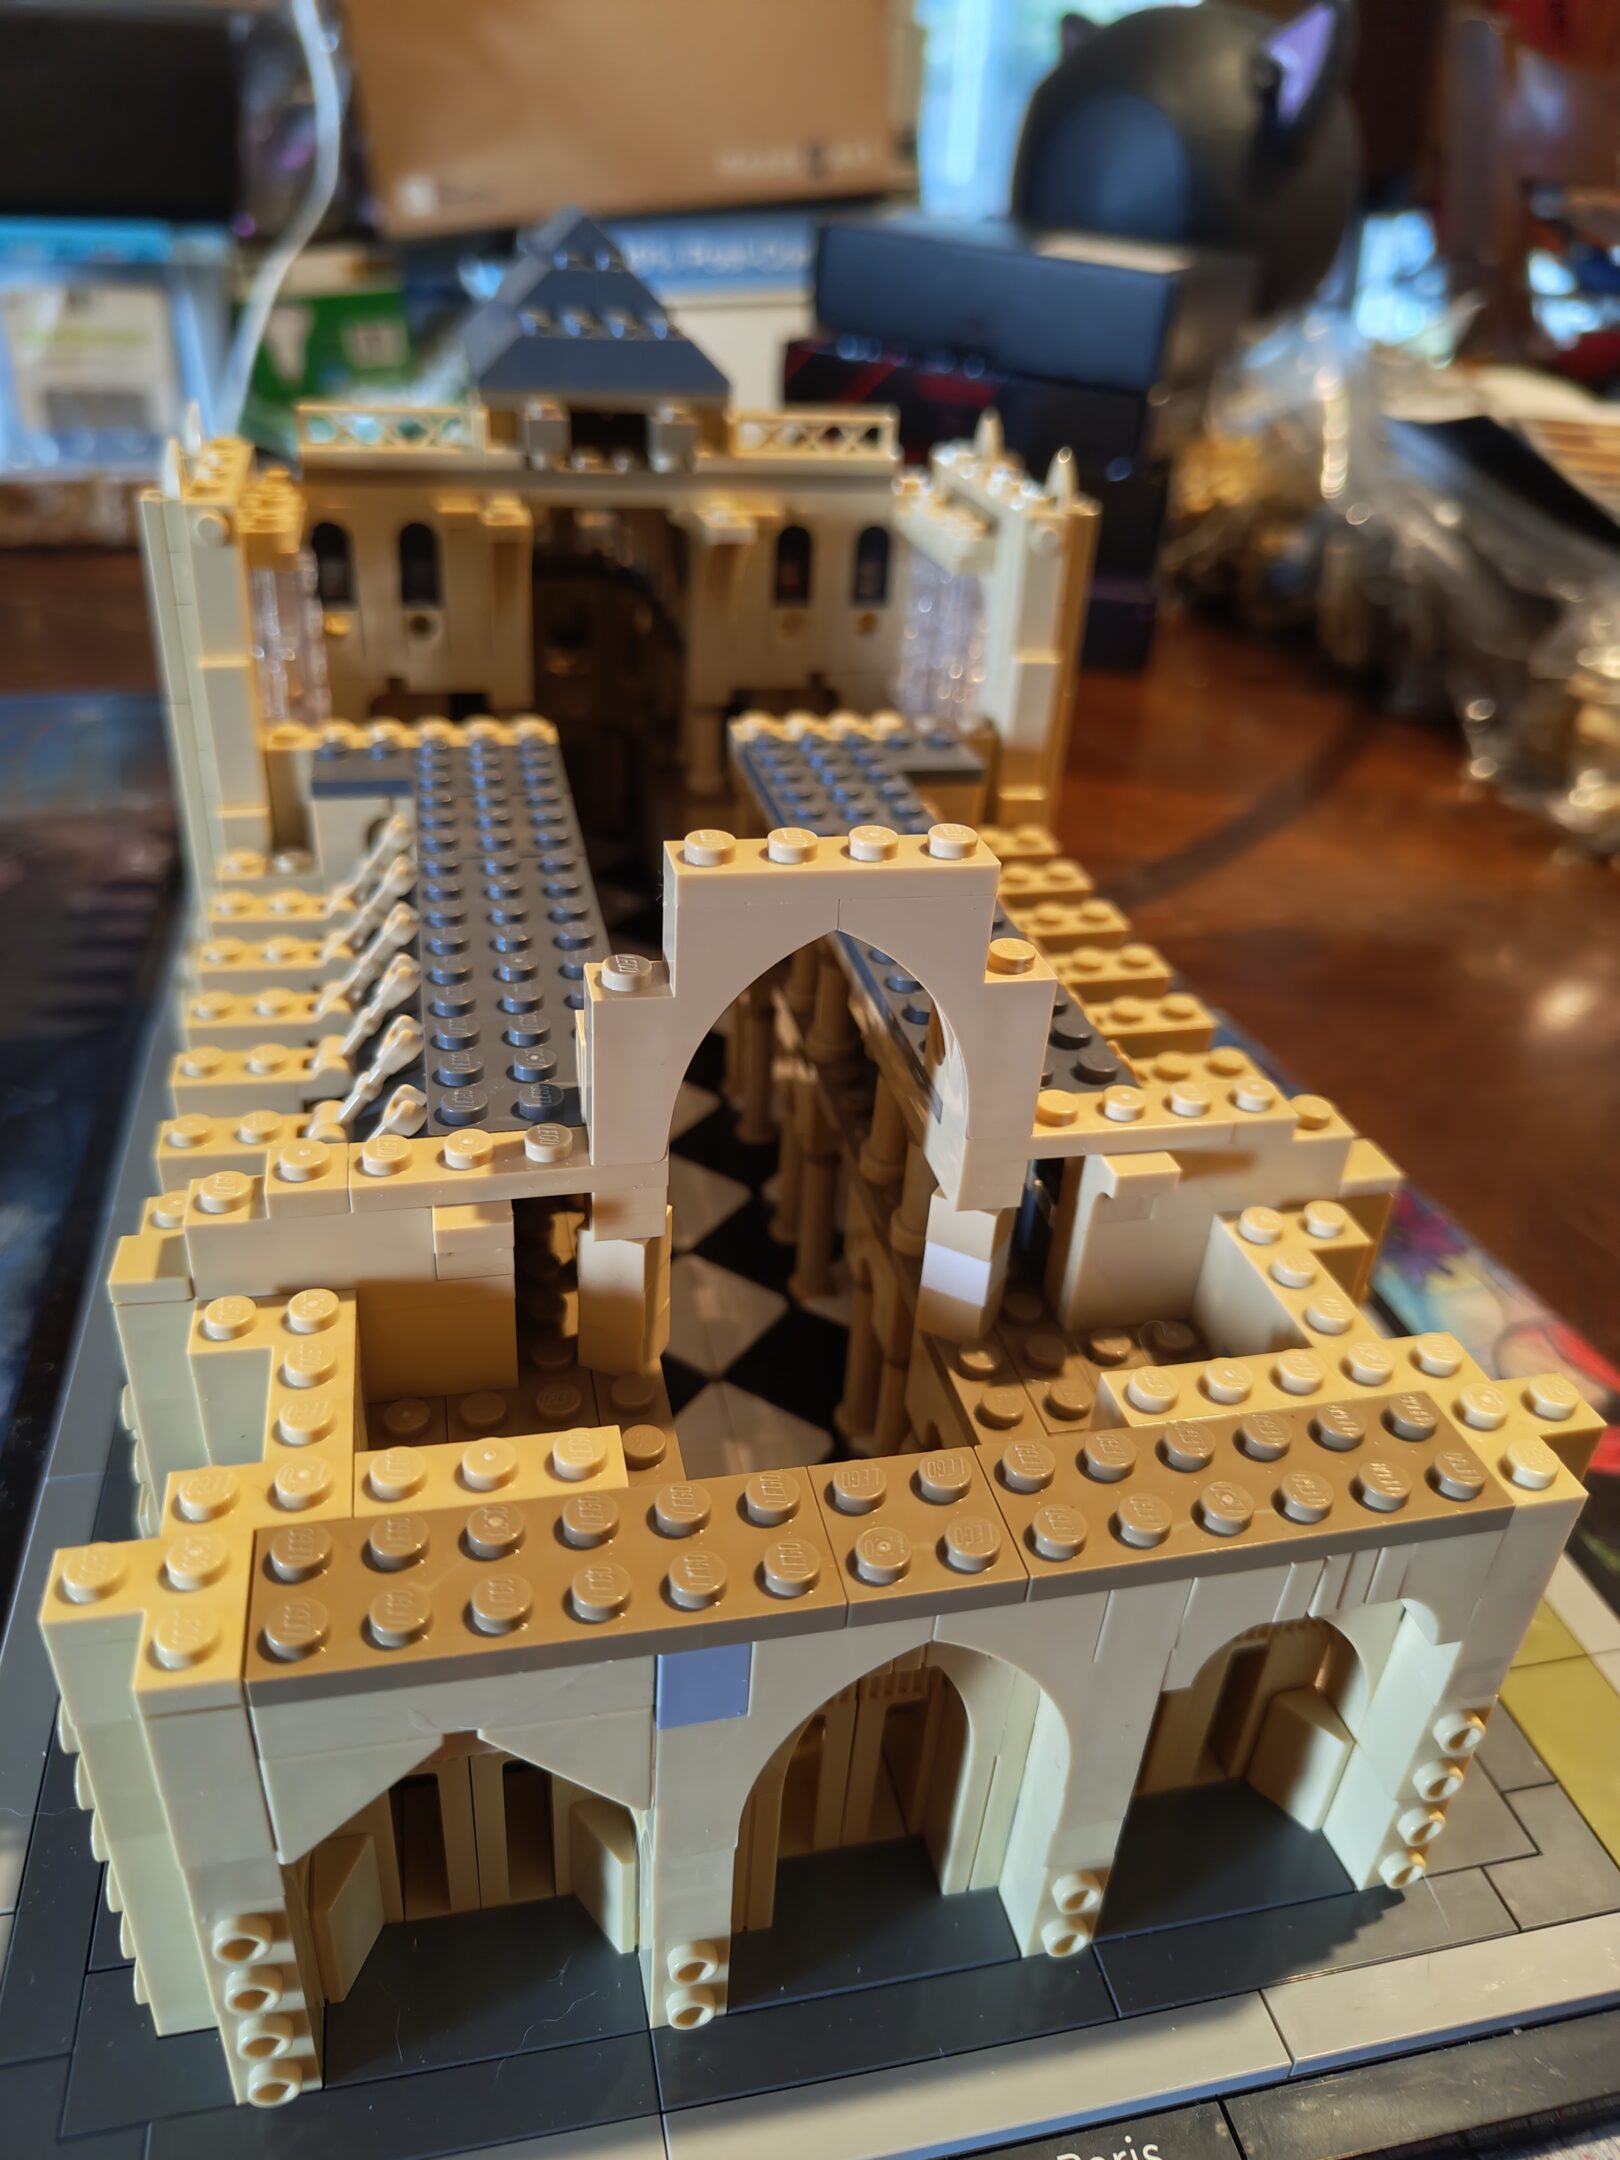
forgot to upload, but here’s some more of notre dame
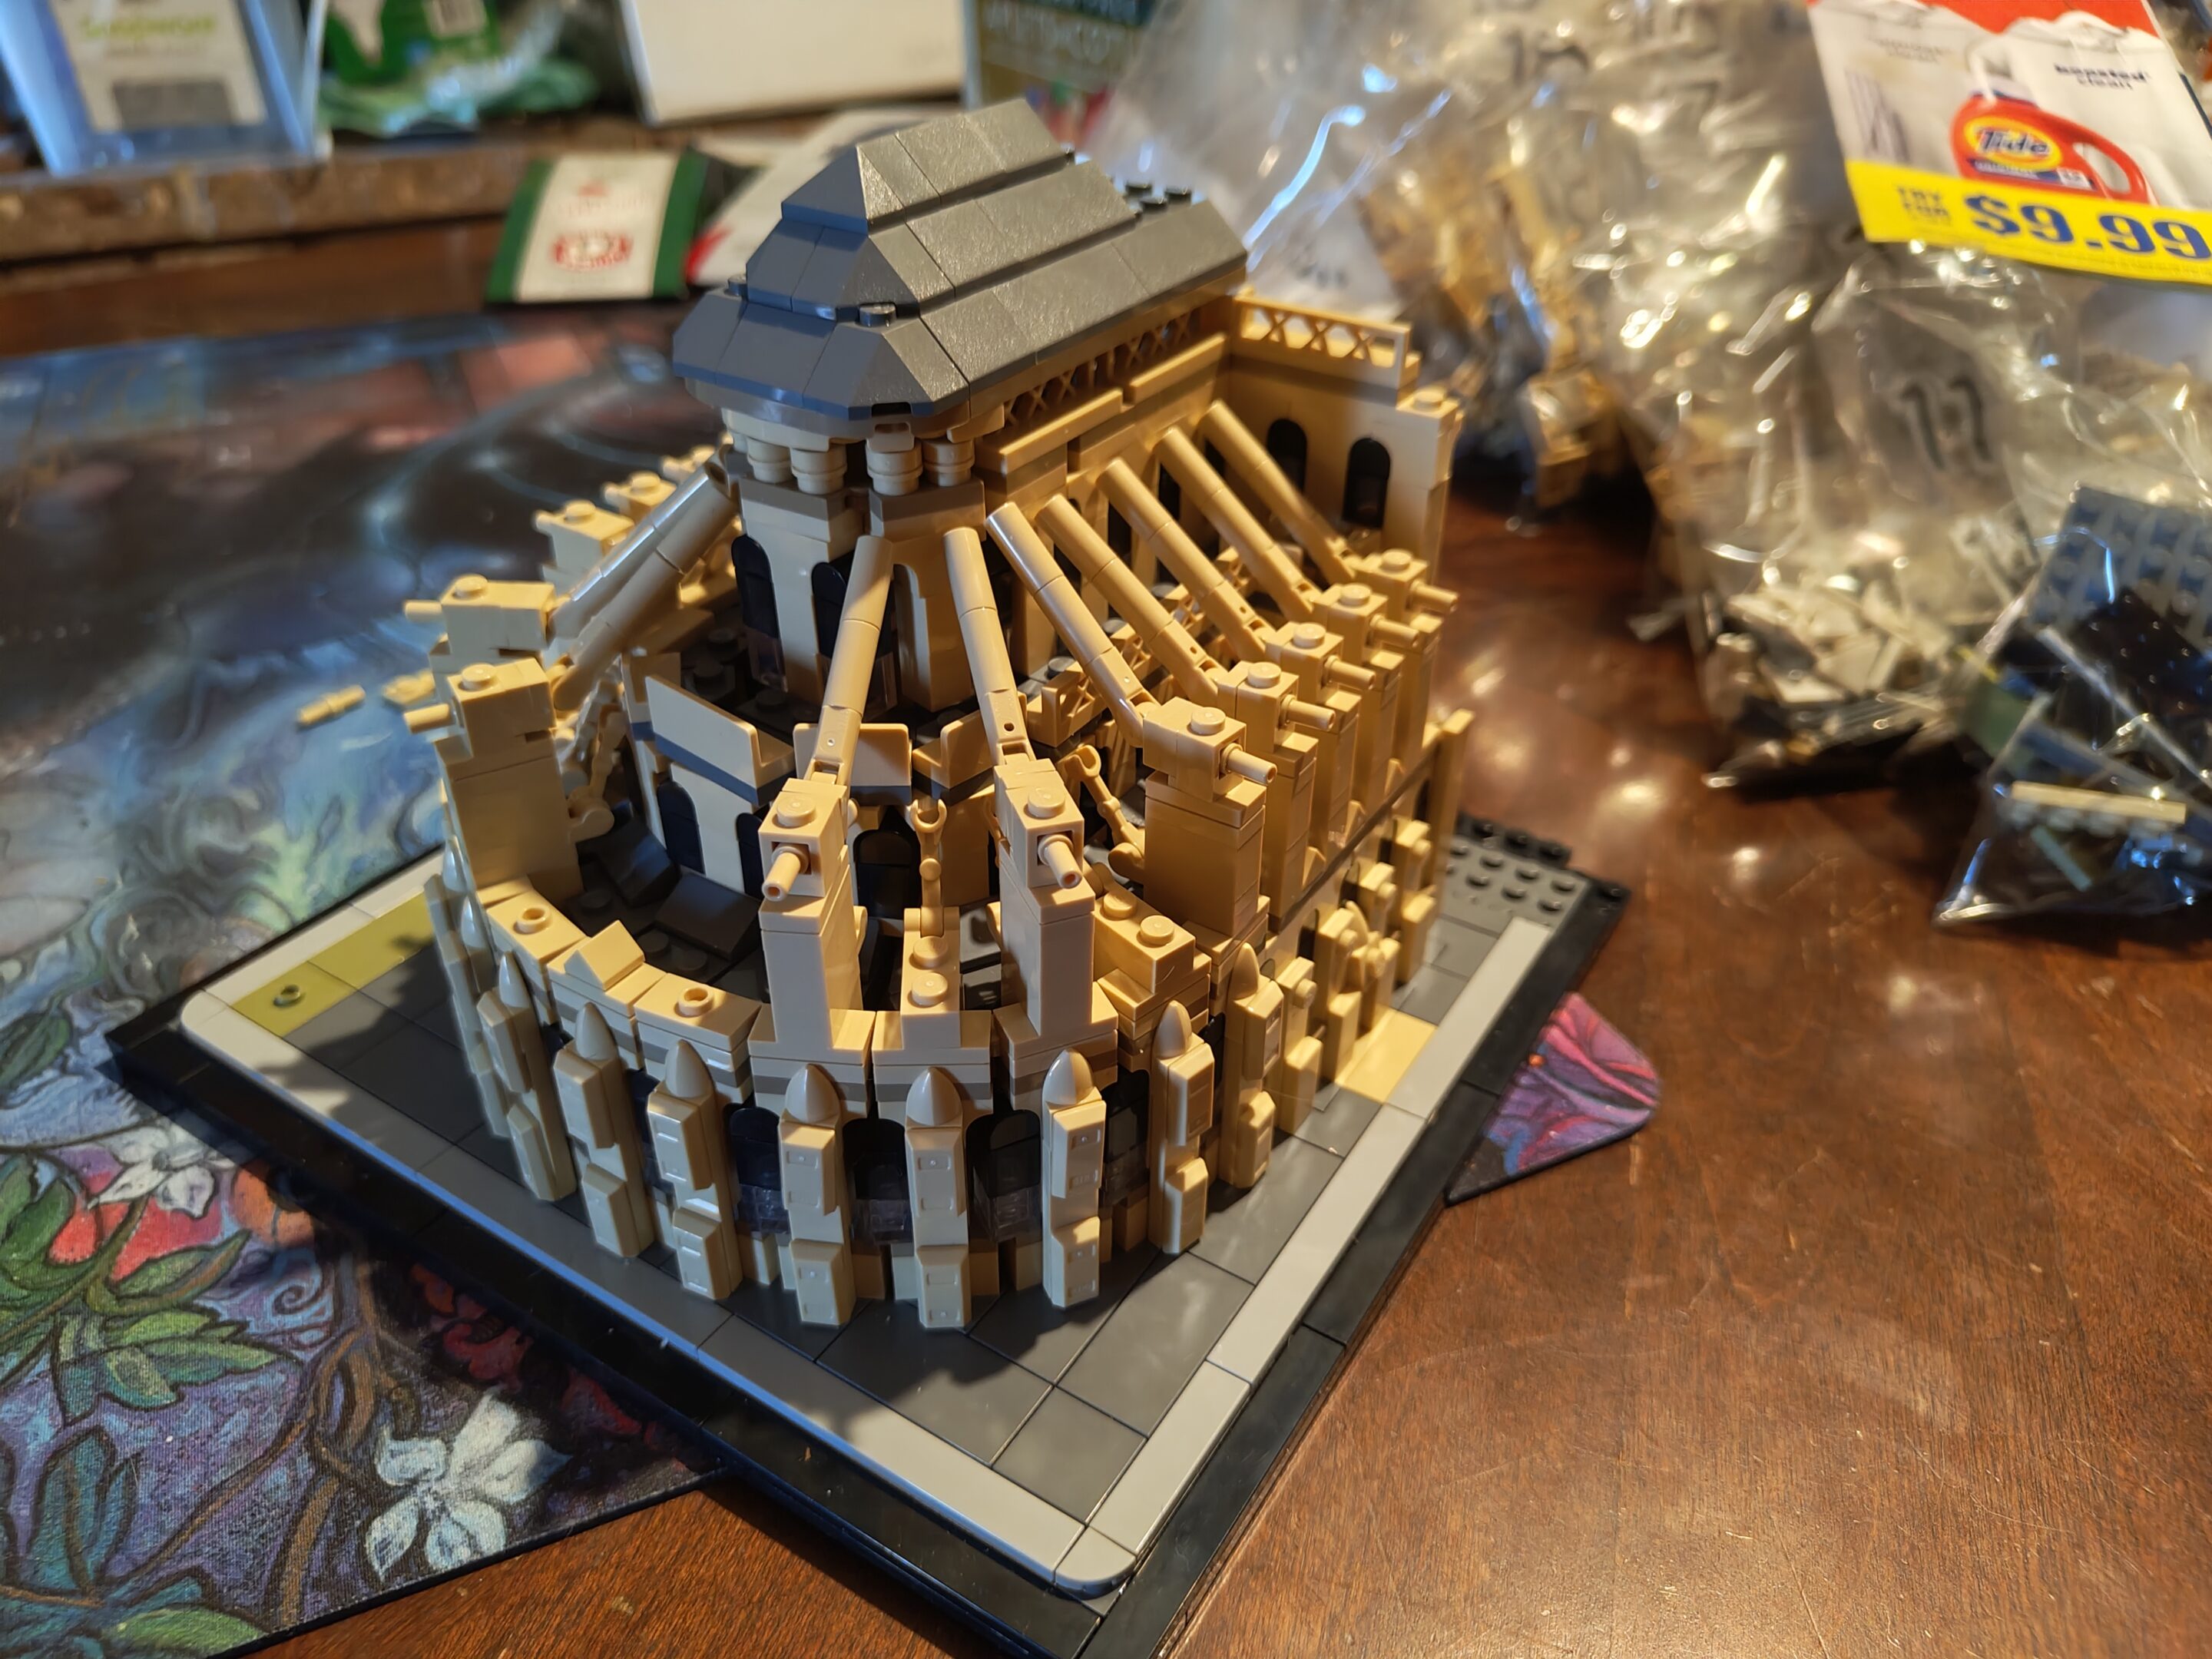
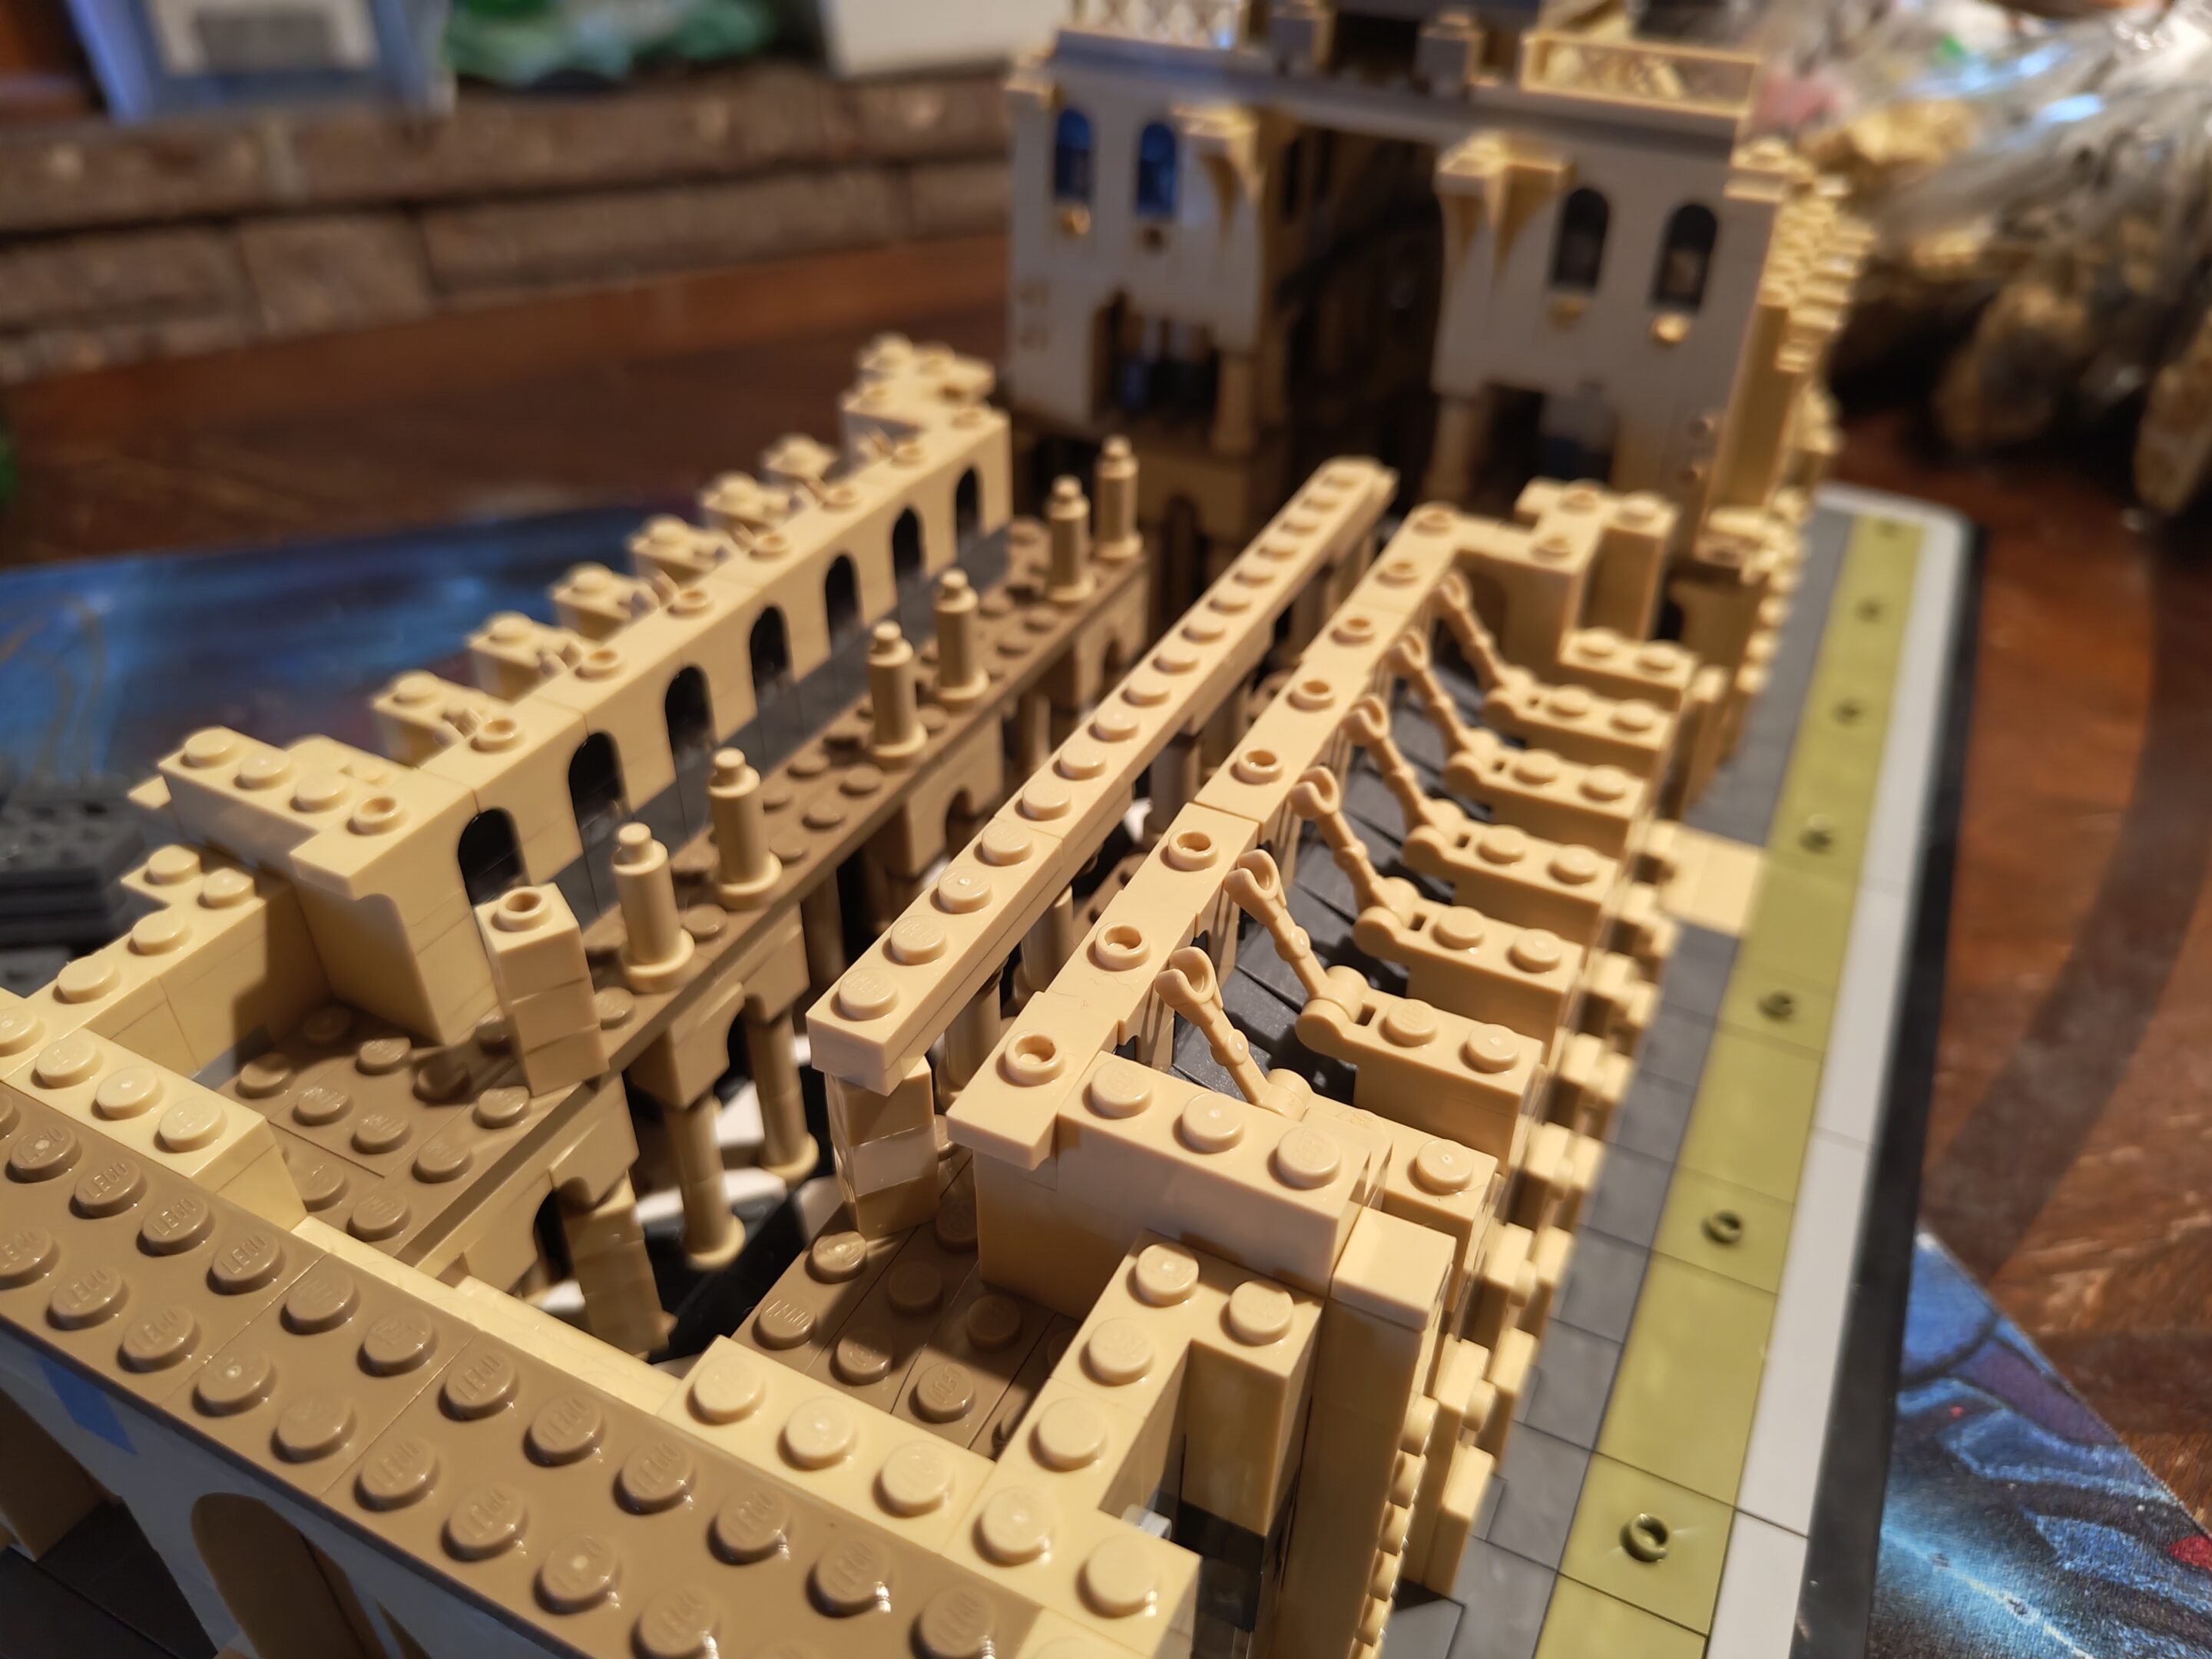
interior columns2nd floor starts herewith a second floor of columns, toodon’t know what this architectural flourish is called but there’s a lot of emwith a third floor railing that will absolutely not stay putroof onthese were a pain to put together but we got there and after this it’s time for the next section of the notre dame
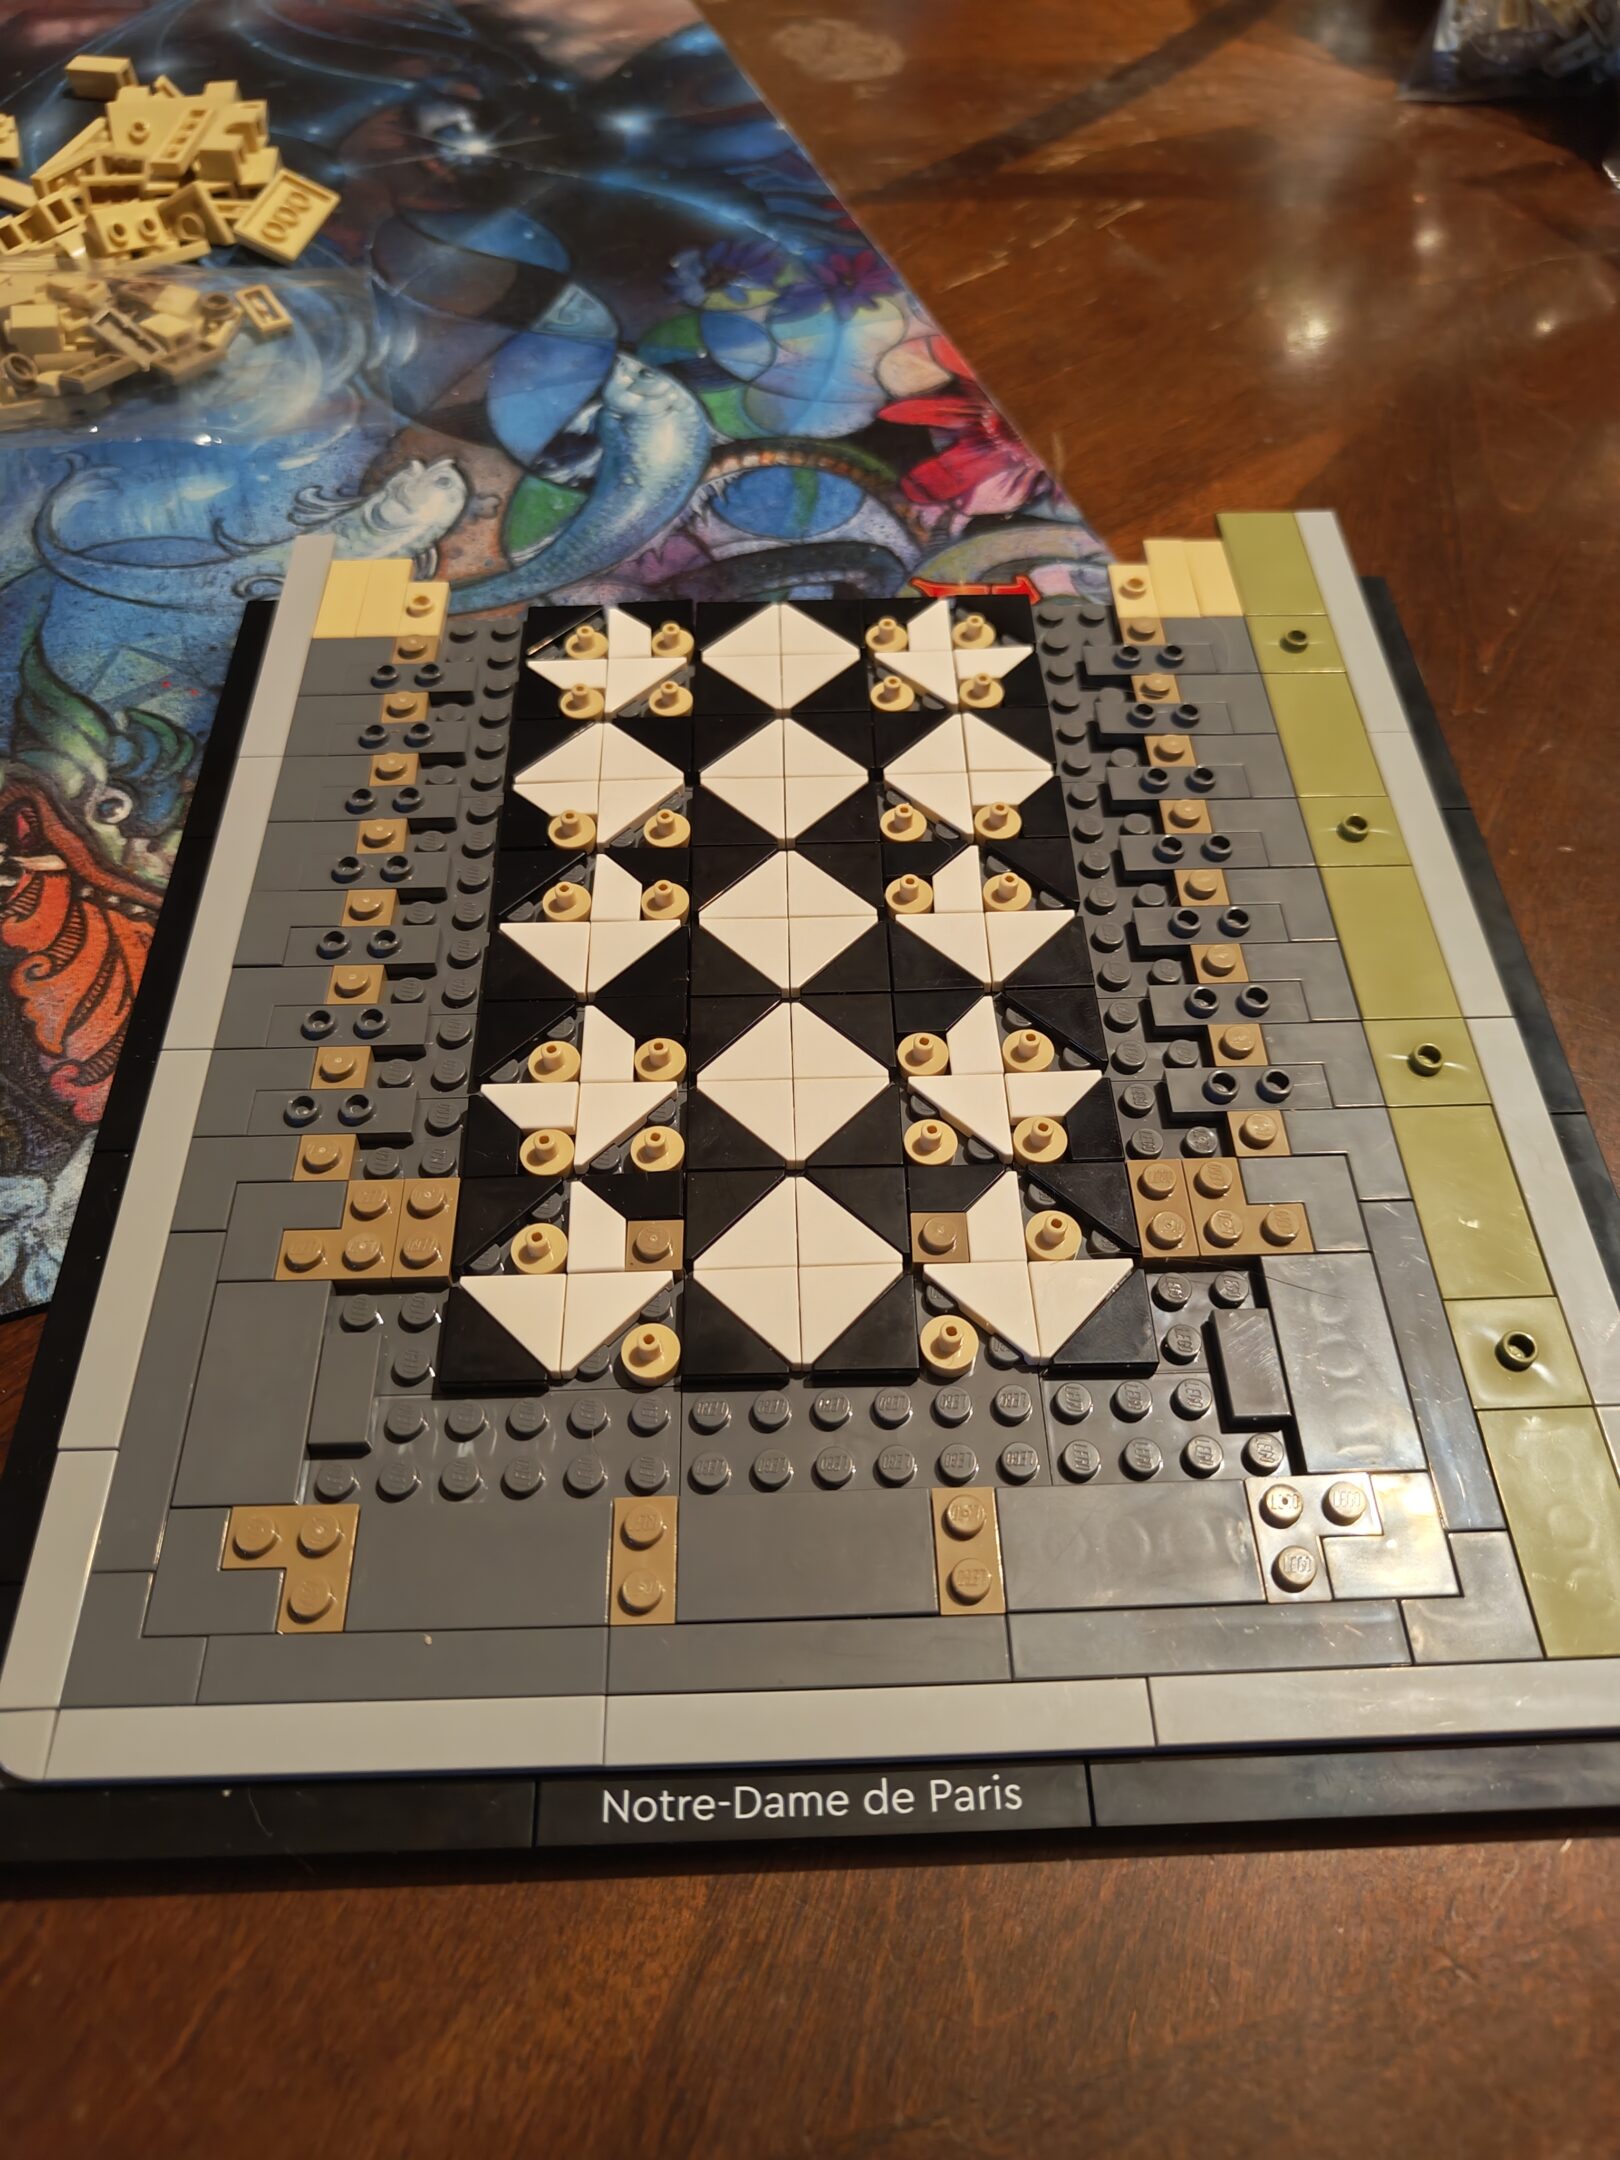
another batch upload (three days worth) but here they be. probably do a lil’ more tomorrow (sunday, january 10th, 2026) if we’re both up for it…?
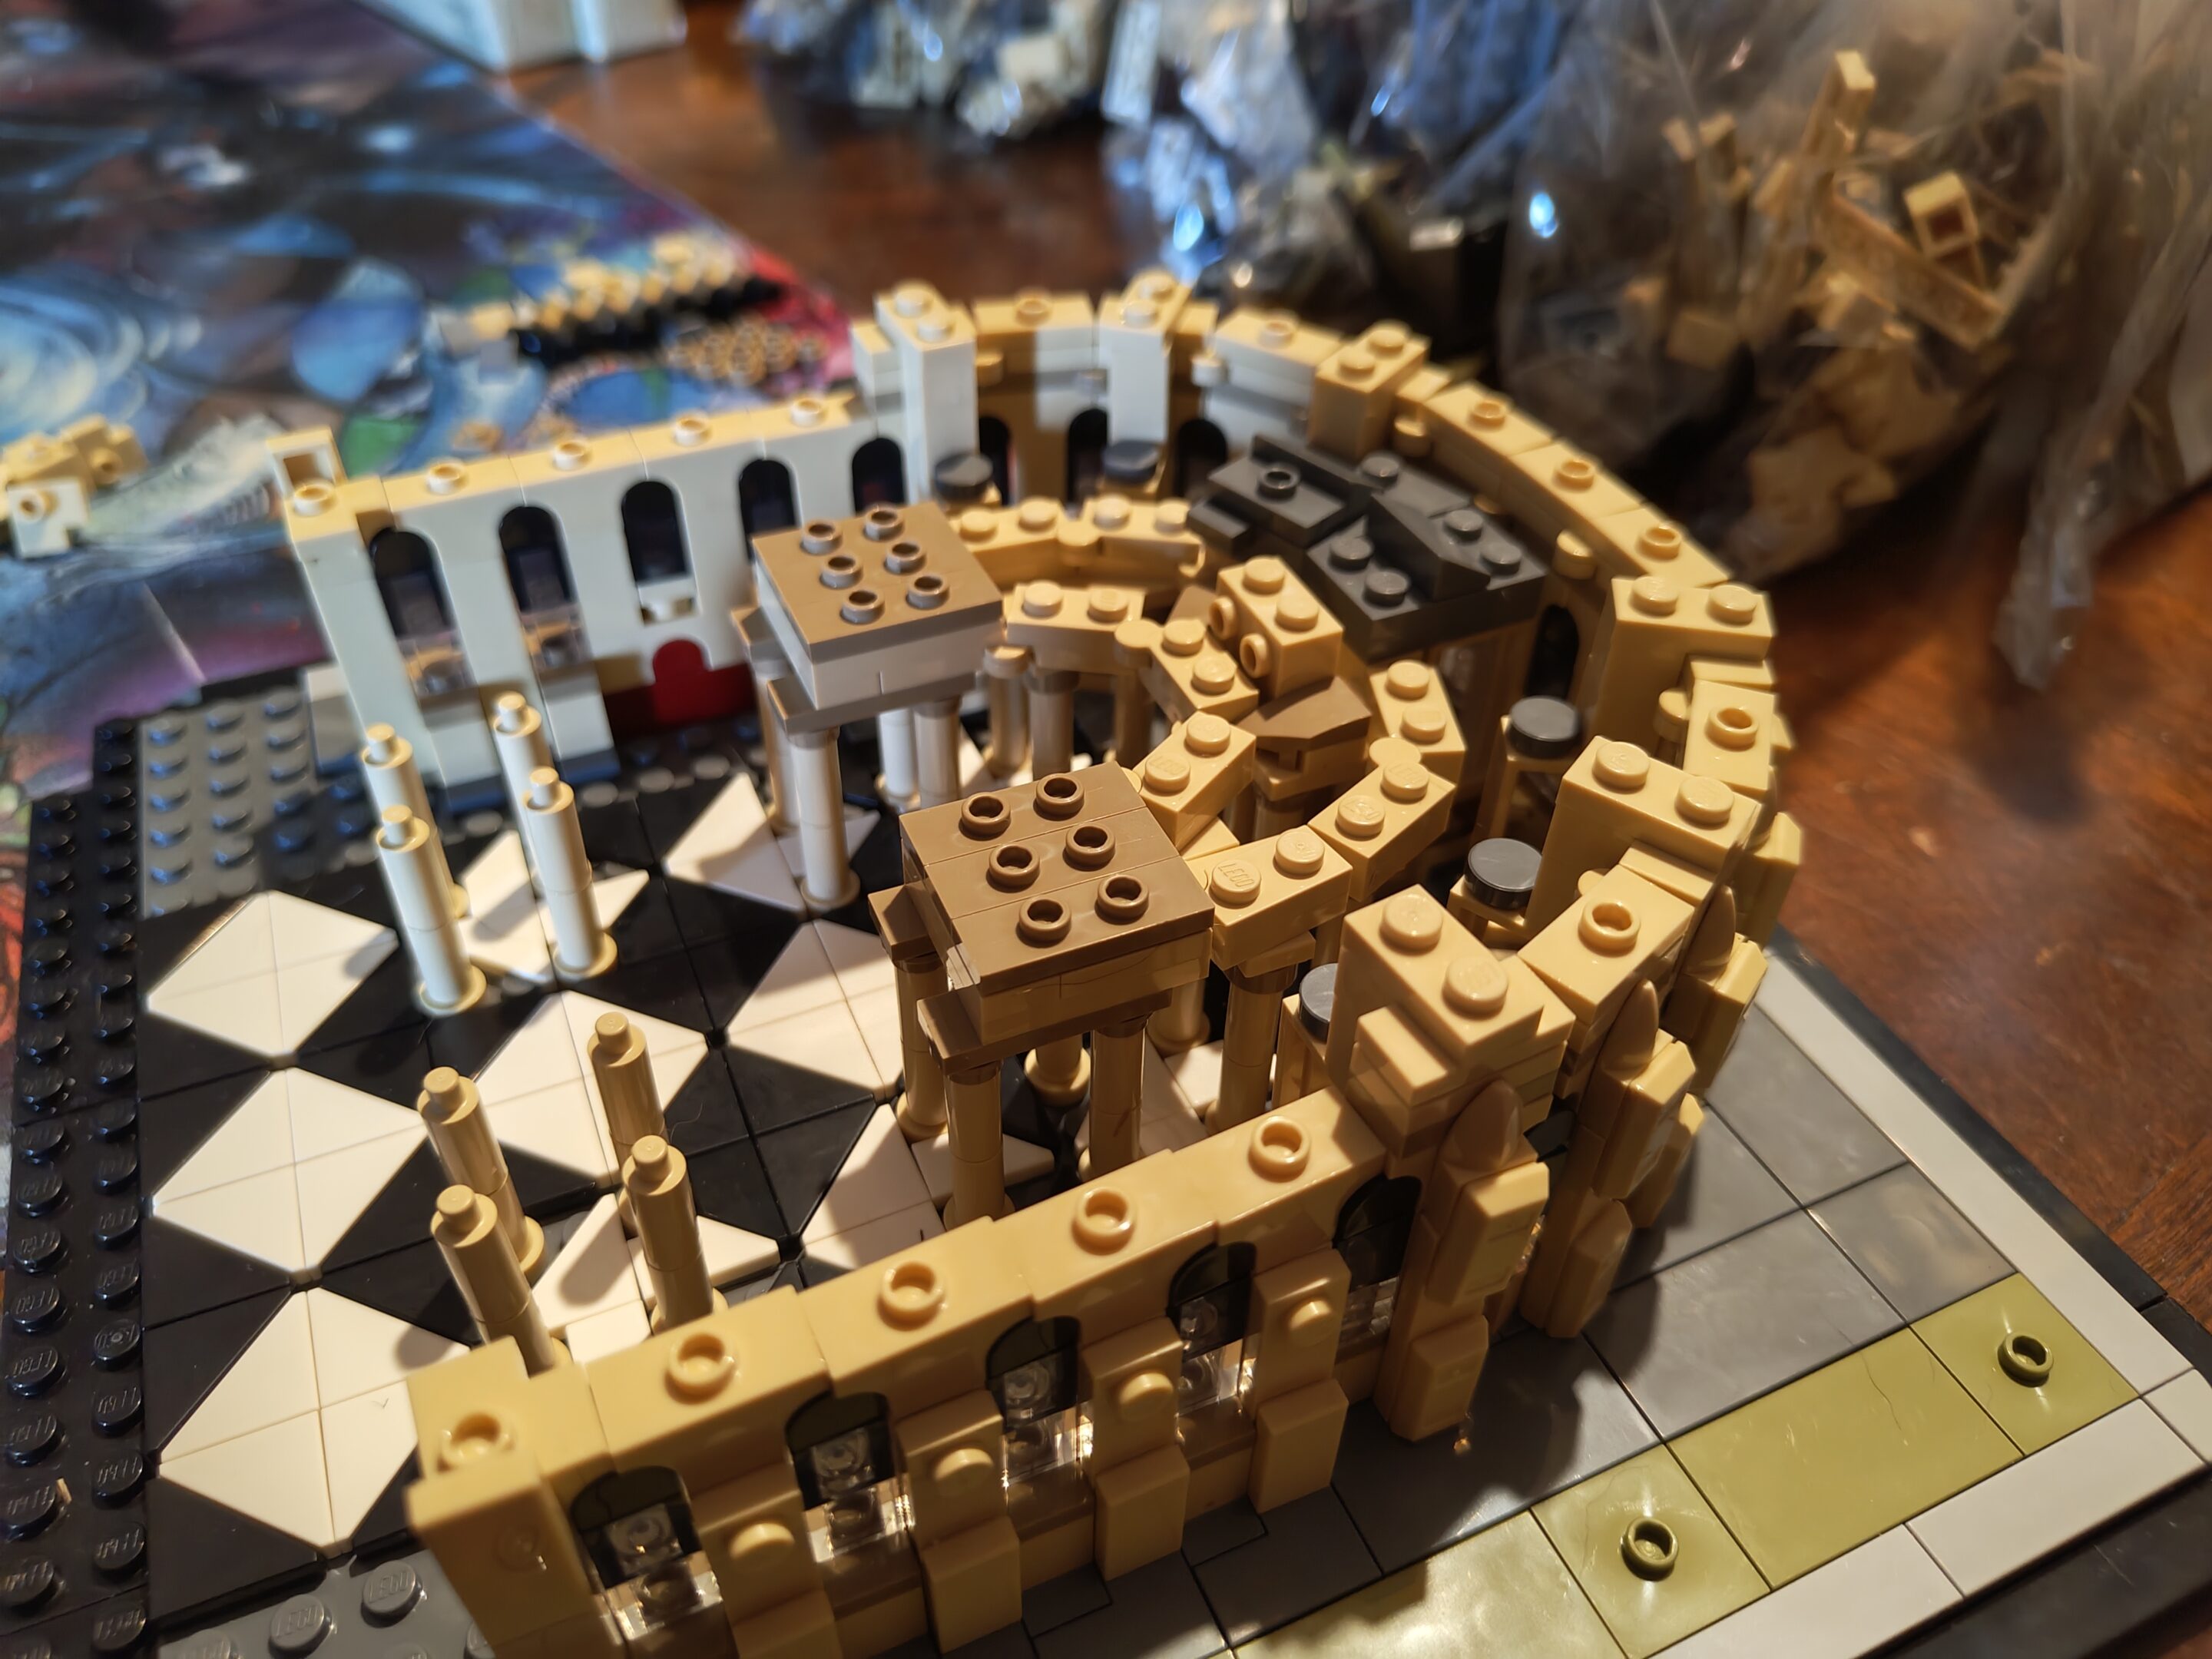
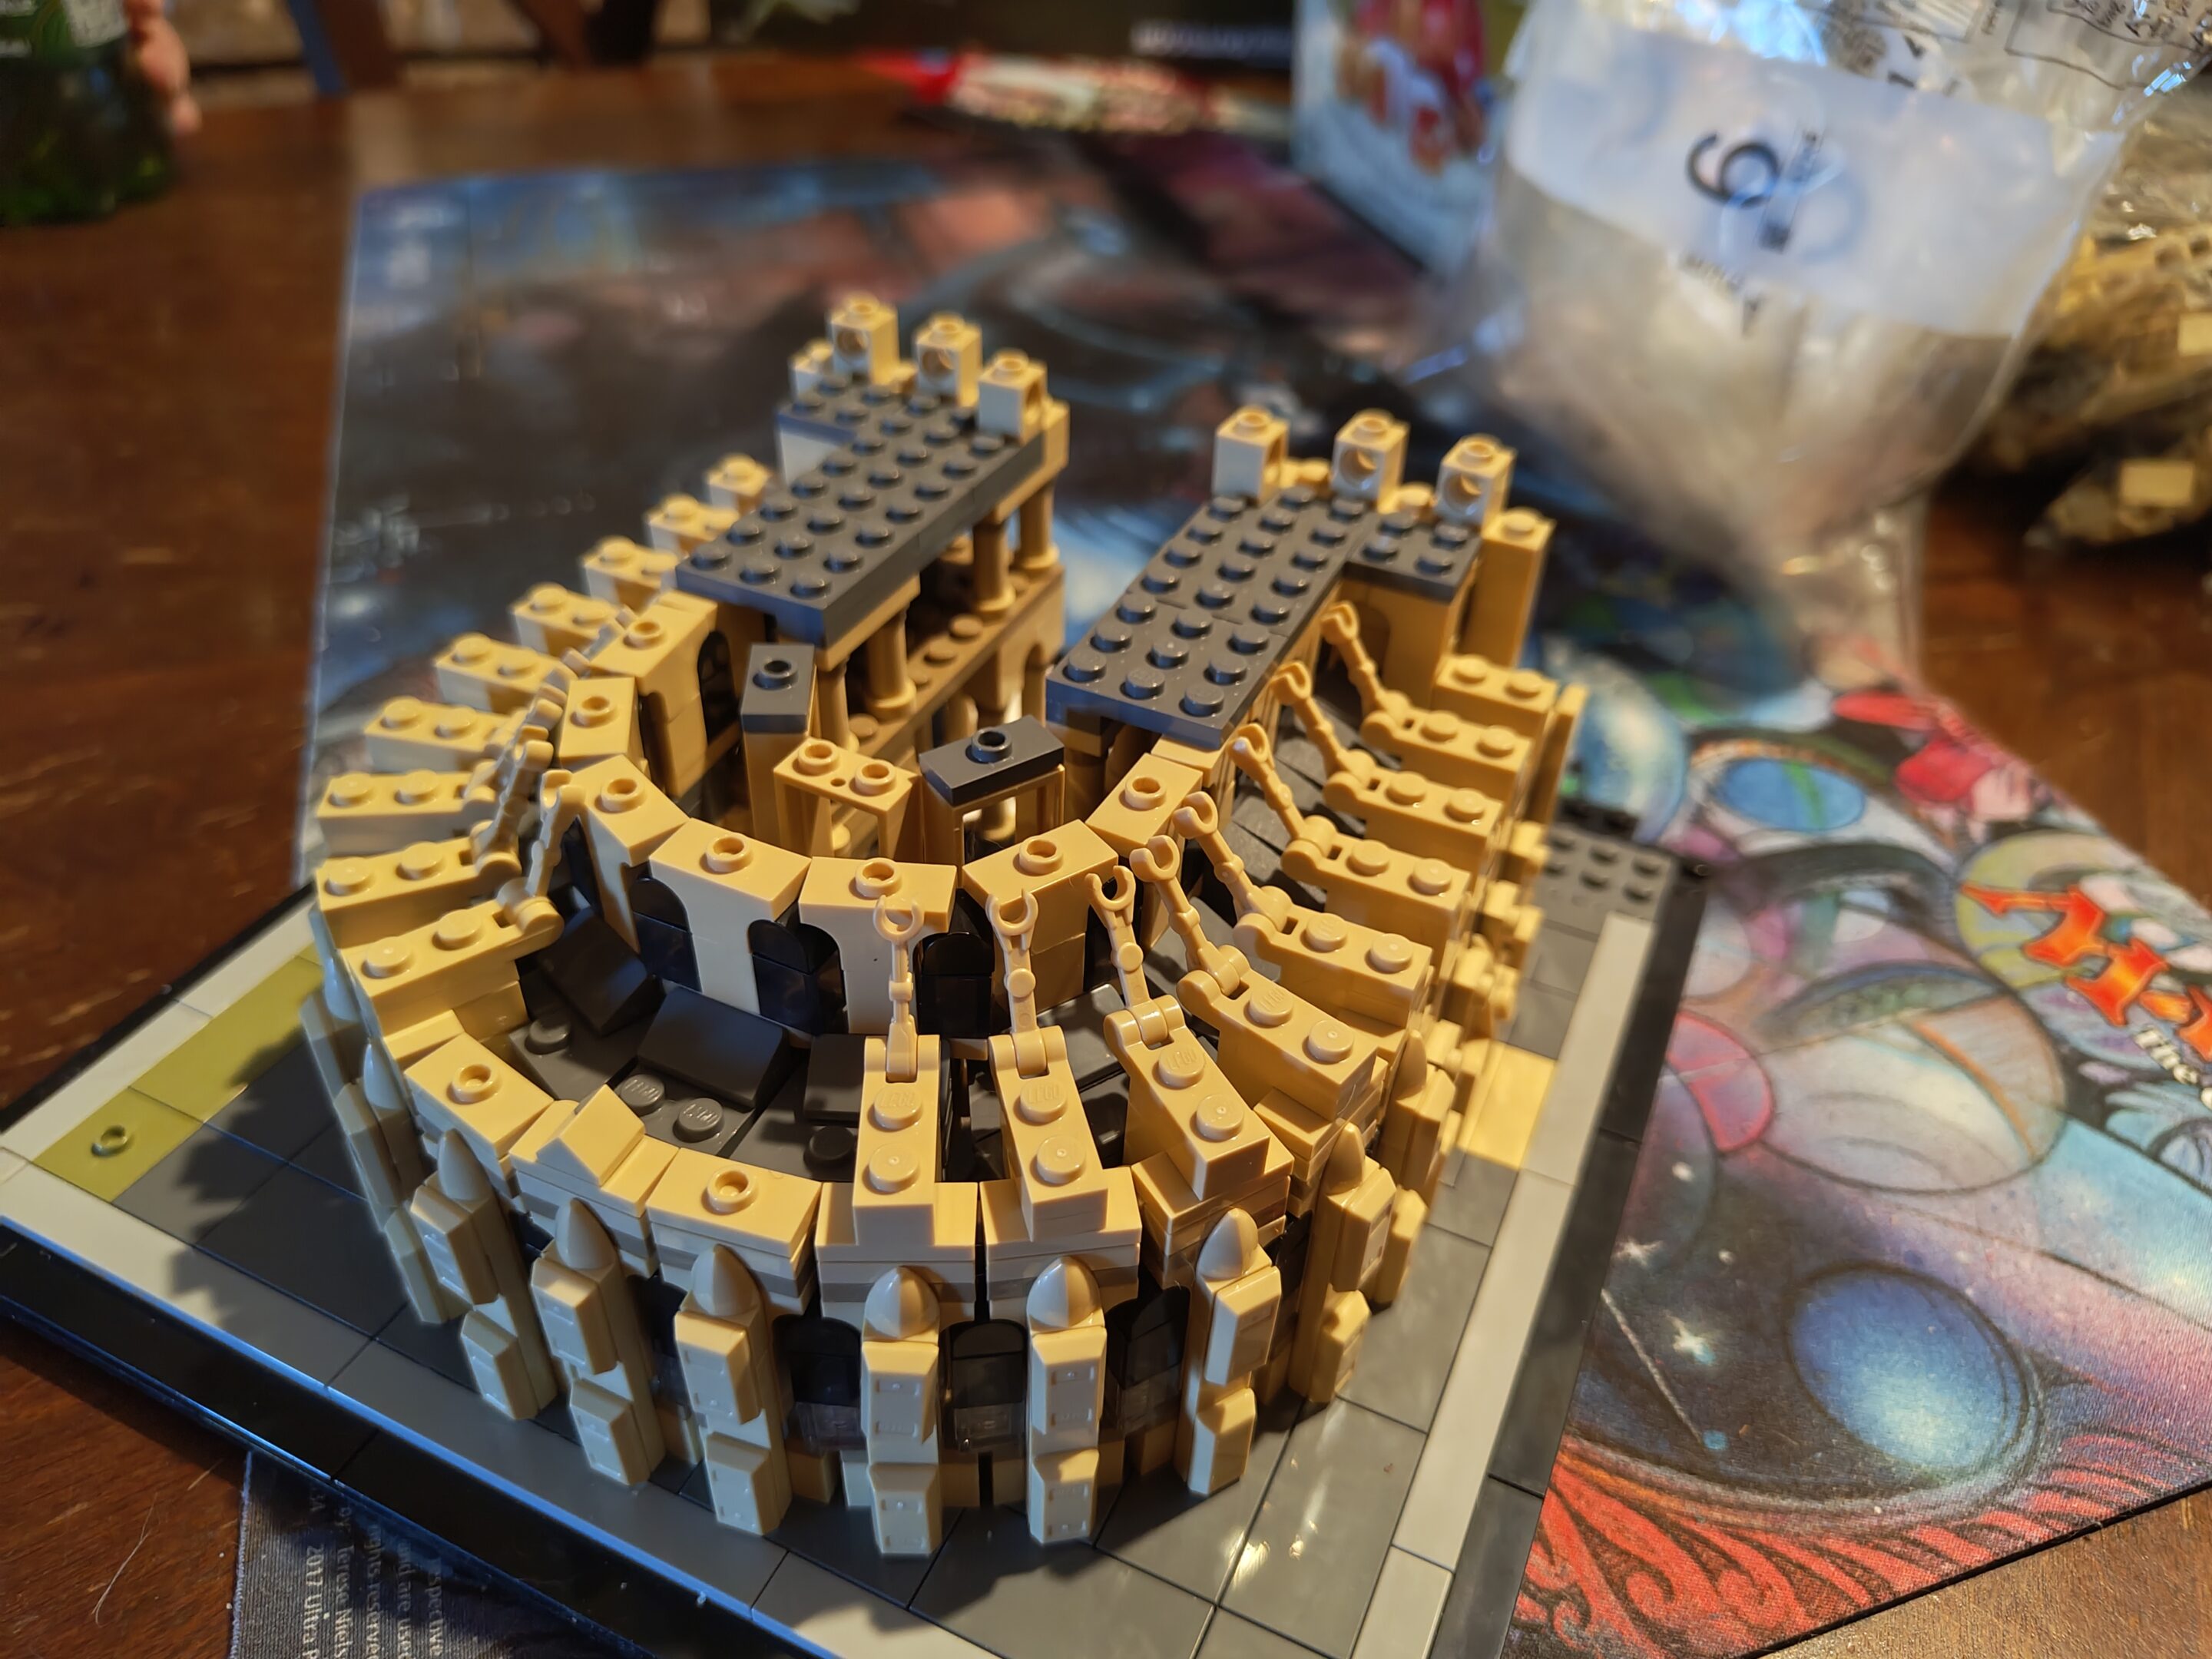
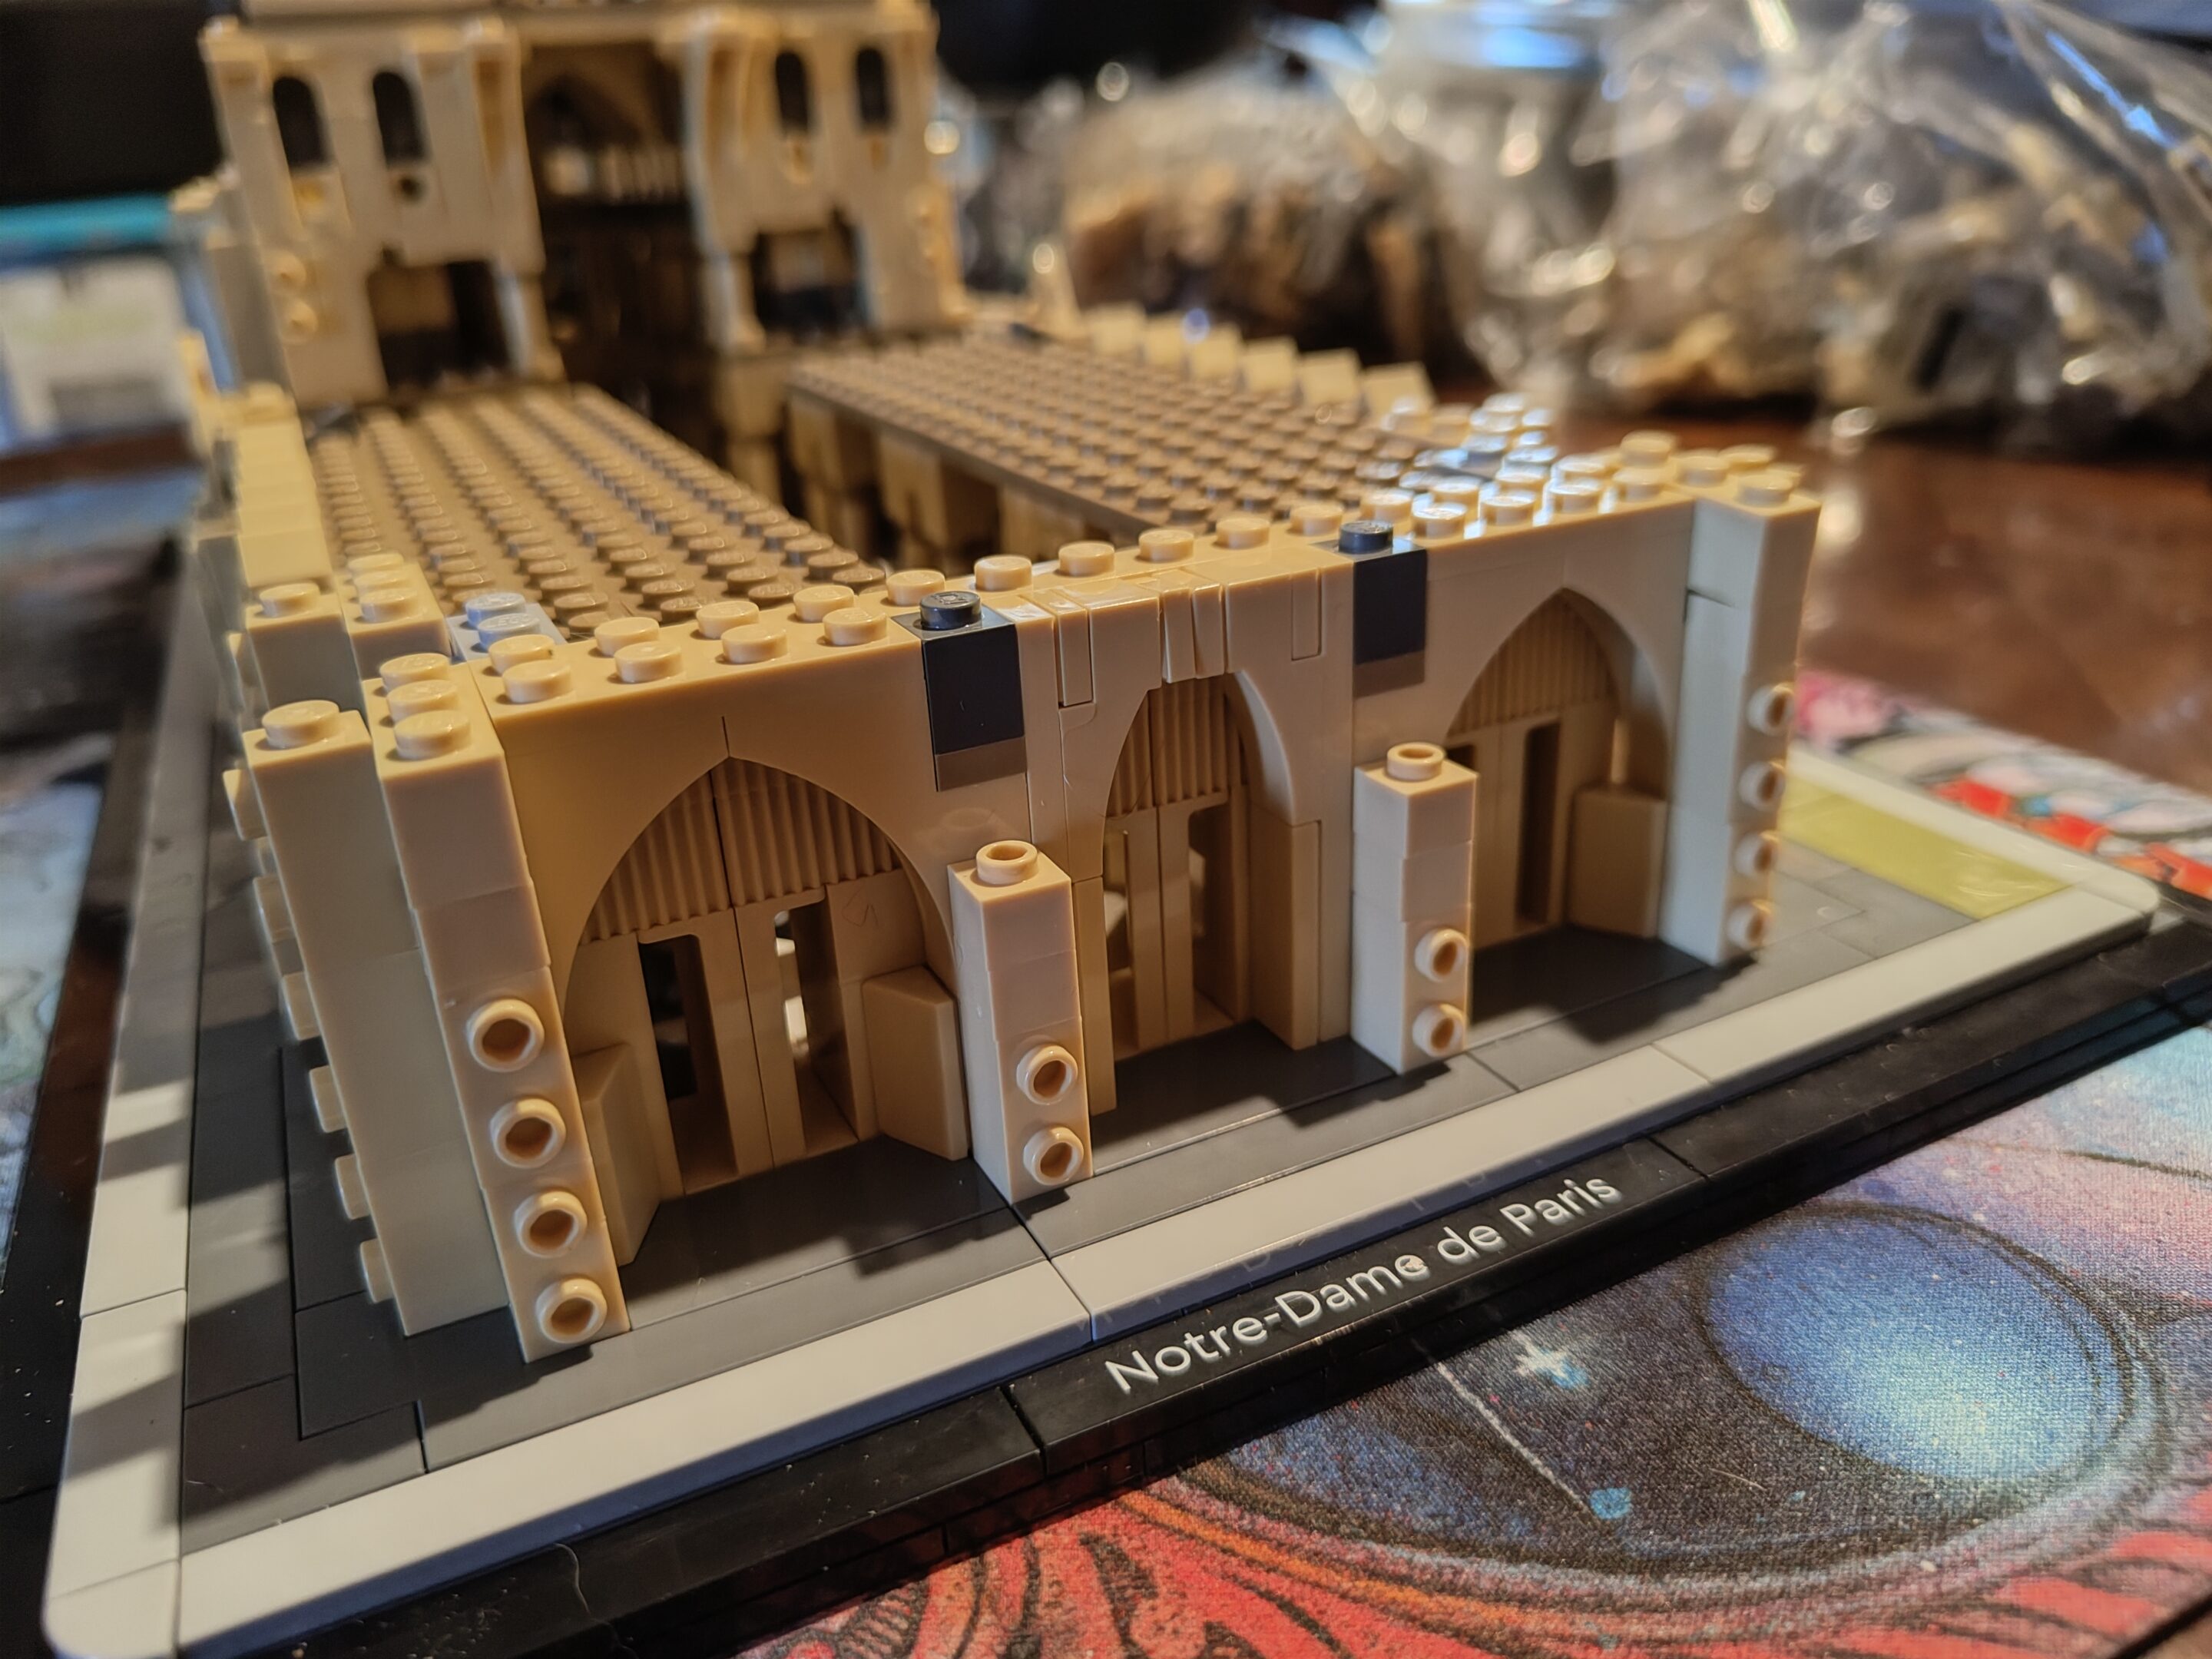
first step: you make a groundsecond step: then a lil’ floor patternthird step: then you connect themwindow feature close-upcolumns: floor oneend of the day’s work (arches)starting on the 2nd floor architecturecolumns: second floorextra fancy arches, 2nd floor windows, done for the day
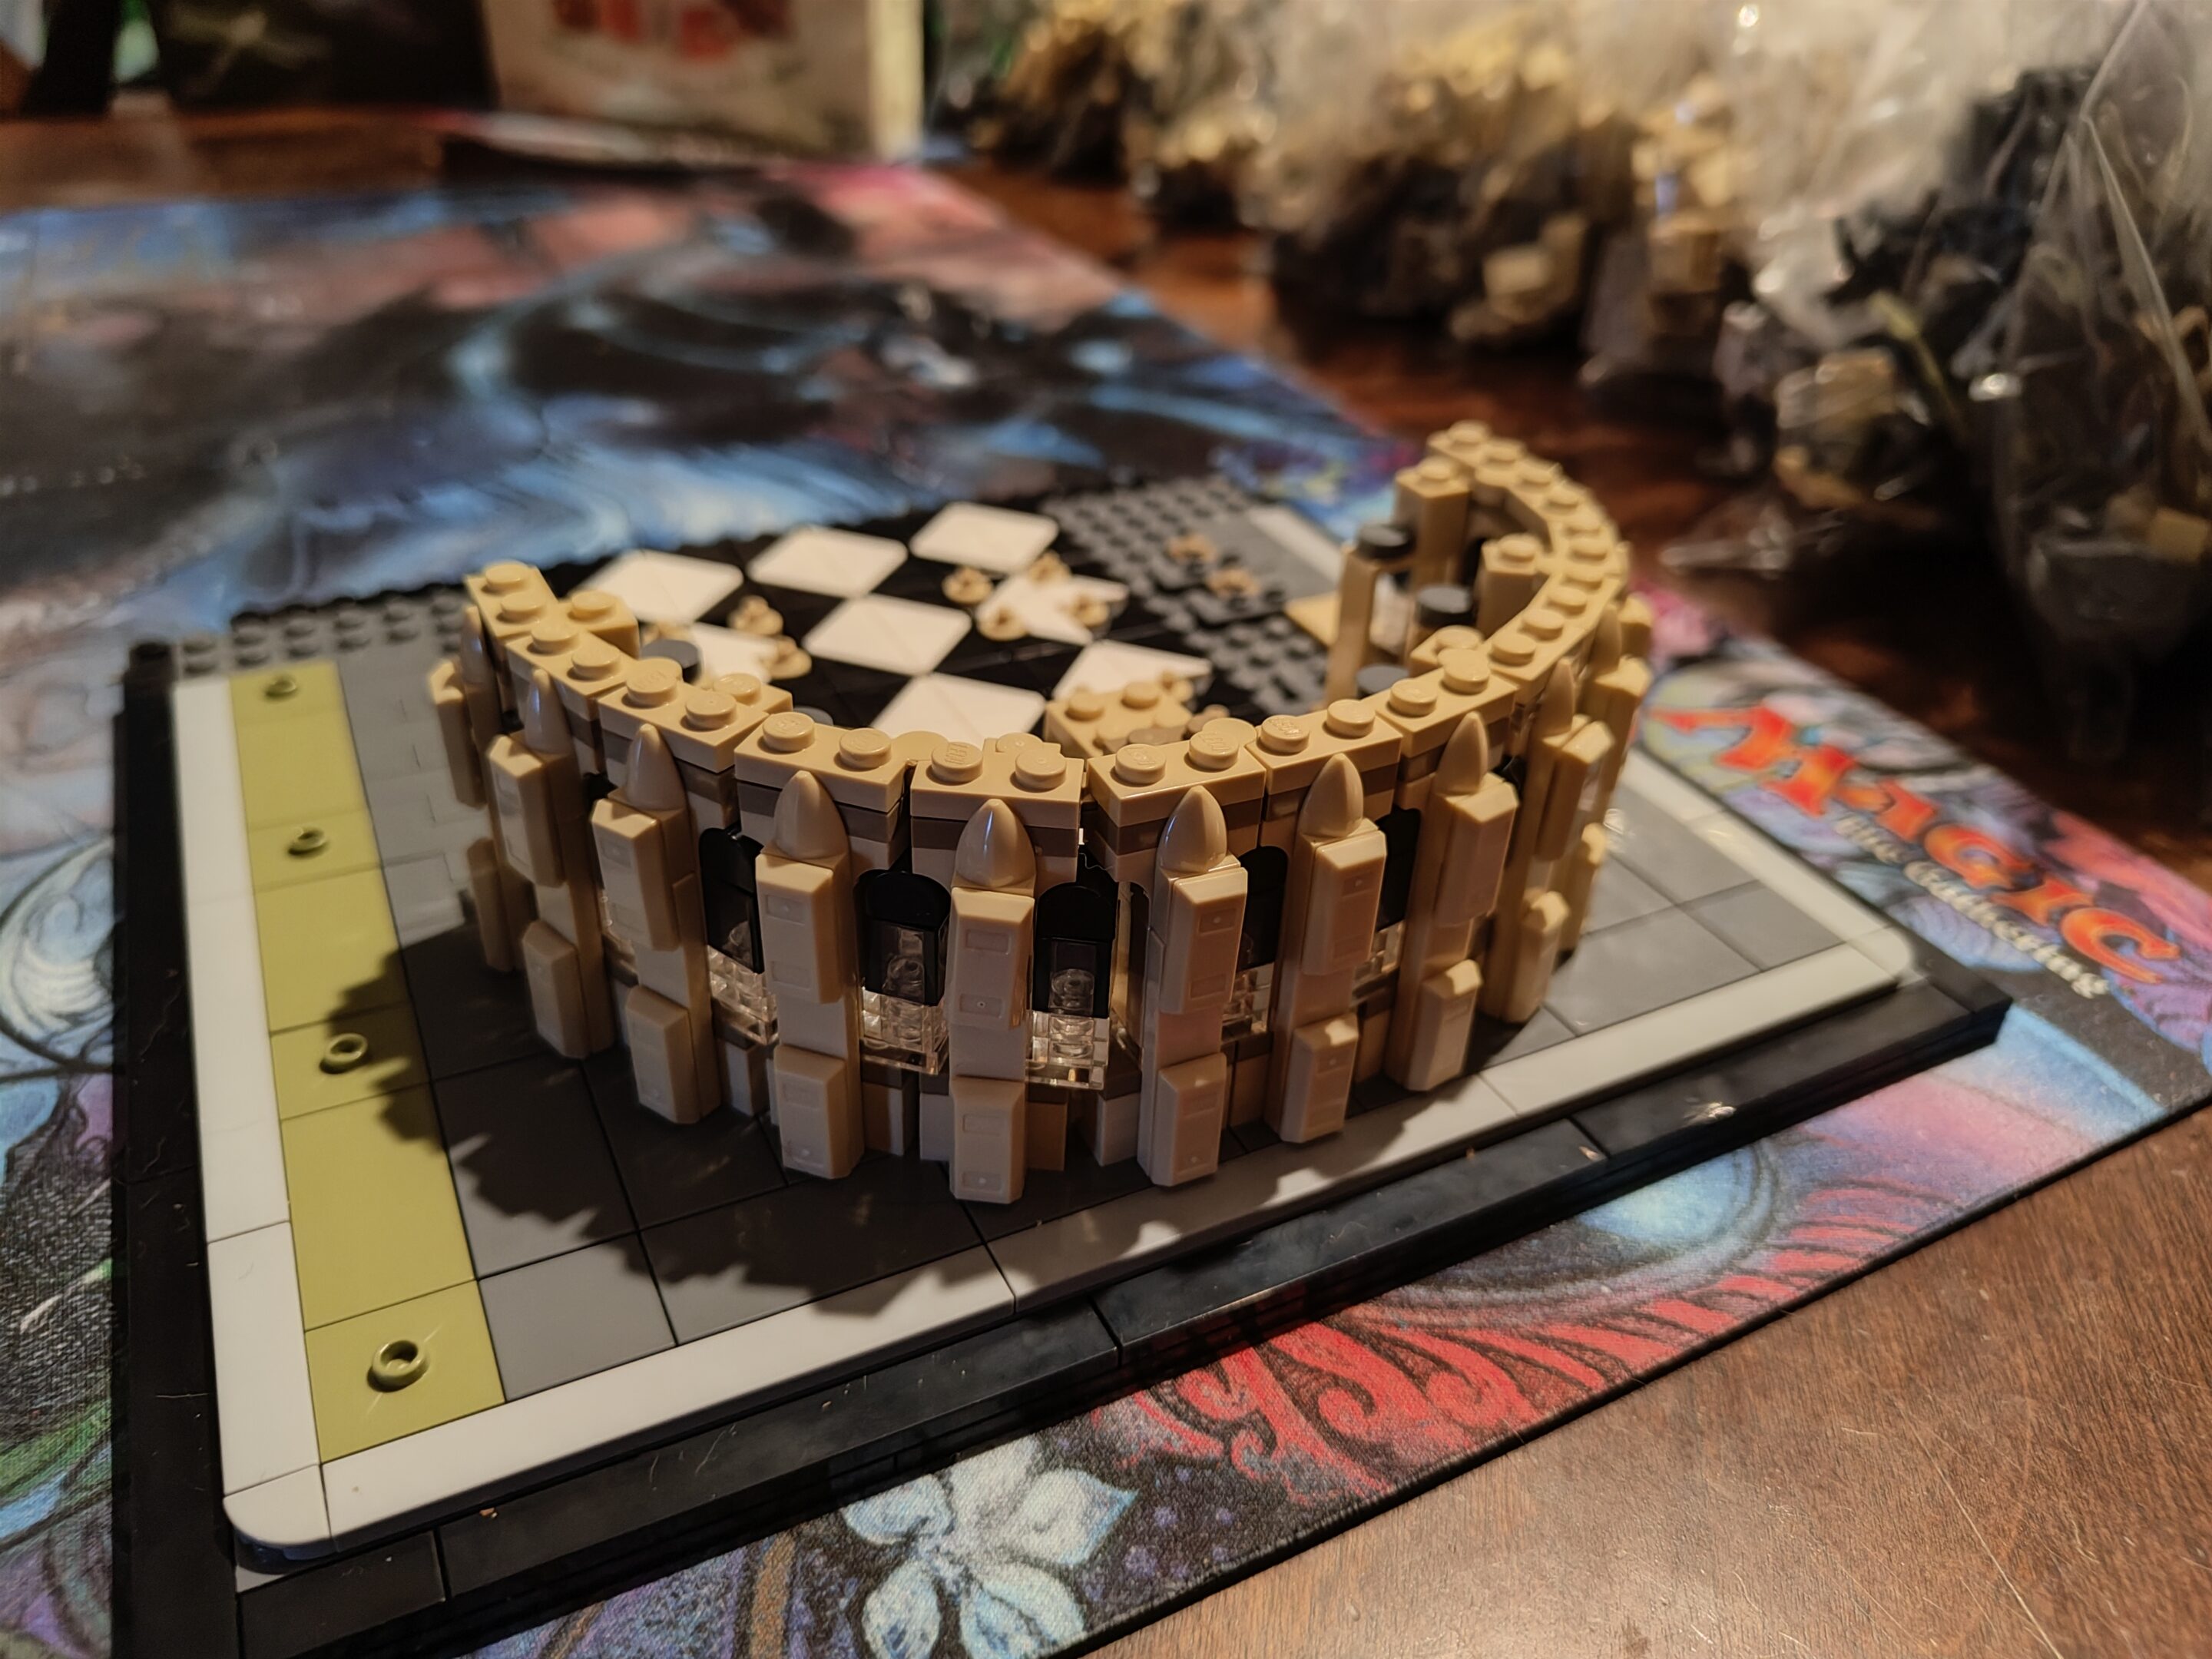
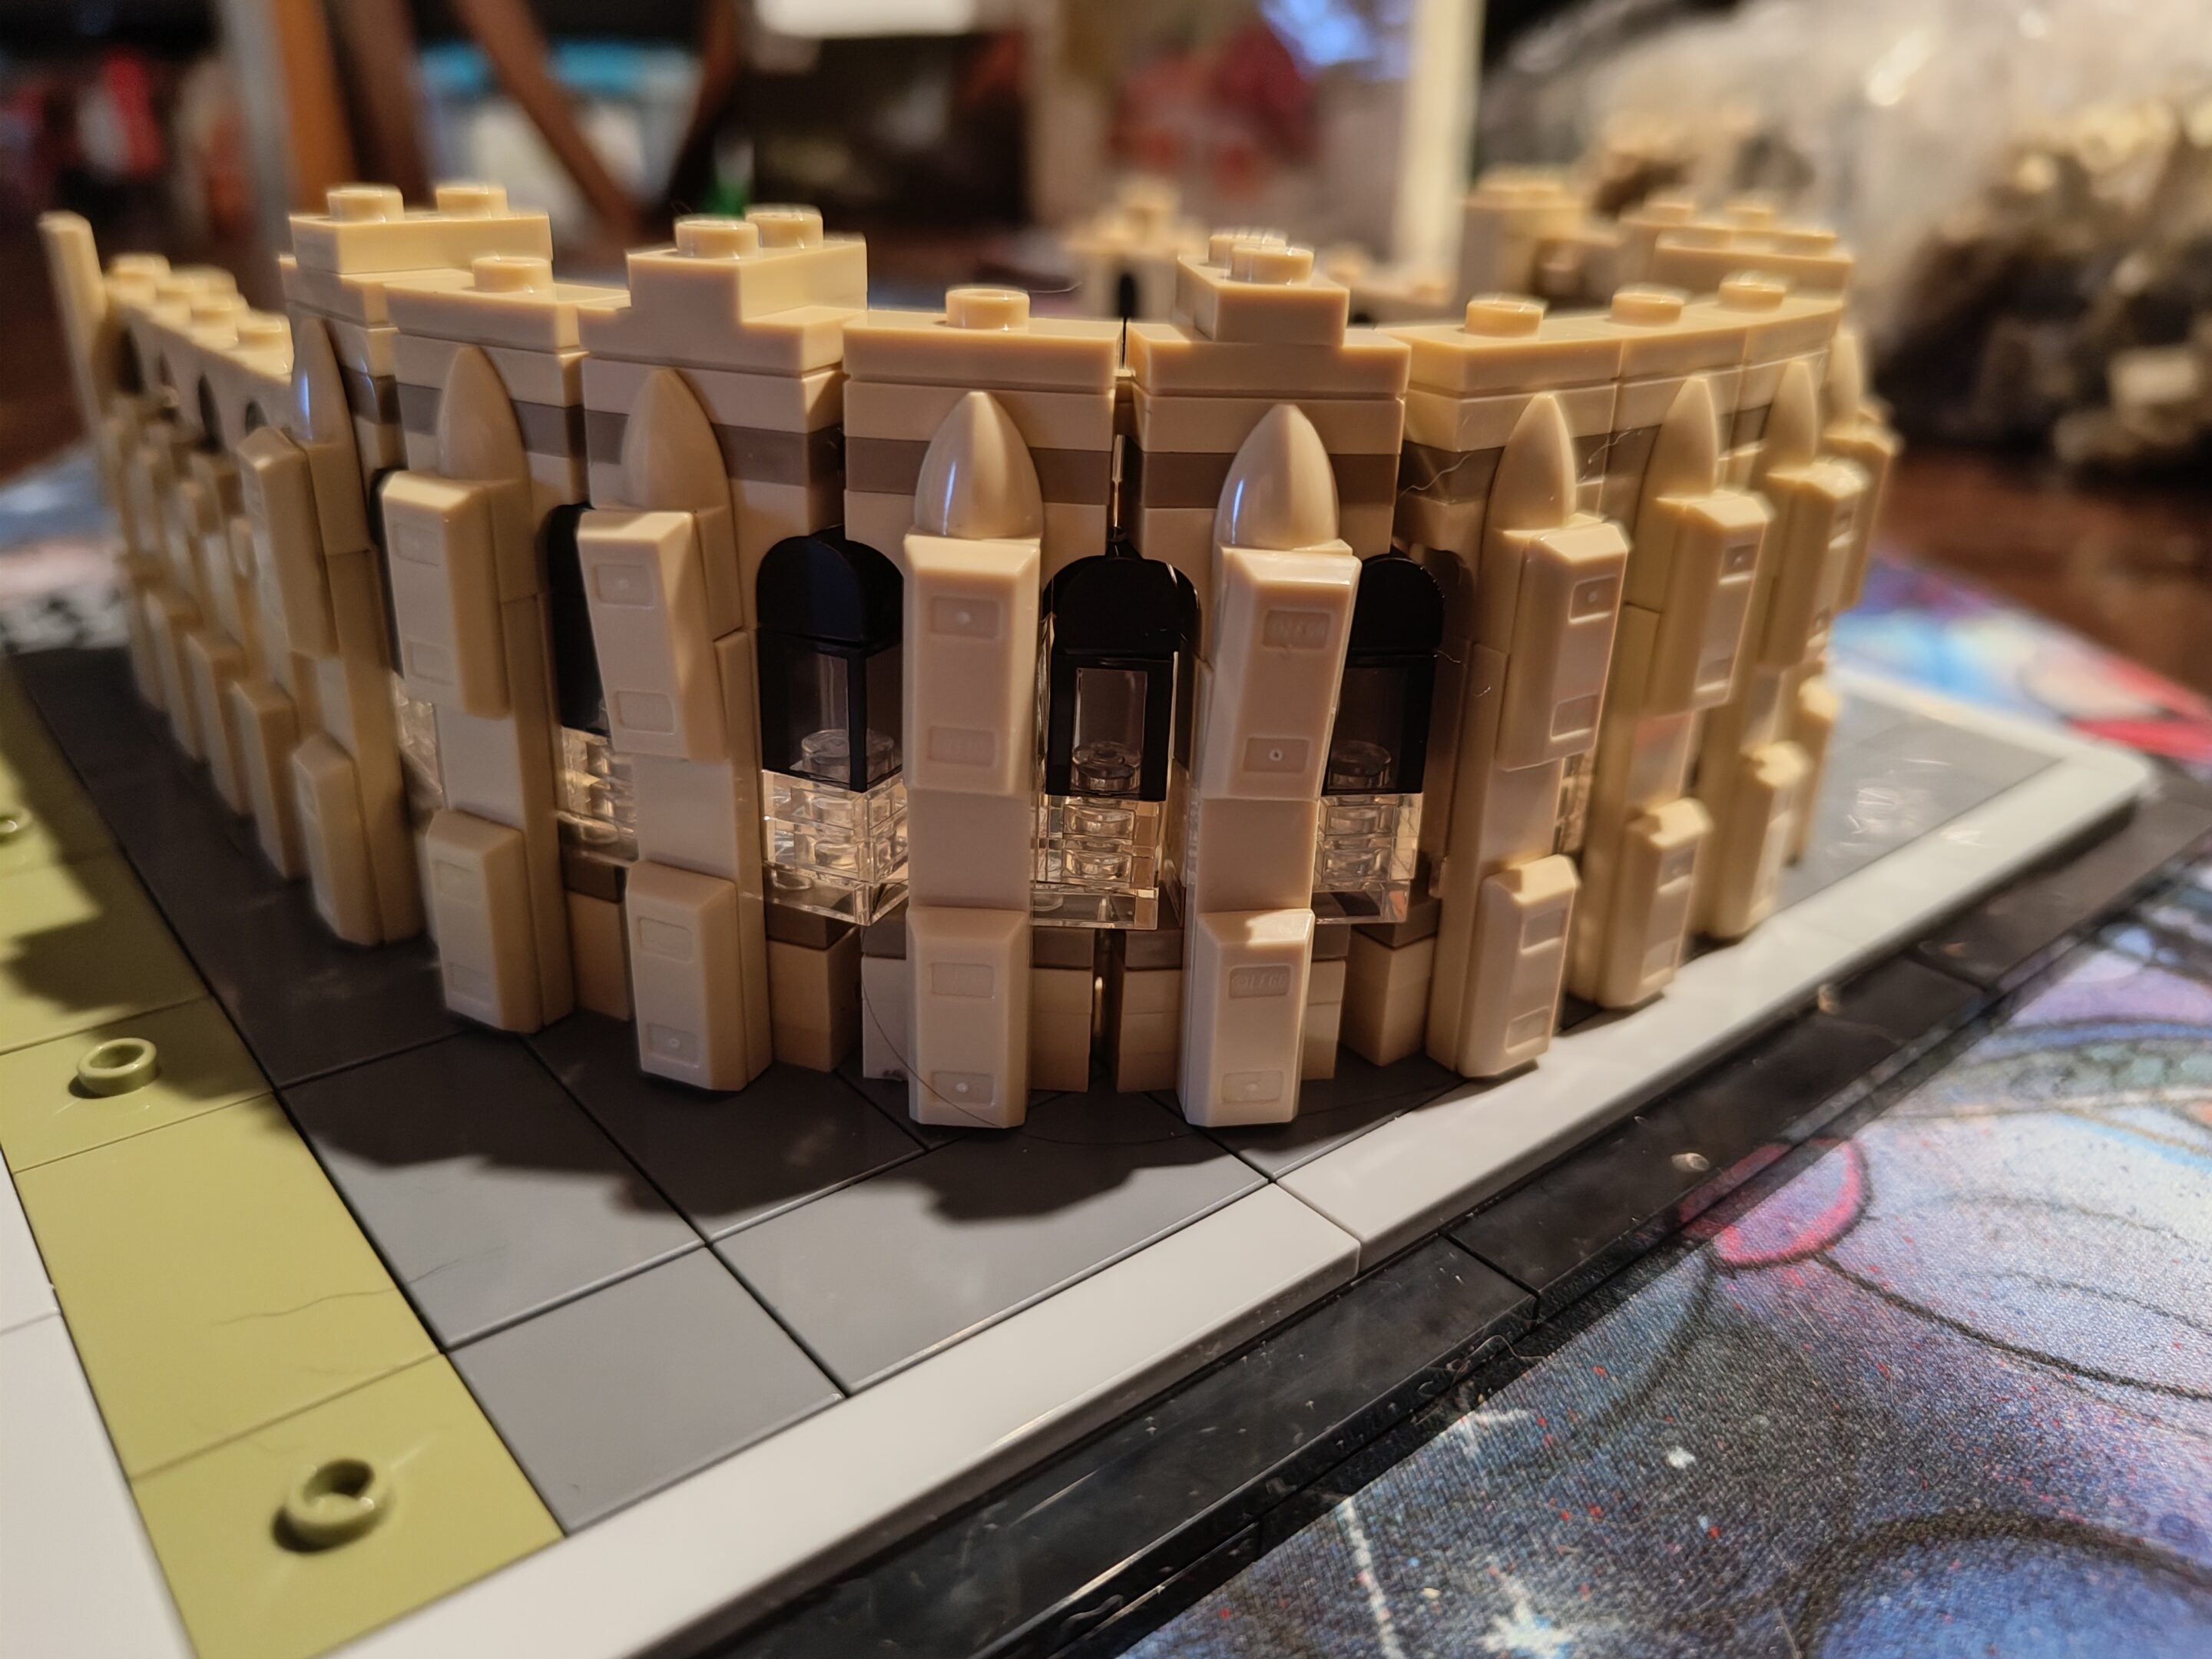
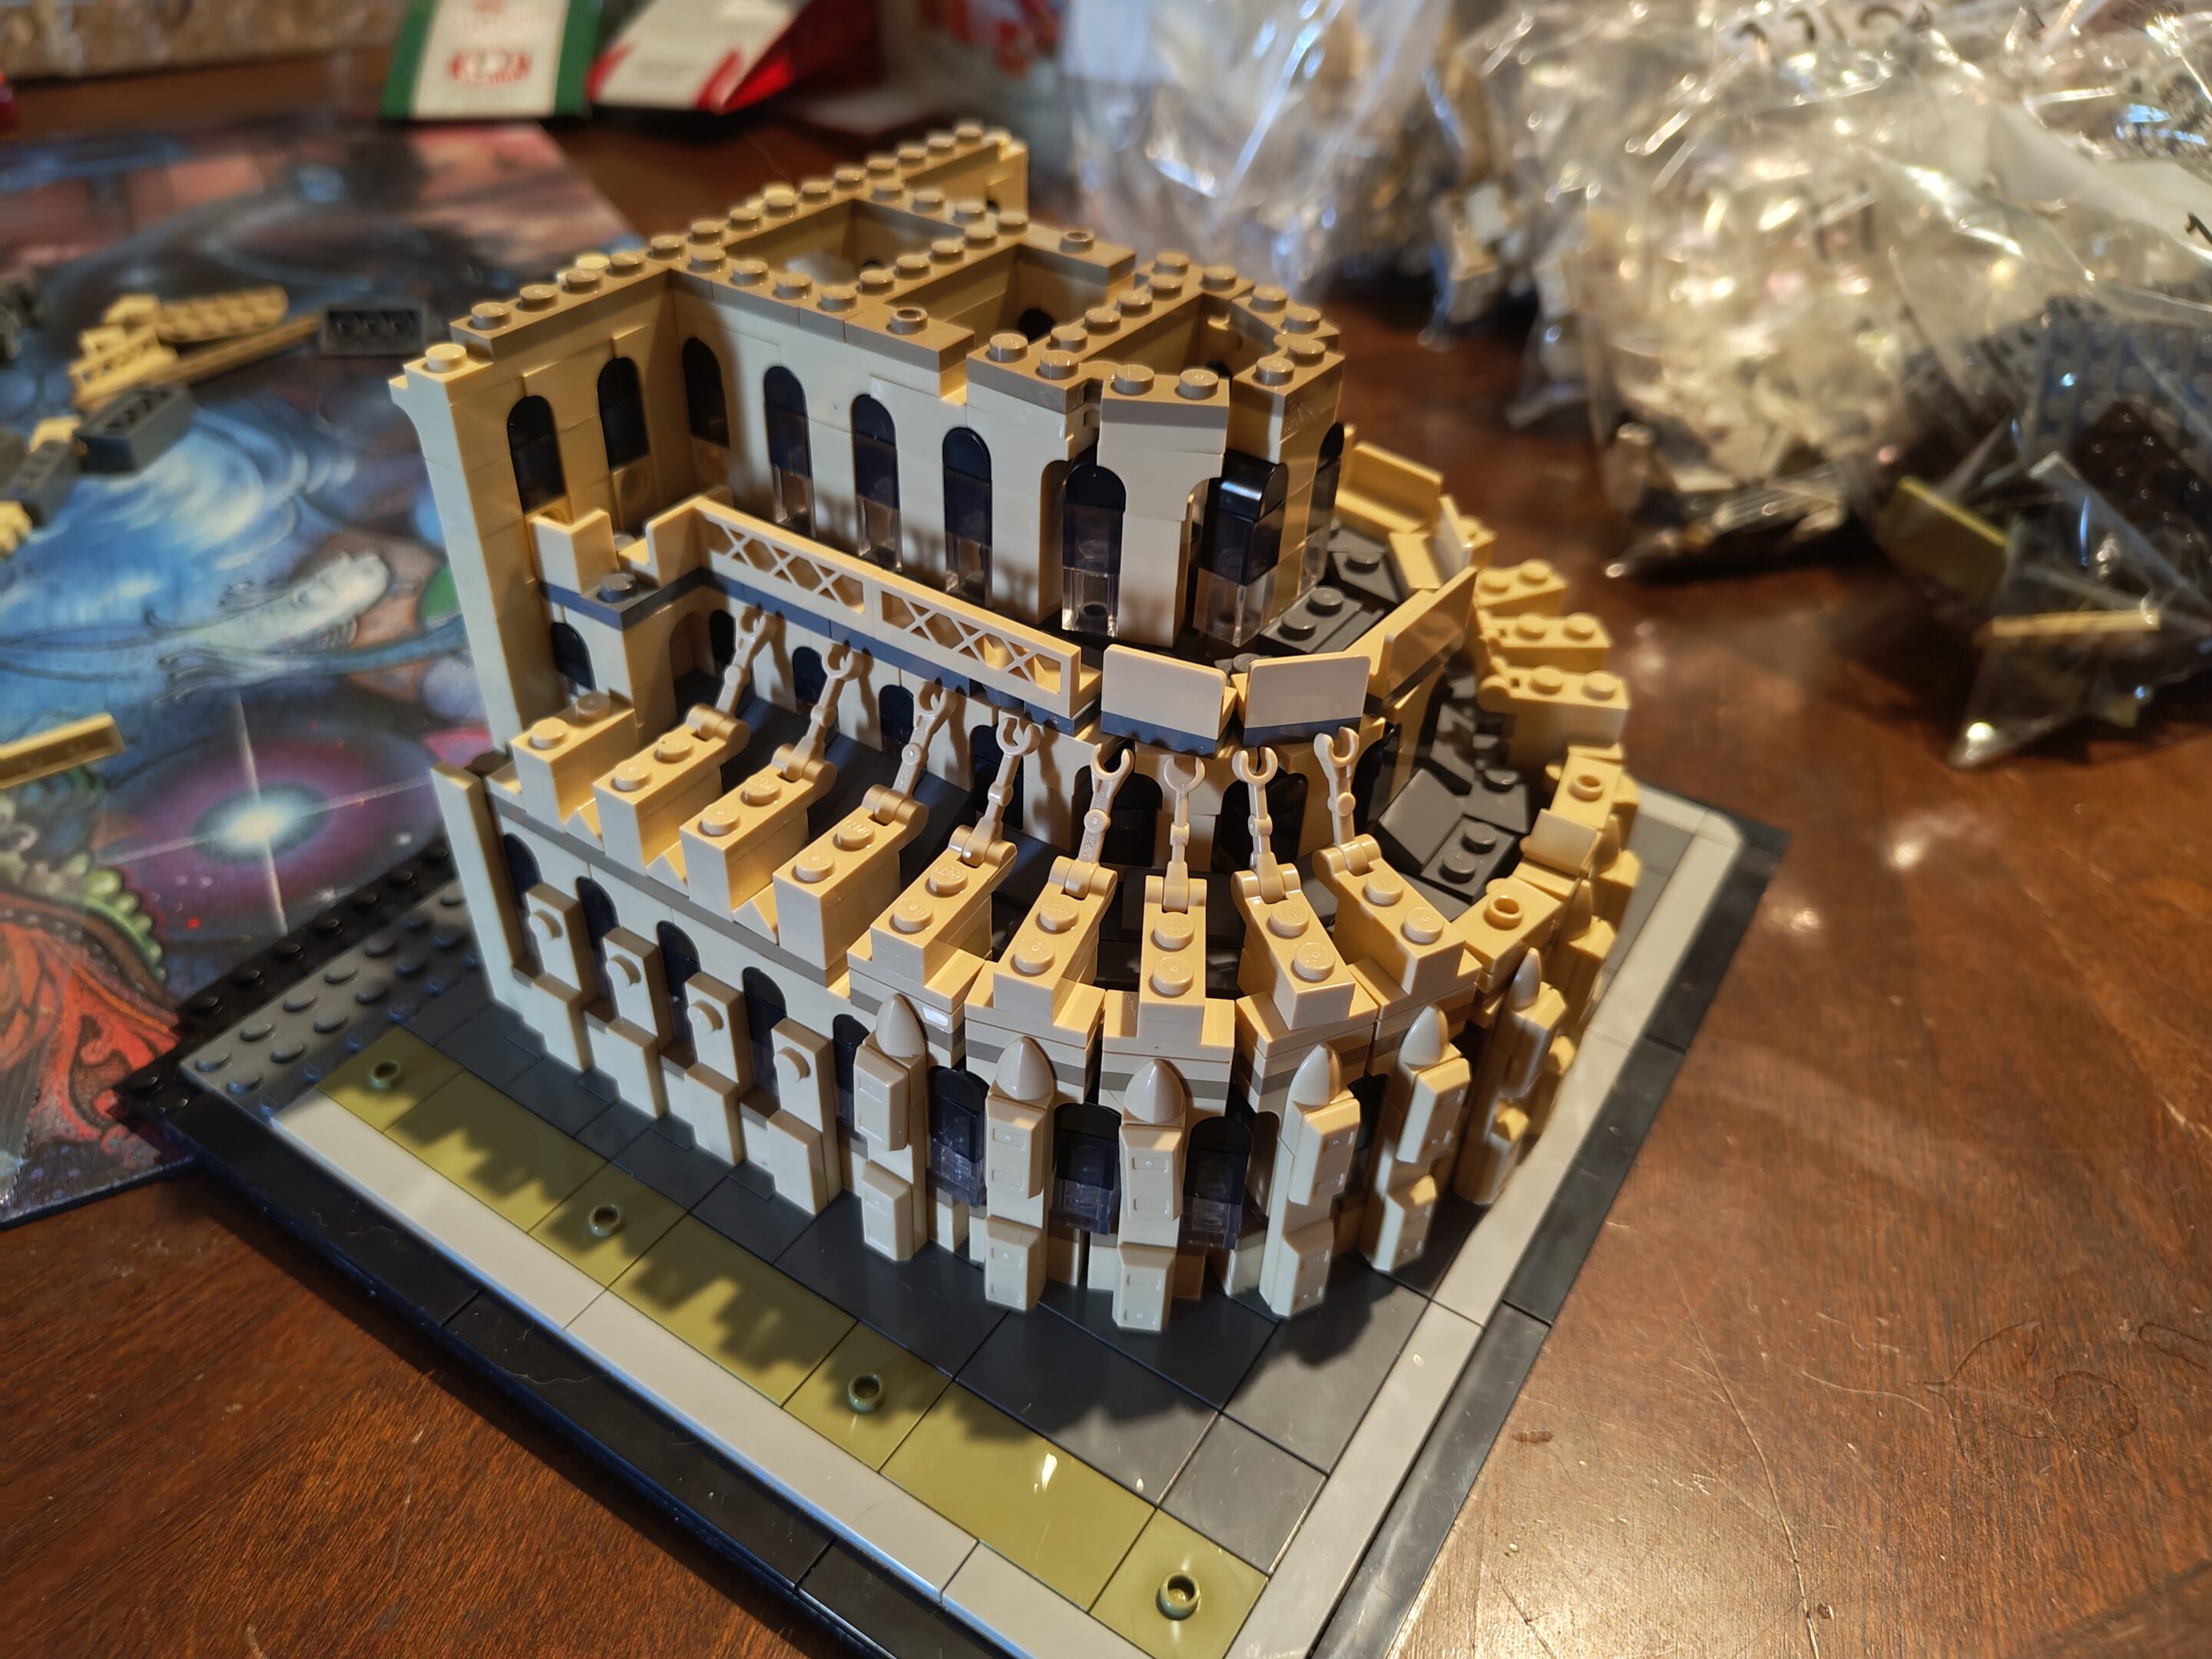
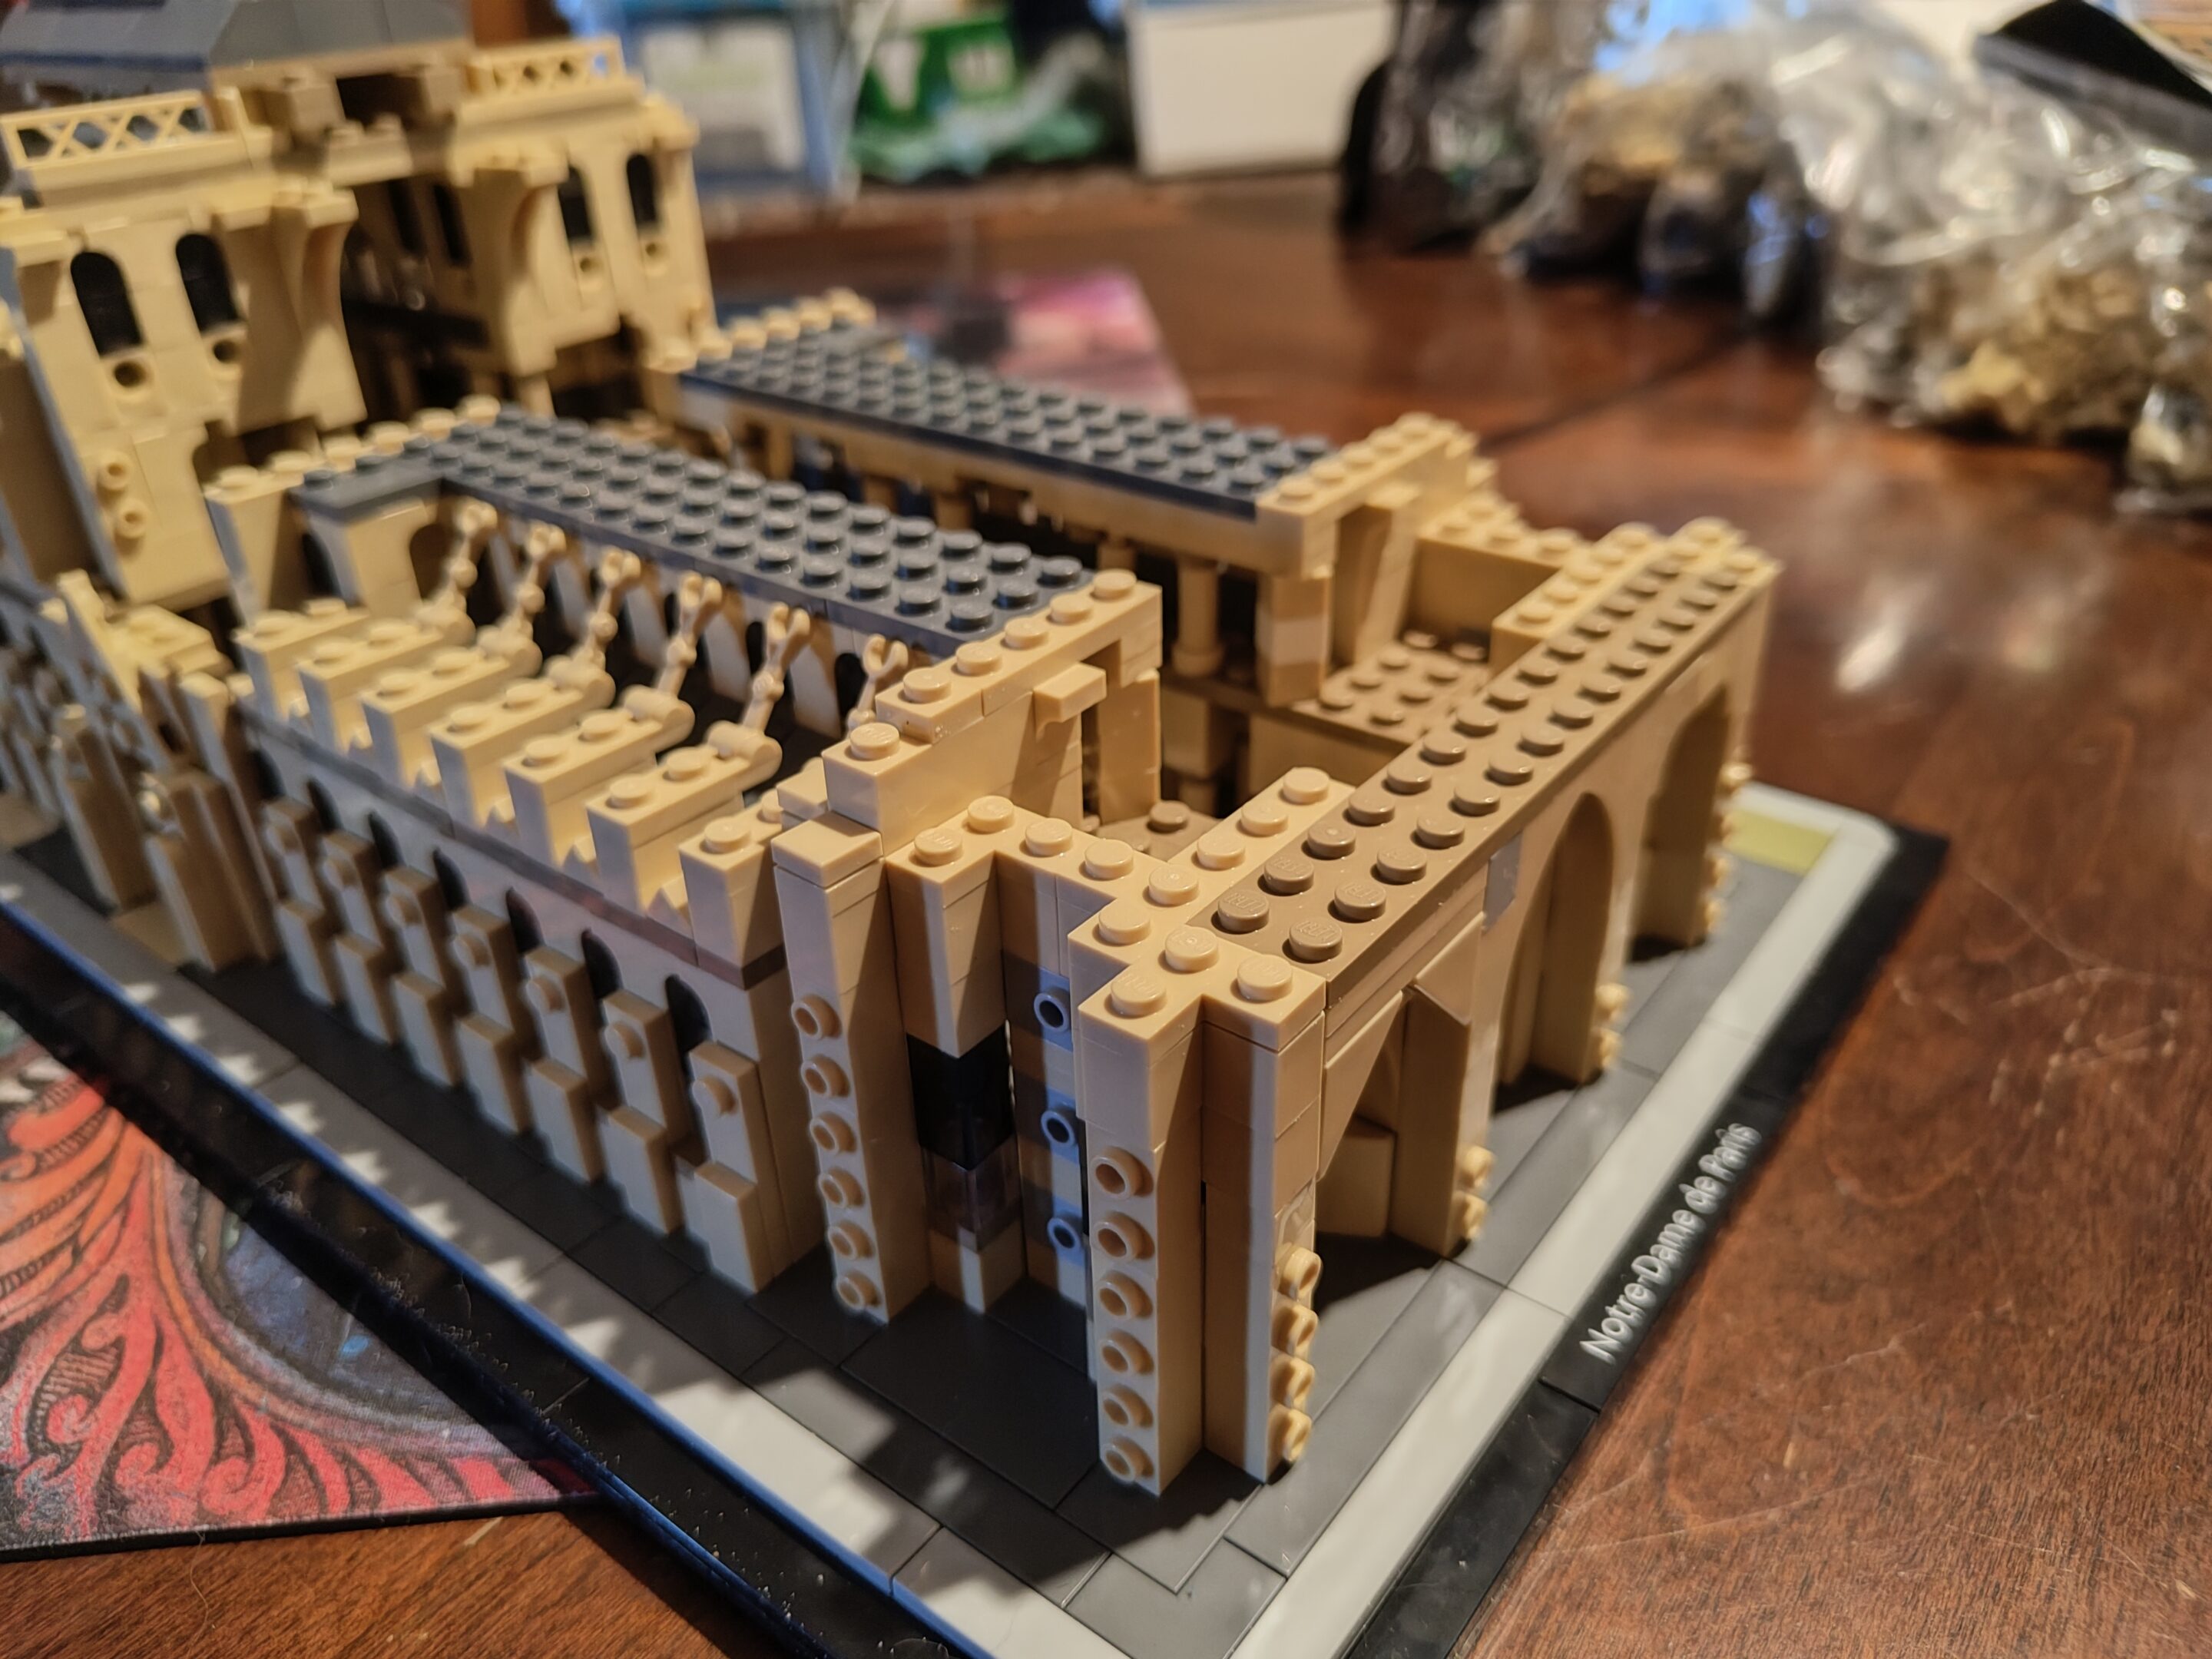
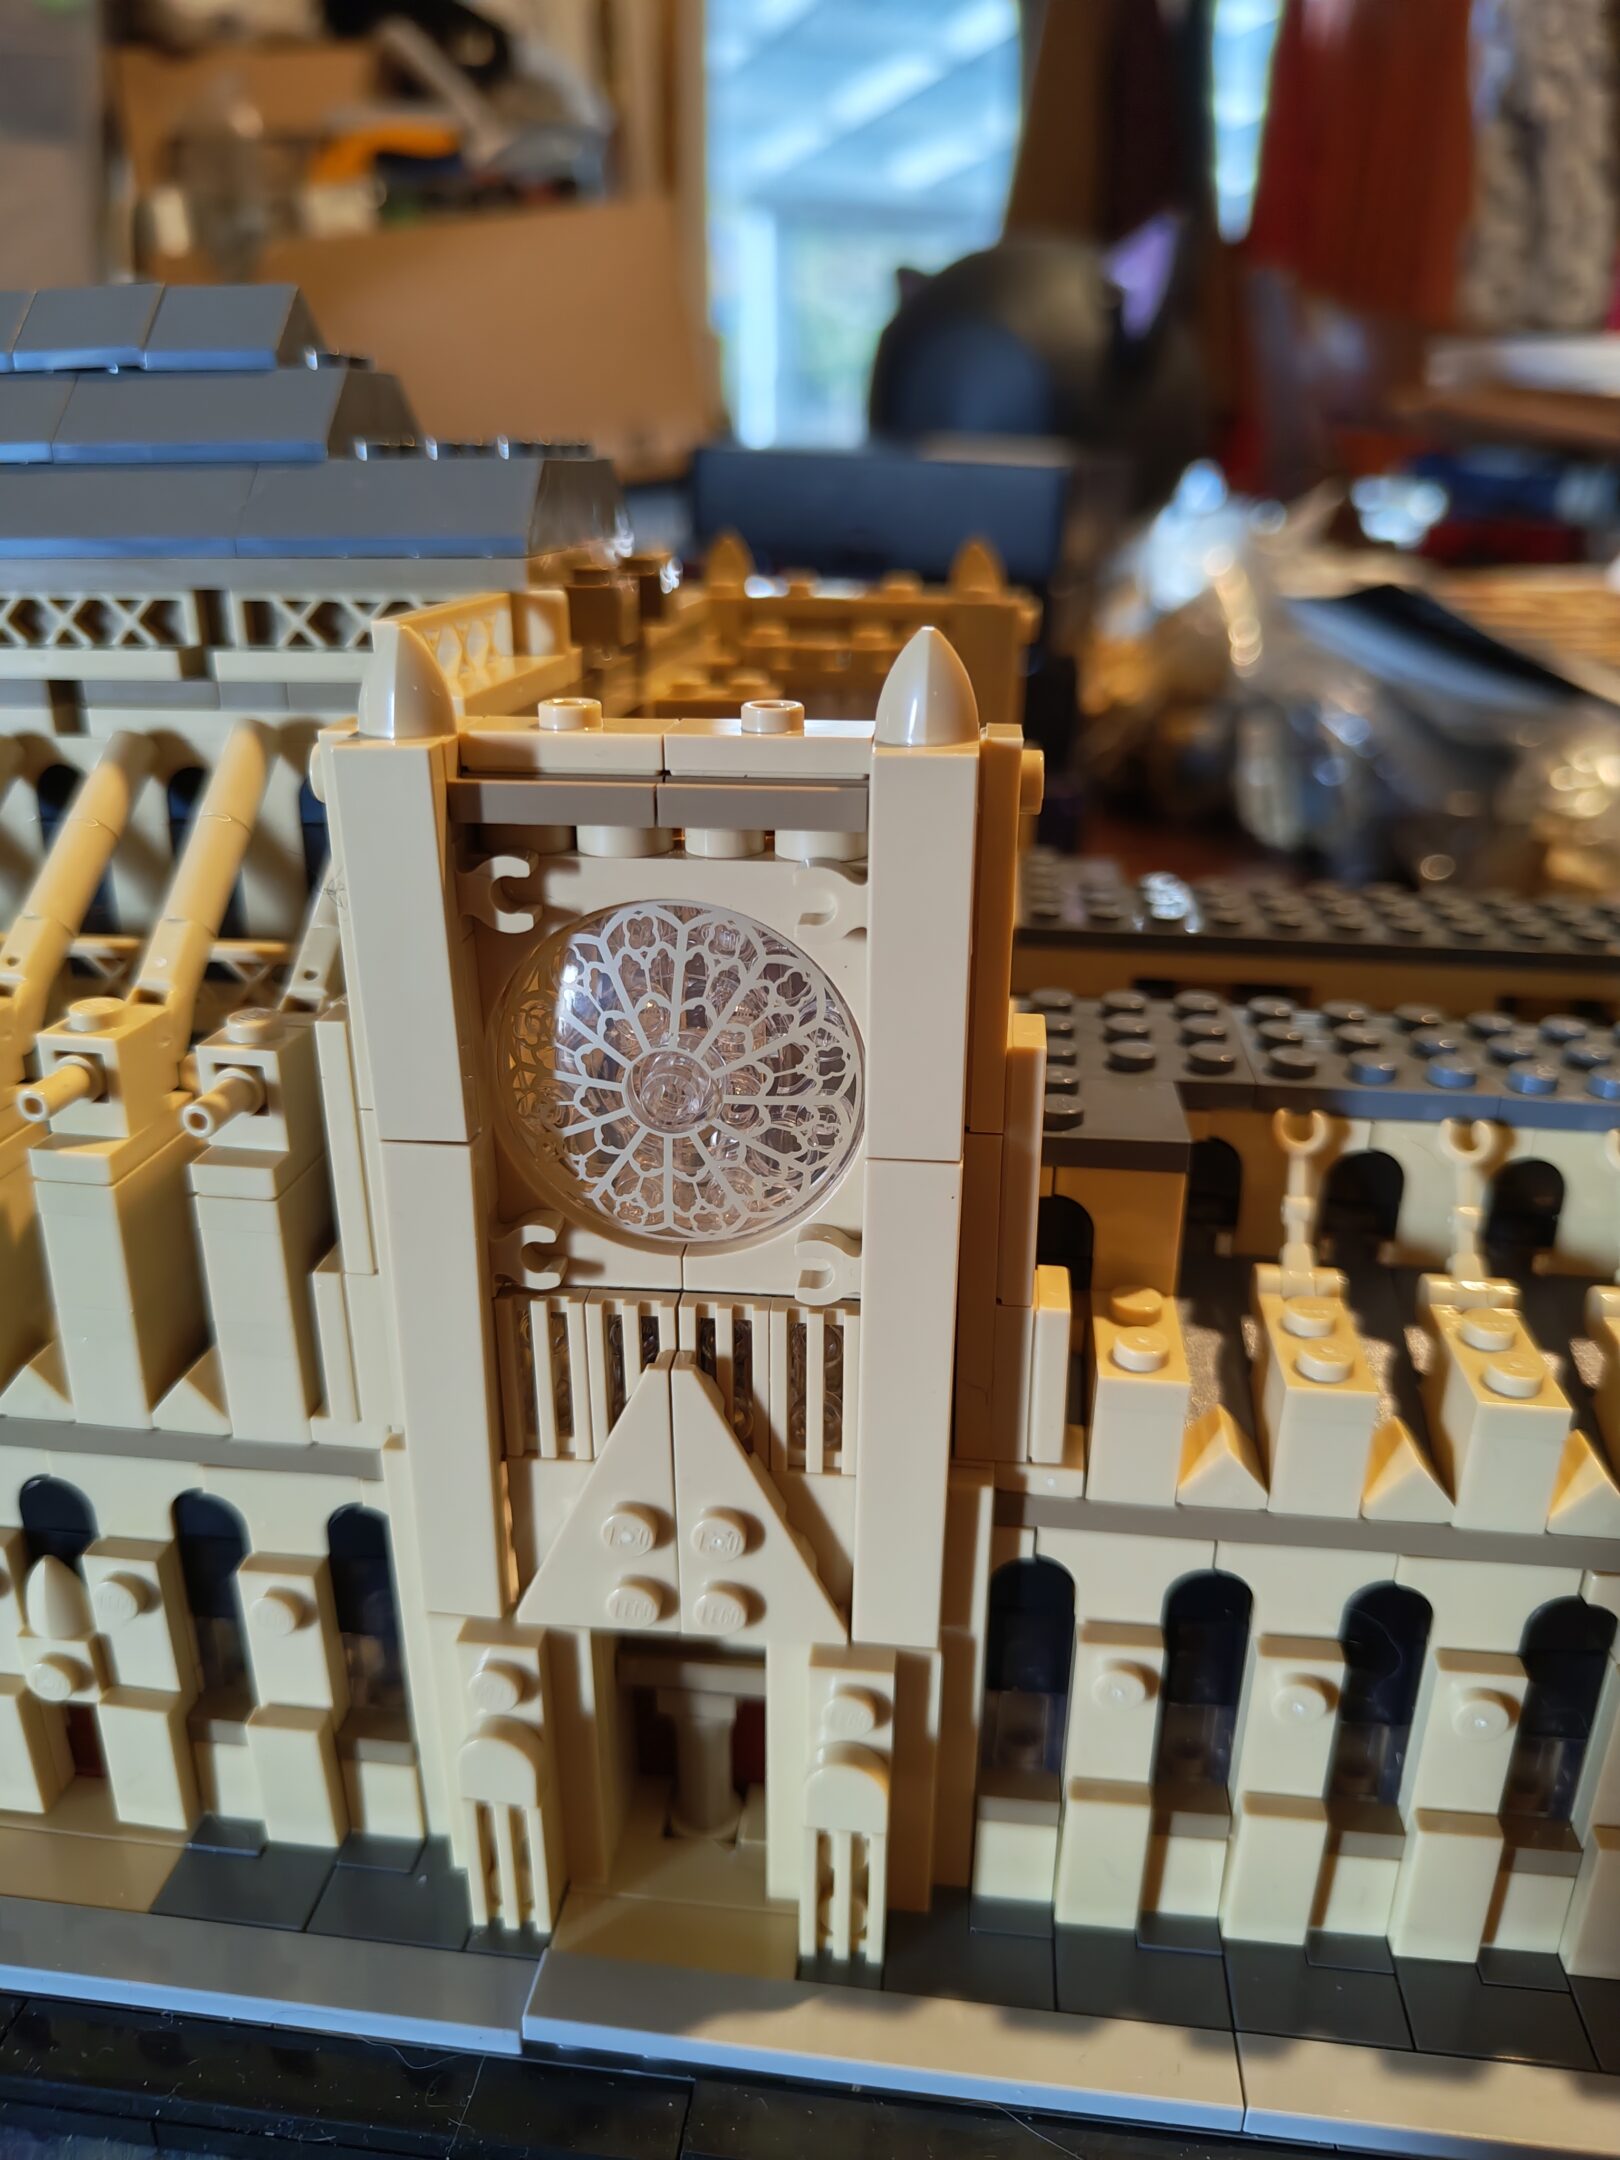
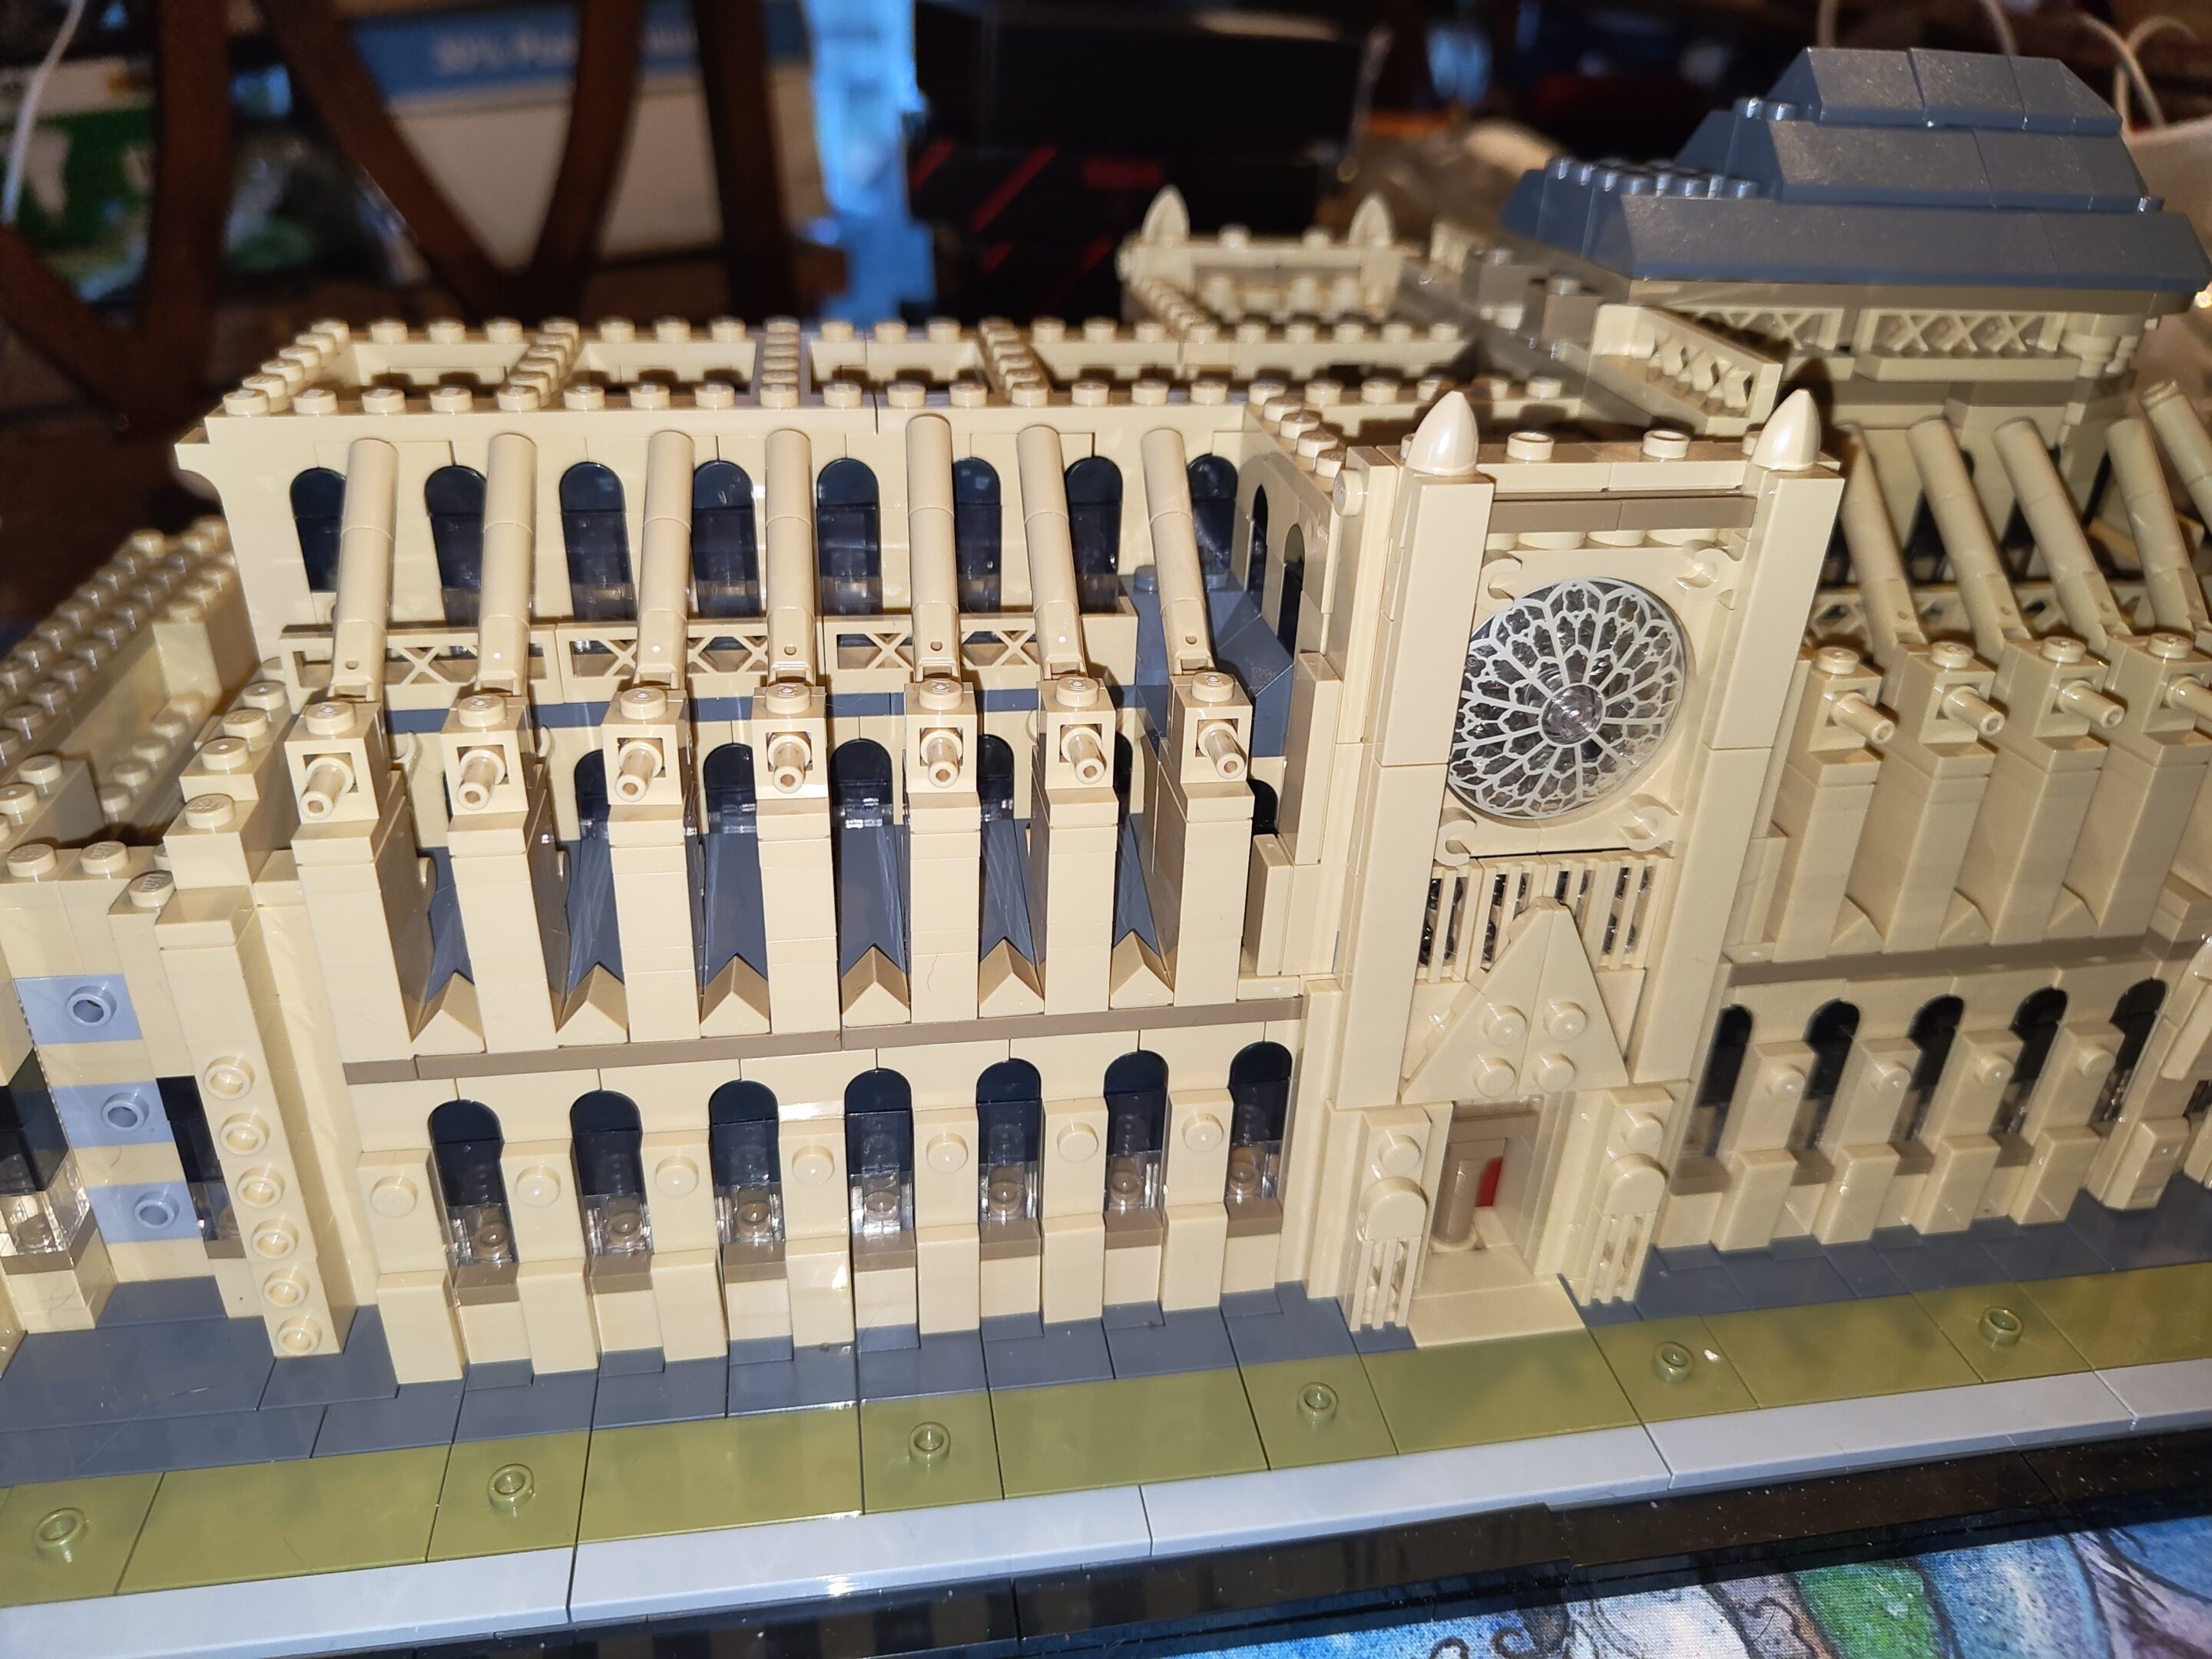
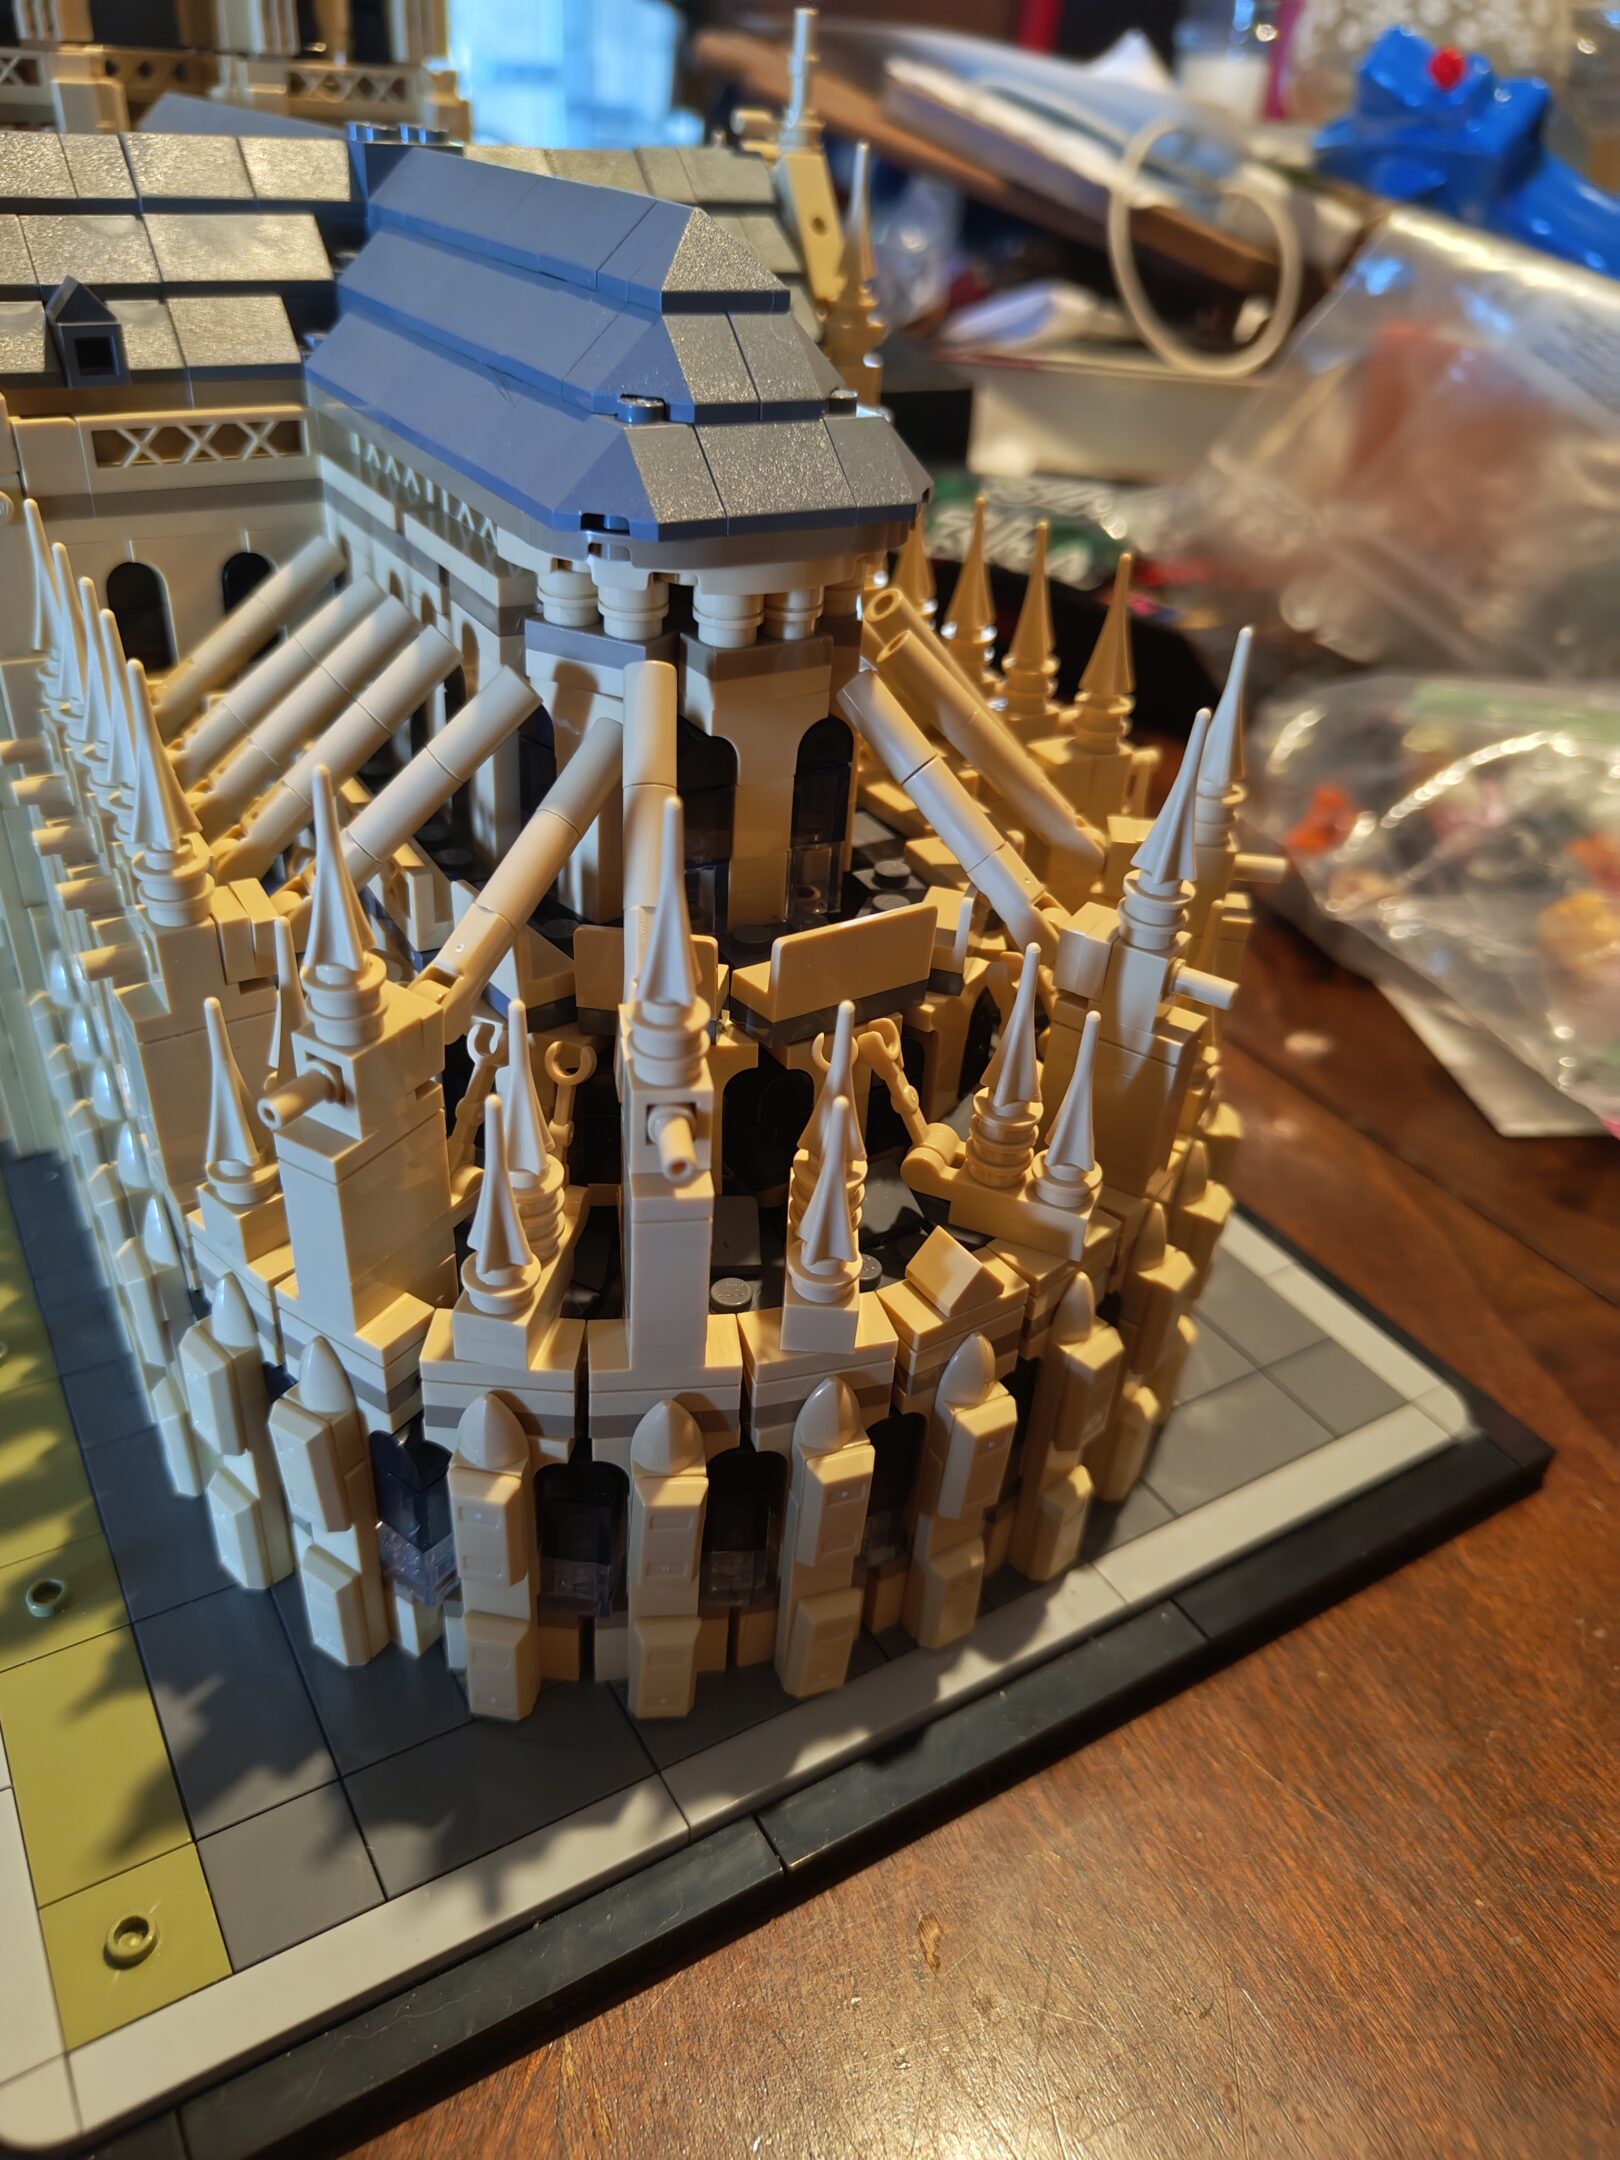
couple days worth of upload but here’s some more. this thing is fragile as fuck though and we kept like mashing it and now the round end looks terrible but i can’t fix it – until it’s done and i put in all the lights anyway. so here’s some pictures with captions
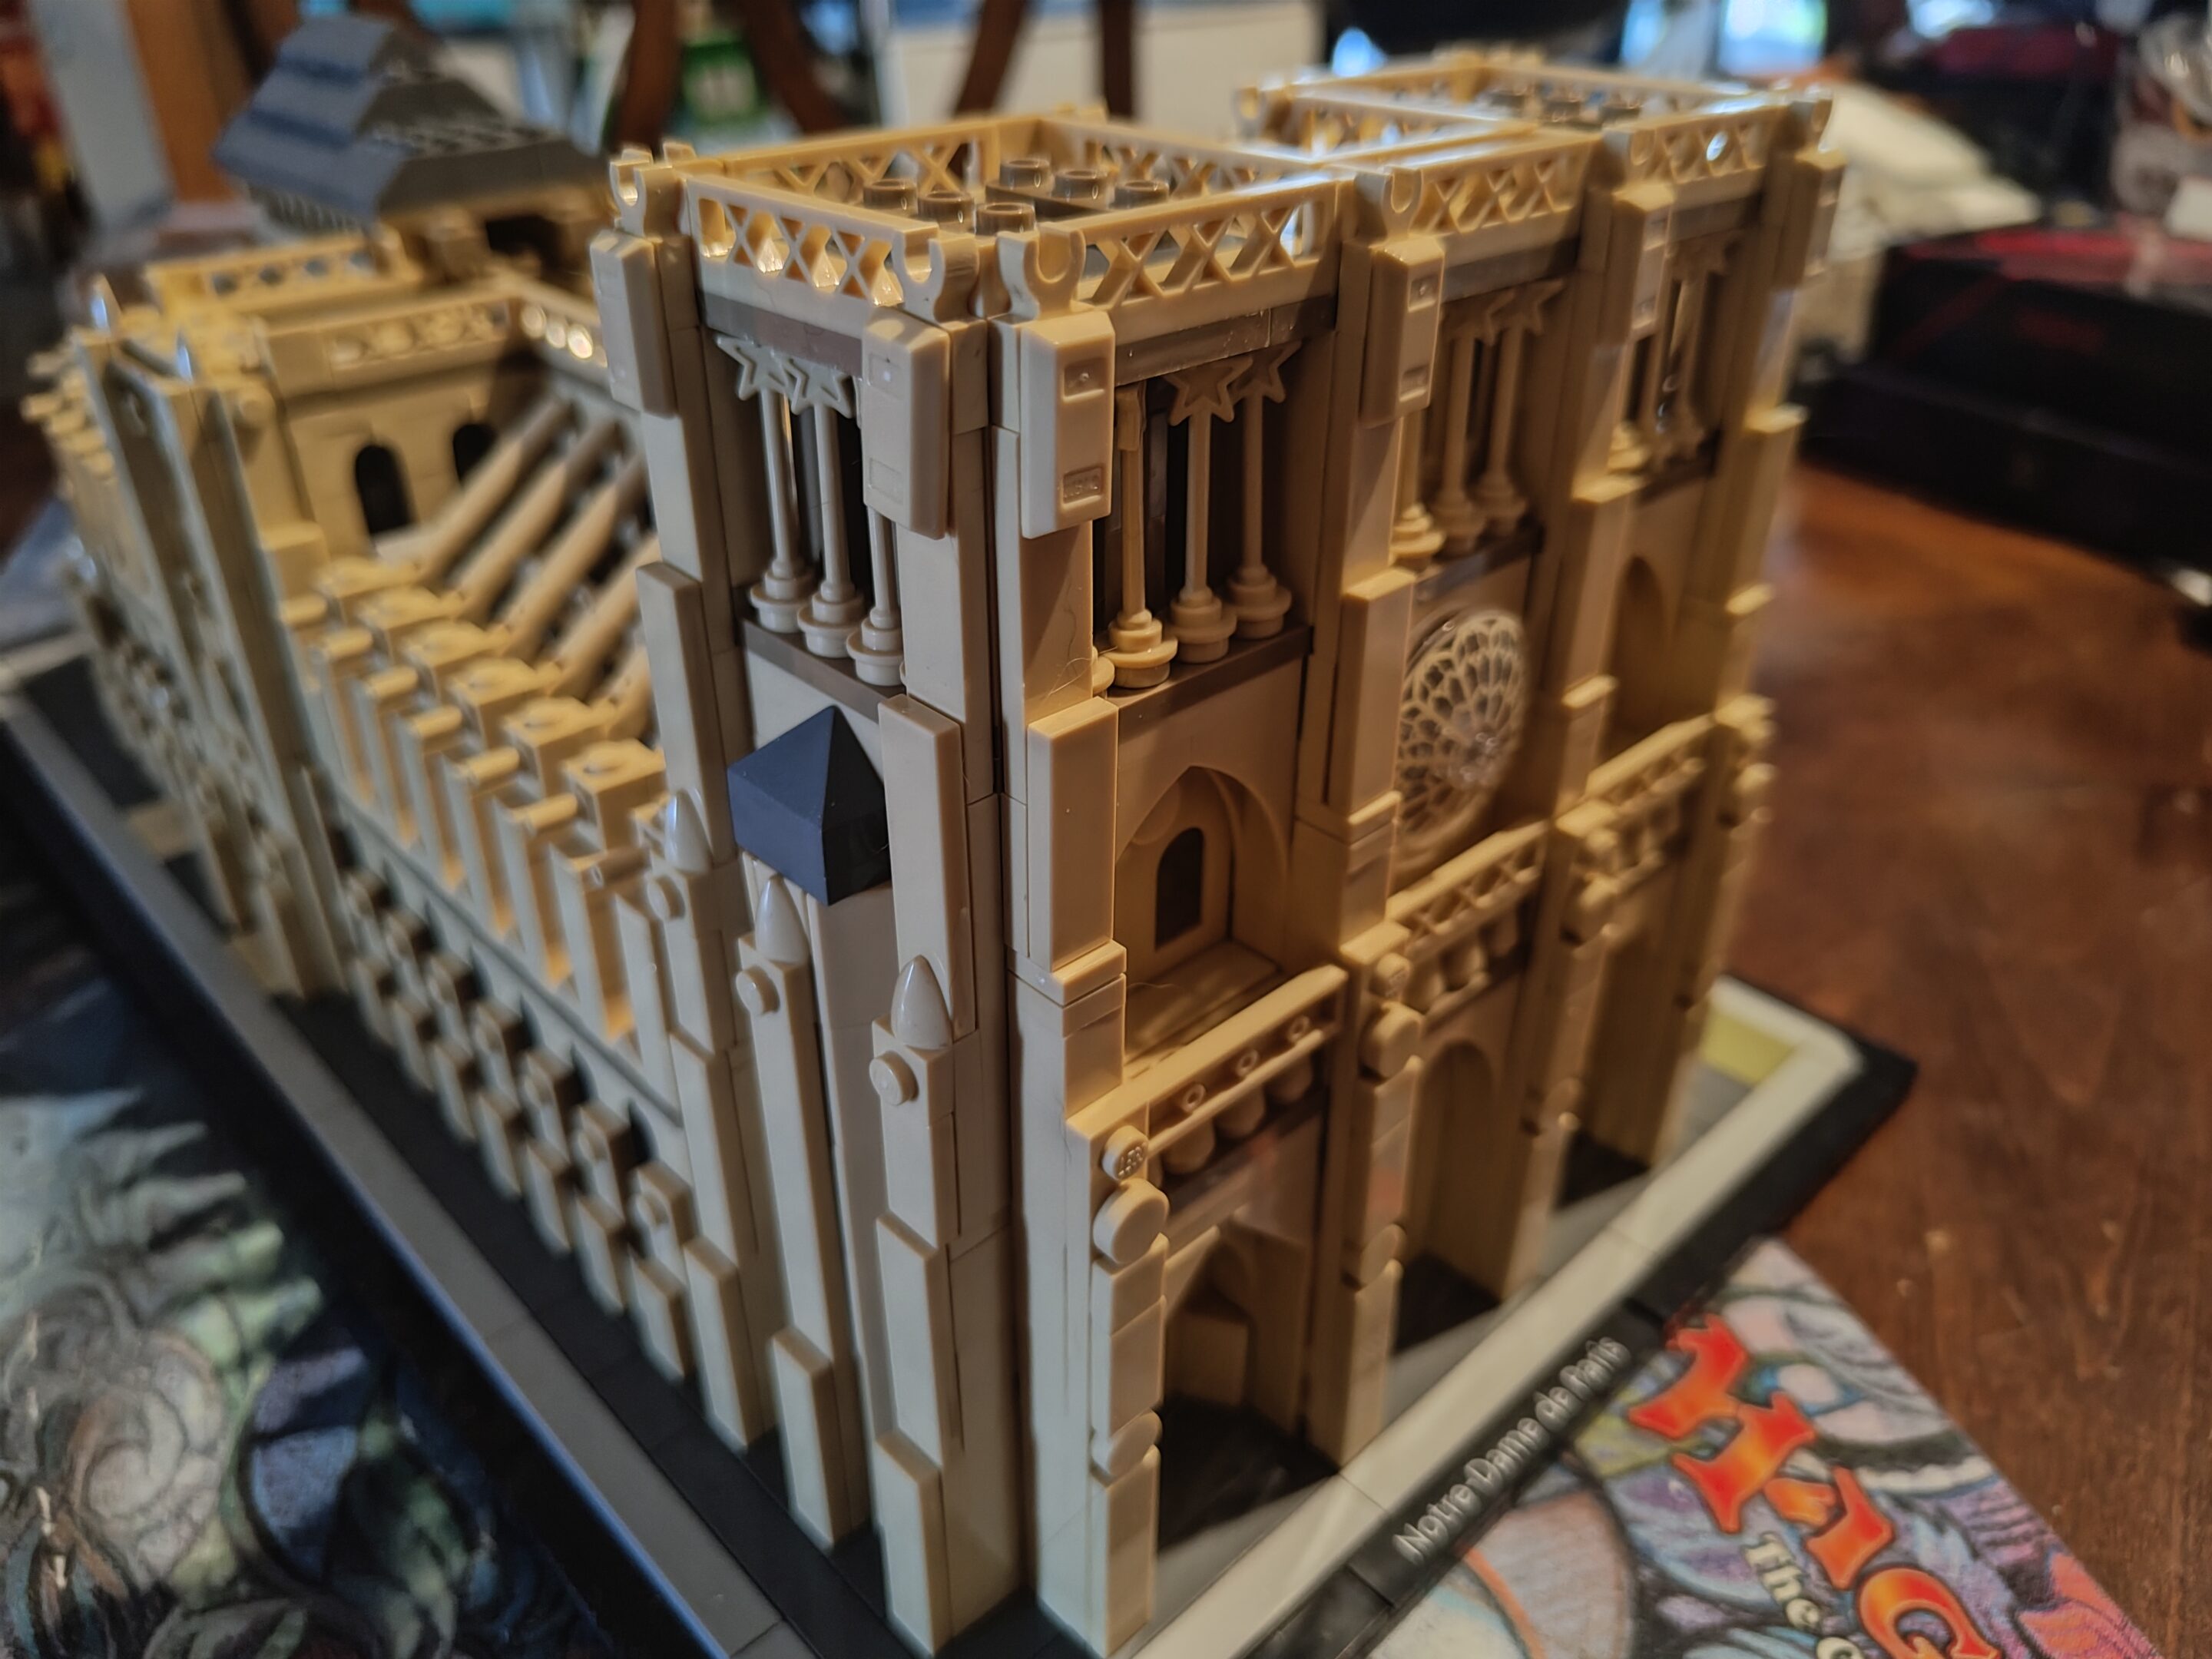
round window is roundif you like arches, this is a good set for youbuttresses, part onemore buttressesthese arches had “glass” (plastic) in themfinished a bunch of exterior details (and another big window)
remembered to take photo, remembered to upload
stars on wands was not a design element i expectedannoying to build but it did look cool when i was done, granted
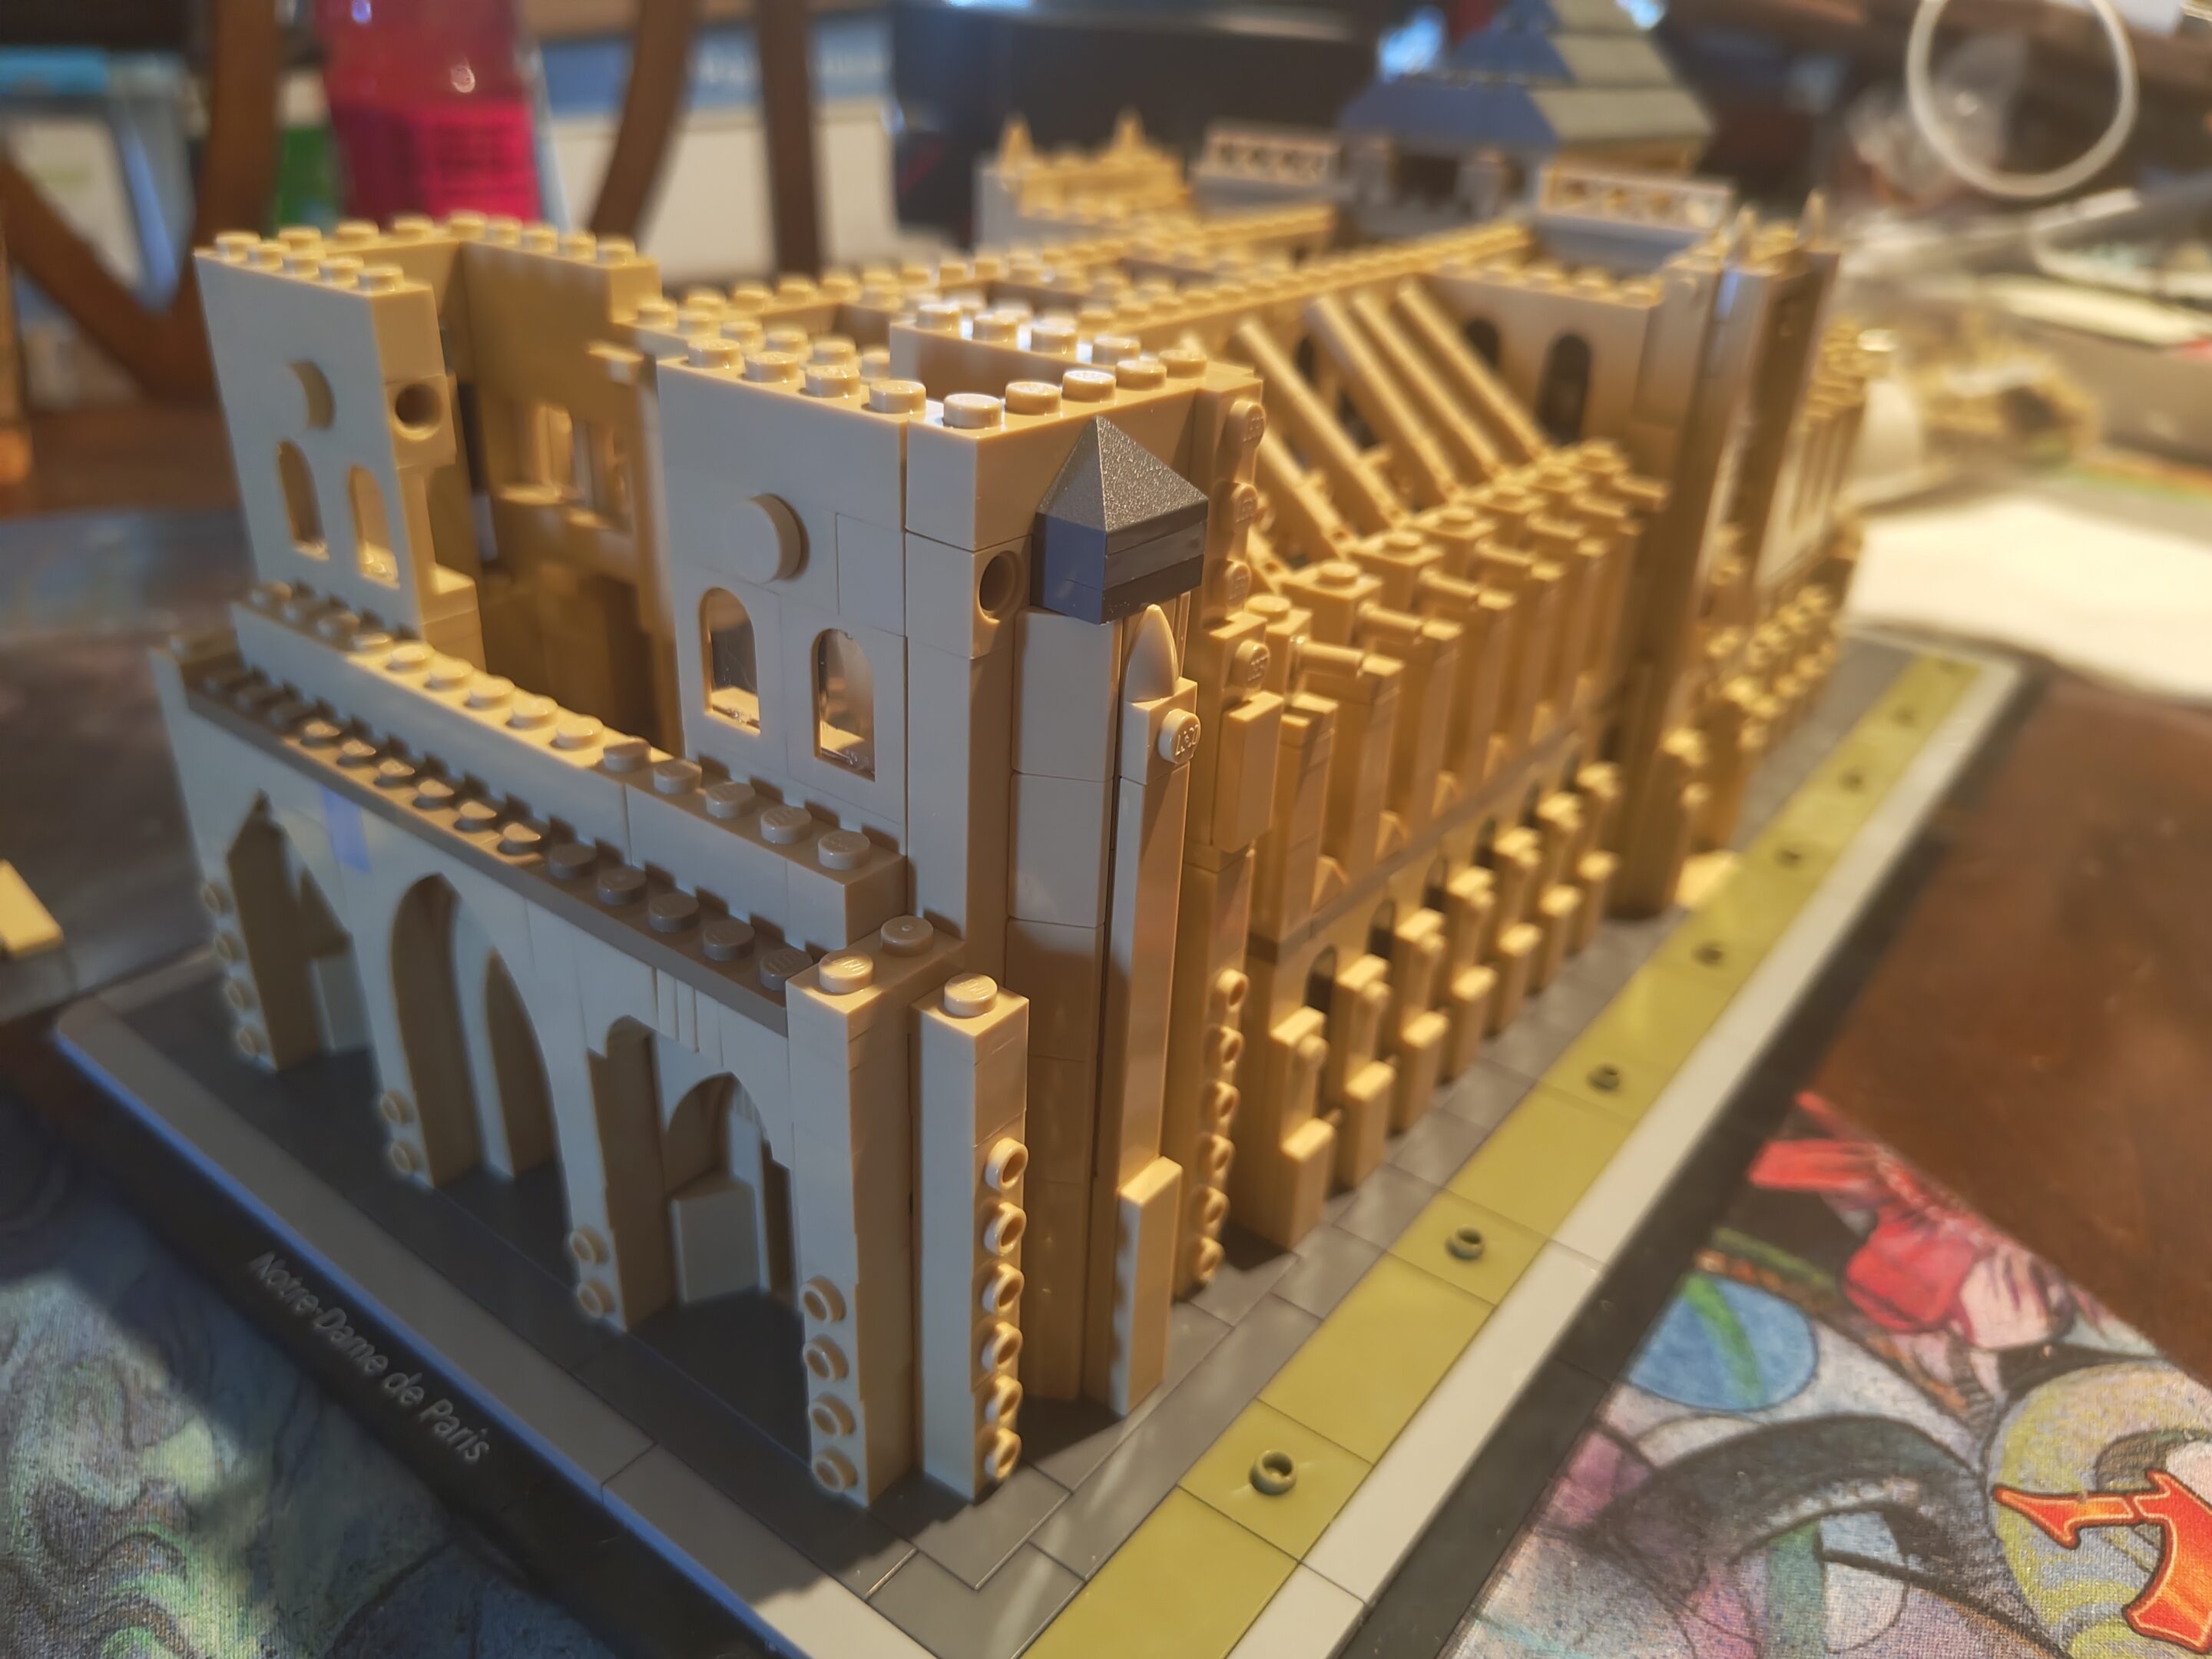
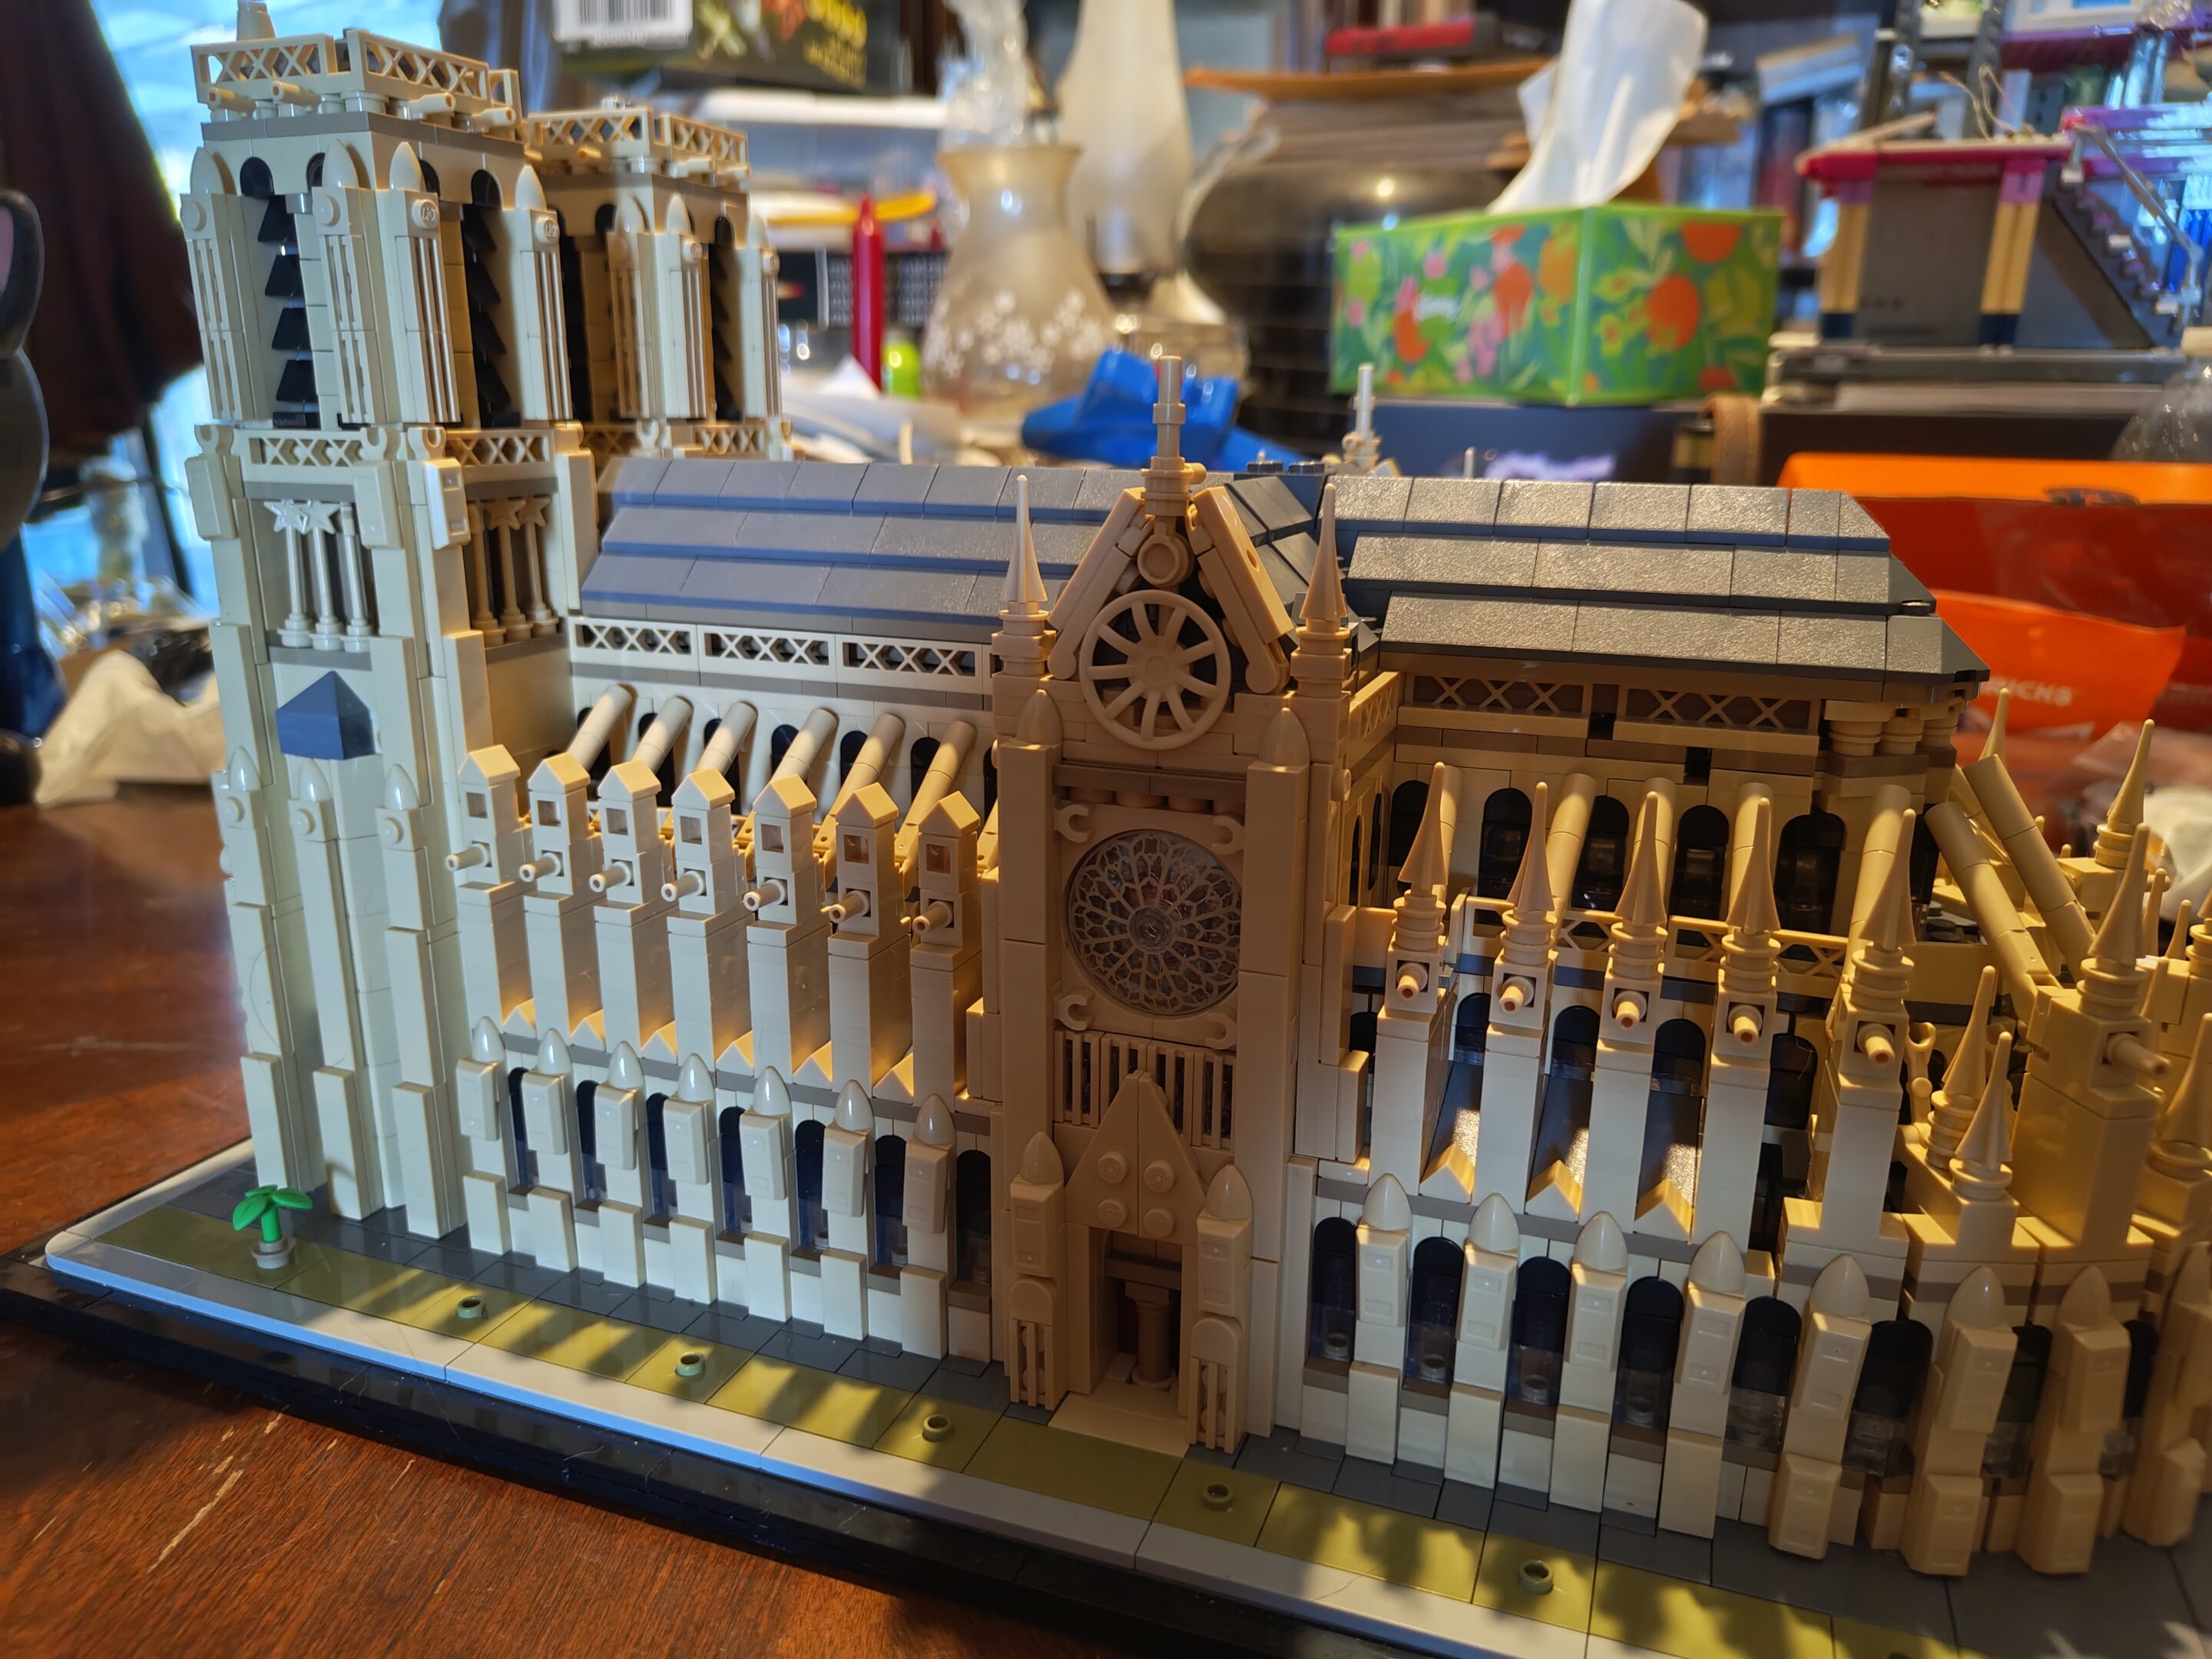
was home sick, did some work — have one step left before it’s done and take it apart to put all the lights in. here’s some pictures
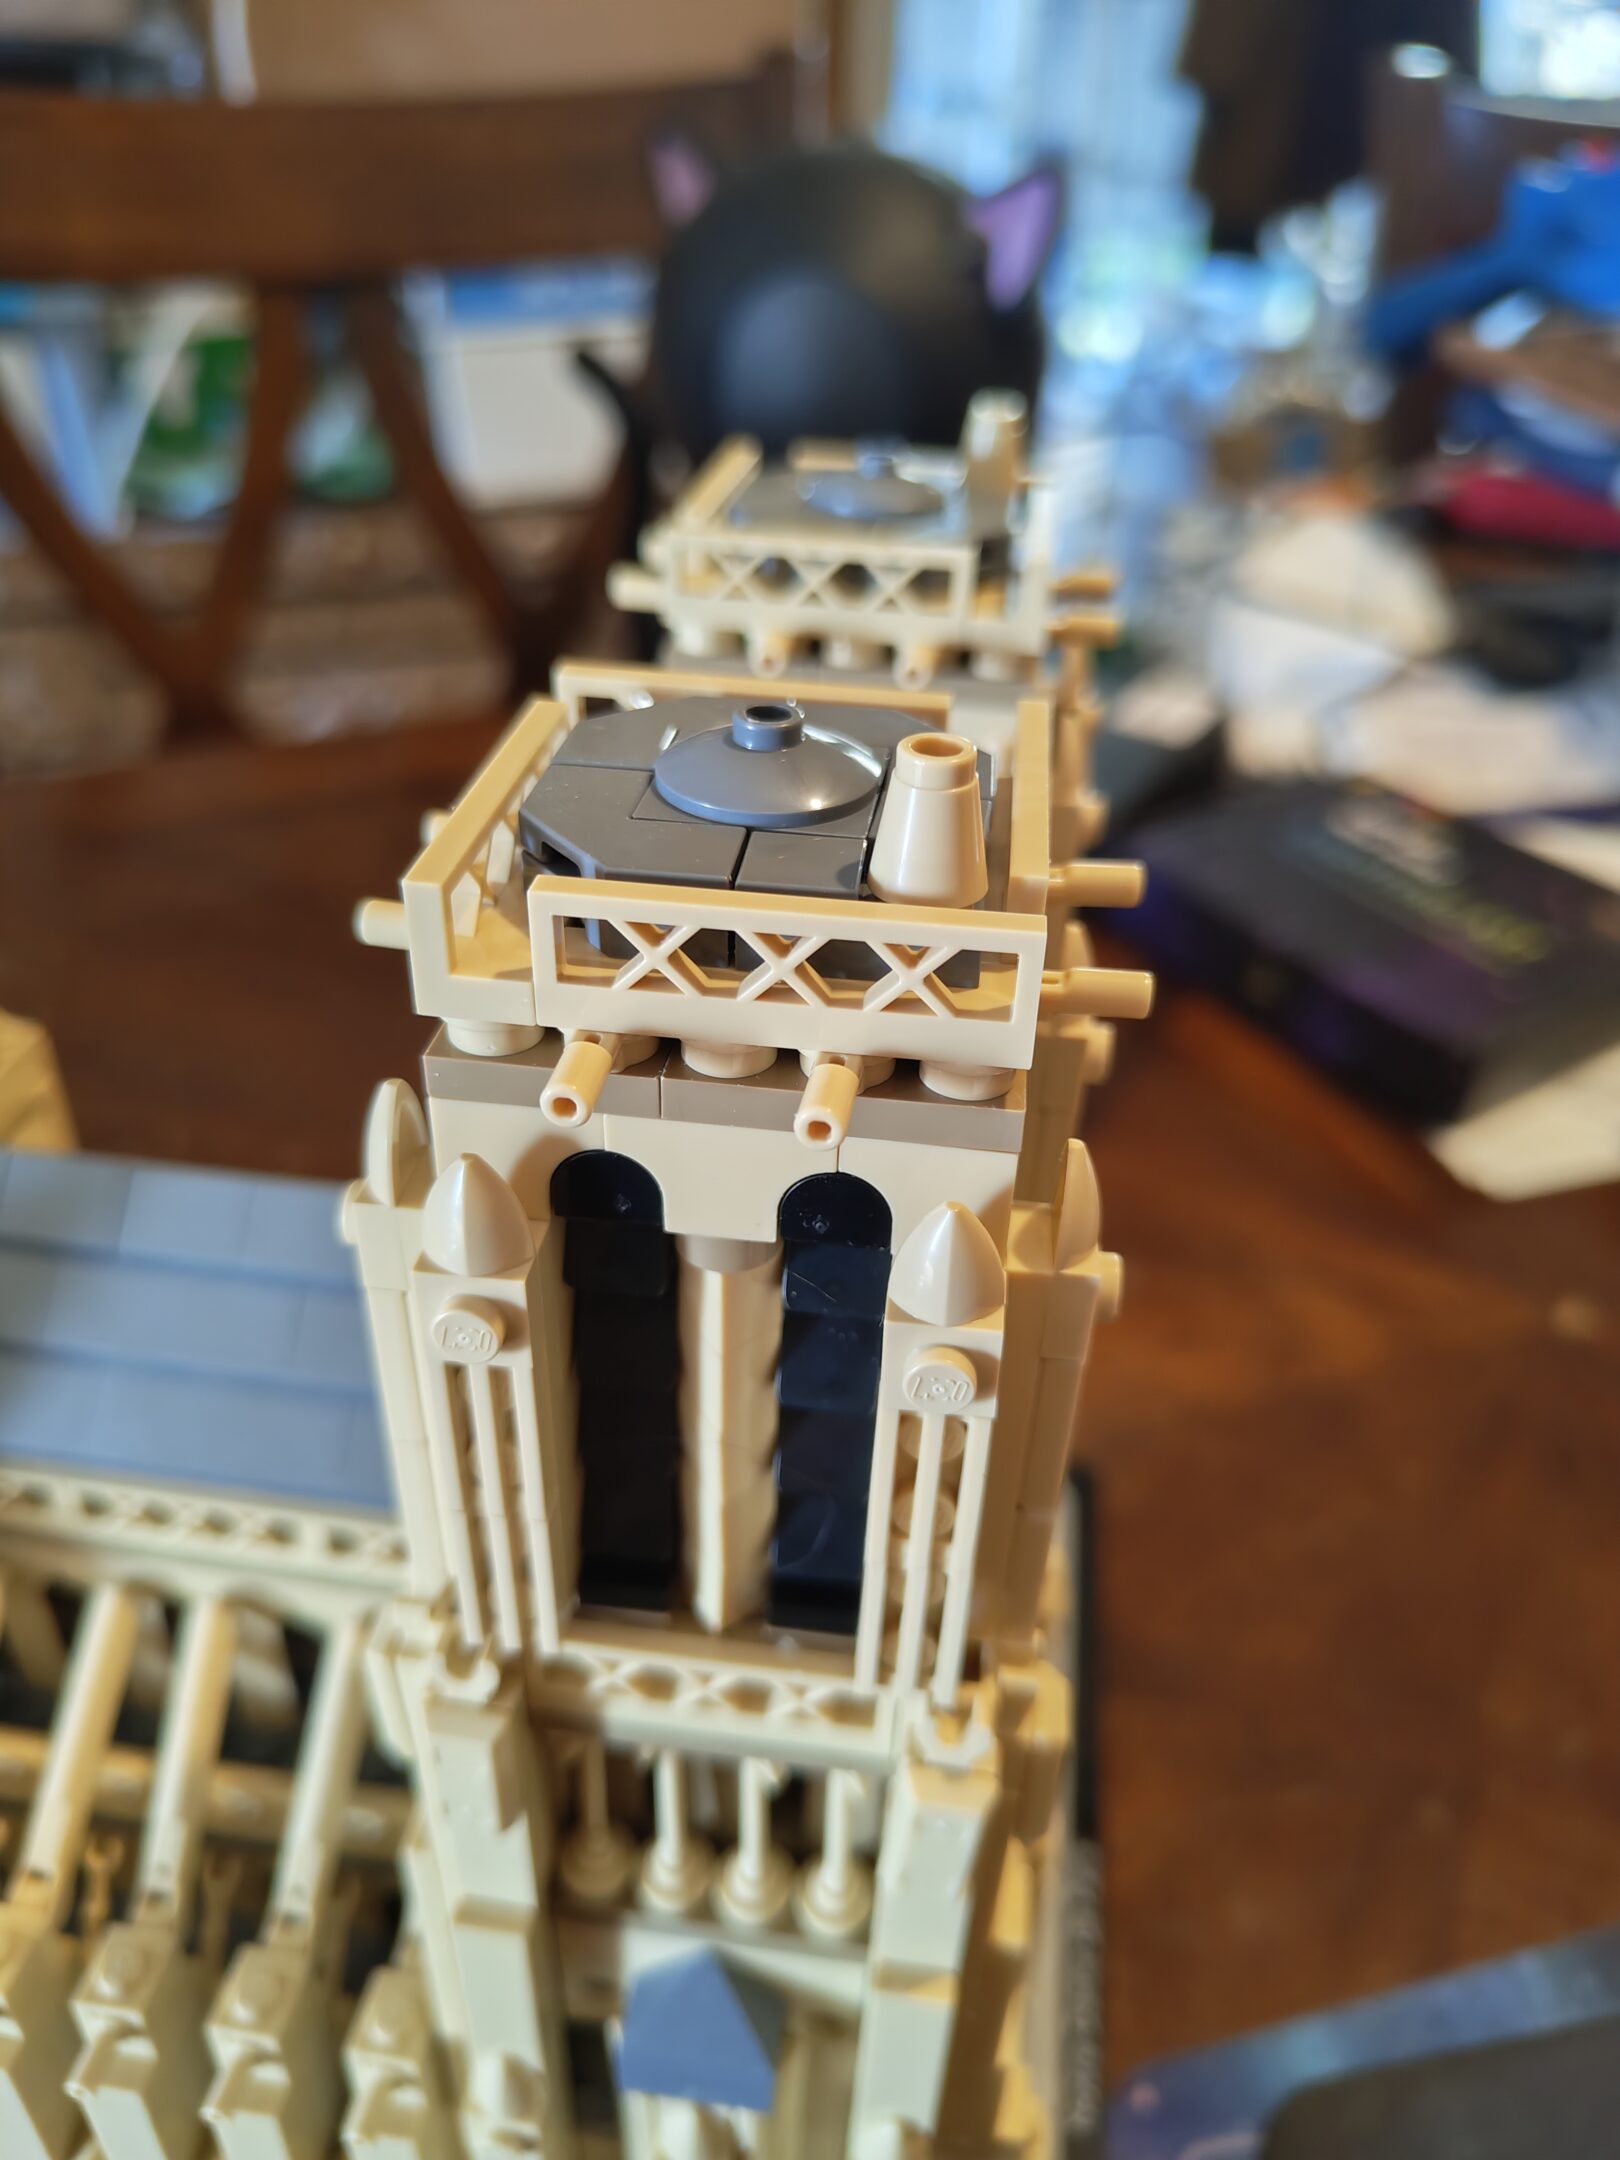
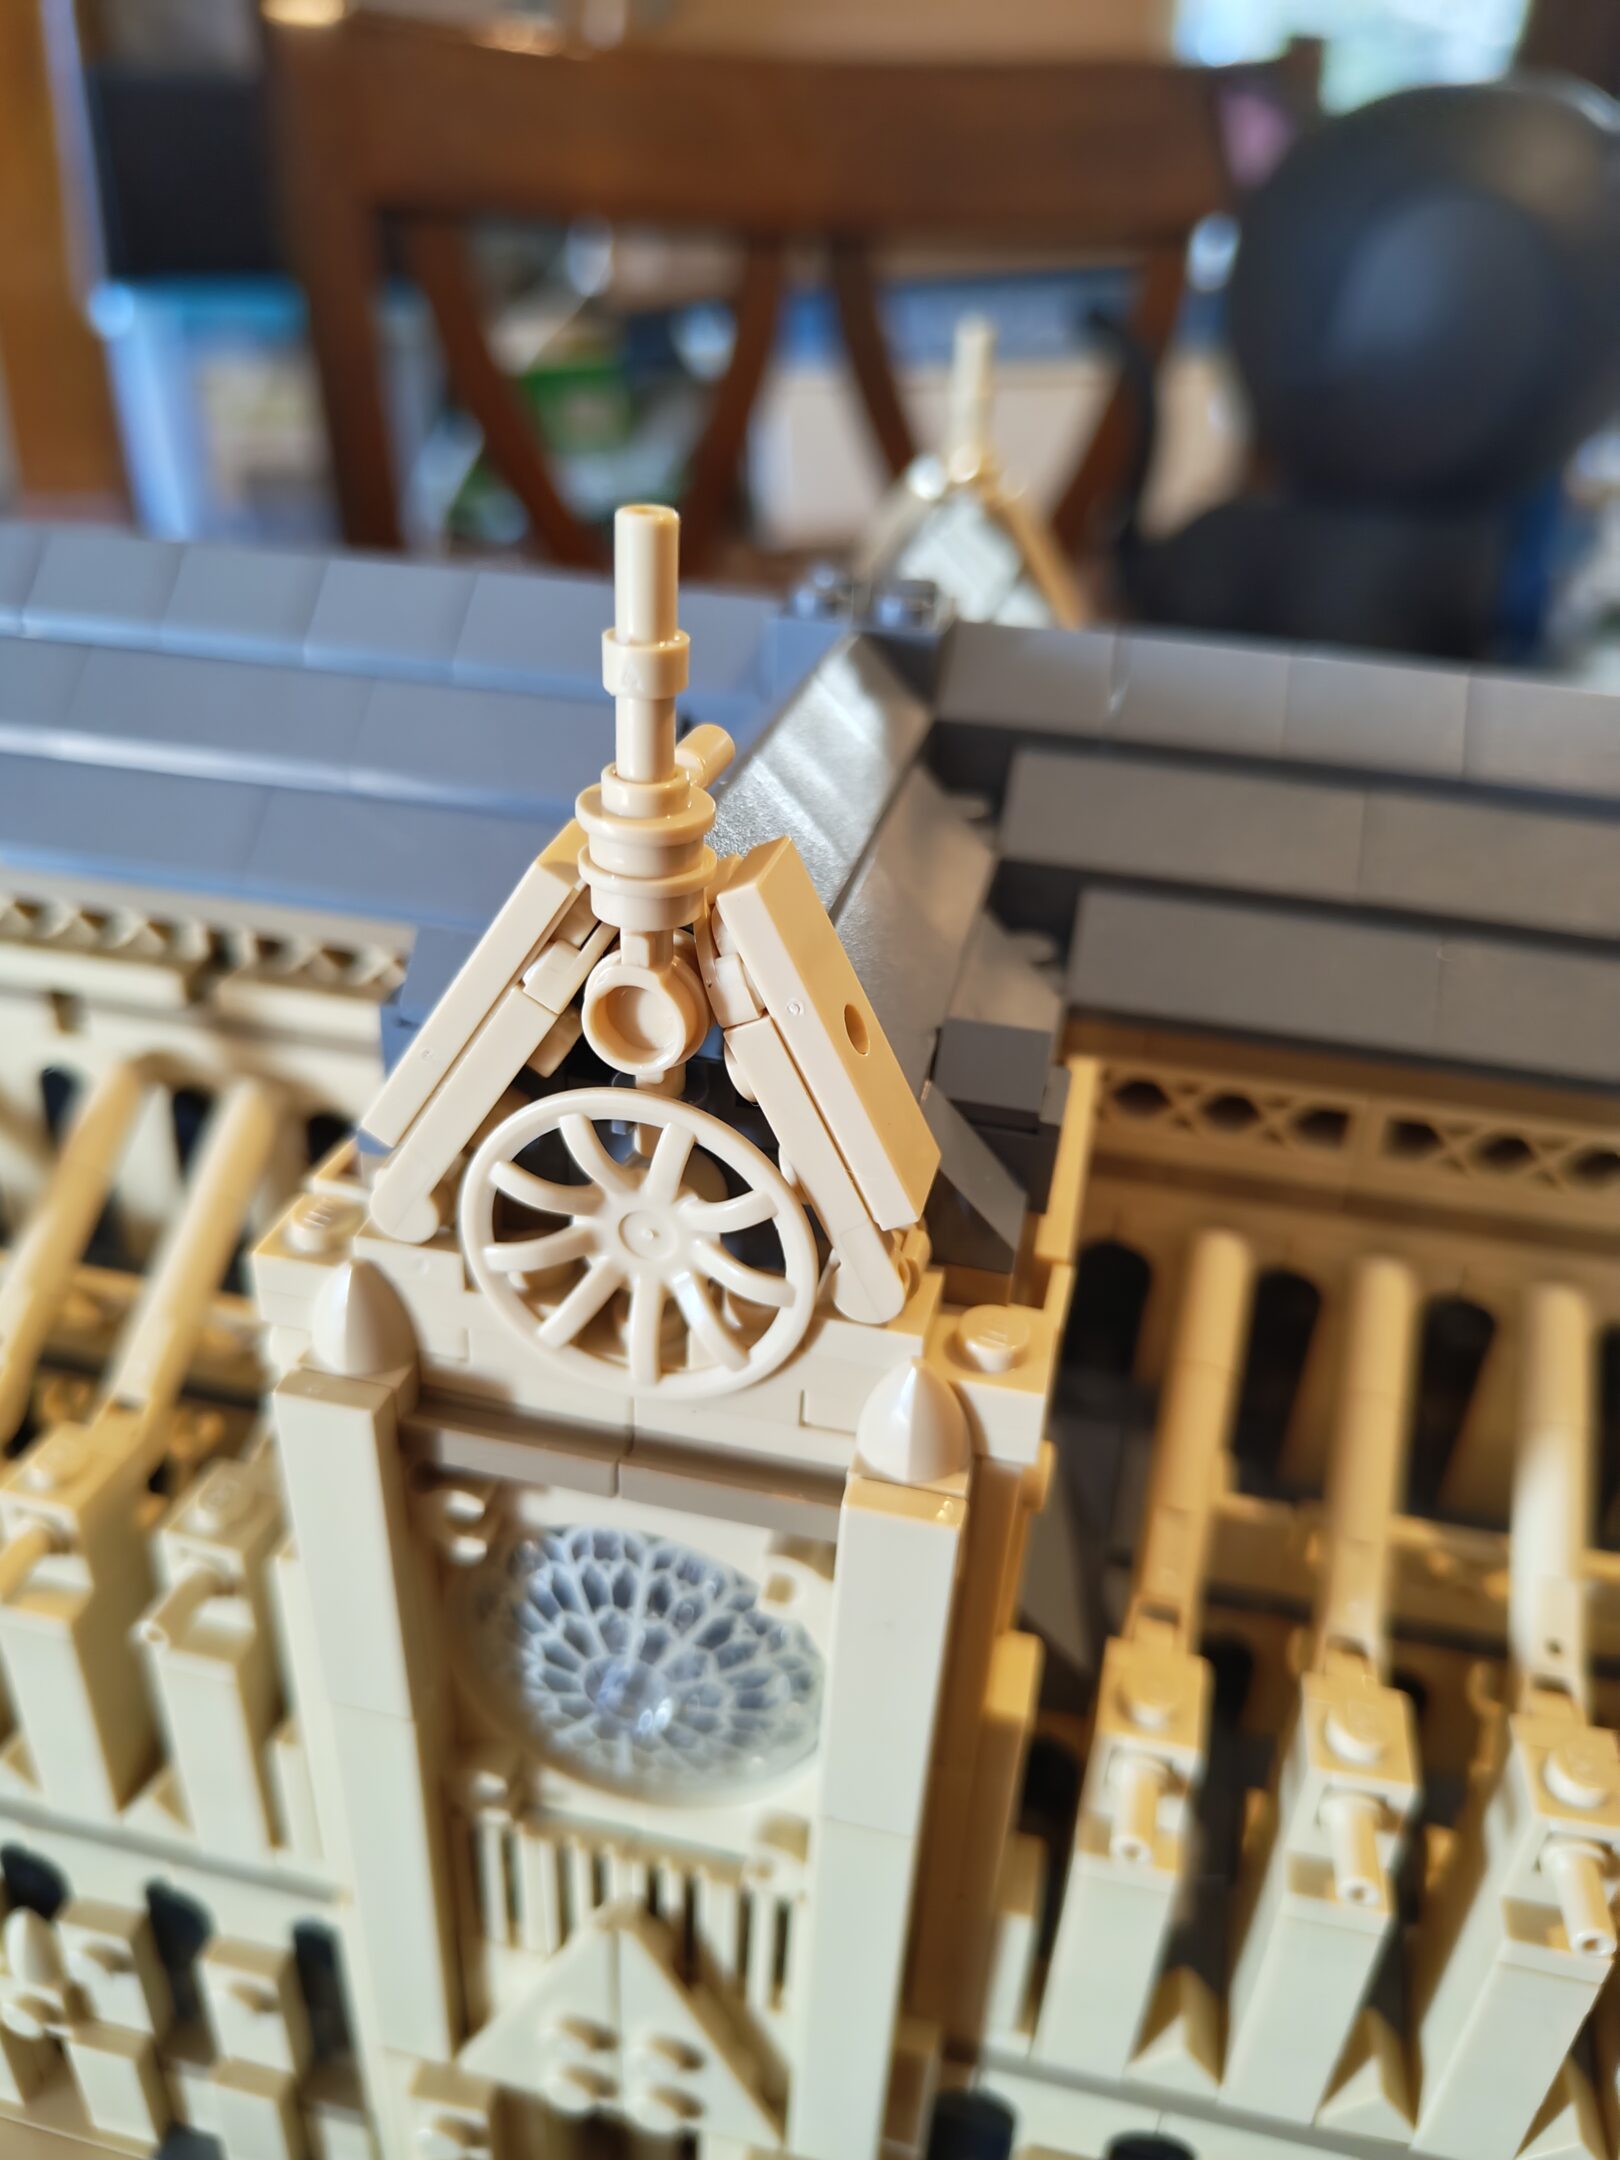
towers go brrrrrrrralmost done, just a lil’ finishing touch leftputting in more roof and window thingsspires, part onespires, part deux
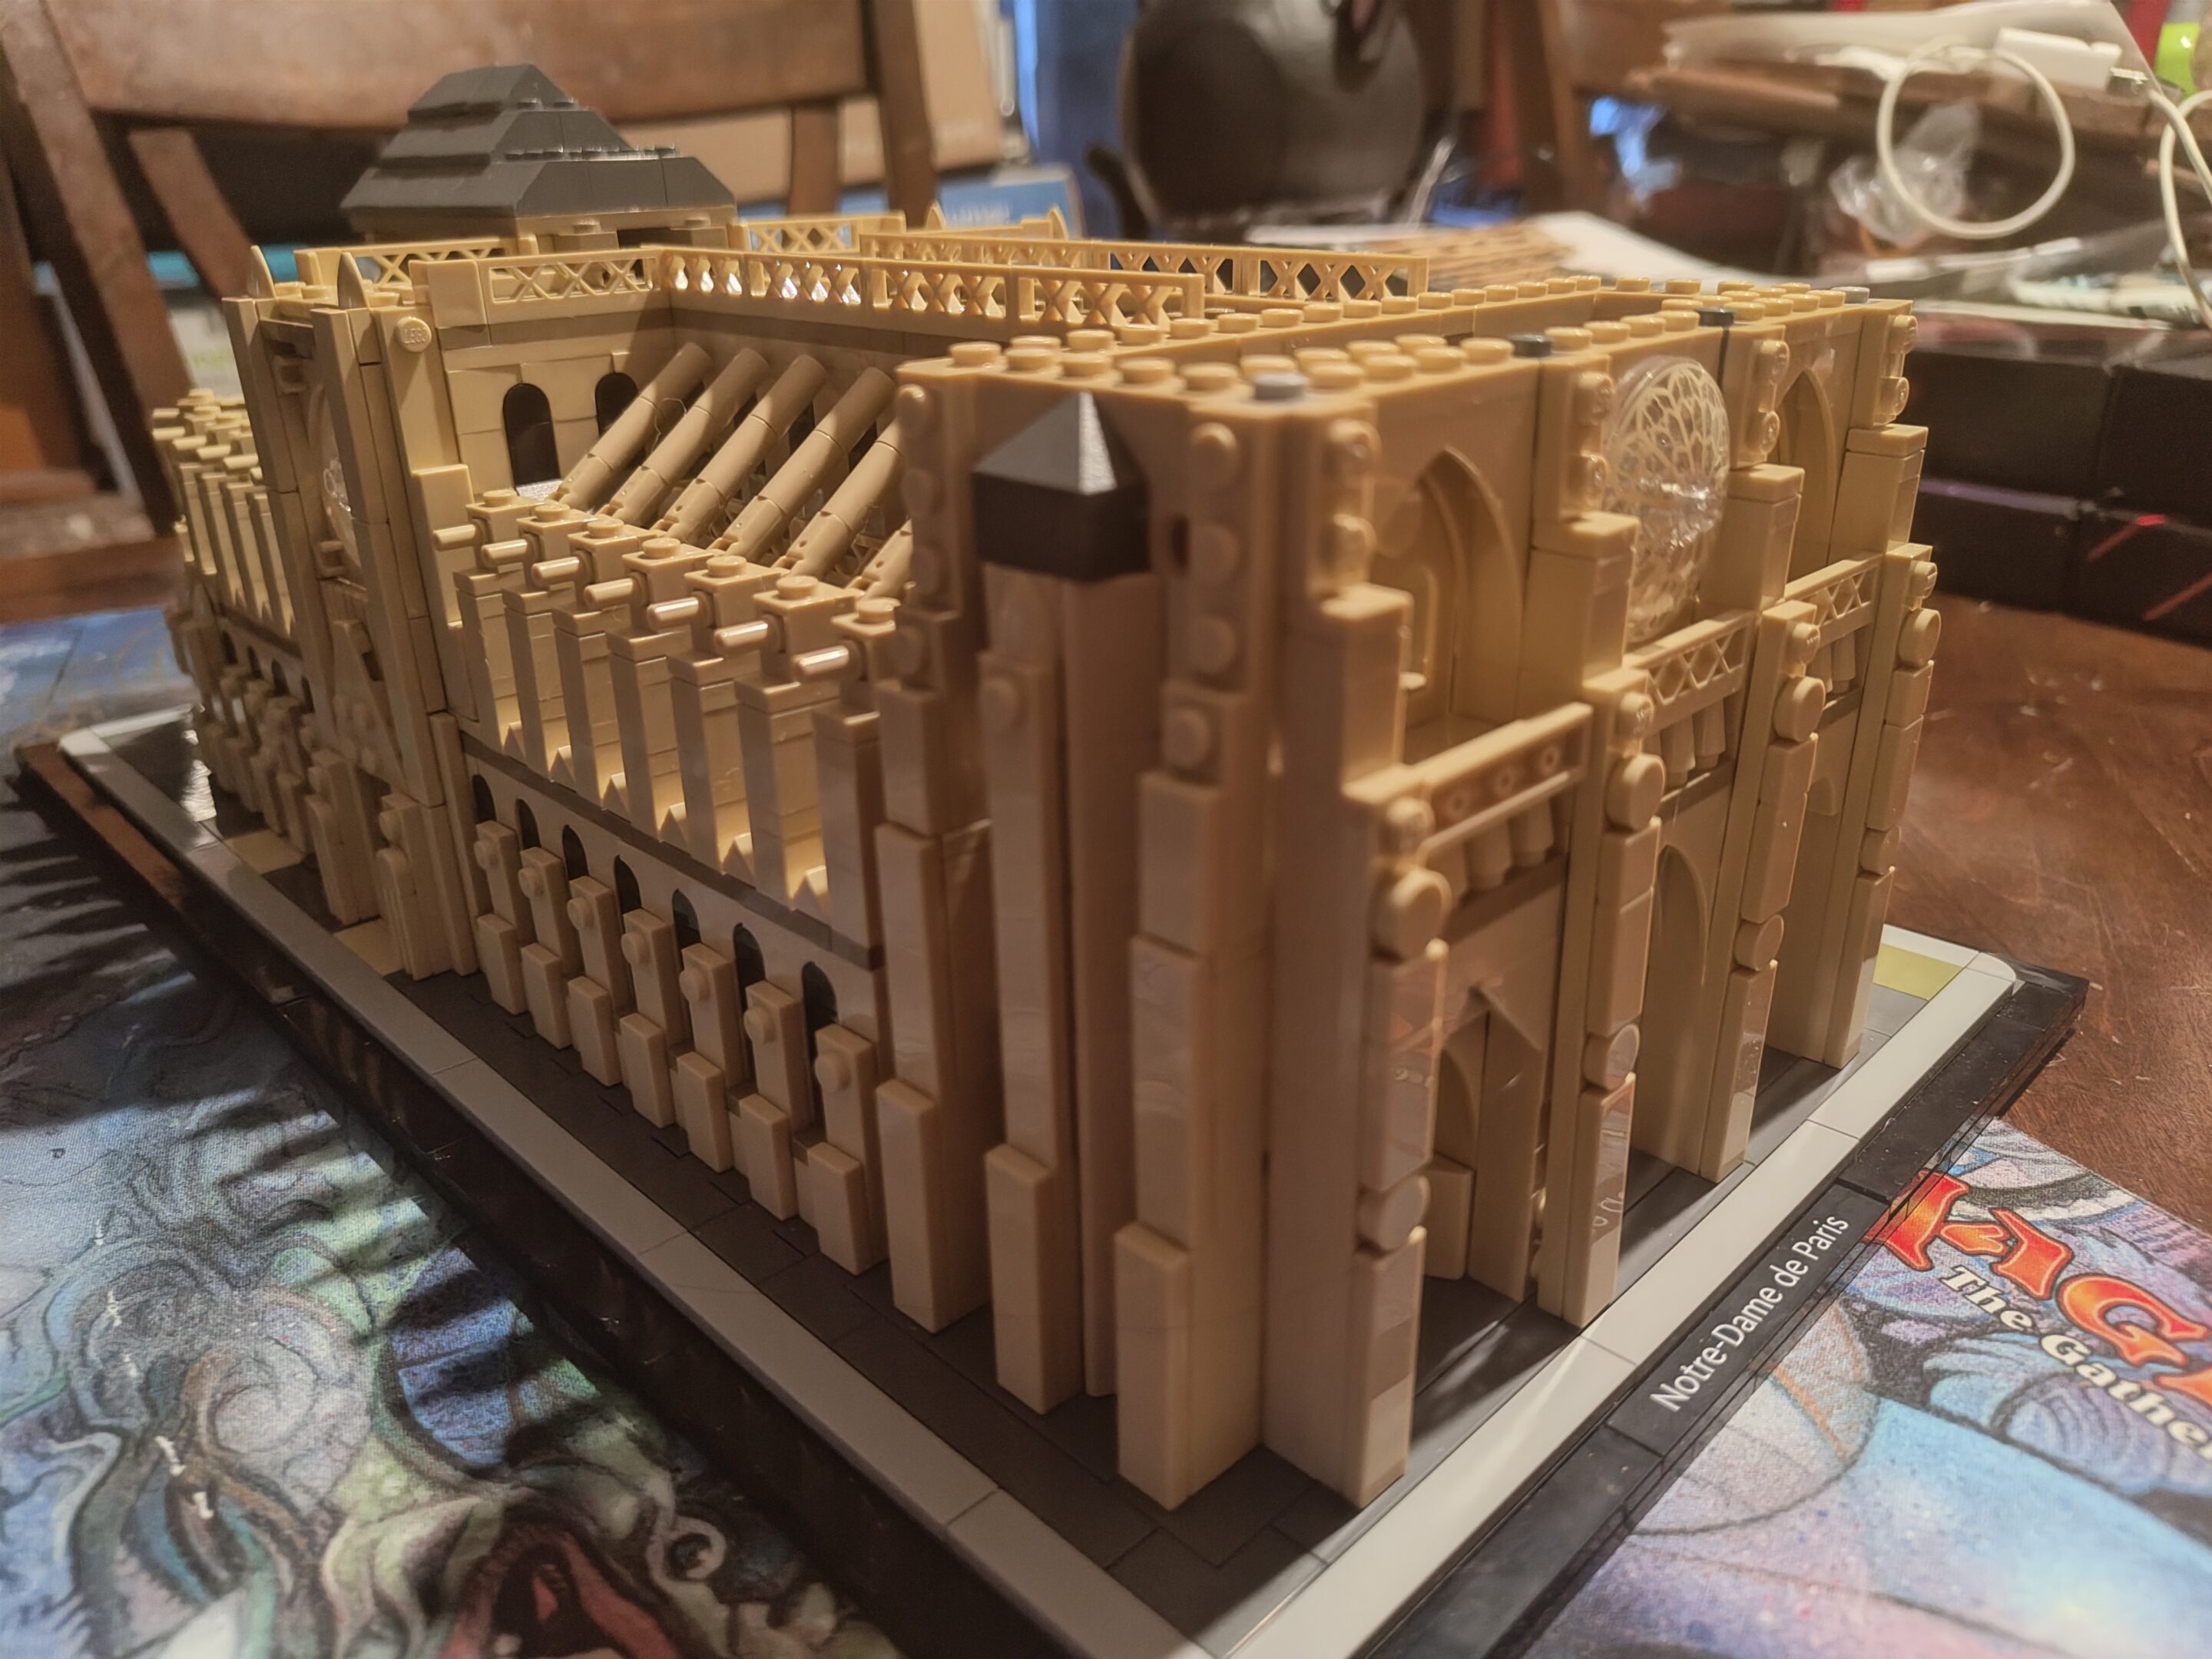
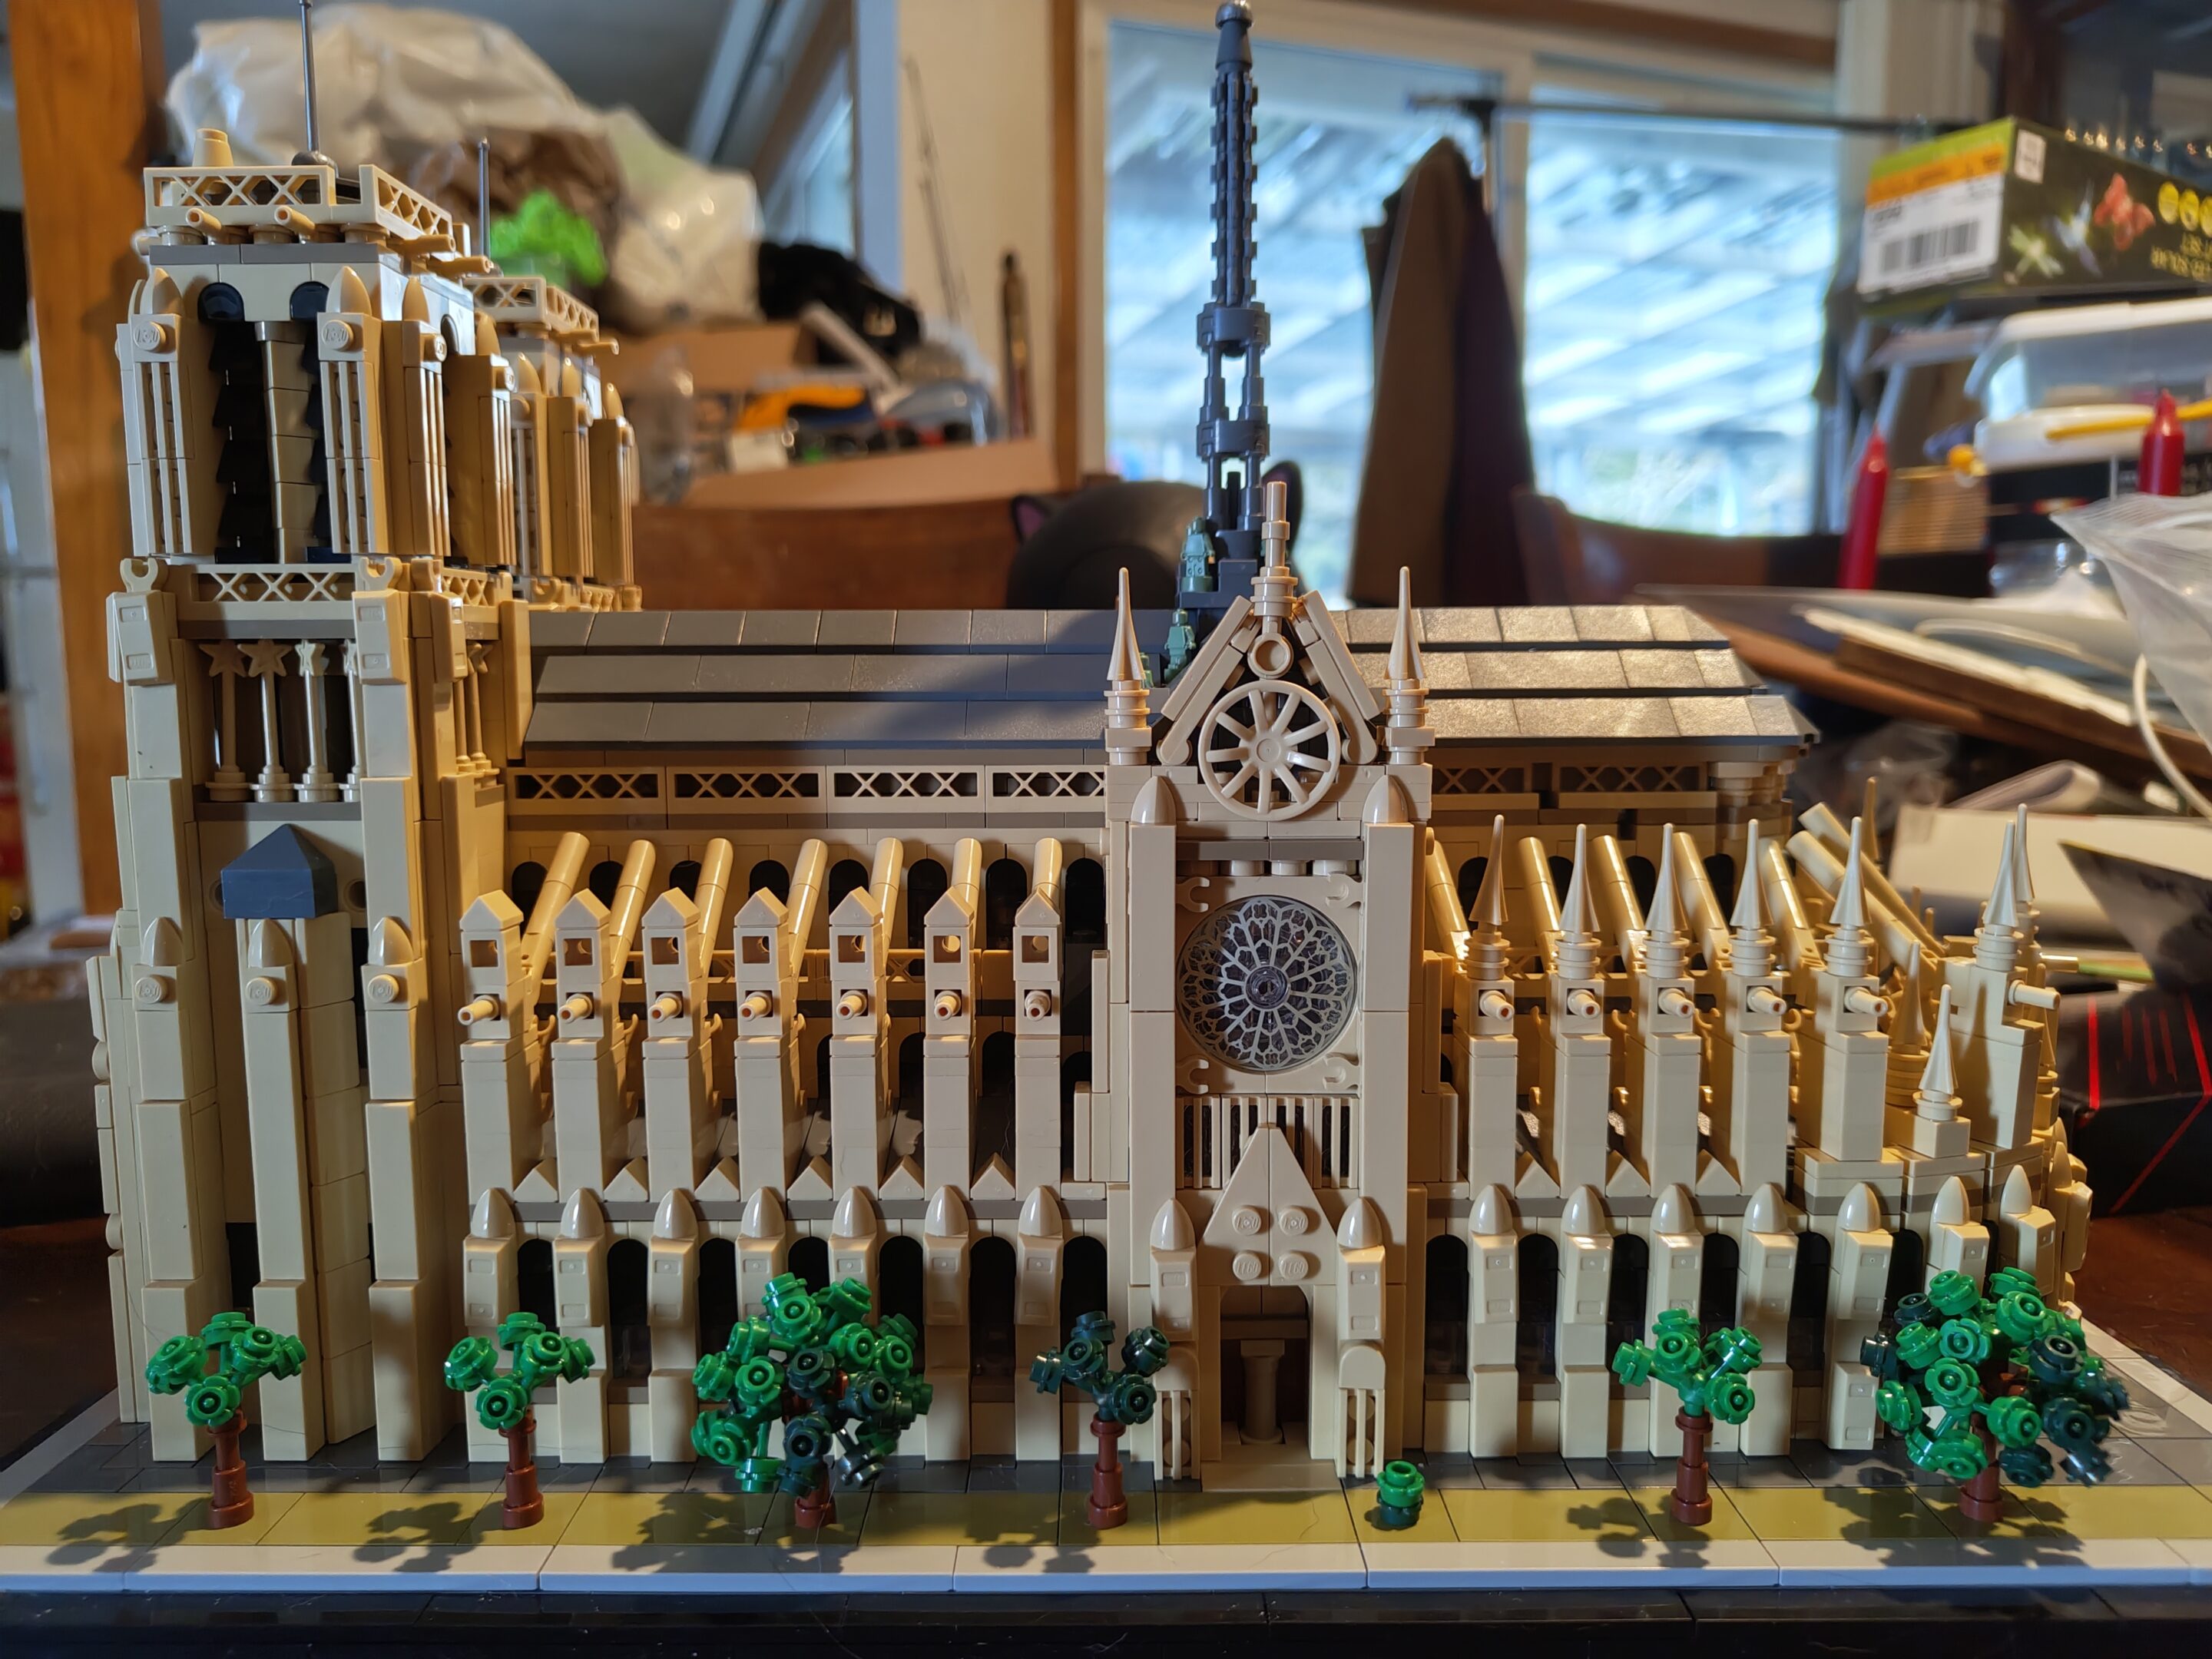
we finished up pretty quickly the next day and i spent a couple hours adding all the lights. now is flashy for the occasions we turn on the lights (rare at best) but hey it looks neat and i do love me some flashy lights. video at the article head.
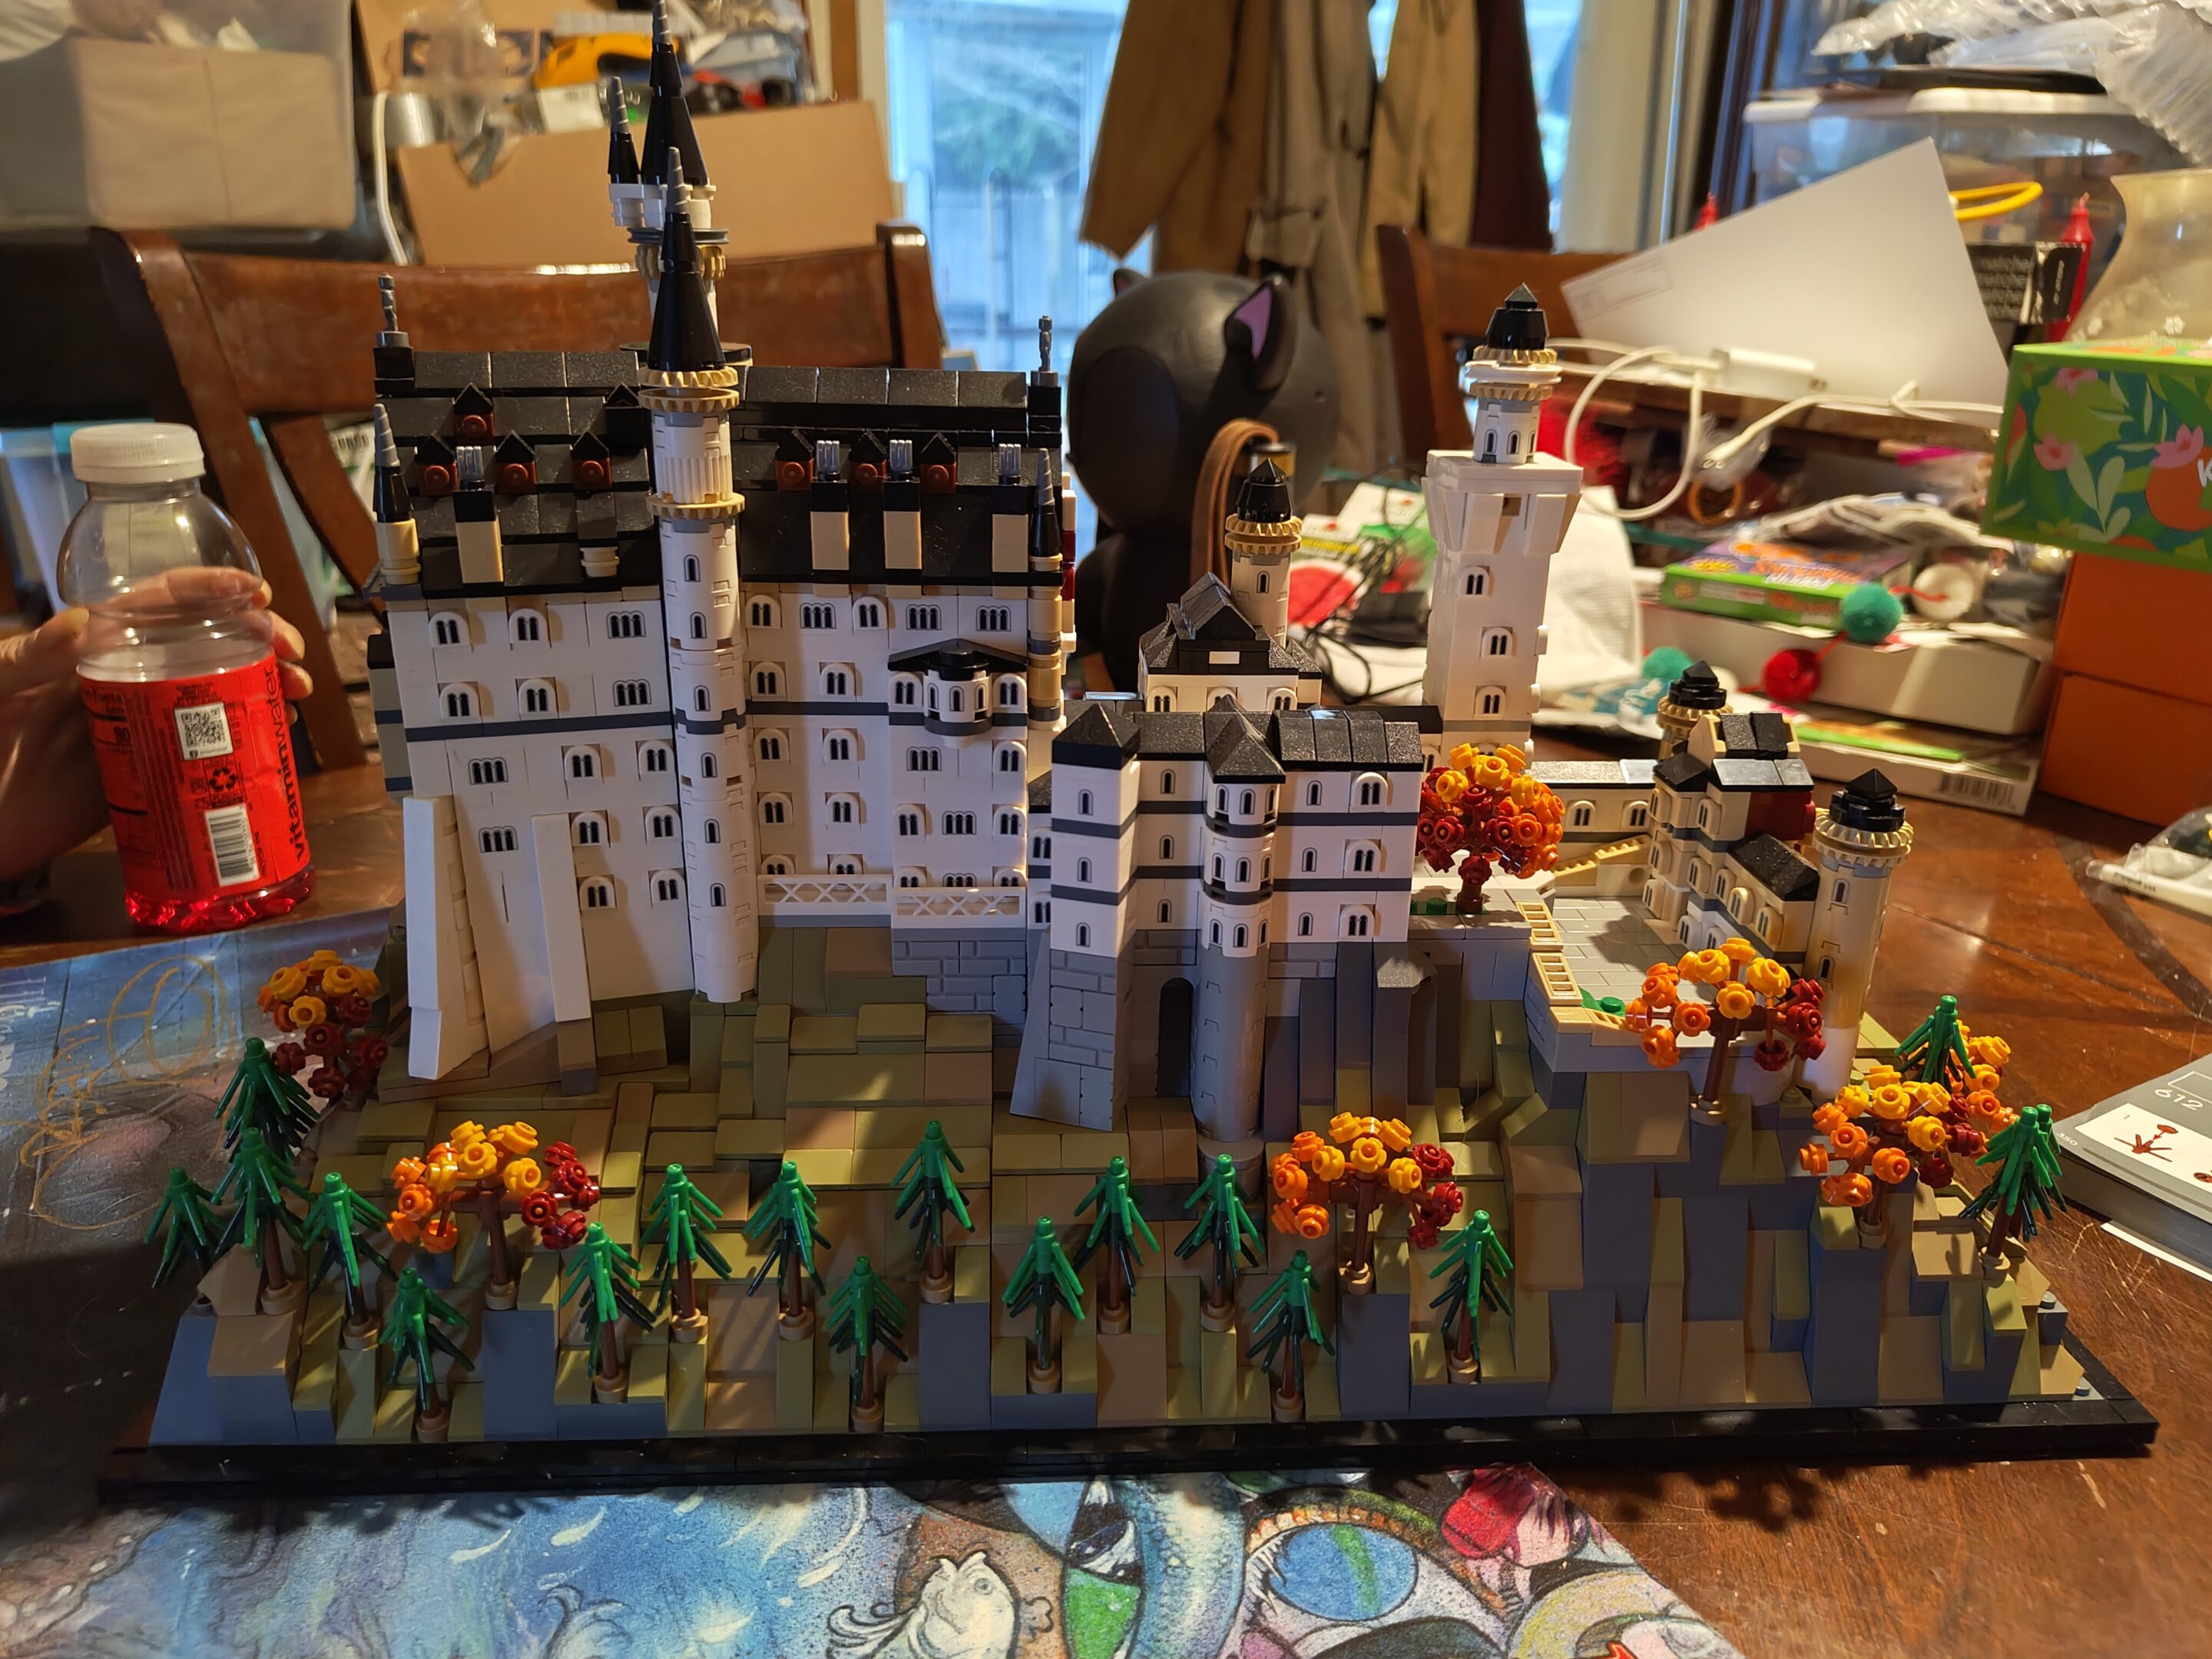
completed side view (with trees)completed isometric front+side view (with trees)light, in picture form not pictured: all the flashy bits
picked up this one used from the local lego store that i kinda know one of the owners of, mom and i pounded this one out pretty quick as it’s a smaller (880 pieces) set. all my pictures turned out blurry so i only got two? what the hell man
we were missing a piece here so i had to go back to the store and get it (an 8×16 beige plate)finished product
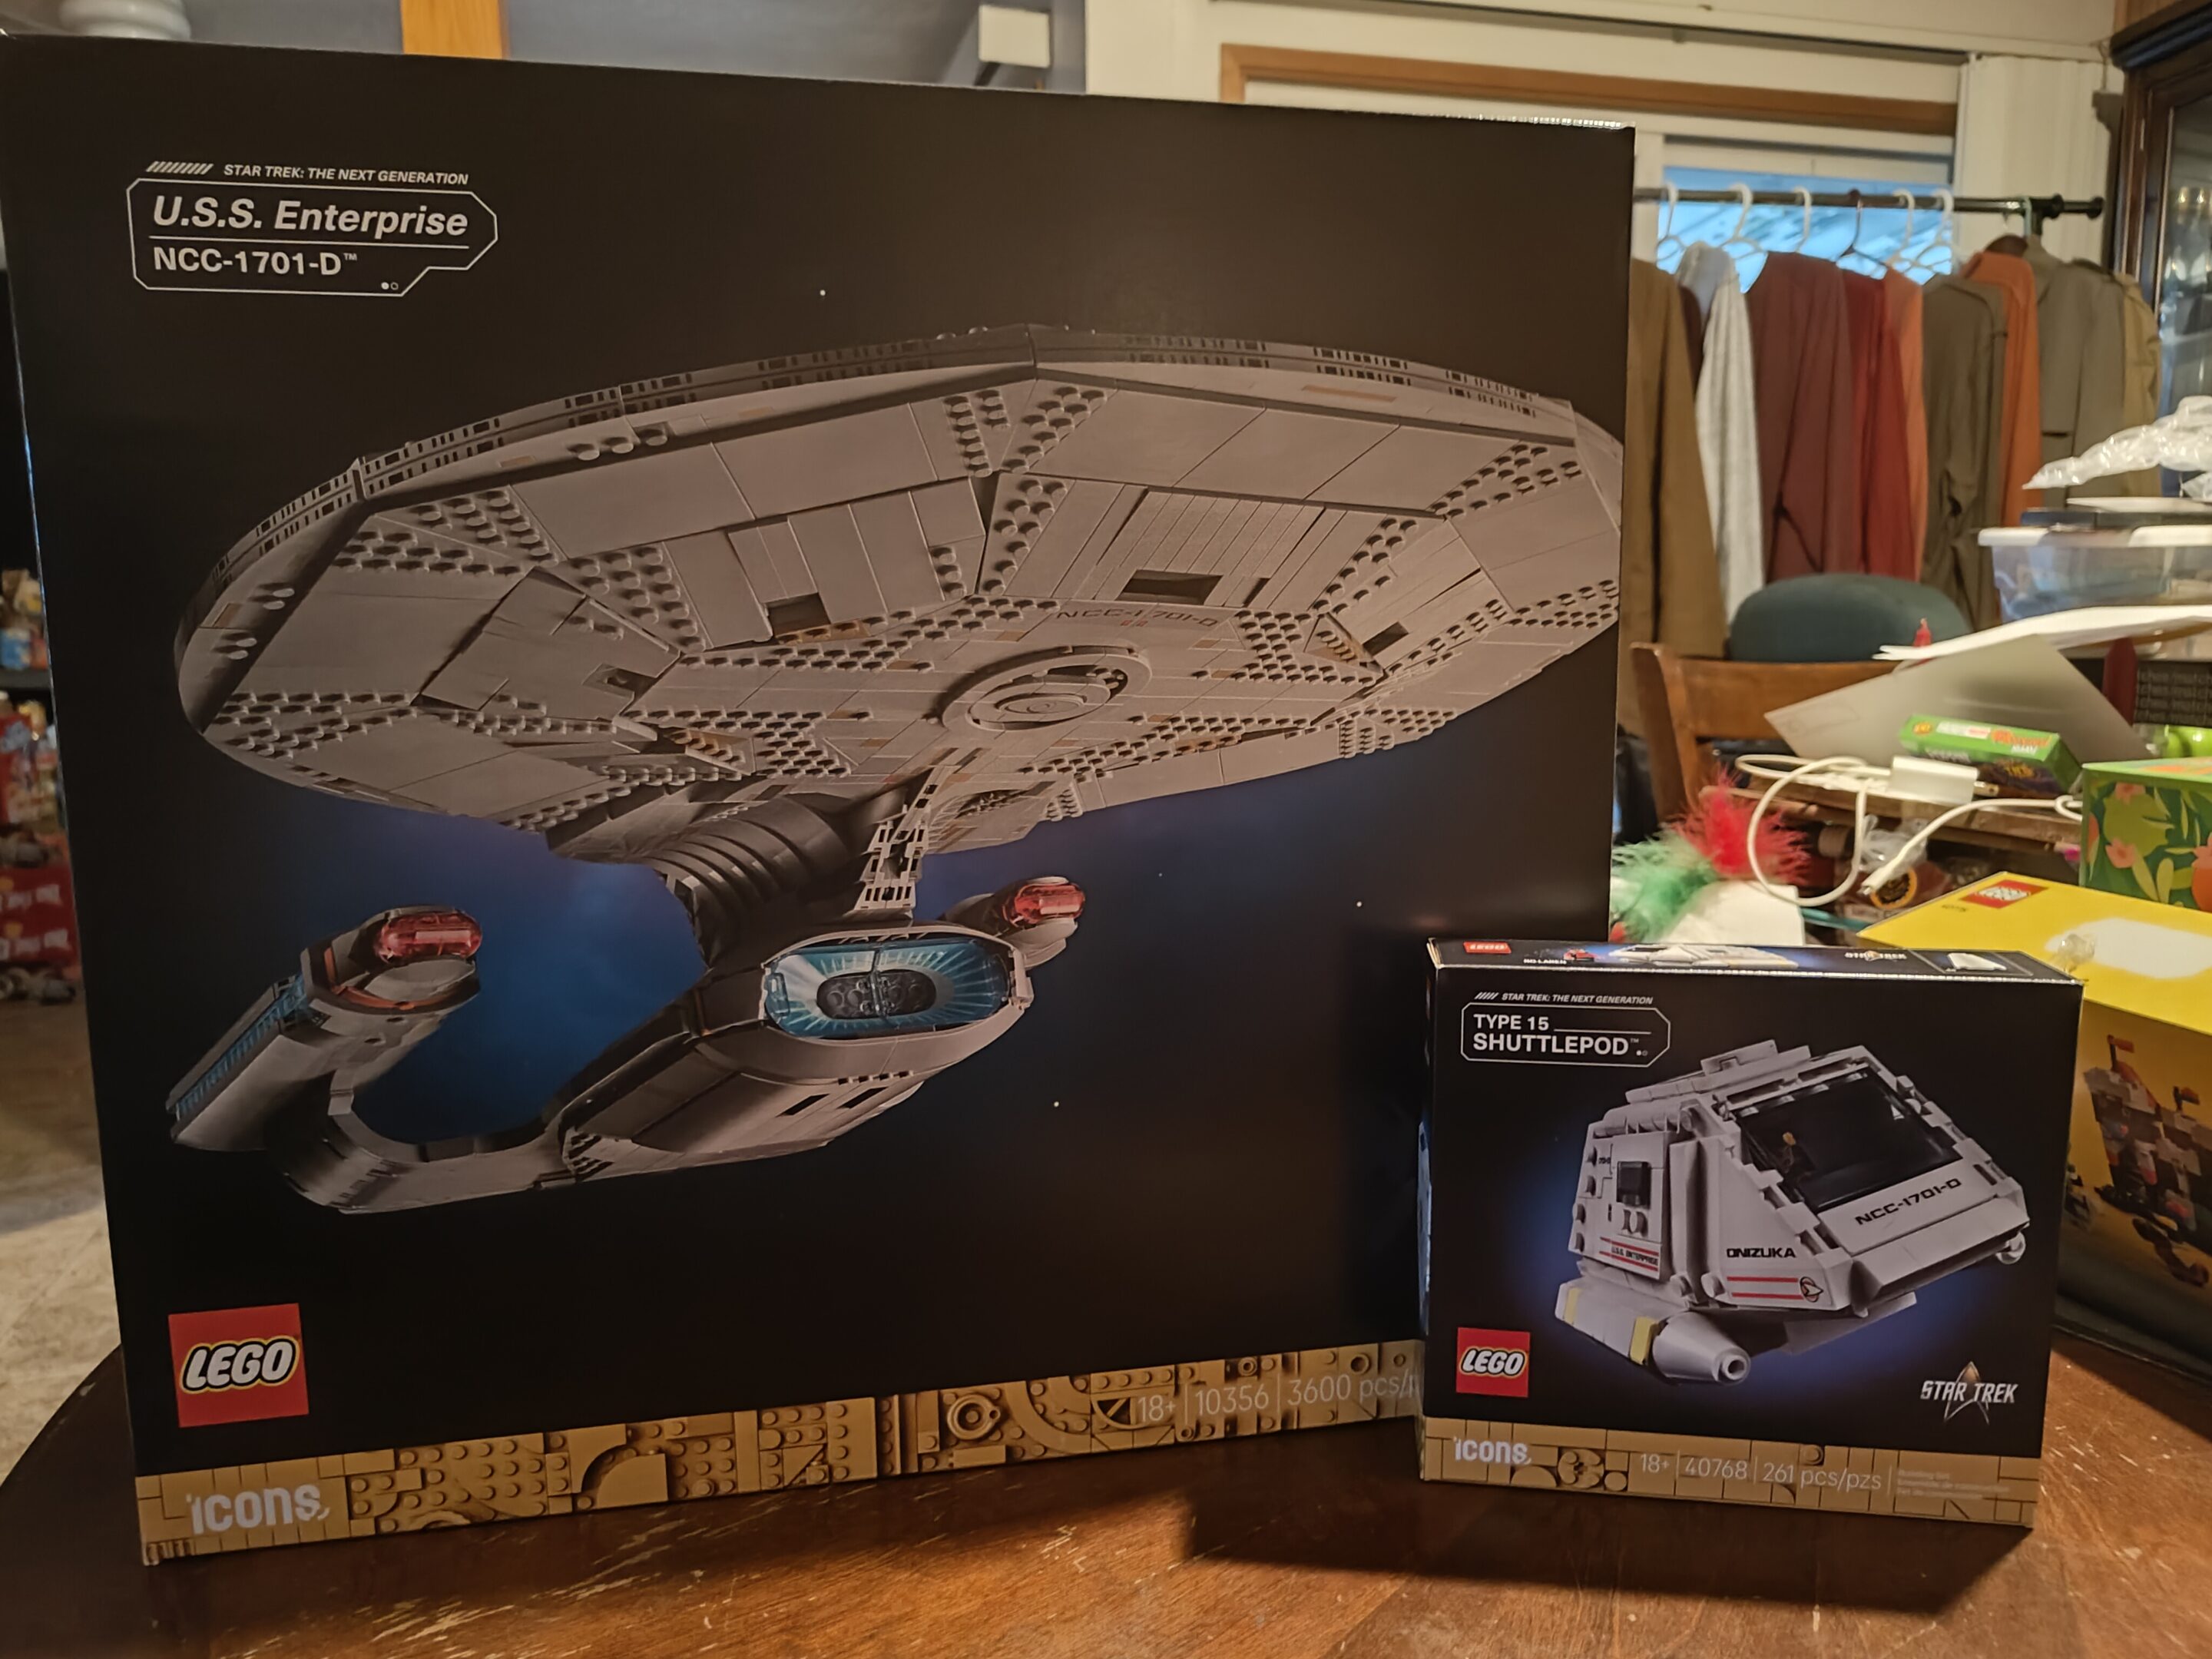
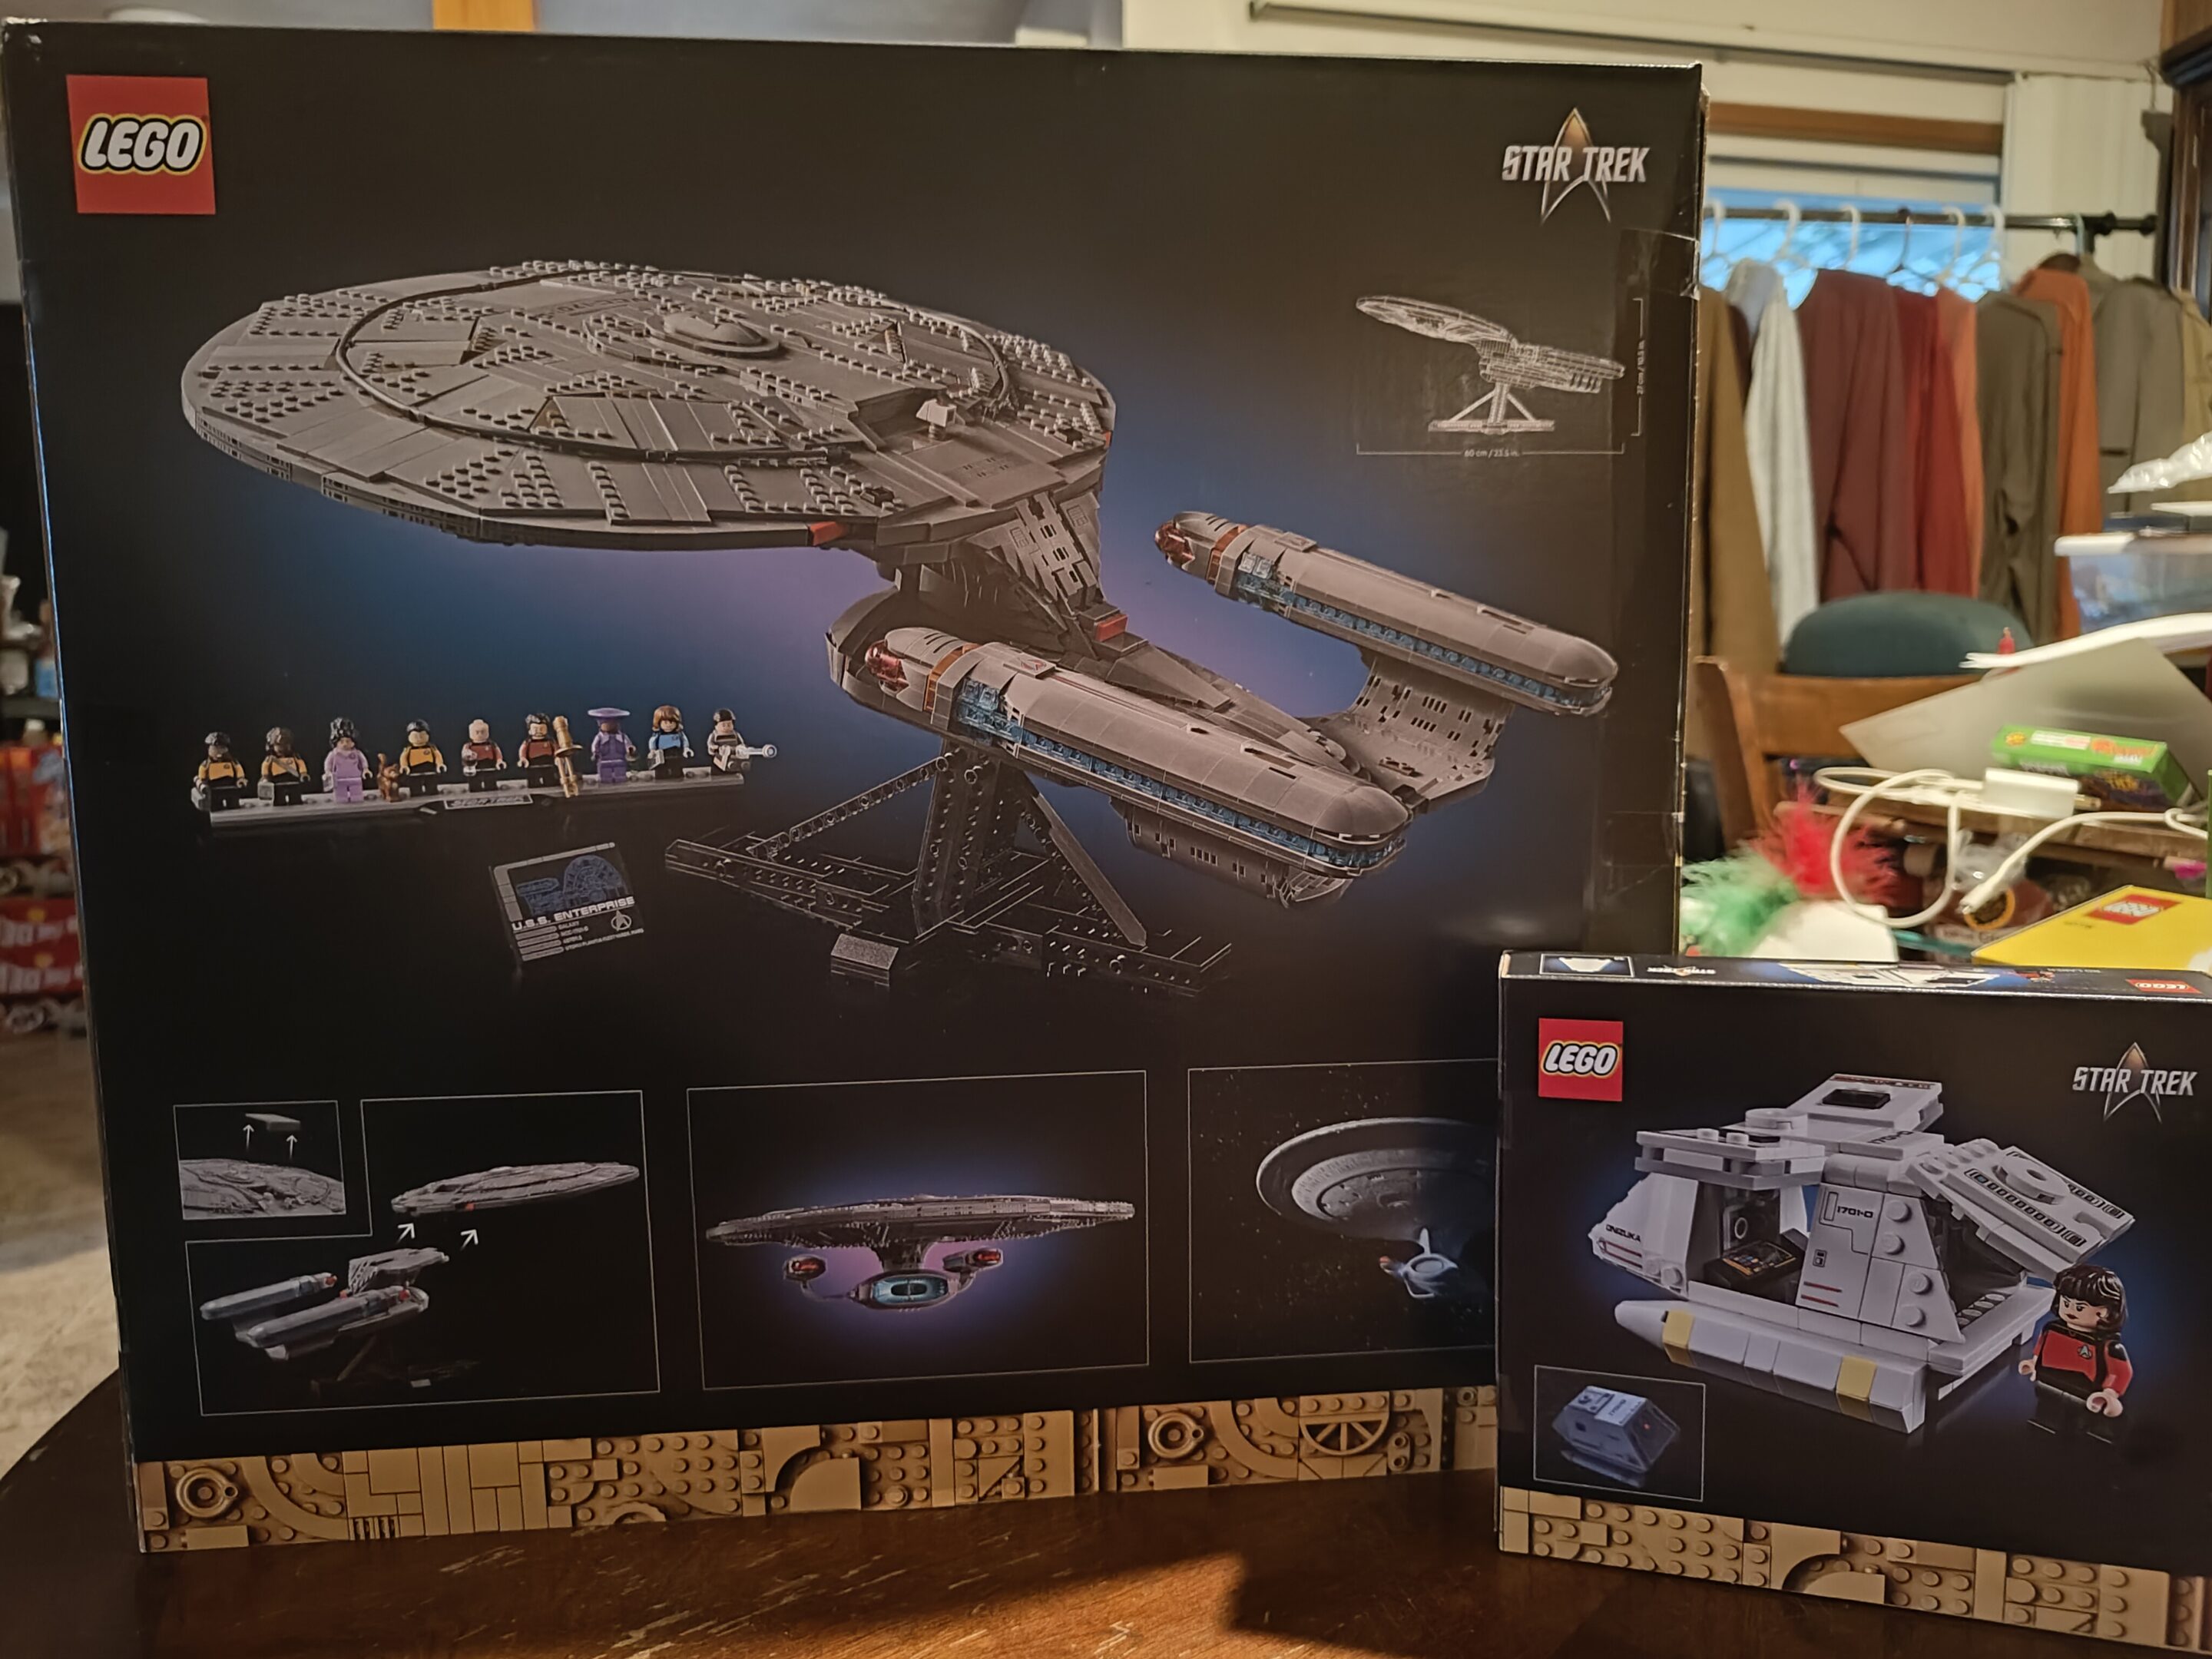
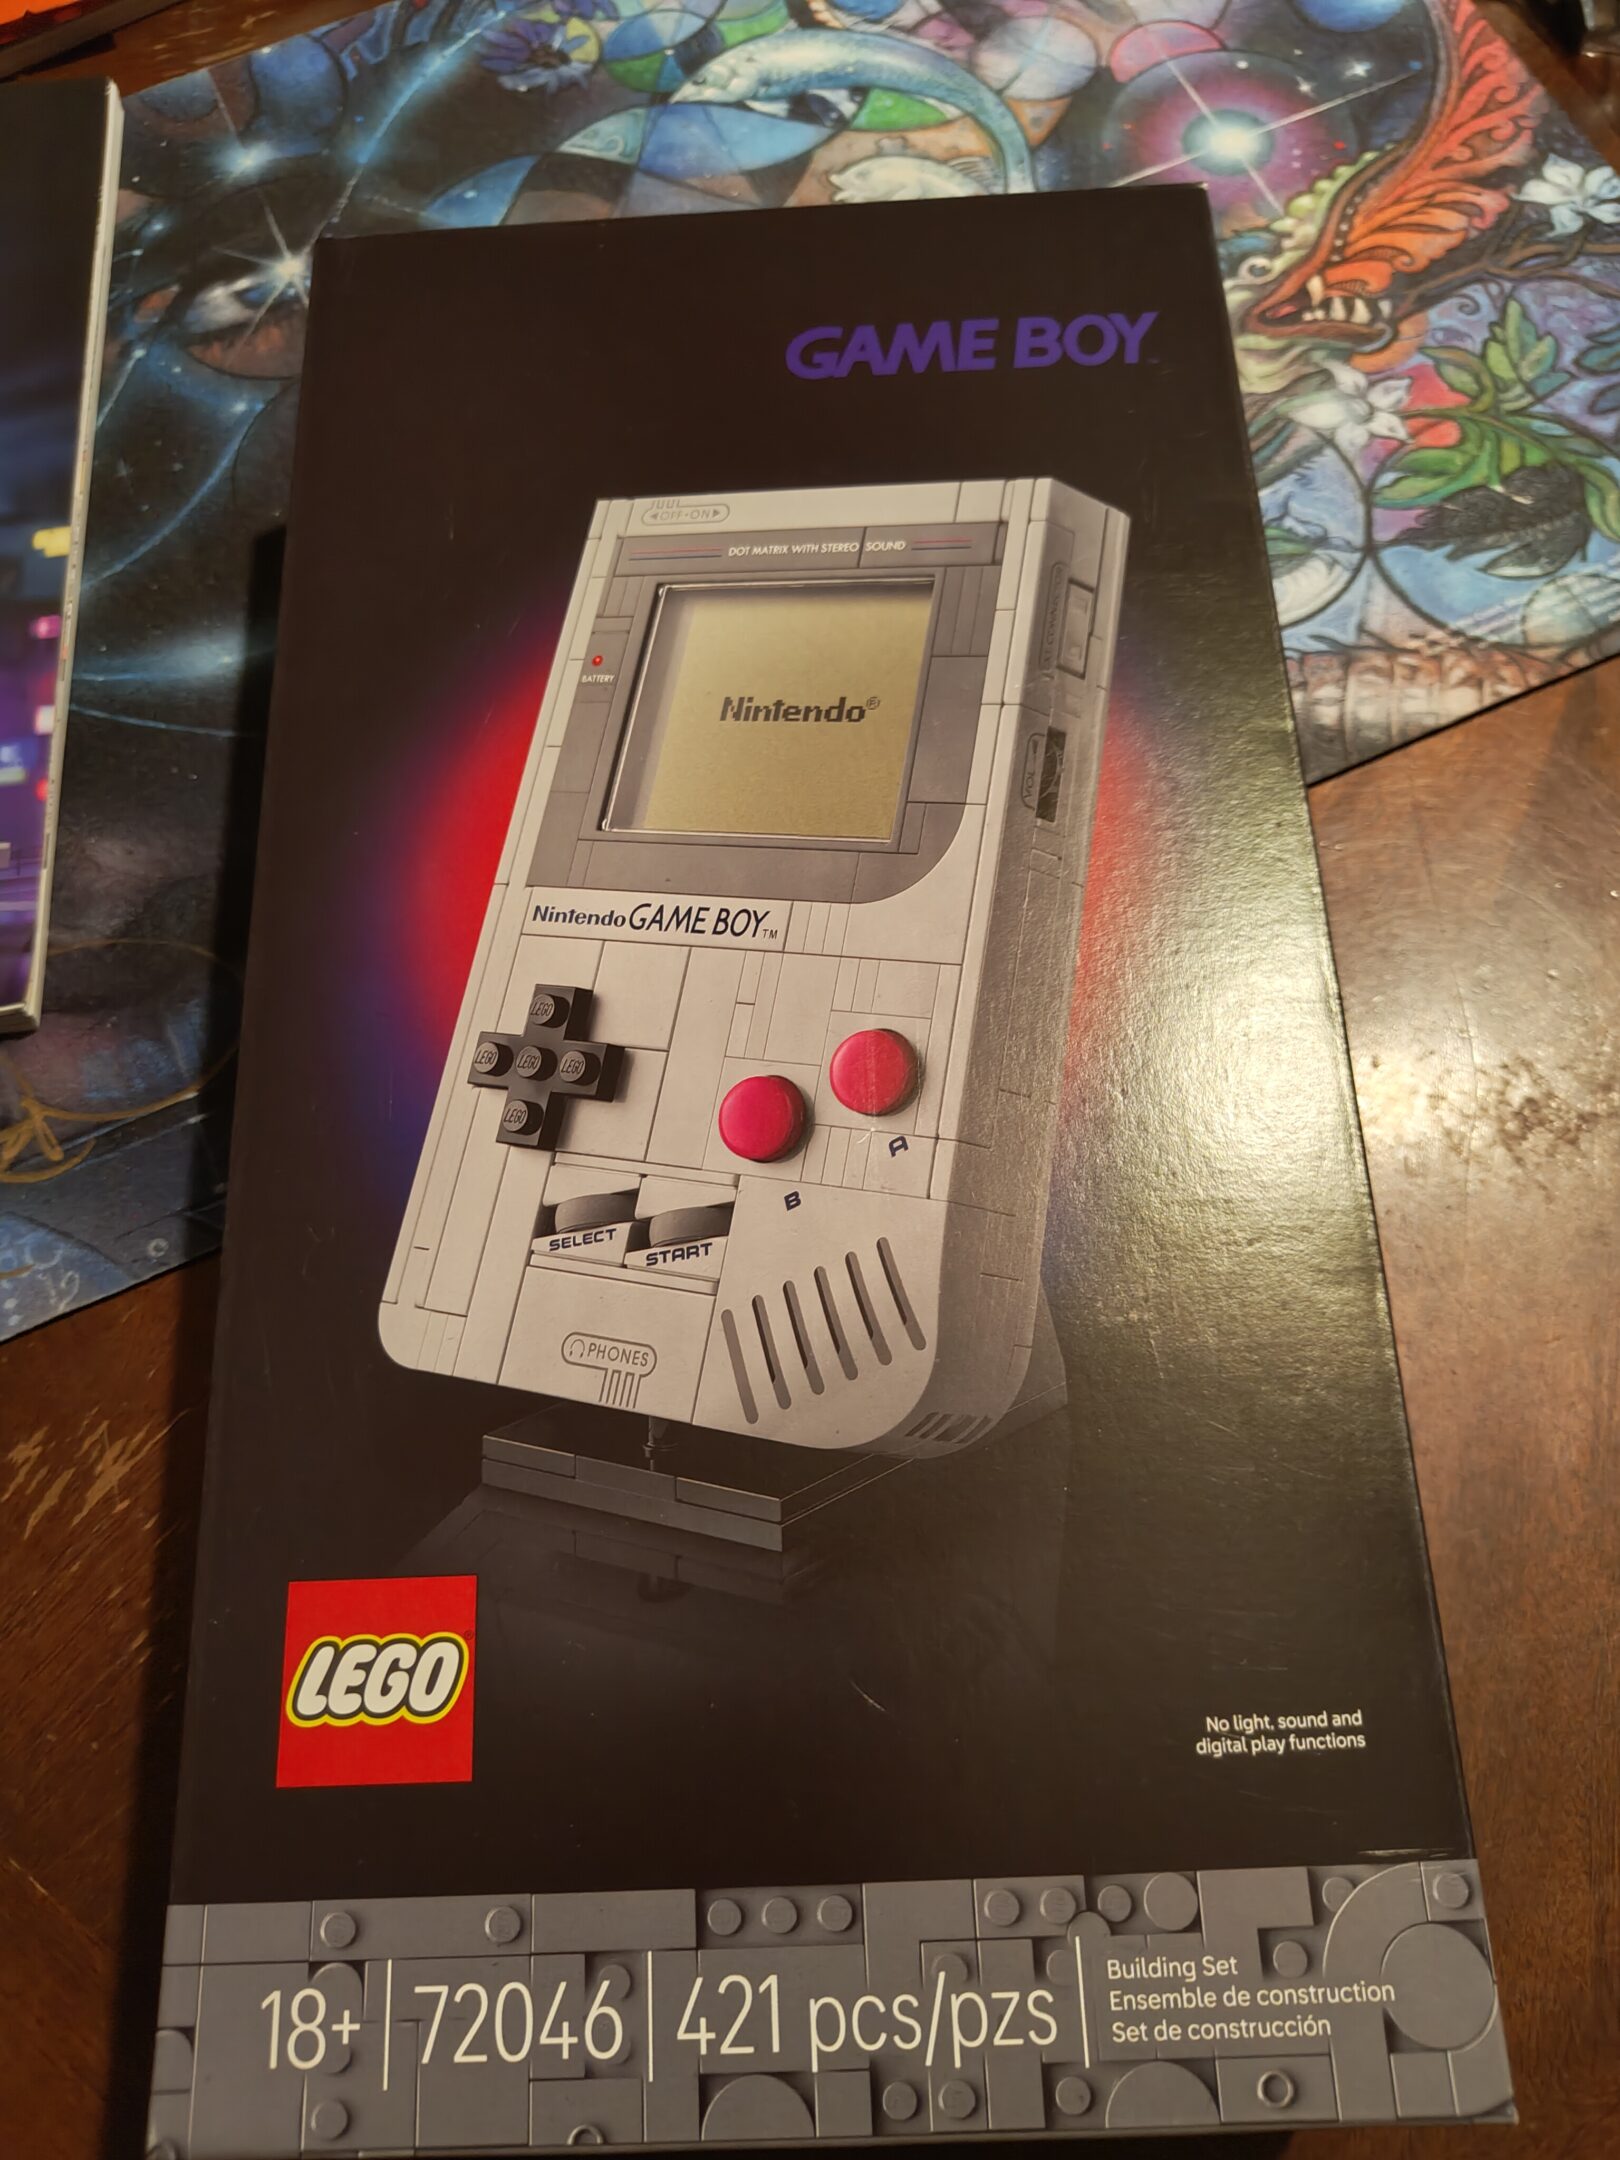
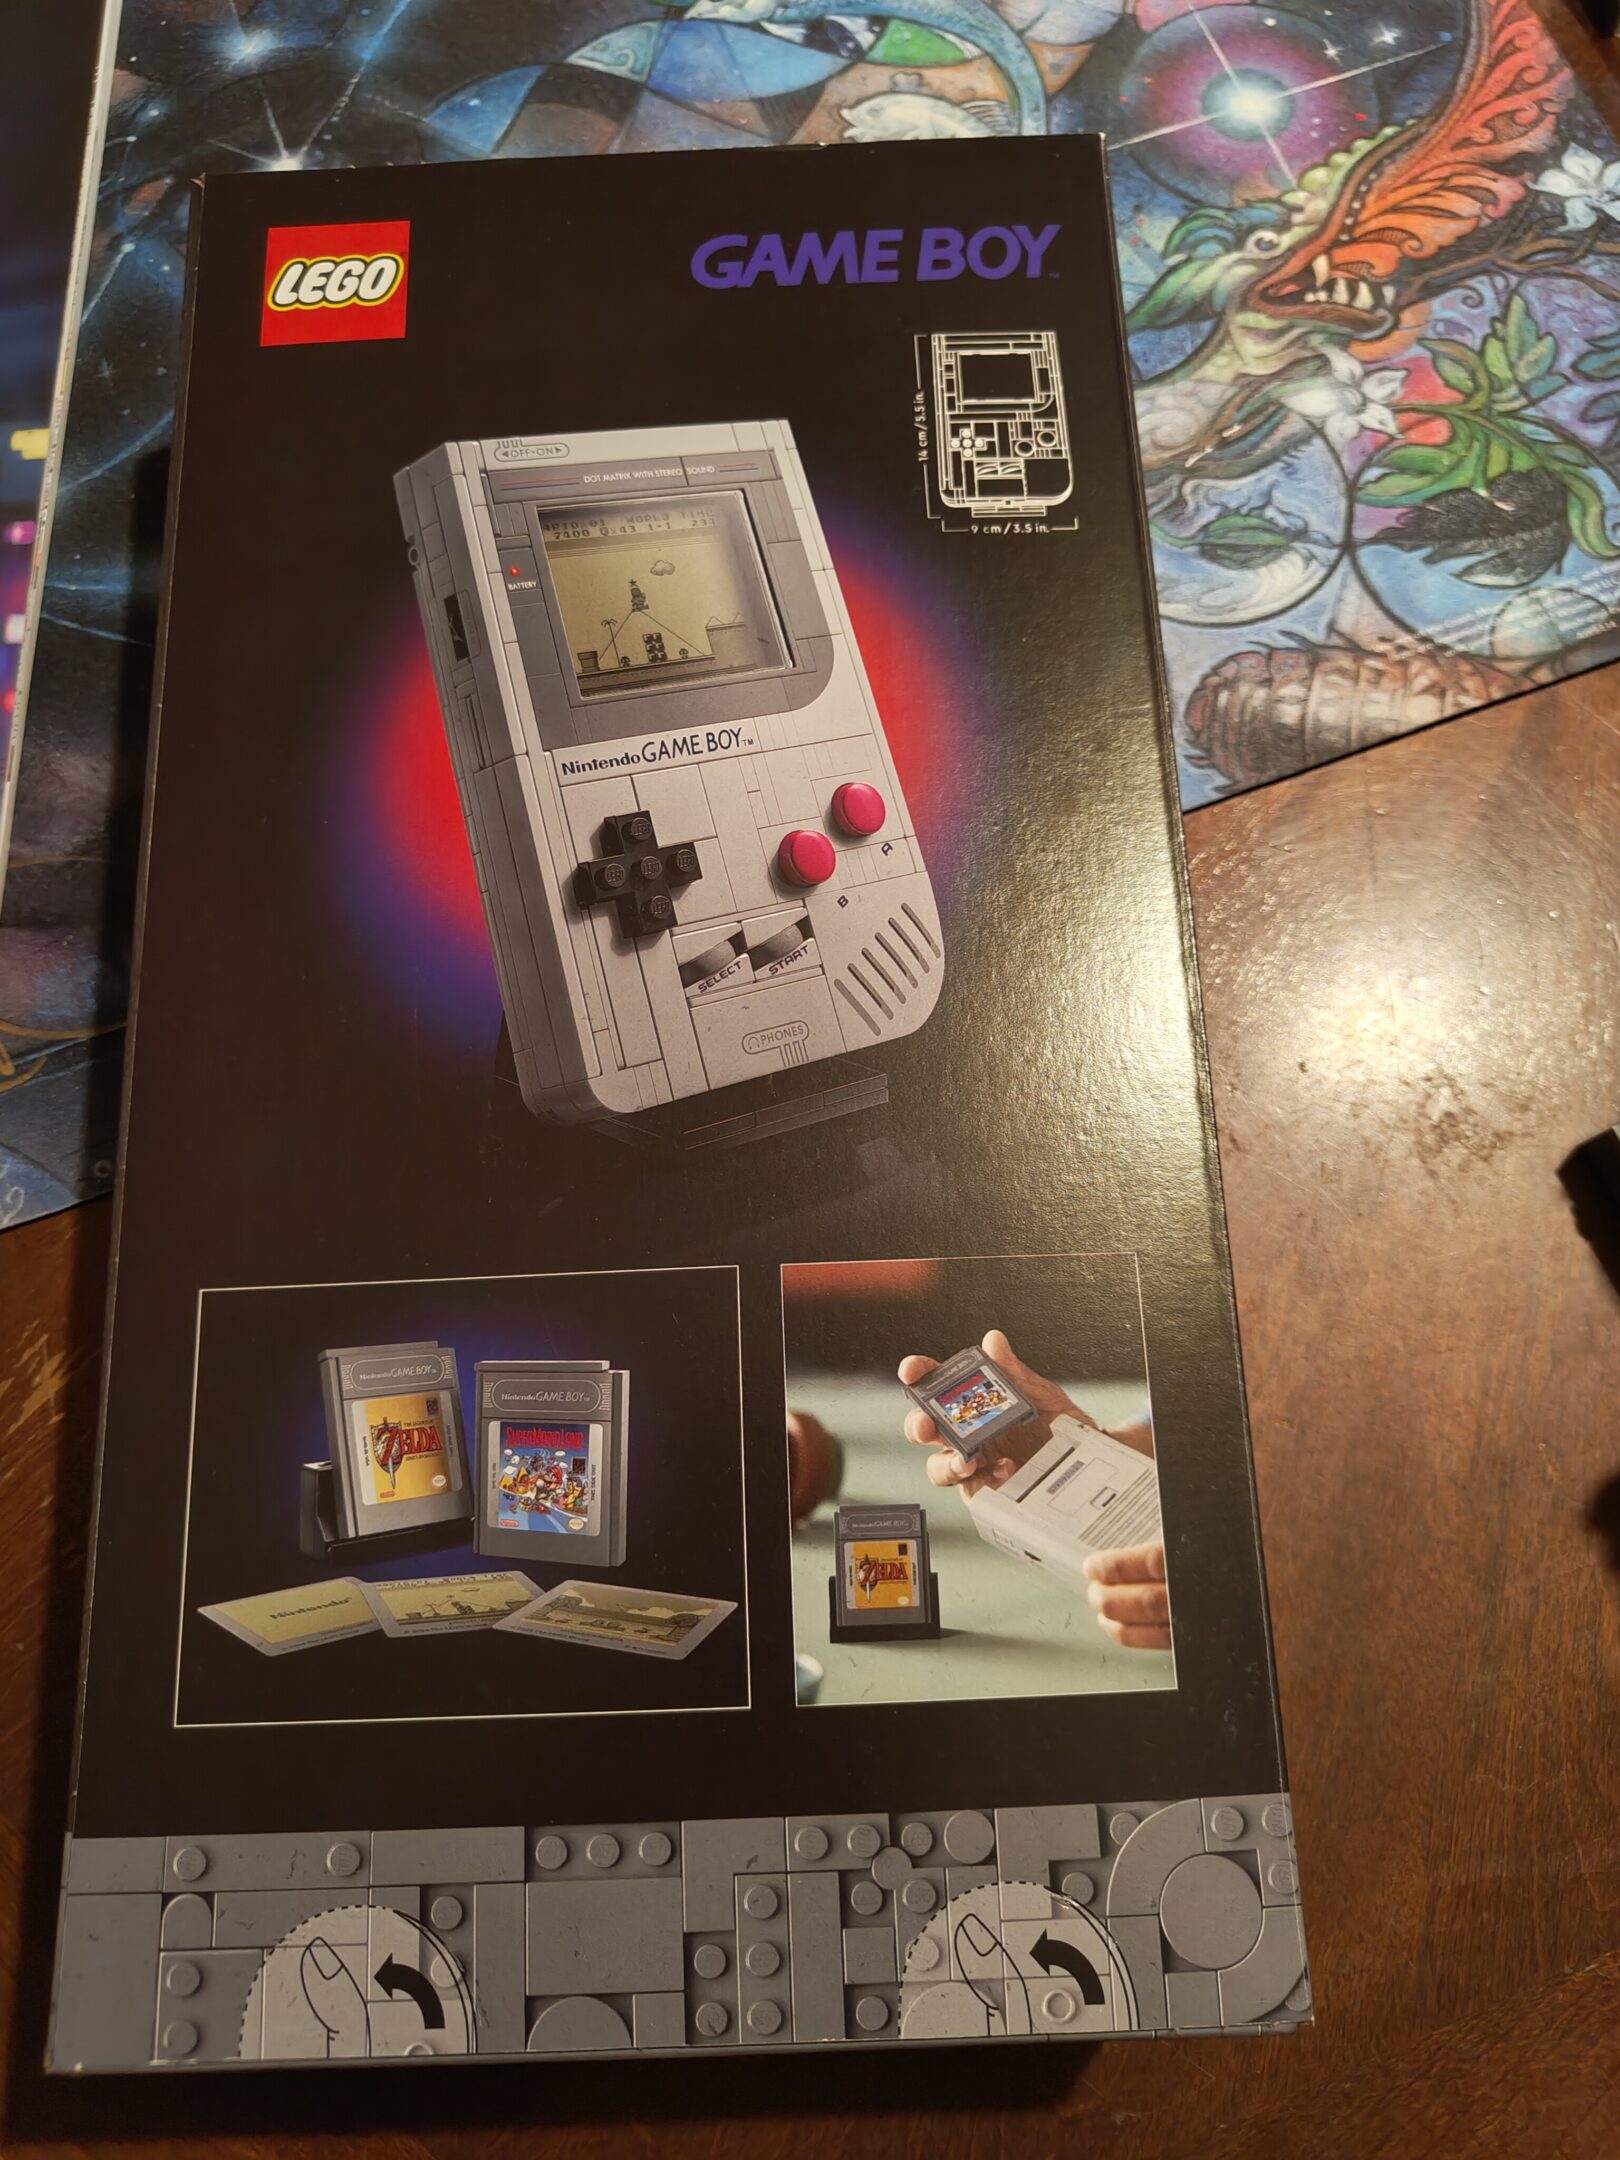
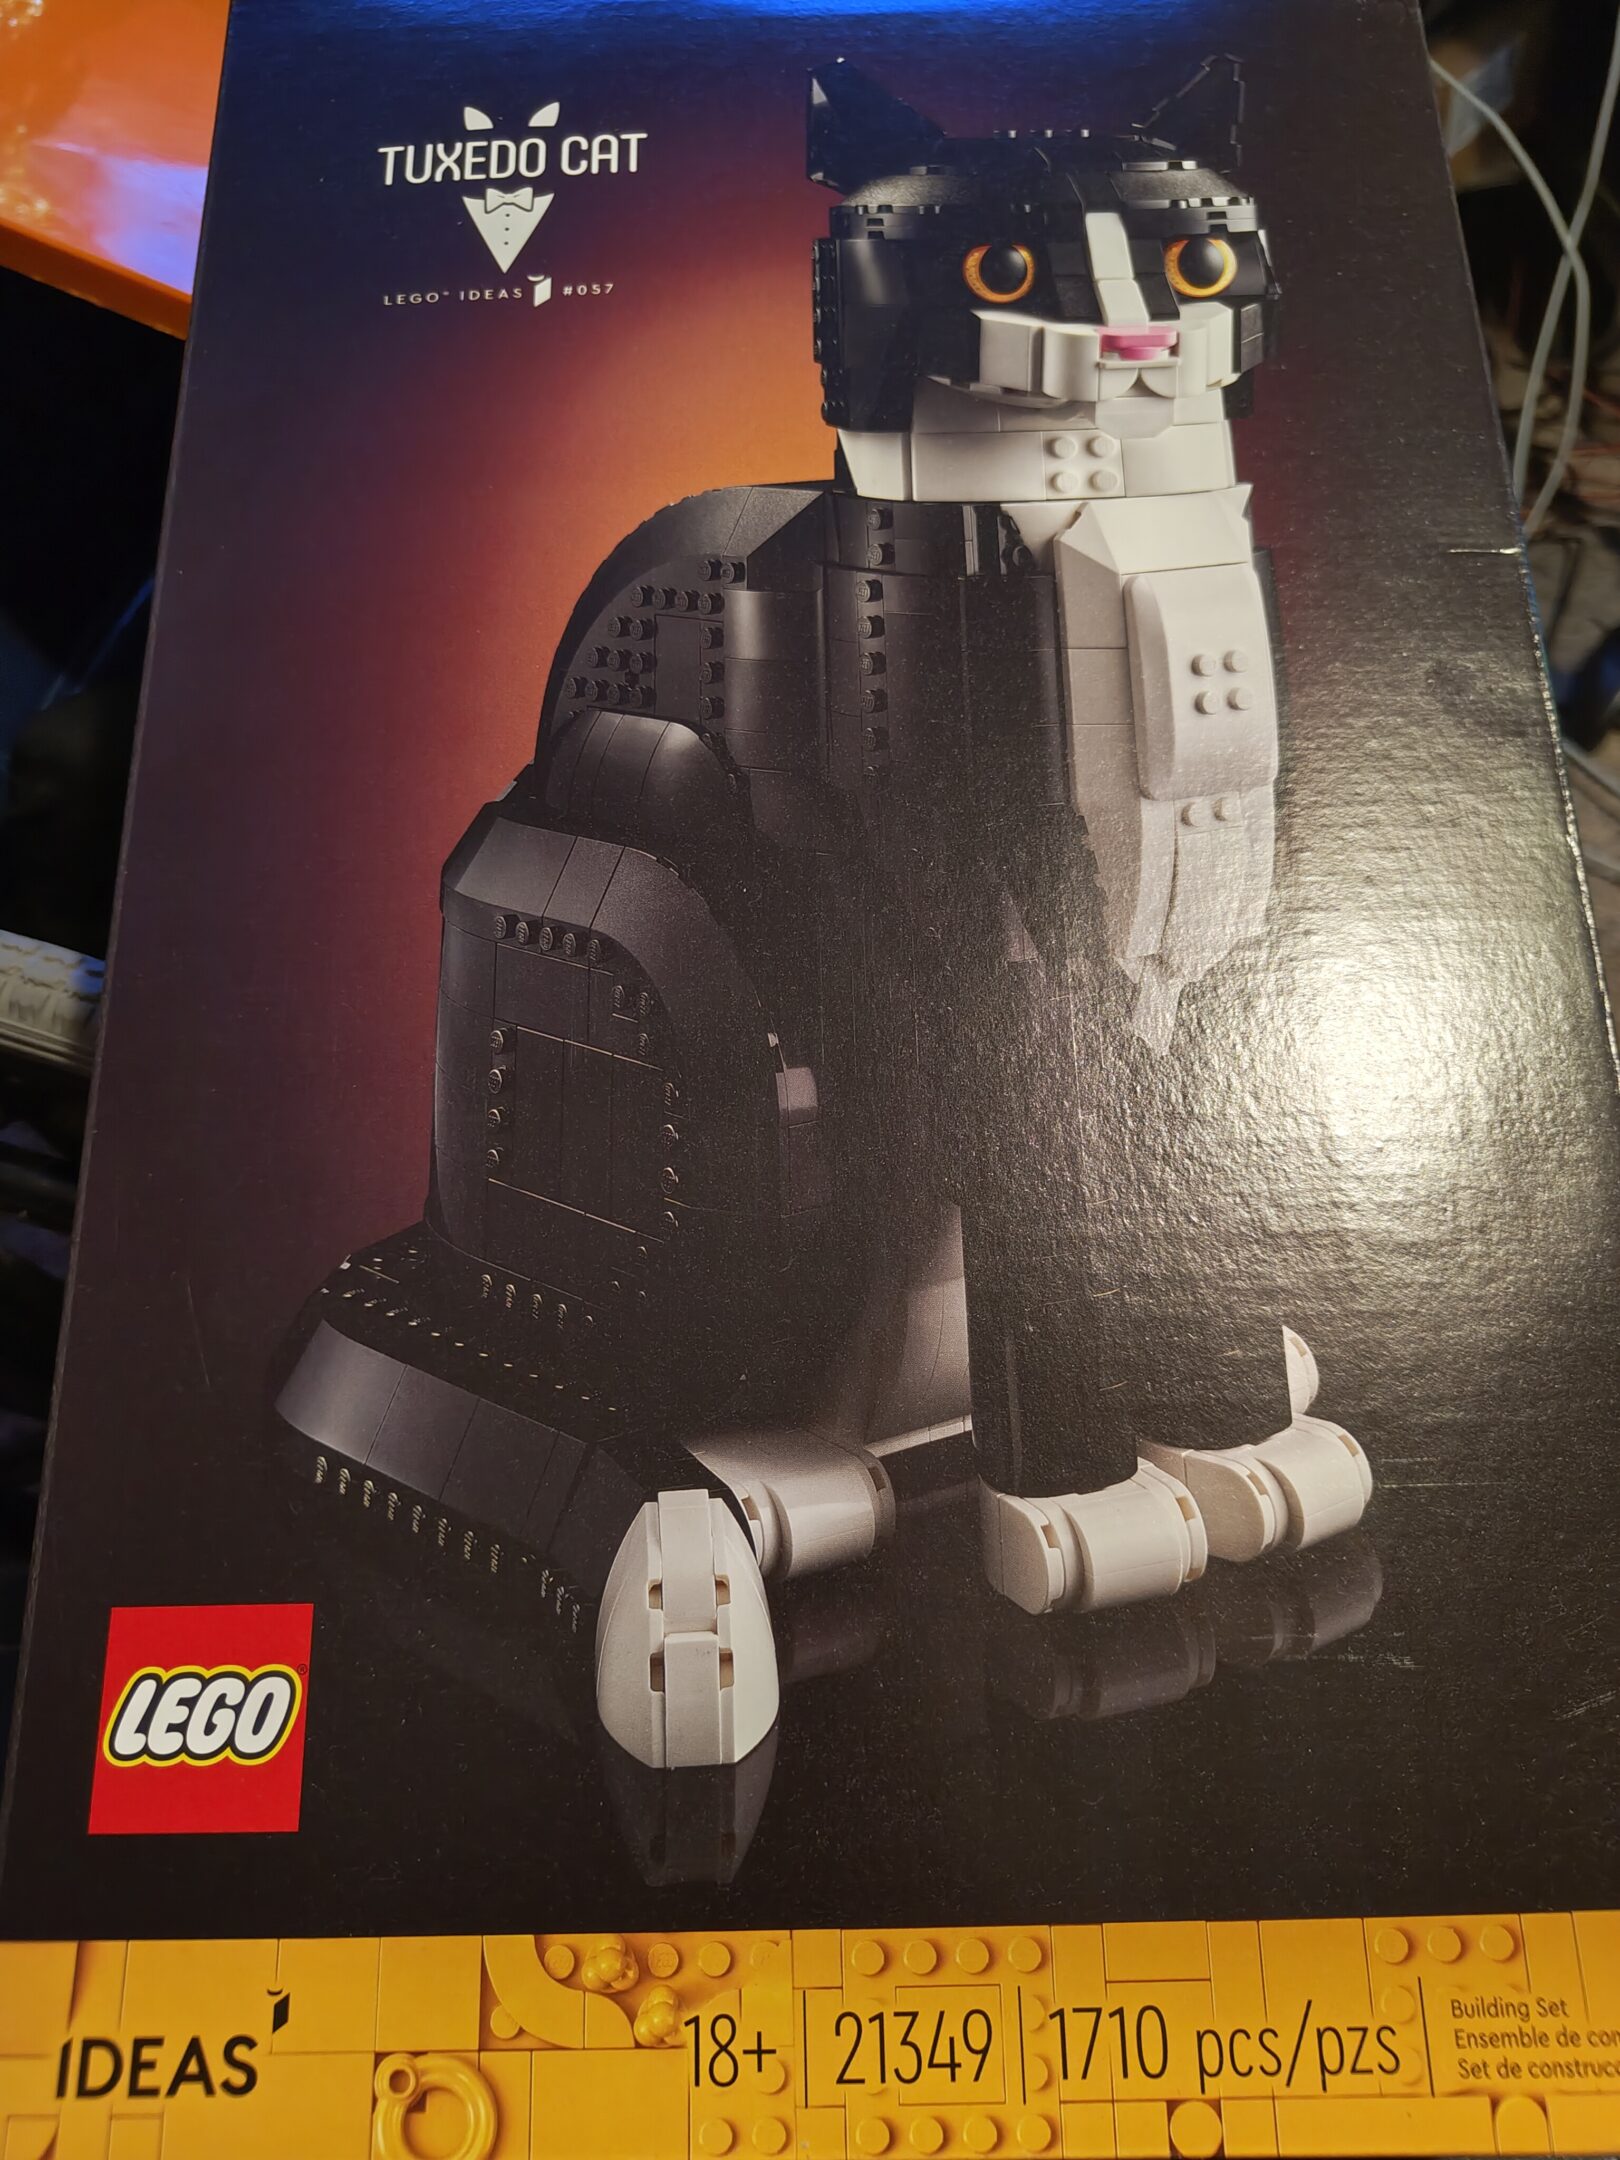
managed to snag one of these before they sold out, had 3 gifts with purchase and i would kind of hope so as this set was on the higher end of average price per brick. anyway it’s sweet and i’m debating waiting on it until there’s a light kit for it but…. maybe. i imagine that would probably take a while to make up for the people who do those. i’ve seen a few of the kits for lego (brand) sets and they look super cool but you have to do the model and then take it apart to add the light parts? that does sound awfully involved
box frontsbox backs
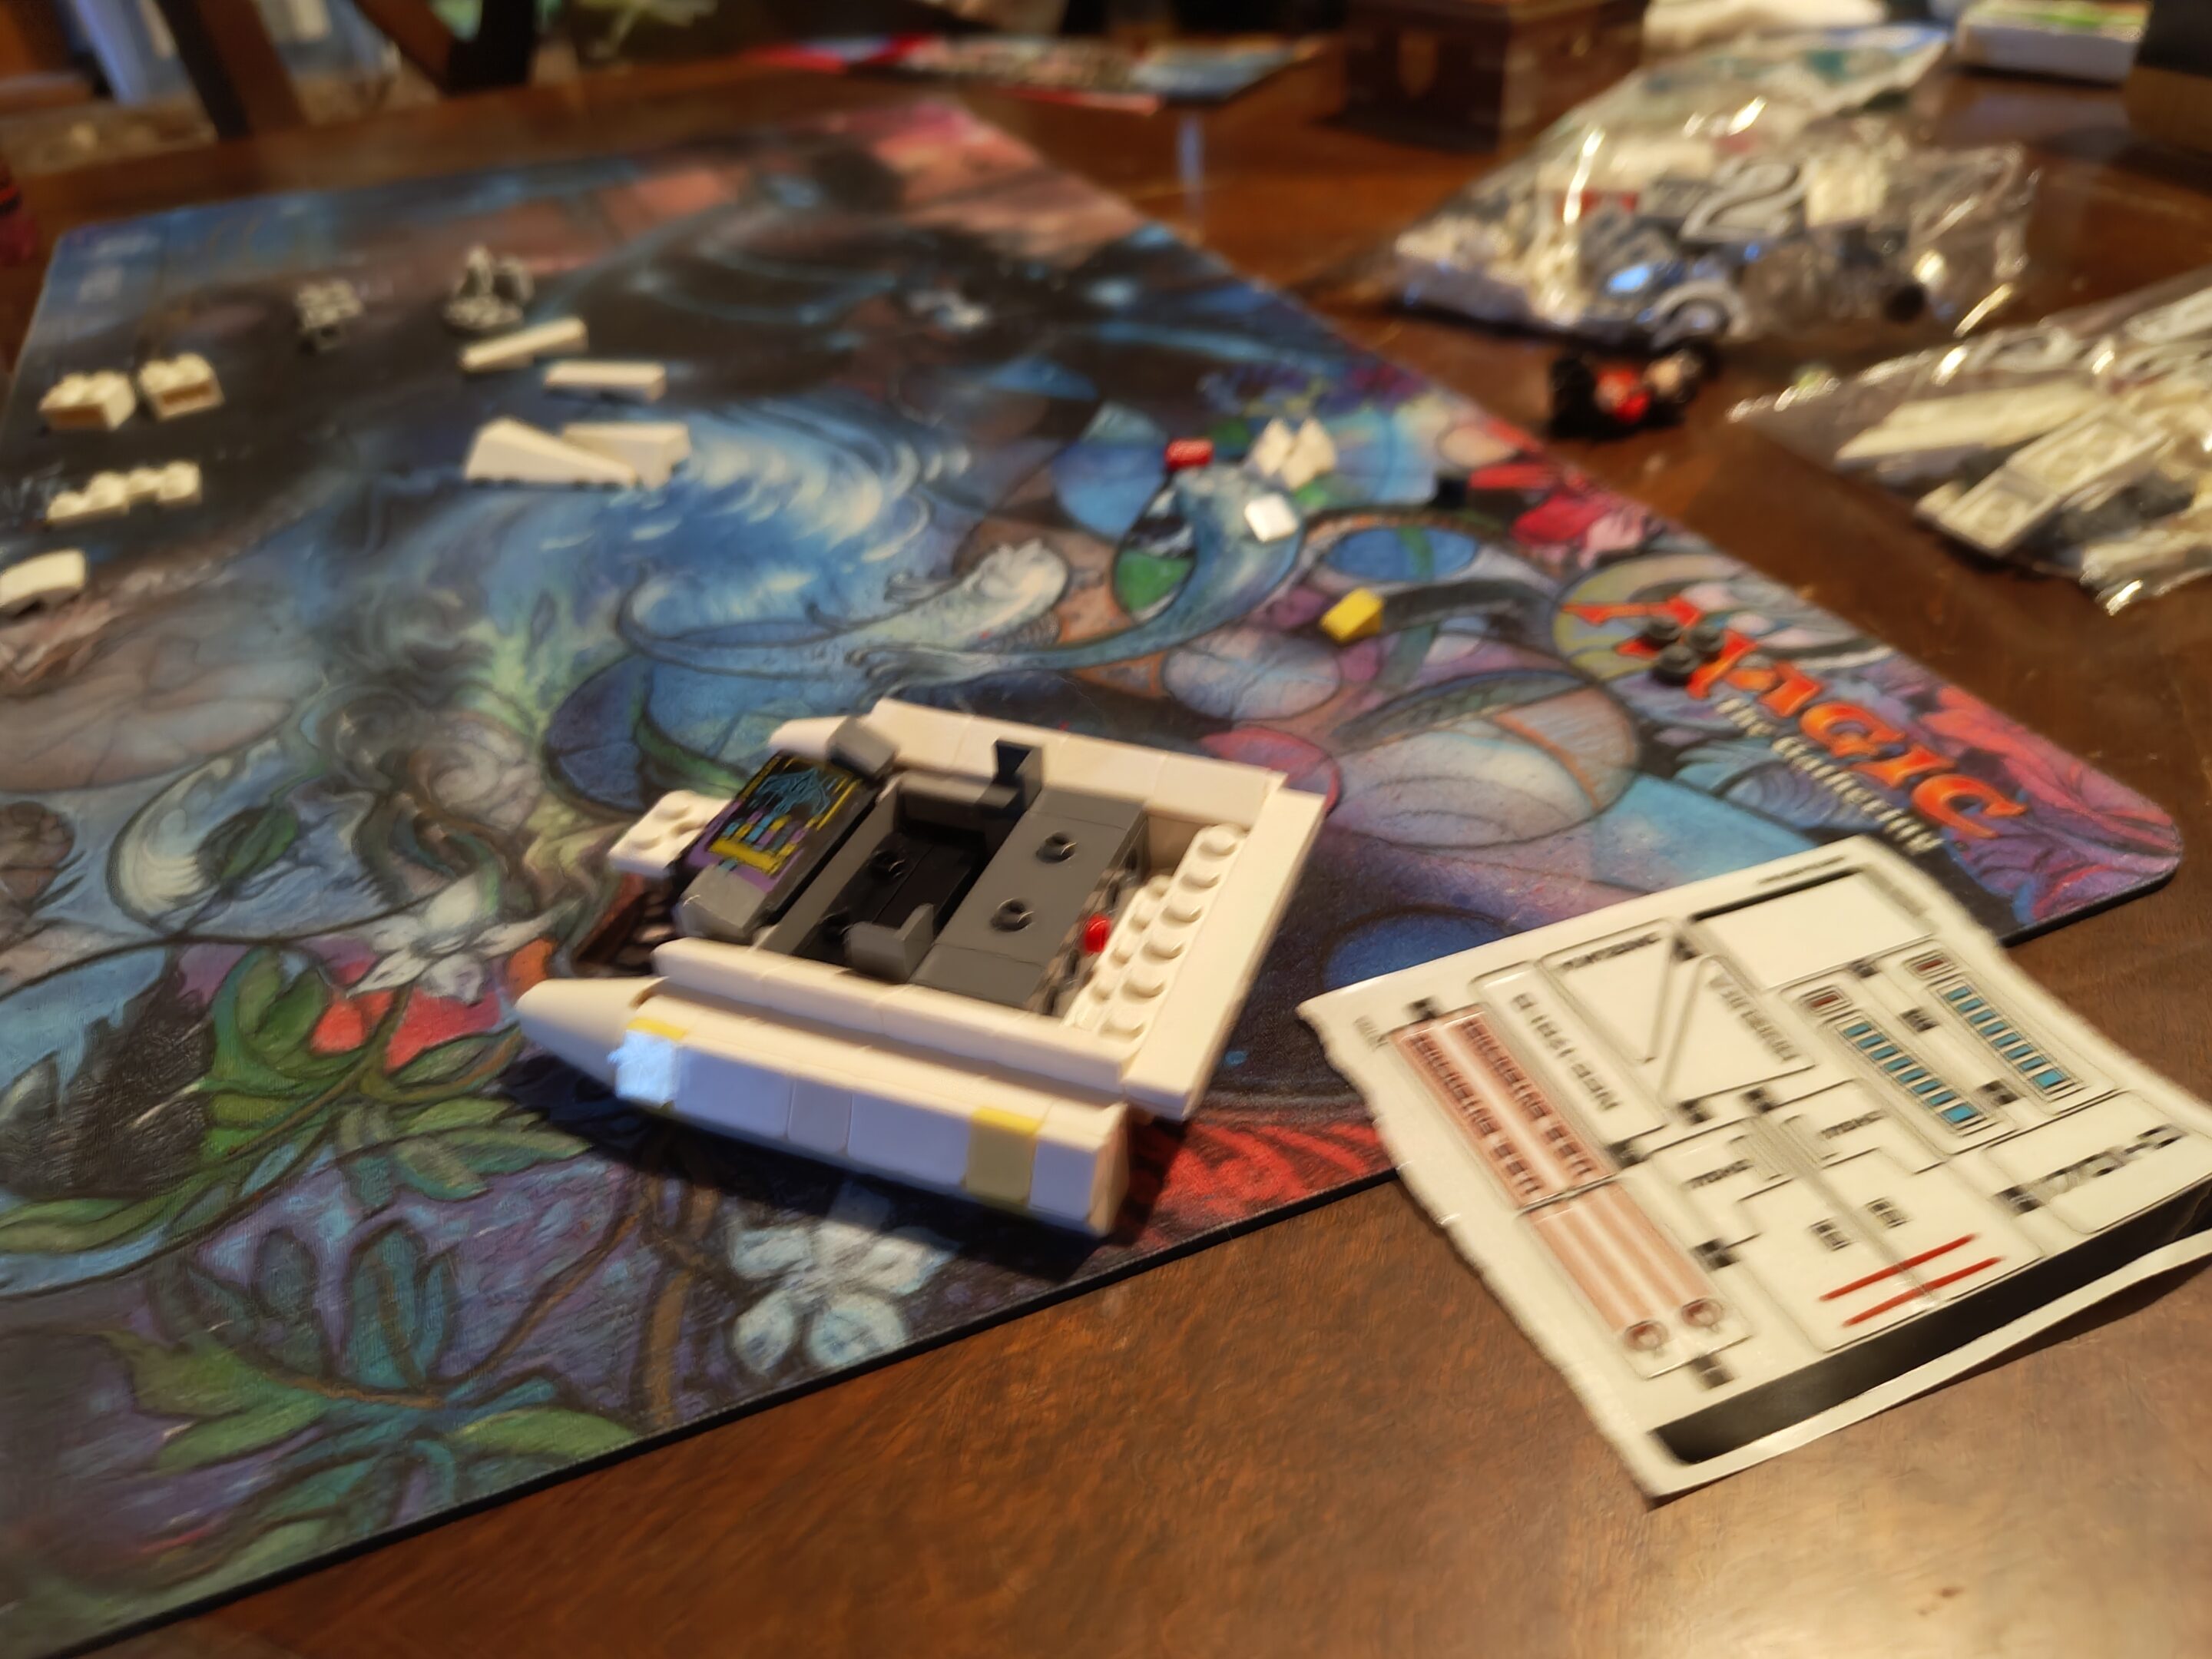
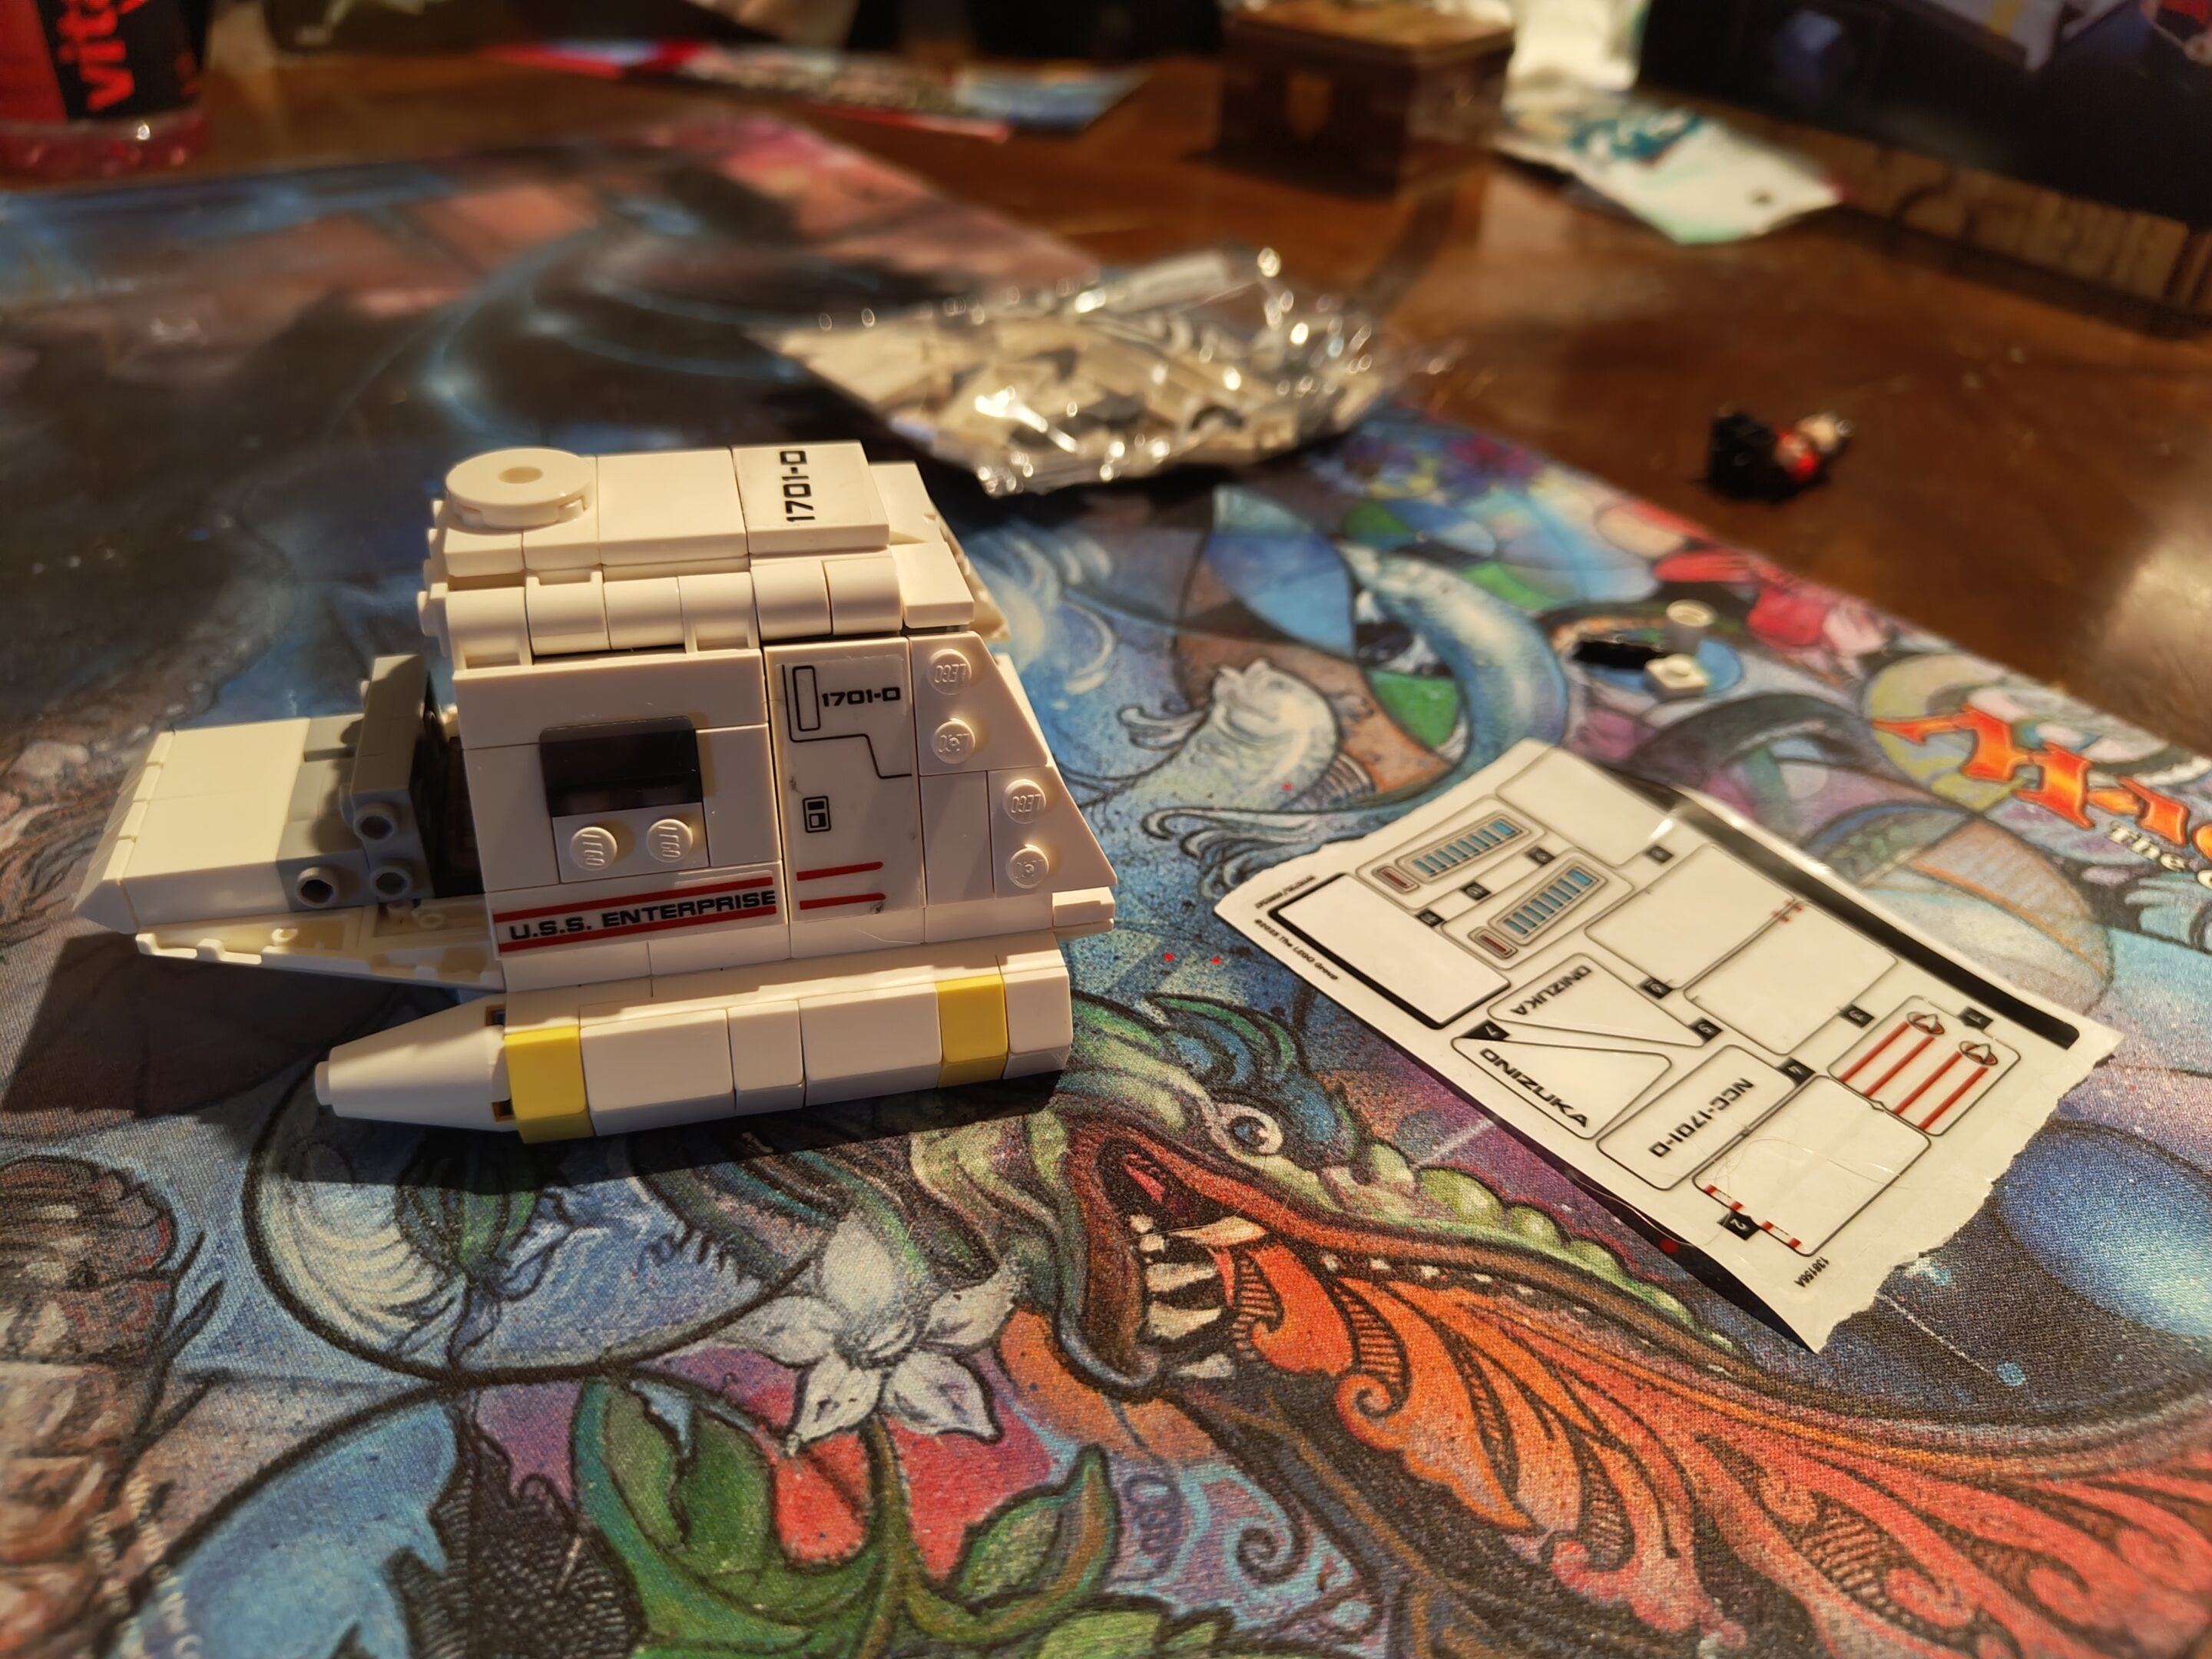
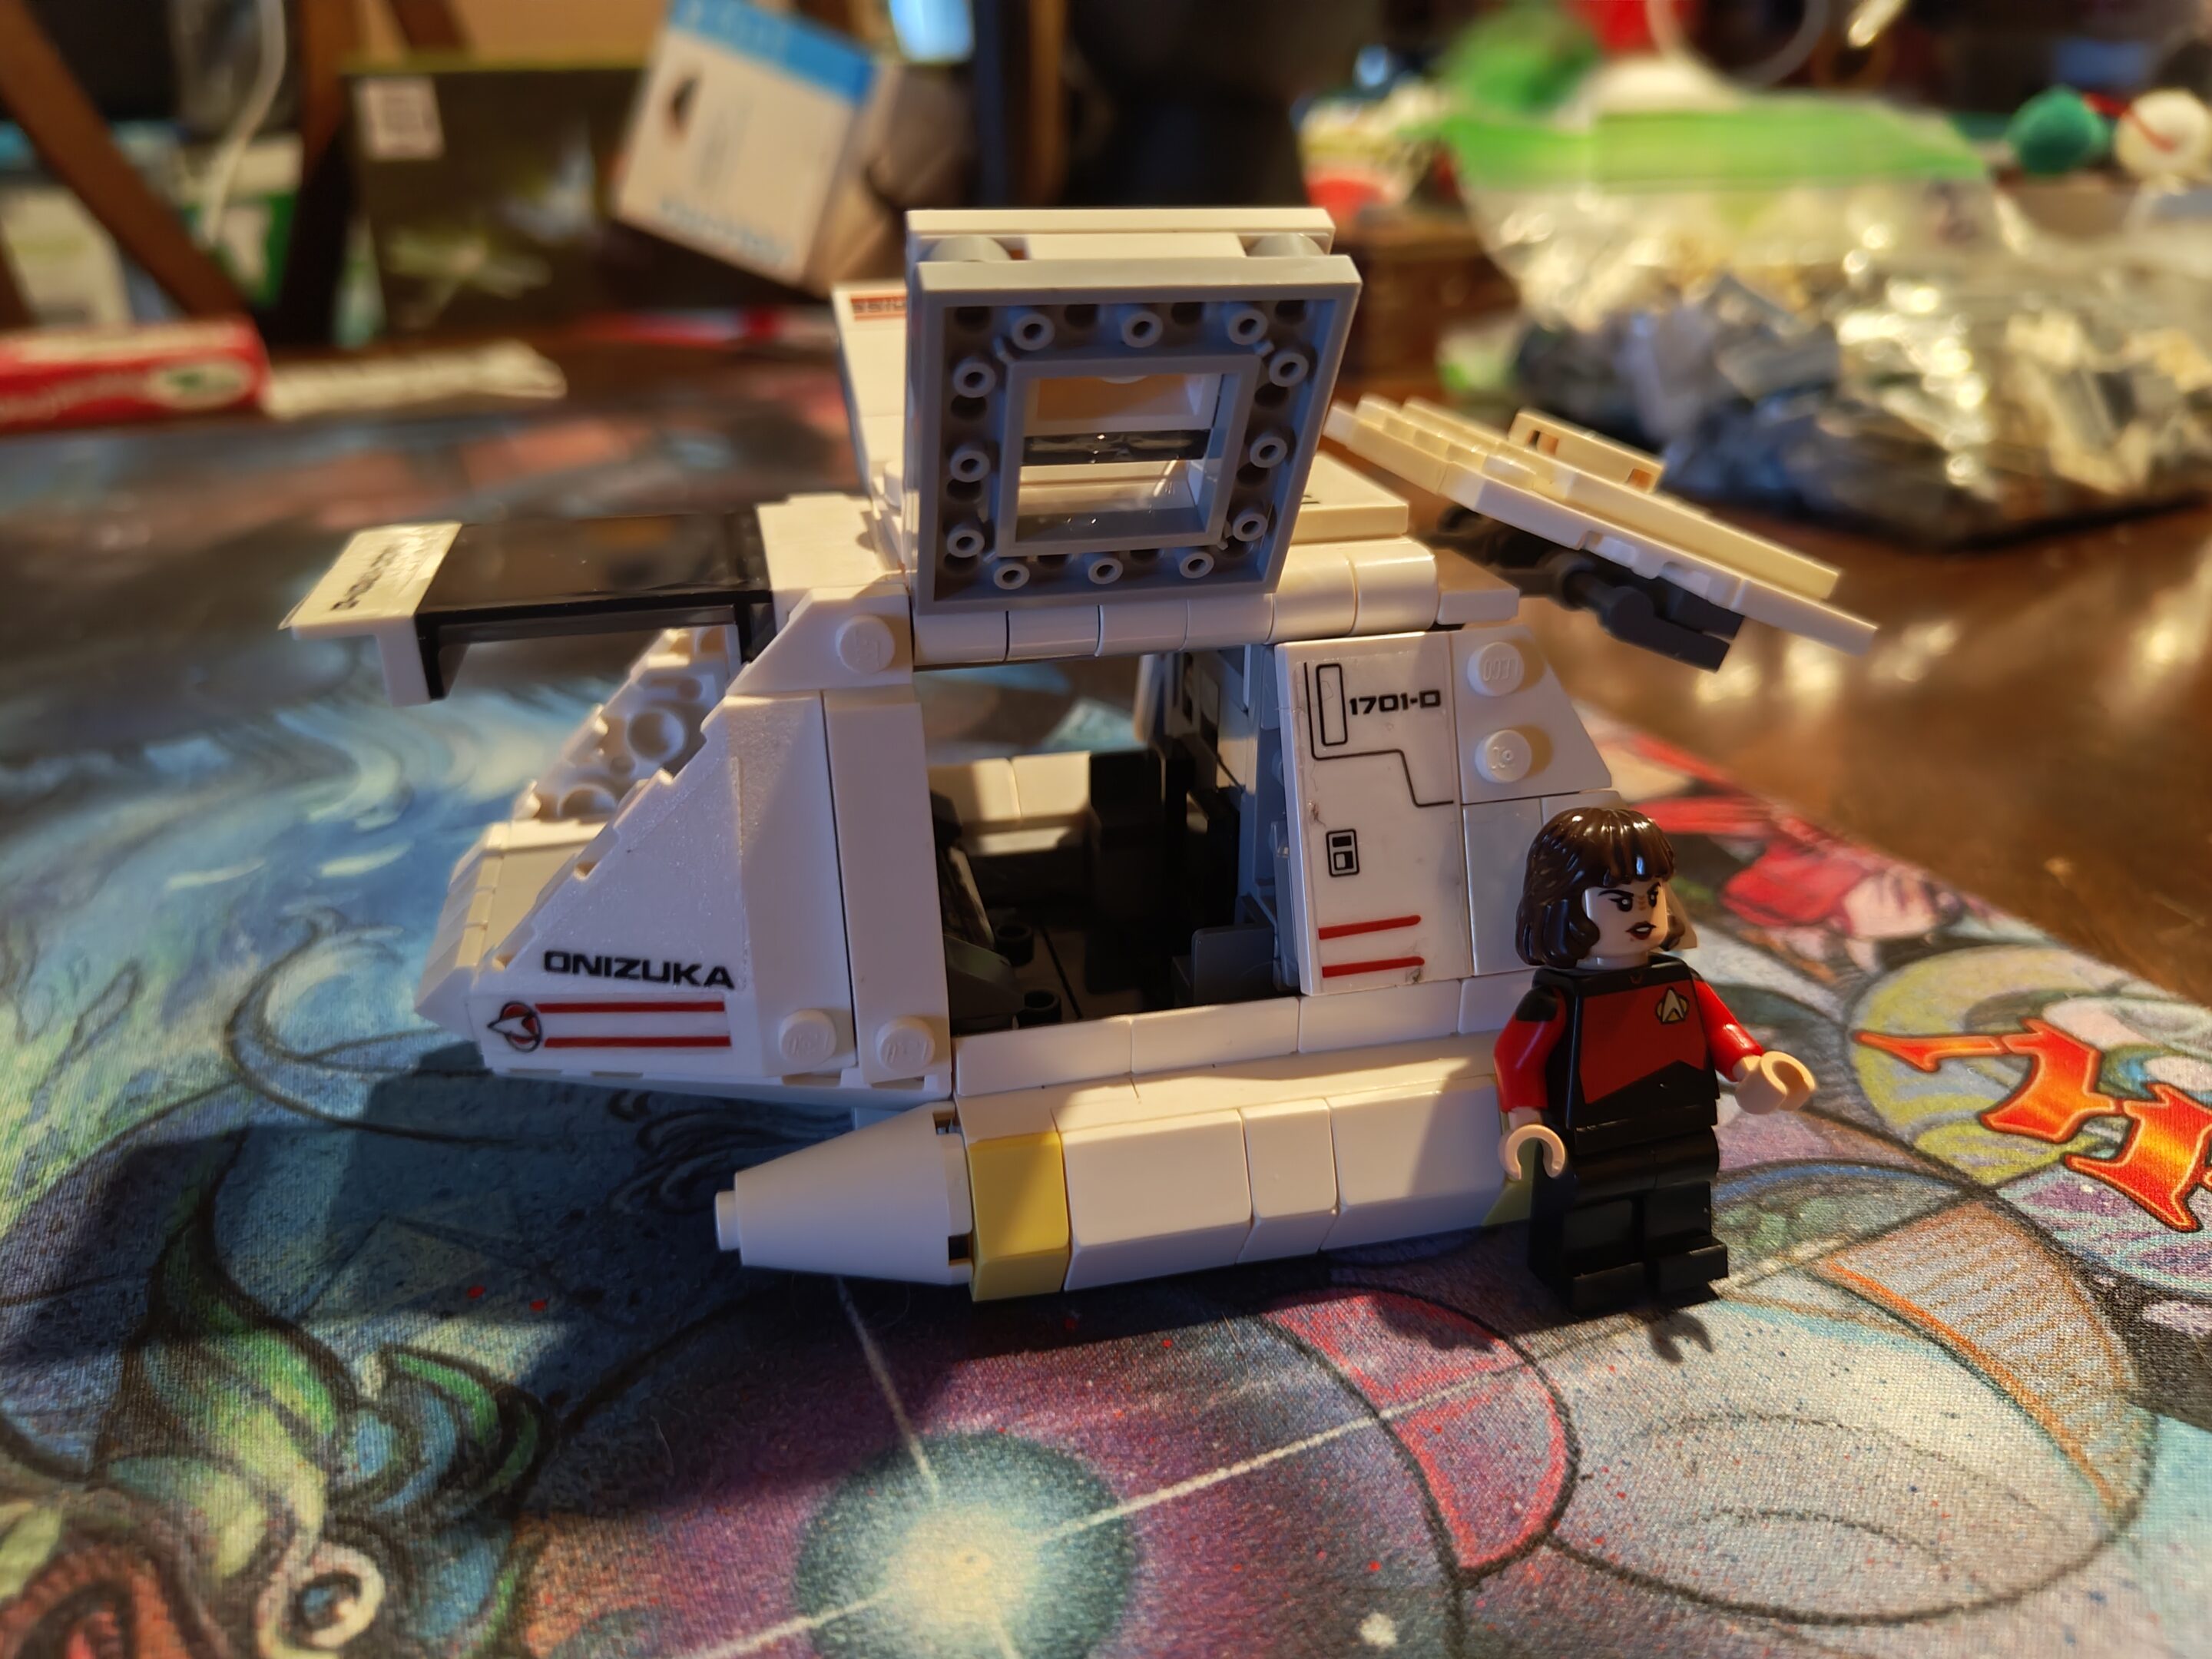
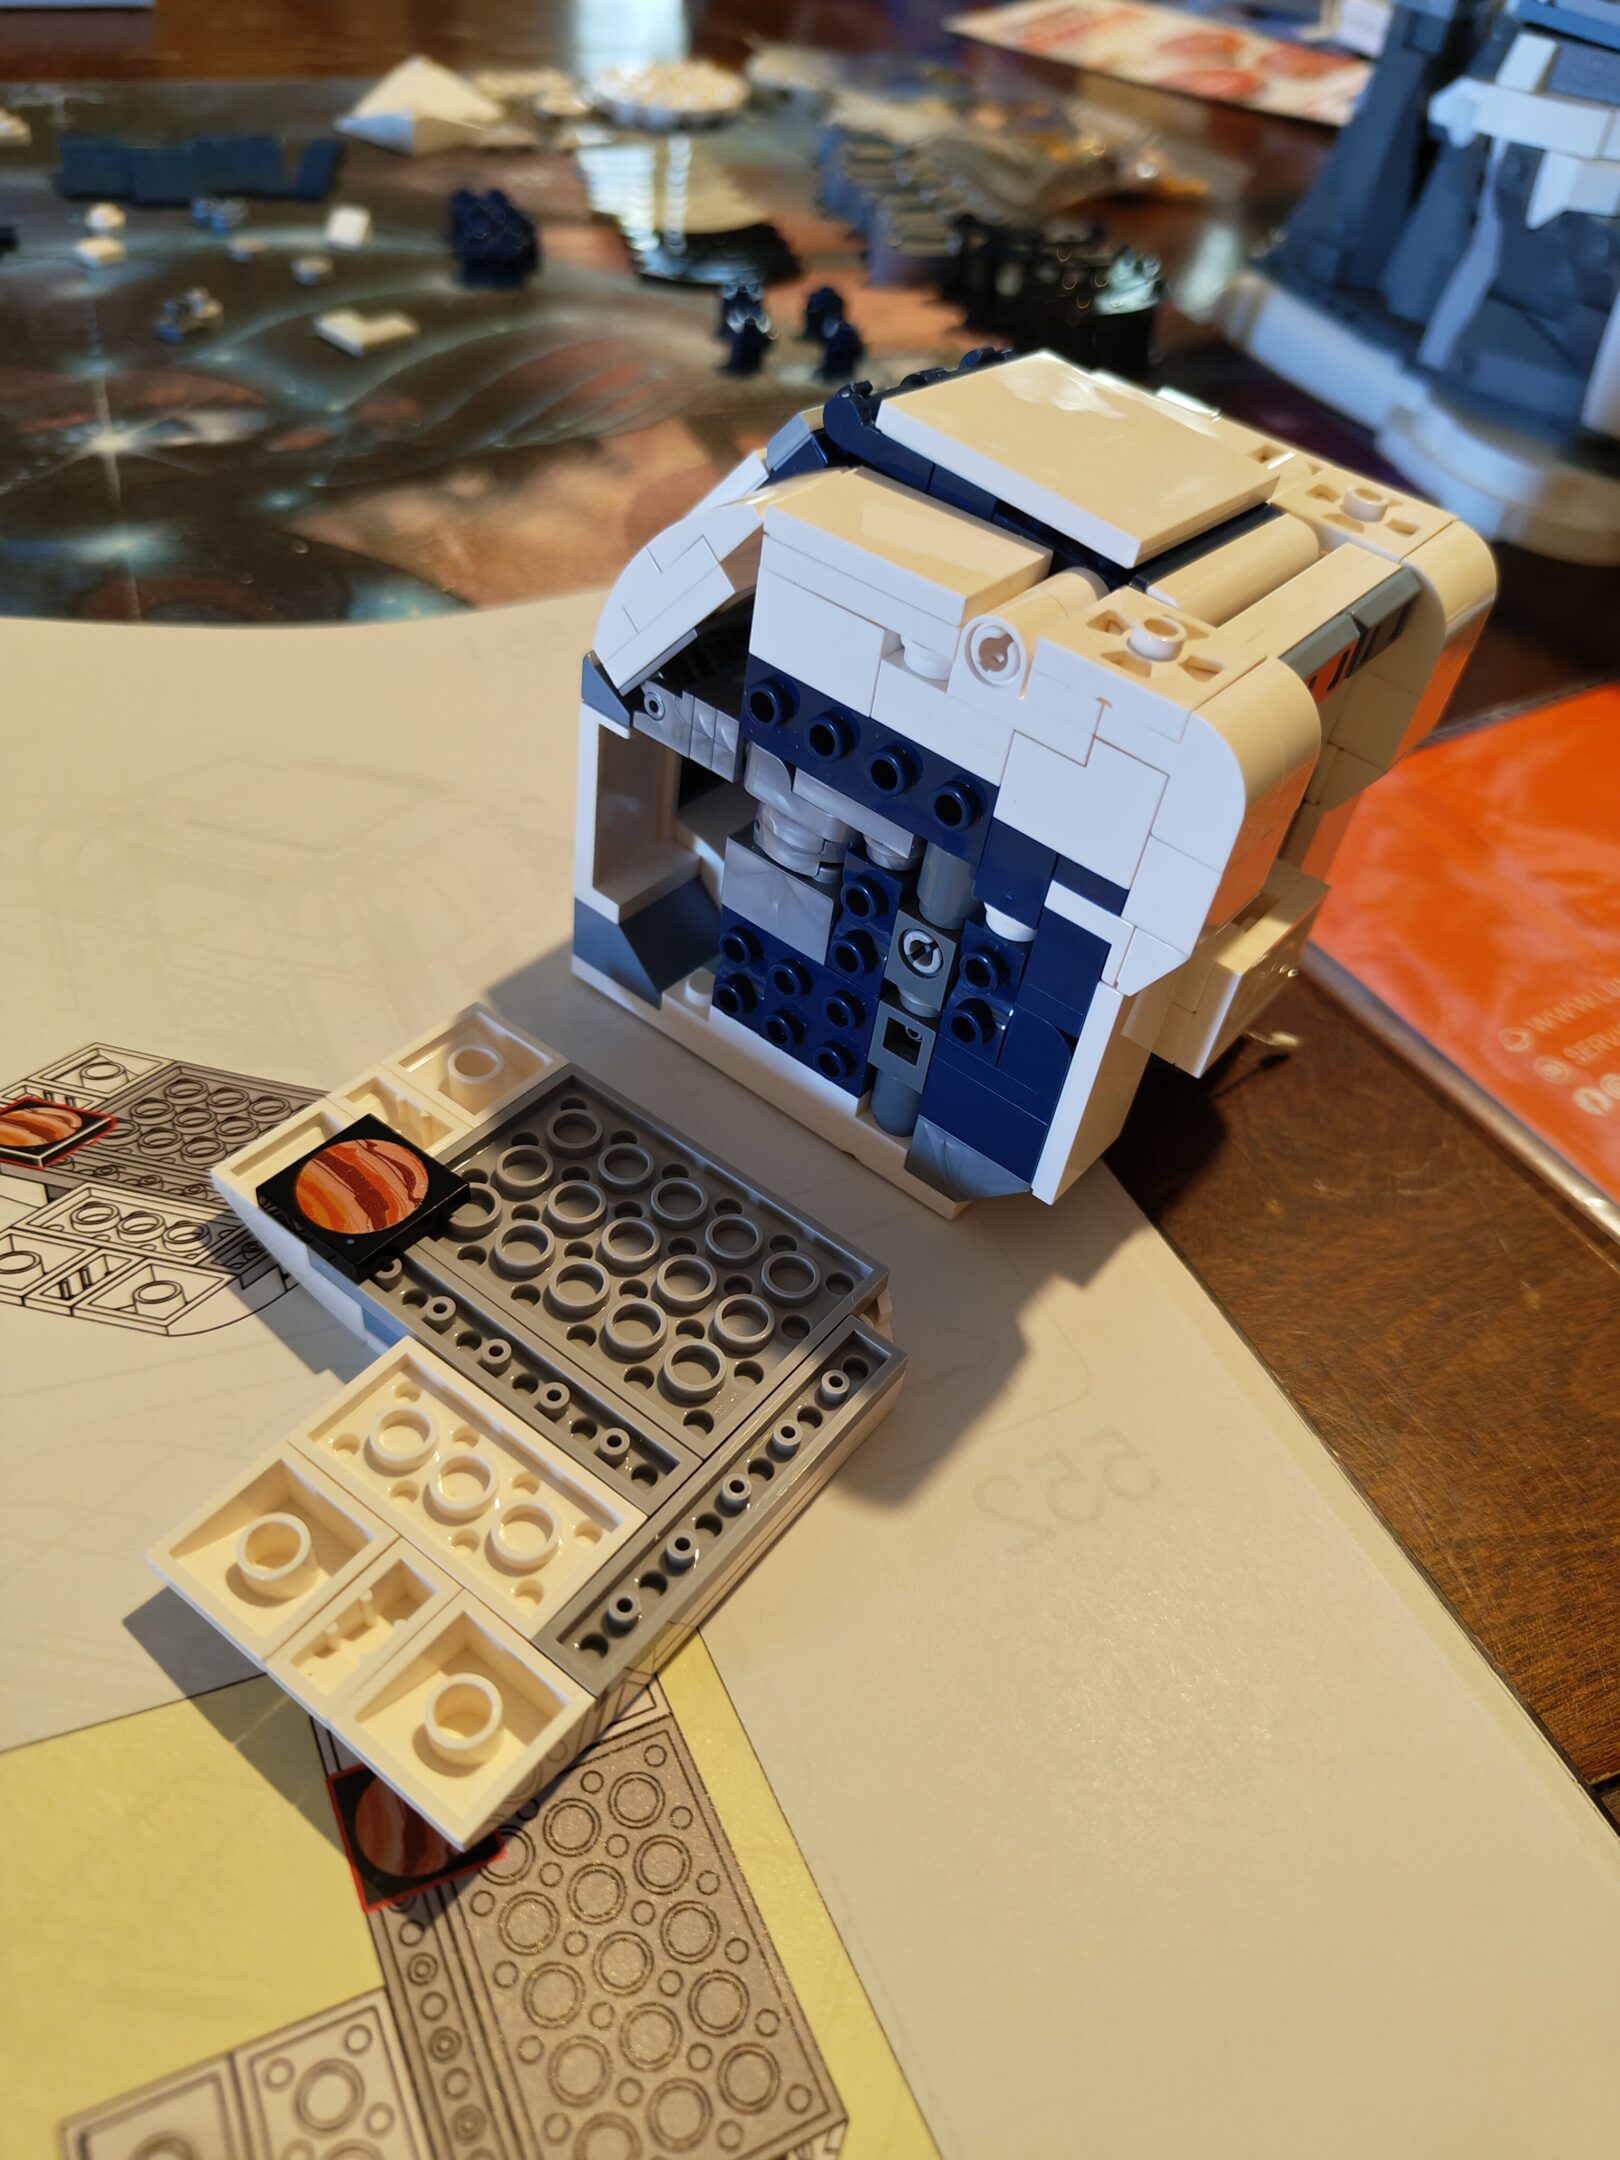
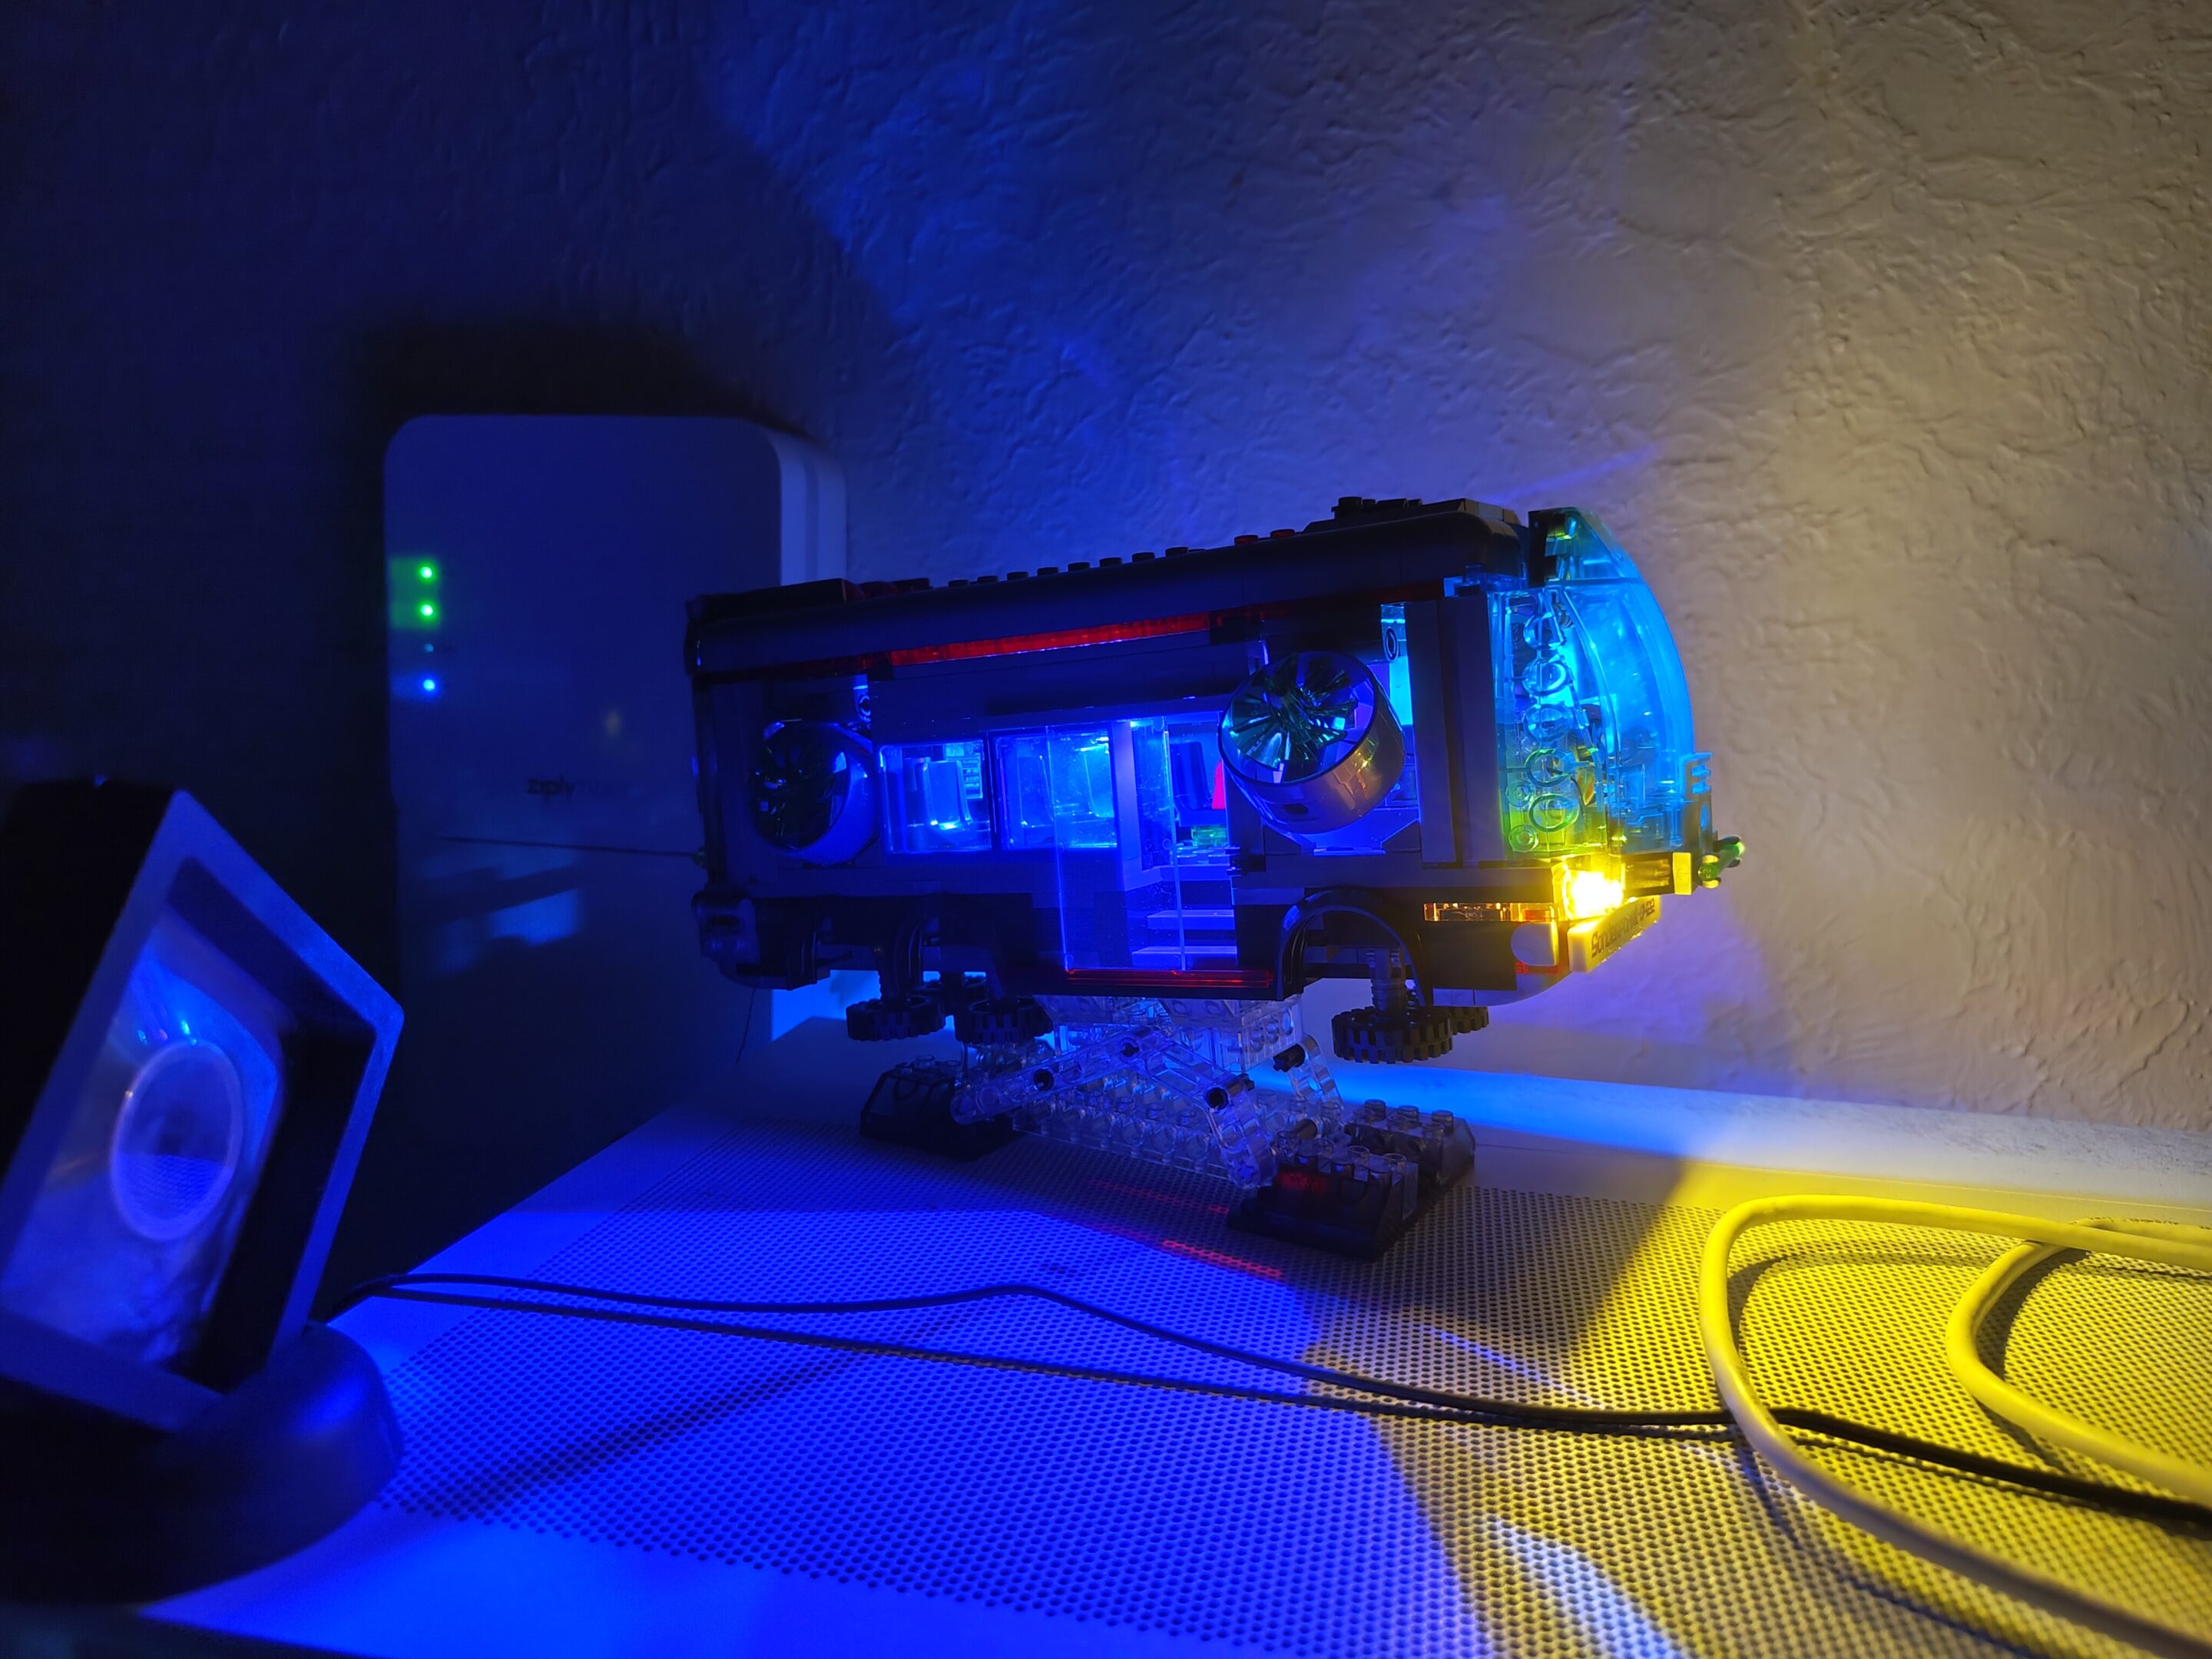
update uhh a few days ago but i didn’t upload the few pictures i’ve been taking from my phone but we did the shuttlepod in about a day, nice little project
first bag donesecond bag done, some stickersfinished, with ensign ro
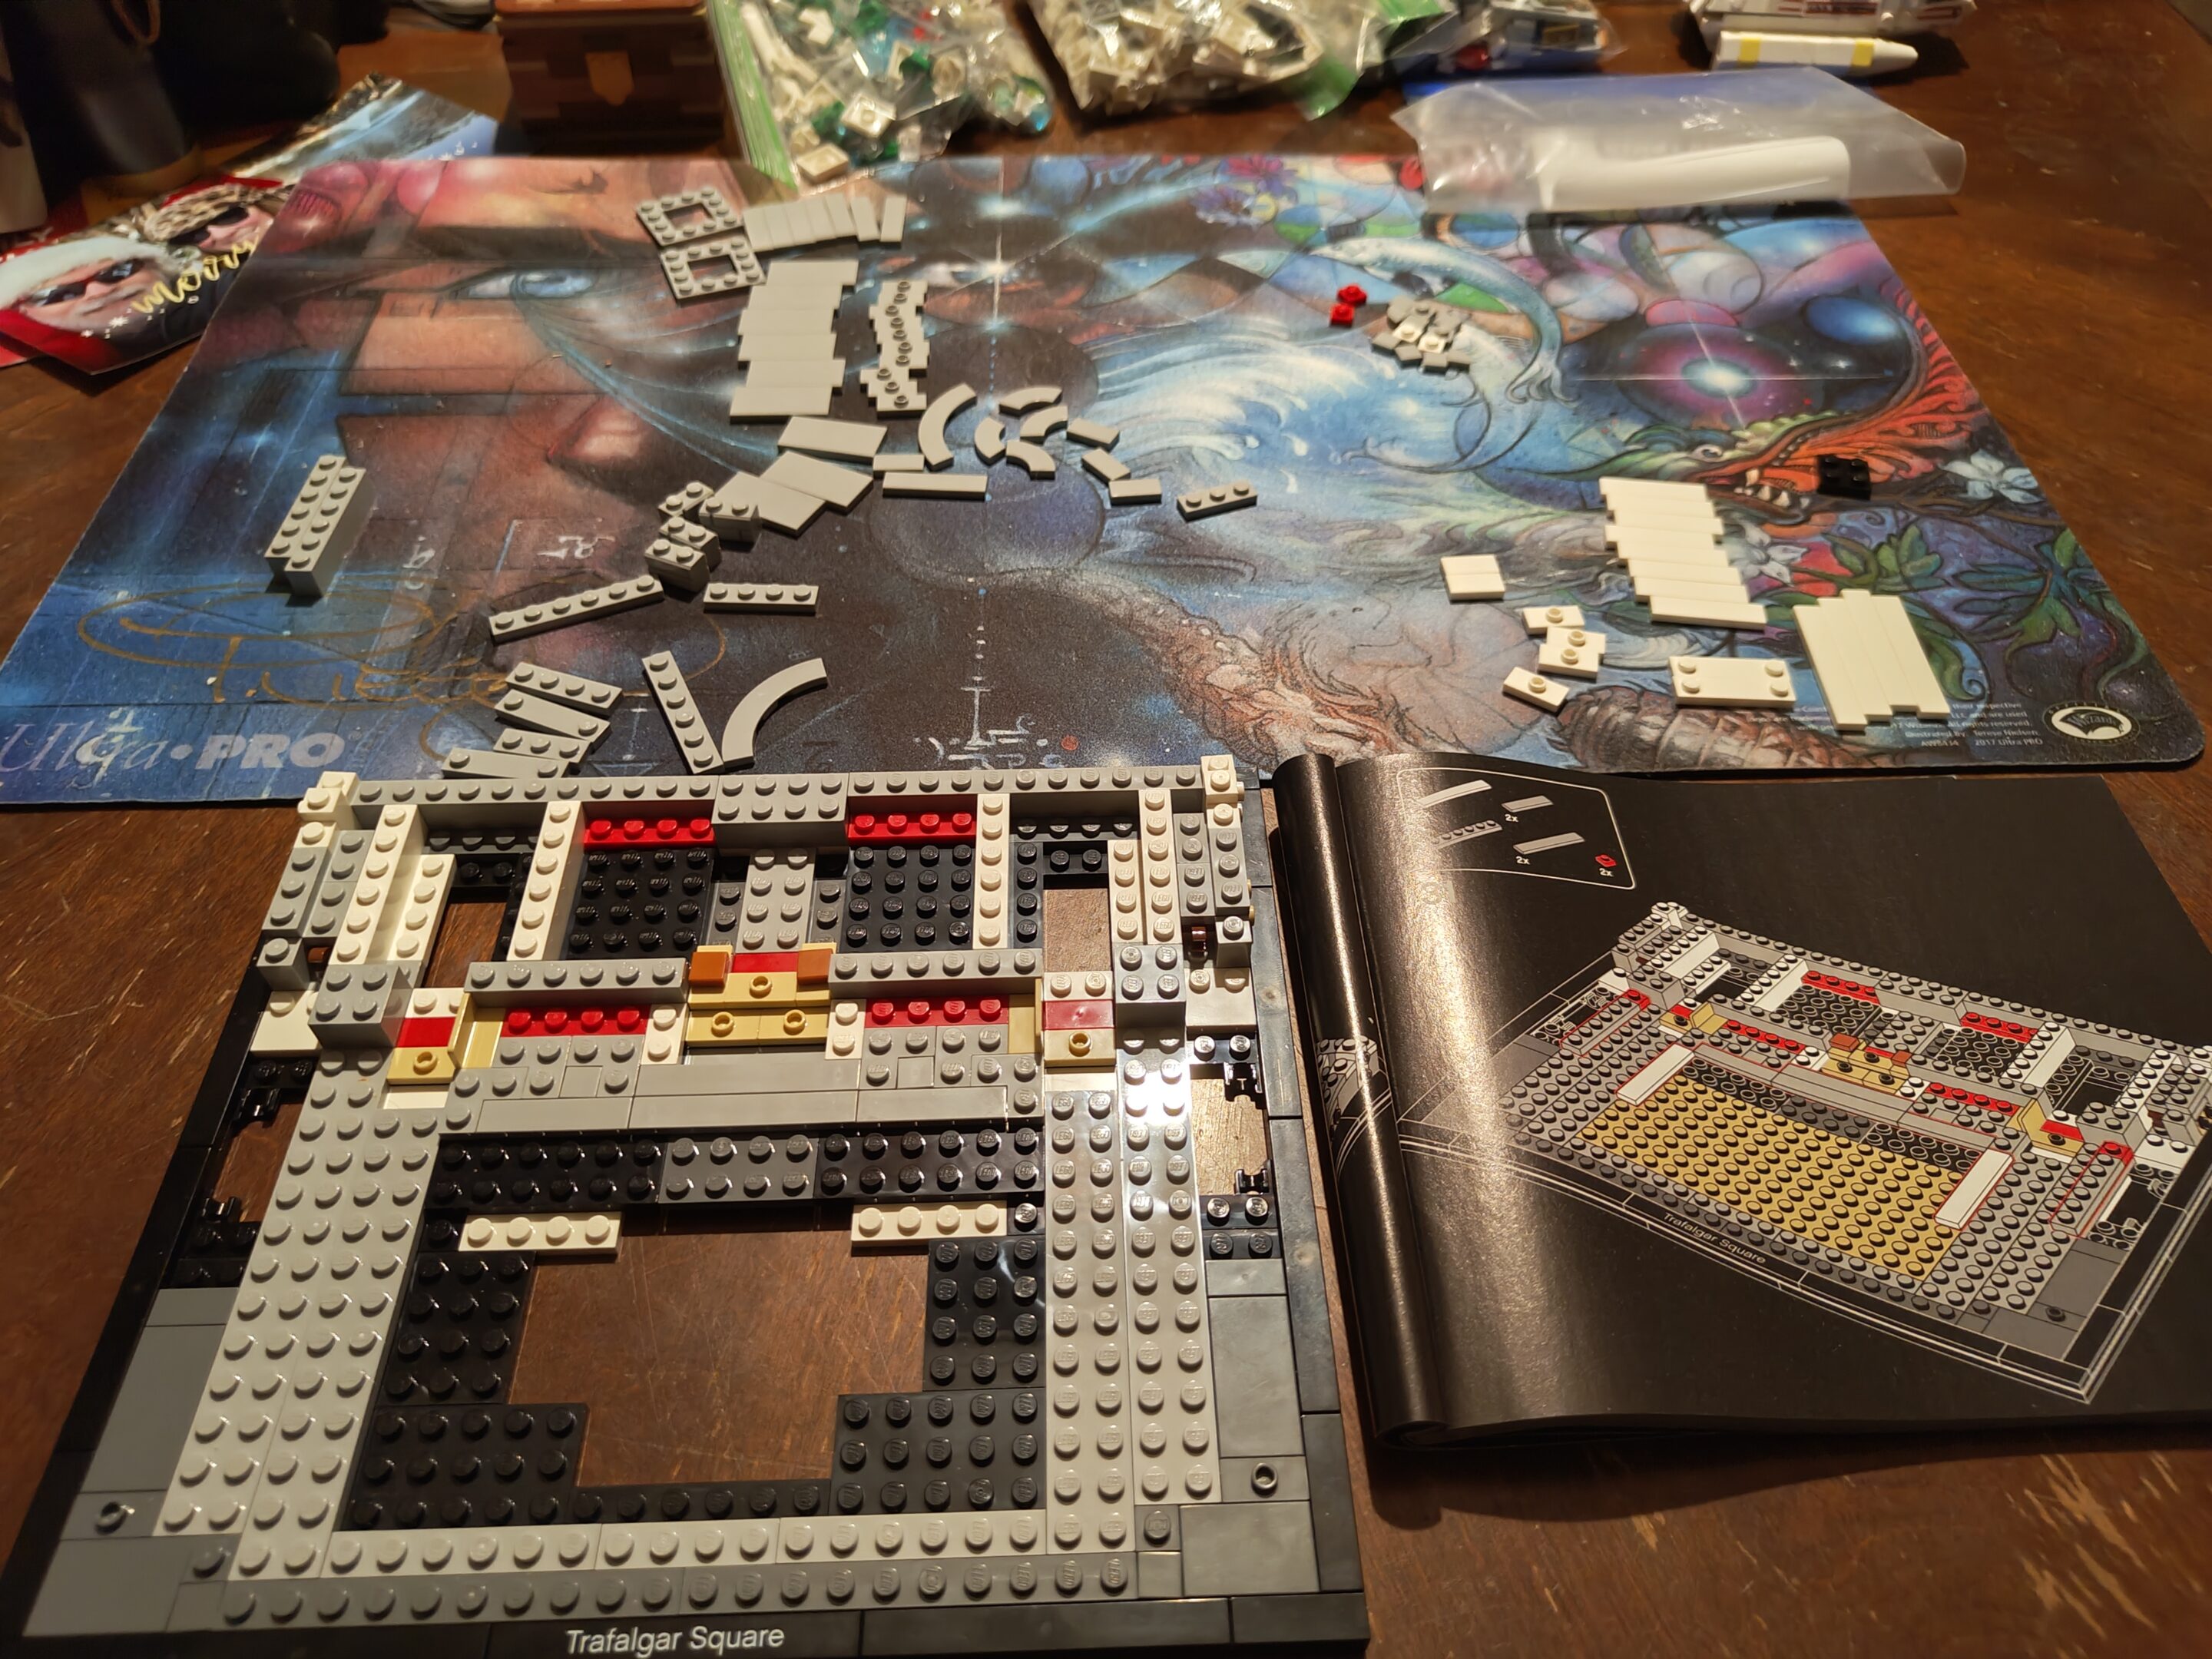
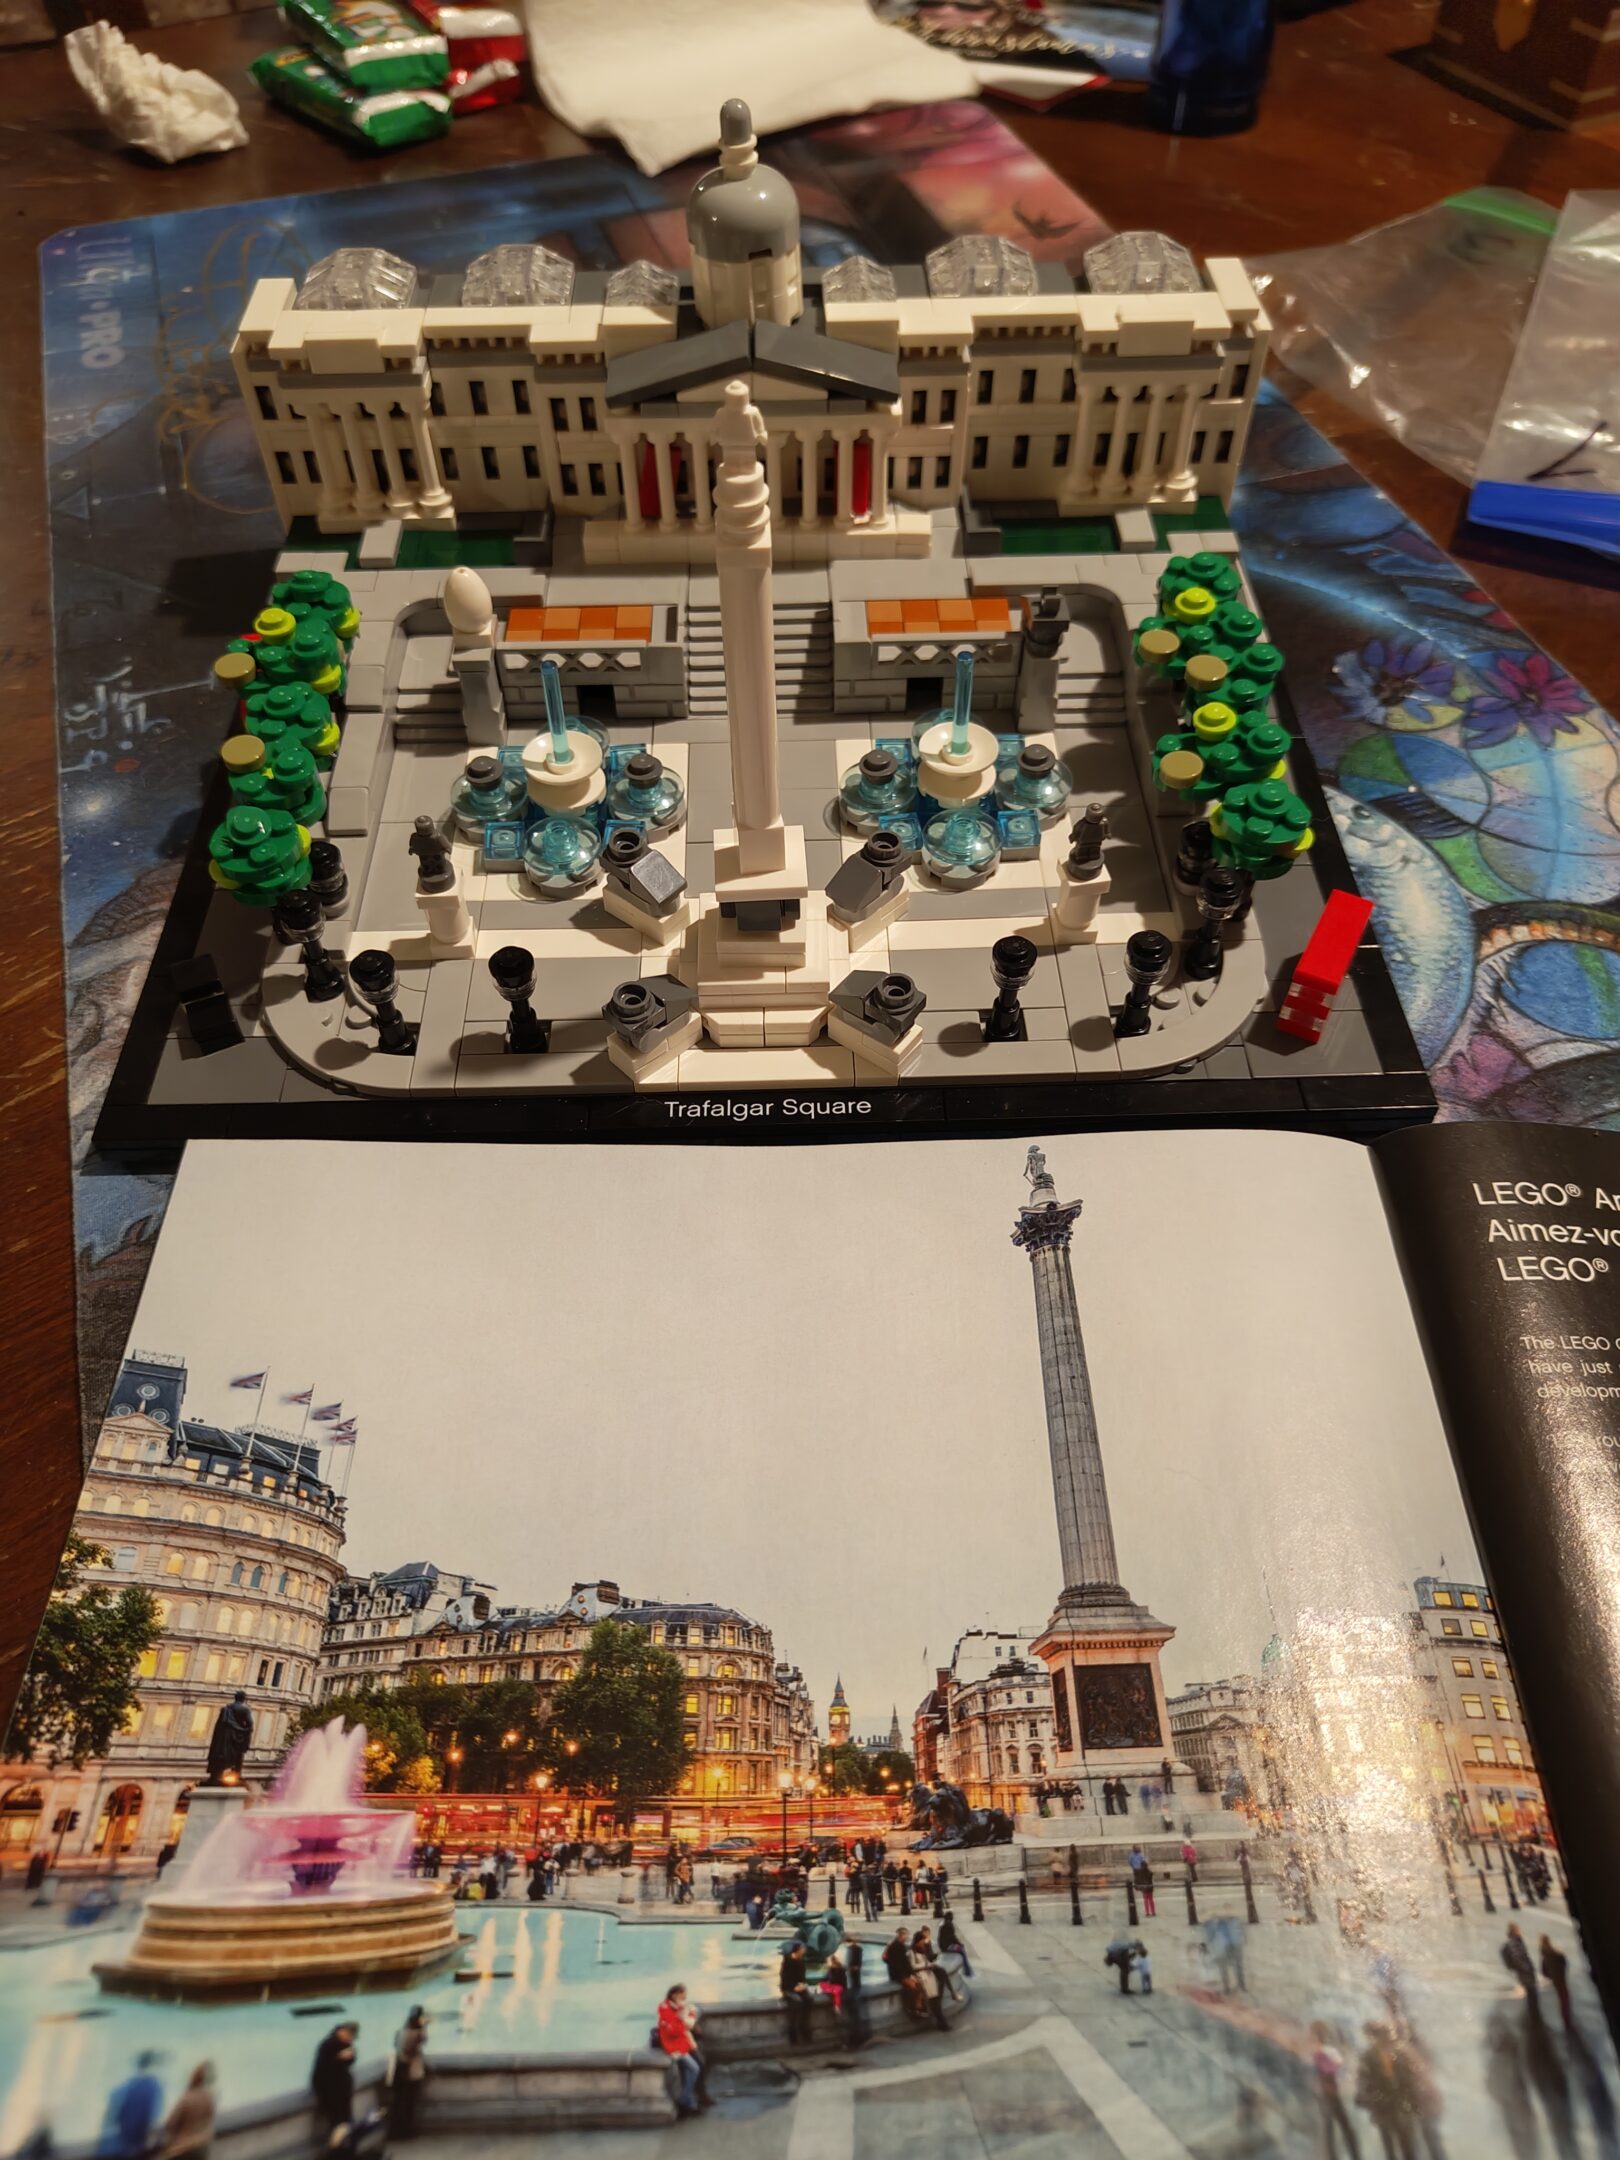
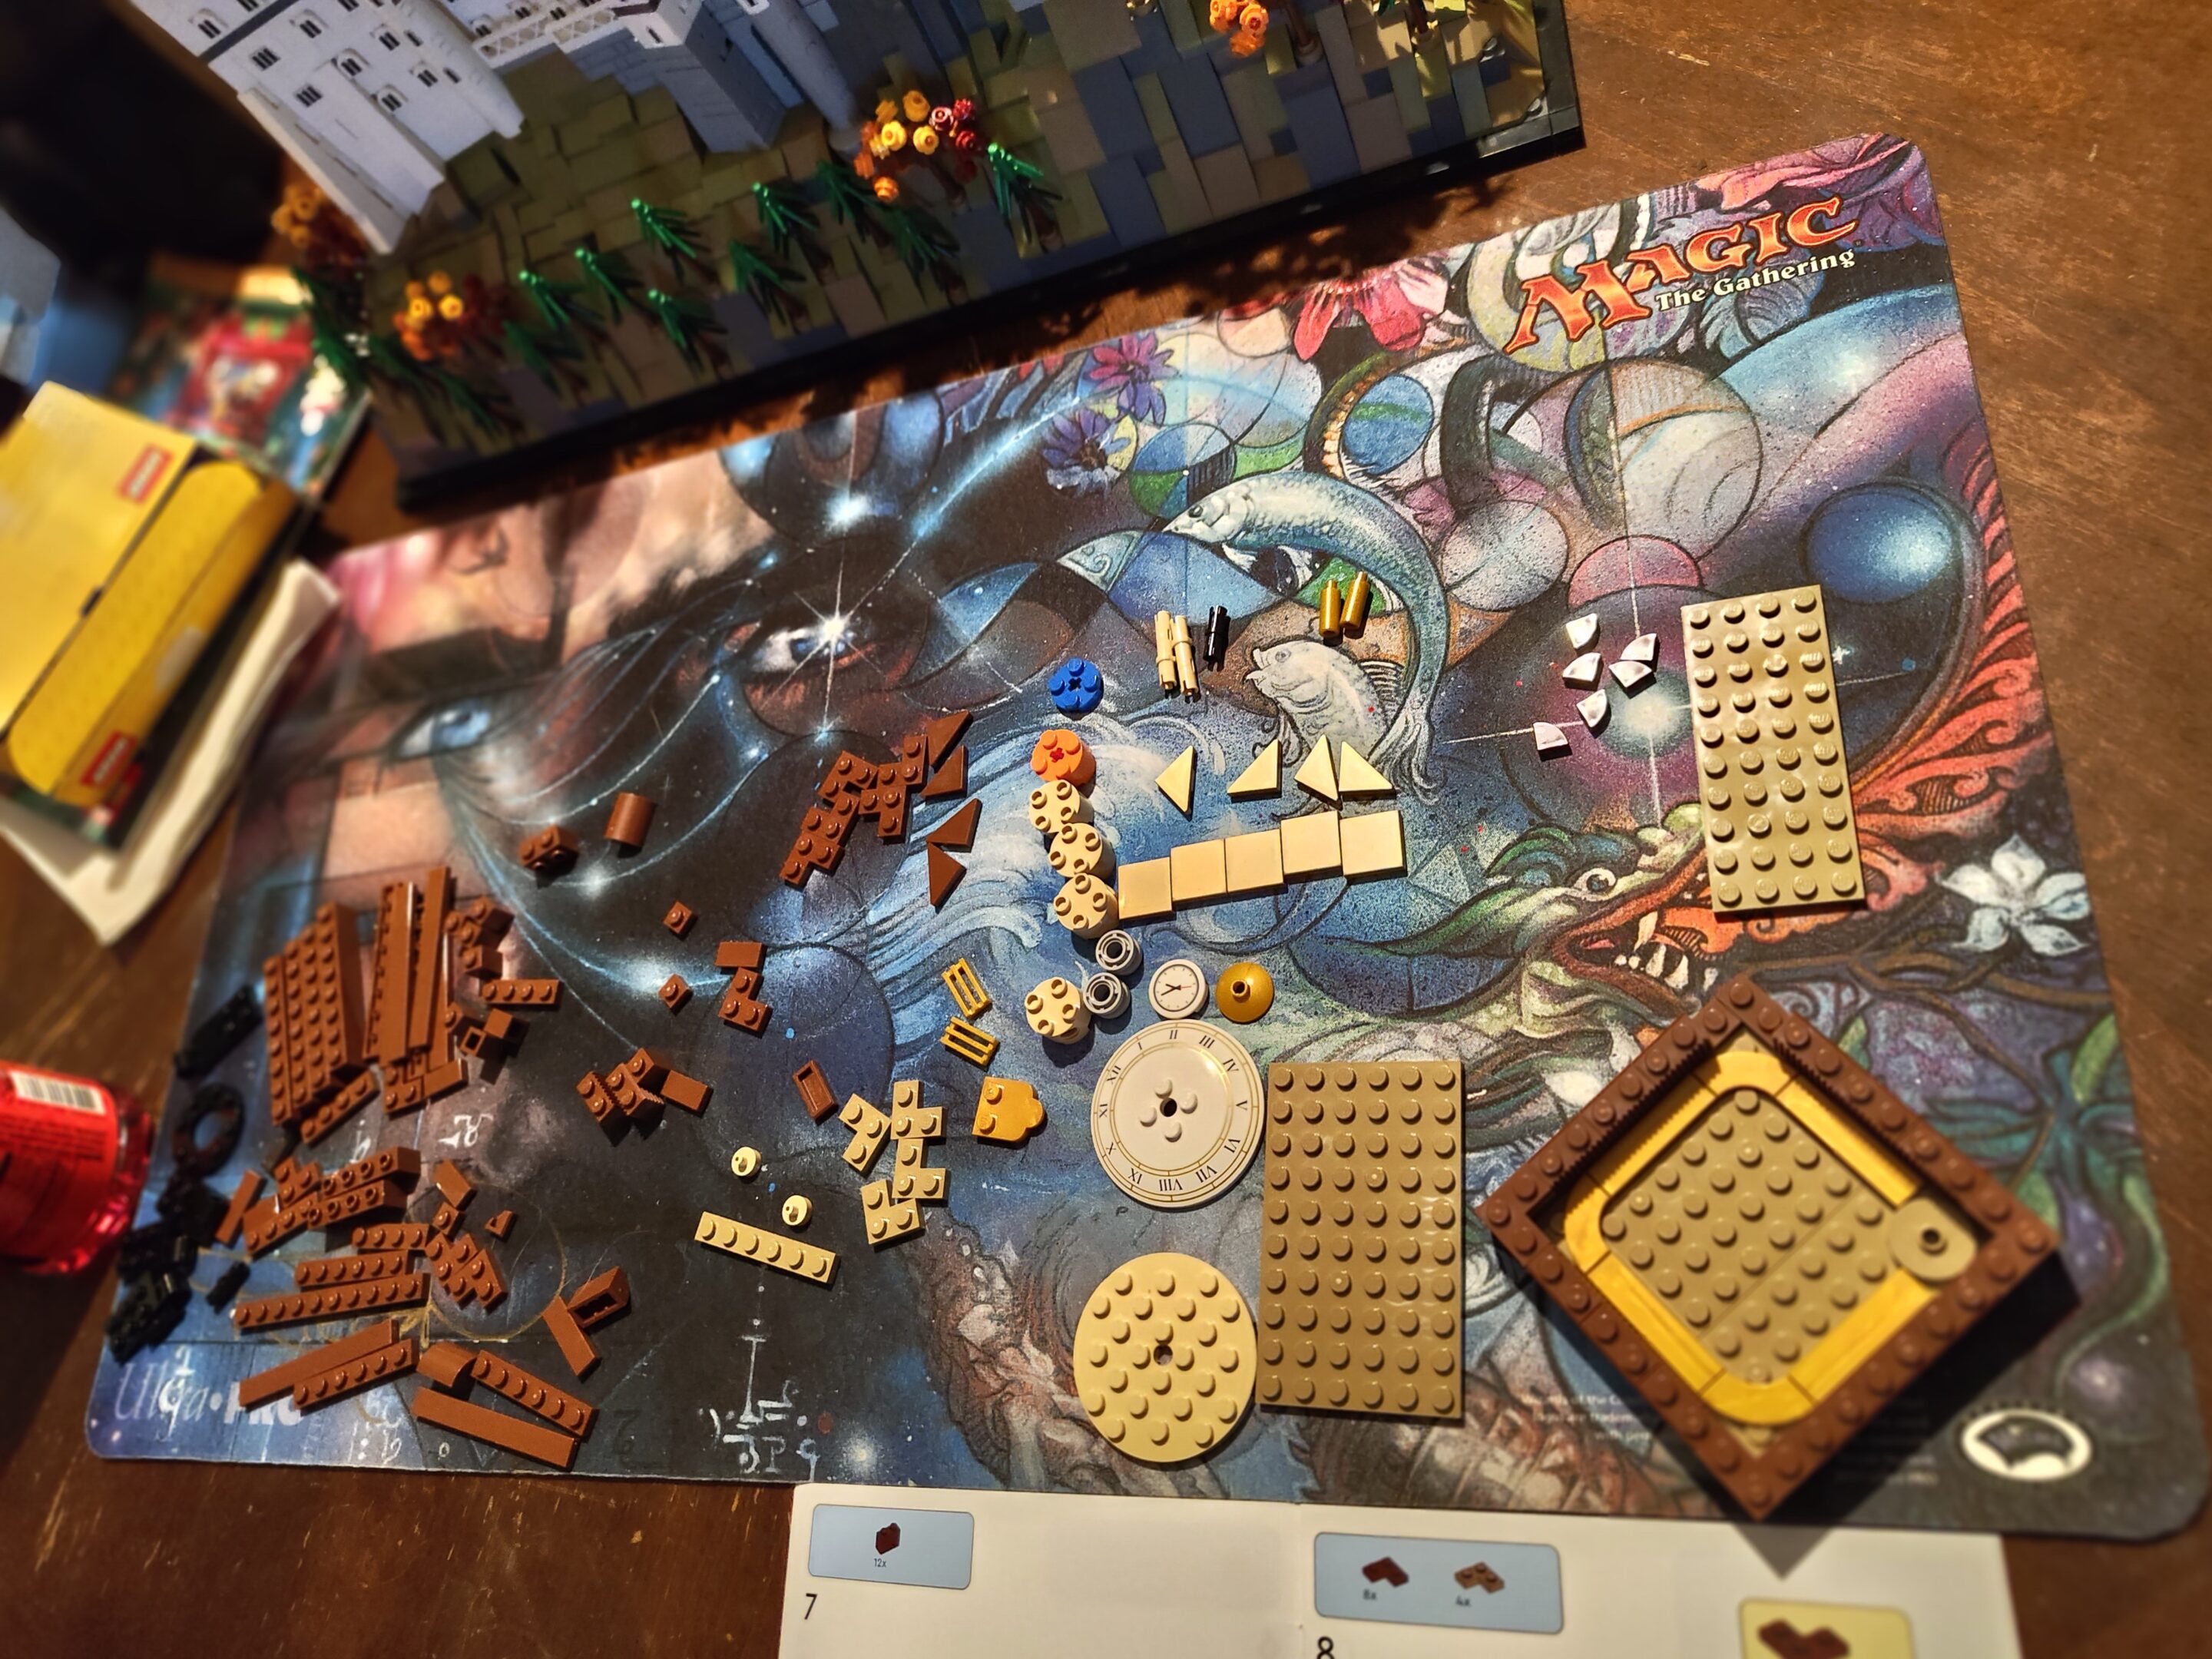
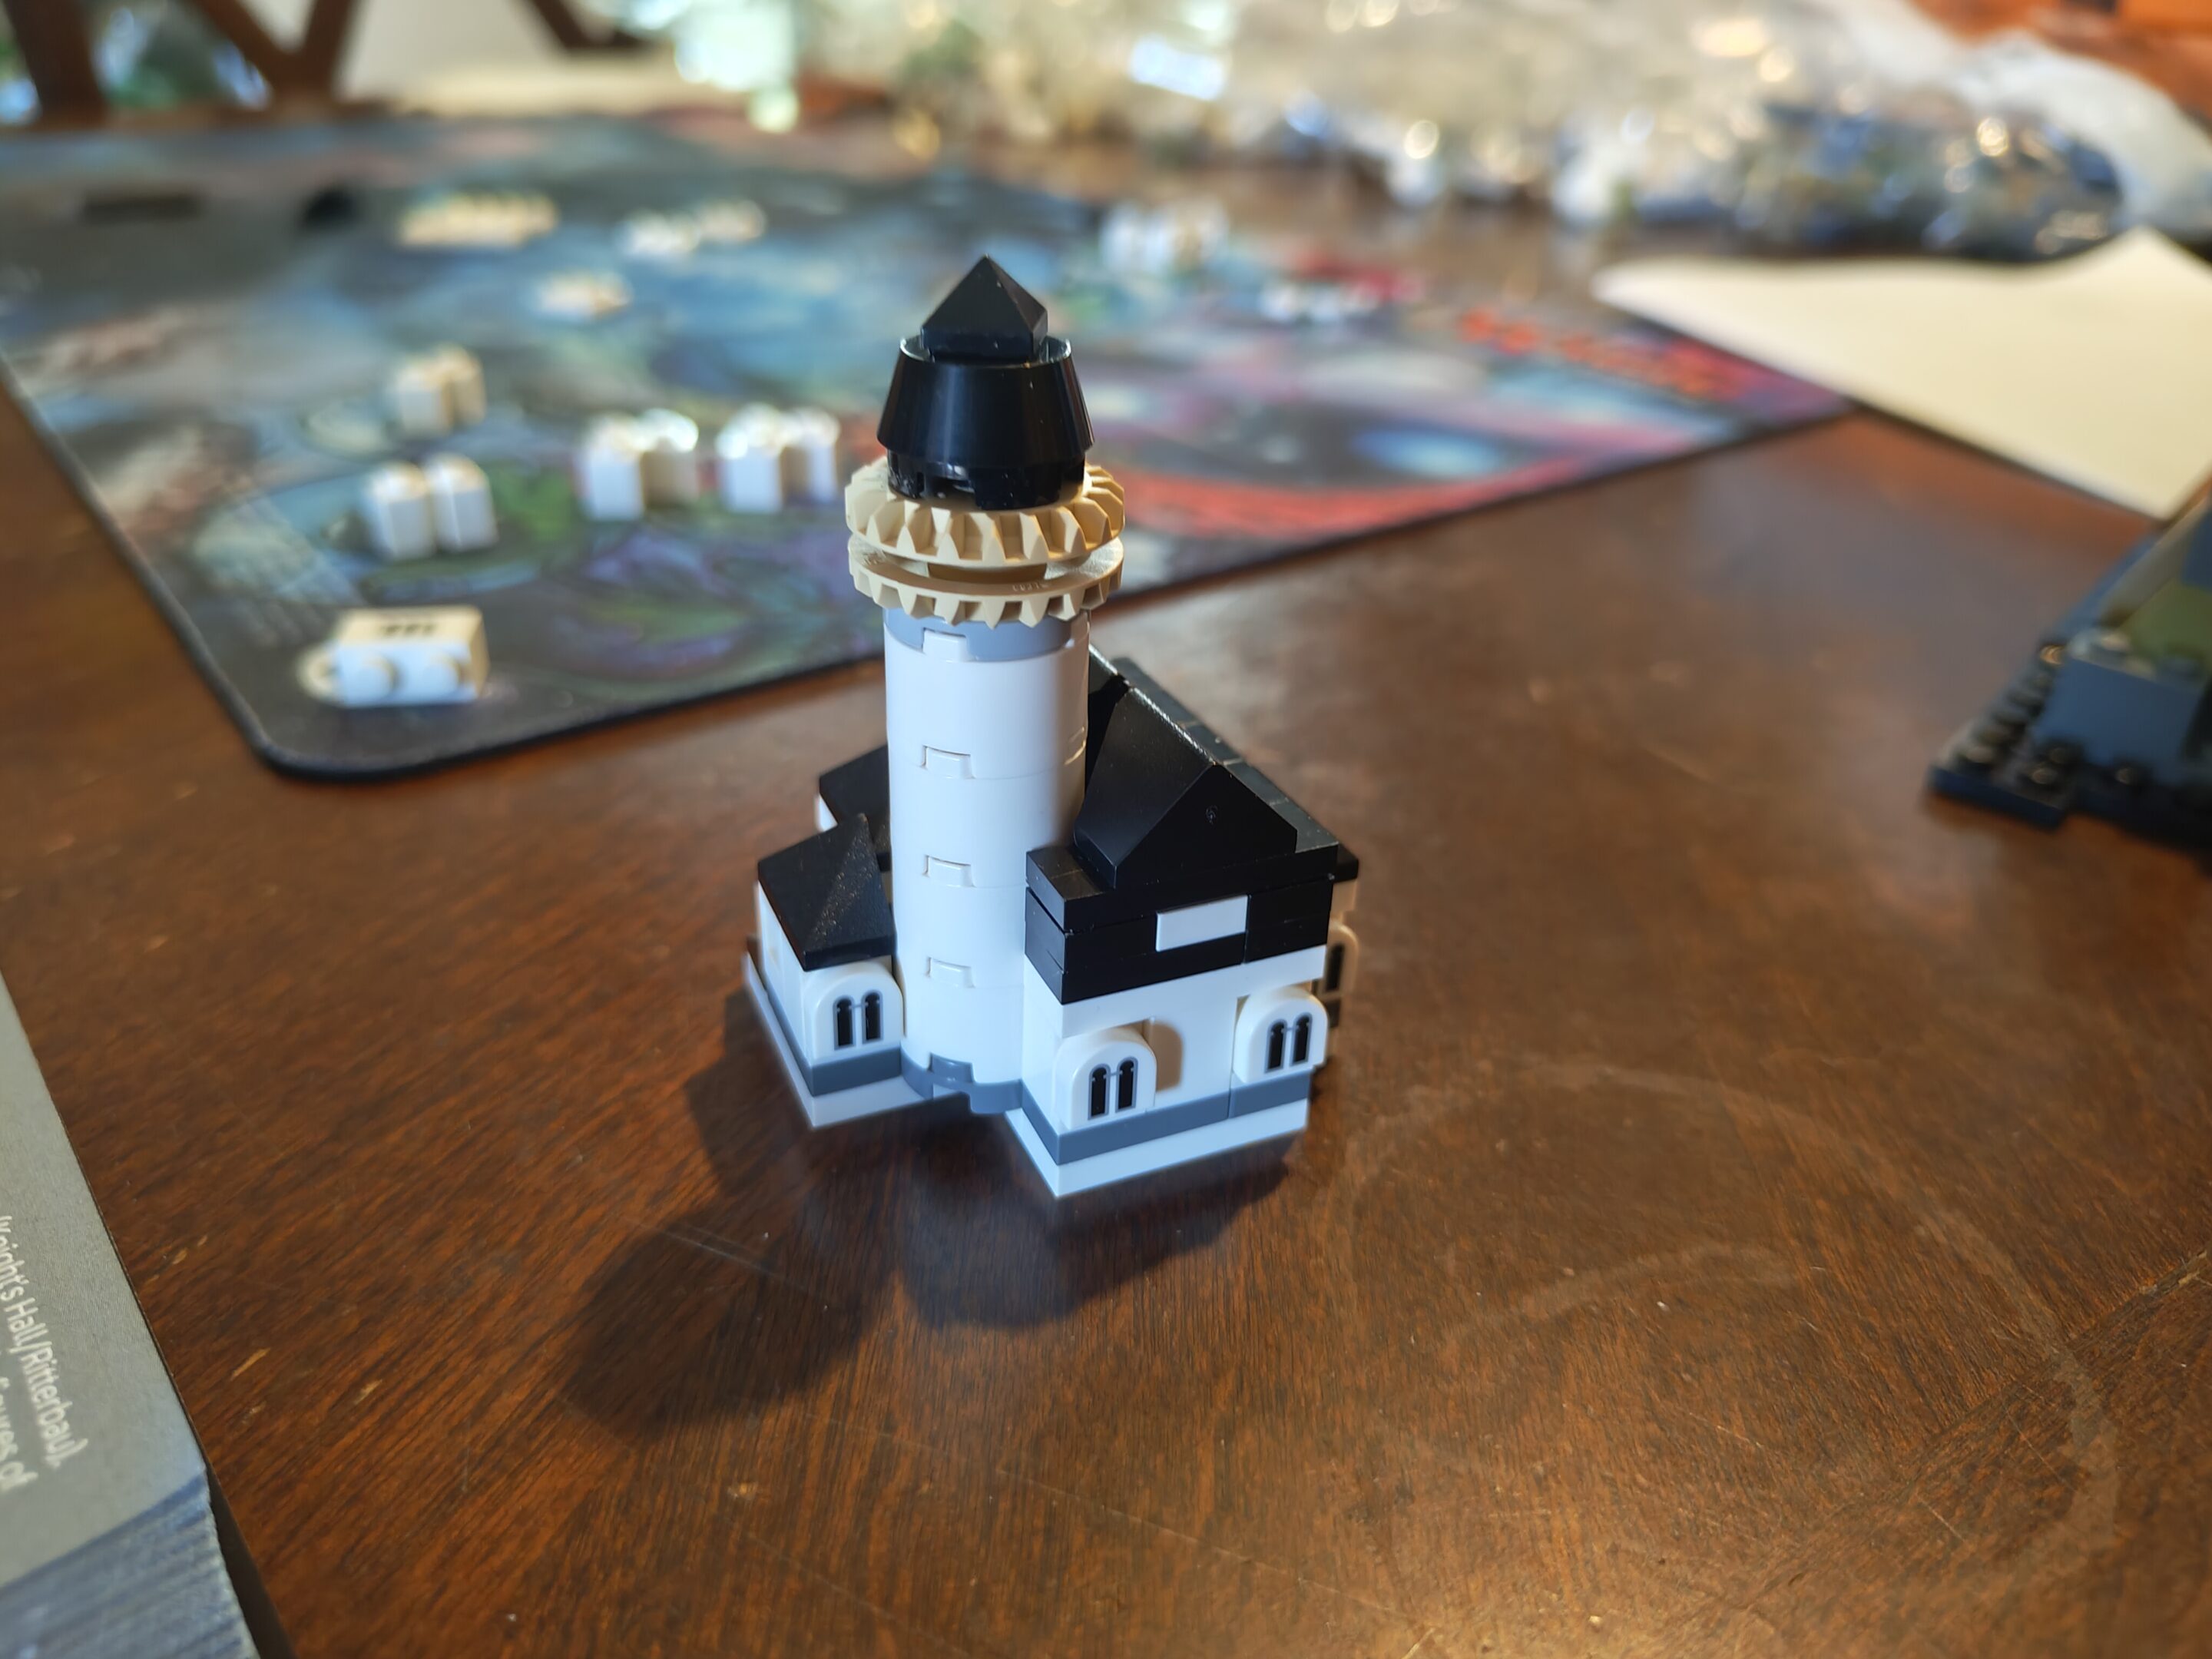
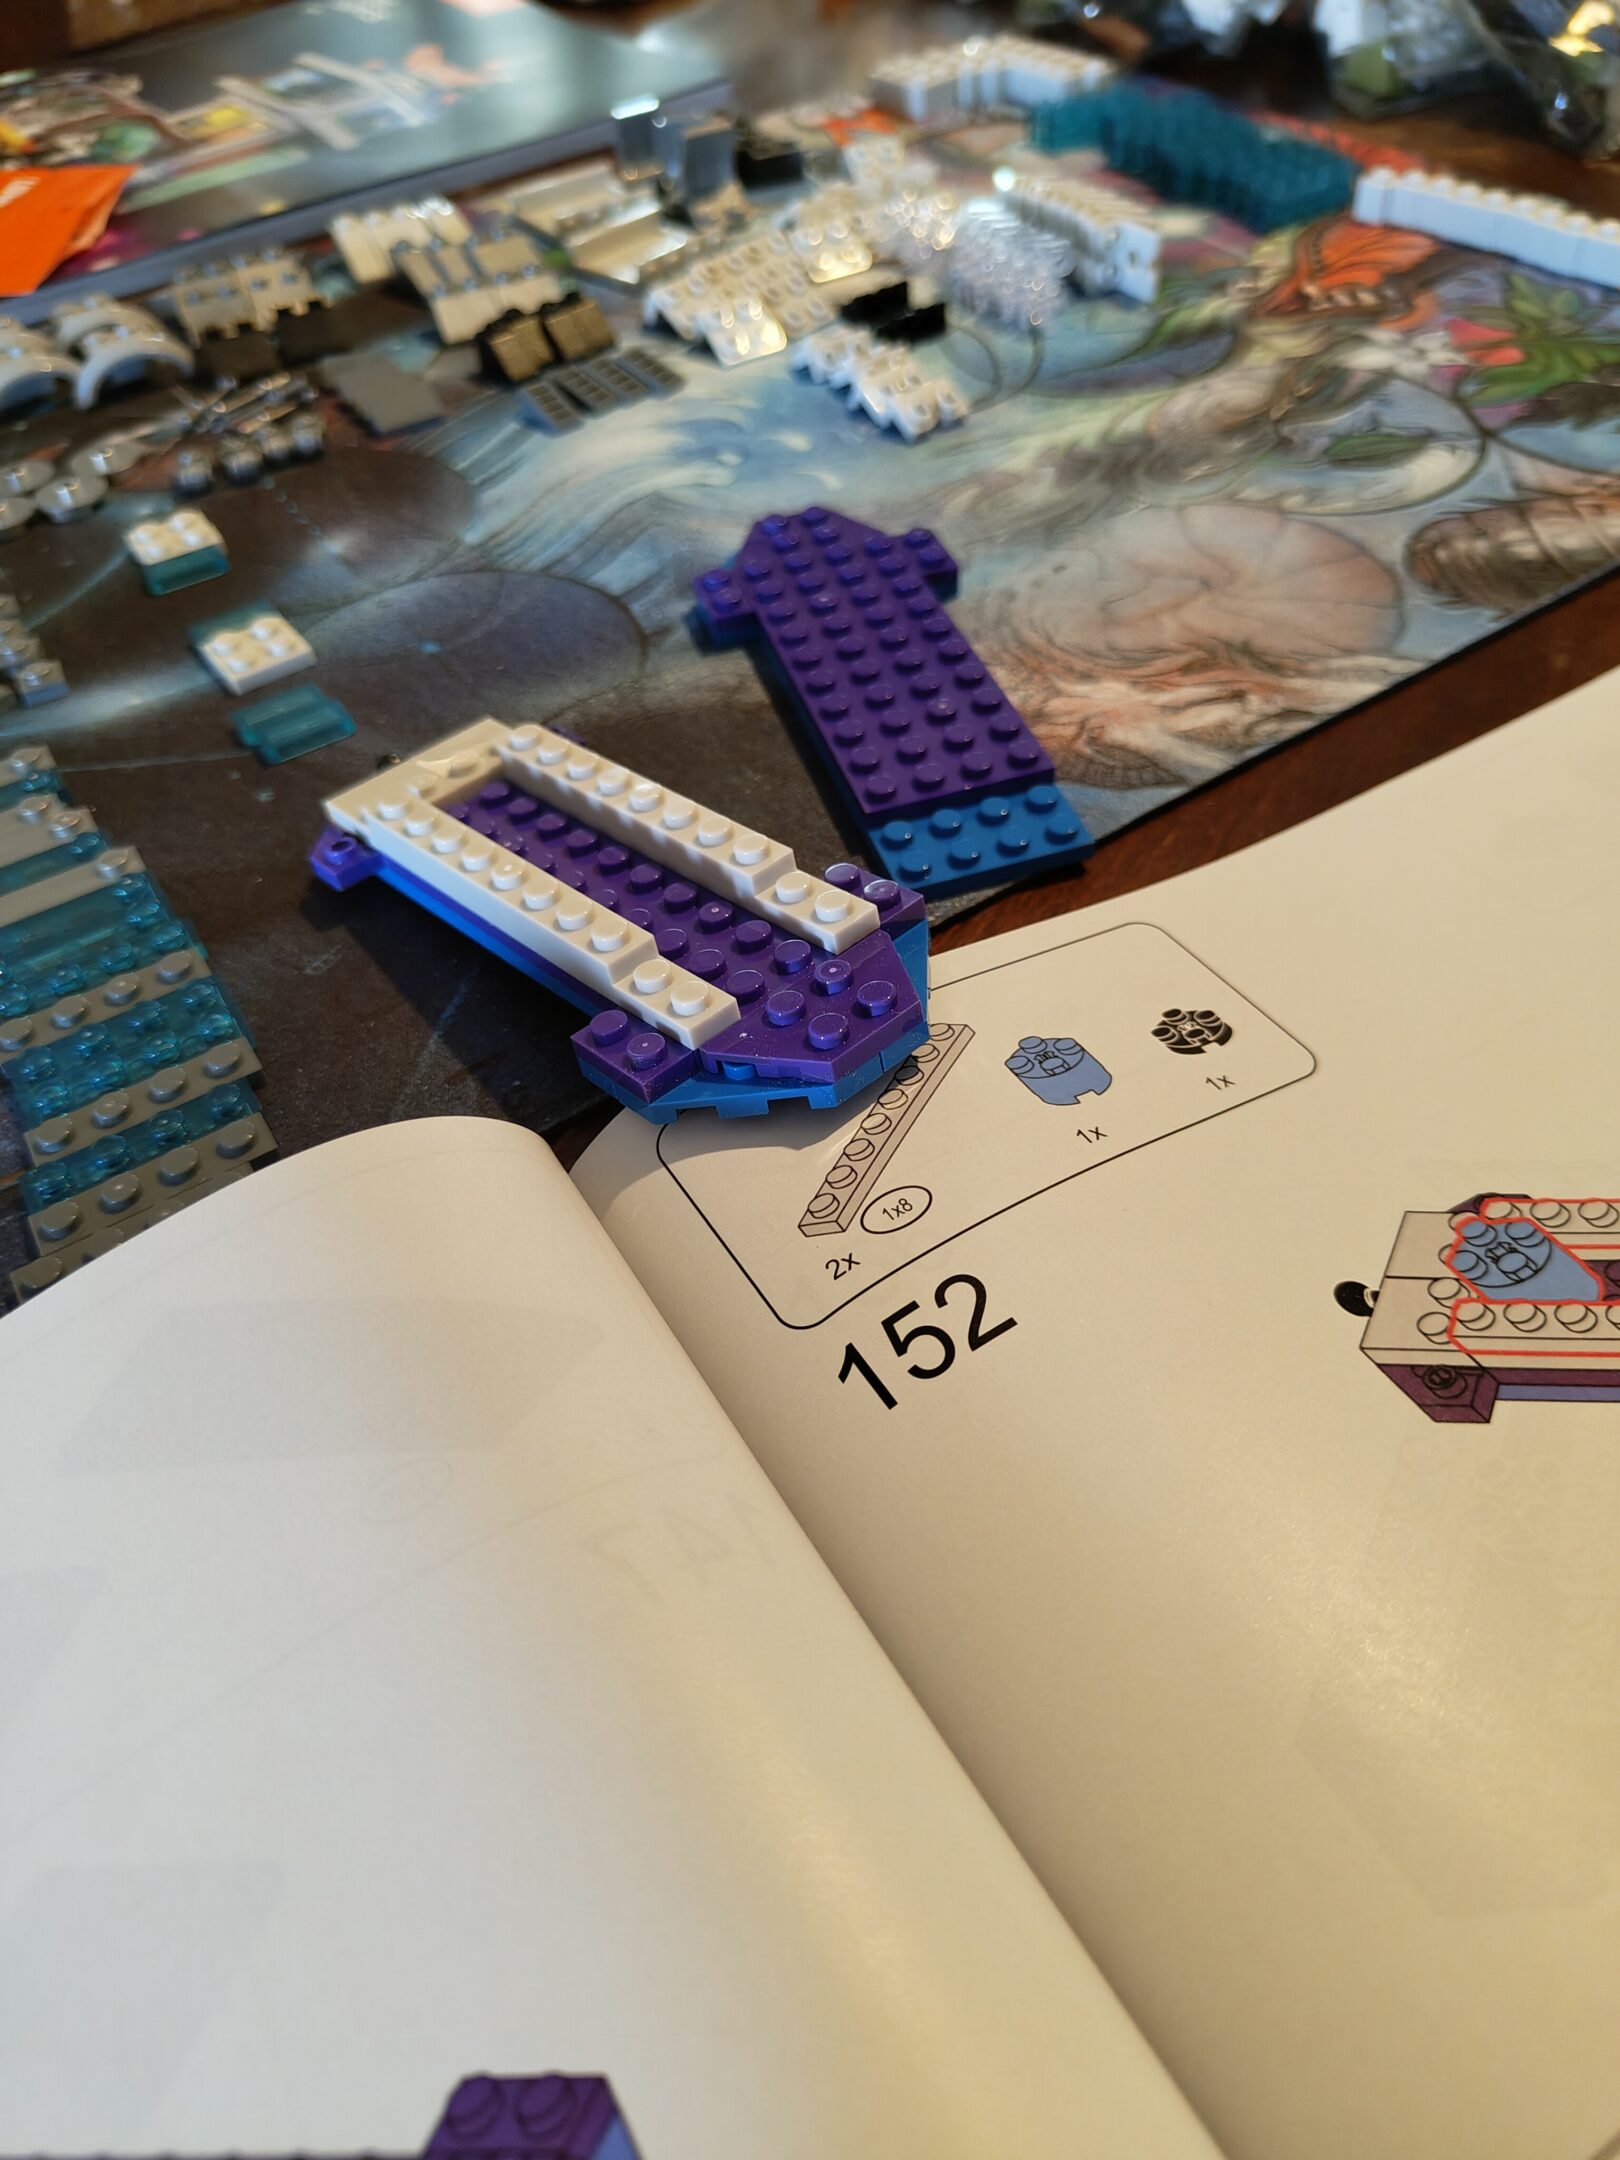
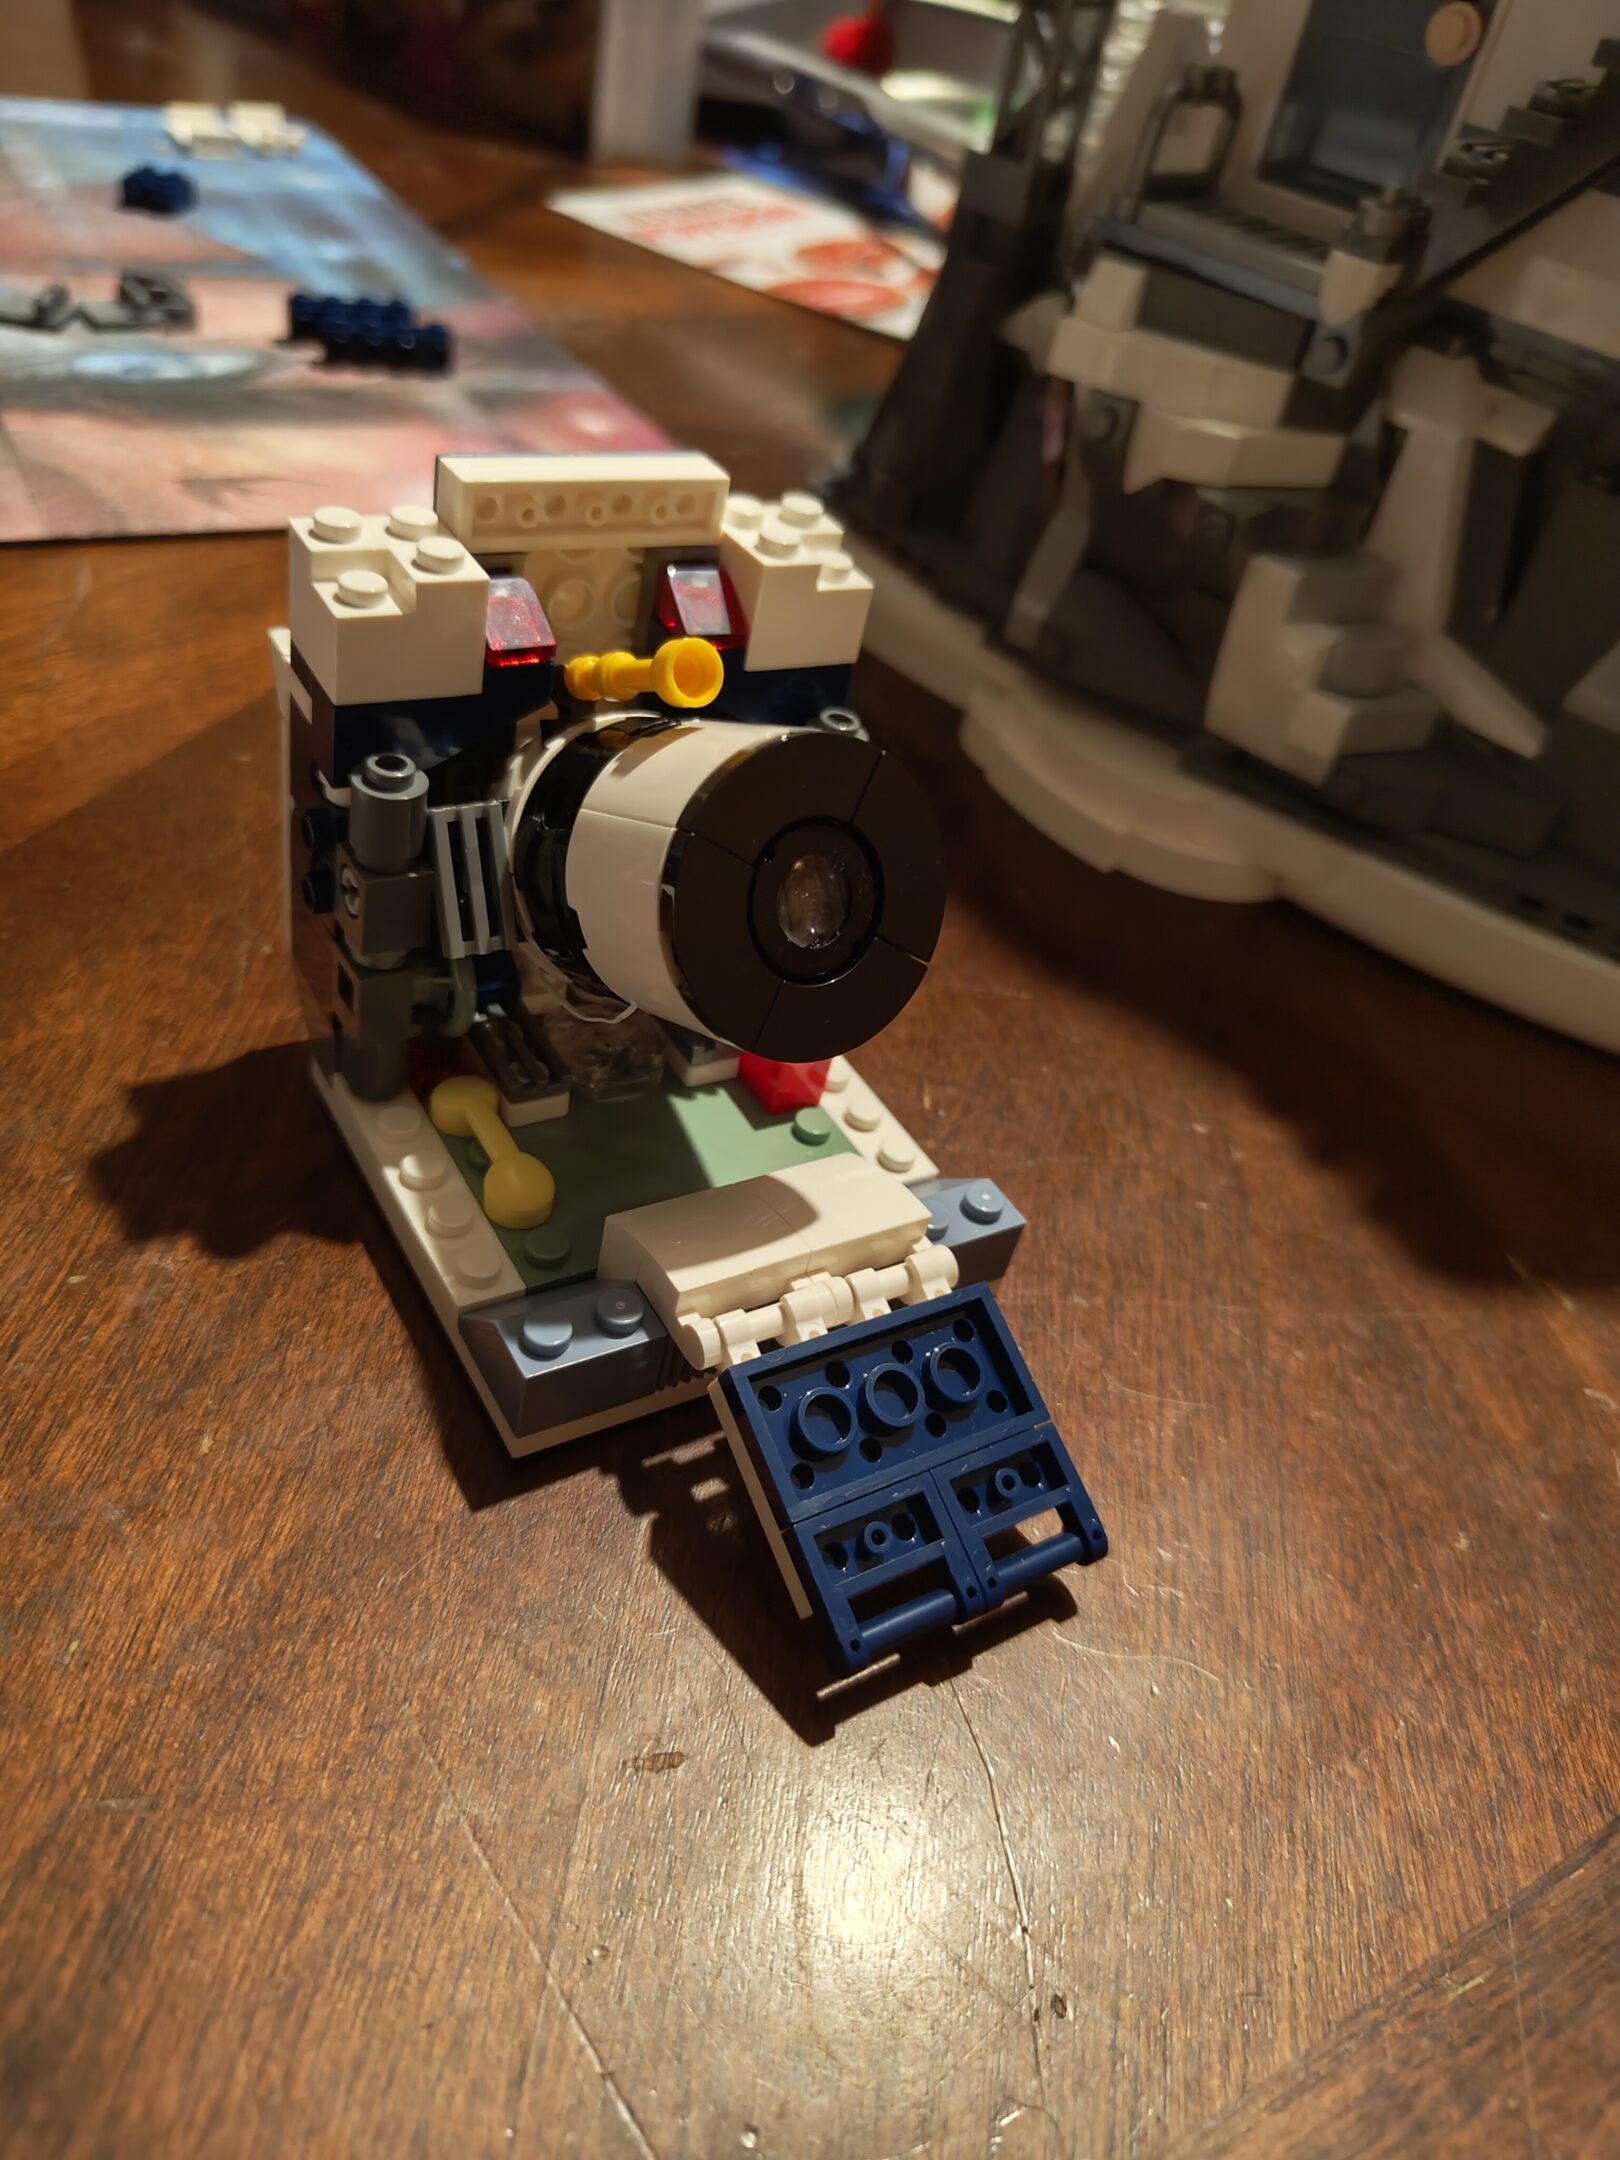
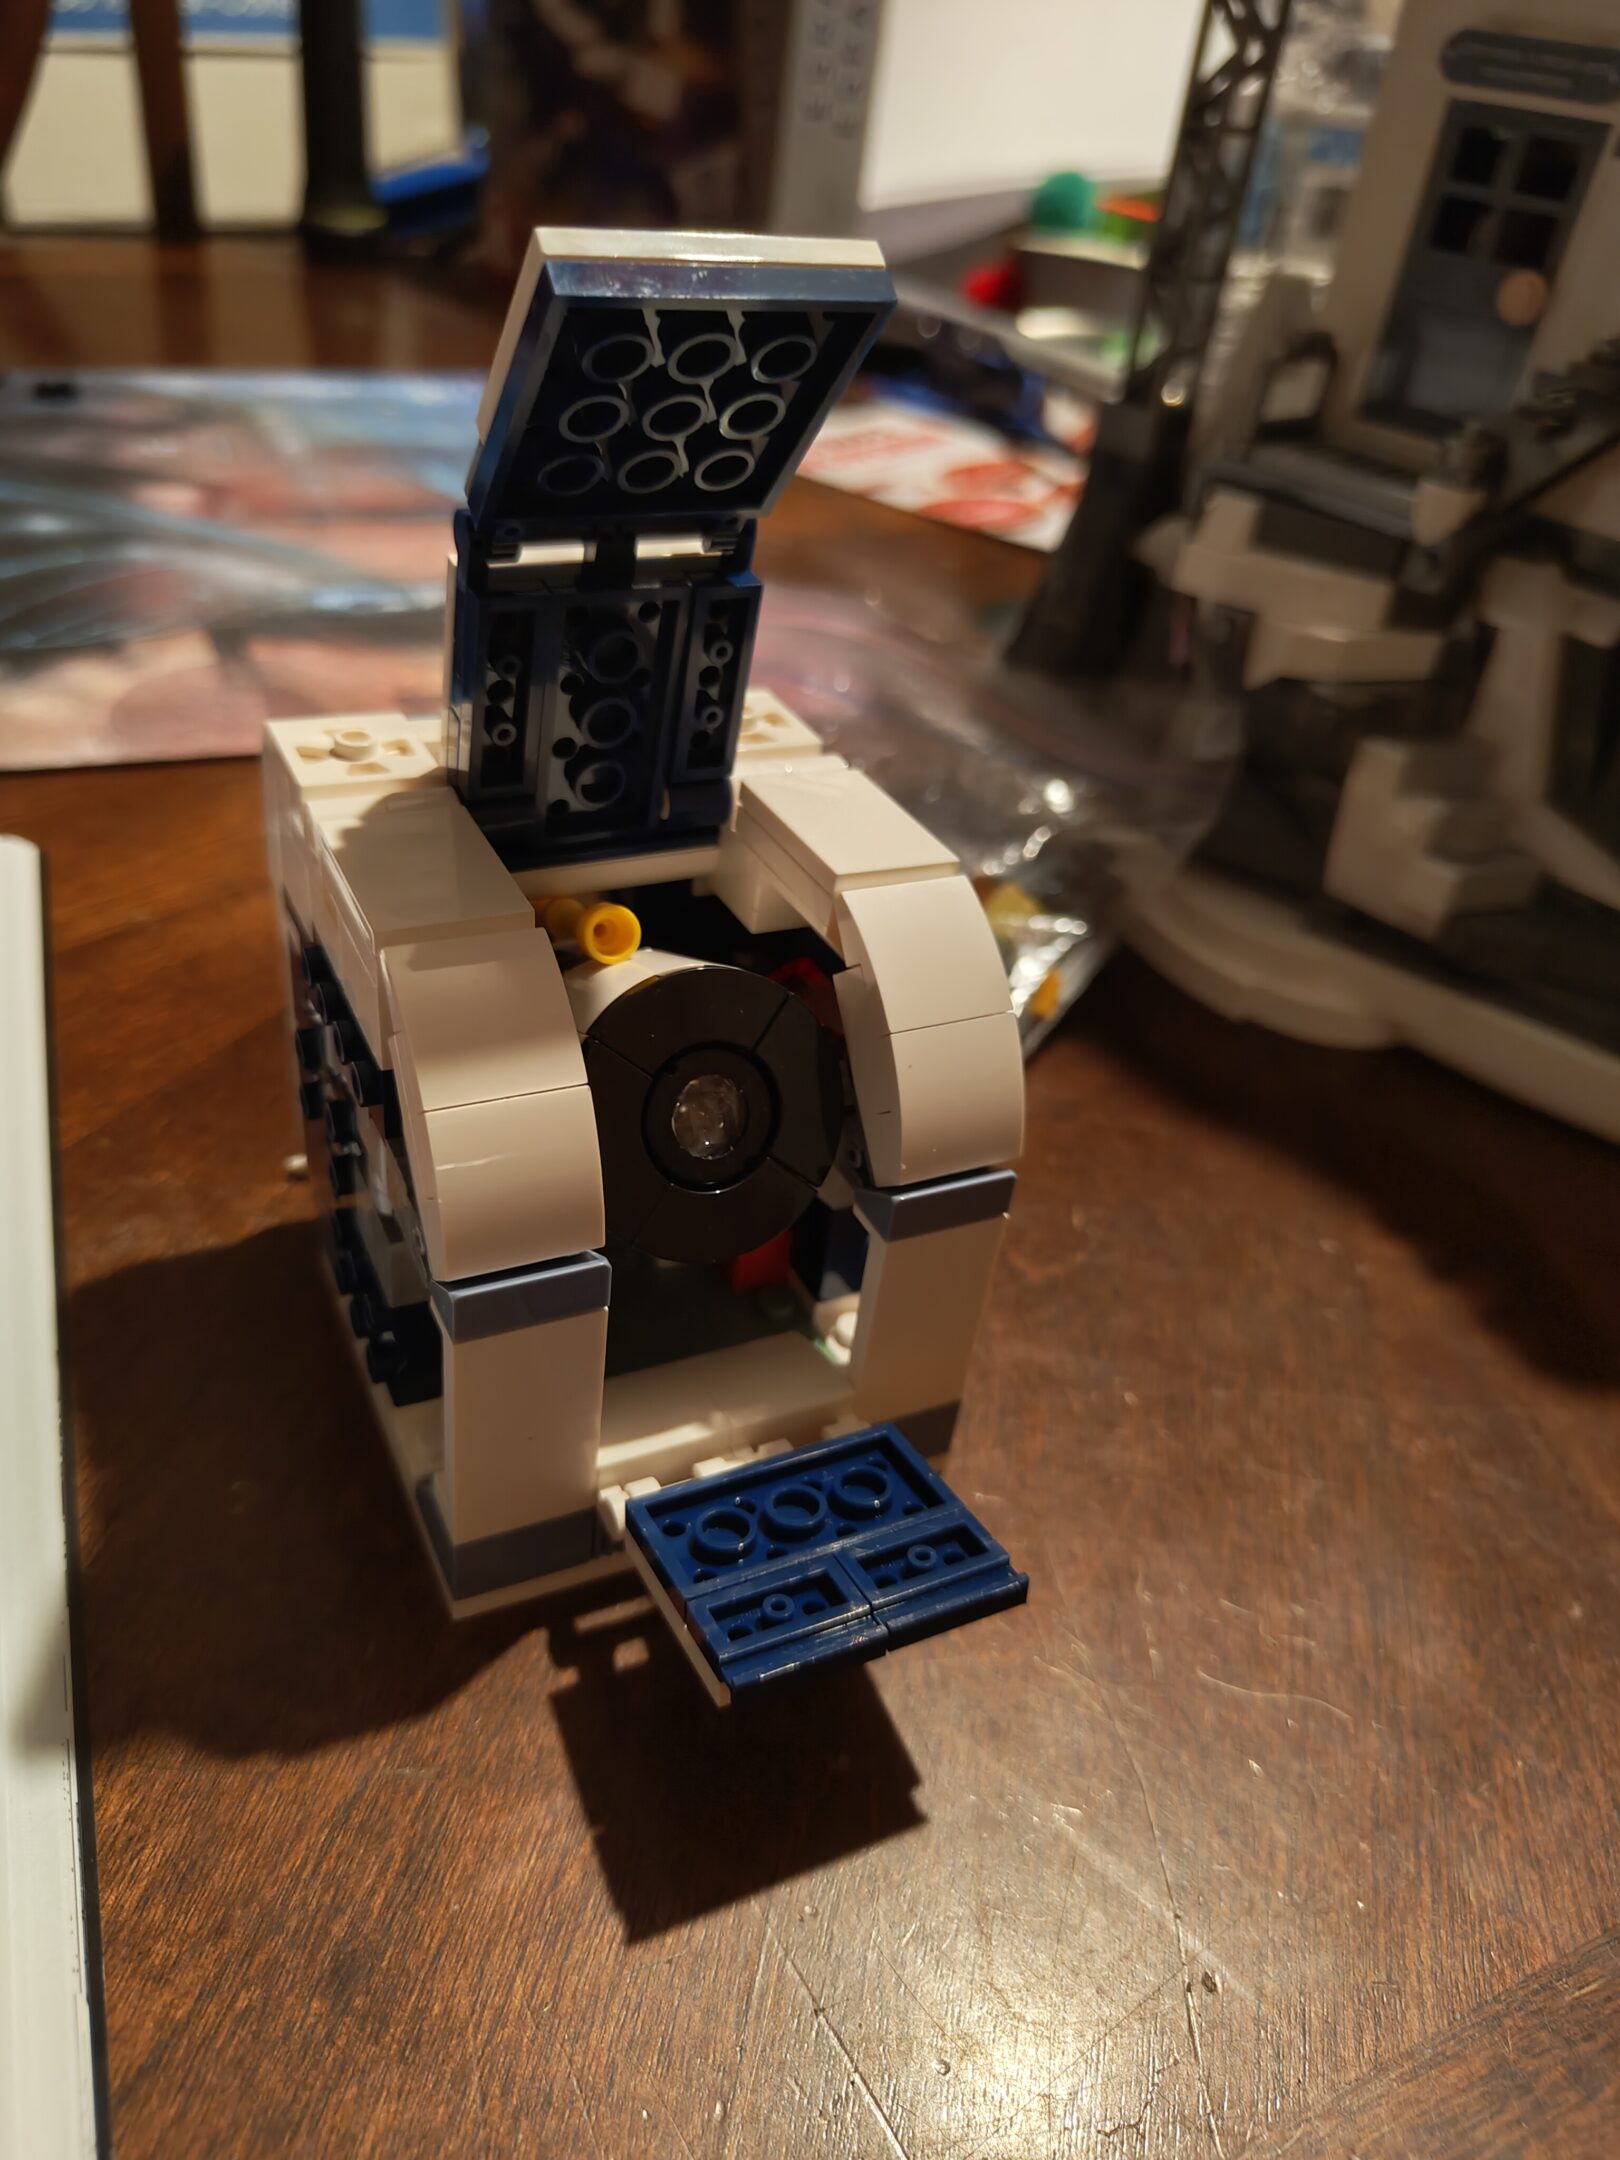
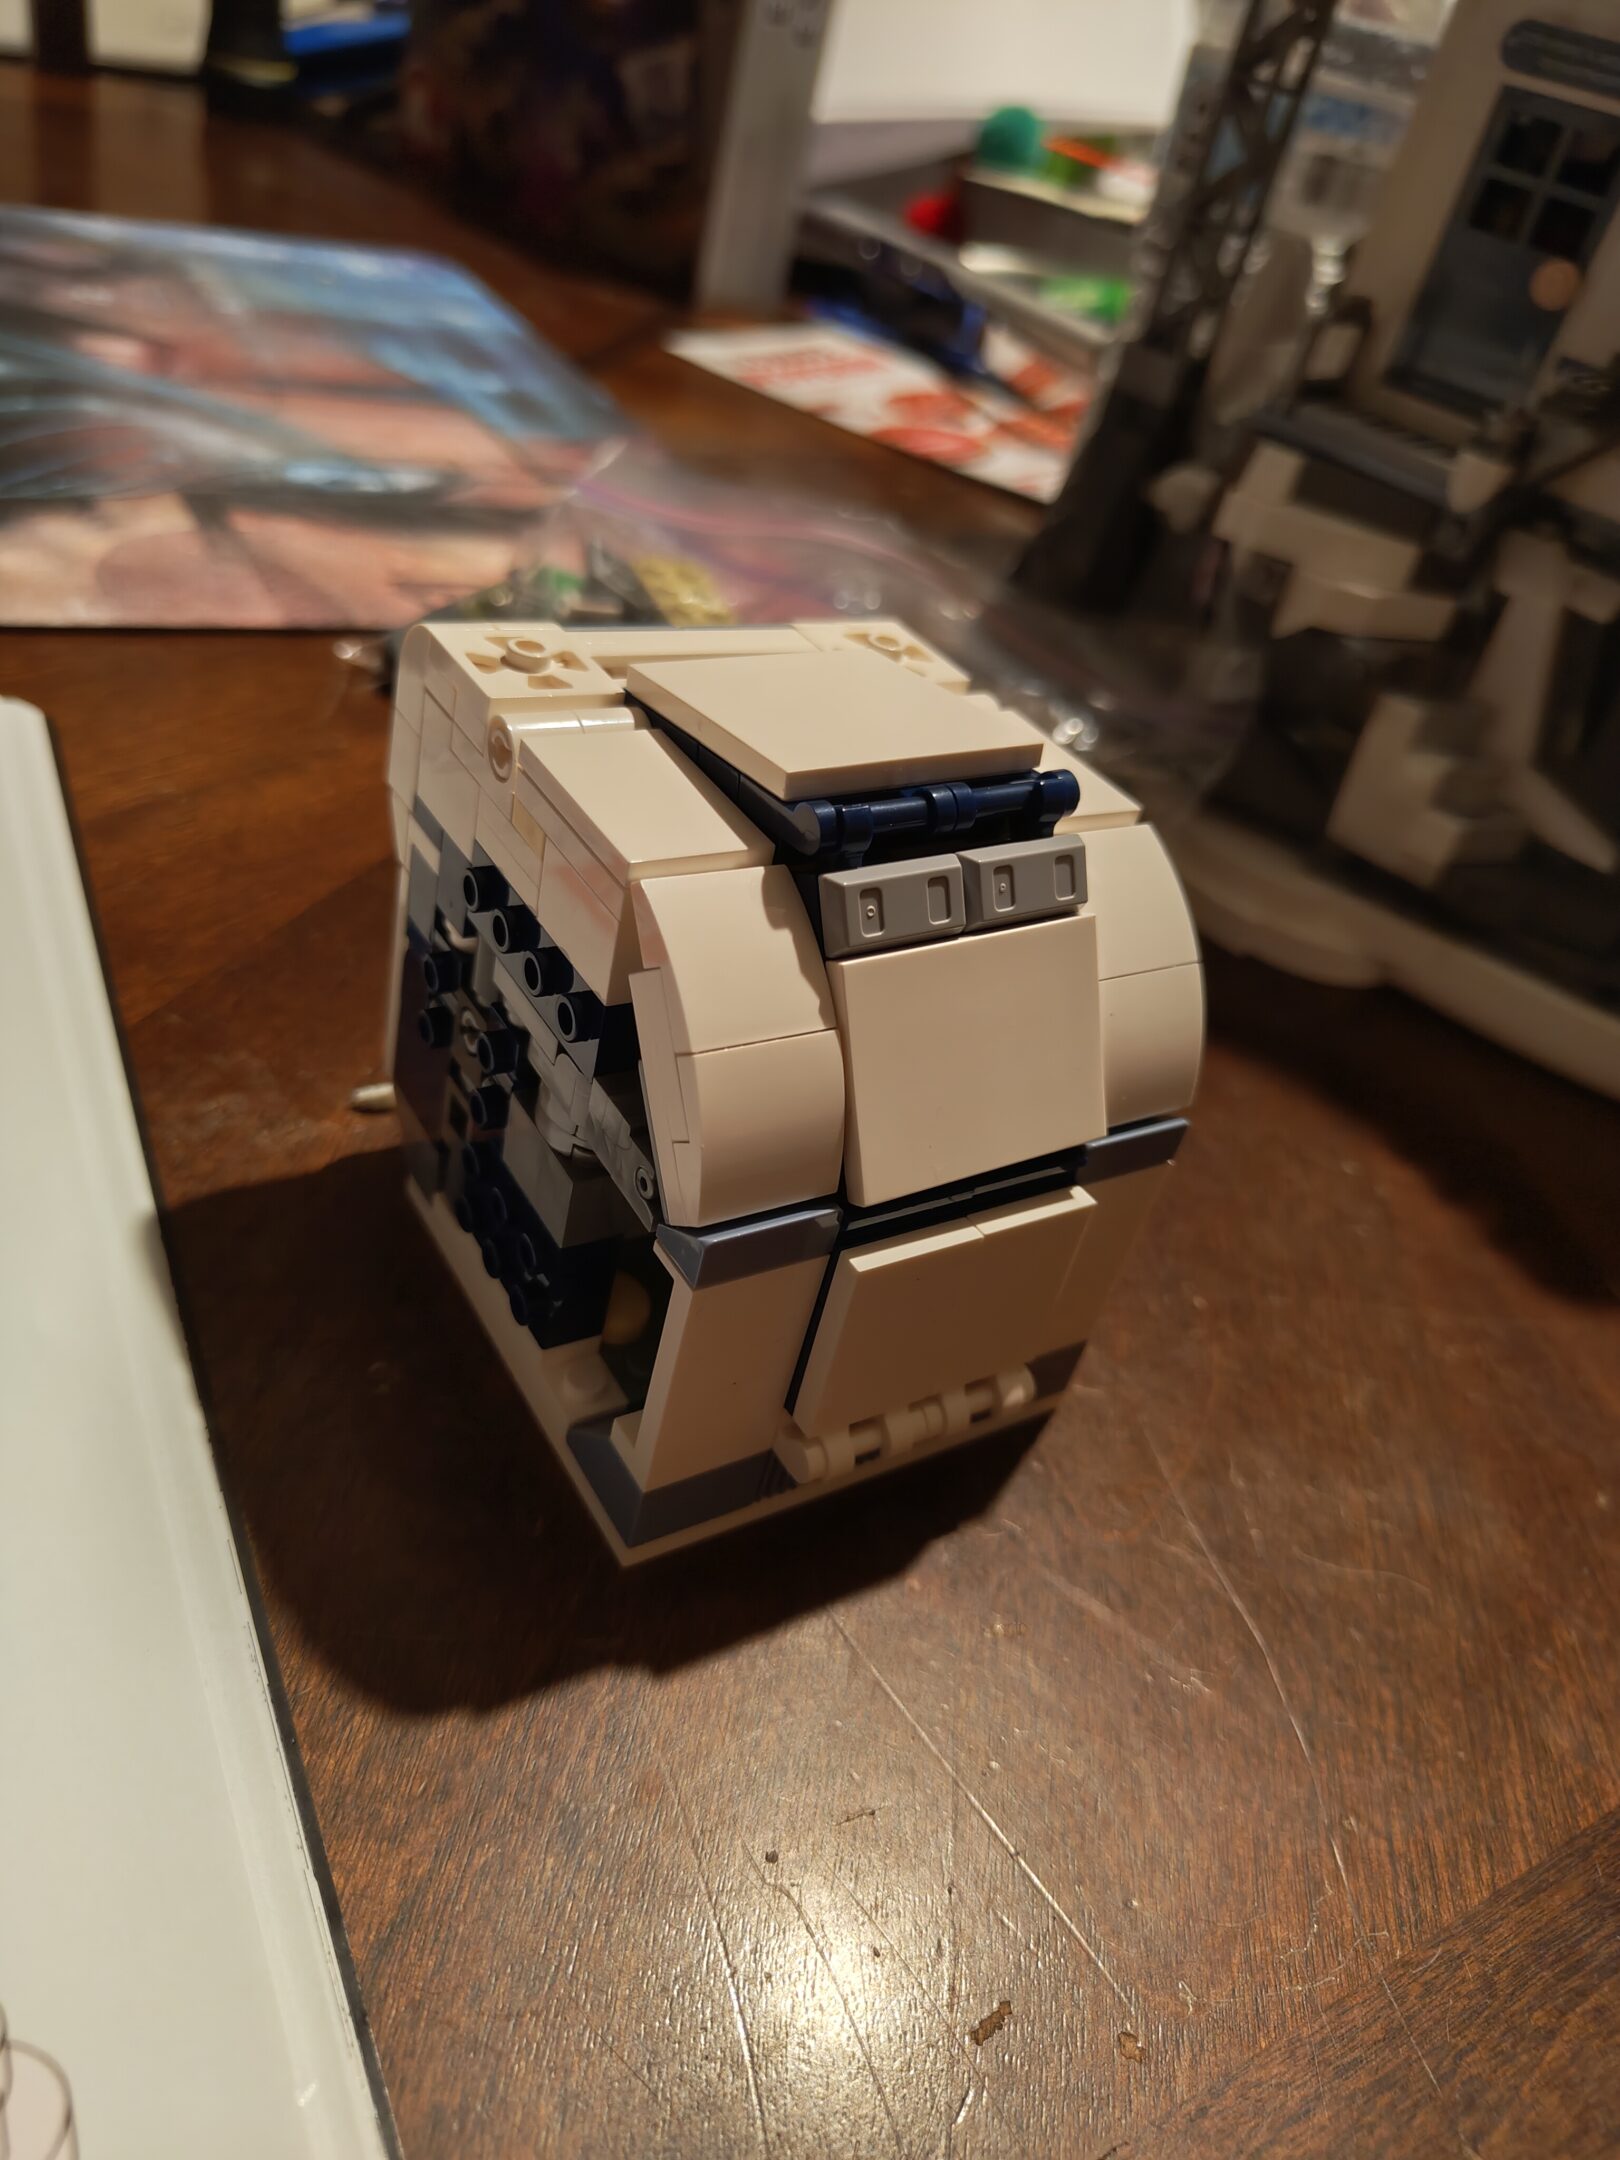
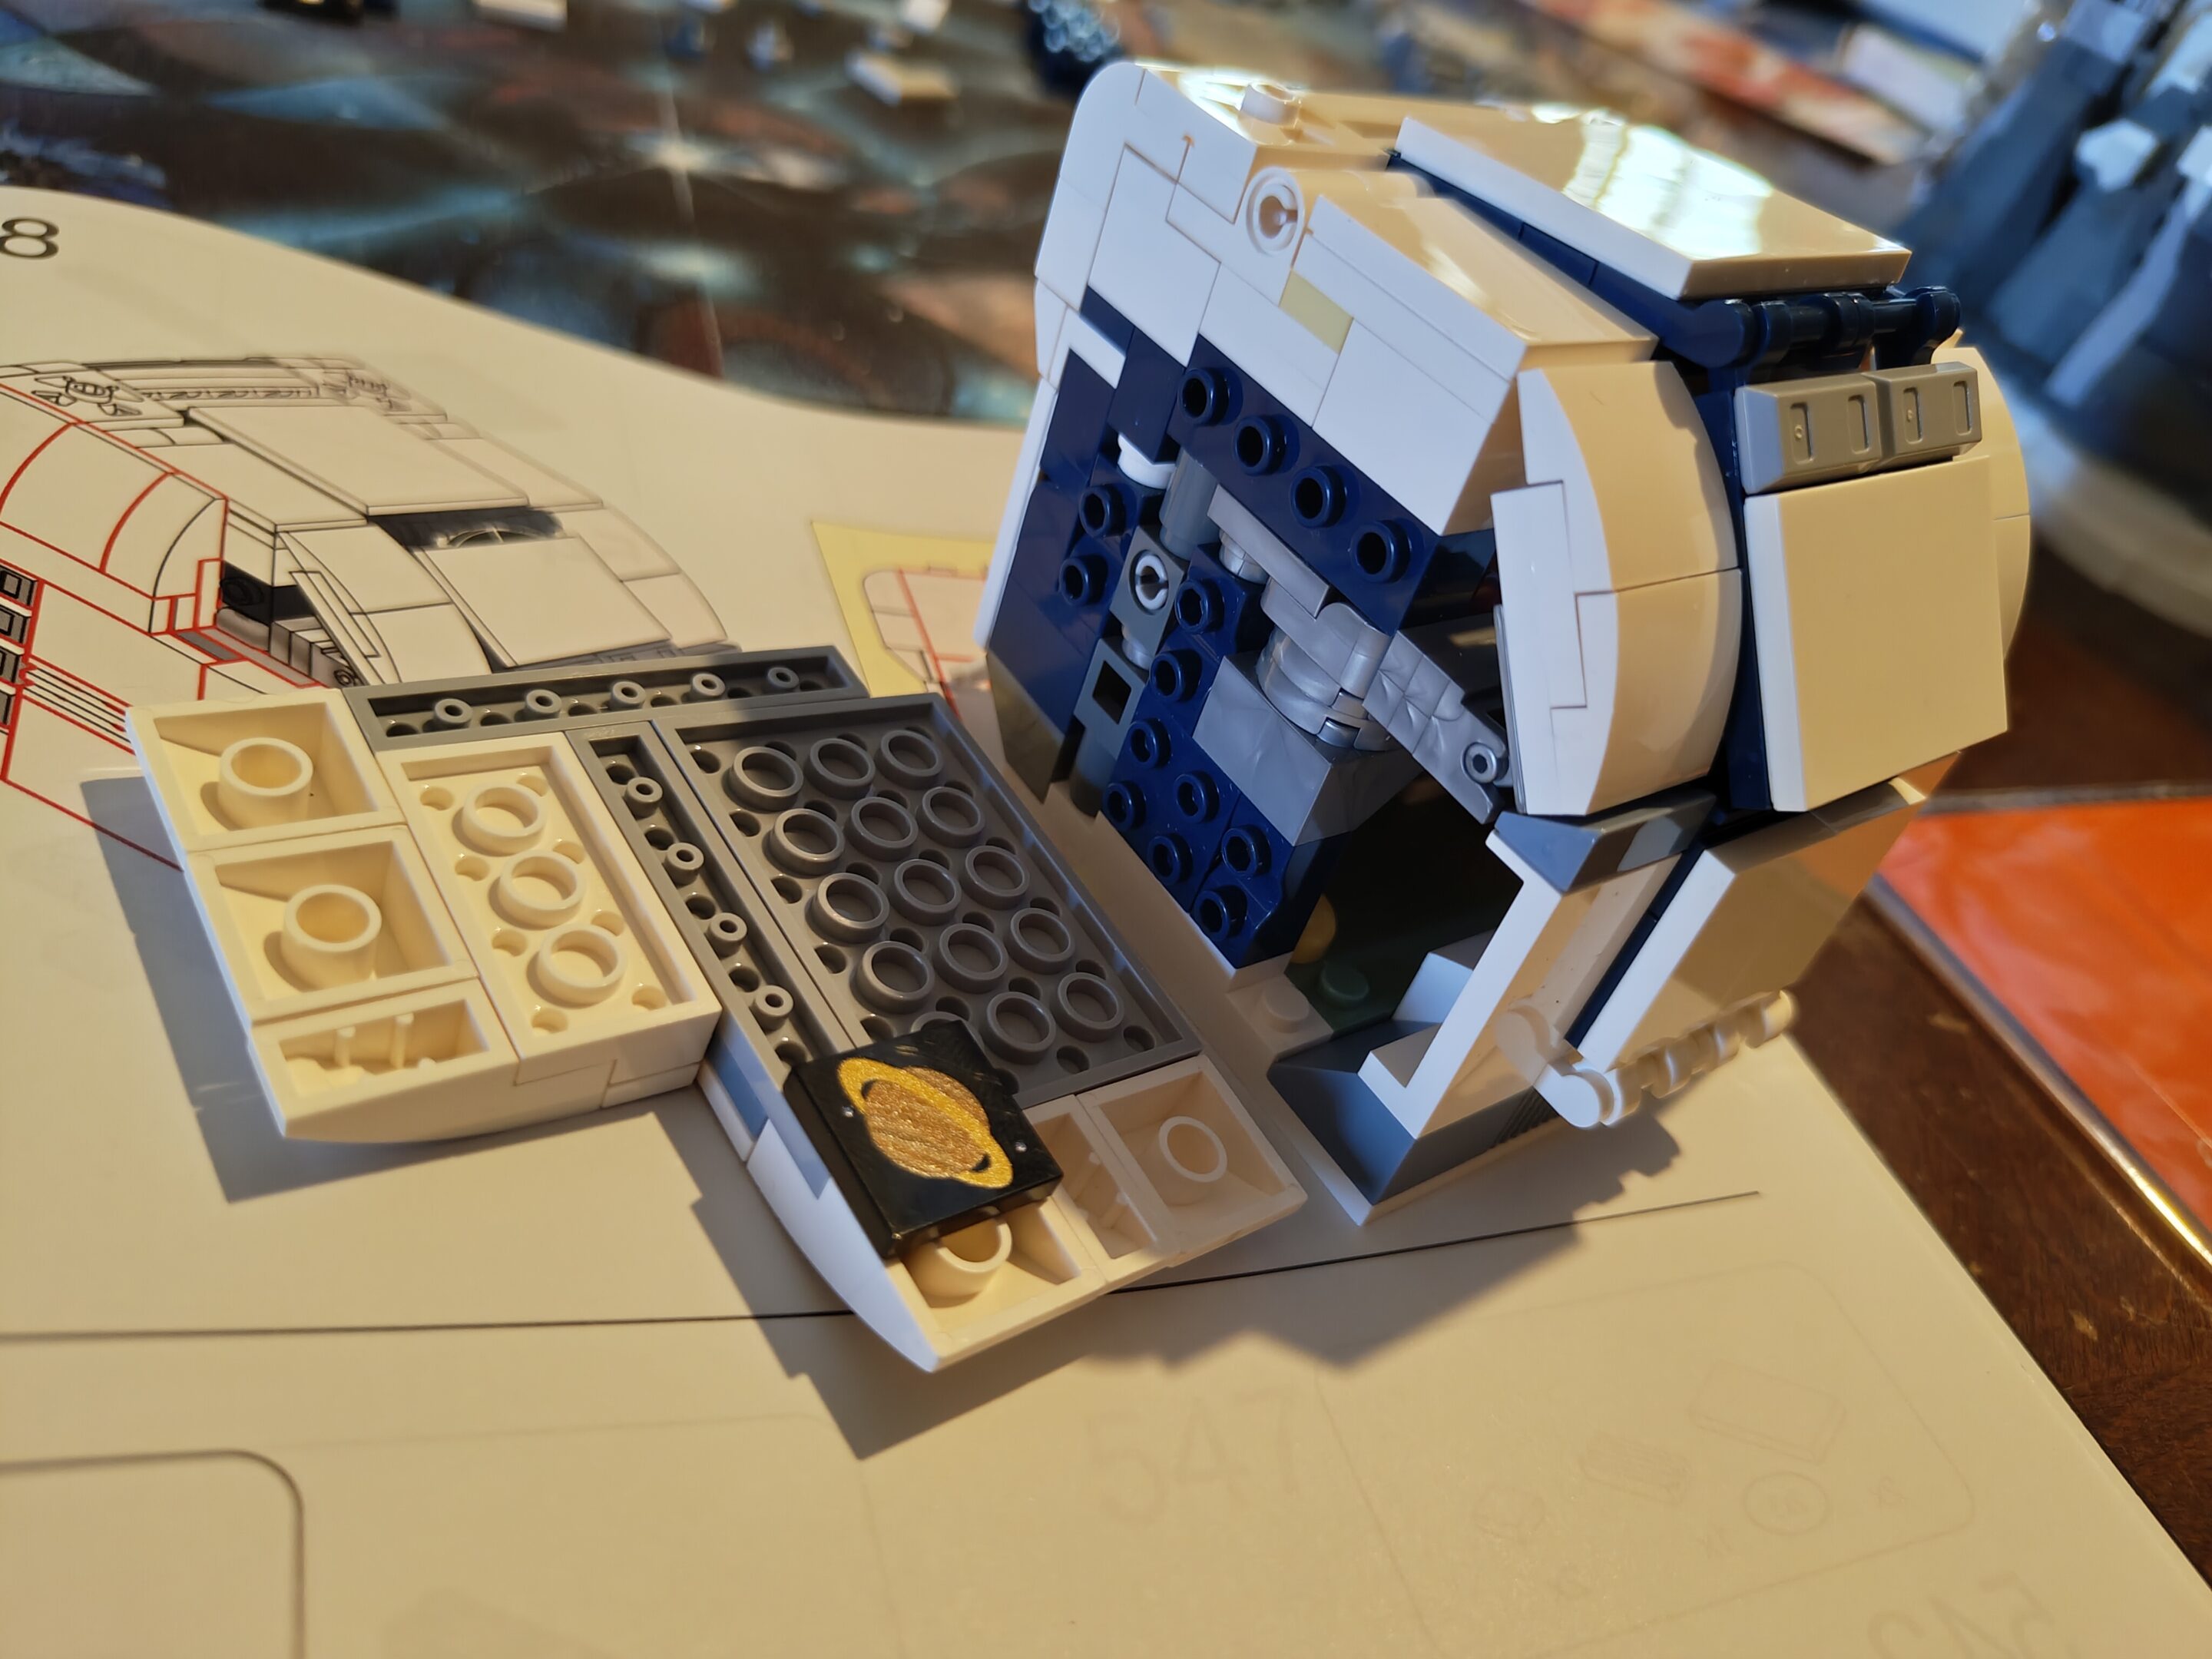
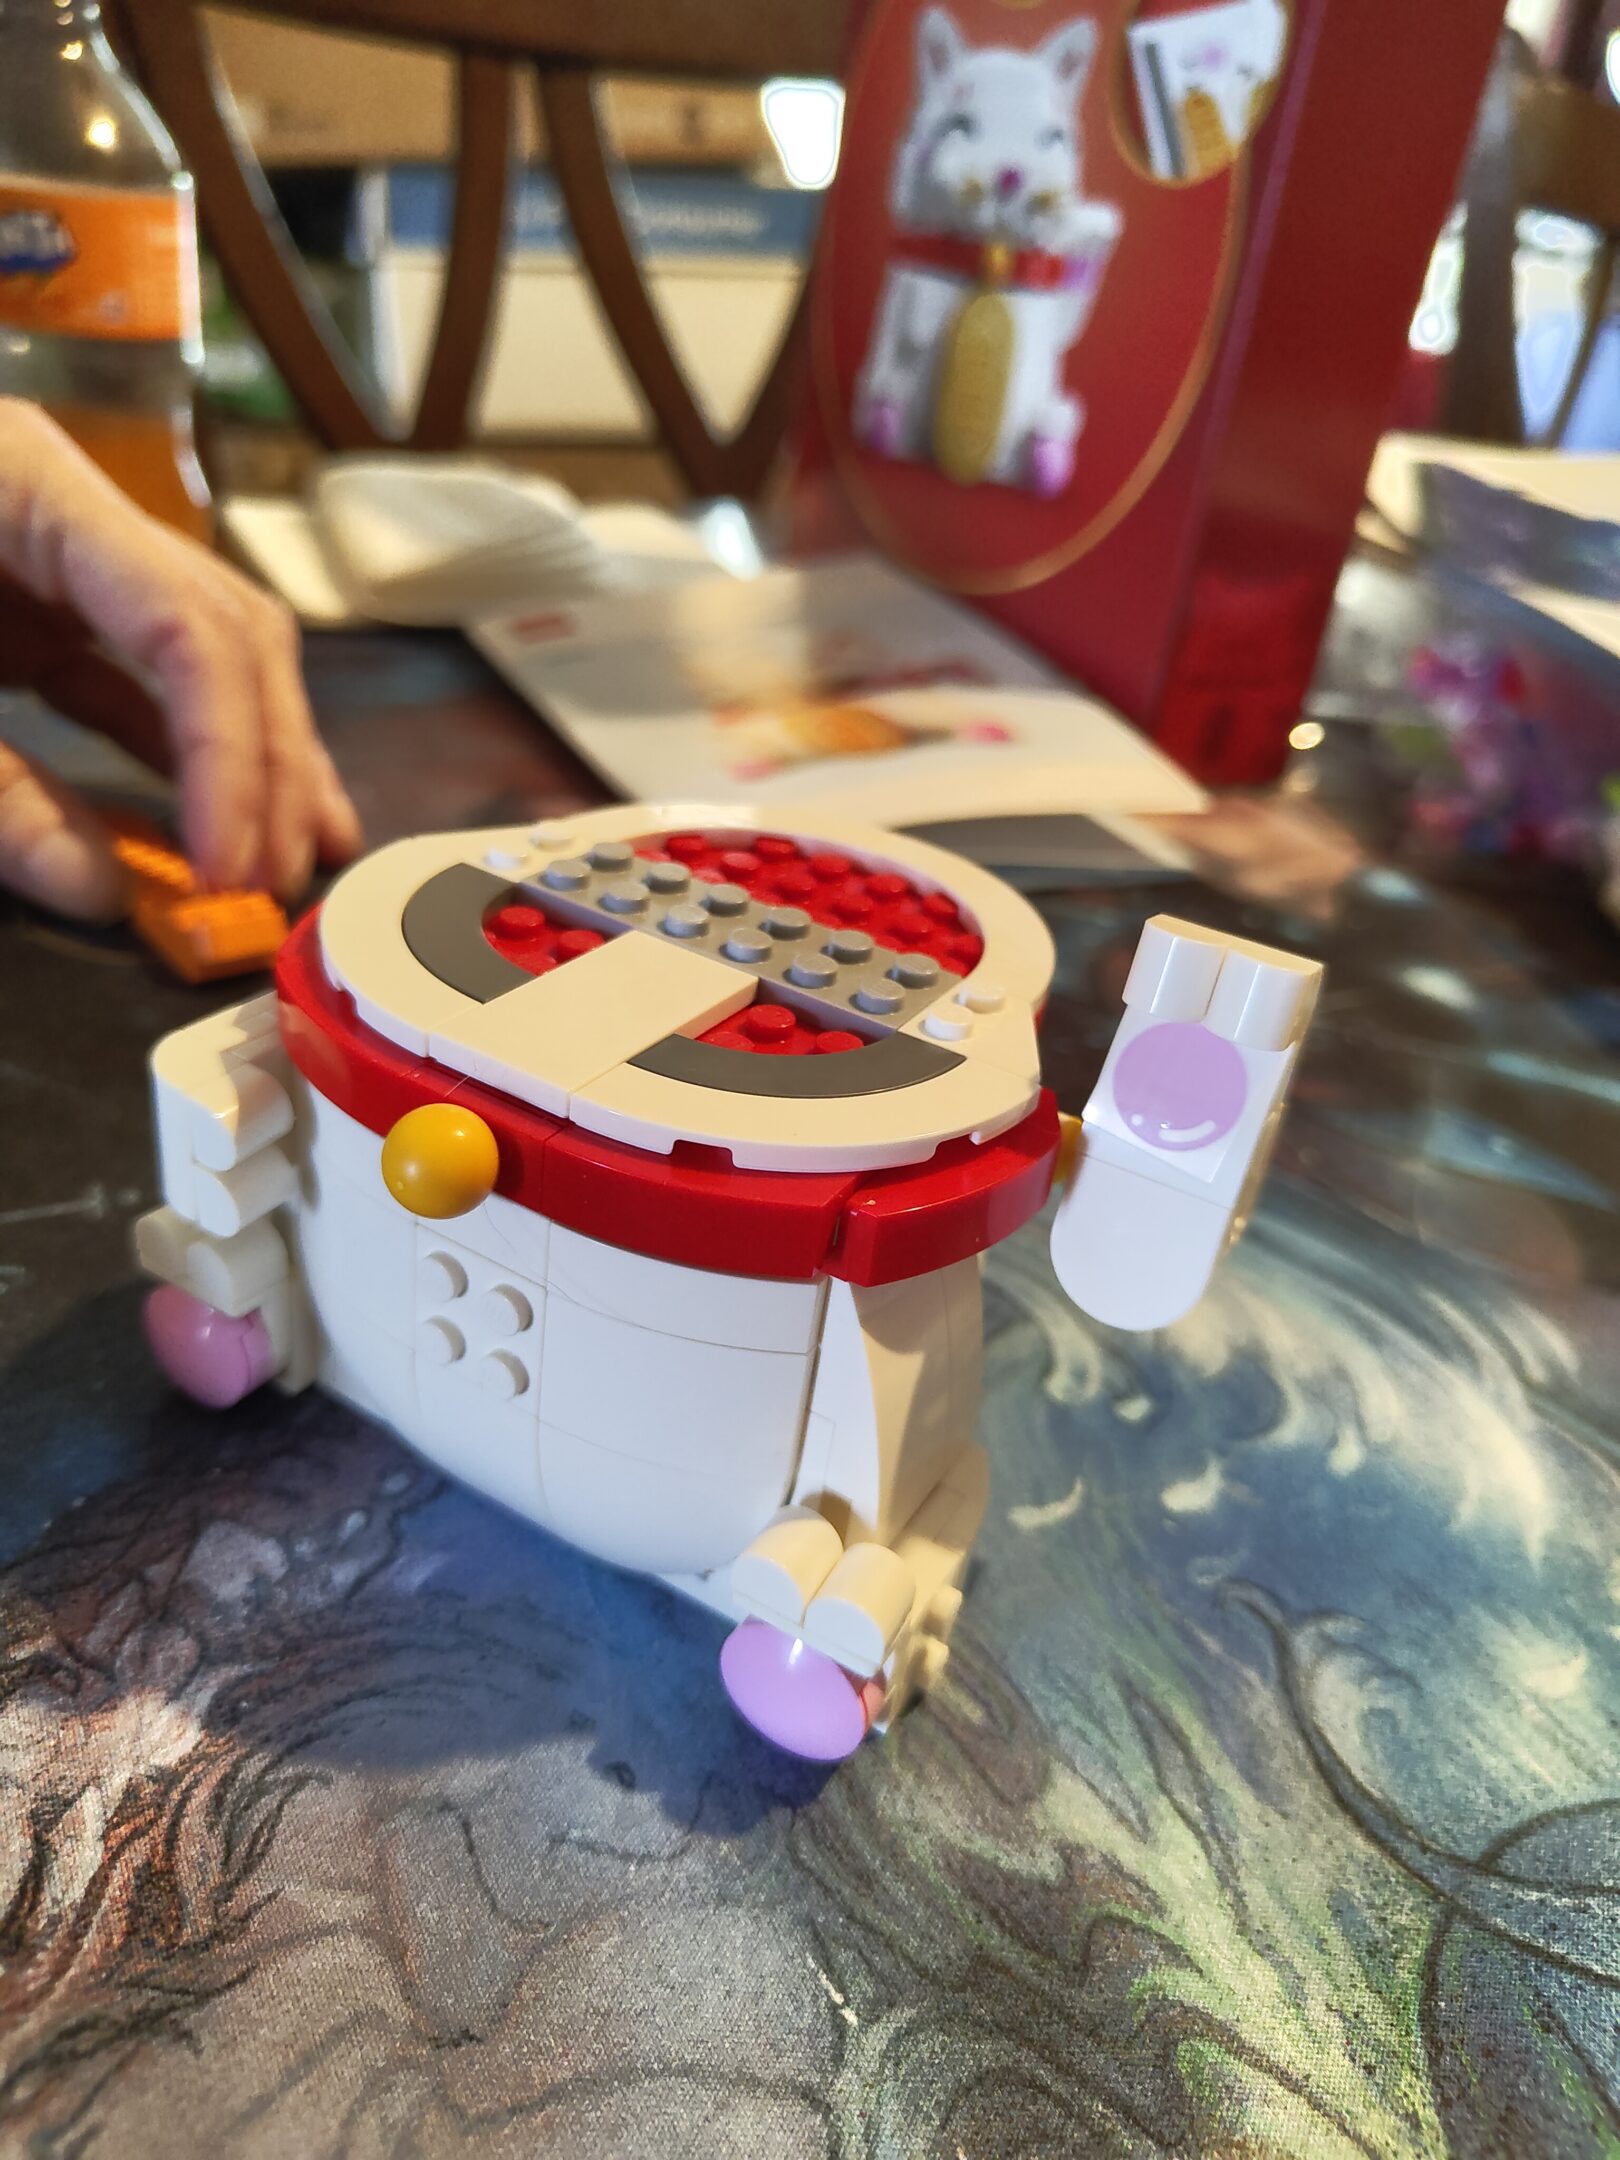
this was a nice quick little set mom and i did after finally finishing neuschwanstein castle today, only 150 pieces so it took us a little under an hour to sort and finish. i wasn’t expecting the clock bit to spin and i had a solid 10 minutes of entertainment just spinning the clock while mom and i were hanging out. anyway, here’s a couple pictures
Slightly after we sorted the pieces (and started a couple layers)Finished product with the booklet
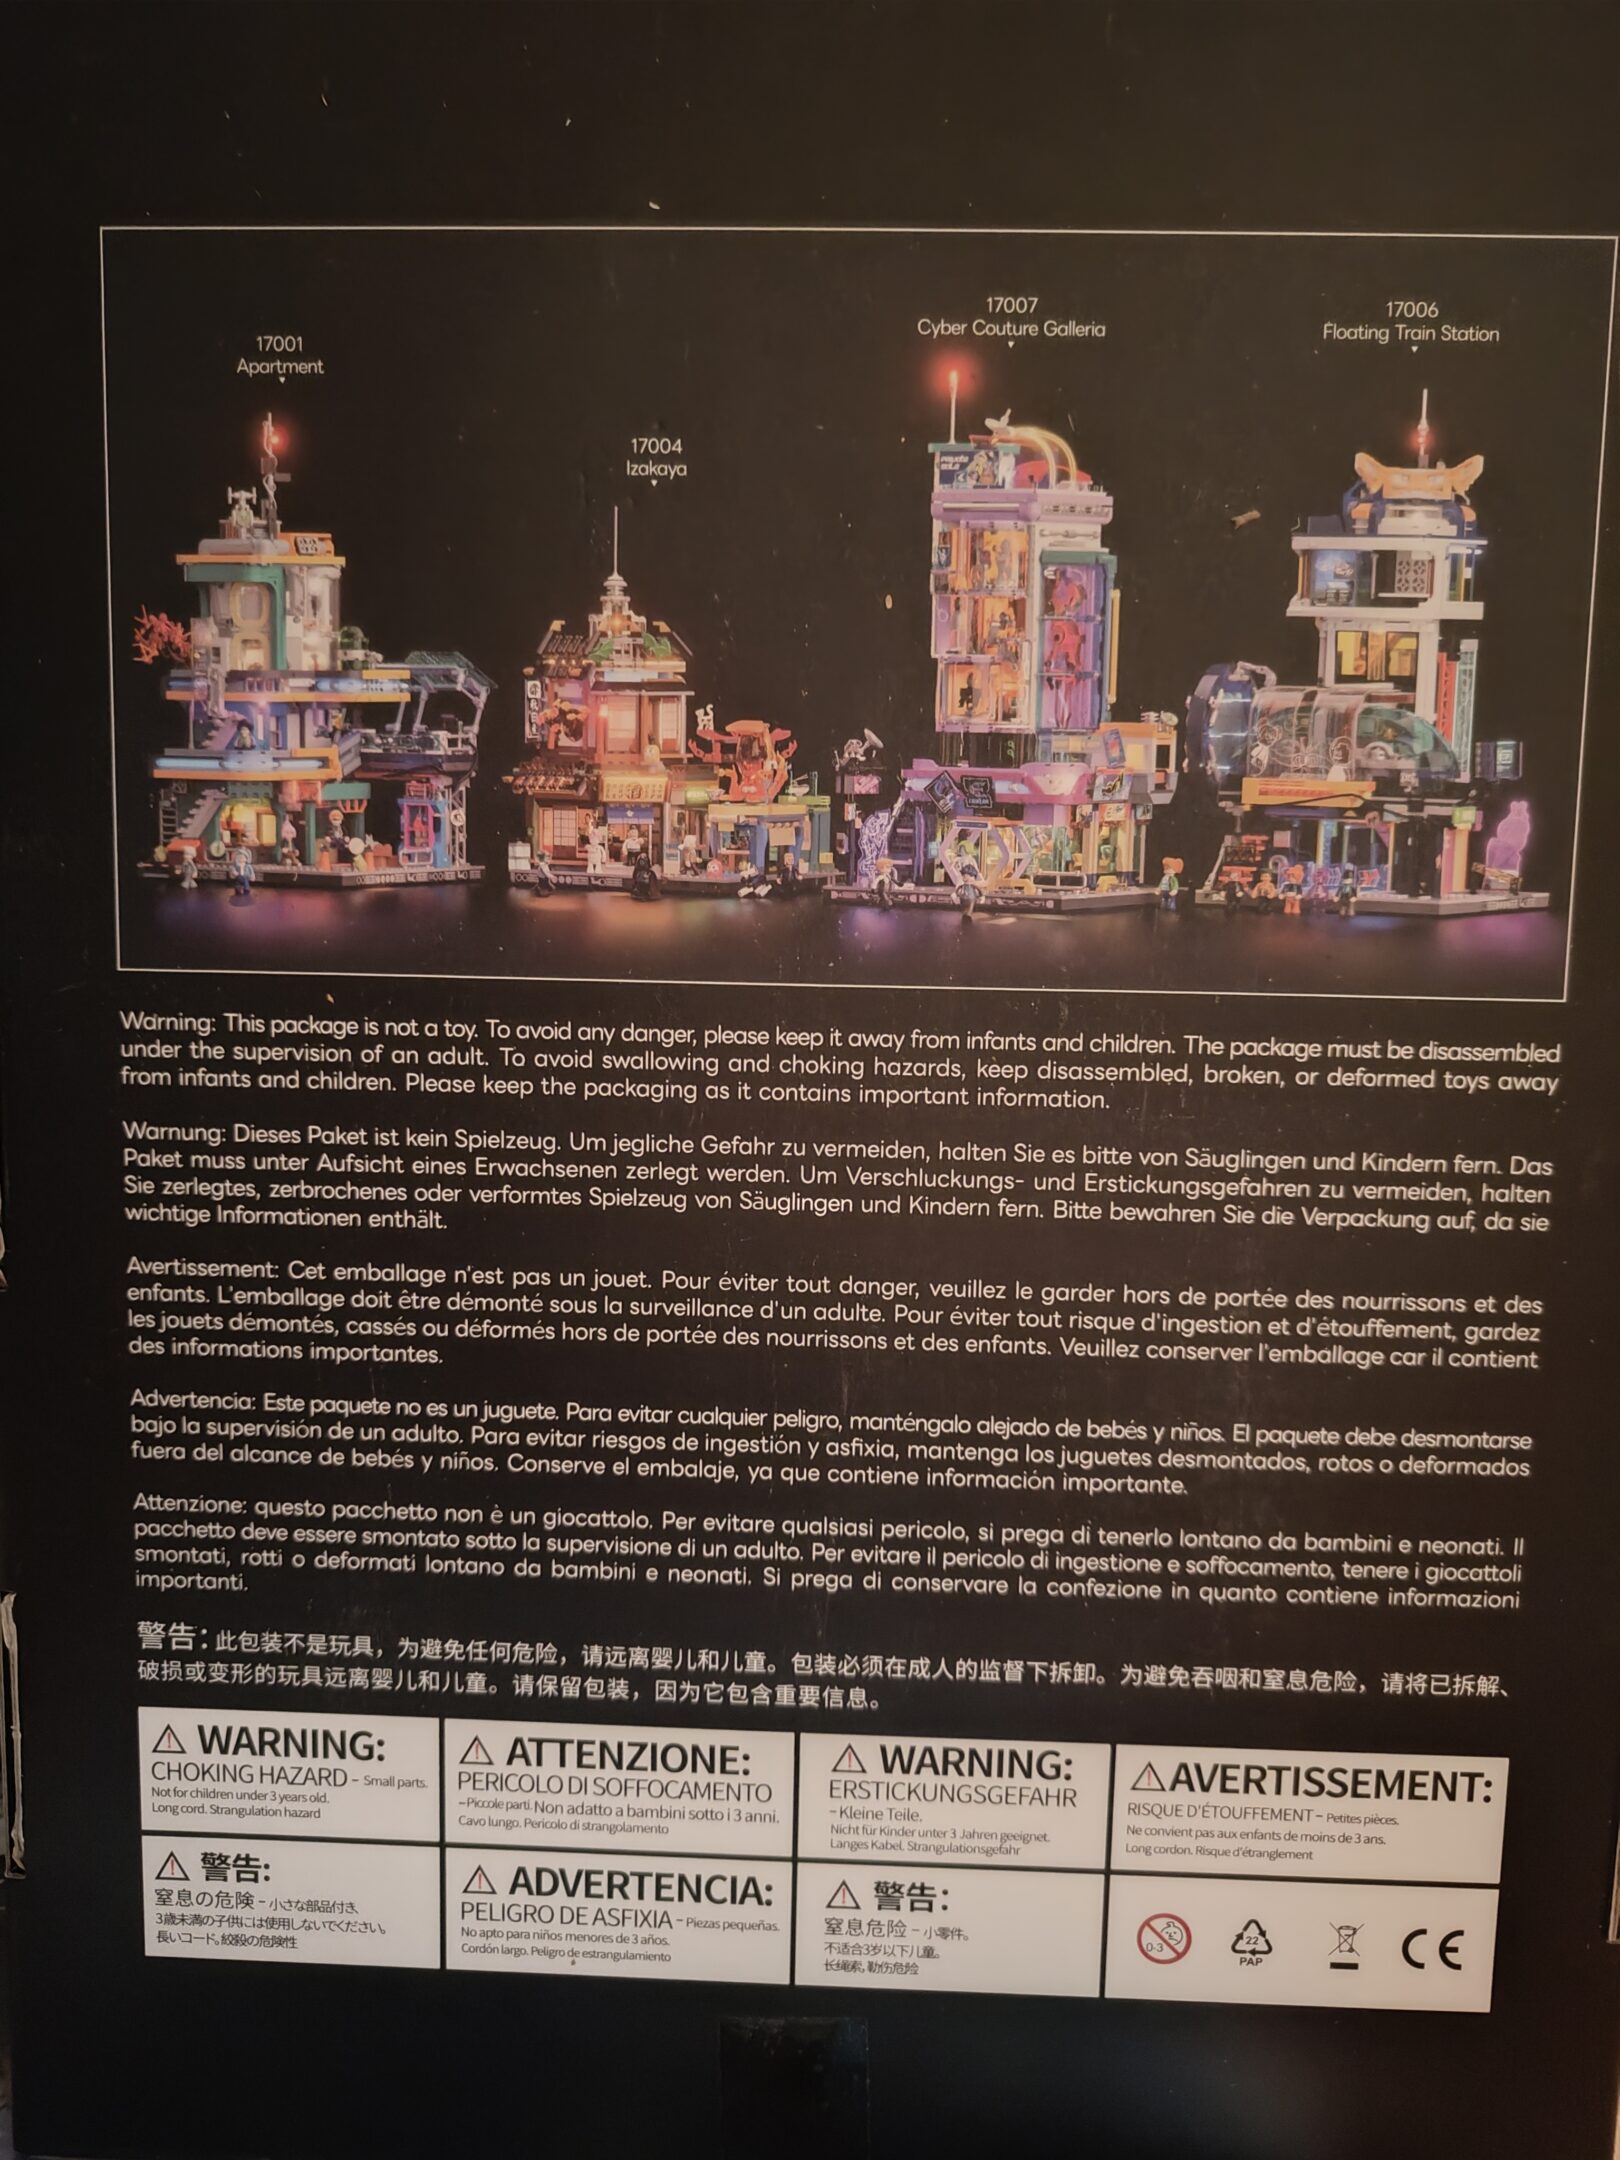
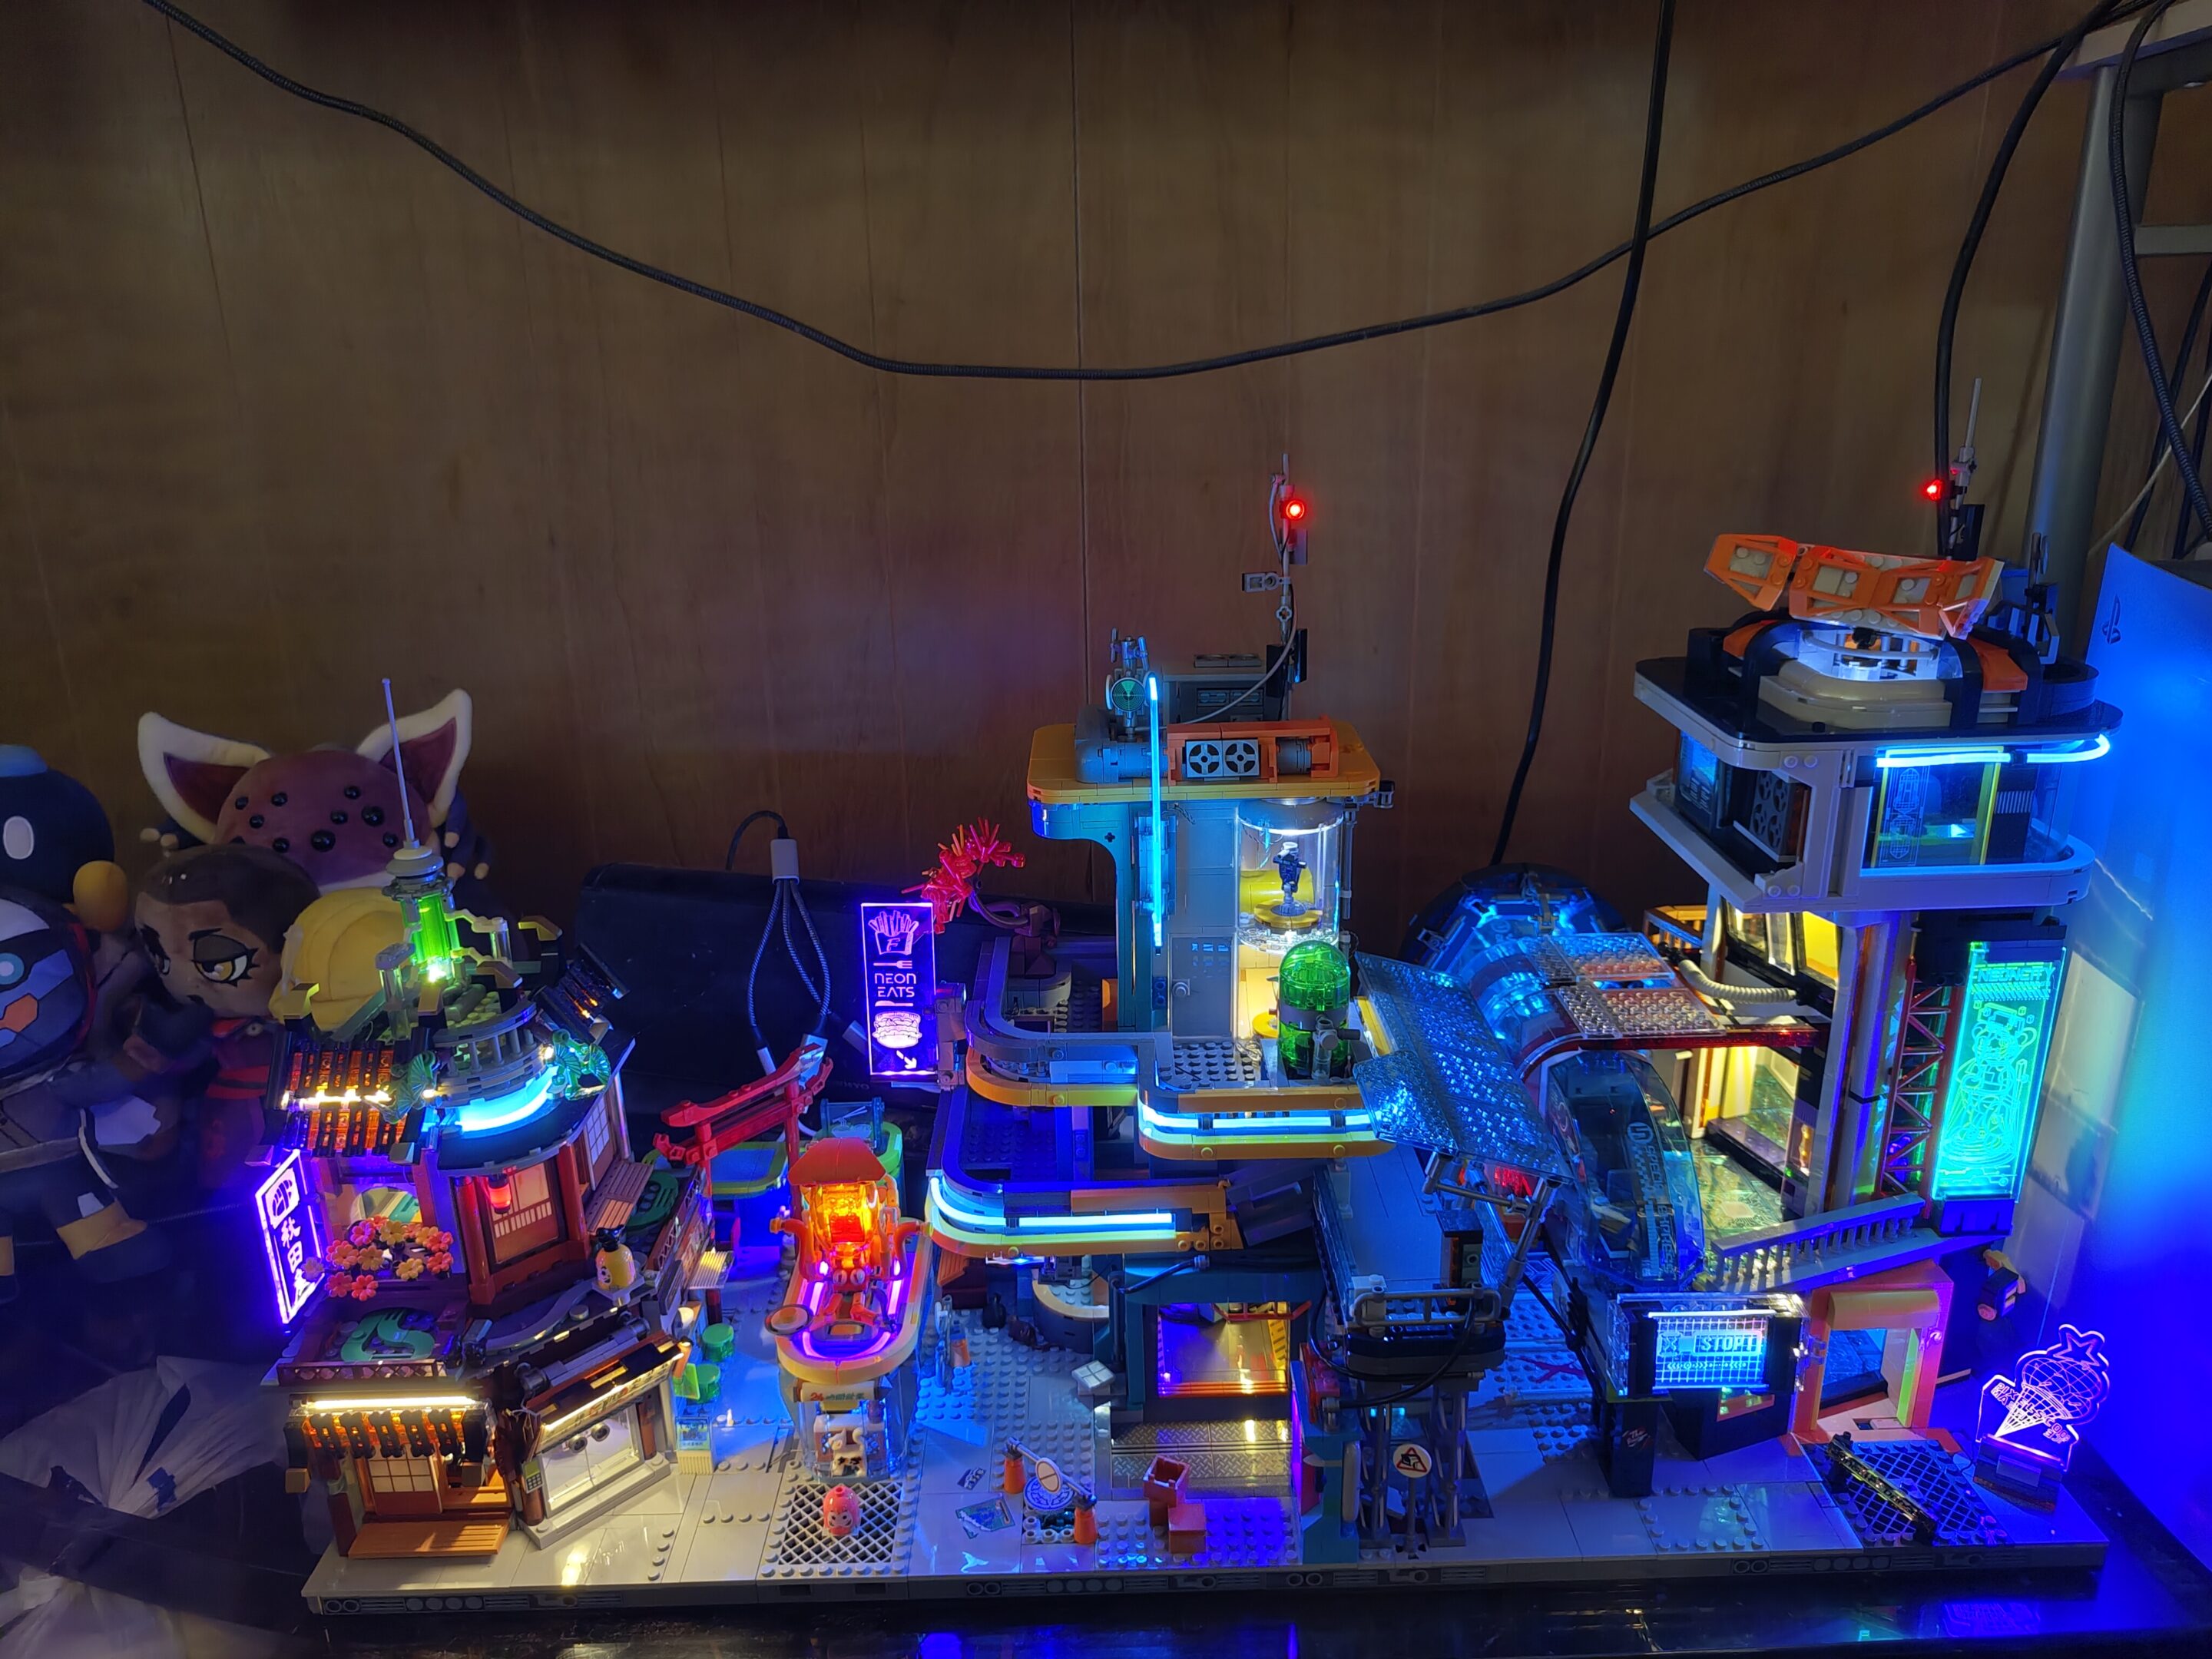
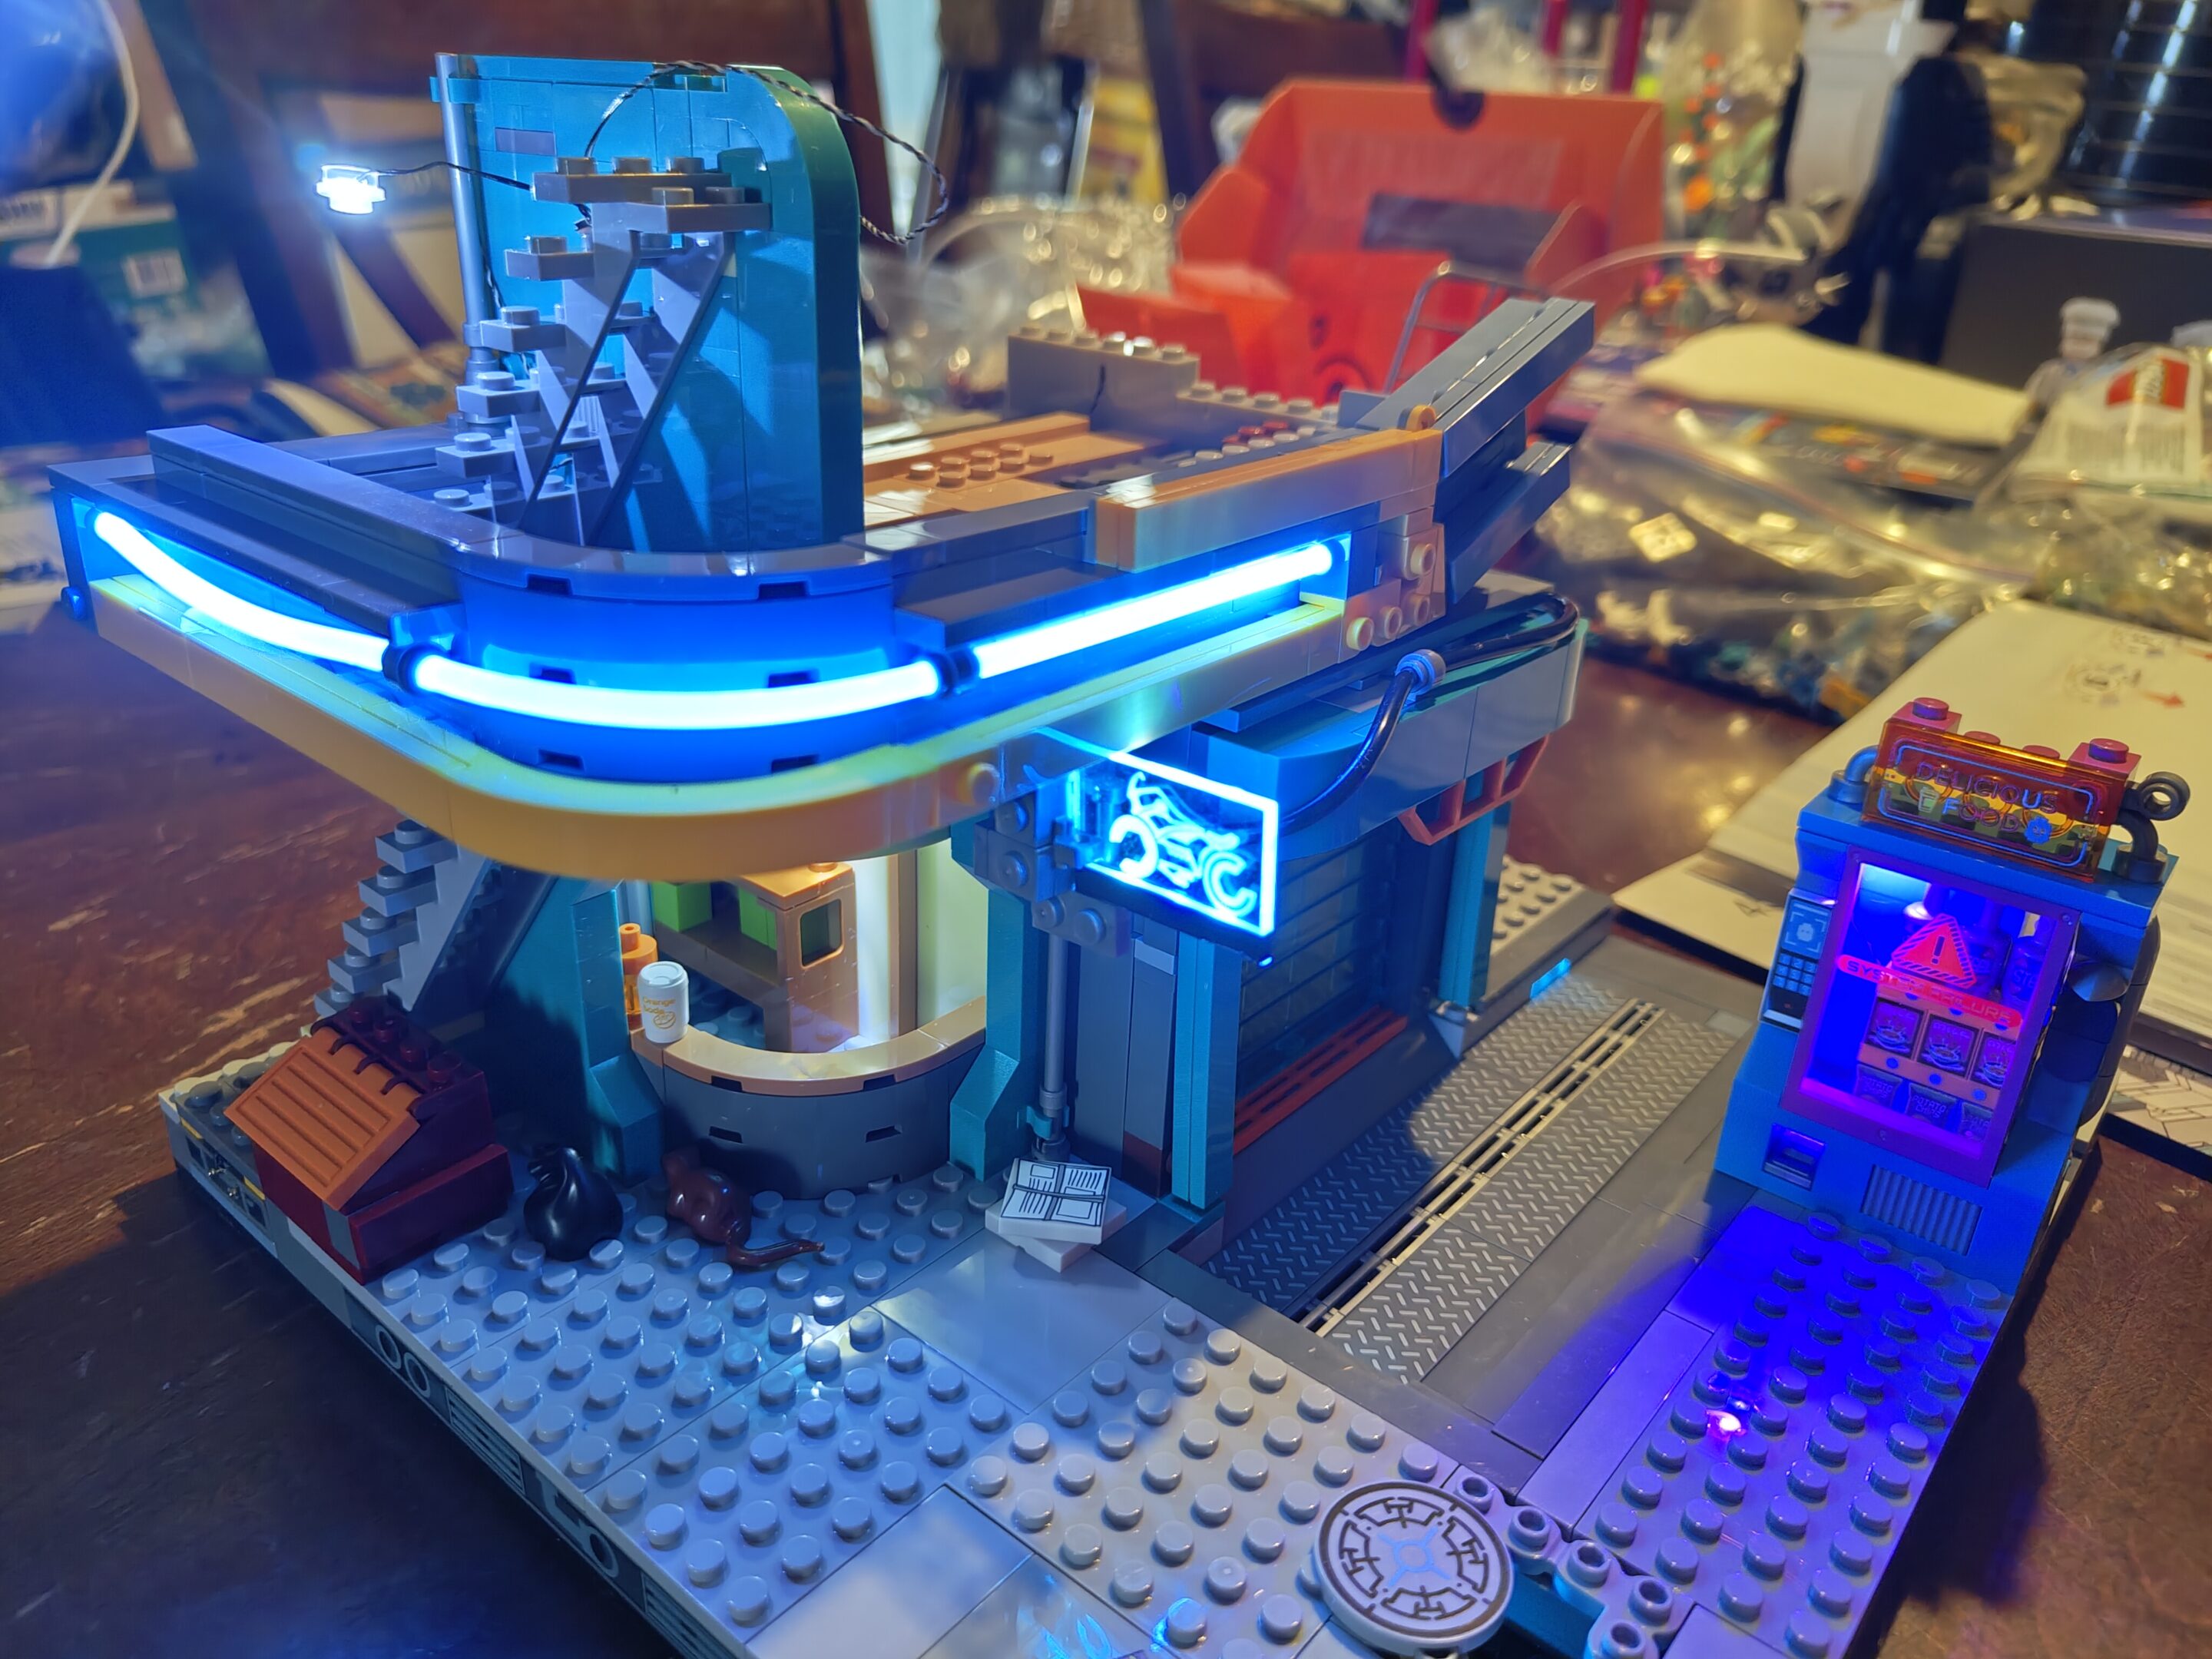
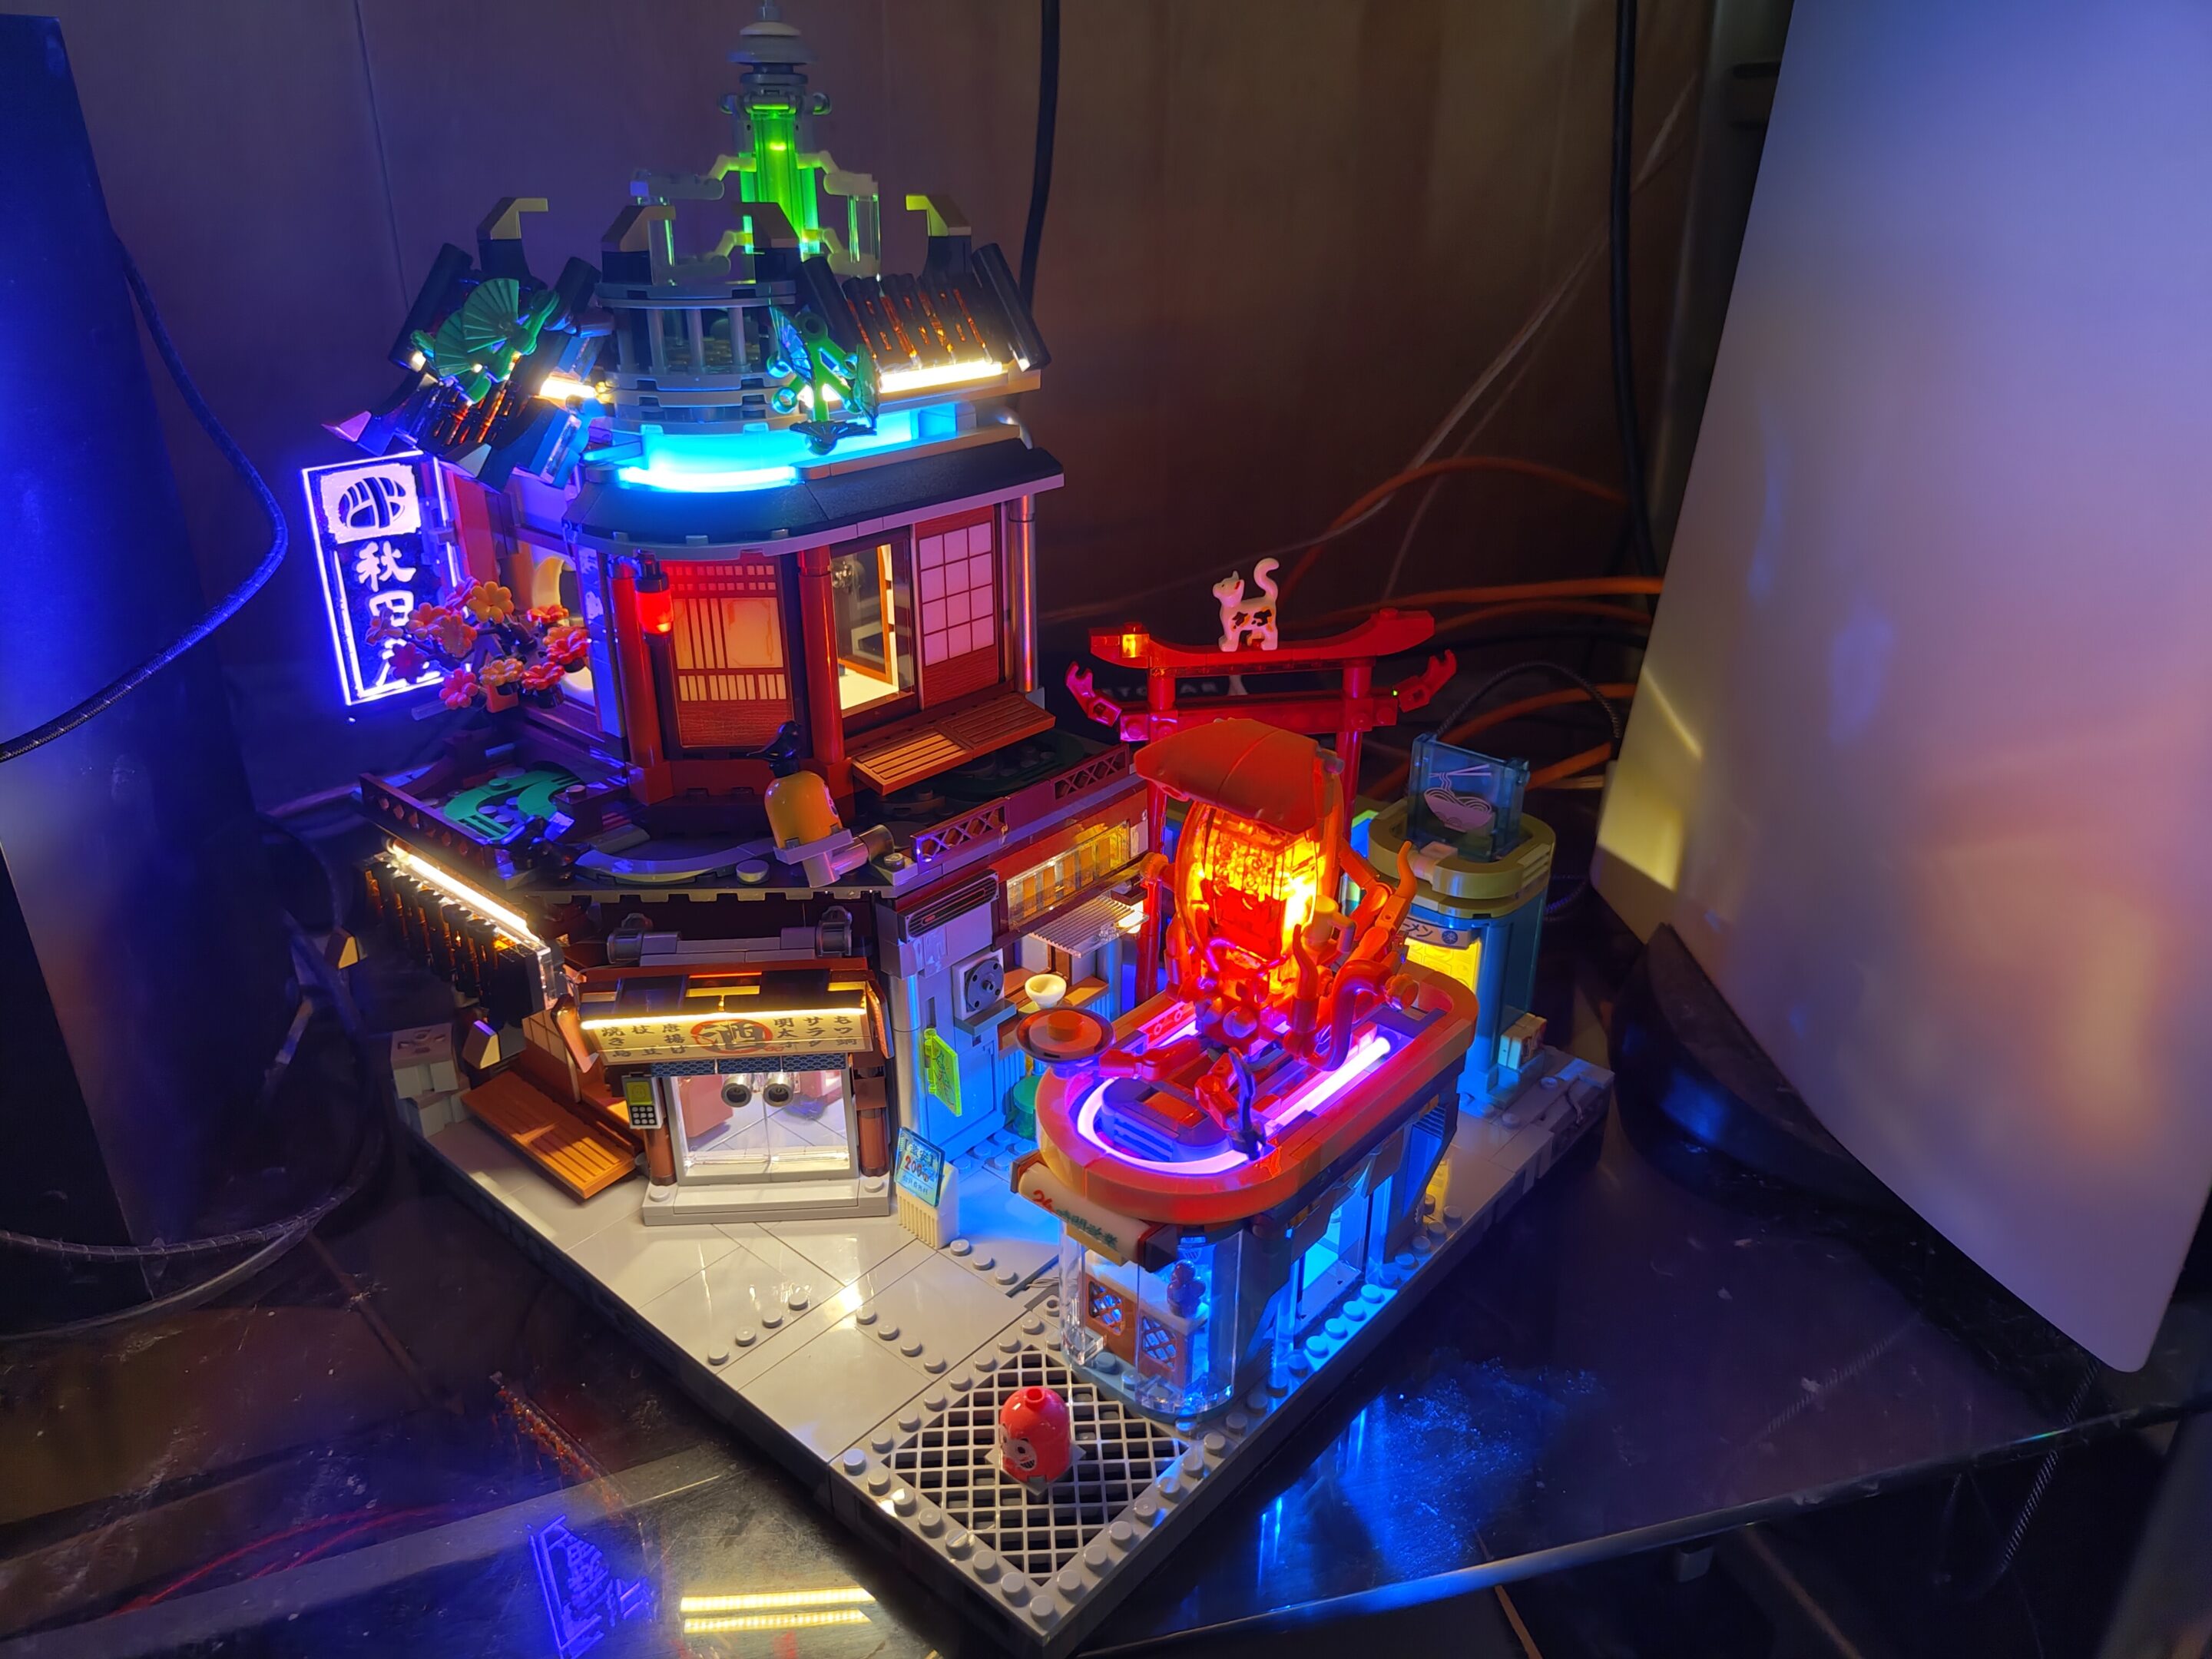
so, here’s my city as it stands so far — left to right — floating train station, izakaya, game stack, and apartment. i have the bus off to the left but it’s gonna have to become the way left to fit one more block up here. check out the video below for flashies!
so this arrived like a week early in the mail and i don’t know, i kinda doubt mom would be interested in this one. but i’ll check with her next time we sit down to work on neuschwanstein castle to see if/when she wants a little intermission from long-term project. i wanted this set for me at the very least so maybe i’ll intermission myself between lumibricks sets
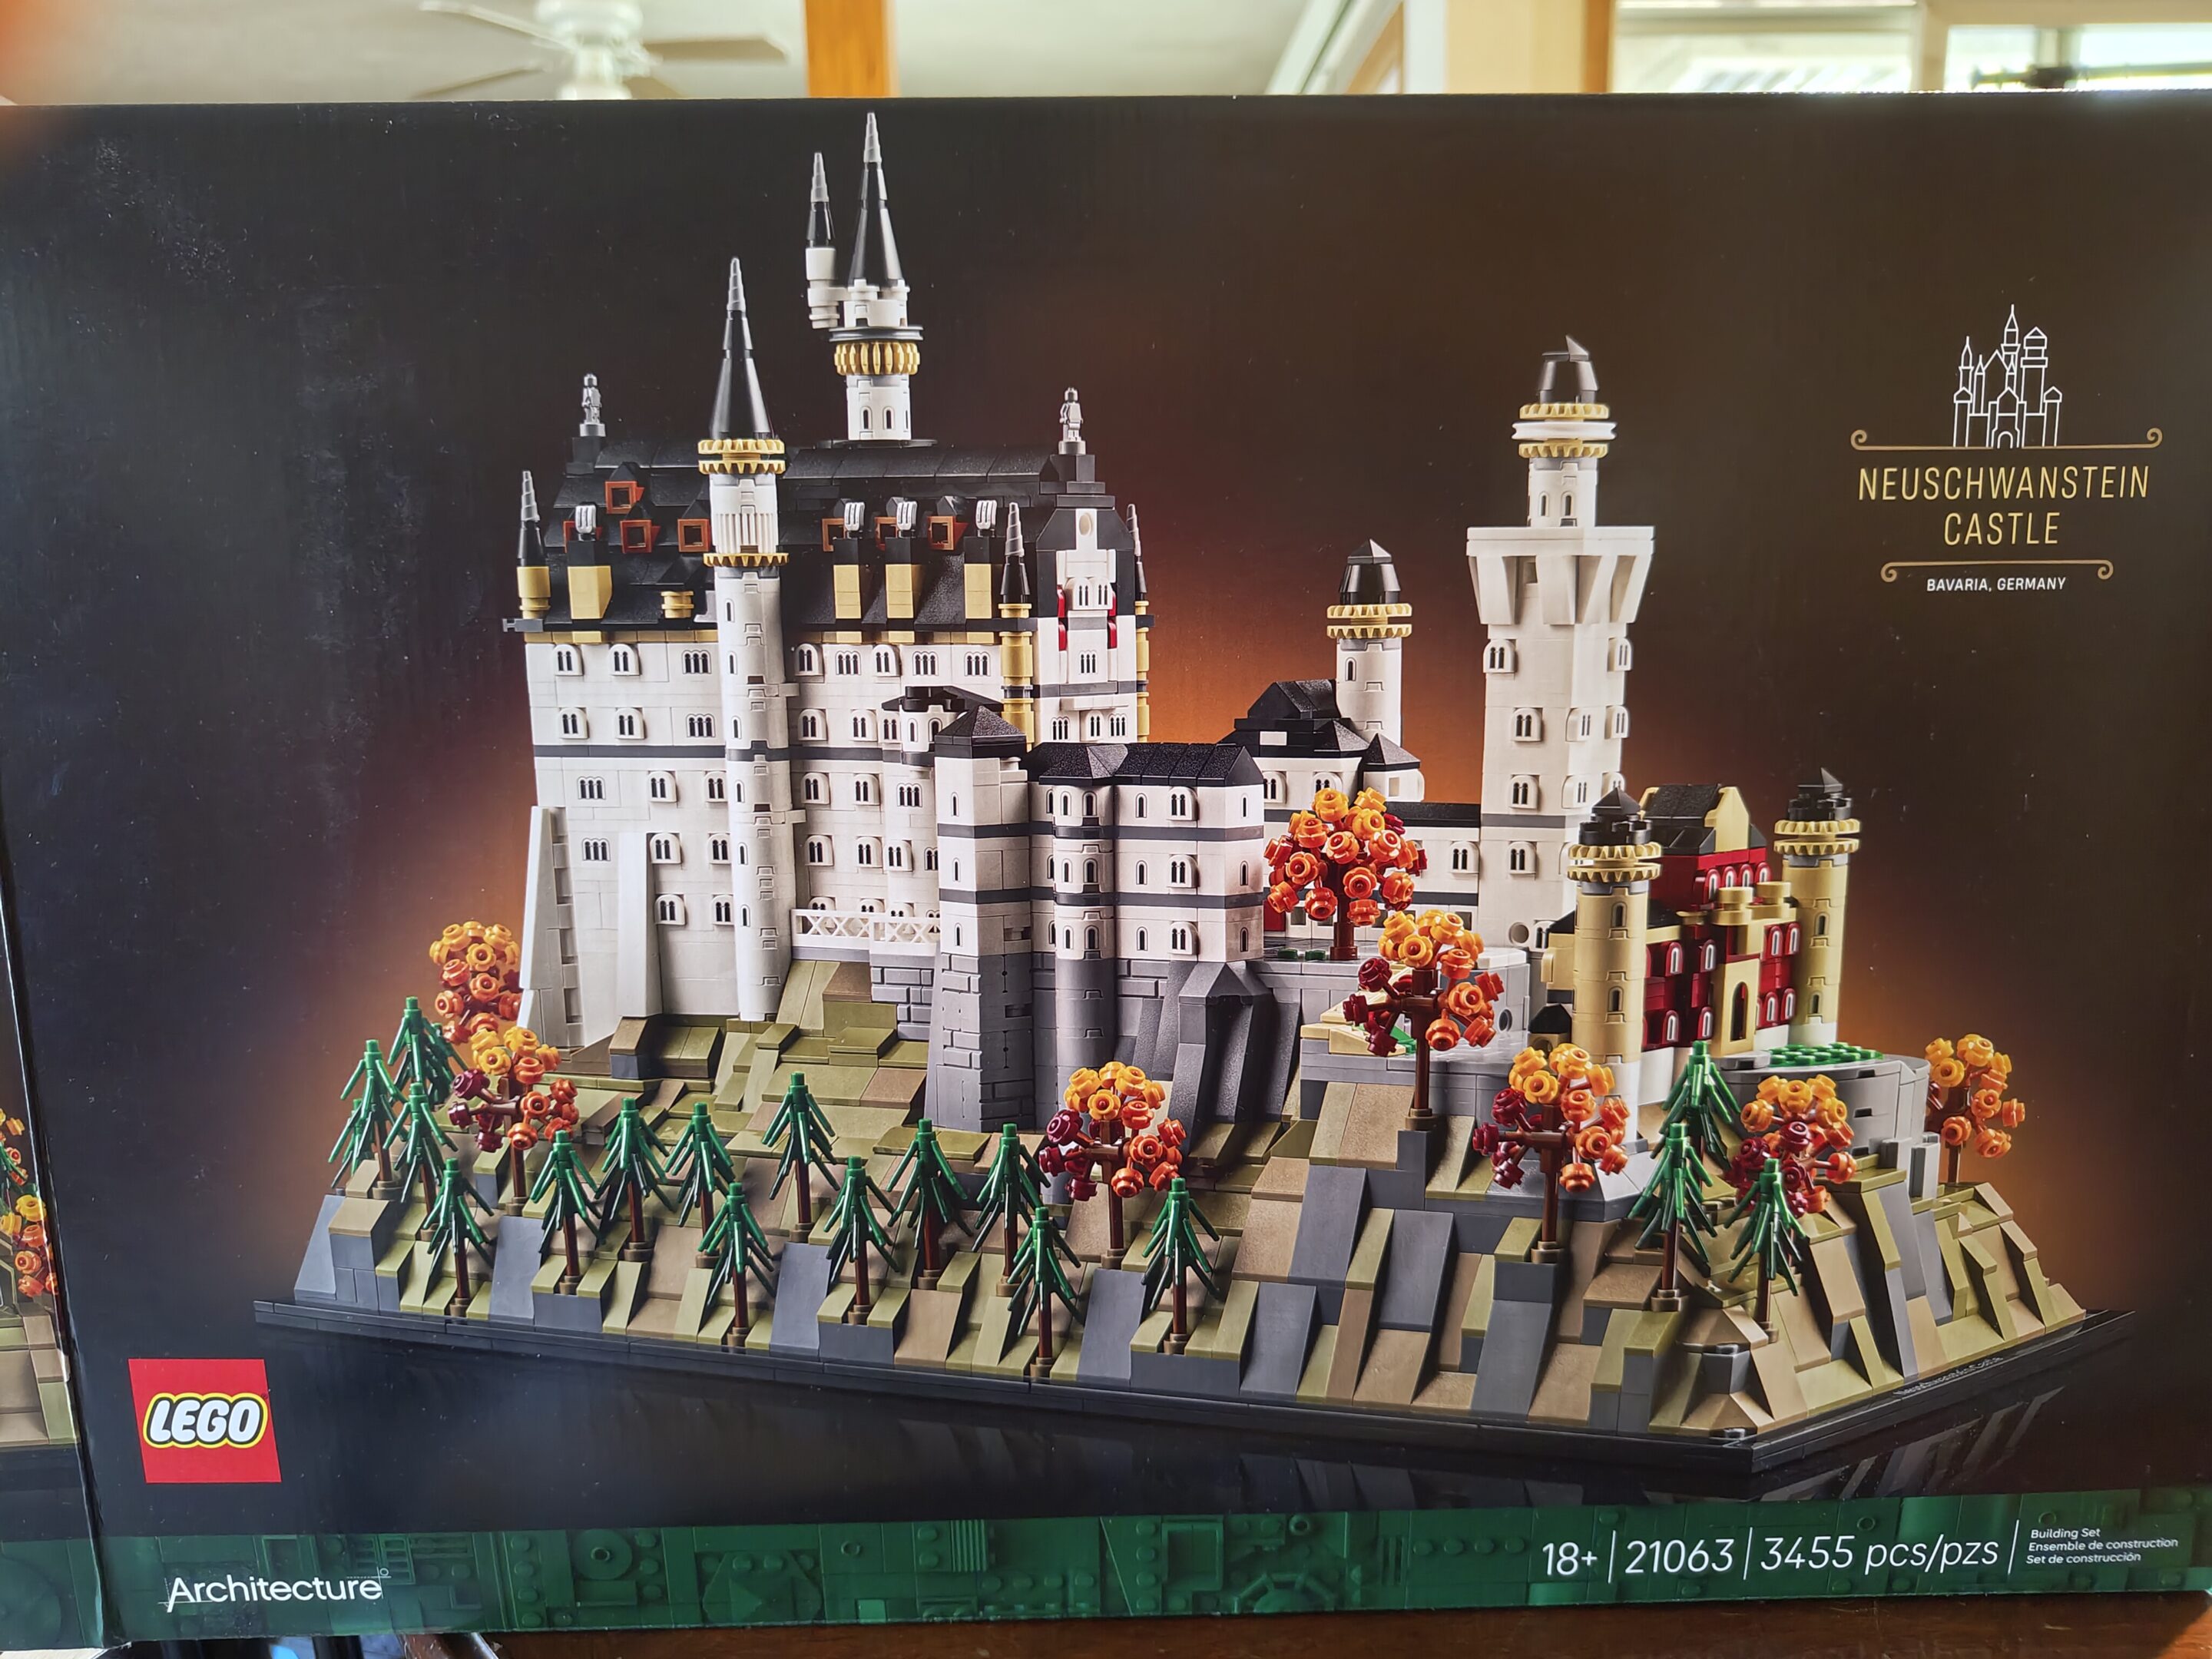
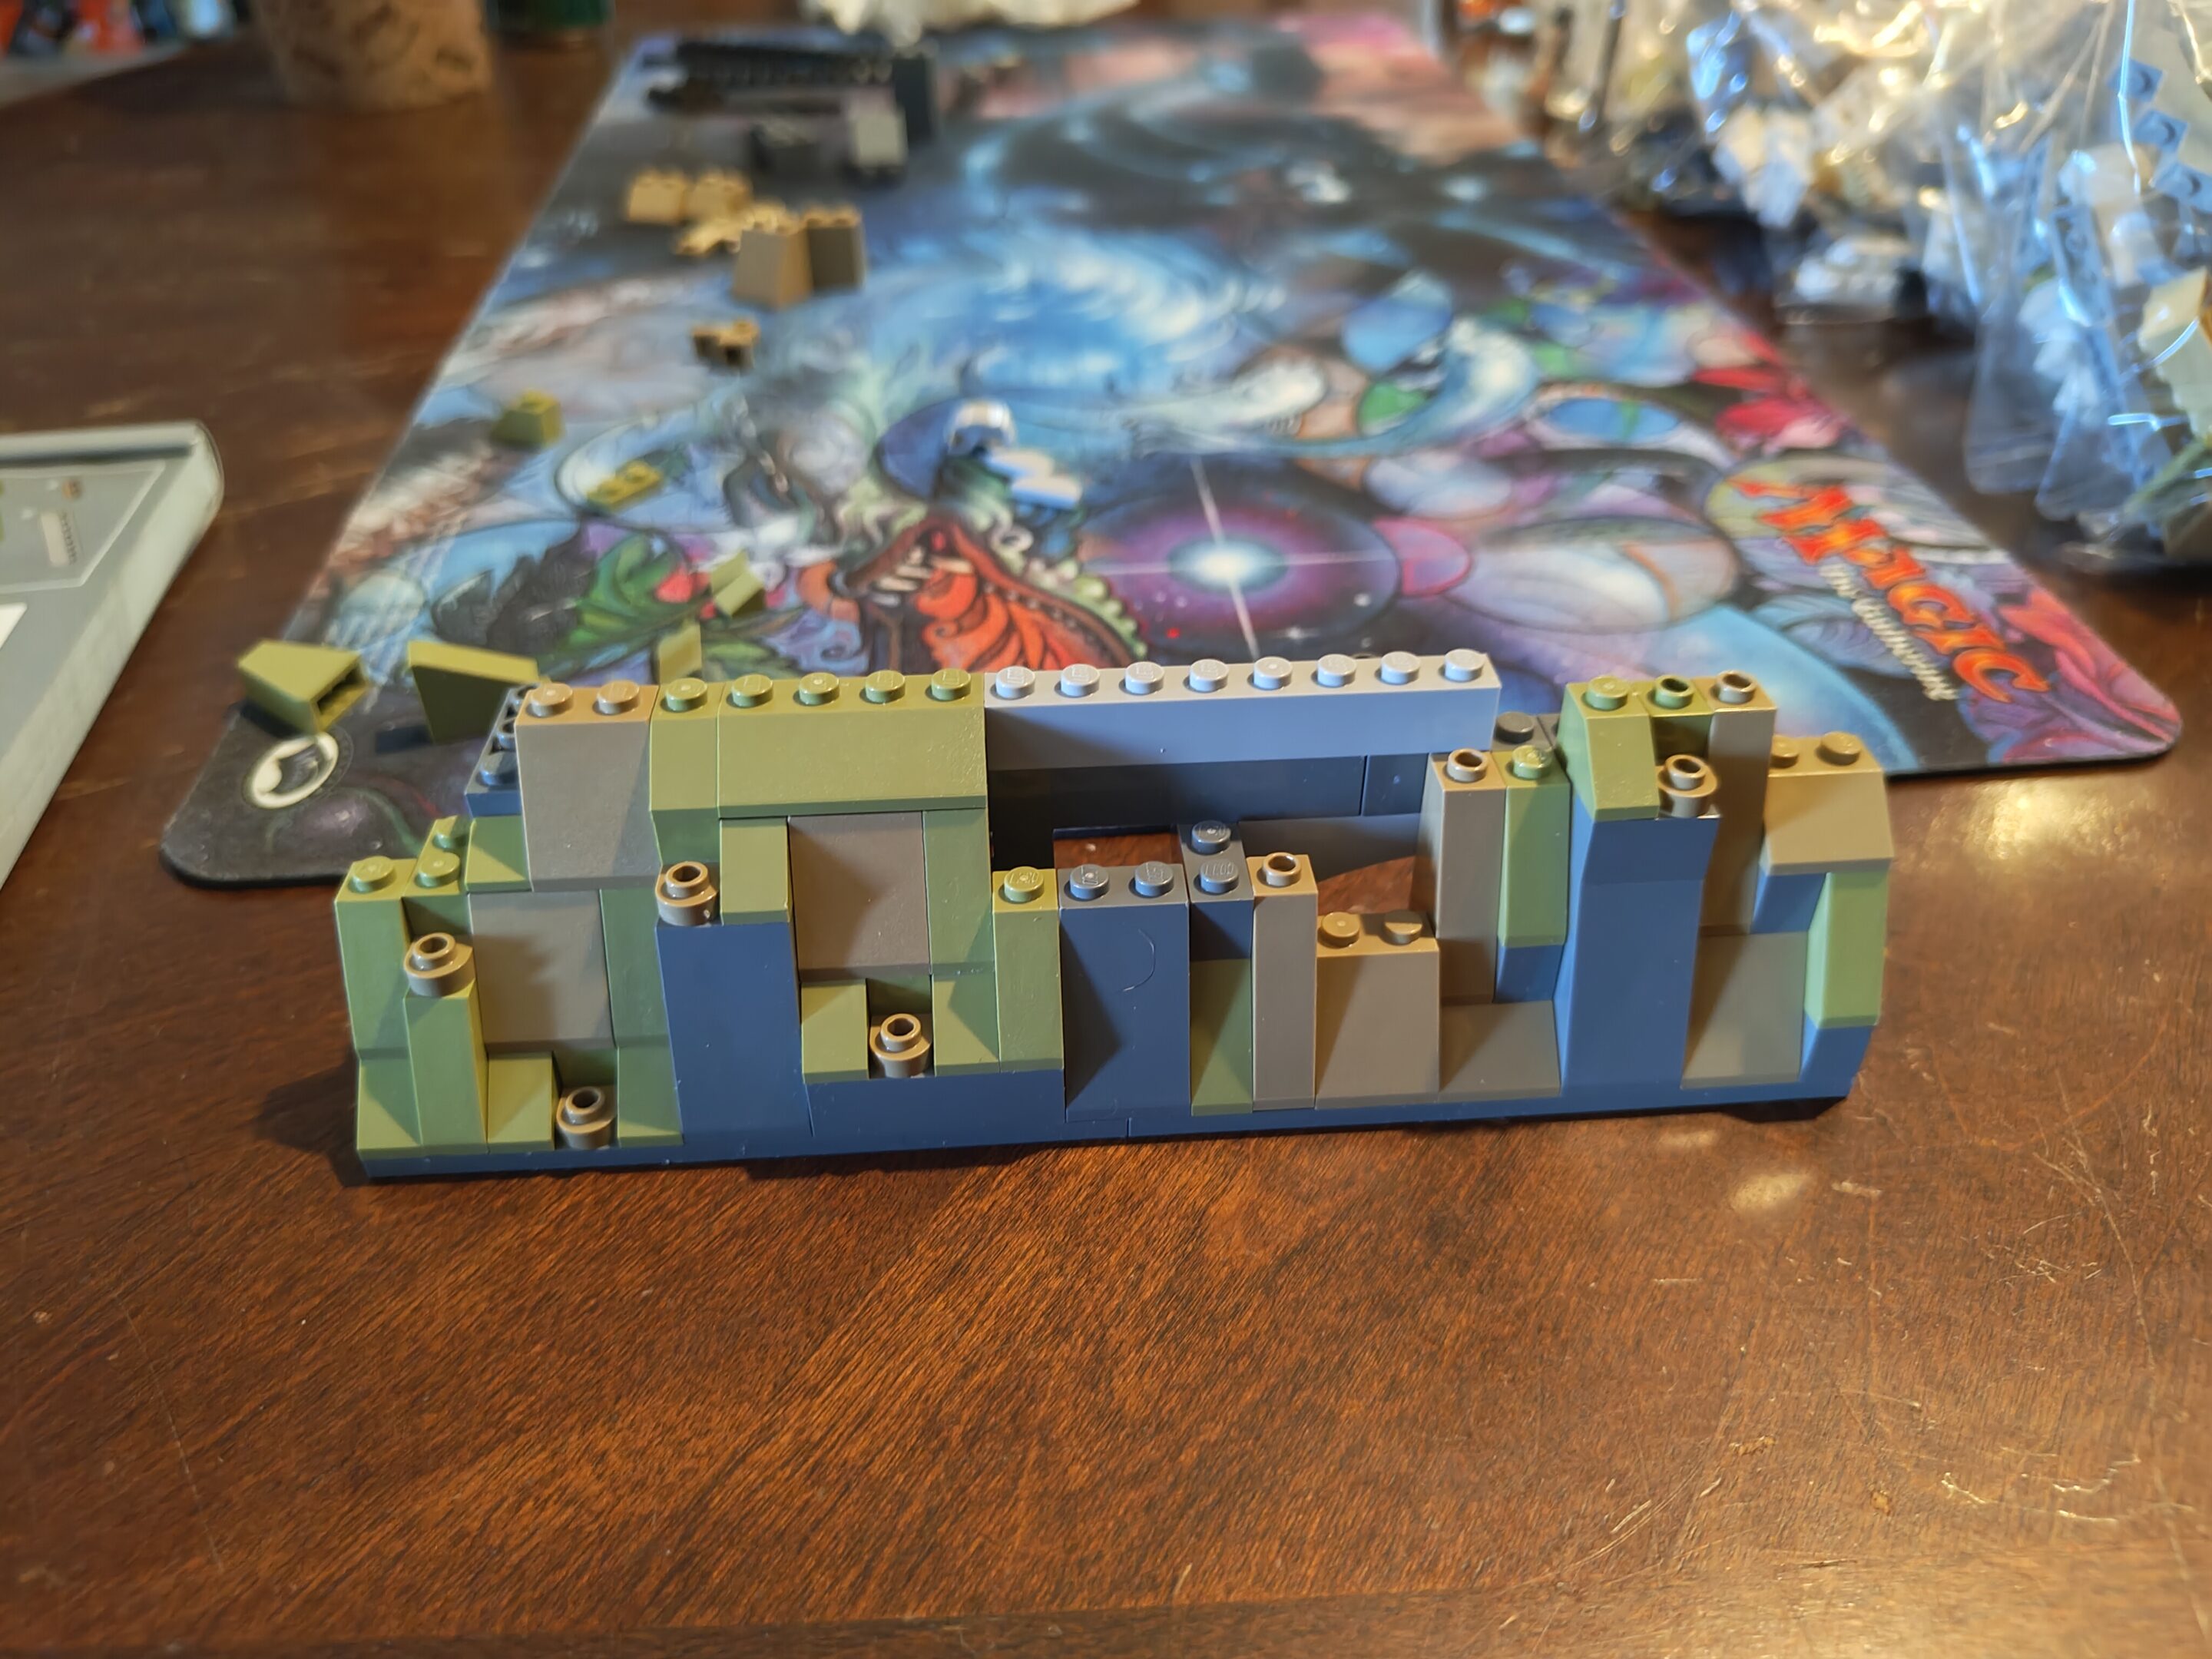
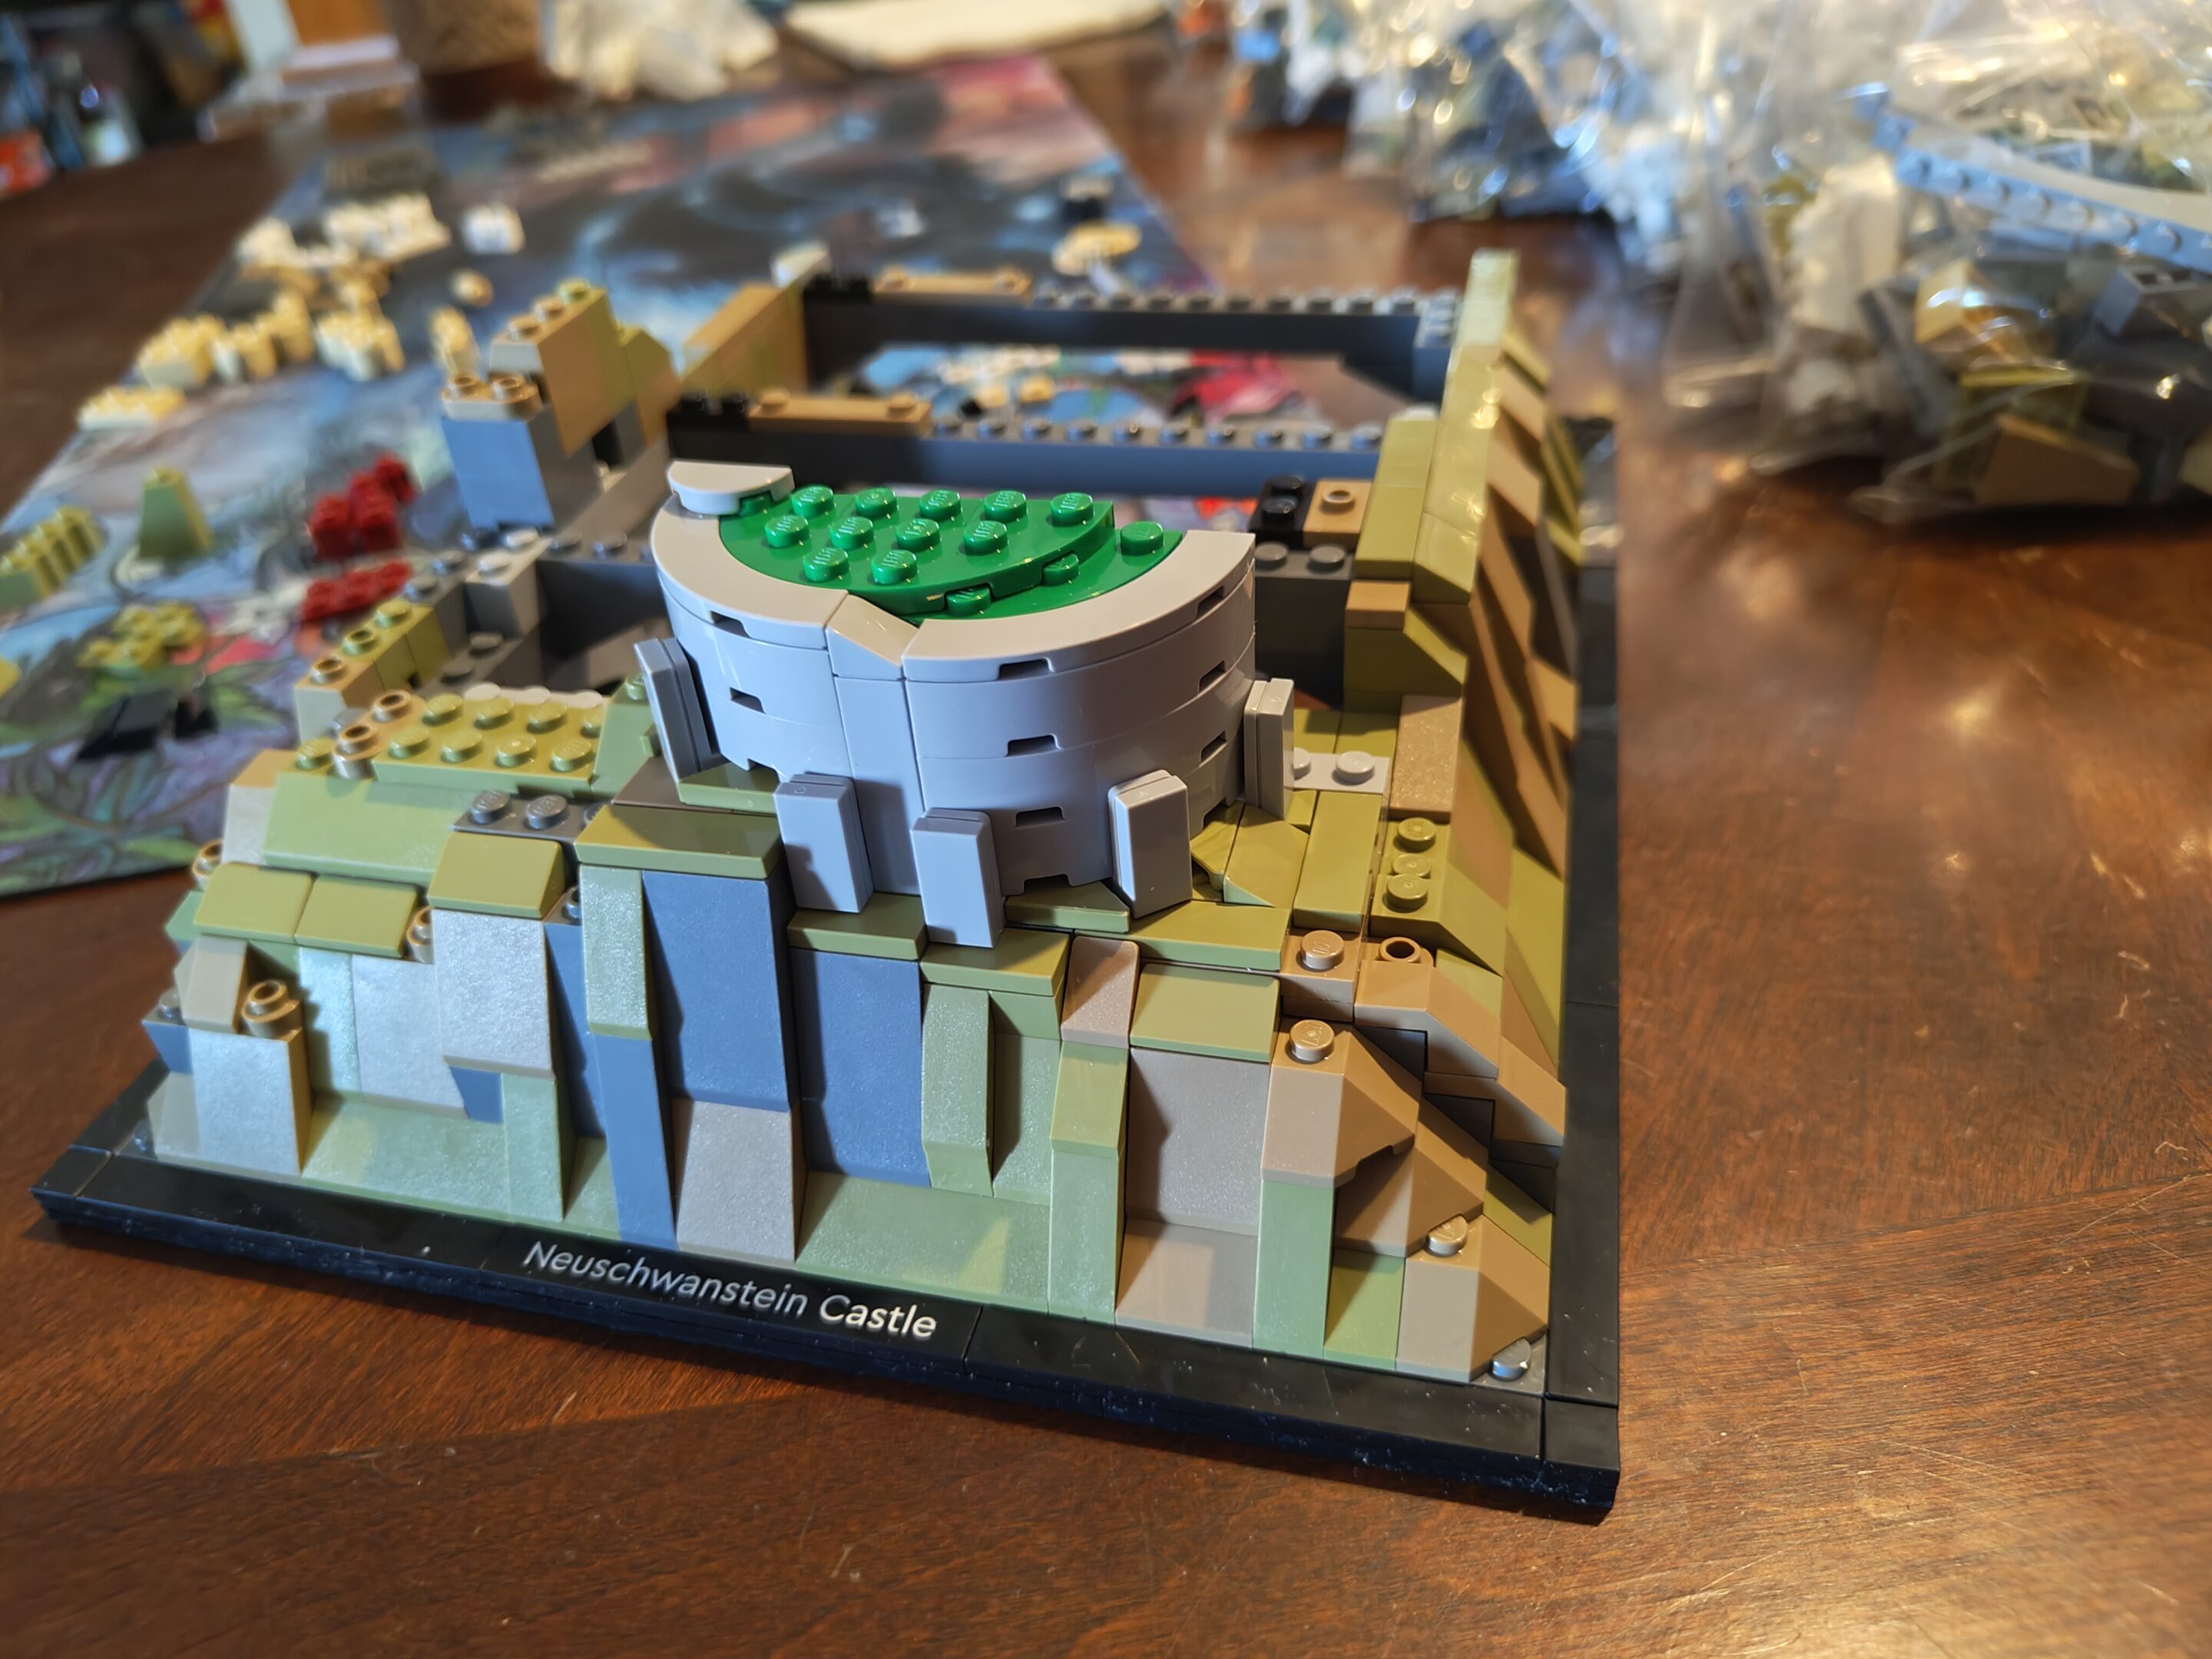
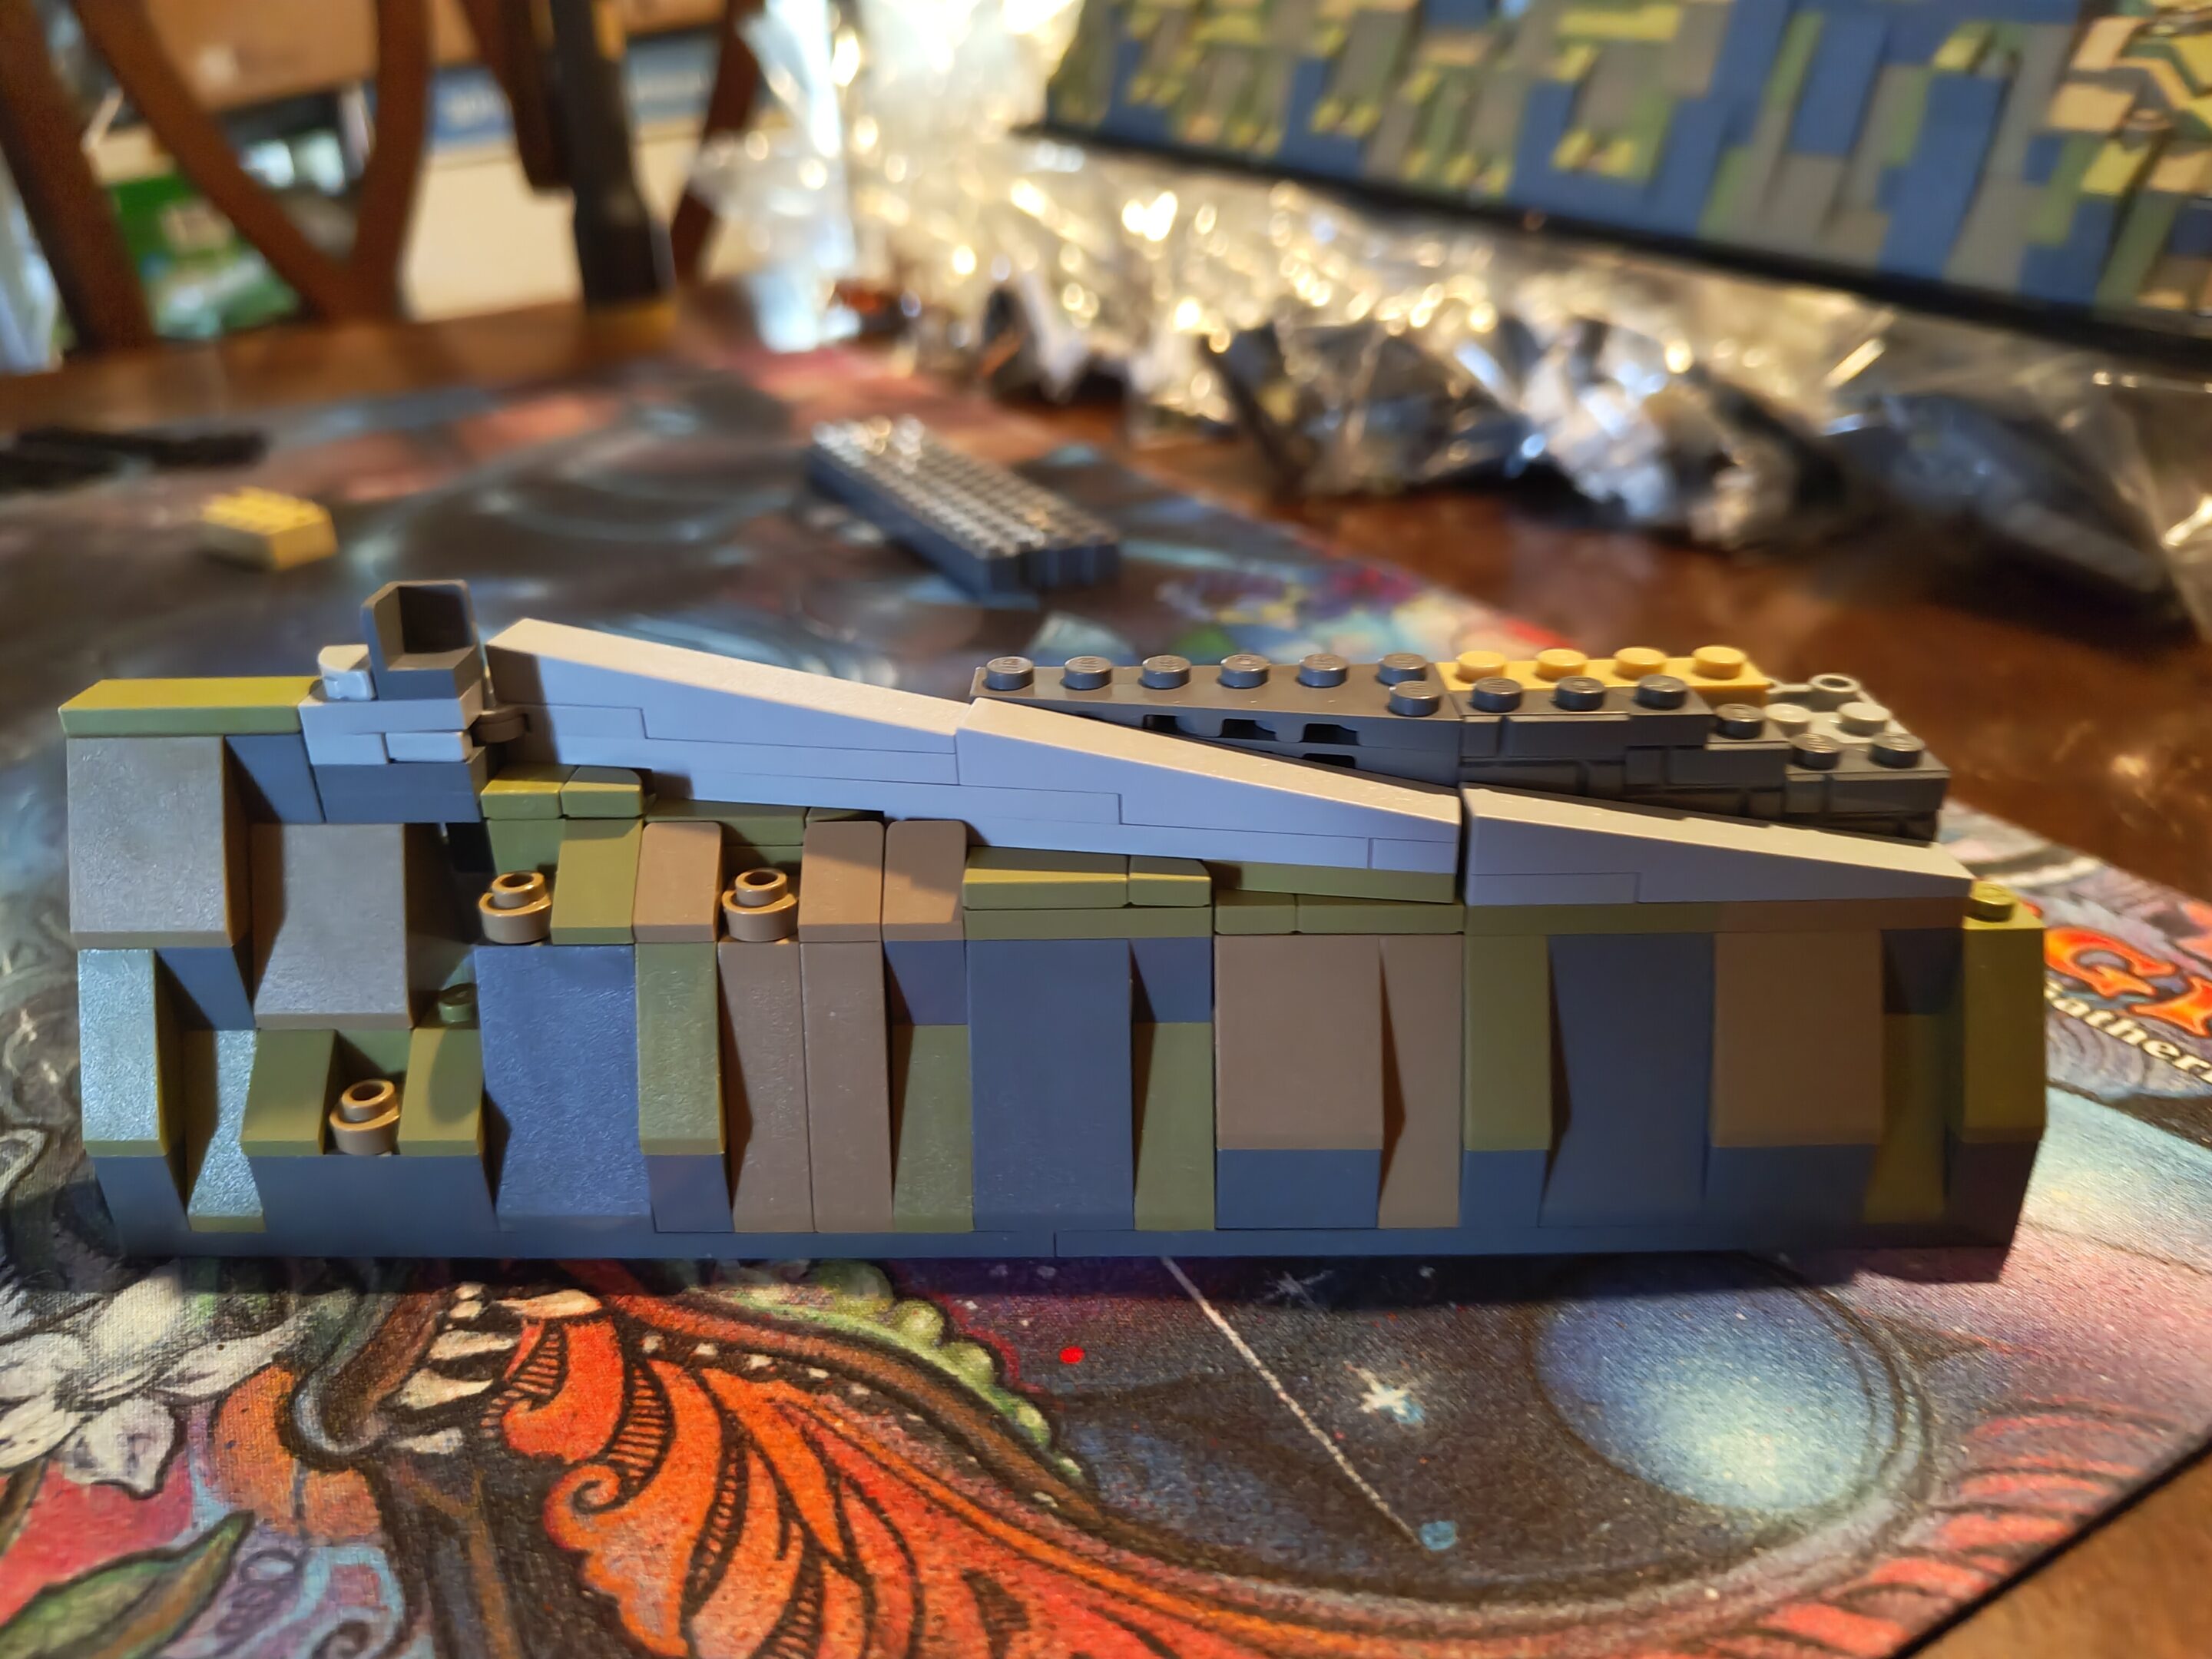
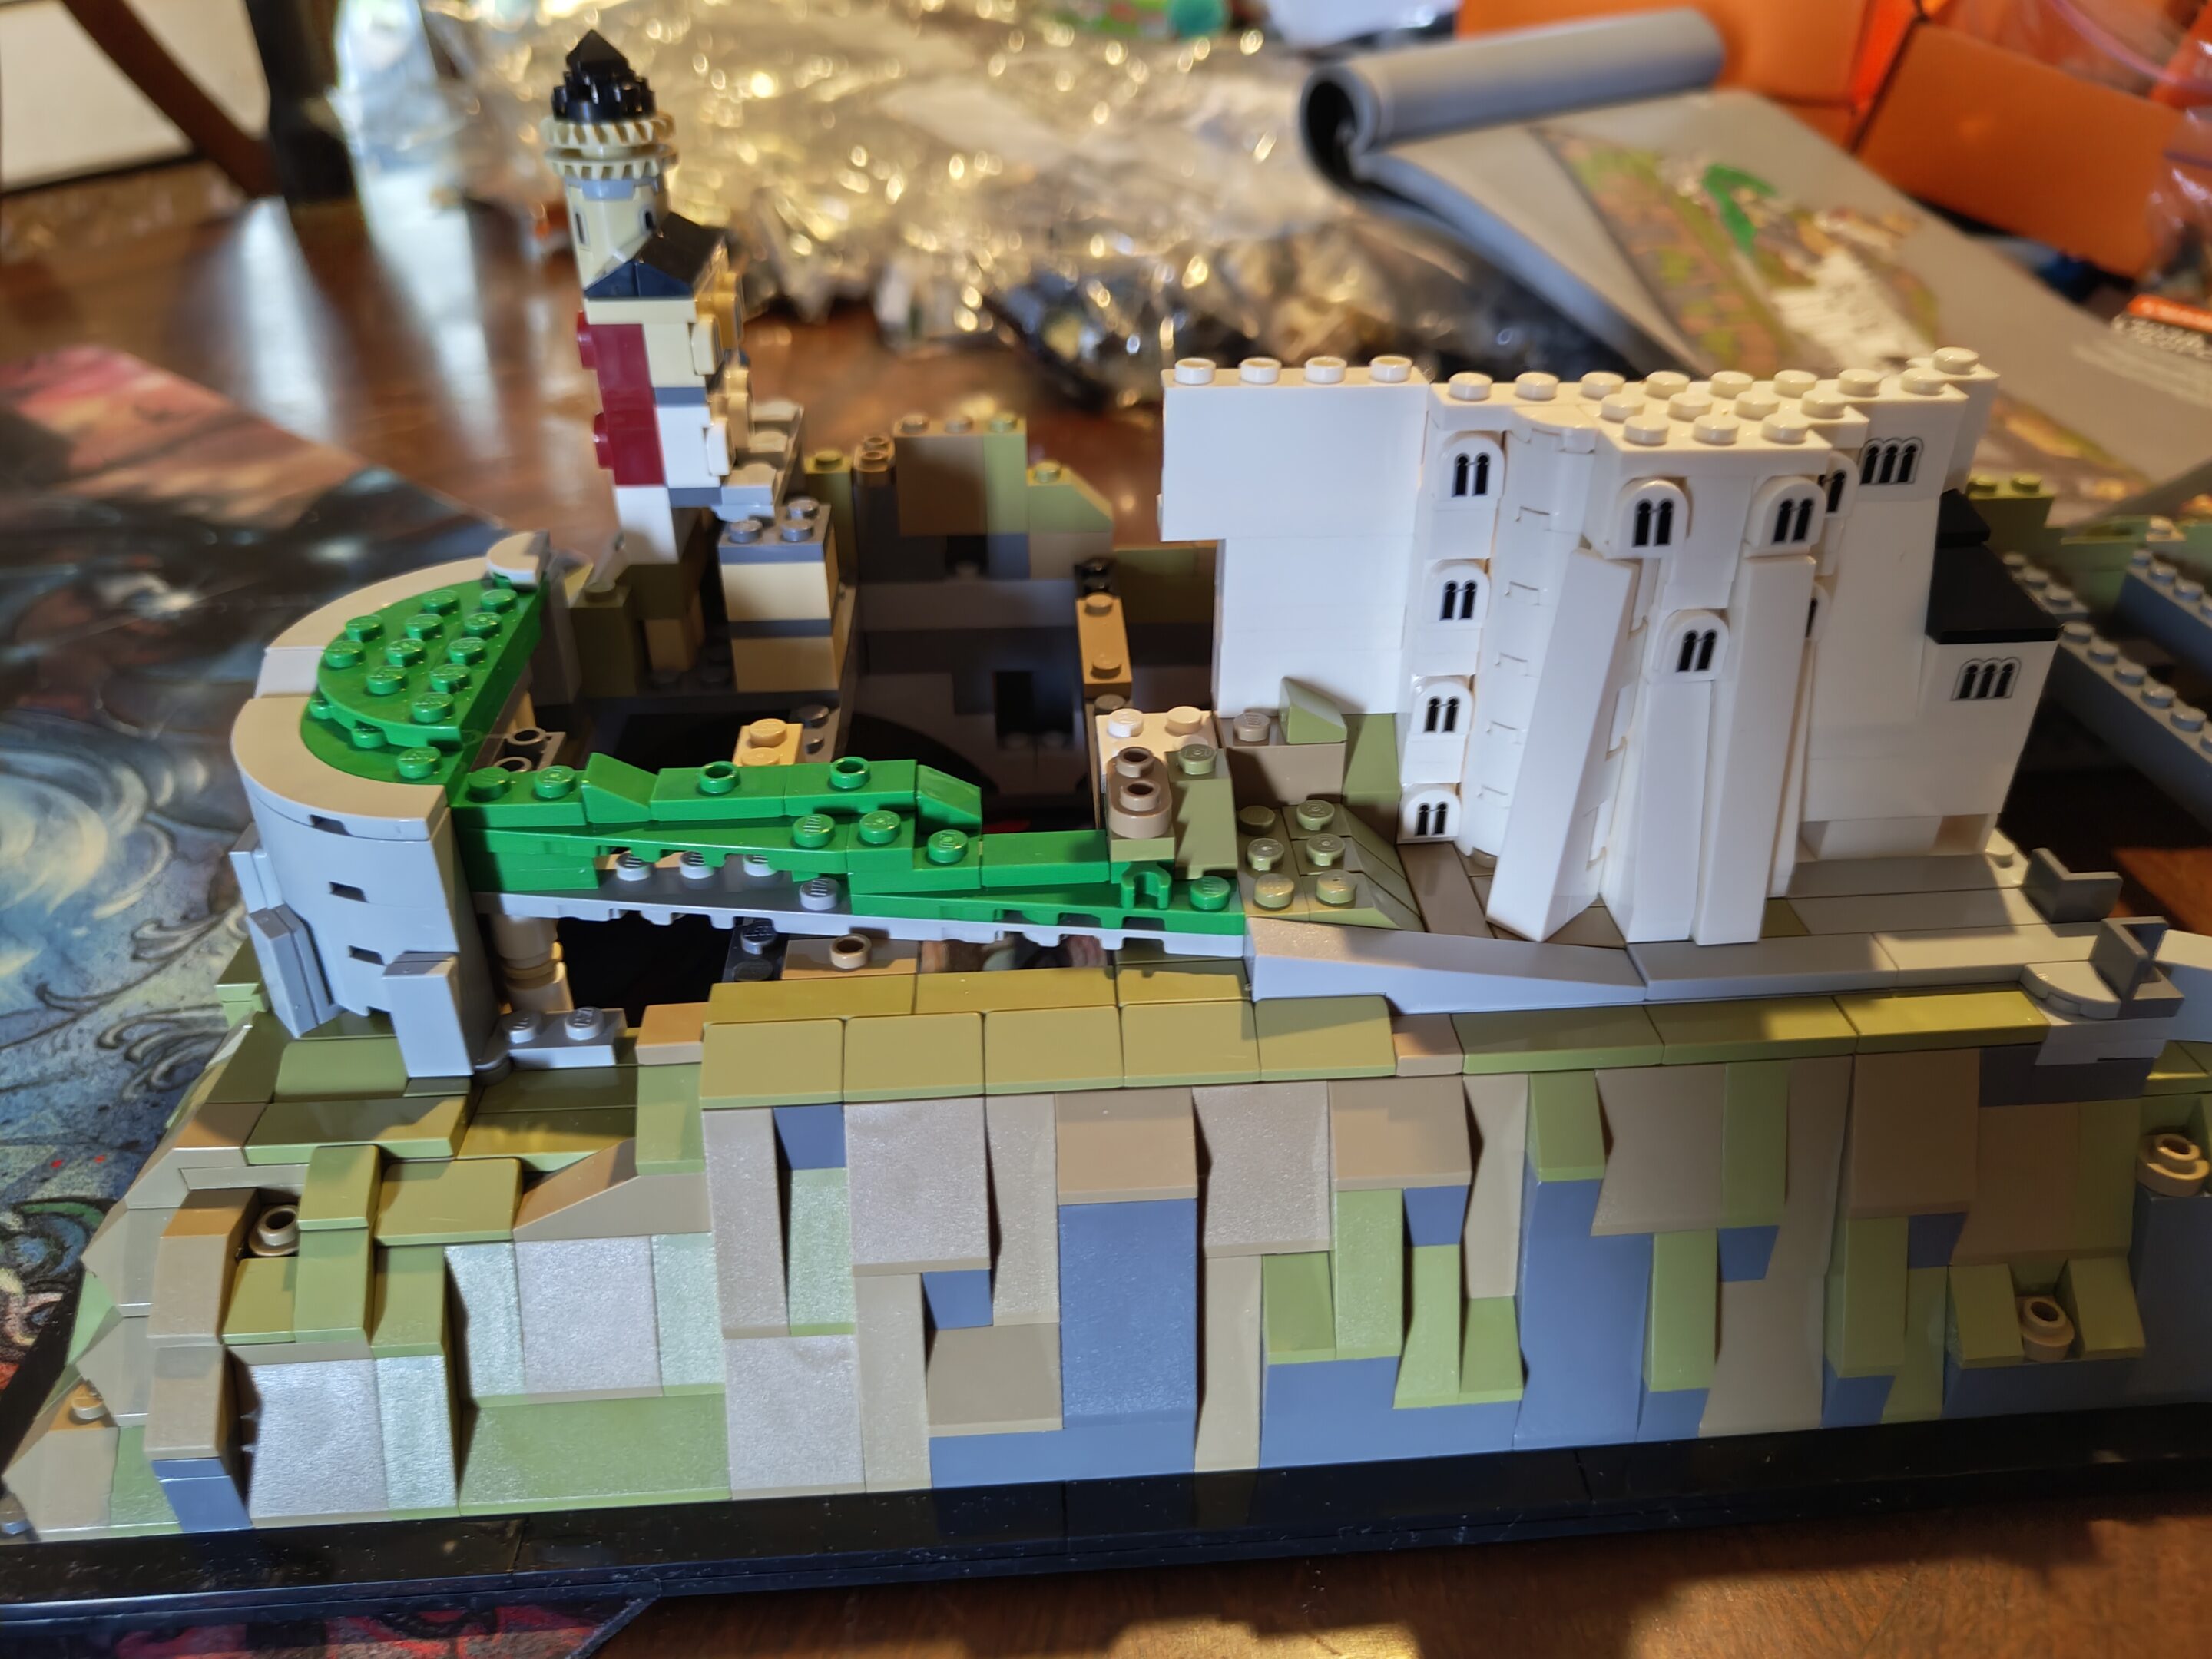
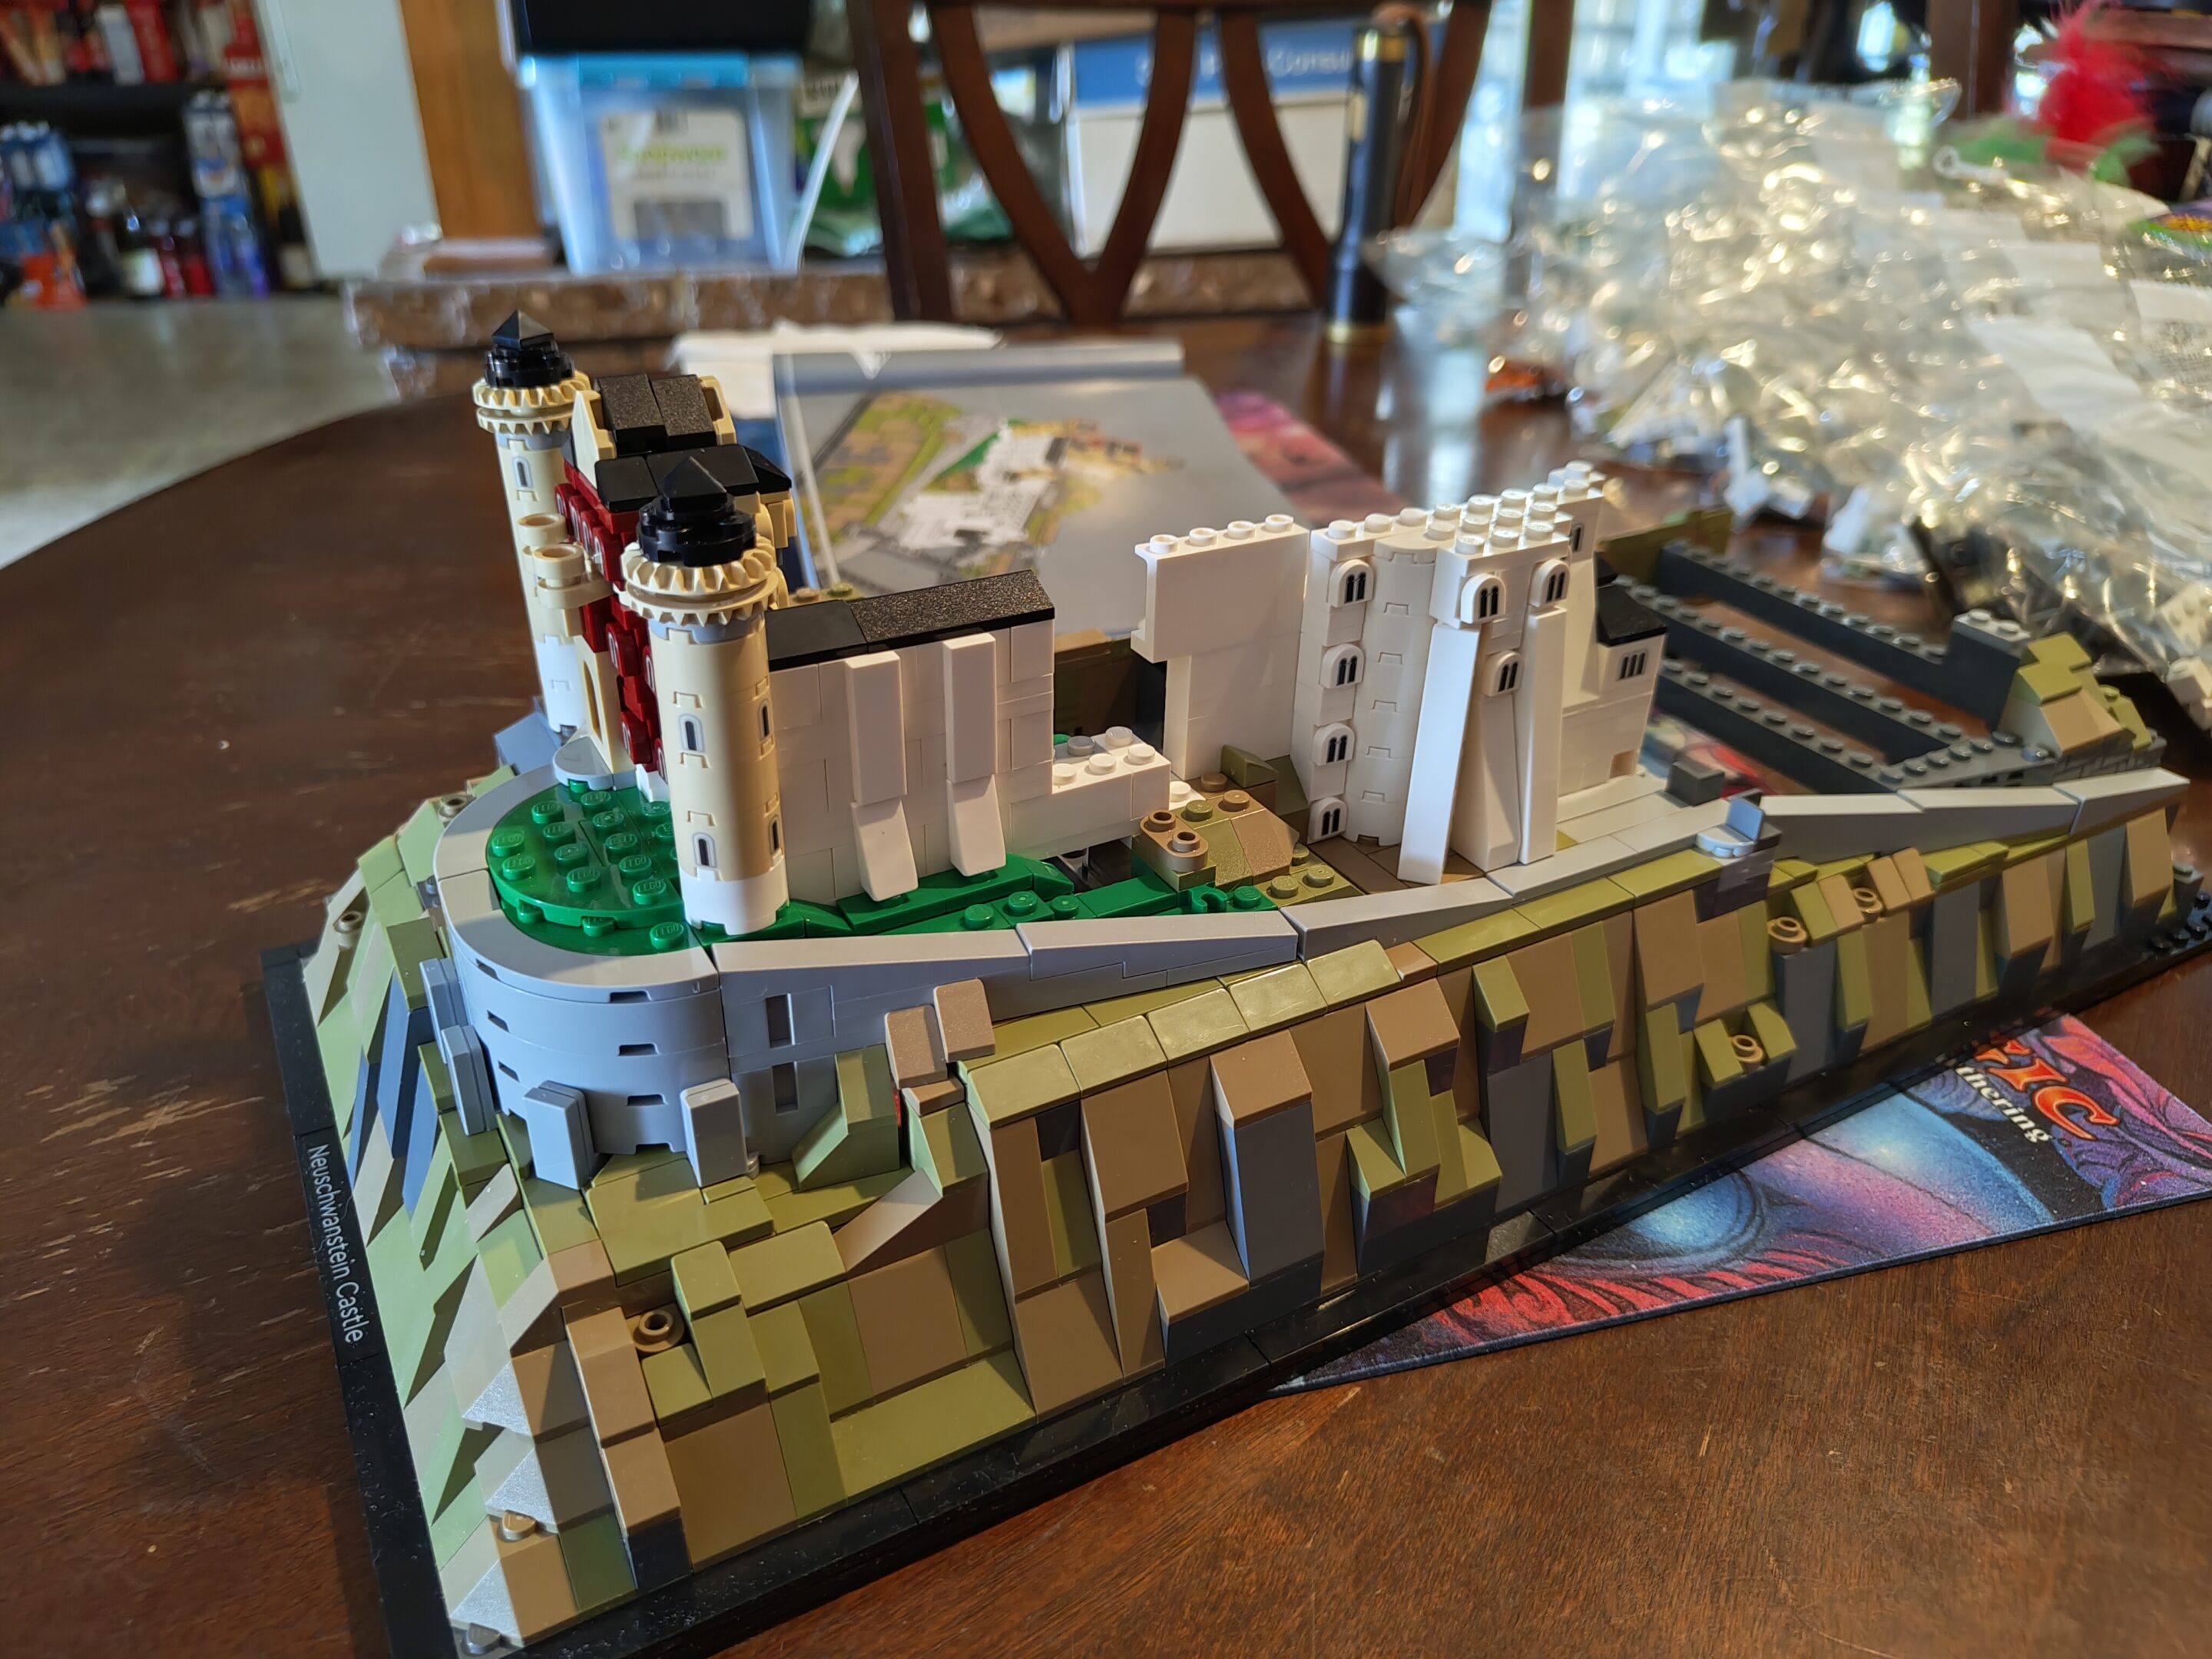
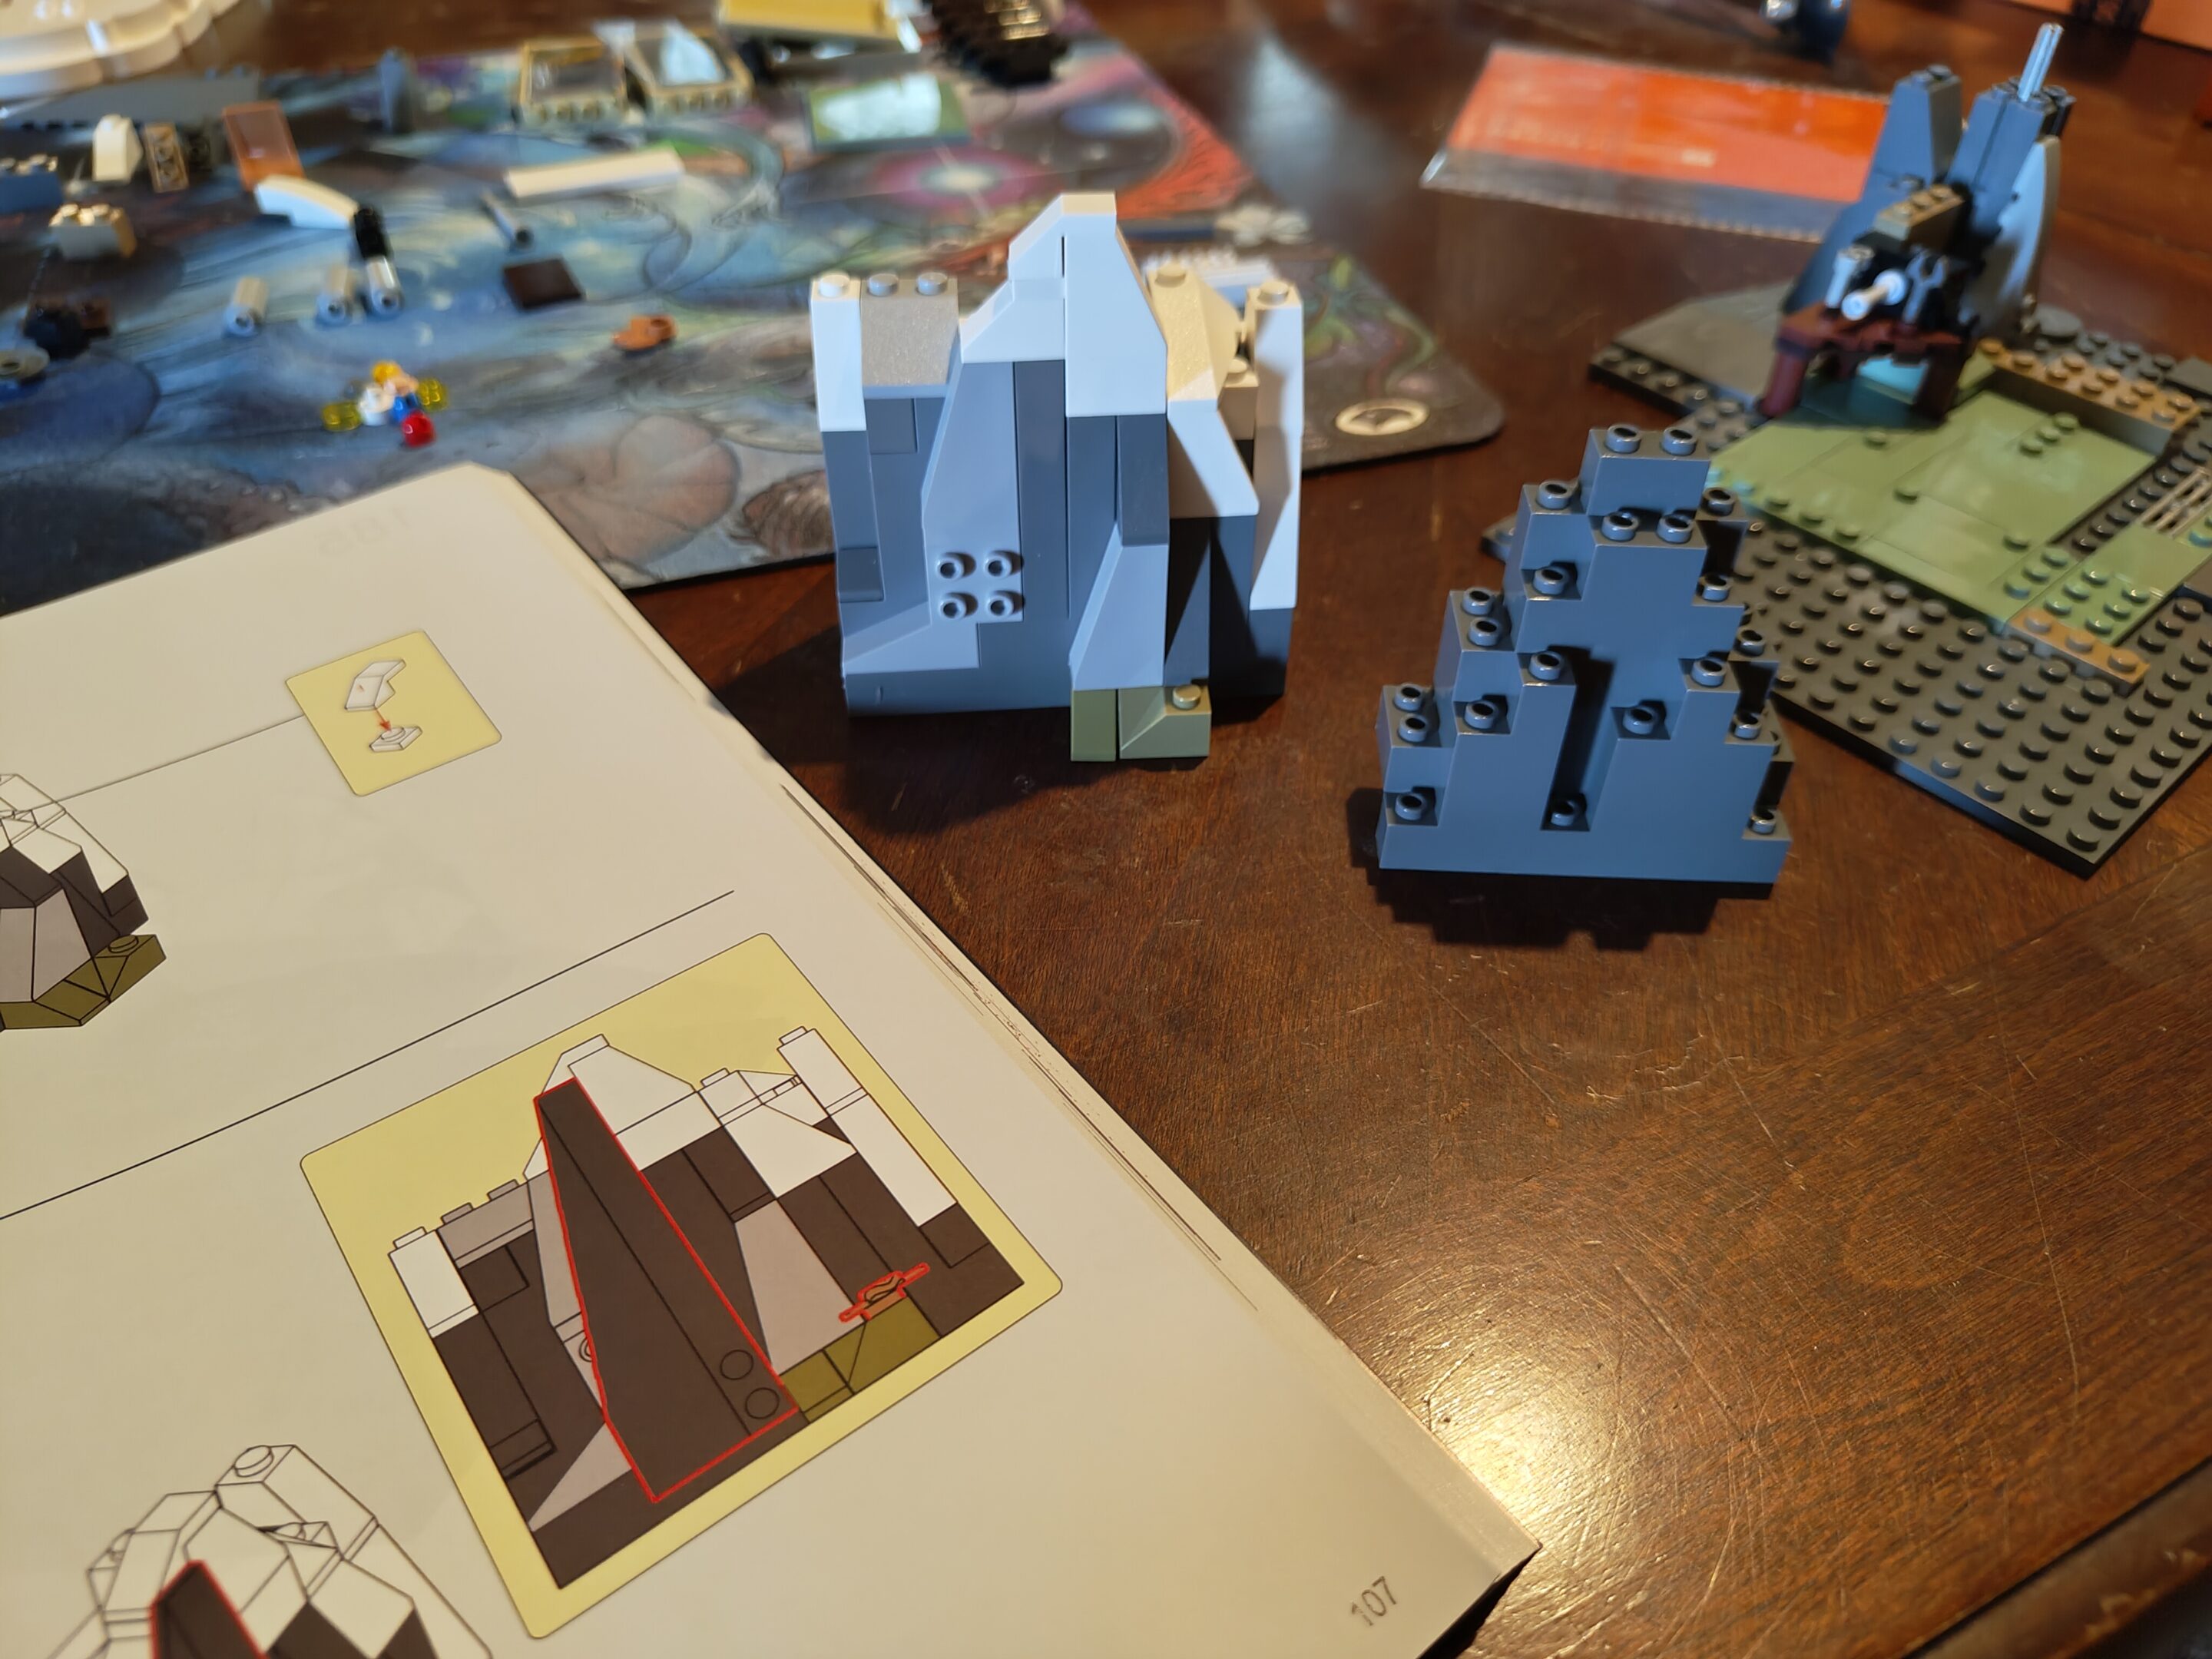
finally started the castle with mom today, this one has an absolute ton of pieces and it looks like a lot of little detail work (the trees) that i might take on once we’re done with the structure — the part mom wanted to do anyway. i think we’ve both been both looking forward to this project (the building of castle) and dreading it (the sheer number of pieces). maybe me looking forward to it a little more and mom dreading it a little more but it’s pretty cool we get to spend time doing projects like these together at least
UPDATE: uh it took until november 22nd because our schedules were just not lining up on my days off — insomnia’s a bitch, eh. we also did a little other project i’ll post the two pictures i took from that too.
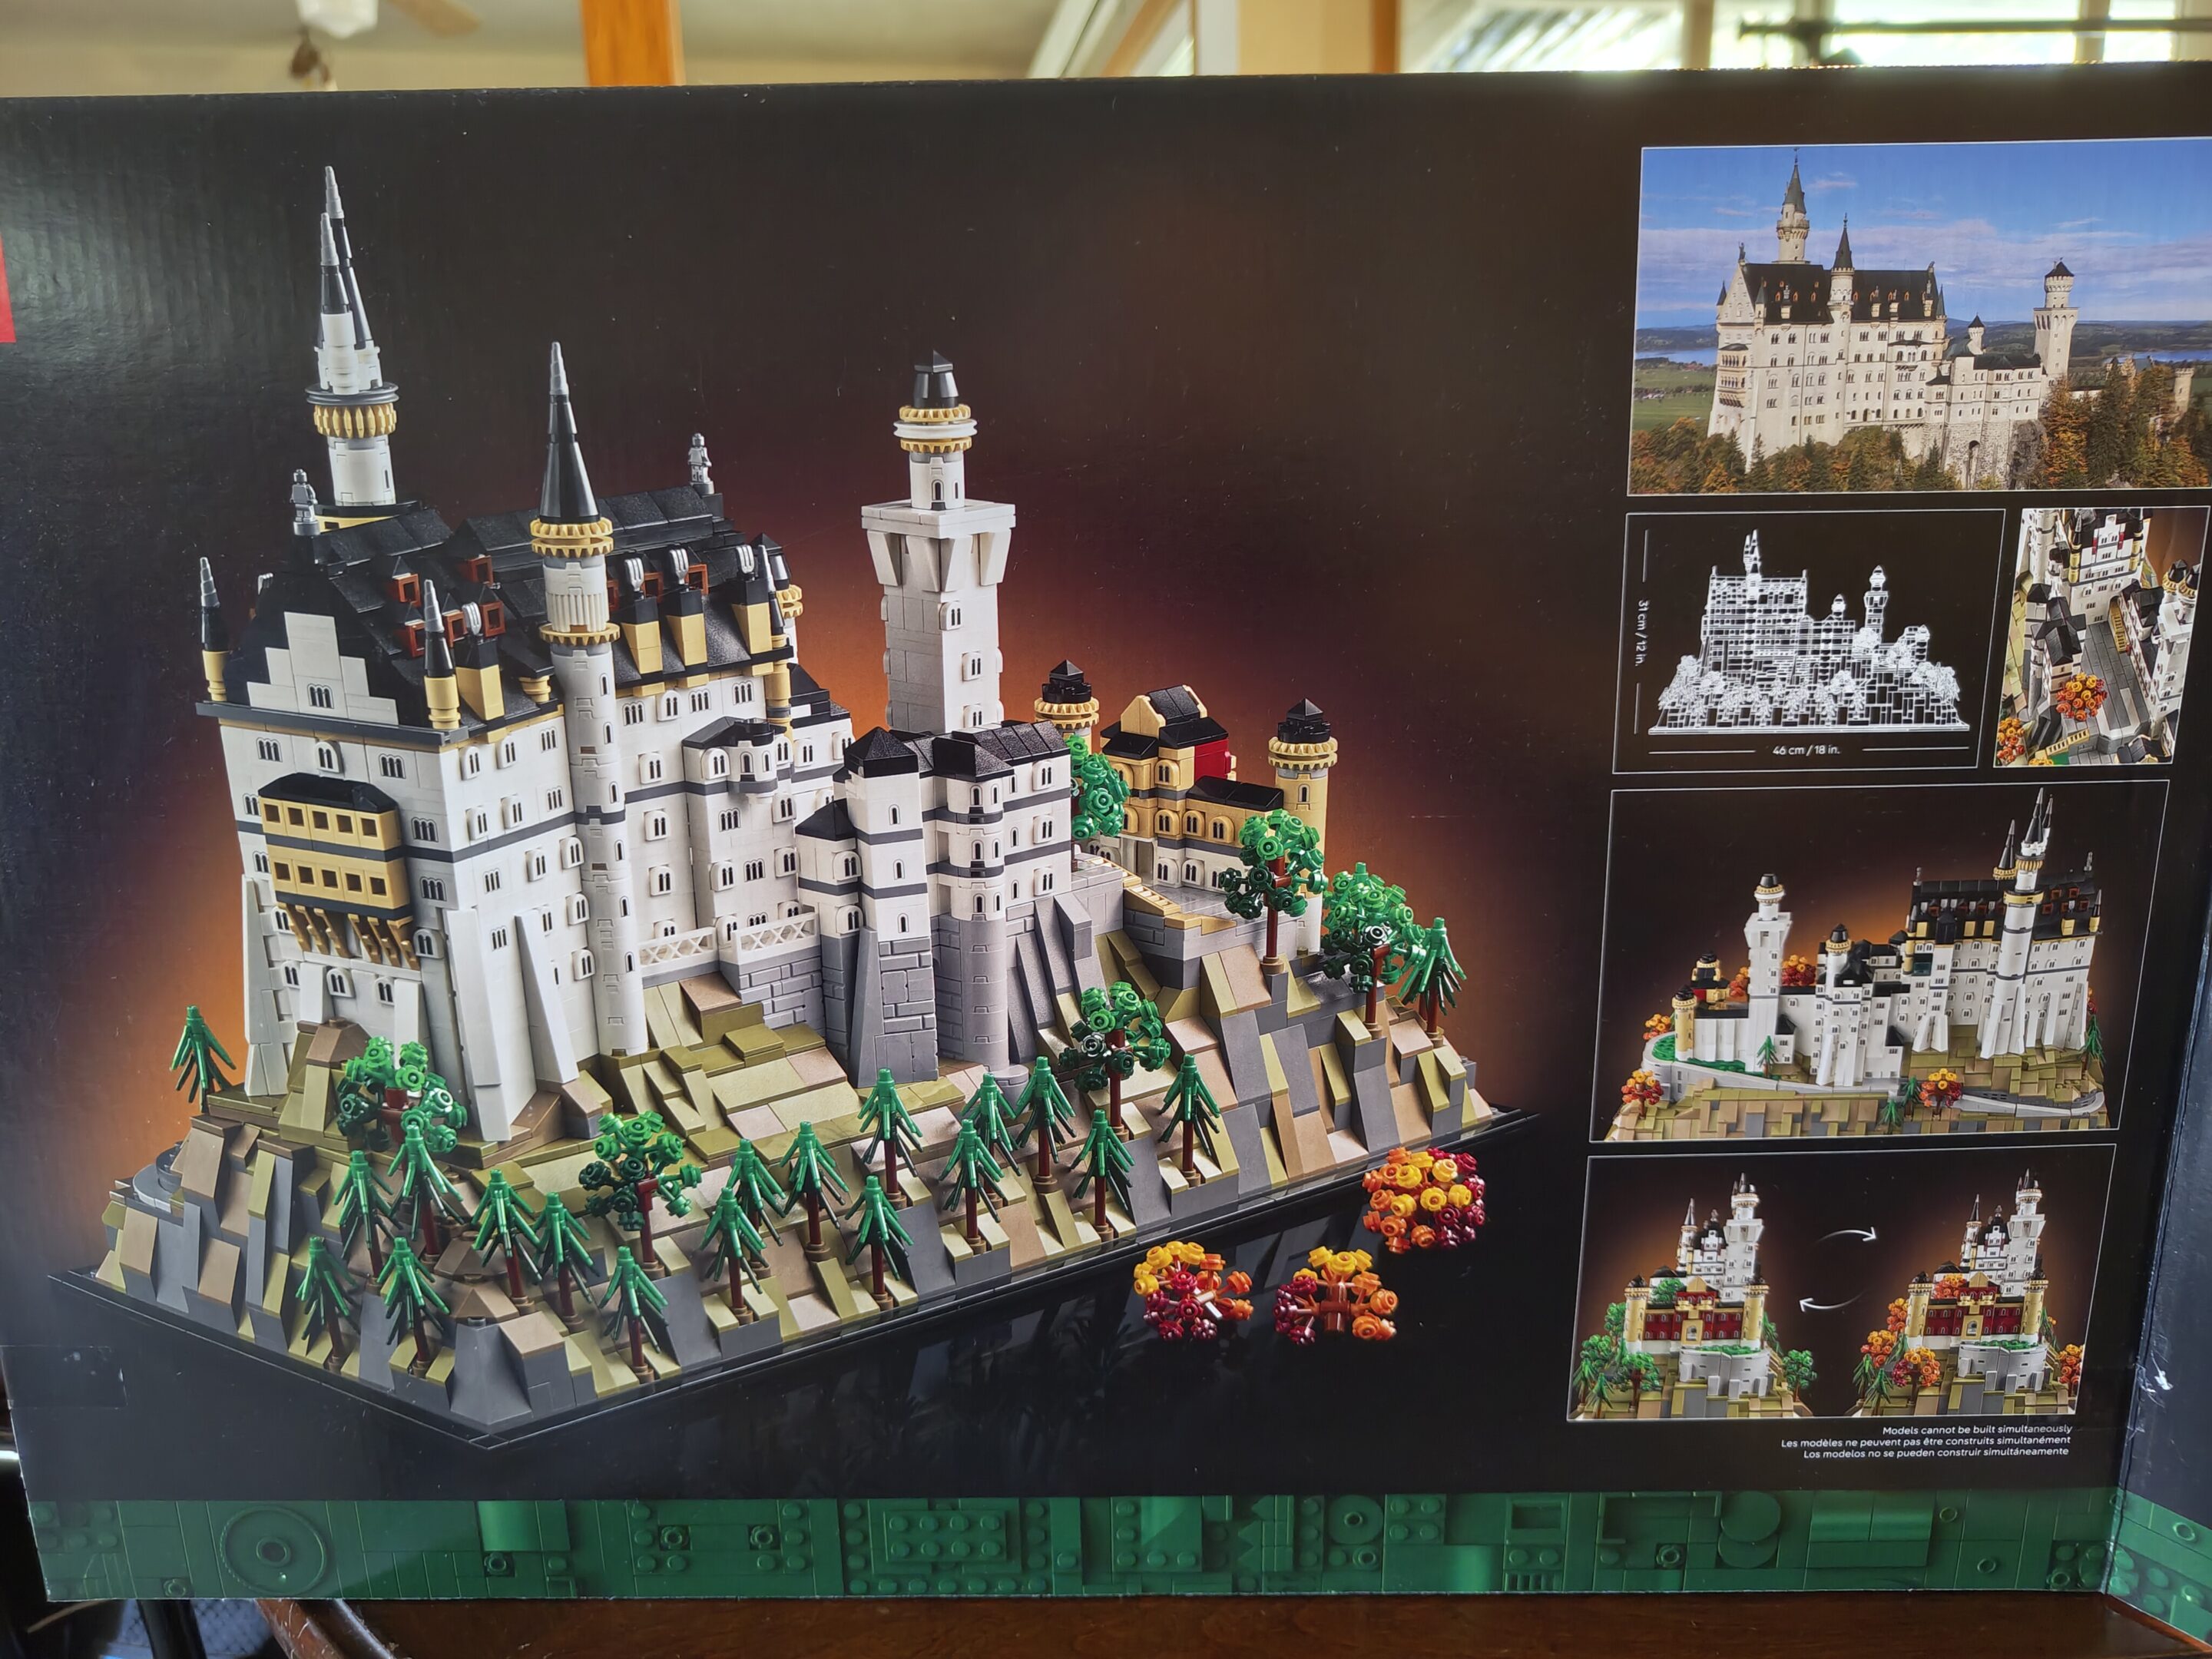
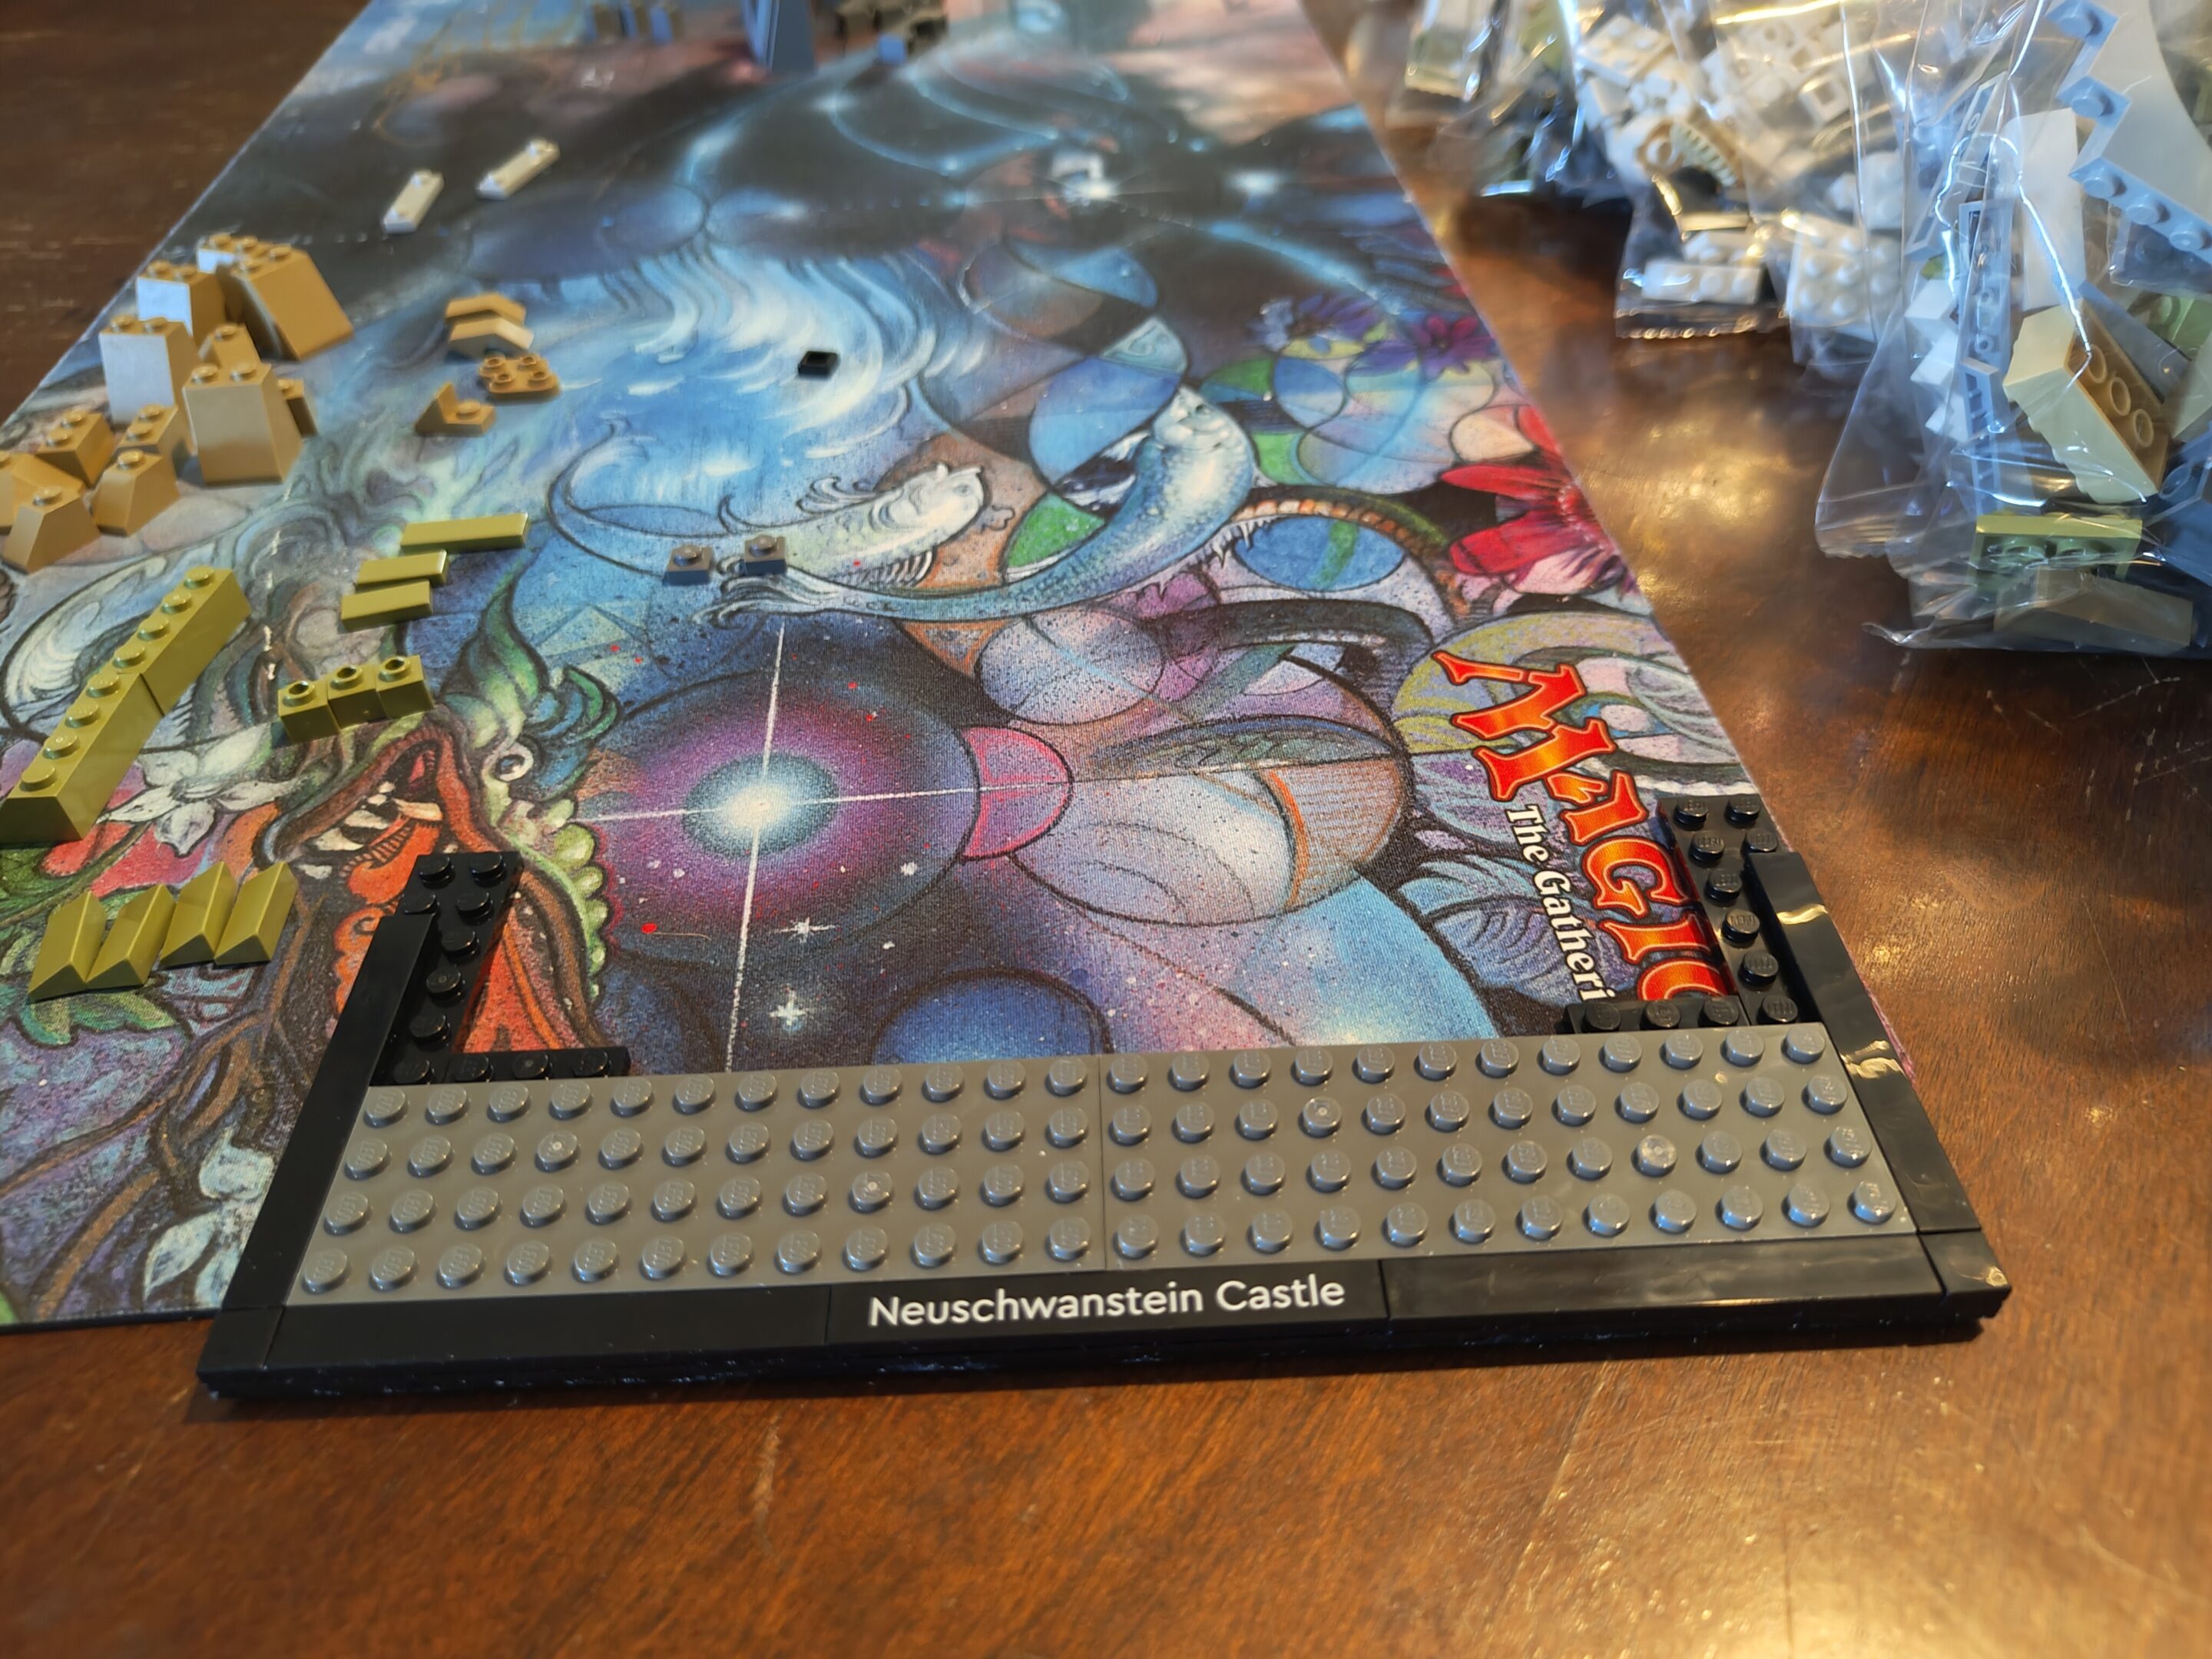
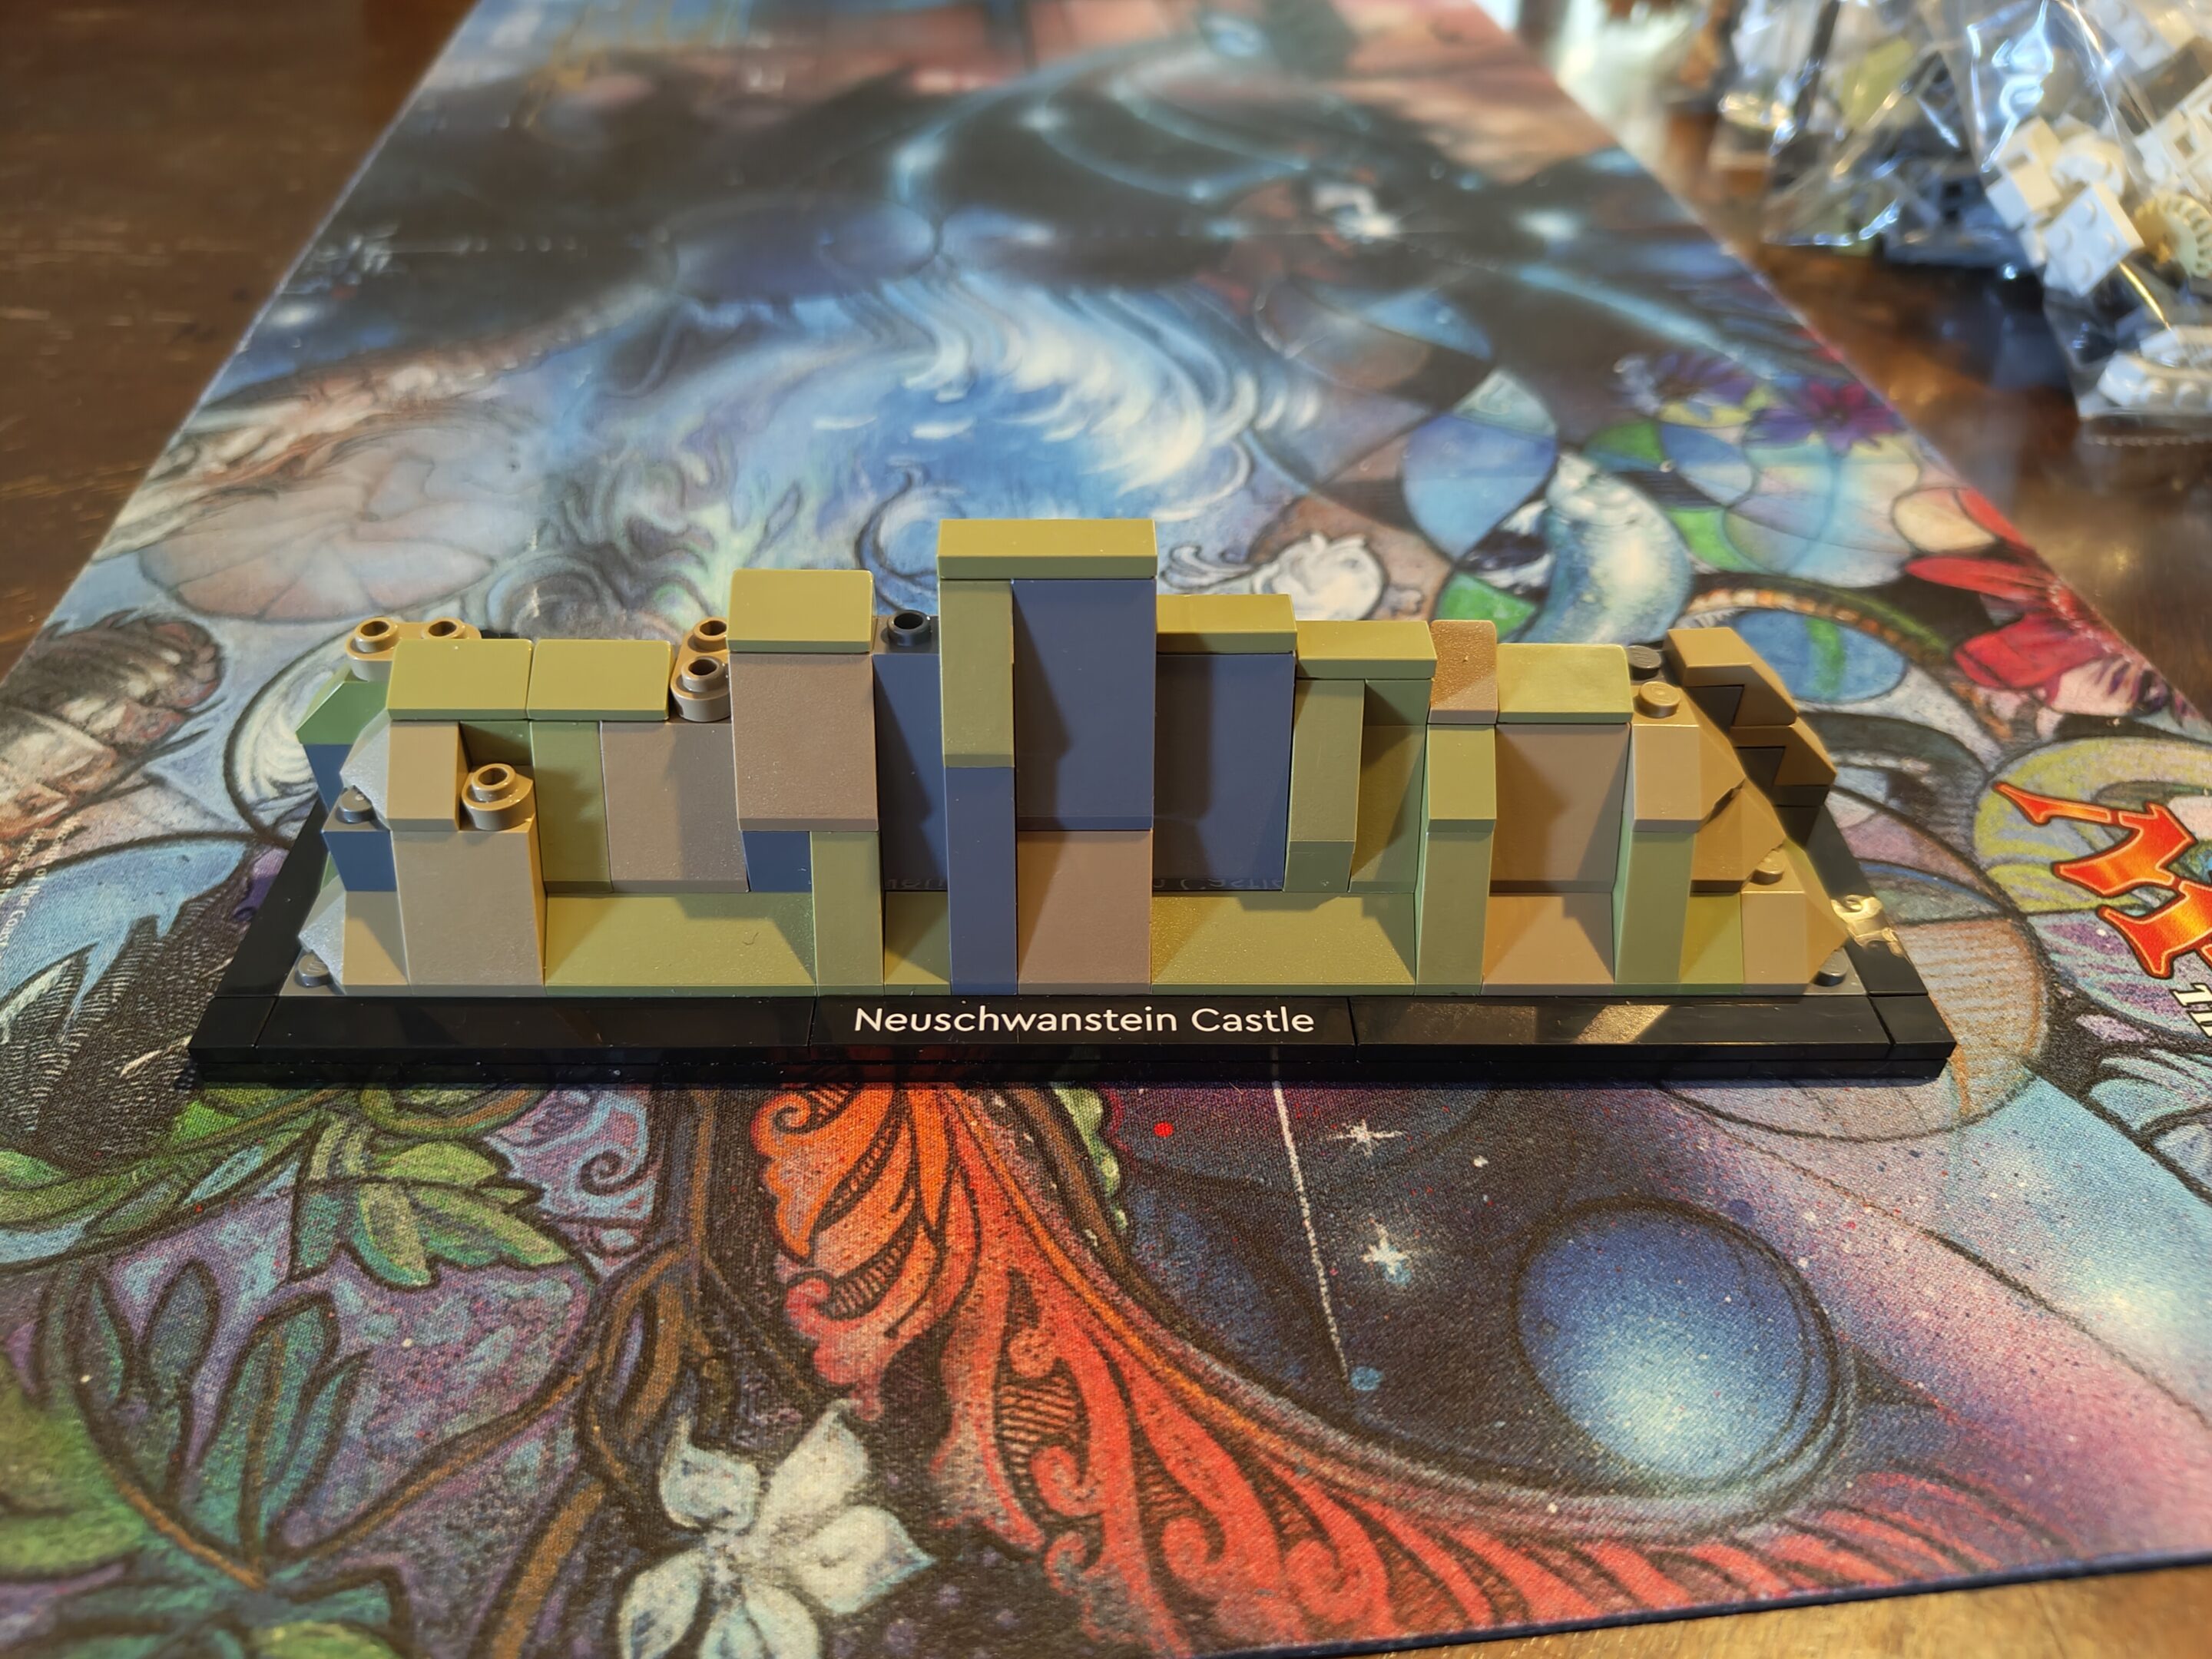
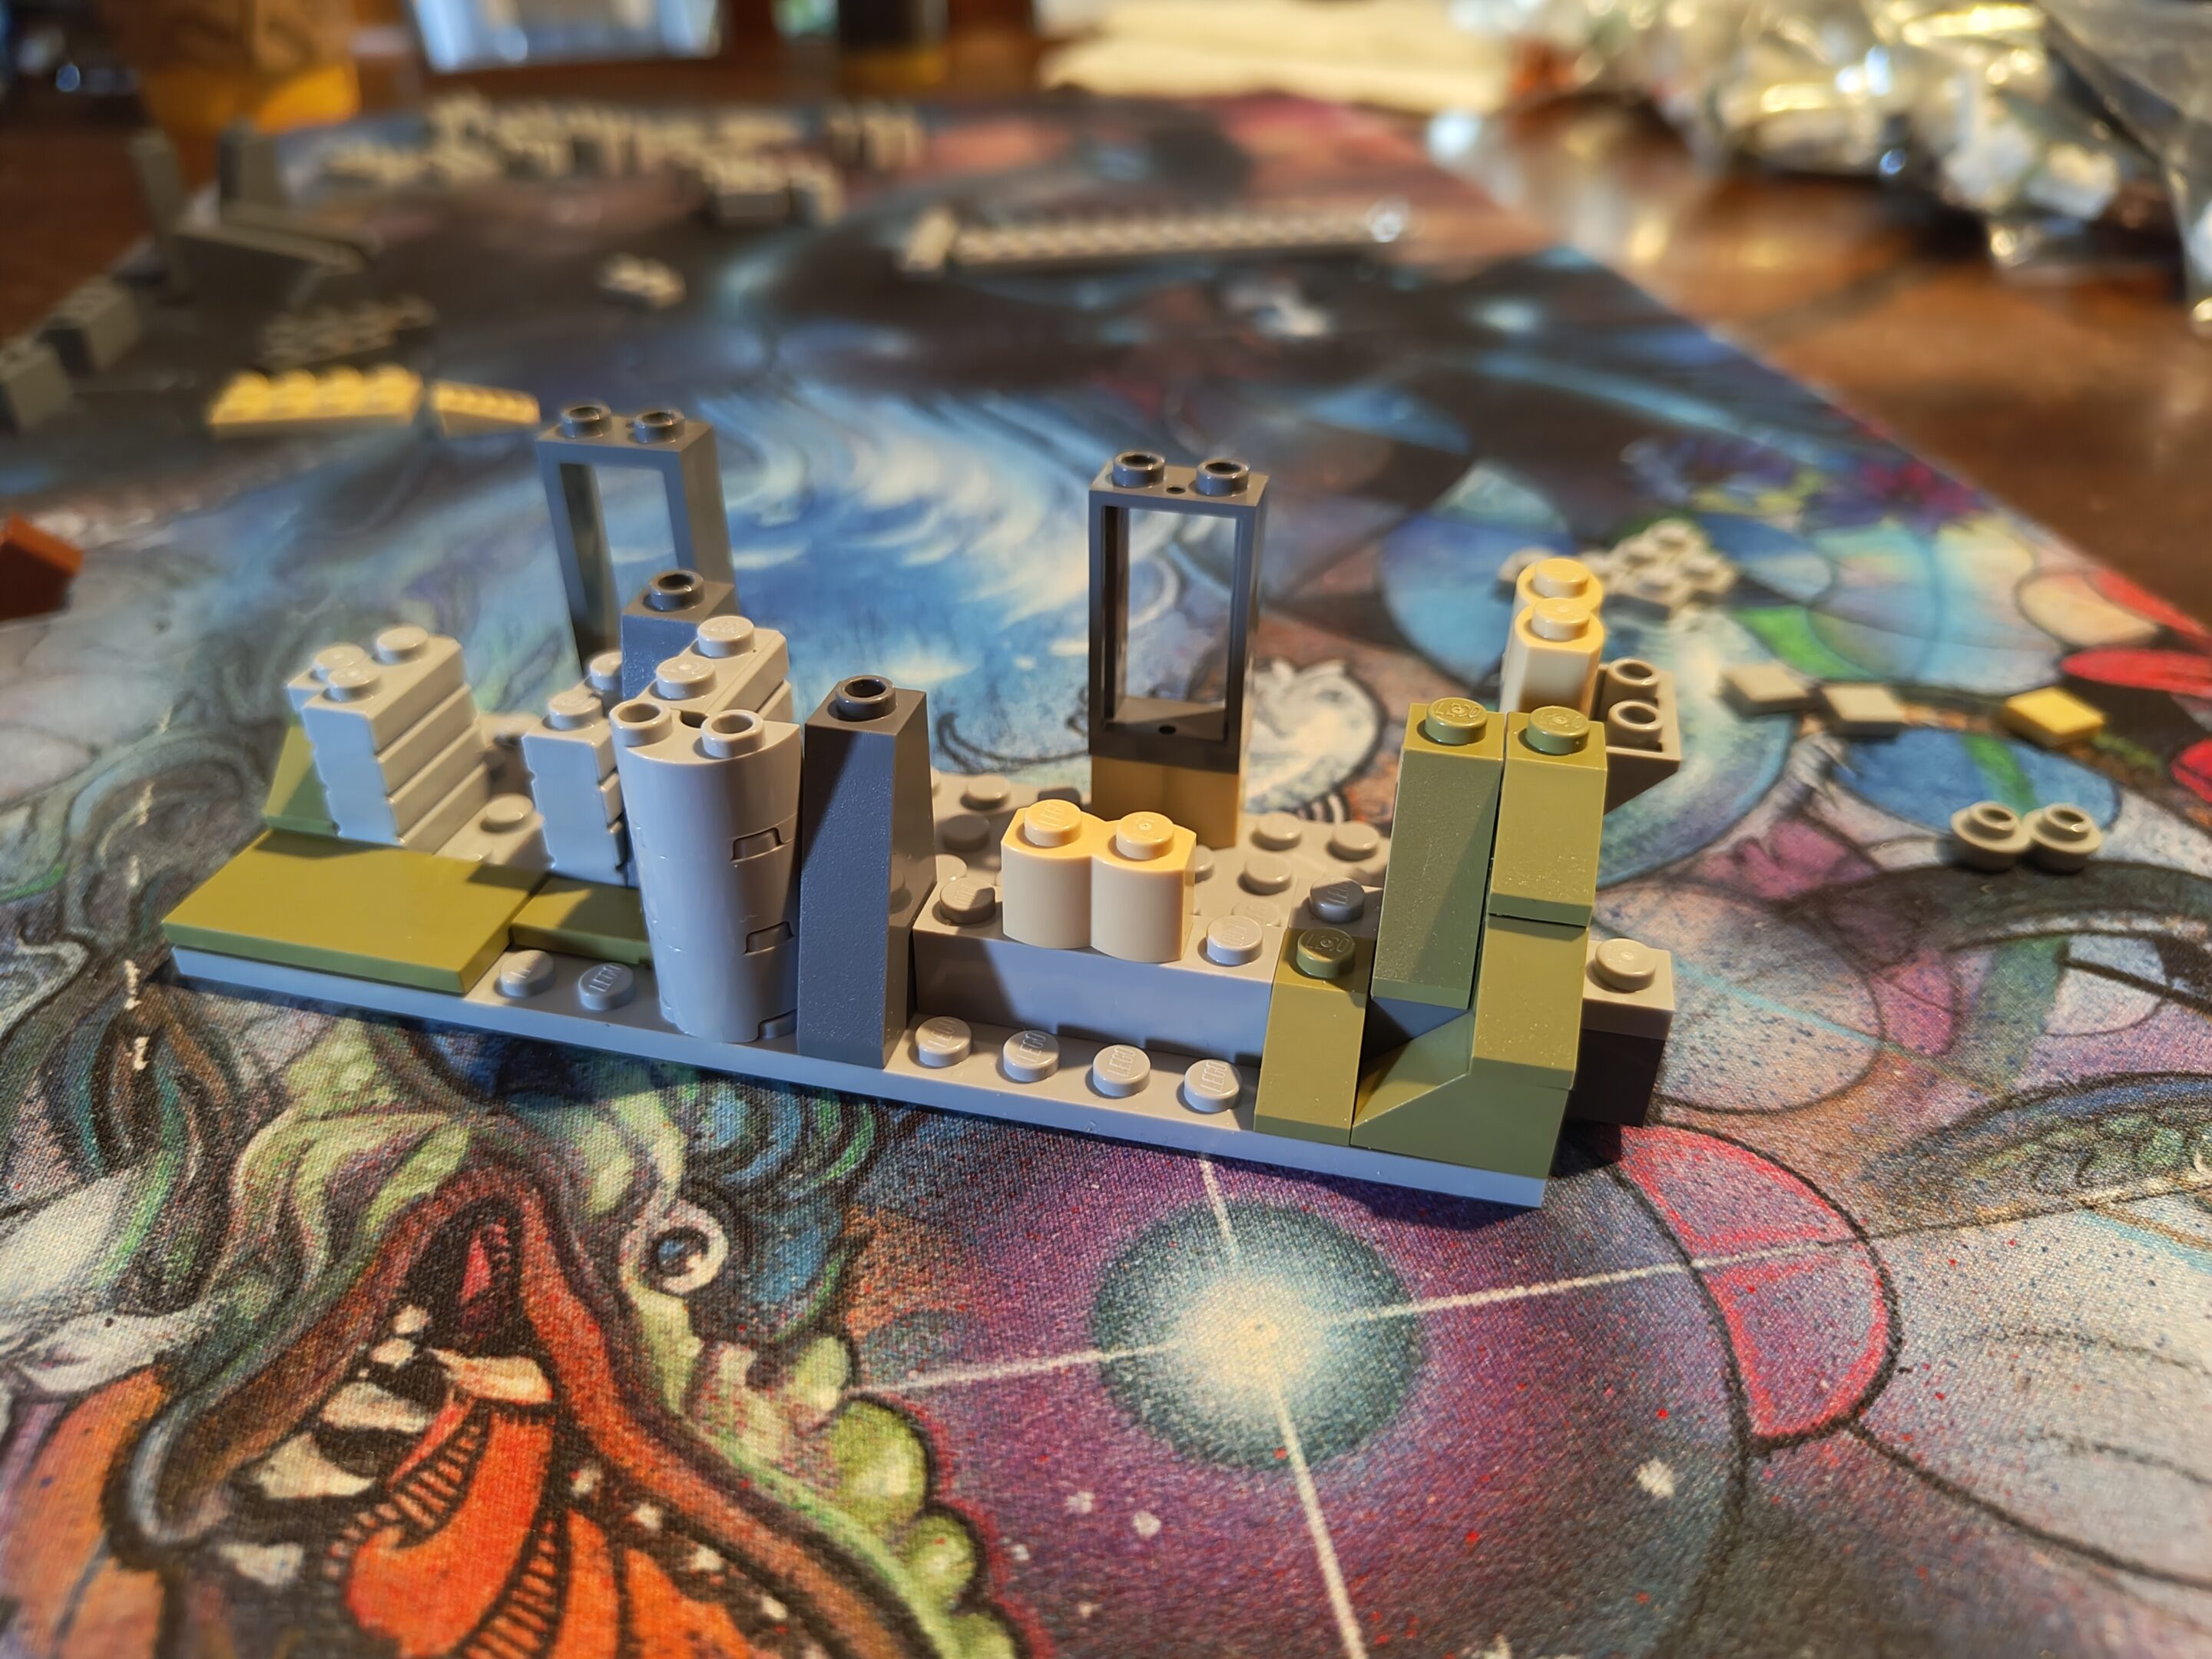
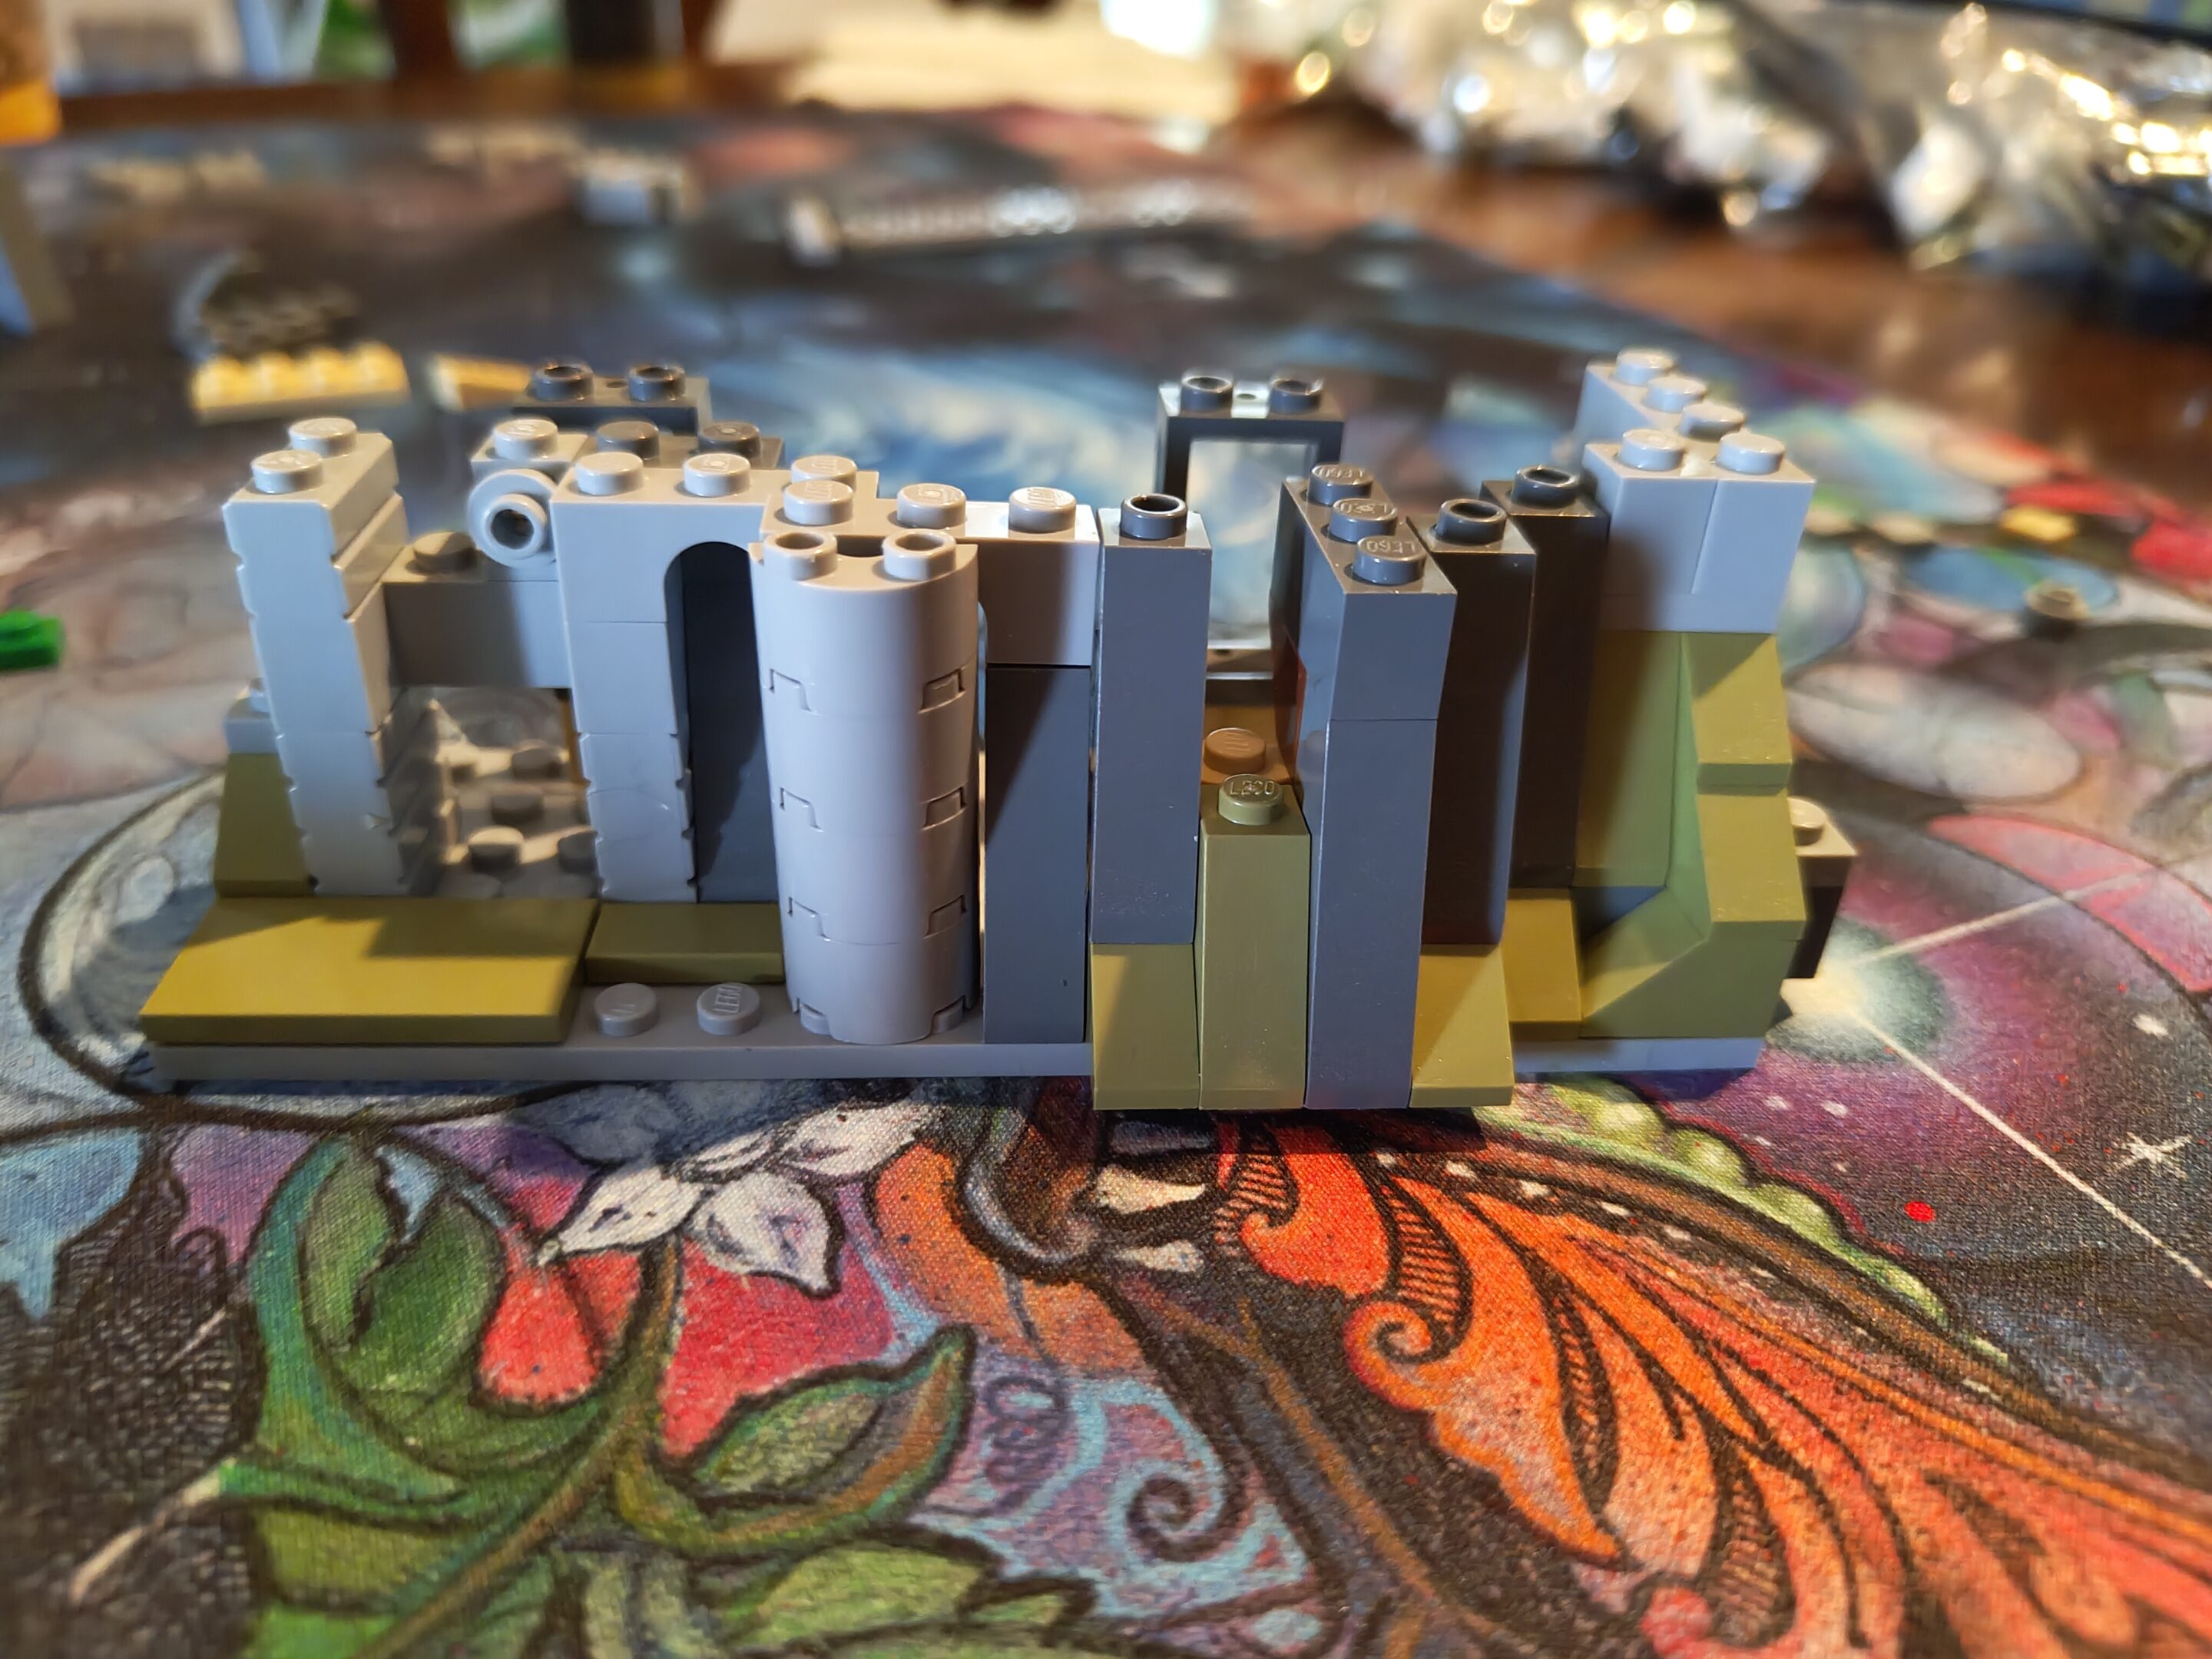
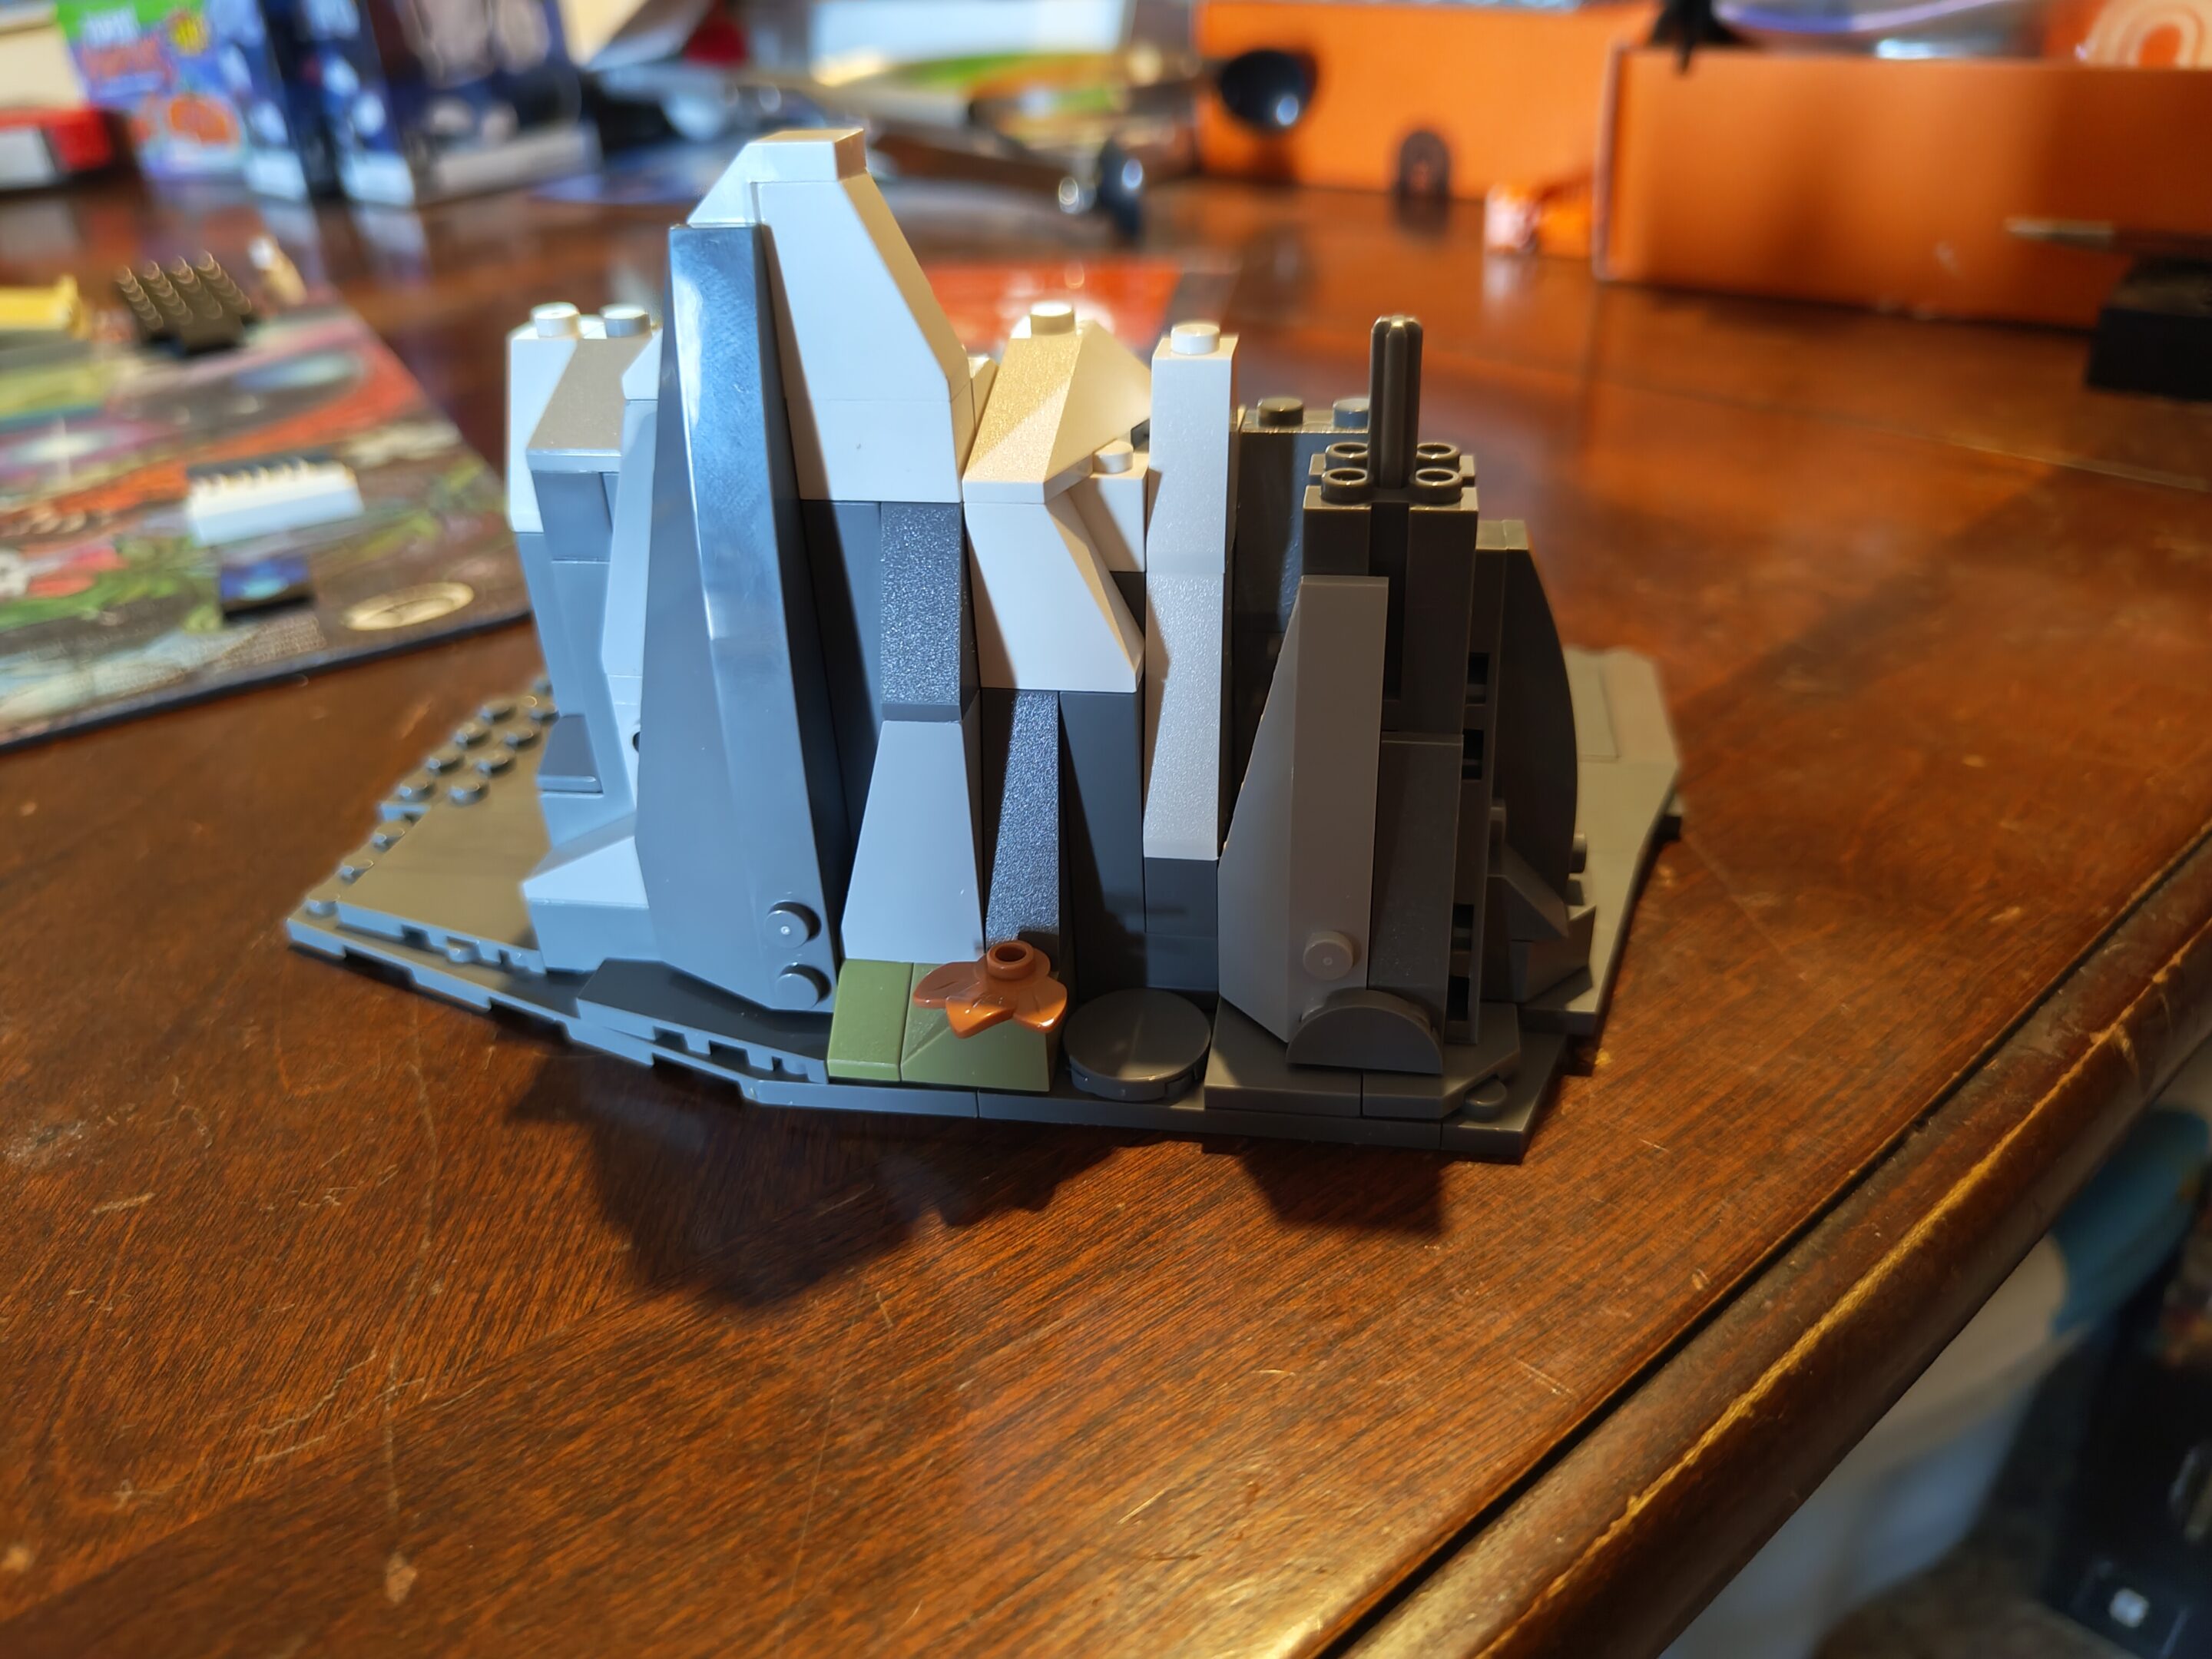
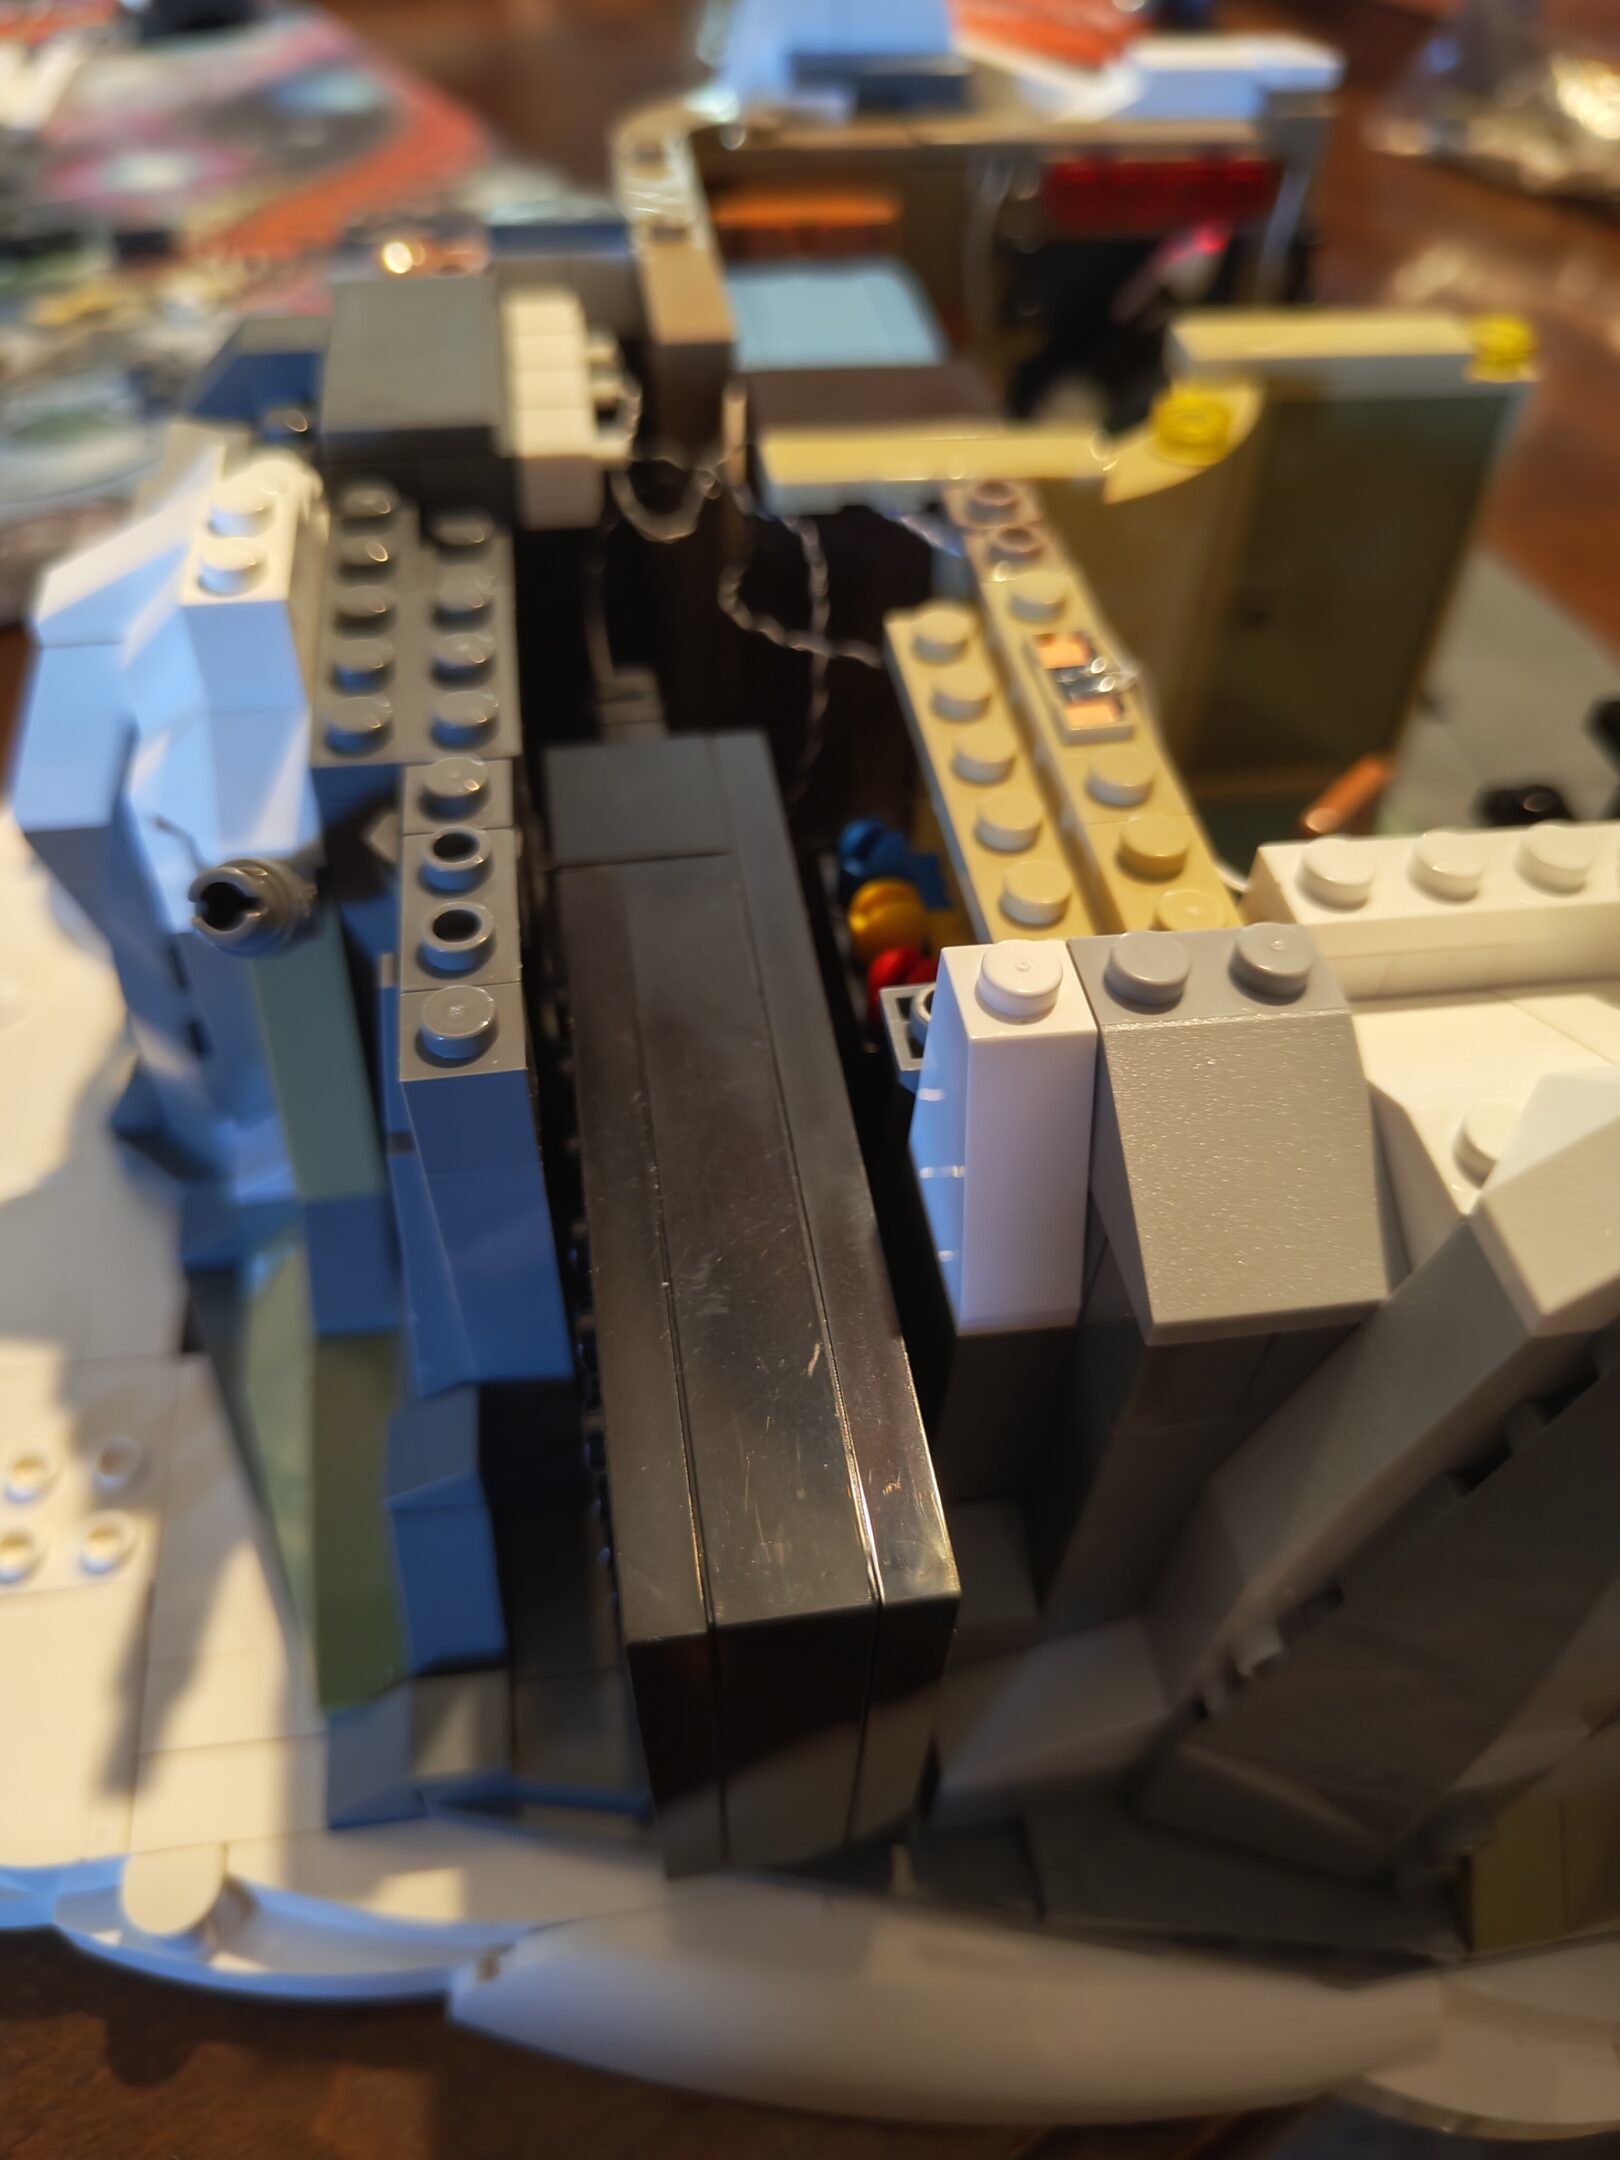
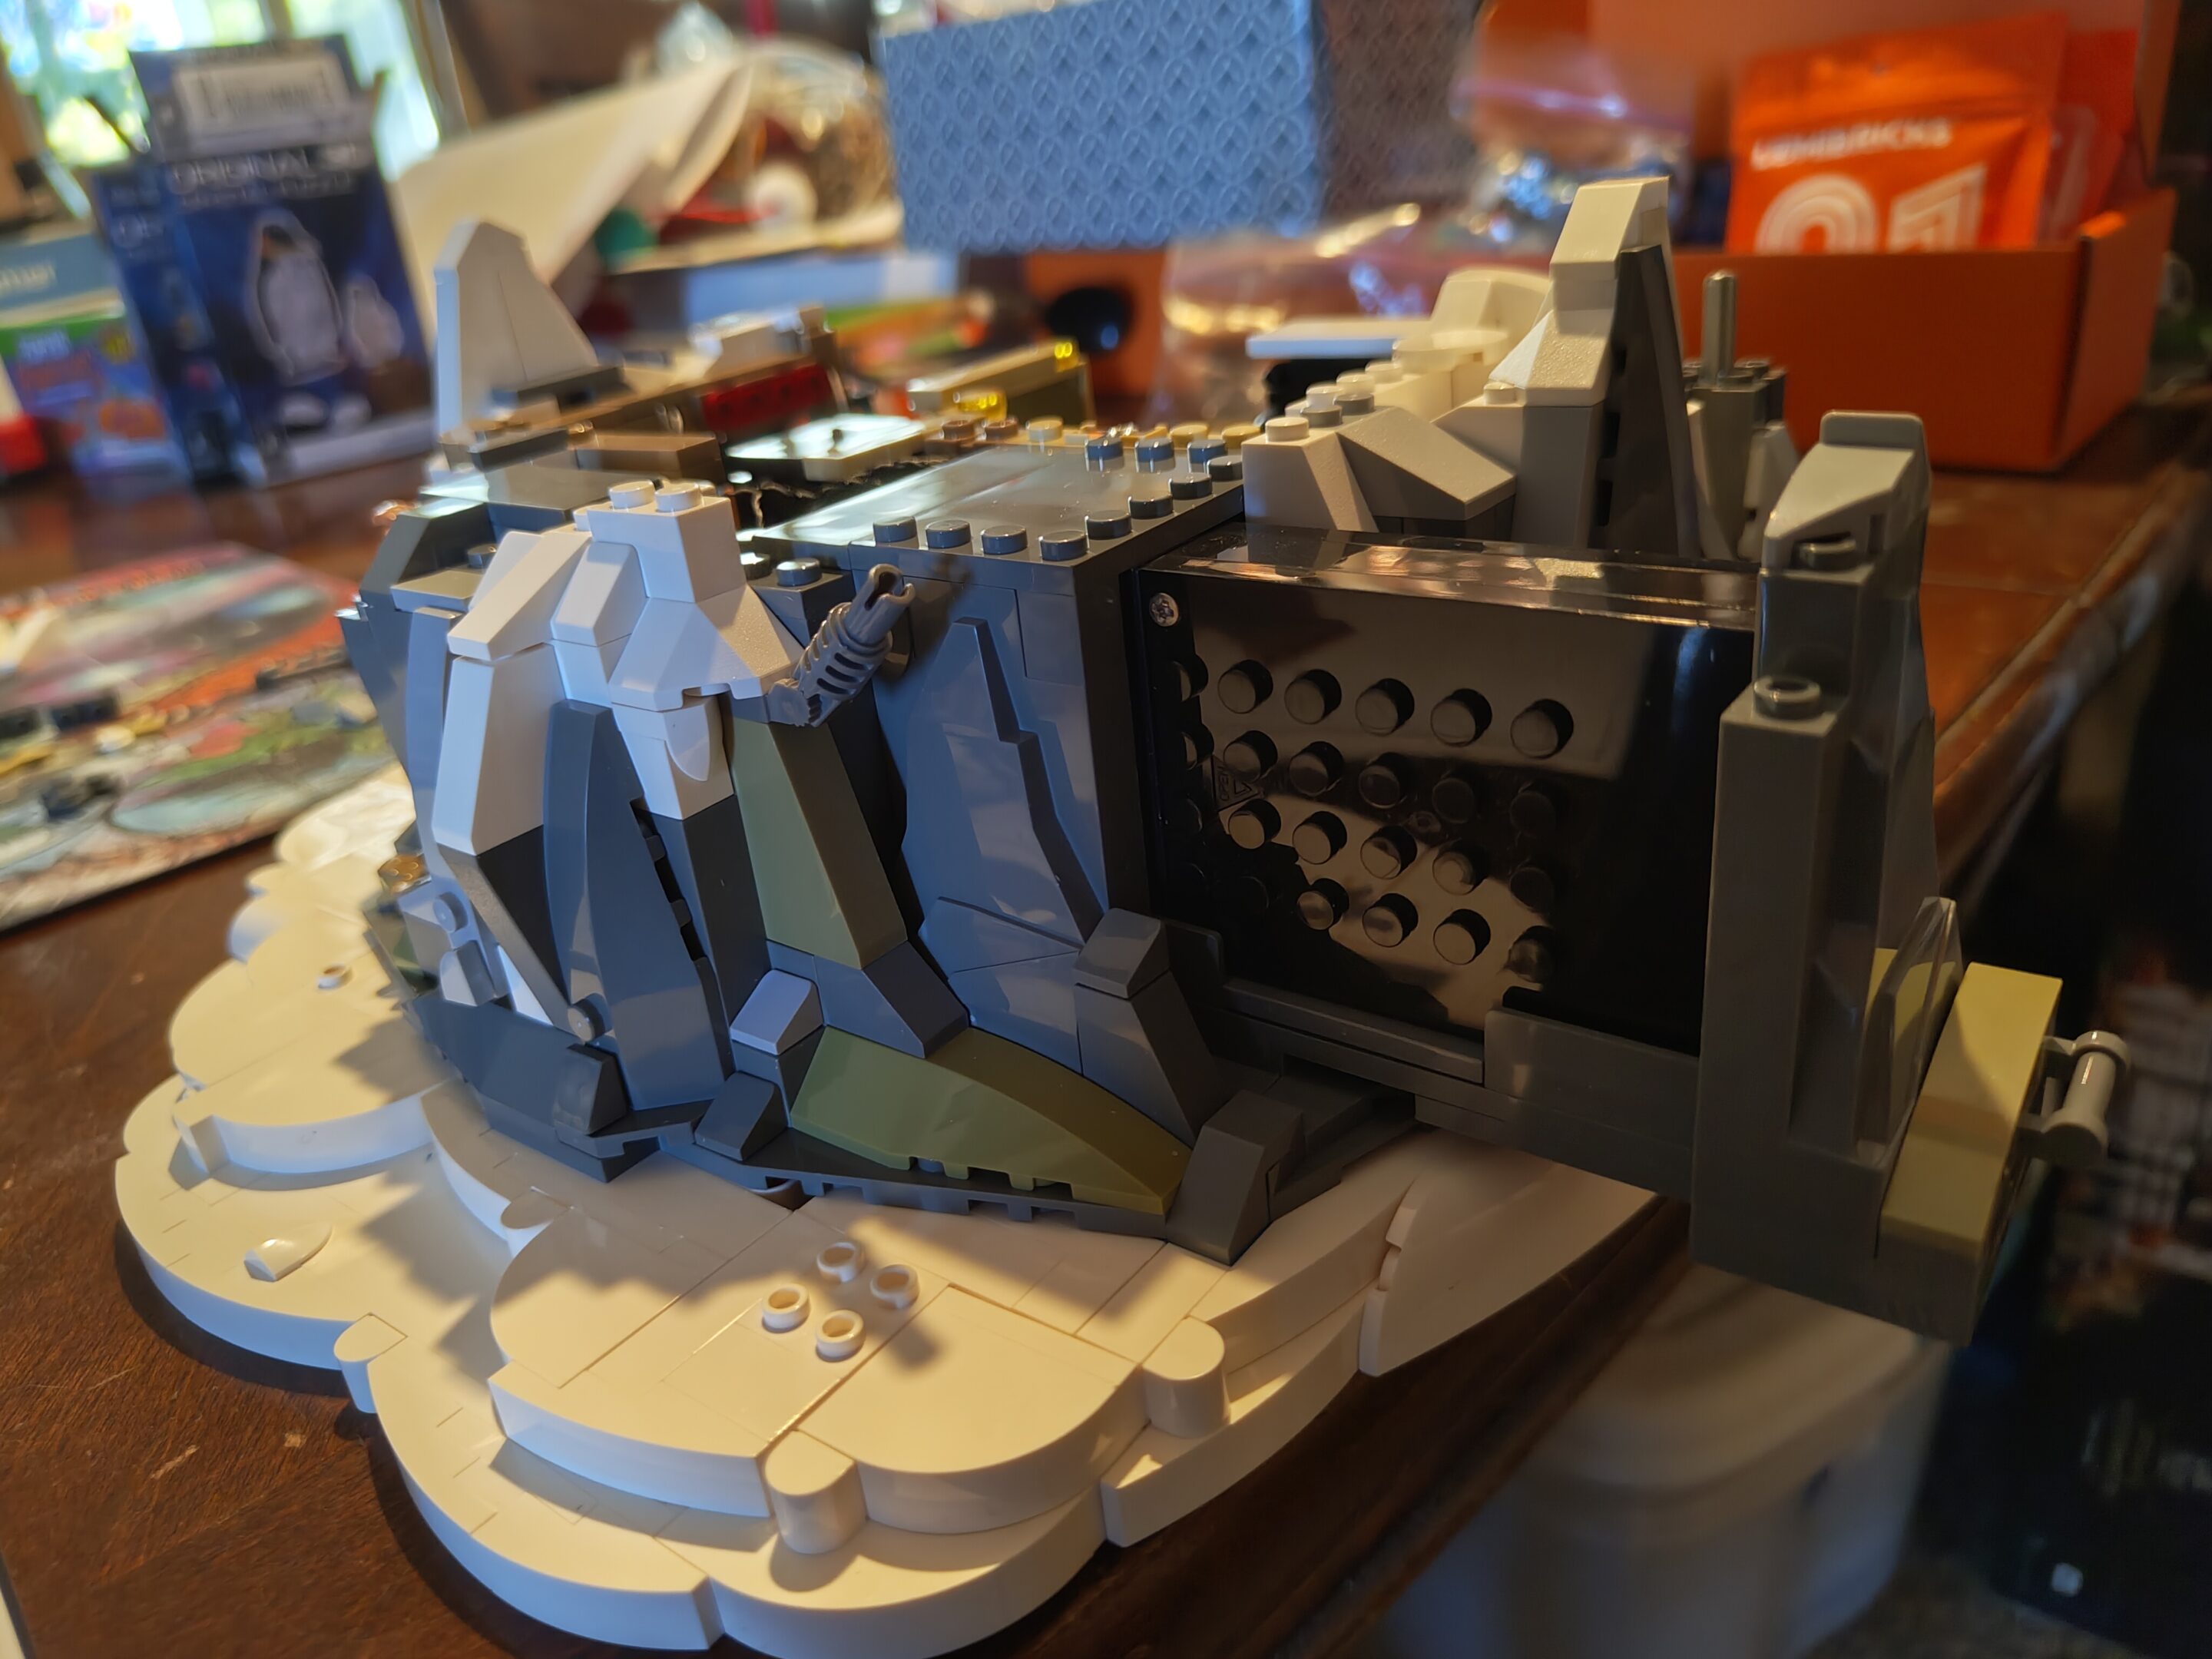
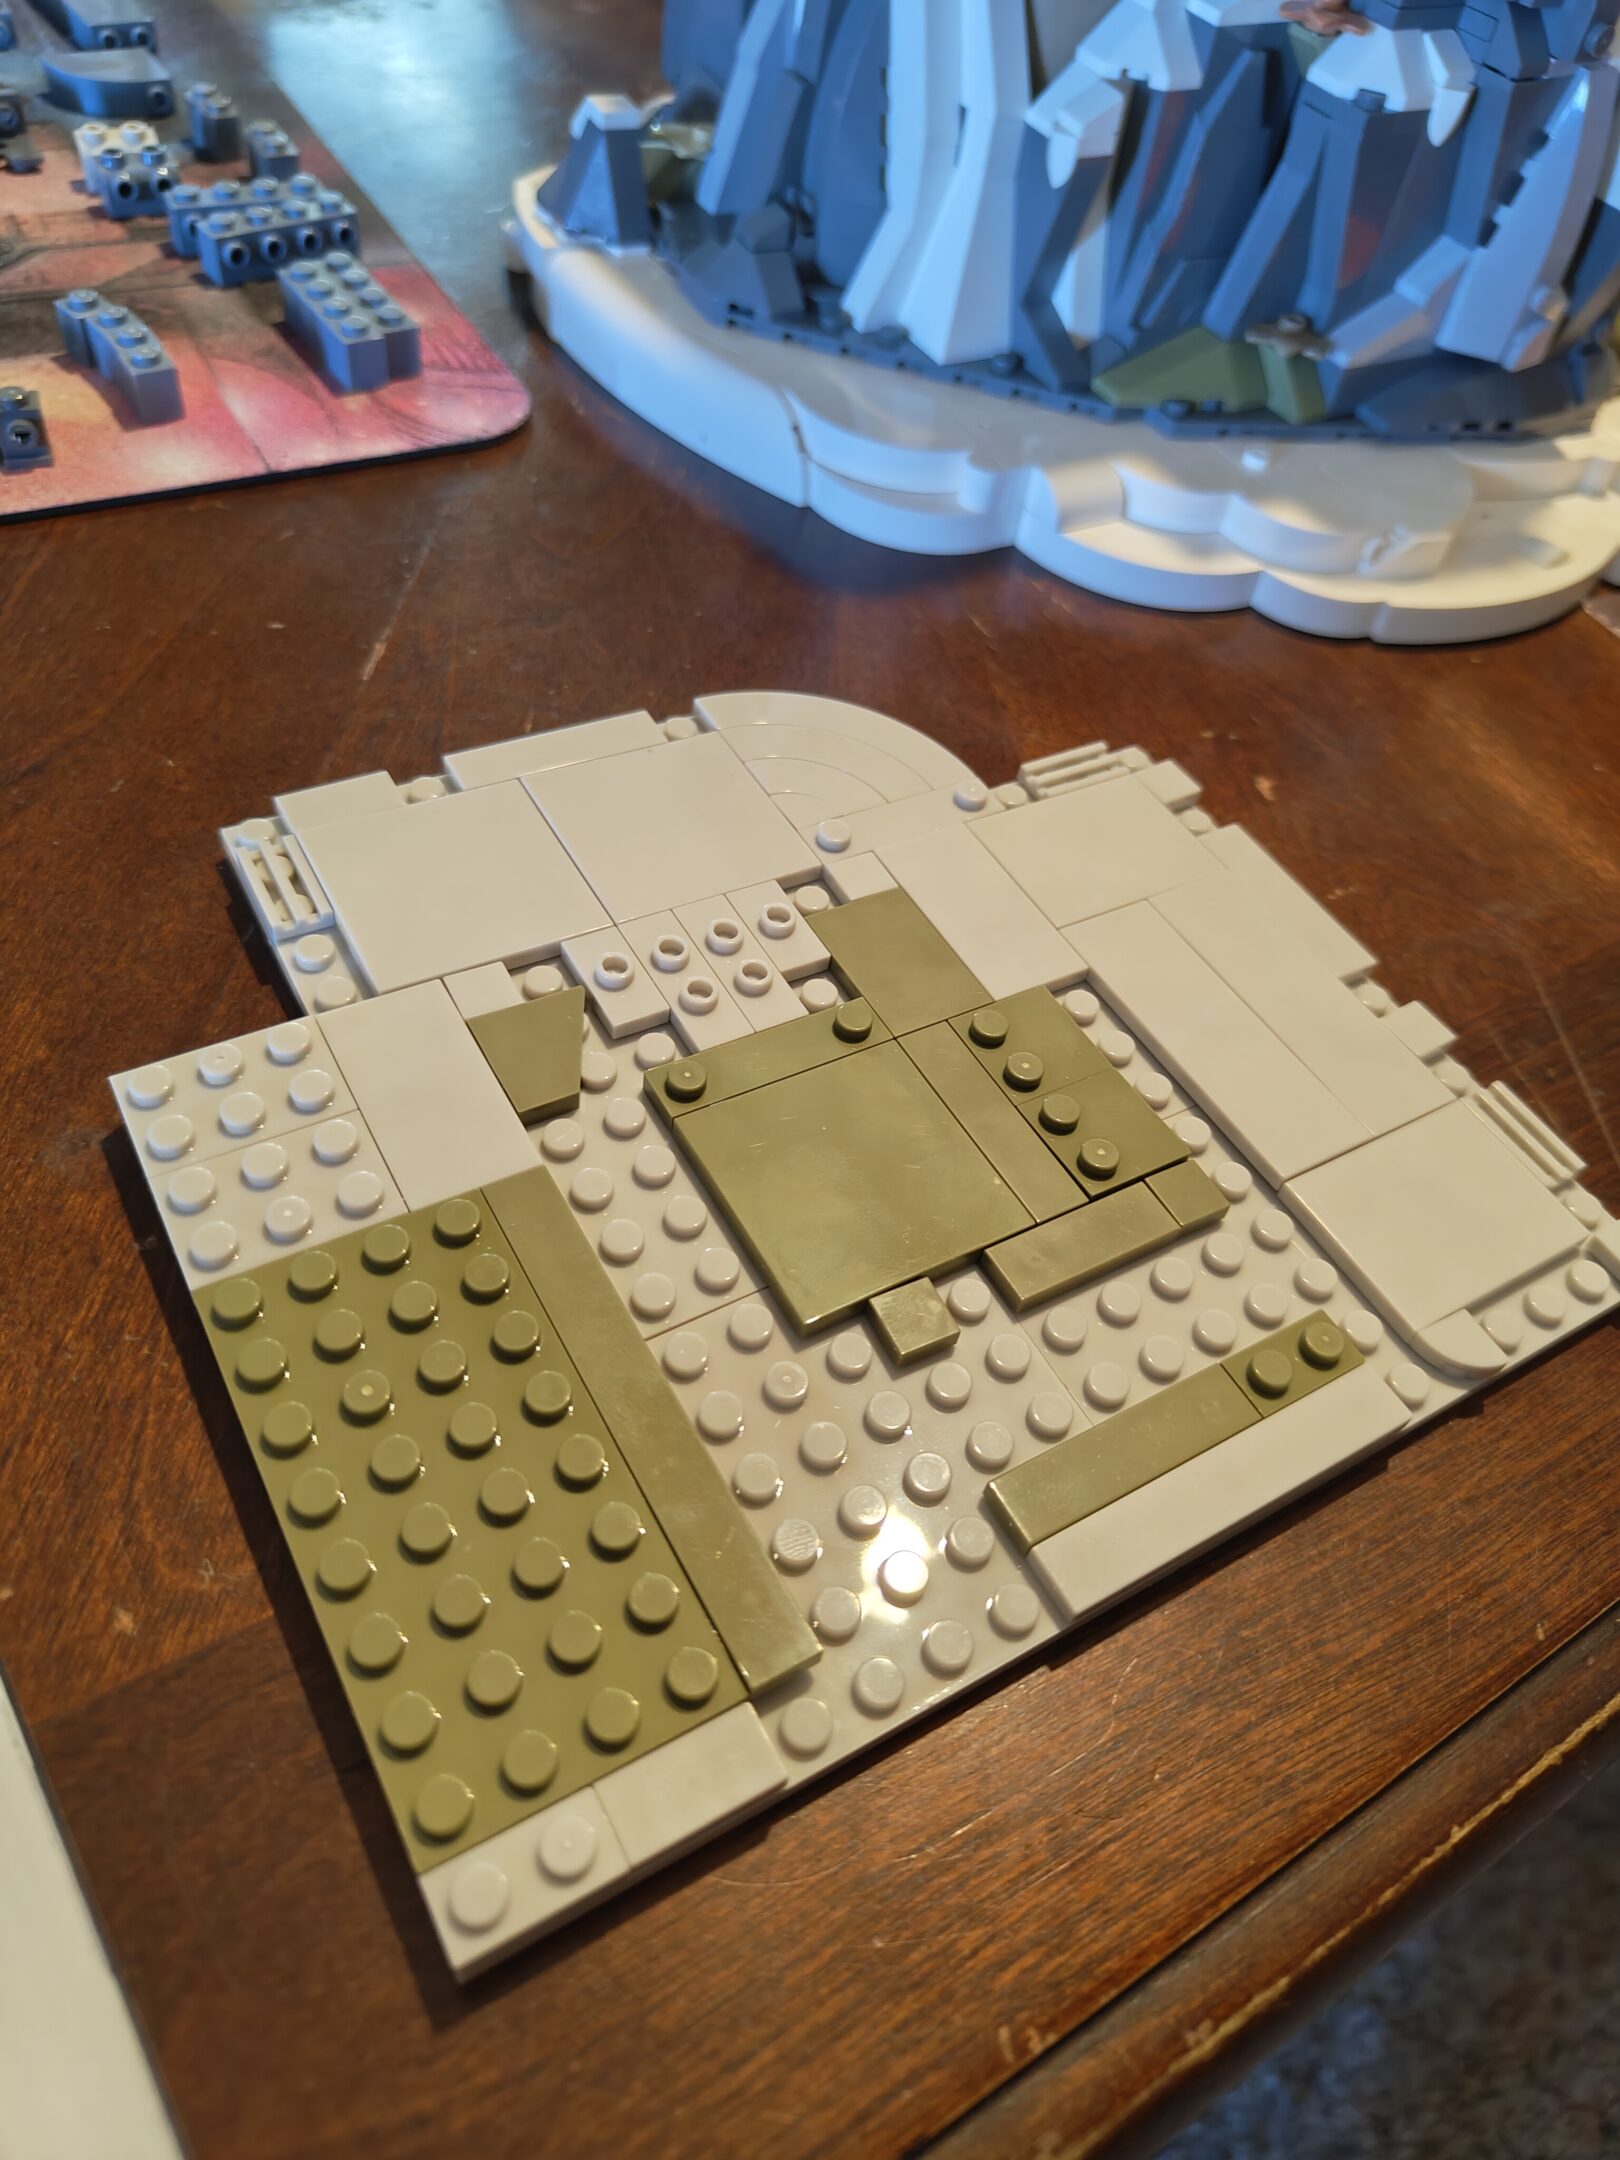
Box frontBox rearStart of the frameFirst facade of the hill? Mountain?Another facade/wall/thingI googled, Neuschwanstein Castle is on a “rugged hill of the foothills of the Alps” I mean that sounds pretty cool to me
welp, got another missing piece 🙁 sucks because we’ll have to put it on pause mostly until we get it since we’re still on the bottom. and, uh, mail to my house from lego to here in the good ol’ us of a might be an issue at the moment…
[edit: didn’t pause just stole a replacement piece out of another bag and kicked the can down the road. probably do the same next time we work on this one as we’ve got a bunch of this hill to build and it uses a ton of those pieces]
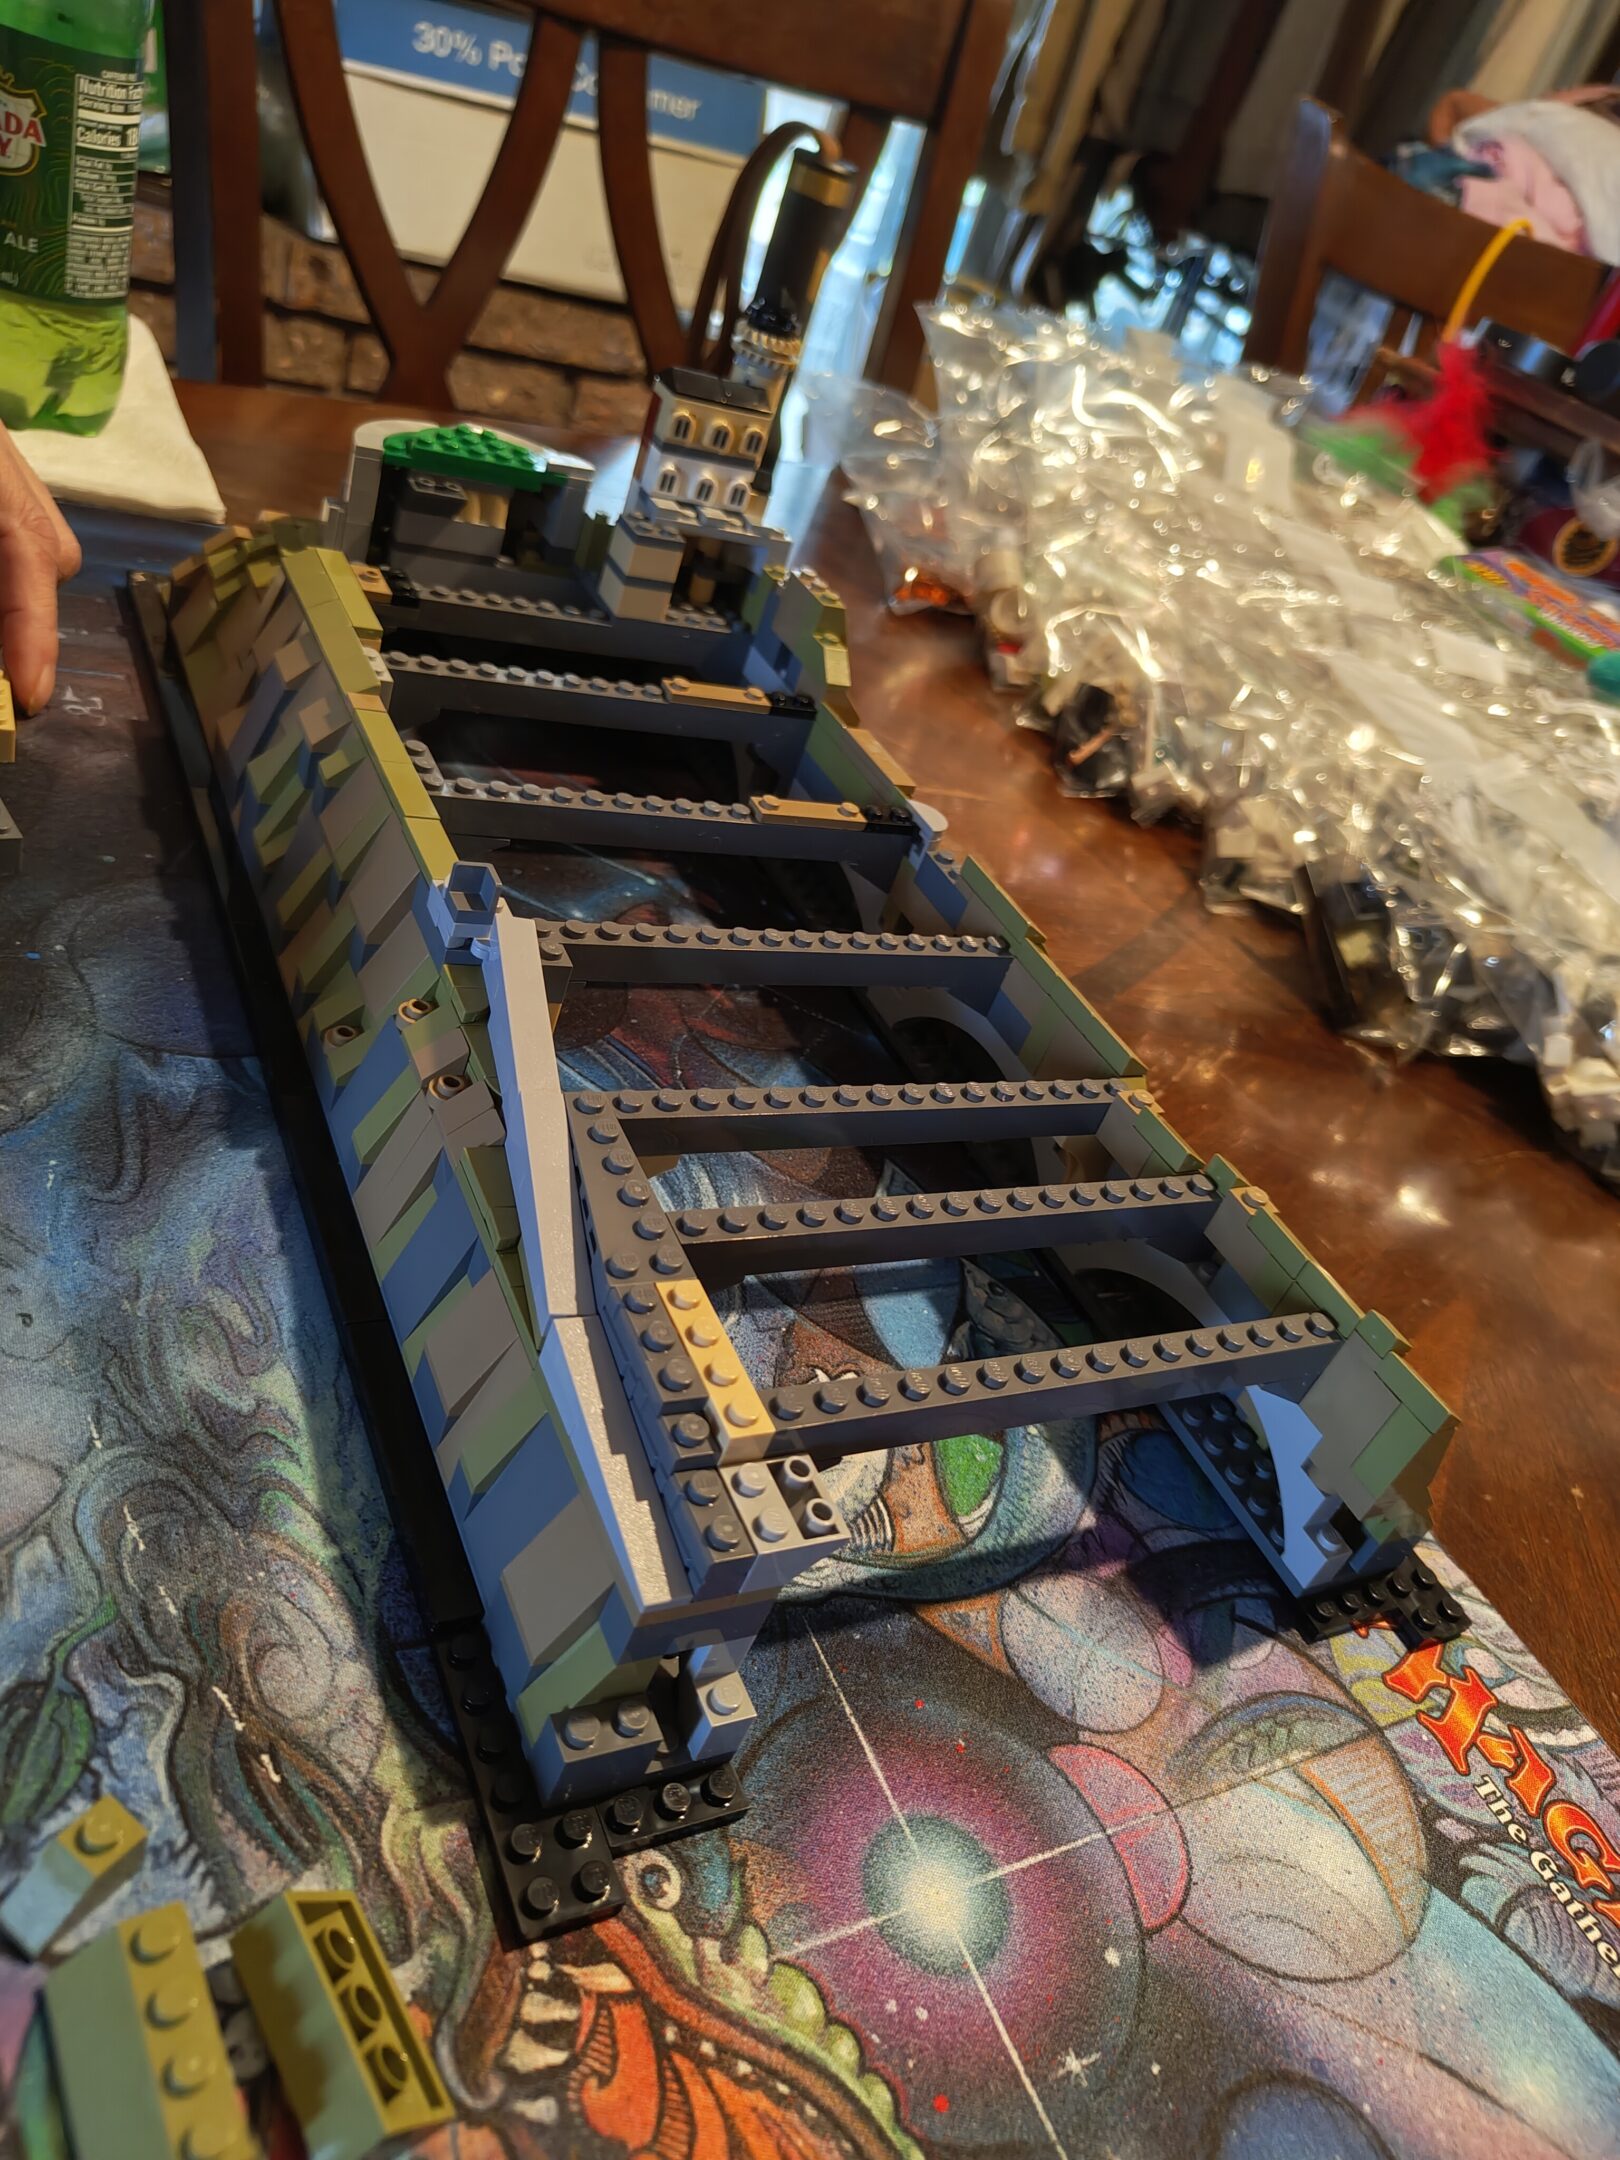
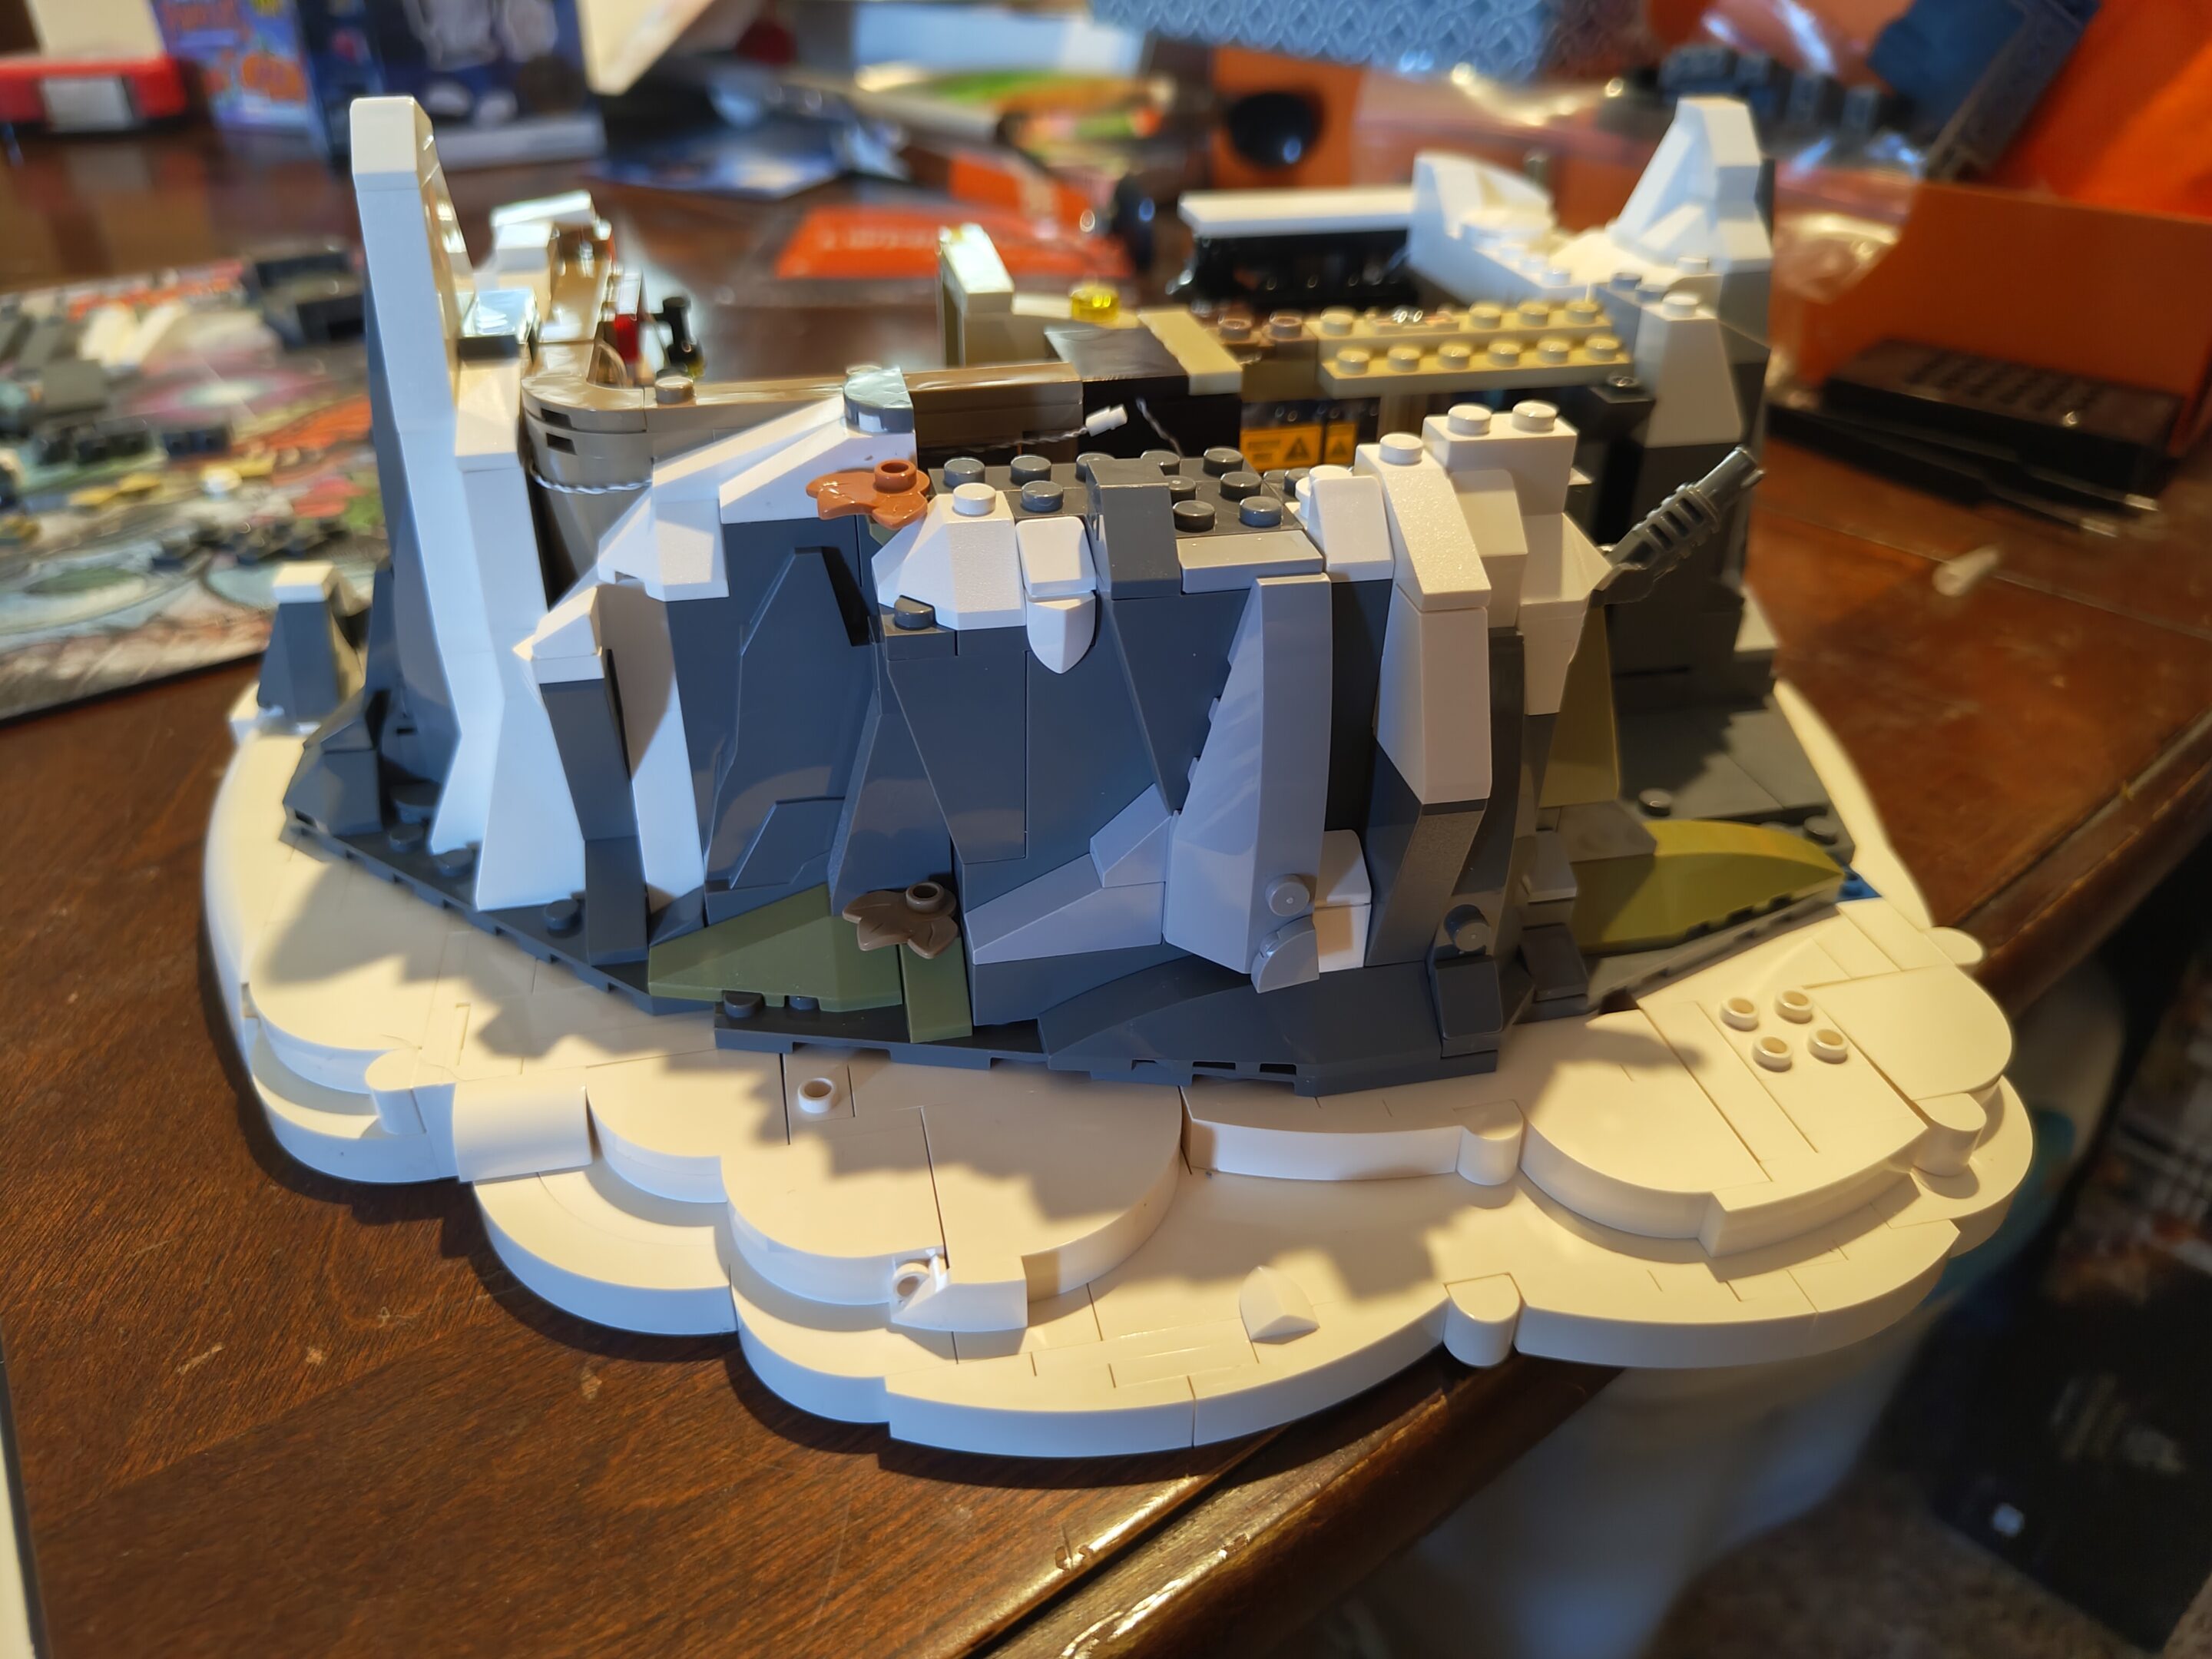
The missing culprit (a 2x1x2 “roof tile” in pale green)We continued building what we couldBeginning of the curved wallFinally getting to some actual castle bitsSweet rampart
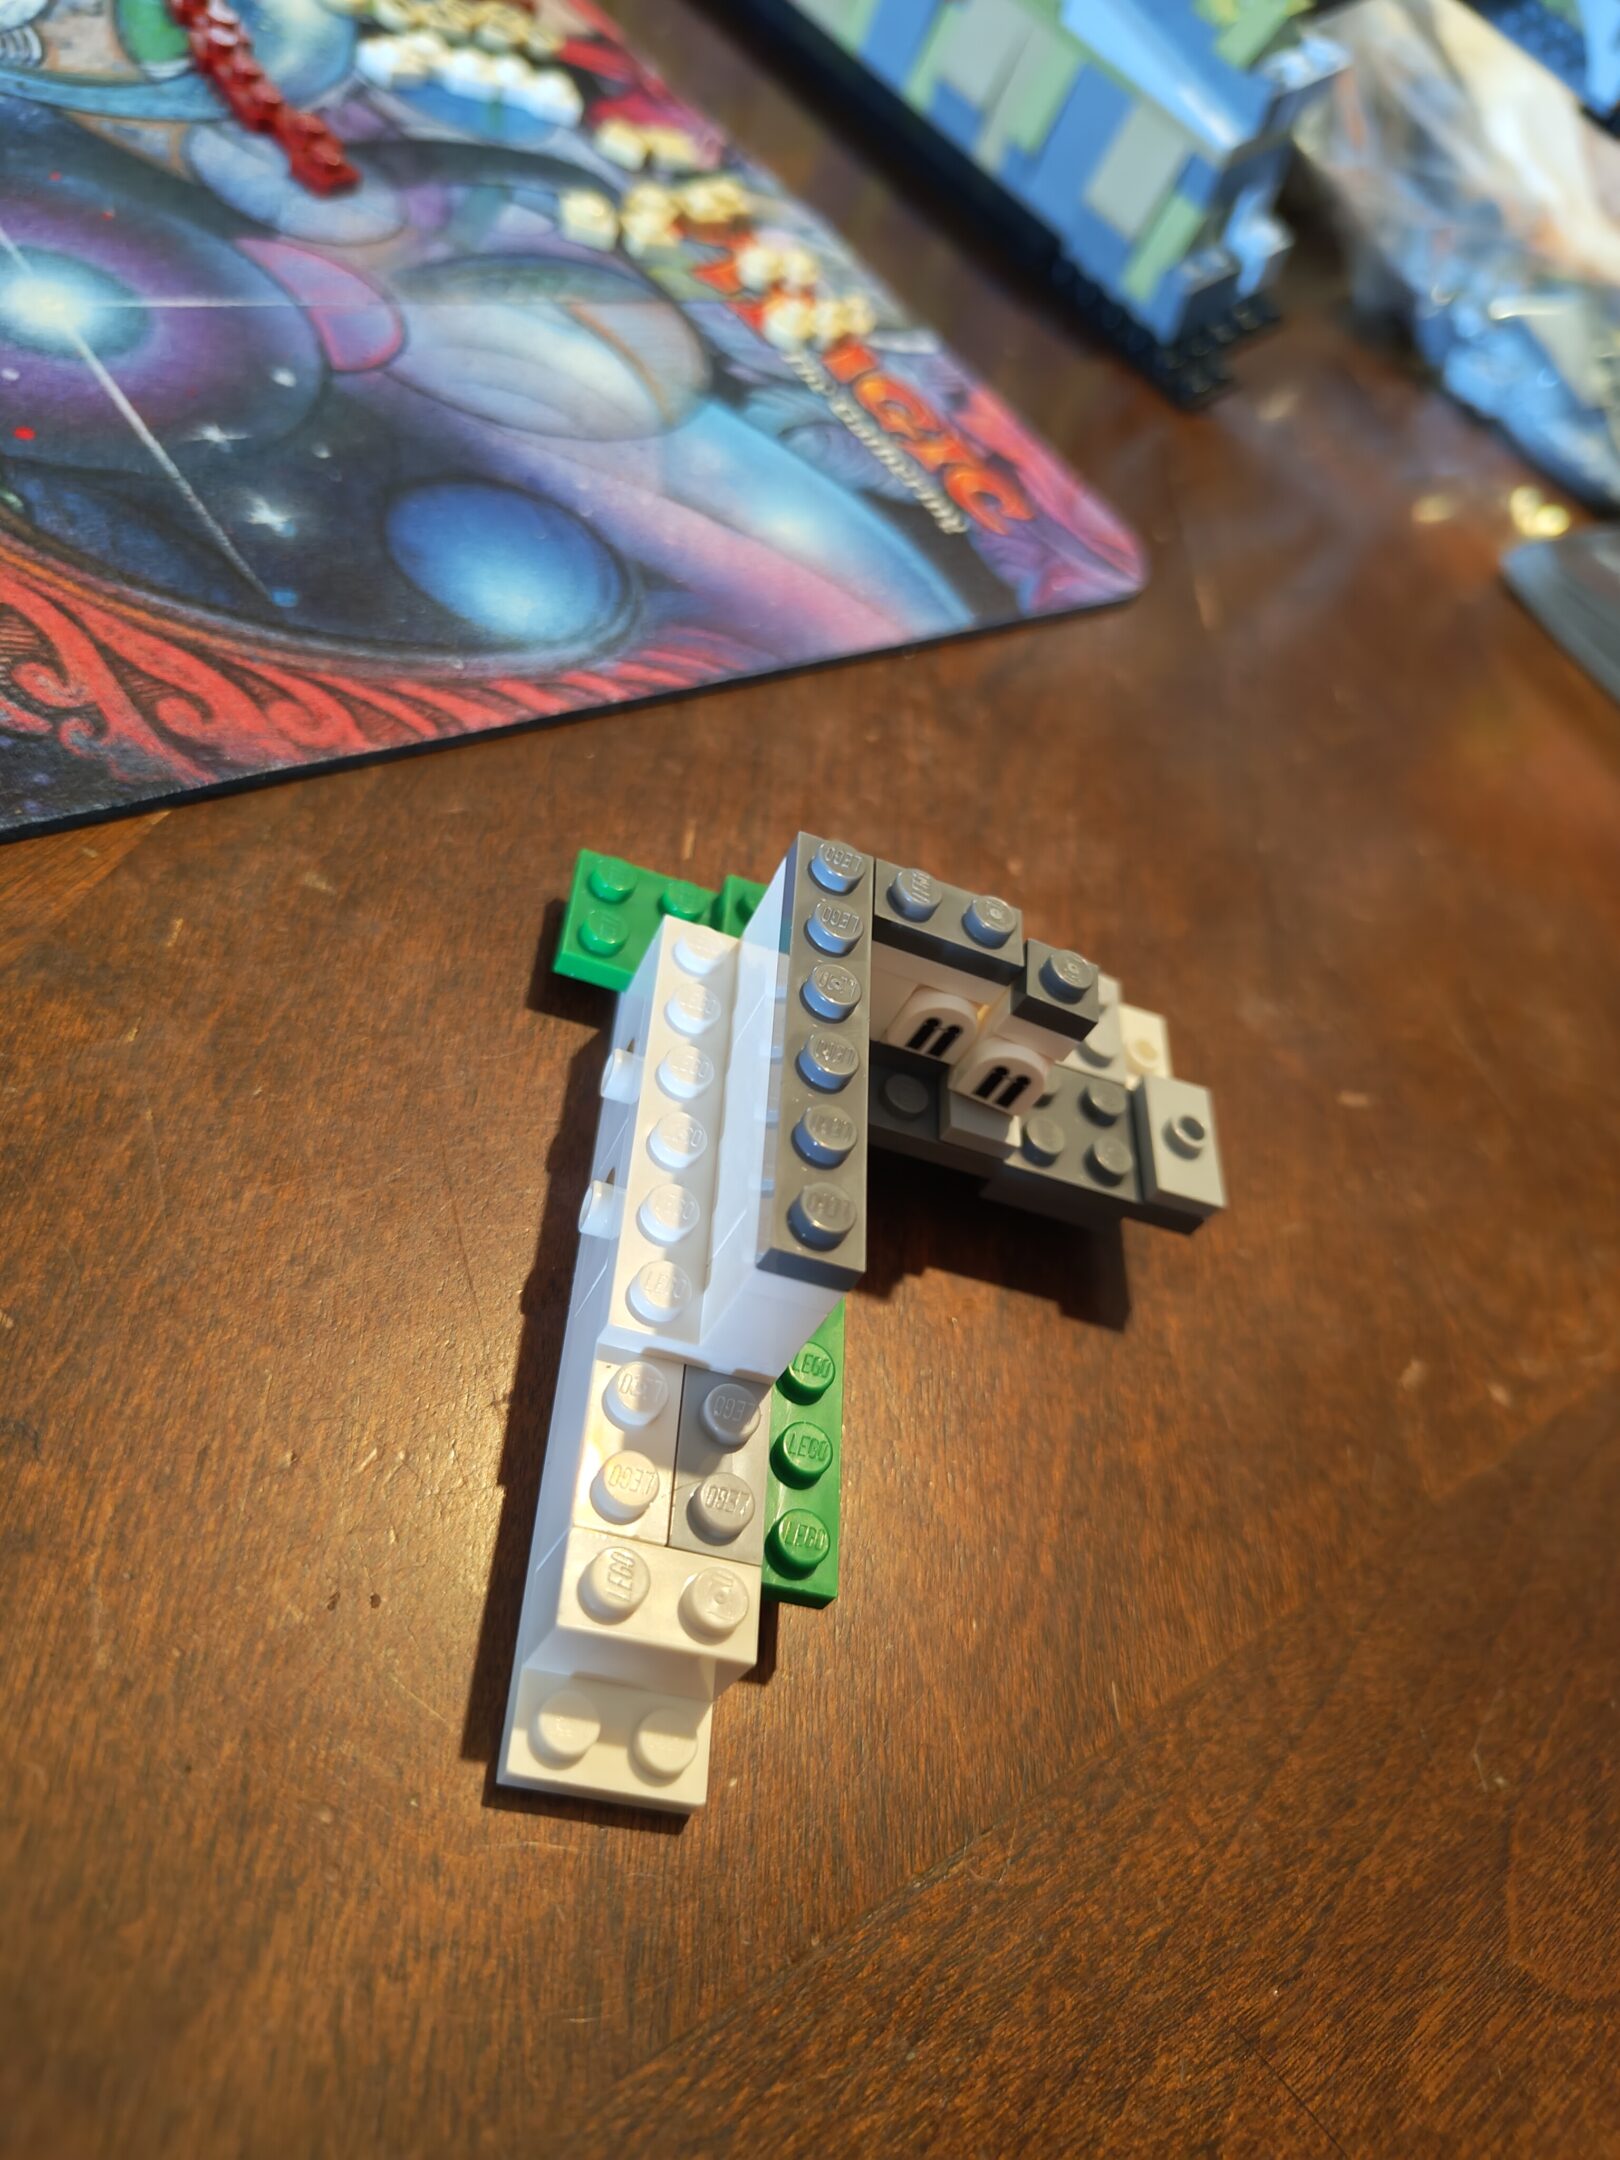
small progress today, not a lot of pictures as mom was a bit more with it and we were a little chatty (and two were really, really blurry)
Wall in progressWall in place (back left)
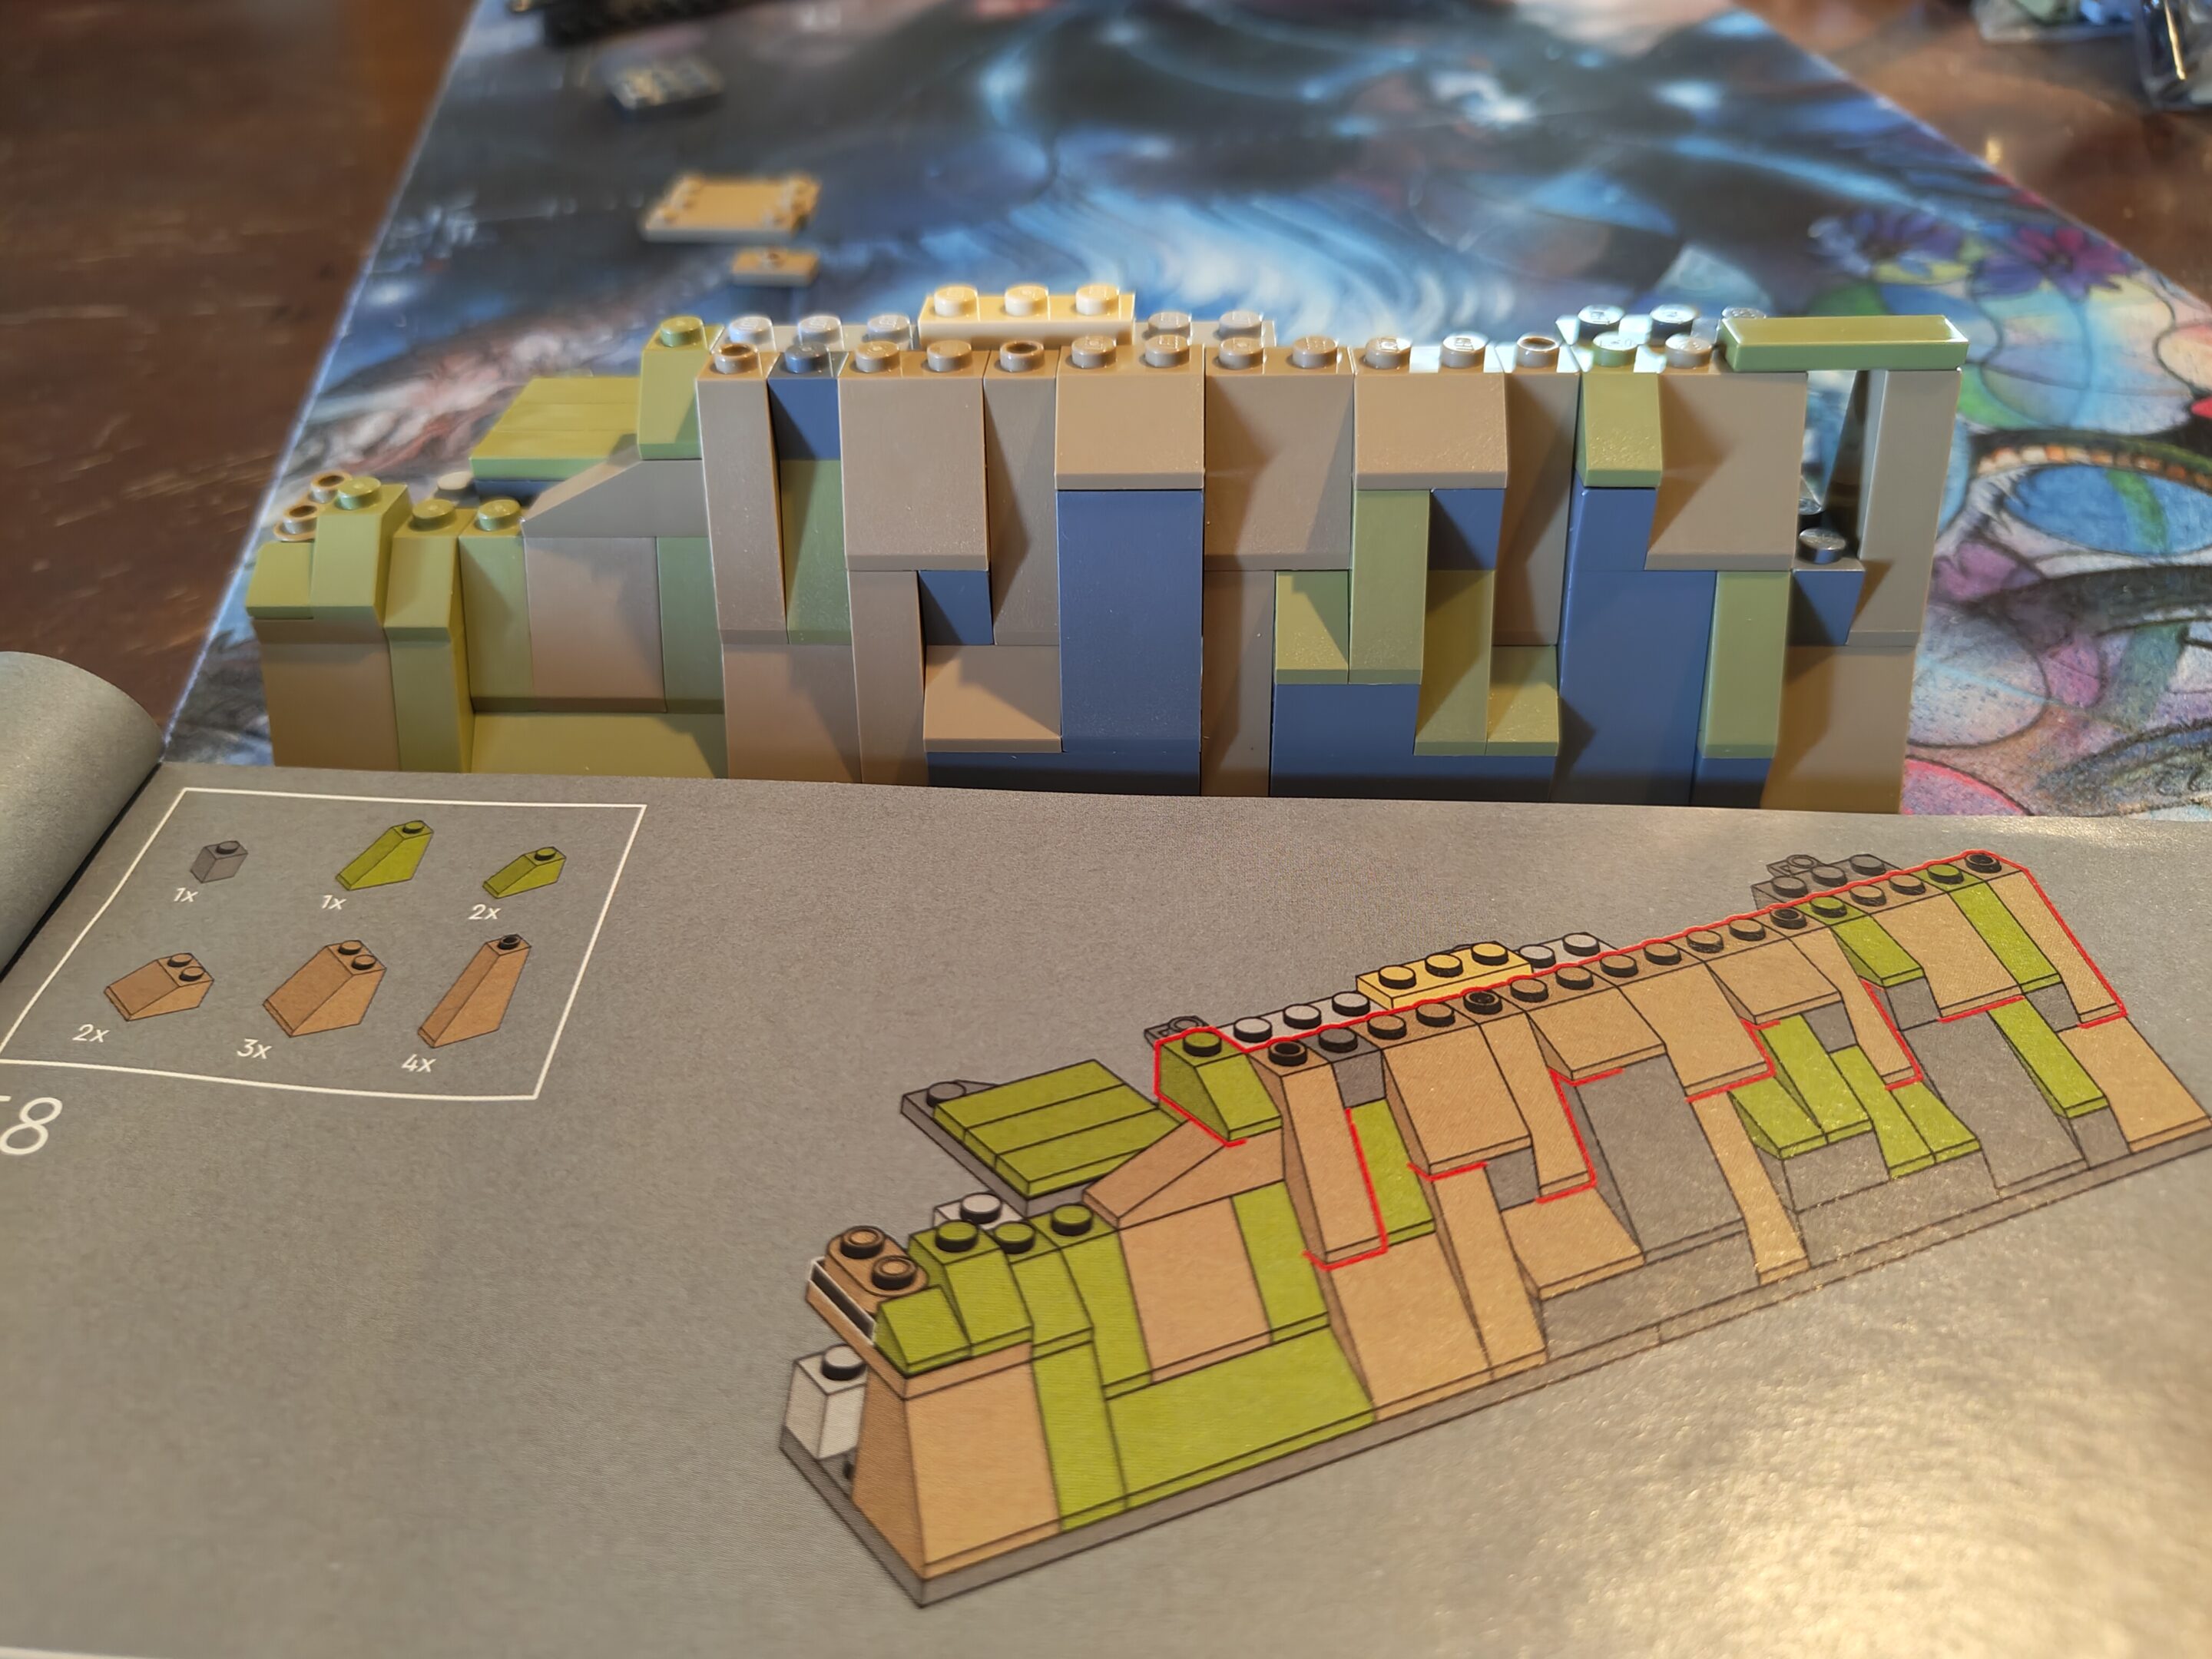
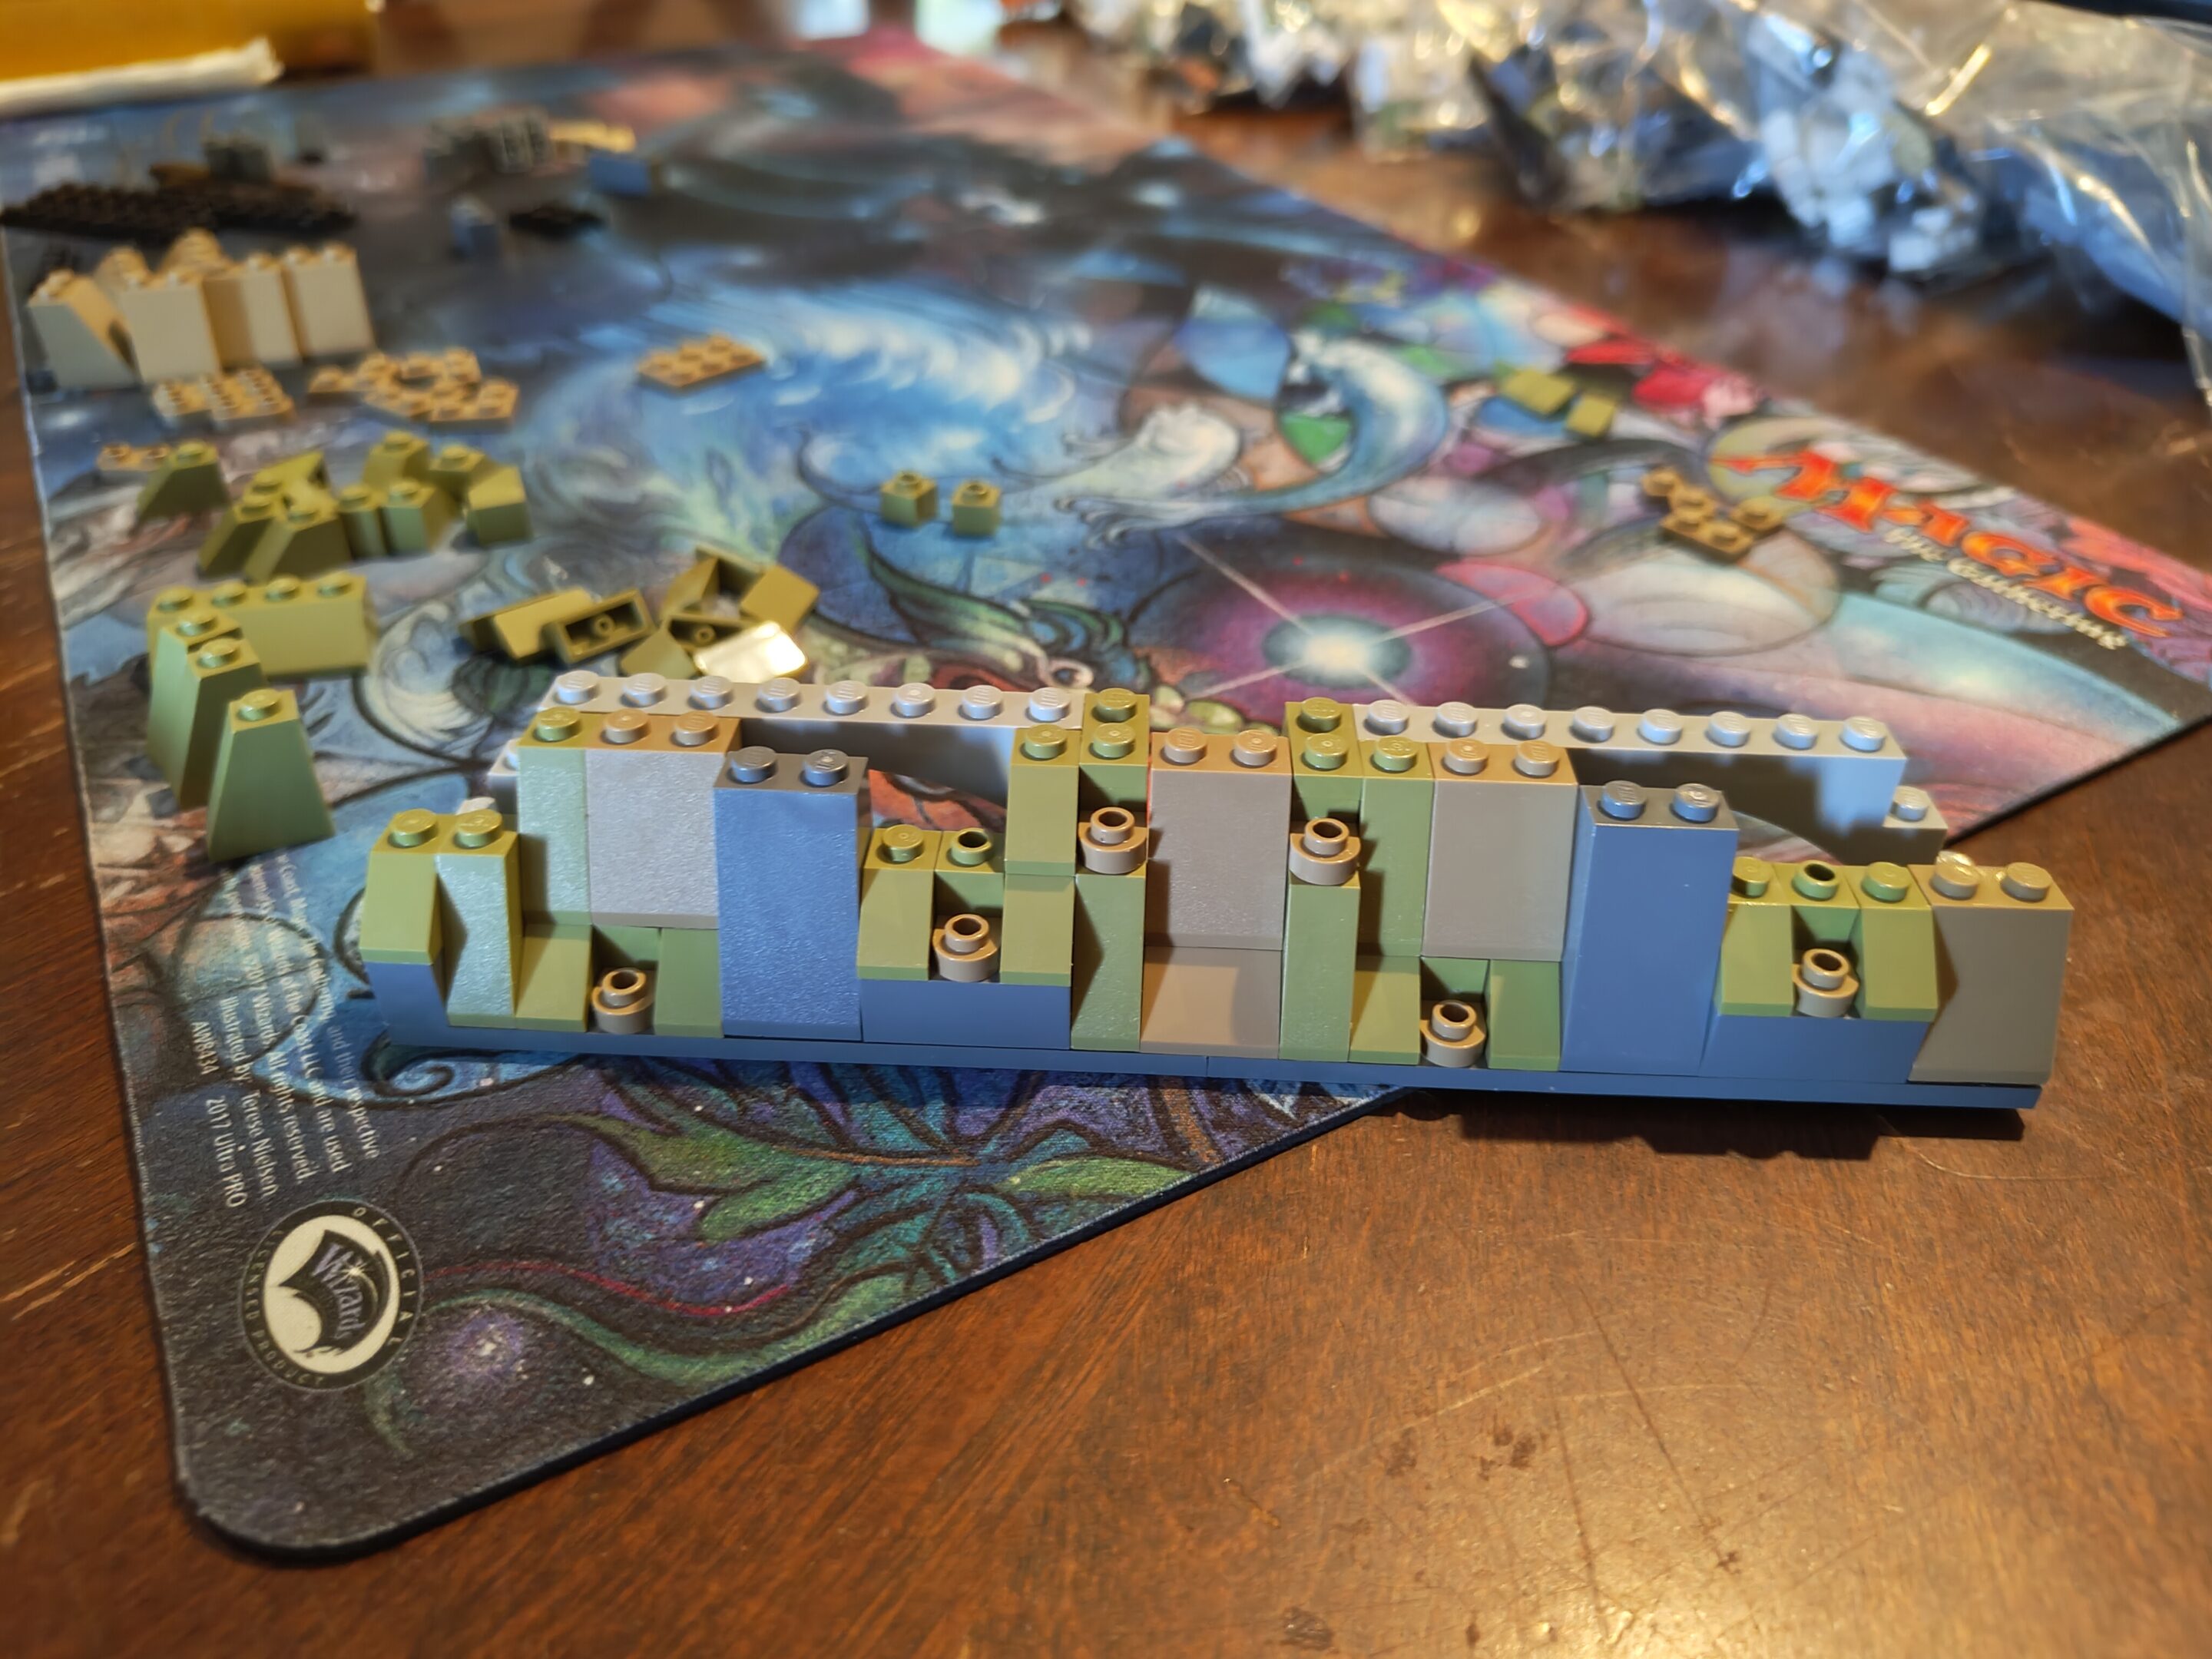
small update today was a little struggle but we finished up. kicked the missing piece down the road yet again. also uh we are ready for castle and ready to be done with the hill
This ramp/walkway/path/road? was neatLooooooonnnnnnnnnnggggg castle is longStopped here for the day with a problem area
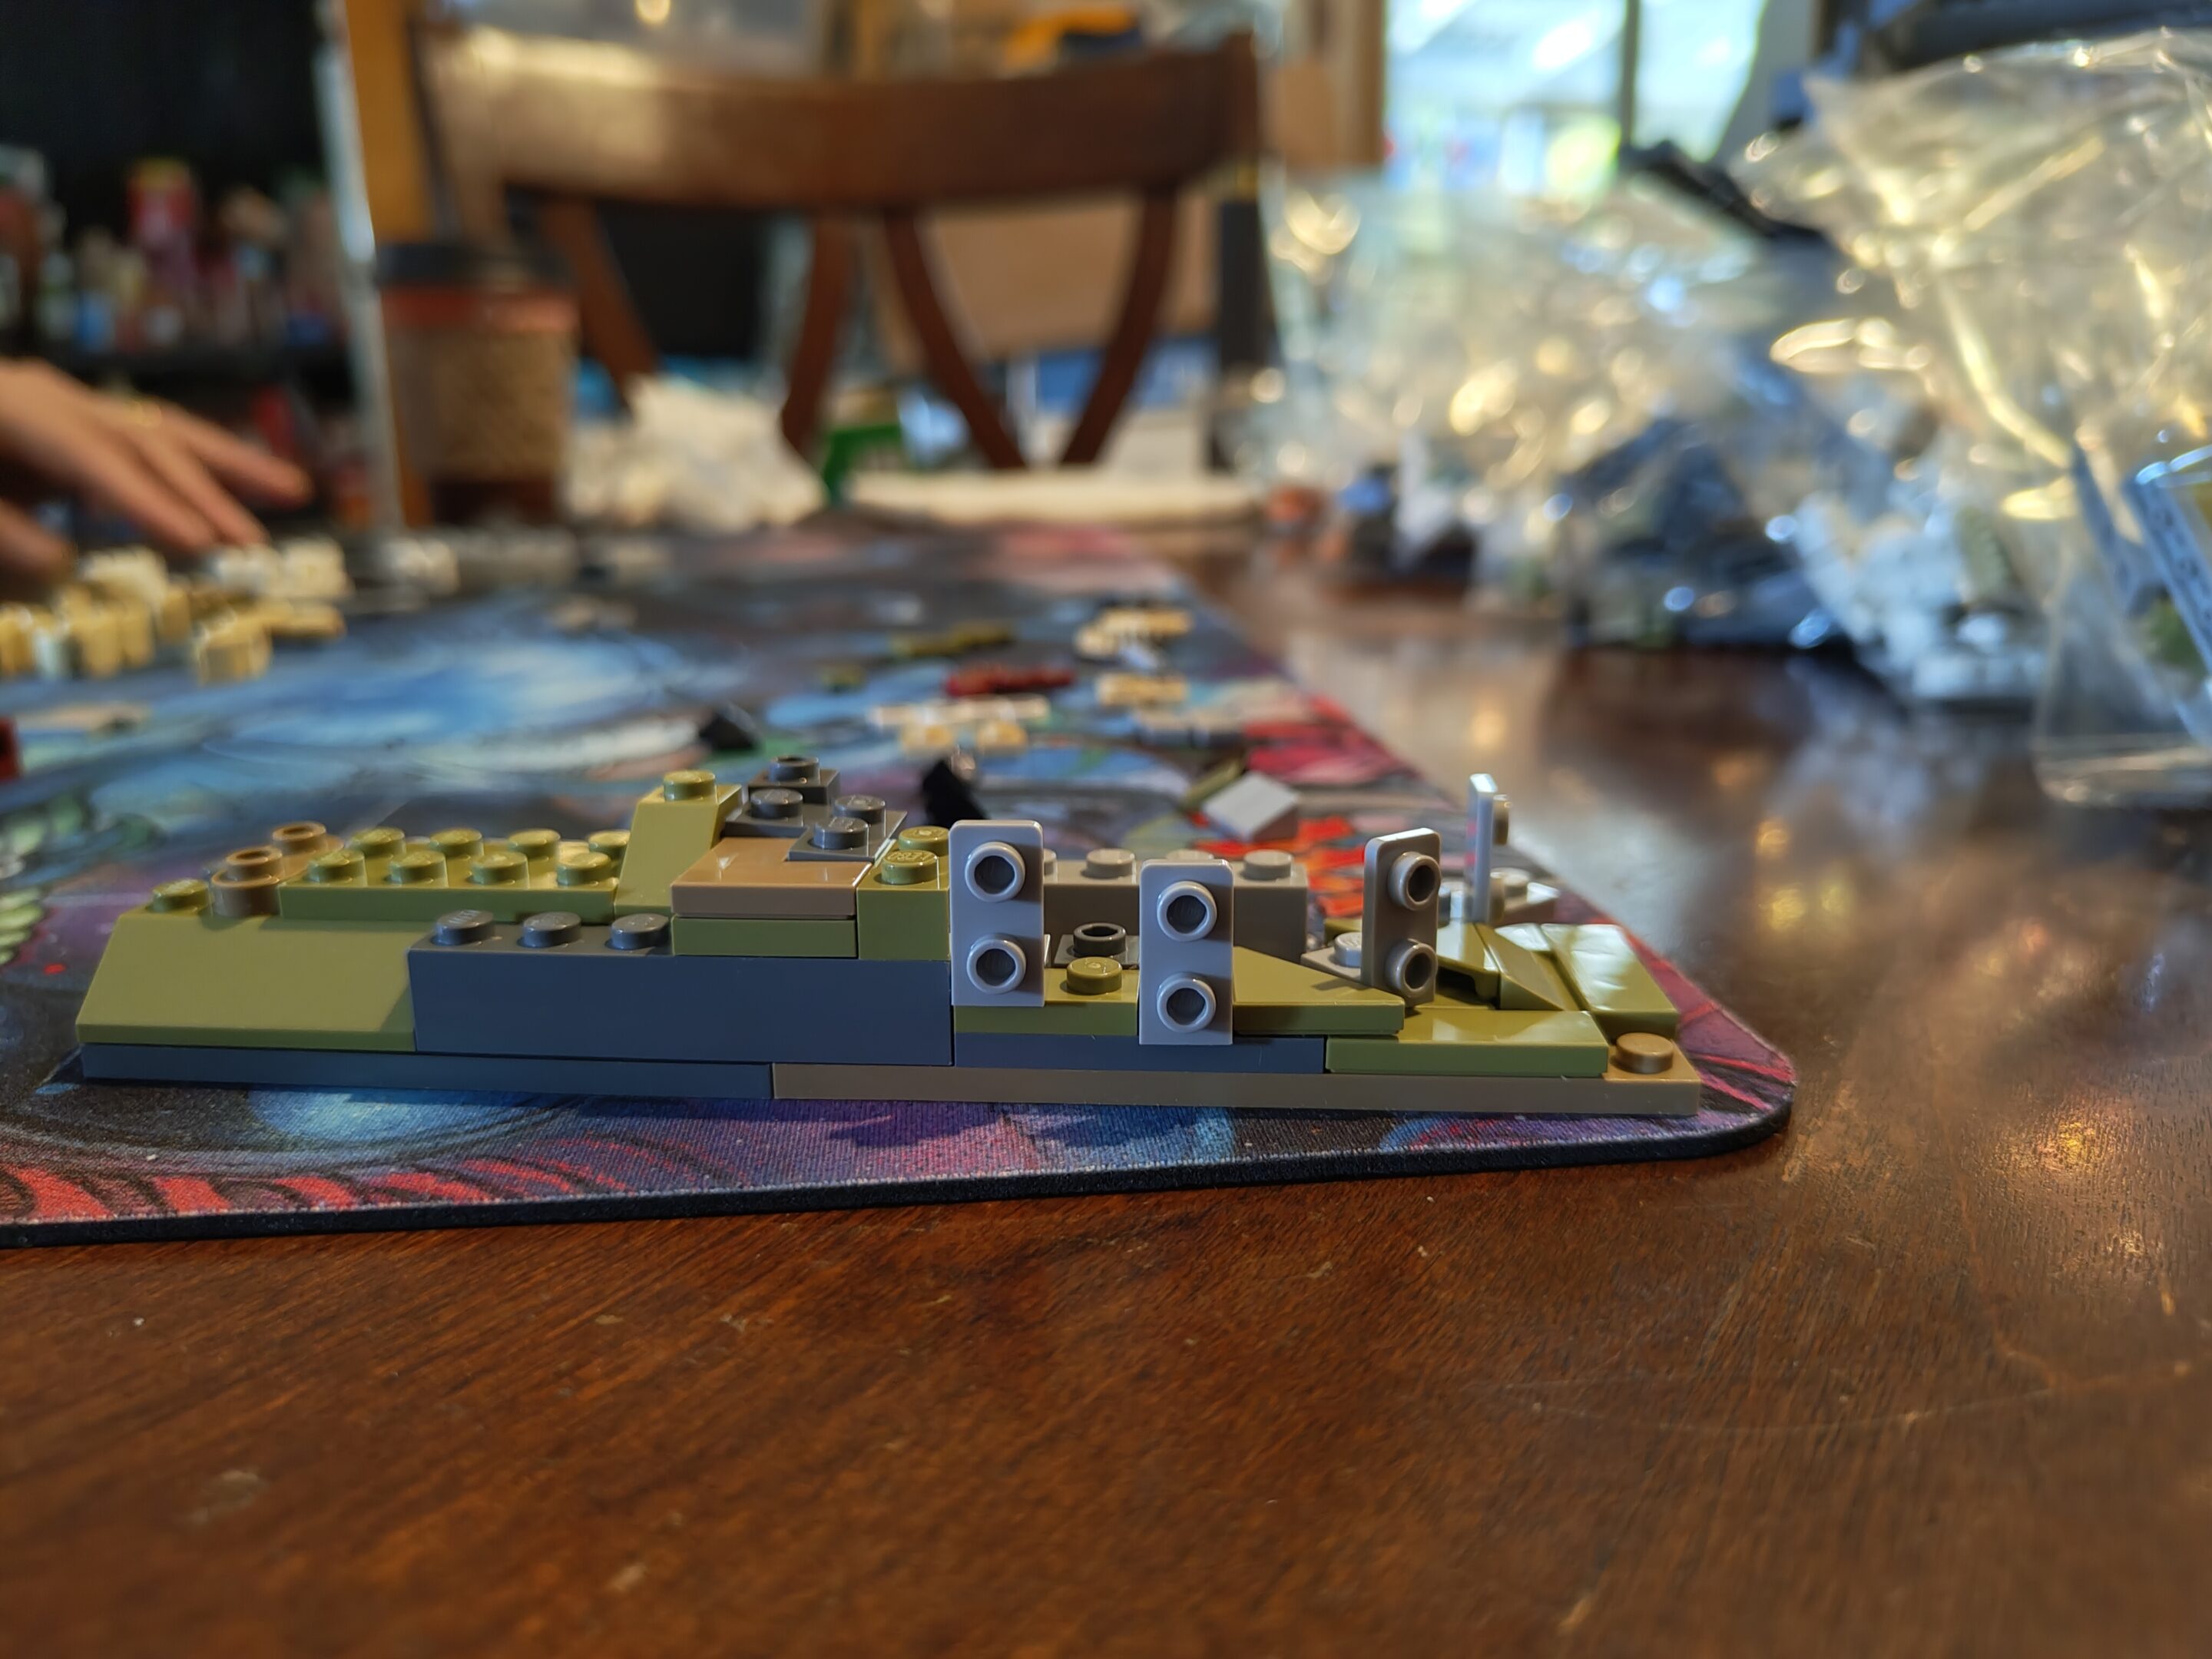
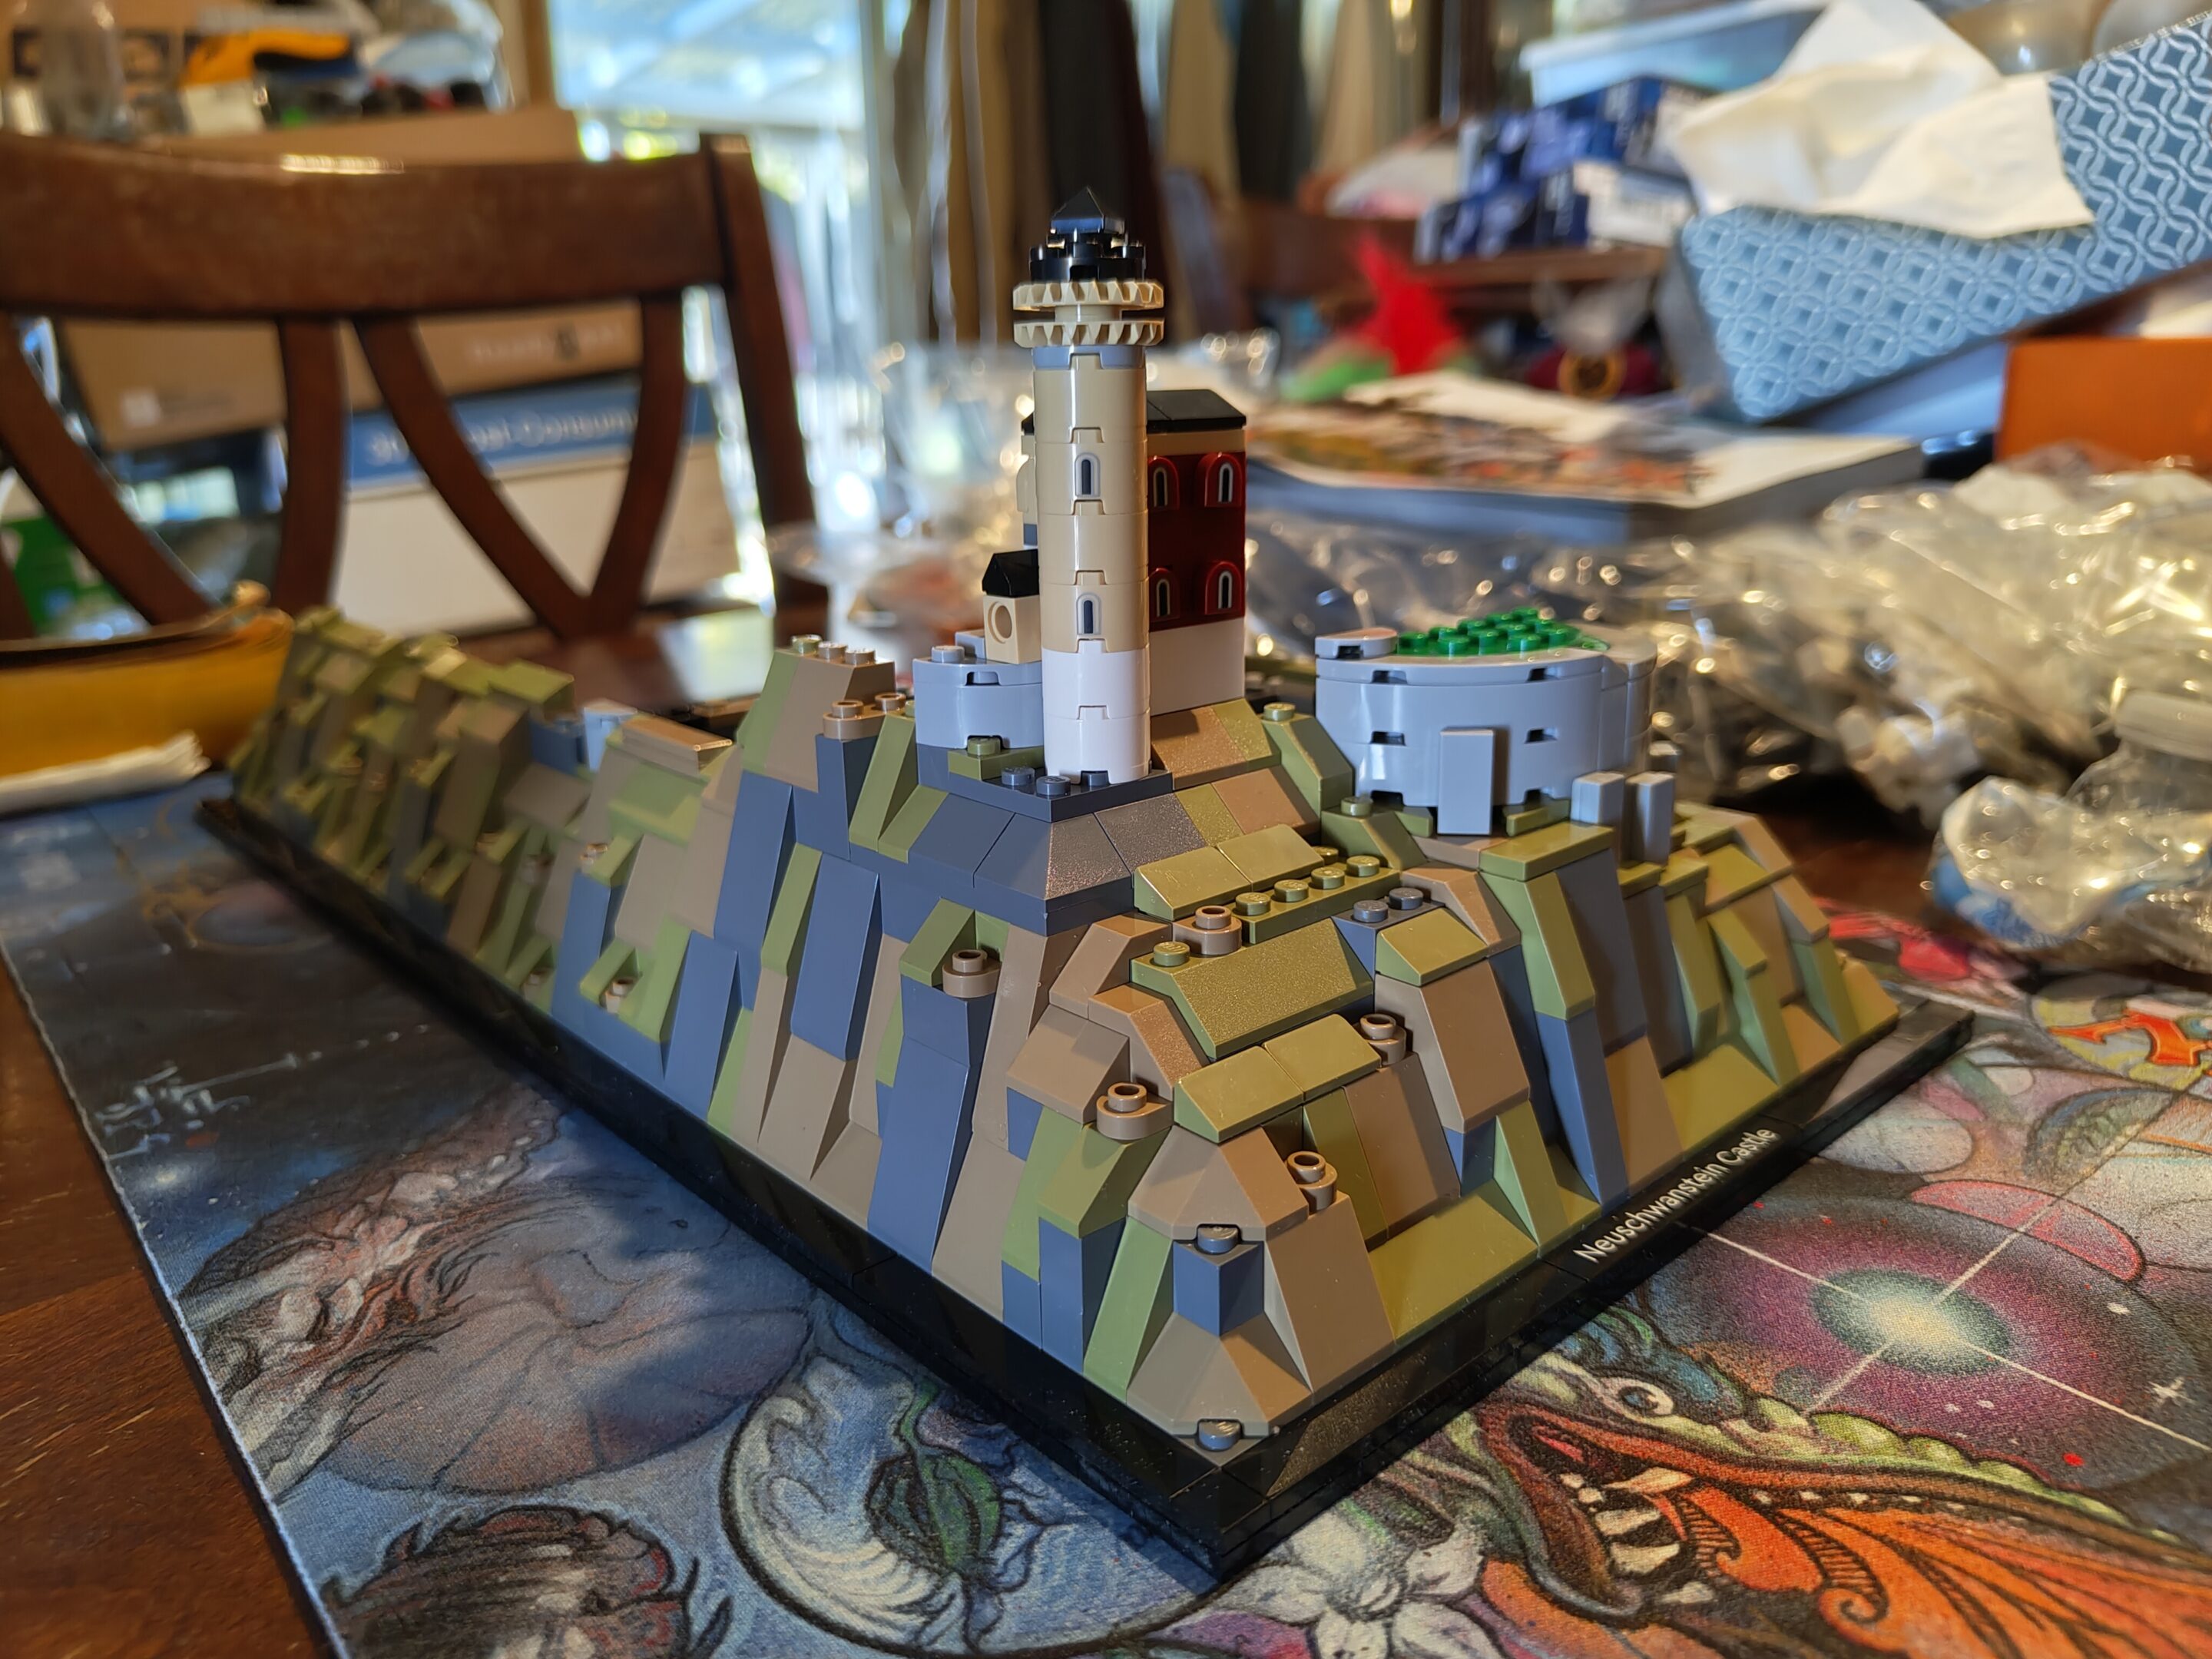
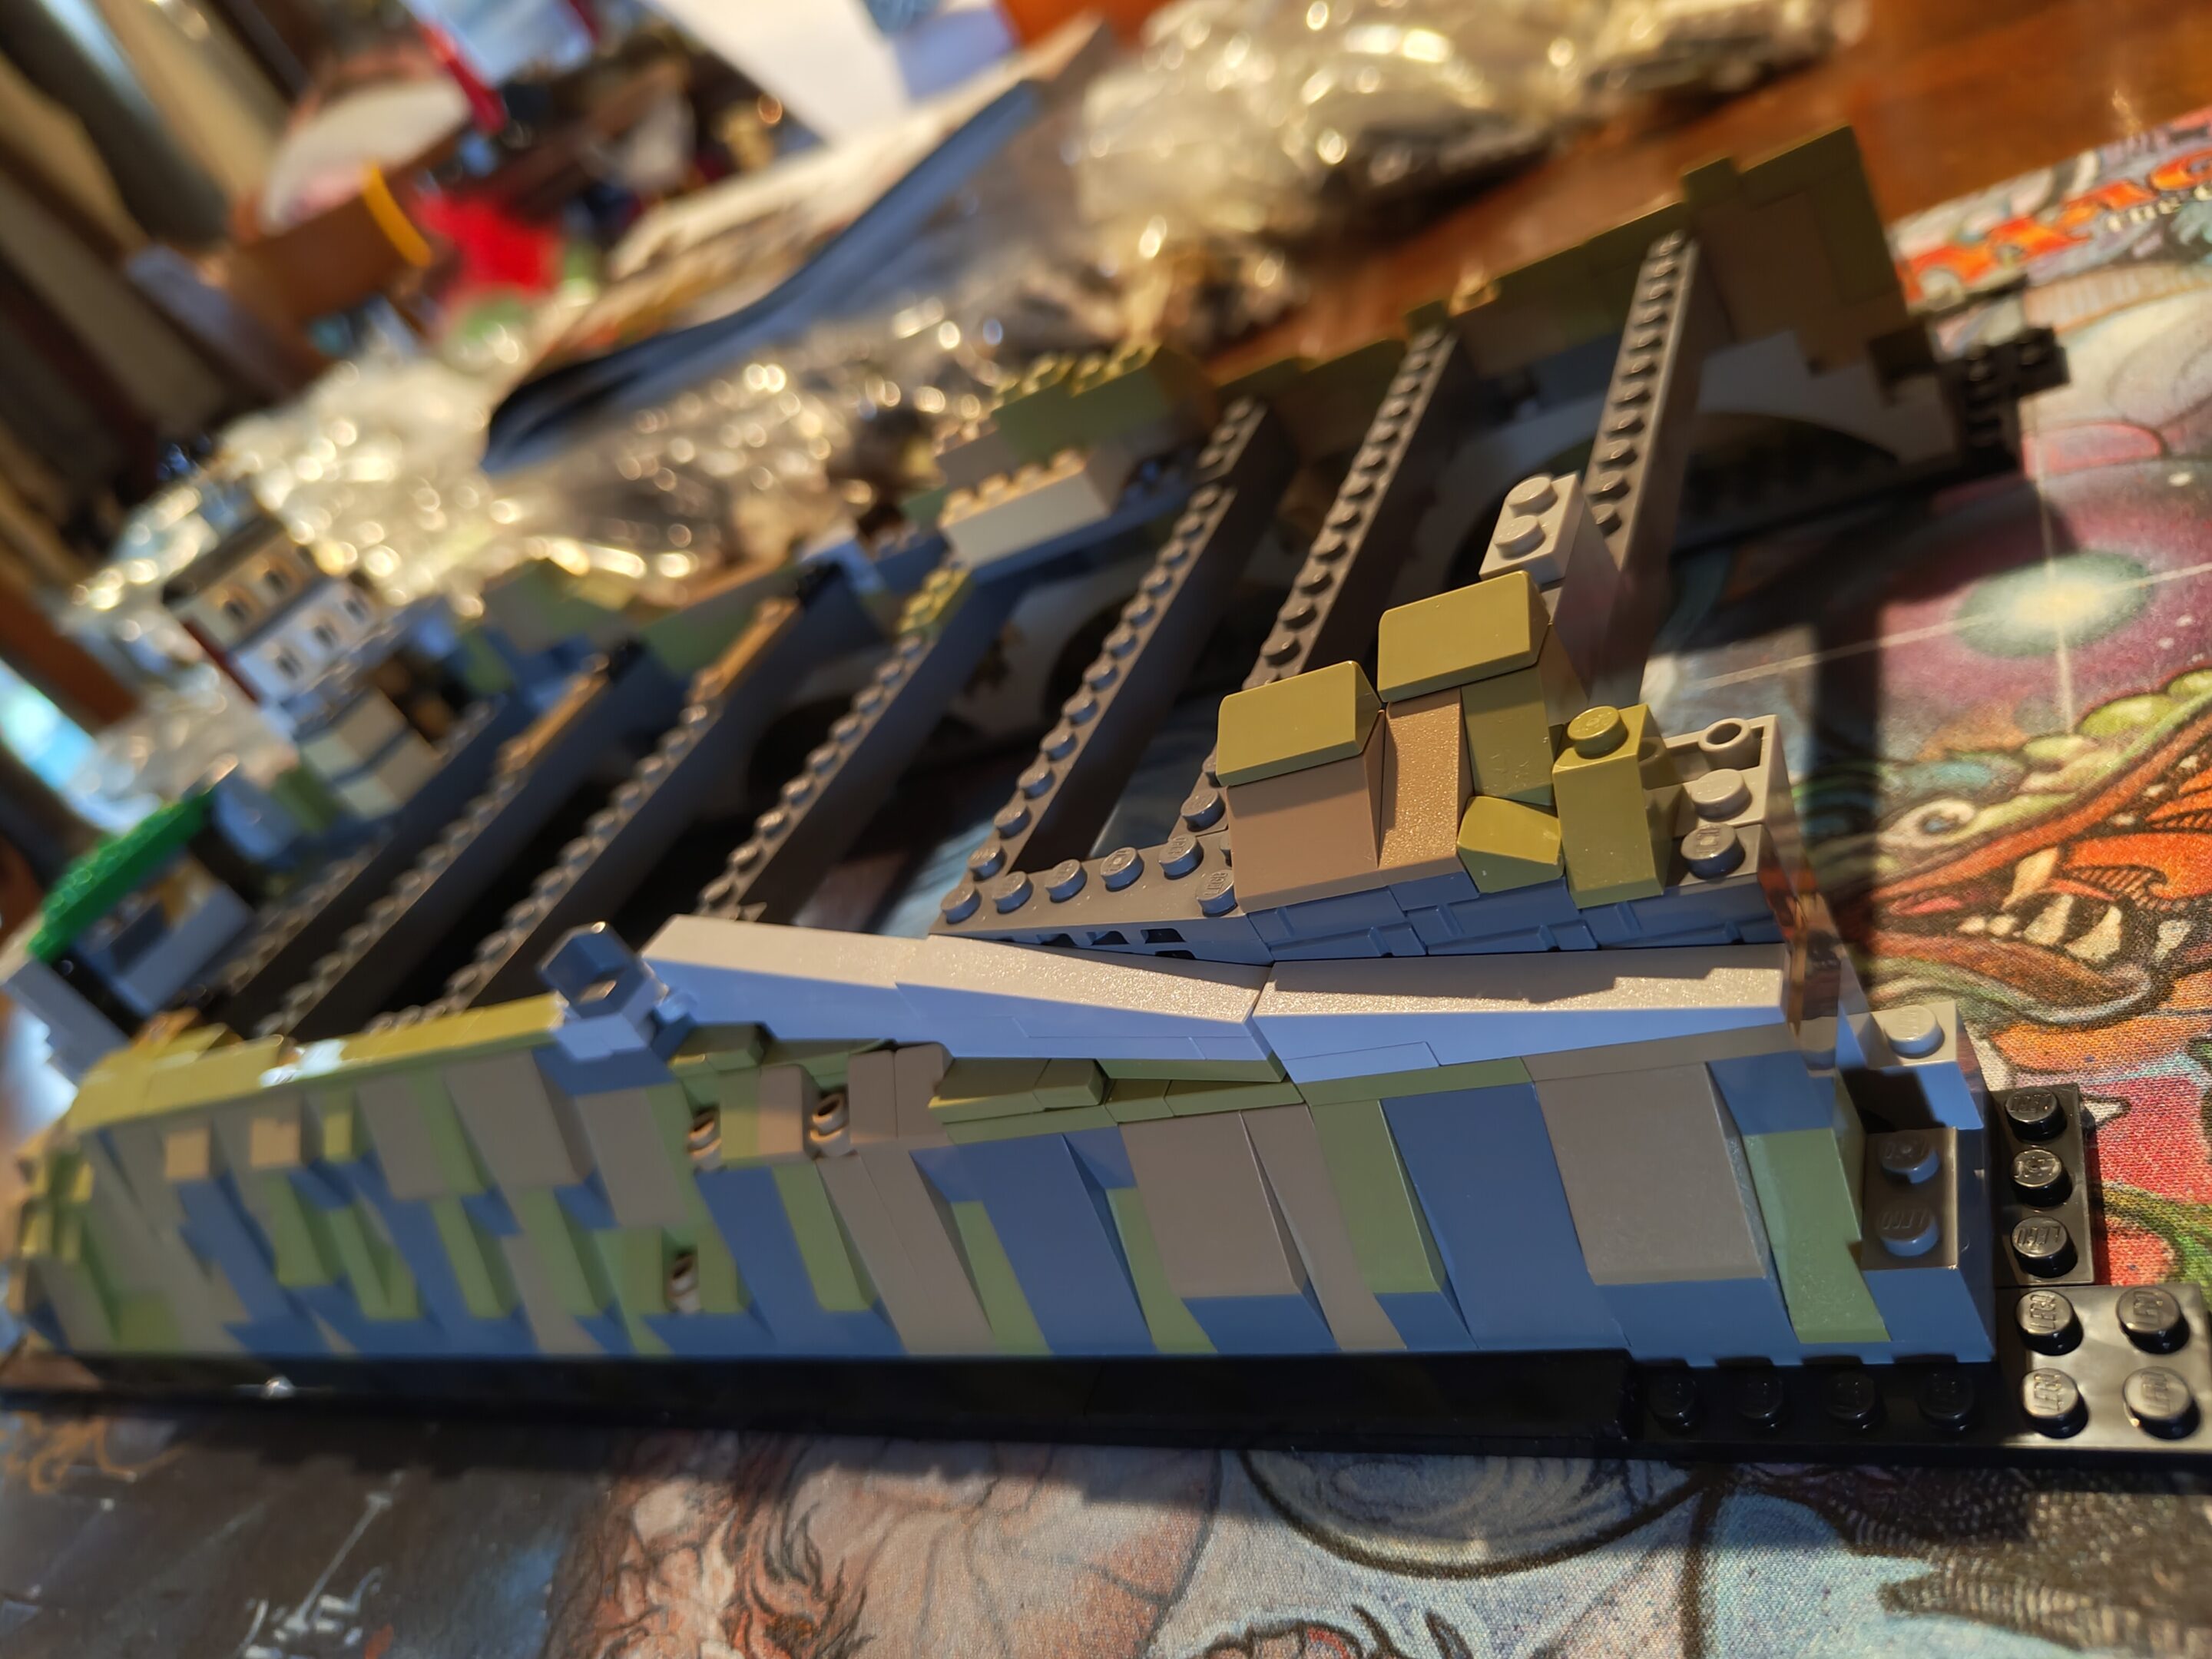
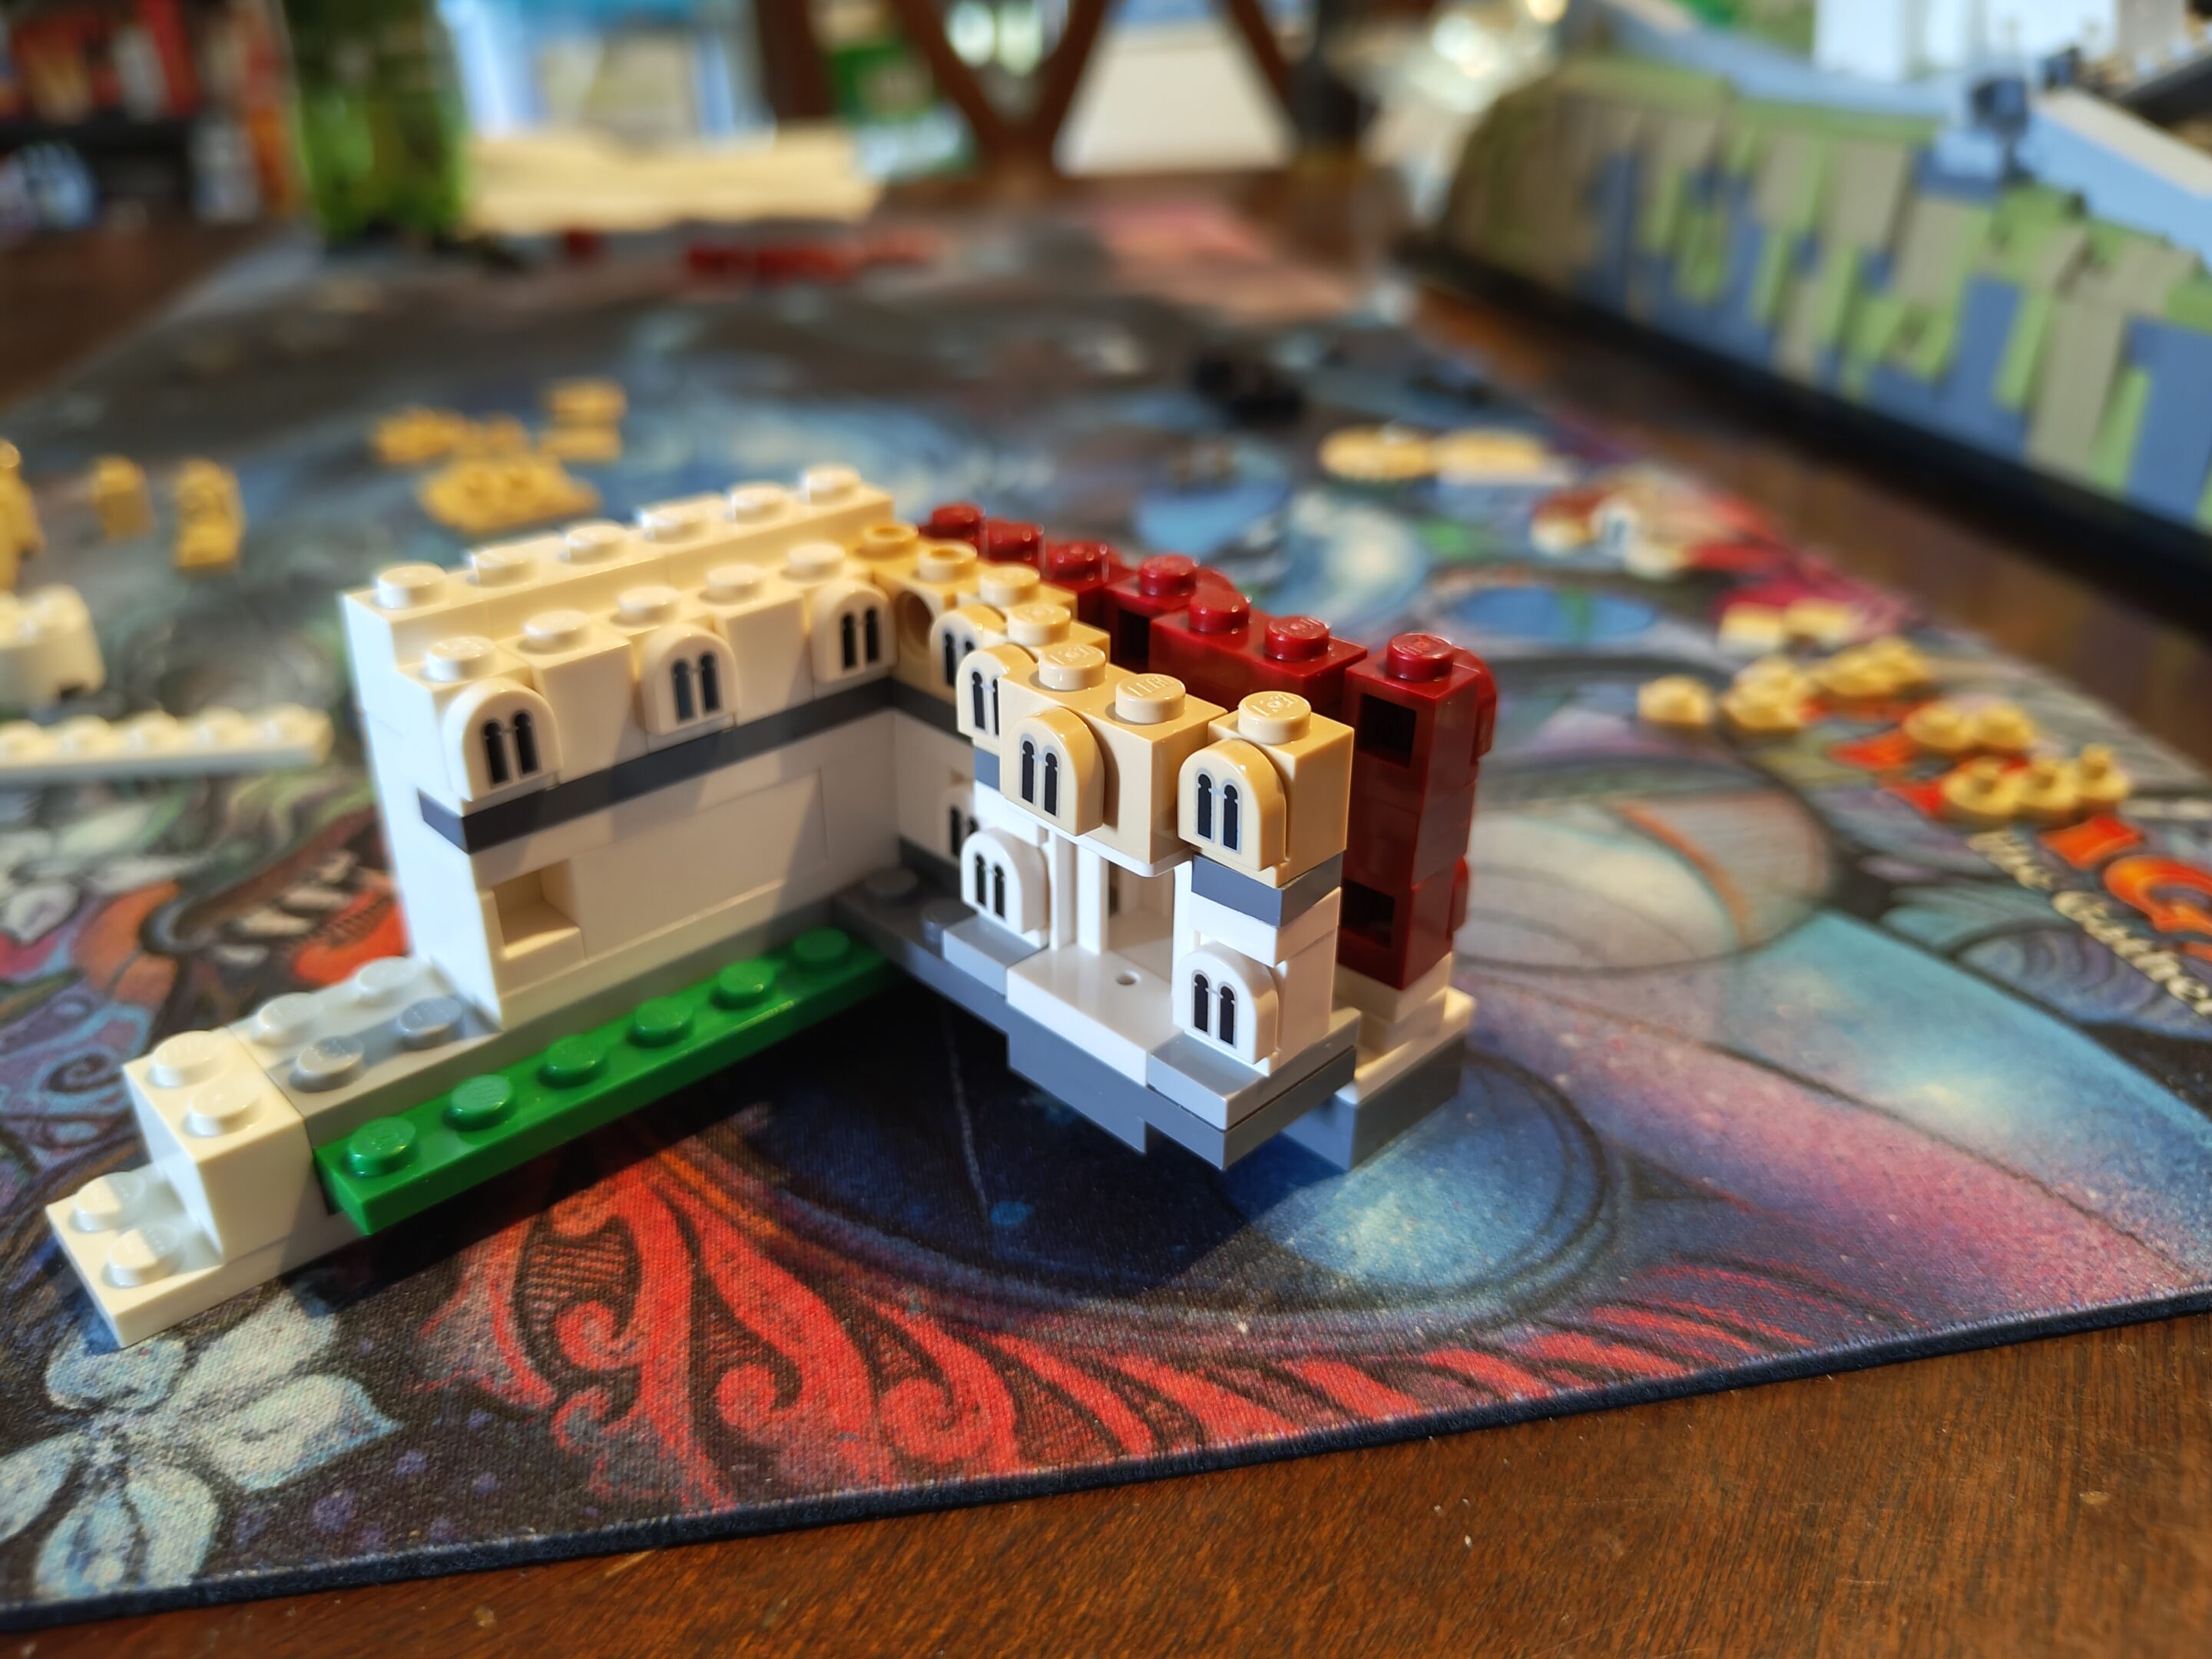
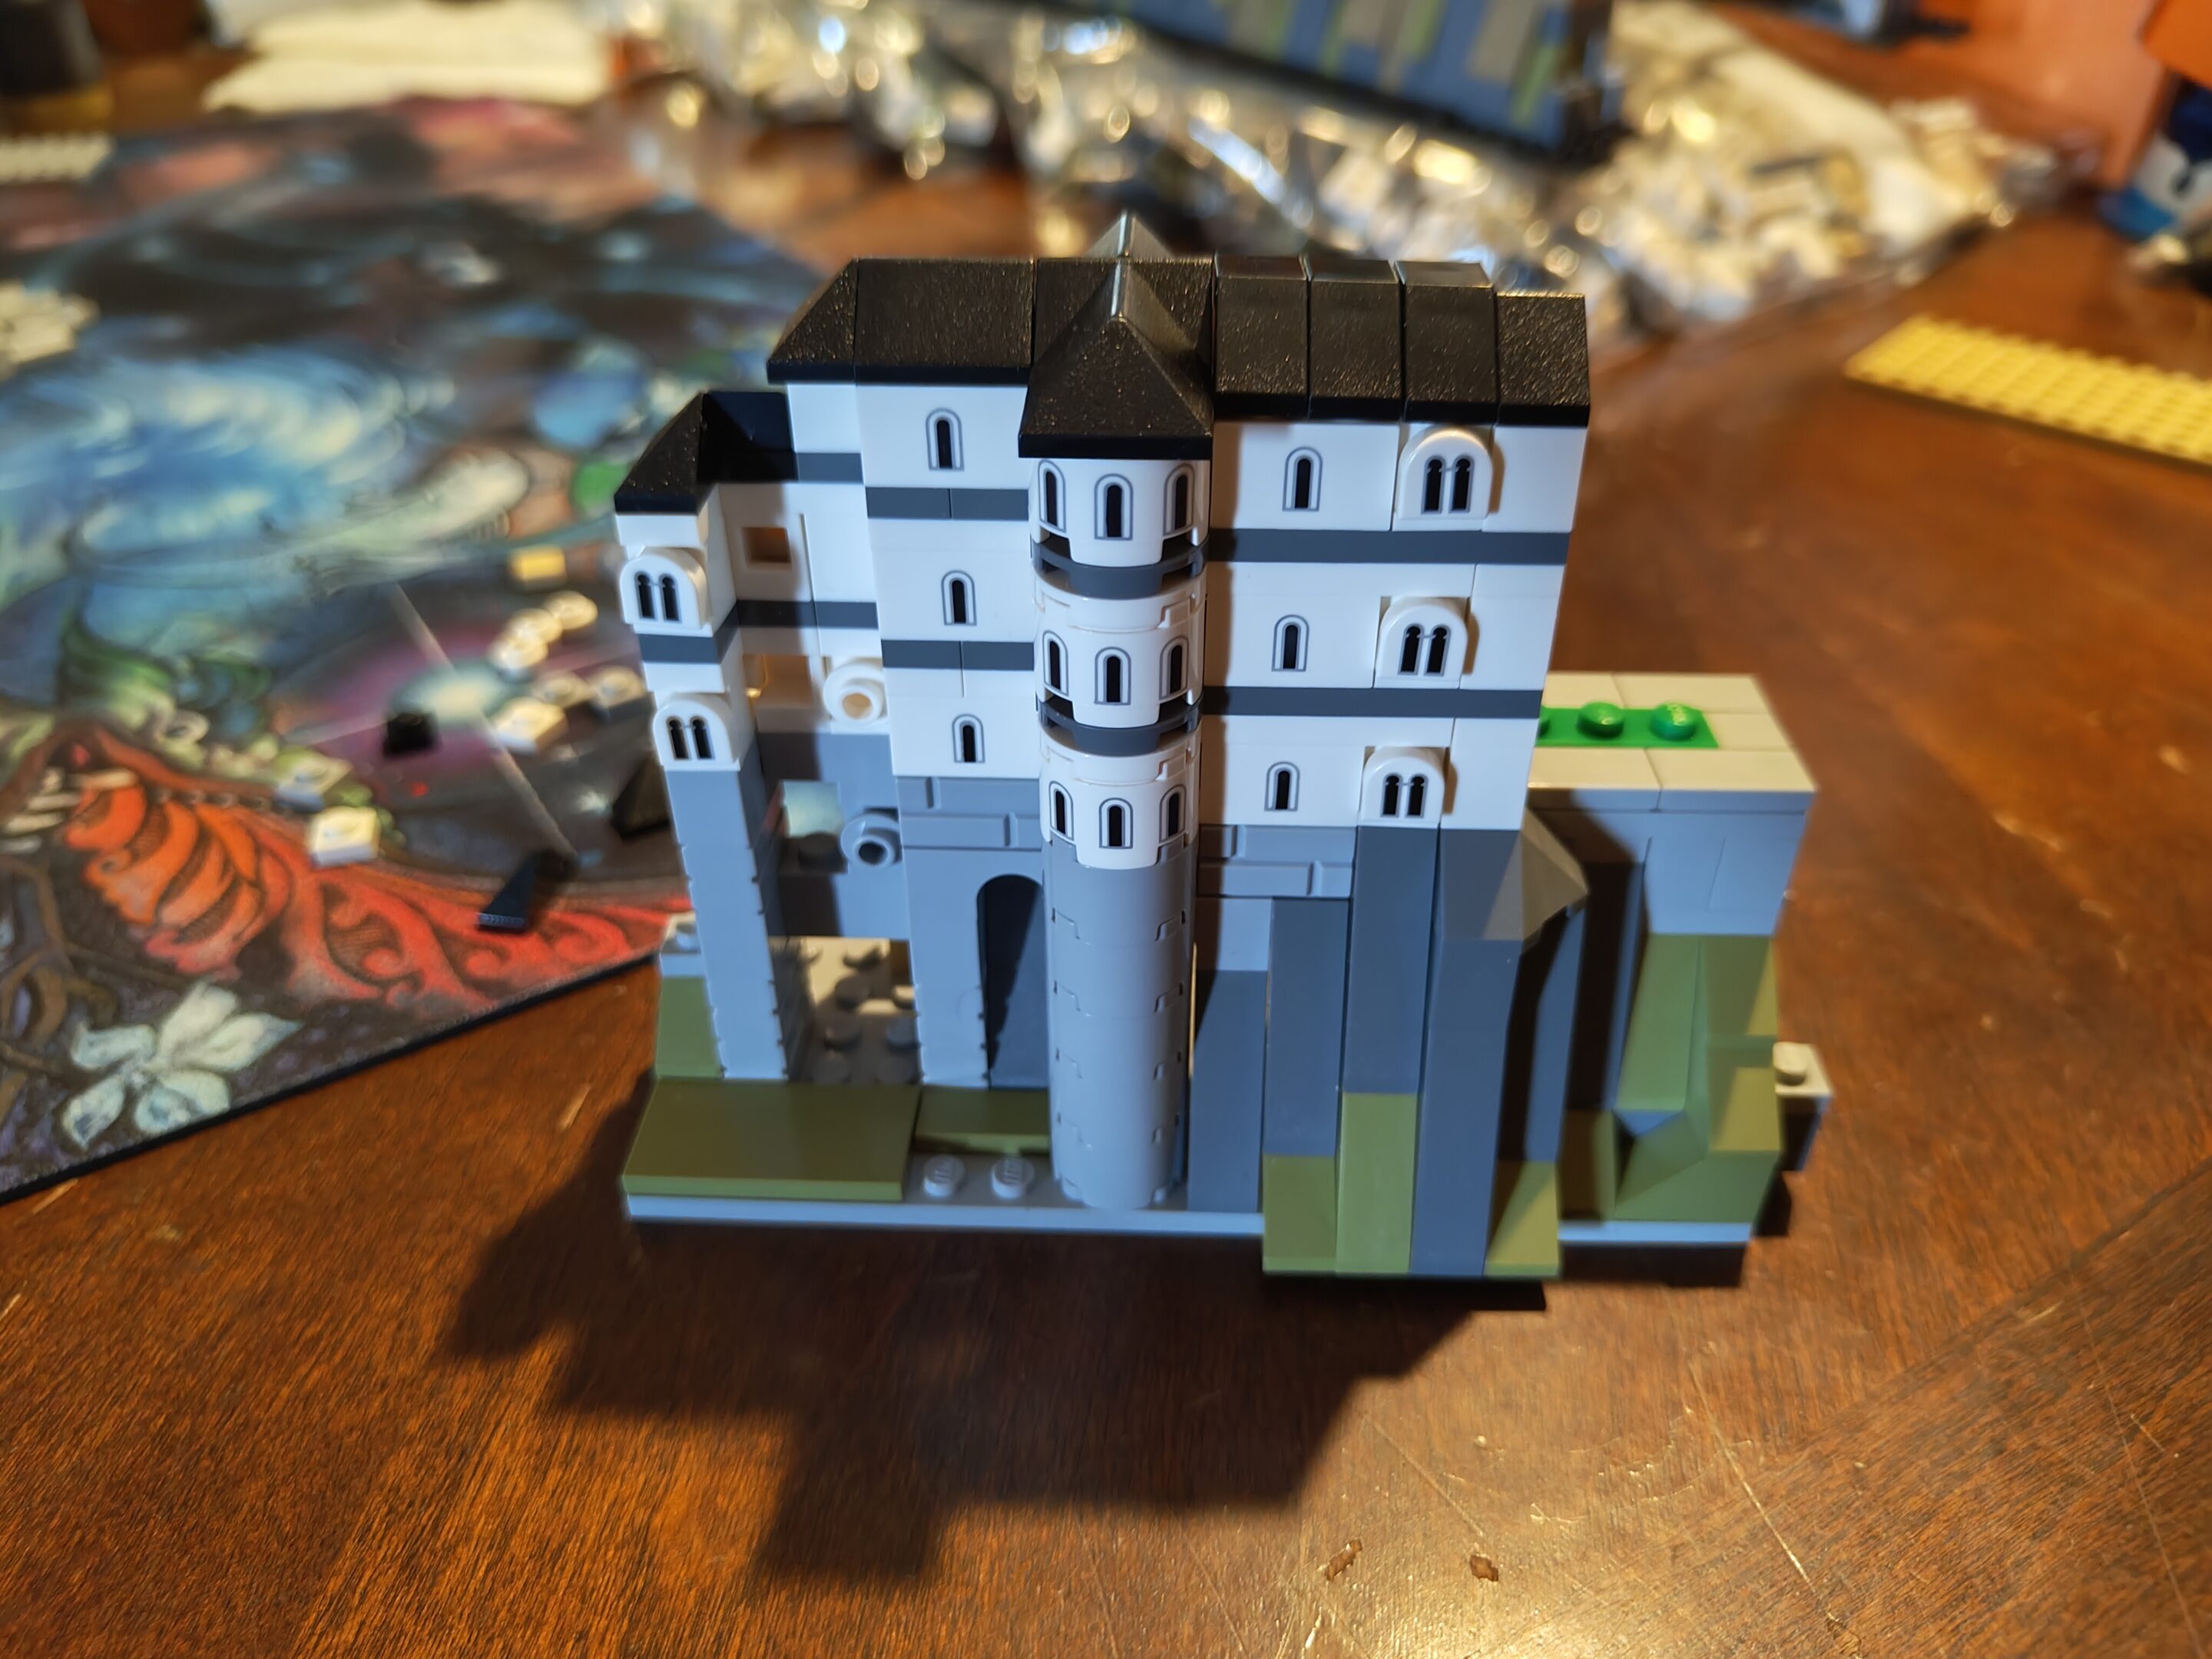
and a couple more steps/bags done today i was expecting the back of the hill for support structure but nope it was castle time???
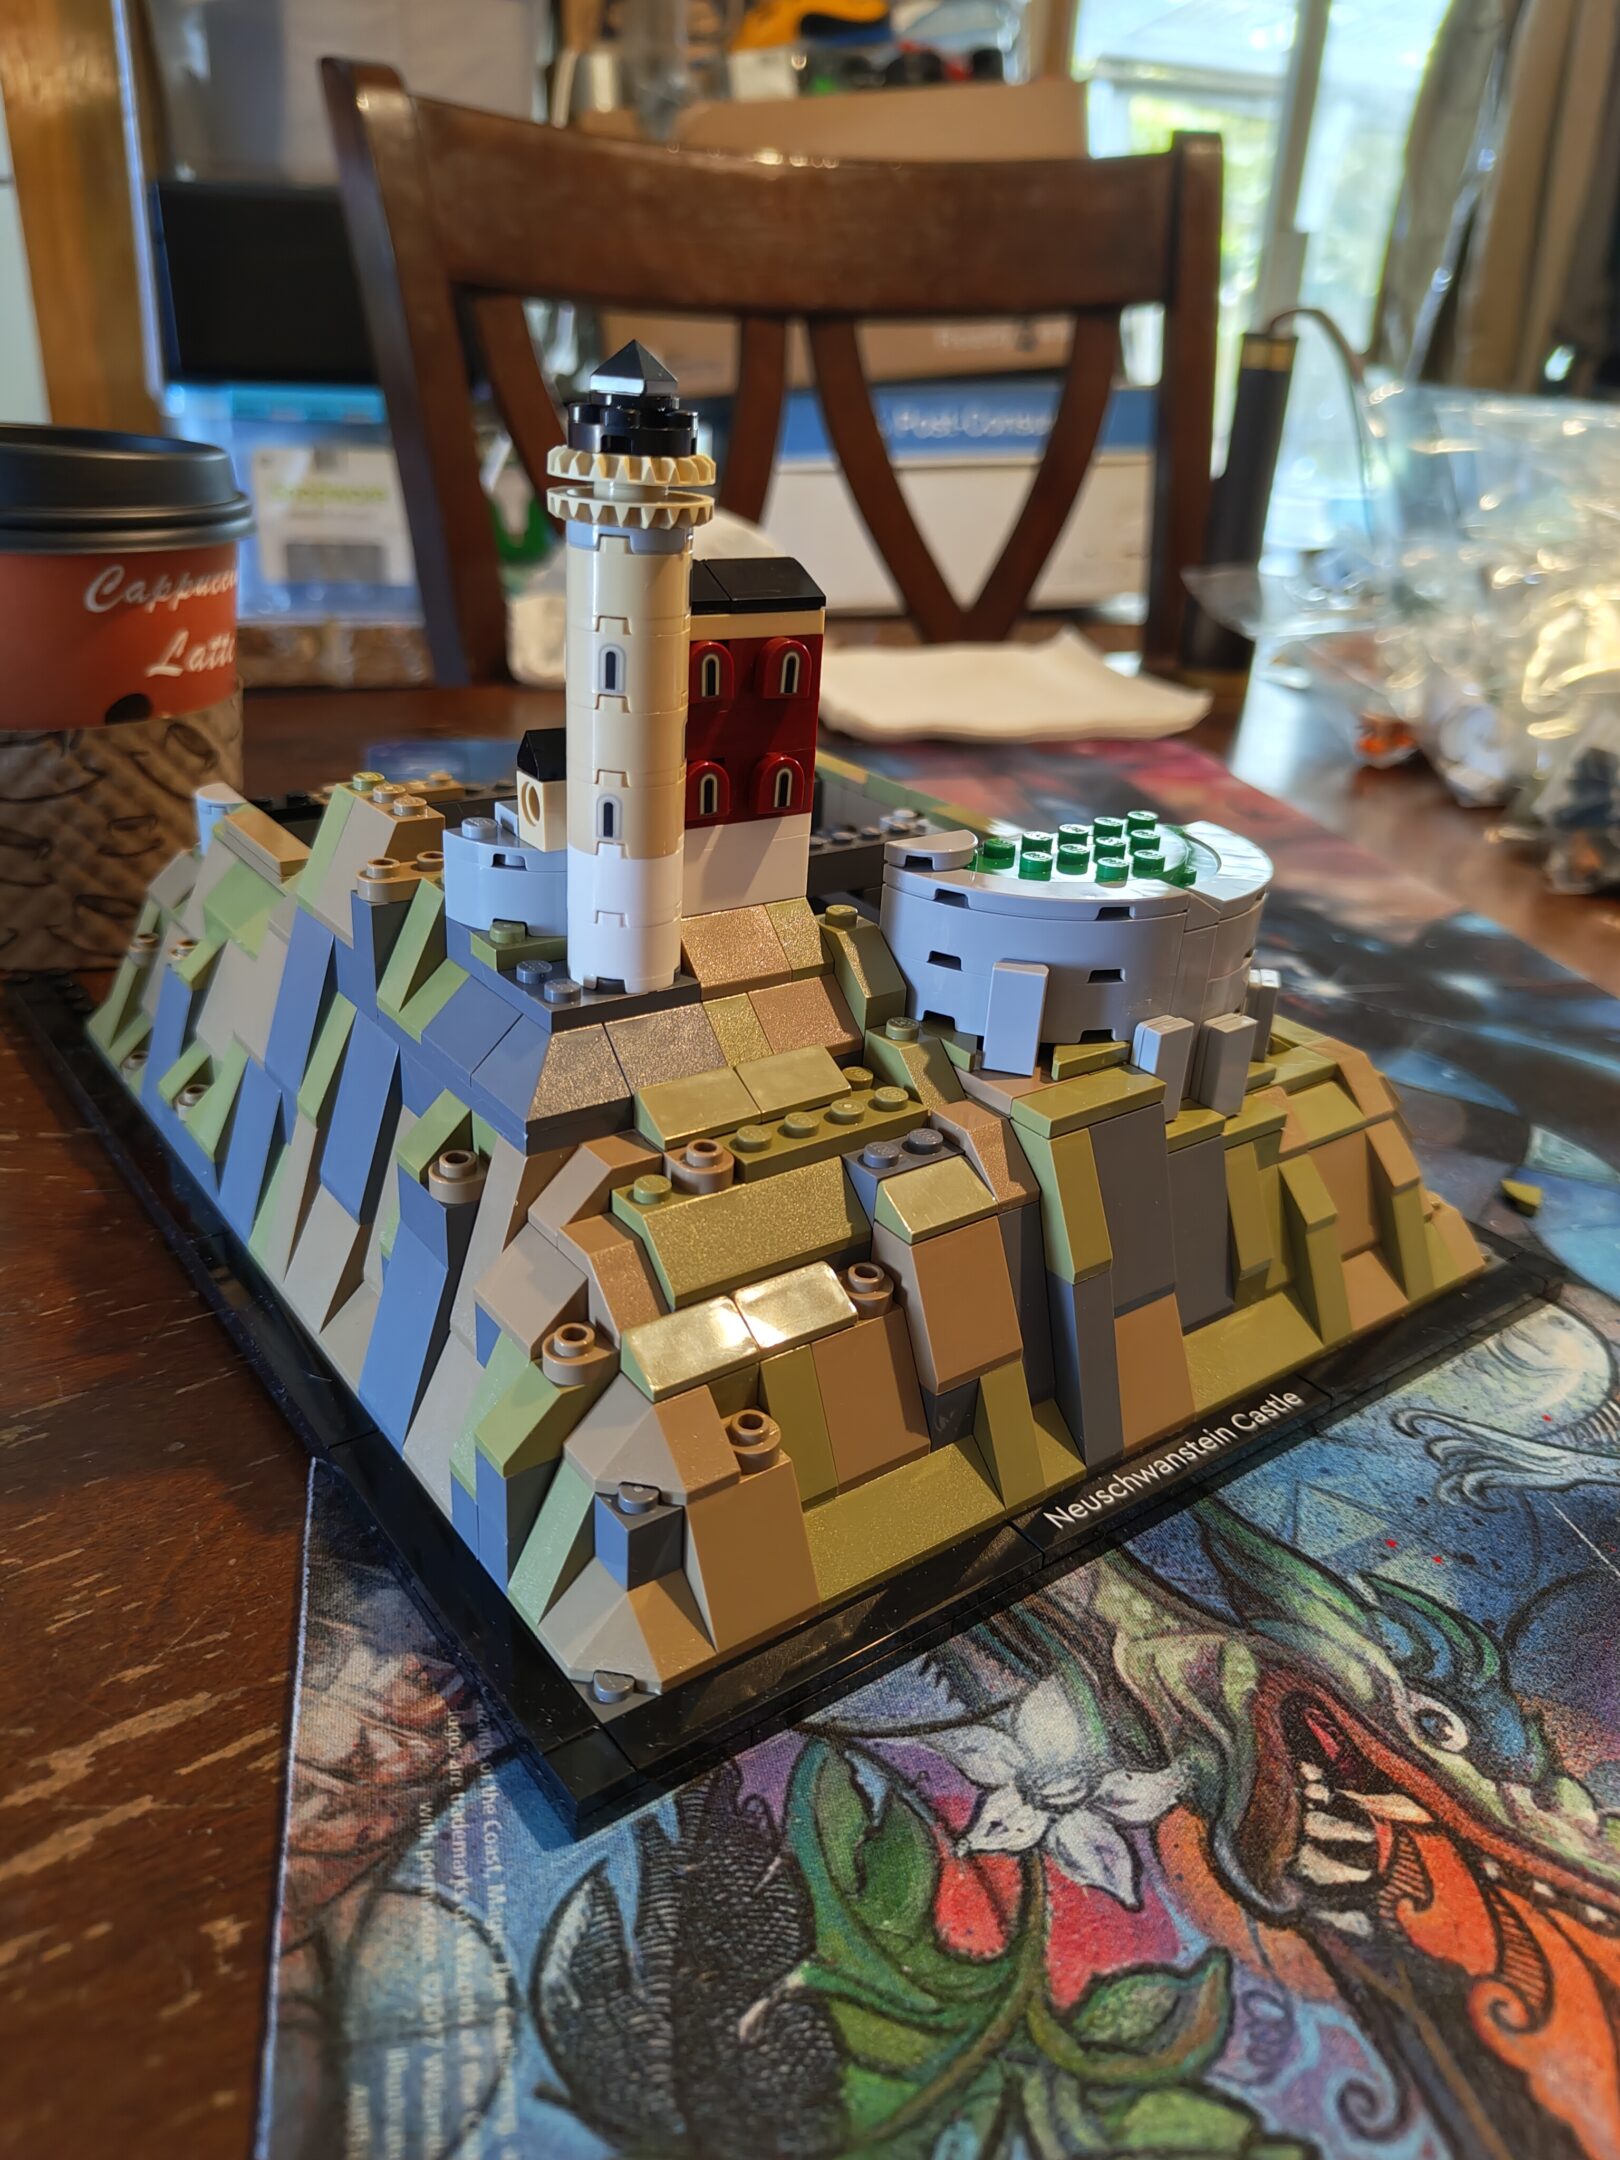
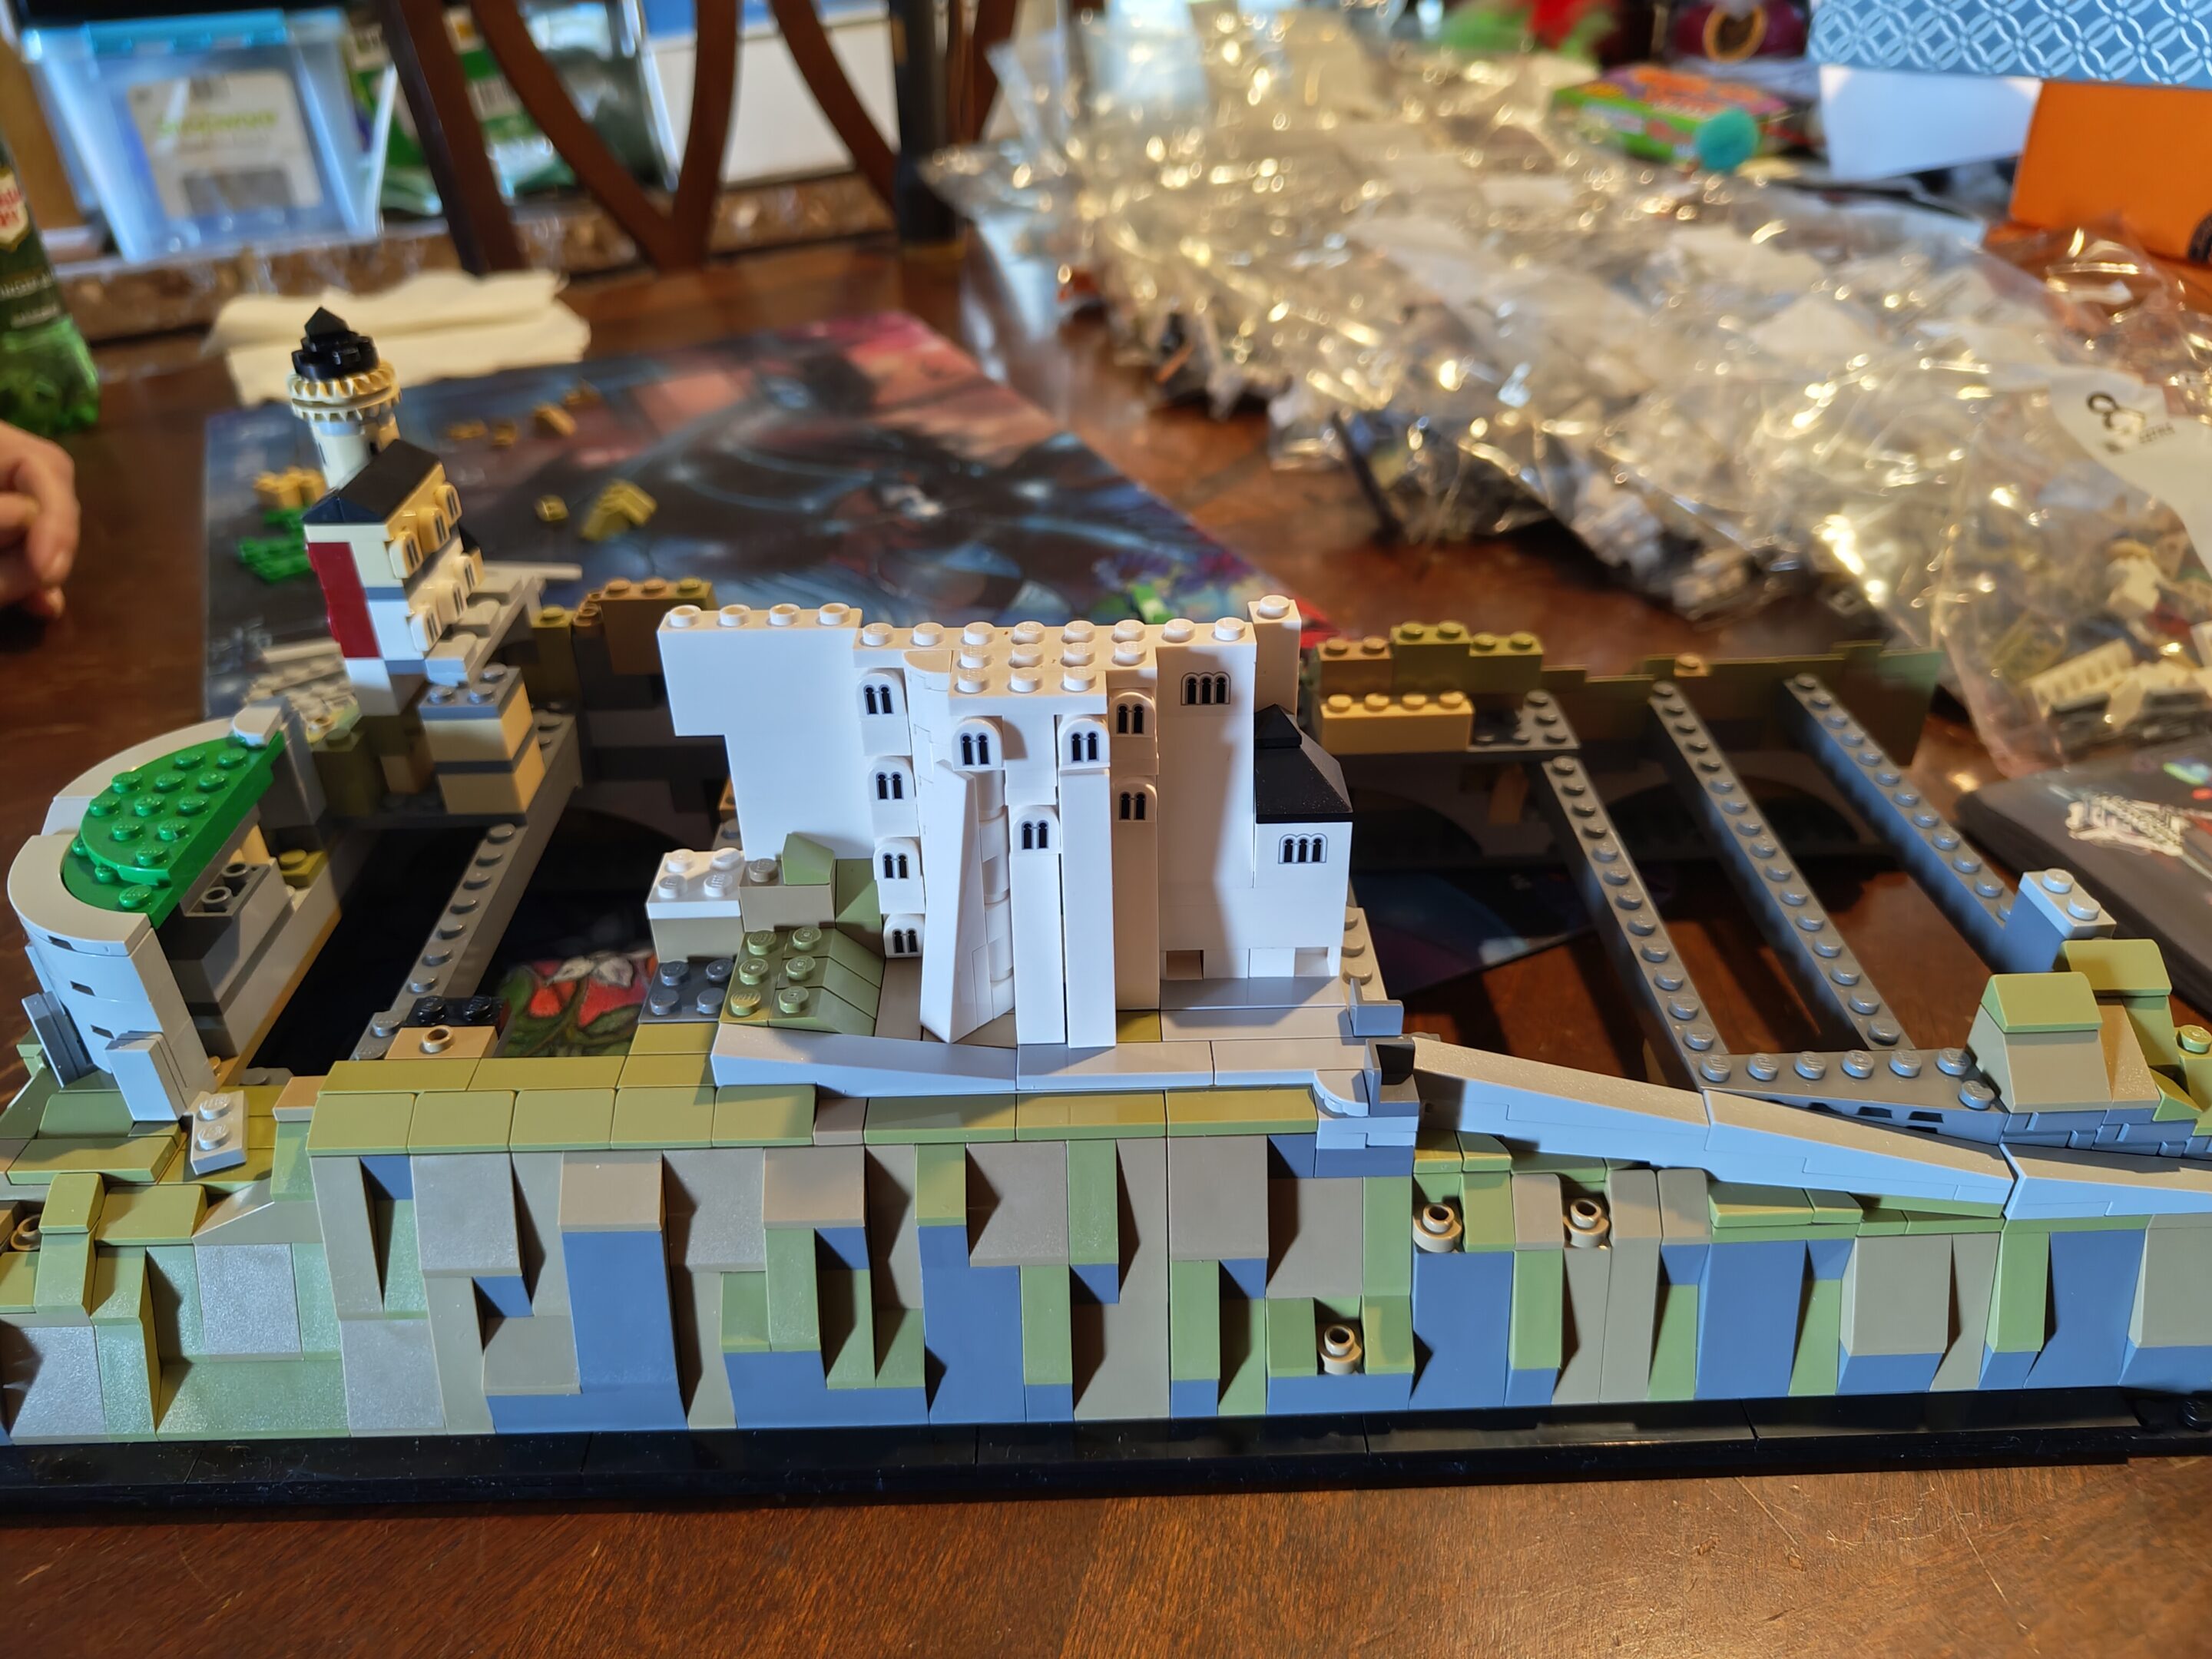
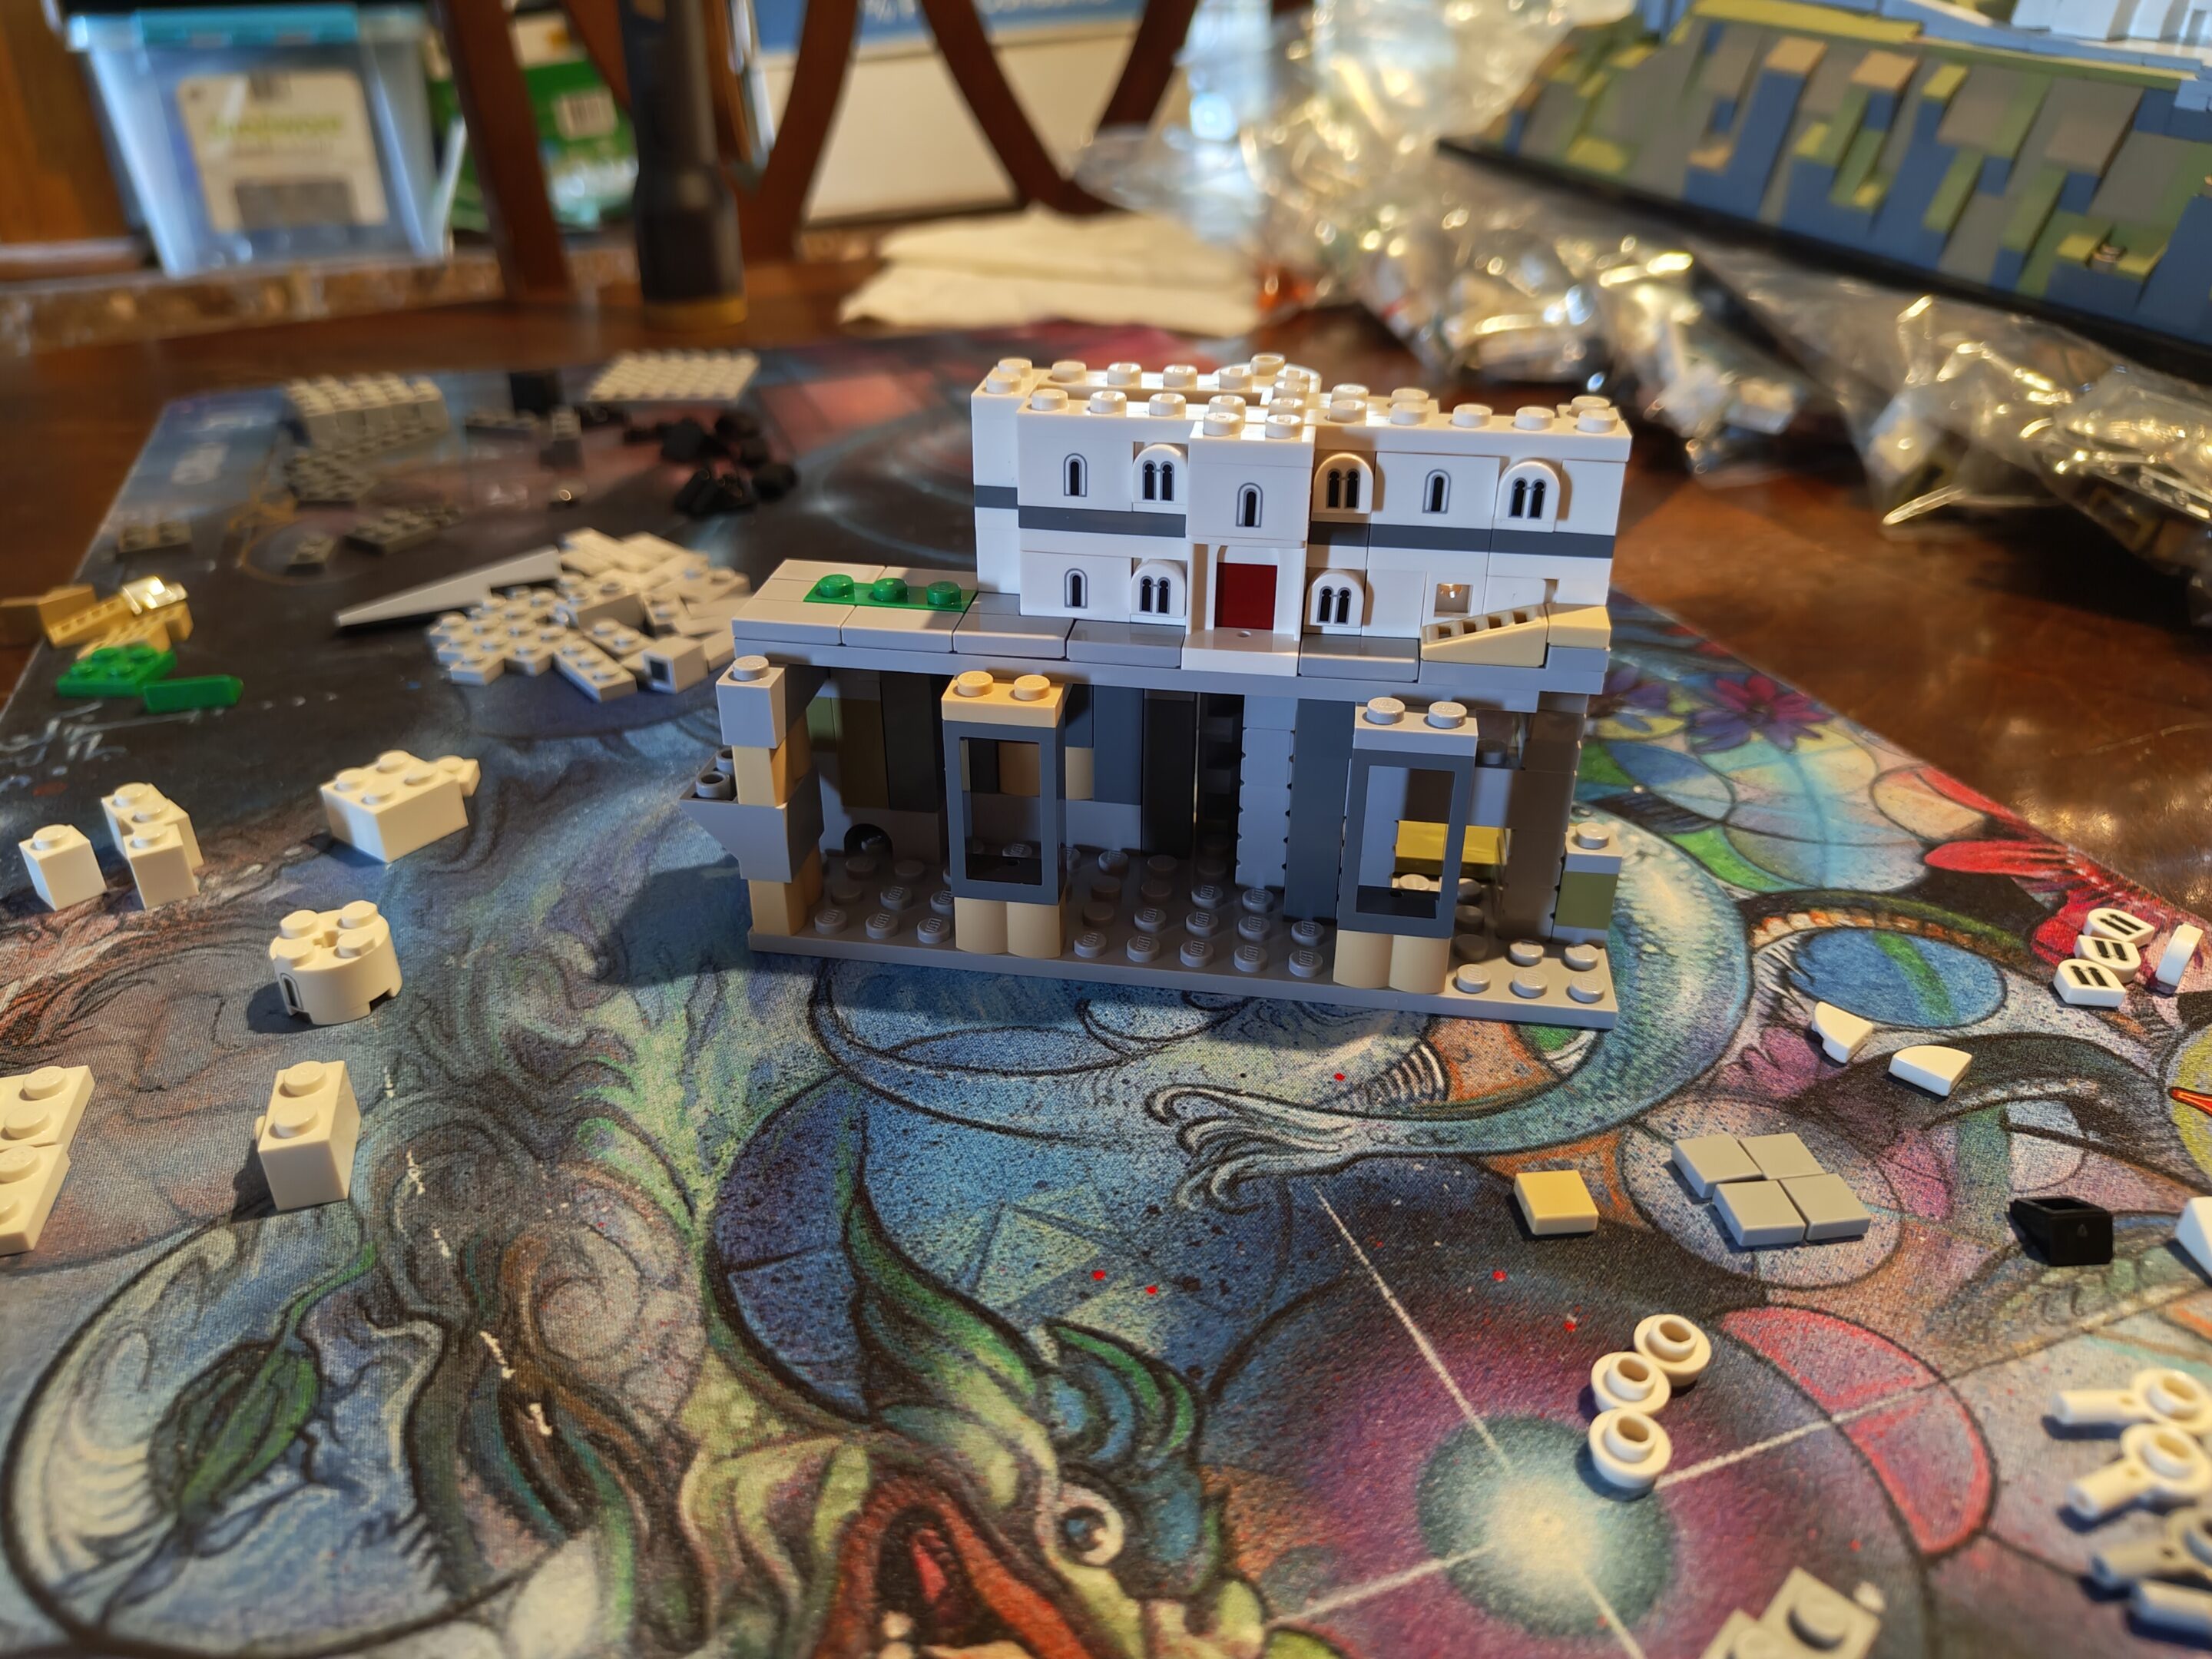
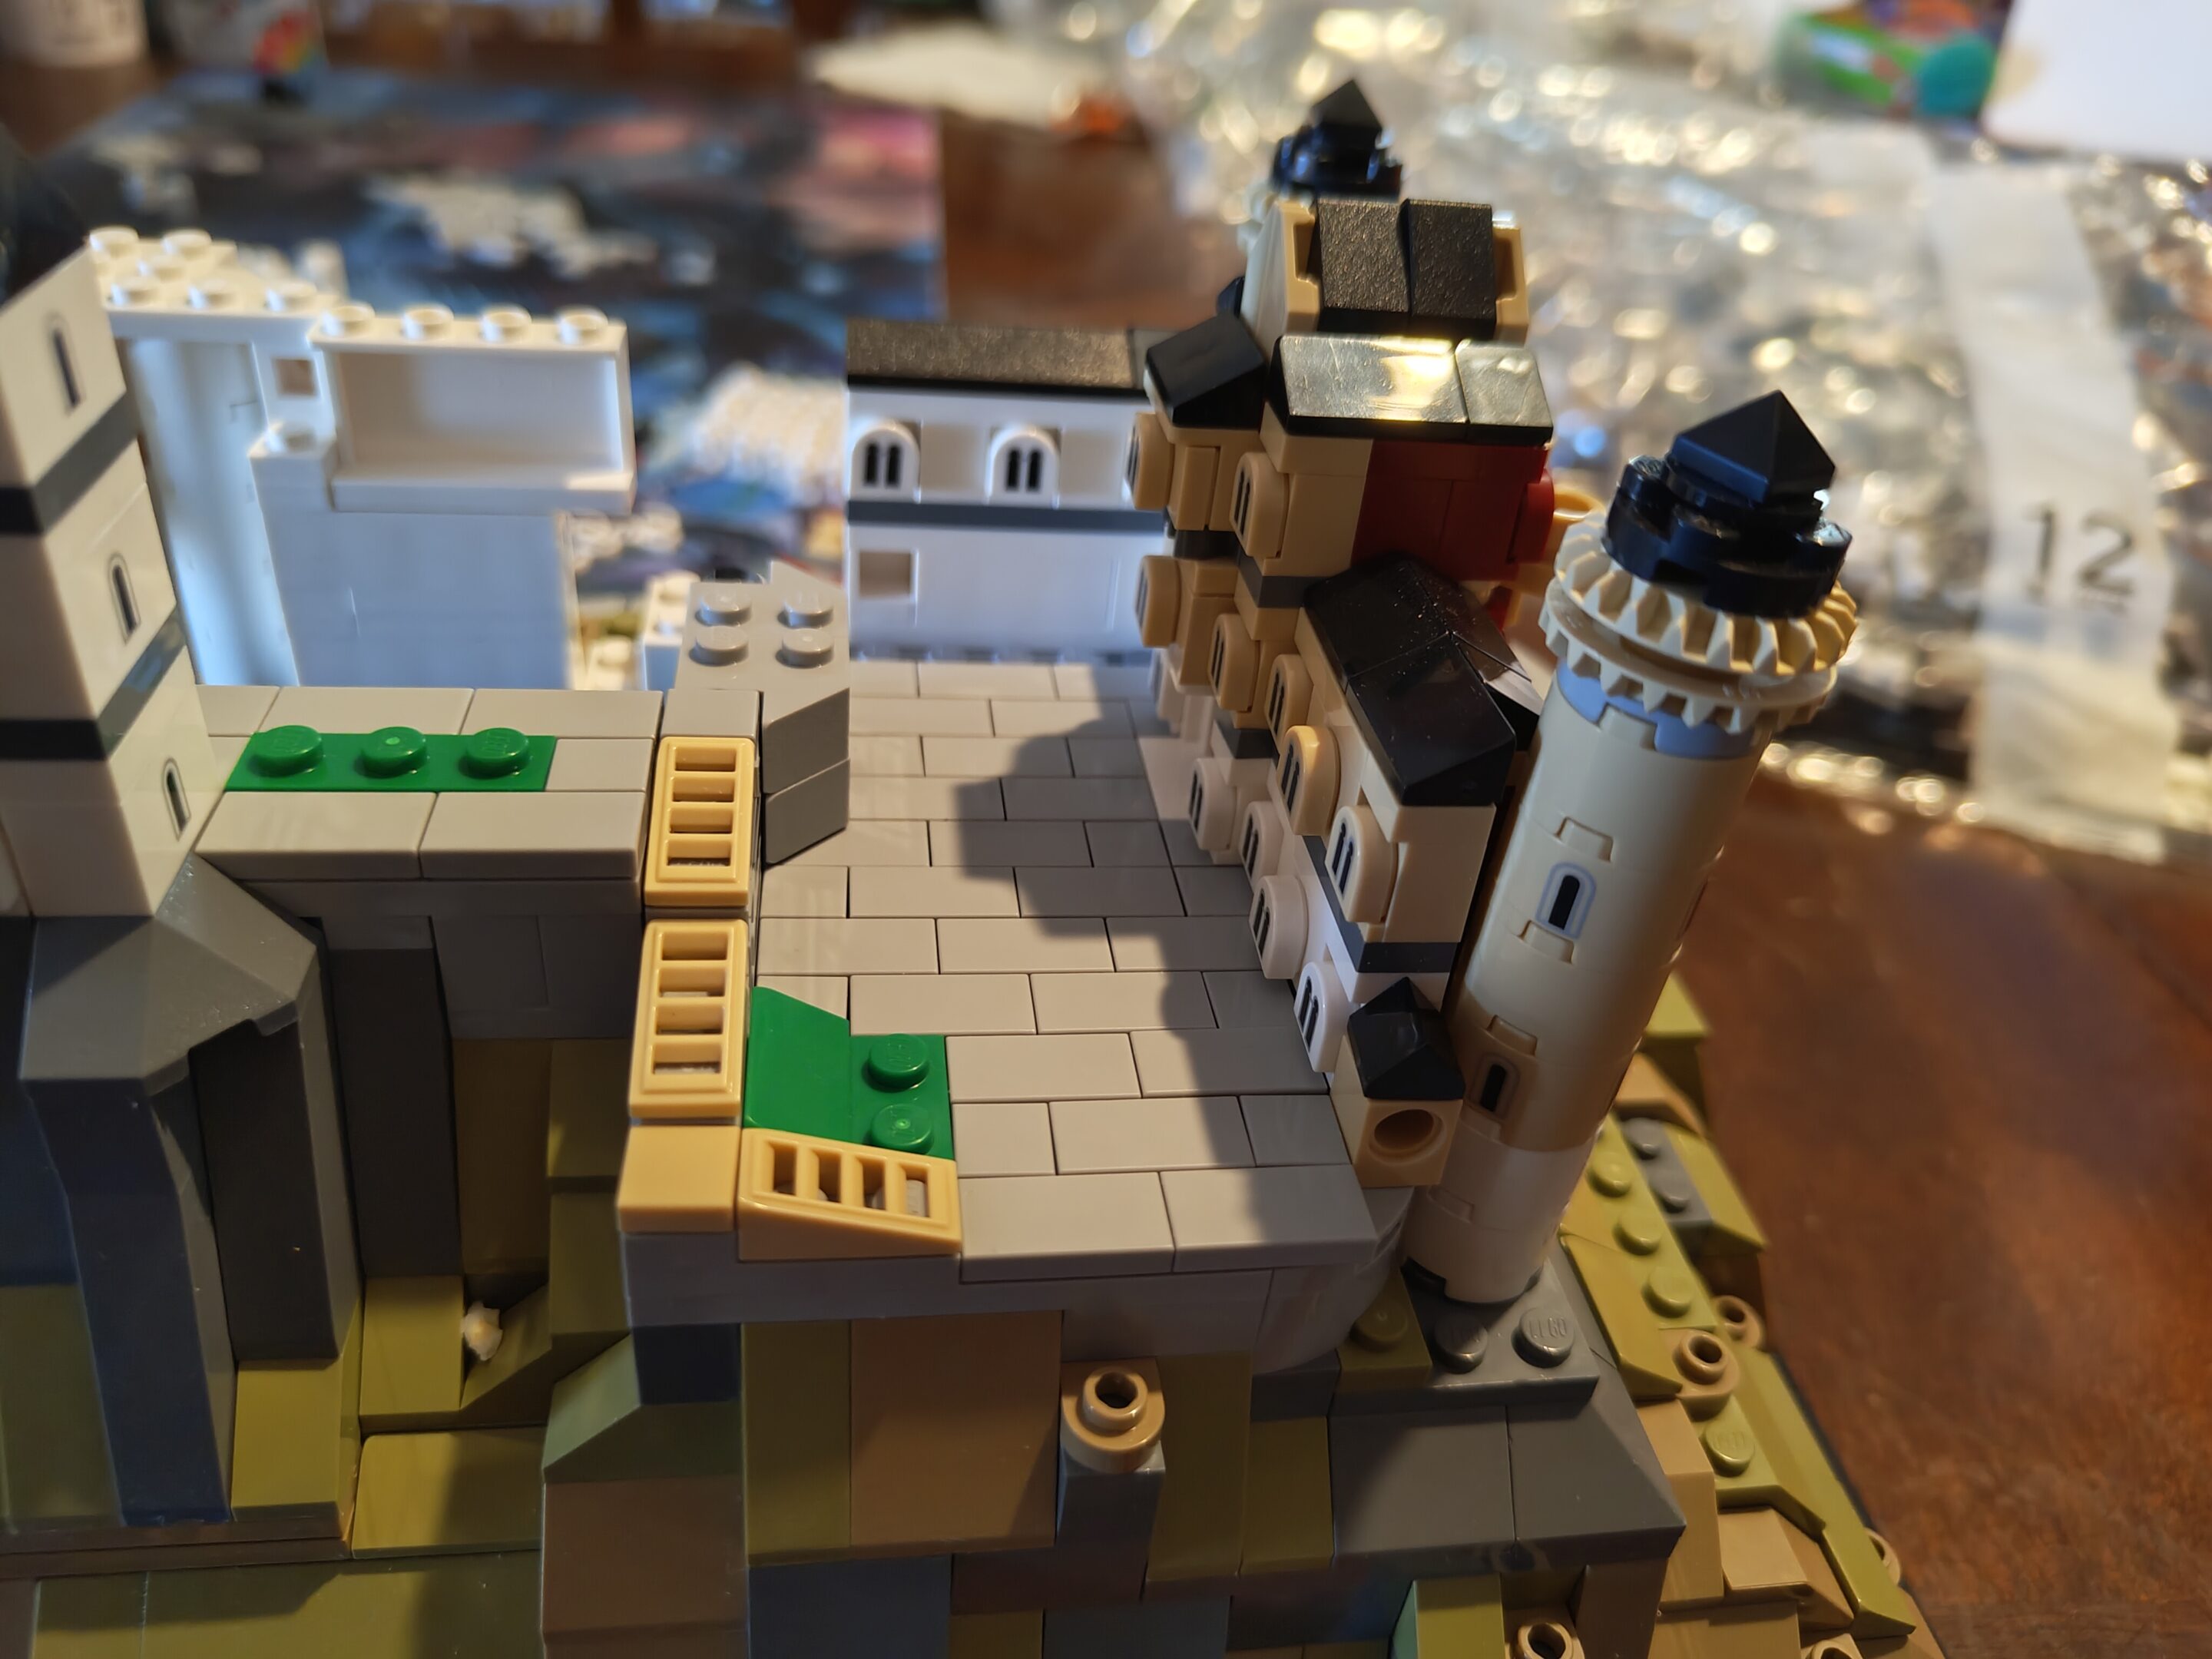
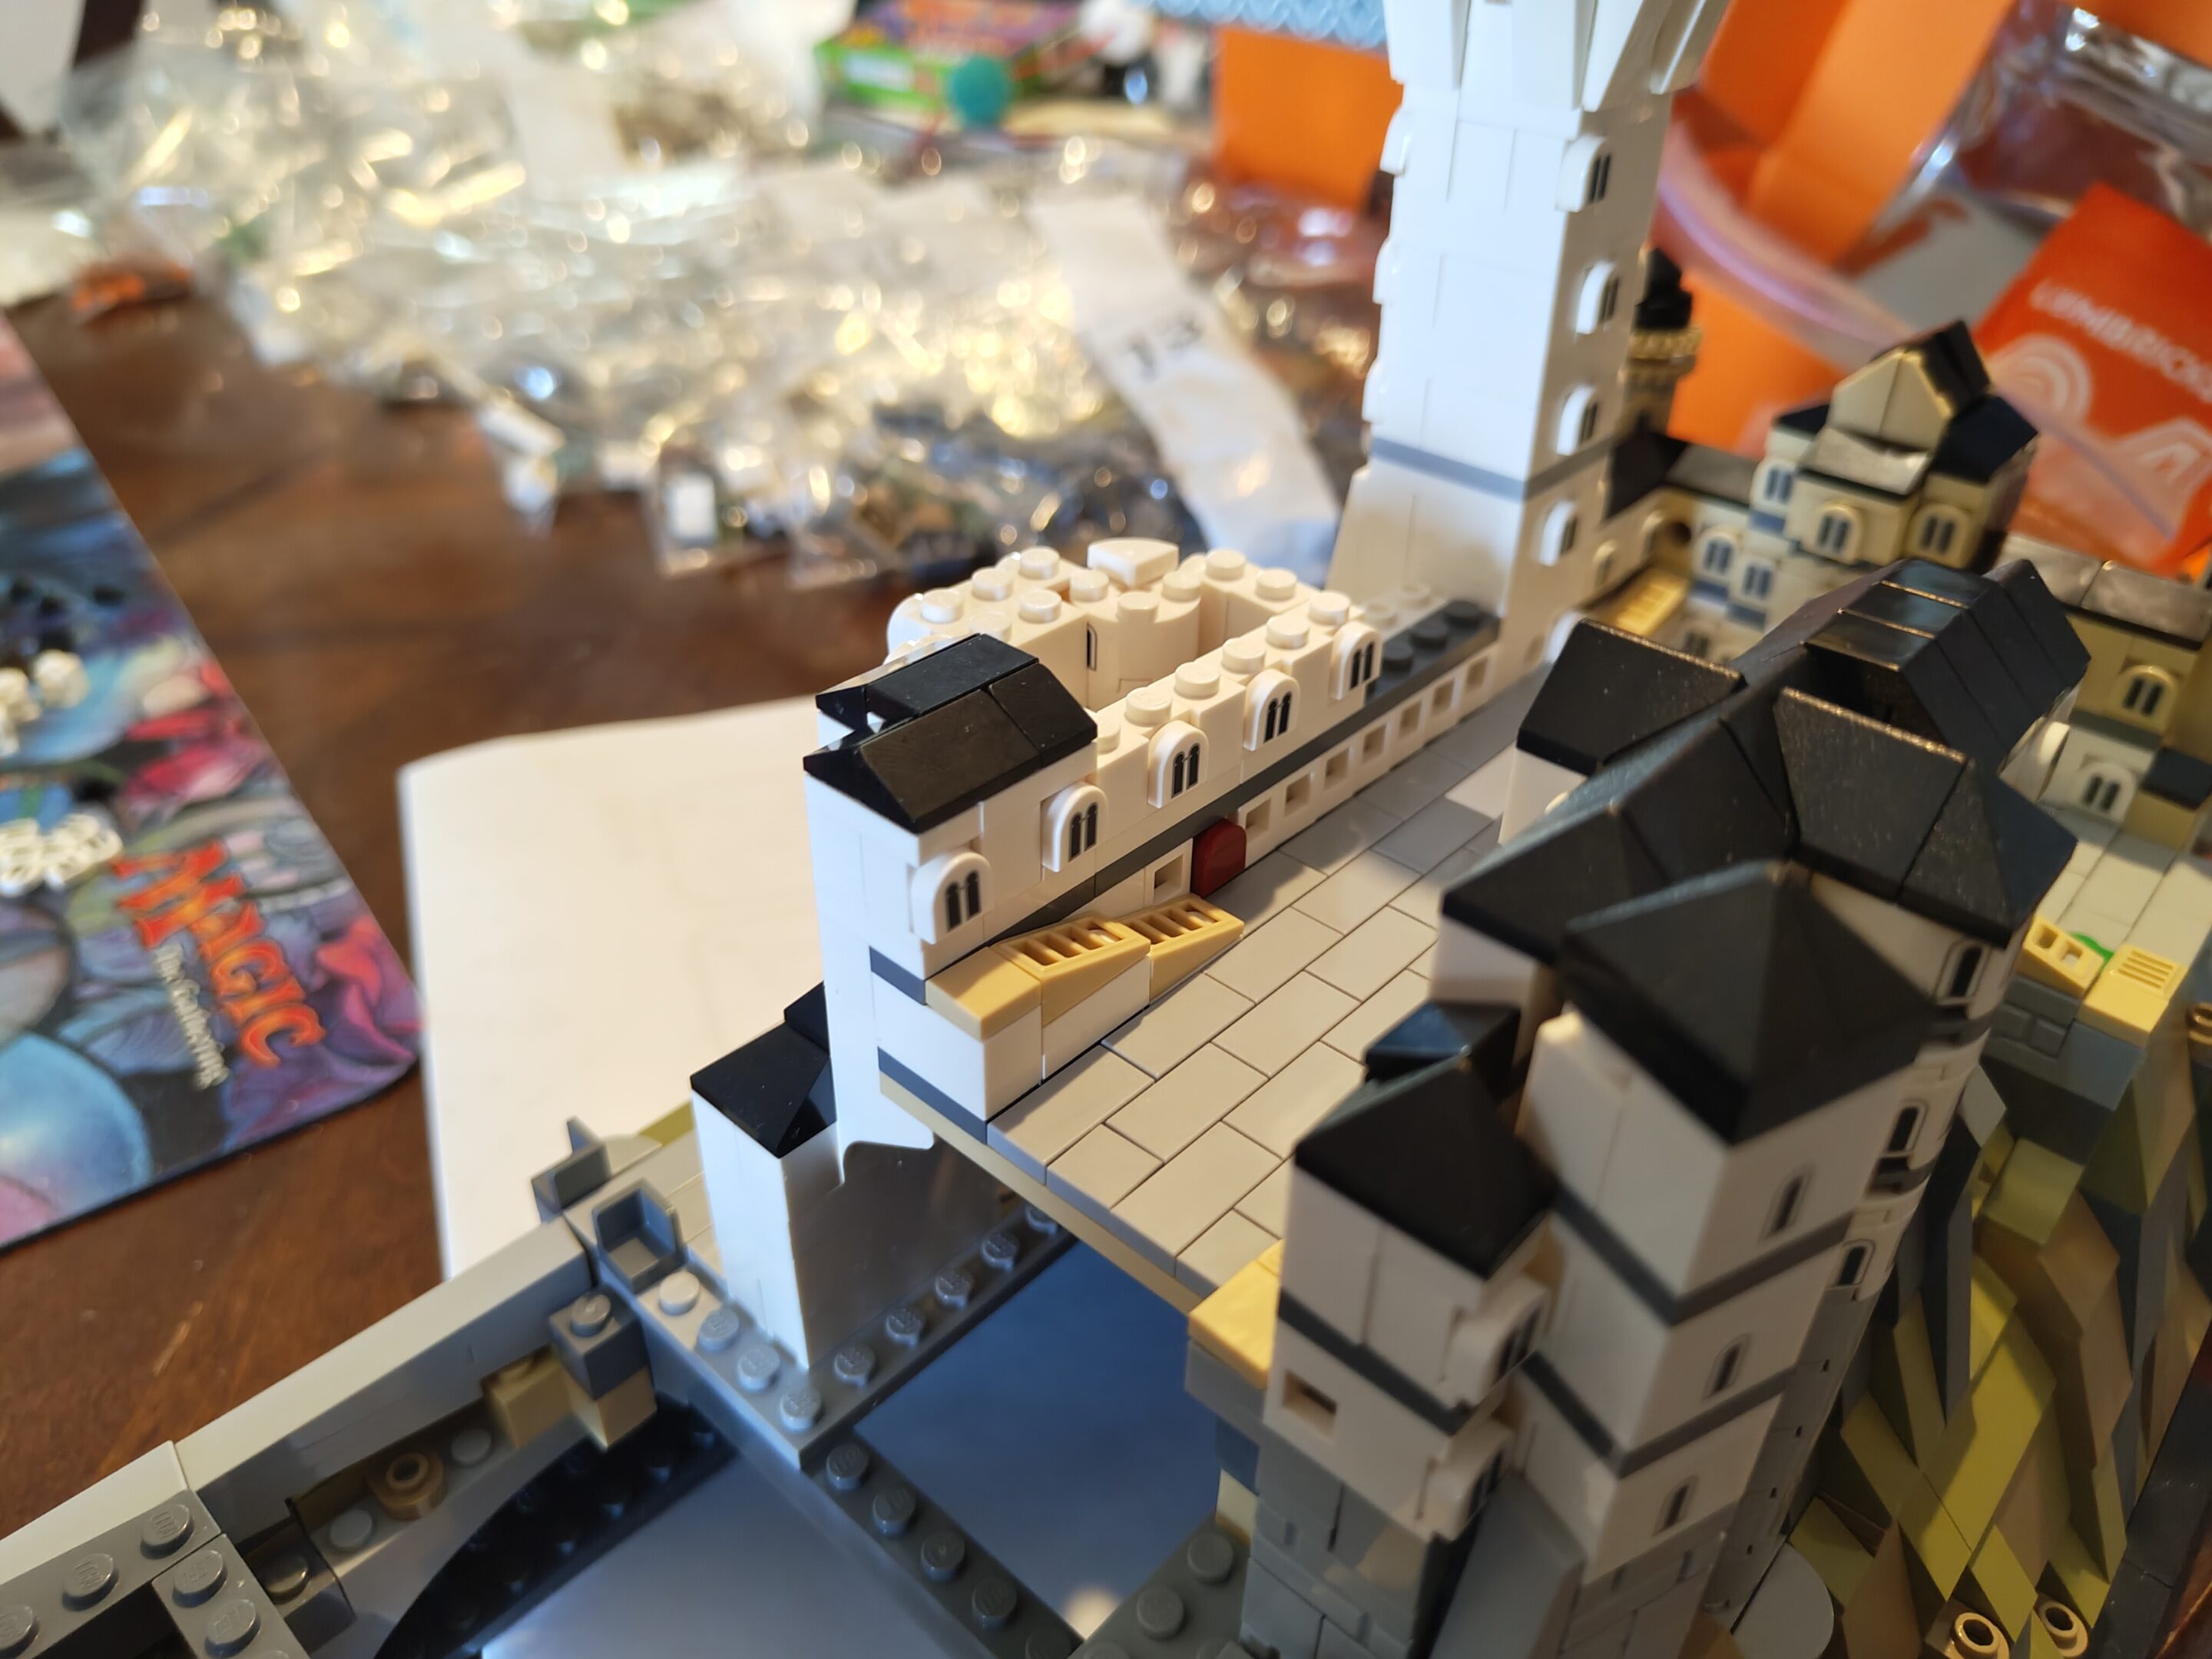
Had another picture before this one but it was real blurry so i deleted it, oh well. but neat little castle bit anyhowThe road to the front continuesThese interior windows, how are we ever going to see them?They do look cool, thoughConnecting the road… oh that’s what that round thing in the front was that we built like forever agoAdd a little castle structure and the book called these two towers something specific fix this caption later mindtap ok
more (saturday, october 4th, 2025)
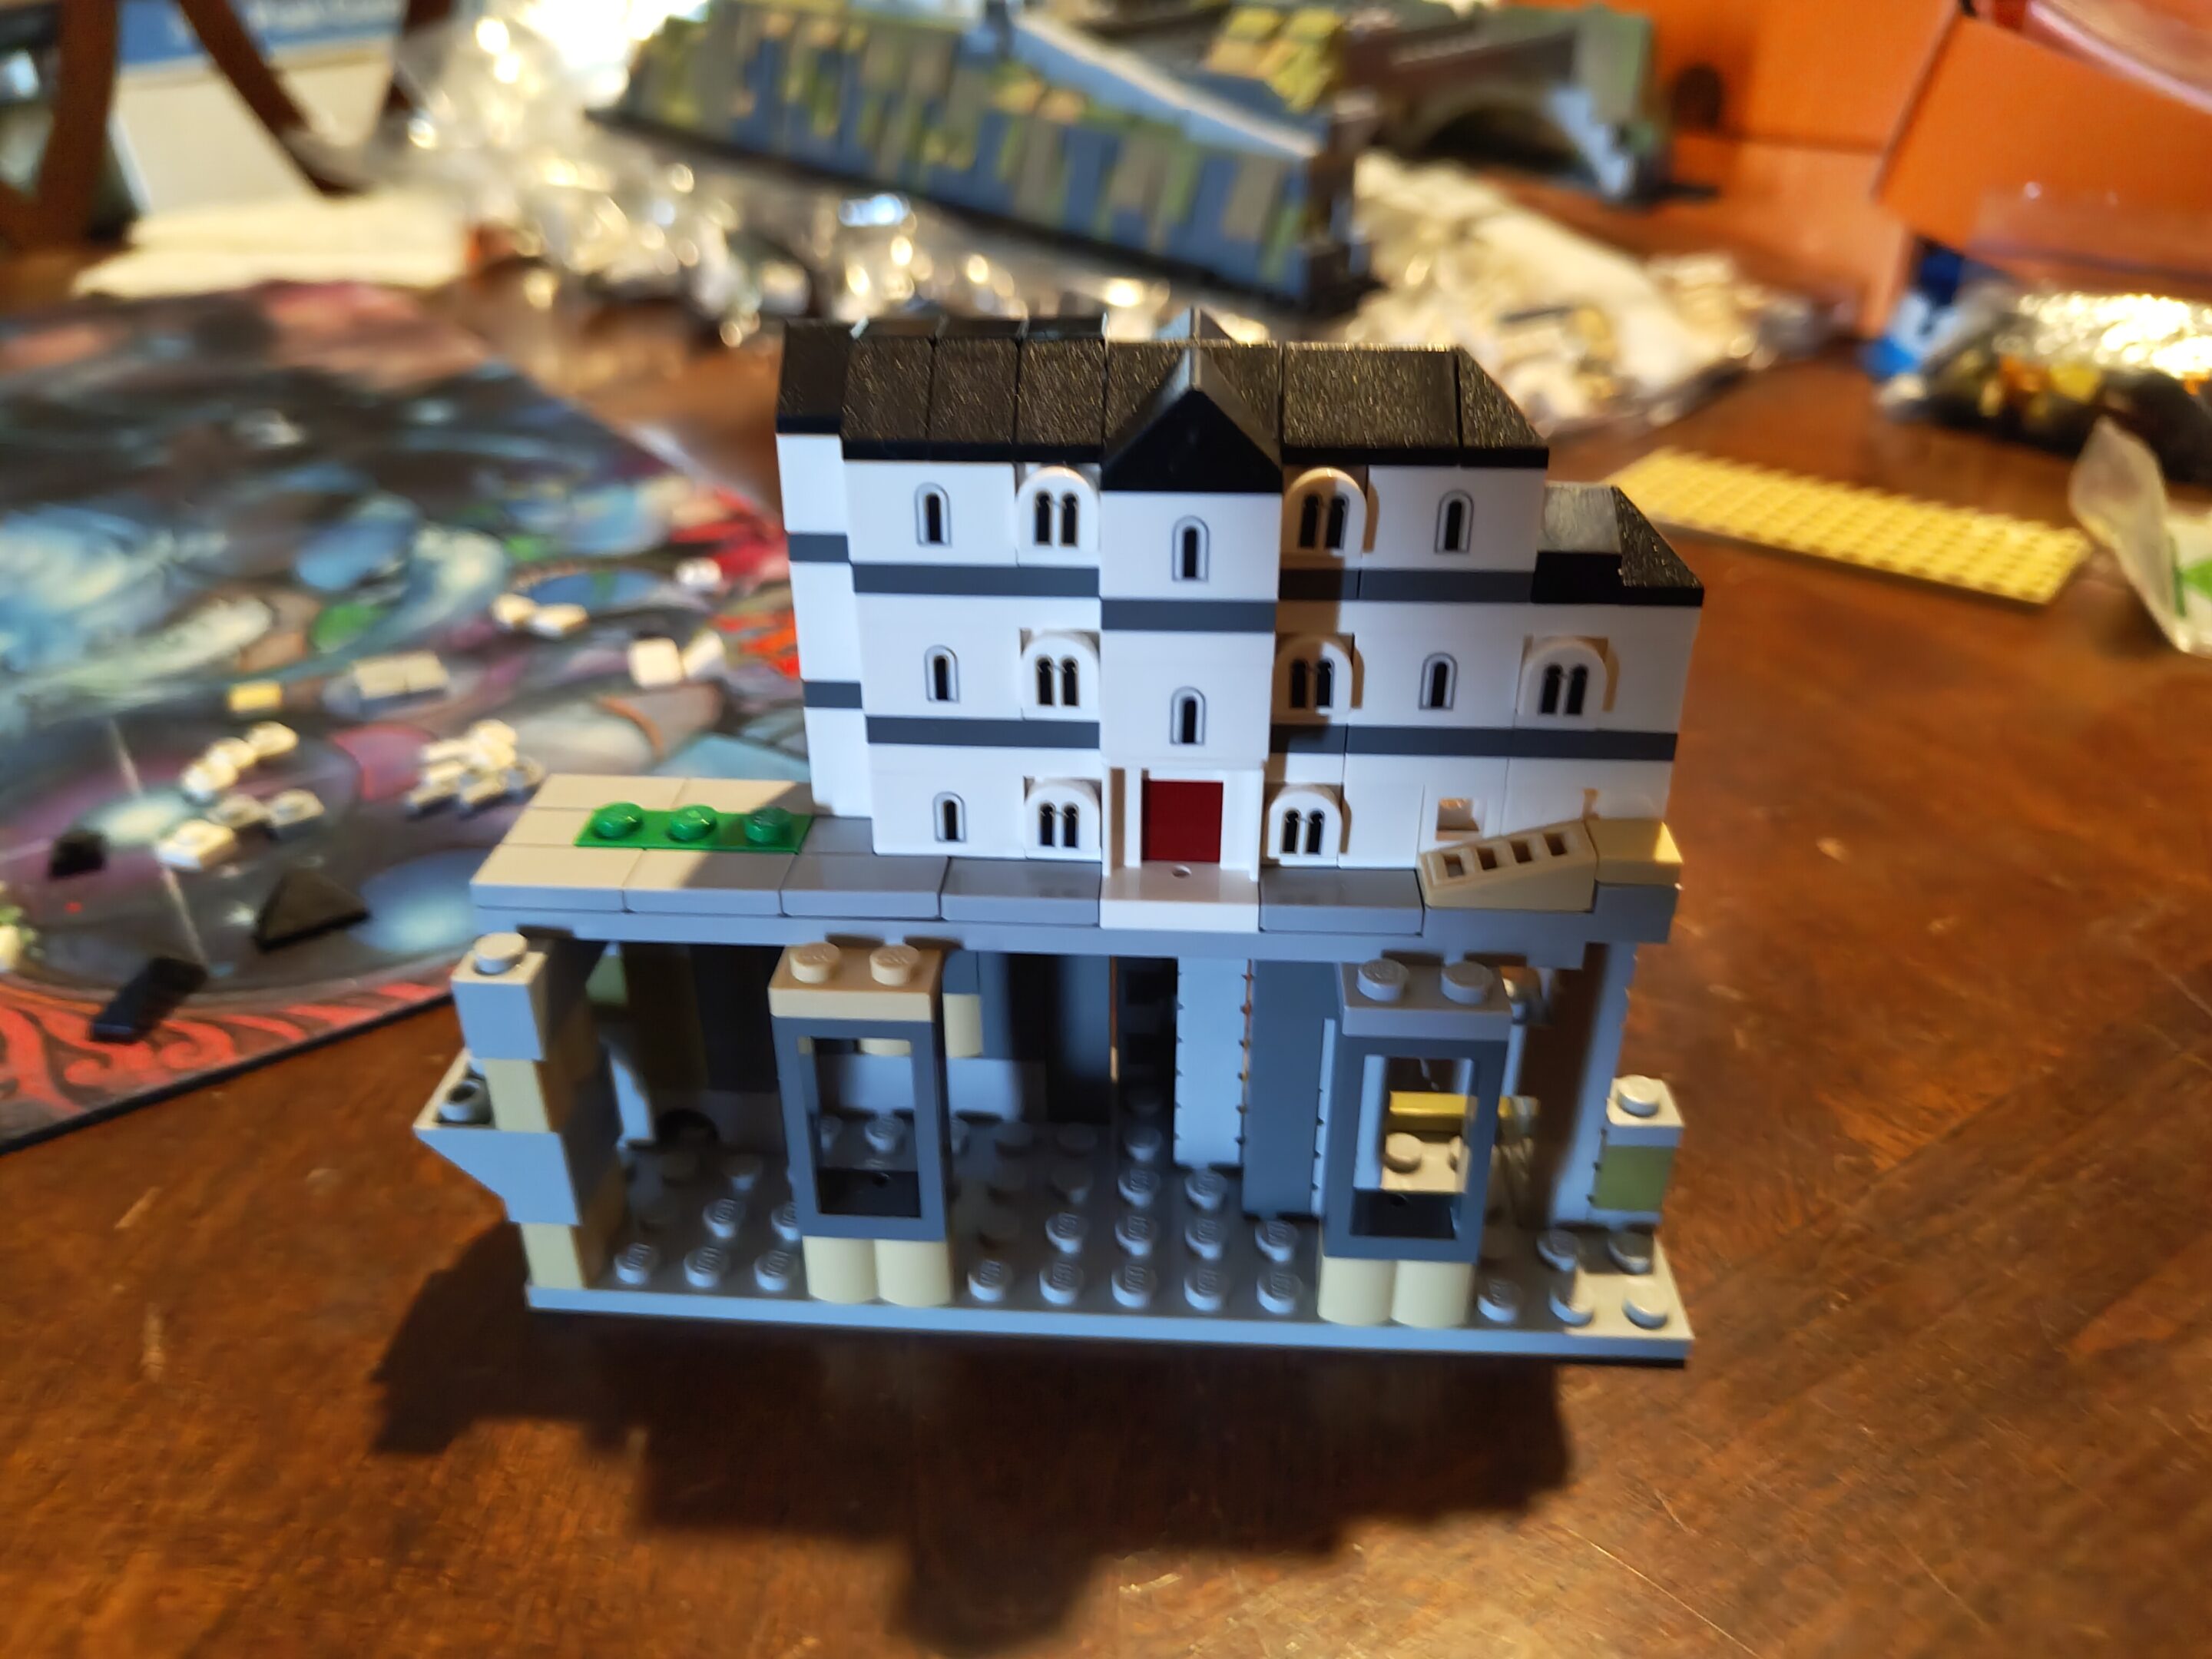
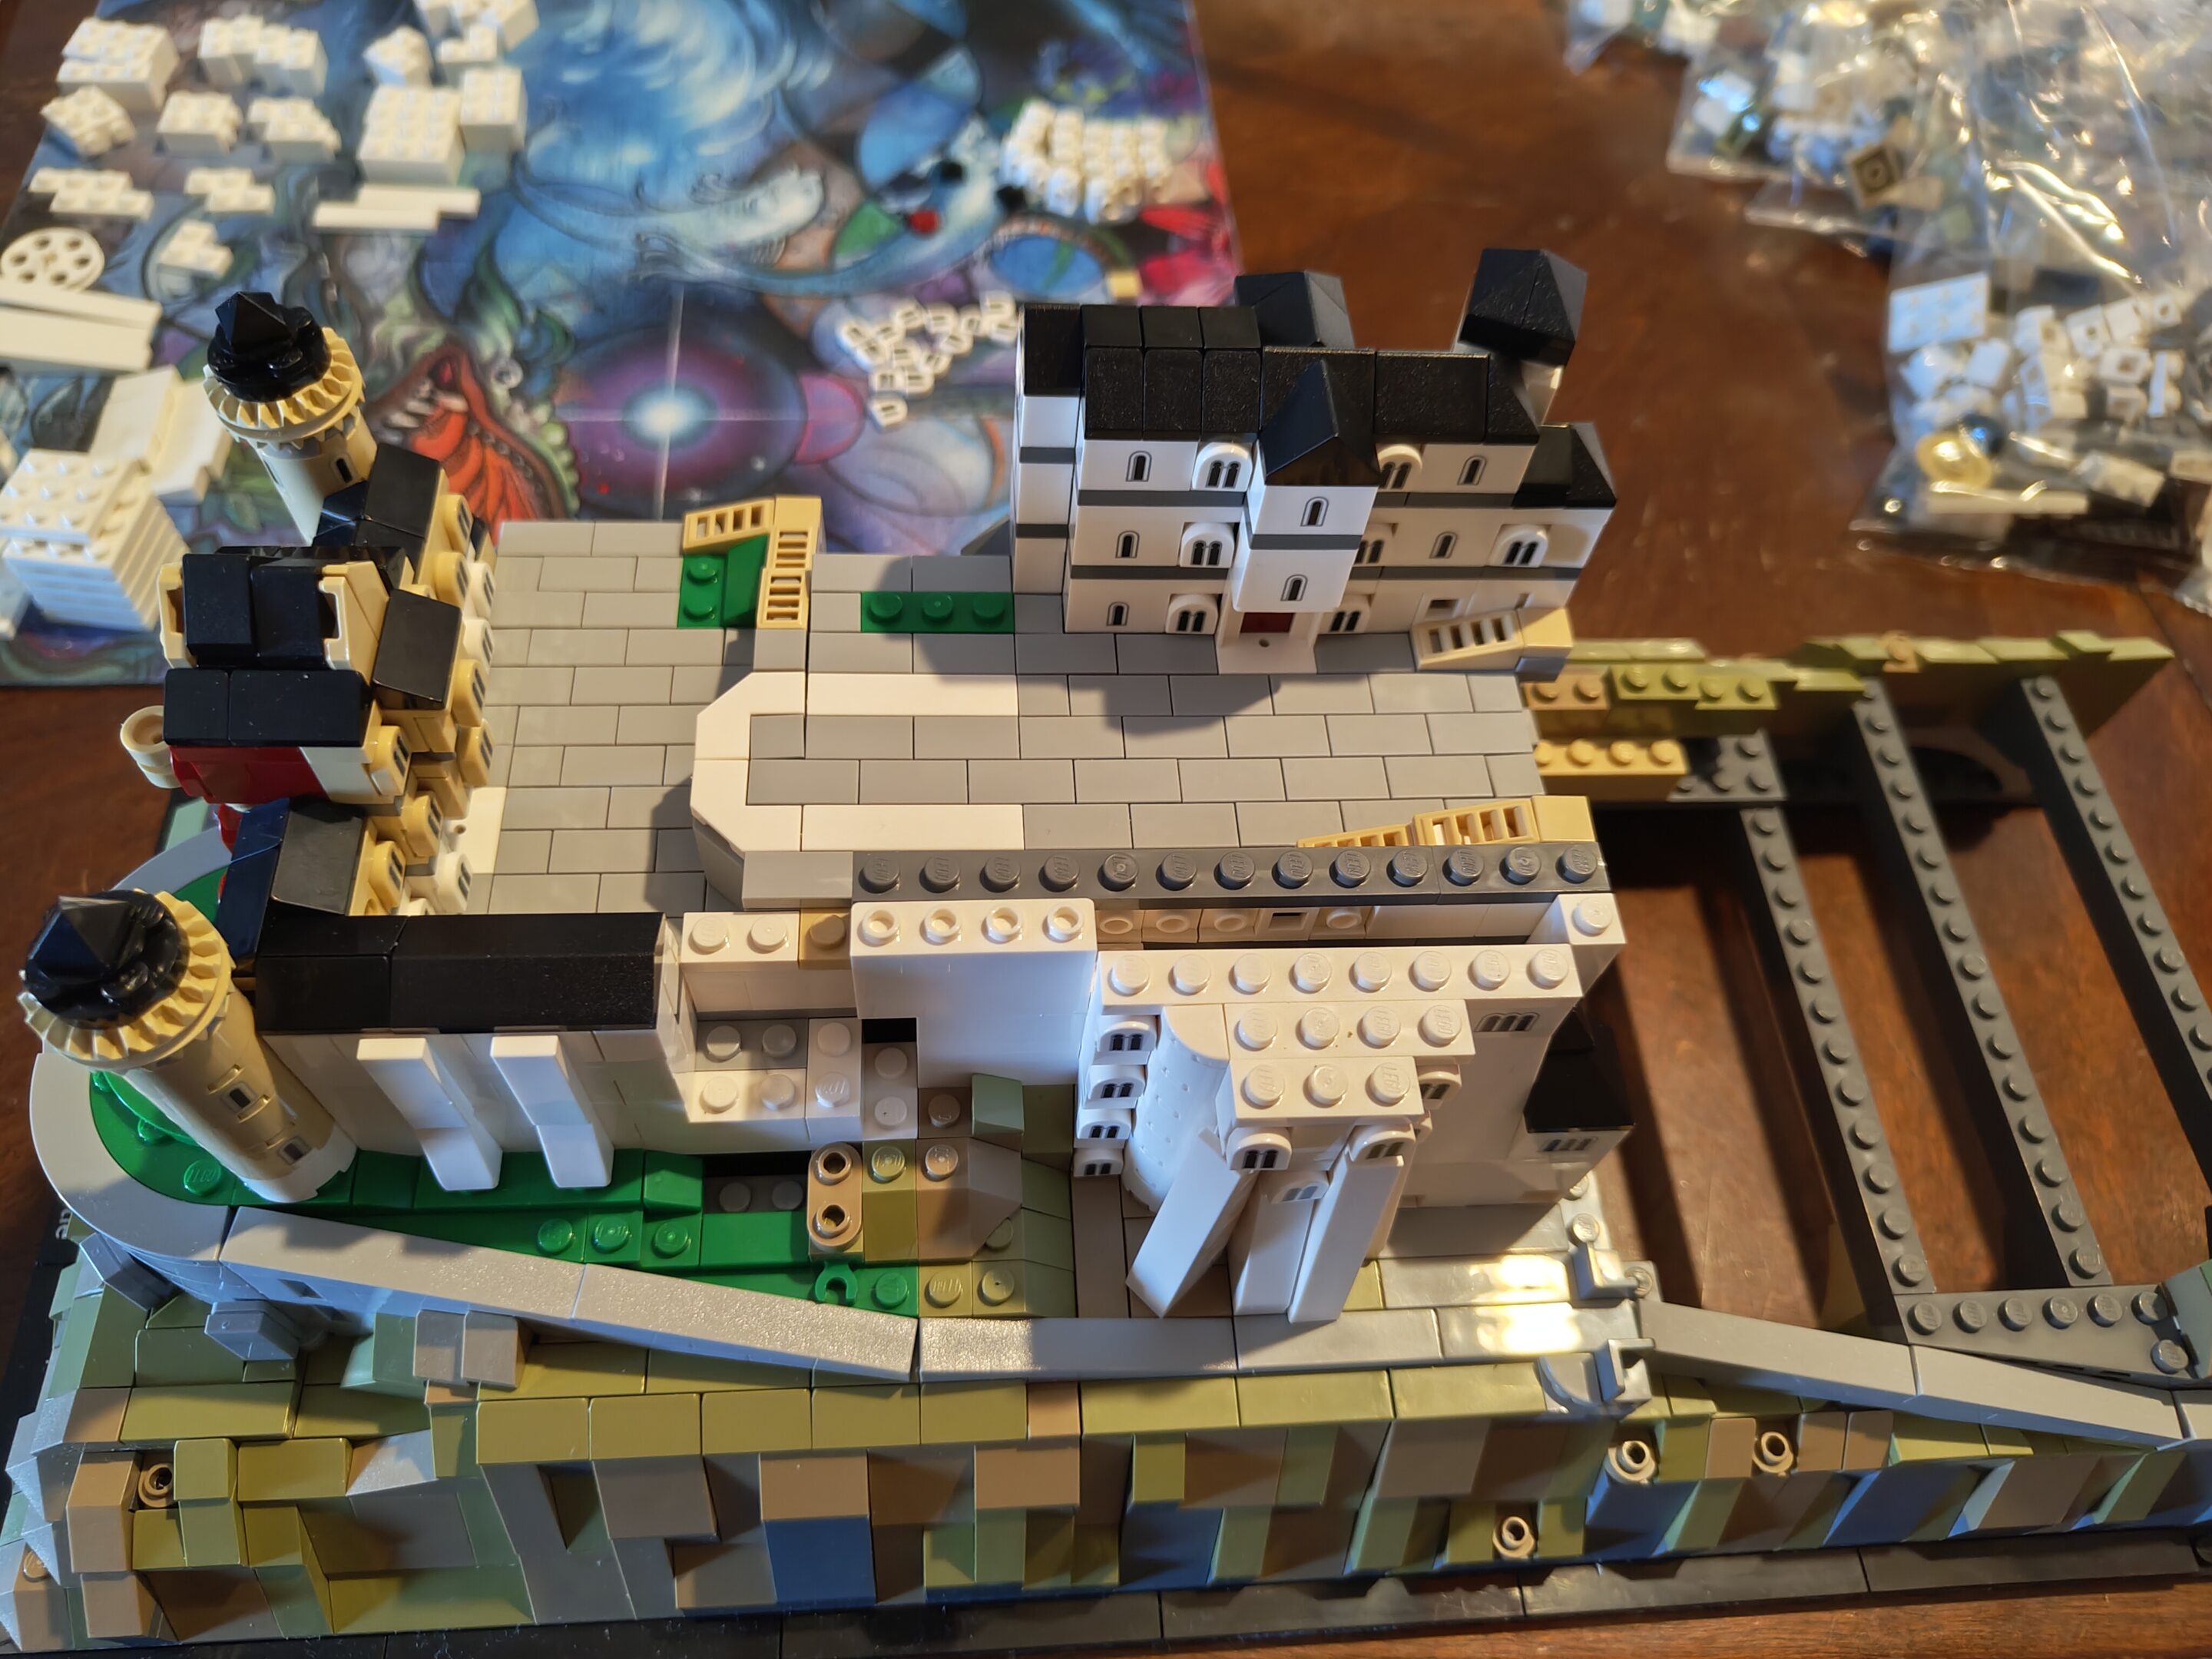
Brain fried today. Captions gonna be slackingAnother spiral staircase tower? Were the other ones?First row of windowsHaven’t really taken many pictures of the back but there was a ramp and windows here this timeFrontRear with mini courtyardAttached to the main structure. The angle tower here was neat and I was wondering what was going to go in that space but it was thisFull-size courtyard. This is where people gather for guided tours of the real thing. Maybe I’ll find some minifigs to put here
tiny bit more today (sunday october 5th?) mom was kinda tired and i really wanted to do some work on the train station
More castle groundsA lot more castle groundsThe guard tower (very square)
only a couple more pictures, we were just kinda on a roll so i forgot?
More castle in progressIt would be a cute little building with a cute little towerIf it wasn’t part of this huge buildingScenic picture to stop at until the next time
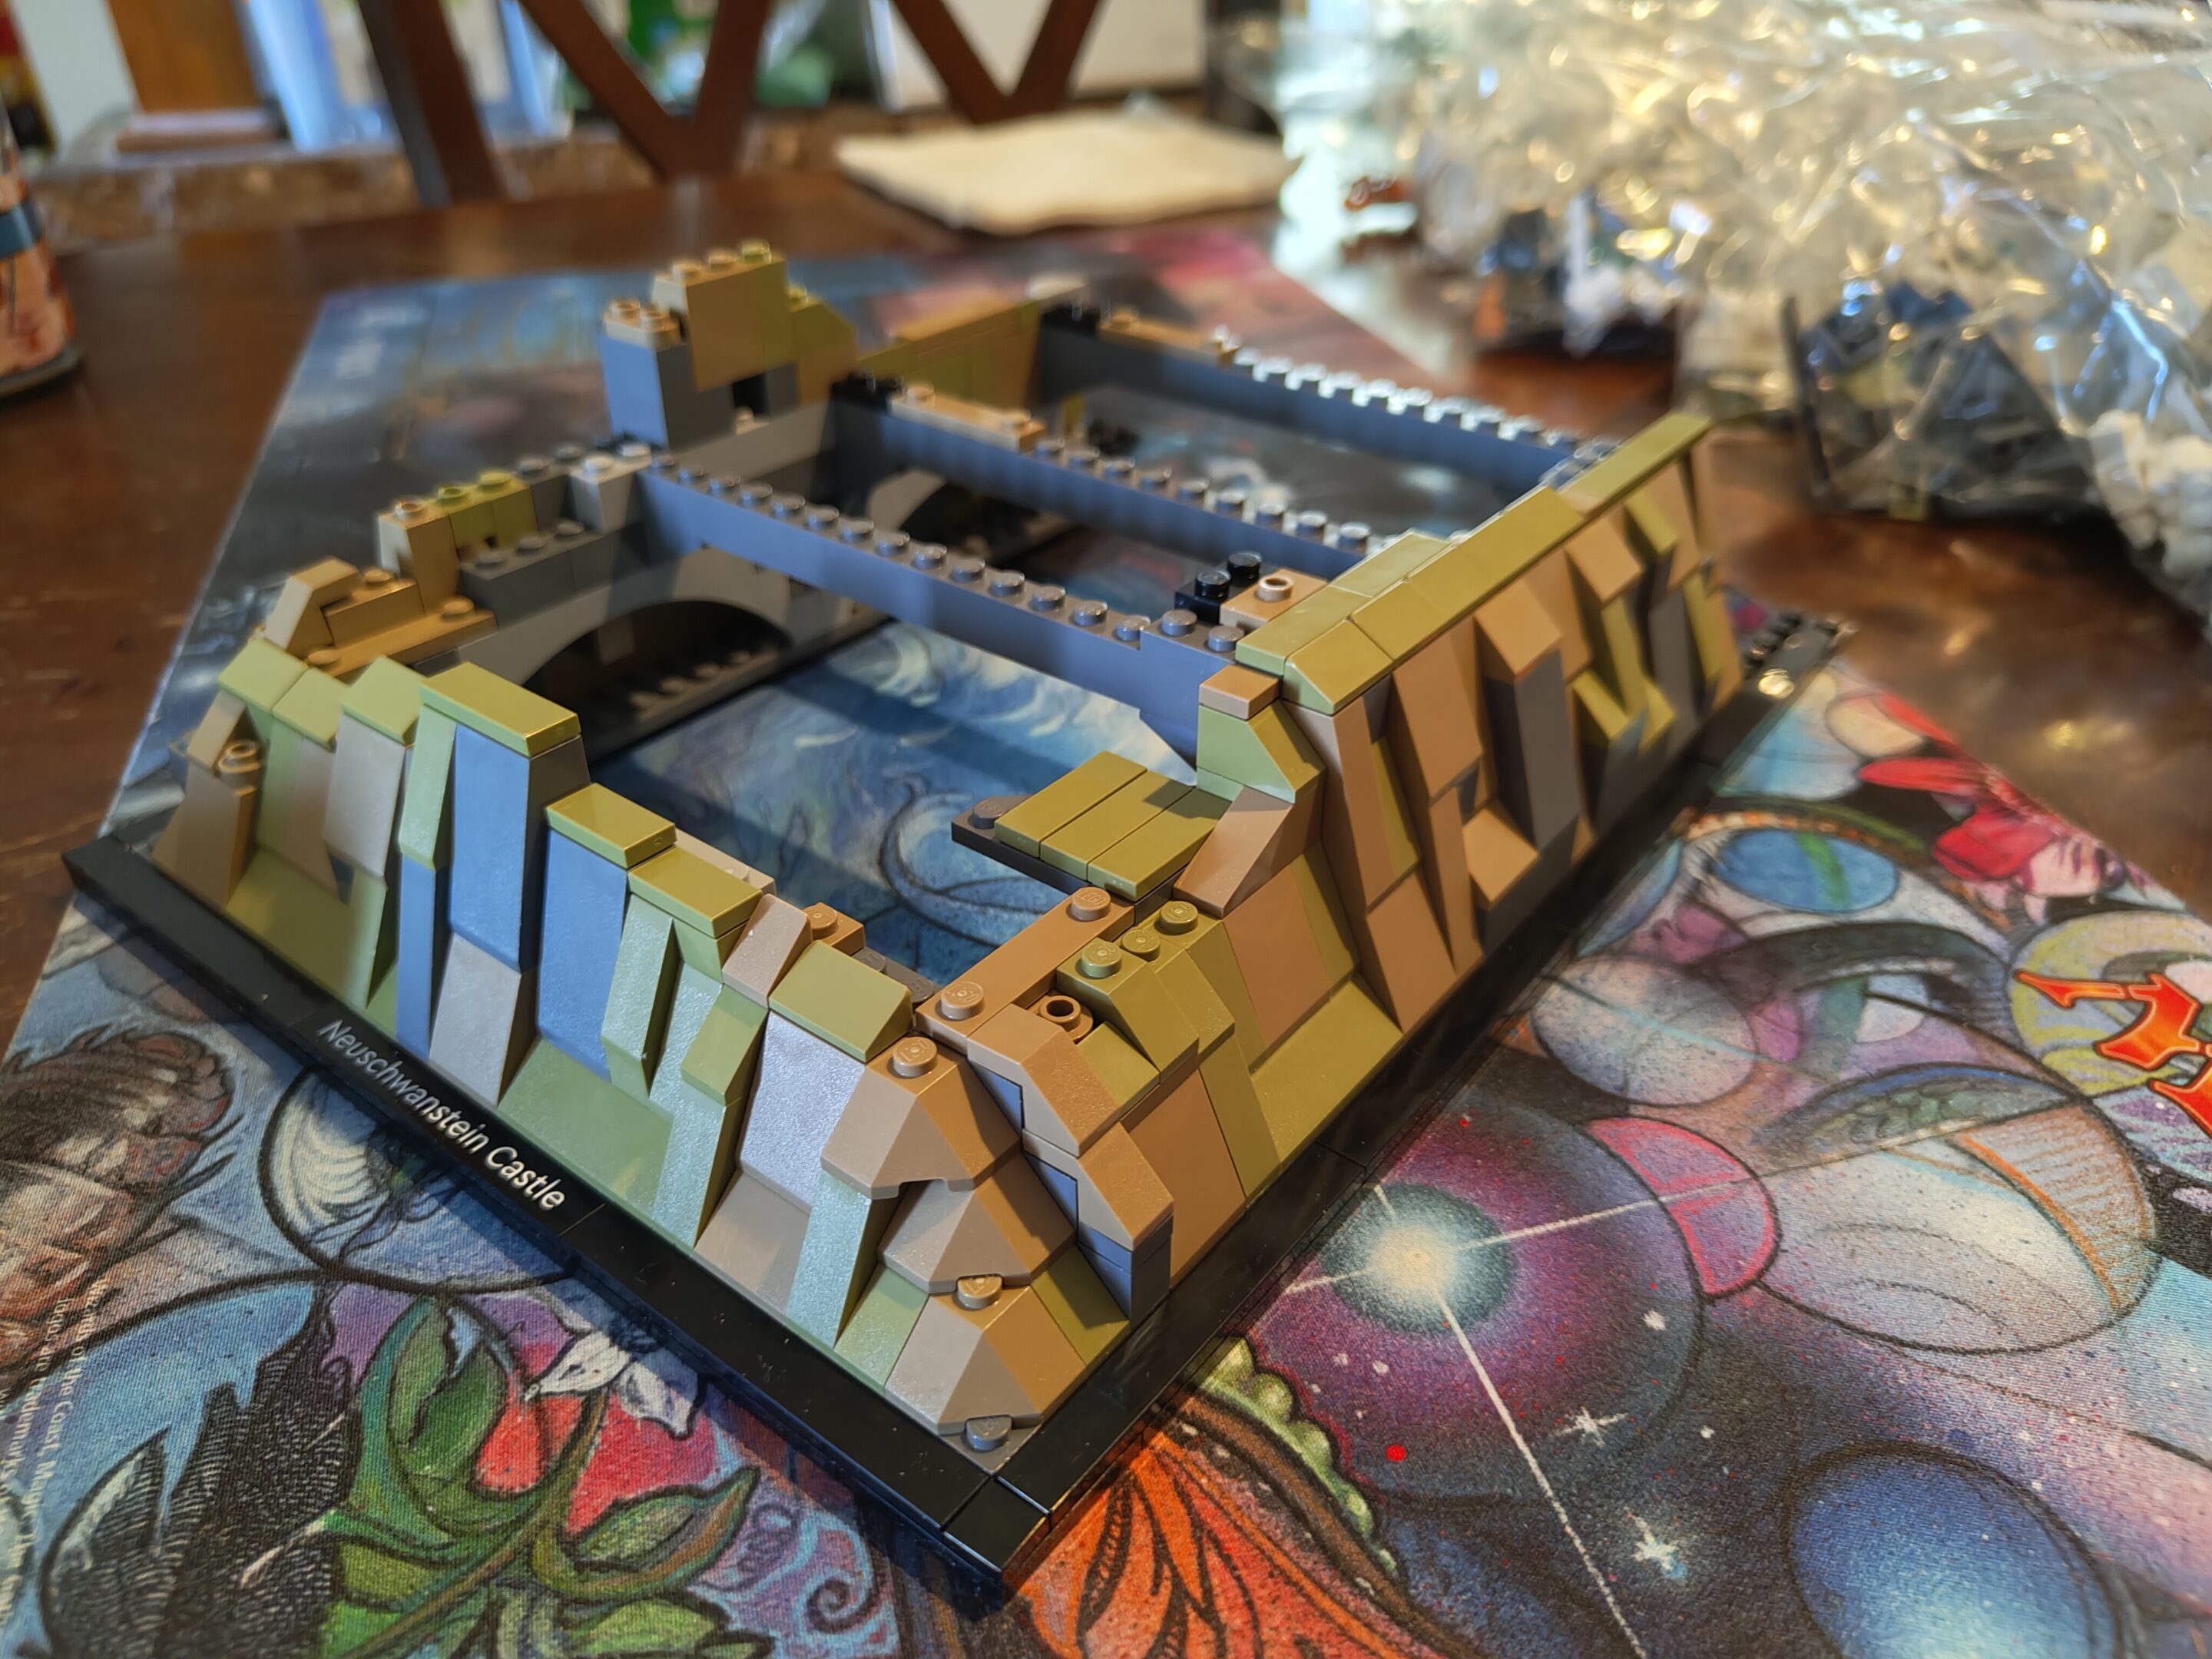
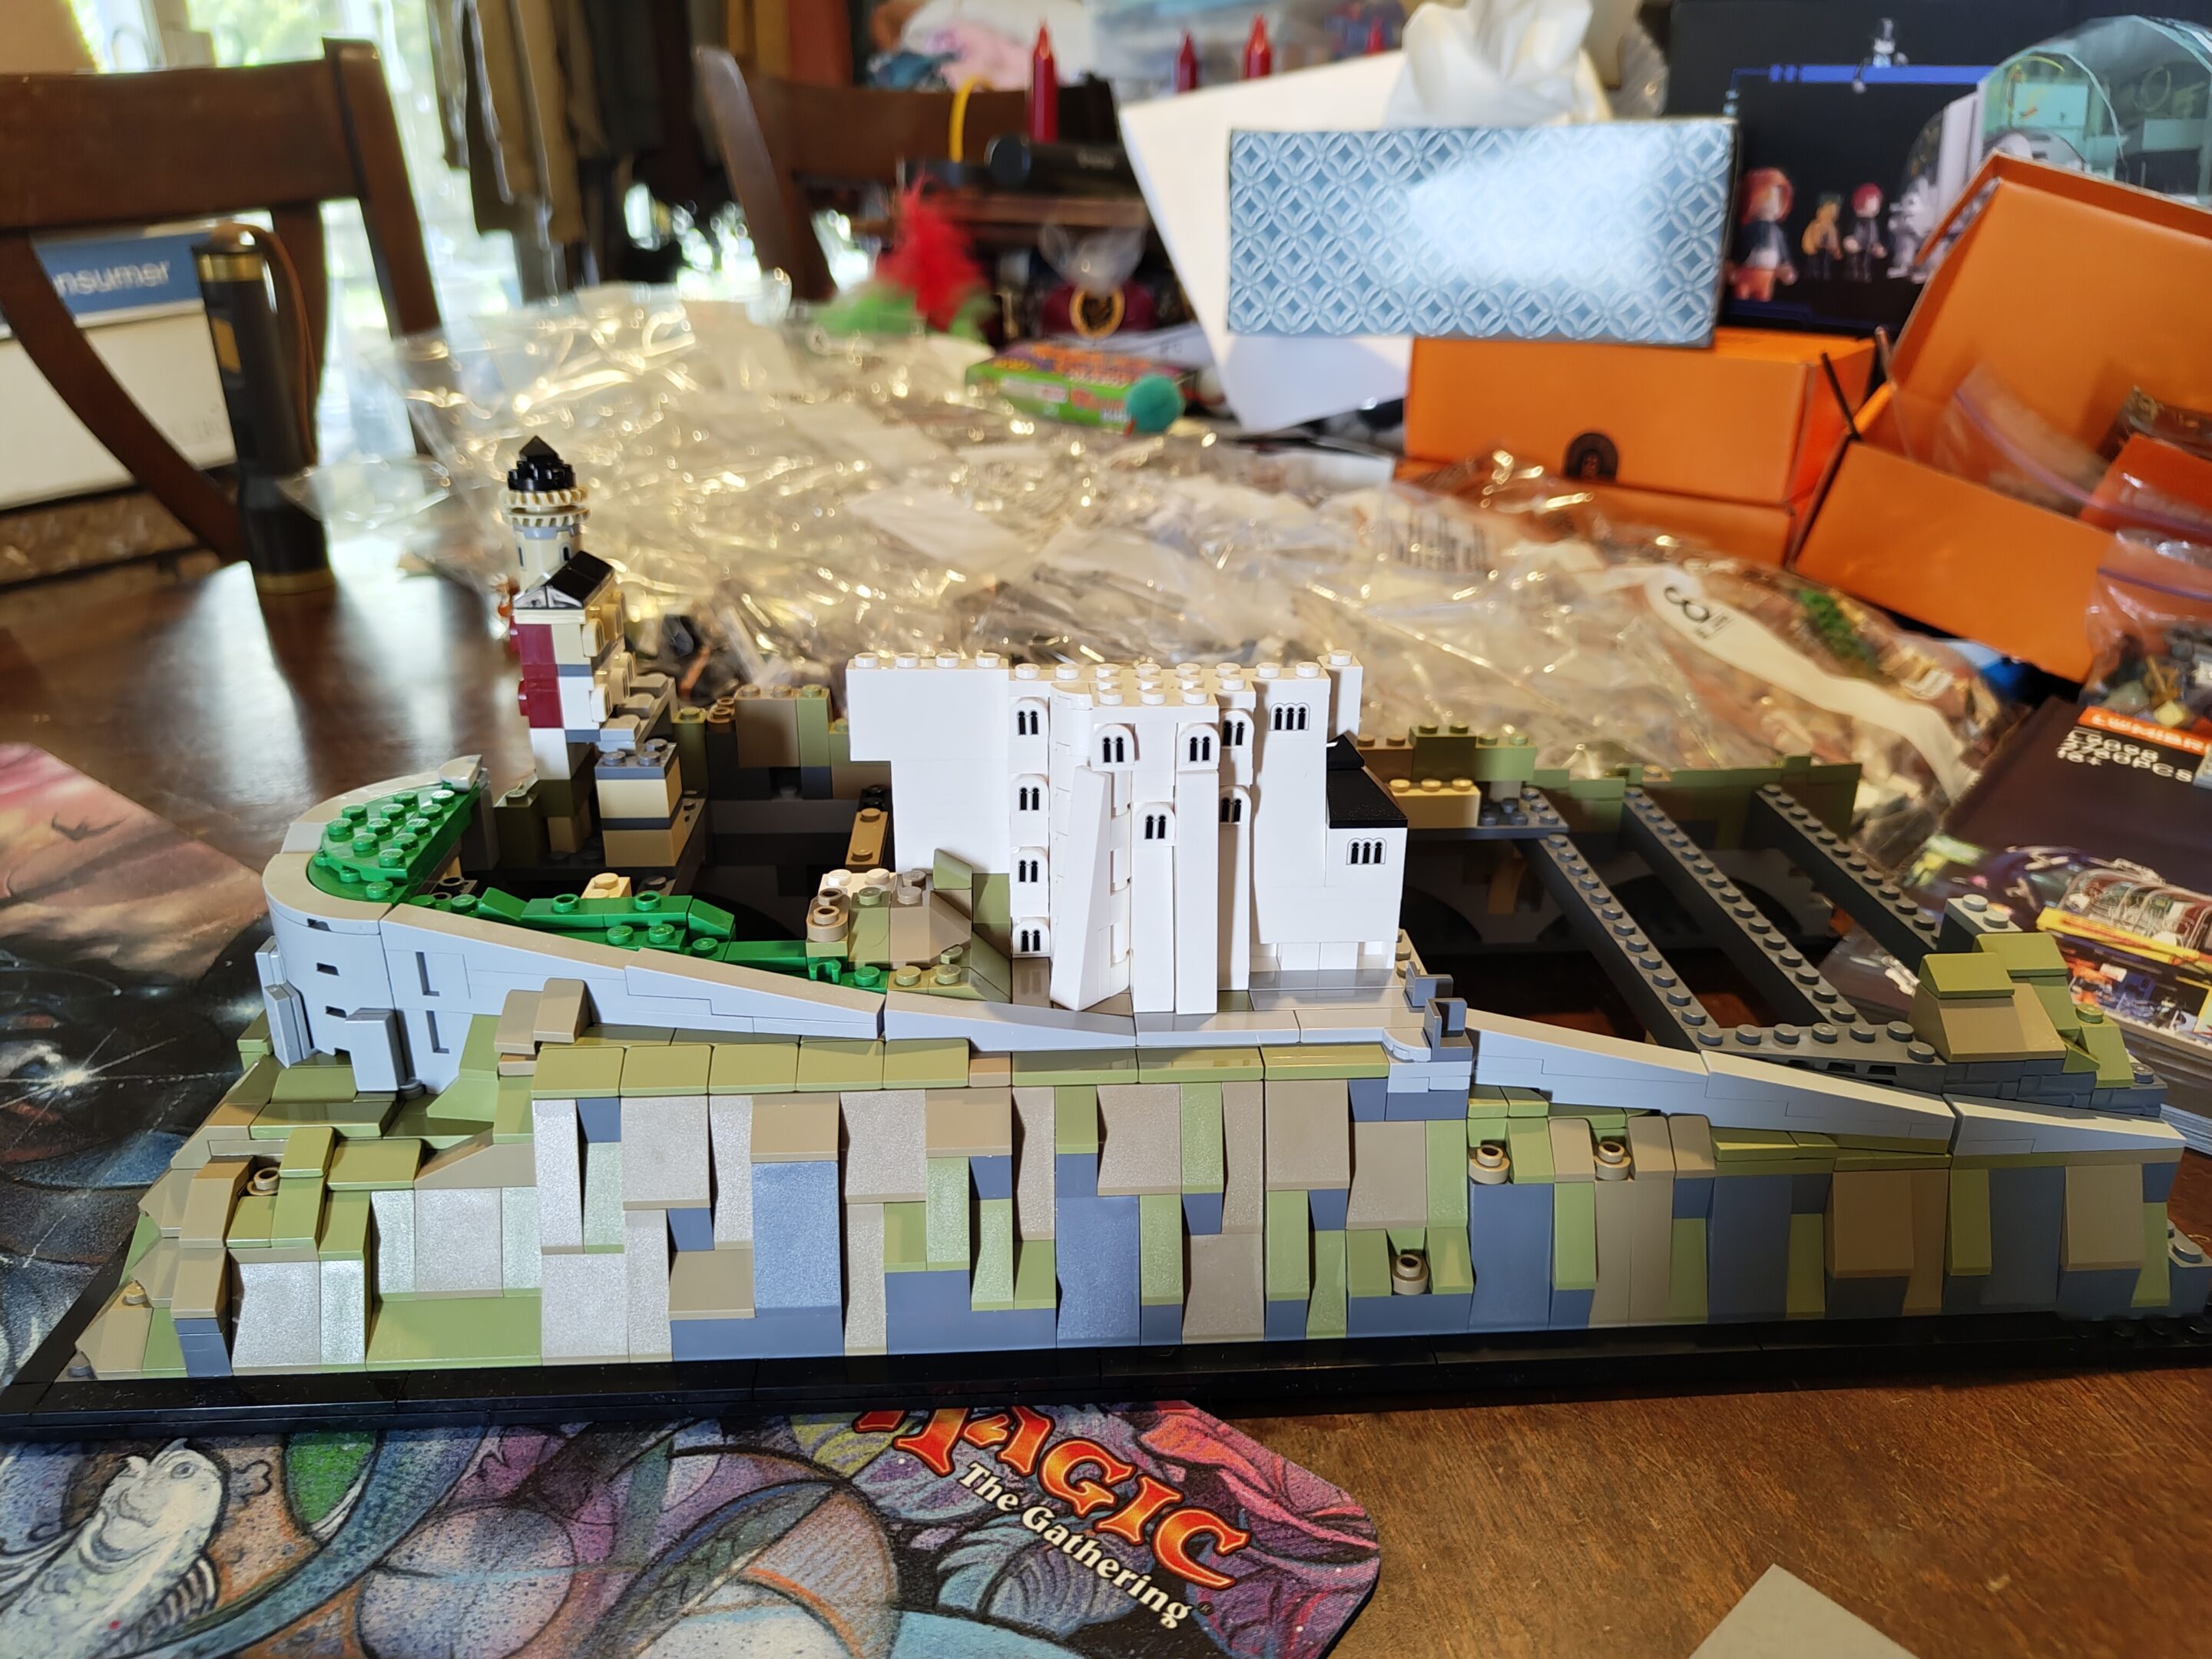
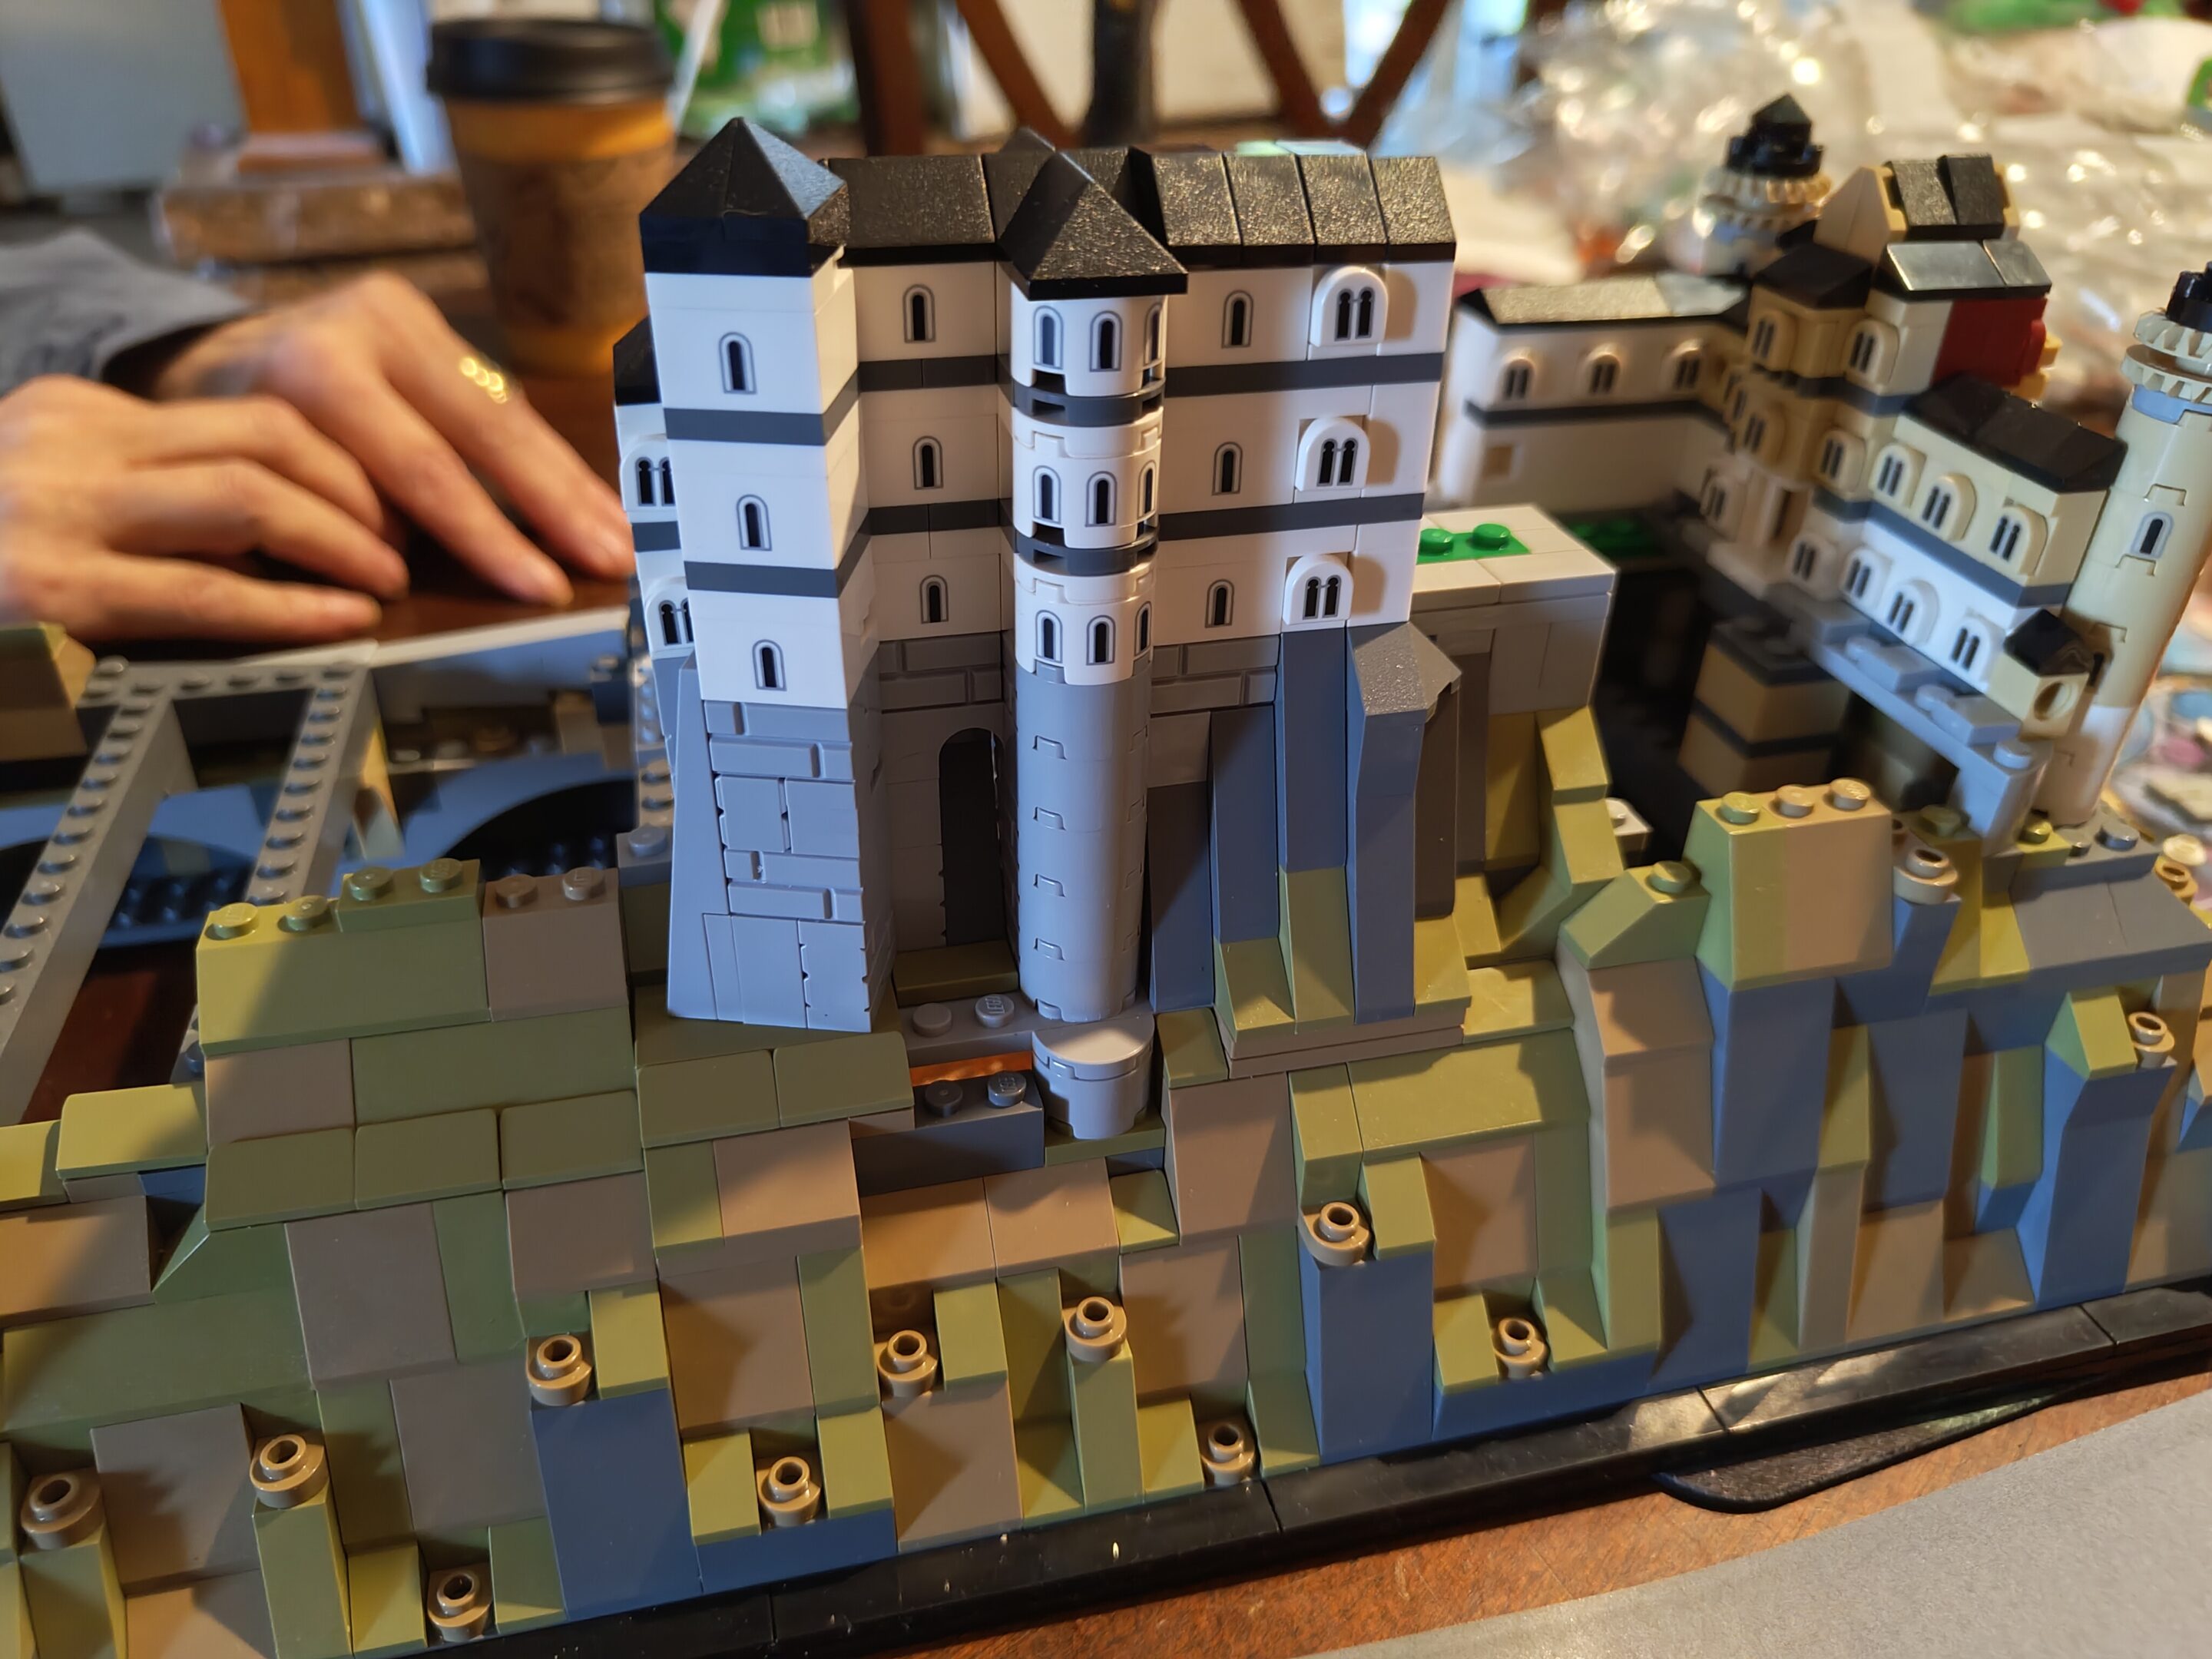
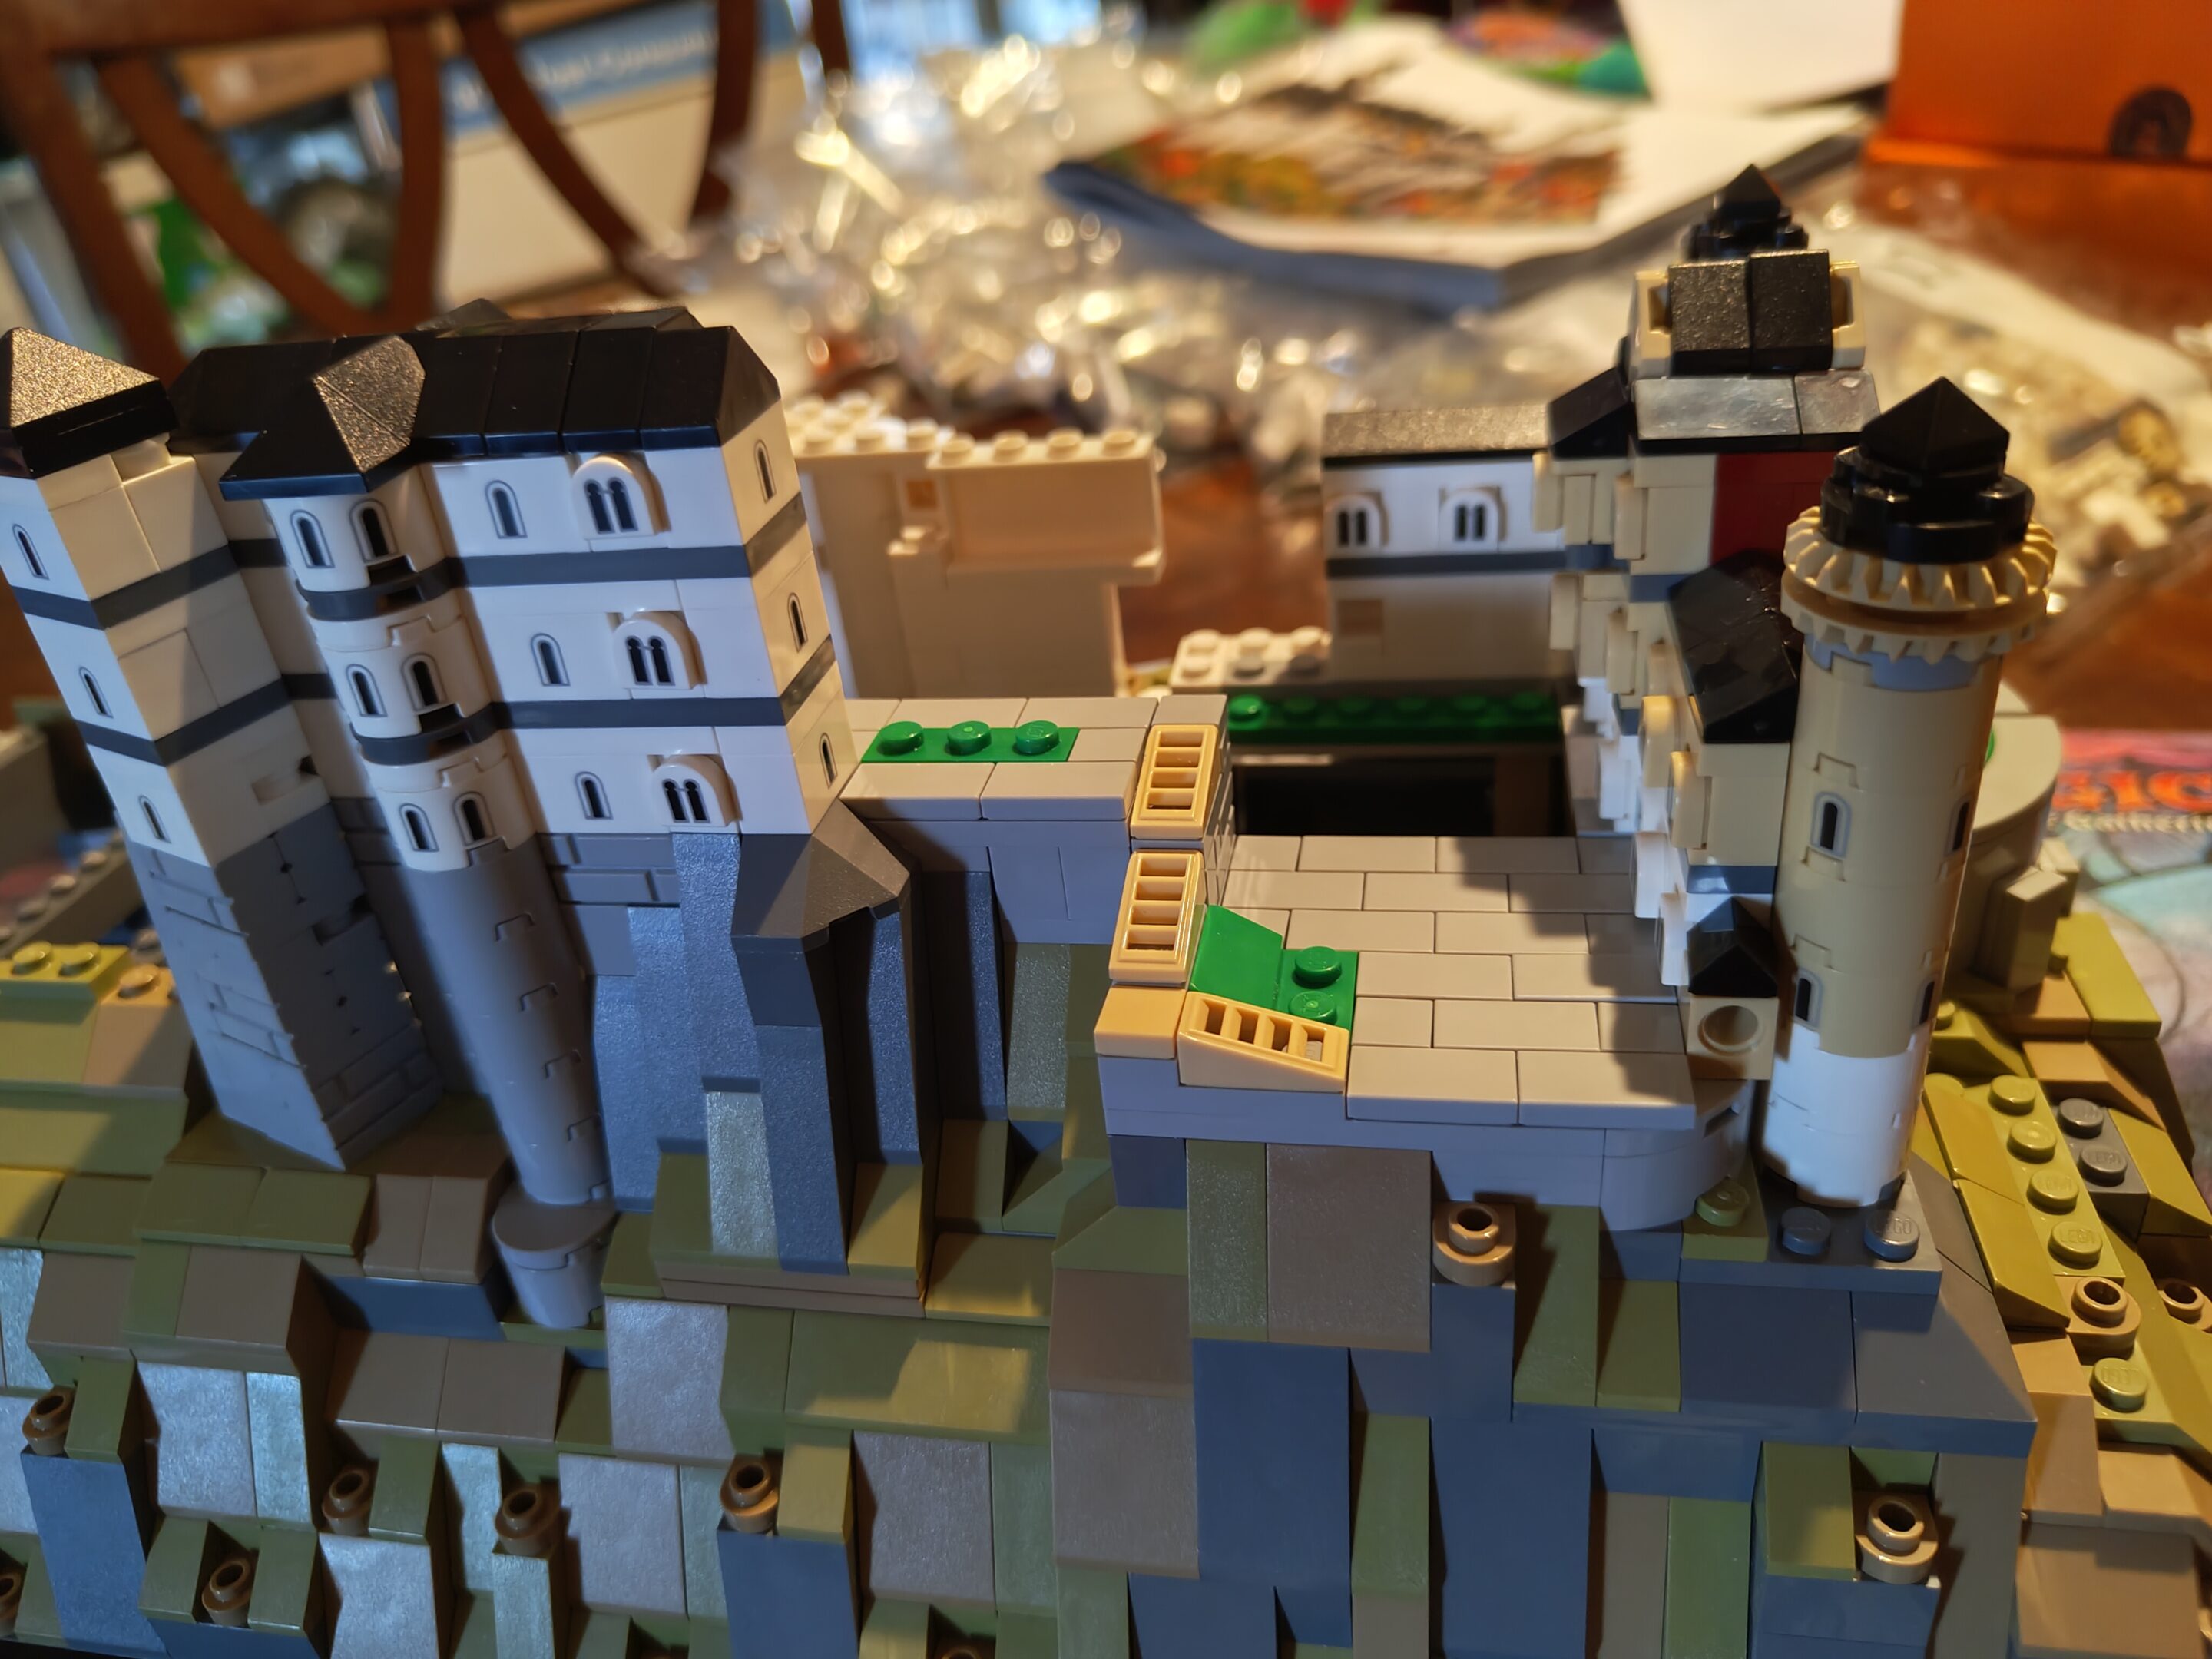
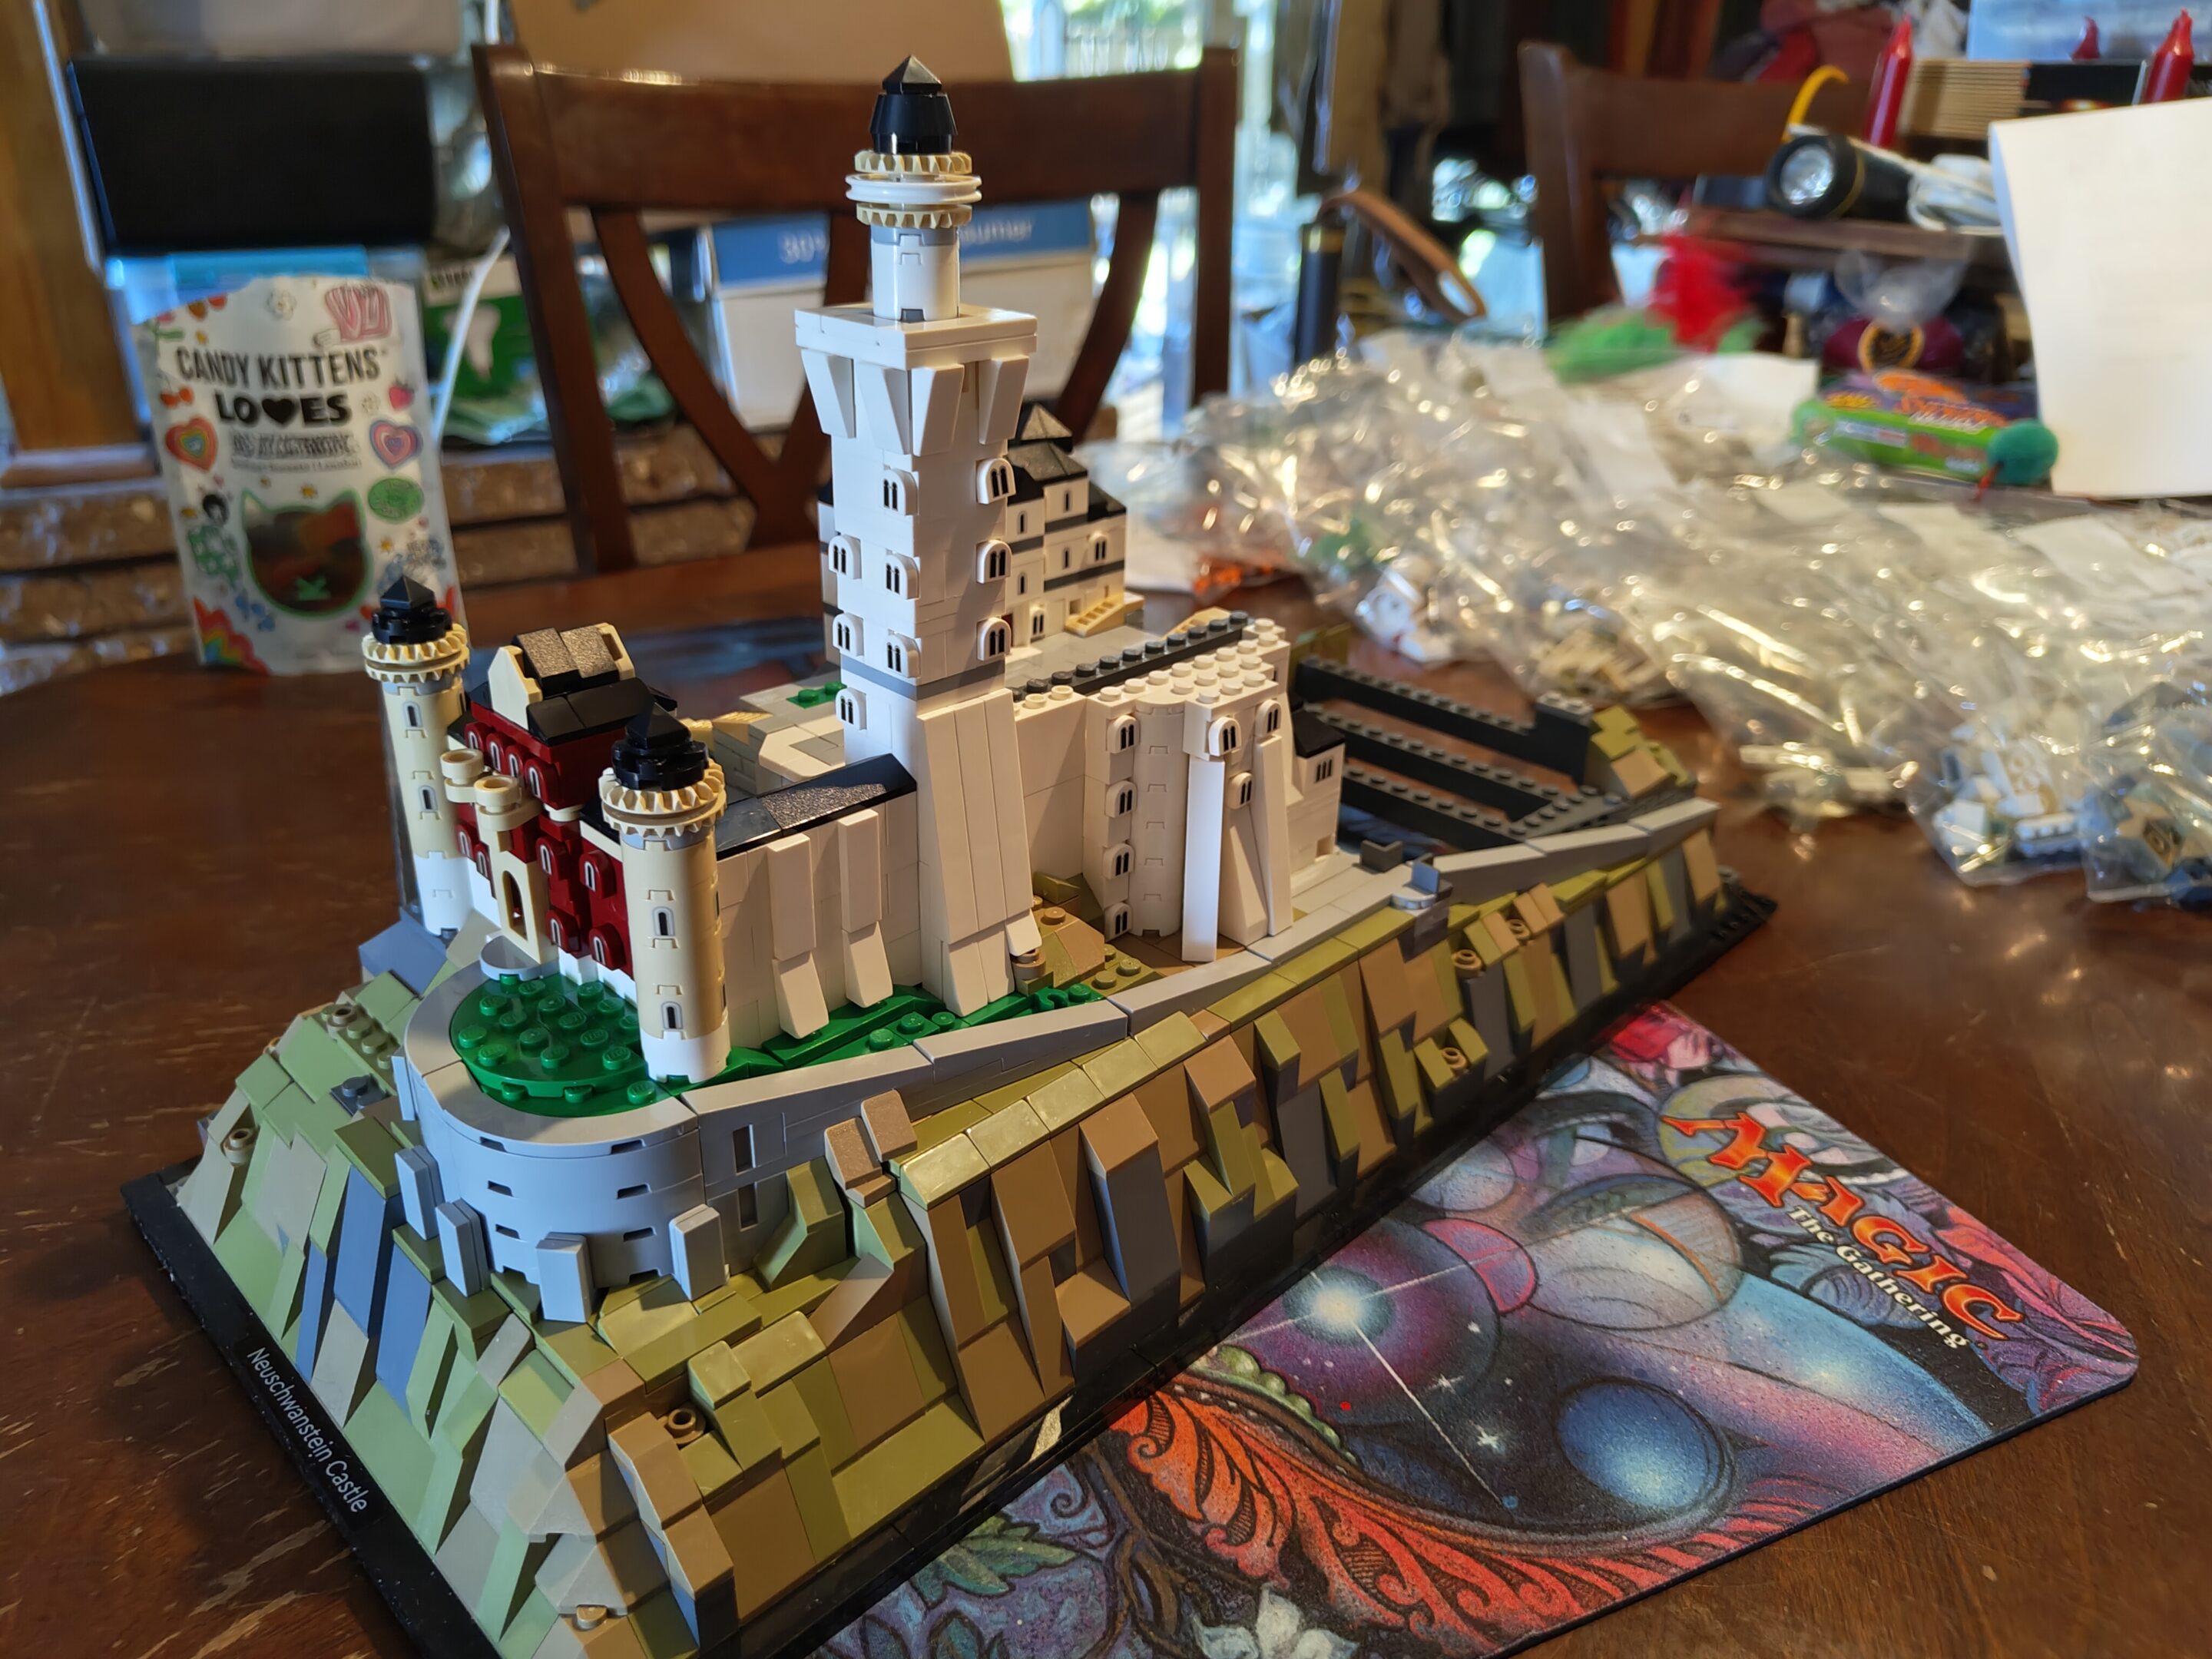
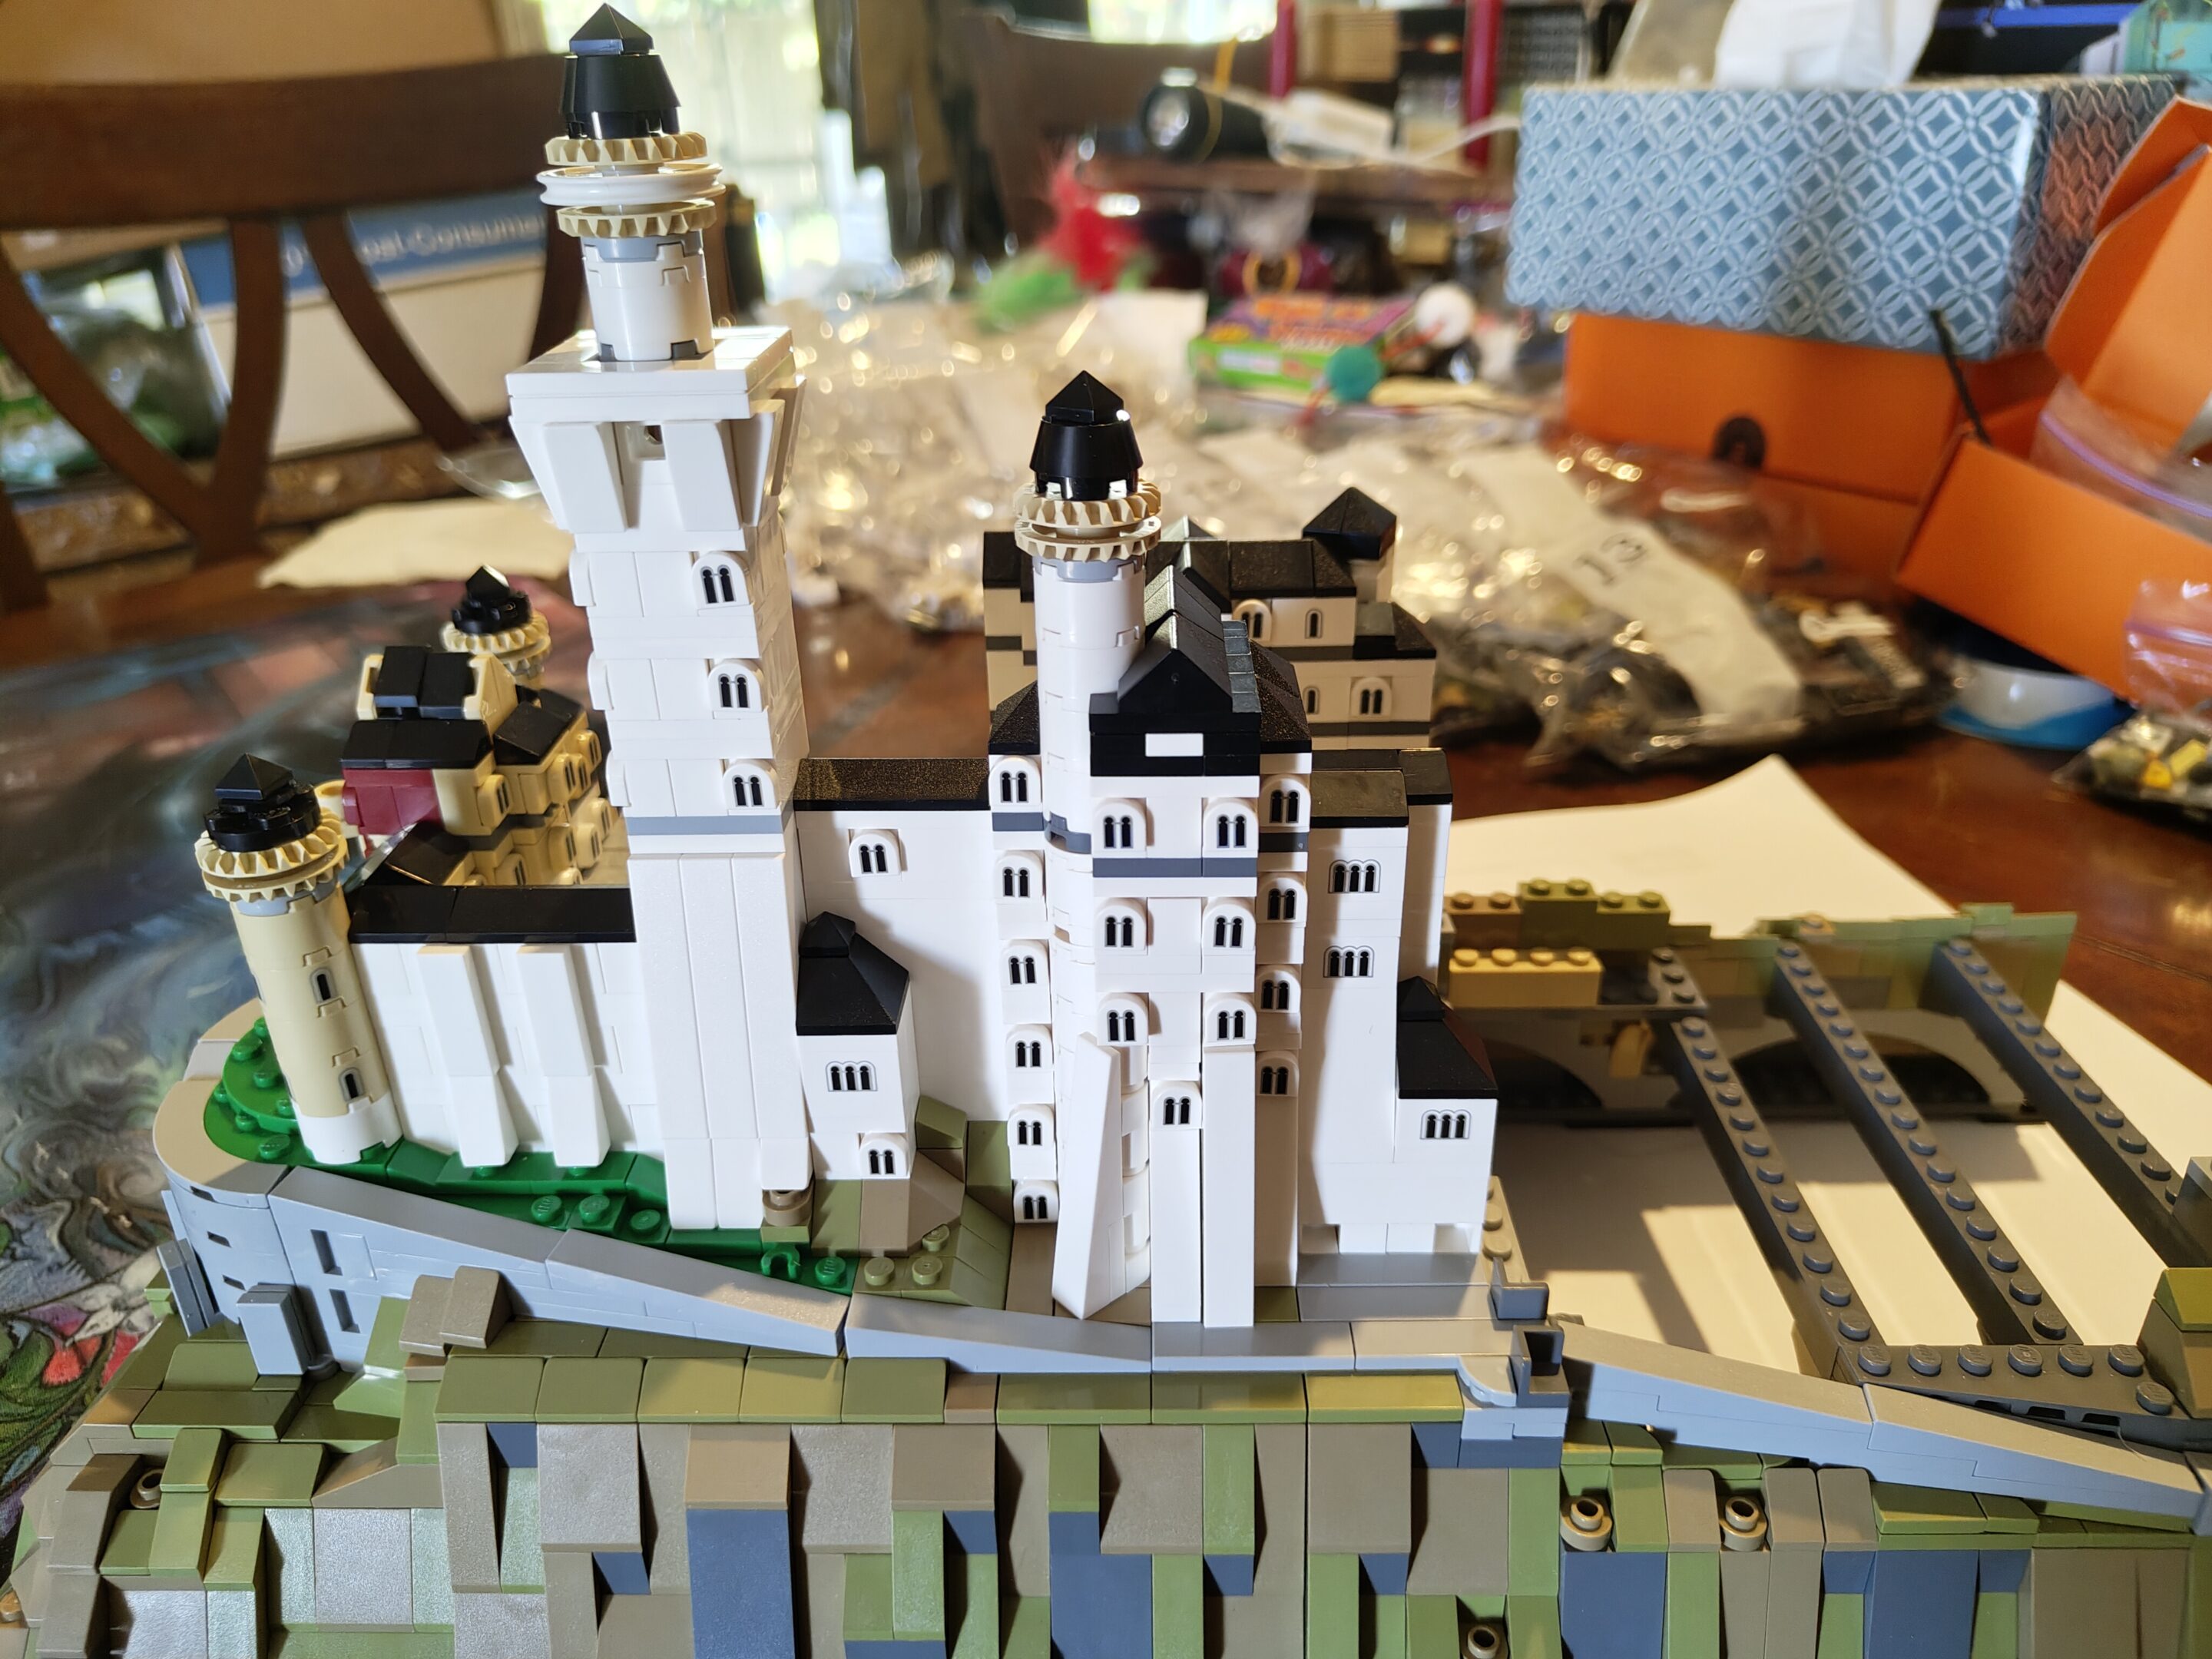
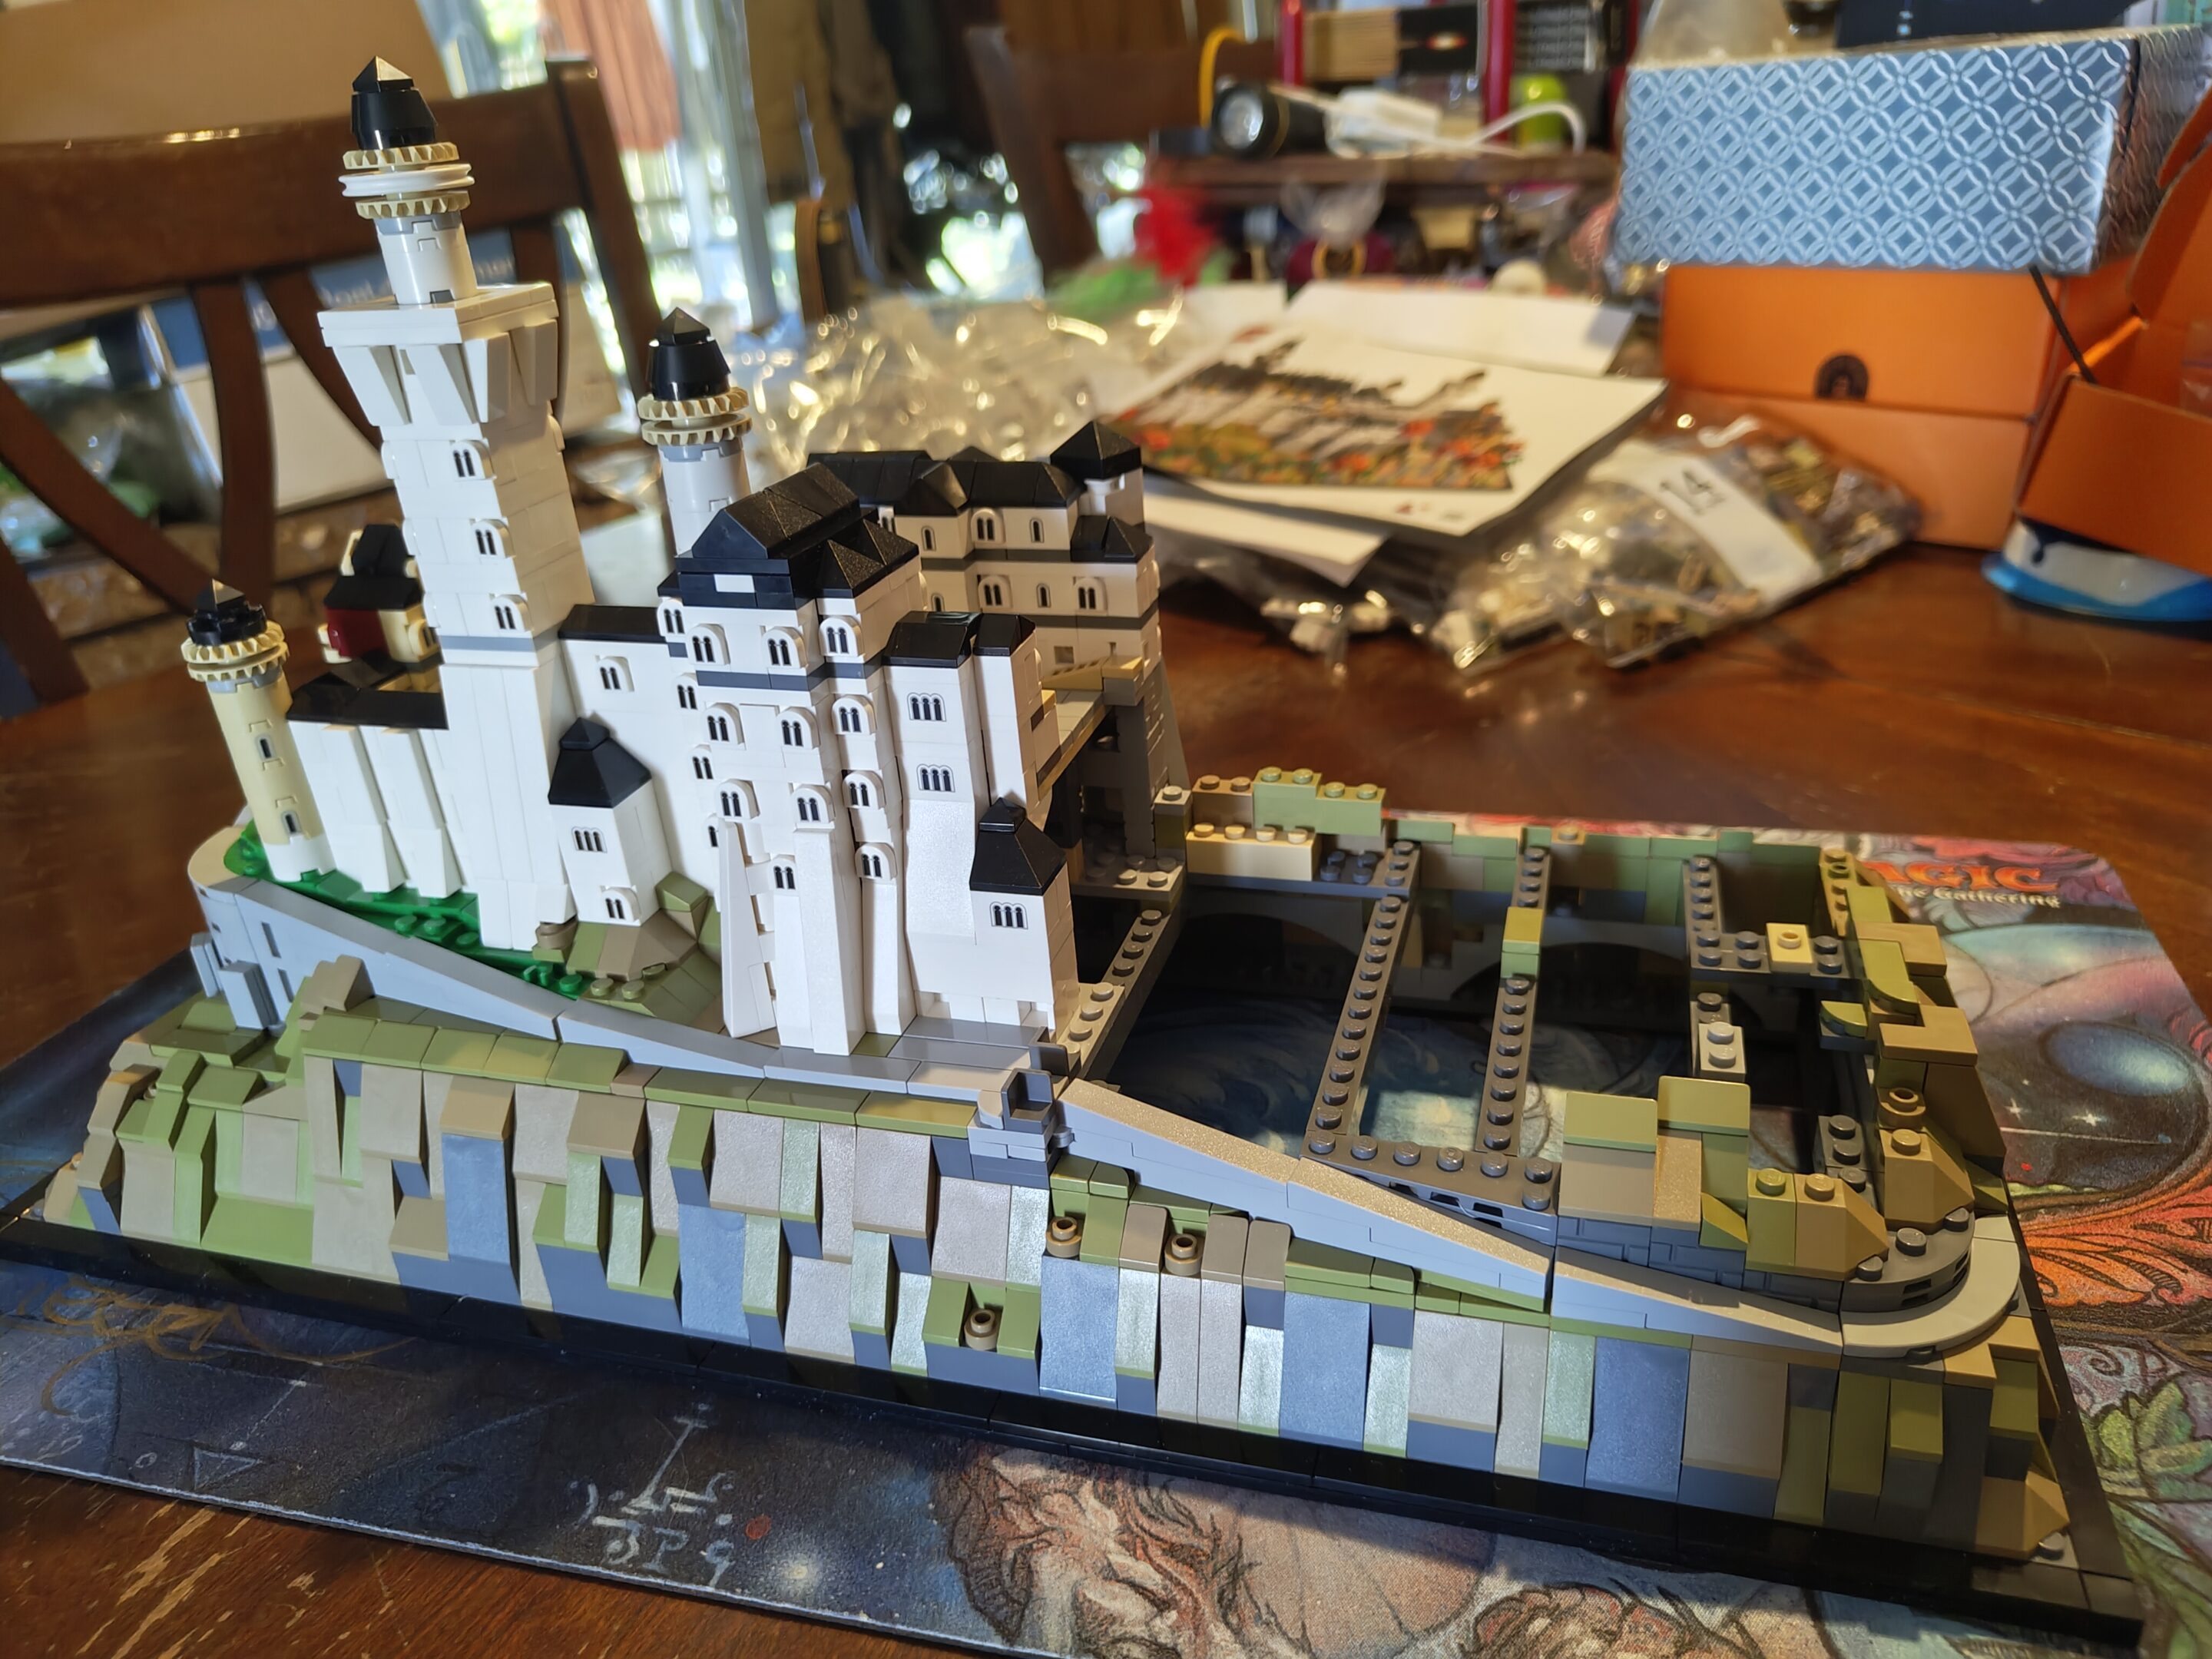
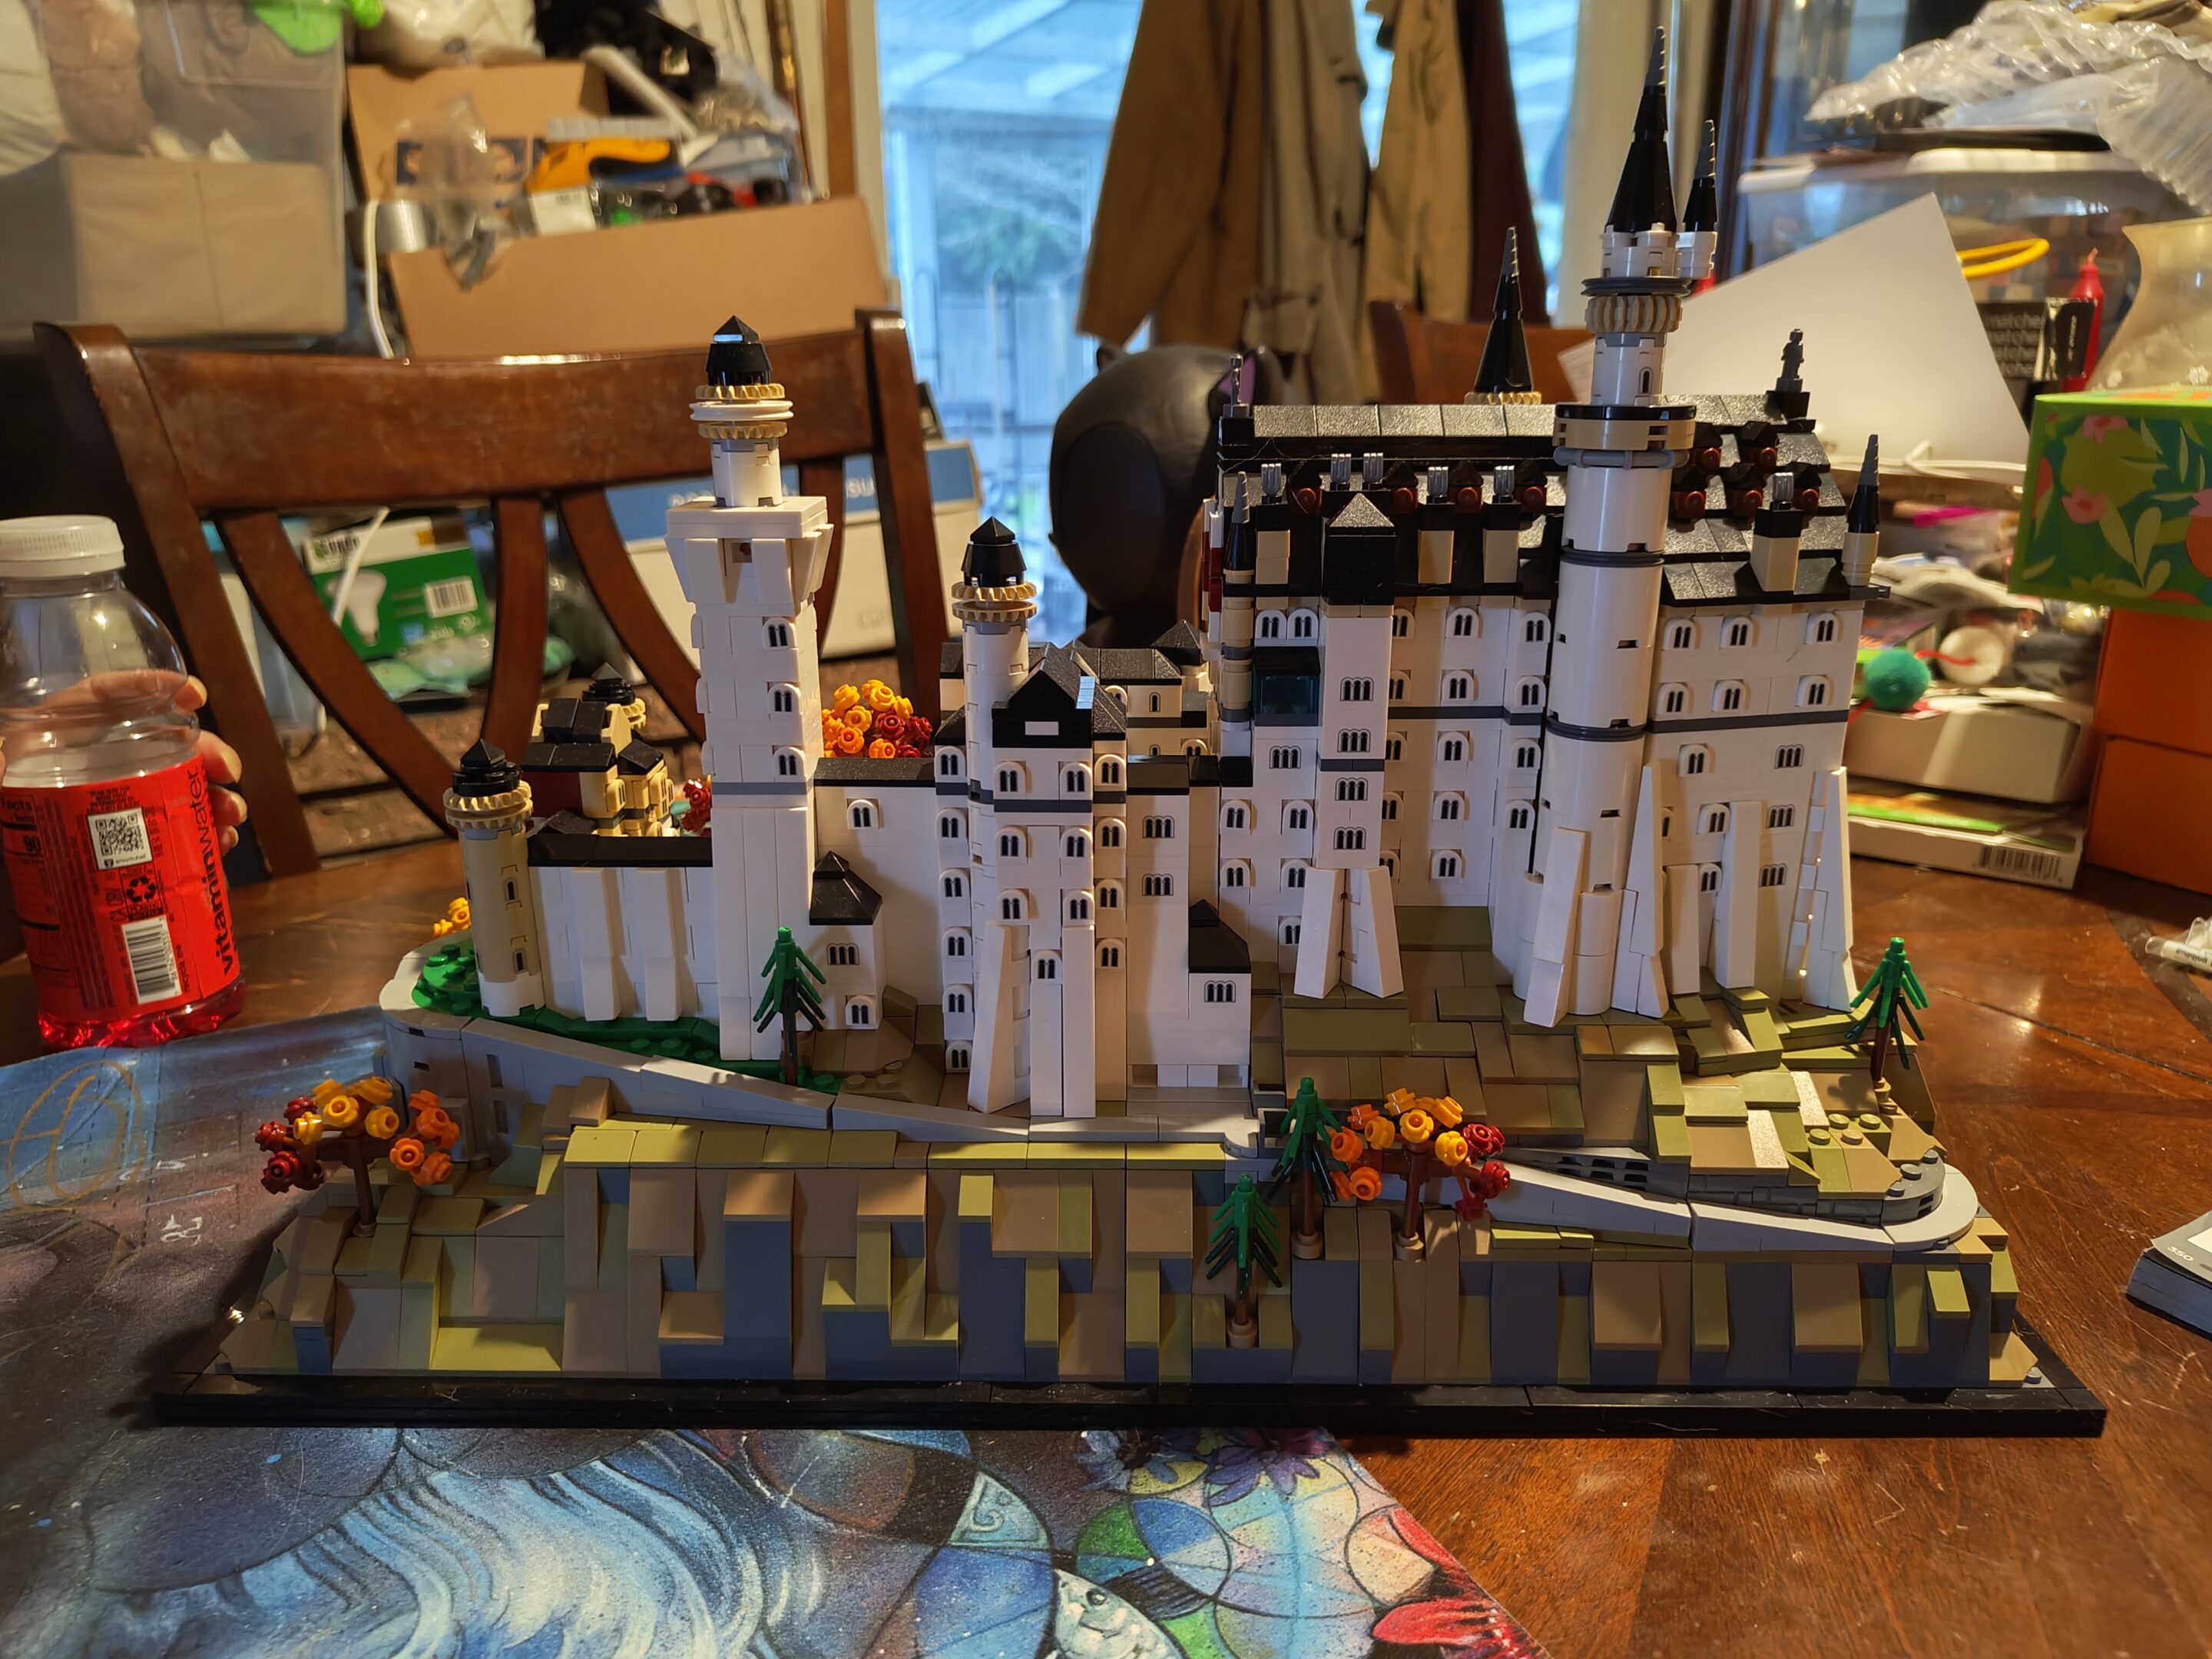
so, uh, i wasn’t feeling super great for basically like the last six weeks so i didn’t really take any pictures between the last ones and these last two of the finished product. anyway, here’s the finished castle (we chose autumn theme for the trees)
showed up in the mail today (september 23rd, 2025) this one is in the queue after i finish up train, which is gonna take a bit. no pictures yet just wanted to get the post started since i was doing stuff on my site for the other builds anyway.
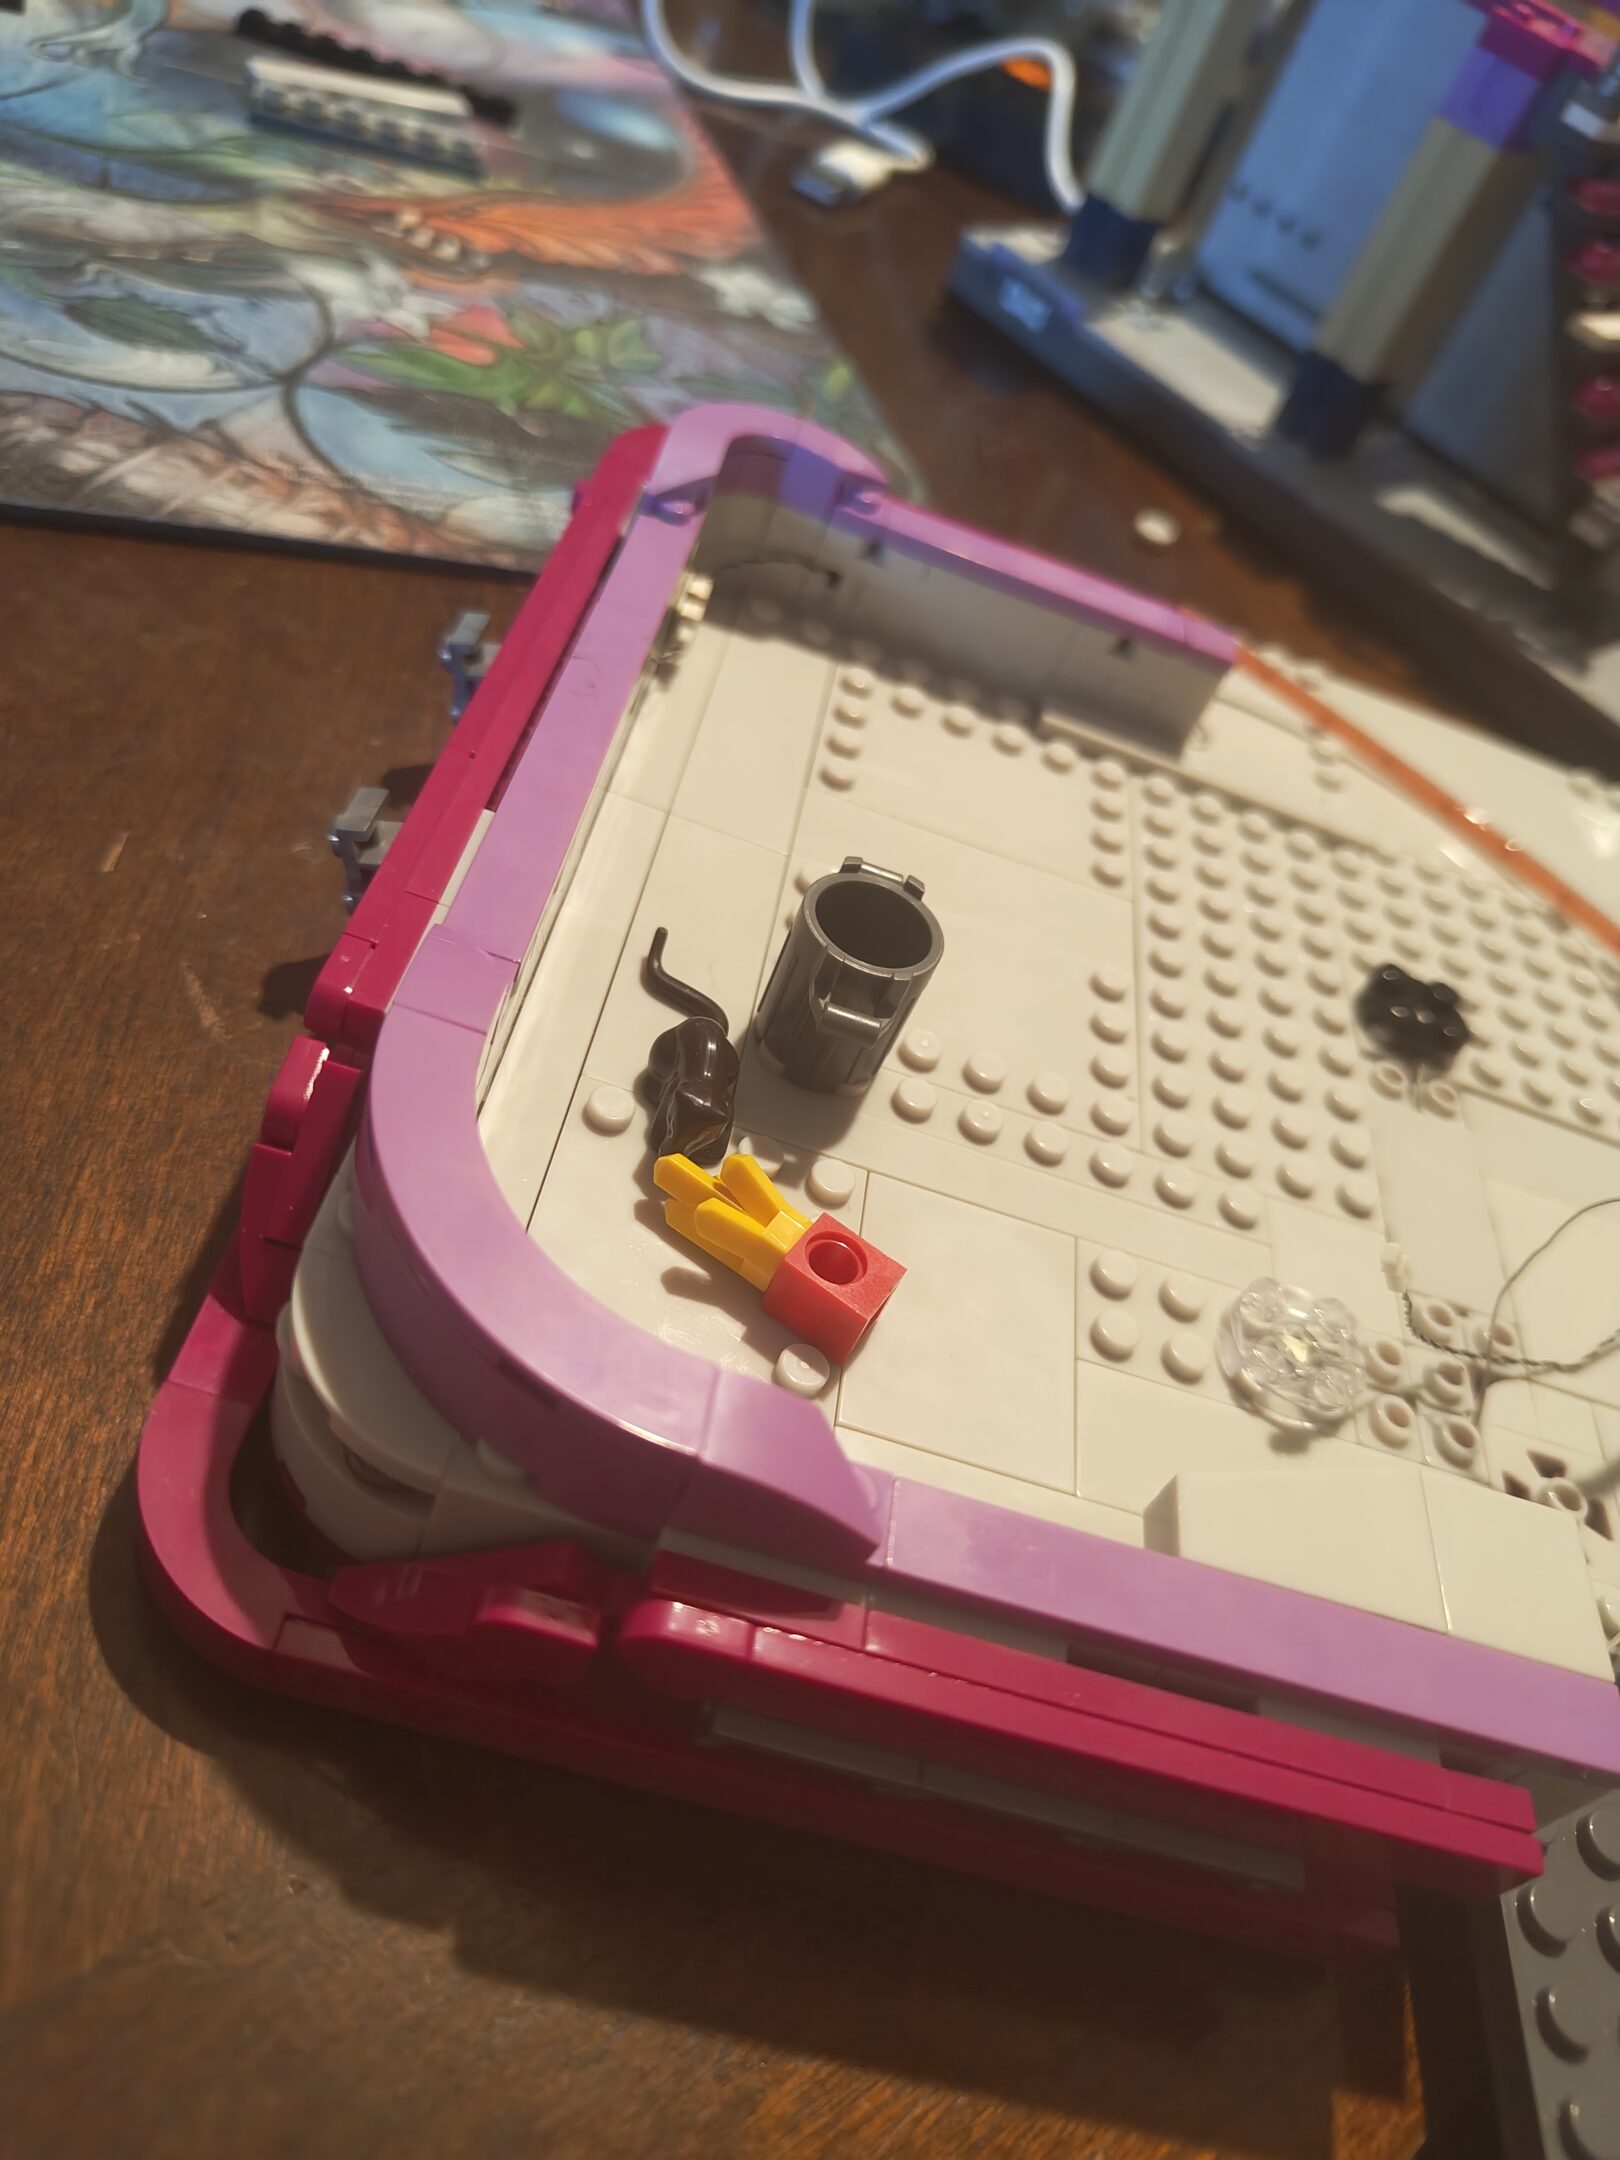
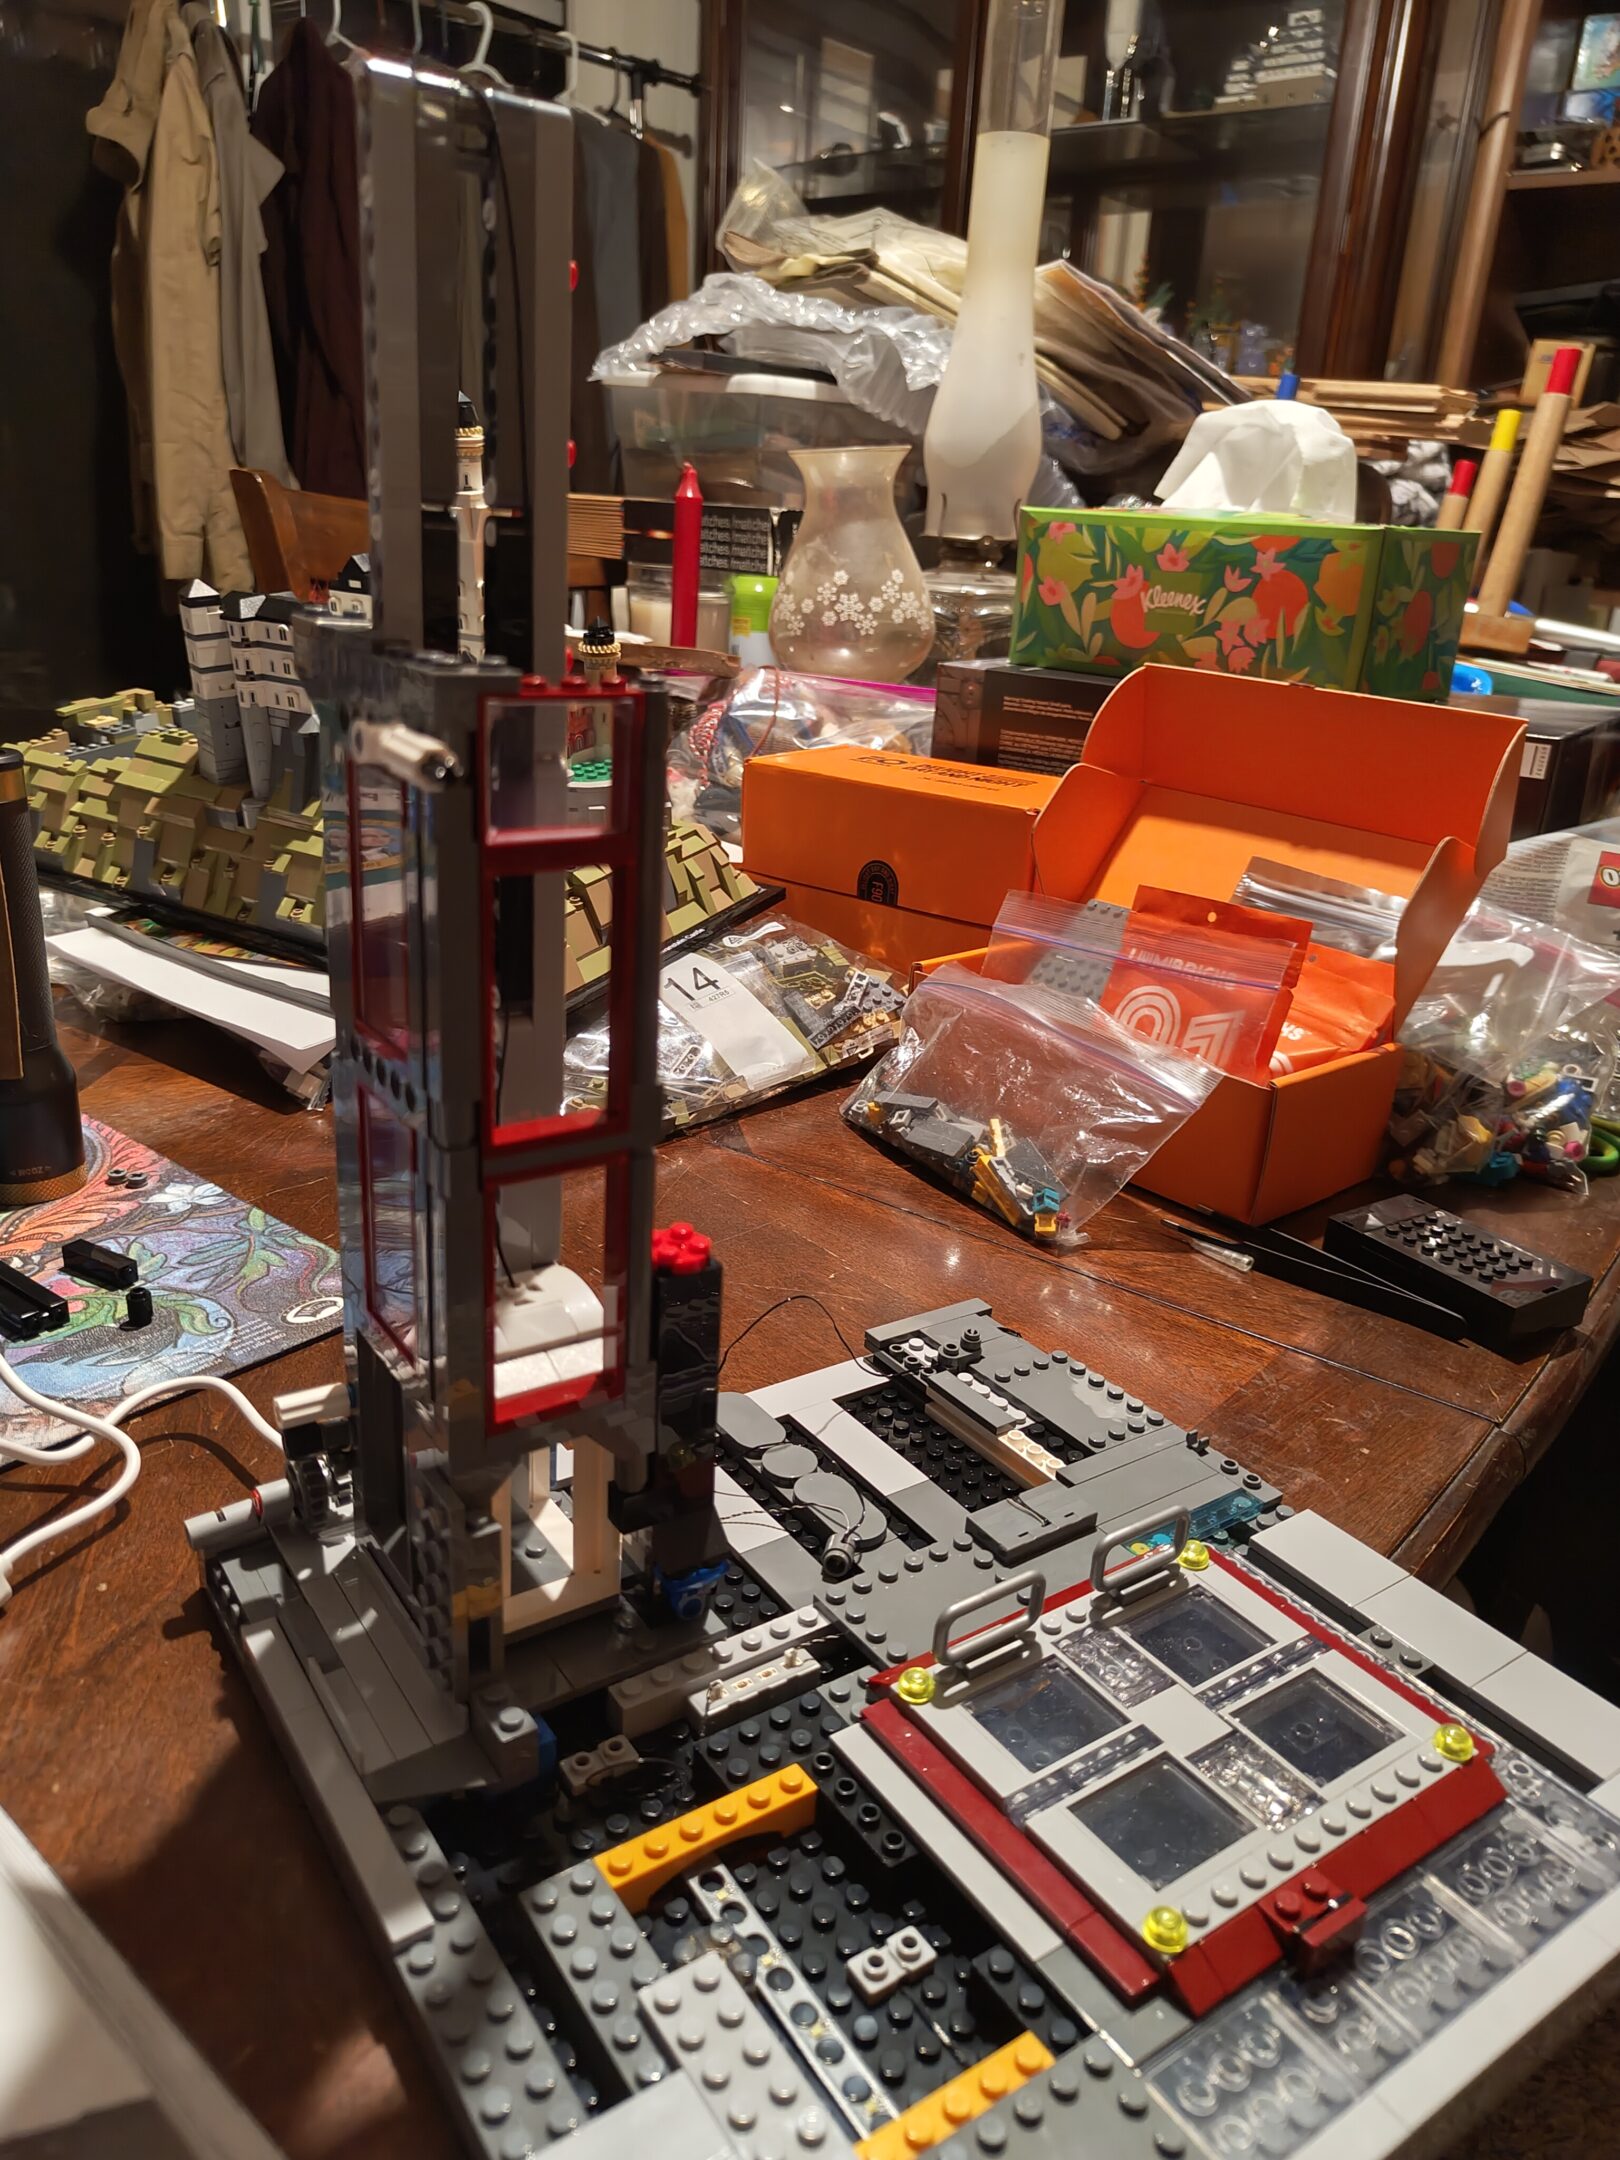
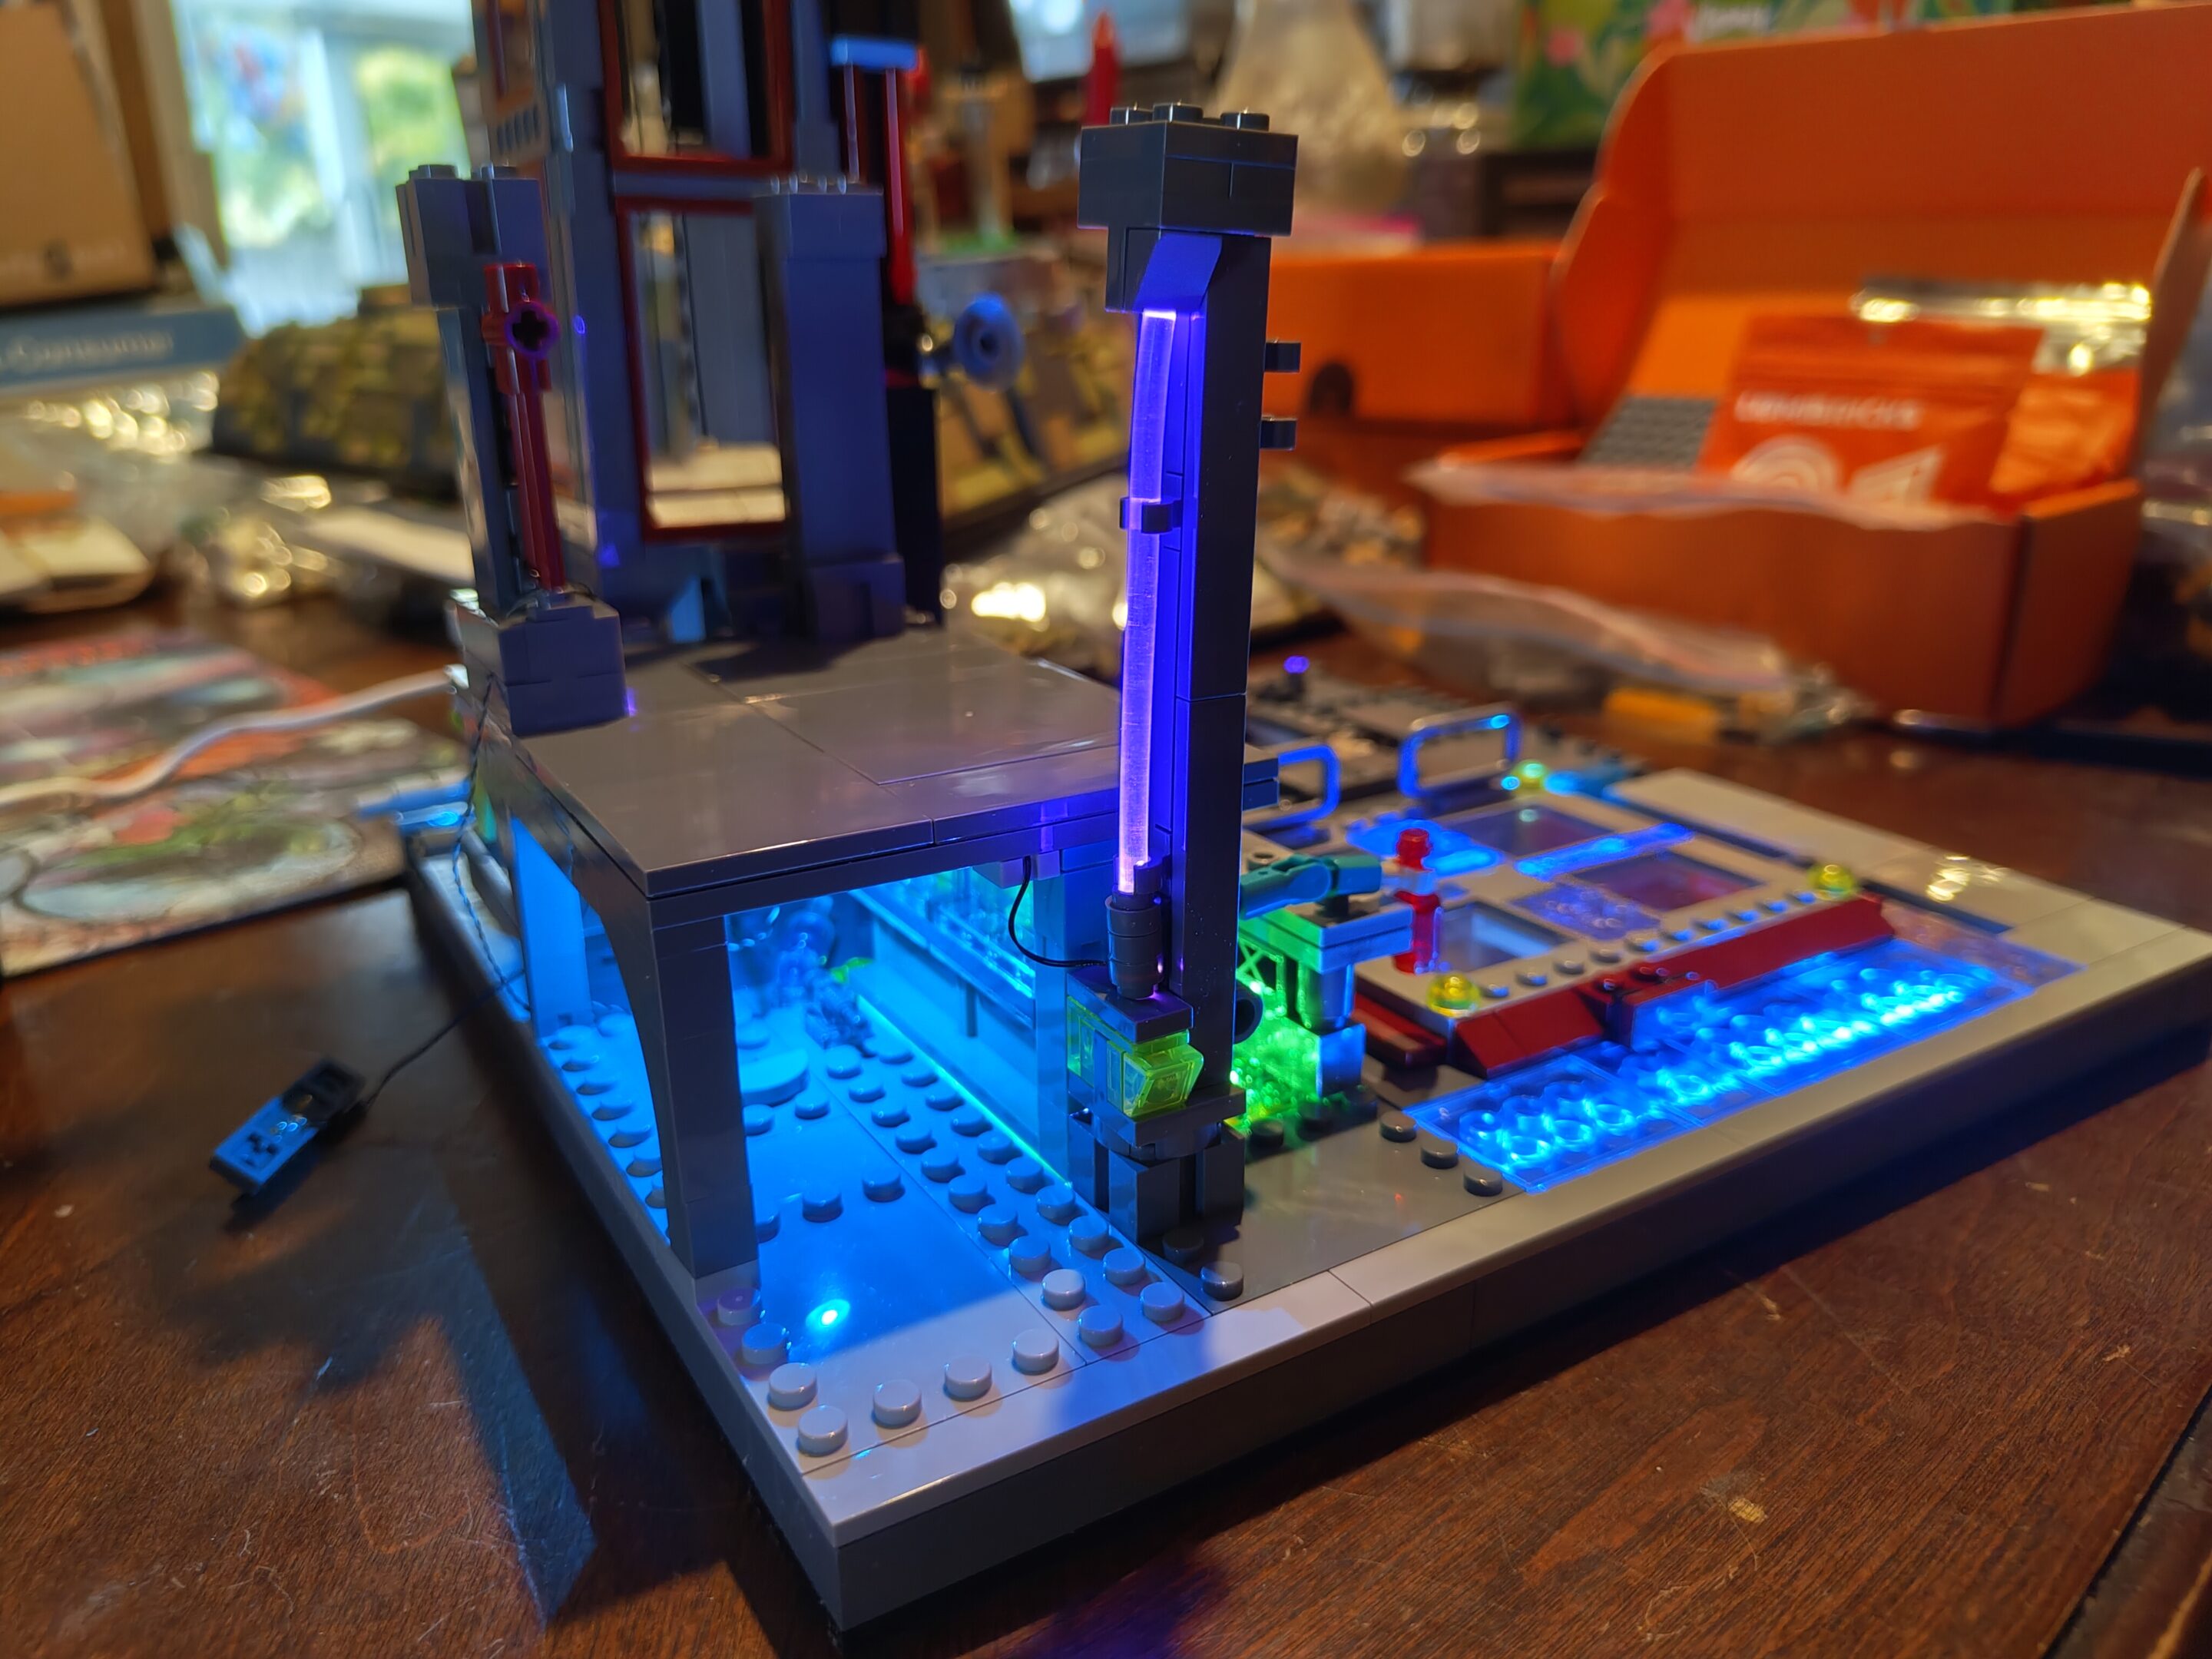
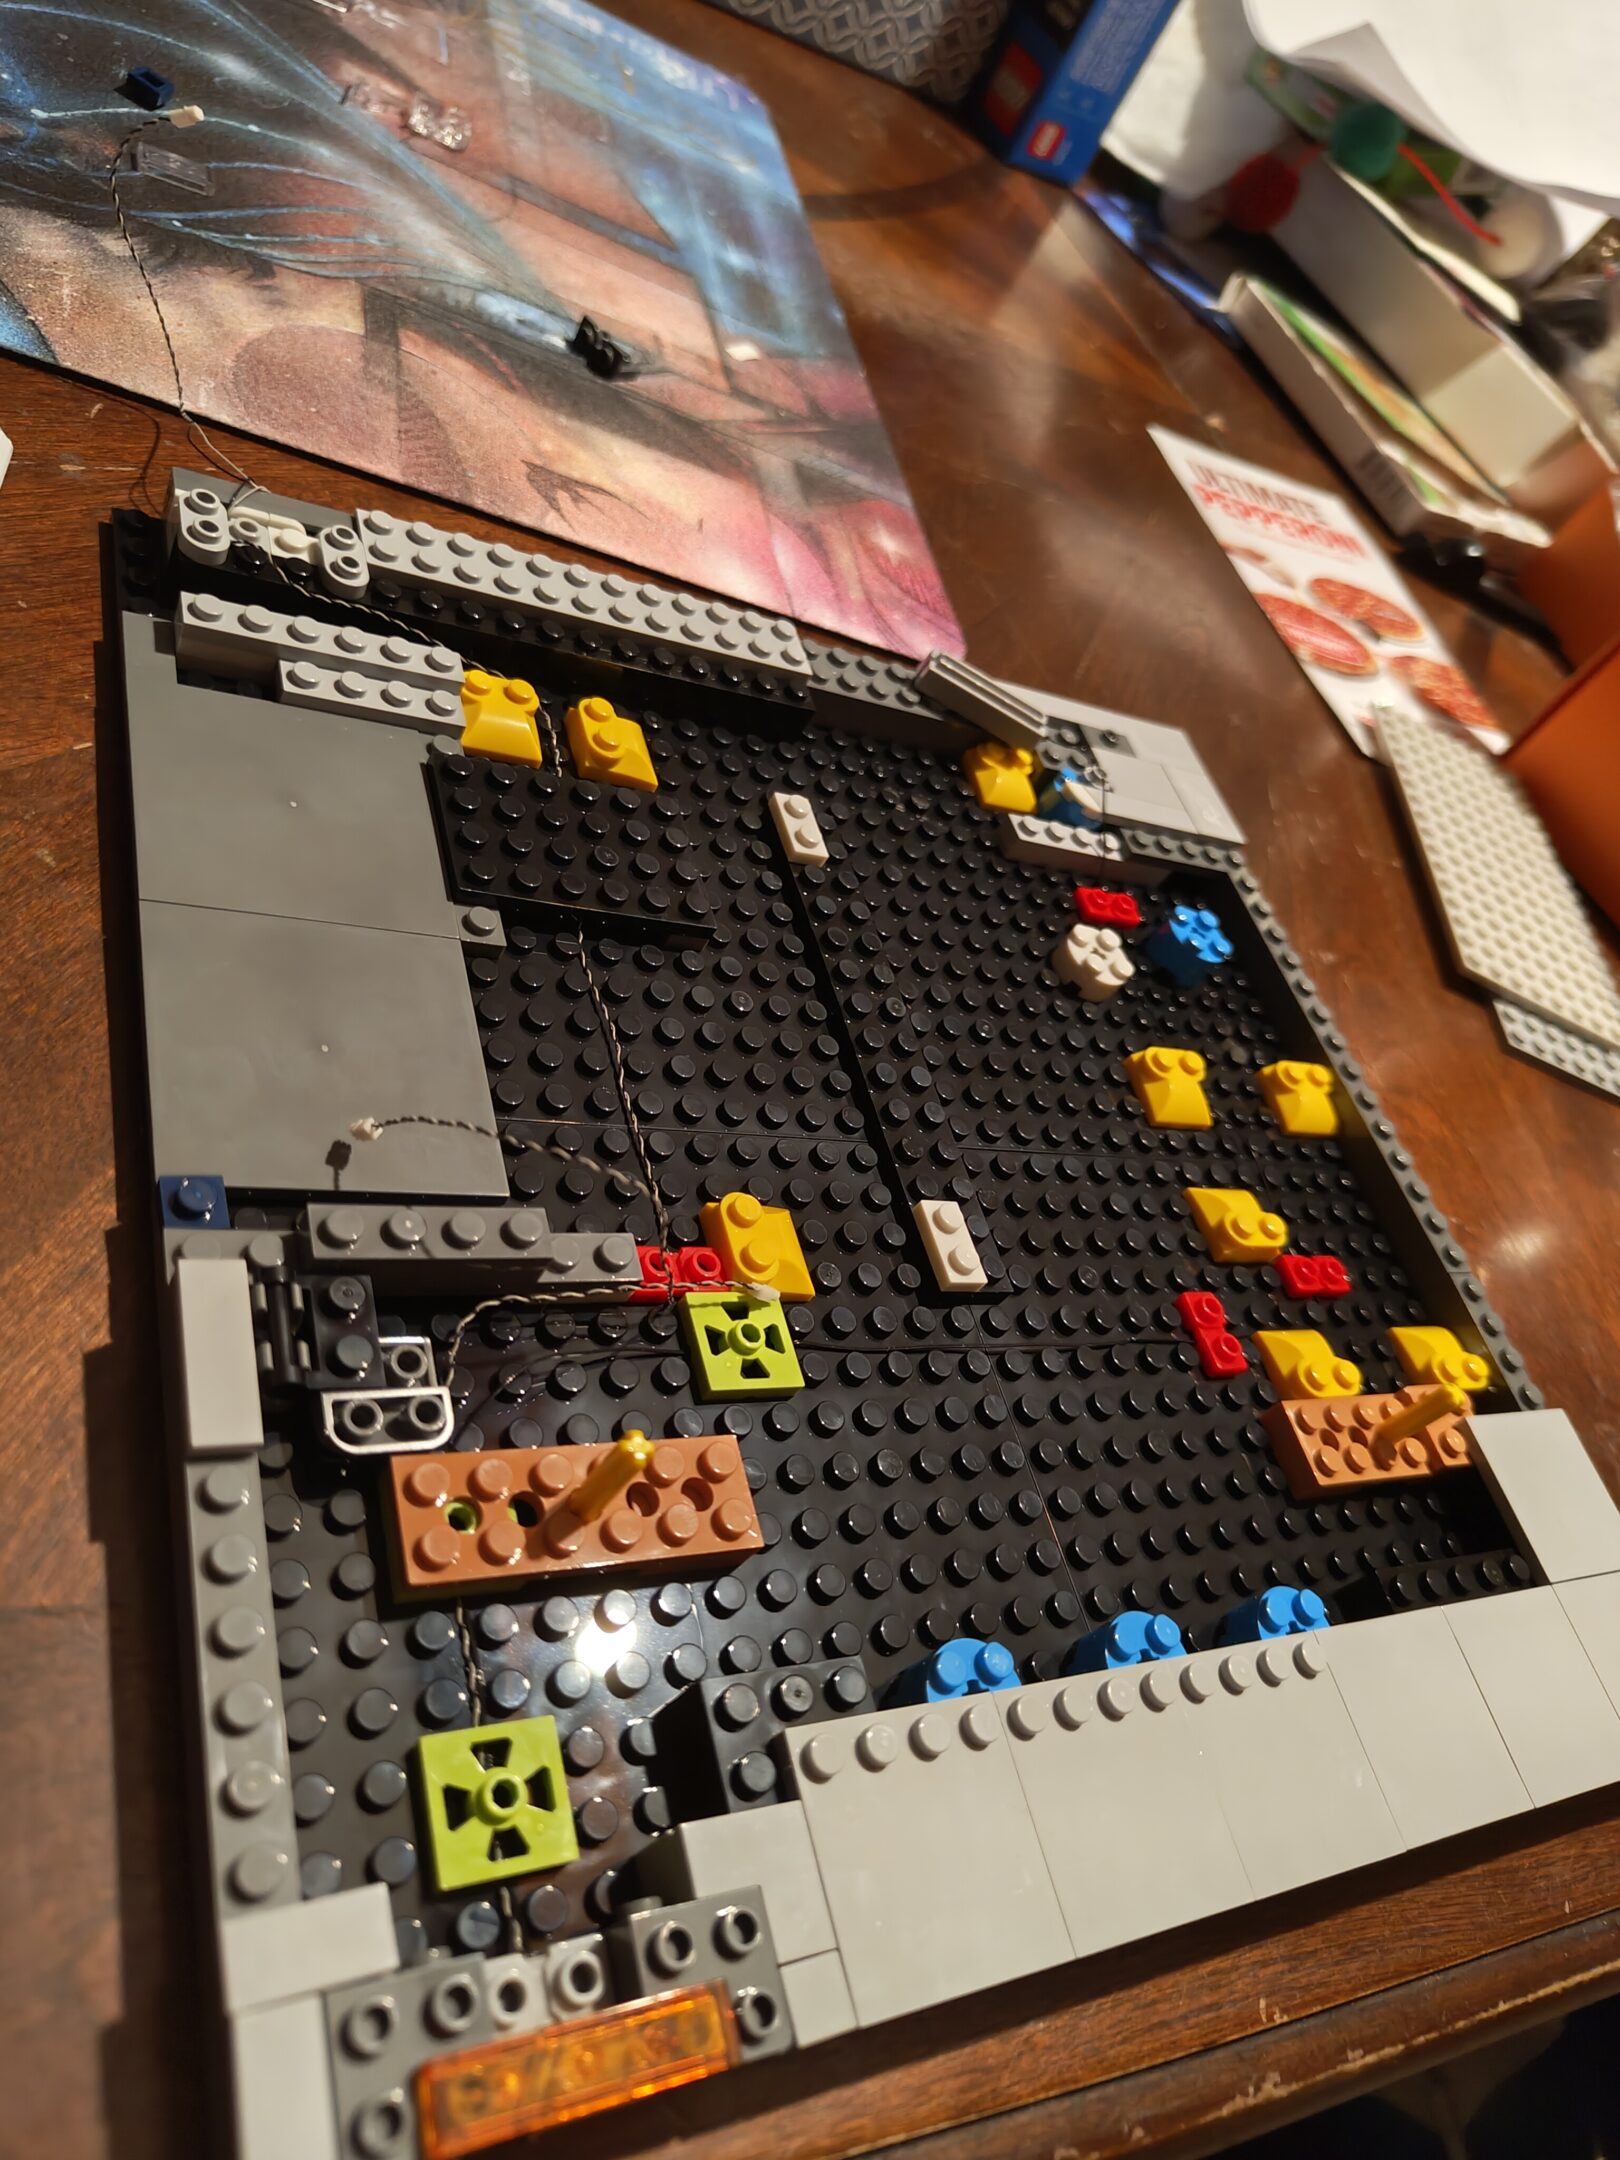
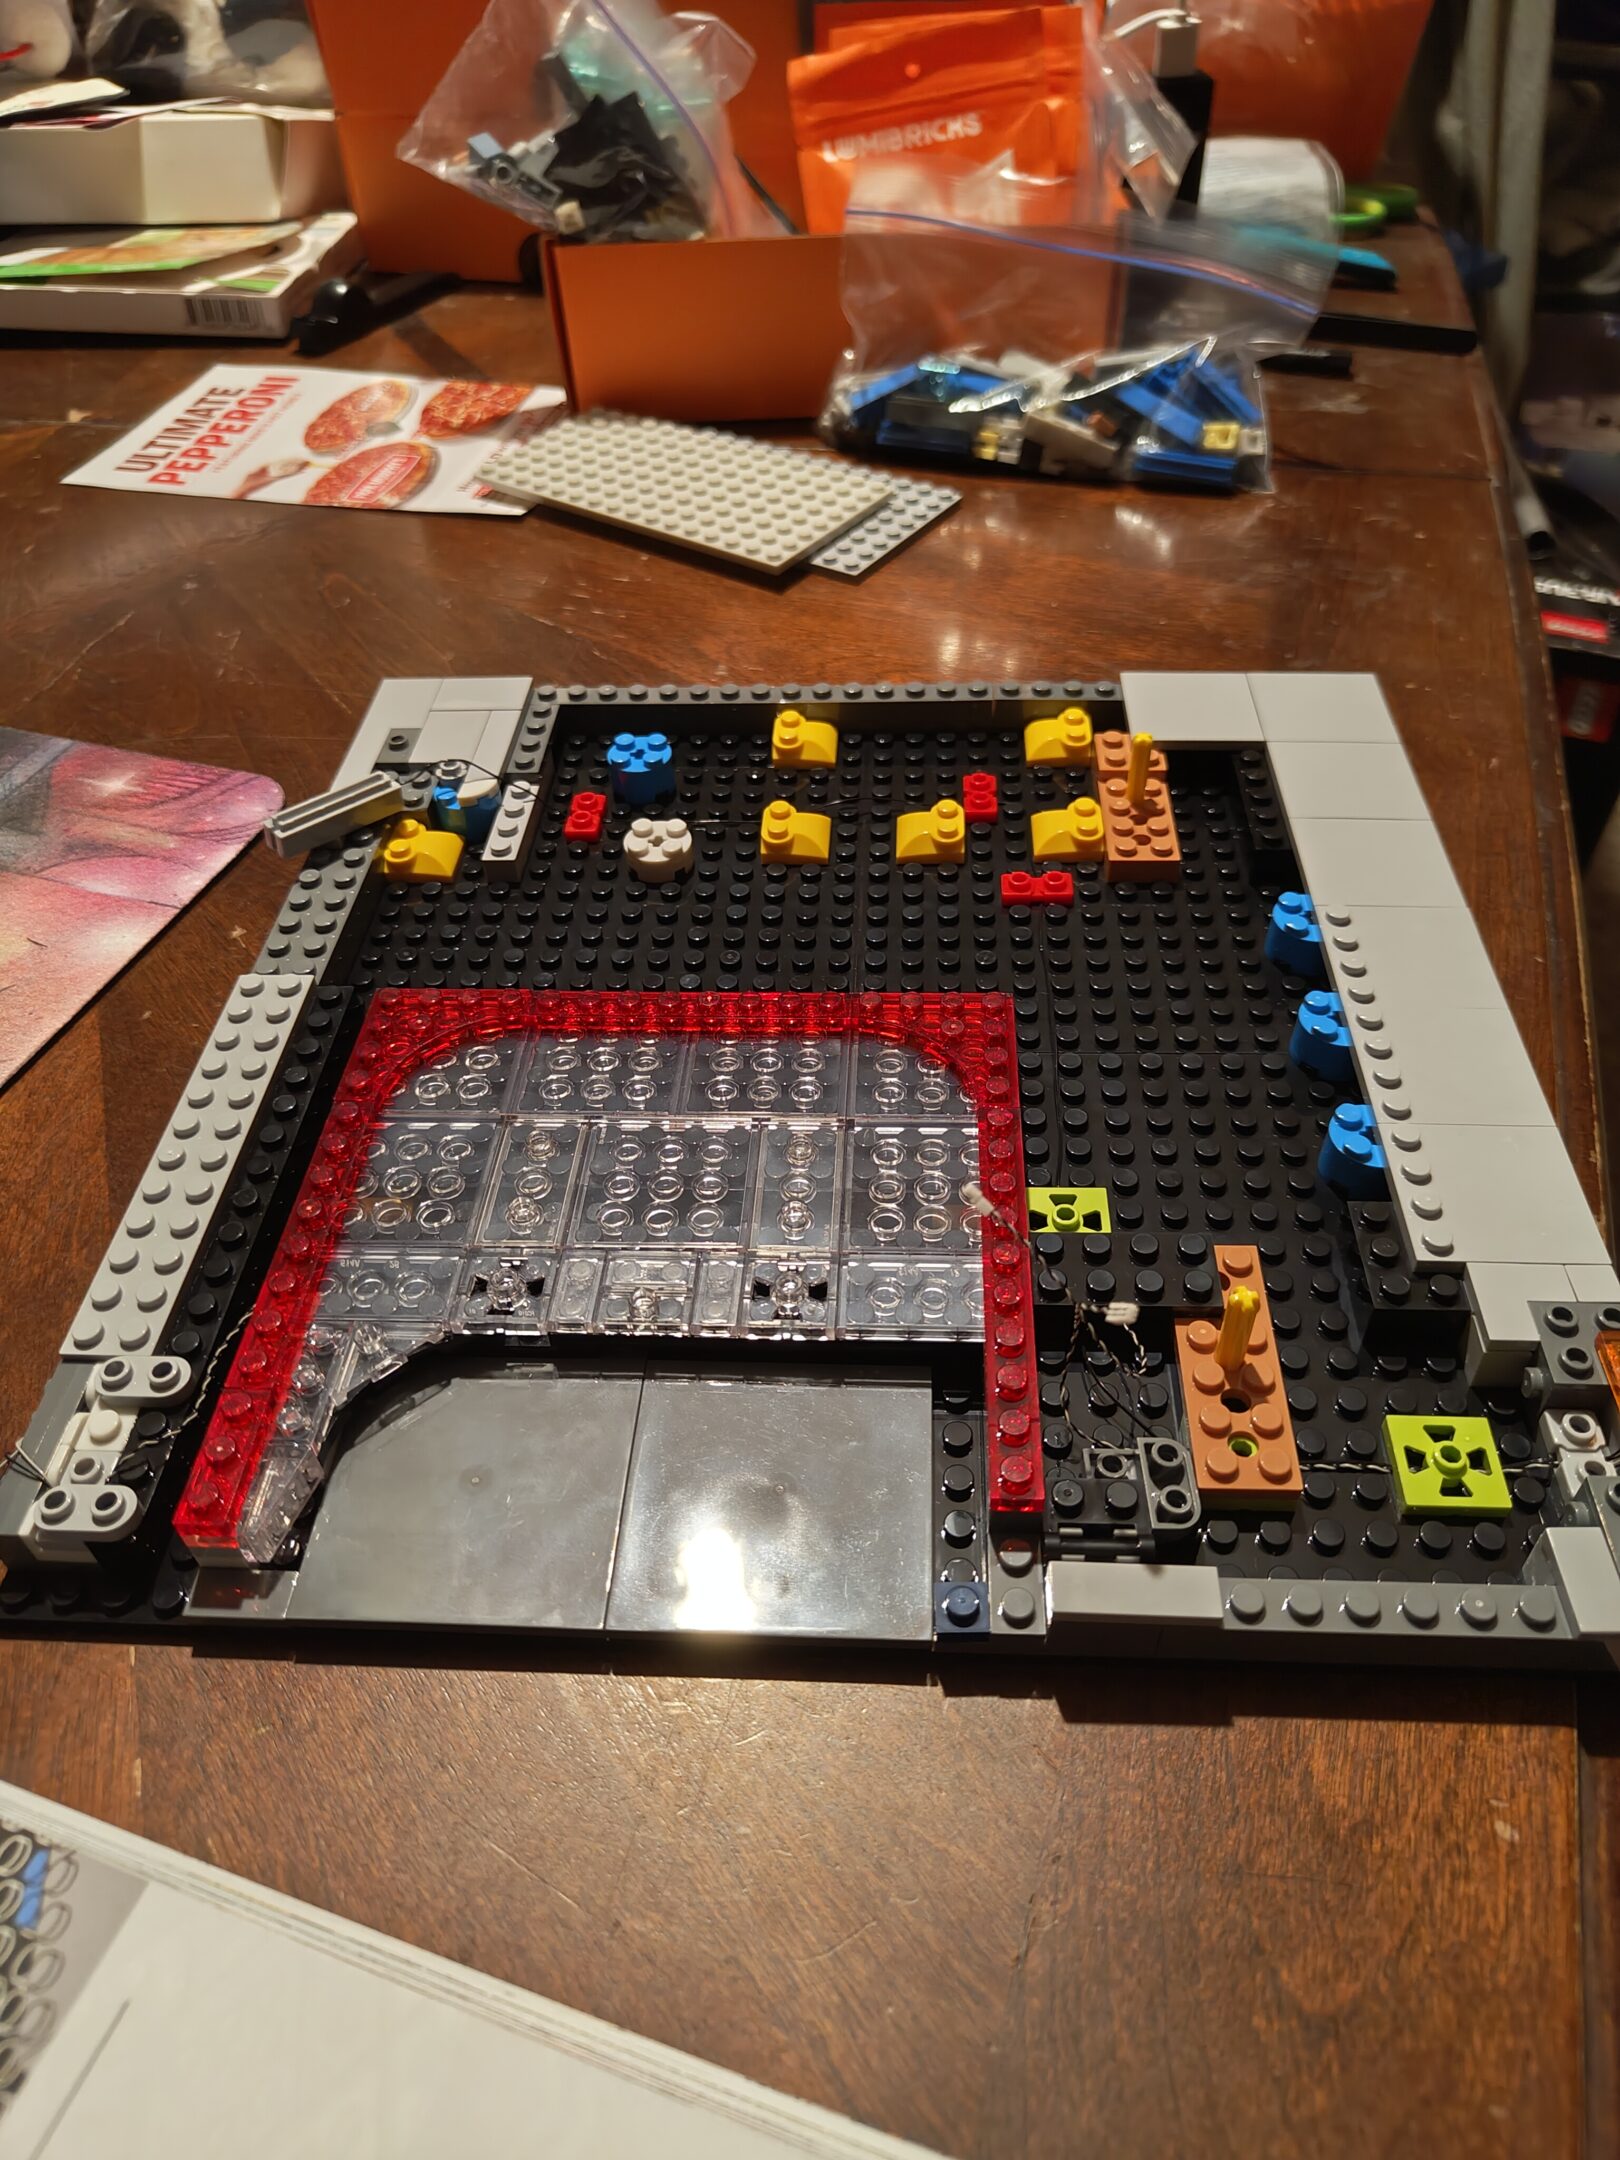
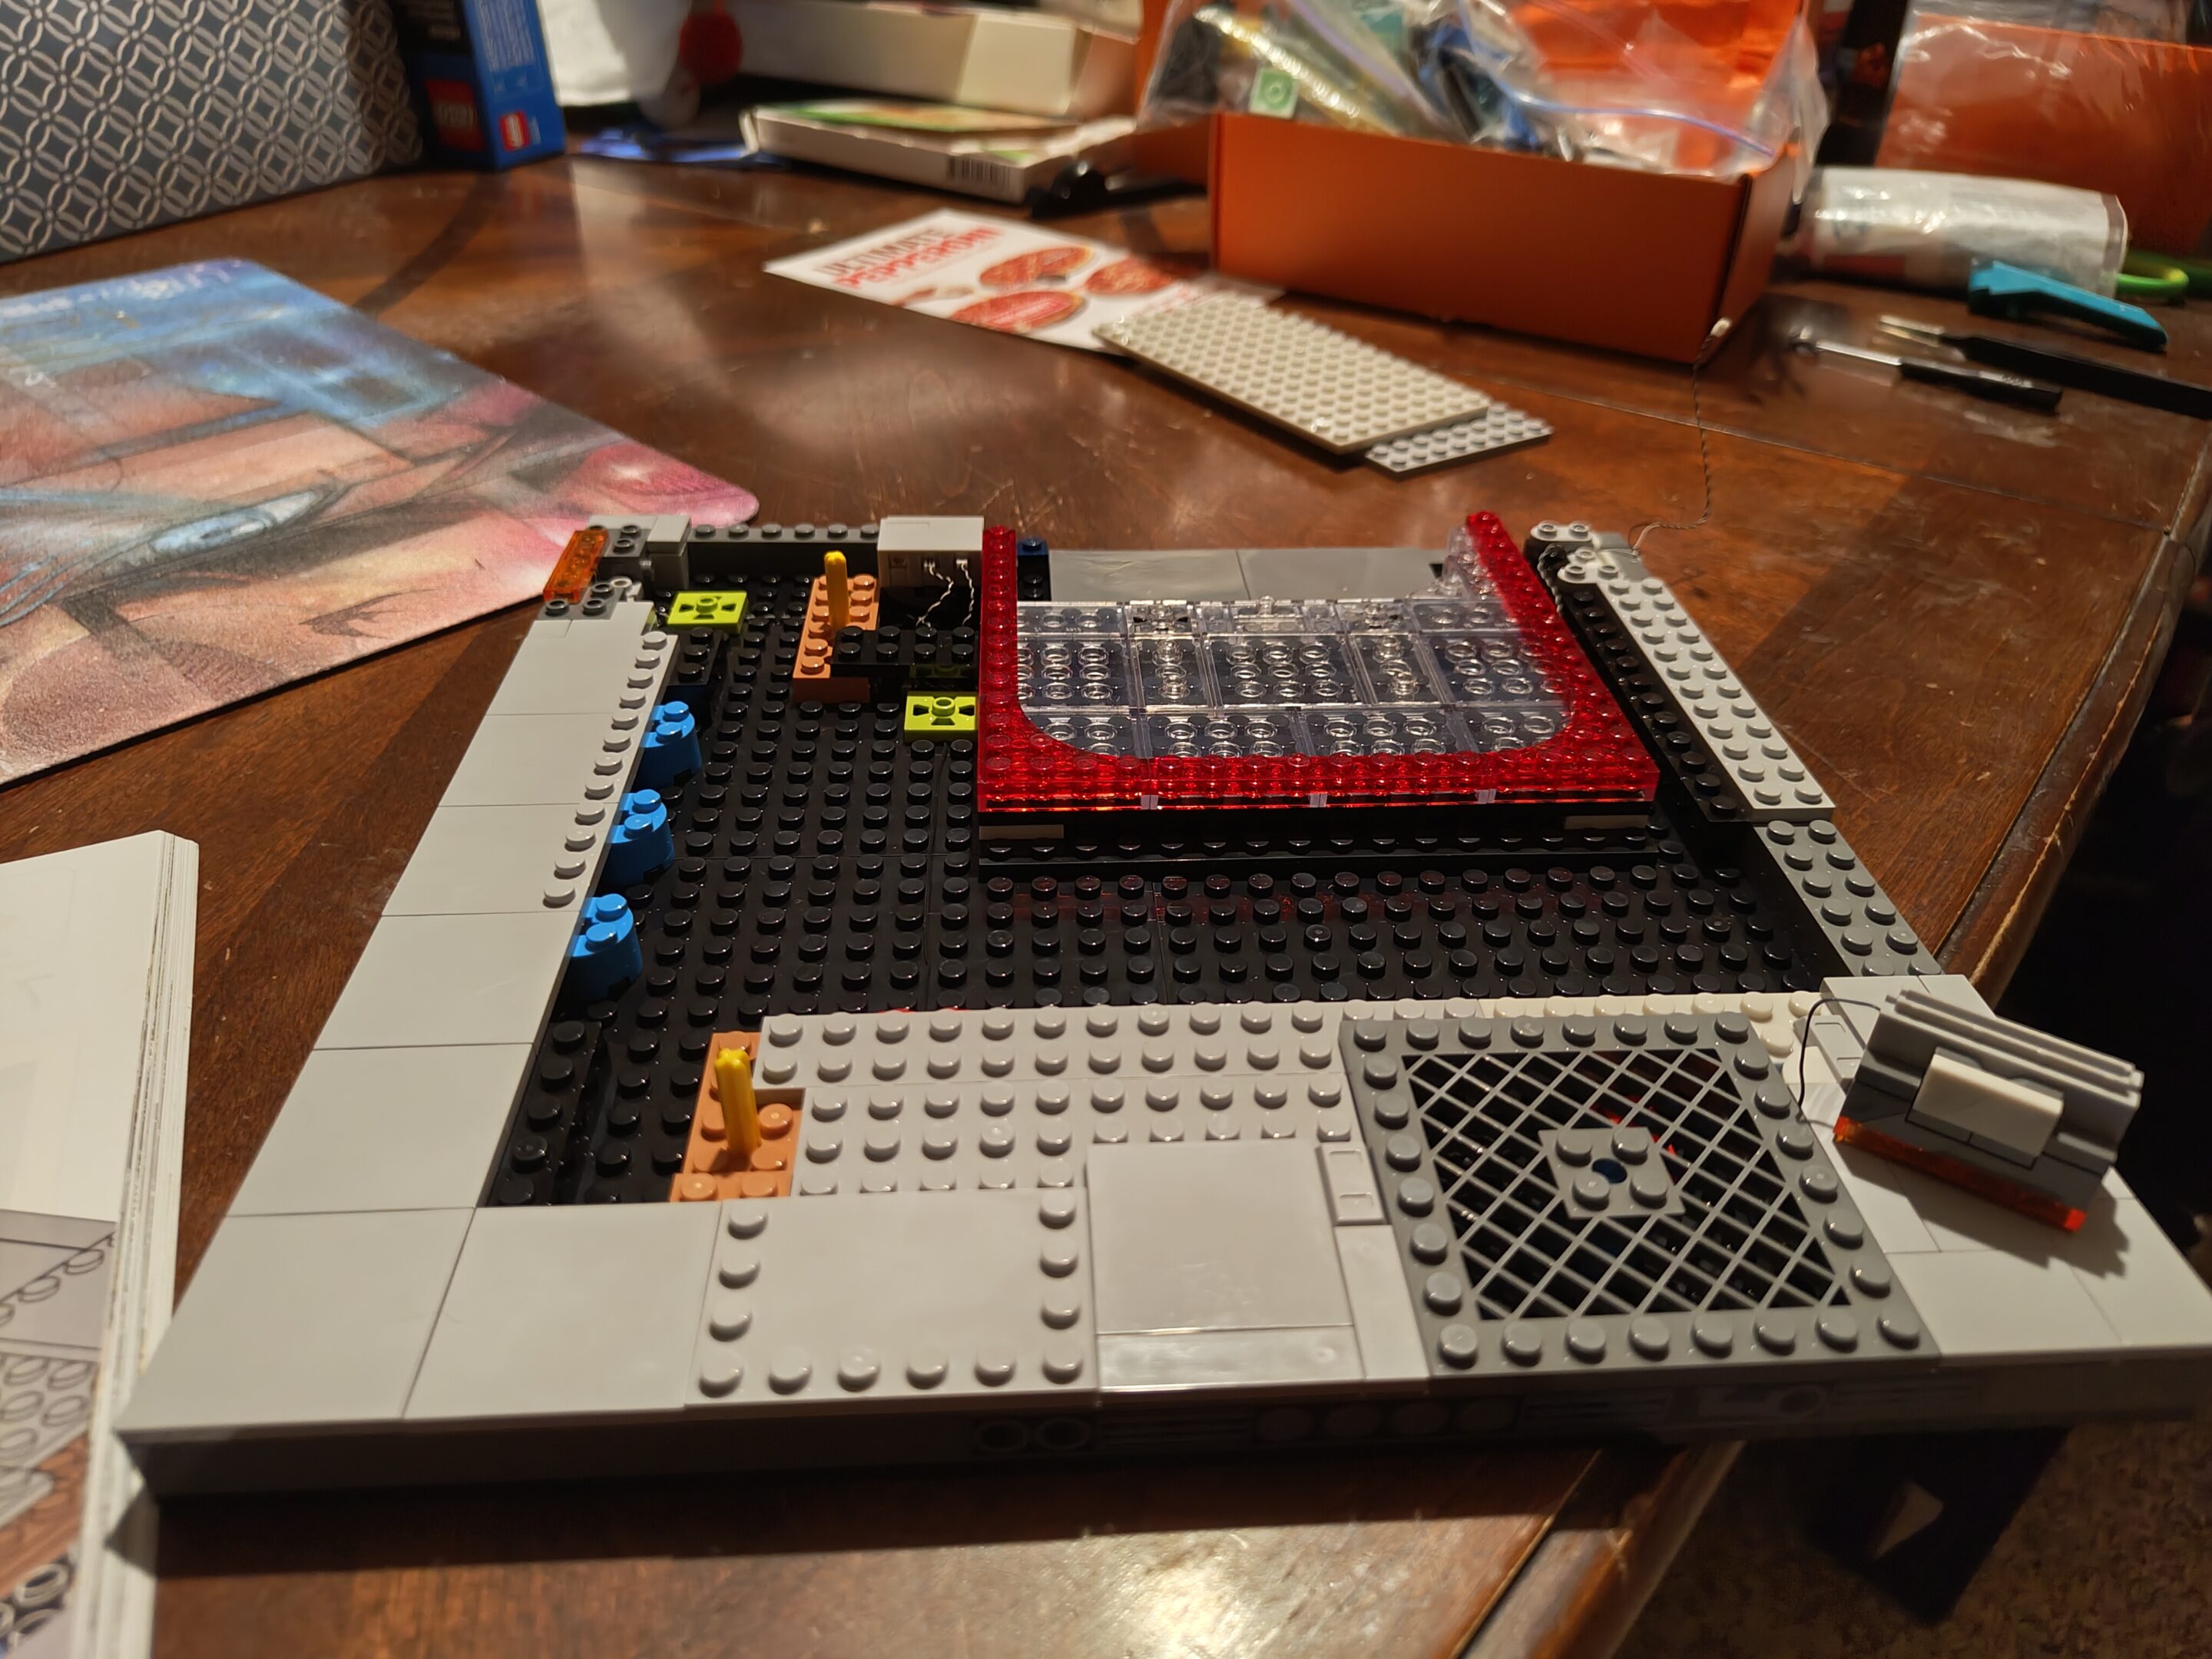
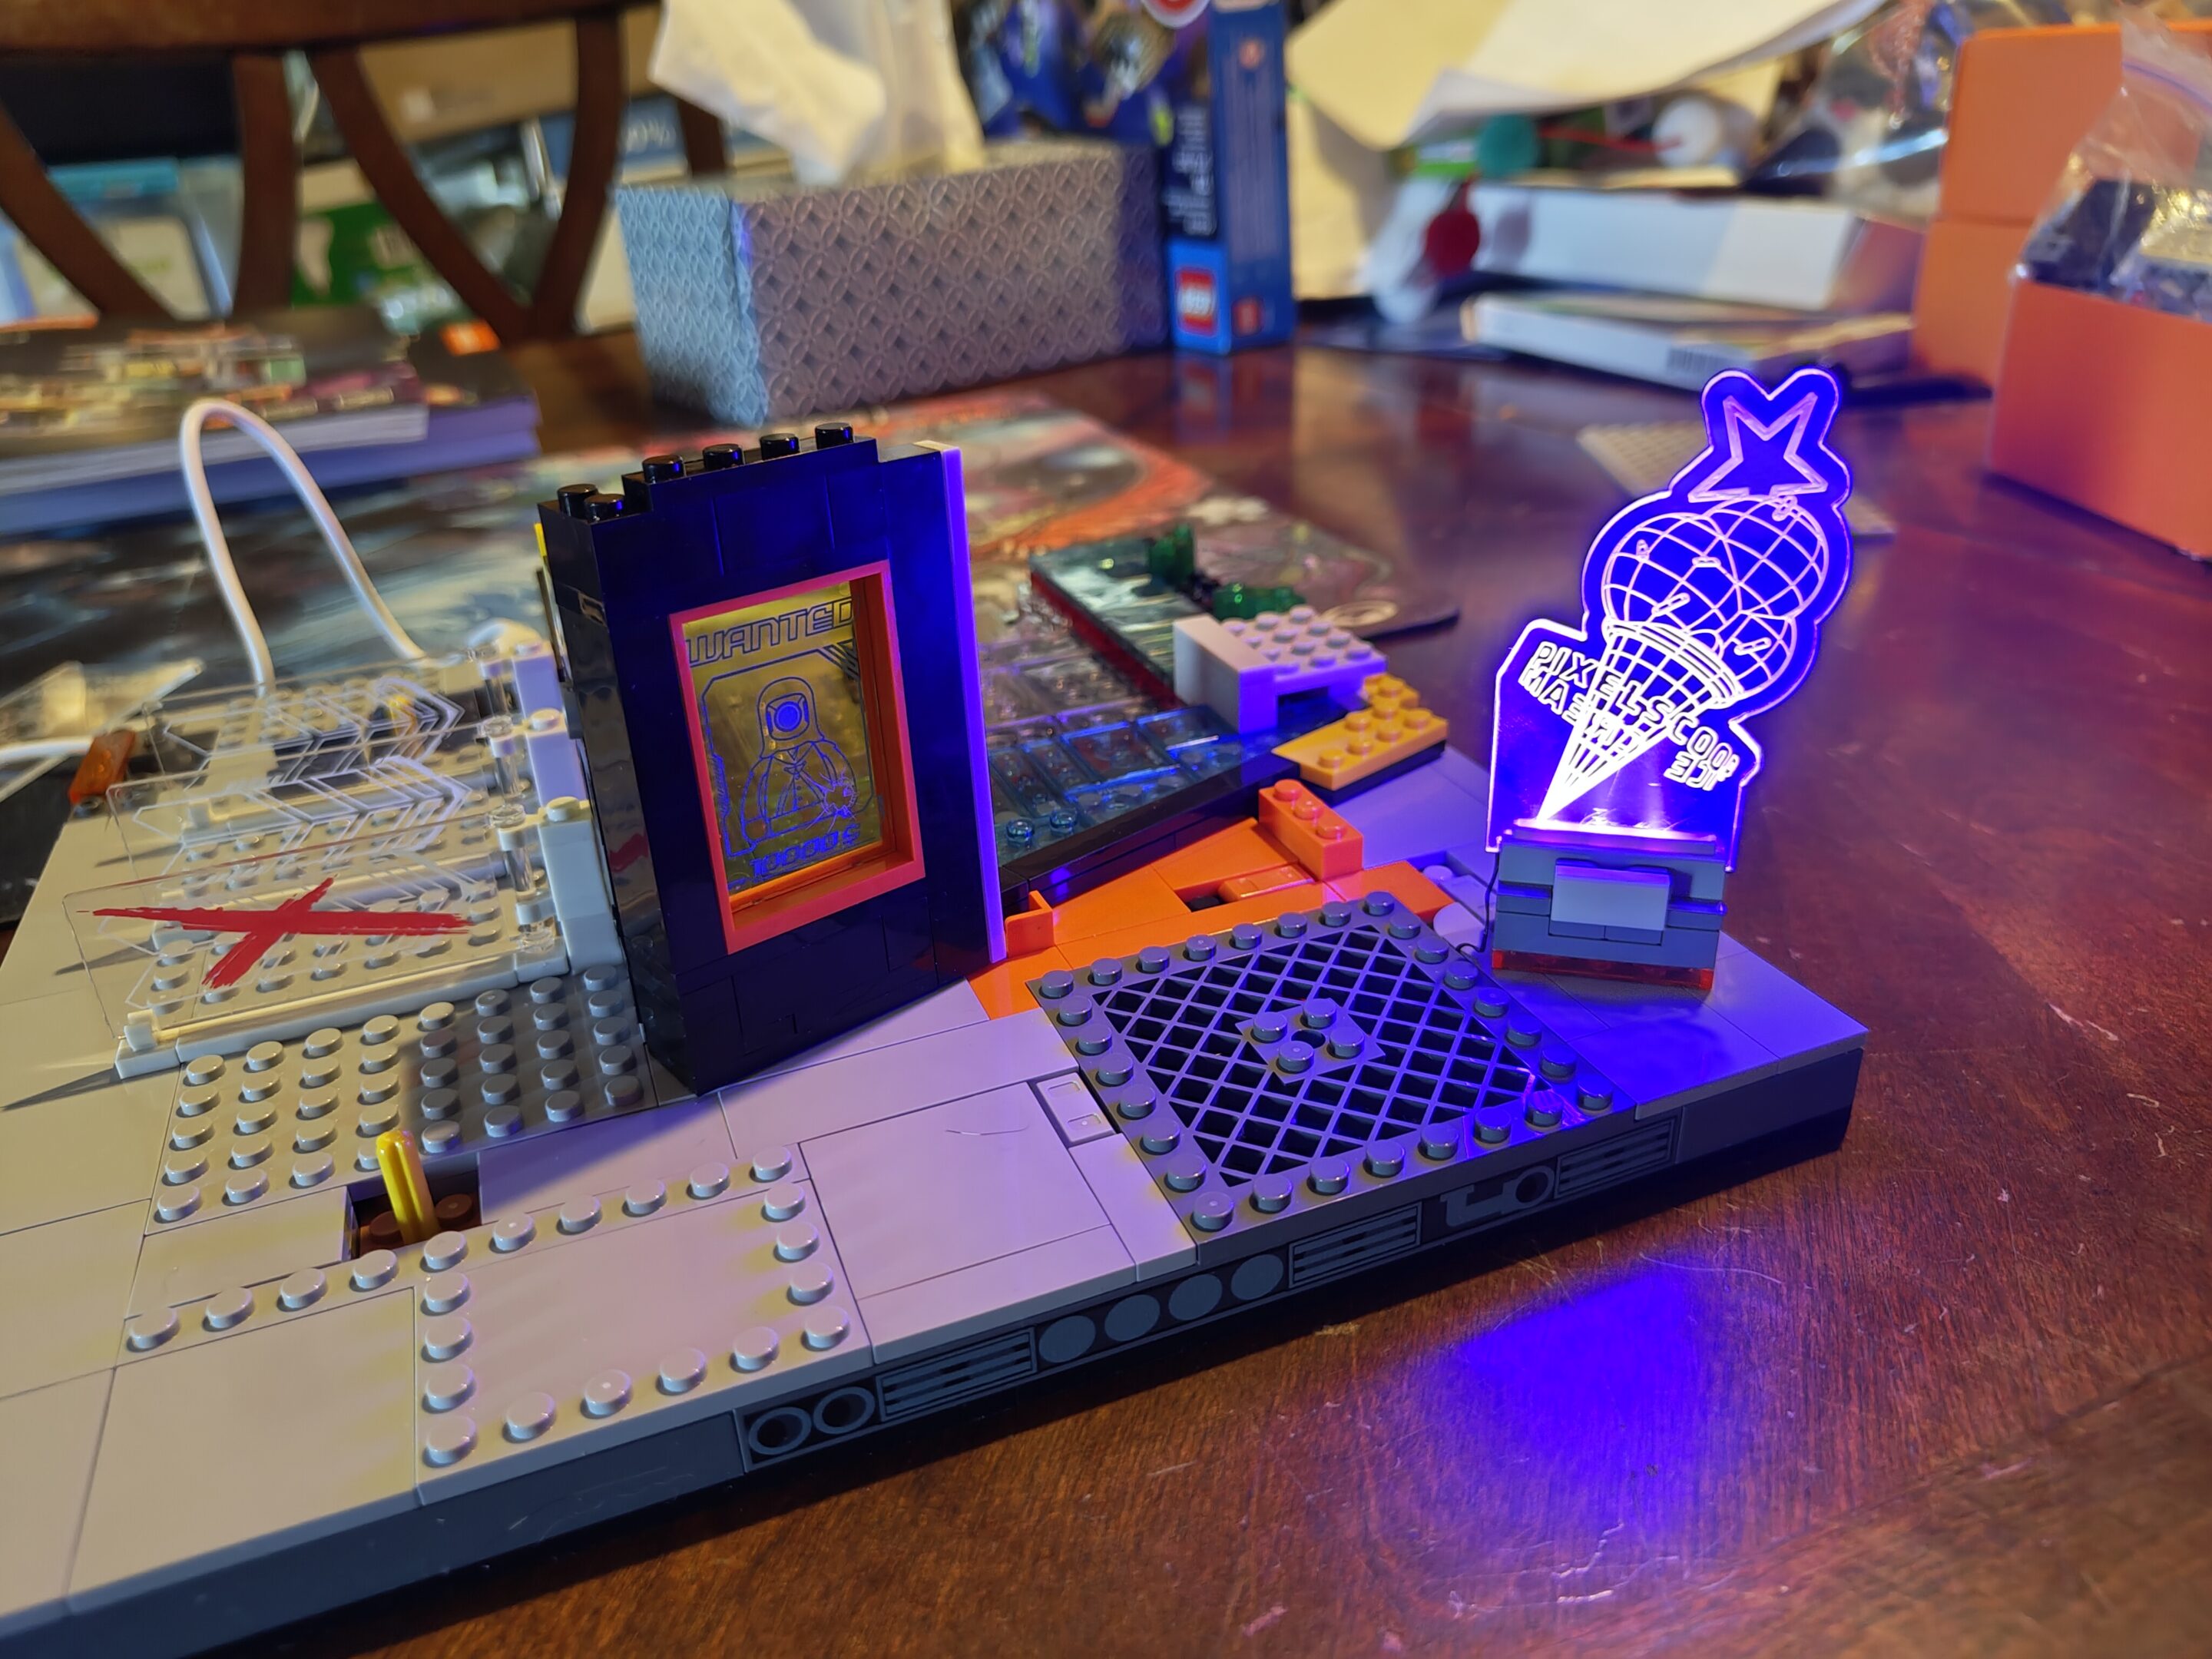
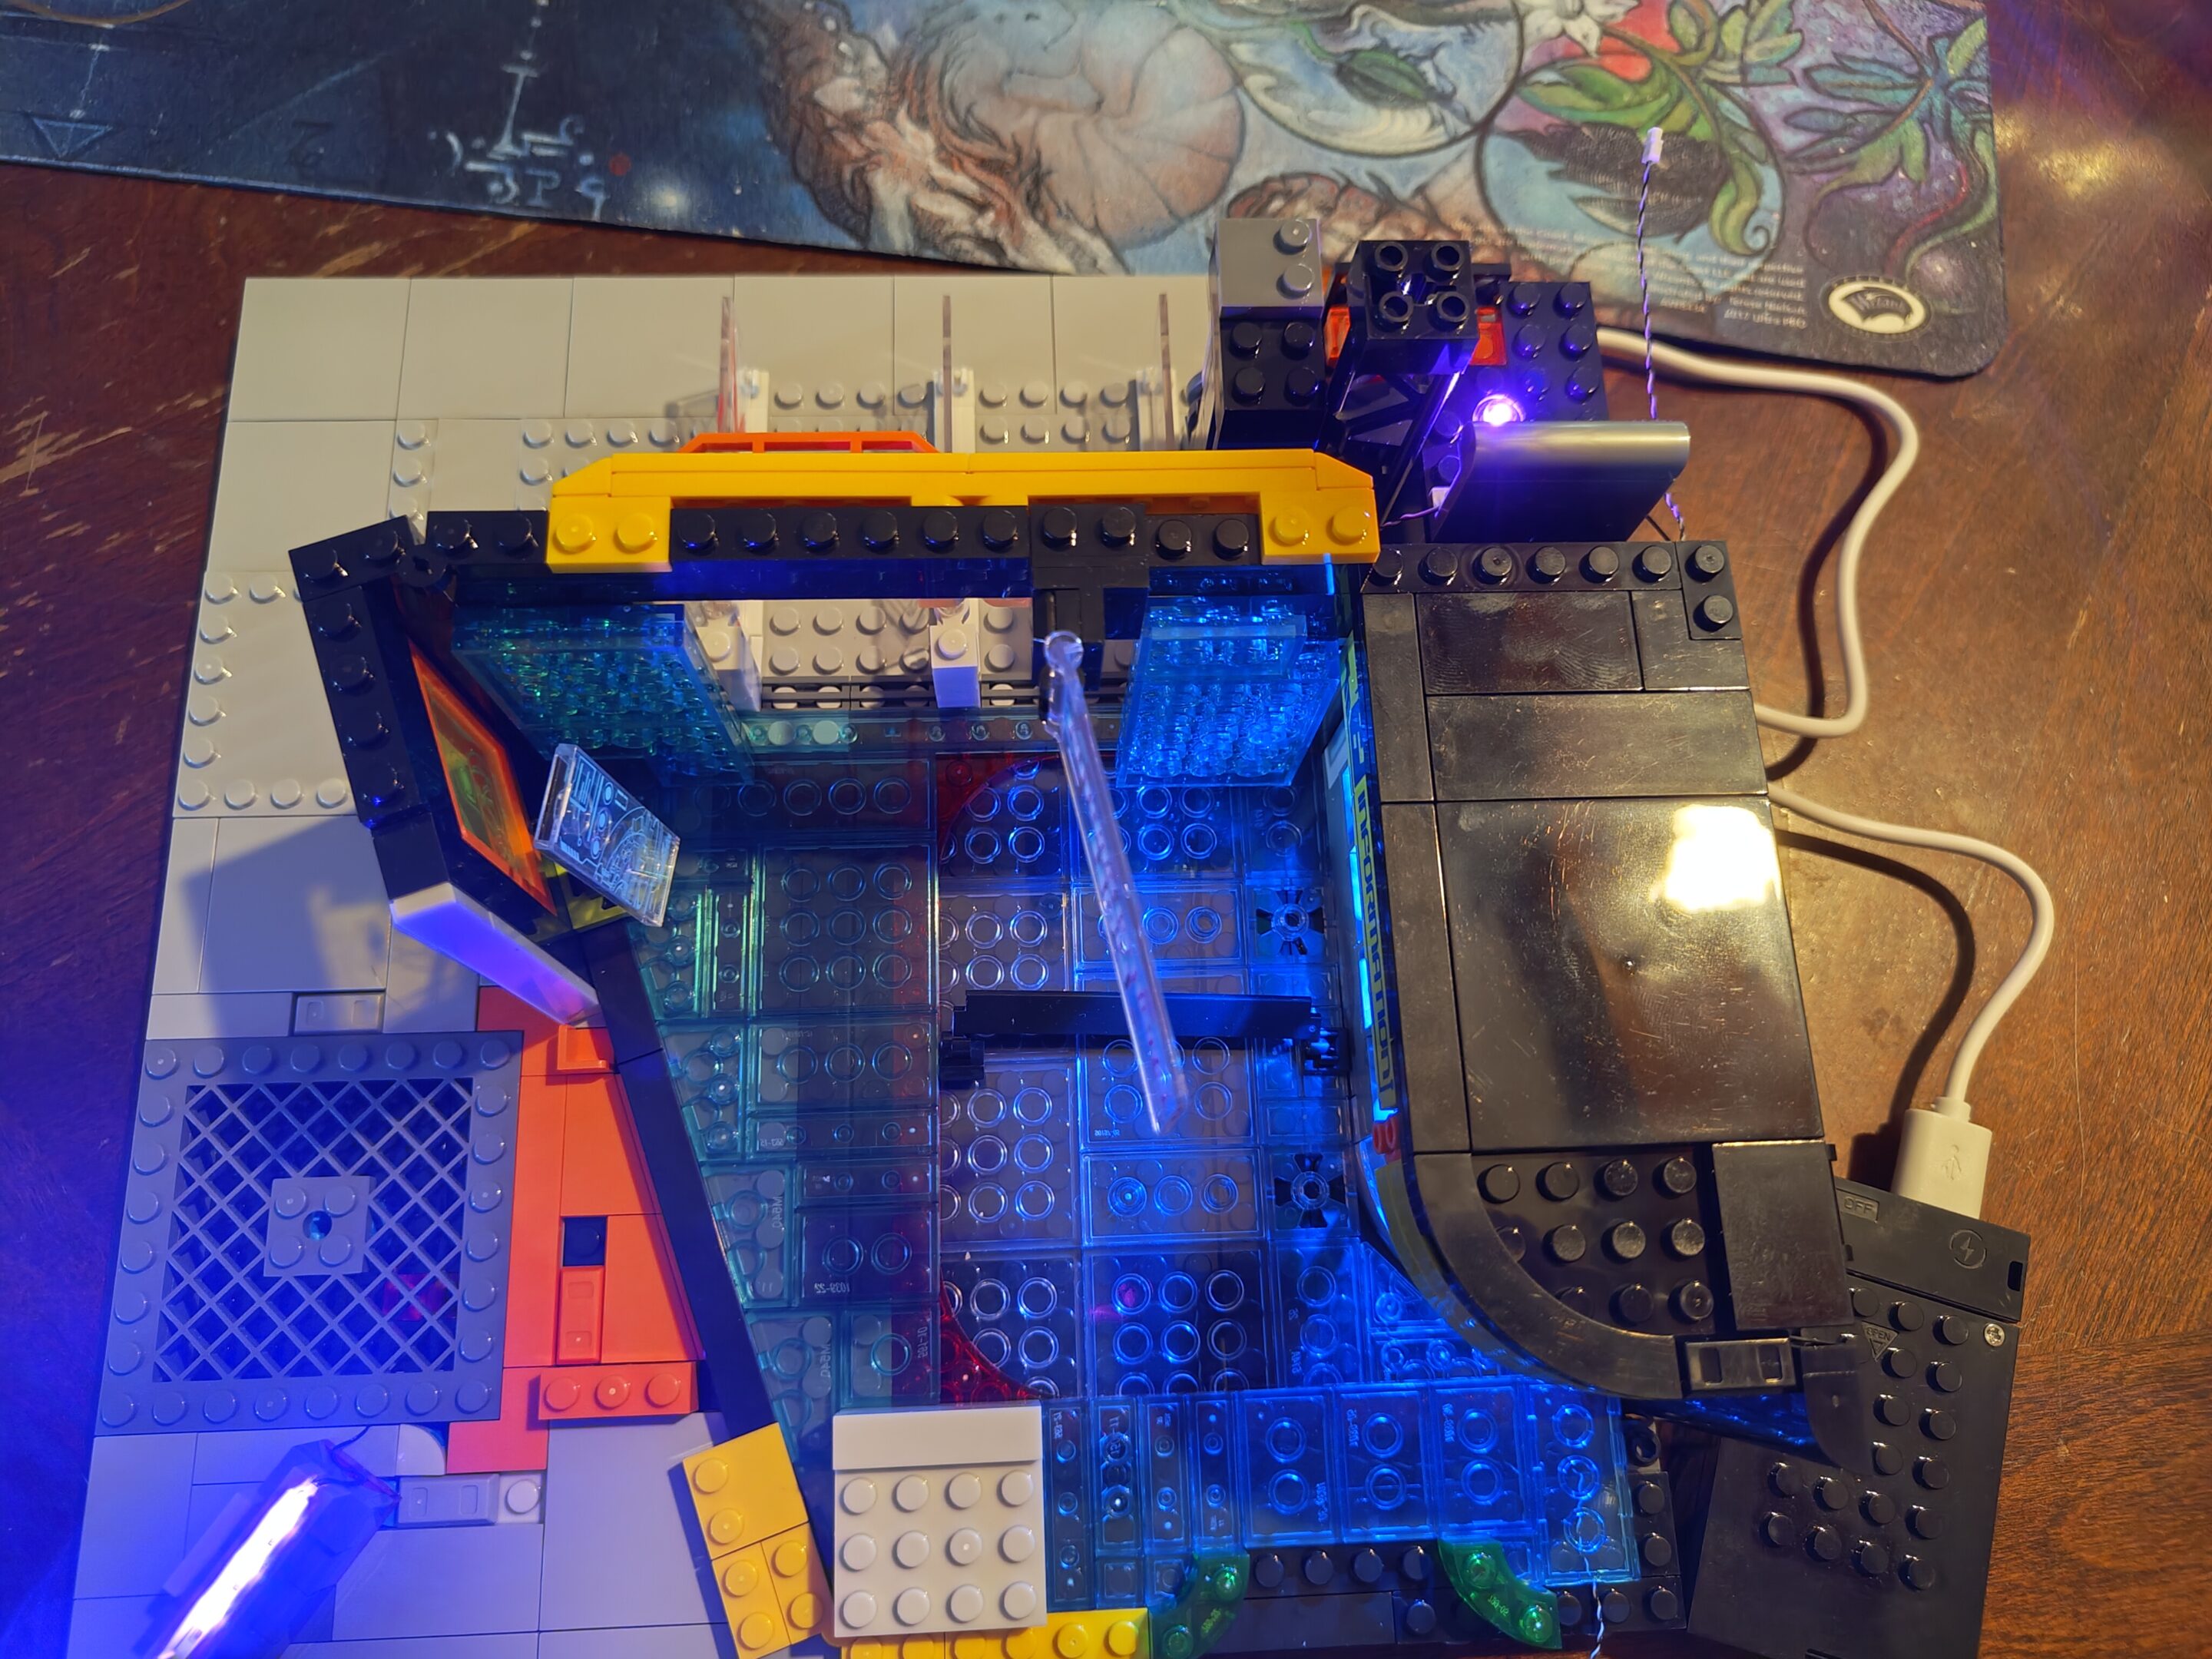
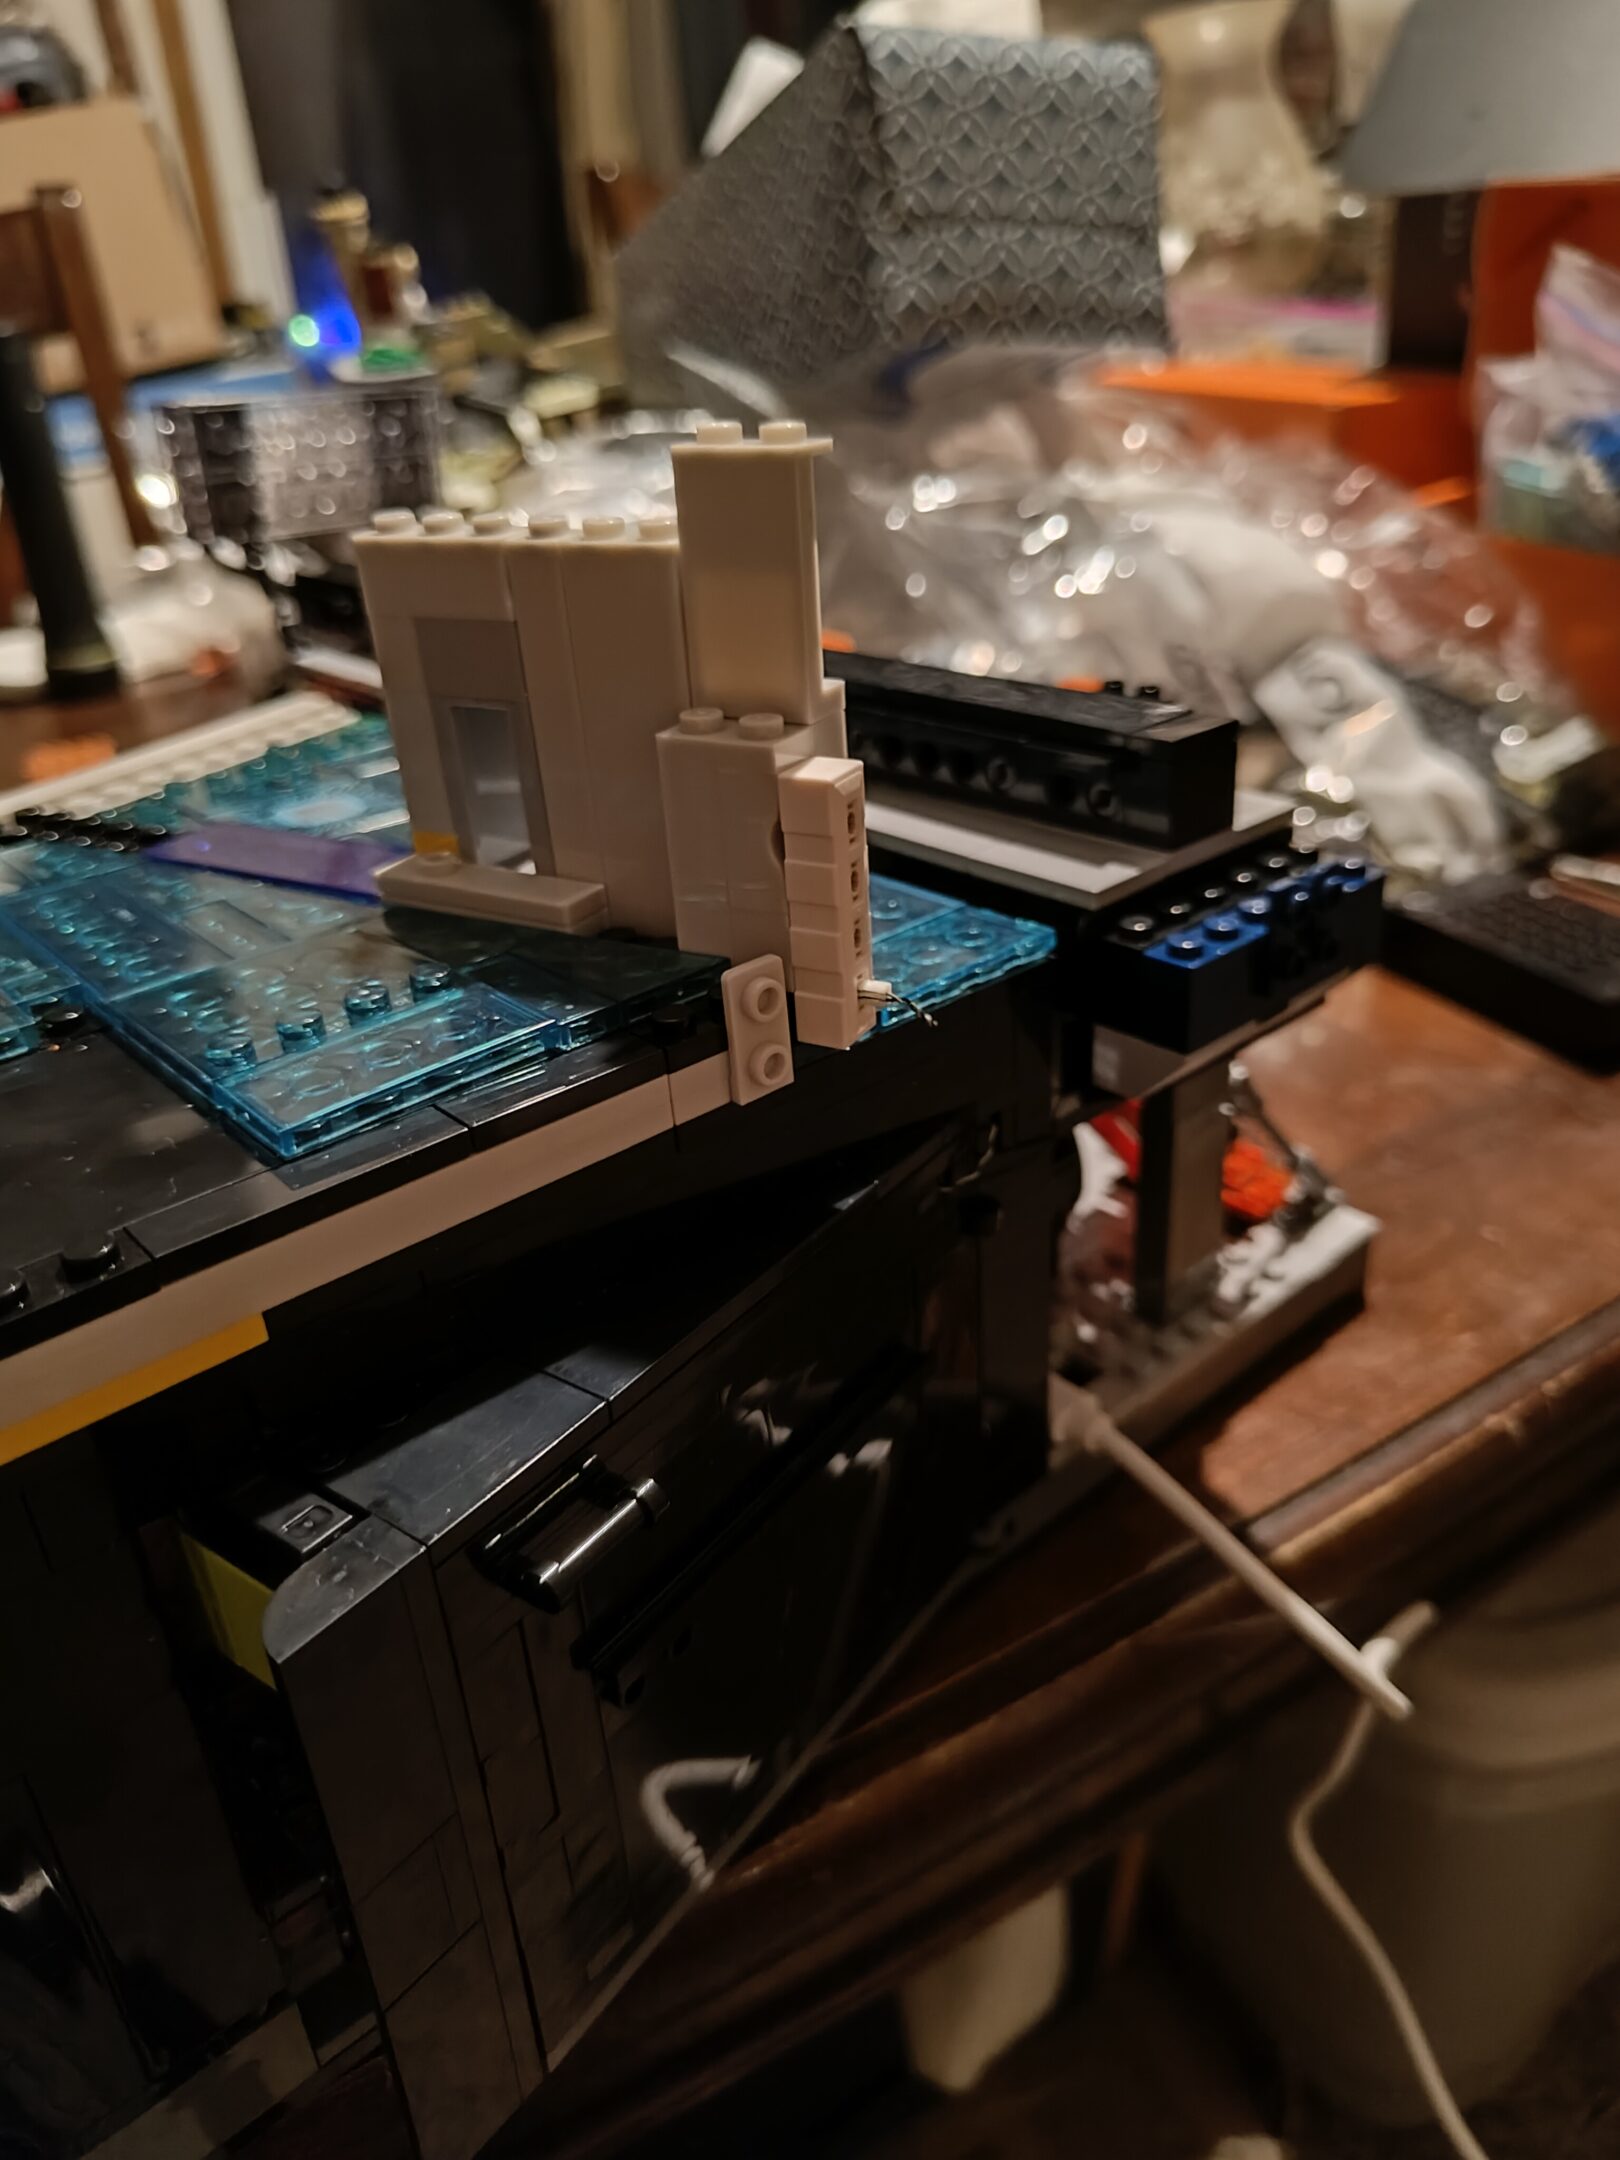
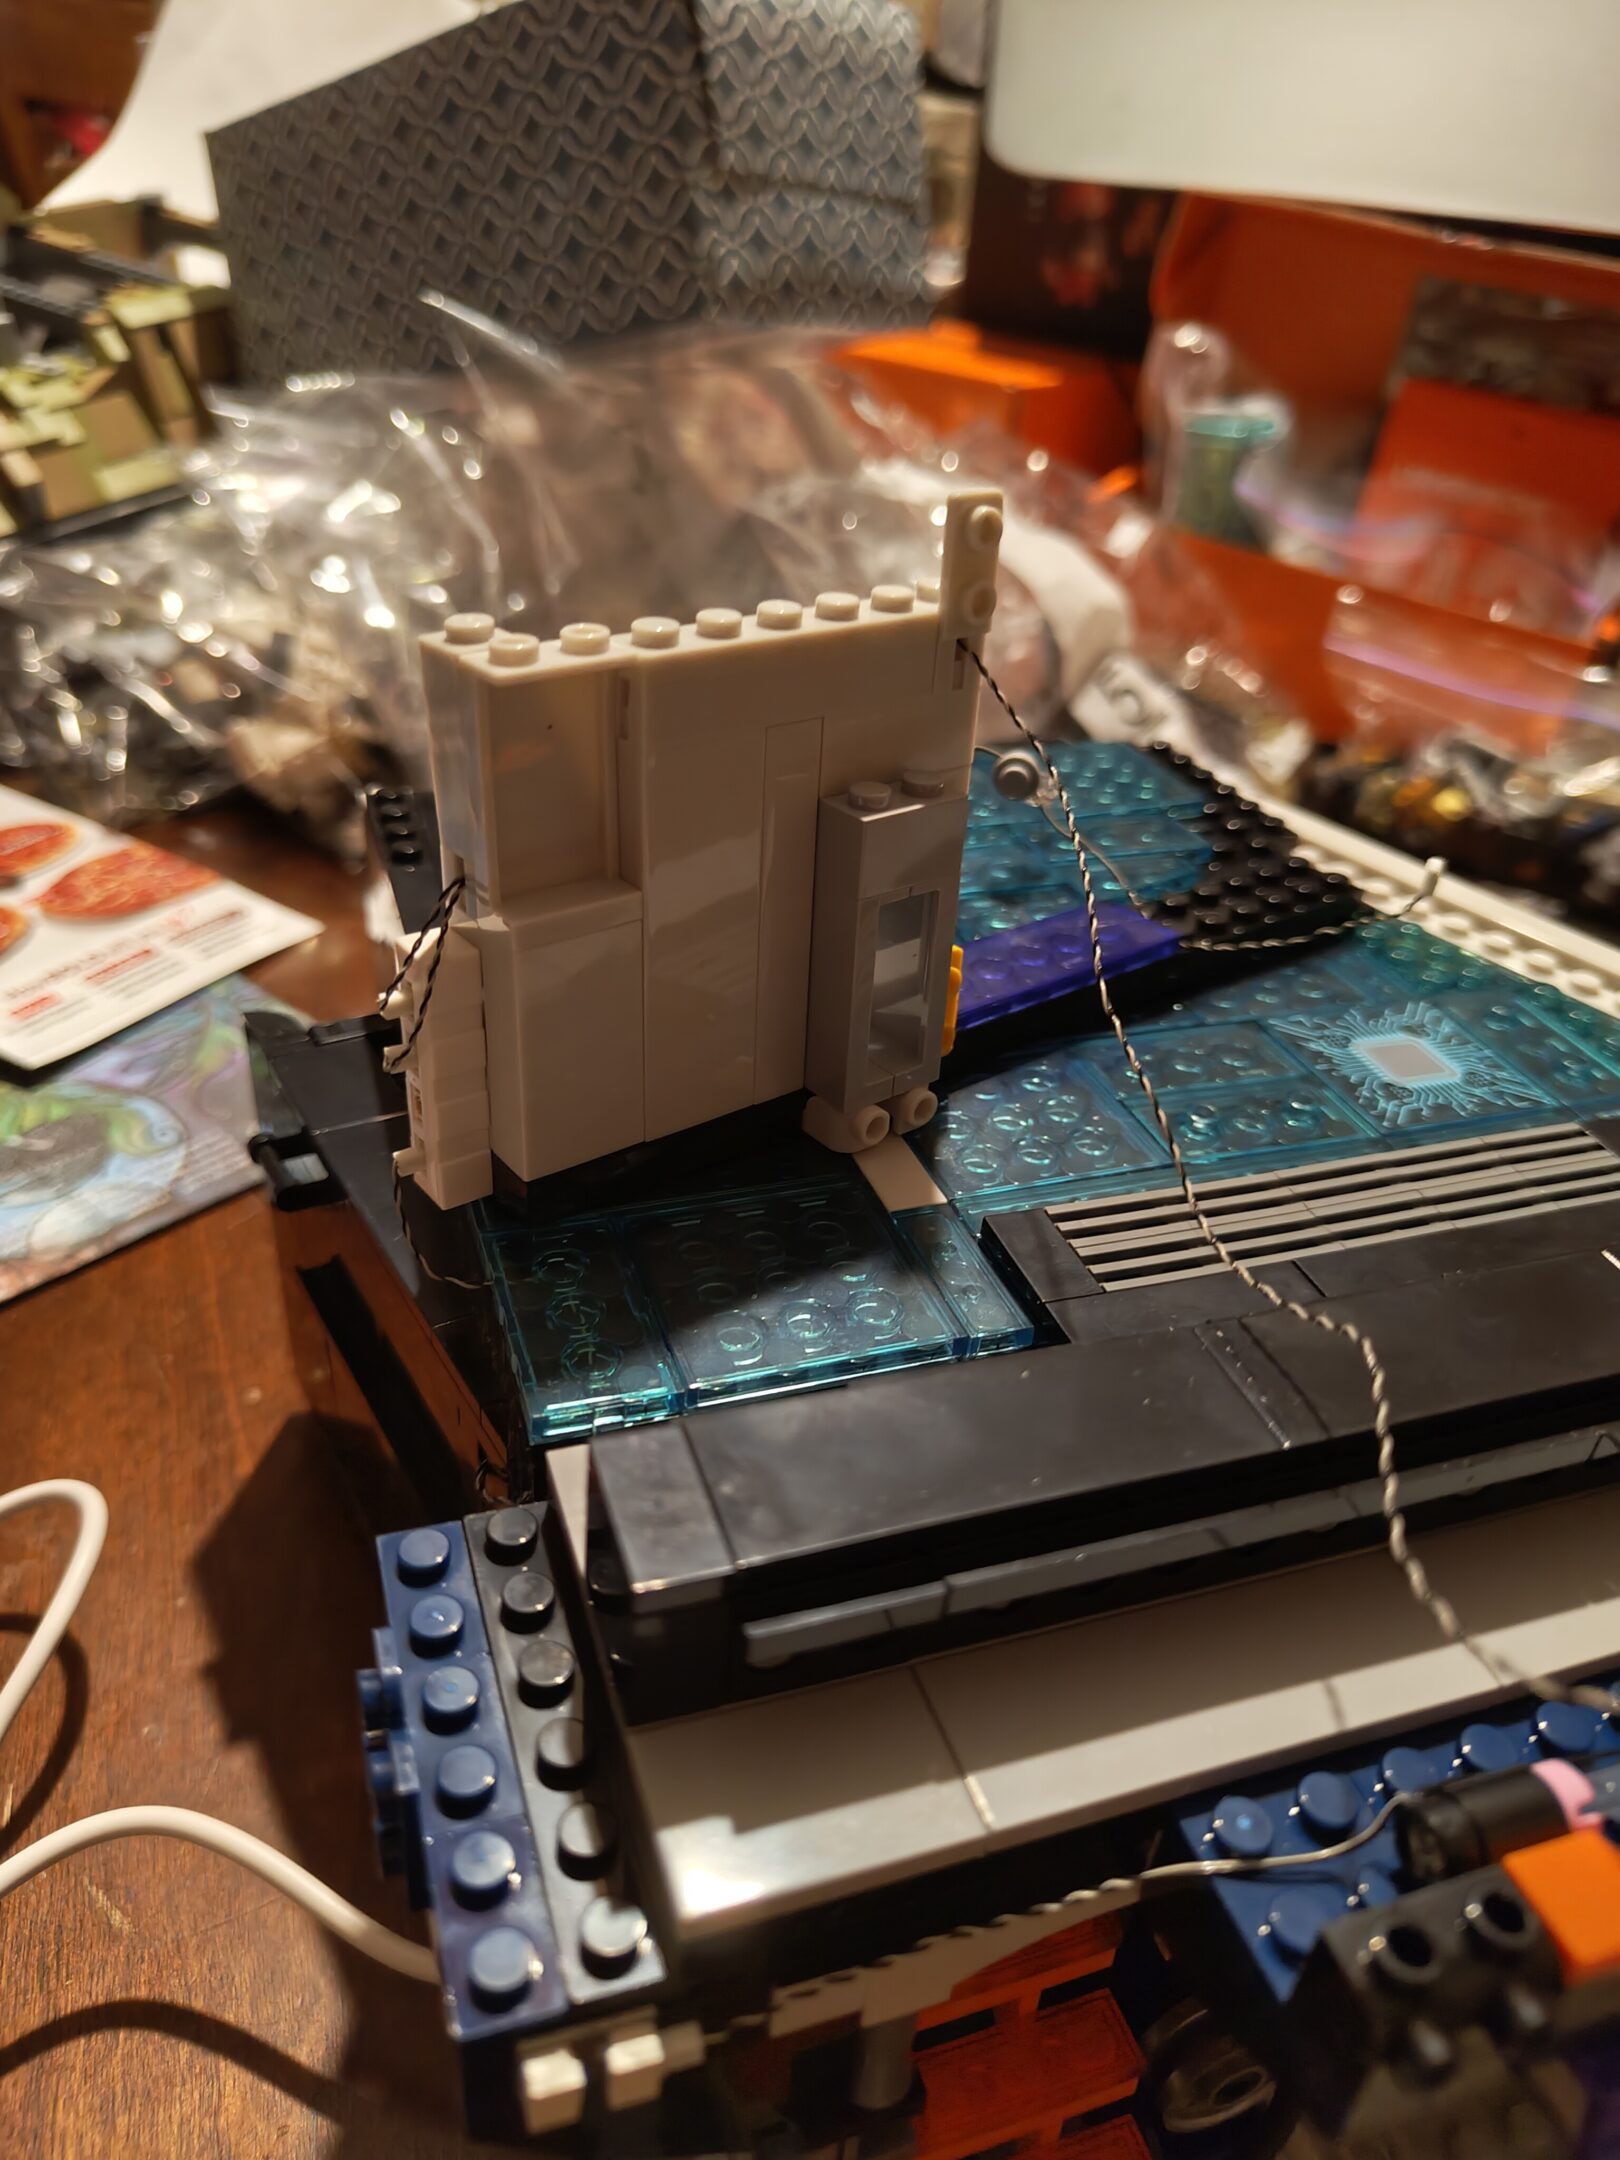
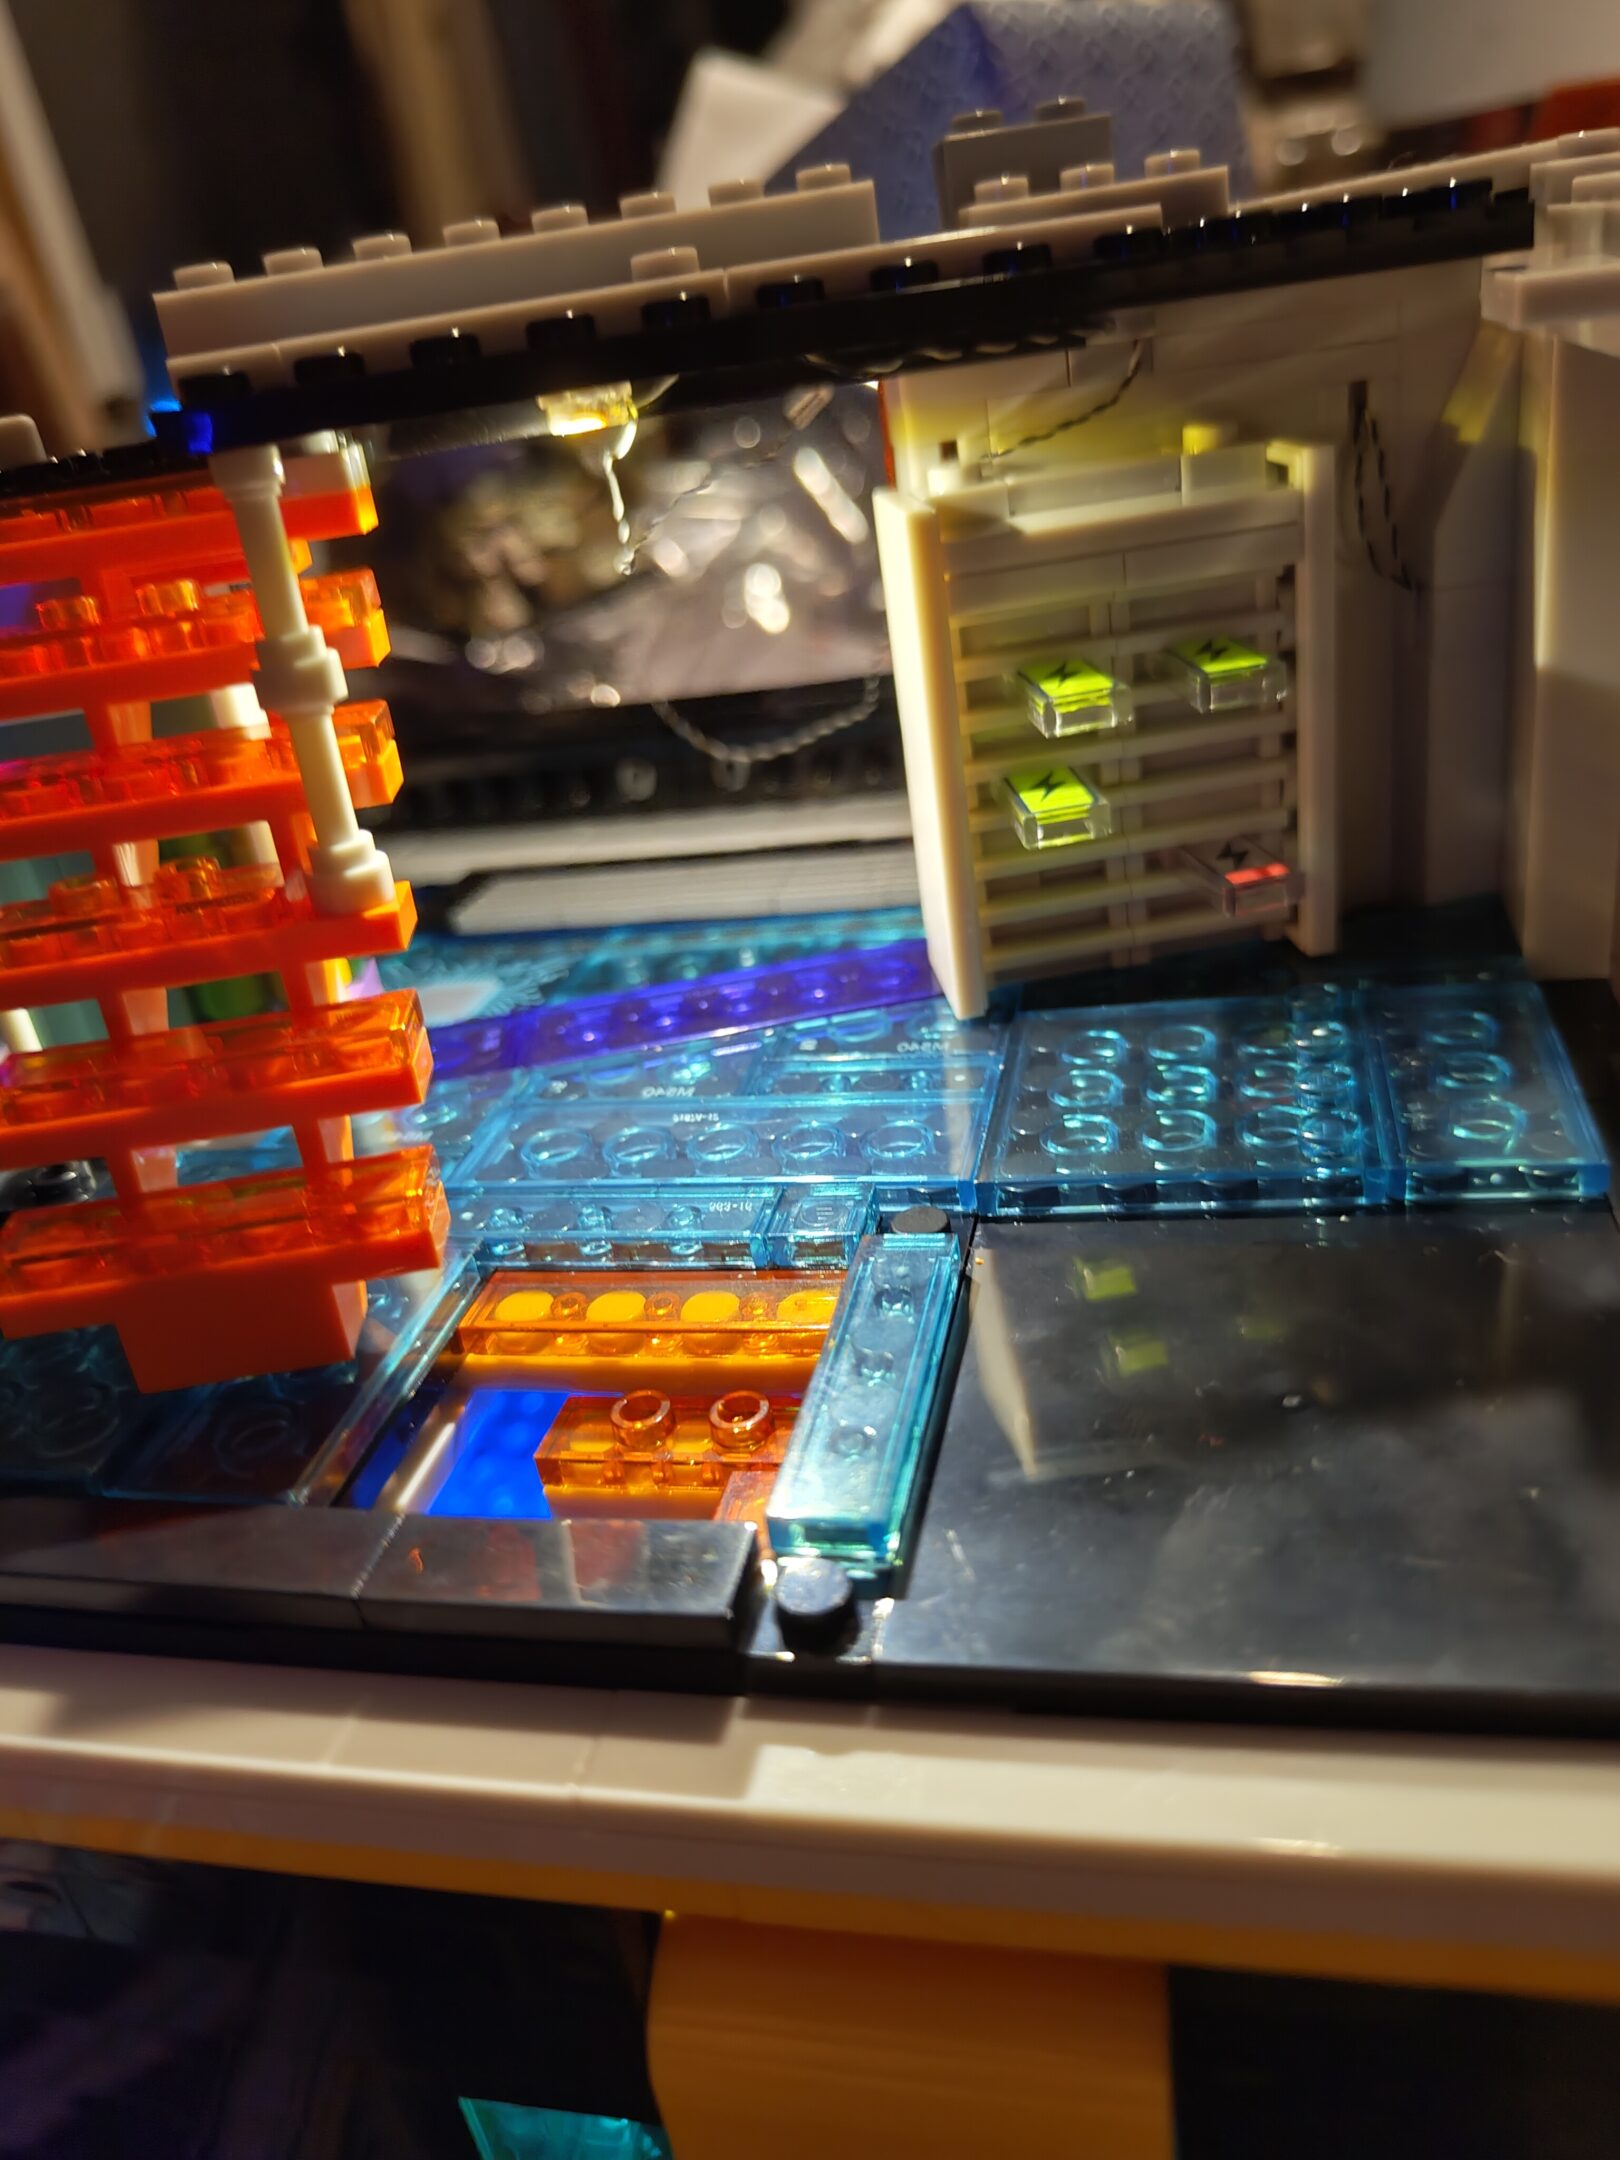
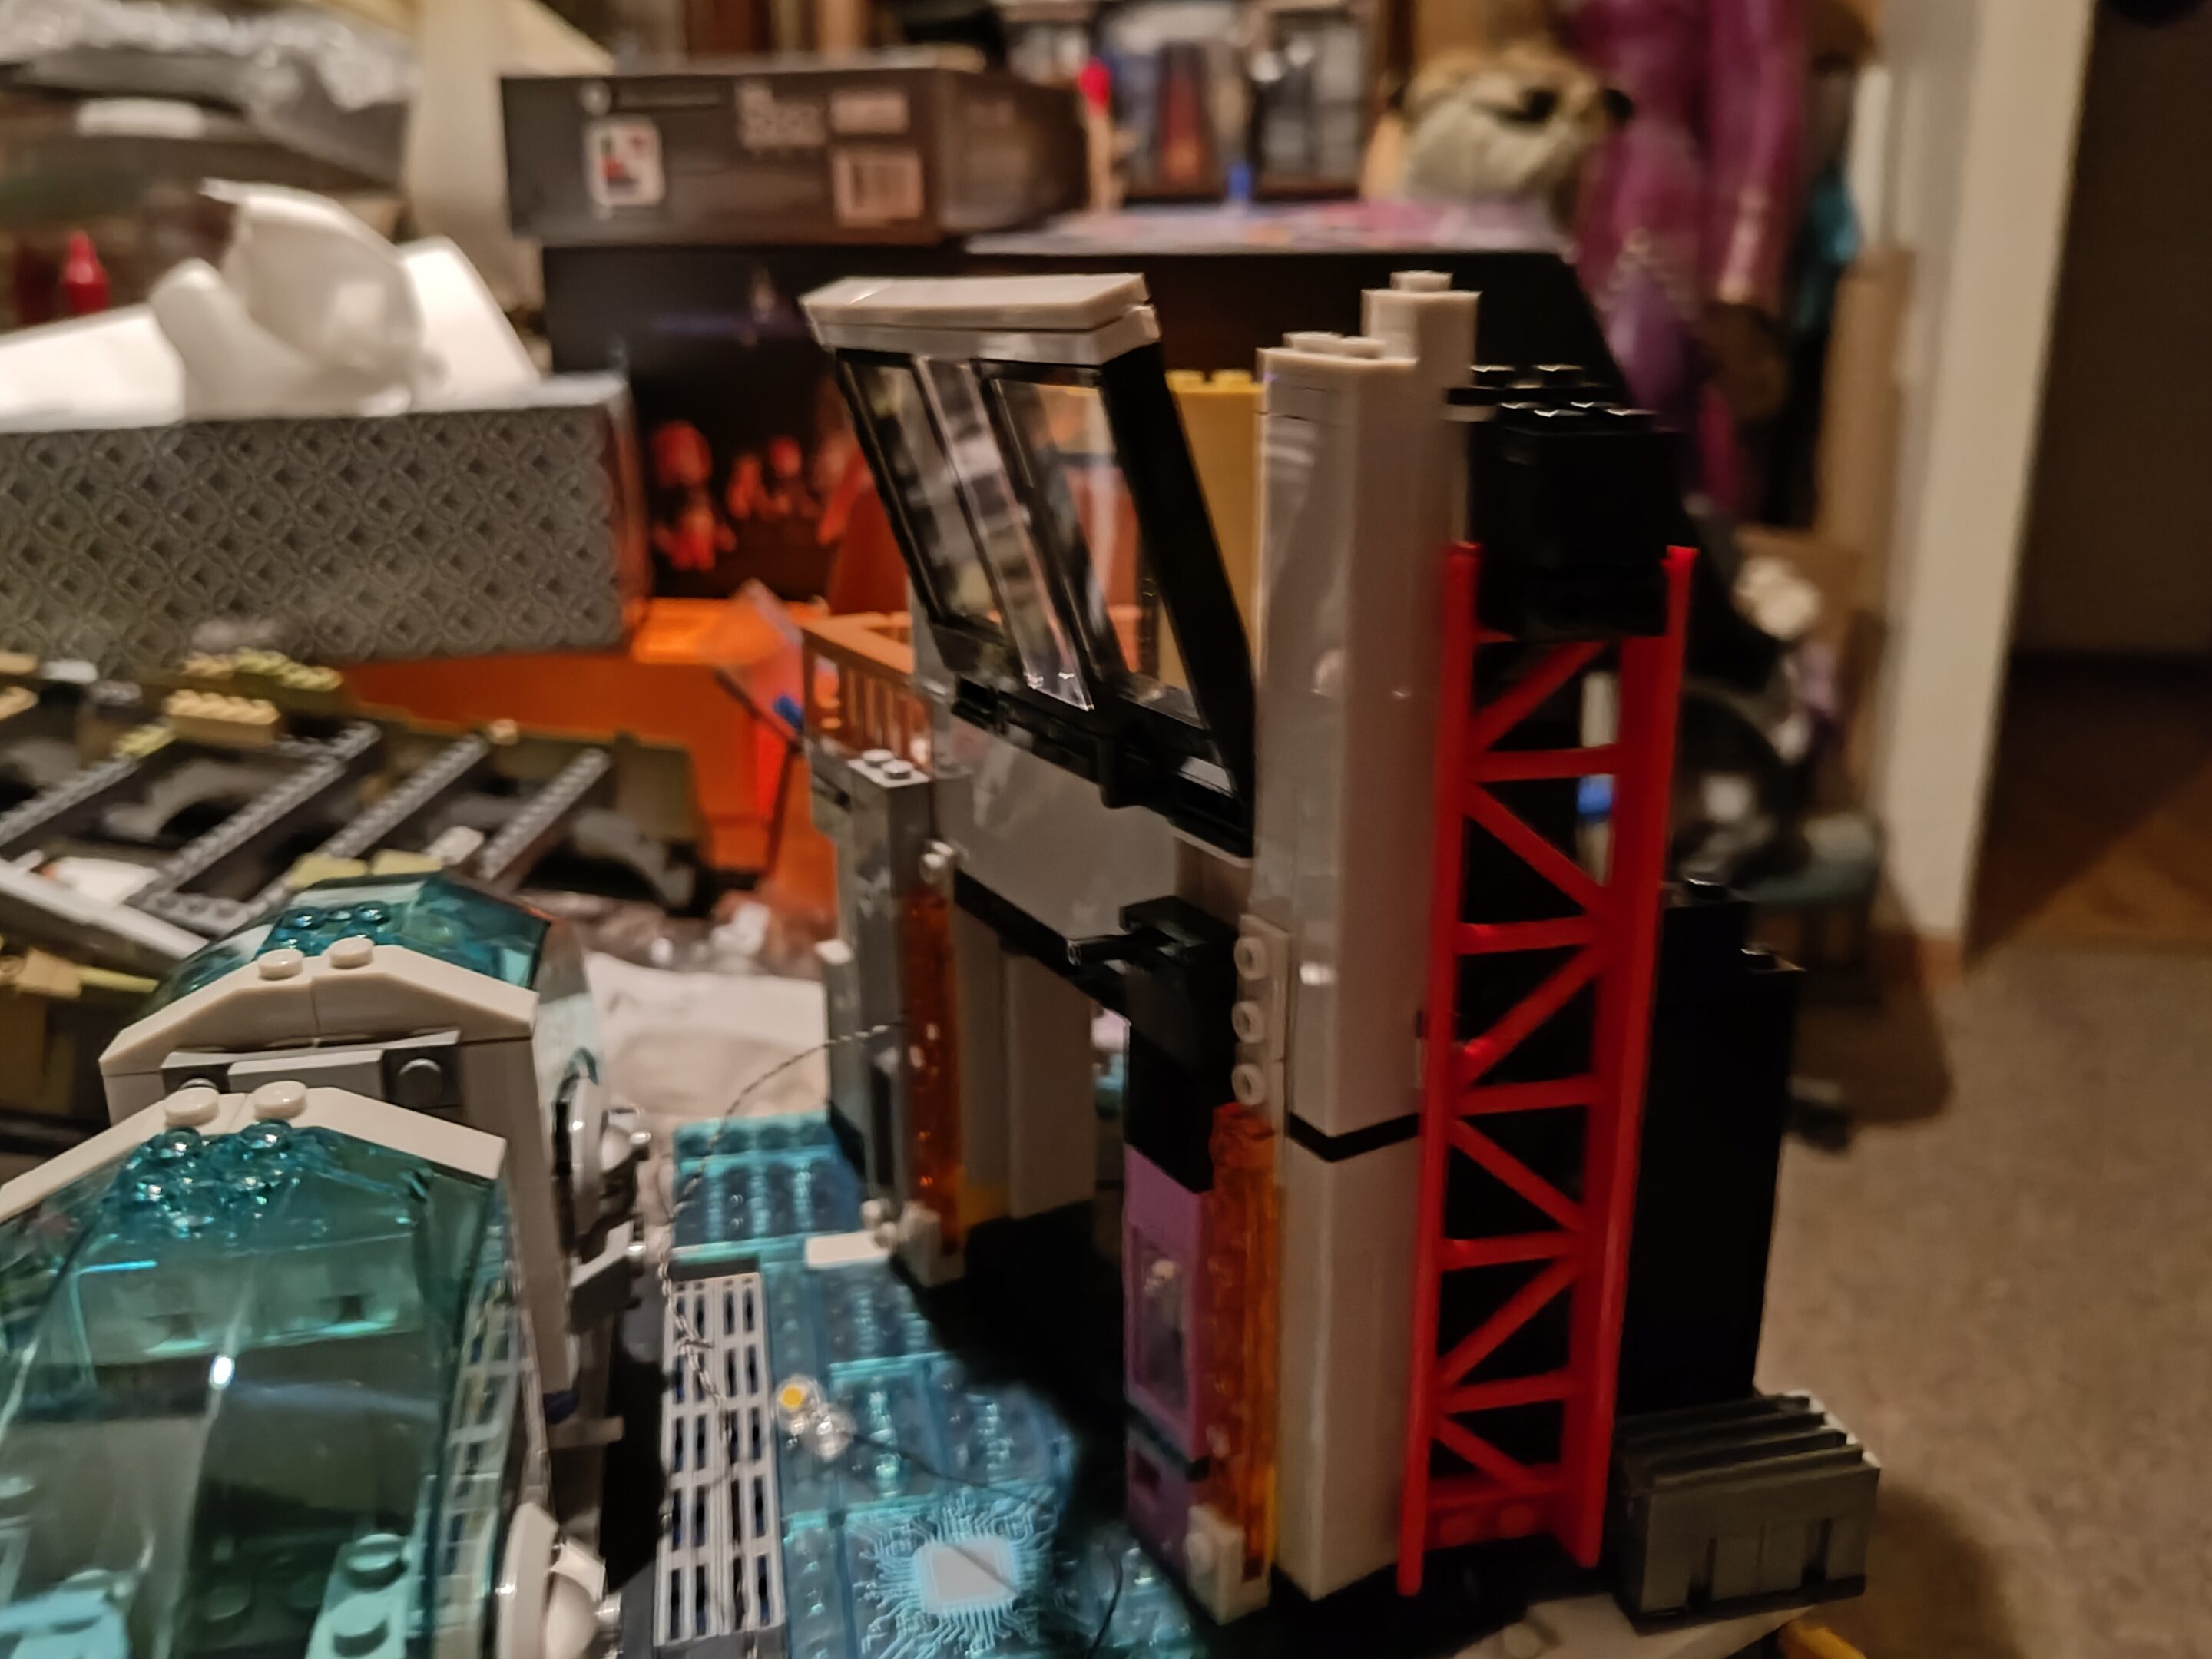
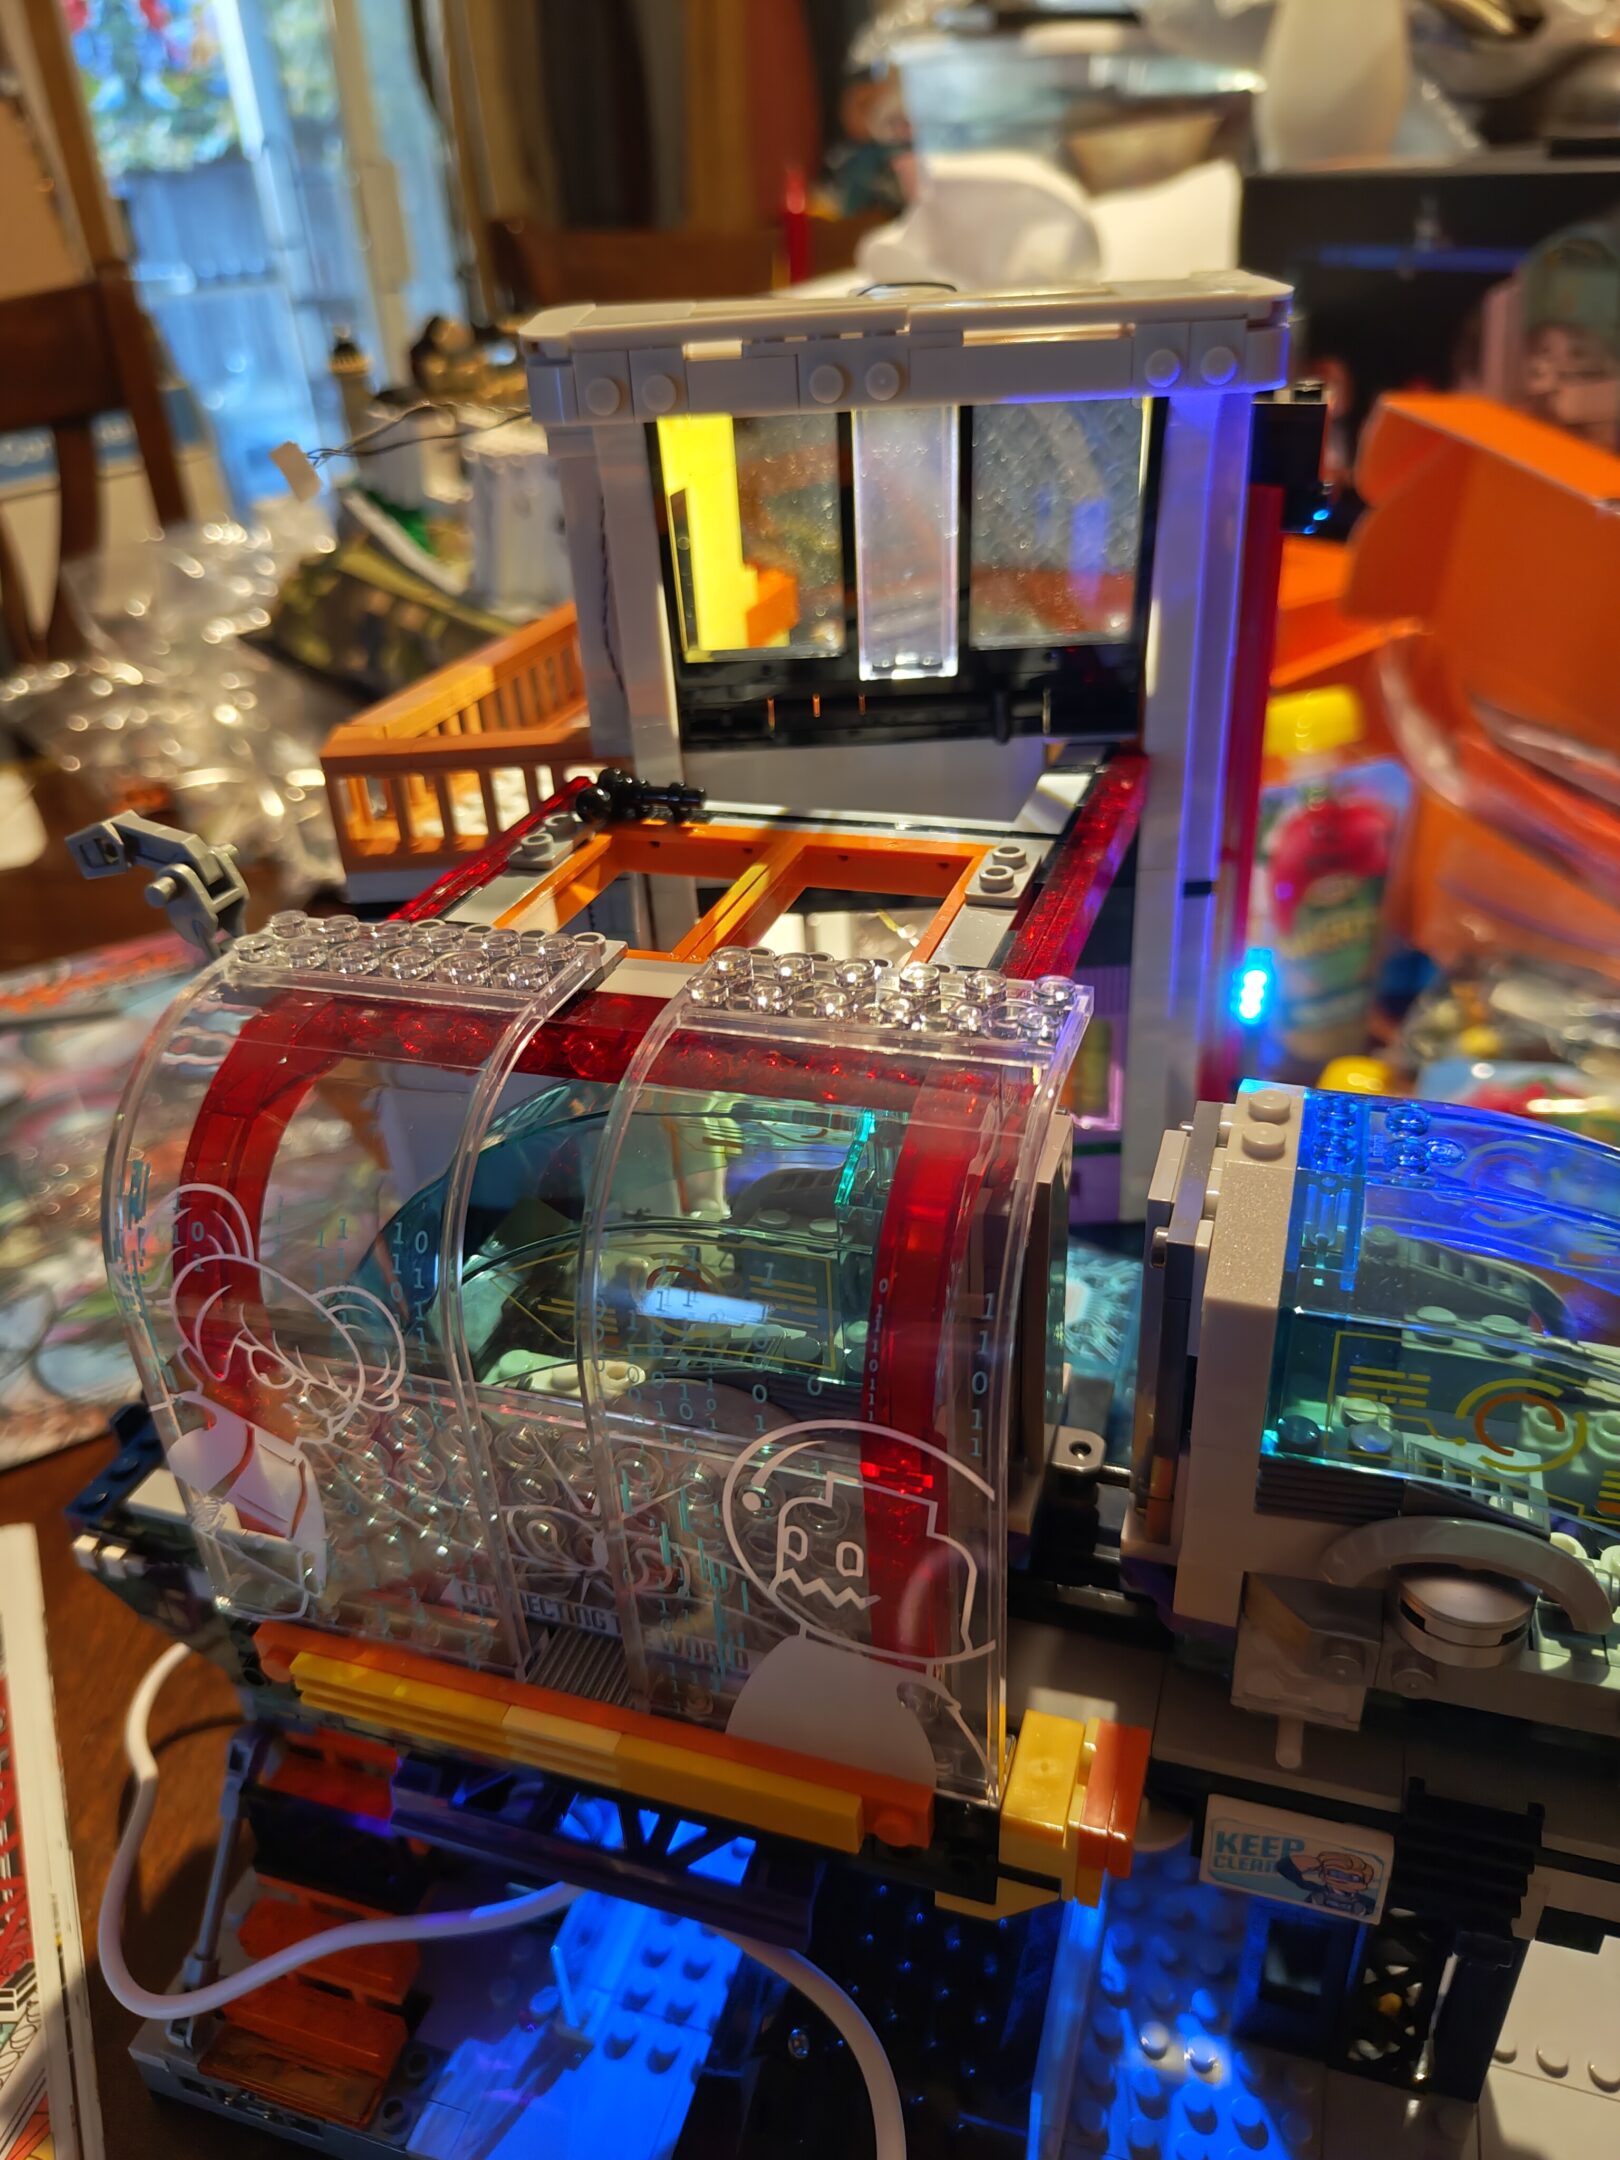
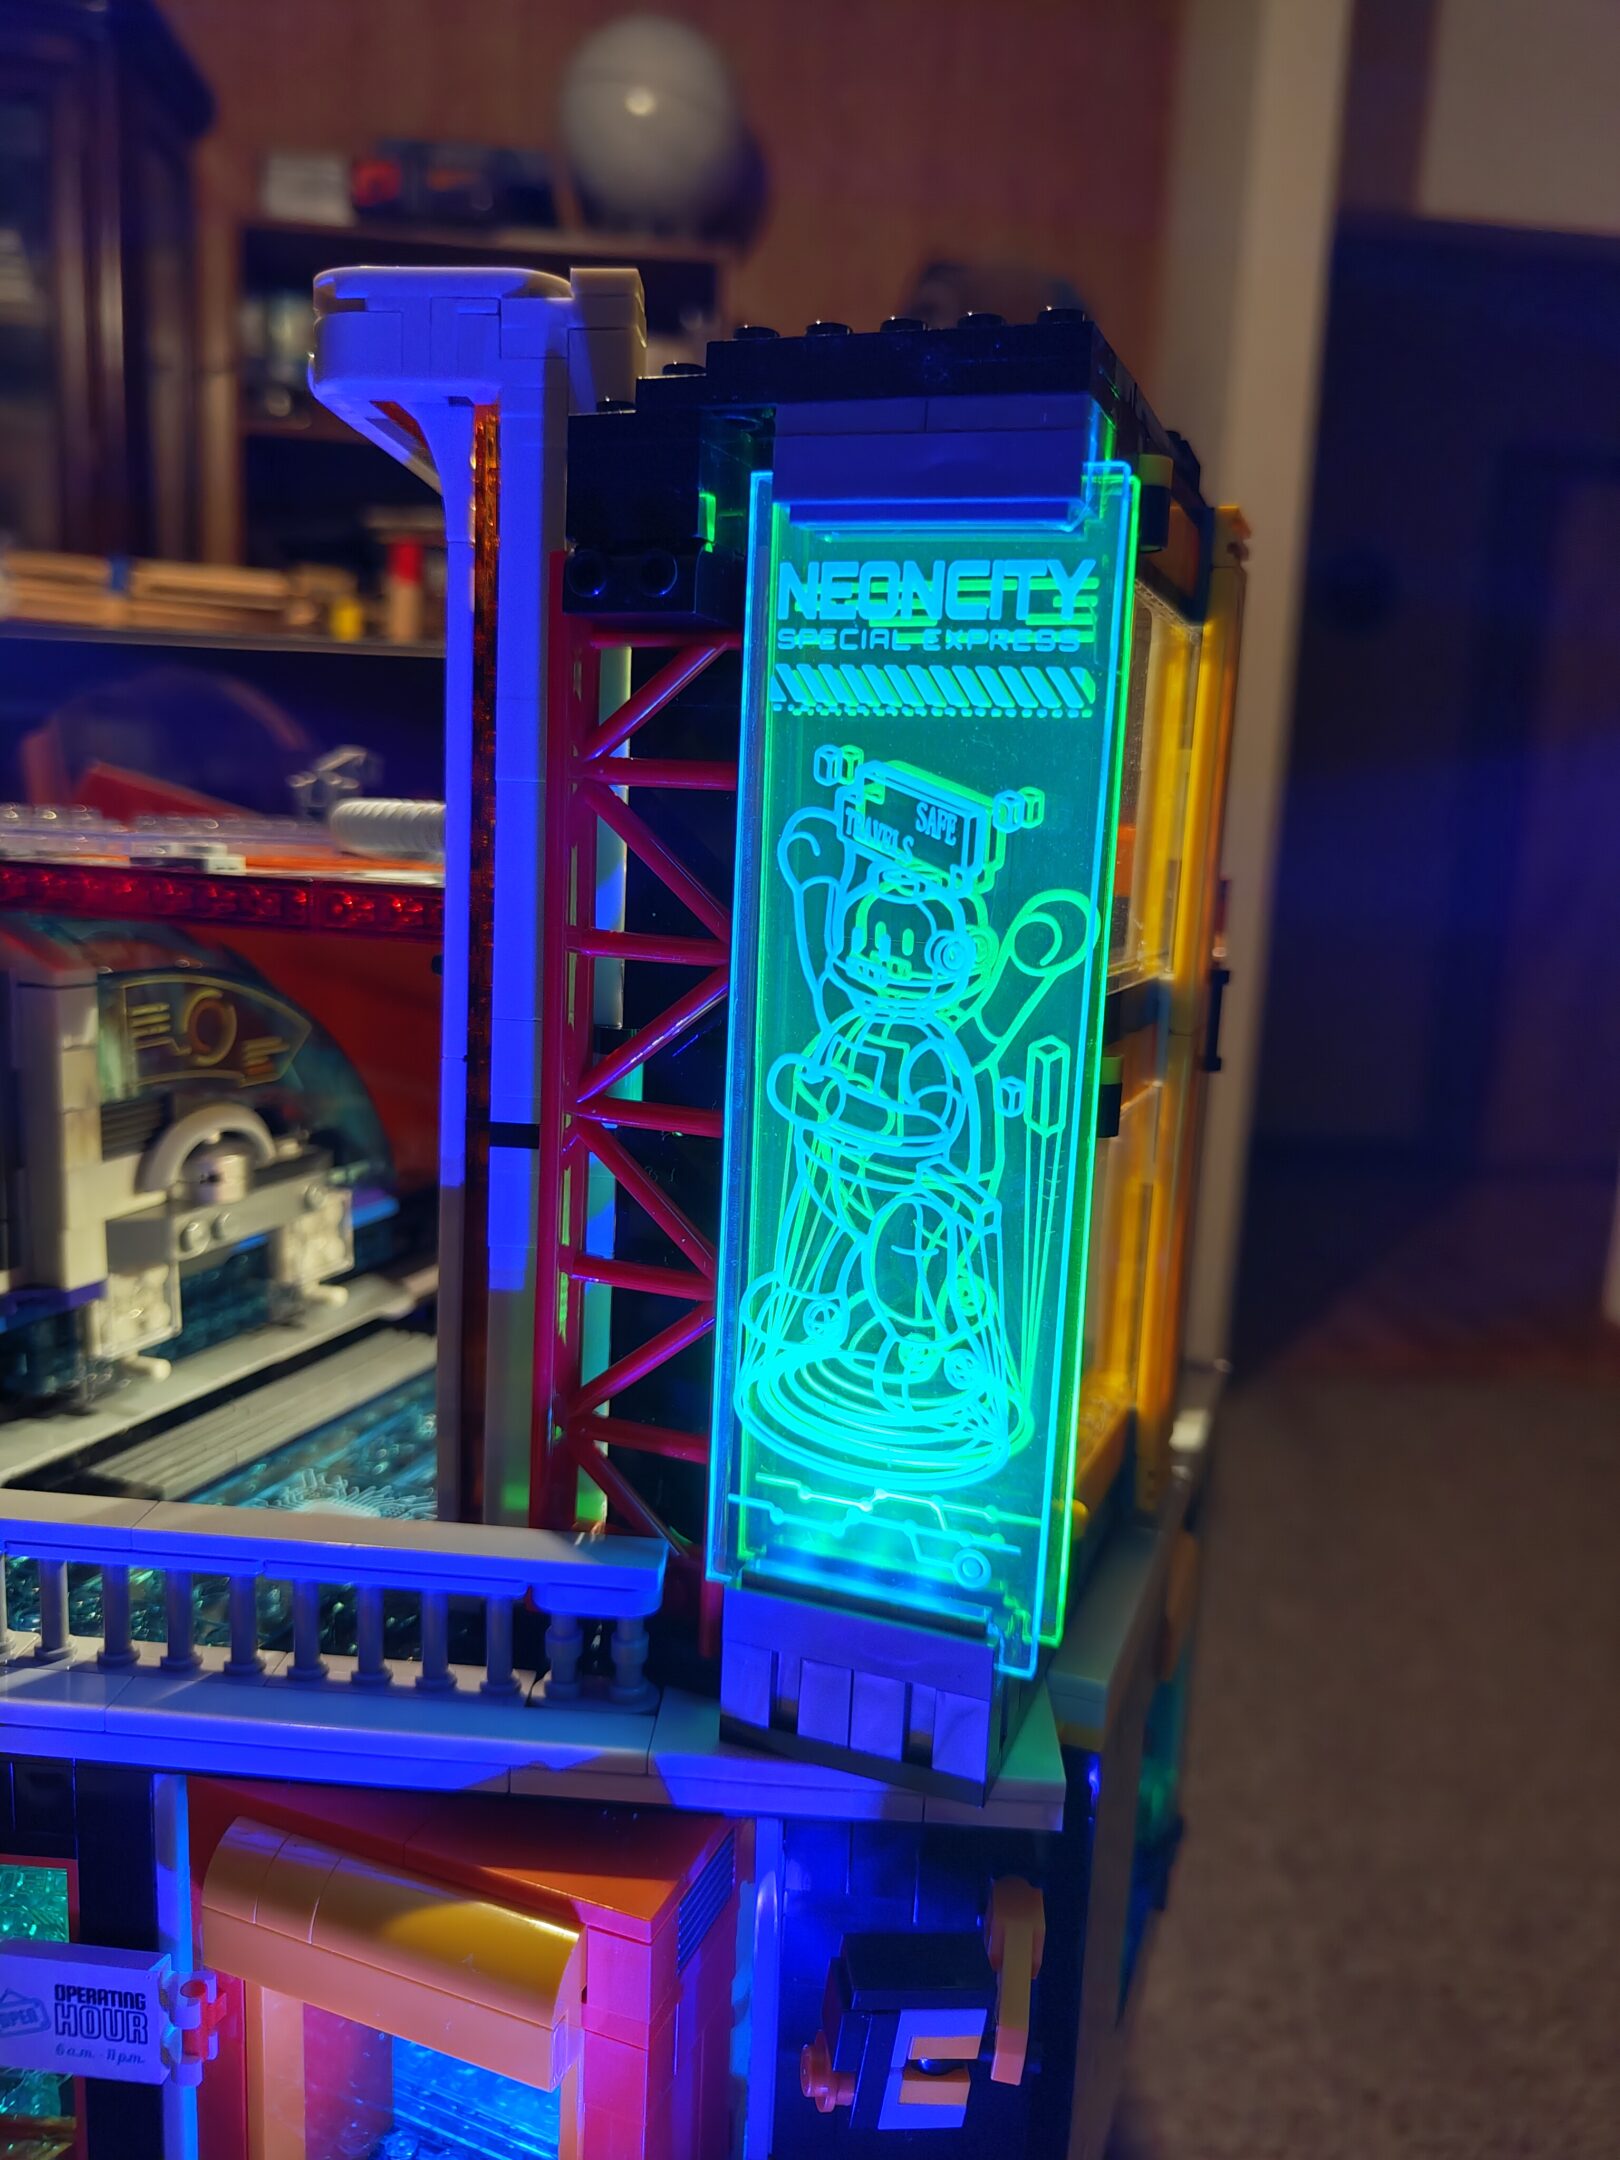
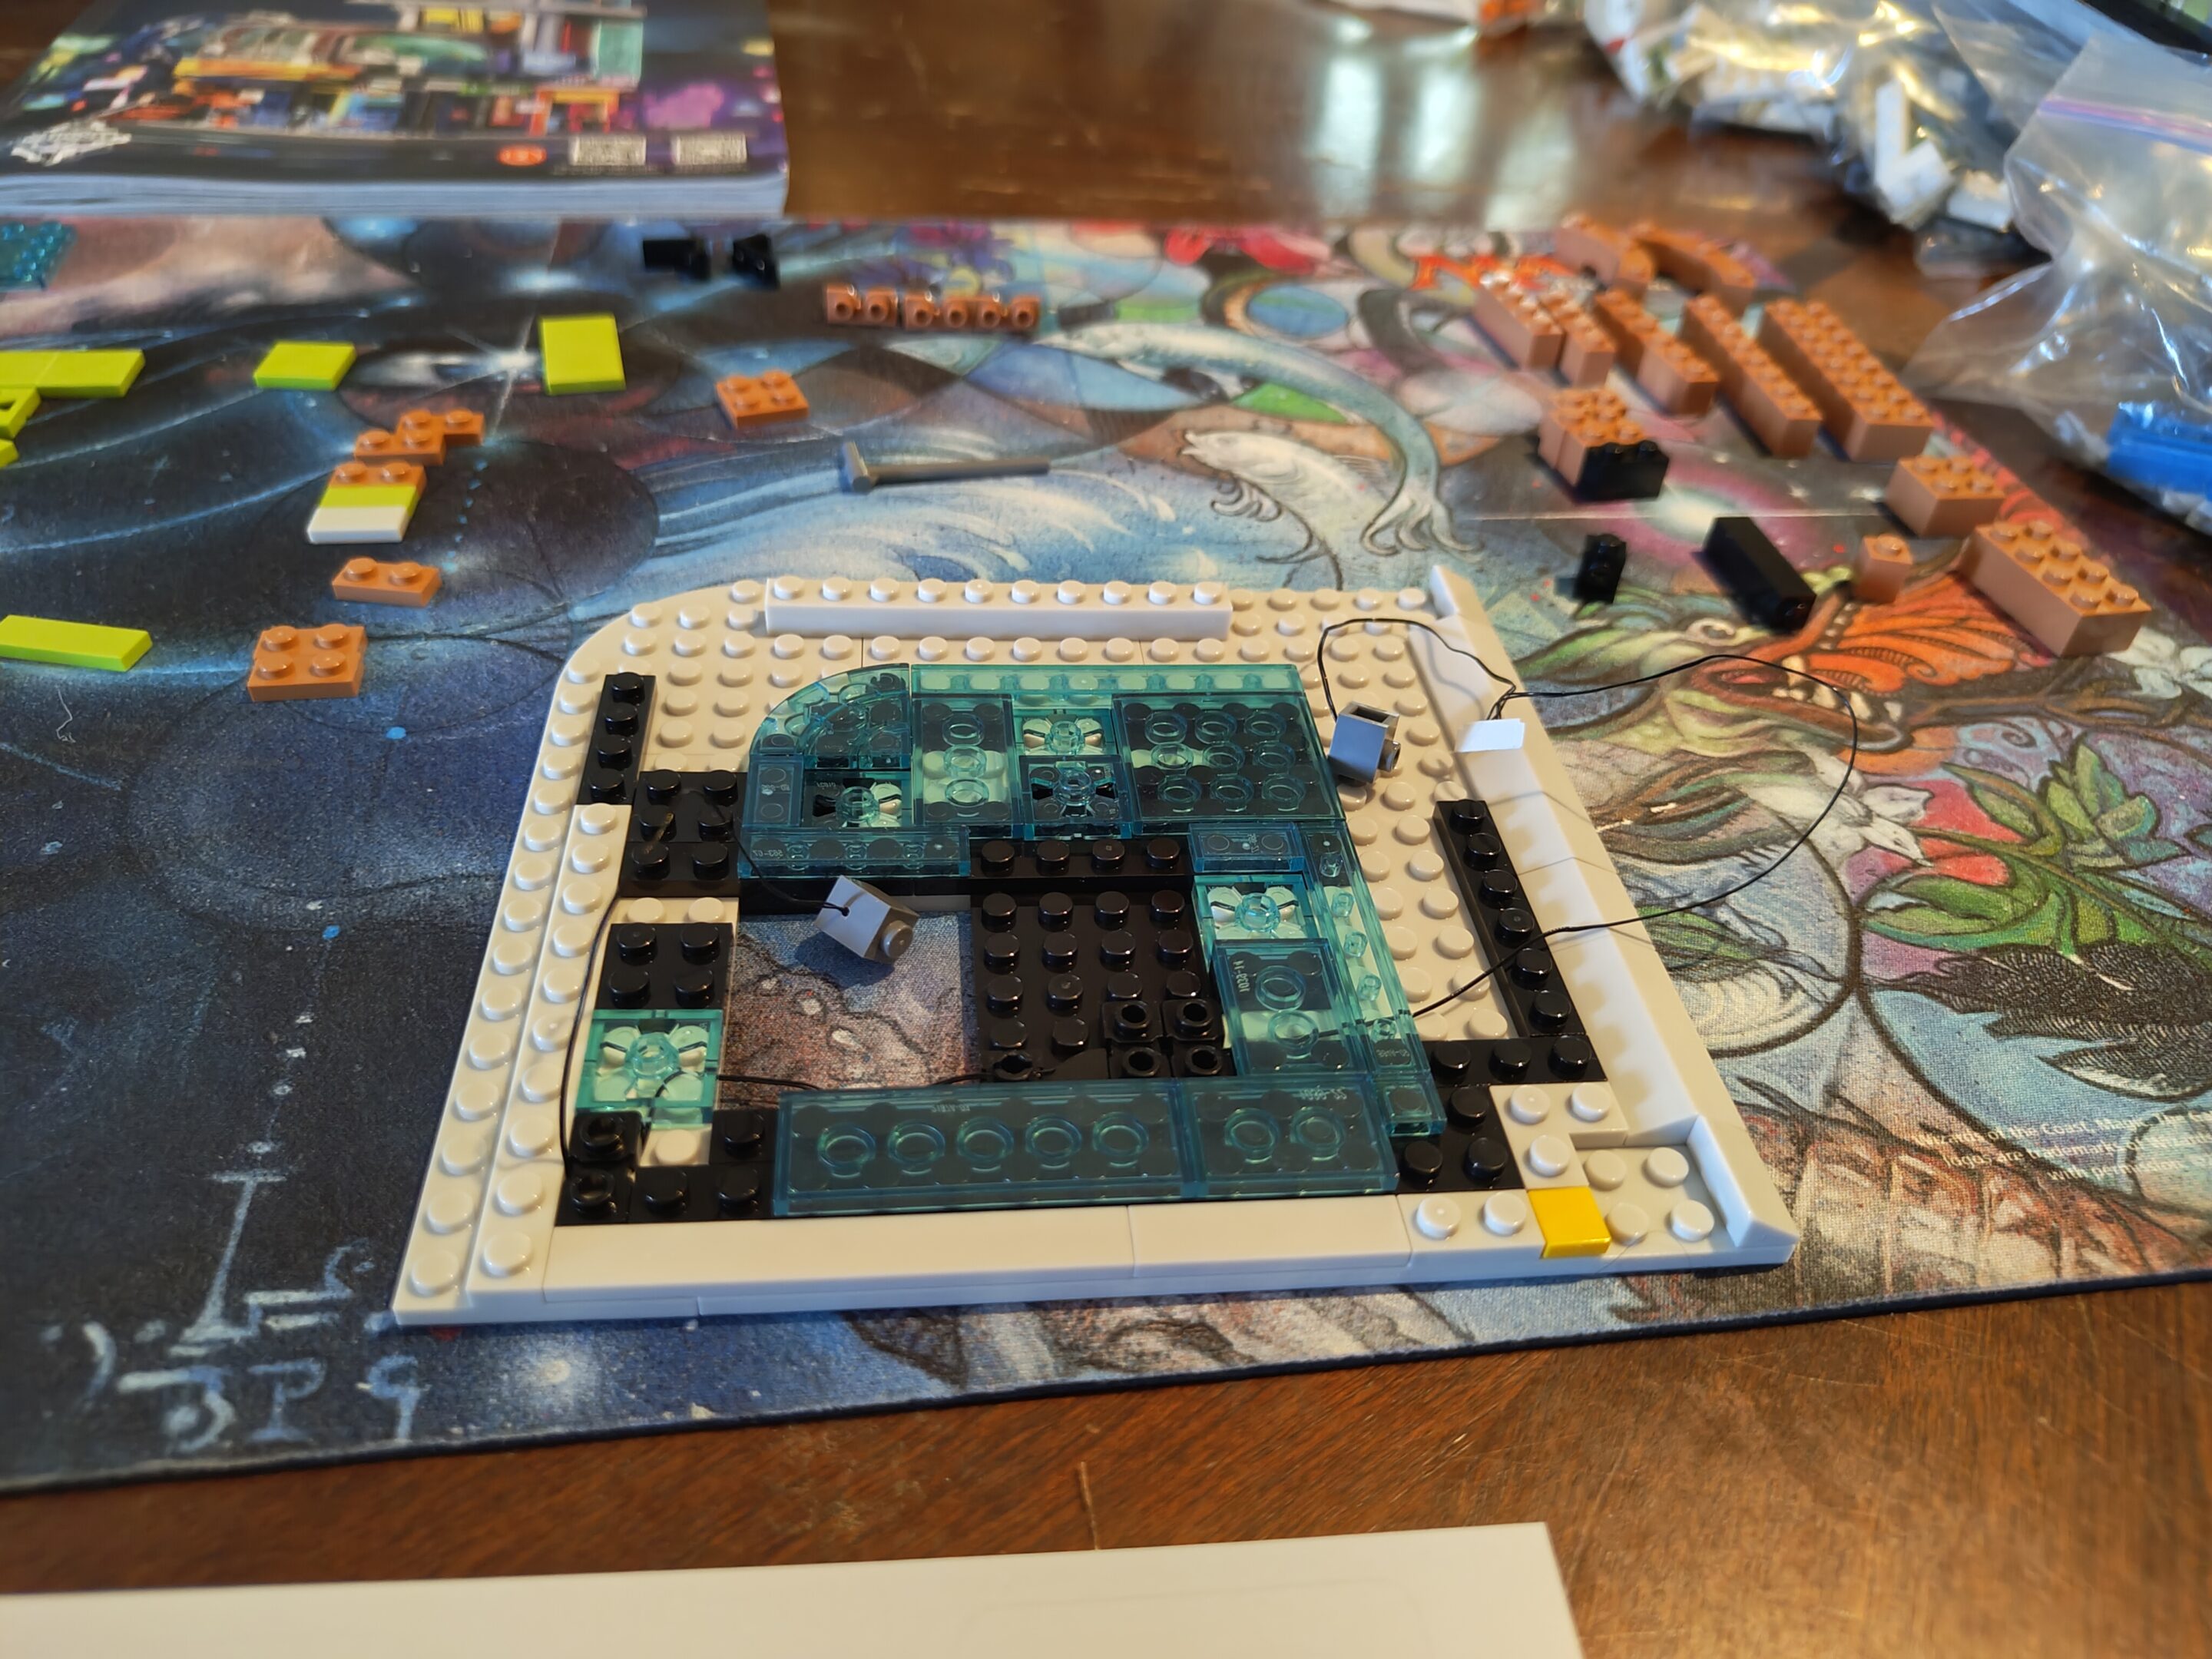
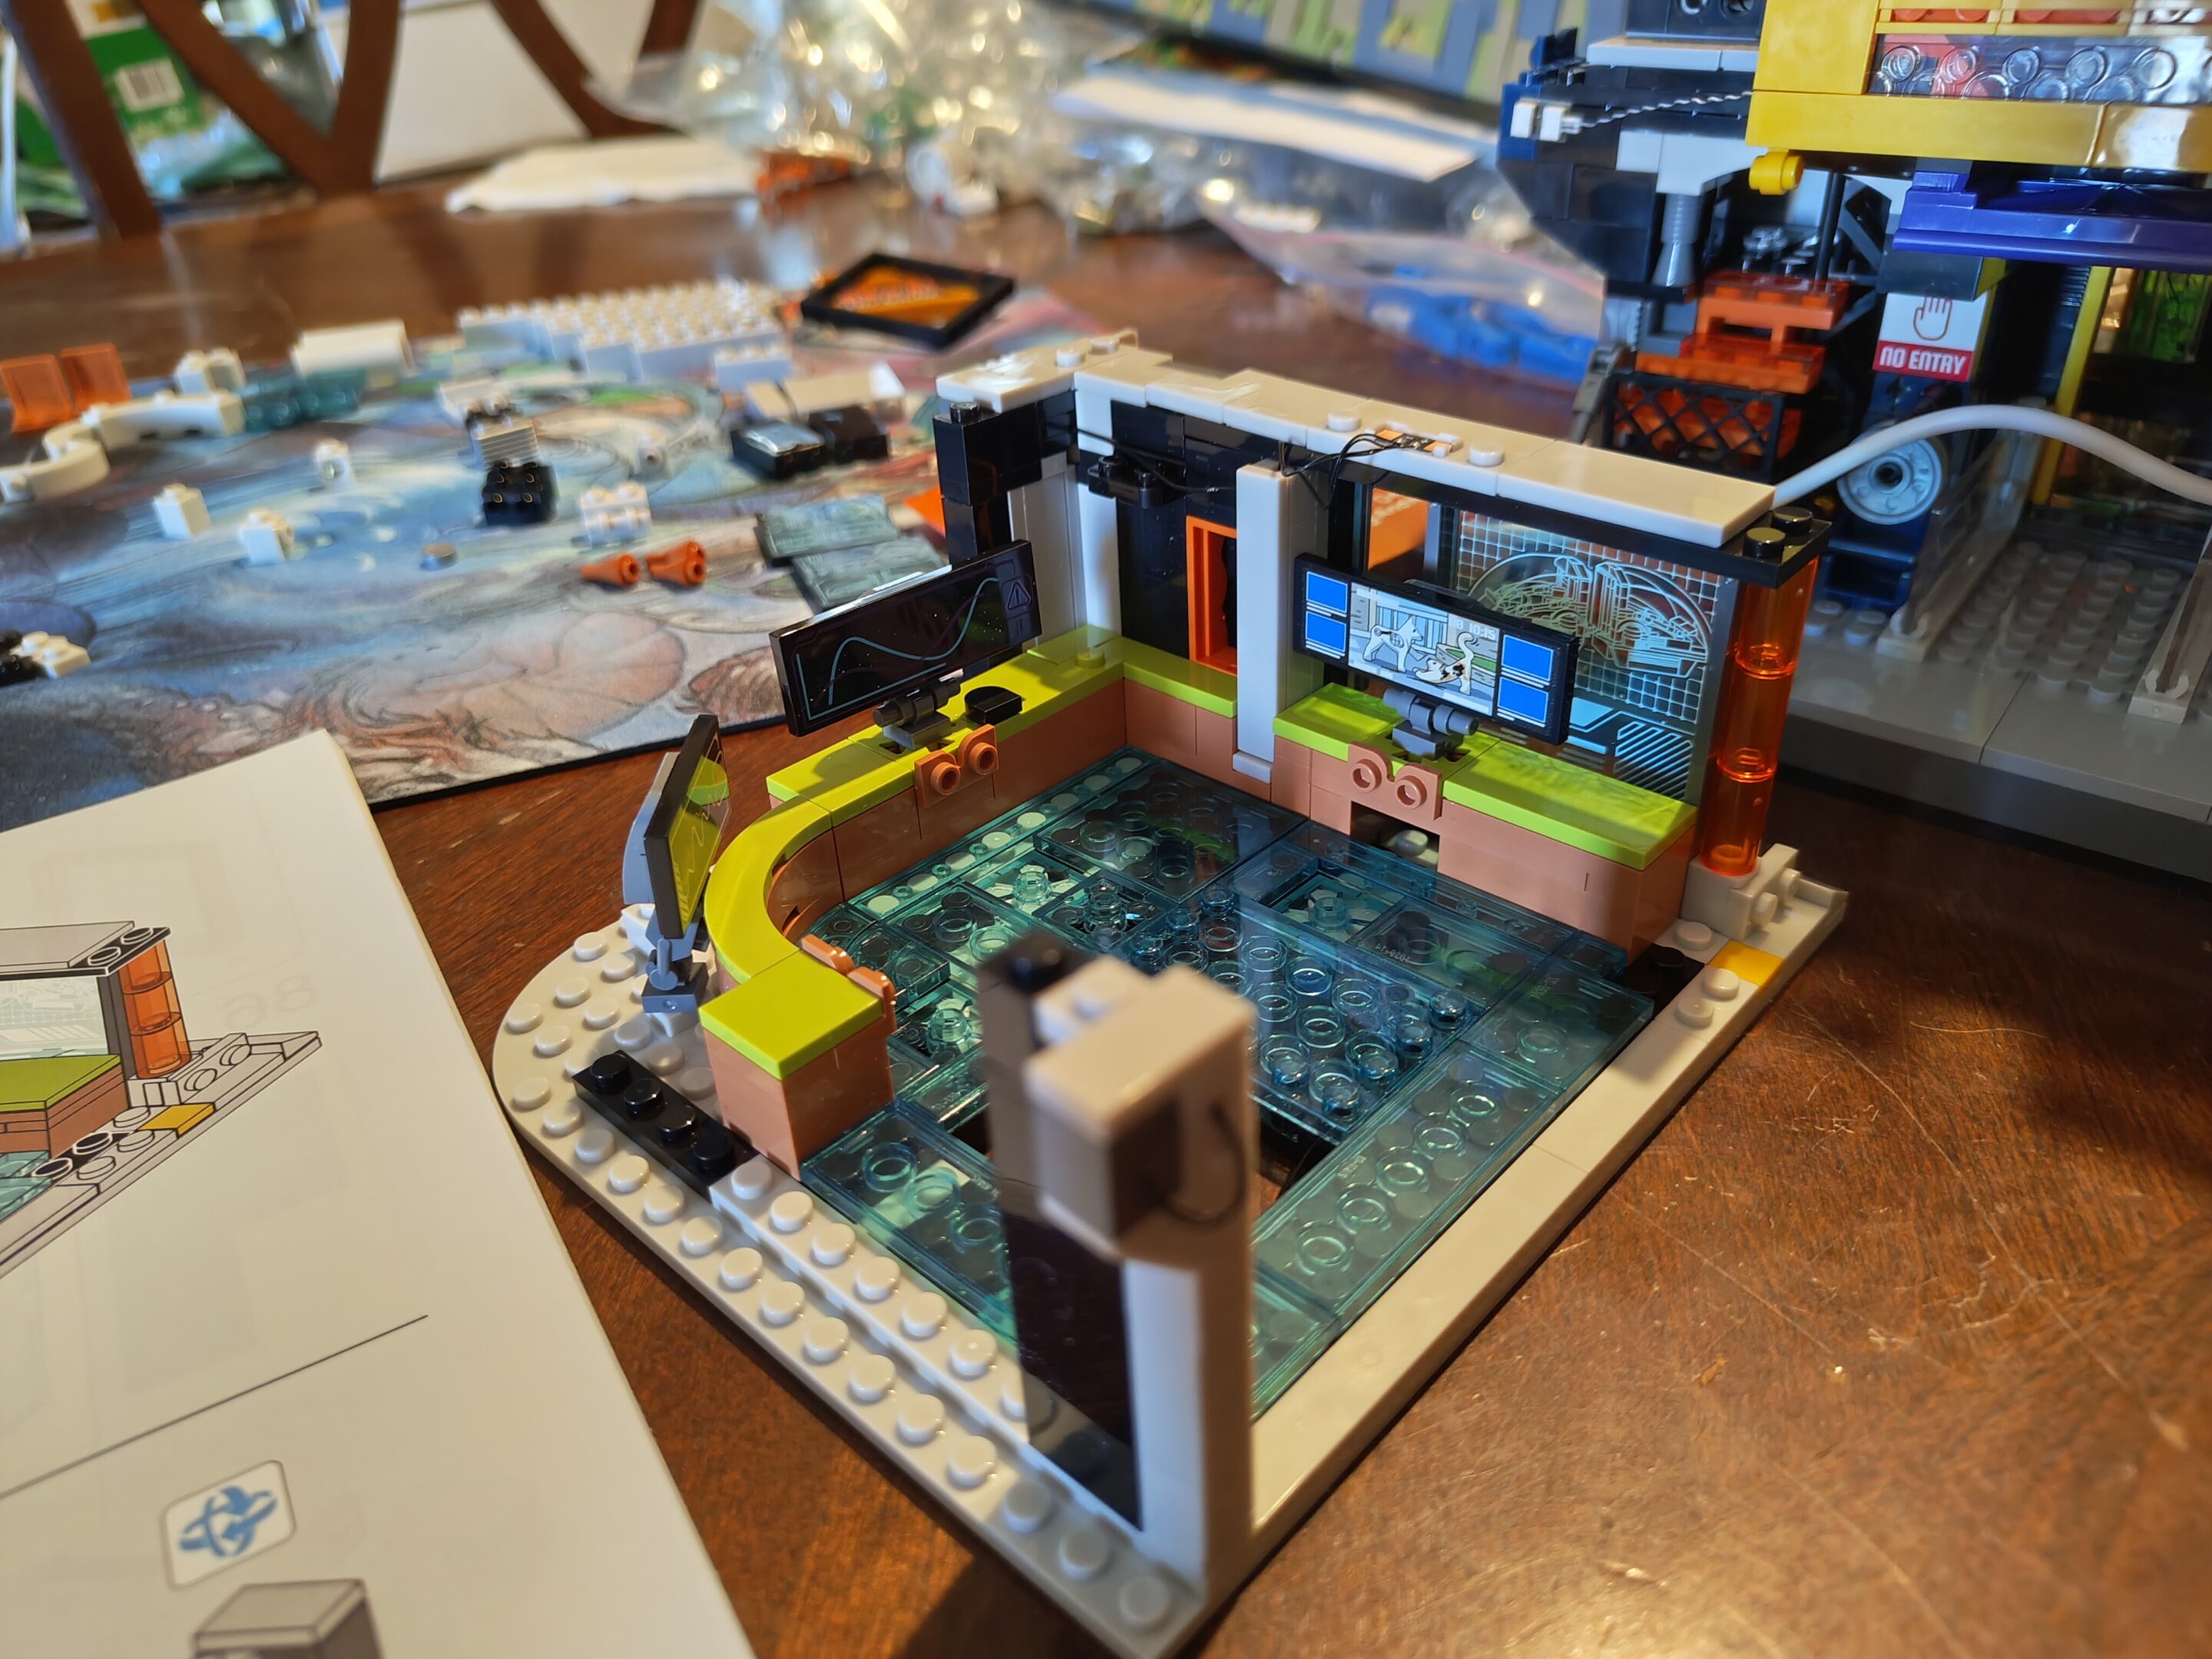
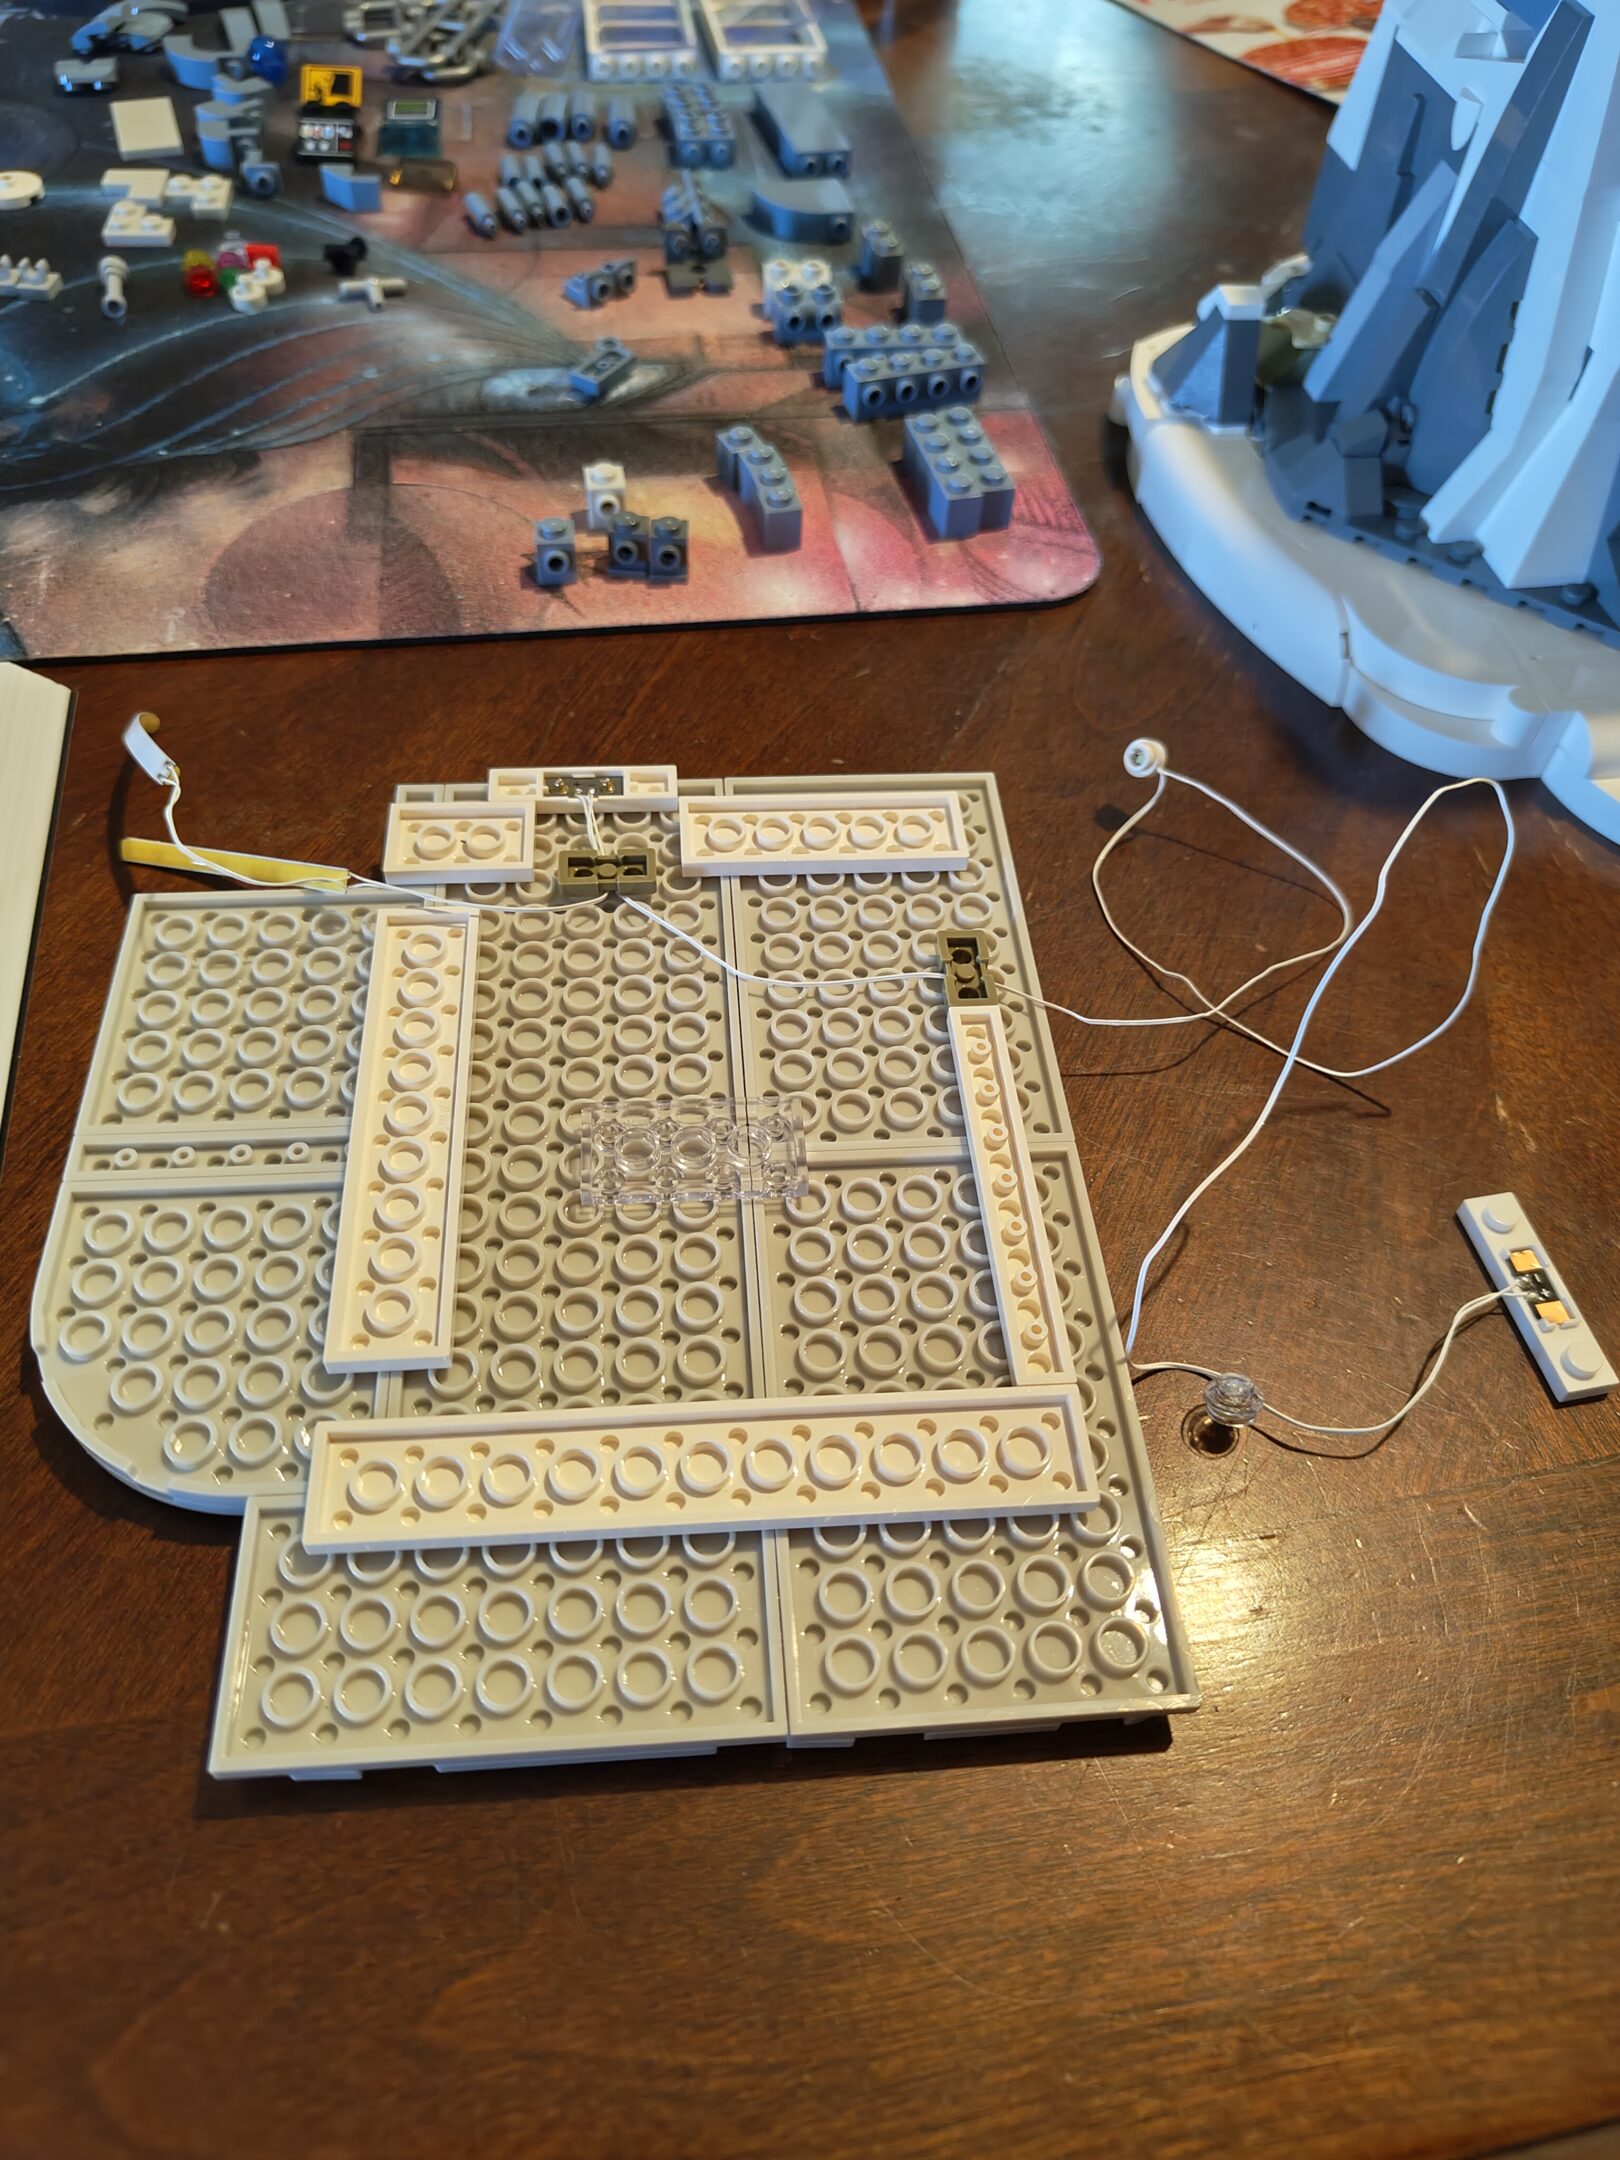
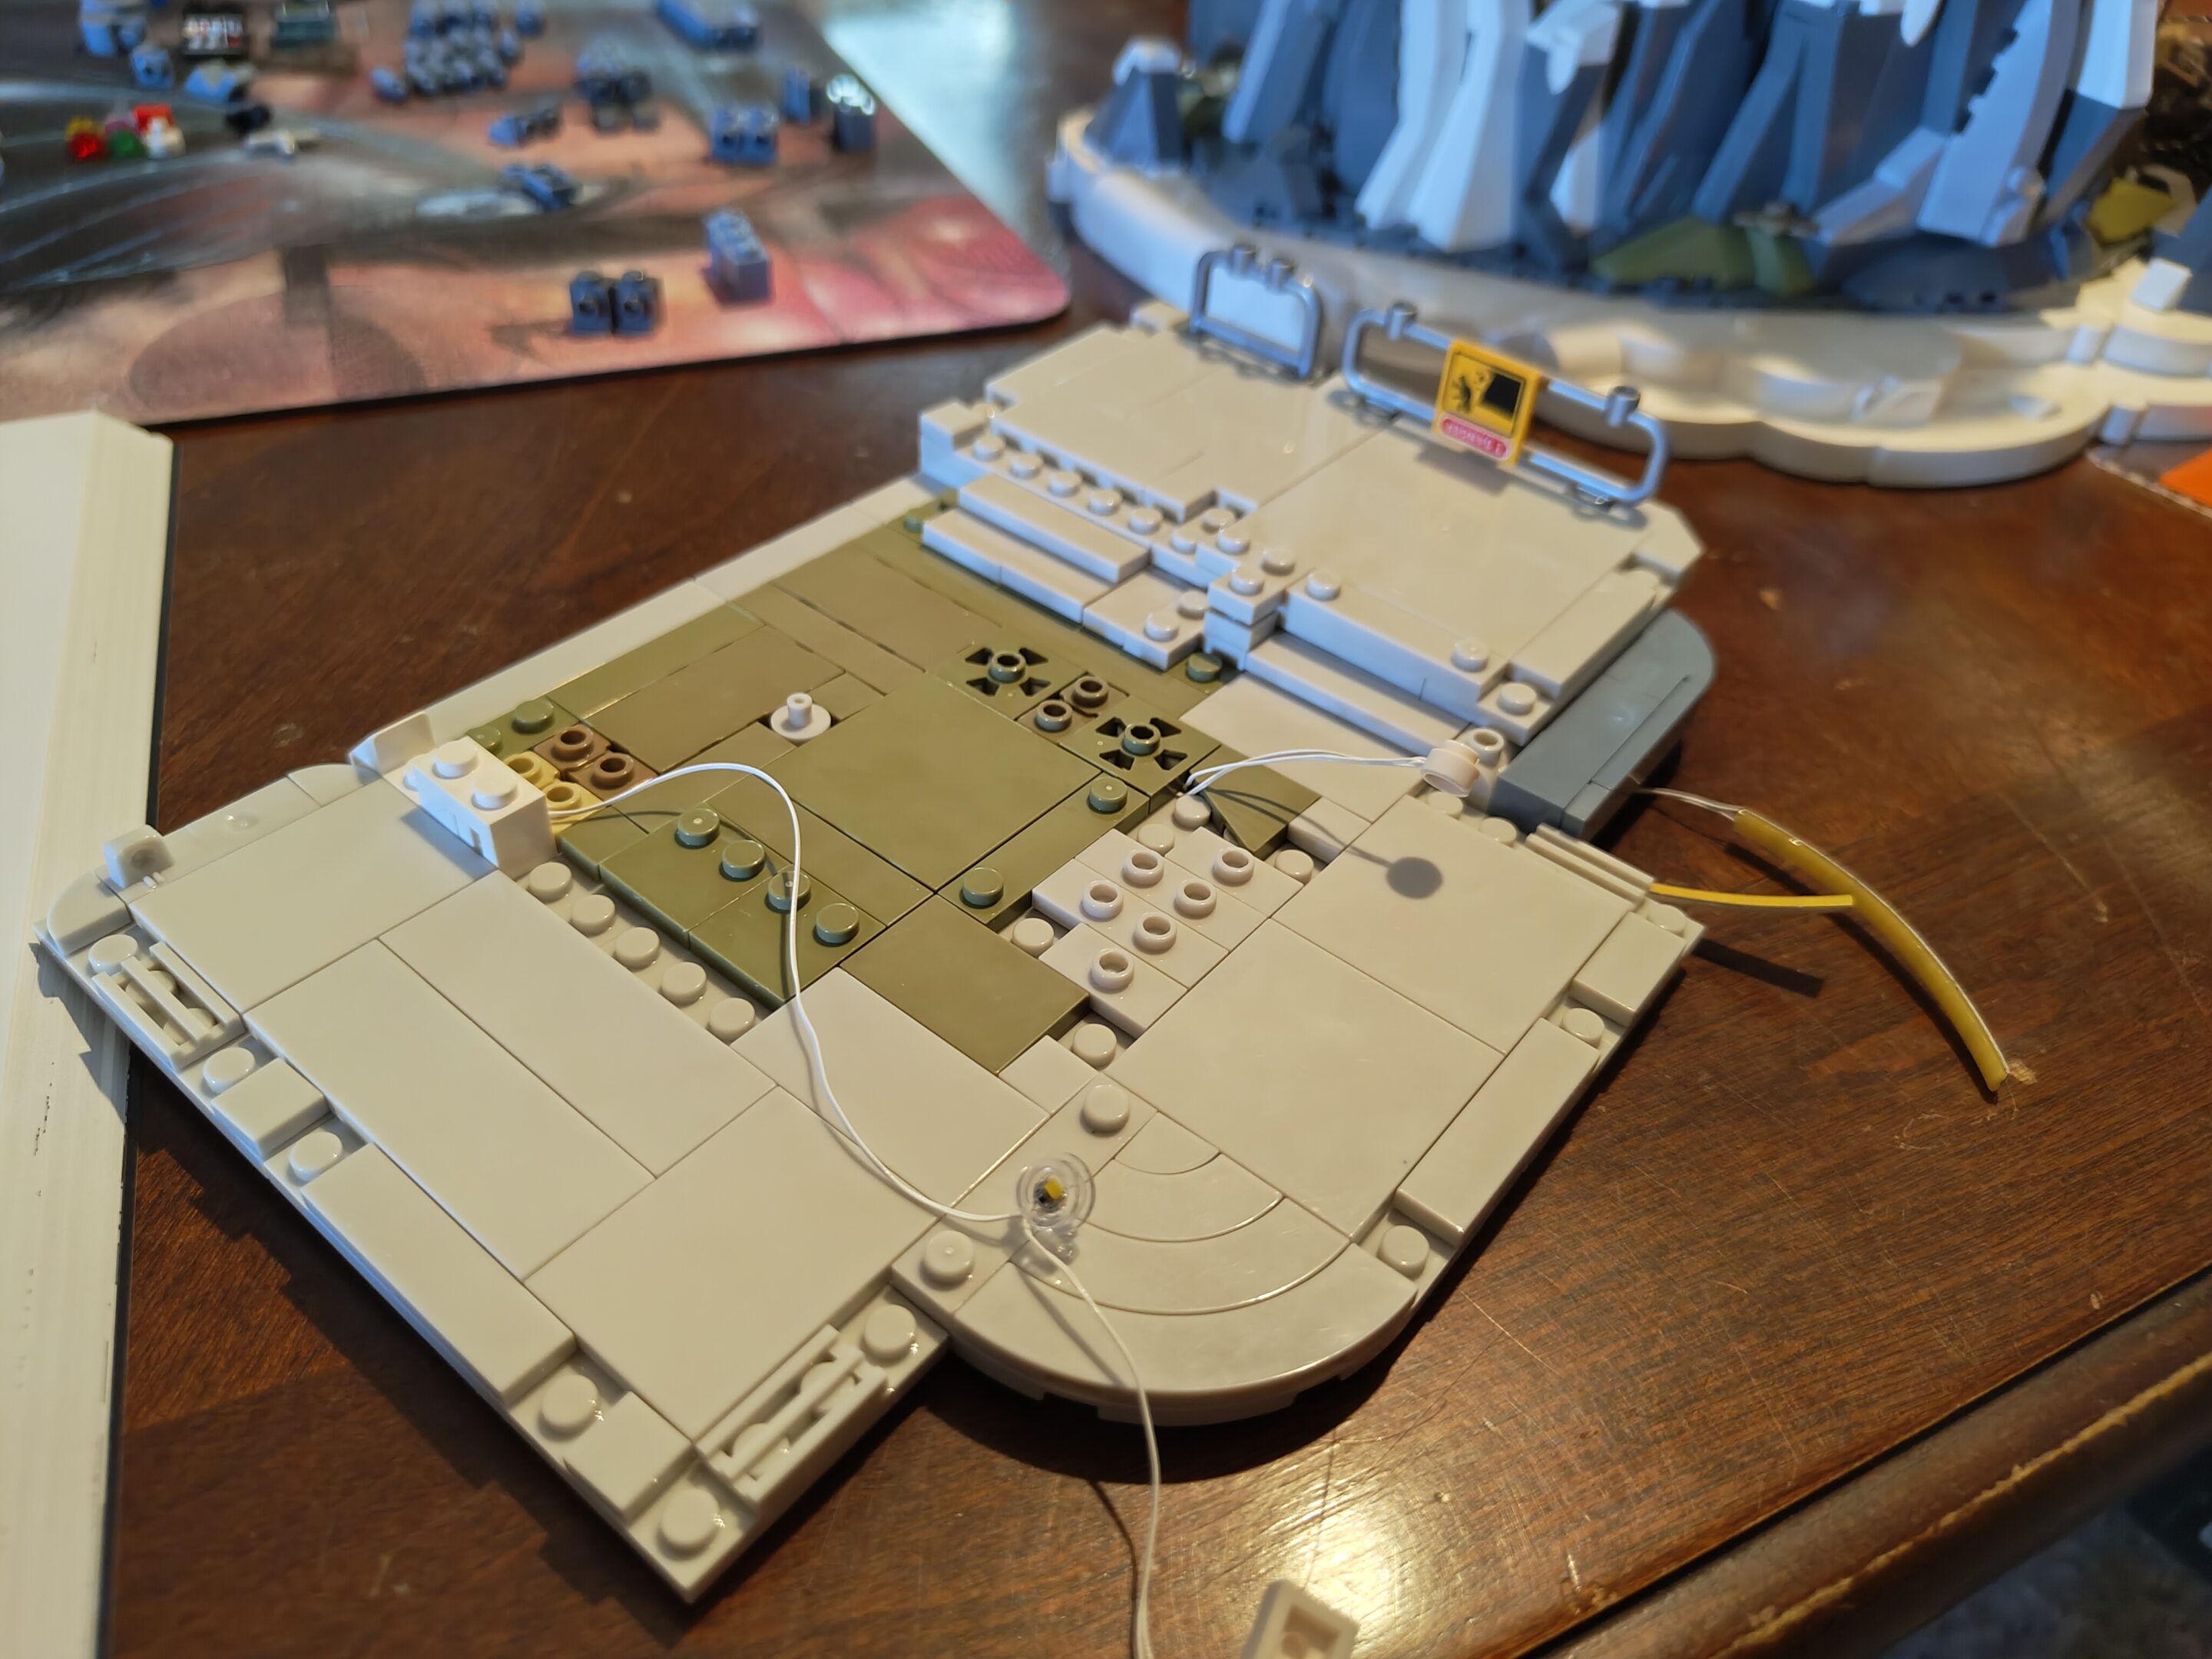
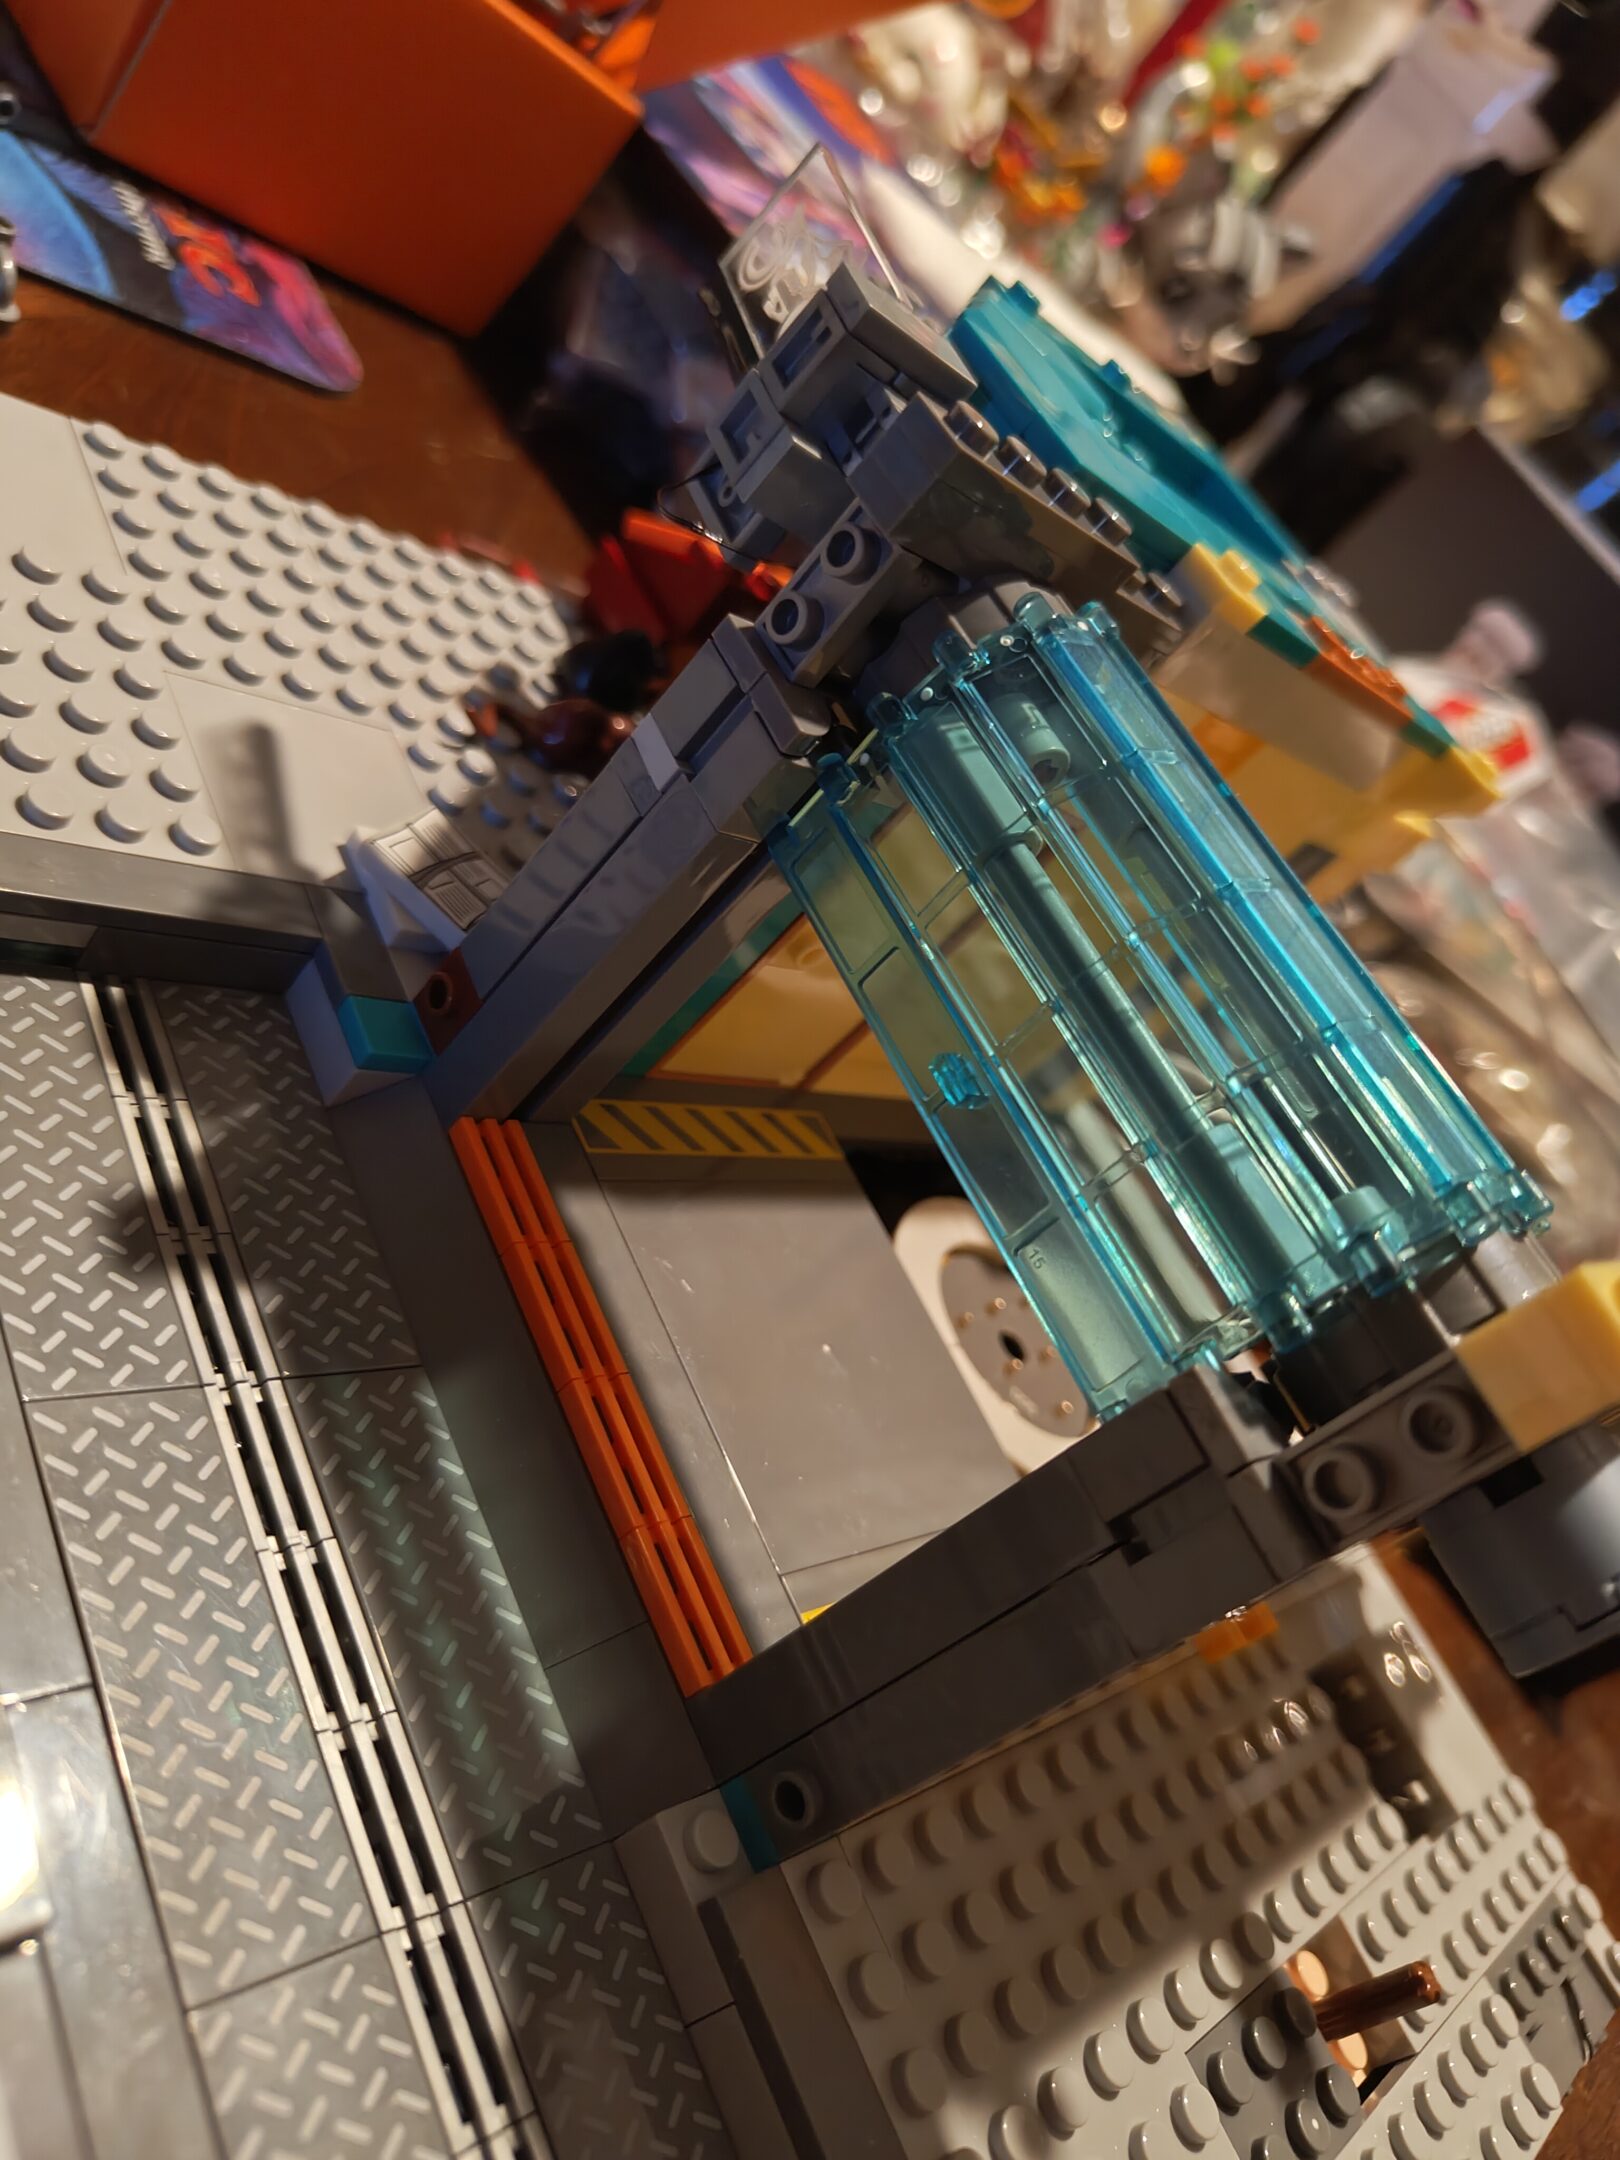
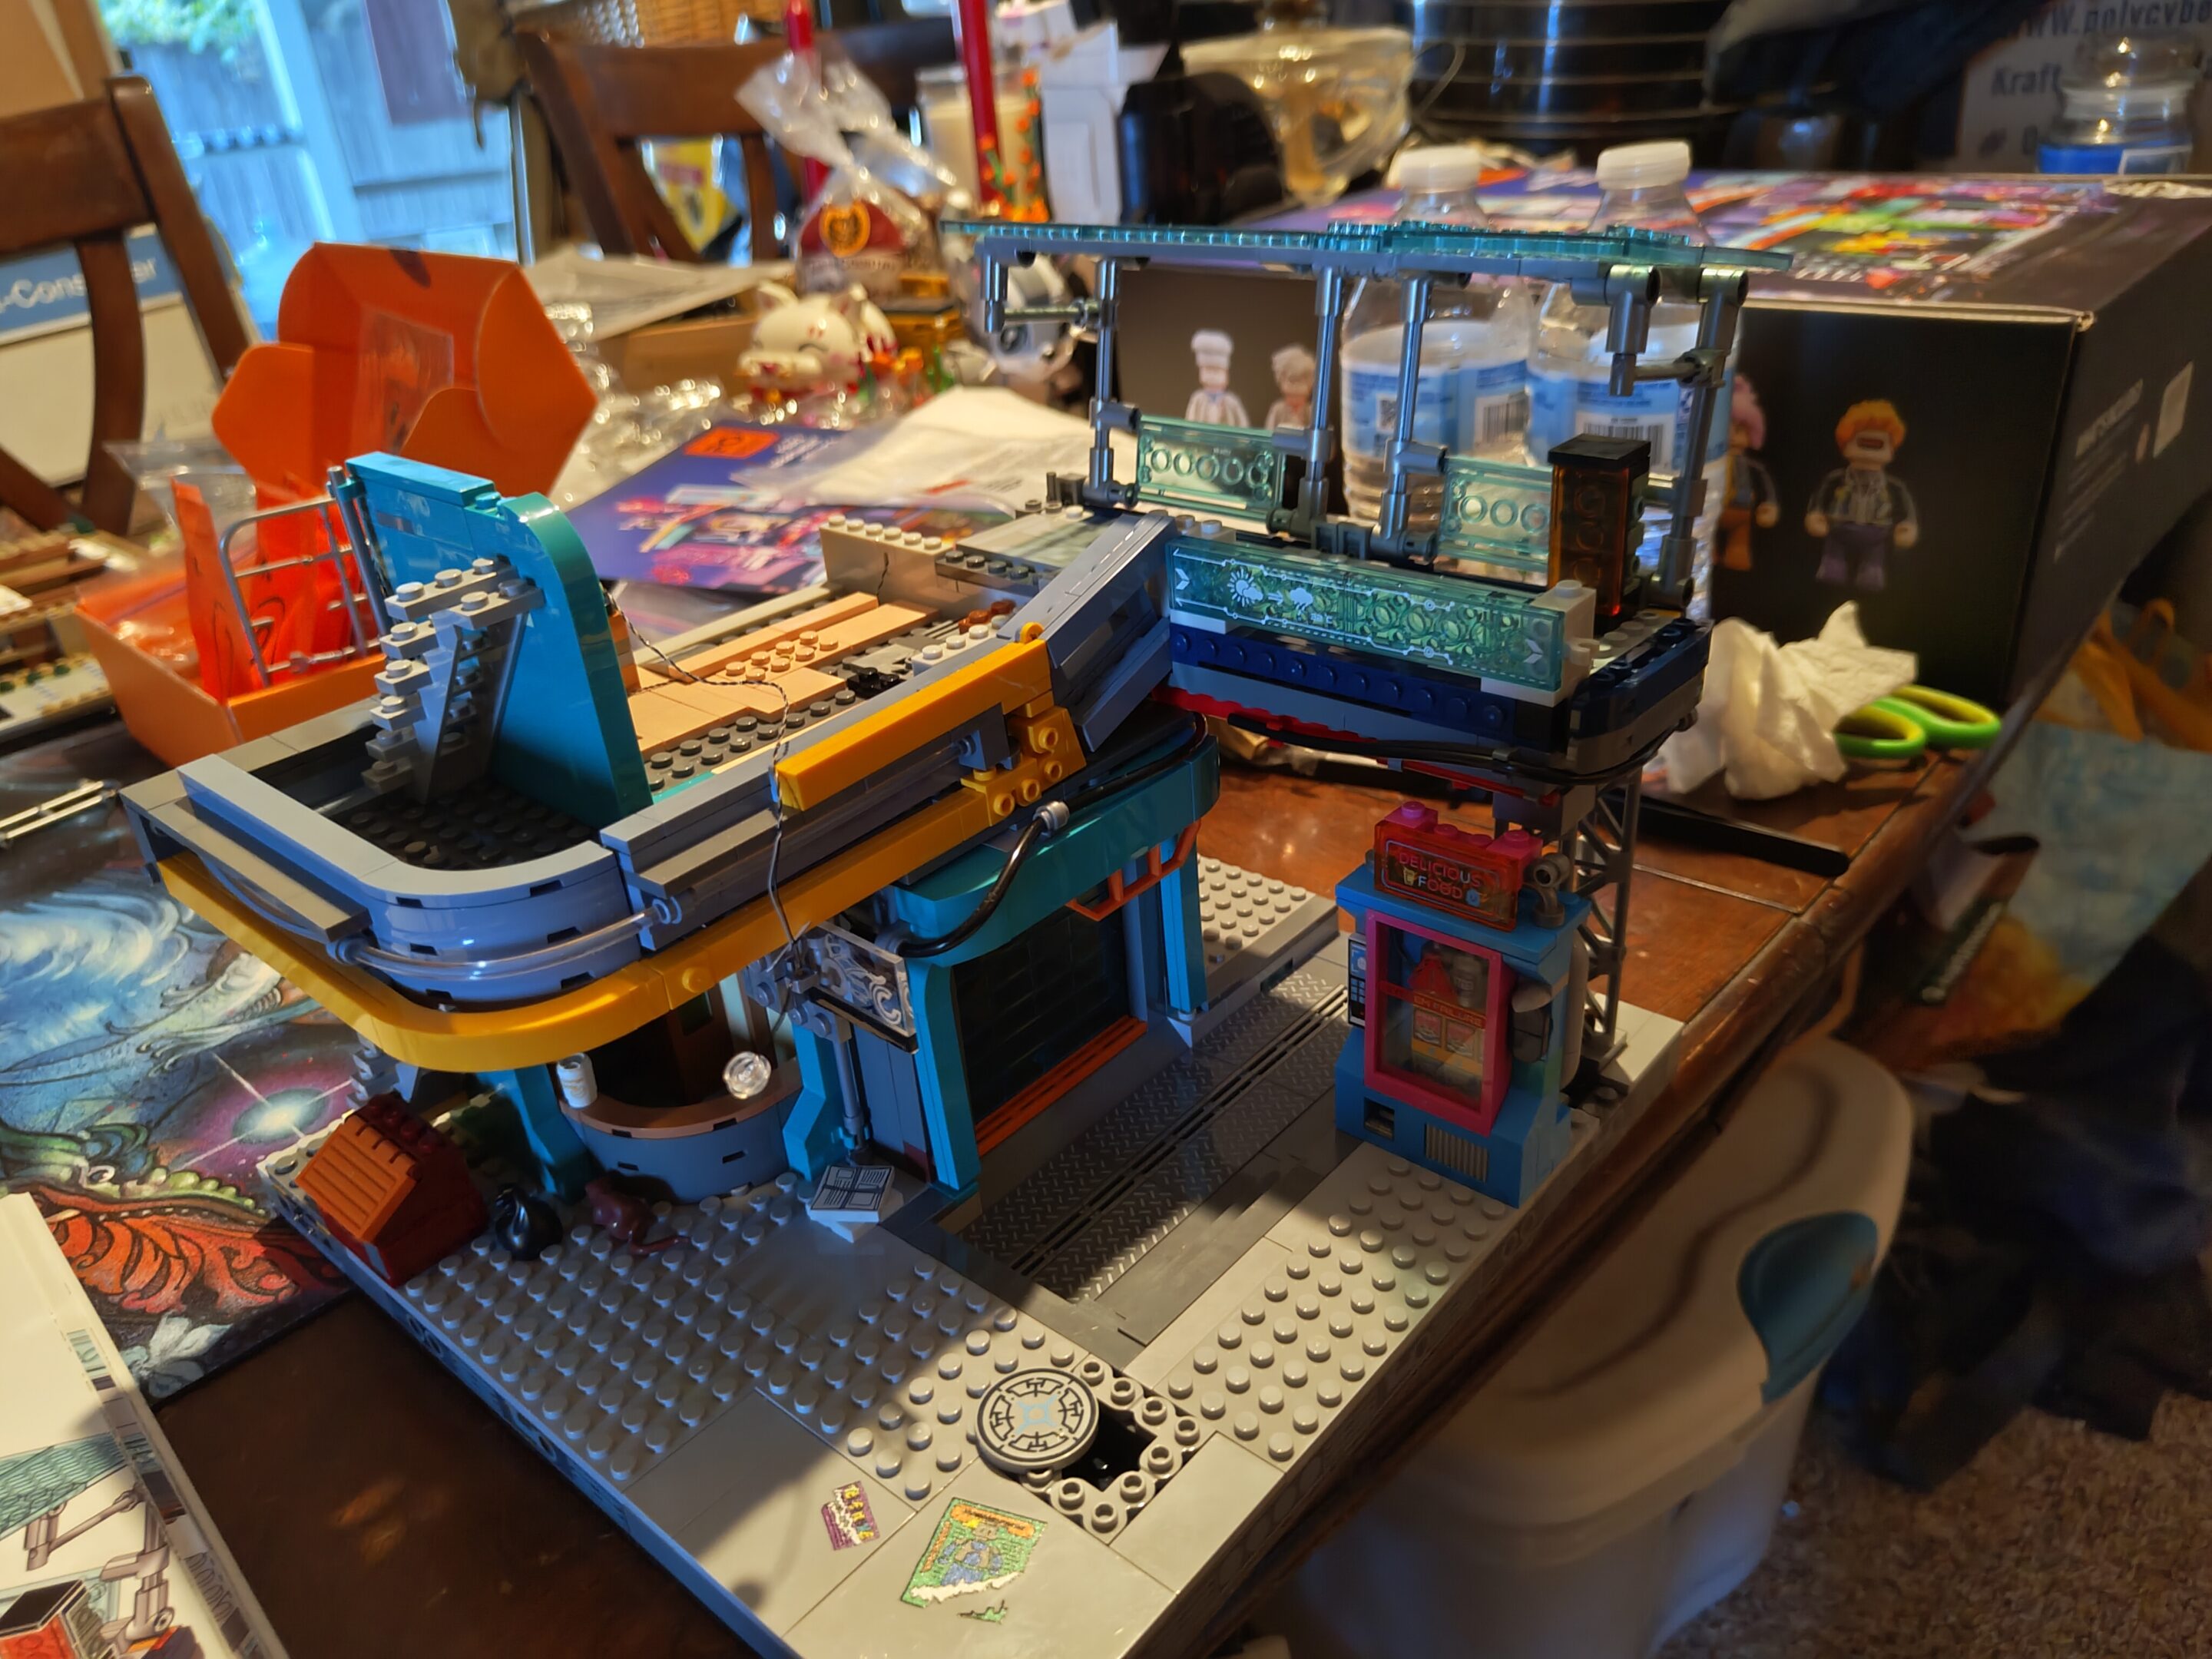
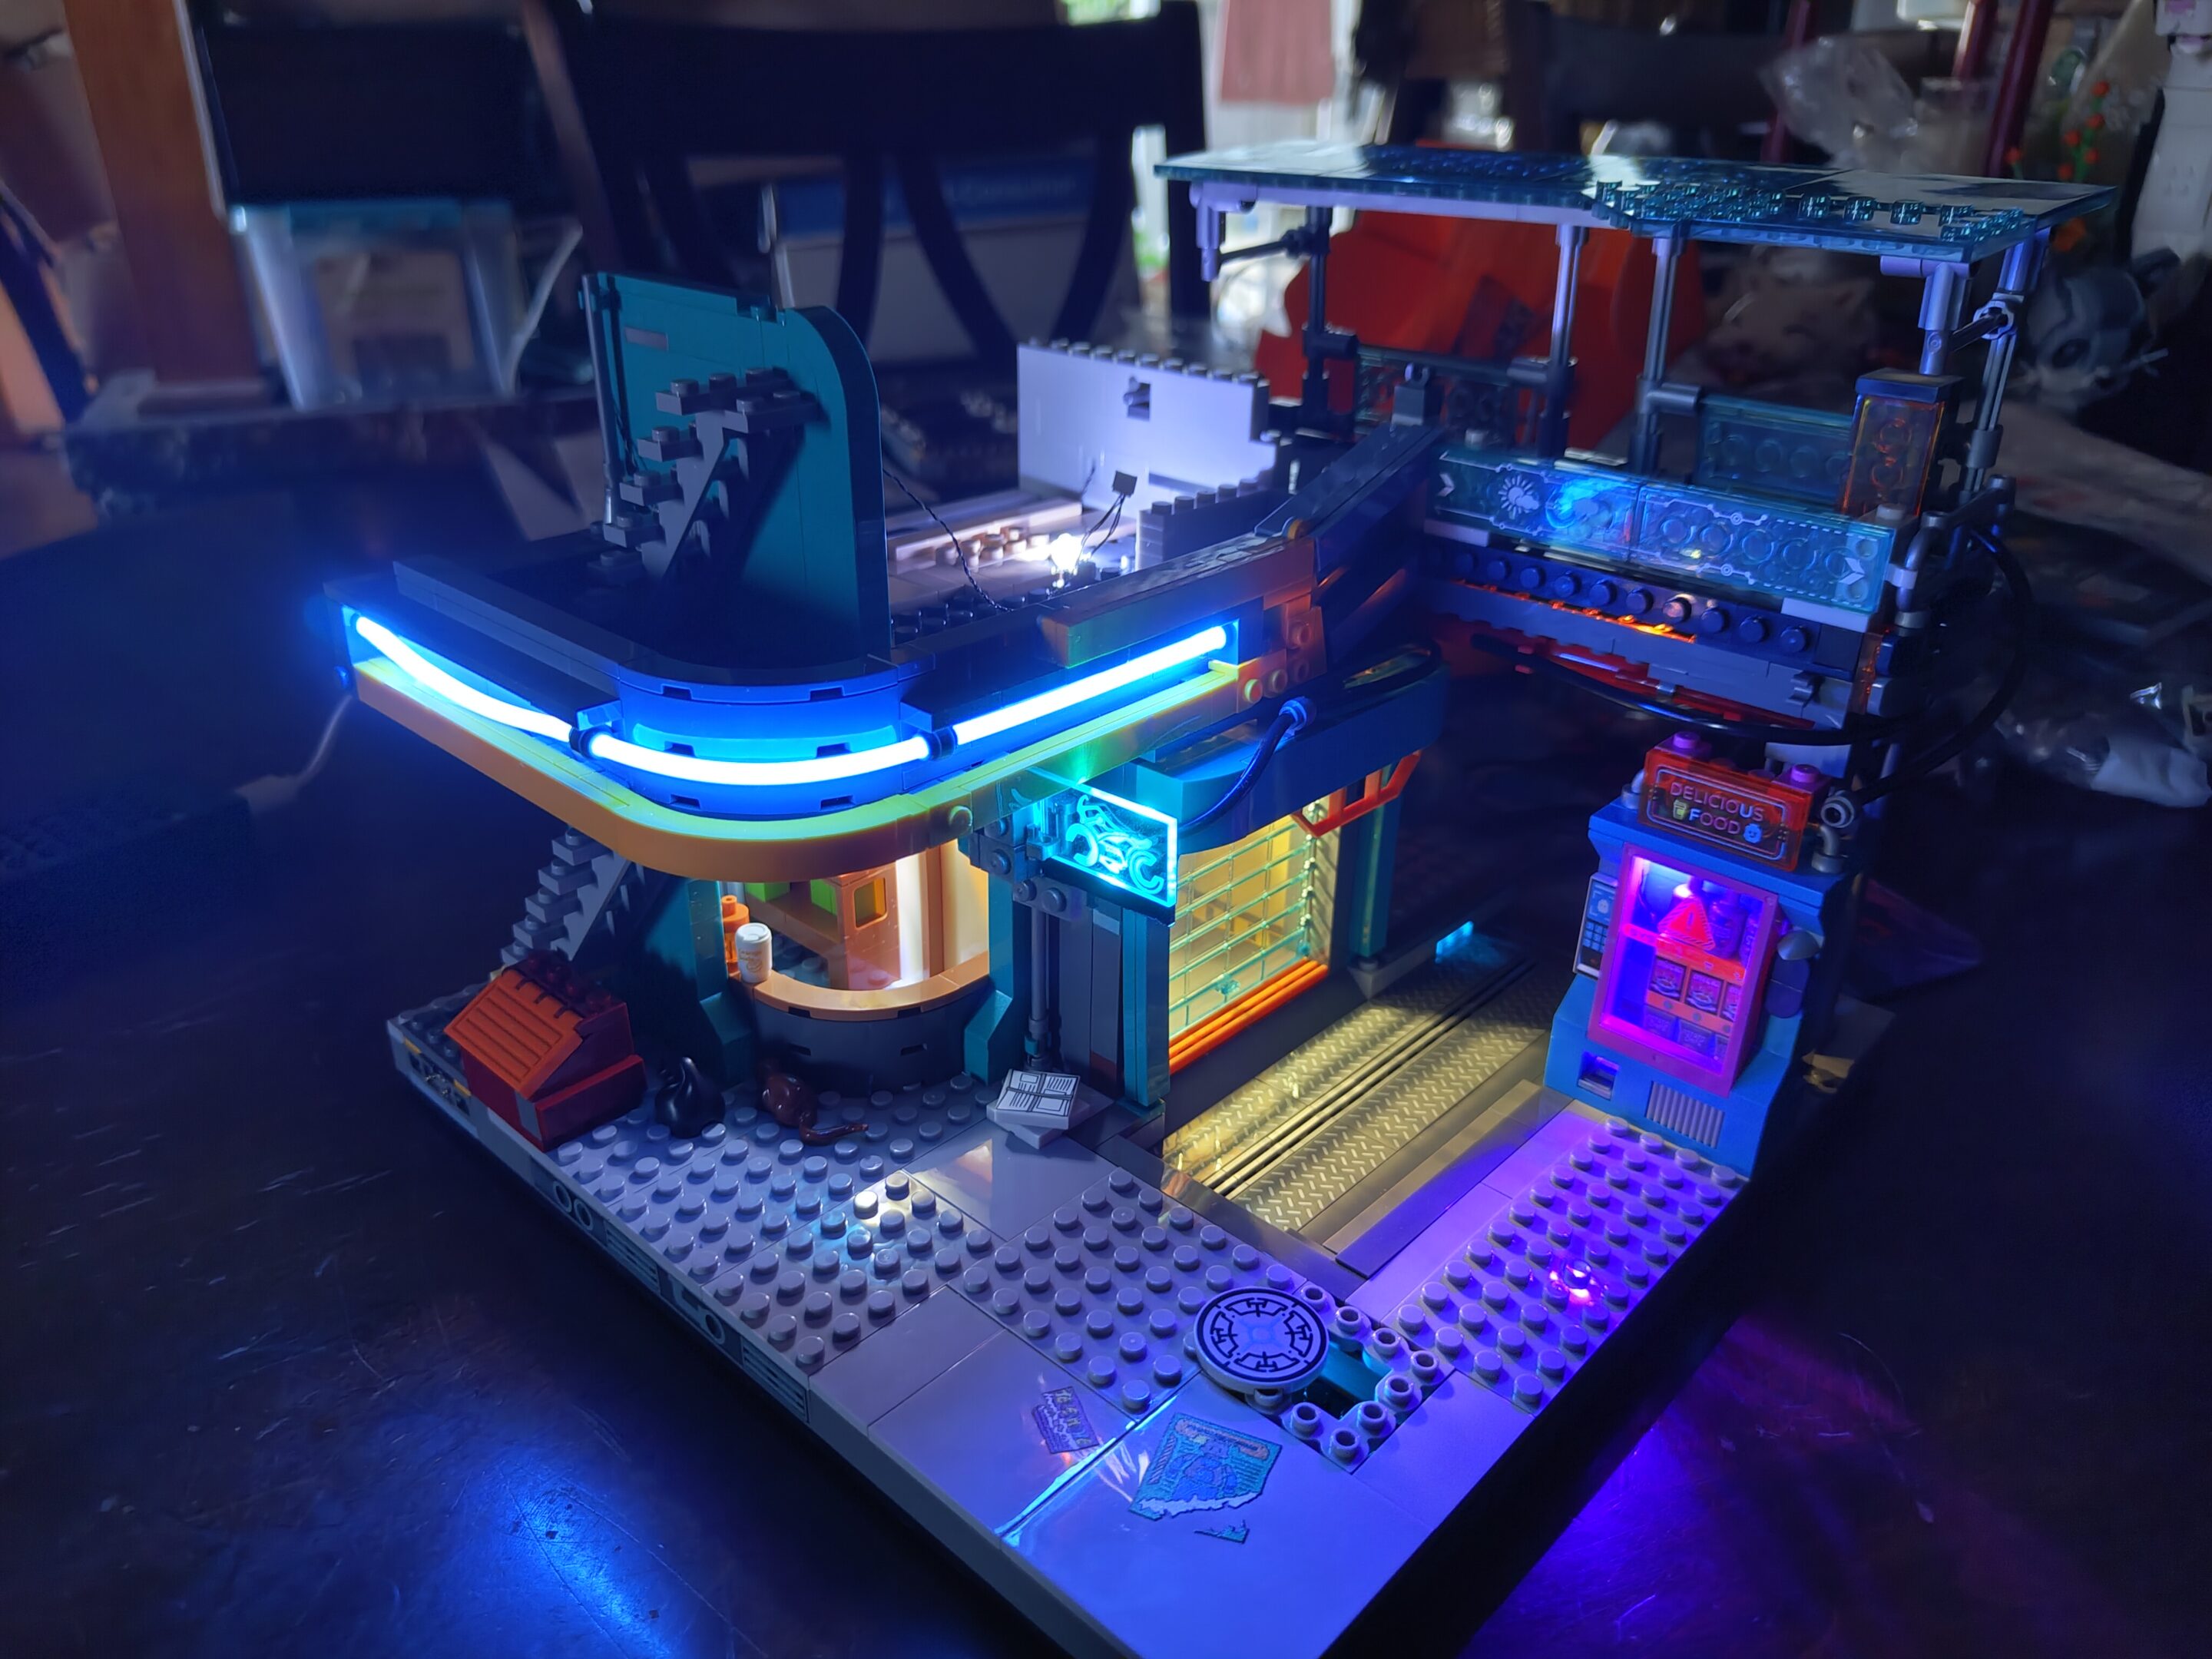
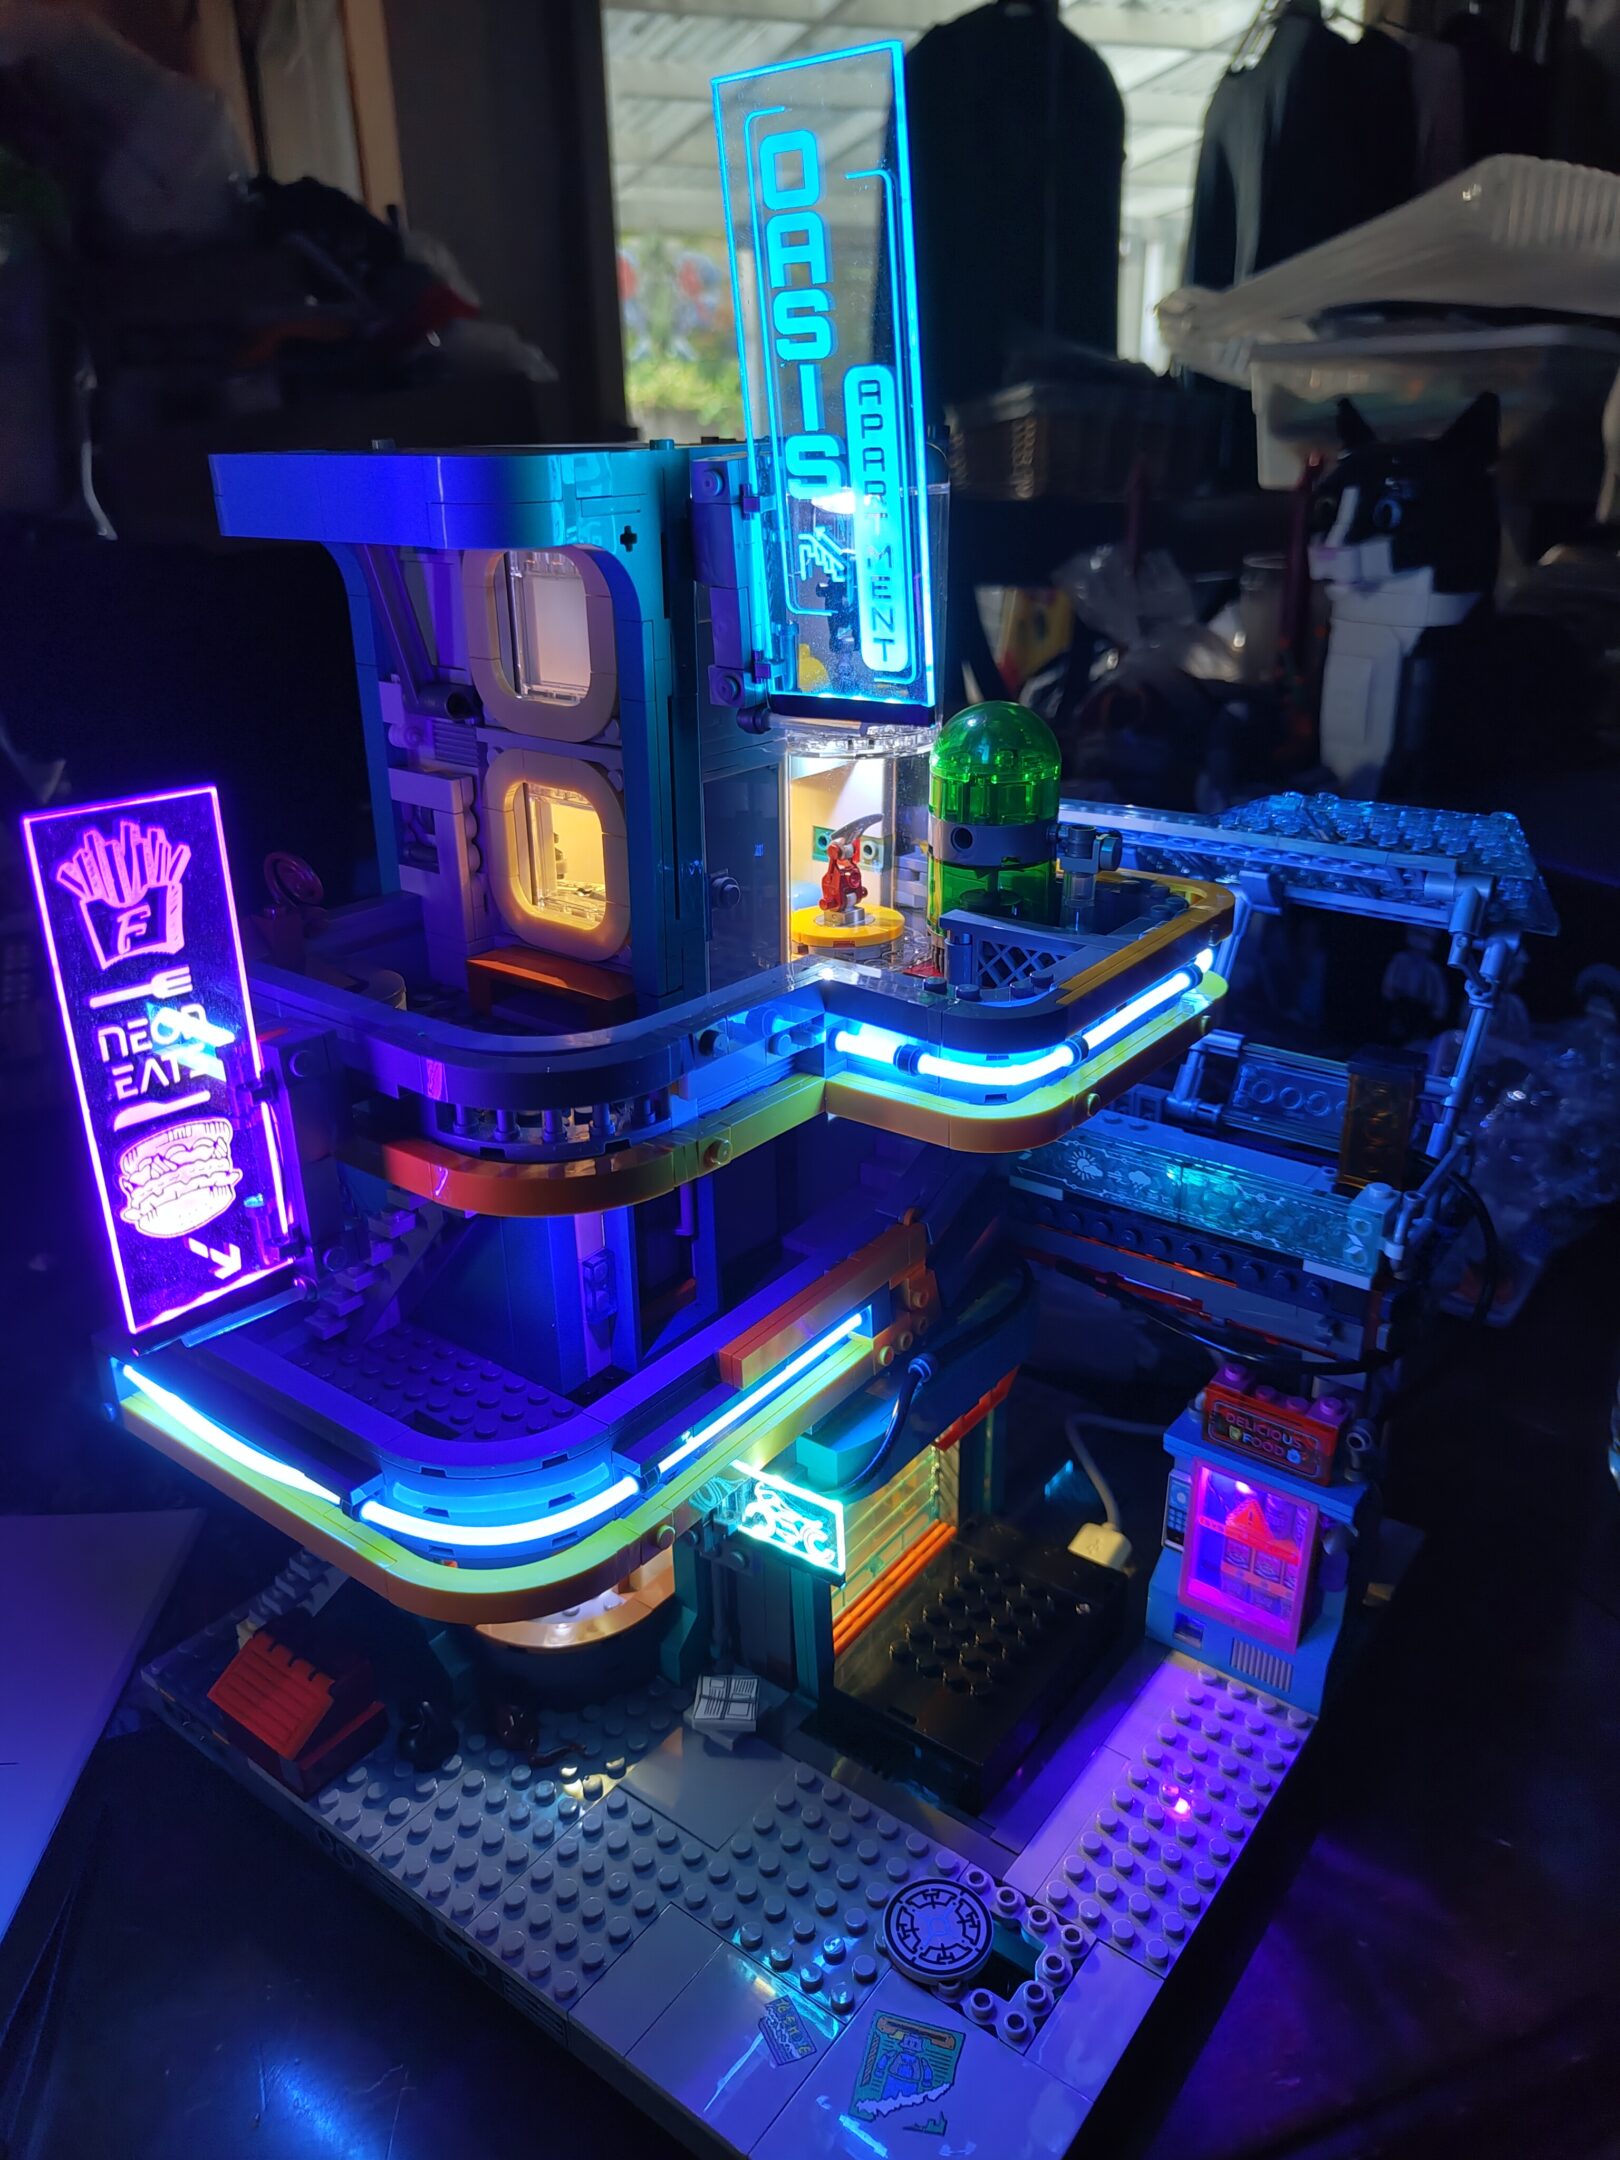
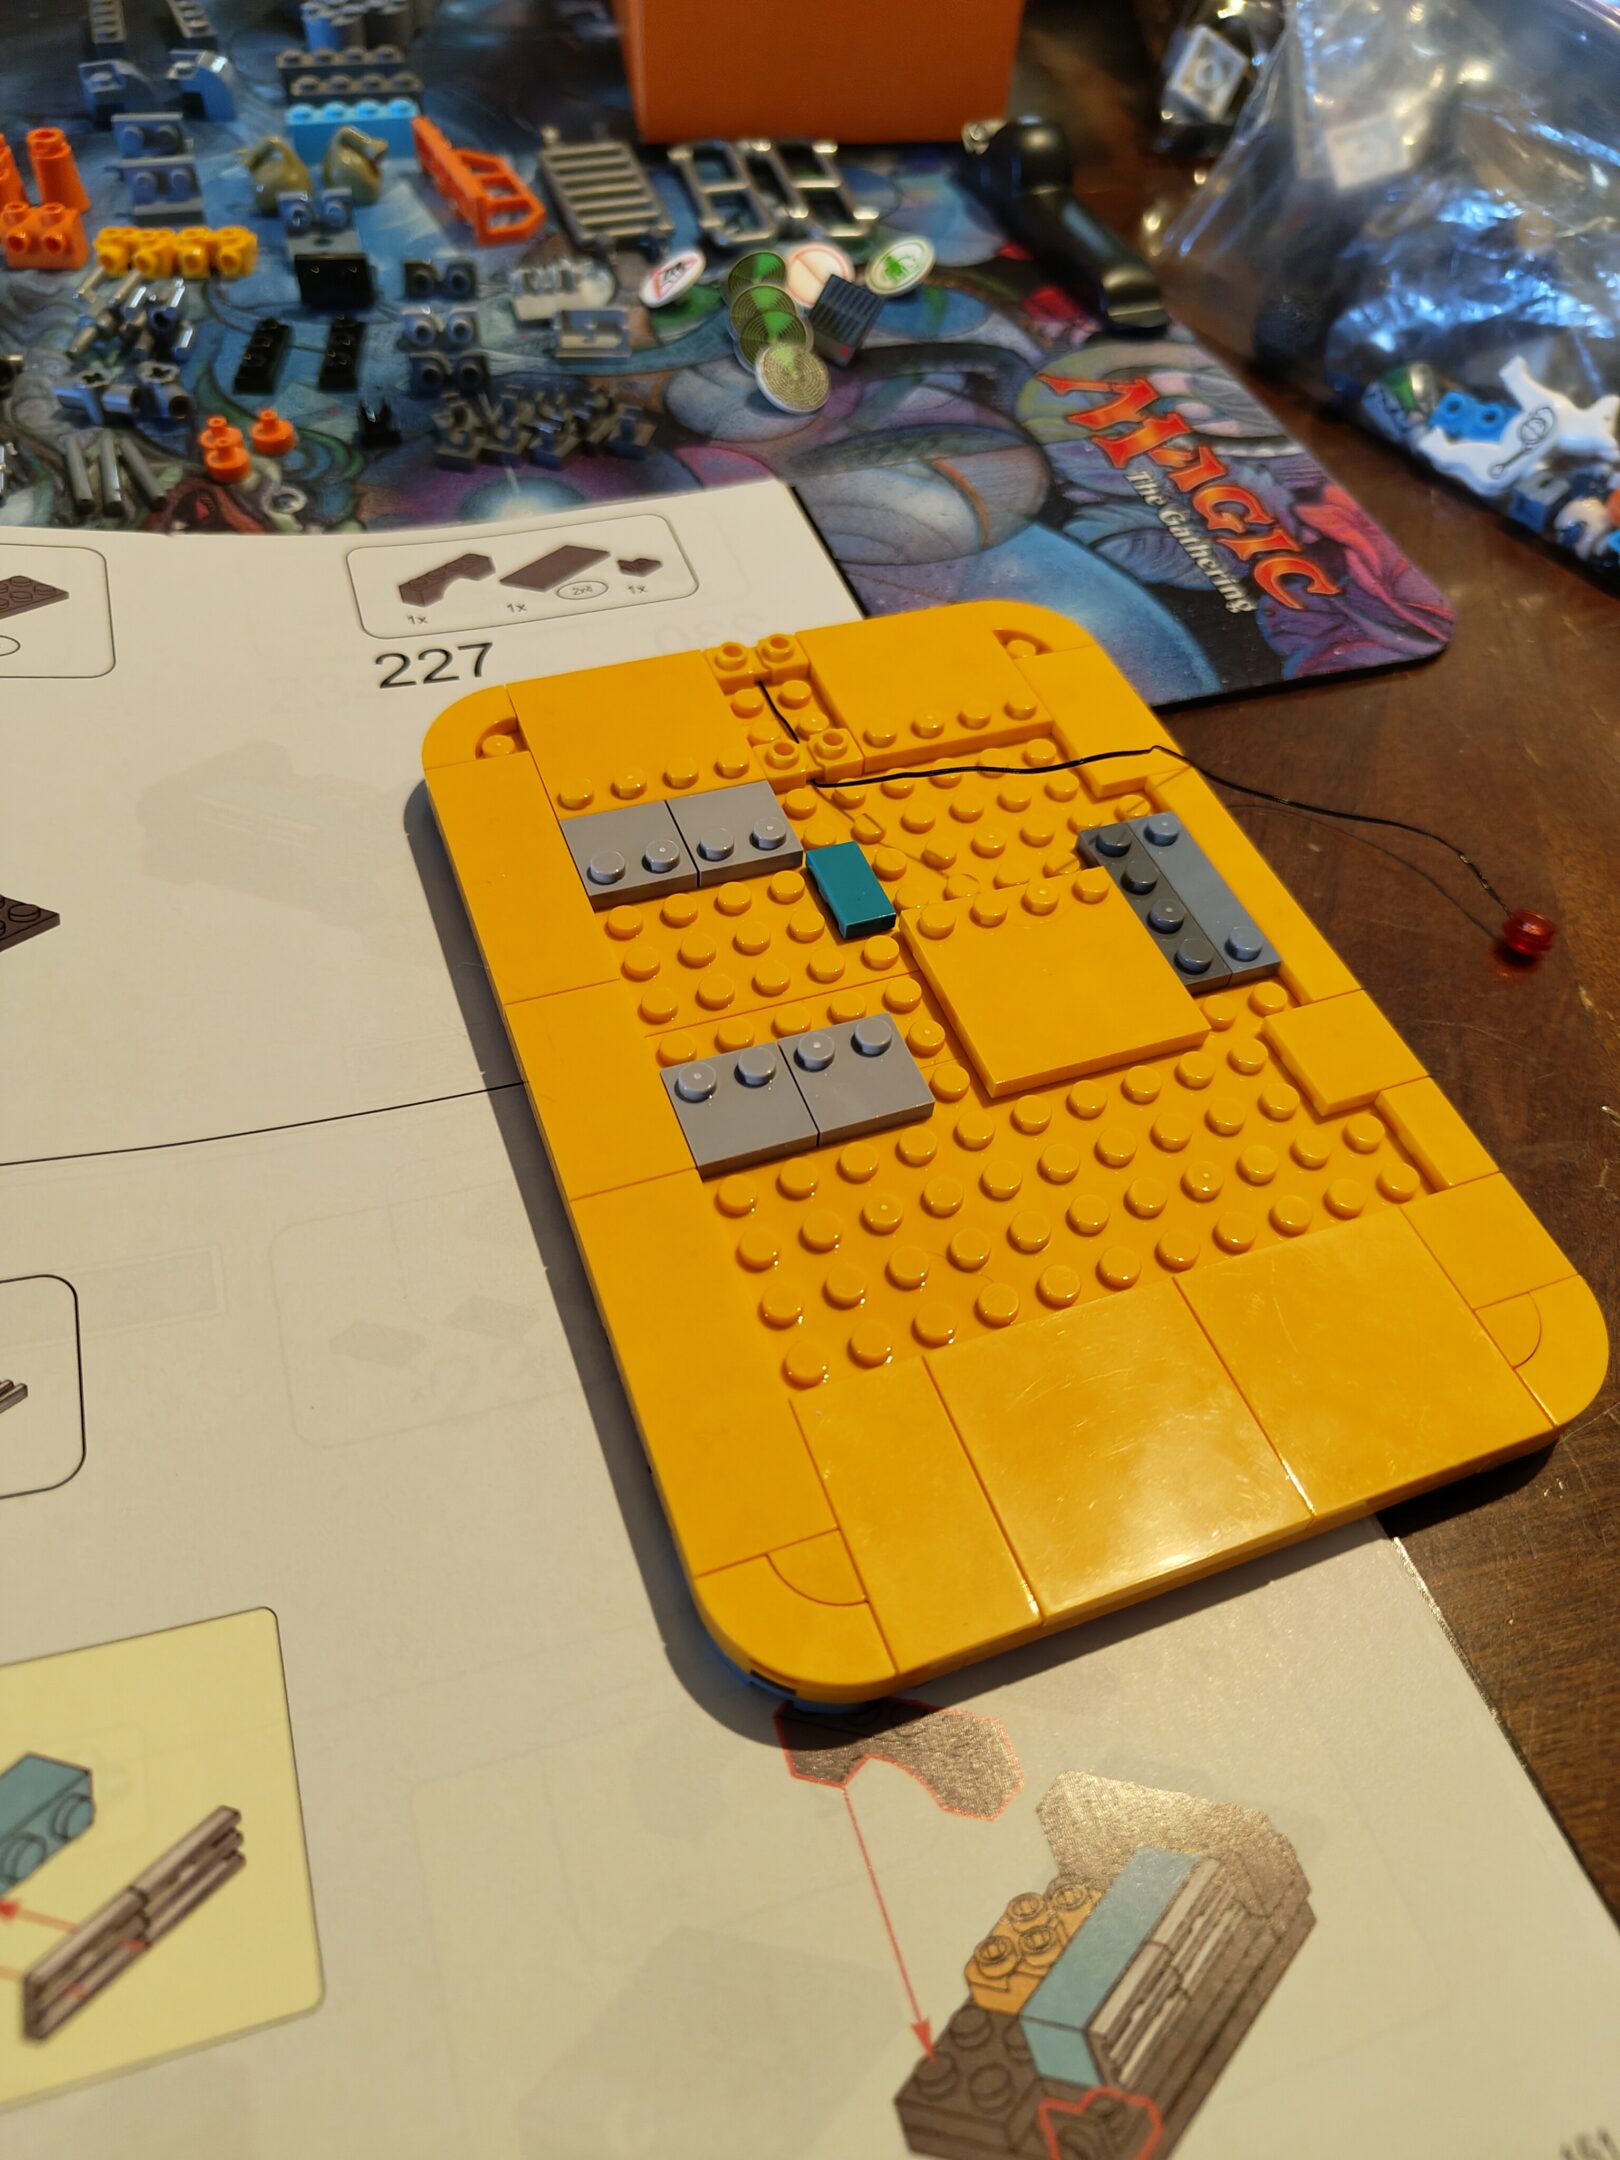
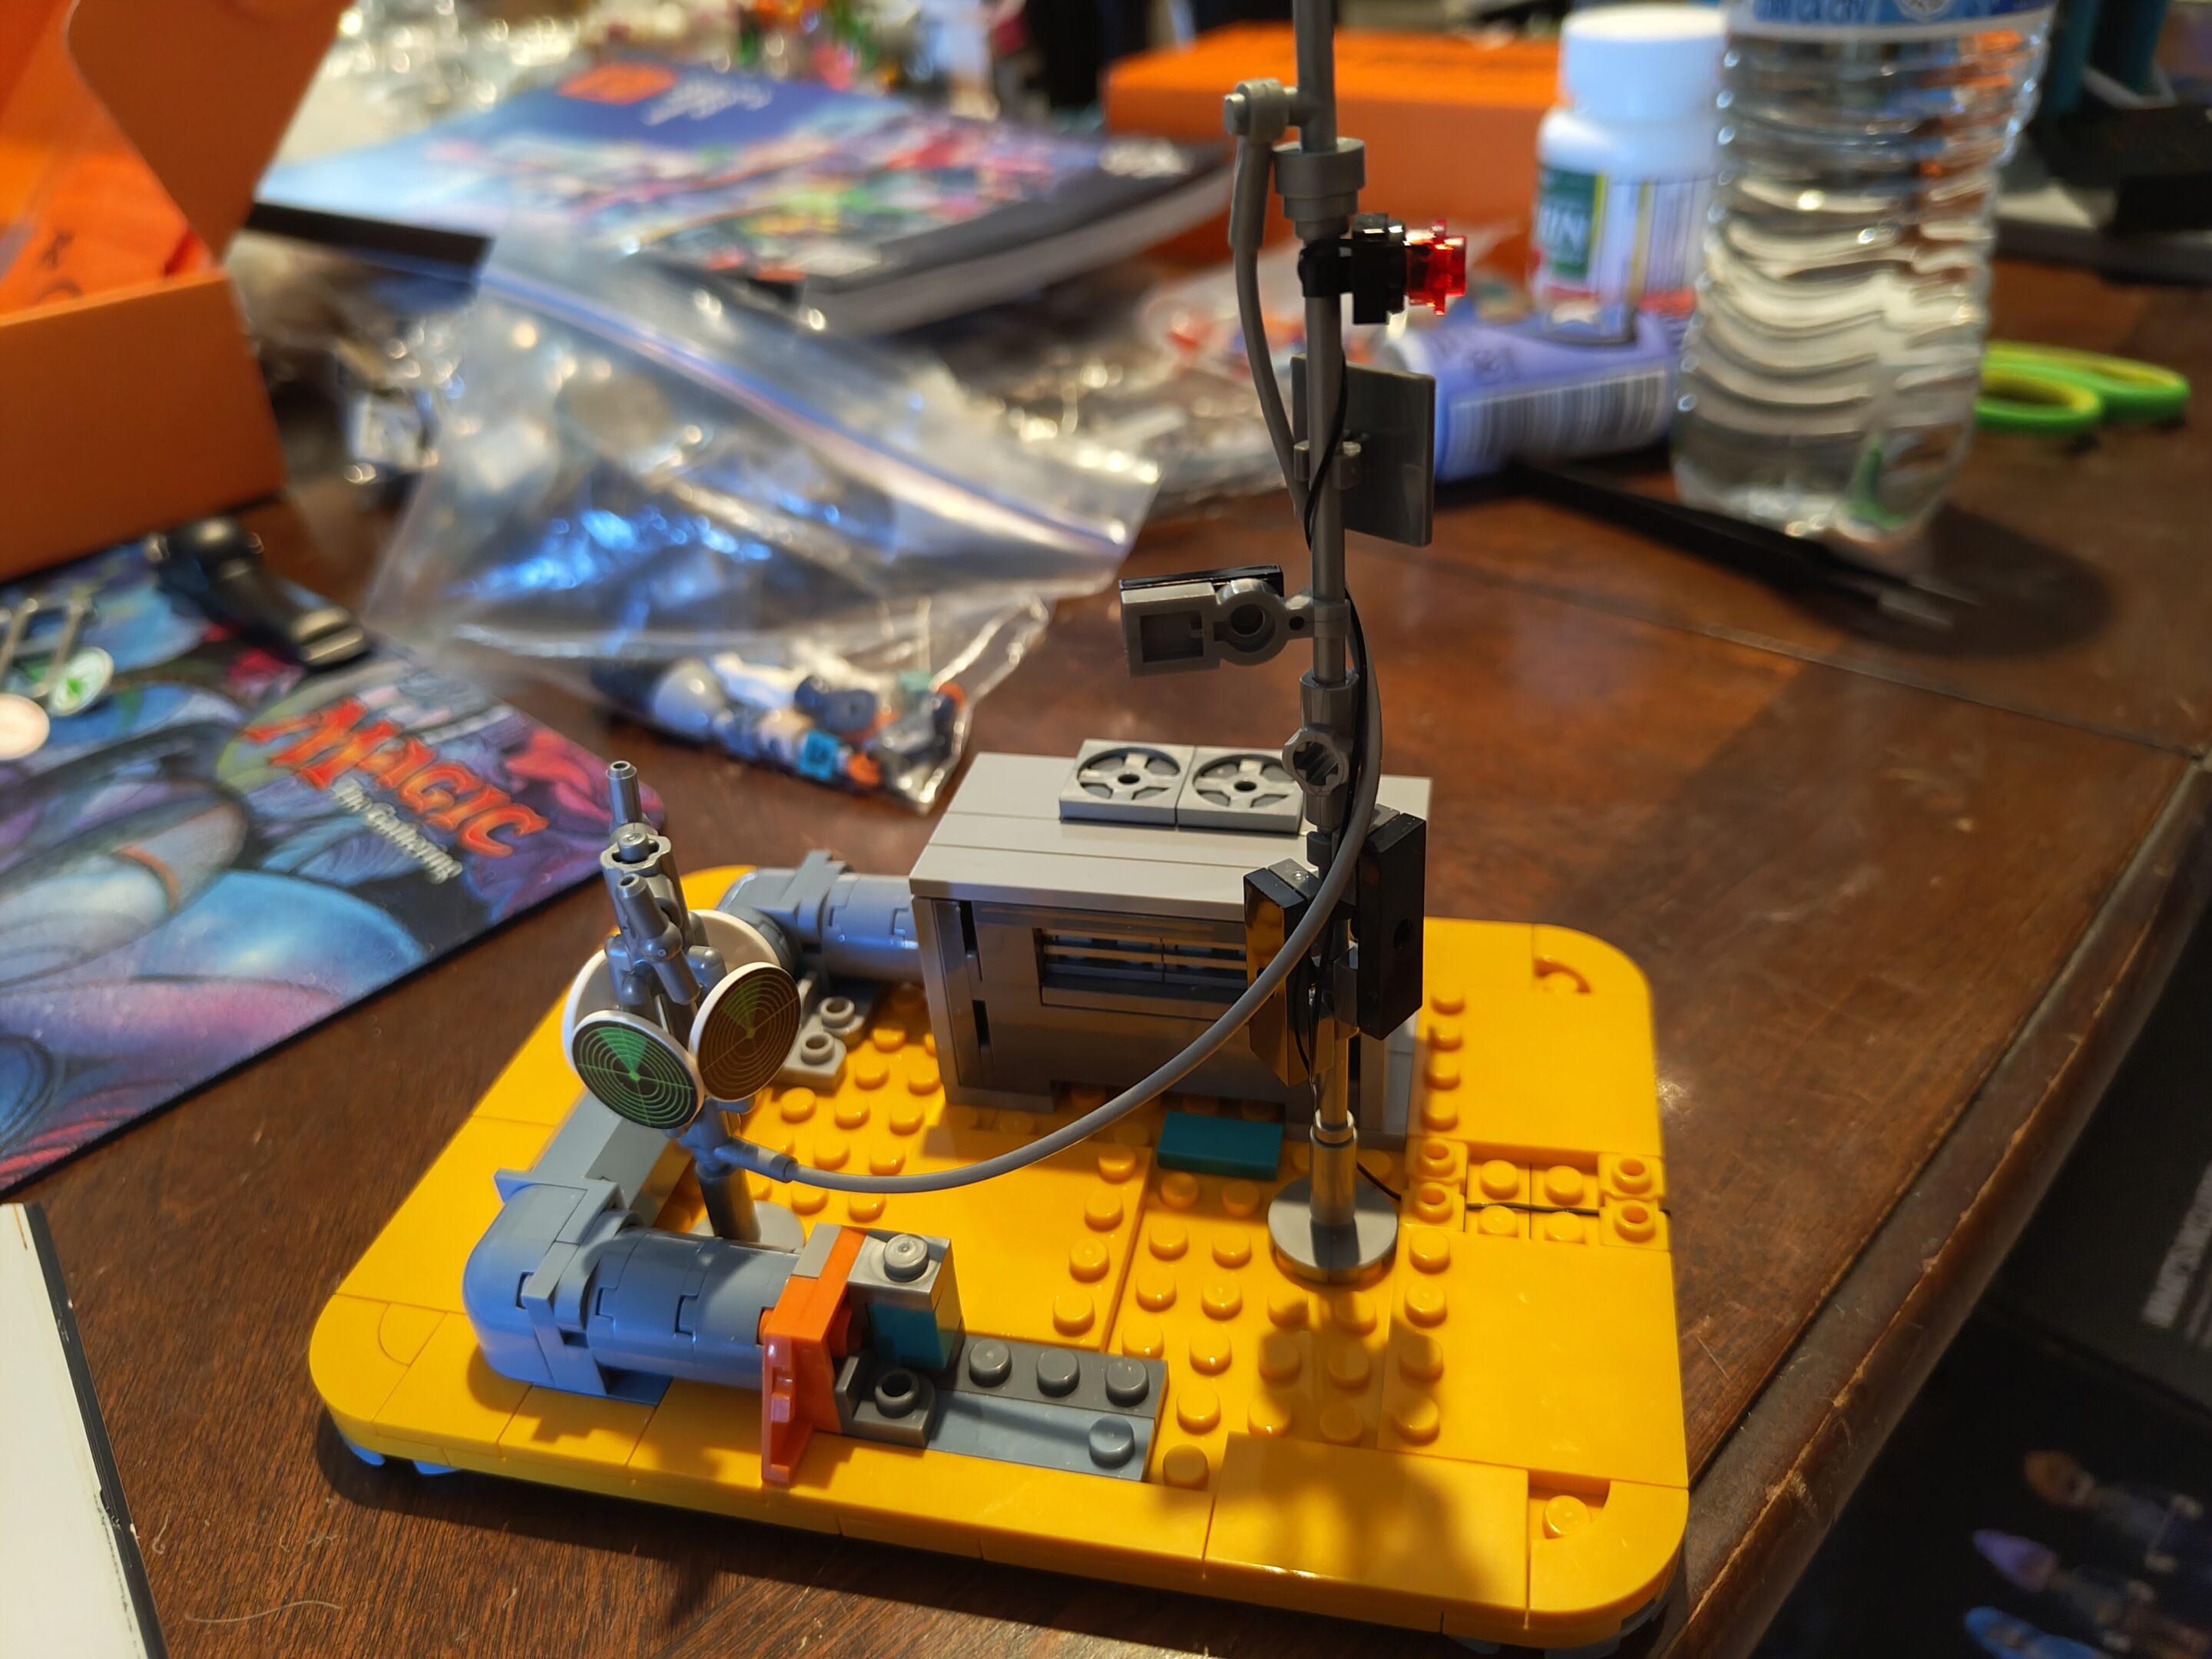
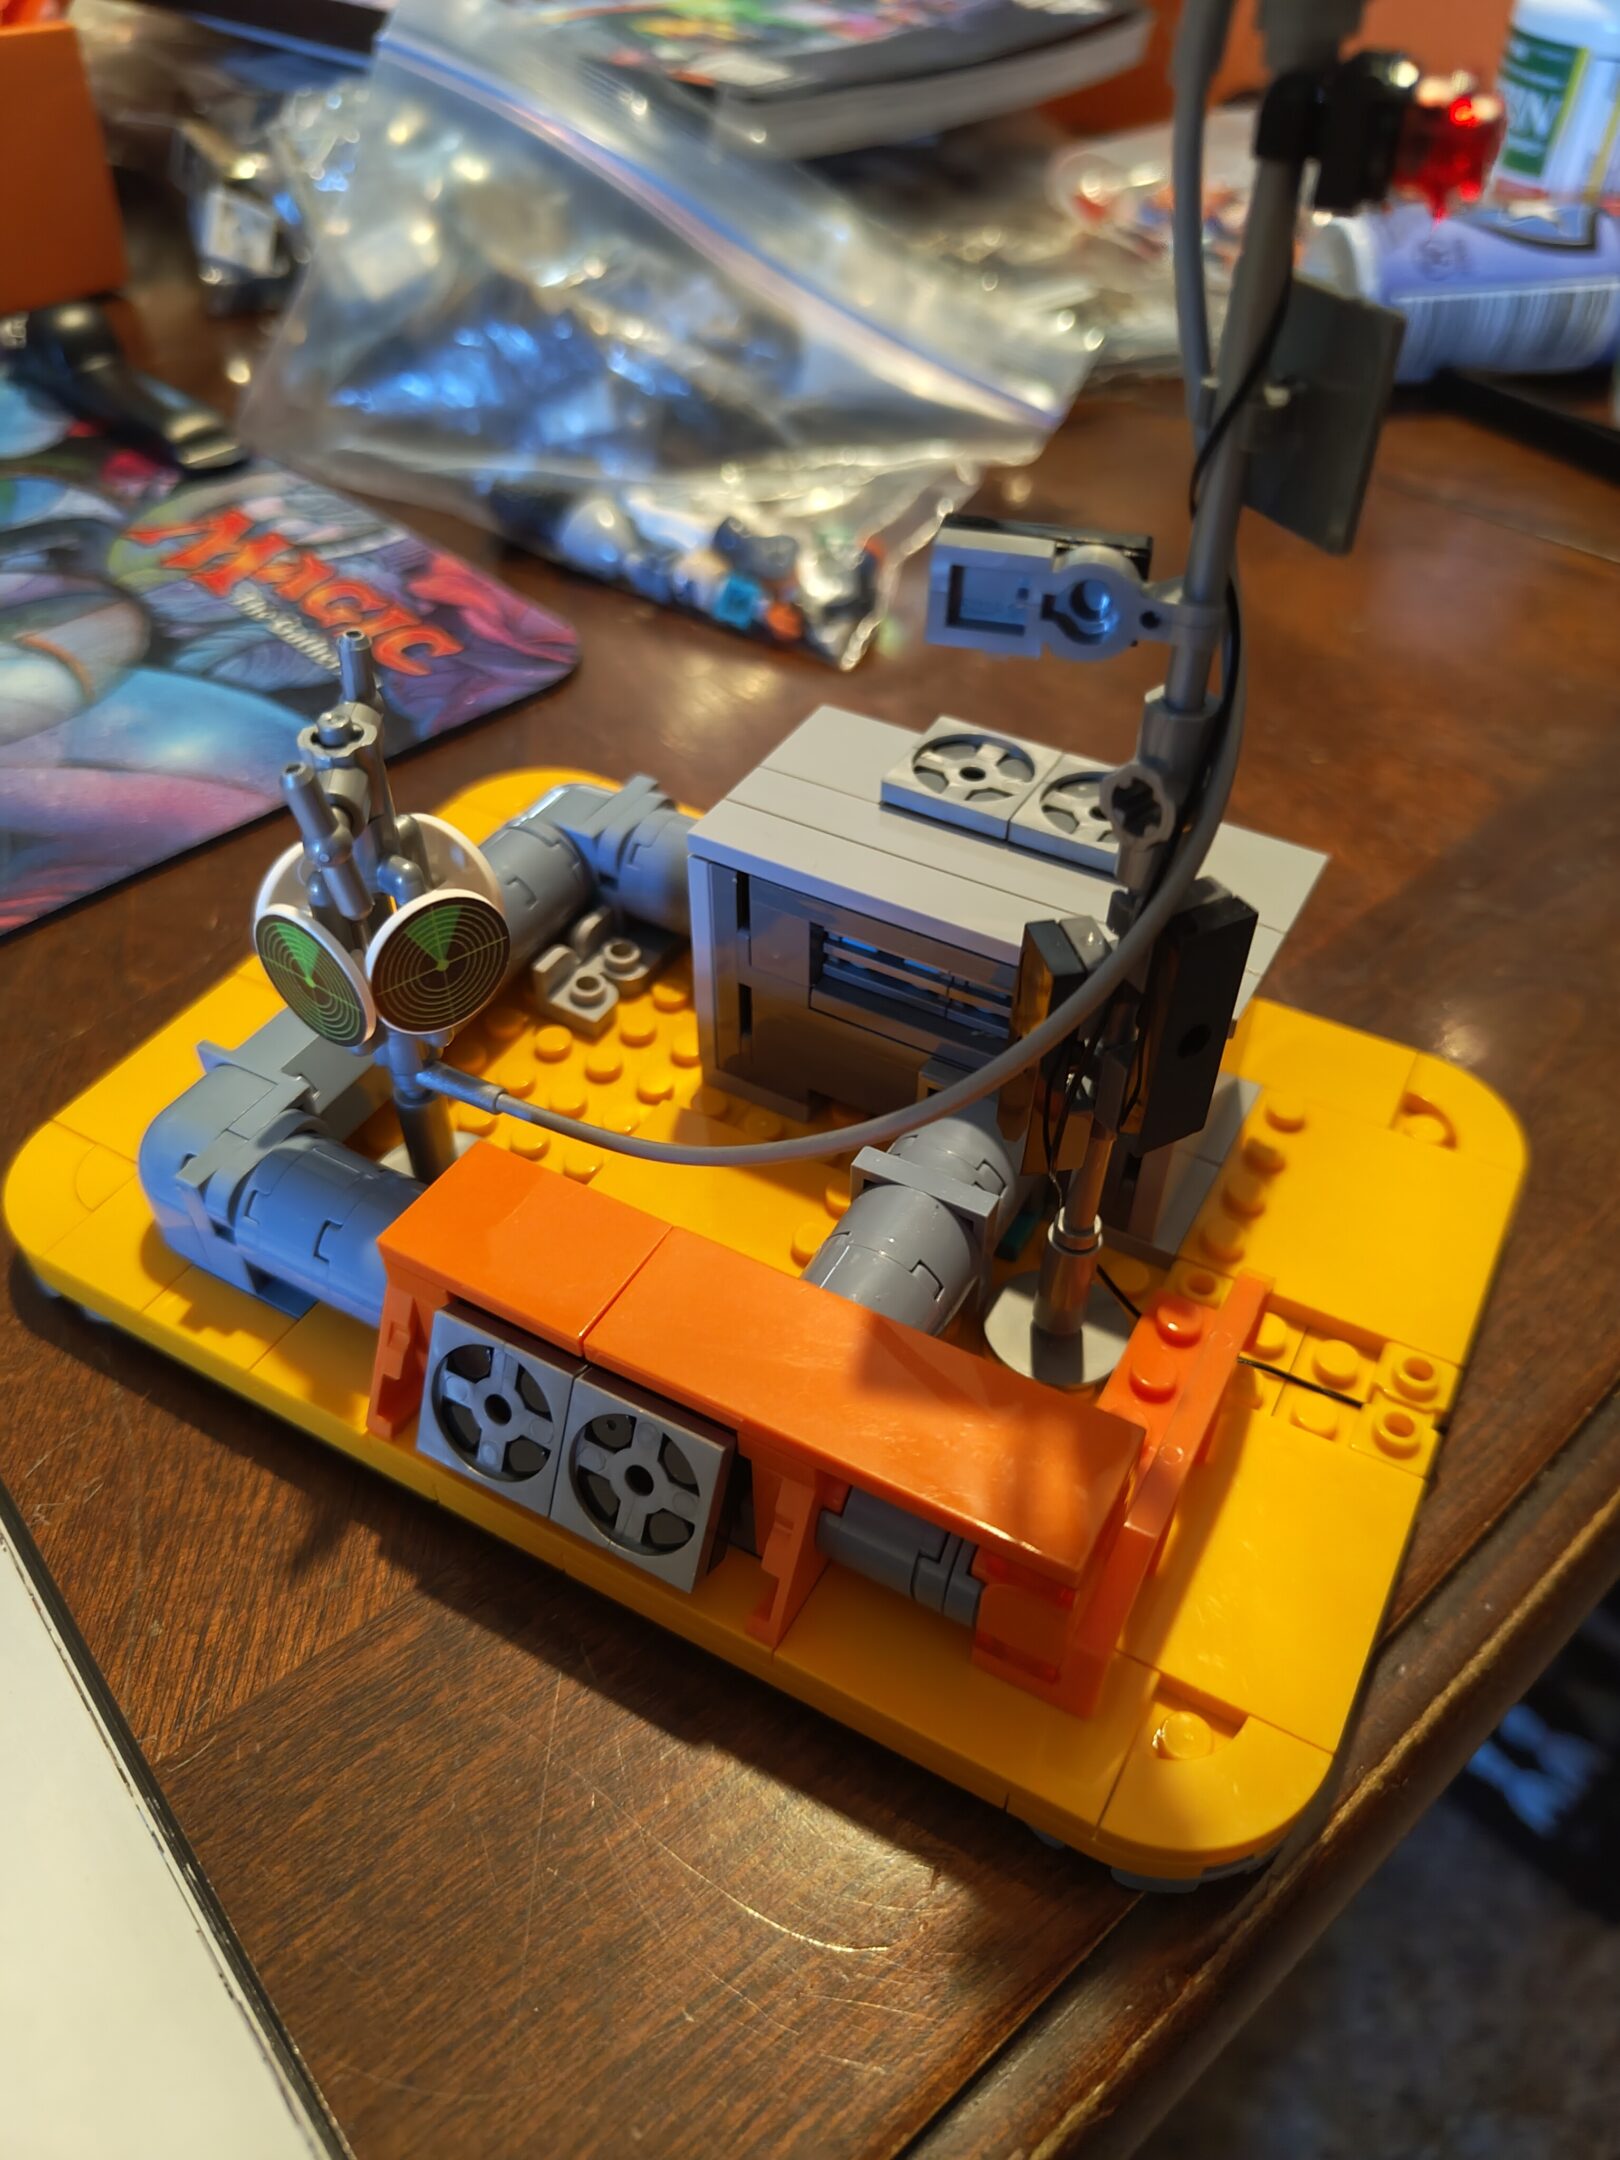
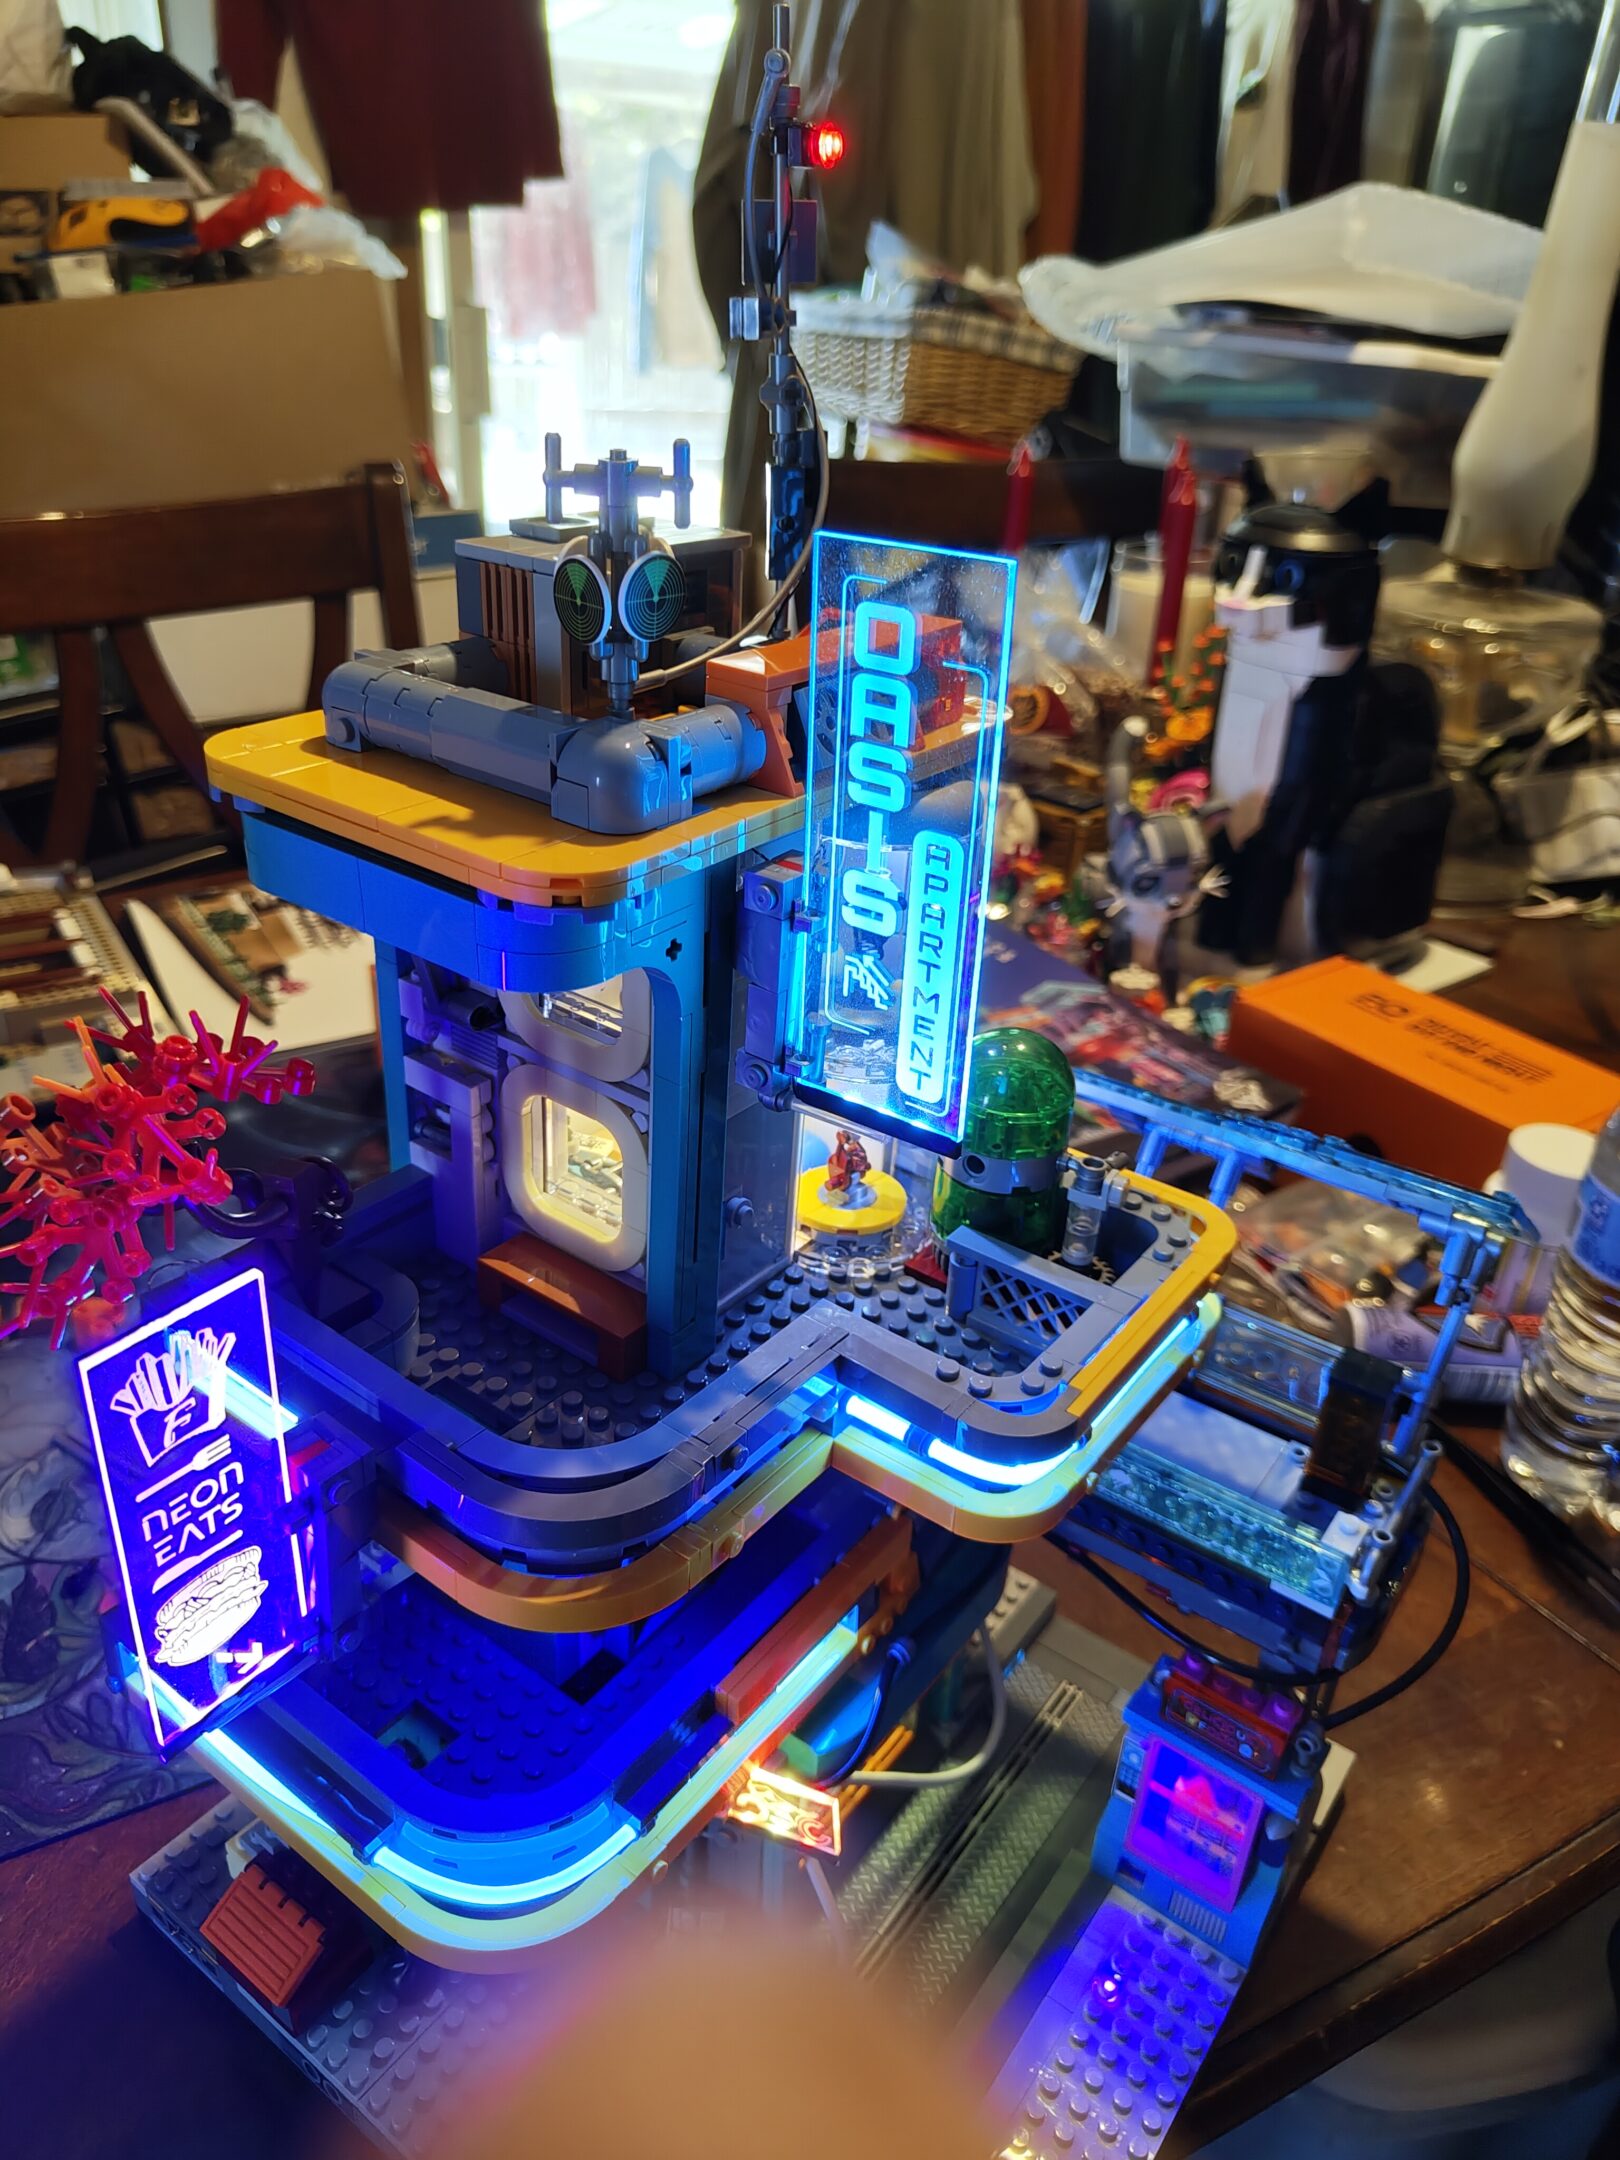
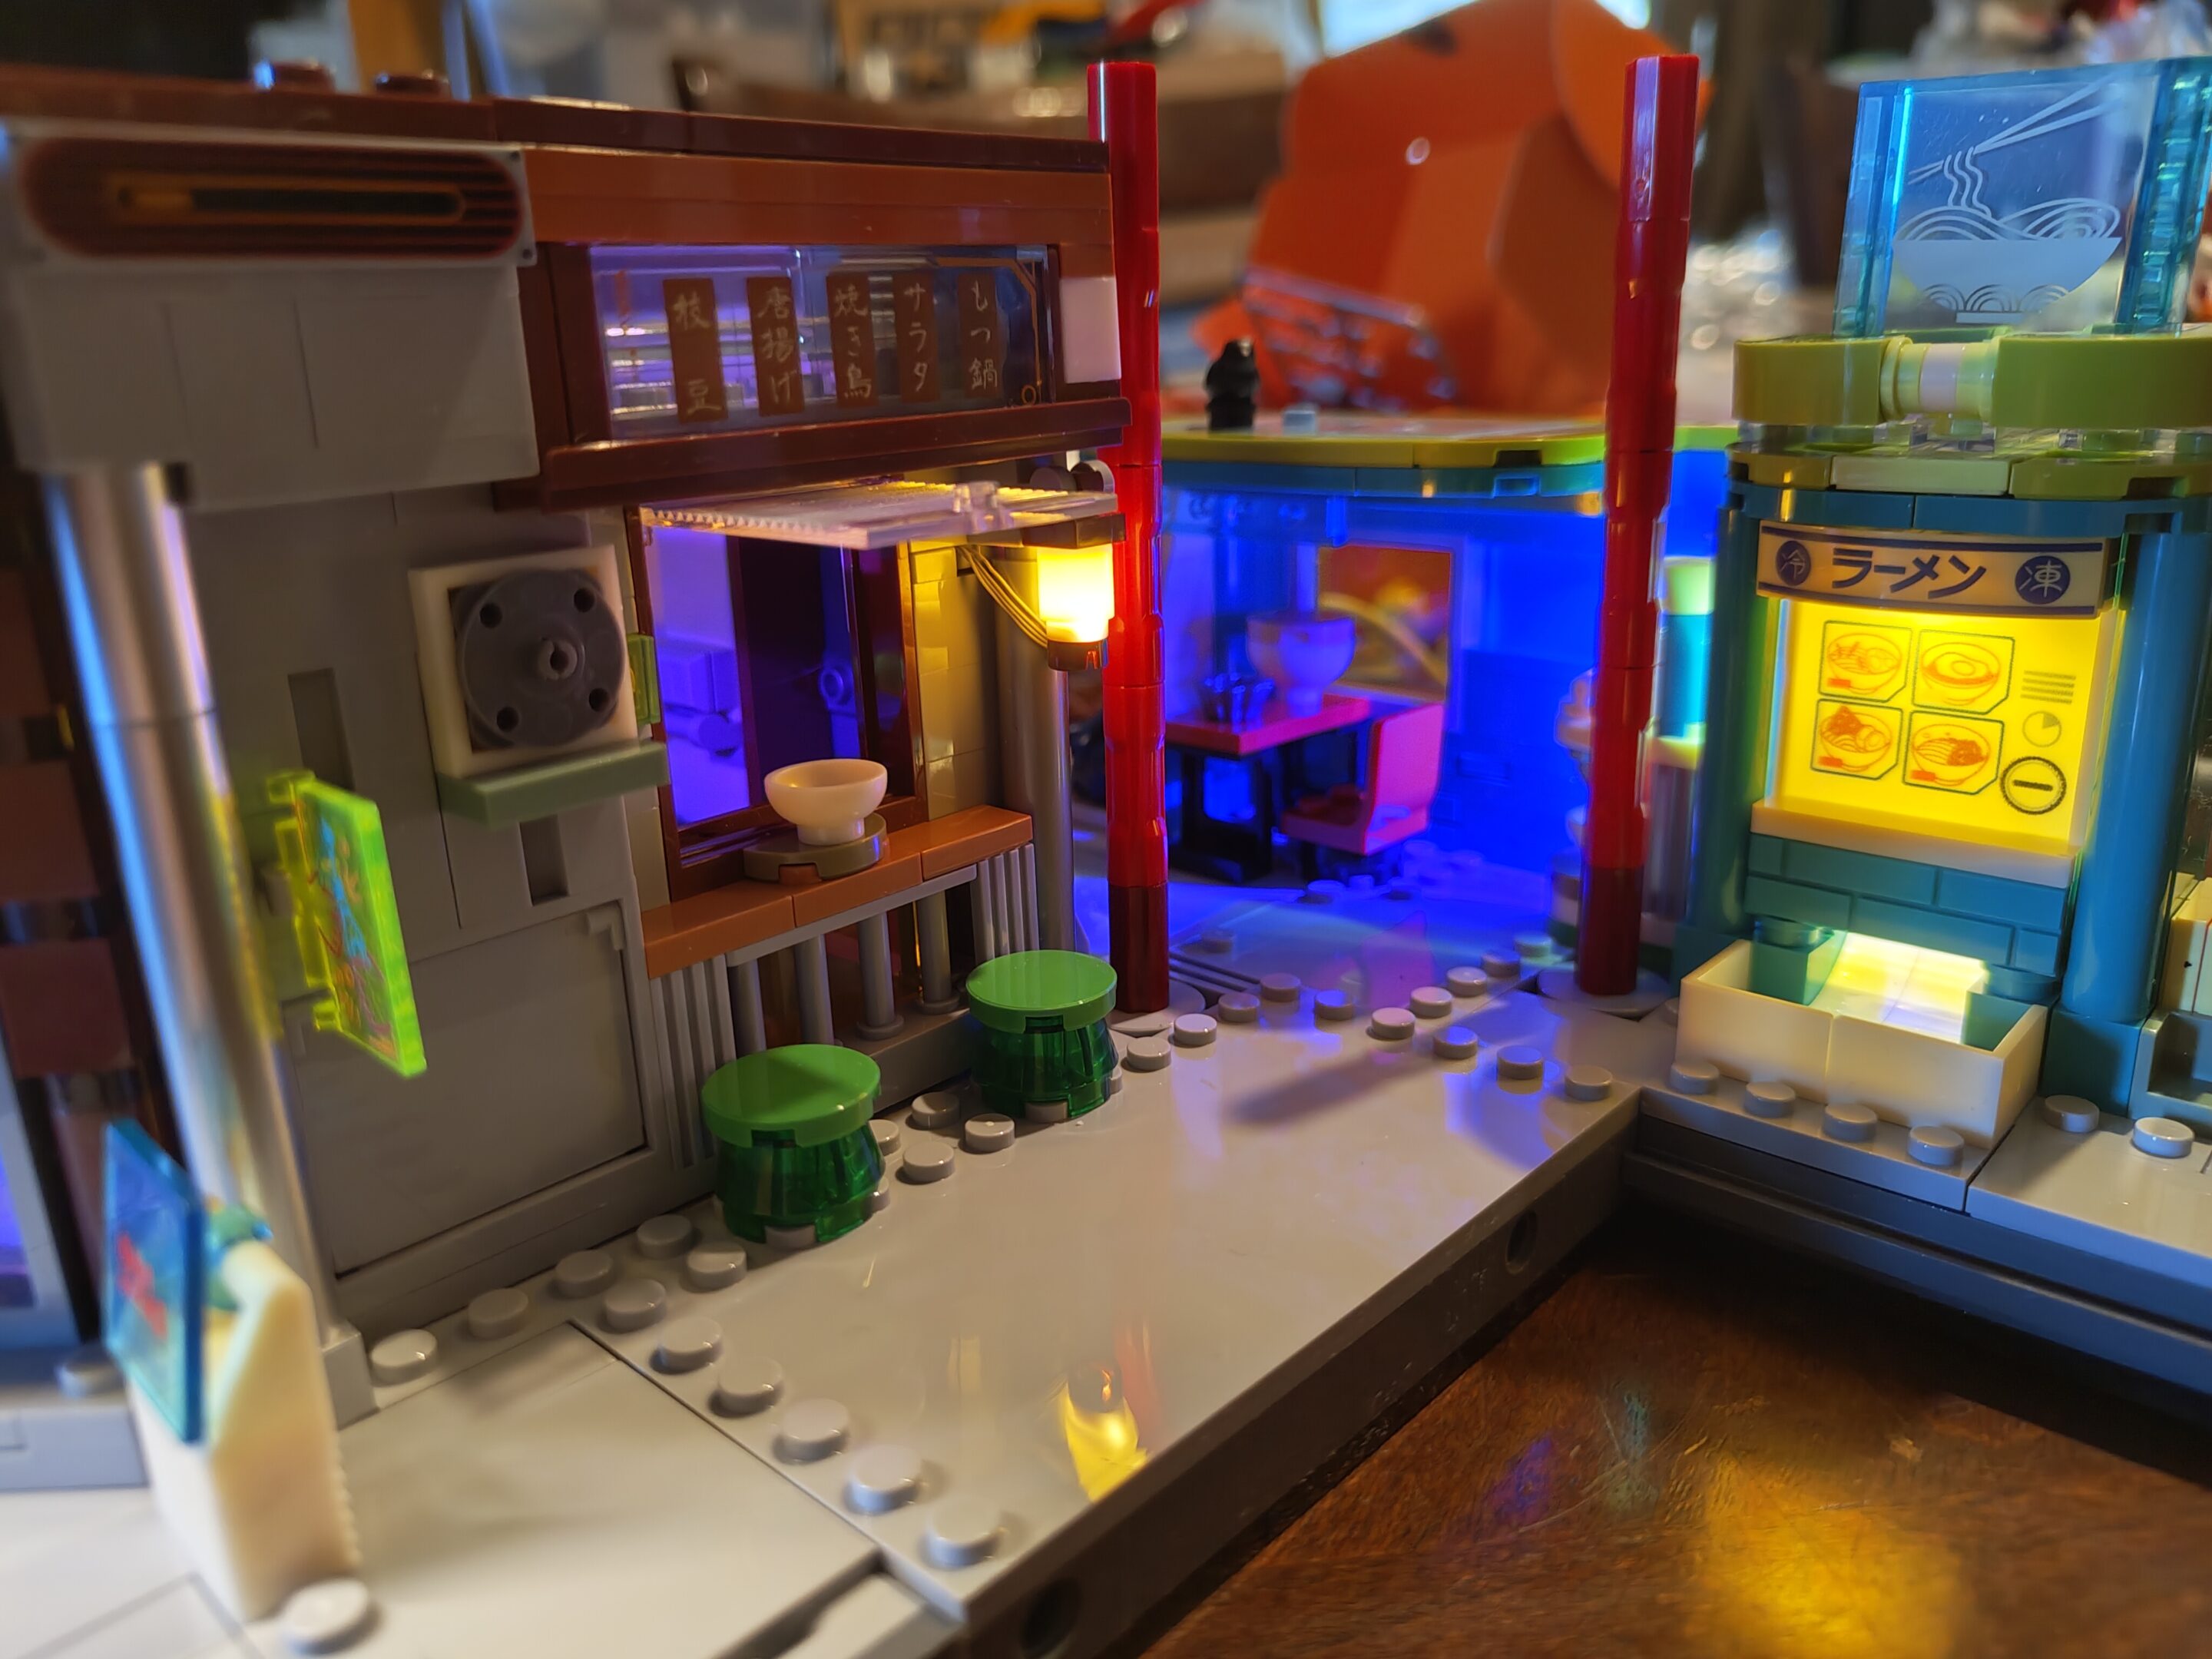
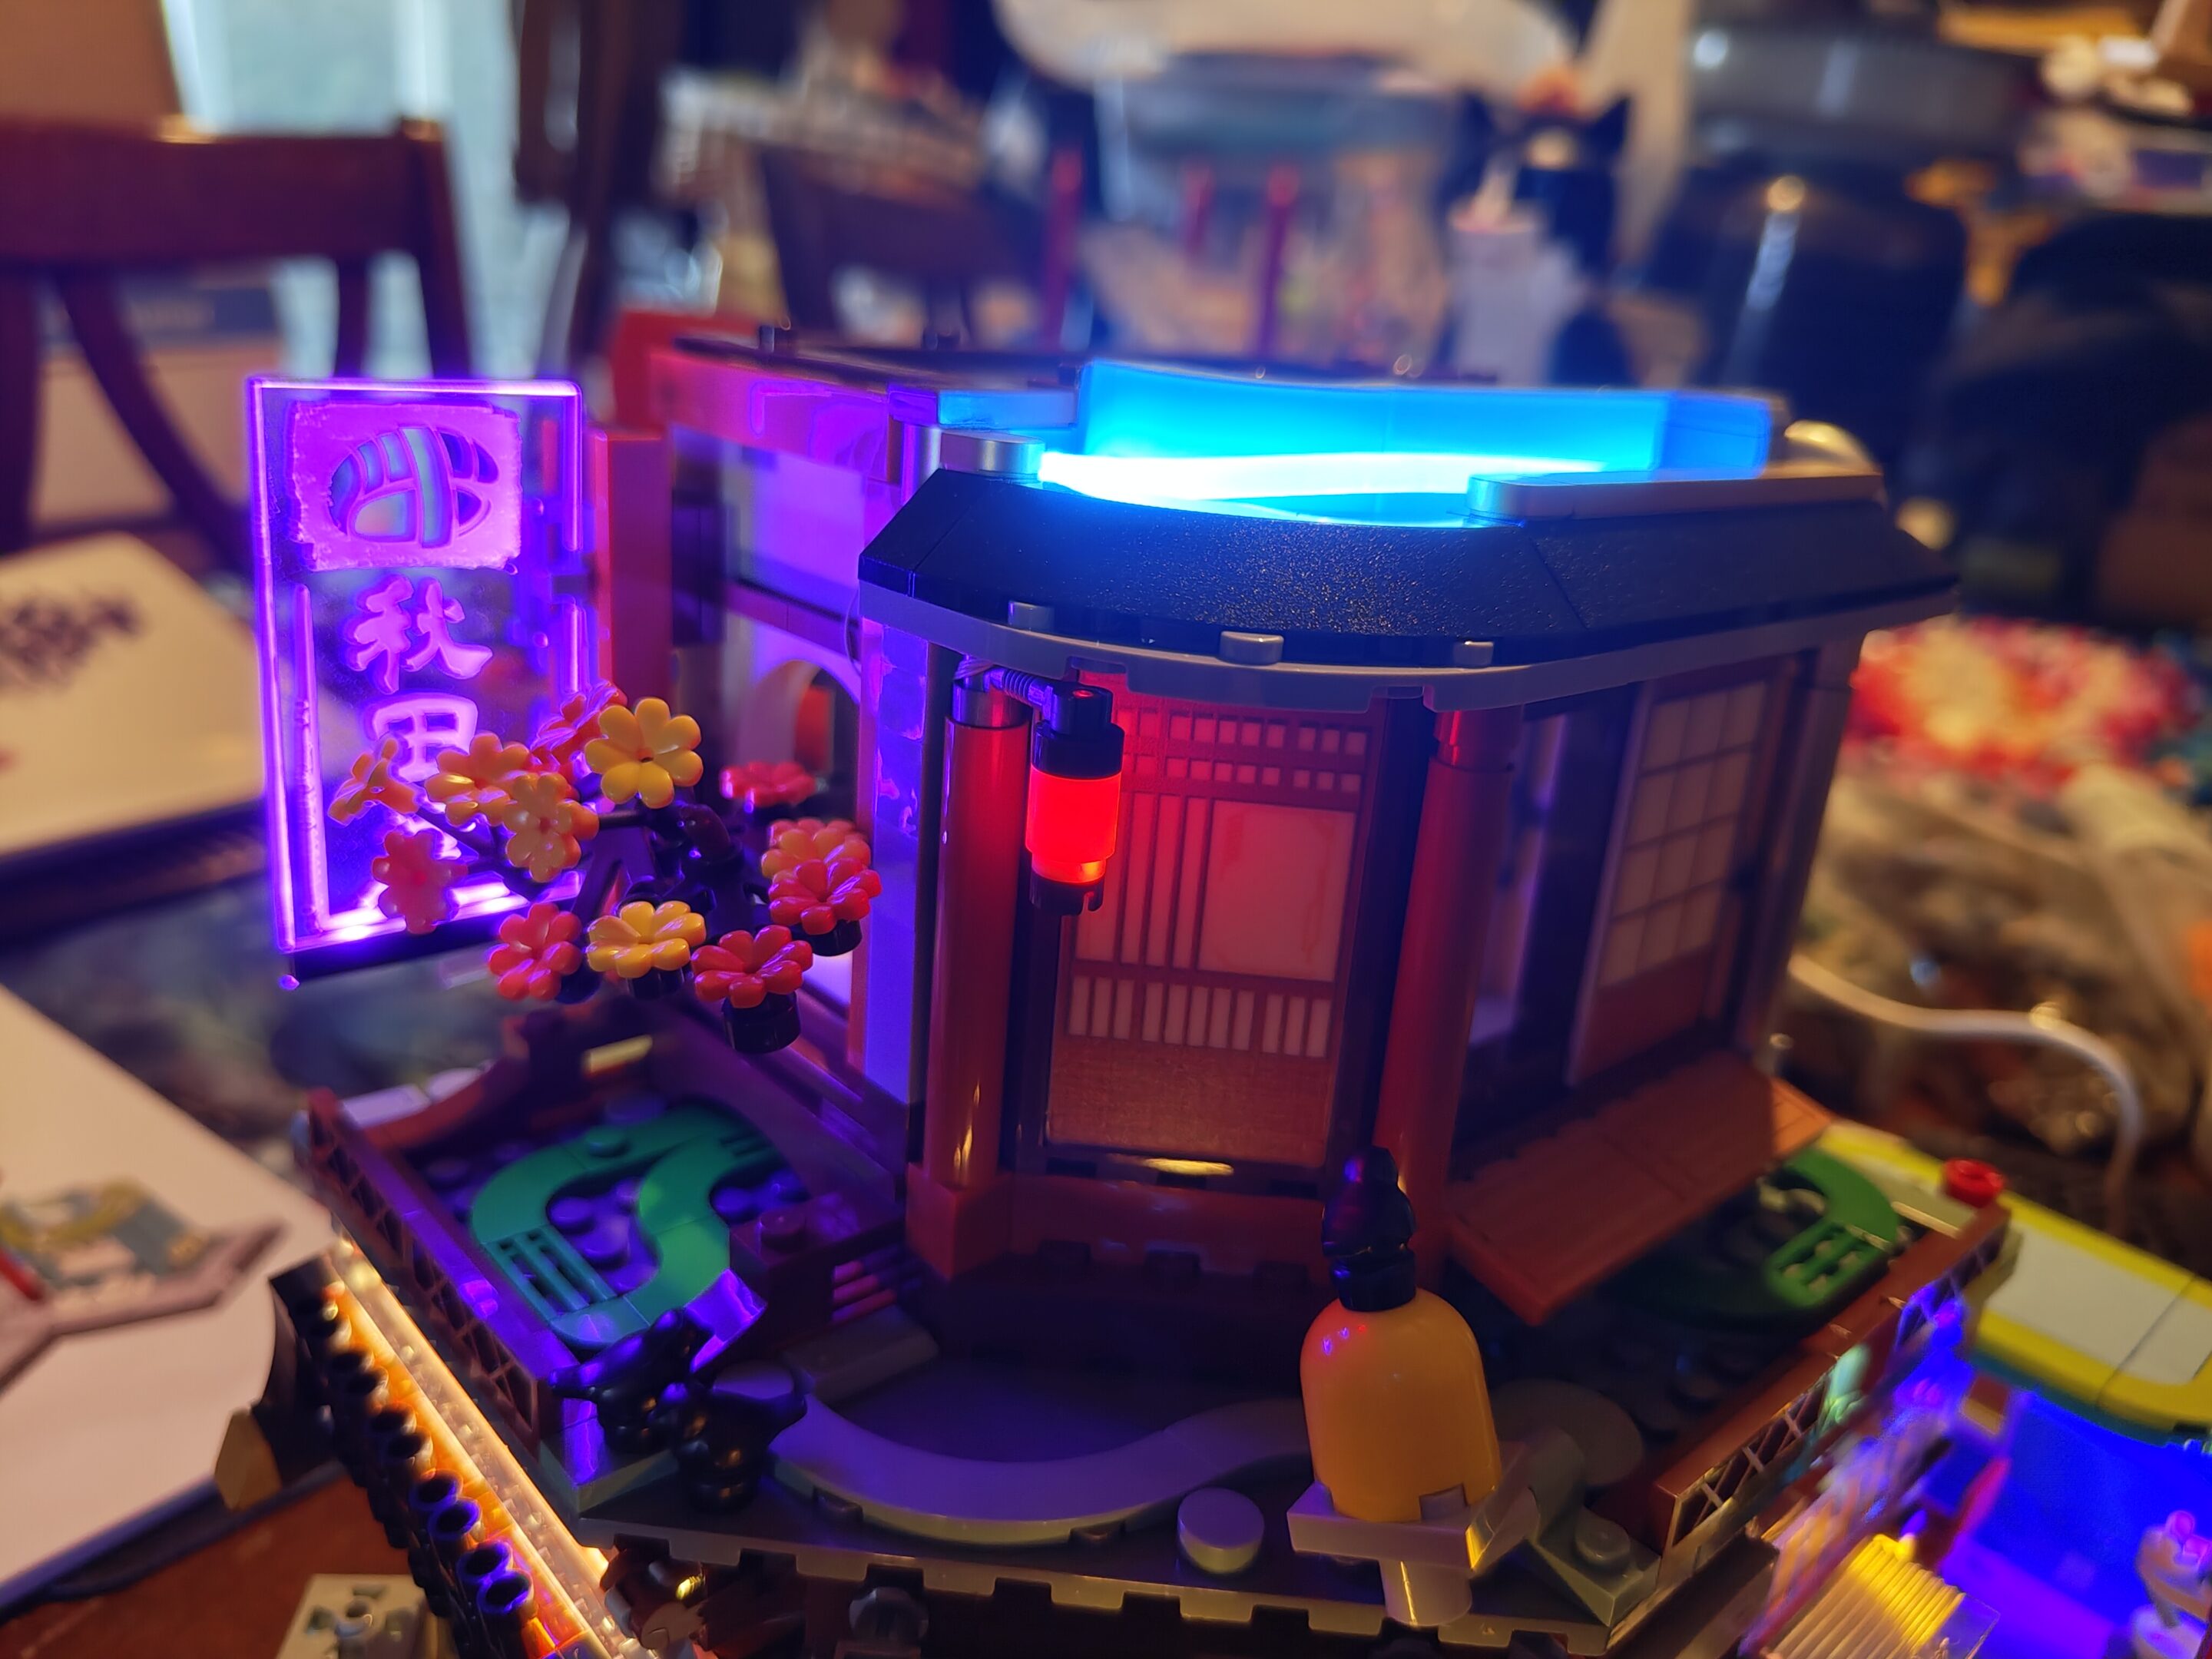
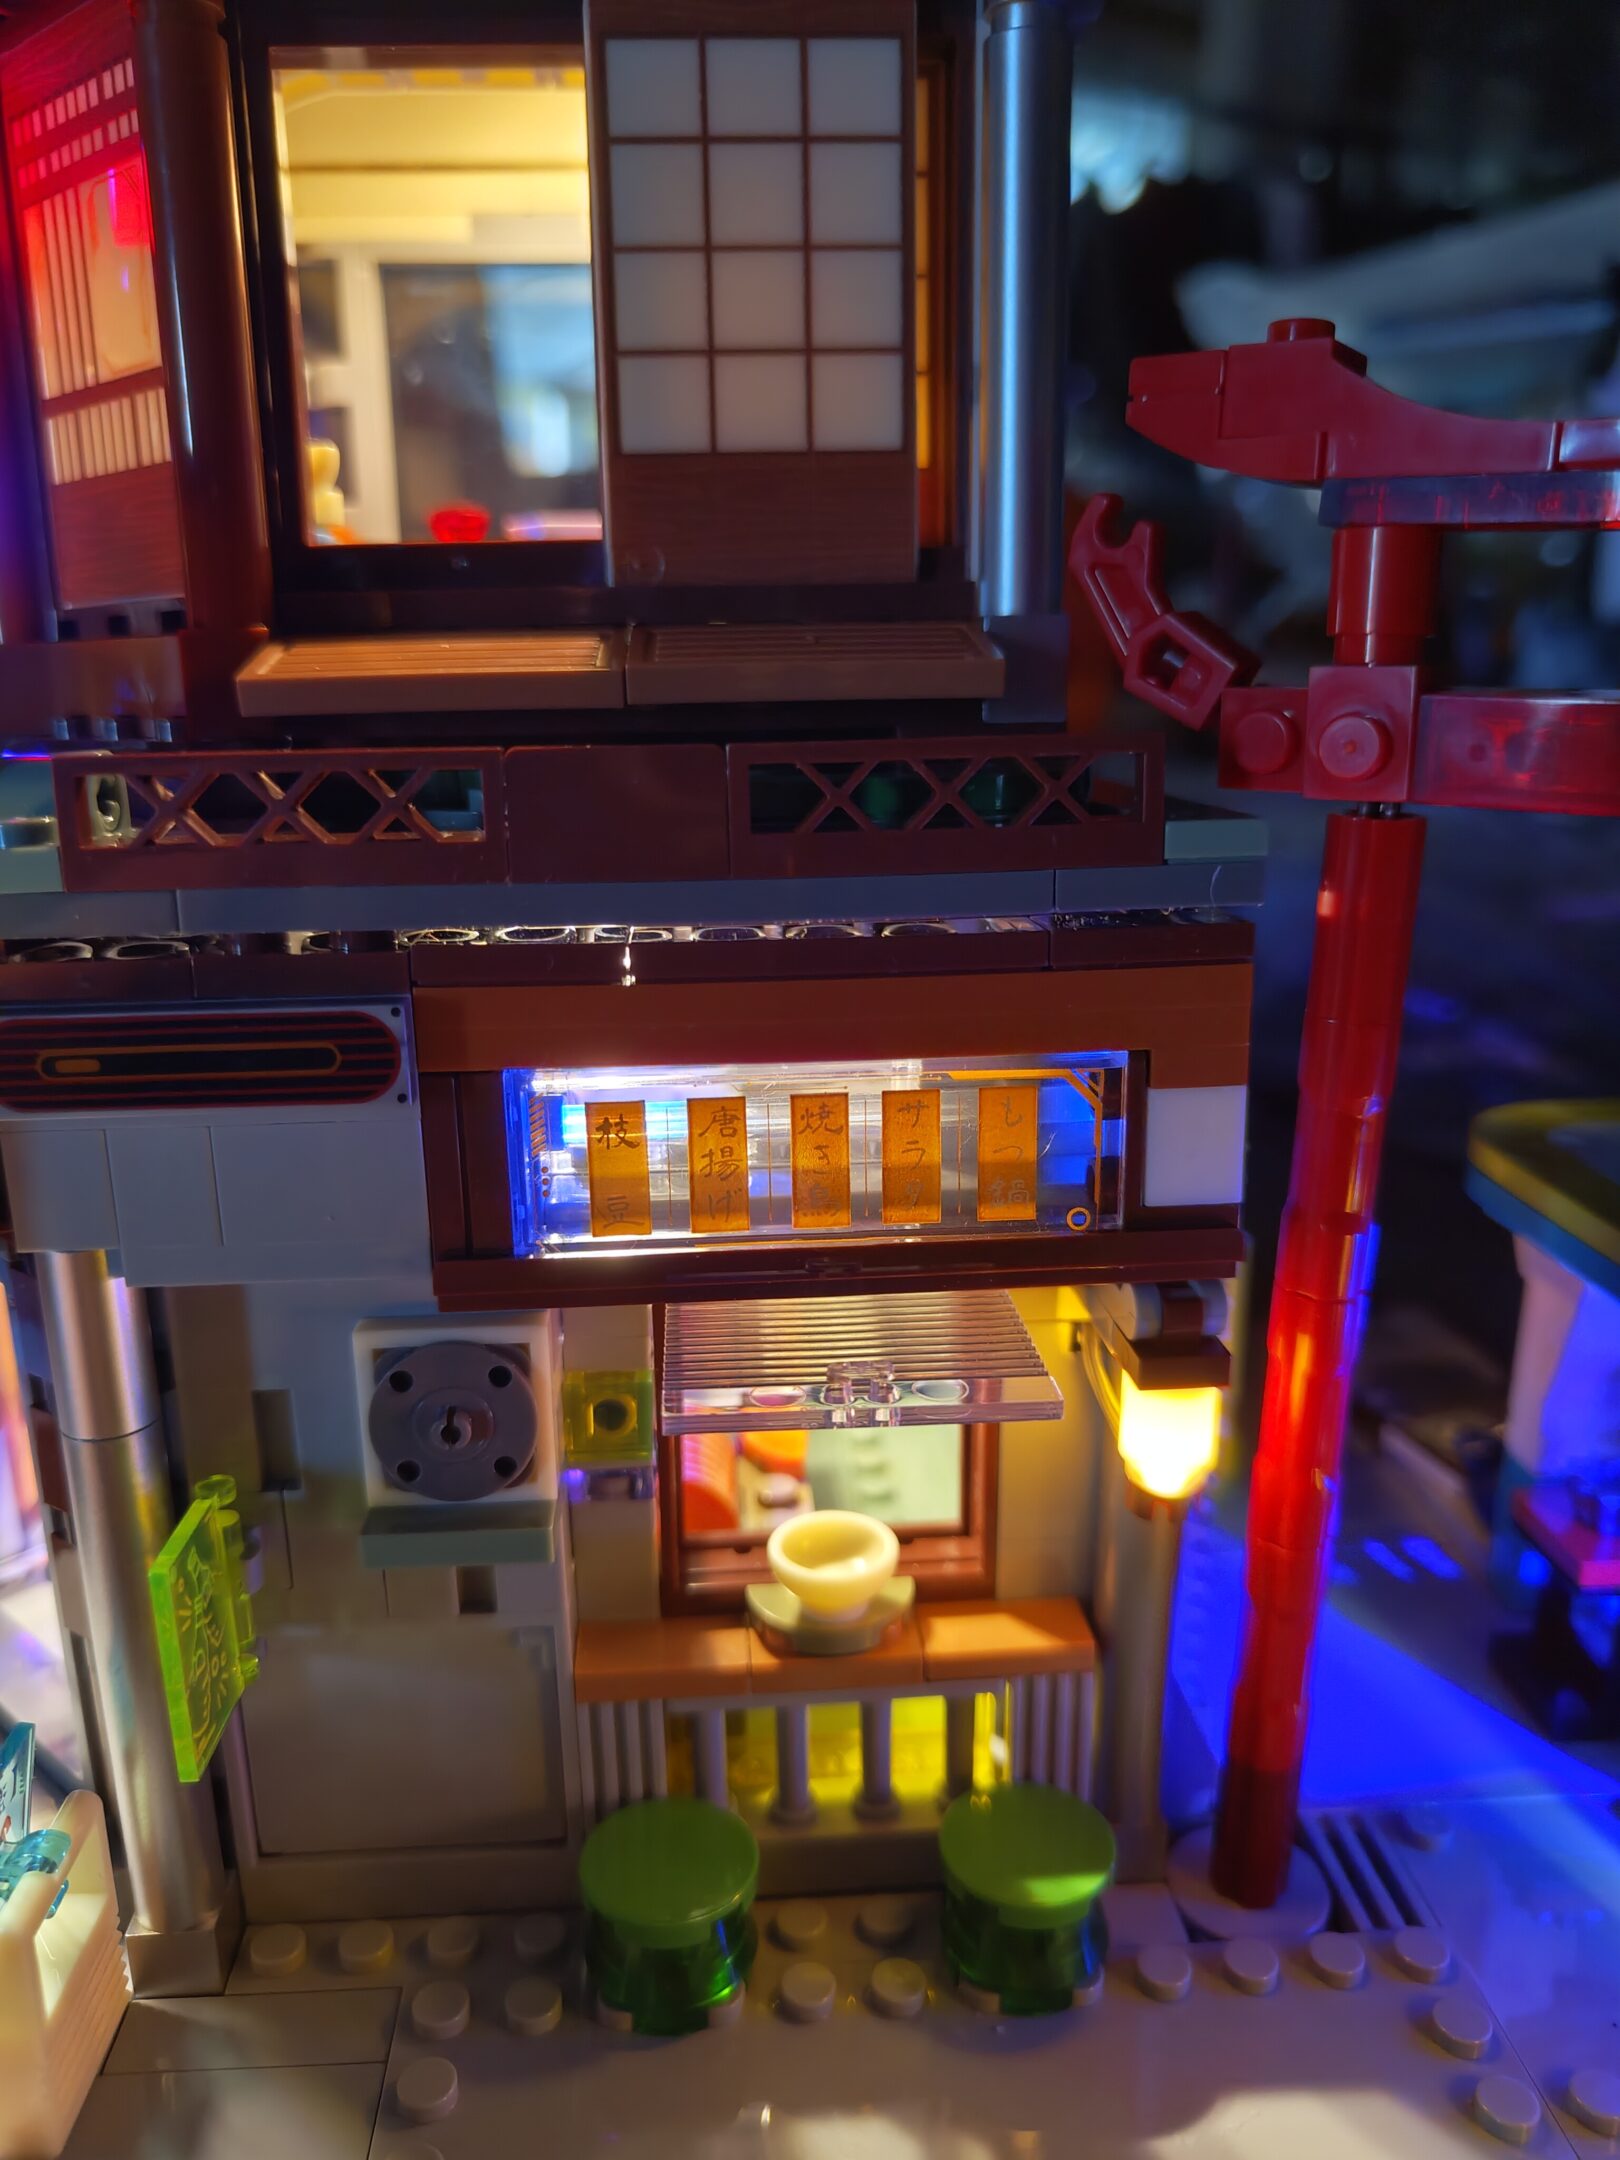
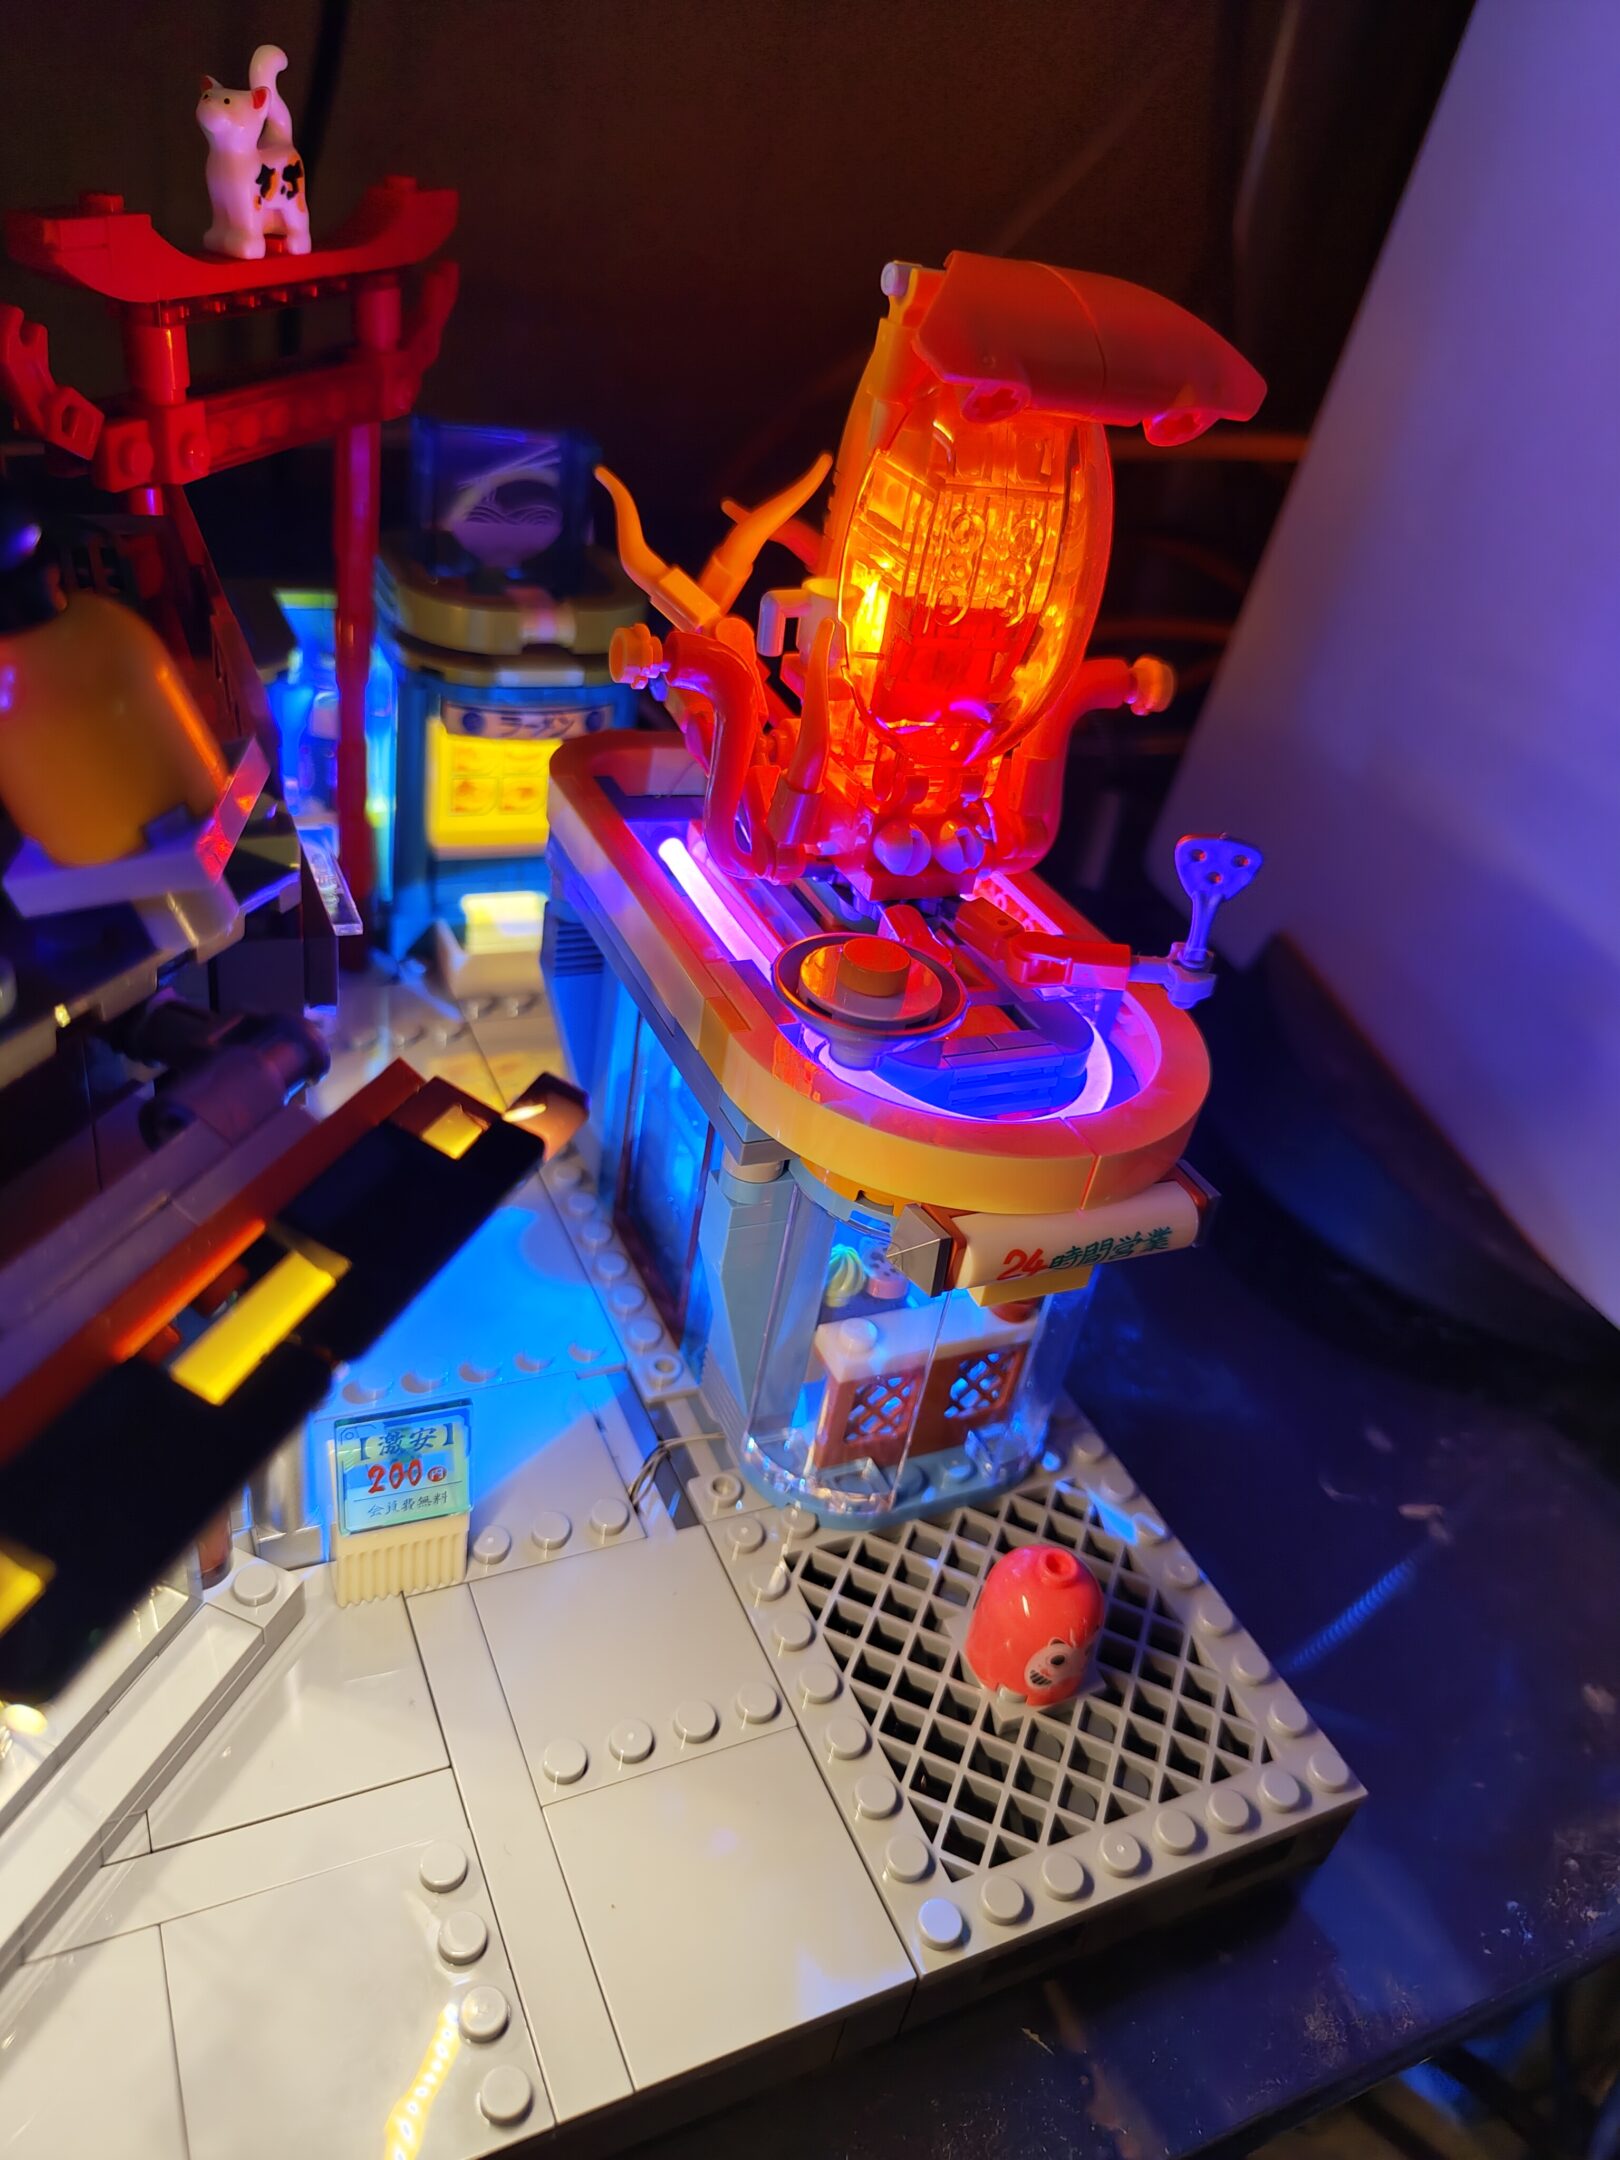
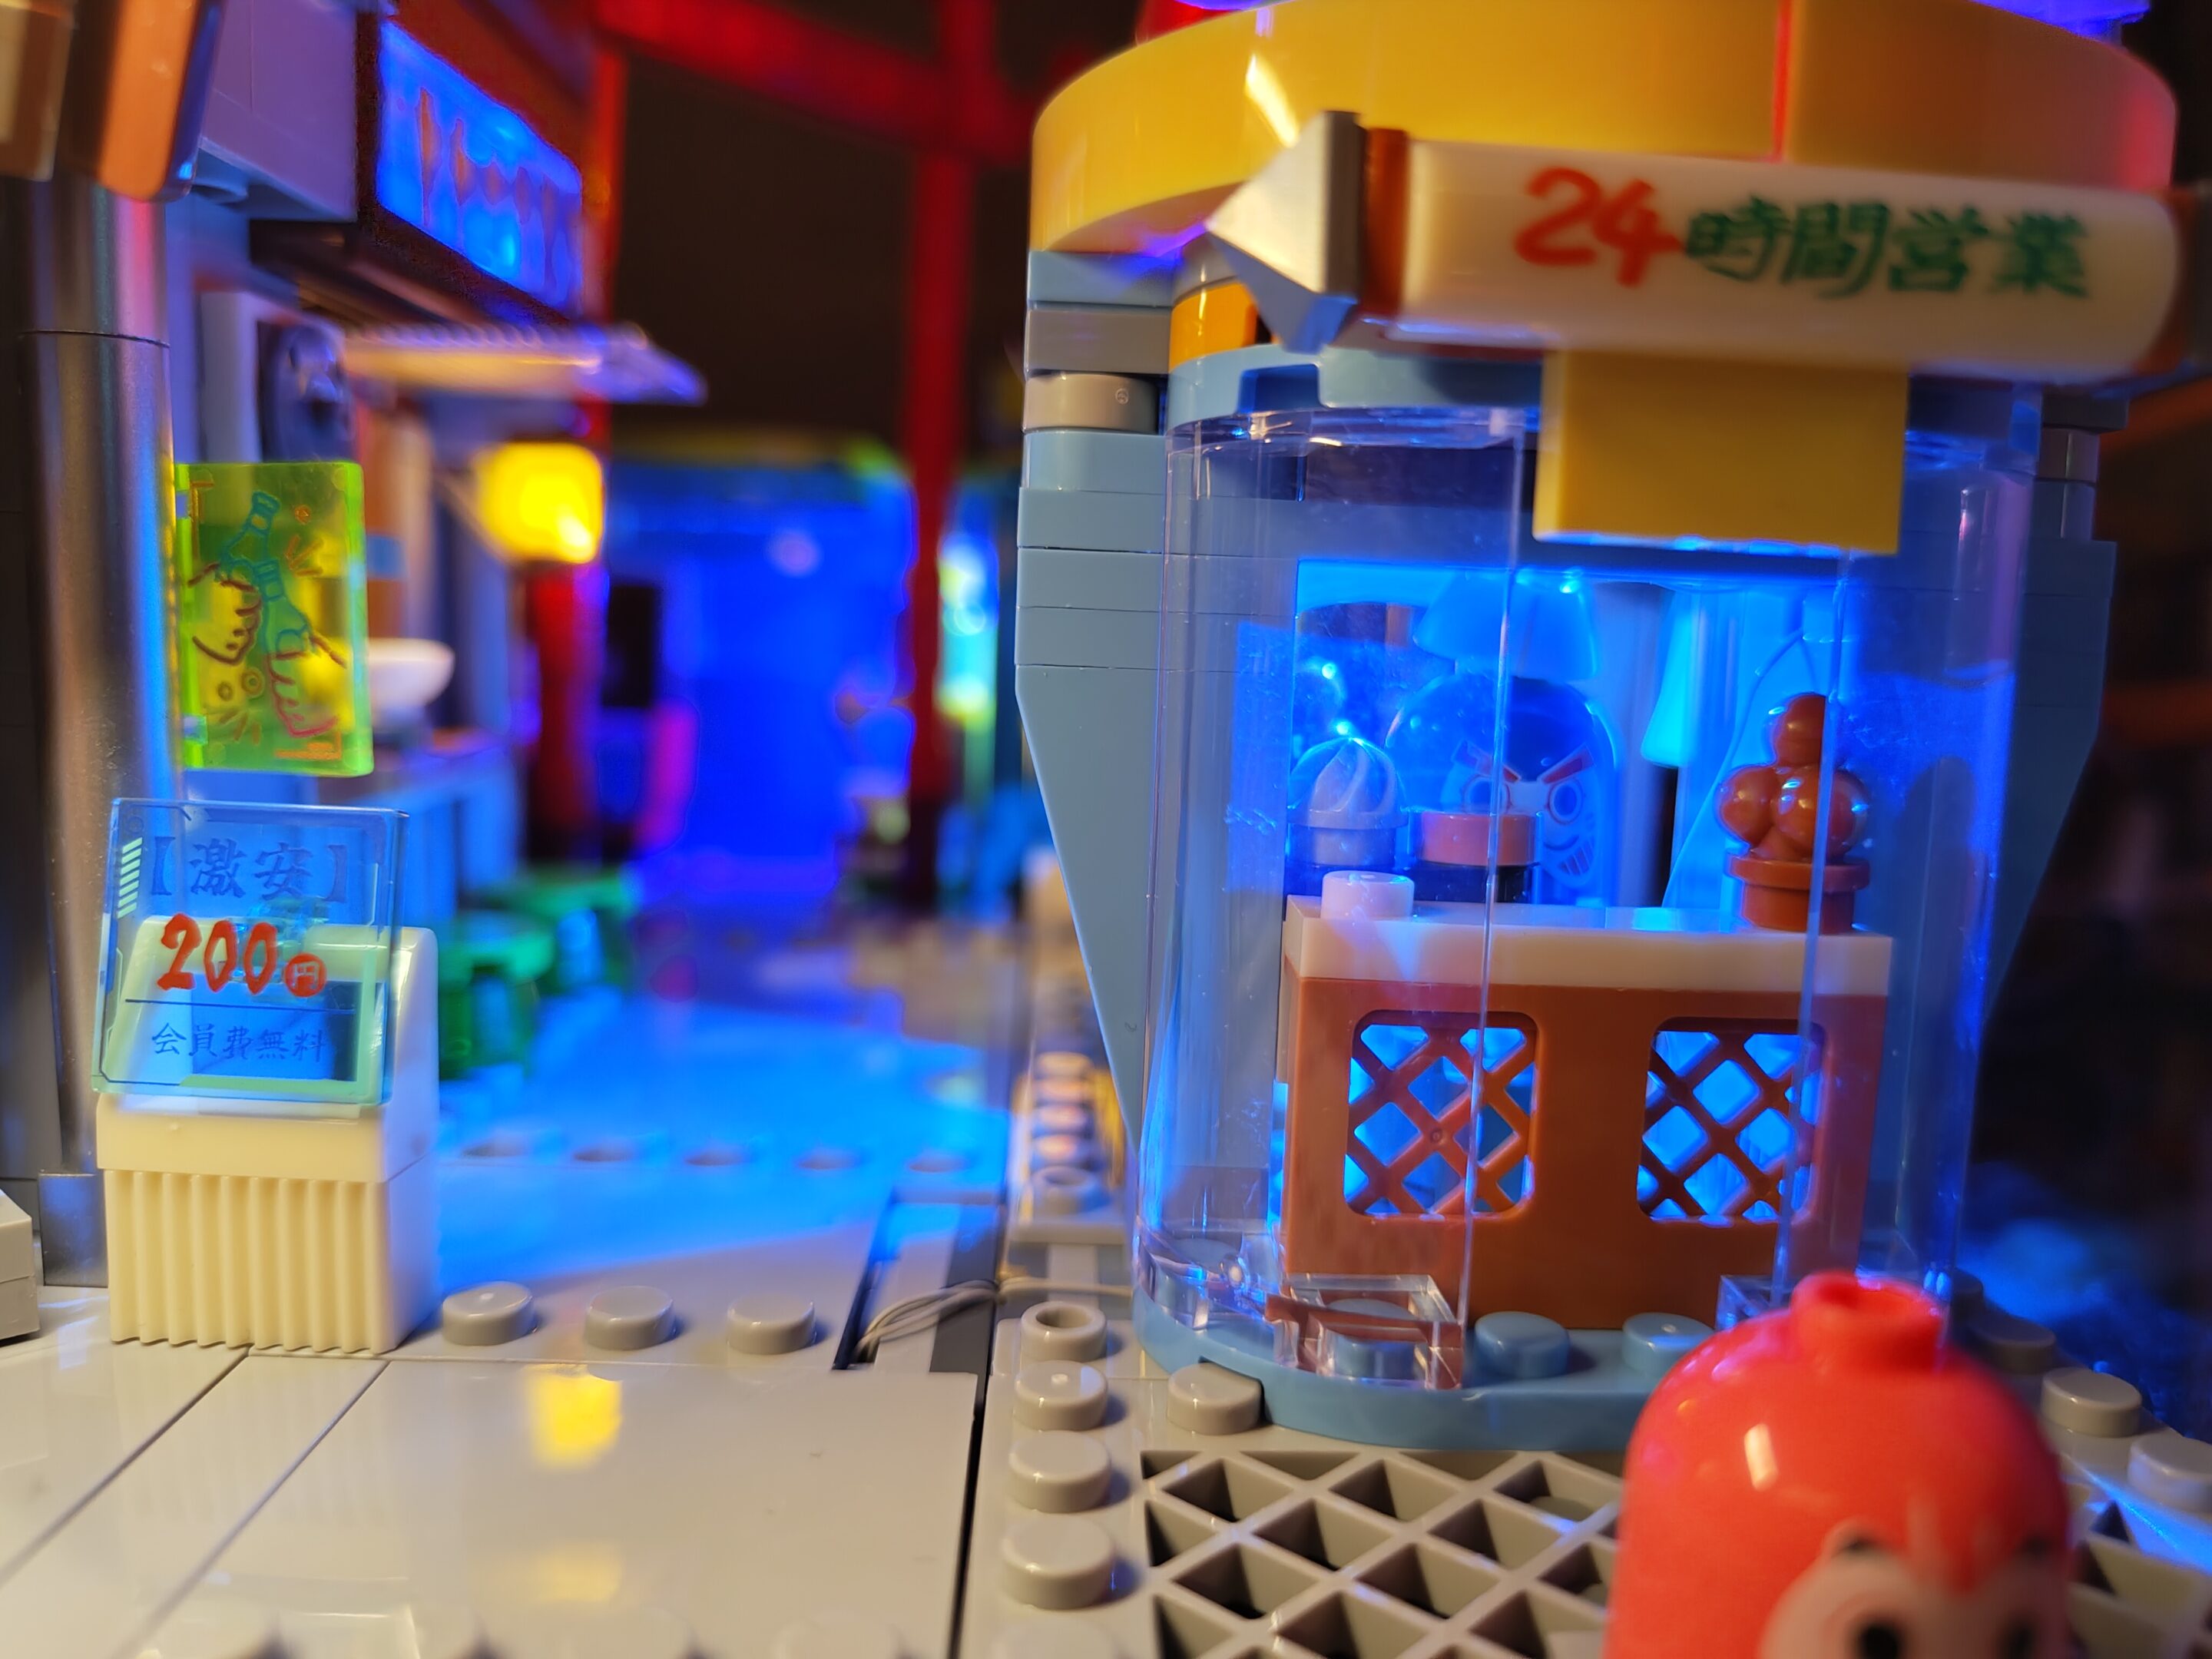
welp finally started this one today (october 11th, 2025) and it’s got a lot more wiring on the bottom floor than the others have had so far, and a lot more light points in general. also it looks like this one is gonna have a bunch of “neon” bars which i absolutely adore so pretty stoked about that
UPDATE: i kinda got in the zone and just like … finished and mostly forgot to take pictures. oof.
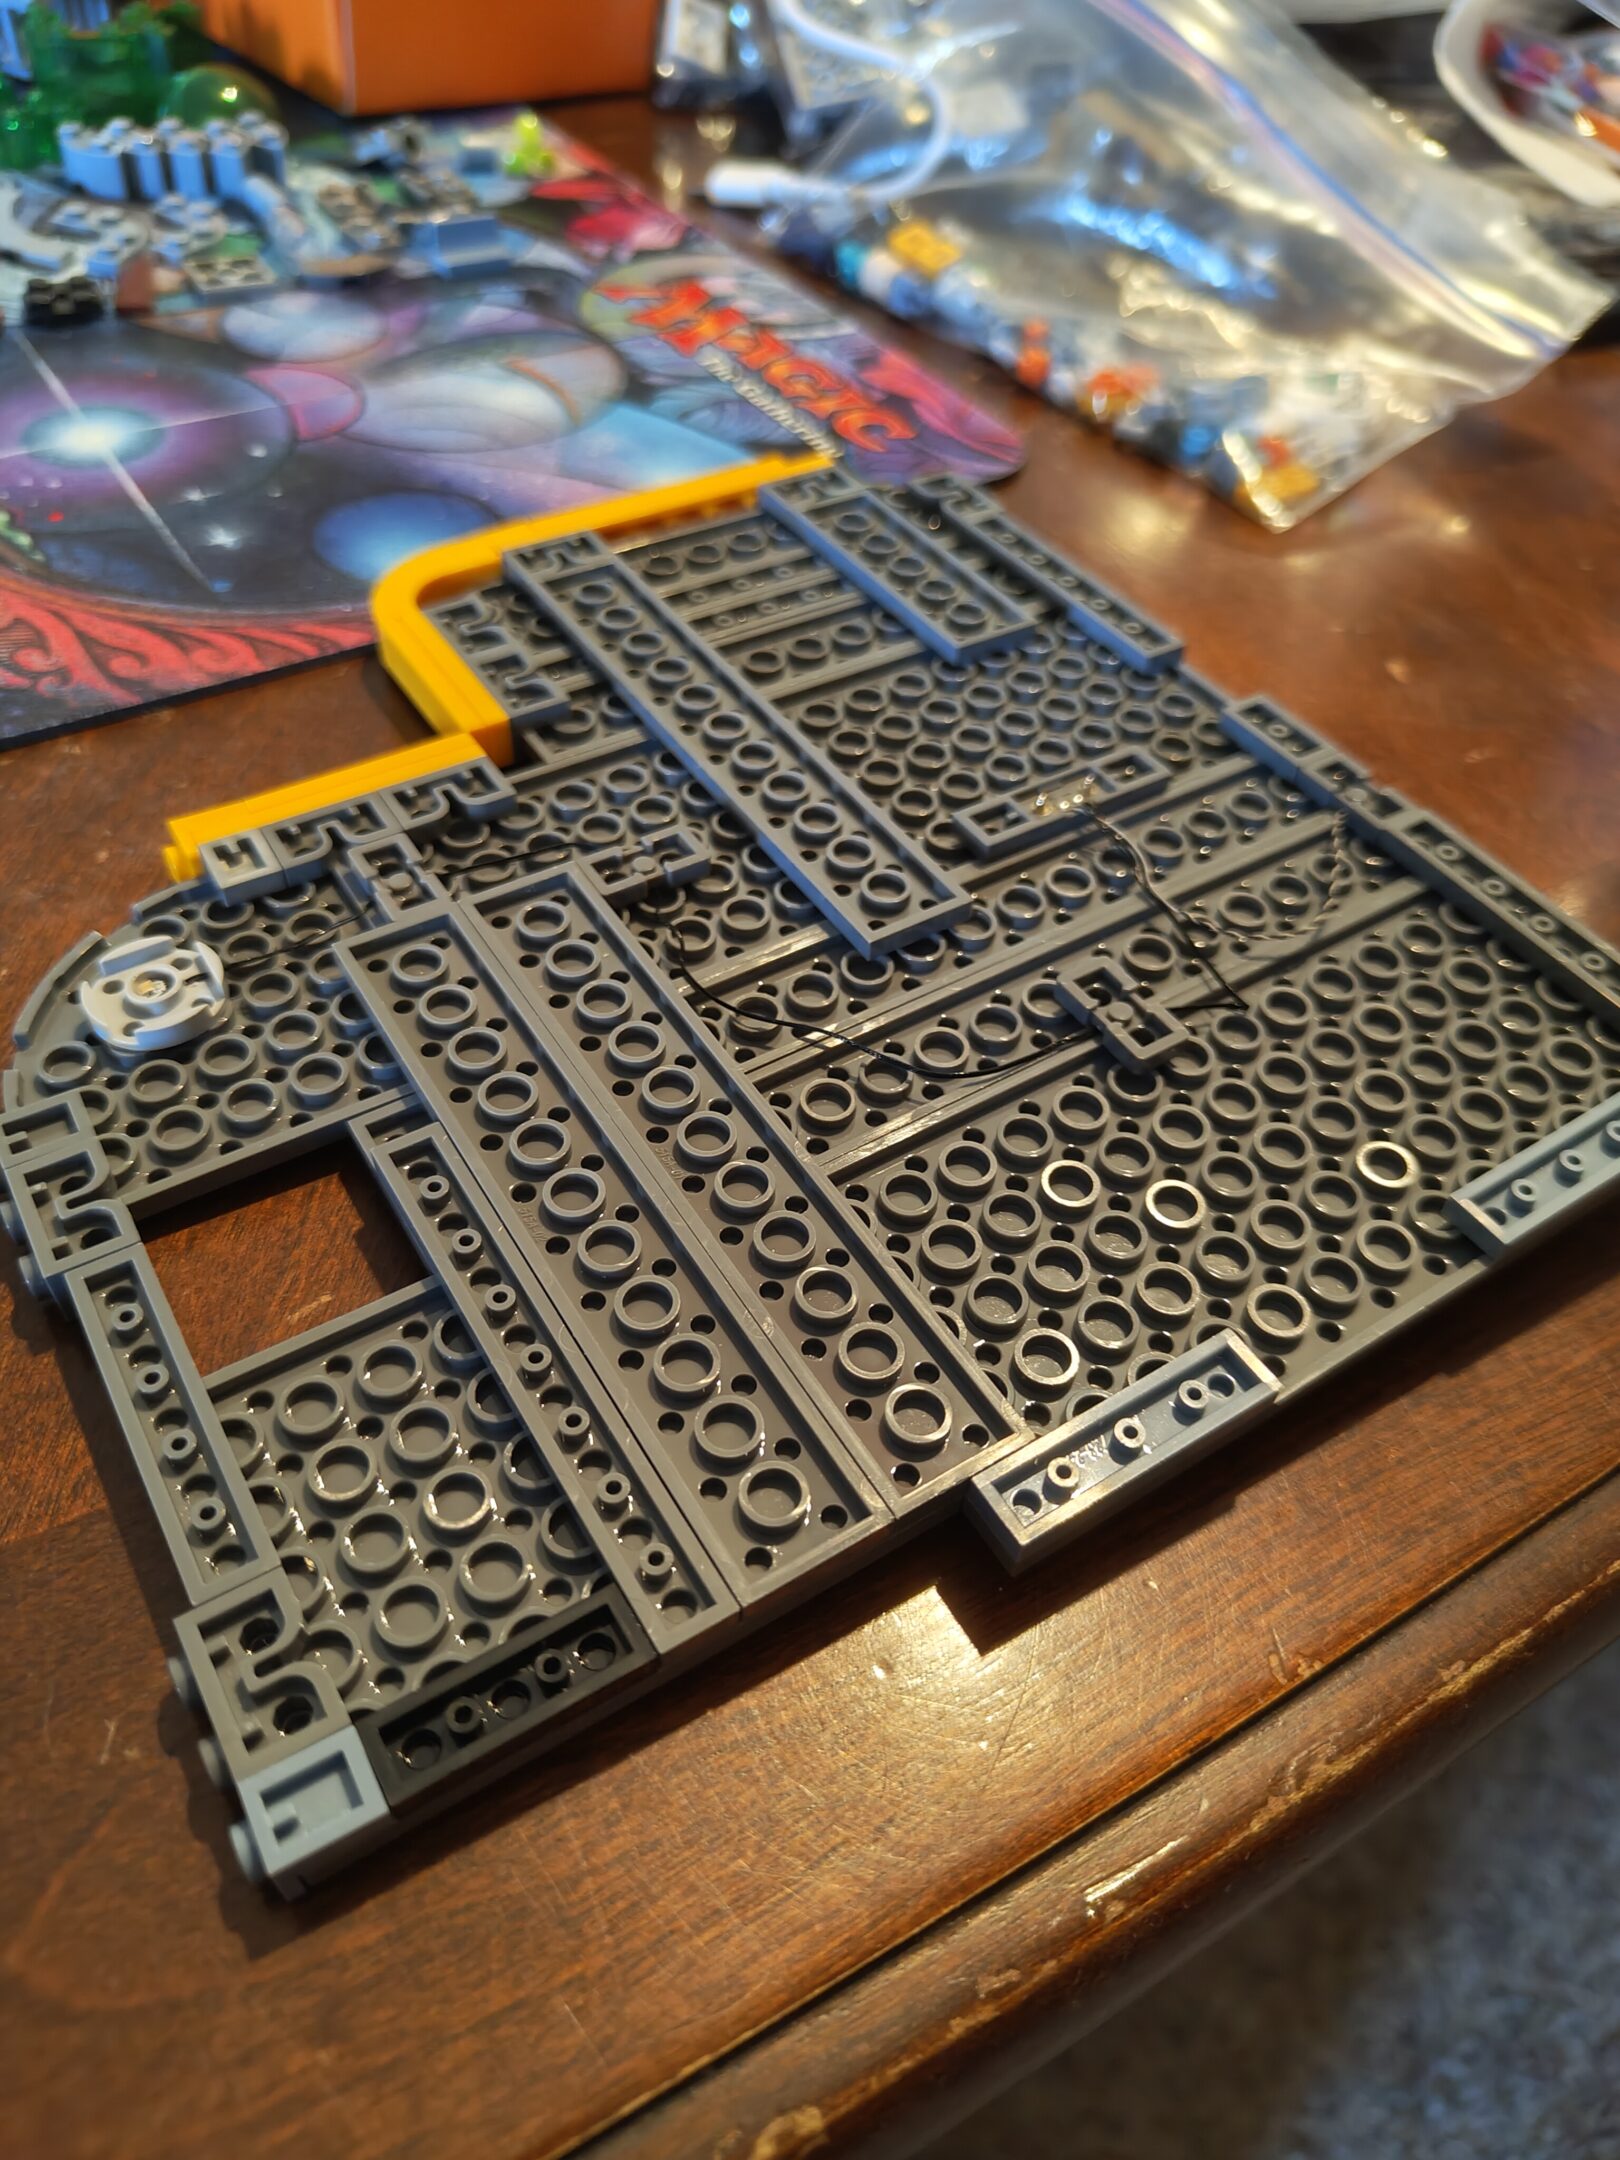
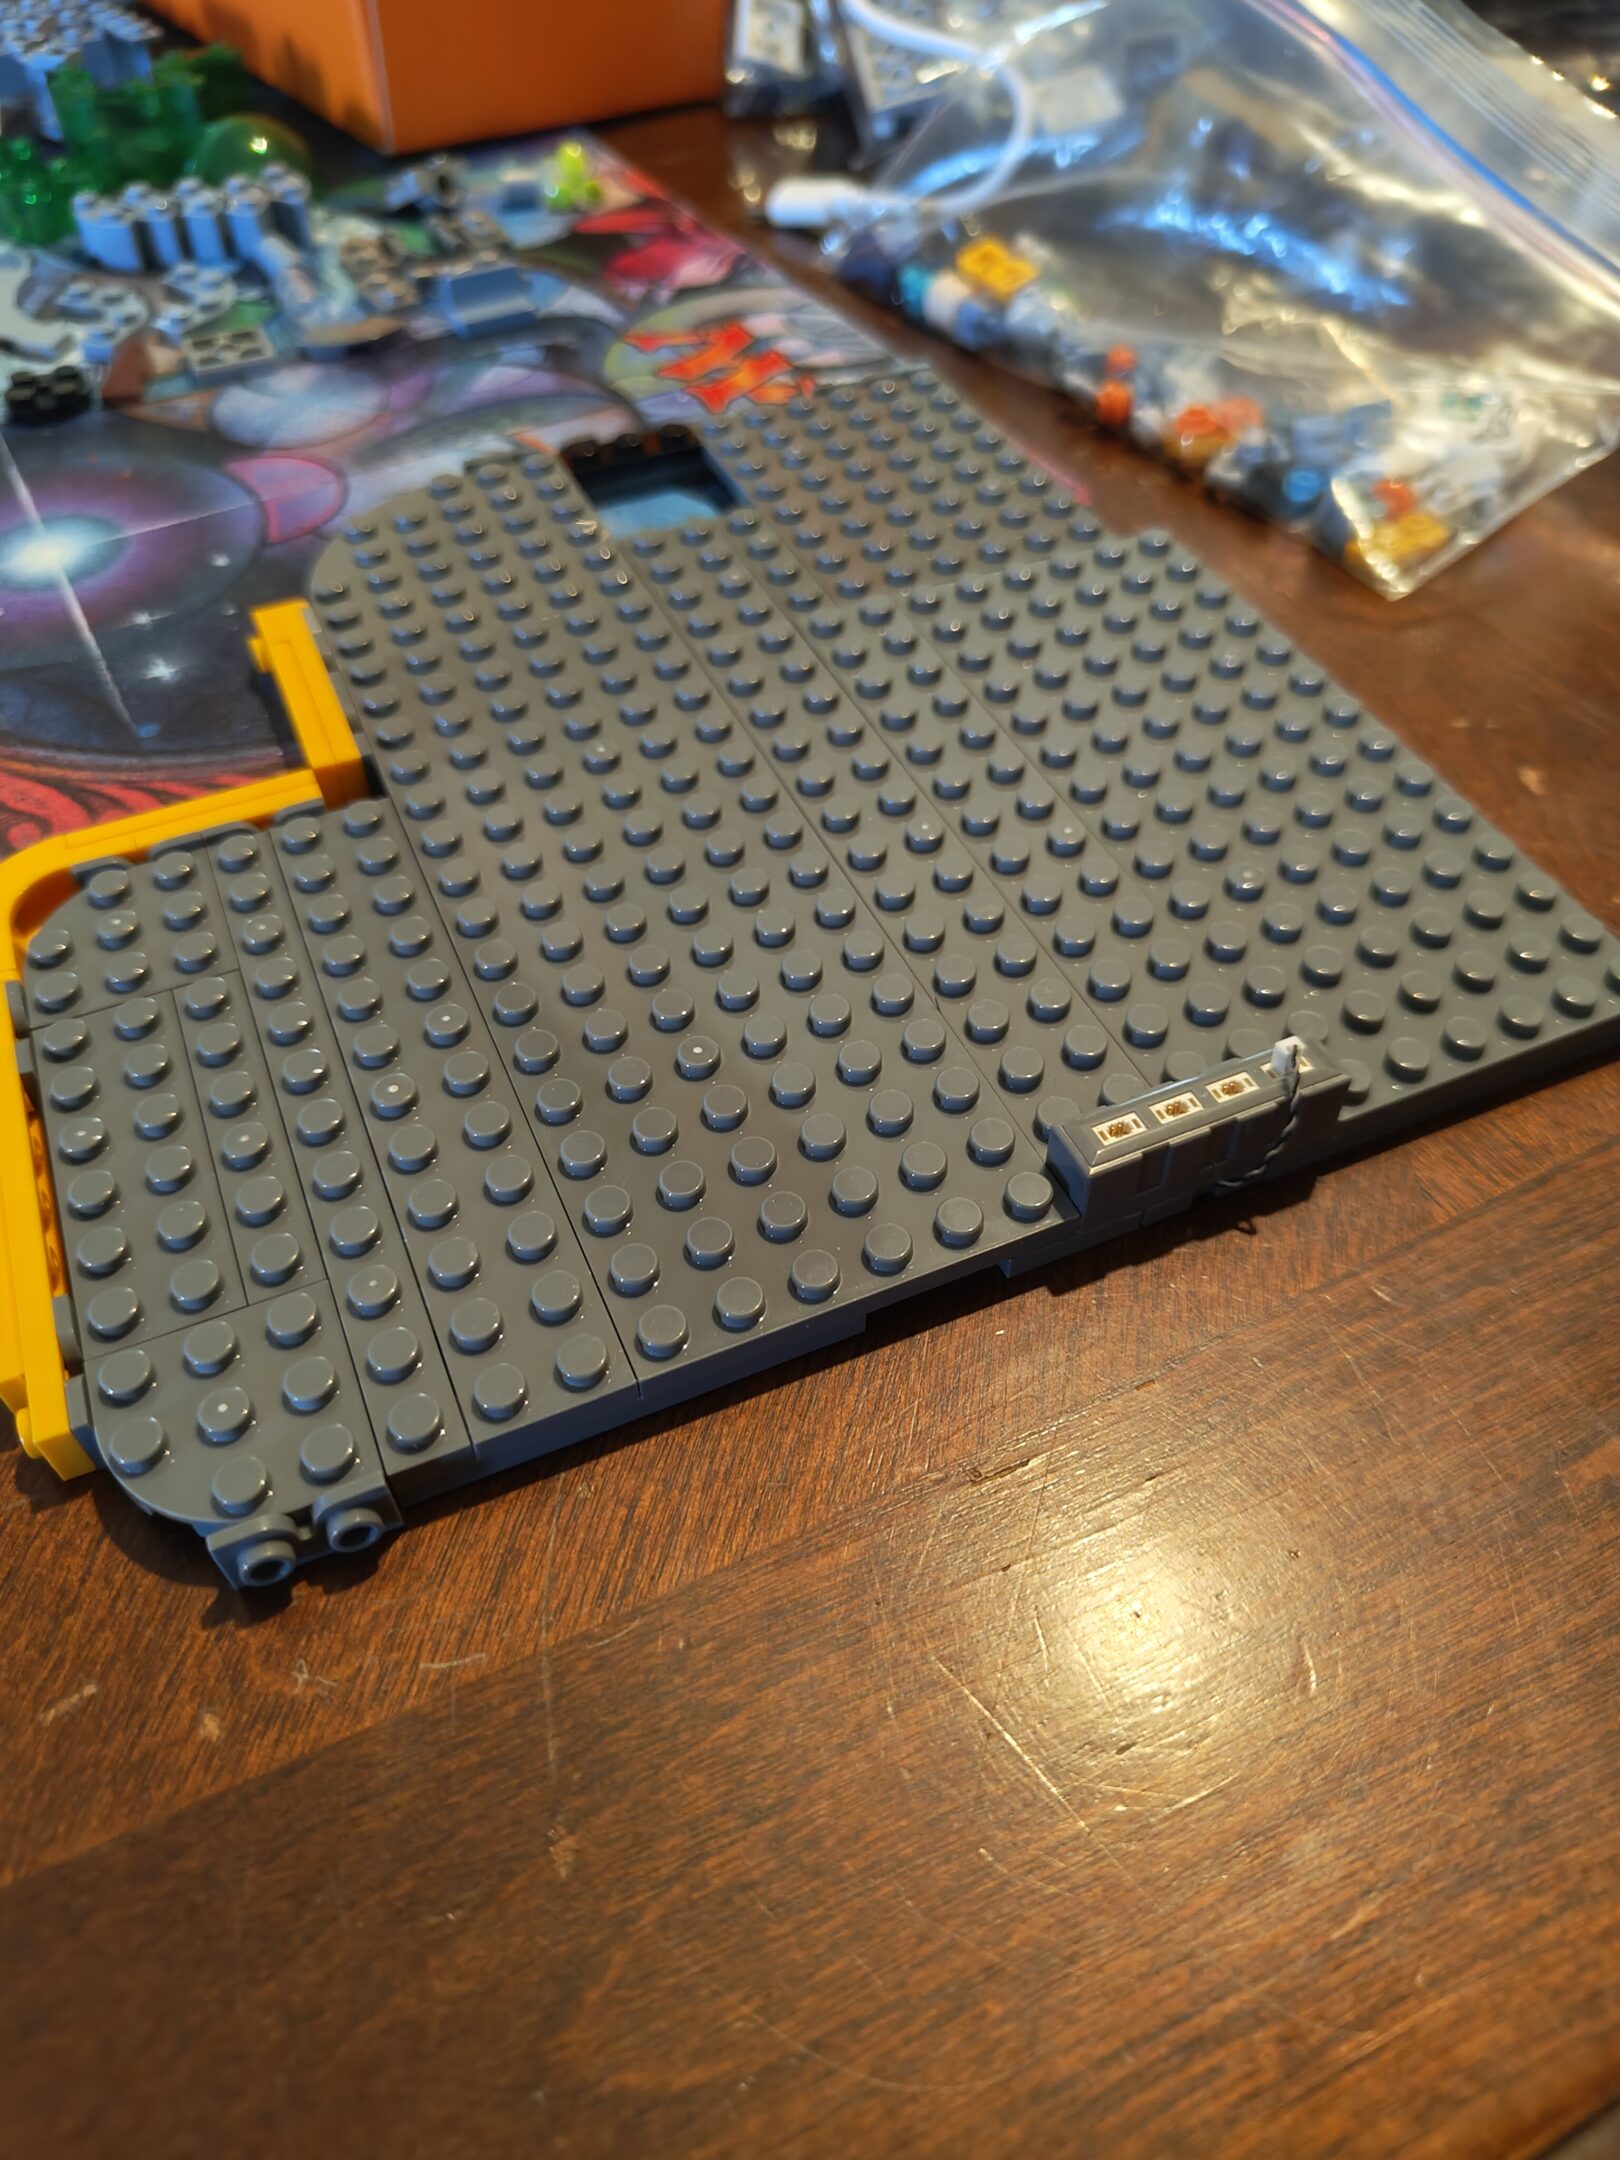
Front of the boxBack of the boxHow it beginsFirst plate…Second plate connectedThird plate coming inFourth plate to finish the block shapeStarting some wiringTesting the lightsMore wiring – it’s in the blurred section but there’s one of the power connectors on the bottom left to hook it up to another block setStep 2 complete and a dinner break
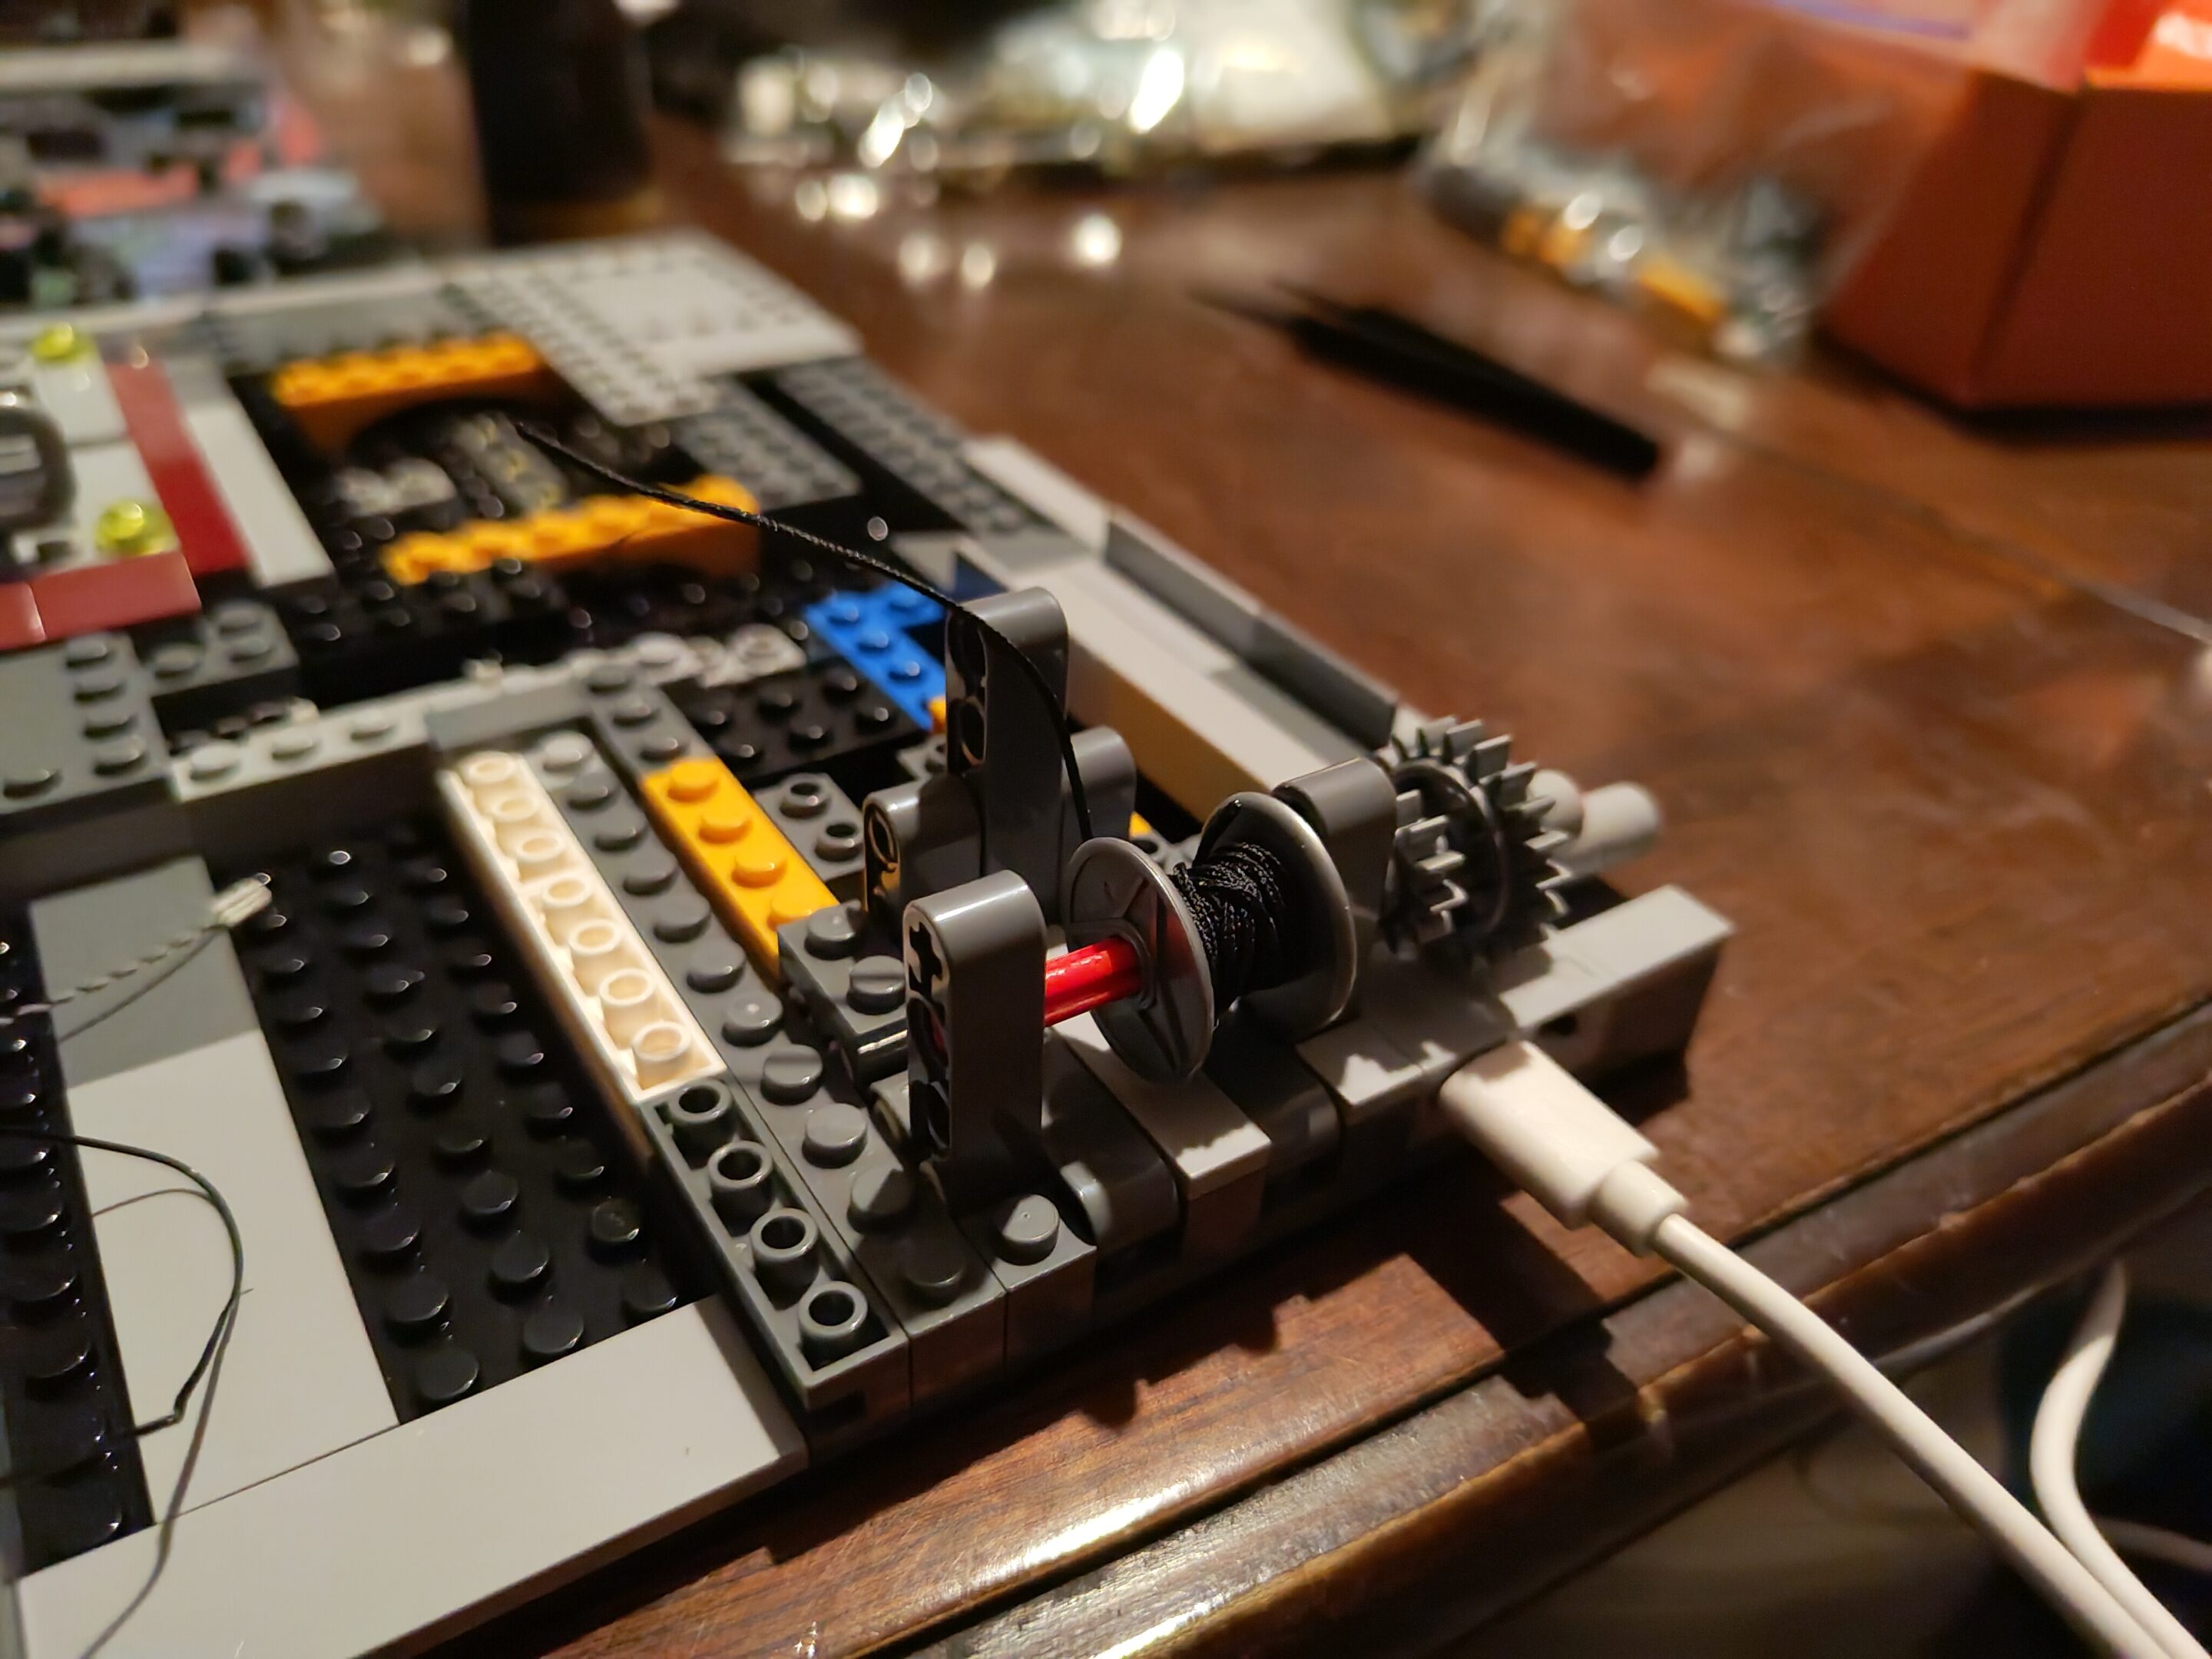
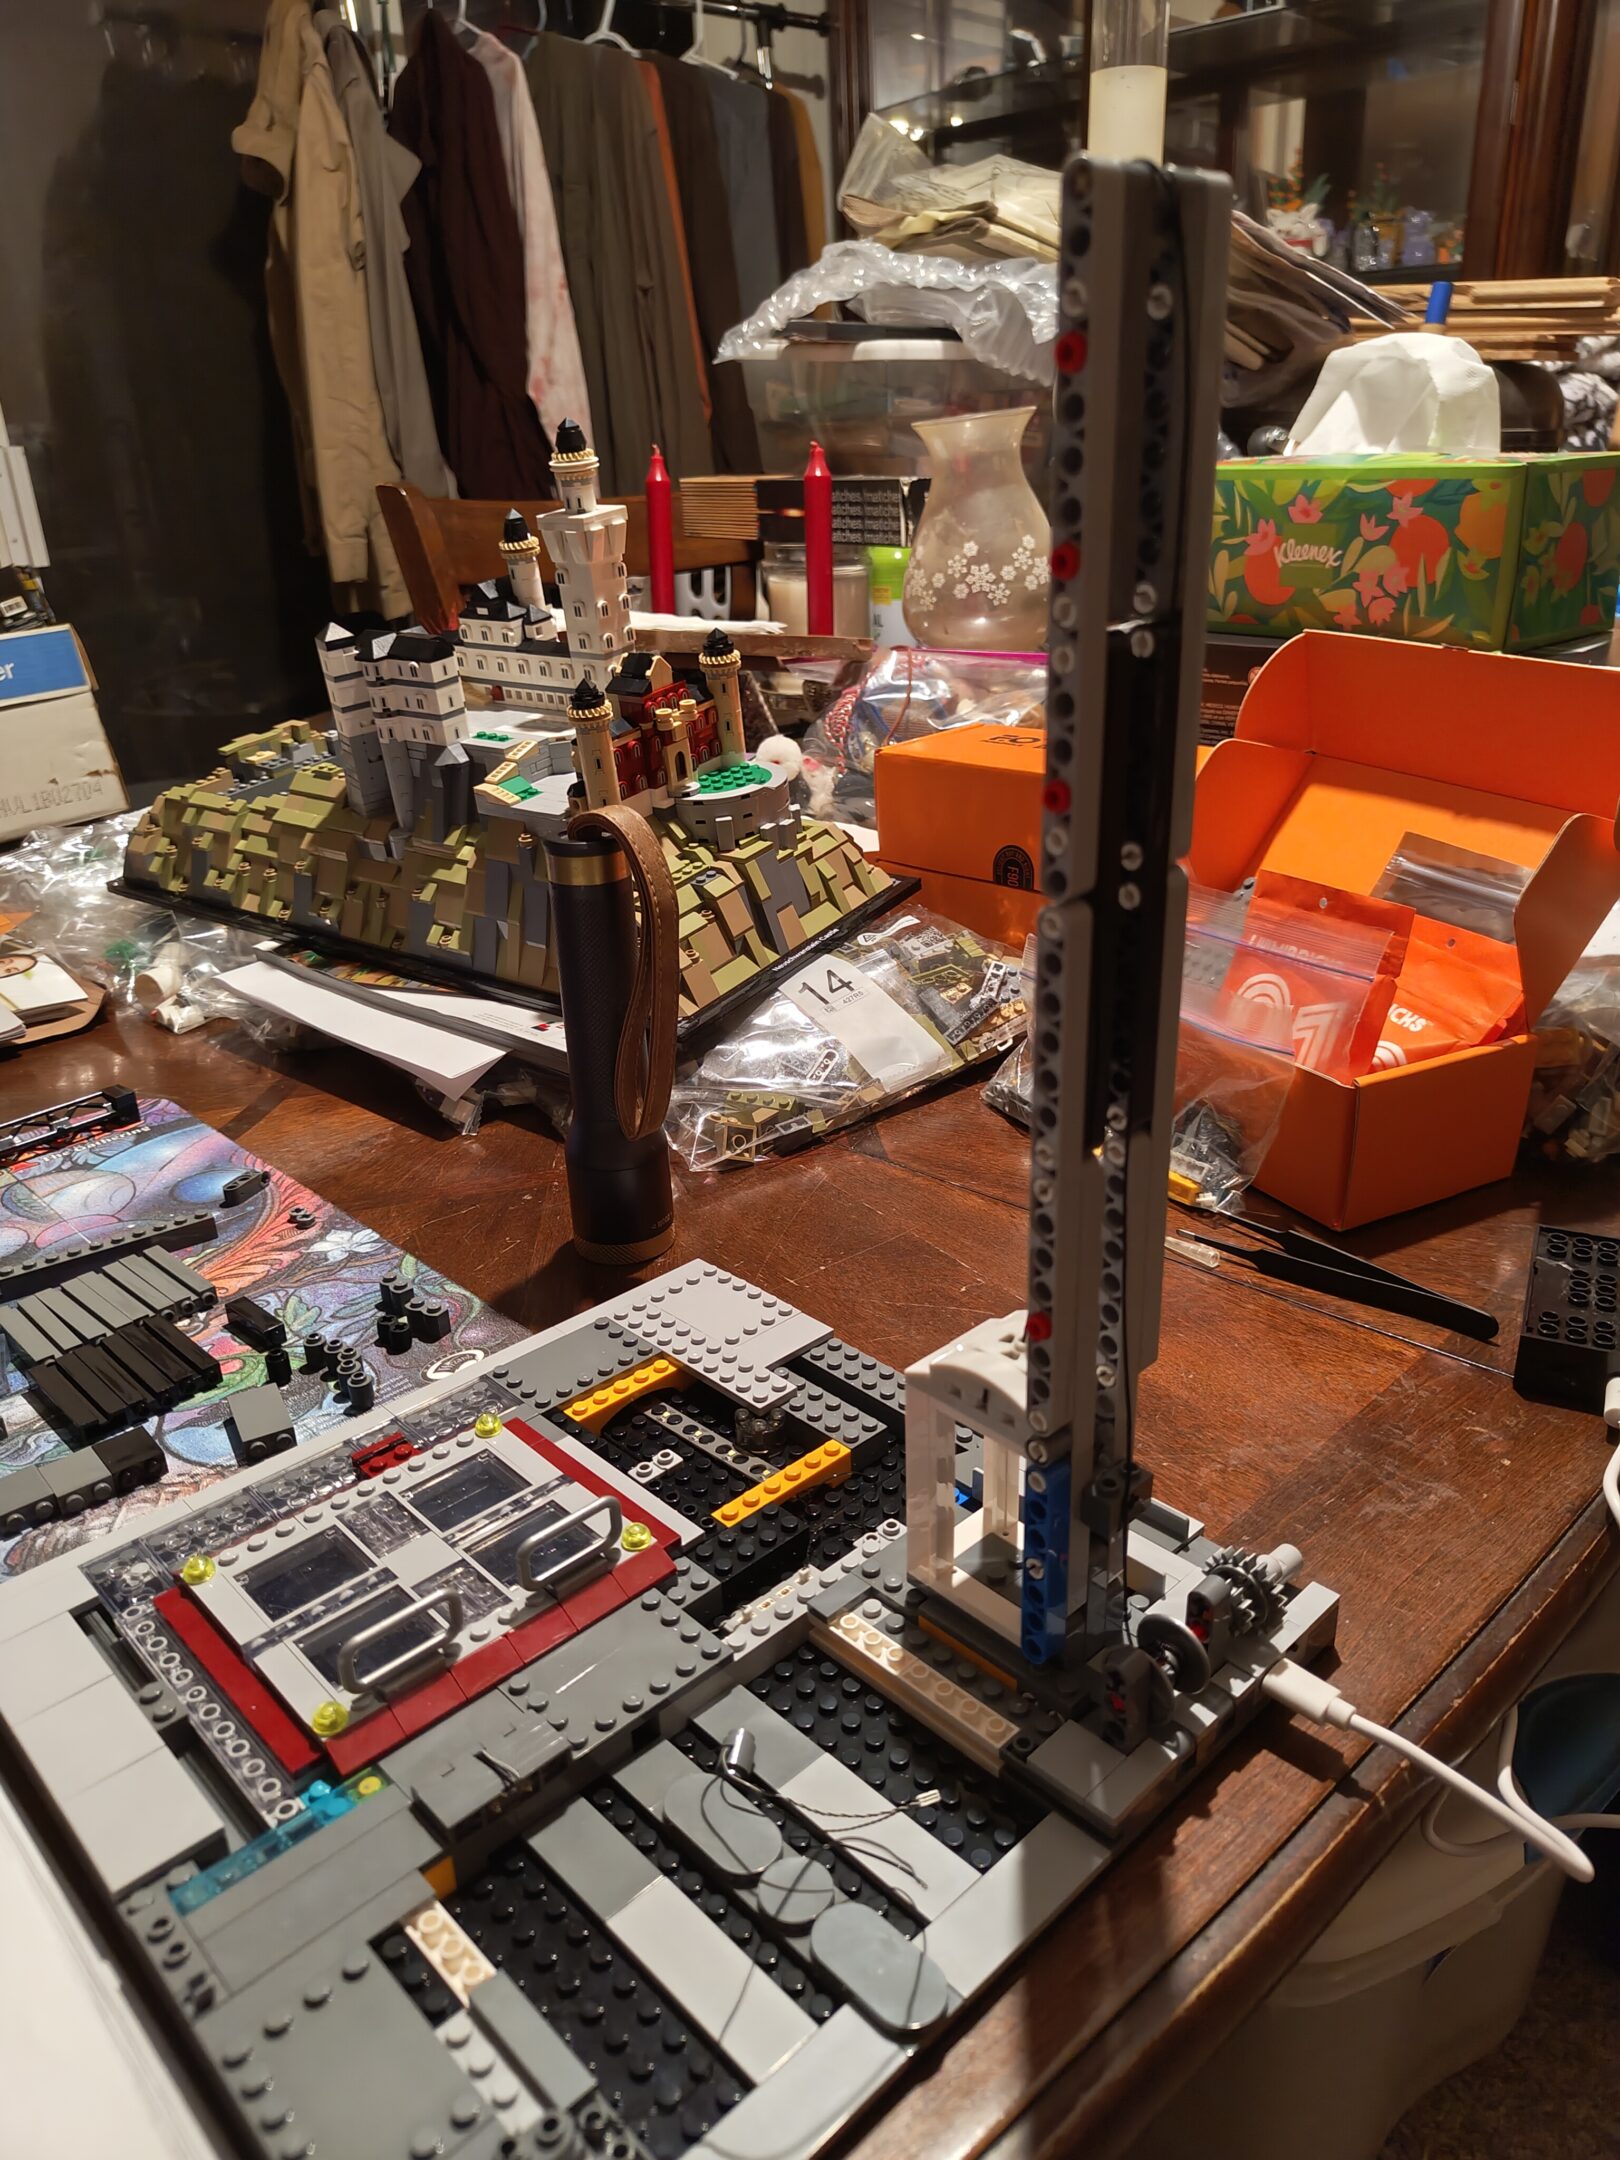
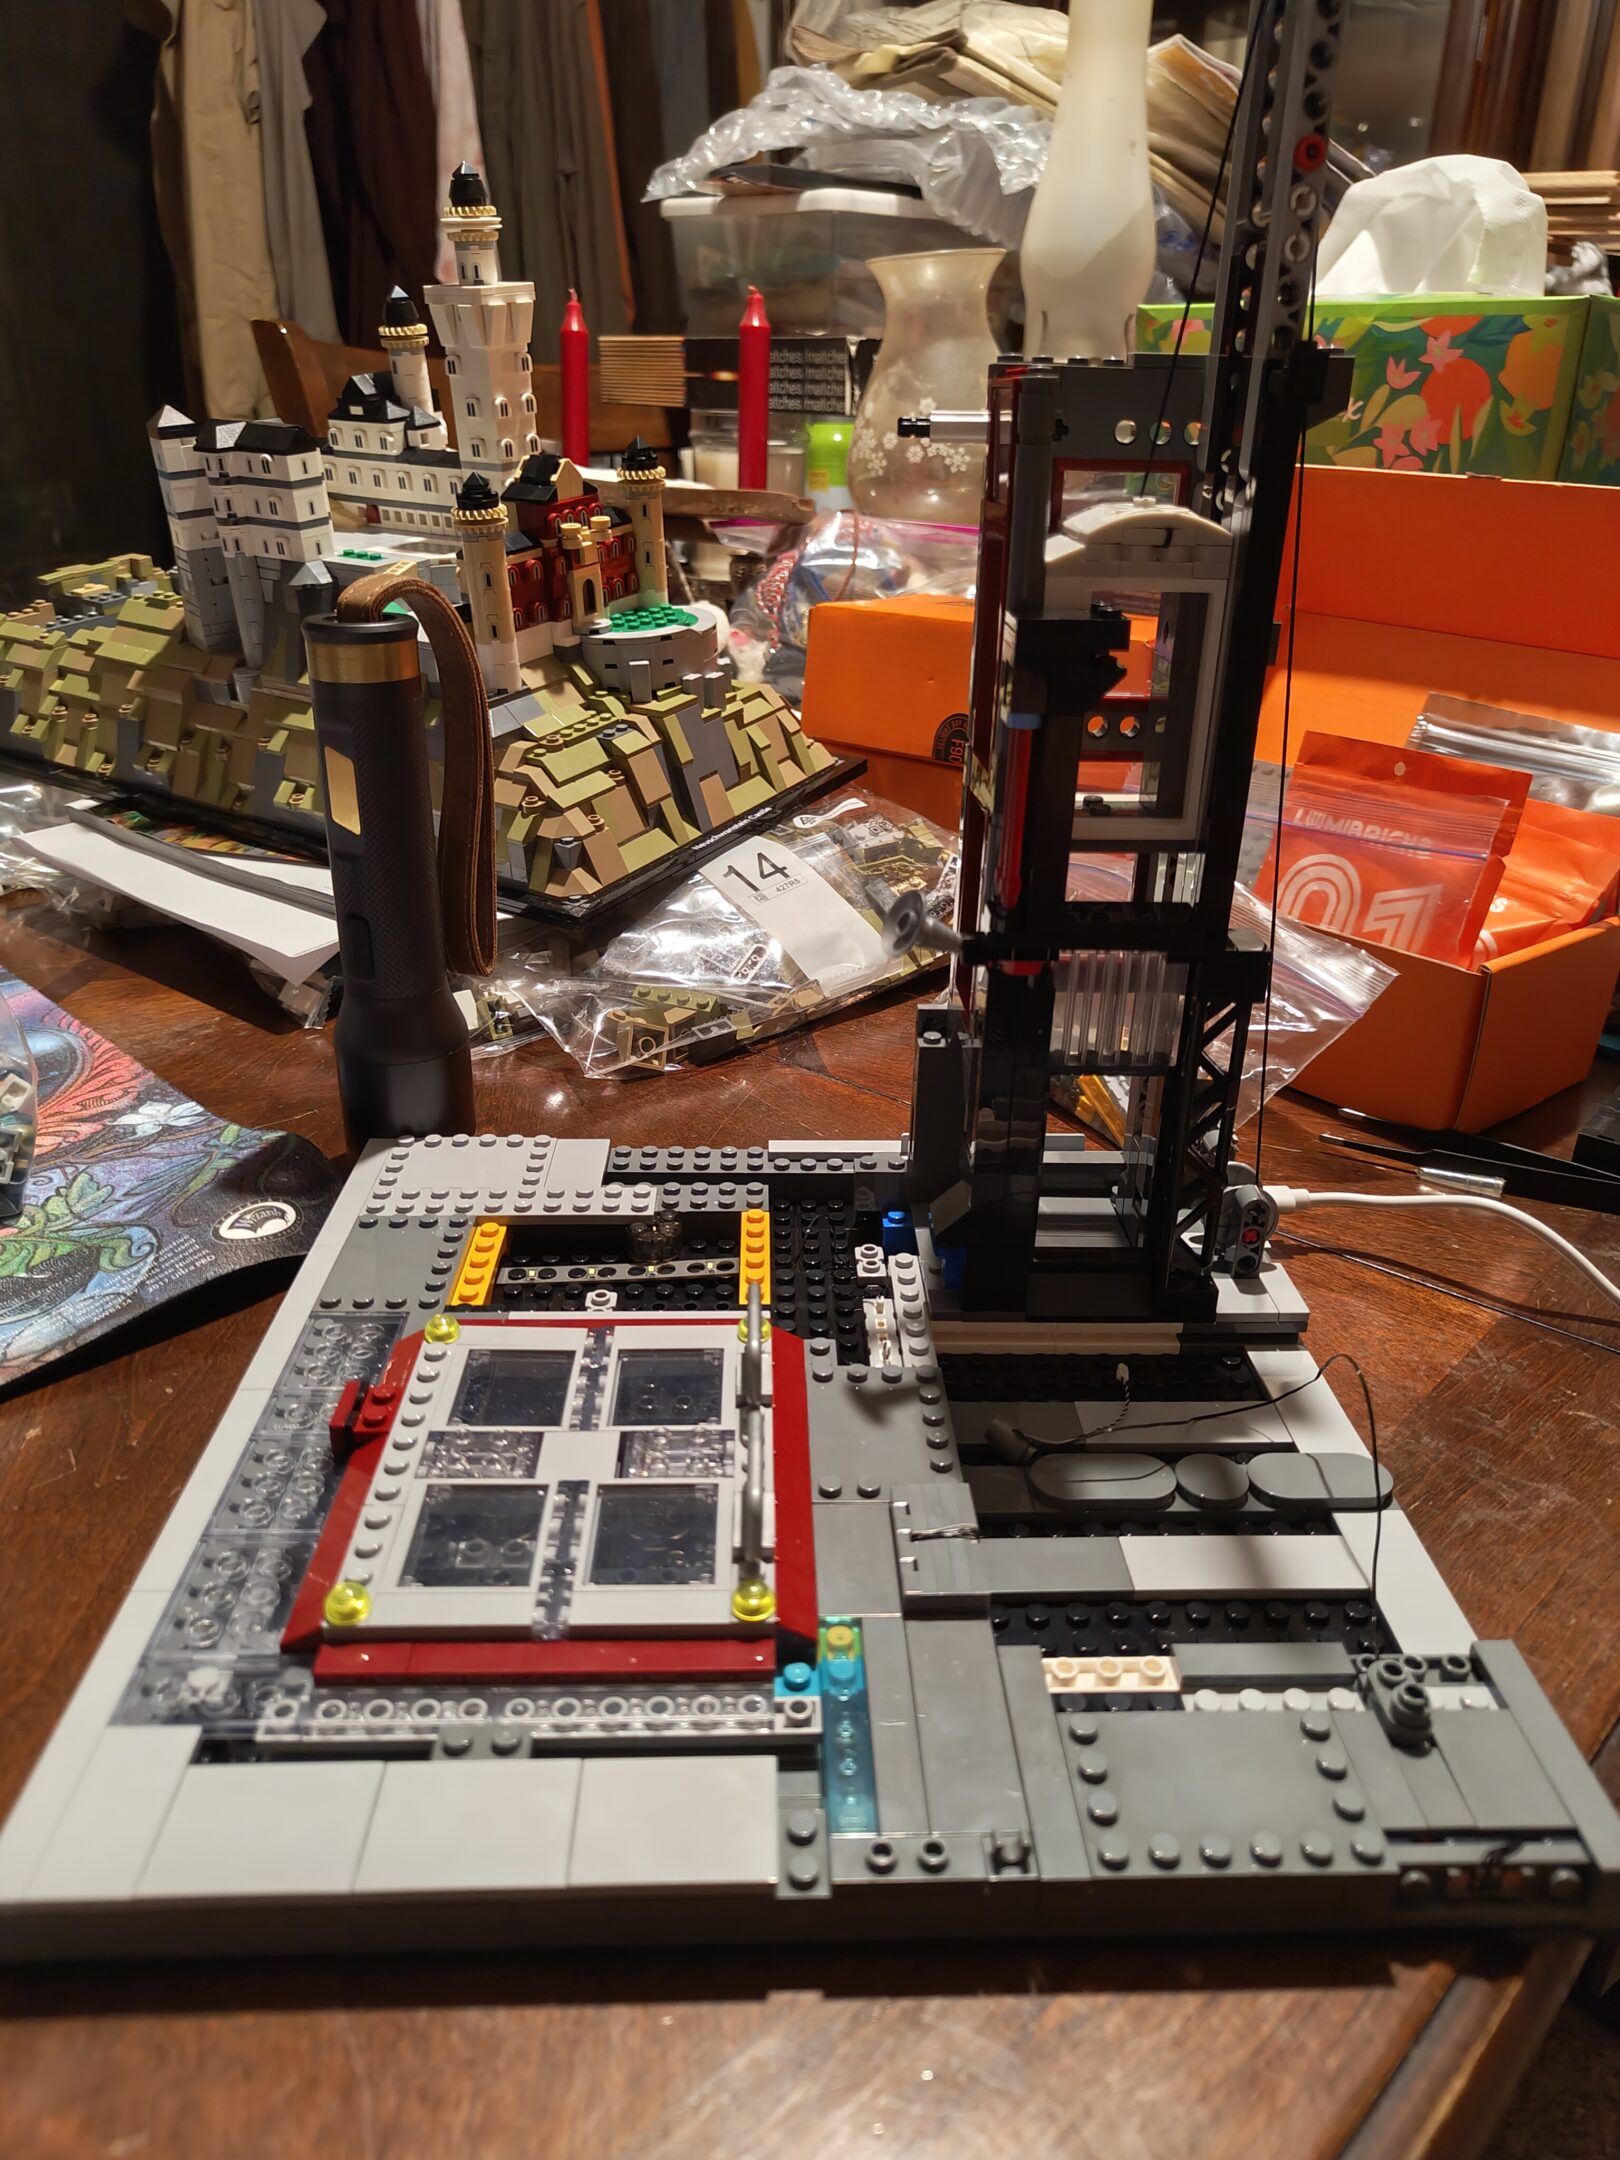
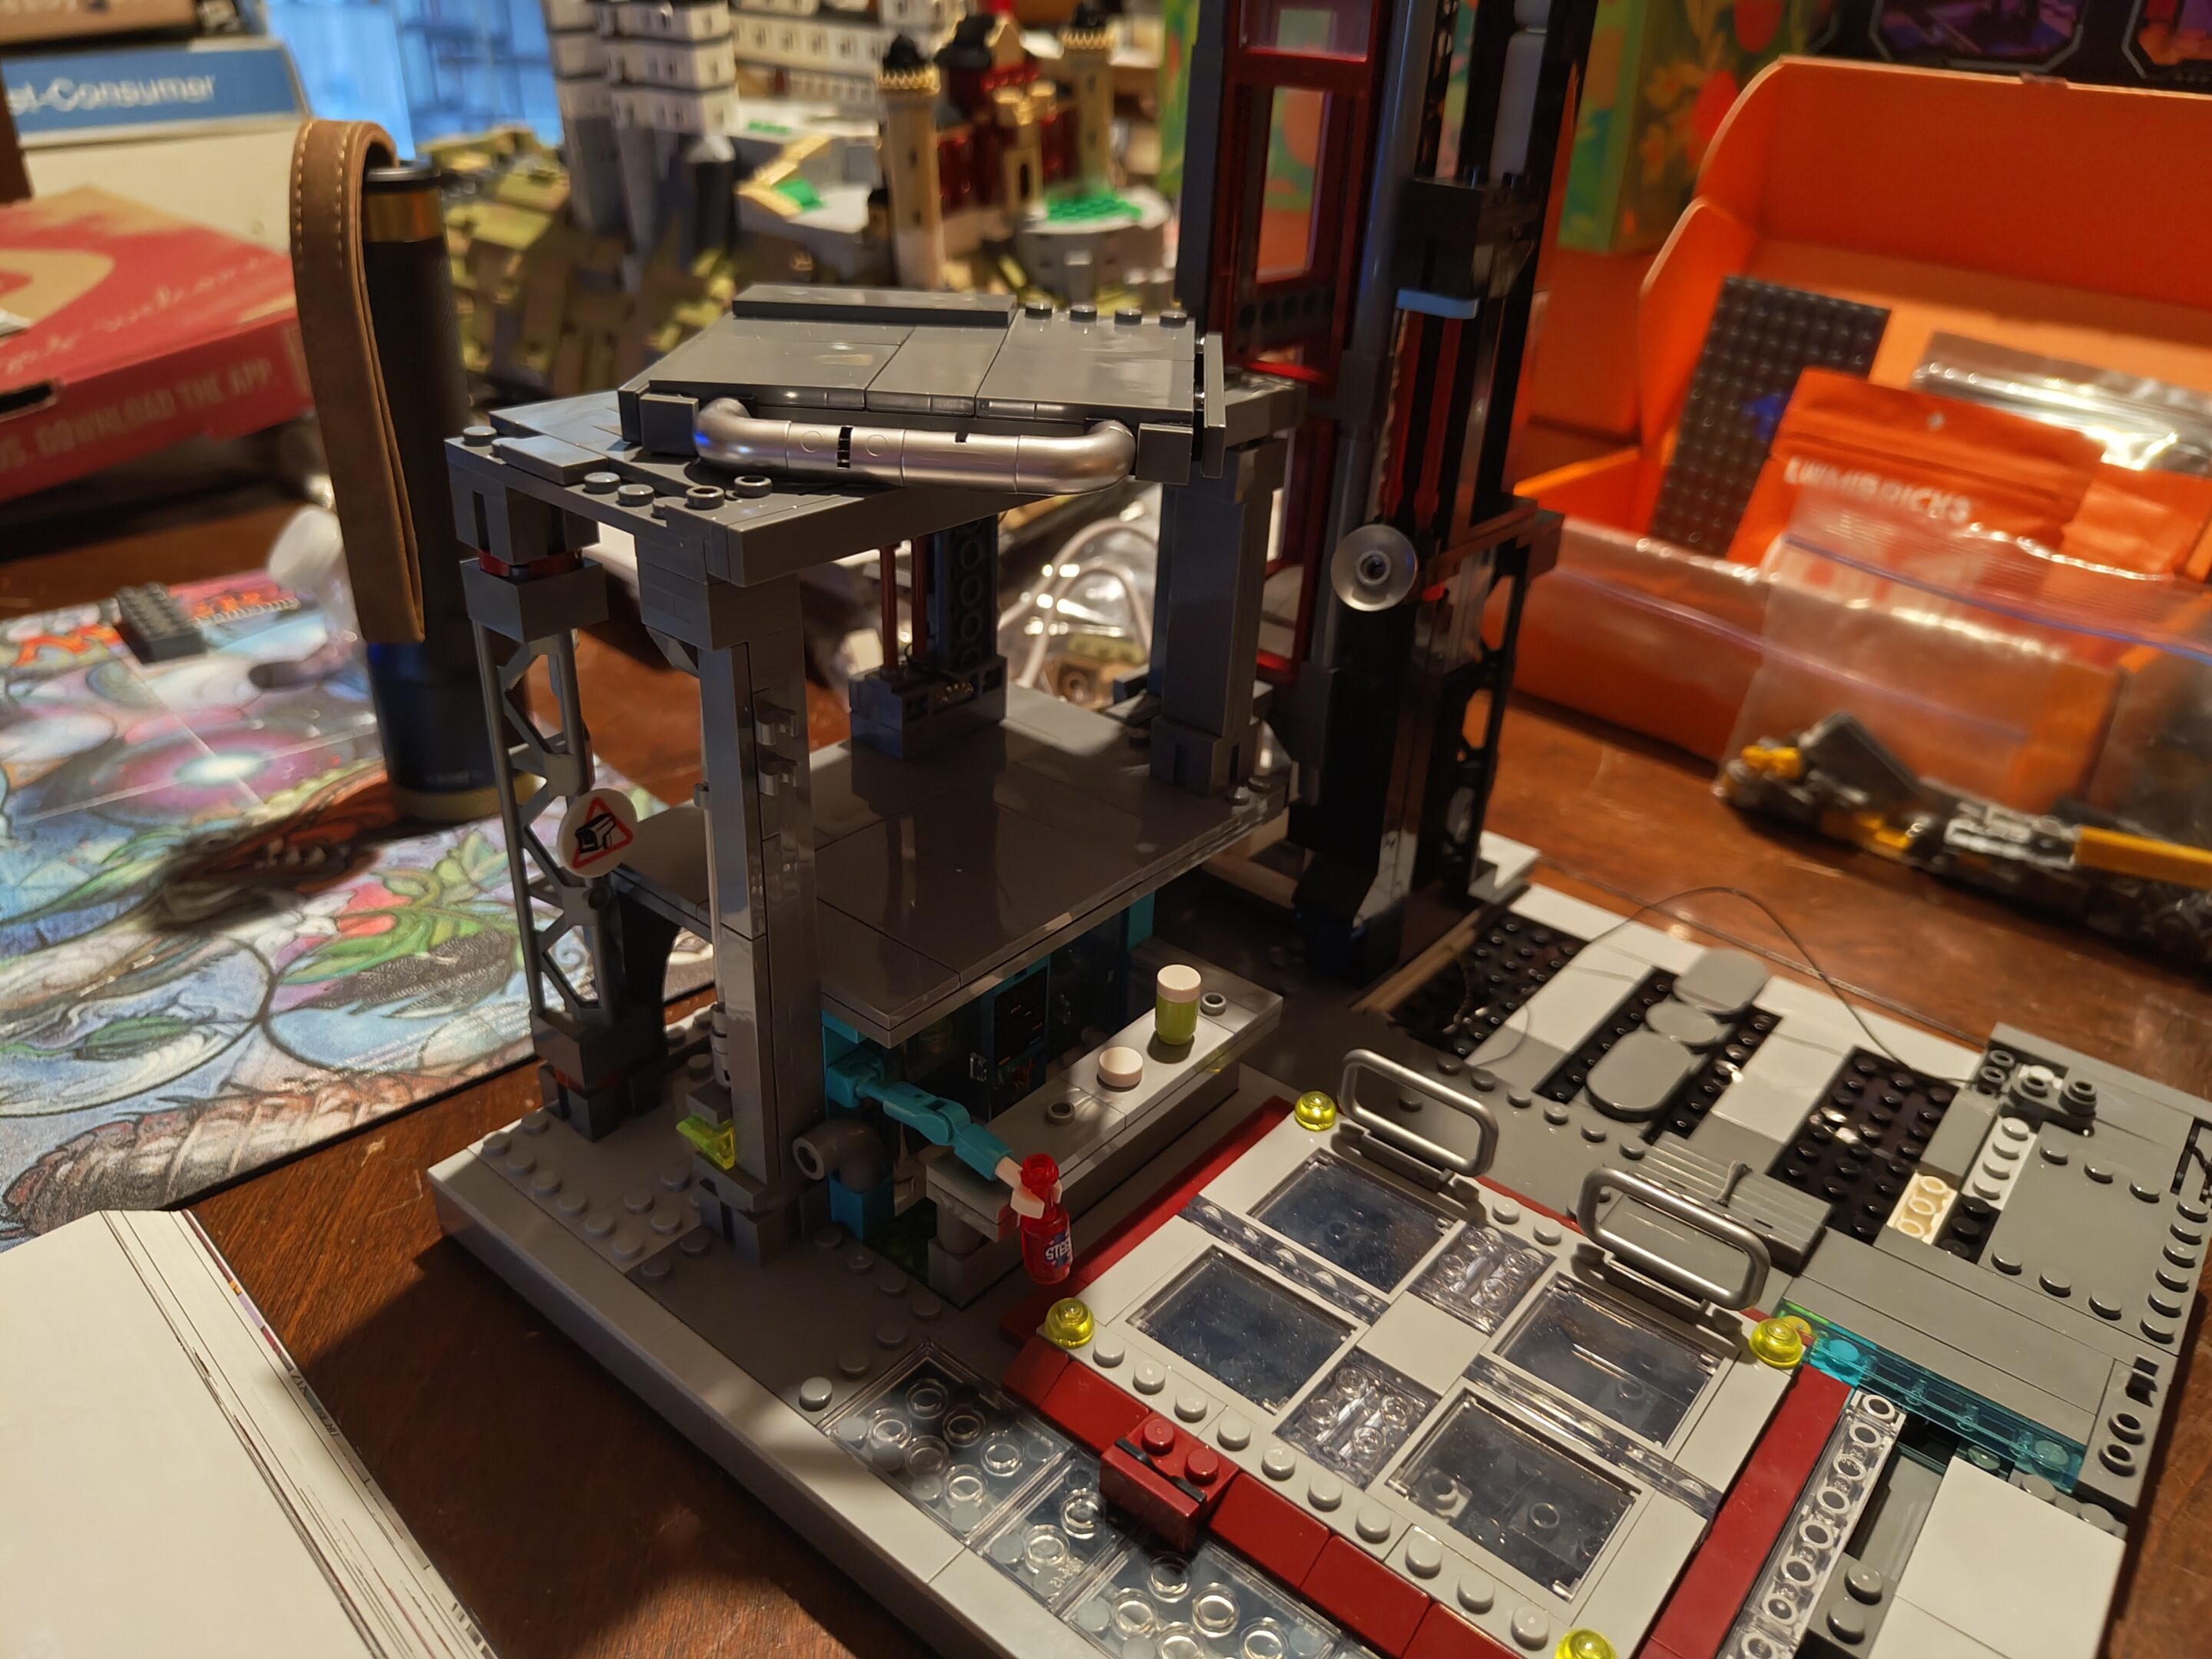
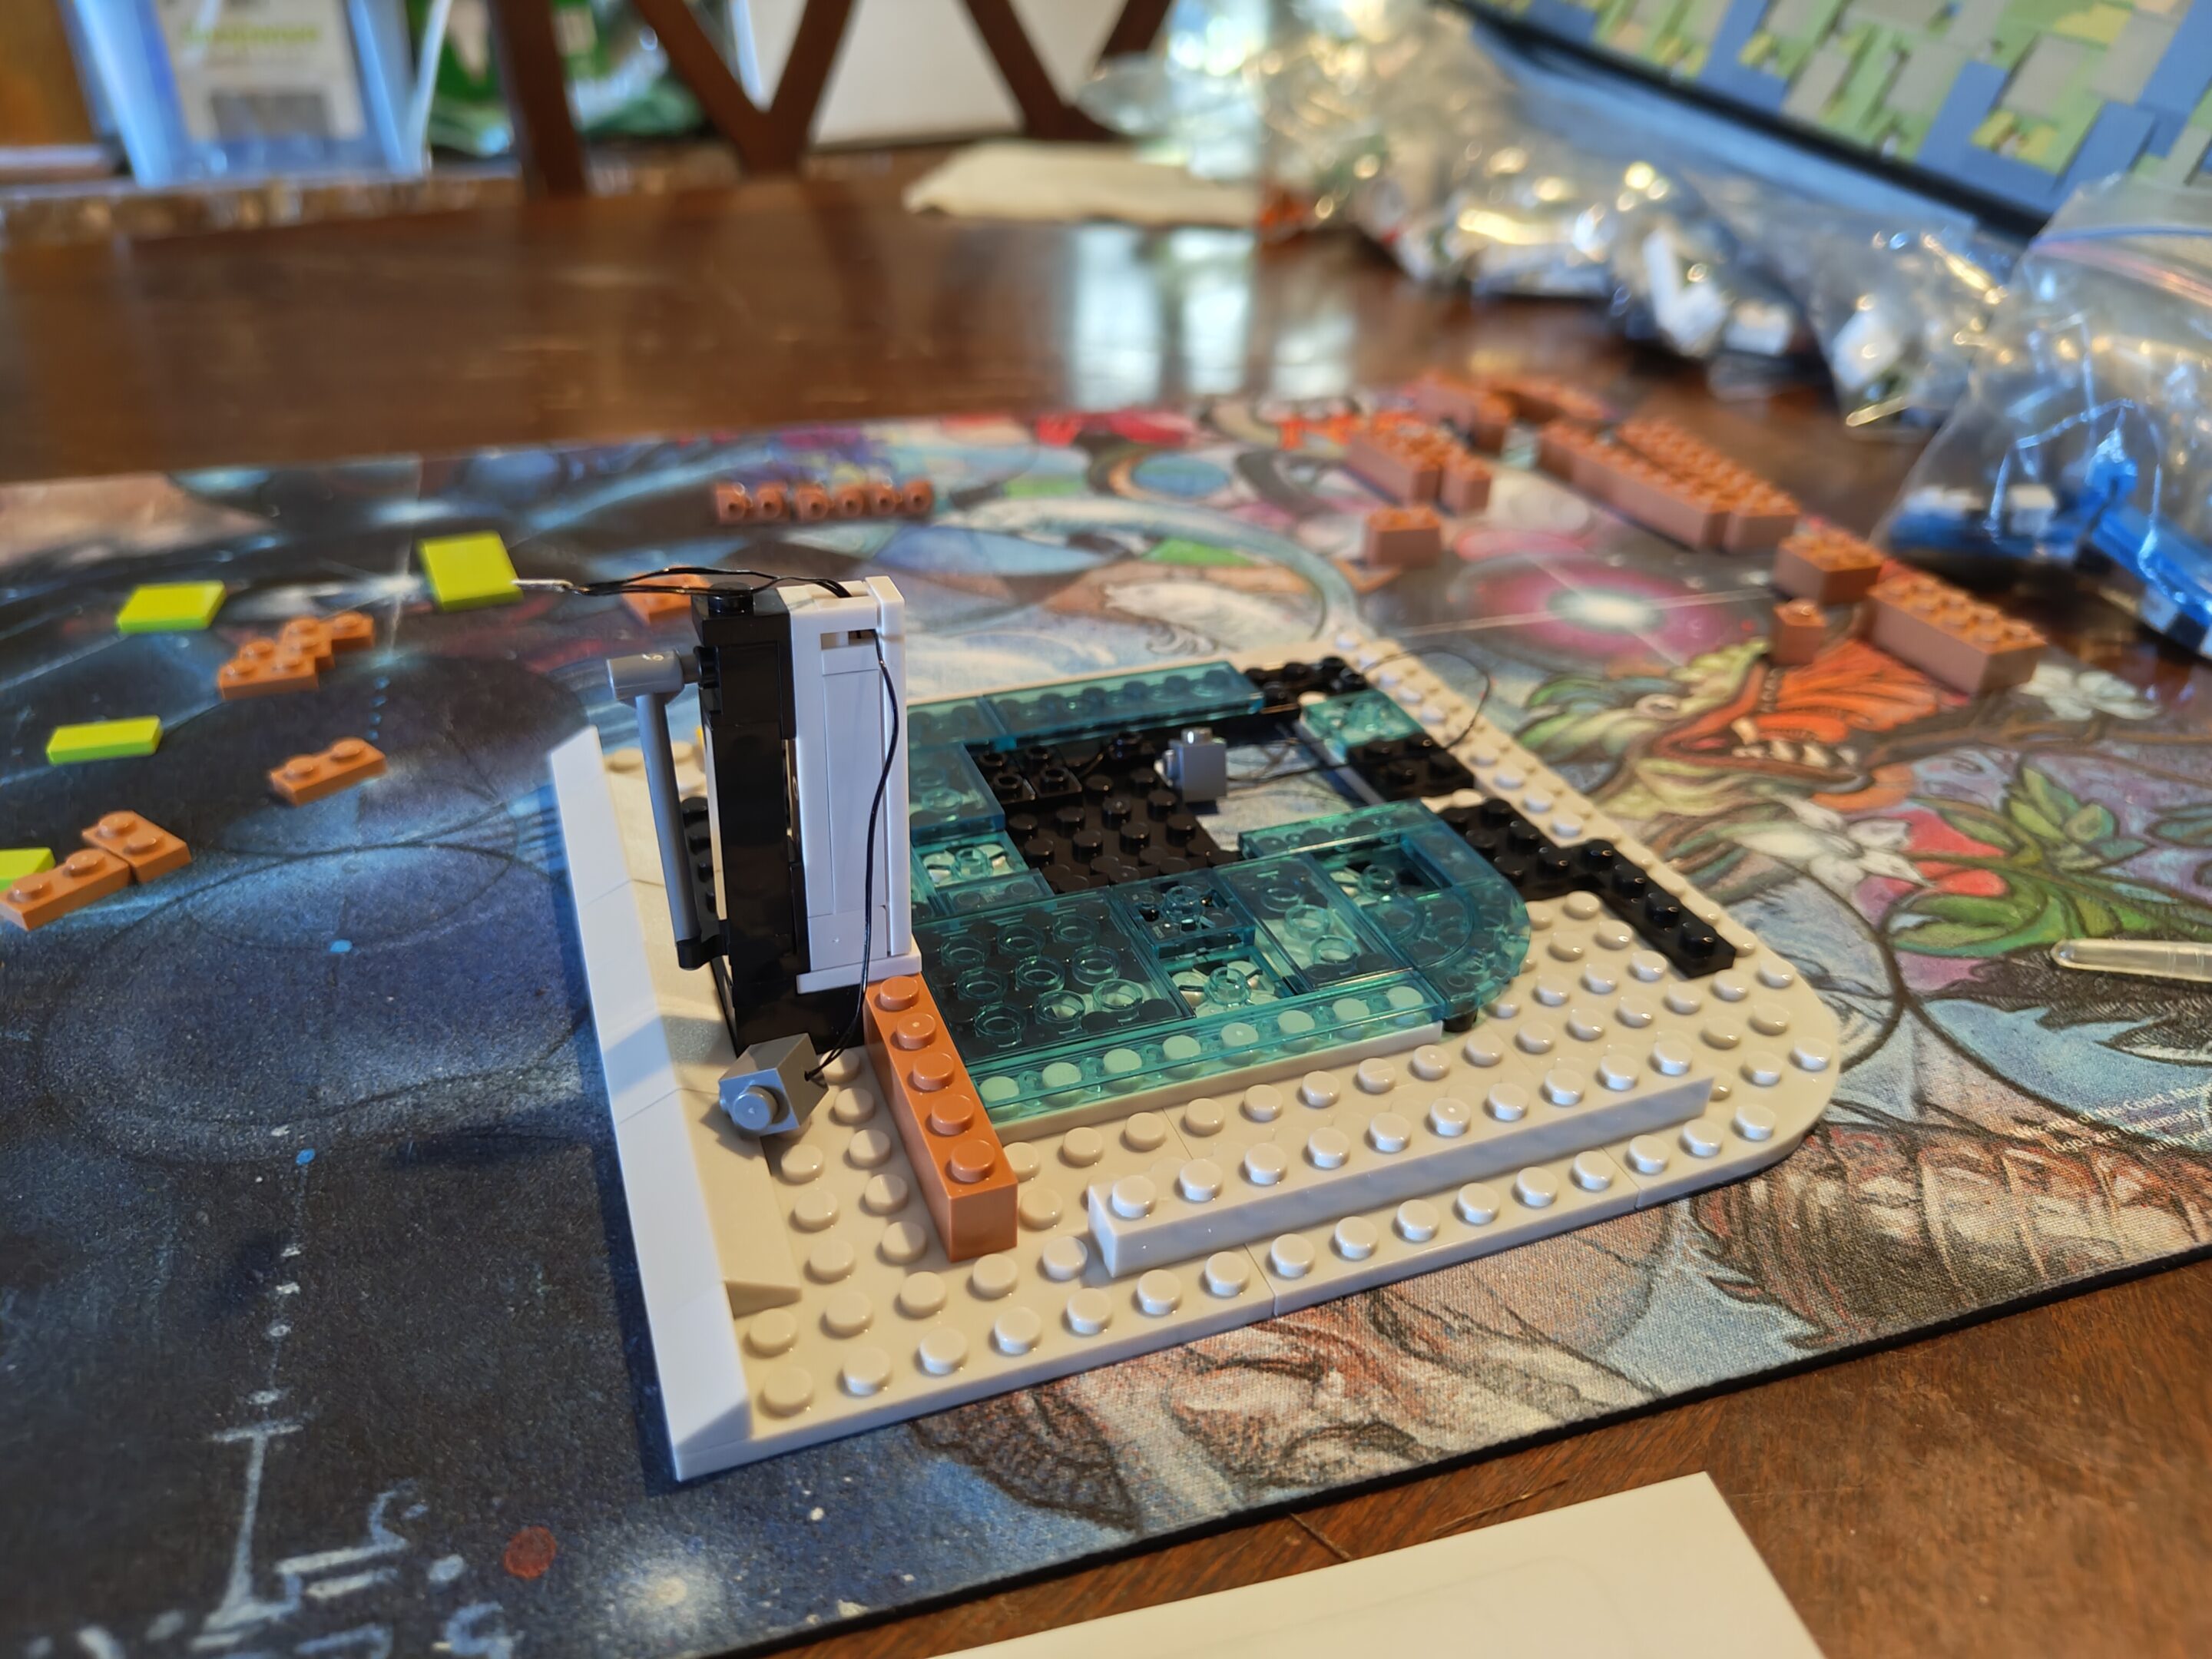
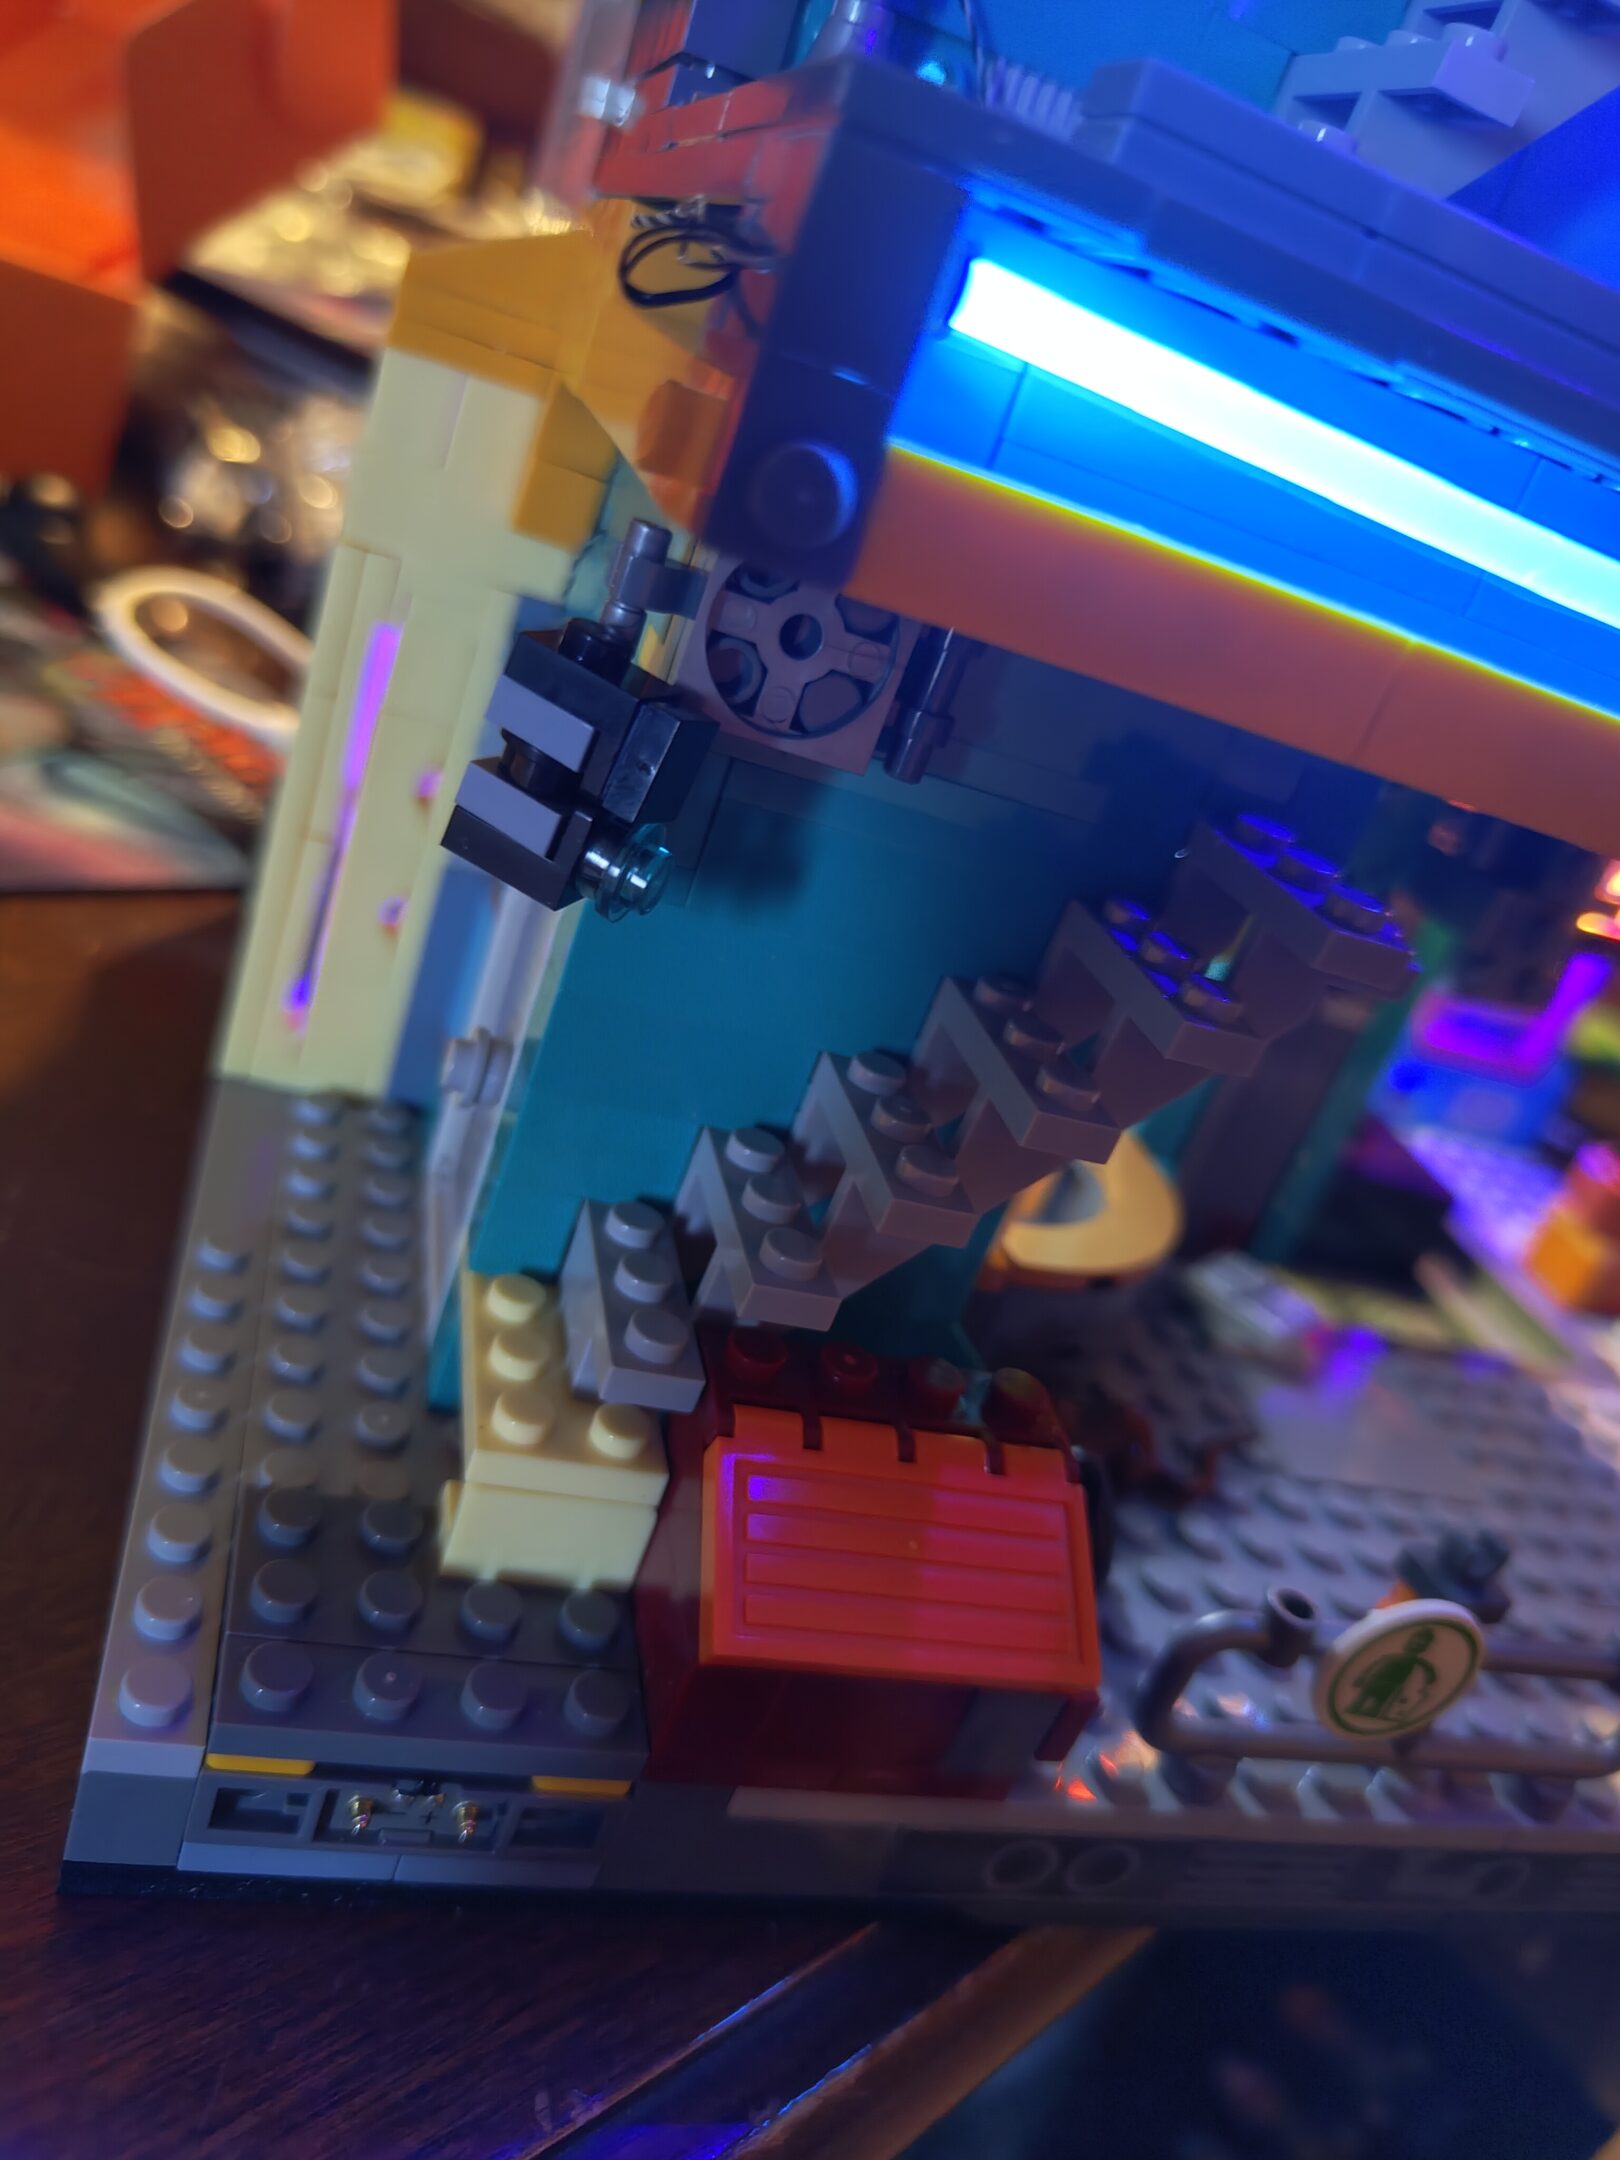
up late with the flashlight but snuck in a little more work tonight, built an elevator (hand cranked) which is a first
Lot of pieces in this step, I sort of underestimated the time it would take to finish this one stepHand crankElevator carriage installedBuilding up the elevator shaftThere’s even a neat little stopper piece that ratchets so you can park the elevator at any step and it just hangs there. Very cool.
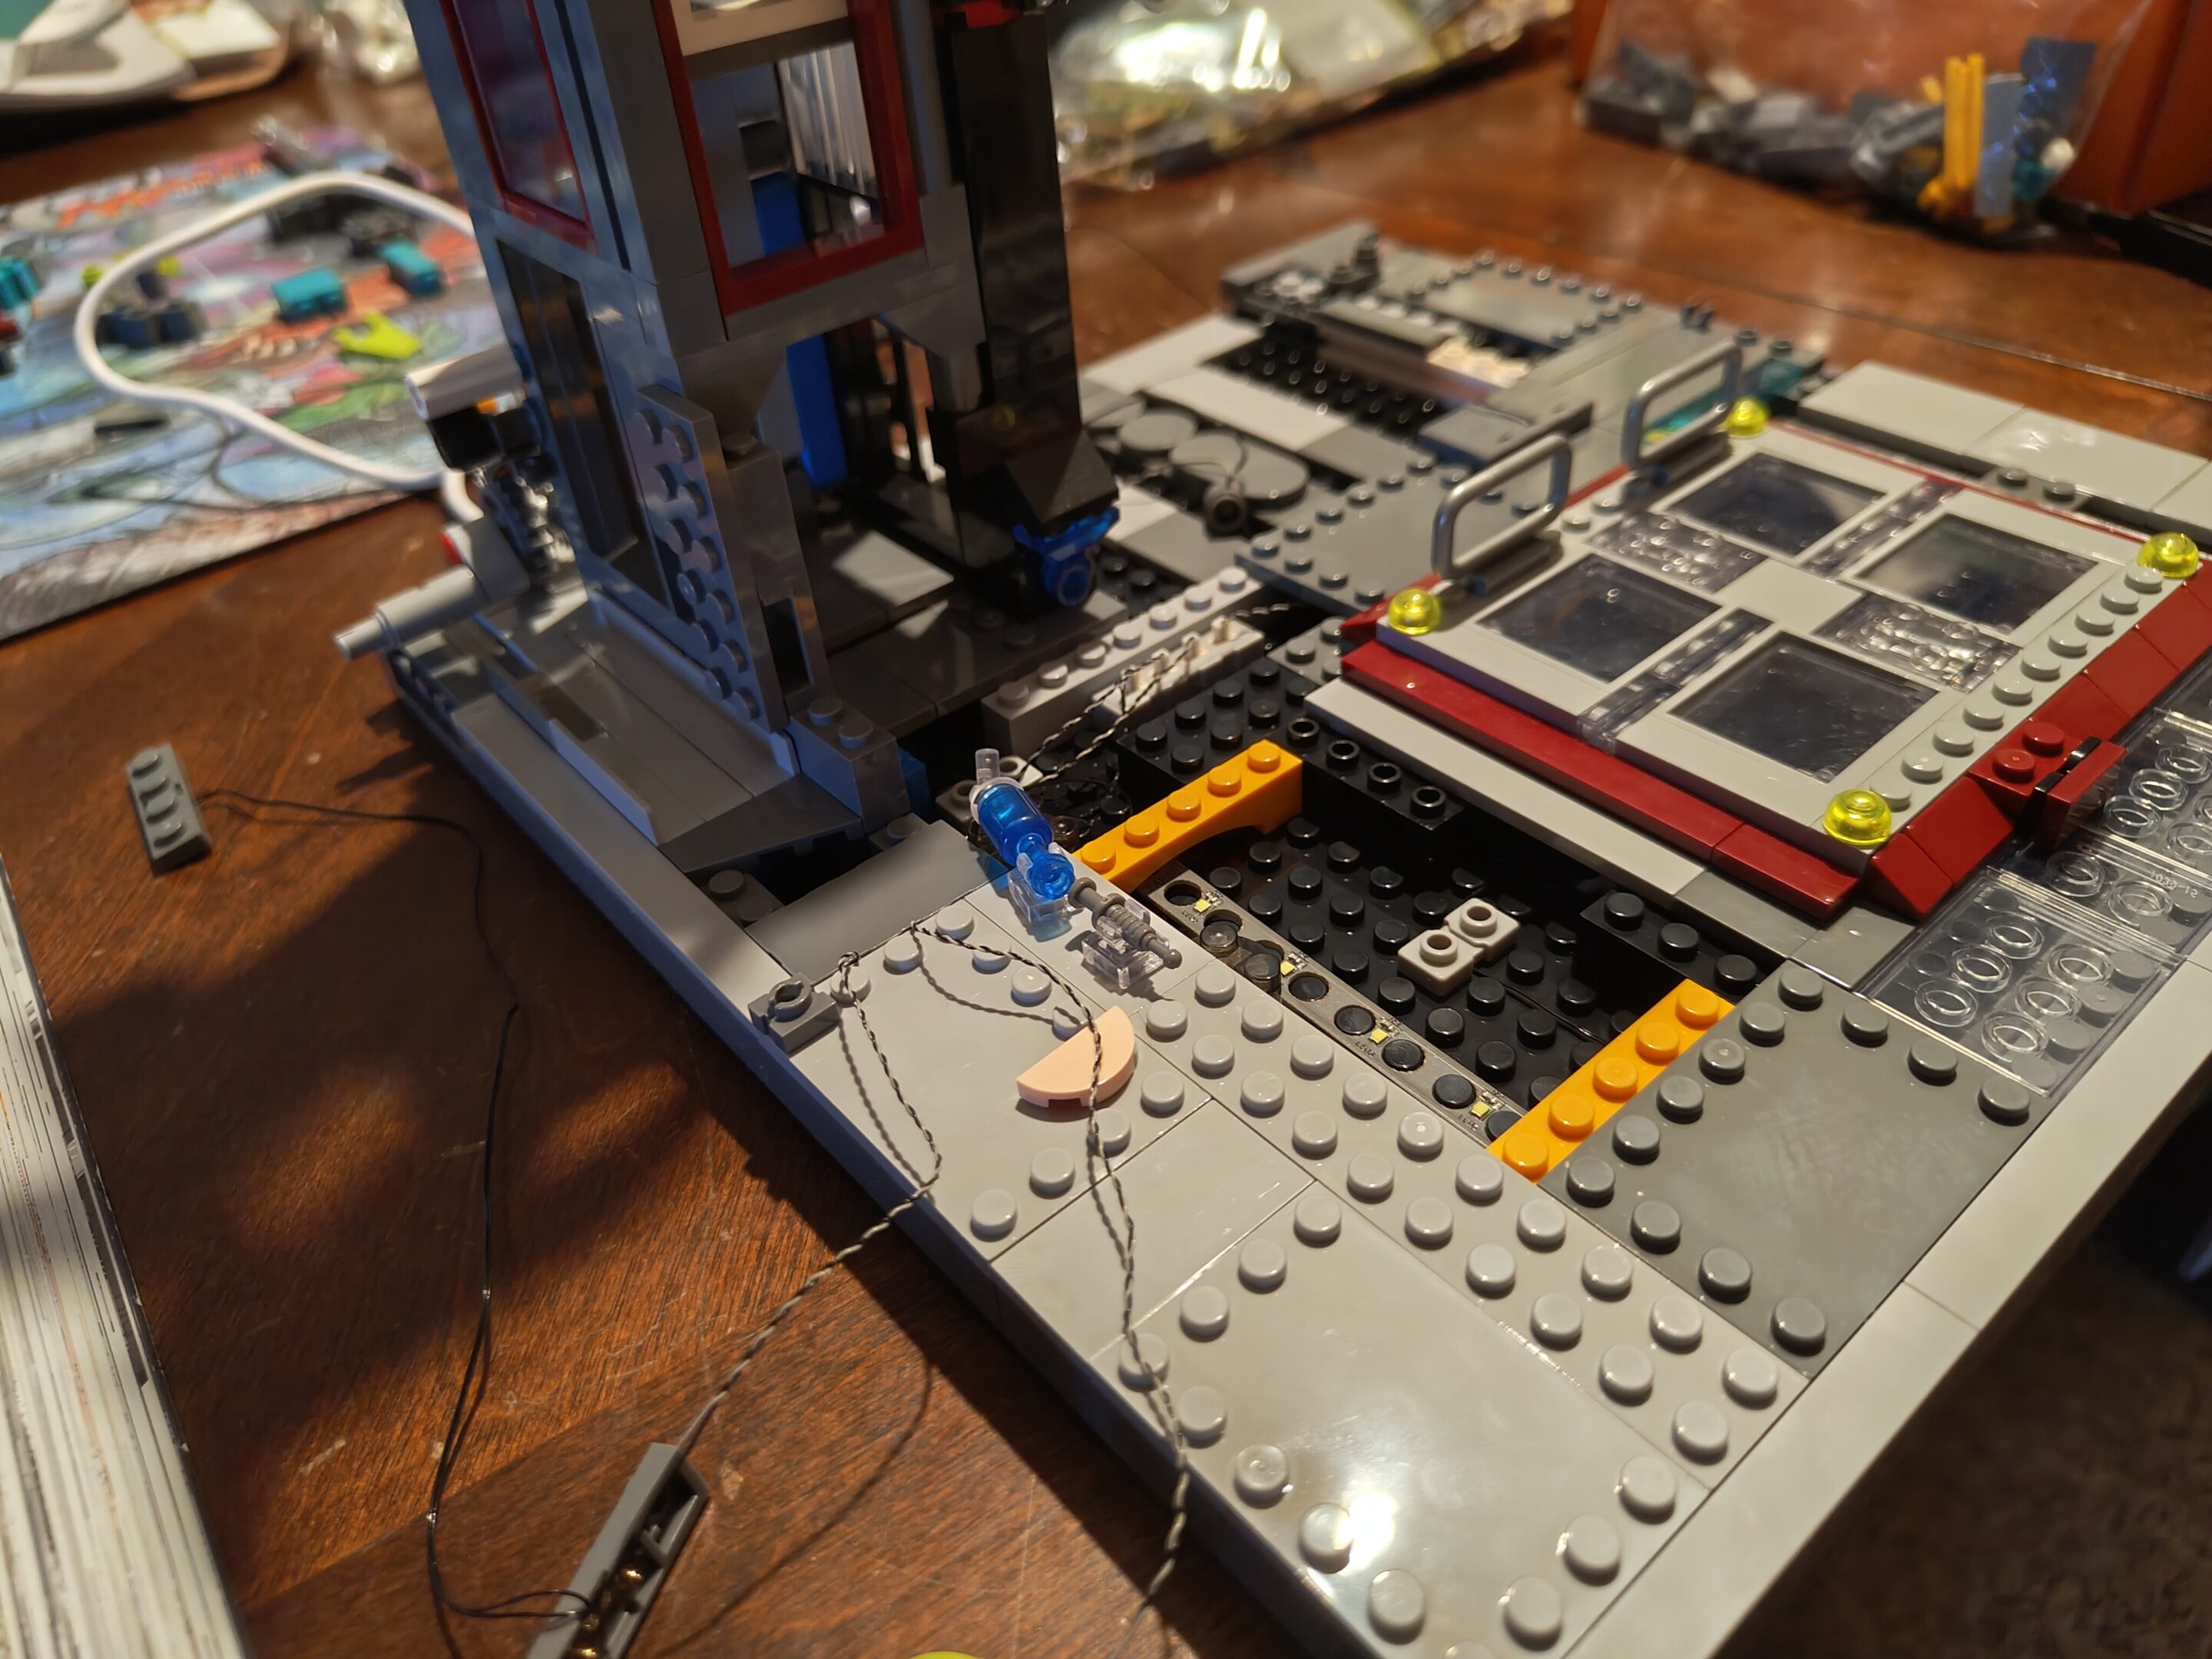
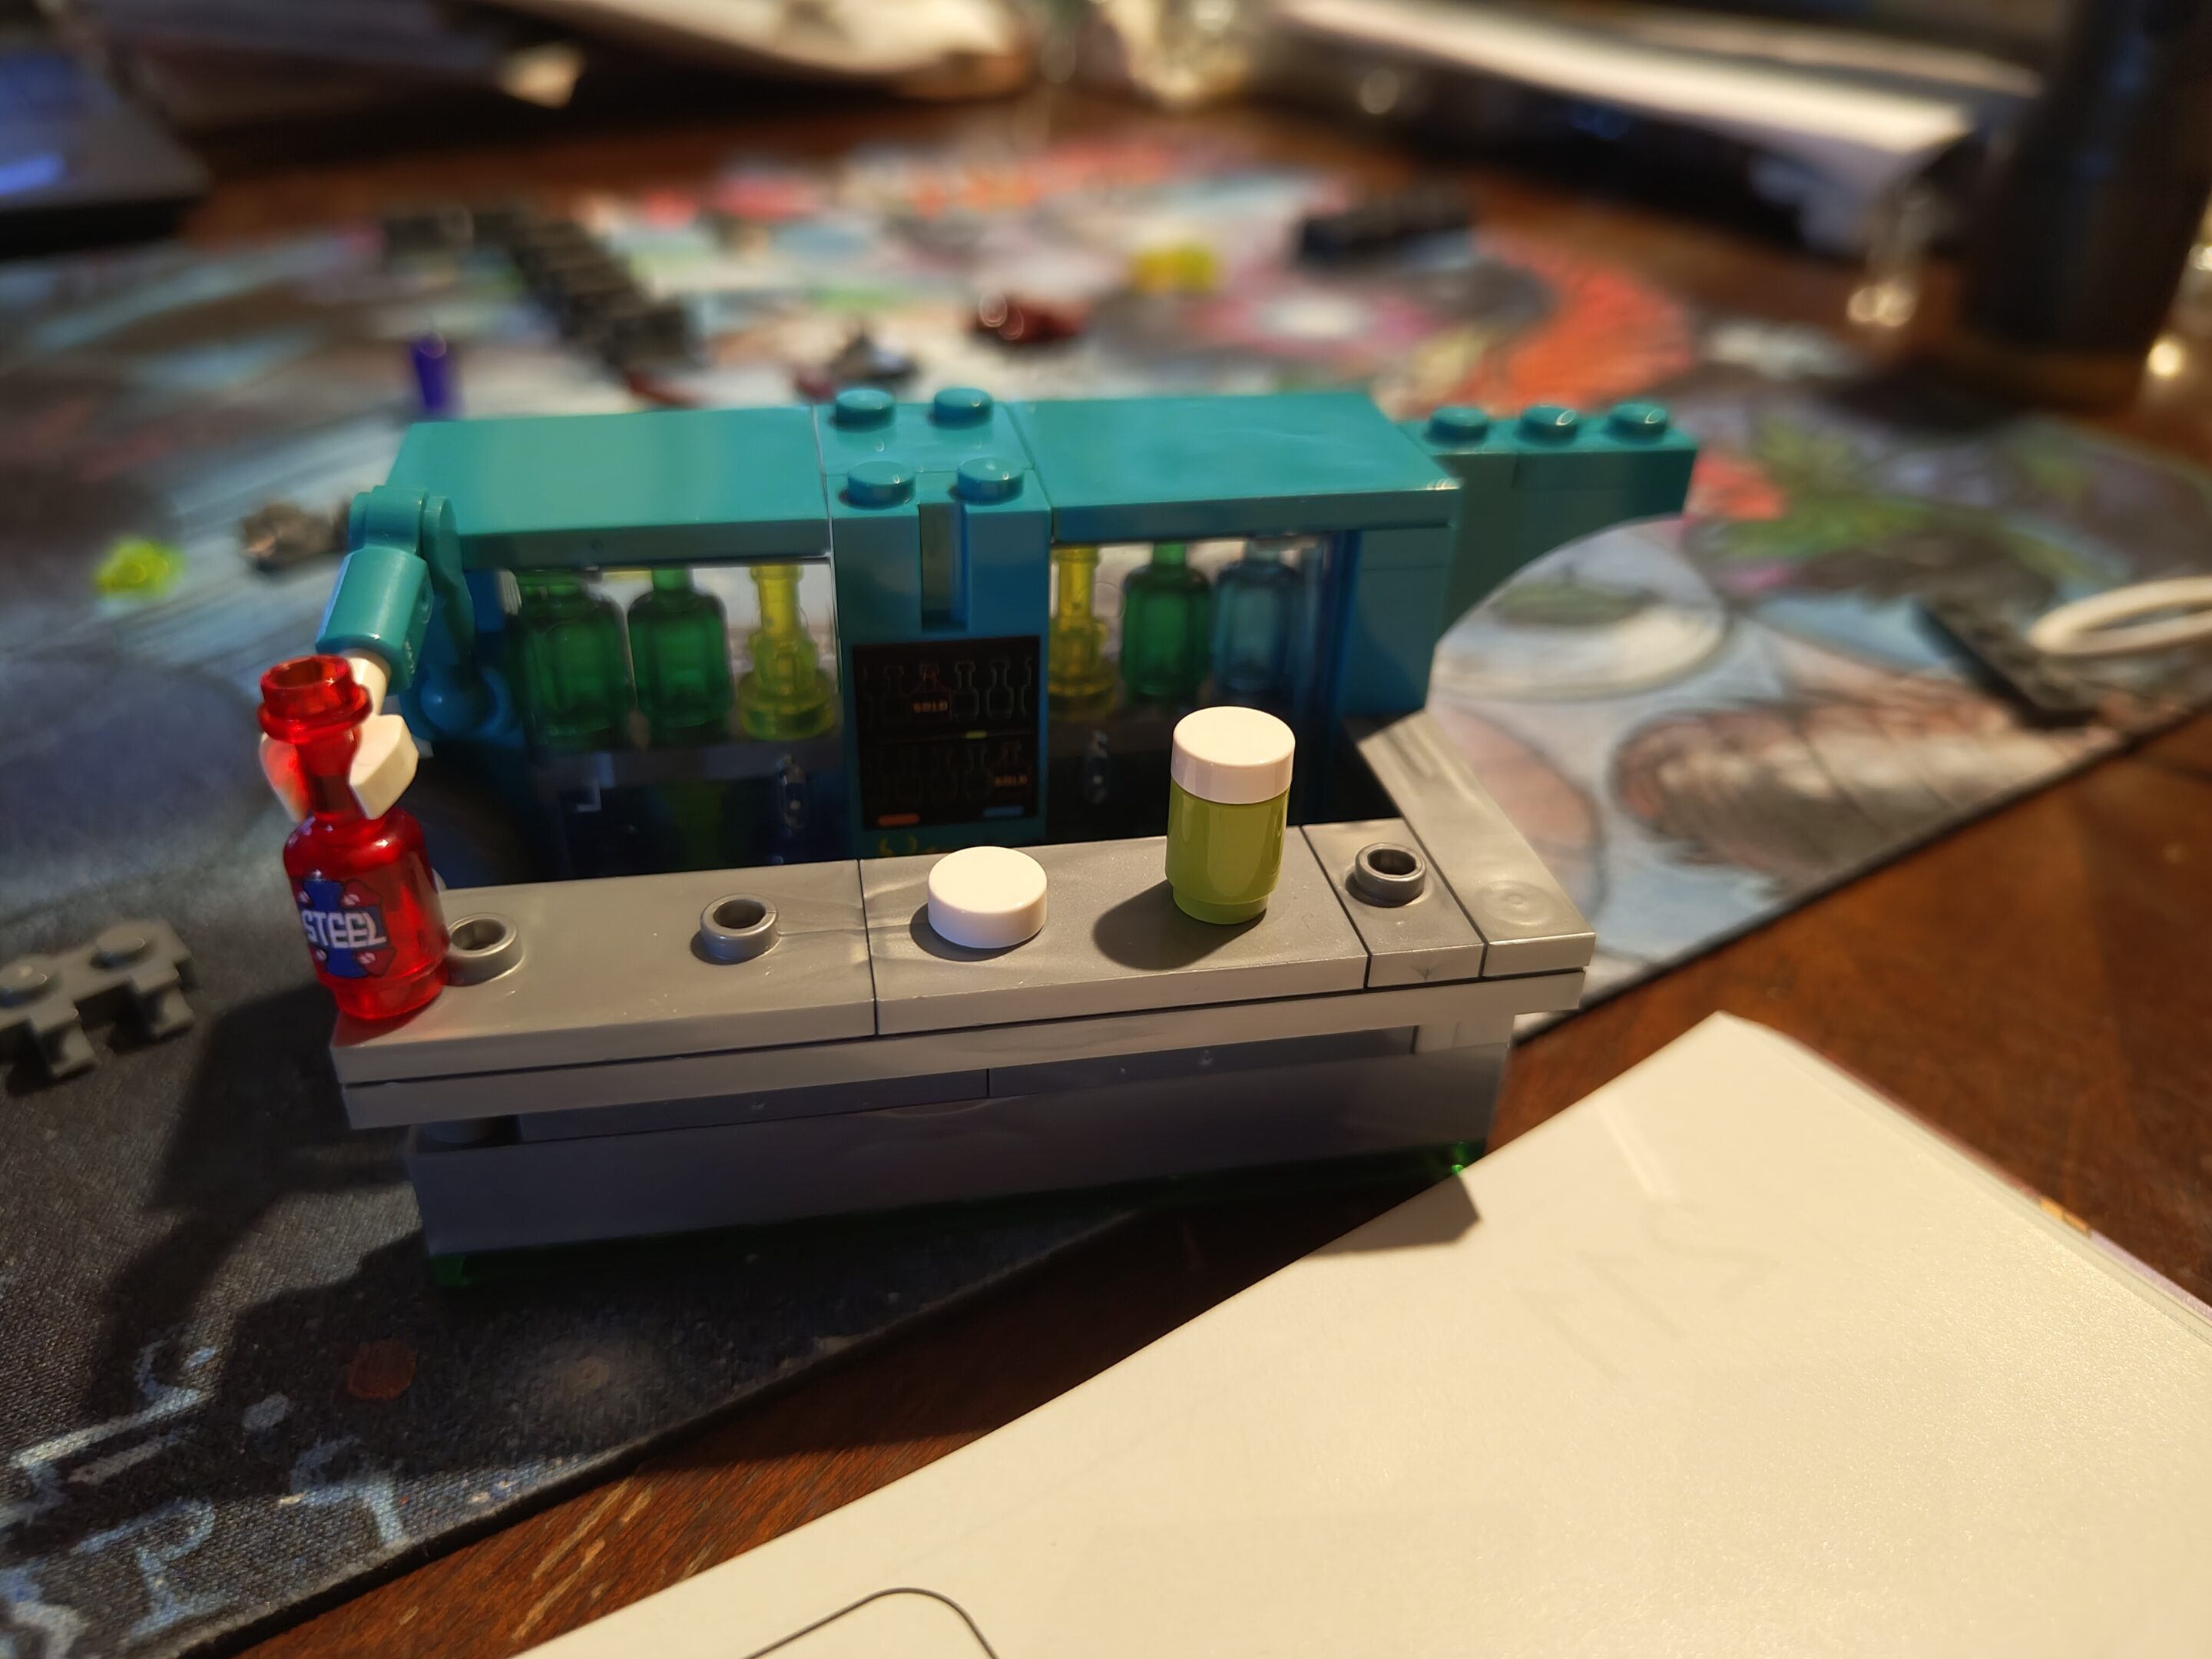
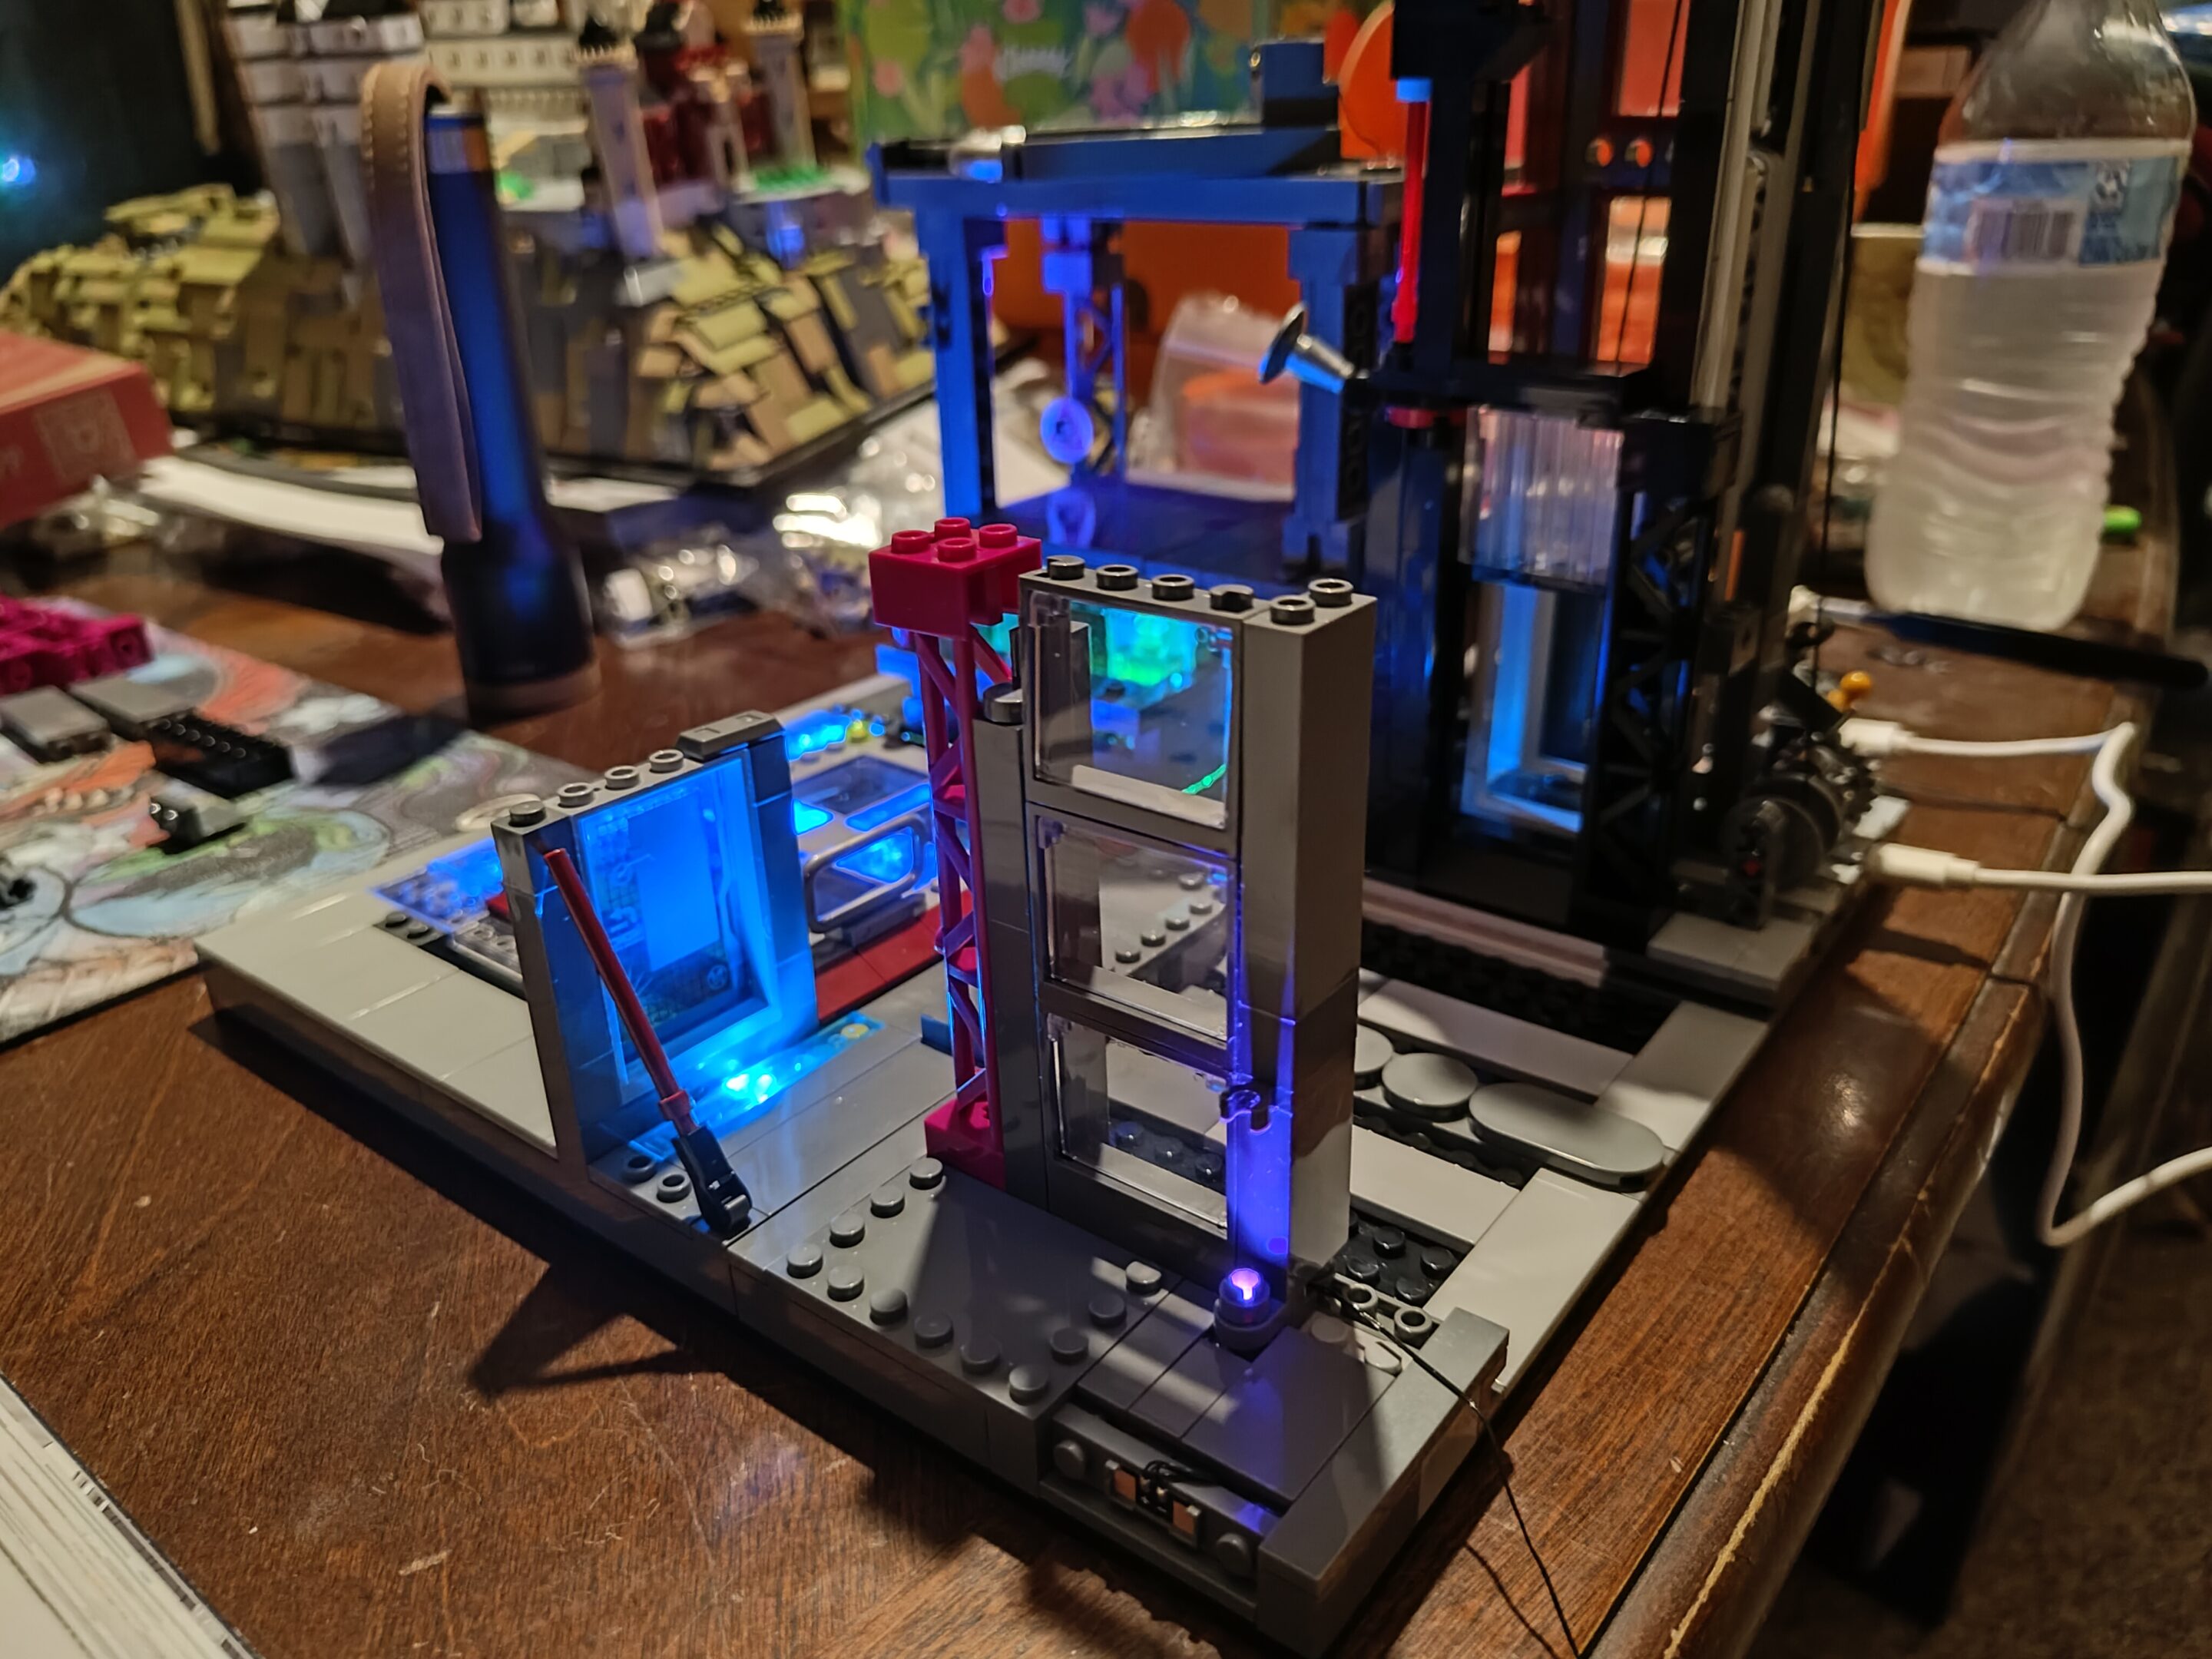
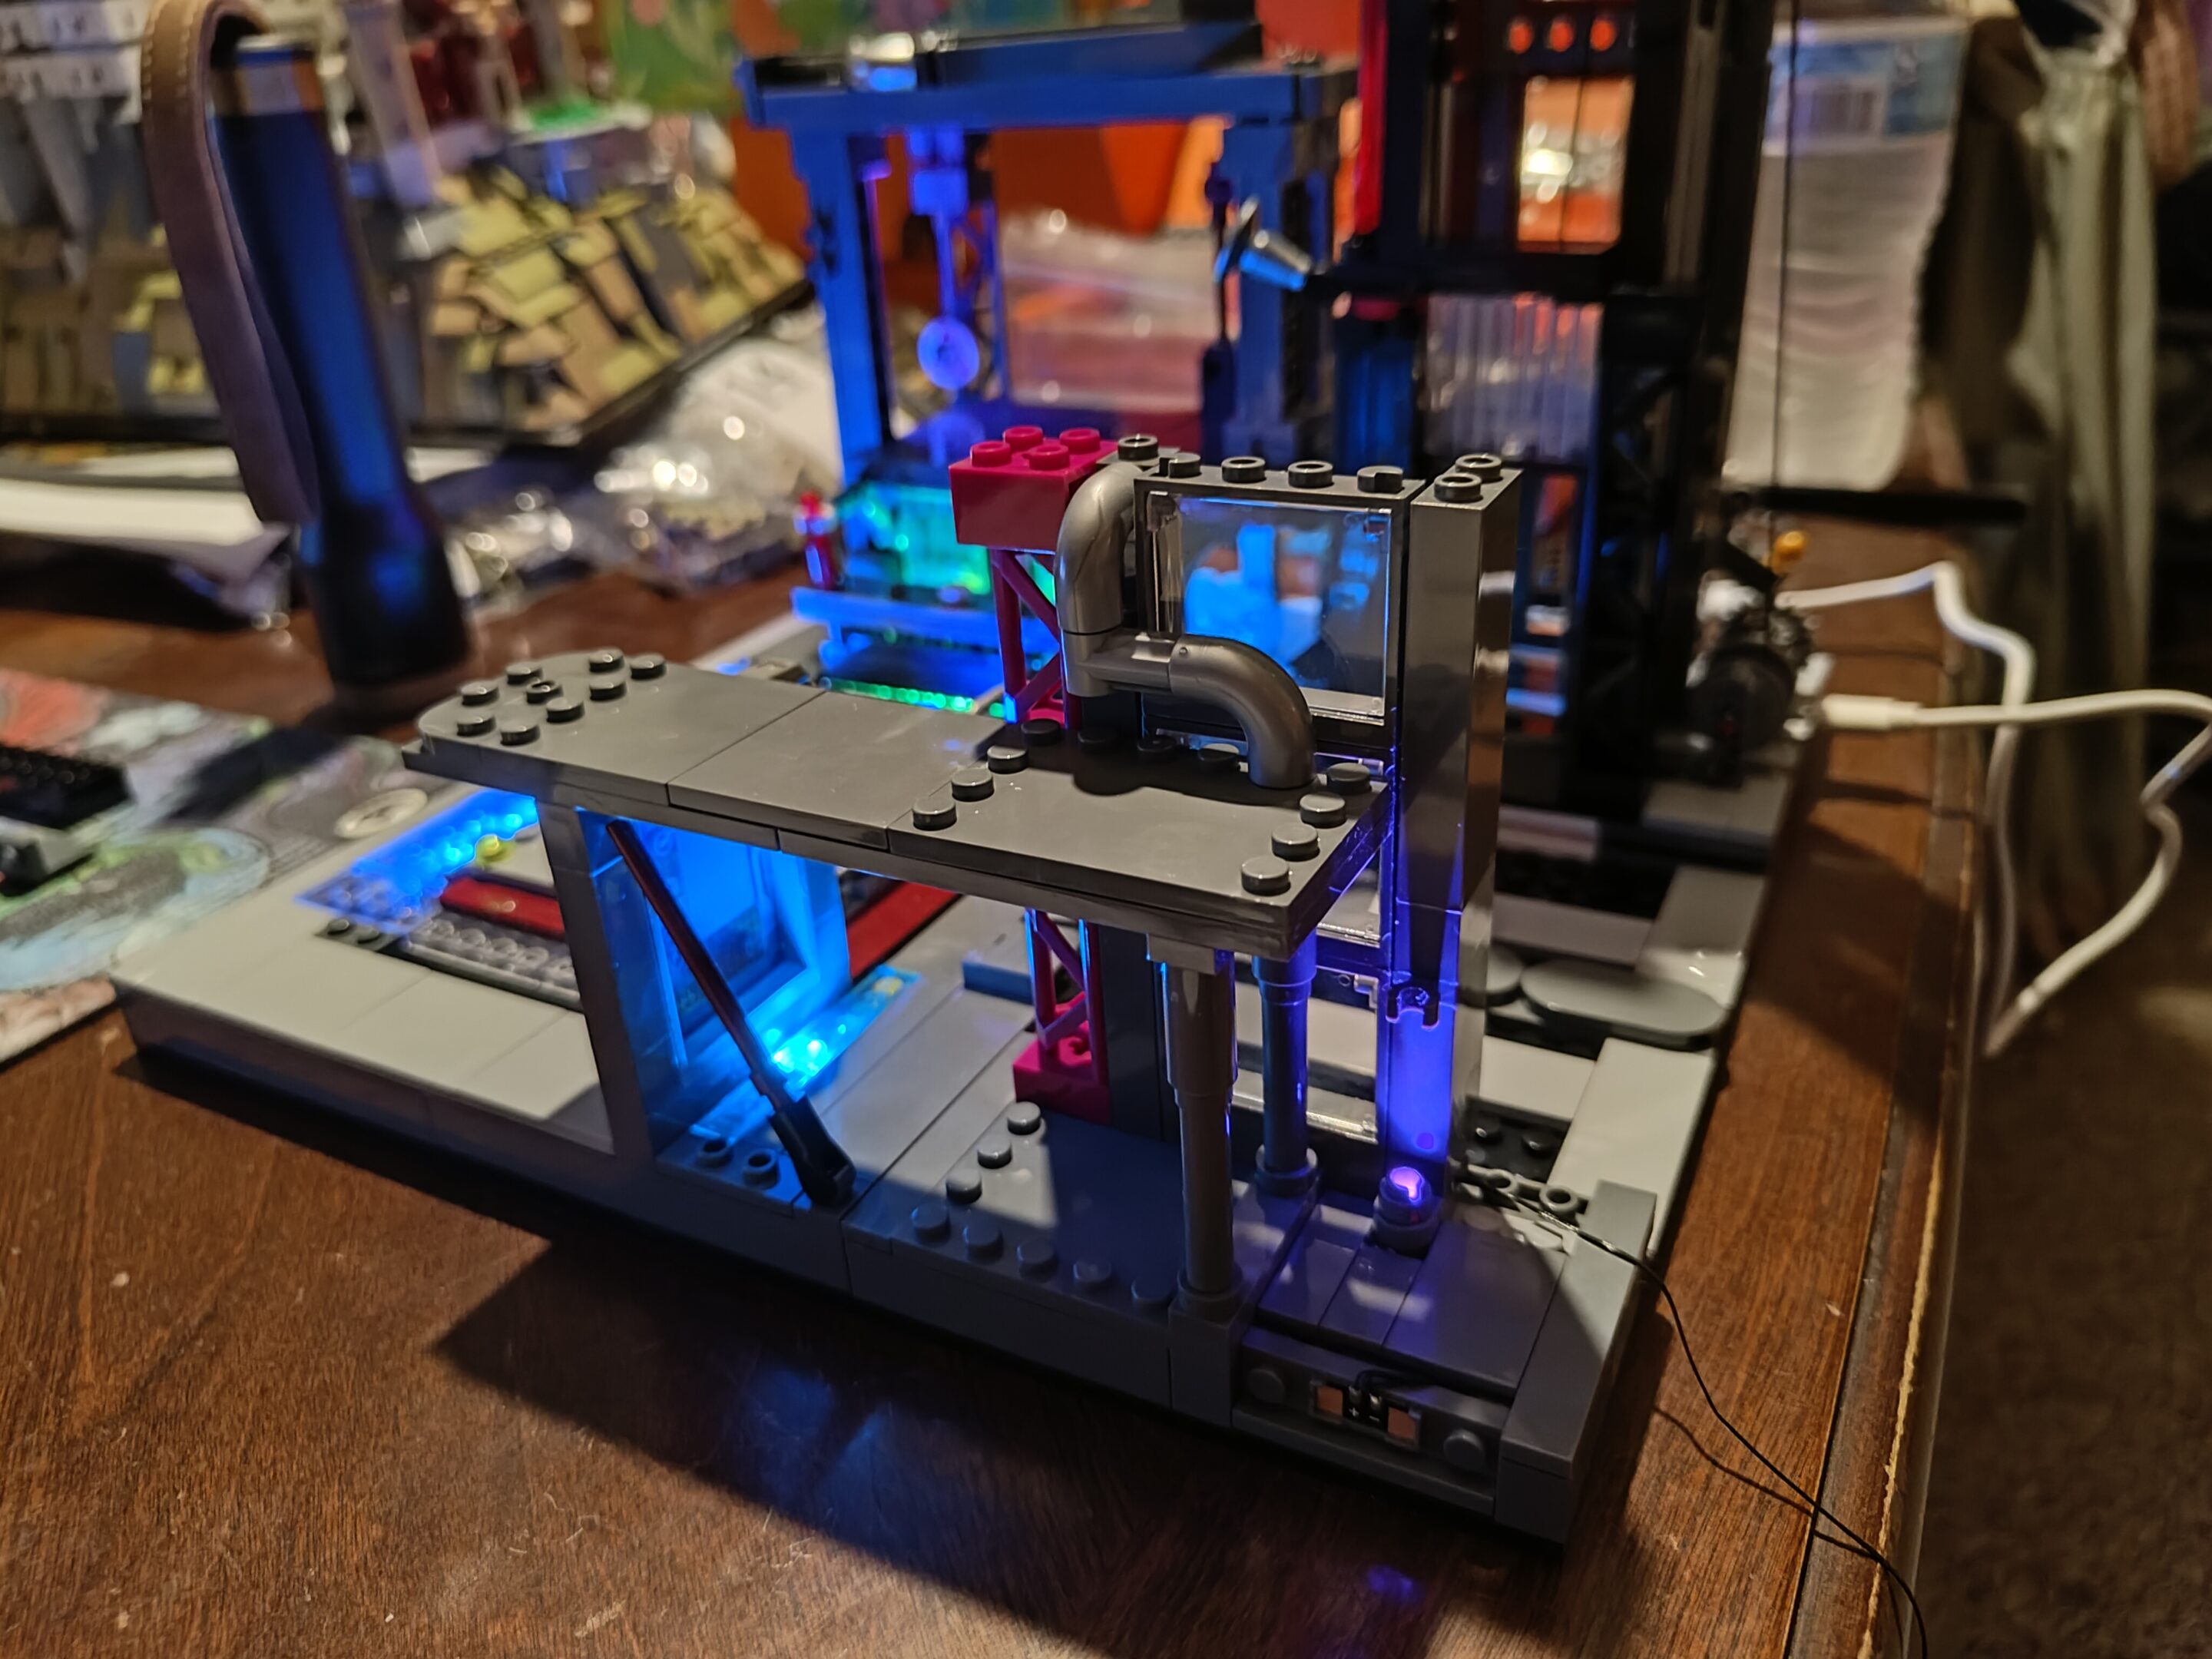
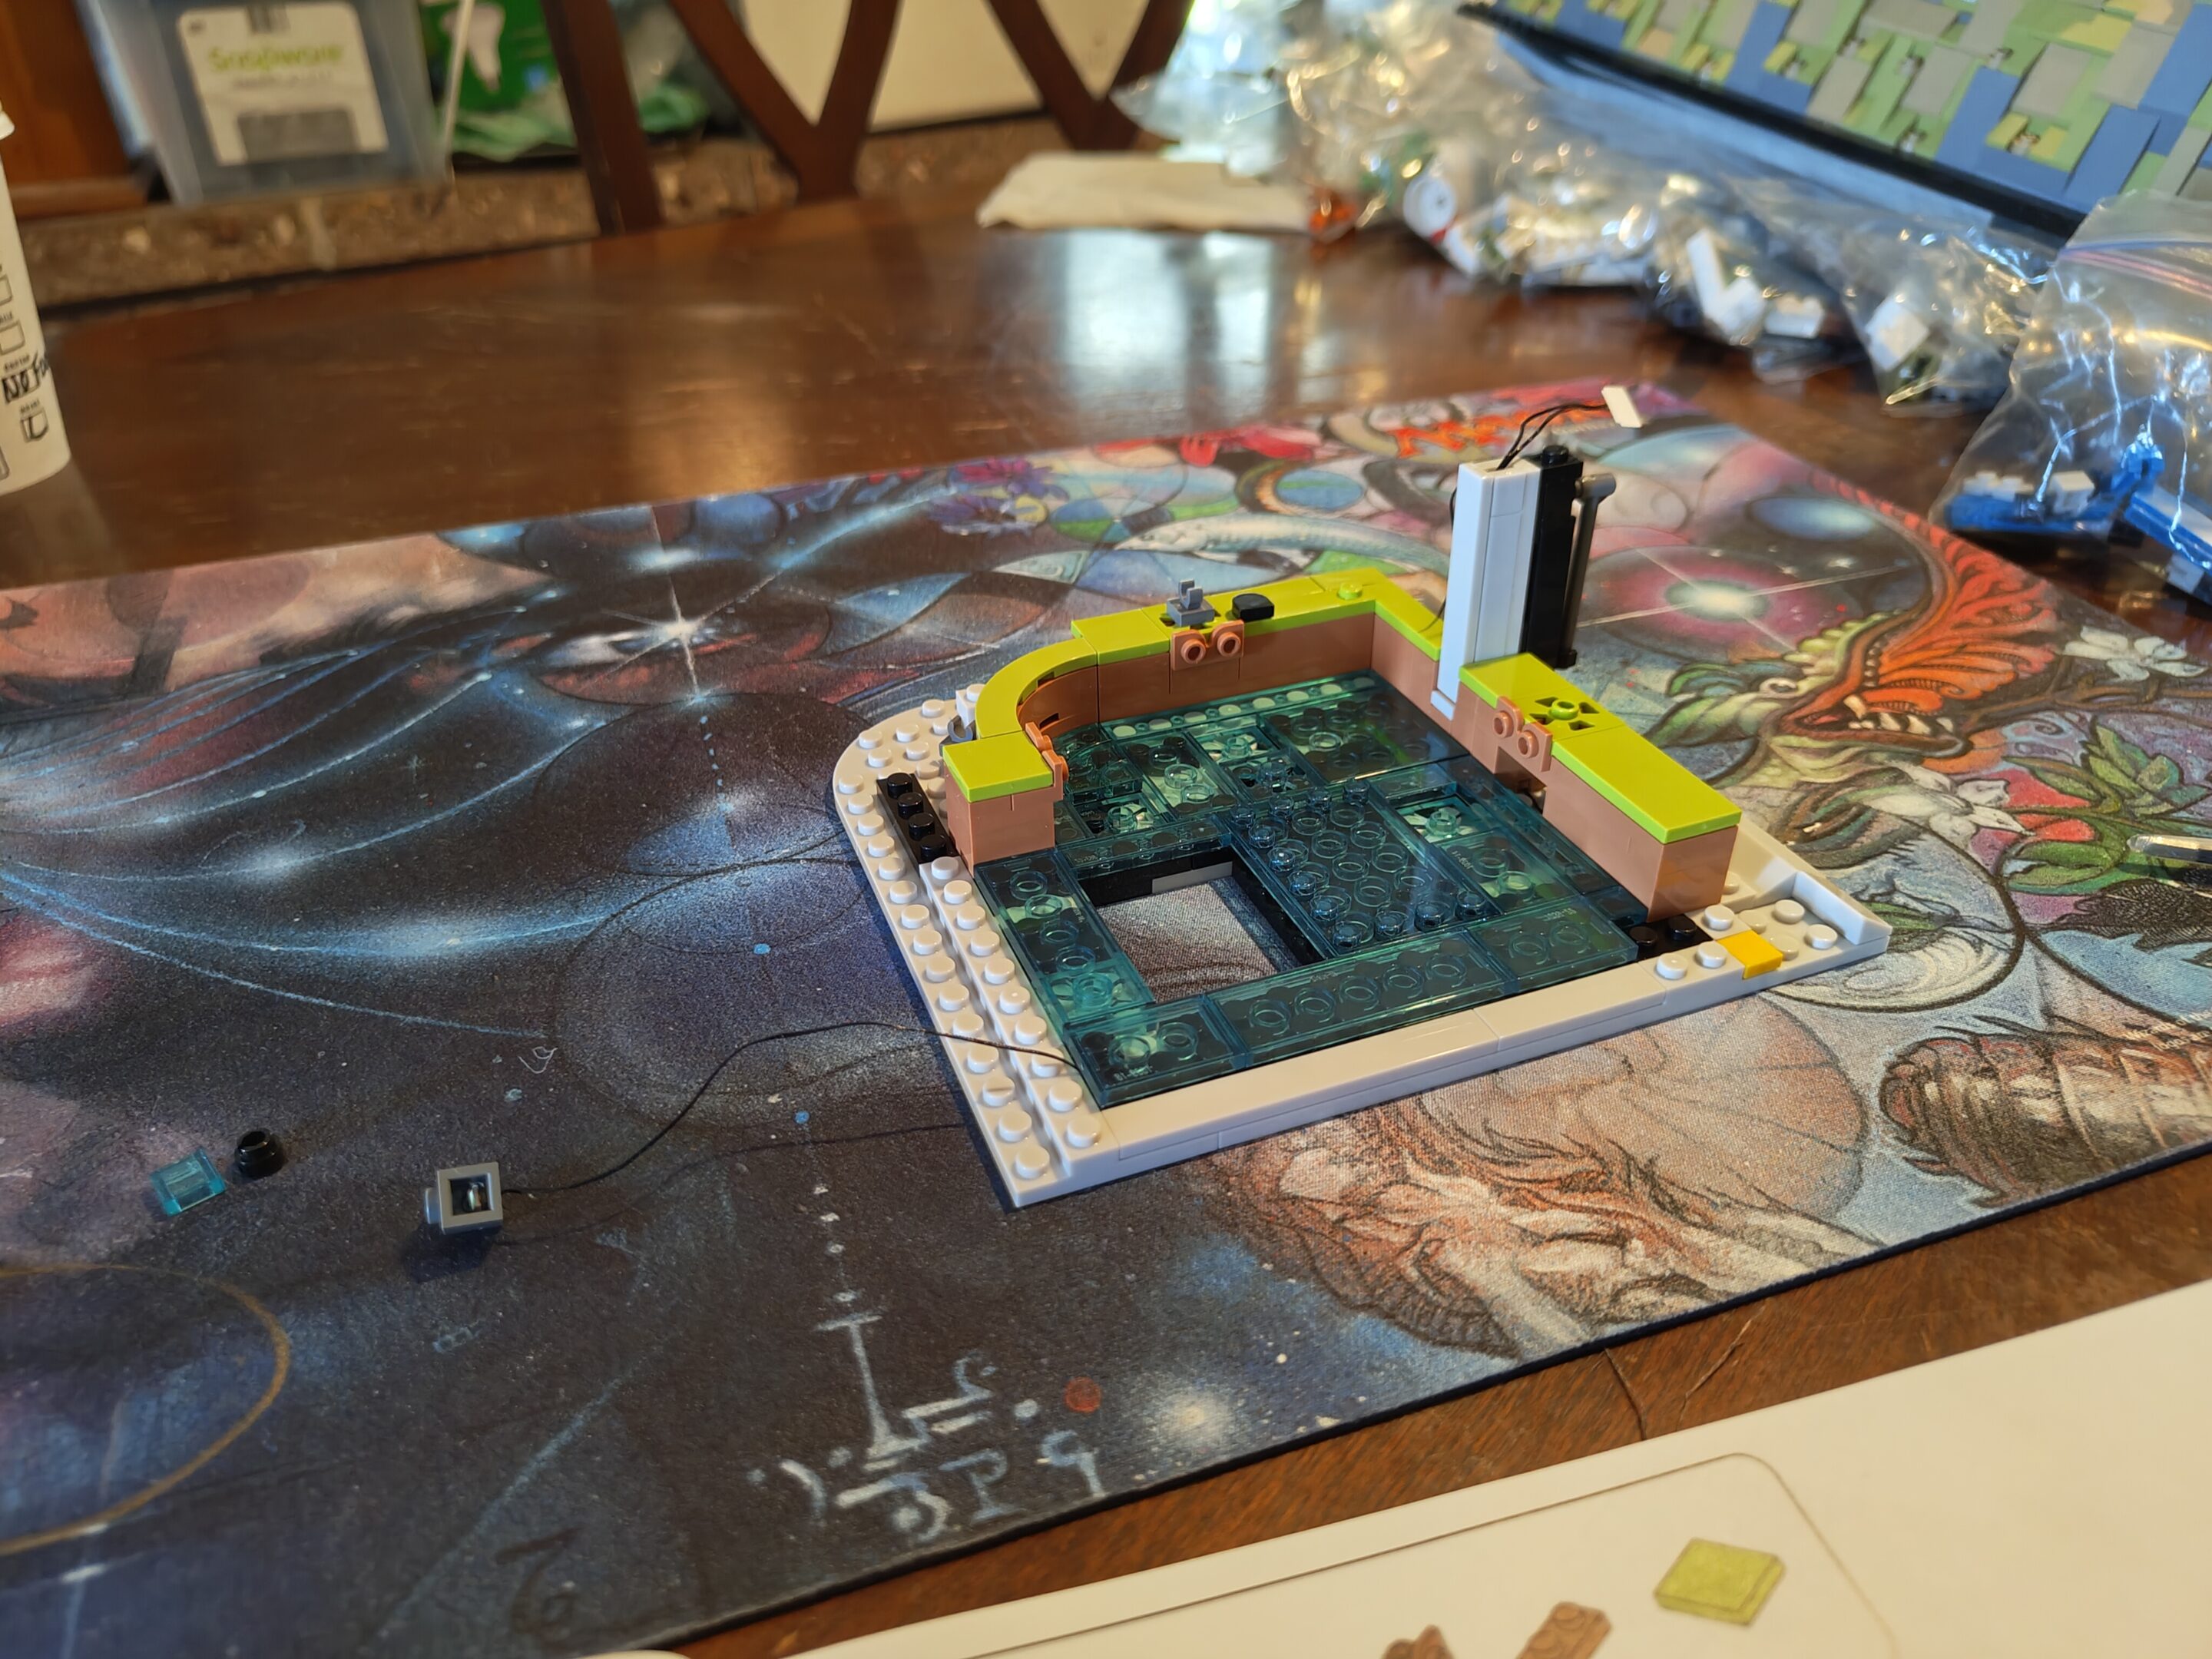
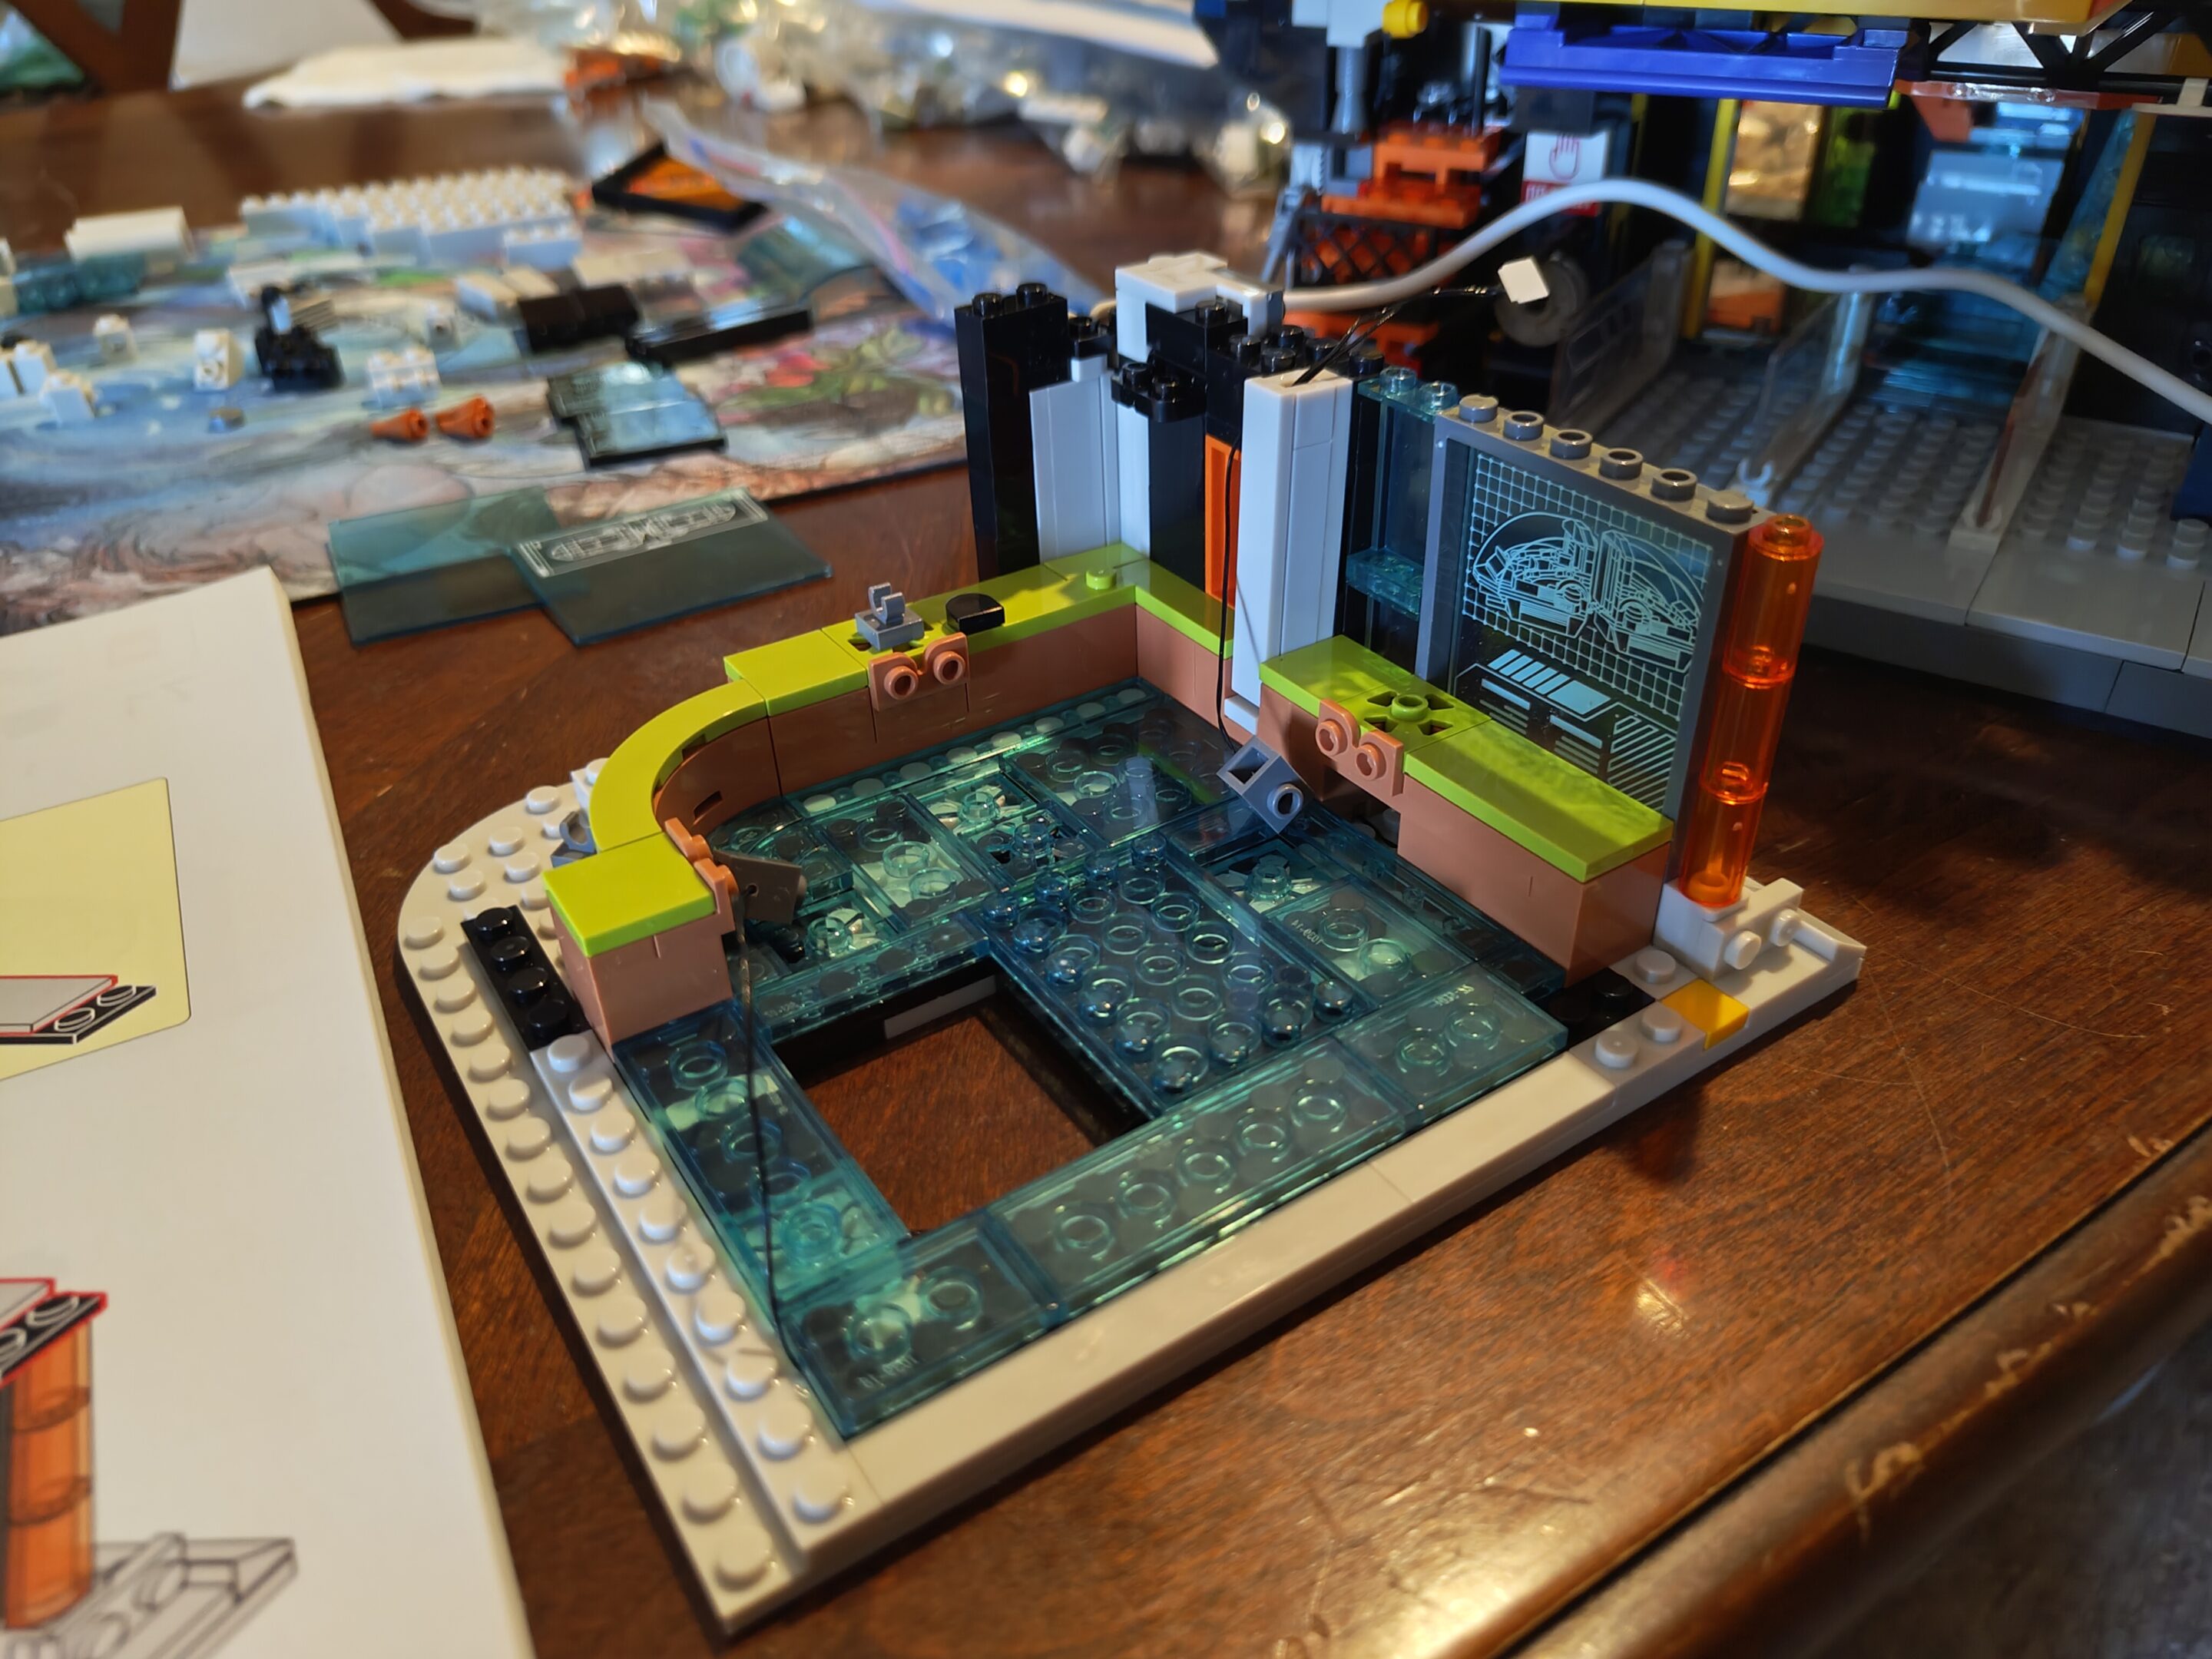
got more work in so a few more pictures
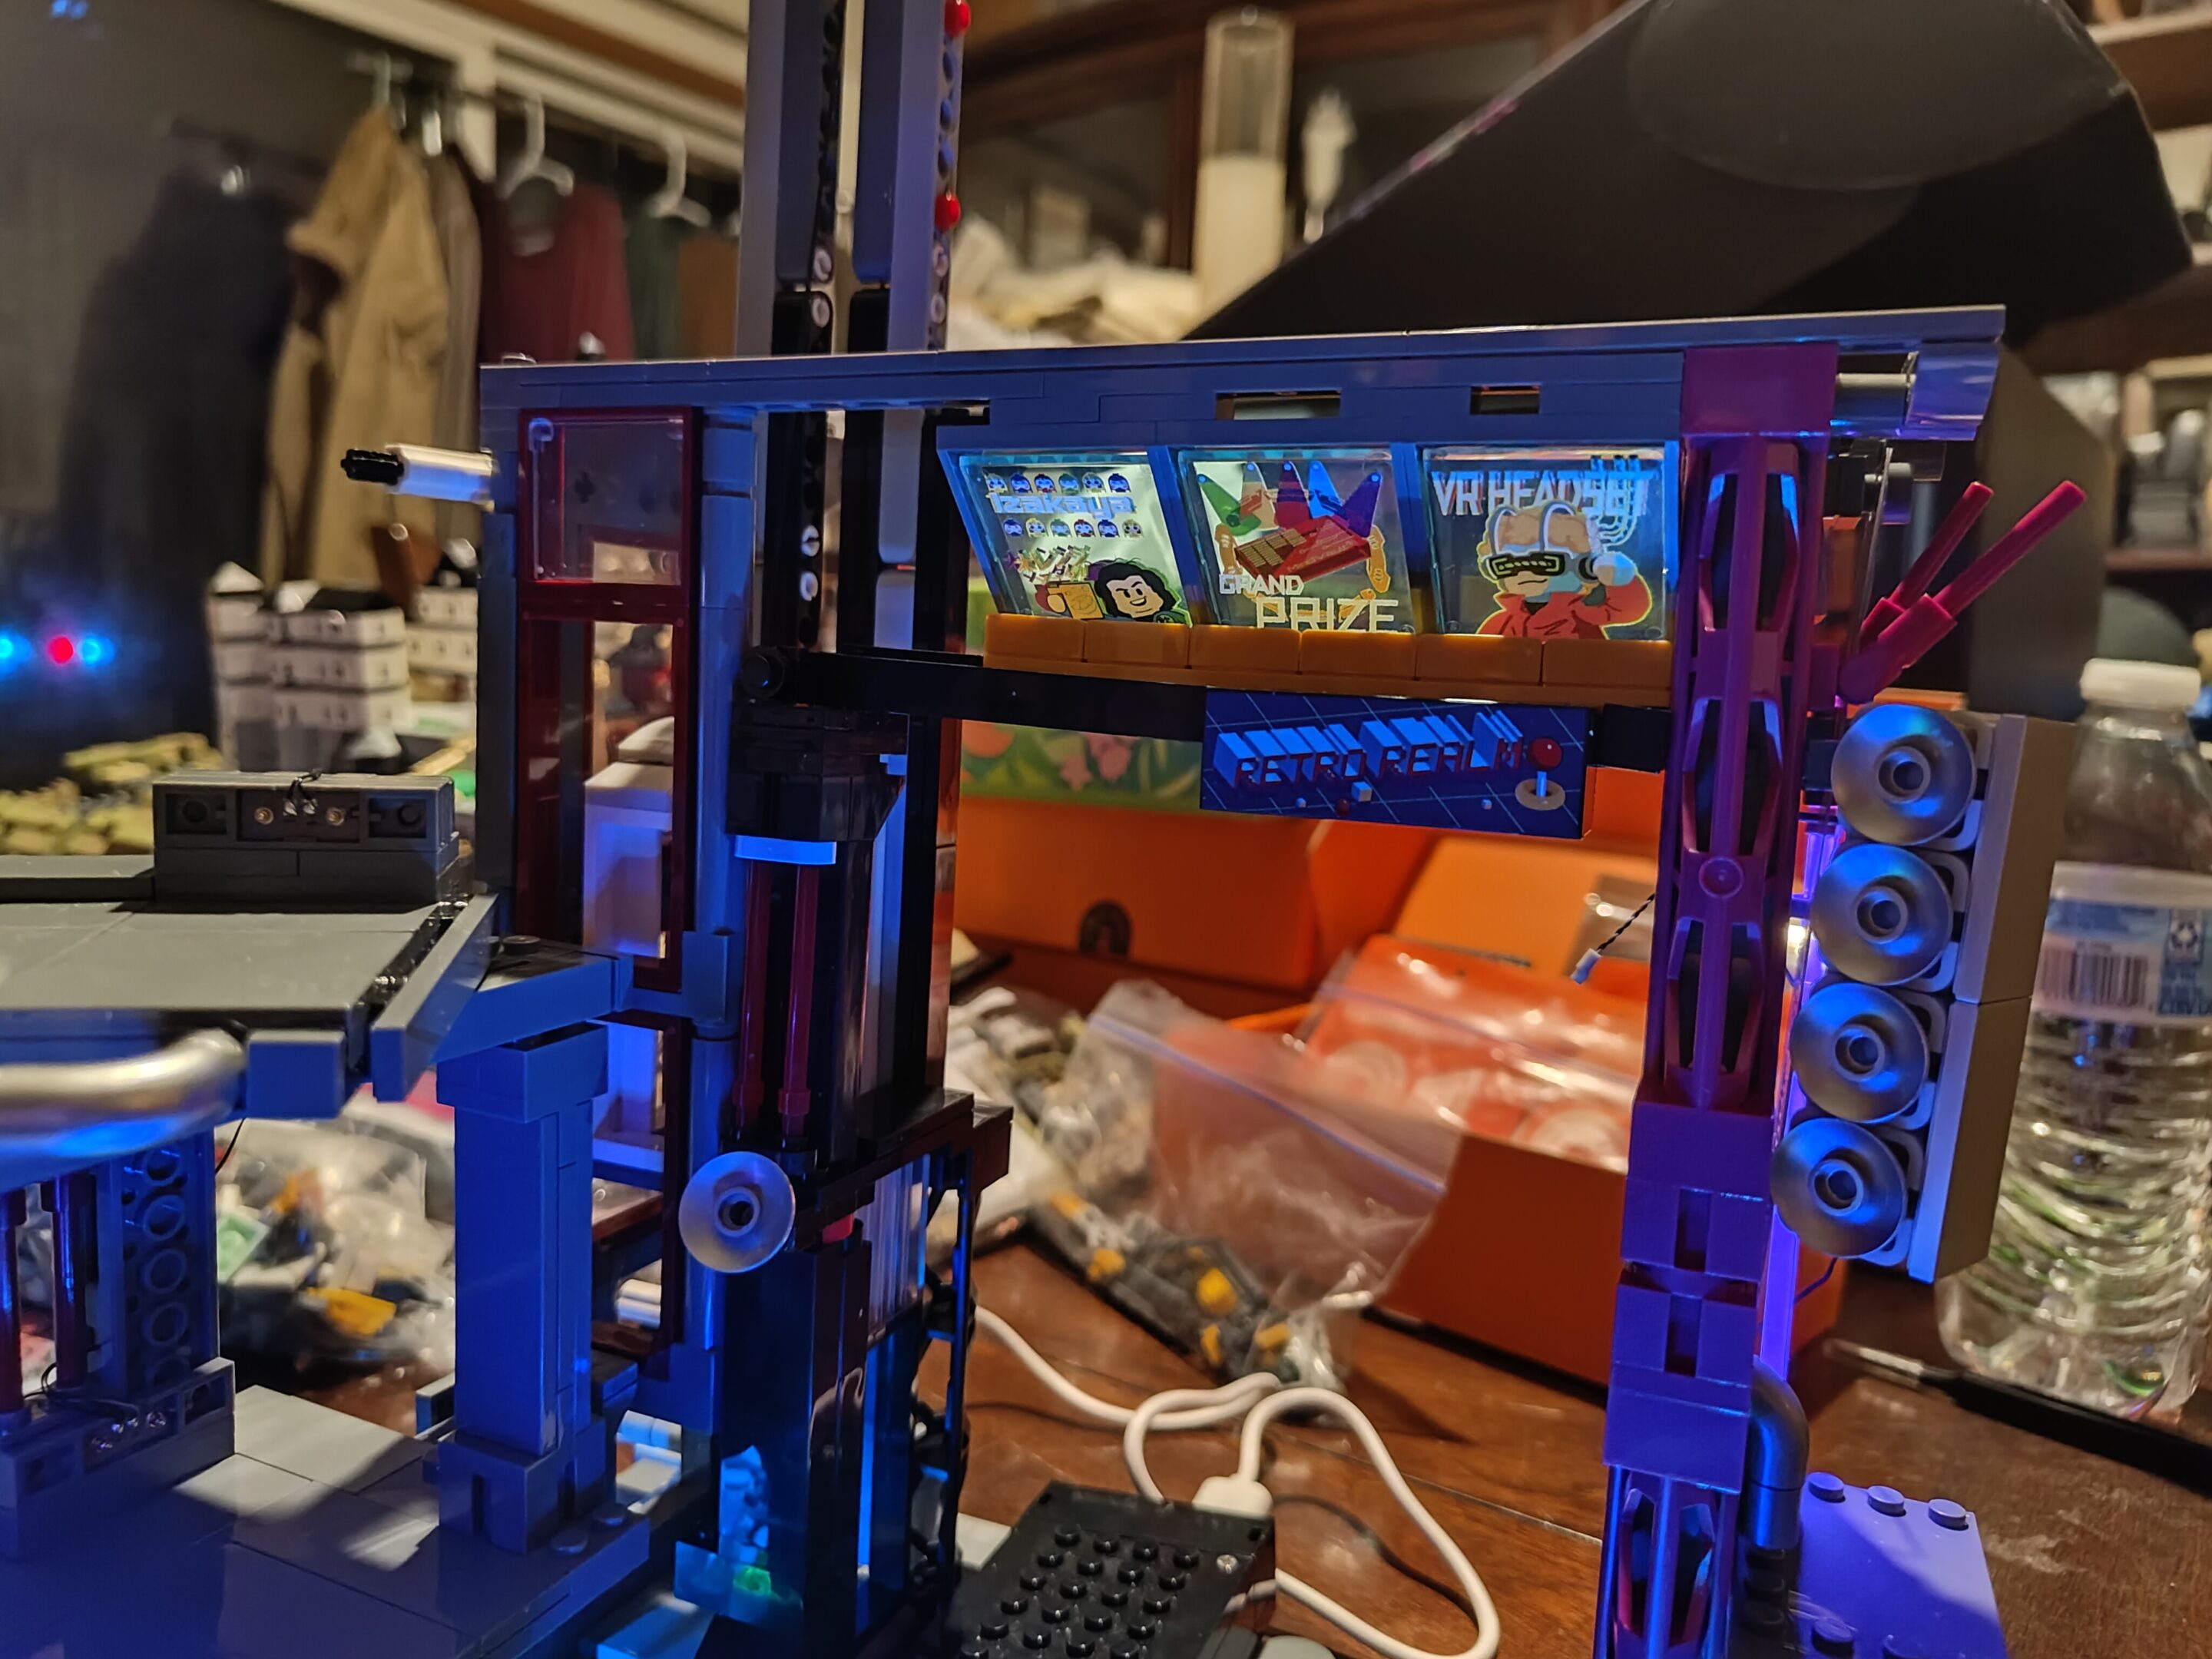
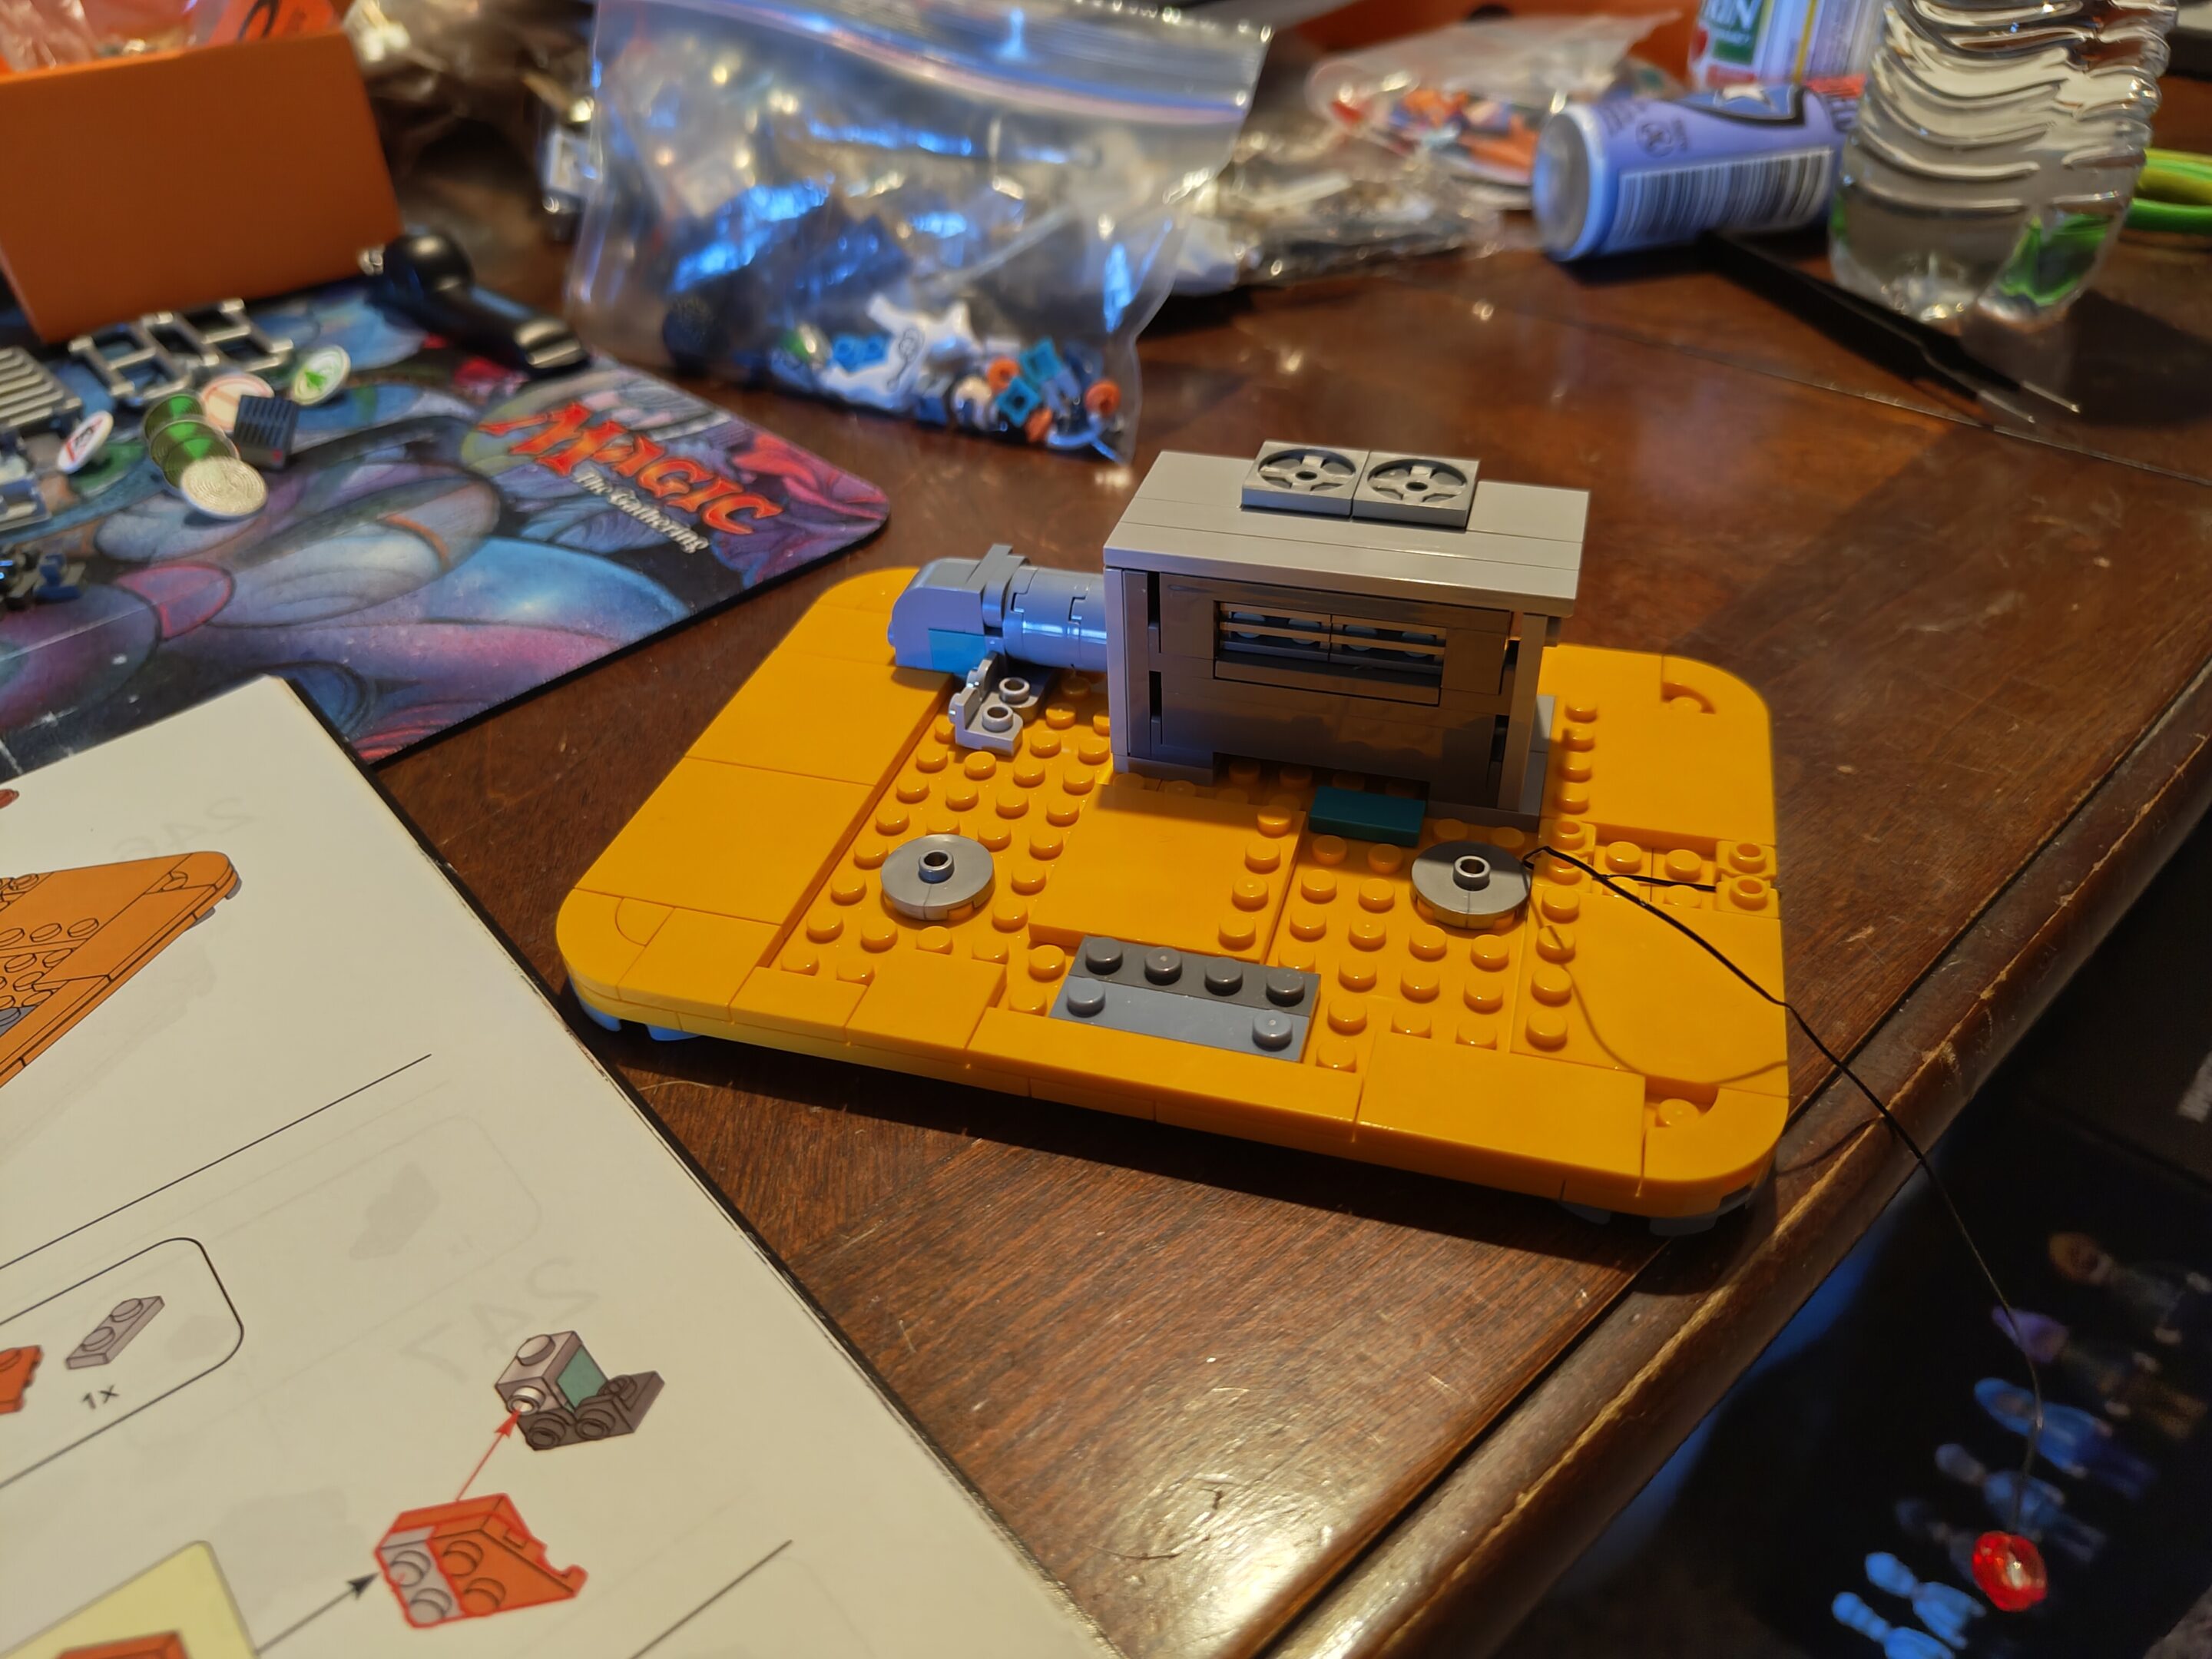
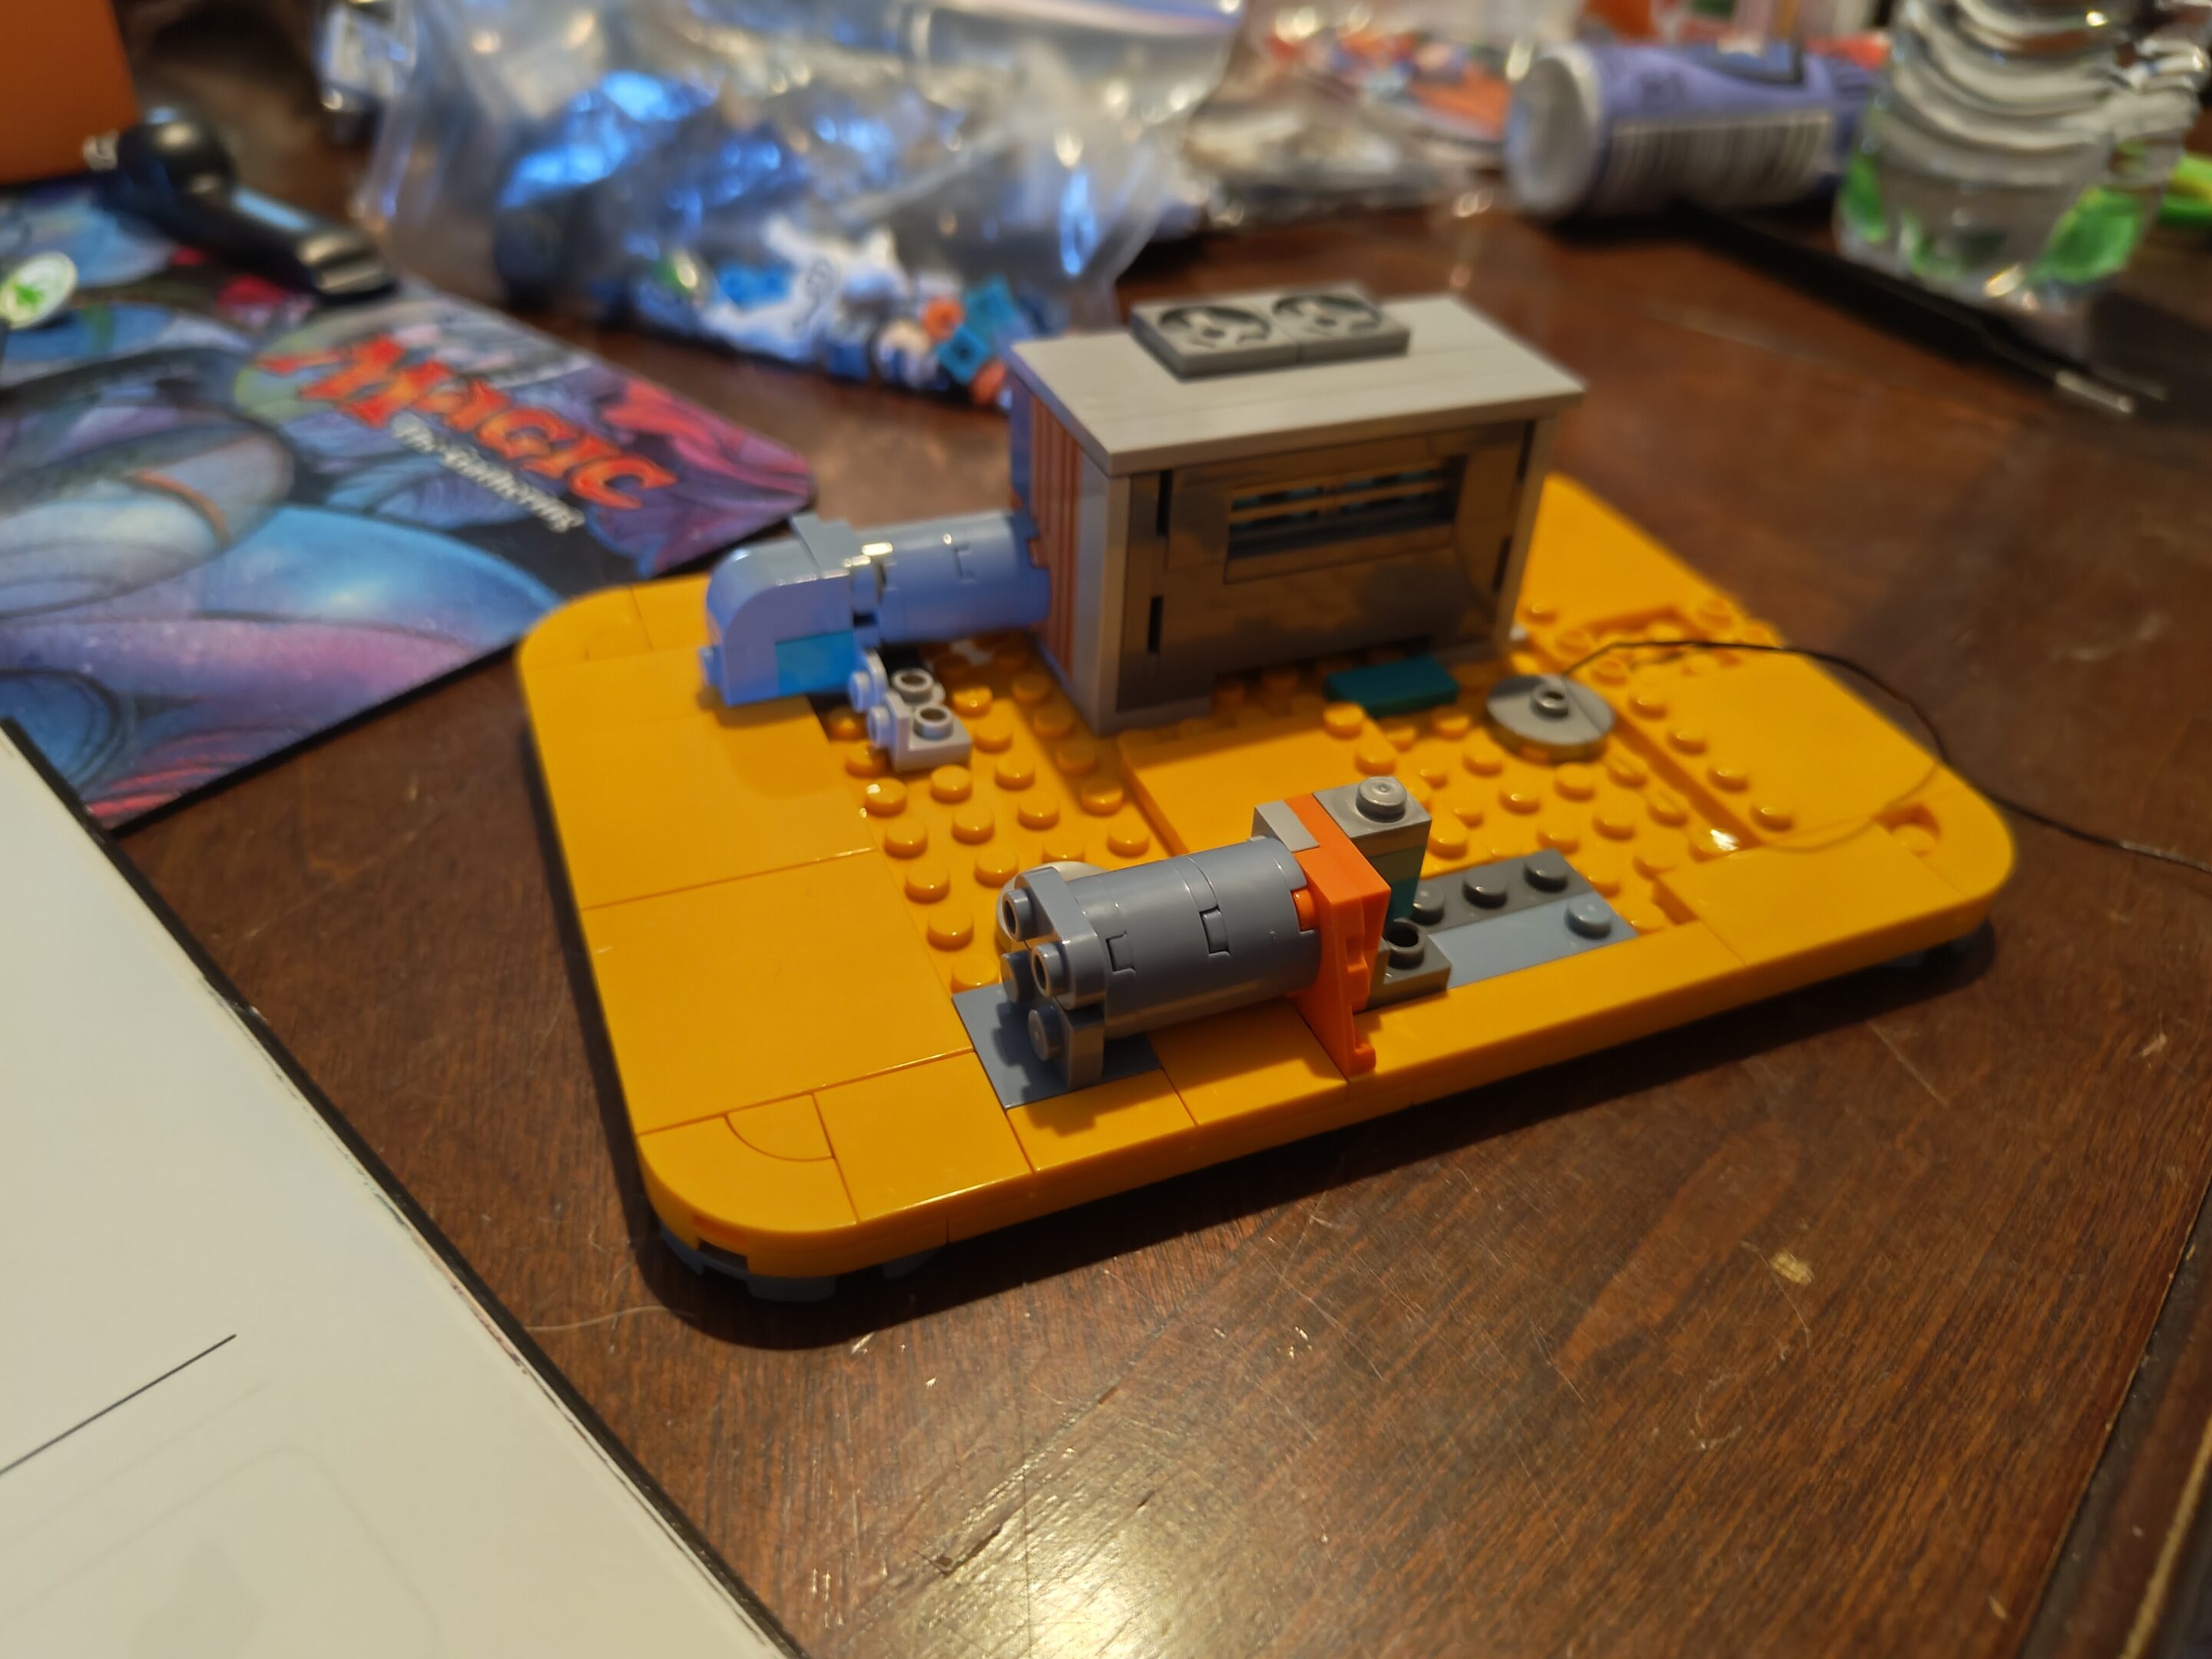
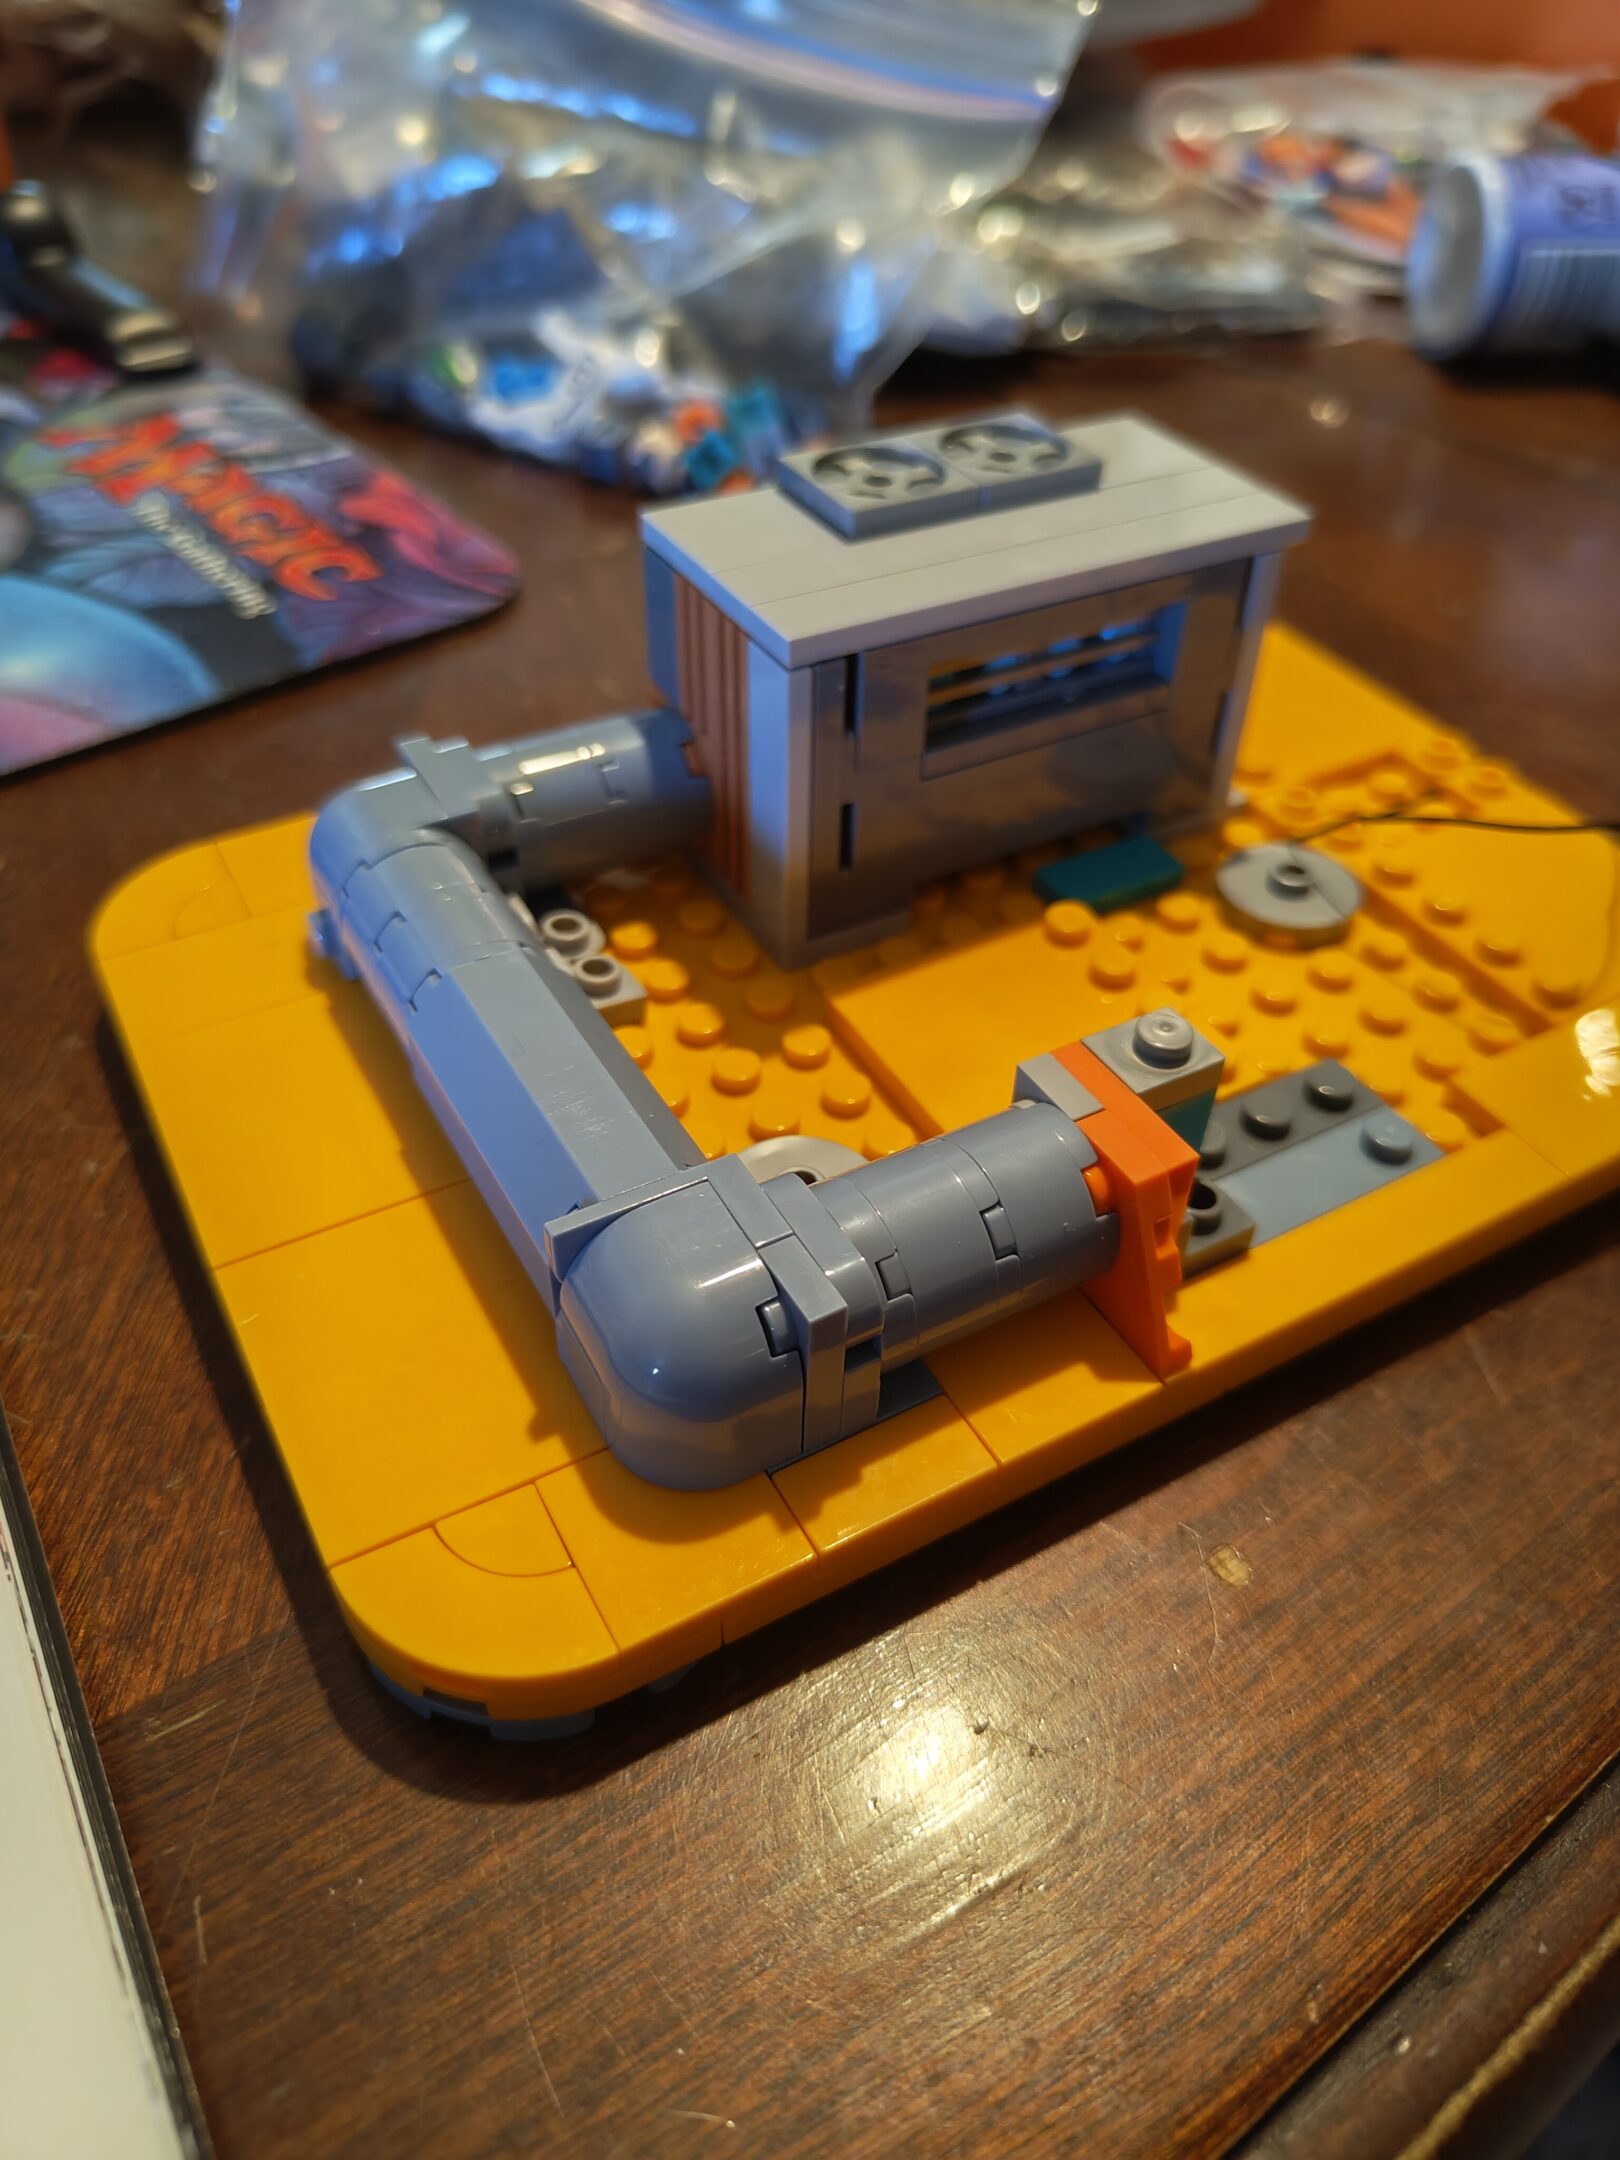
More wiring. Lots of wiring in this one (yay)Cute little barBar is well lit (above and below)More stuff stacked on top of the barArcade structure part oneArcade structure part twoThese angled windows are wild. It didn’t feel like they were going to stay in there especially at such a steep angle when the windows didn’t “click” in like other window pieces
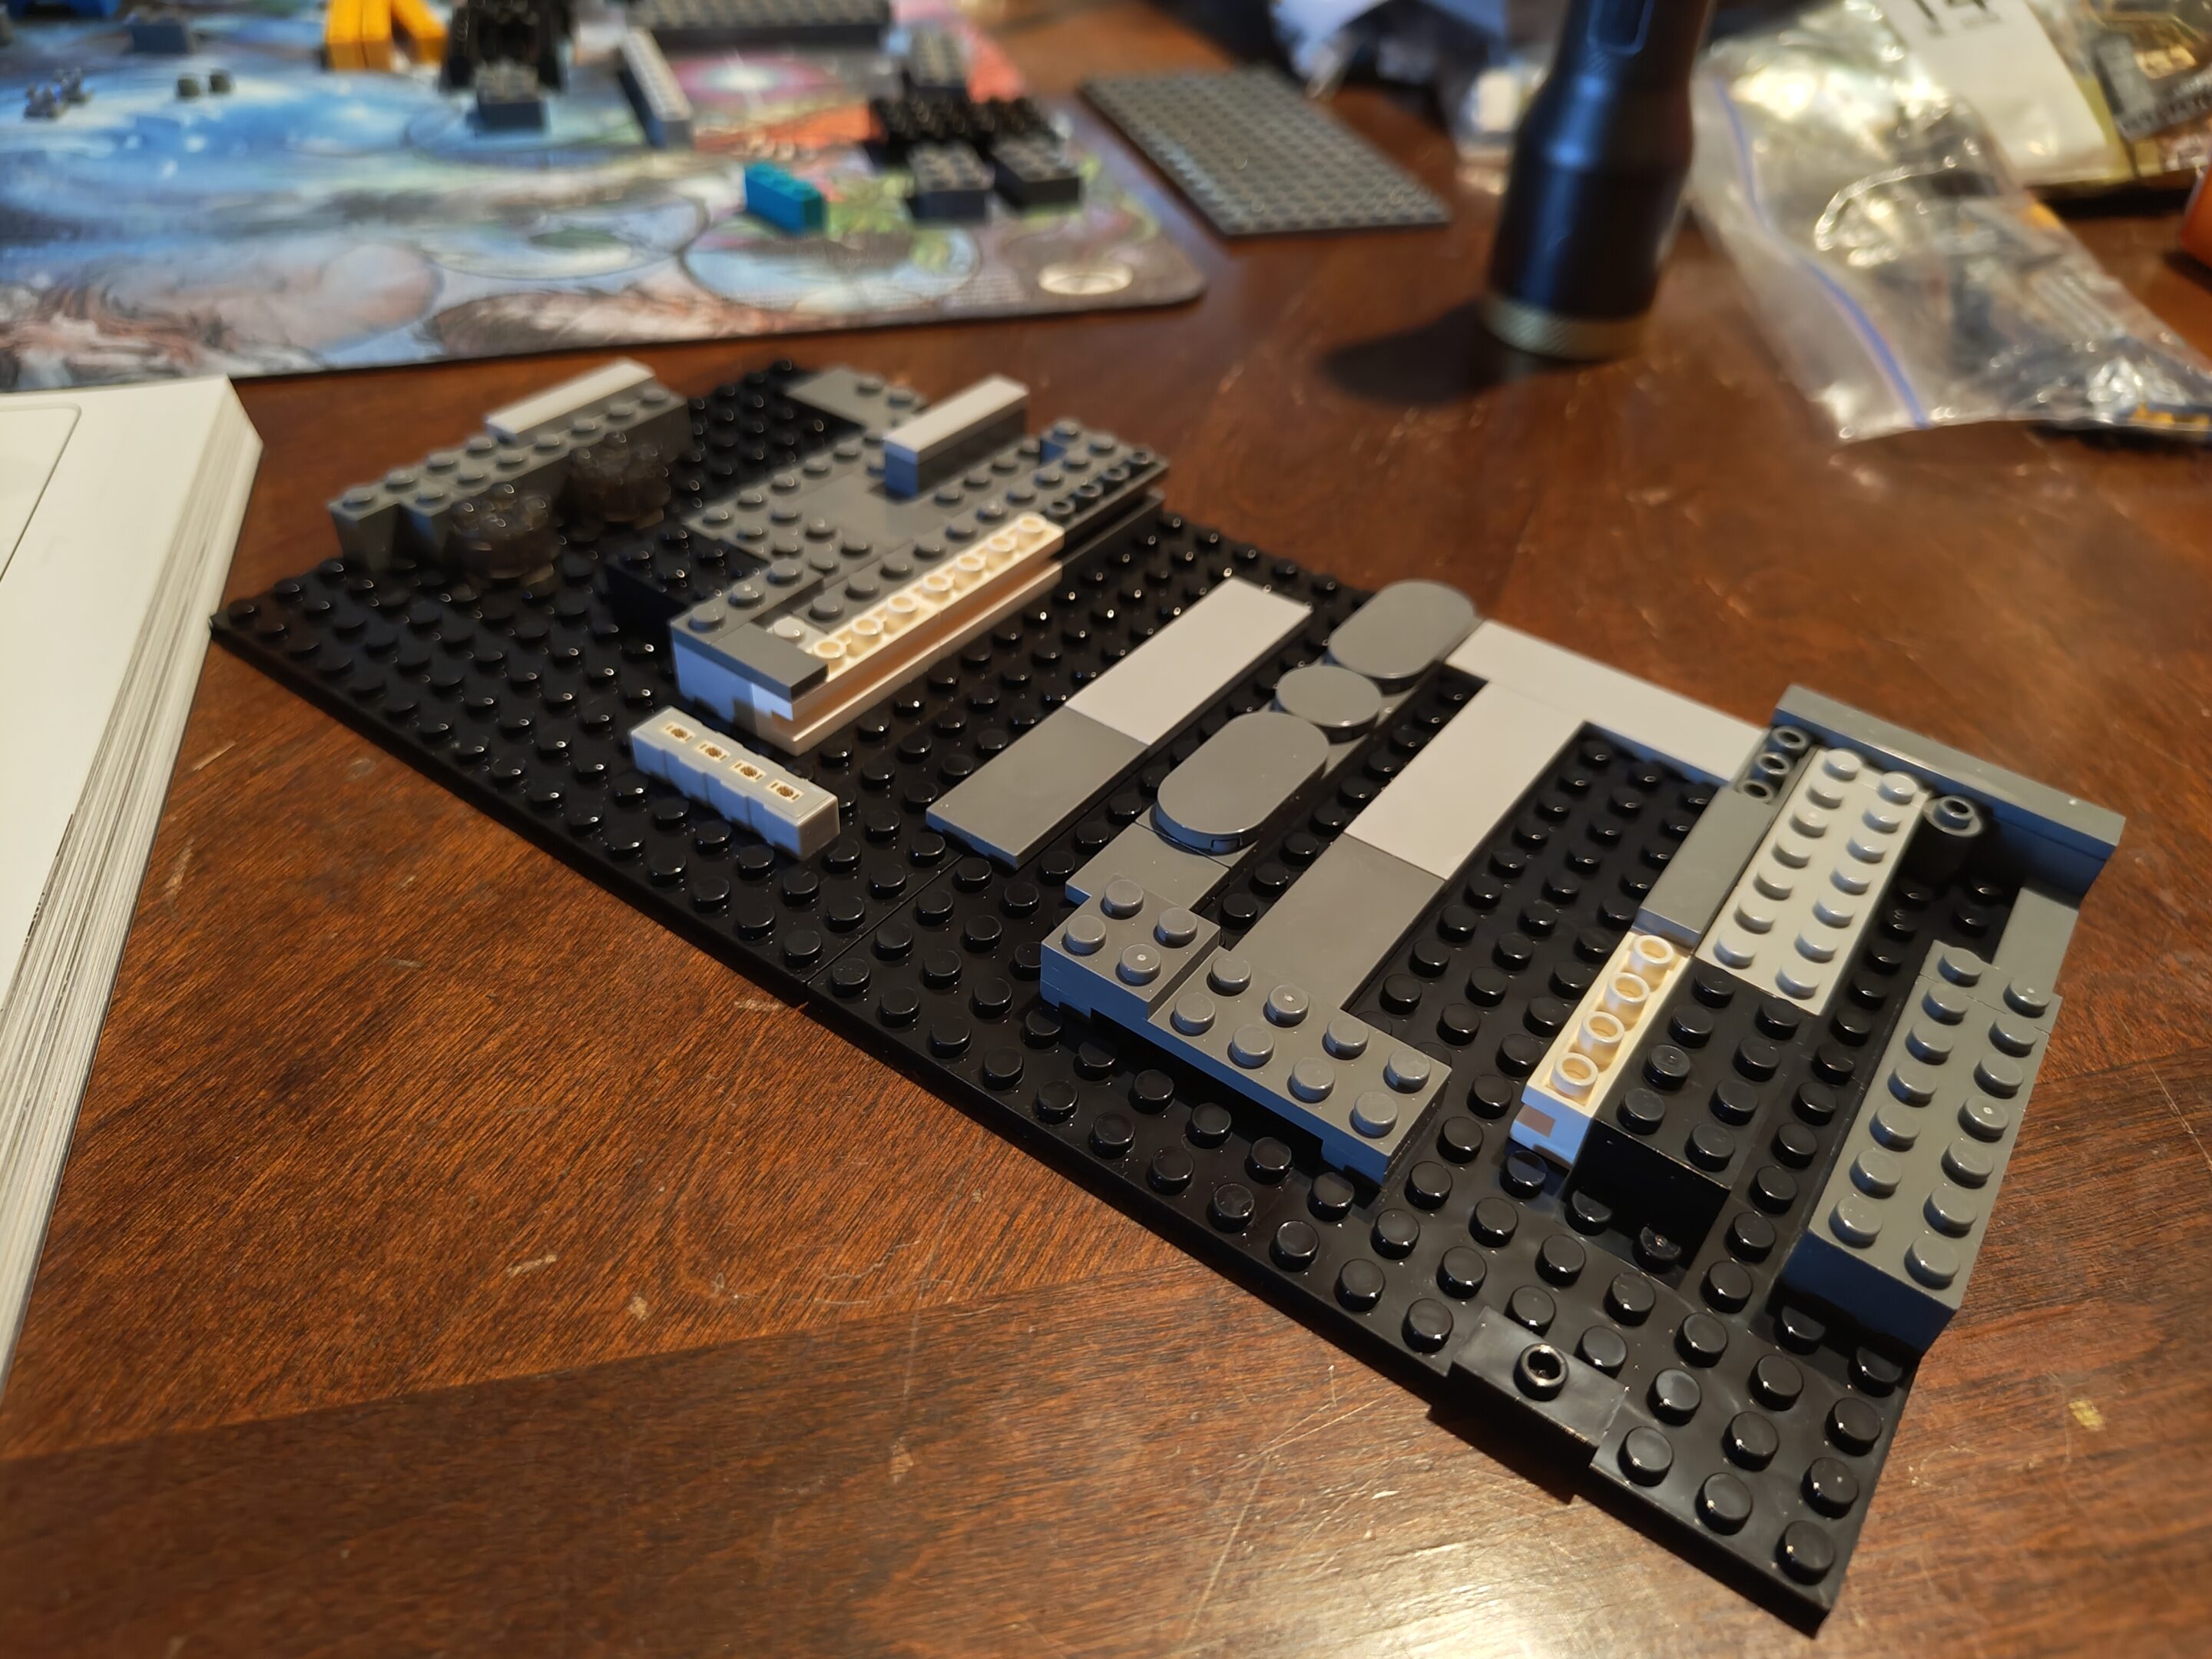
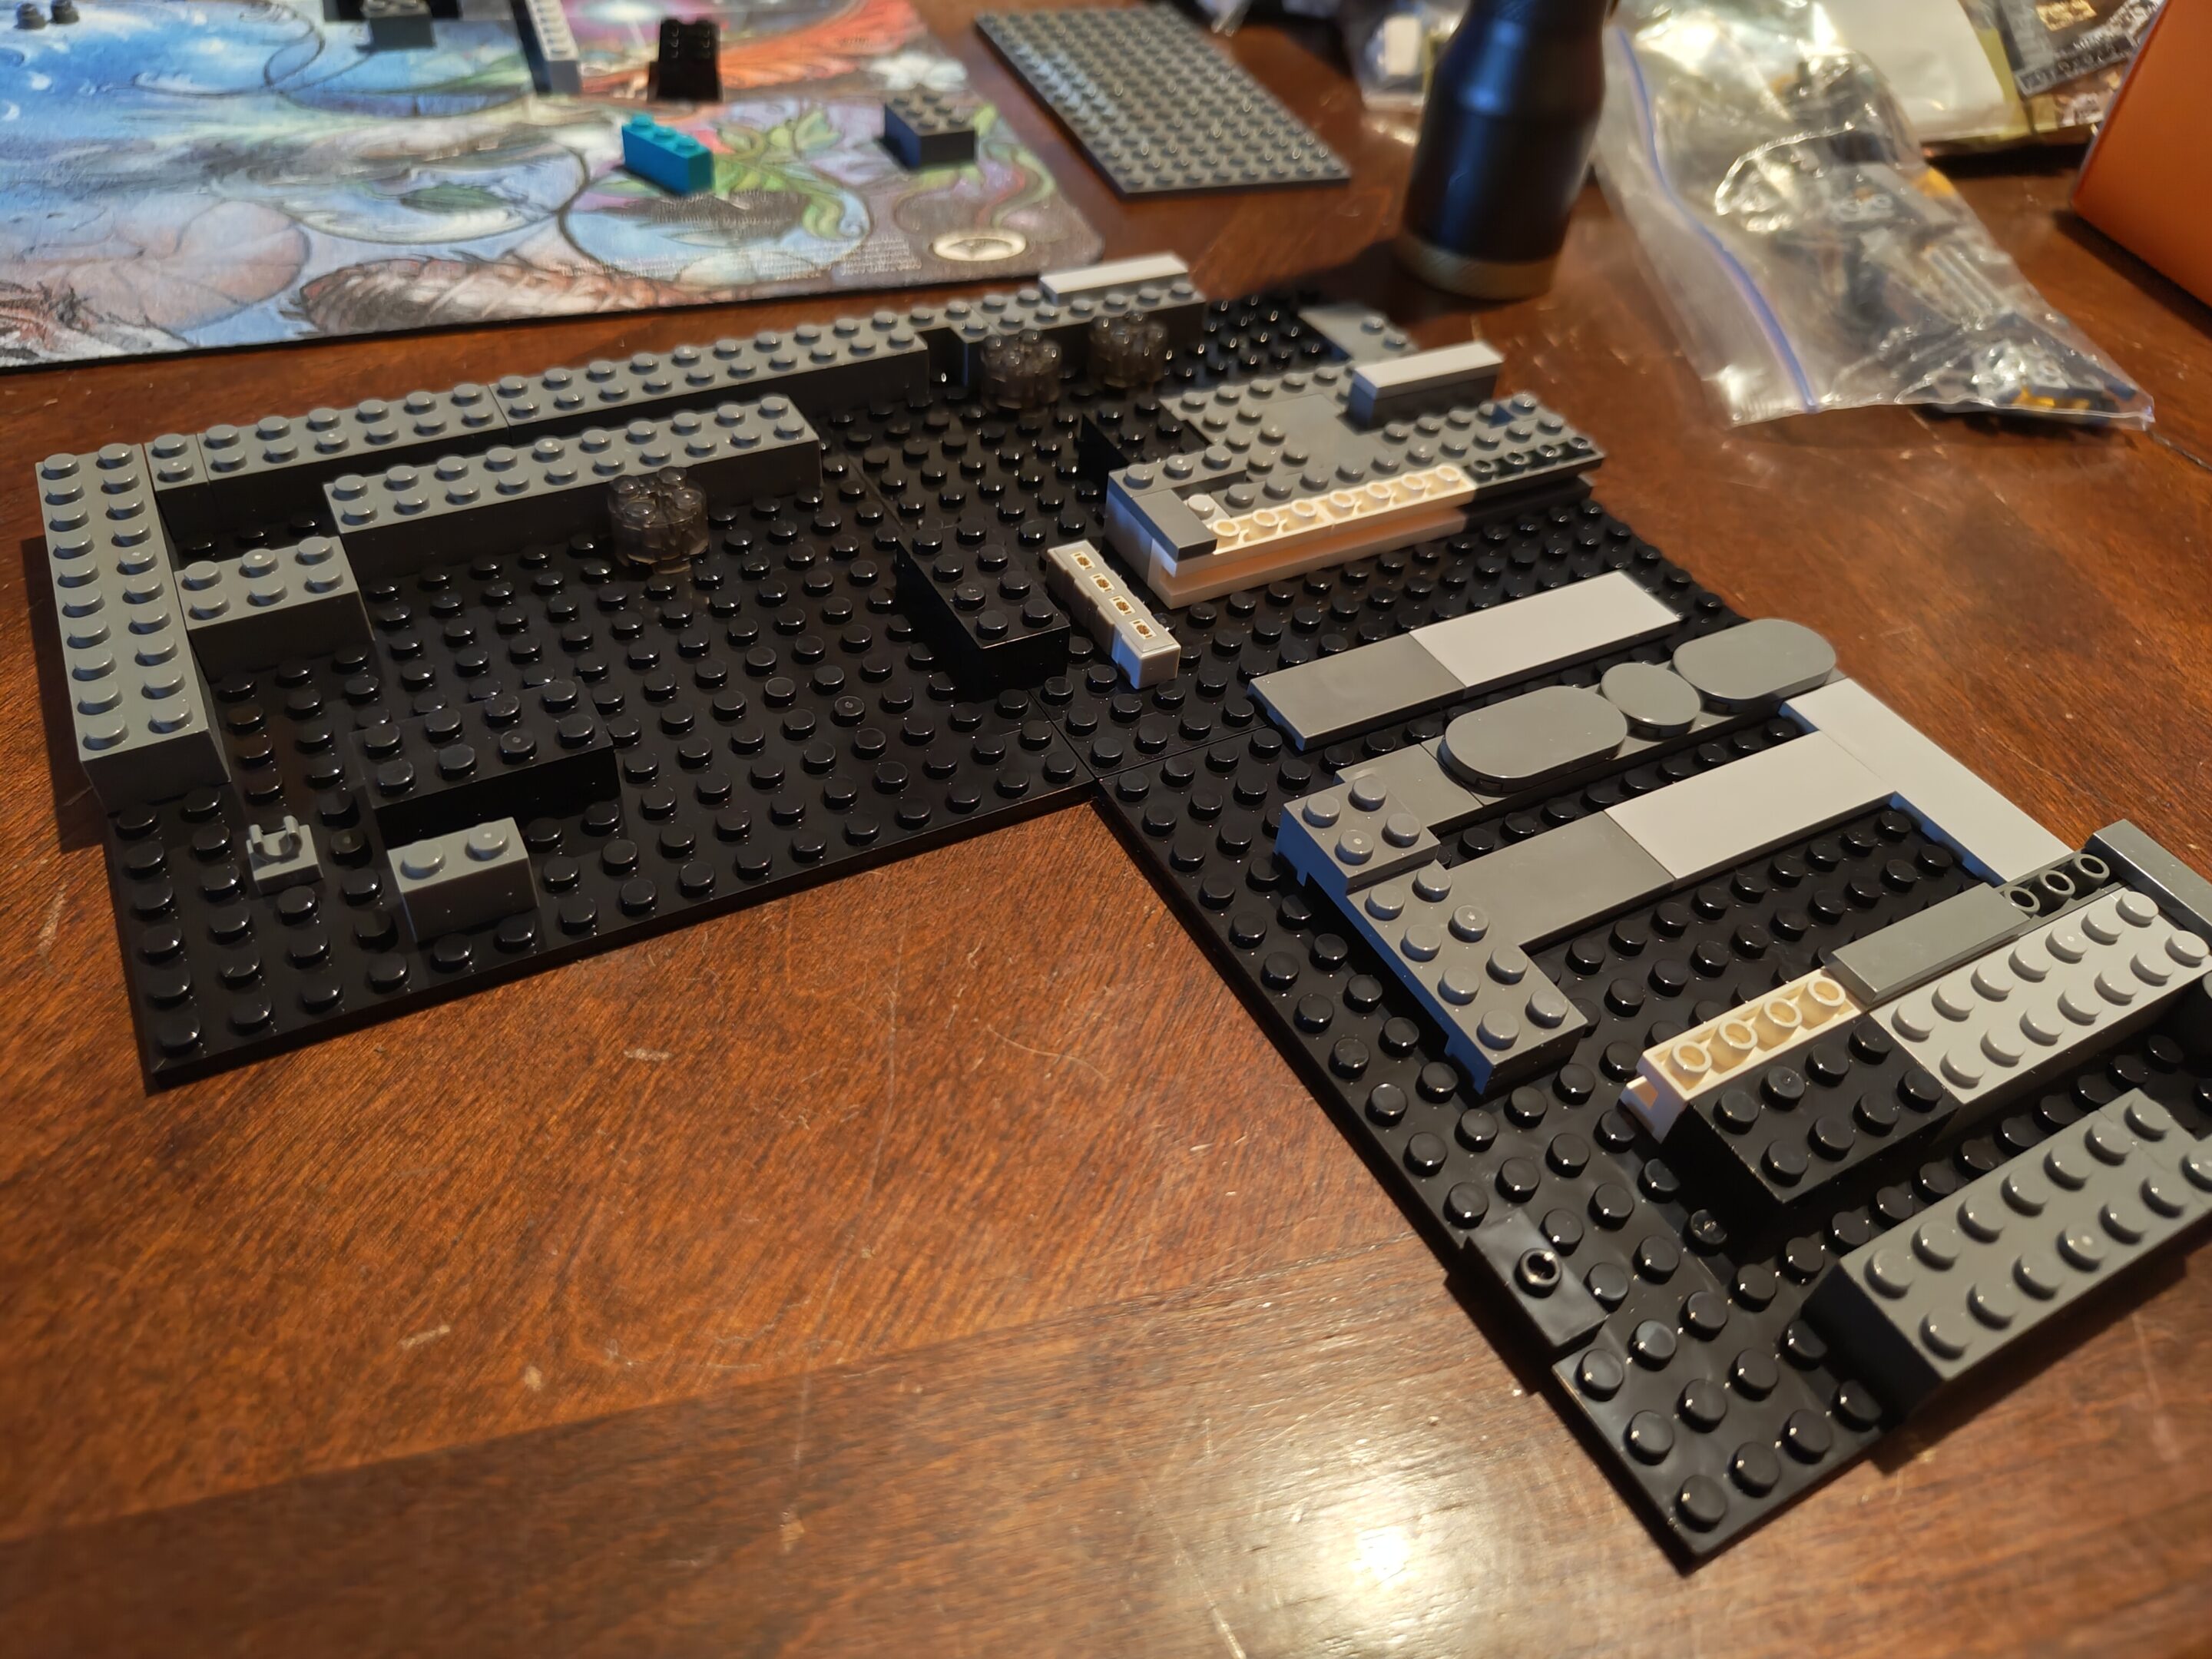
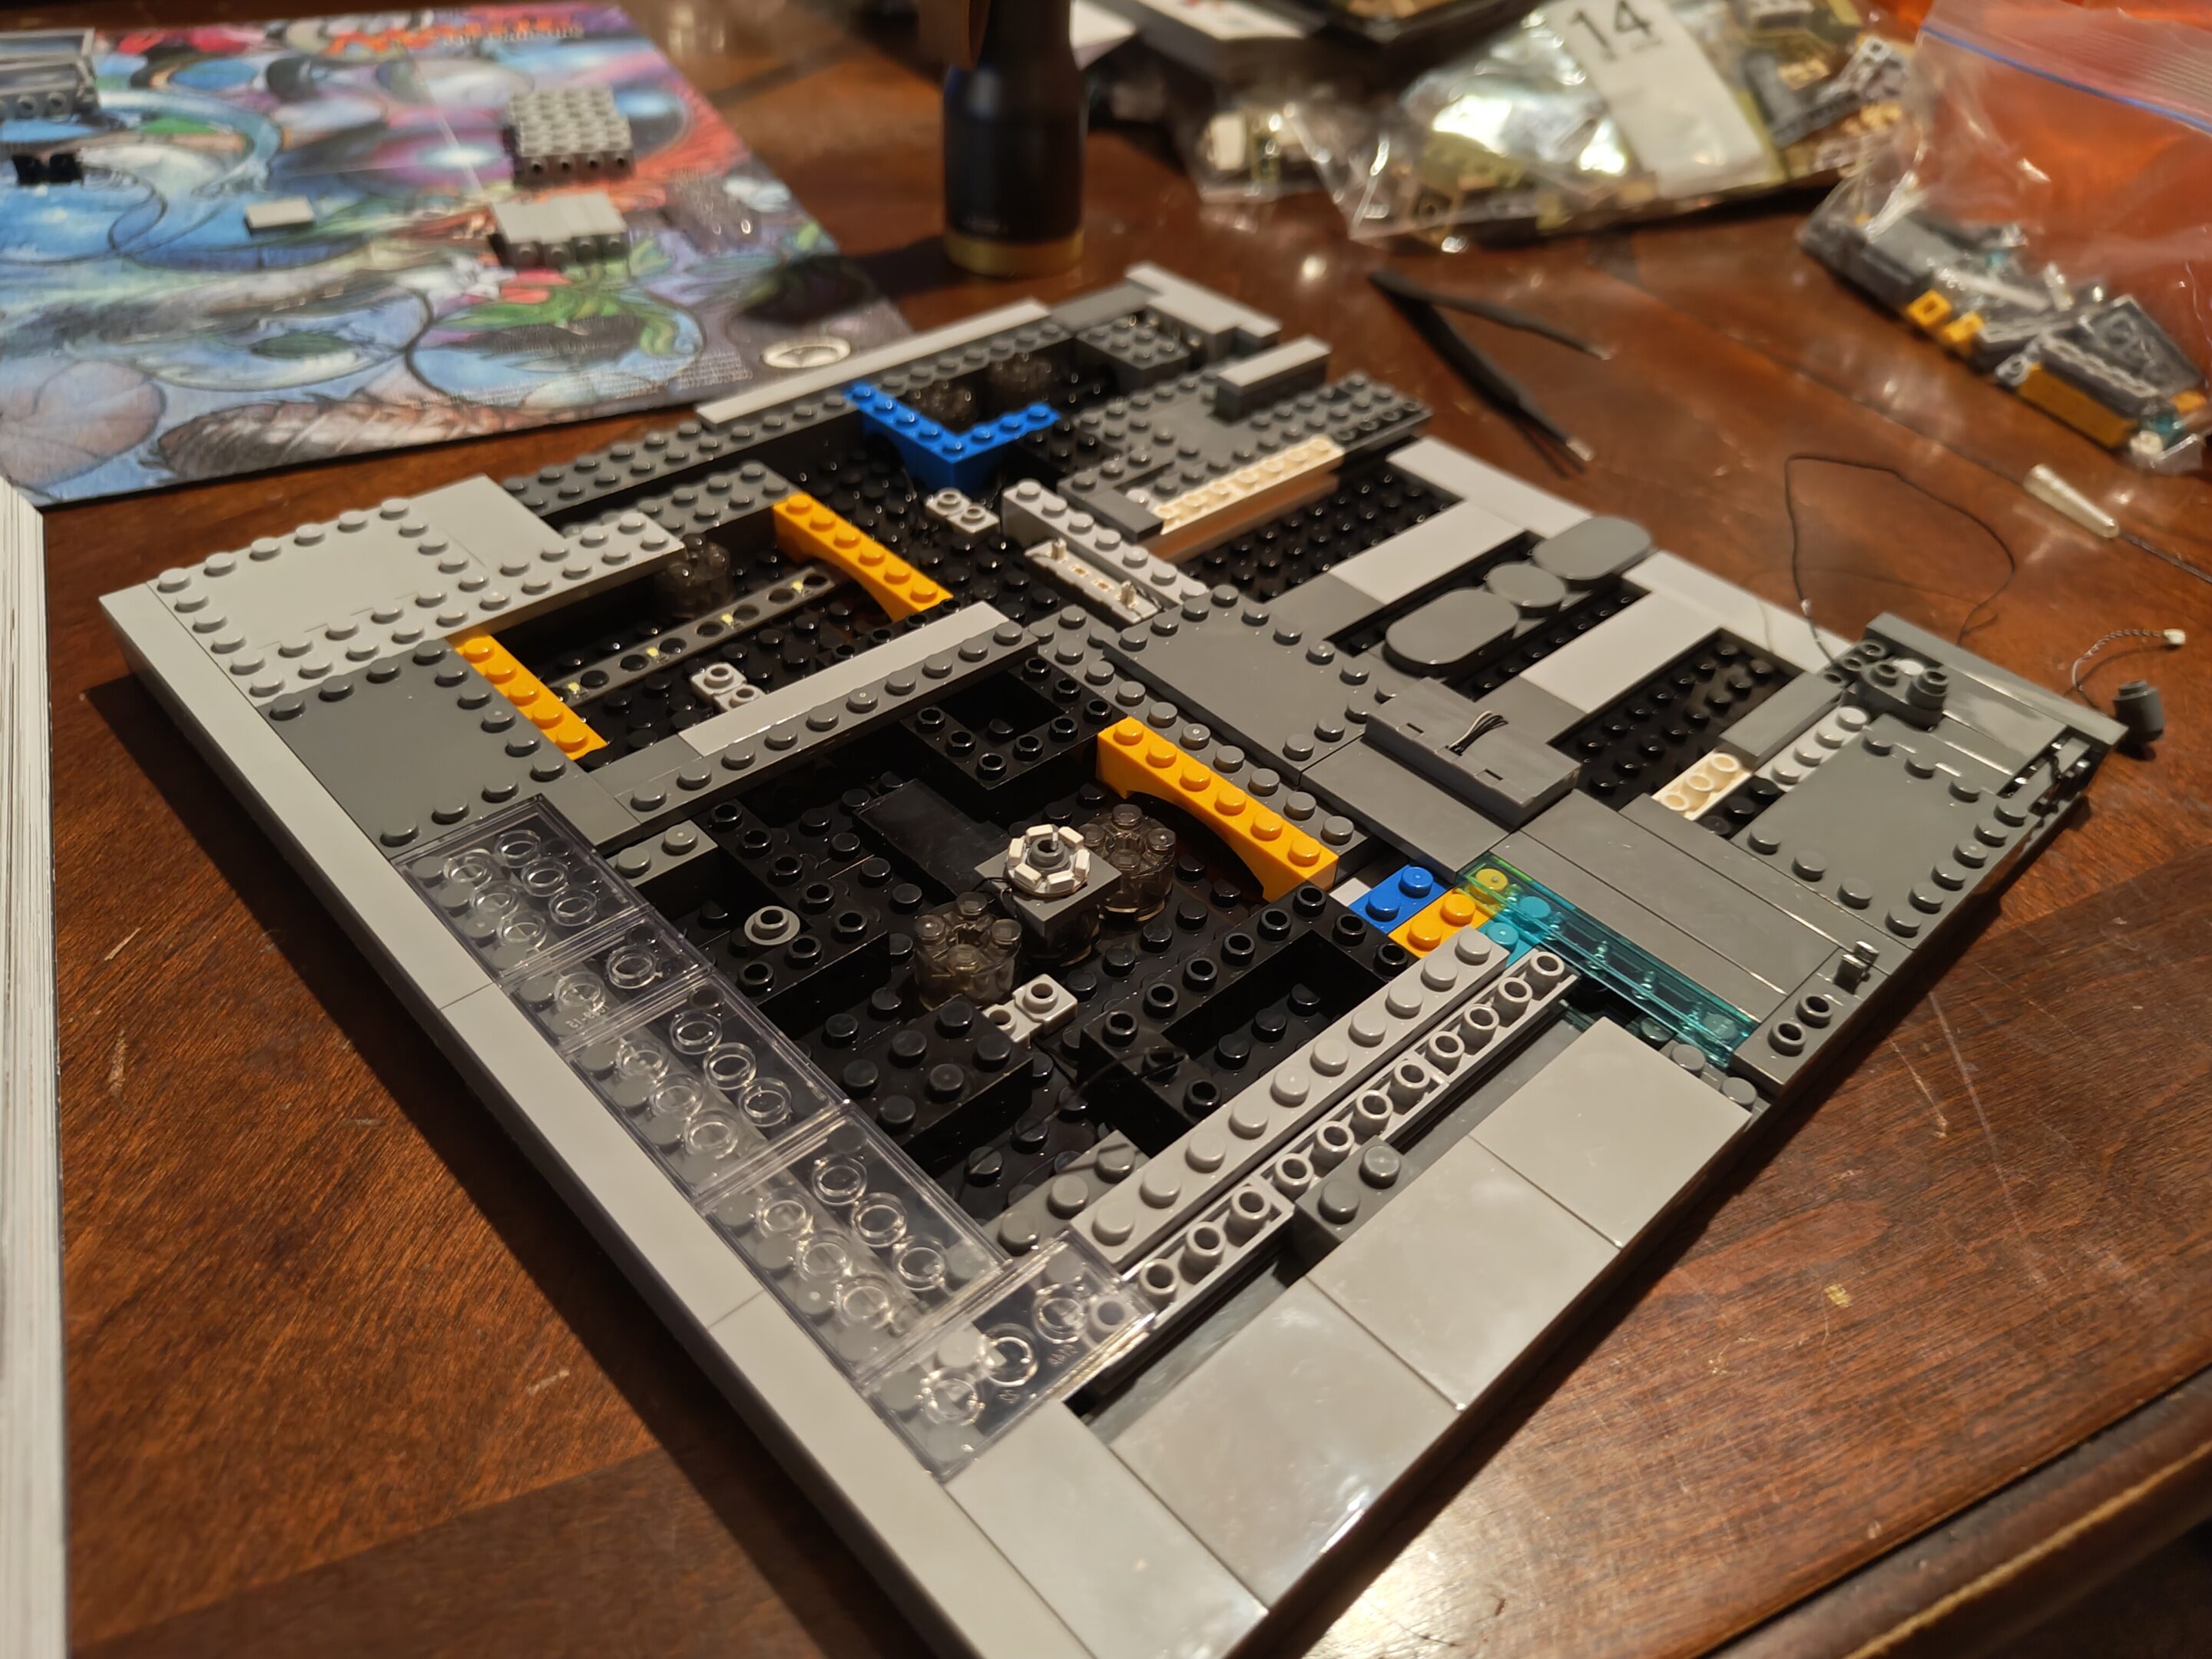
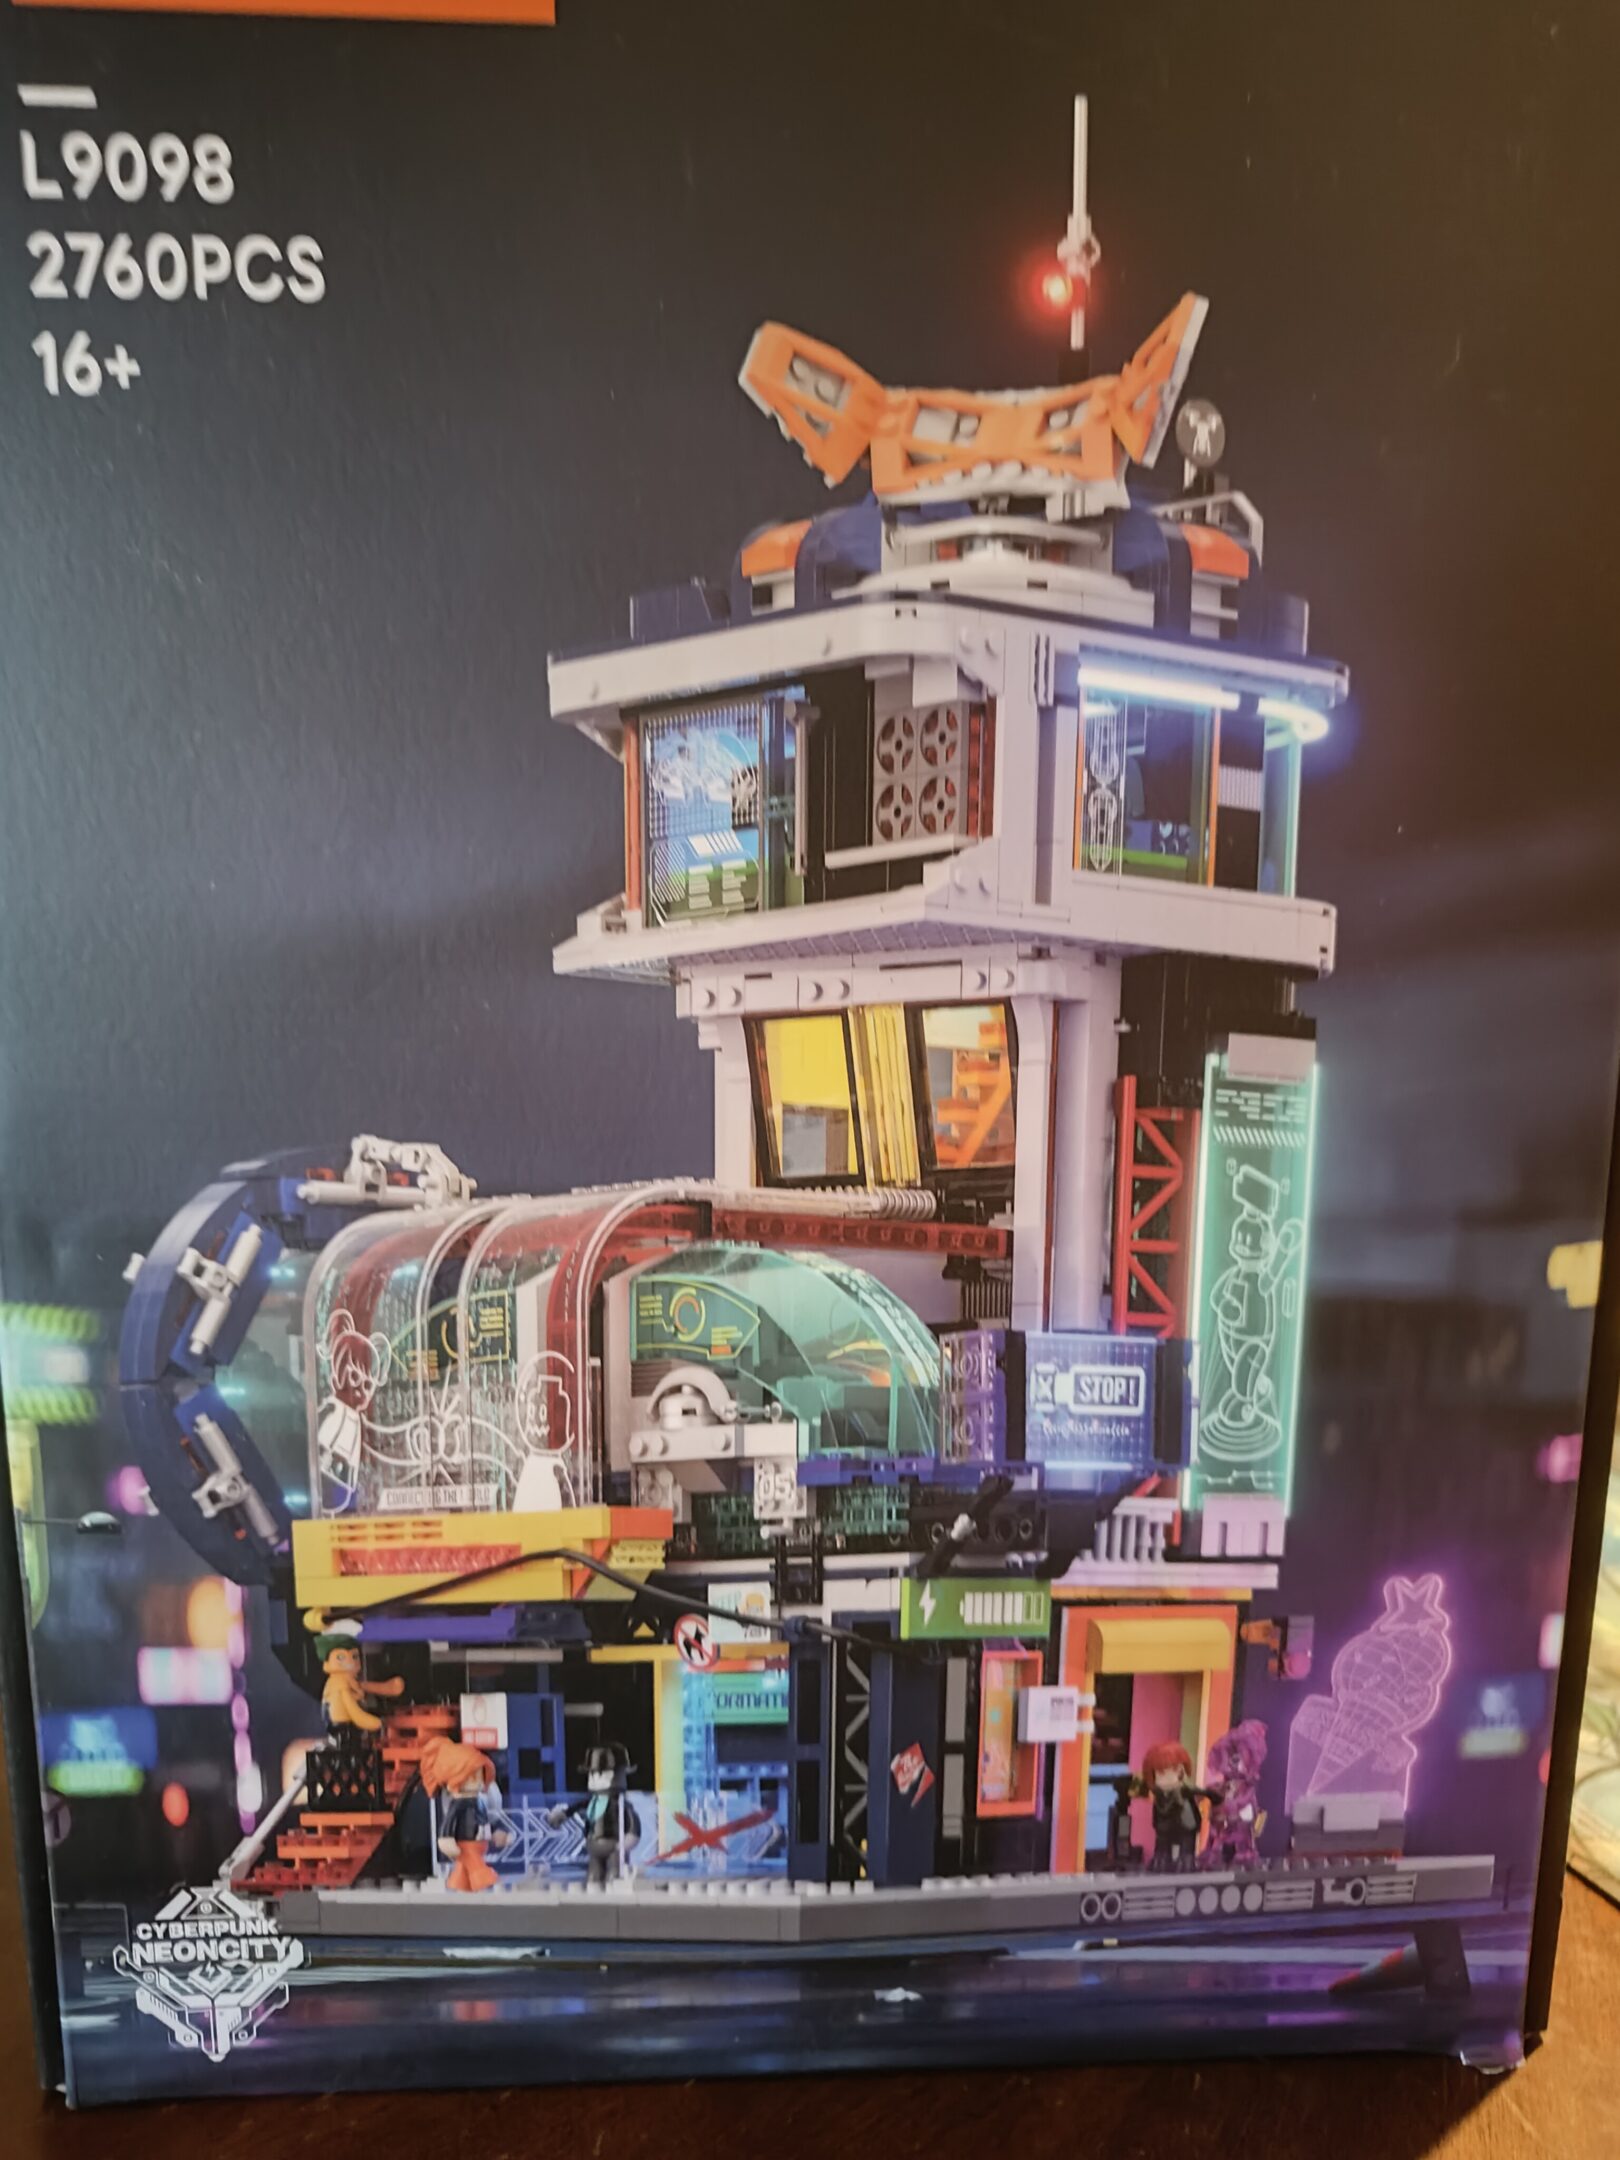
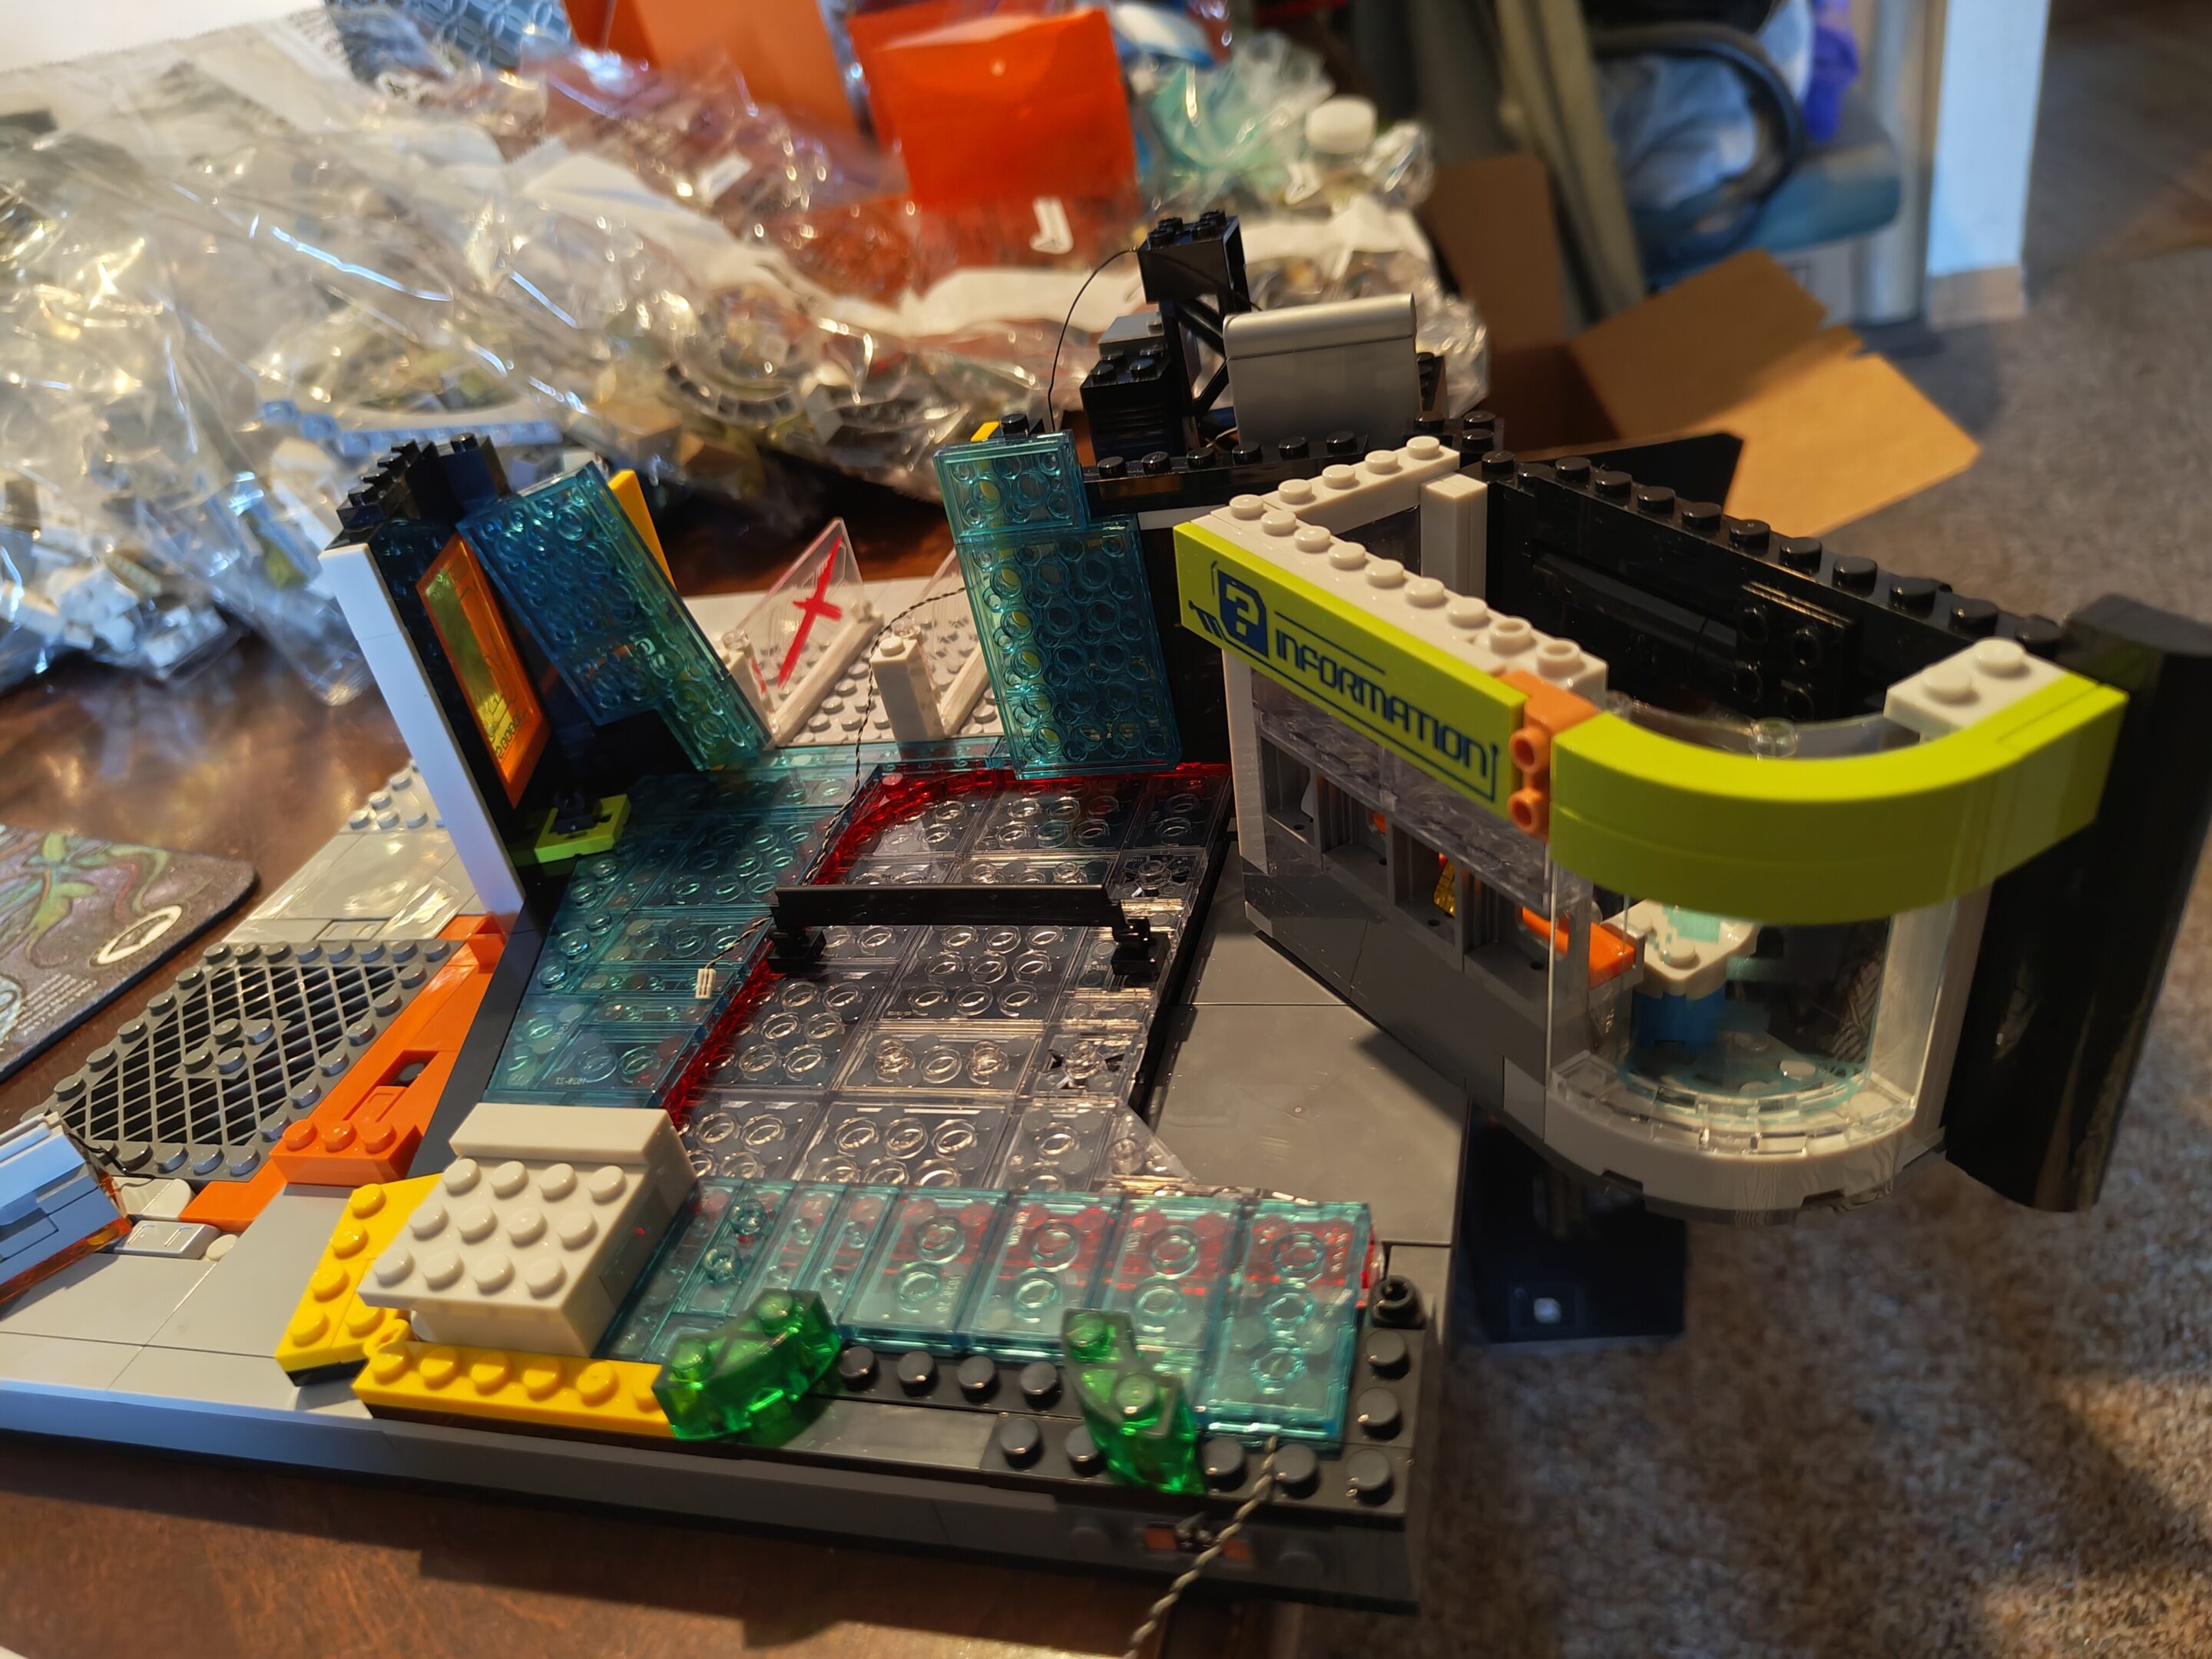
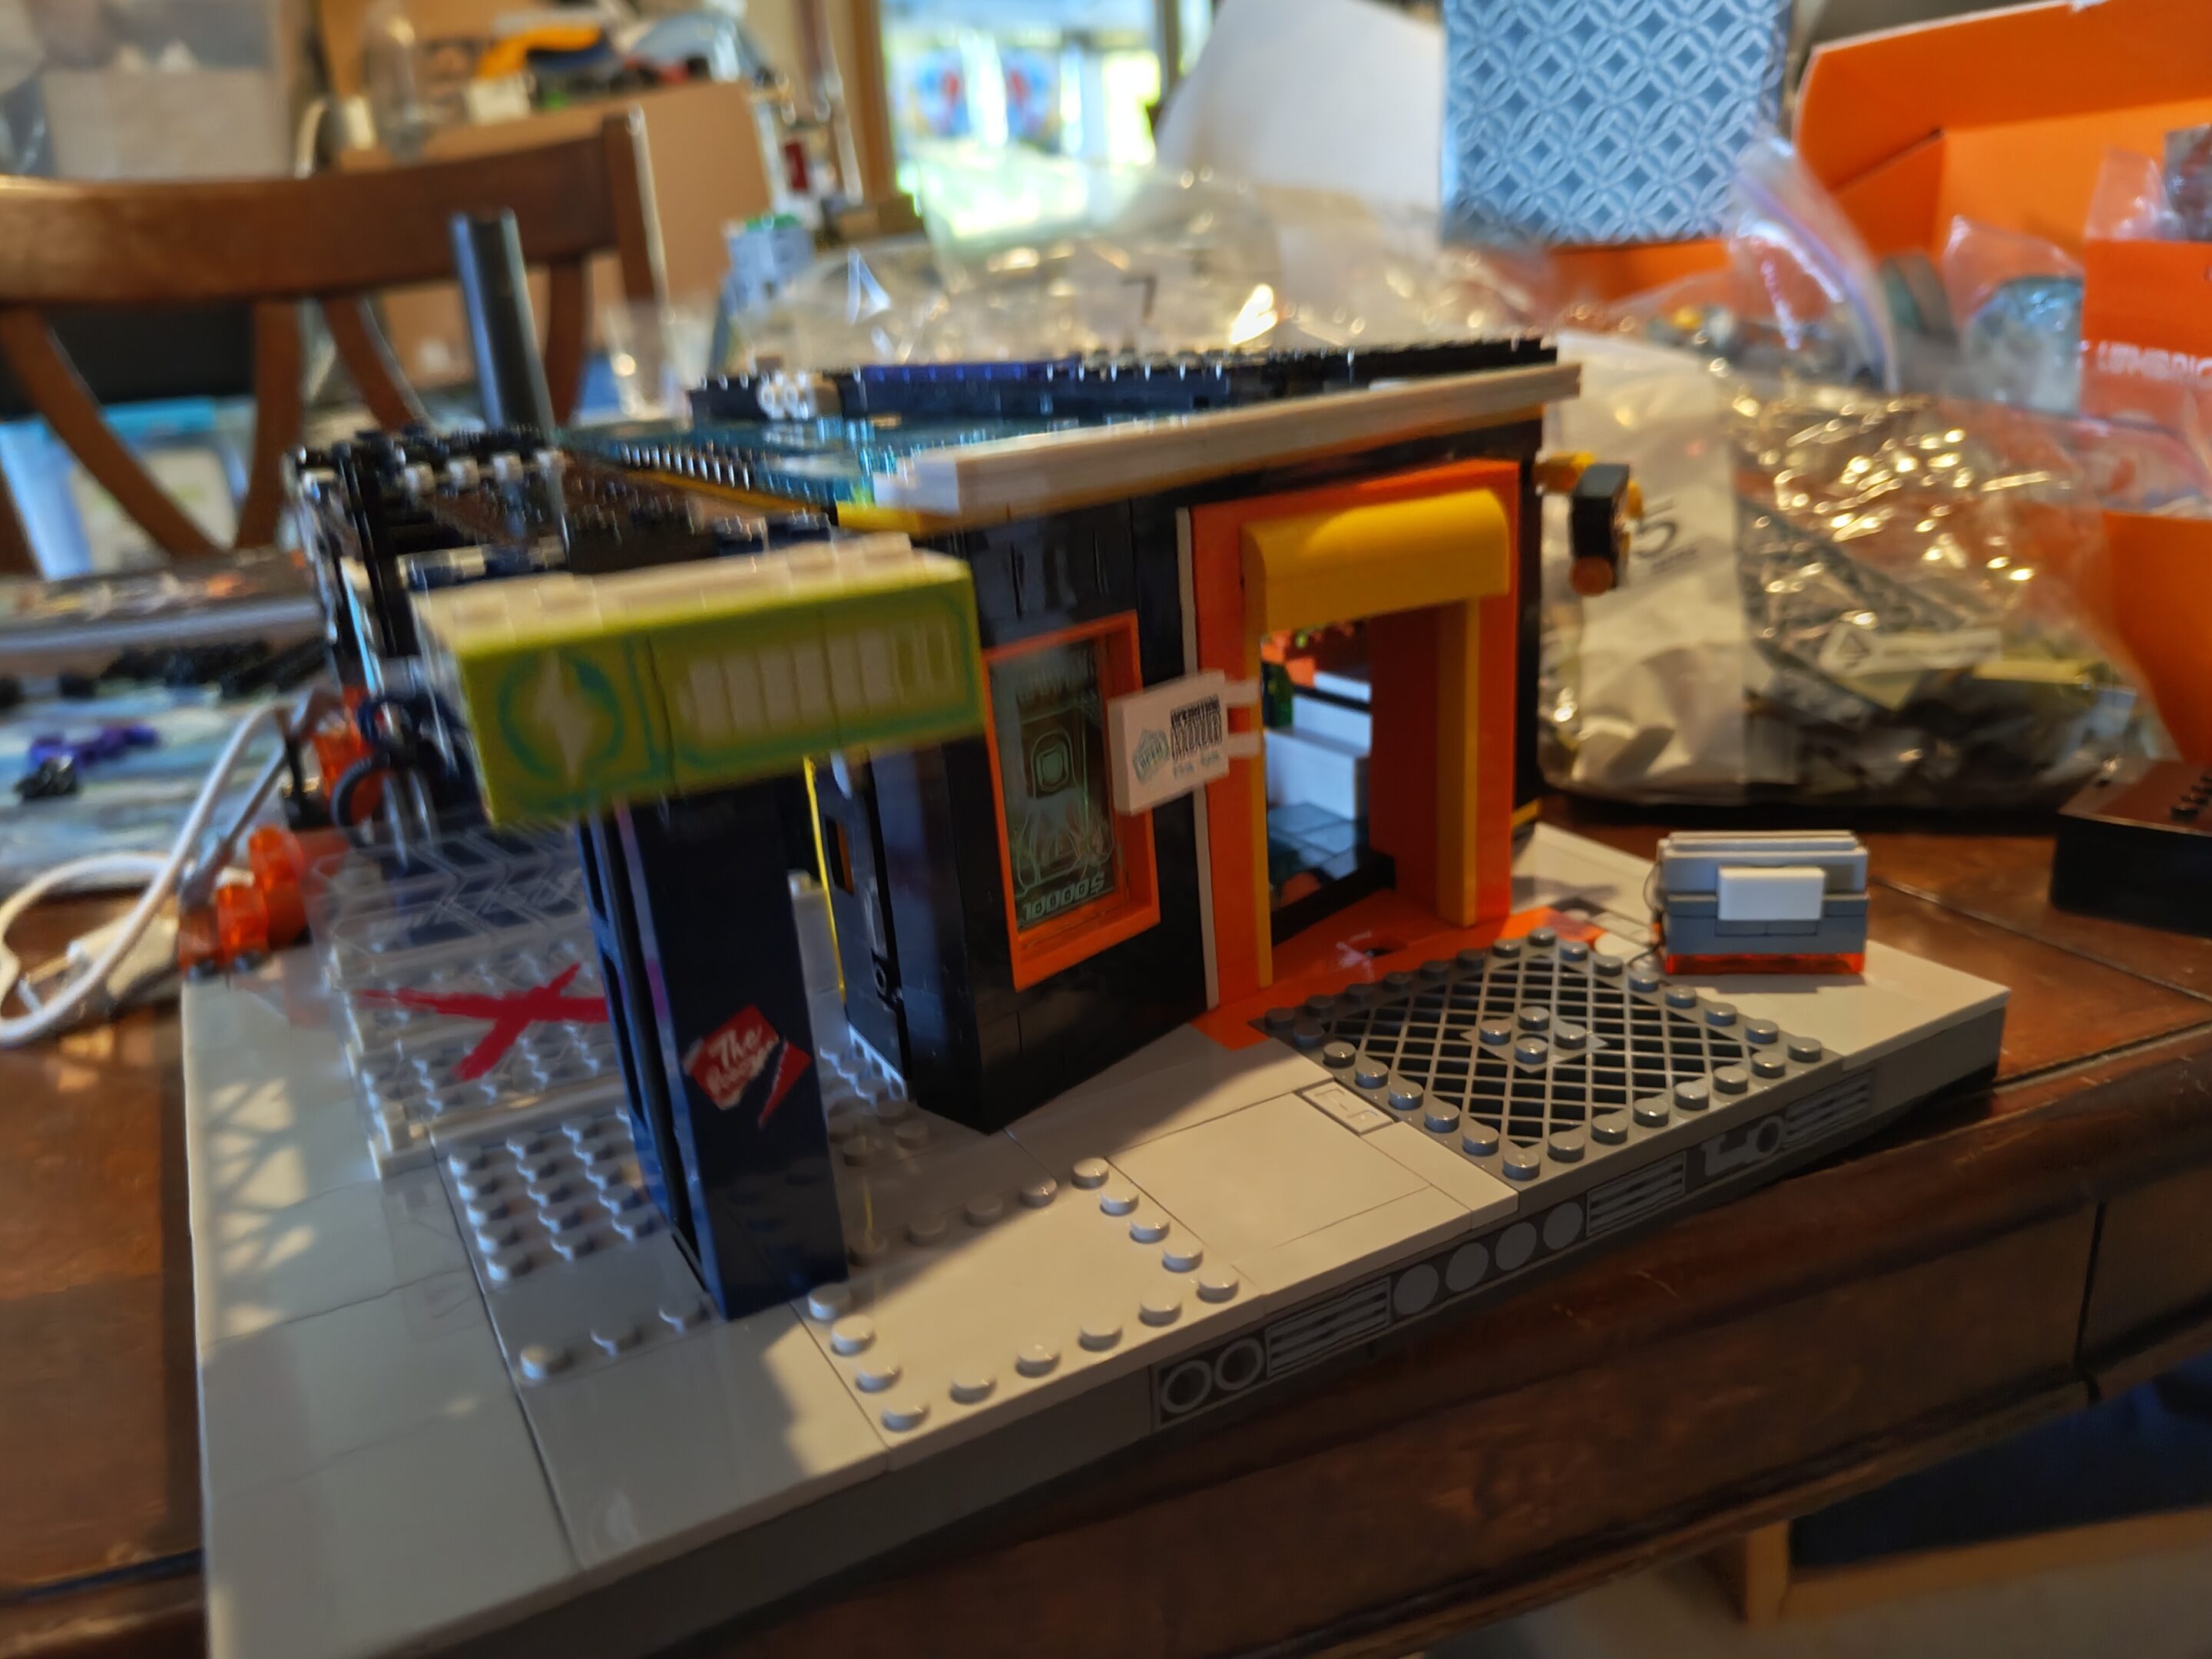
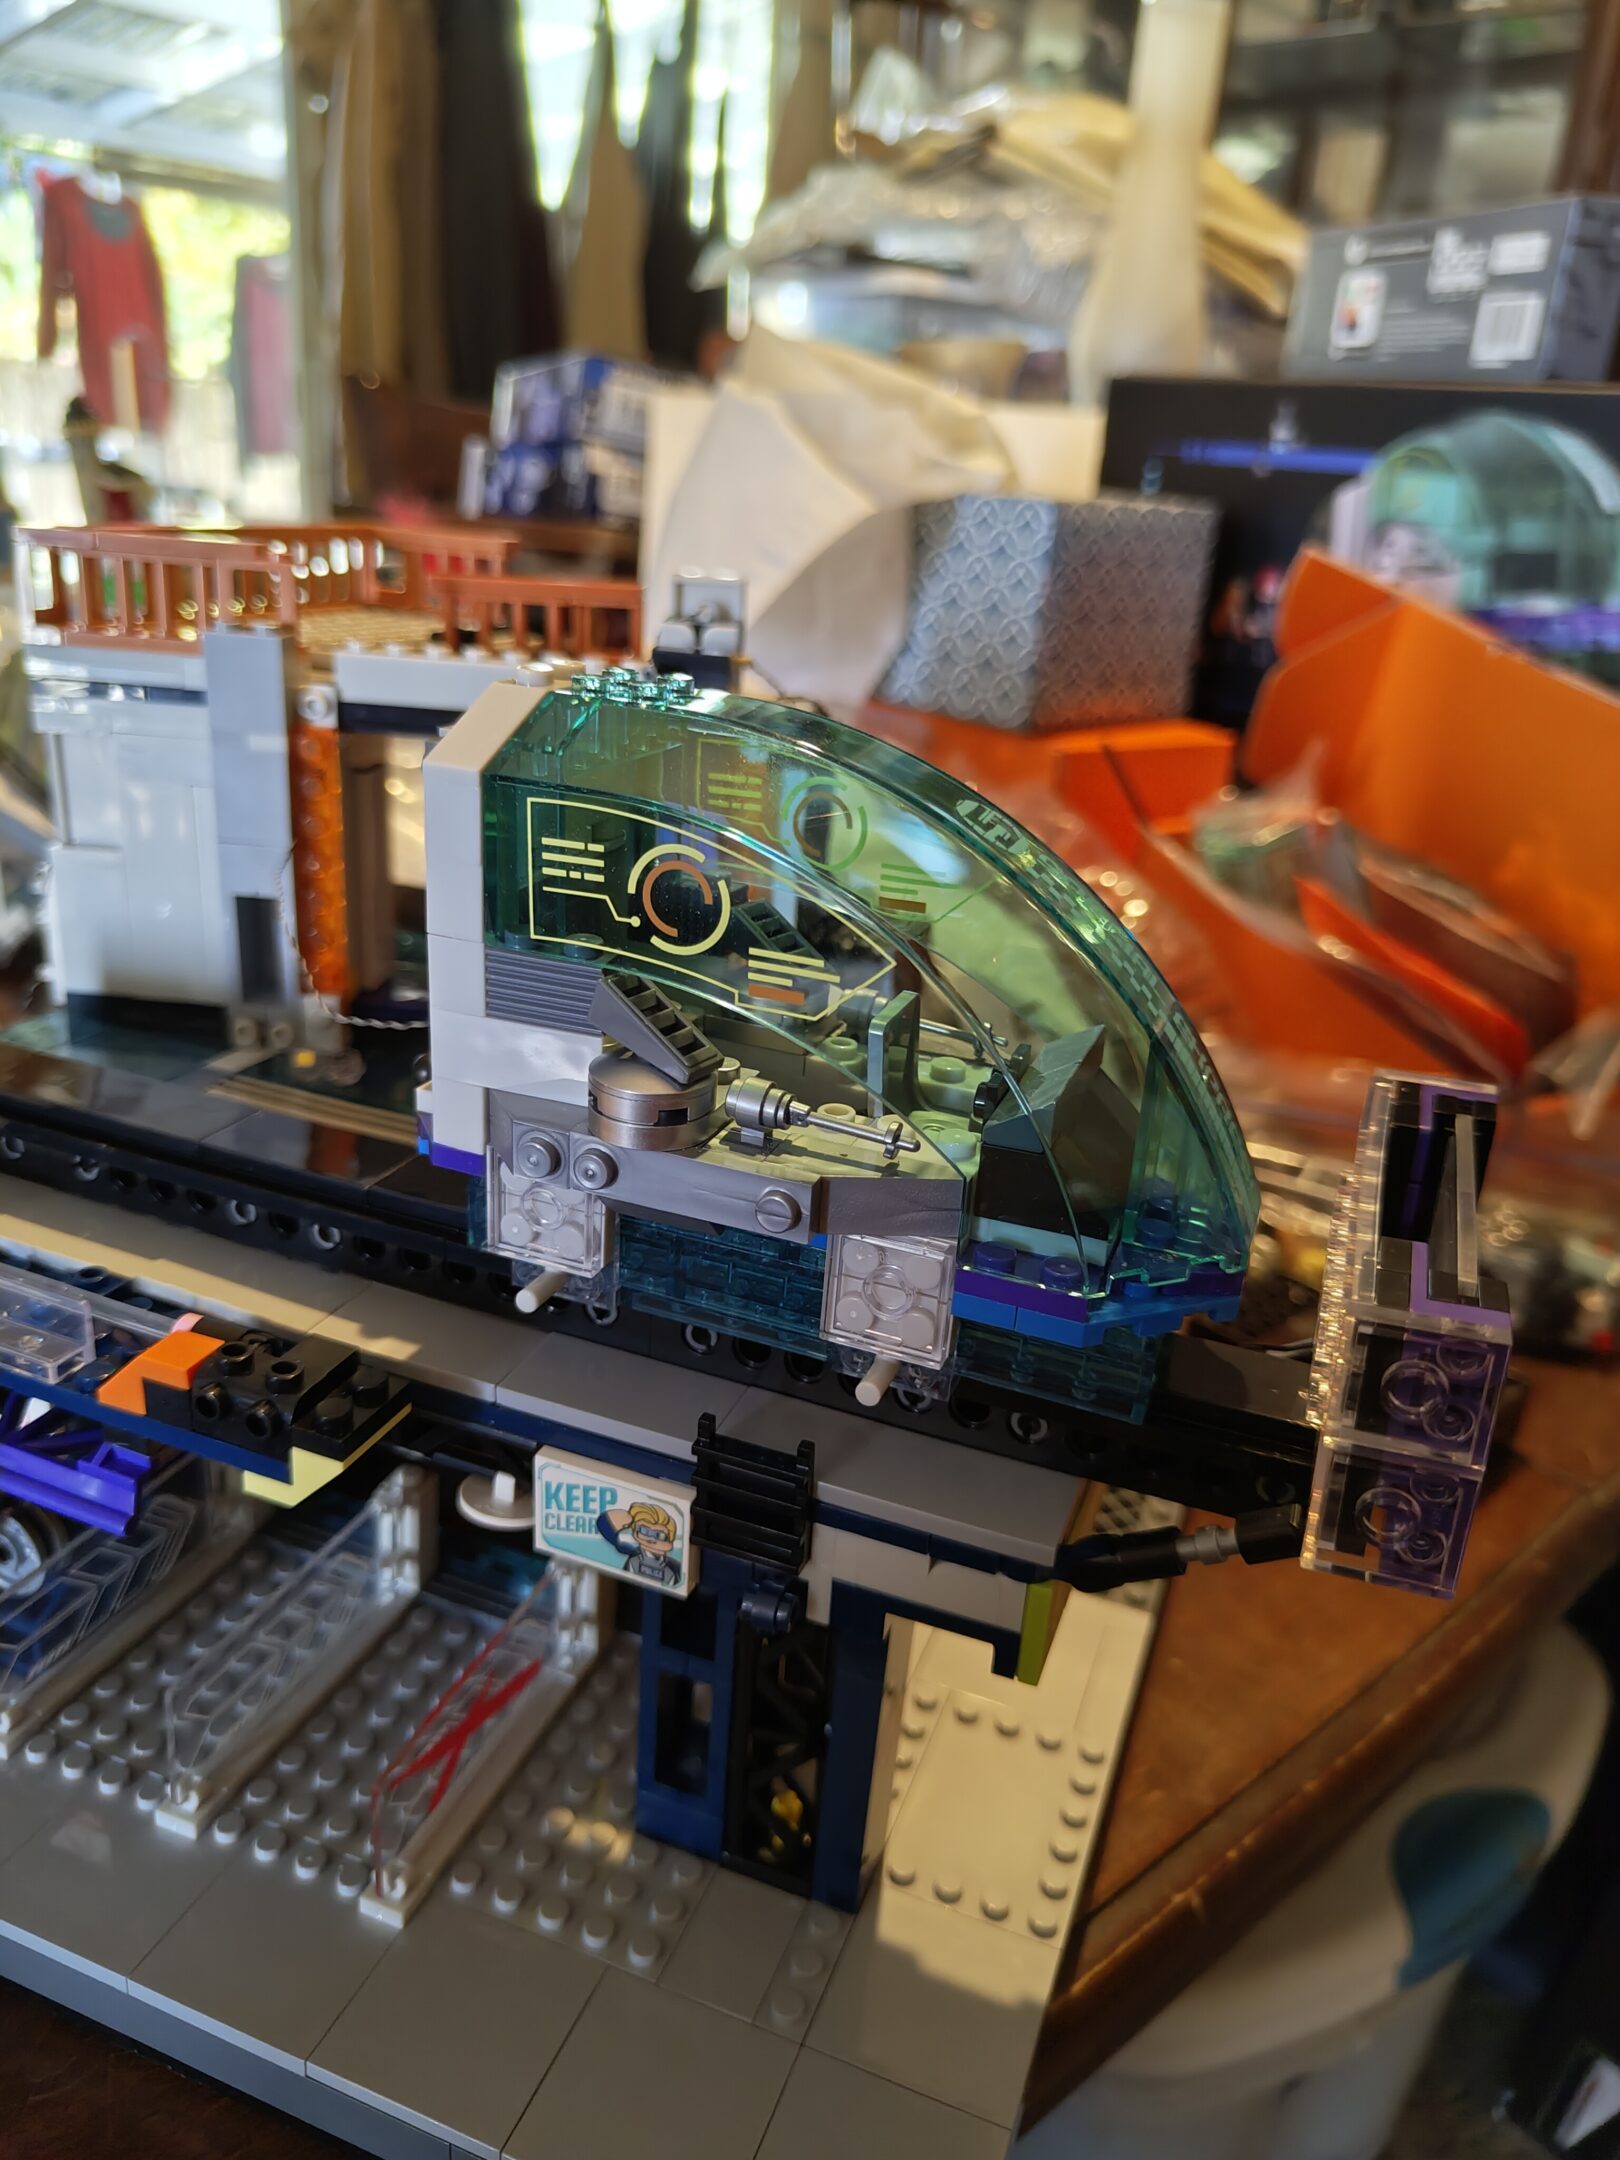
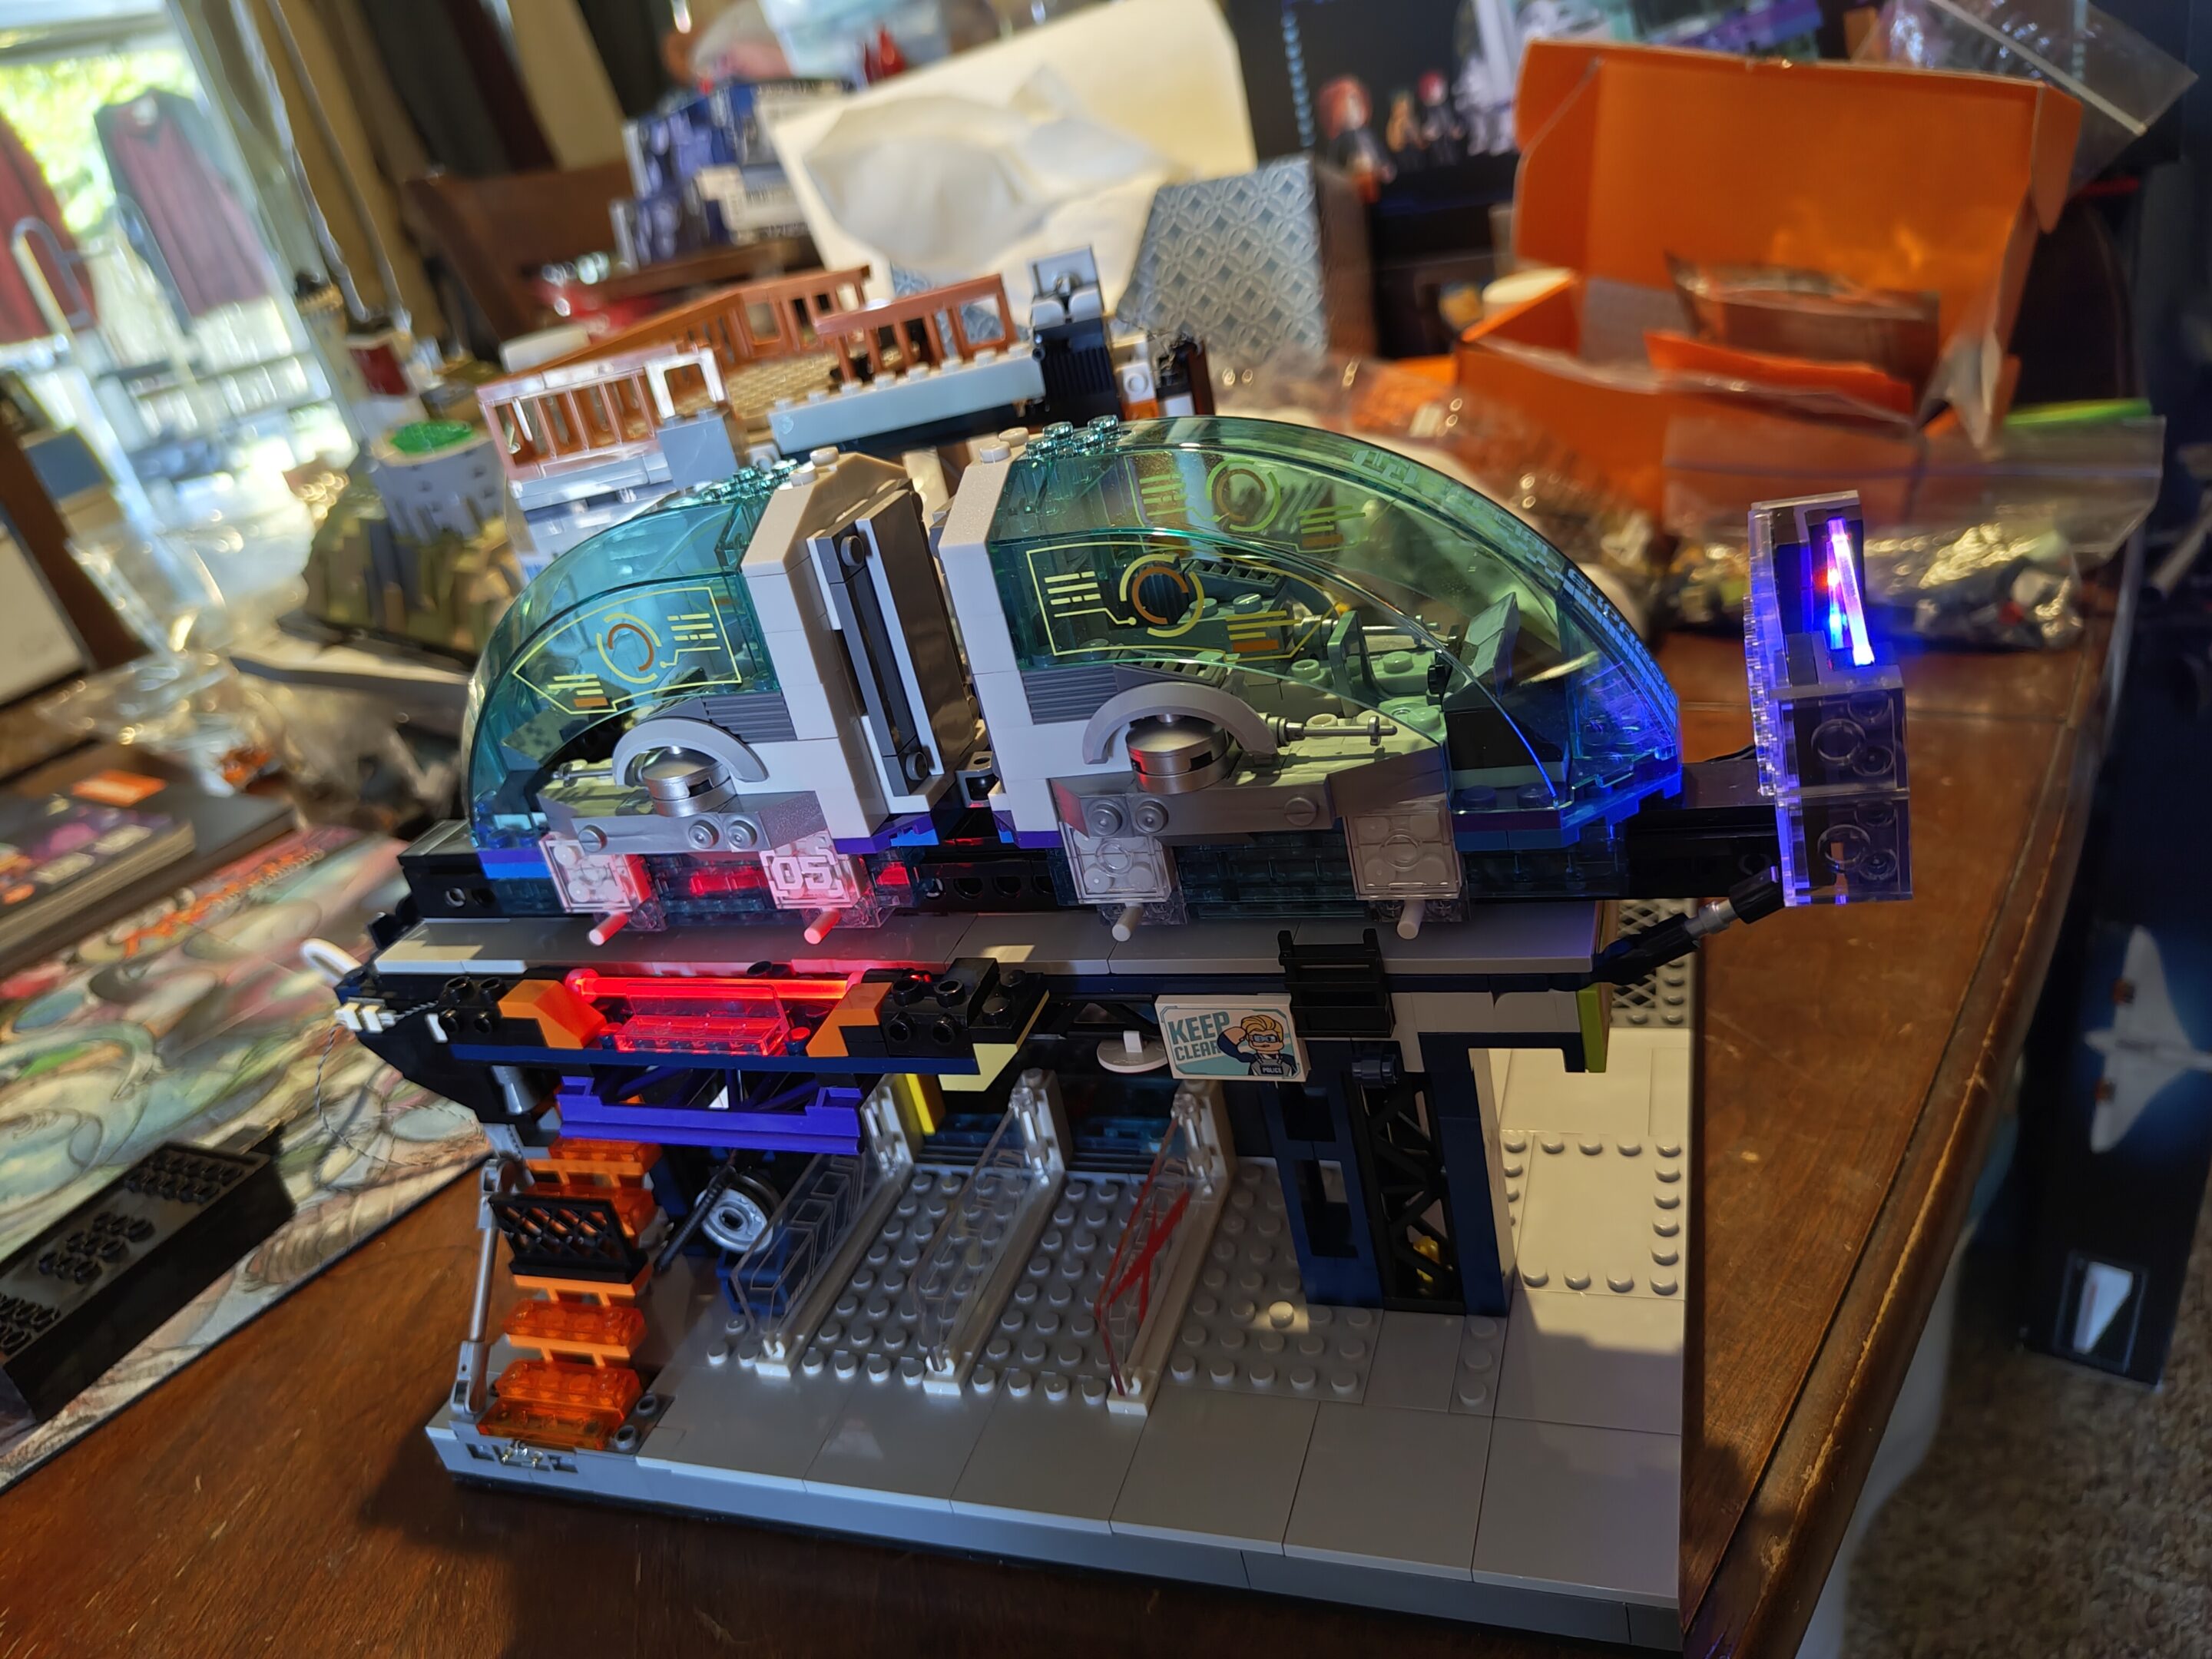
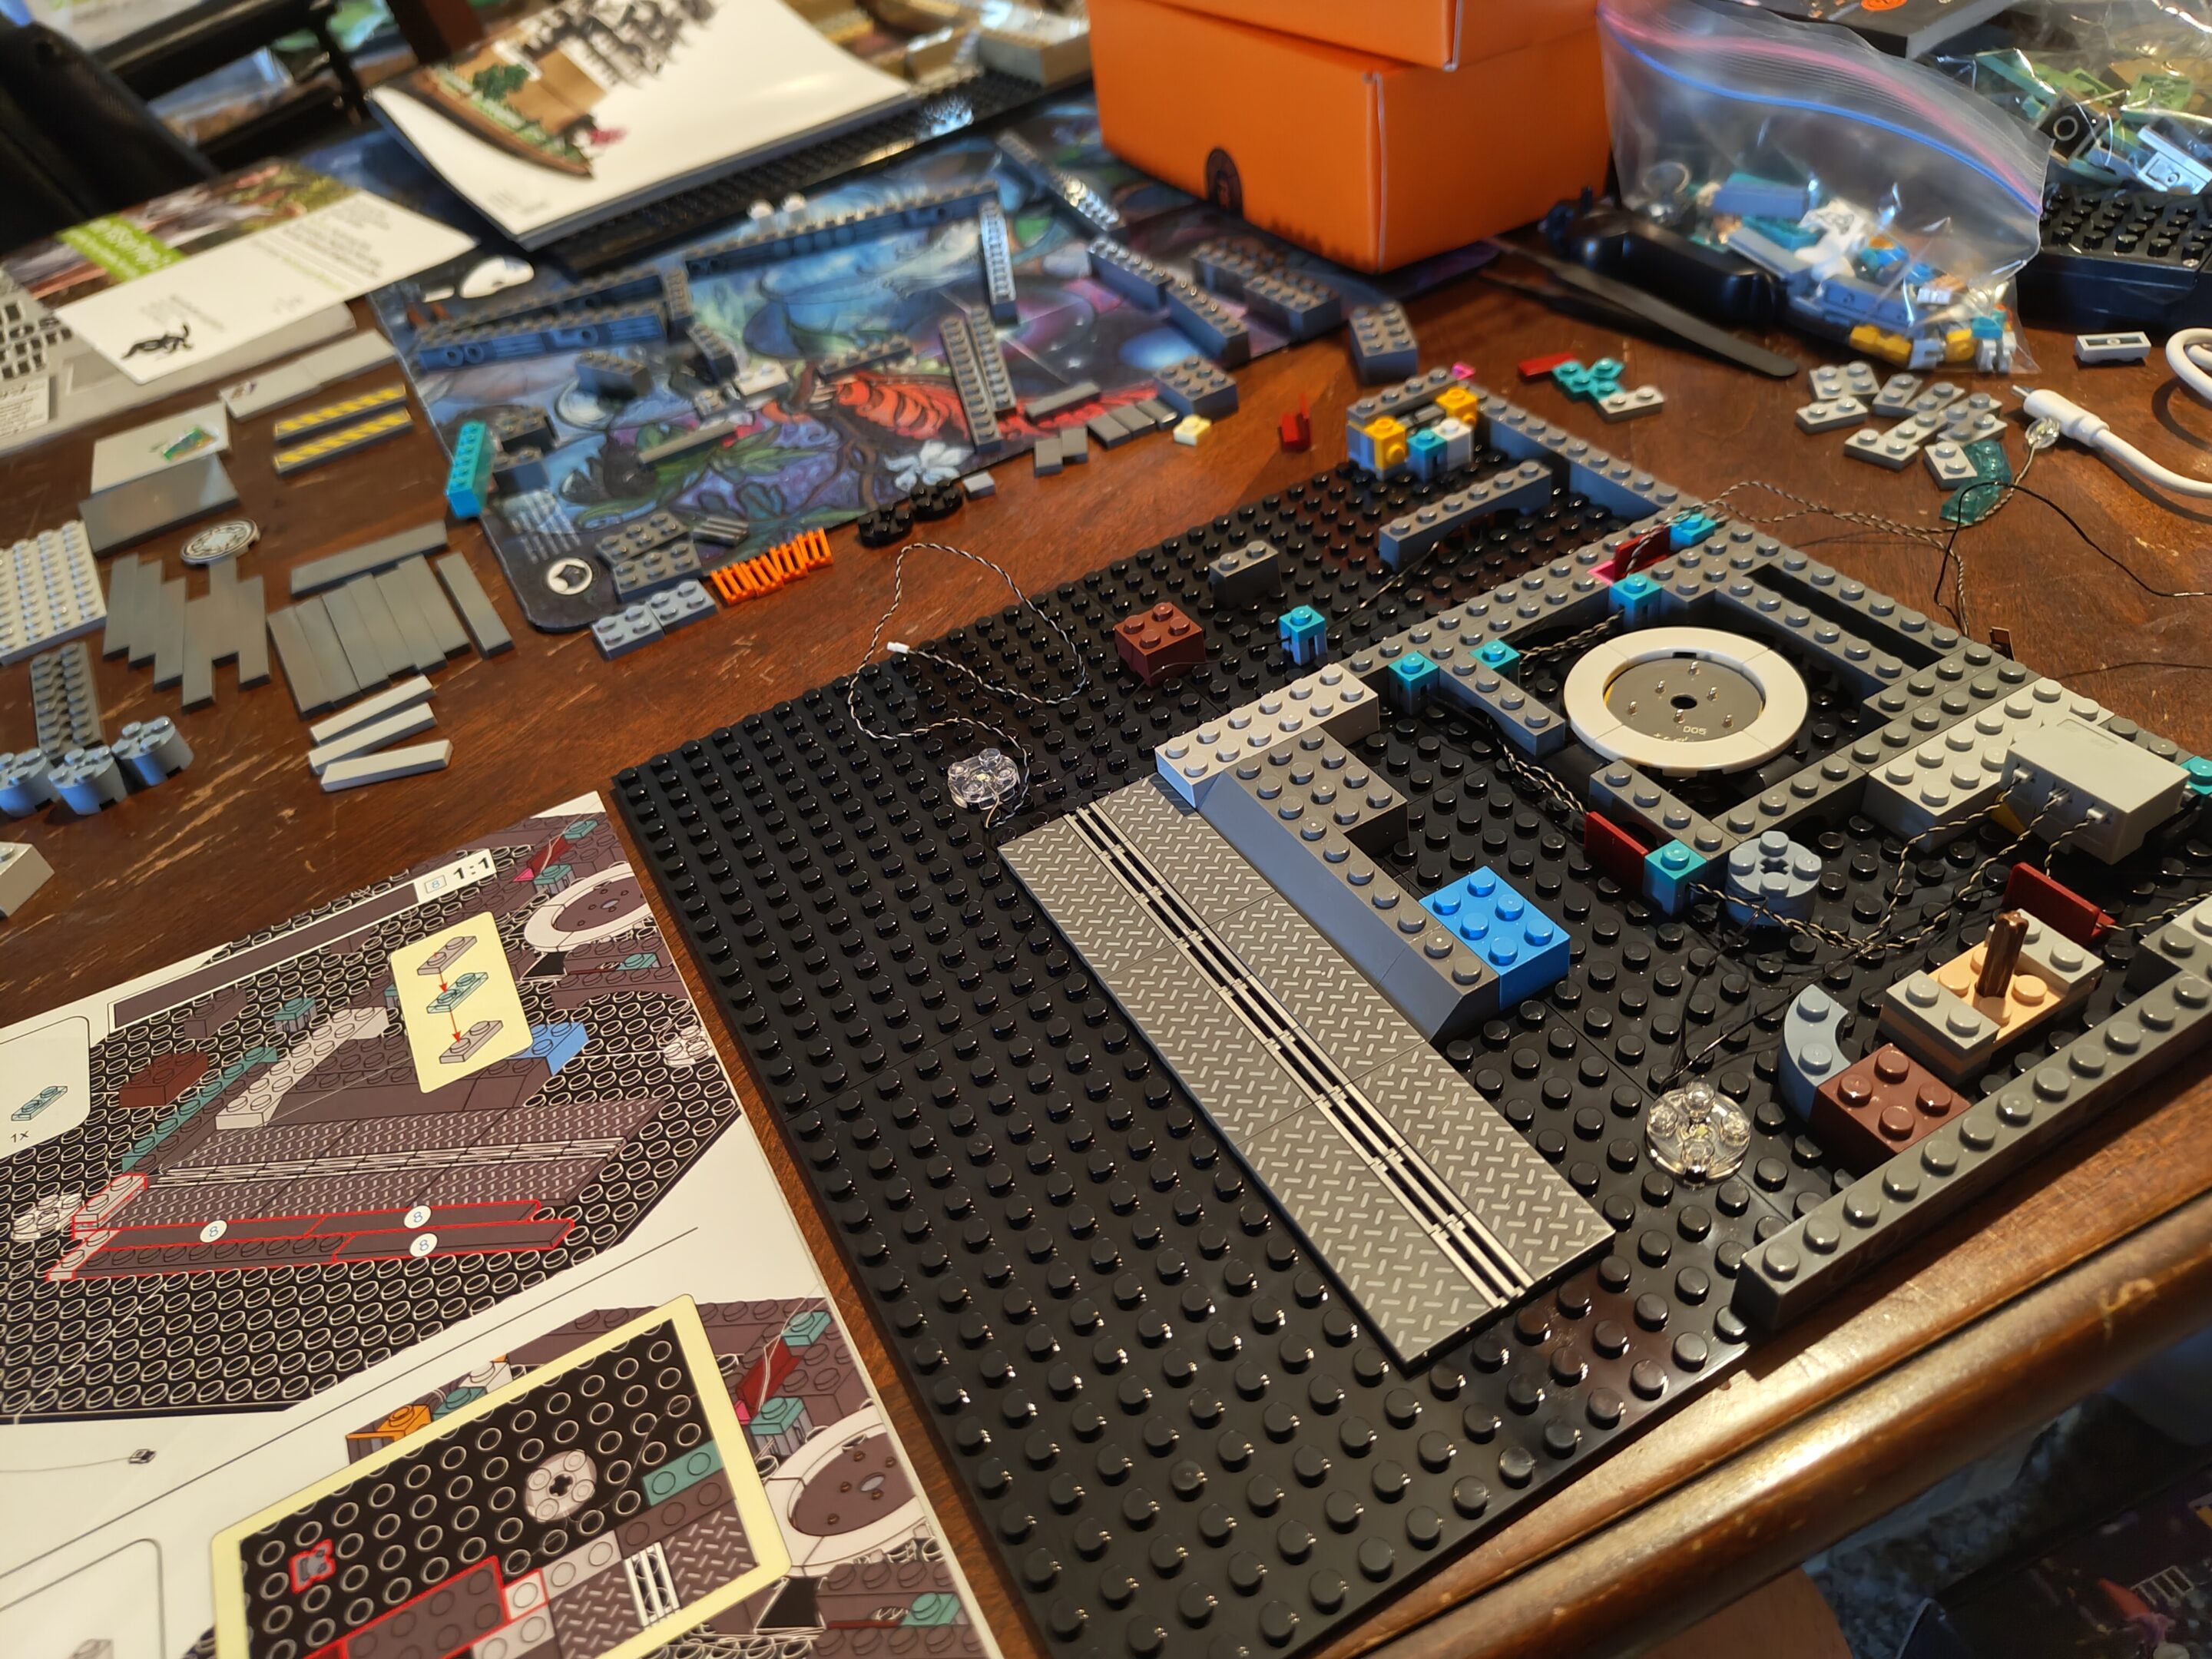
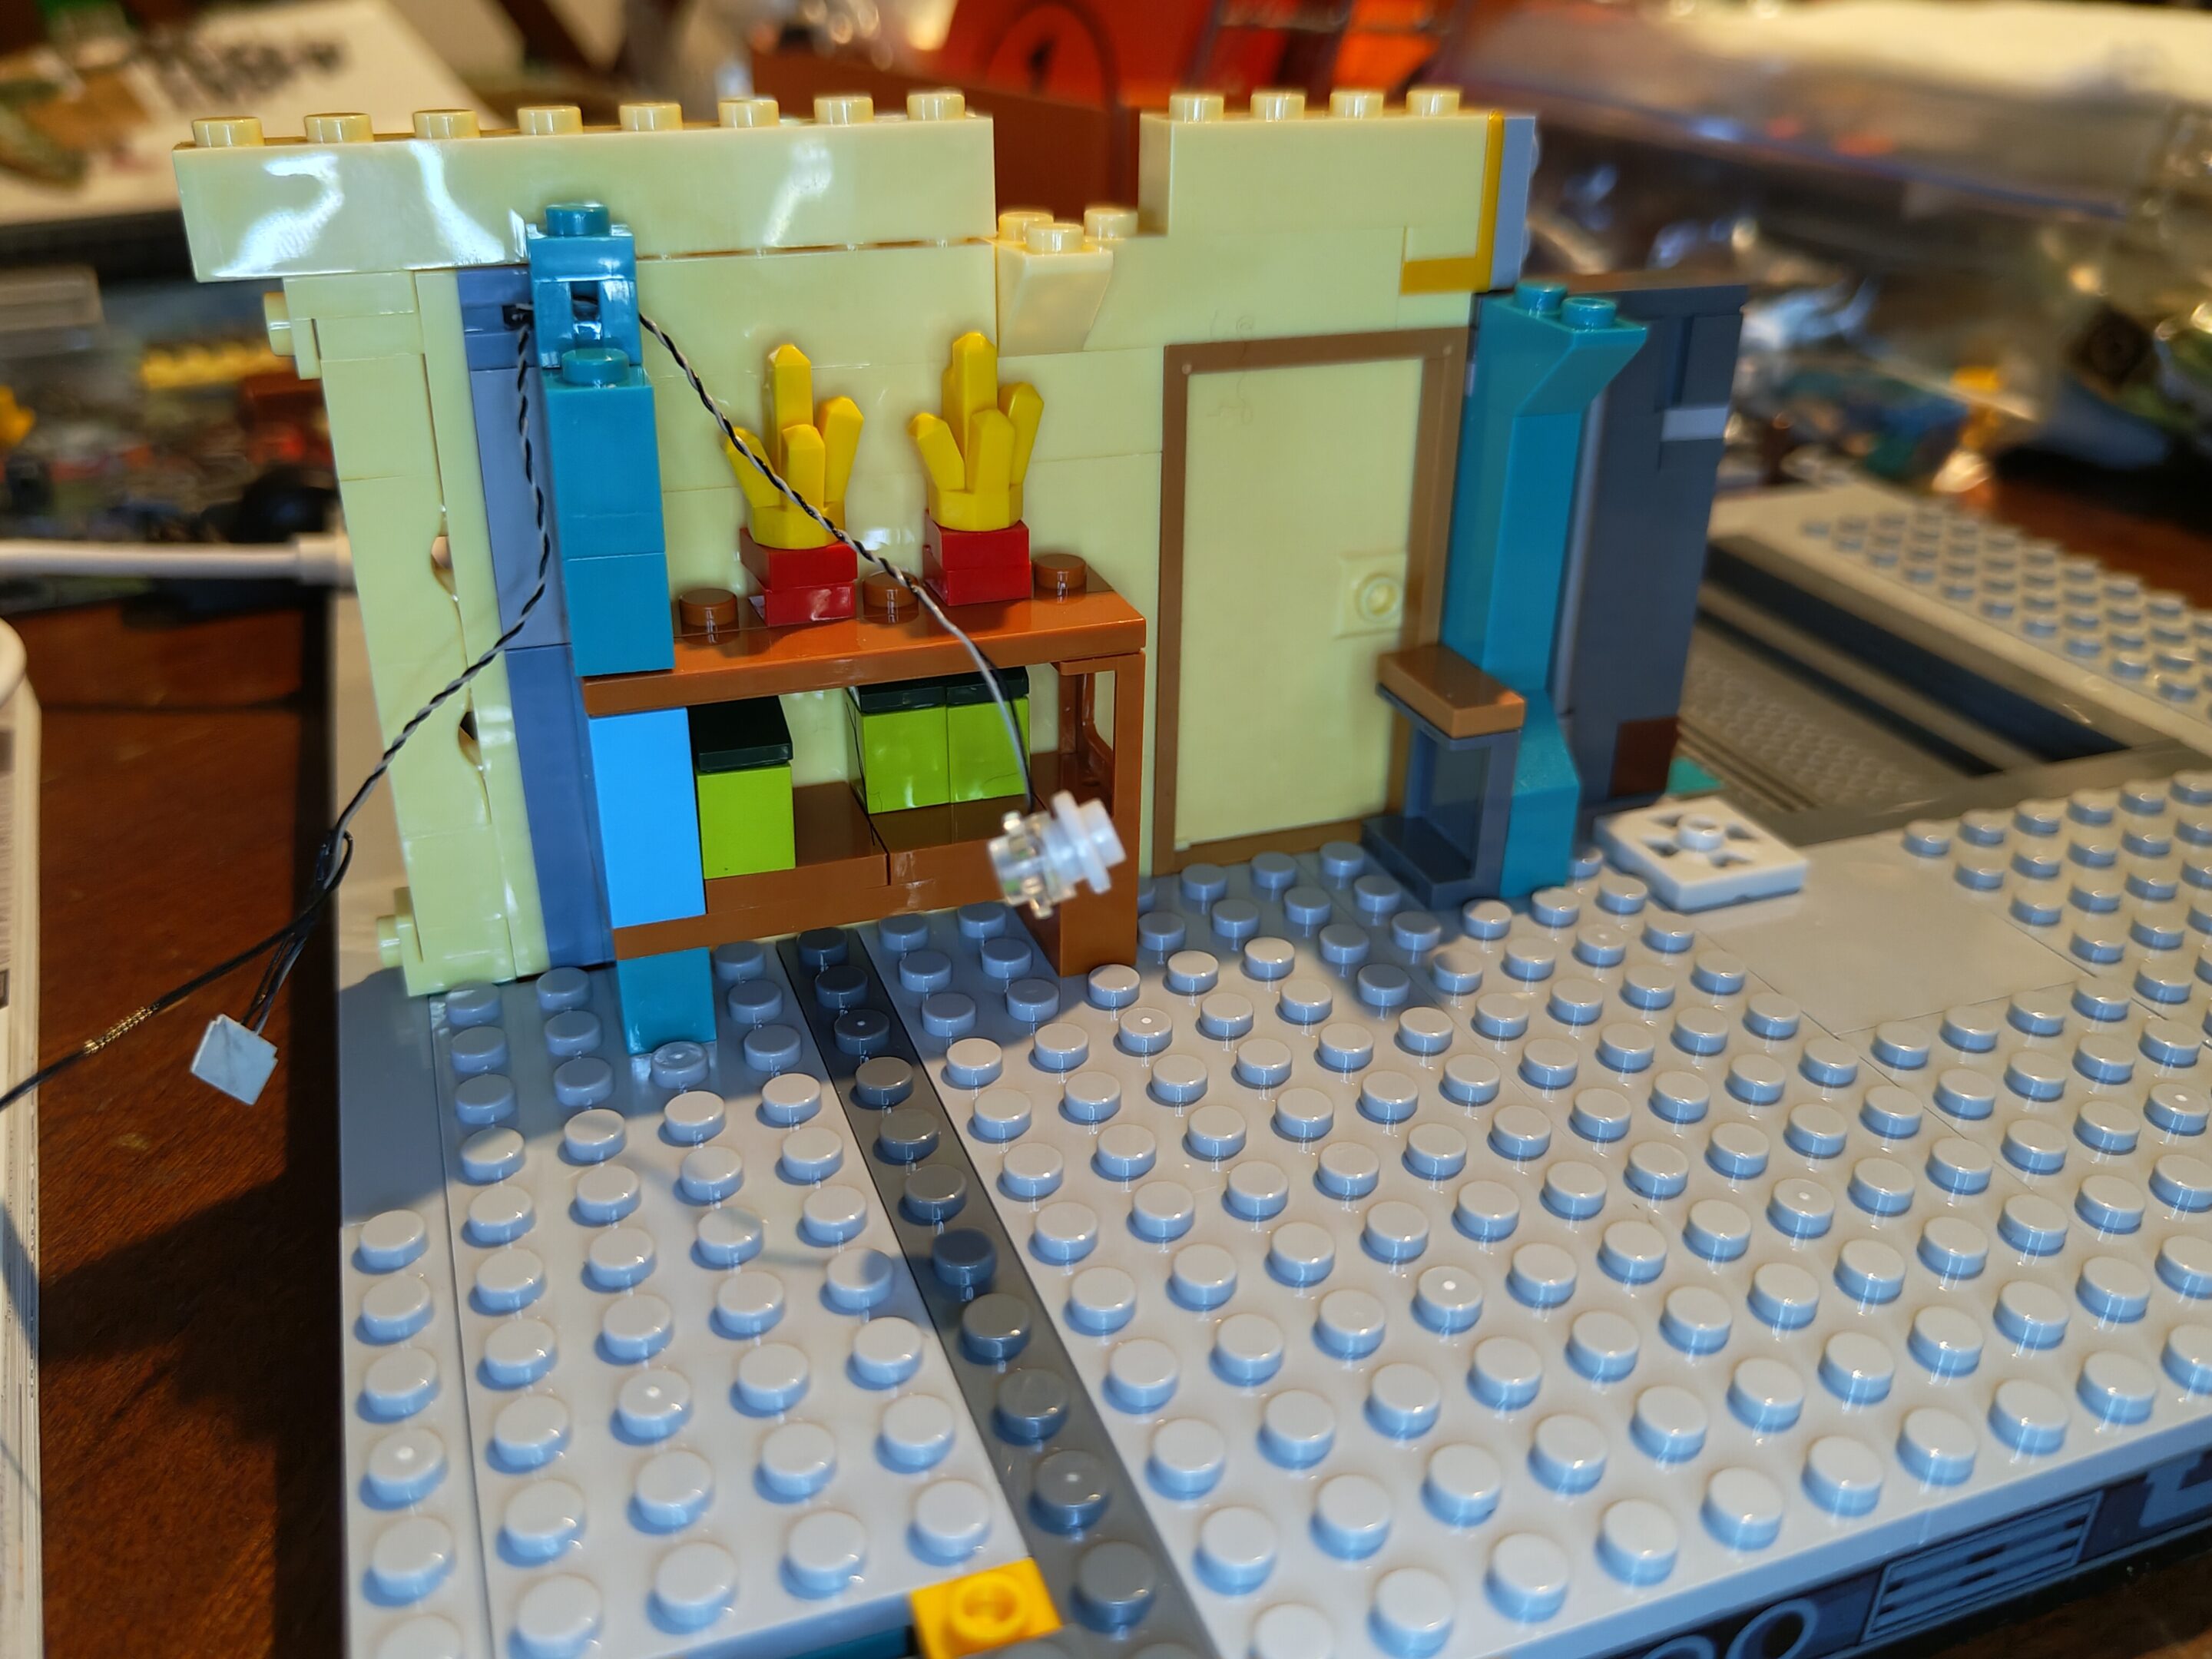
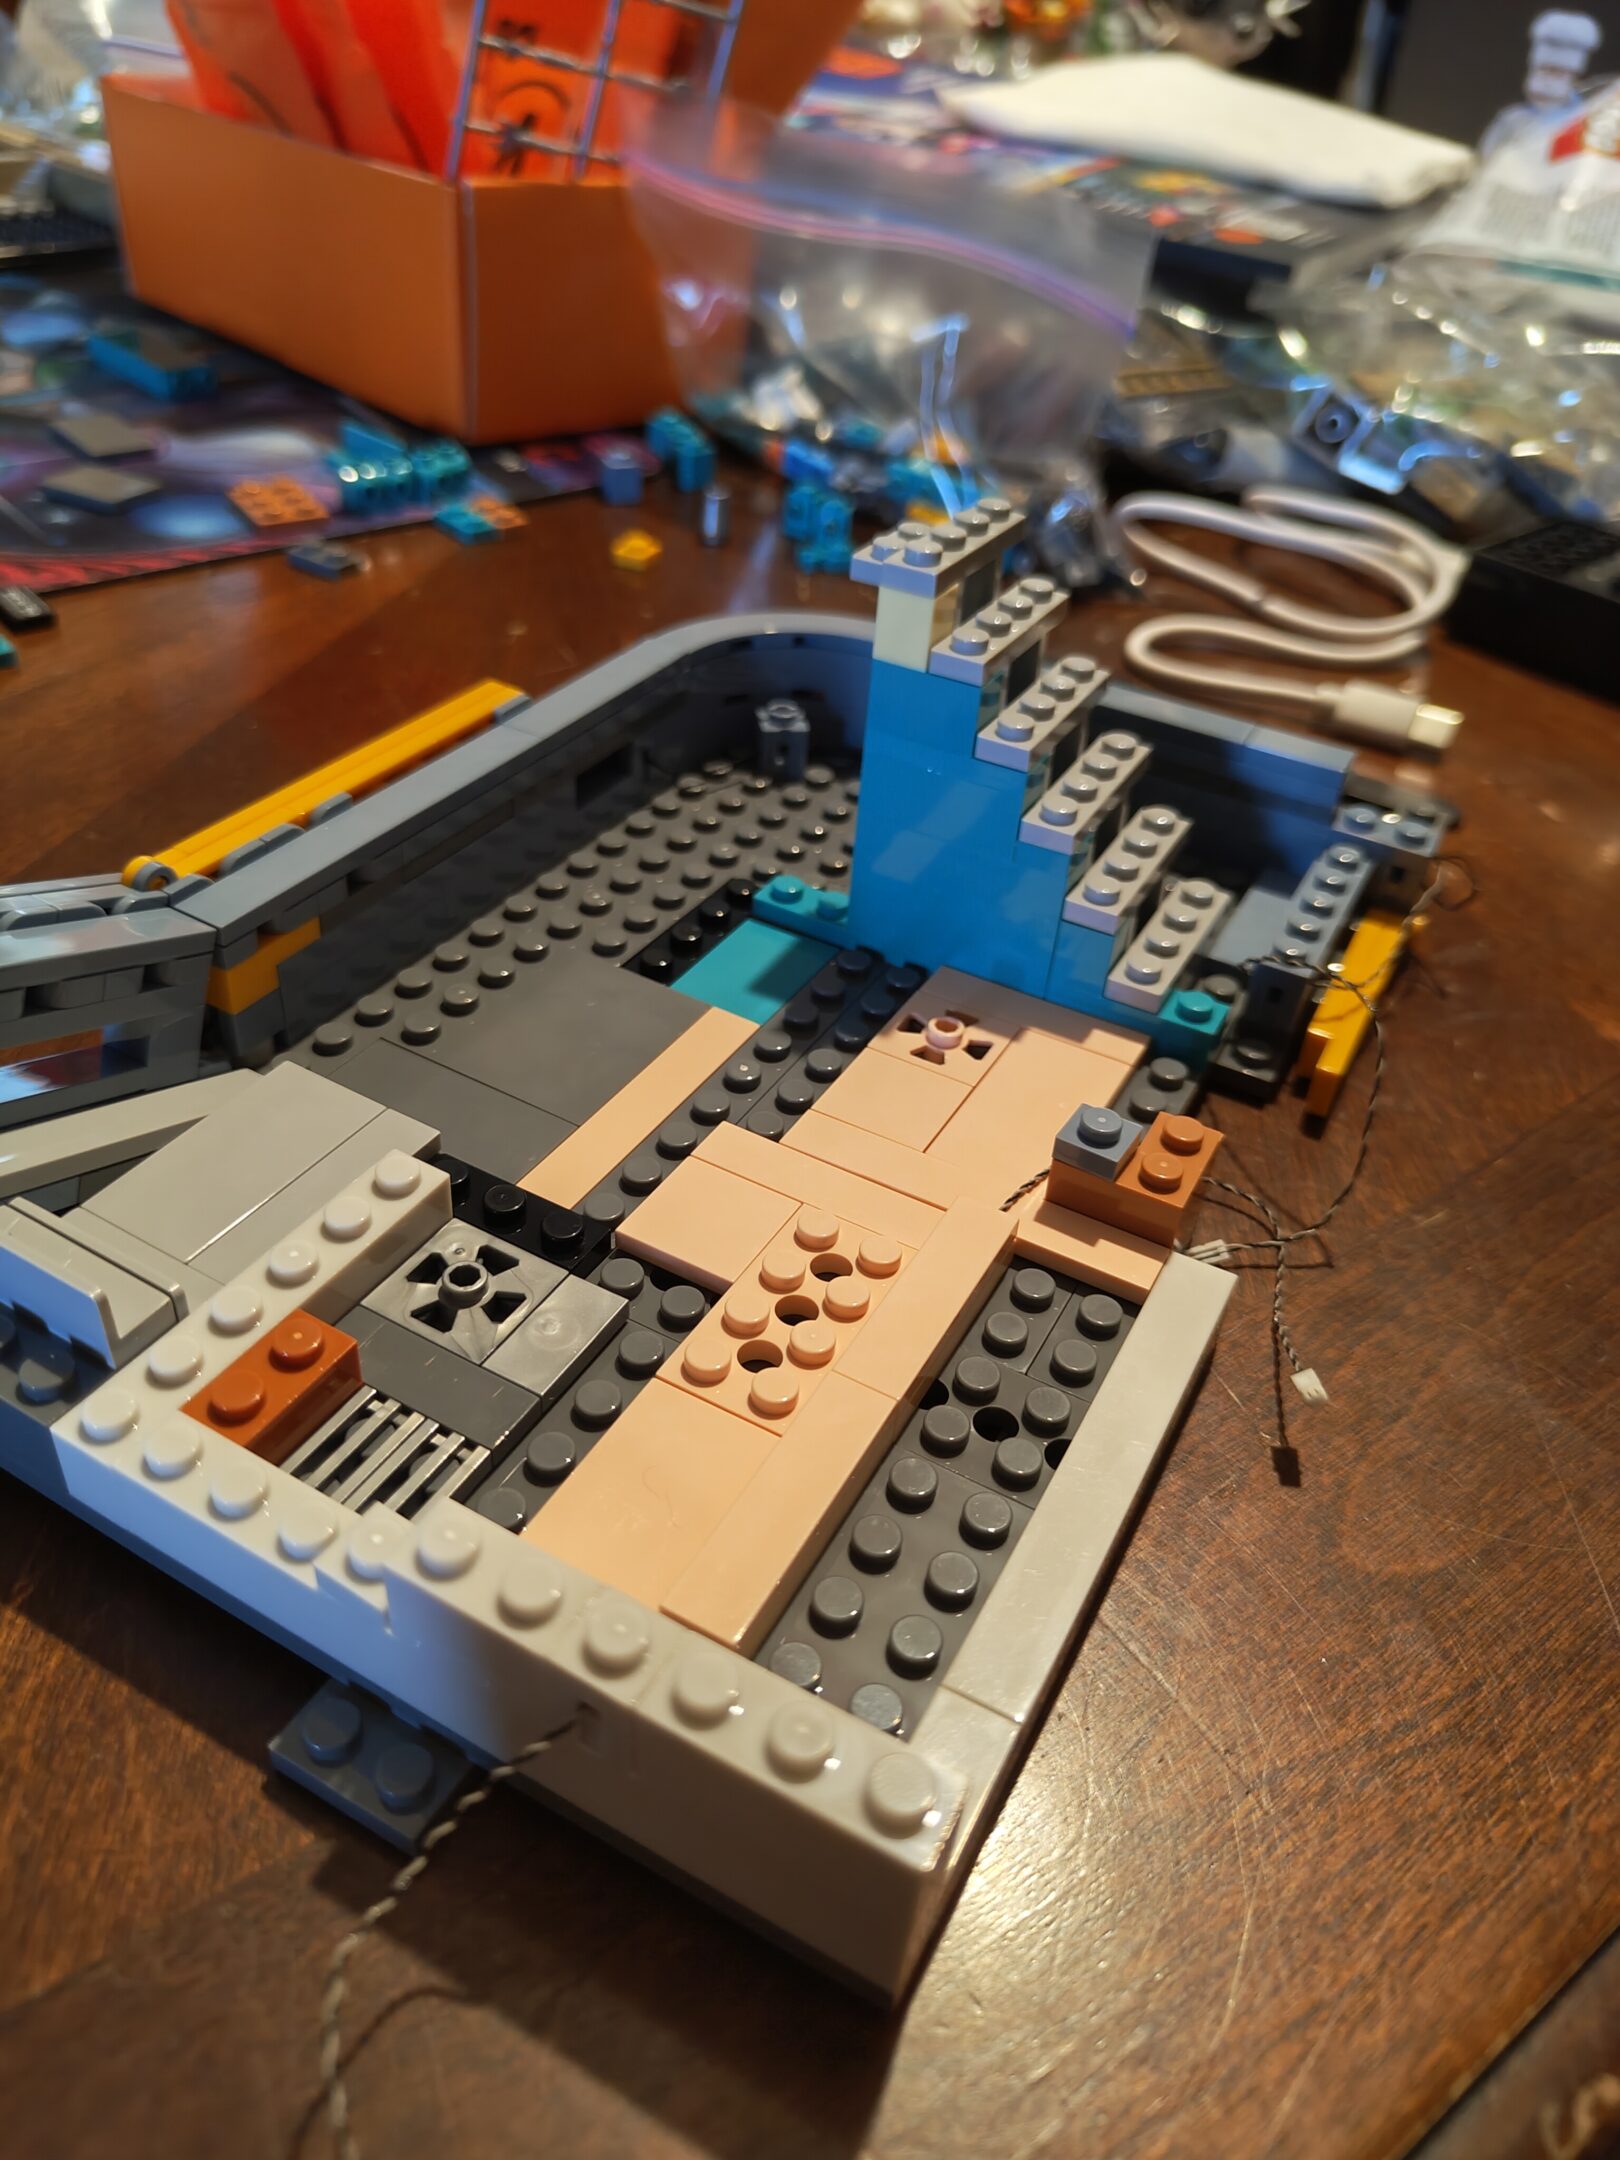
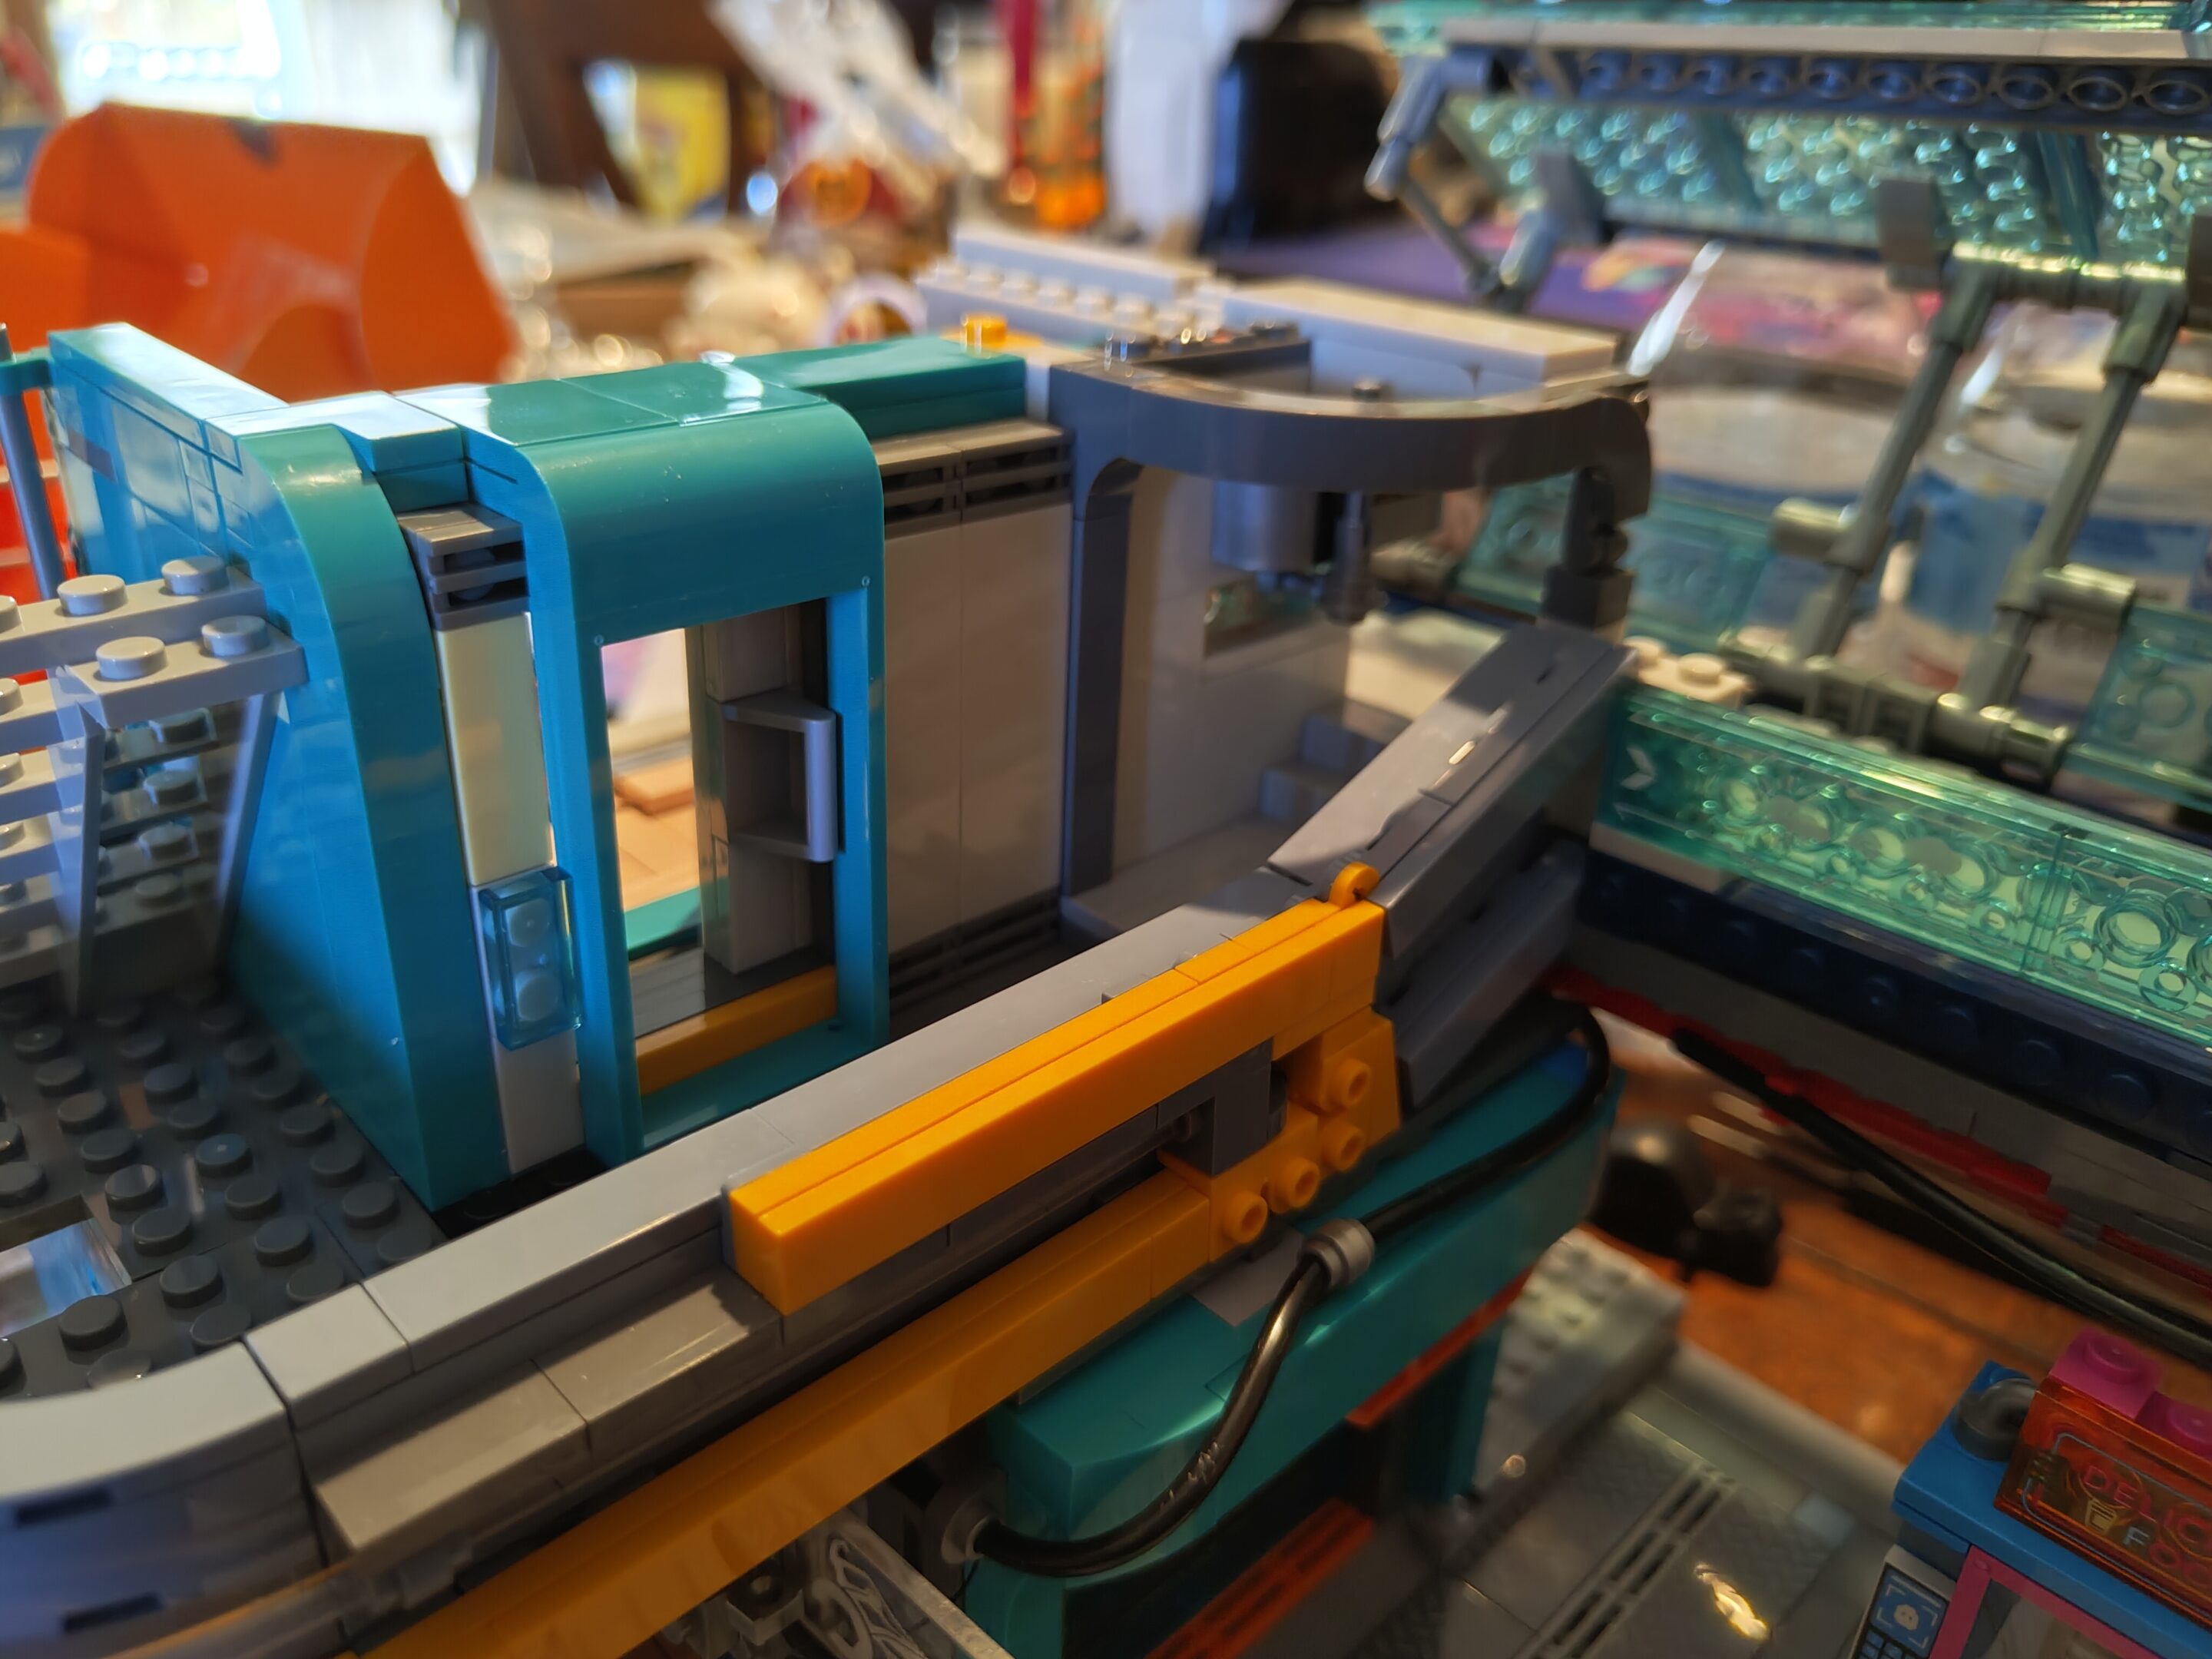
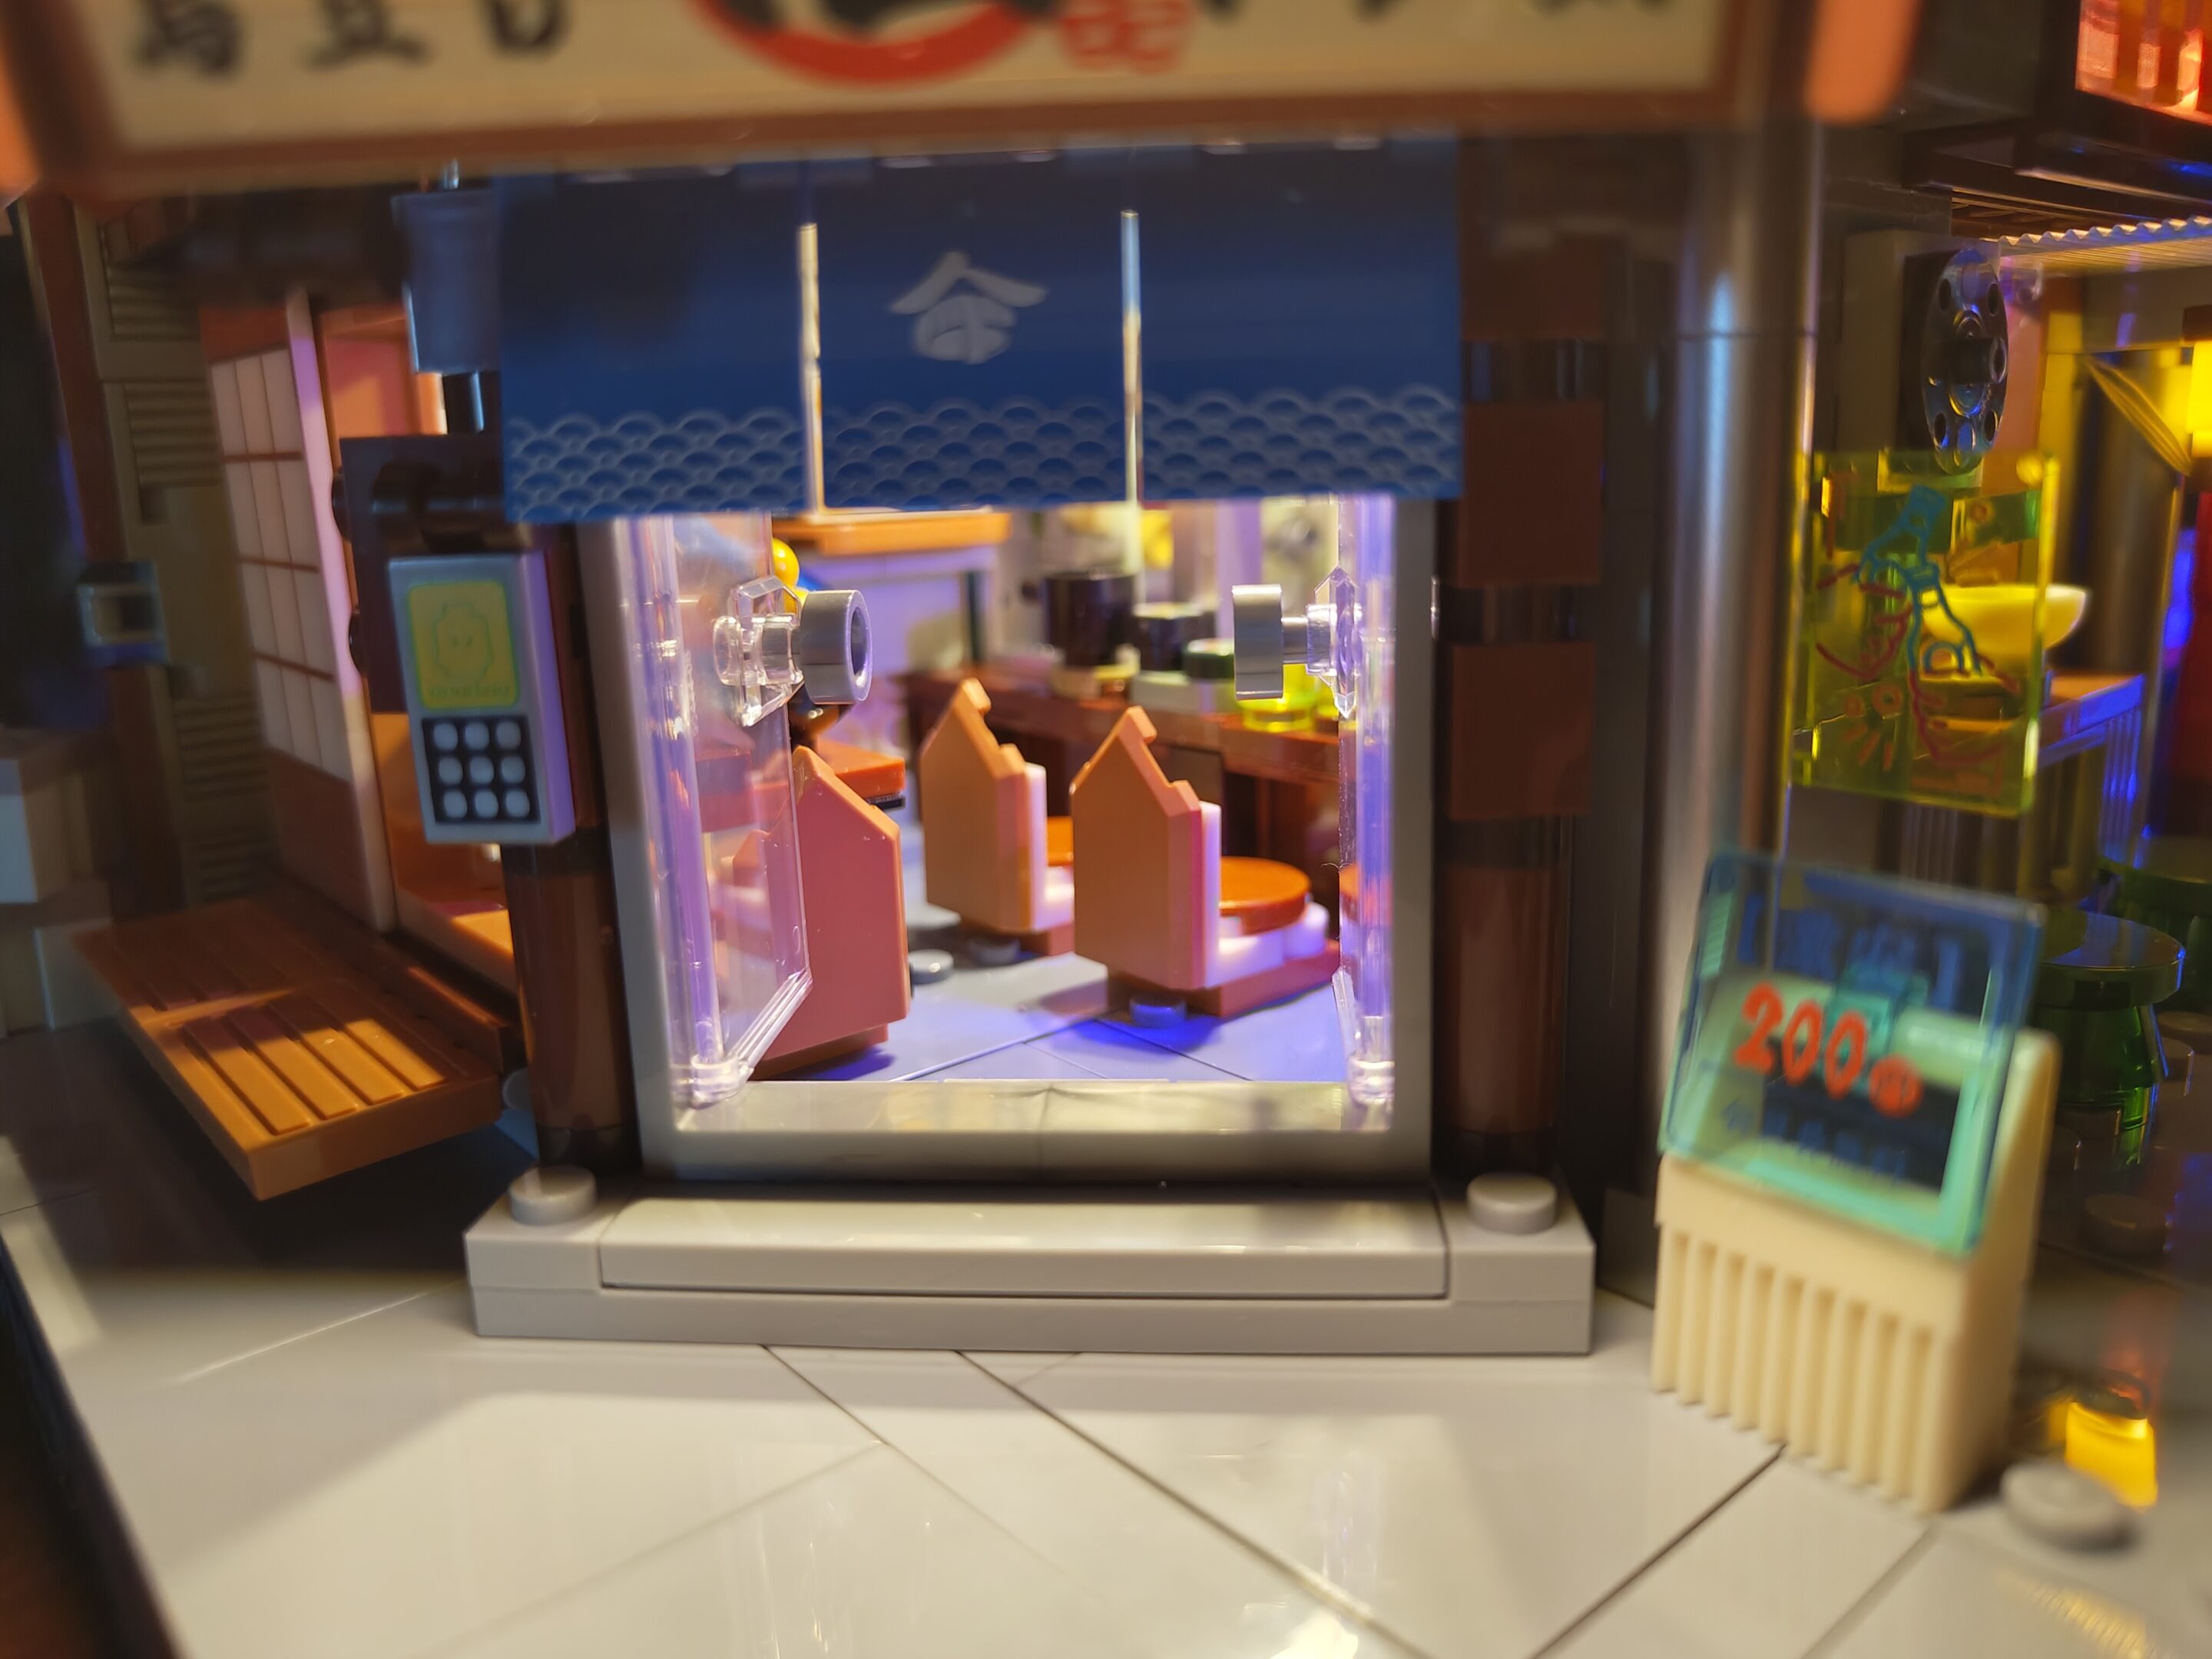
okay lets fix the filler text in with the actual text now that i’ve started. didn’t get much done today since it’s a friday and usually i’ve got a thing to do but instead woke up puking so, you know, great start to the day. but i got some brick time in maybe it’s a wash. anyway. the floating train station, 3rd set in the cyberpunk neoncity set from lumi. i have mine in a different layout from theirs here — i think i’ll have the izakaya on the far left then apartment then game stack then train station? we’ll see once i’ve got all four built but i do know it’s gonna look so fucking cool and anyone should be damn envious
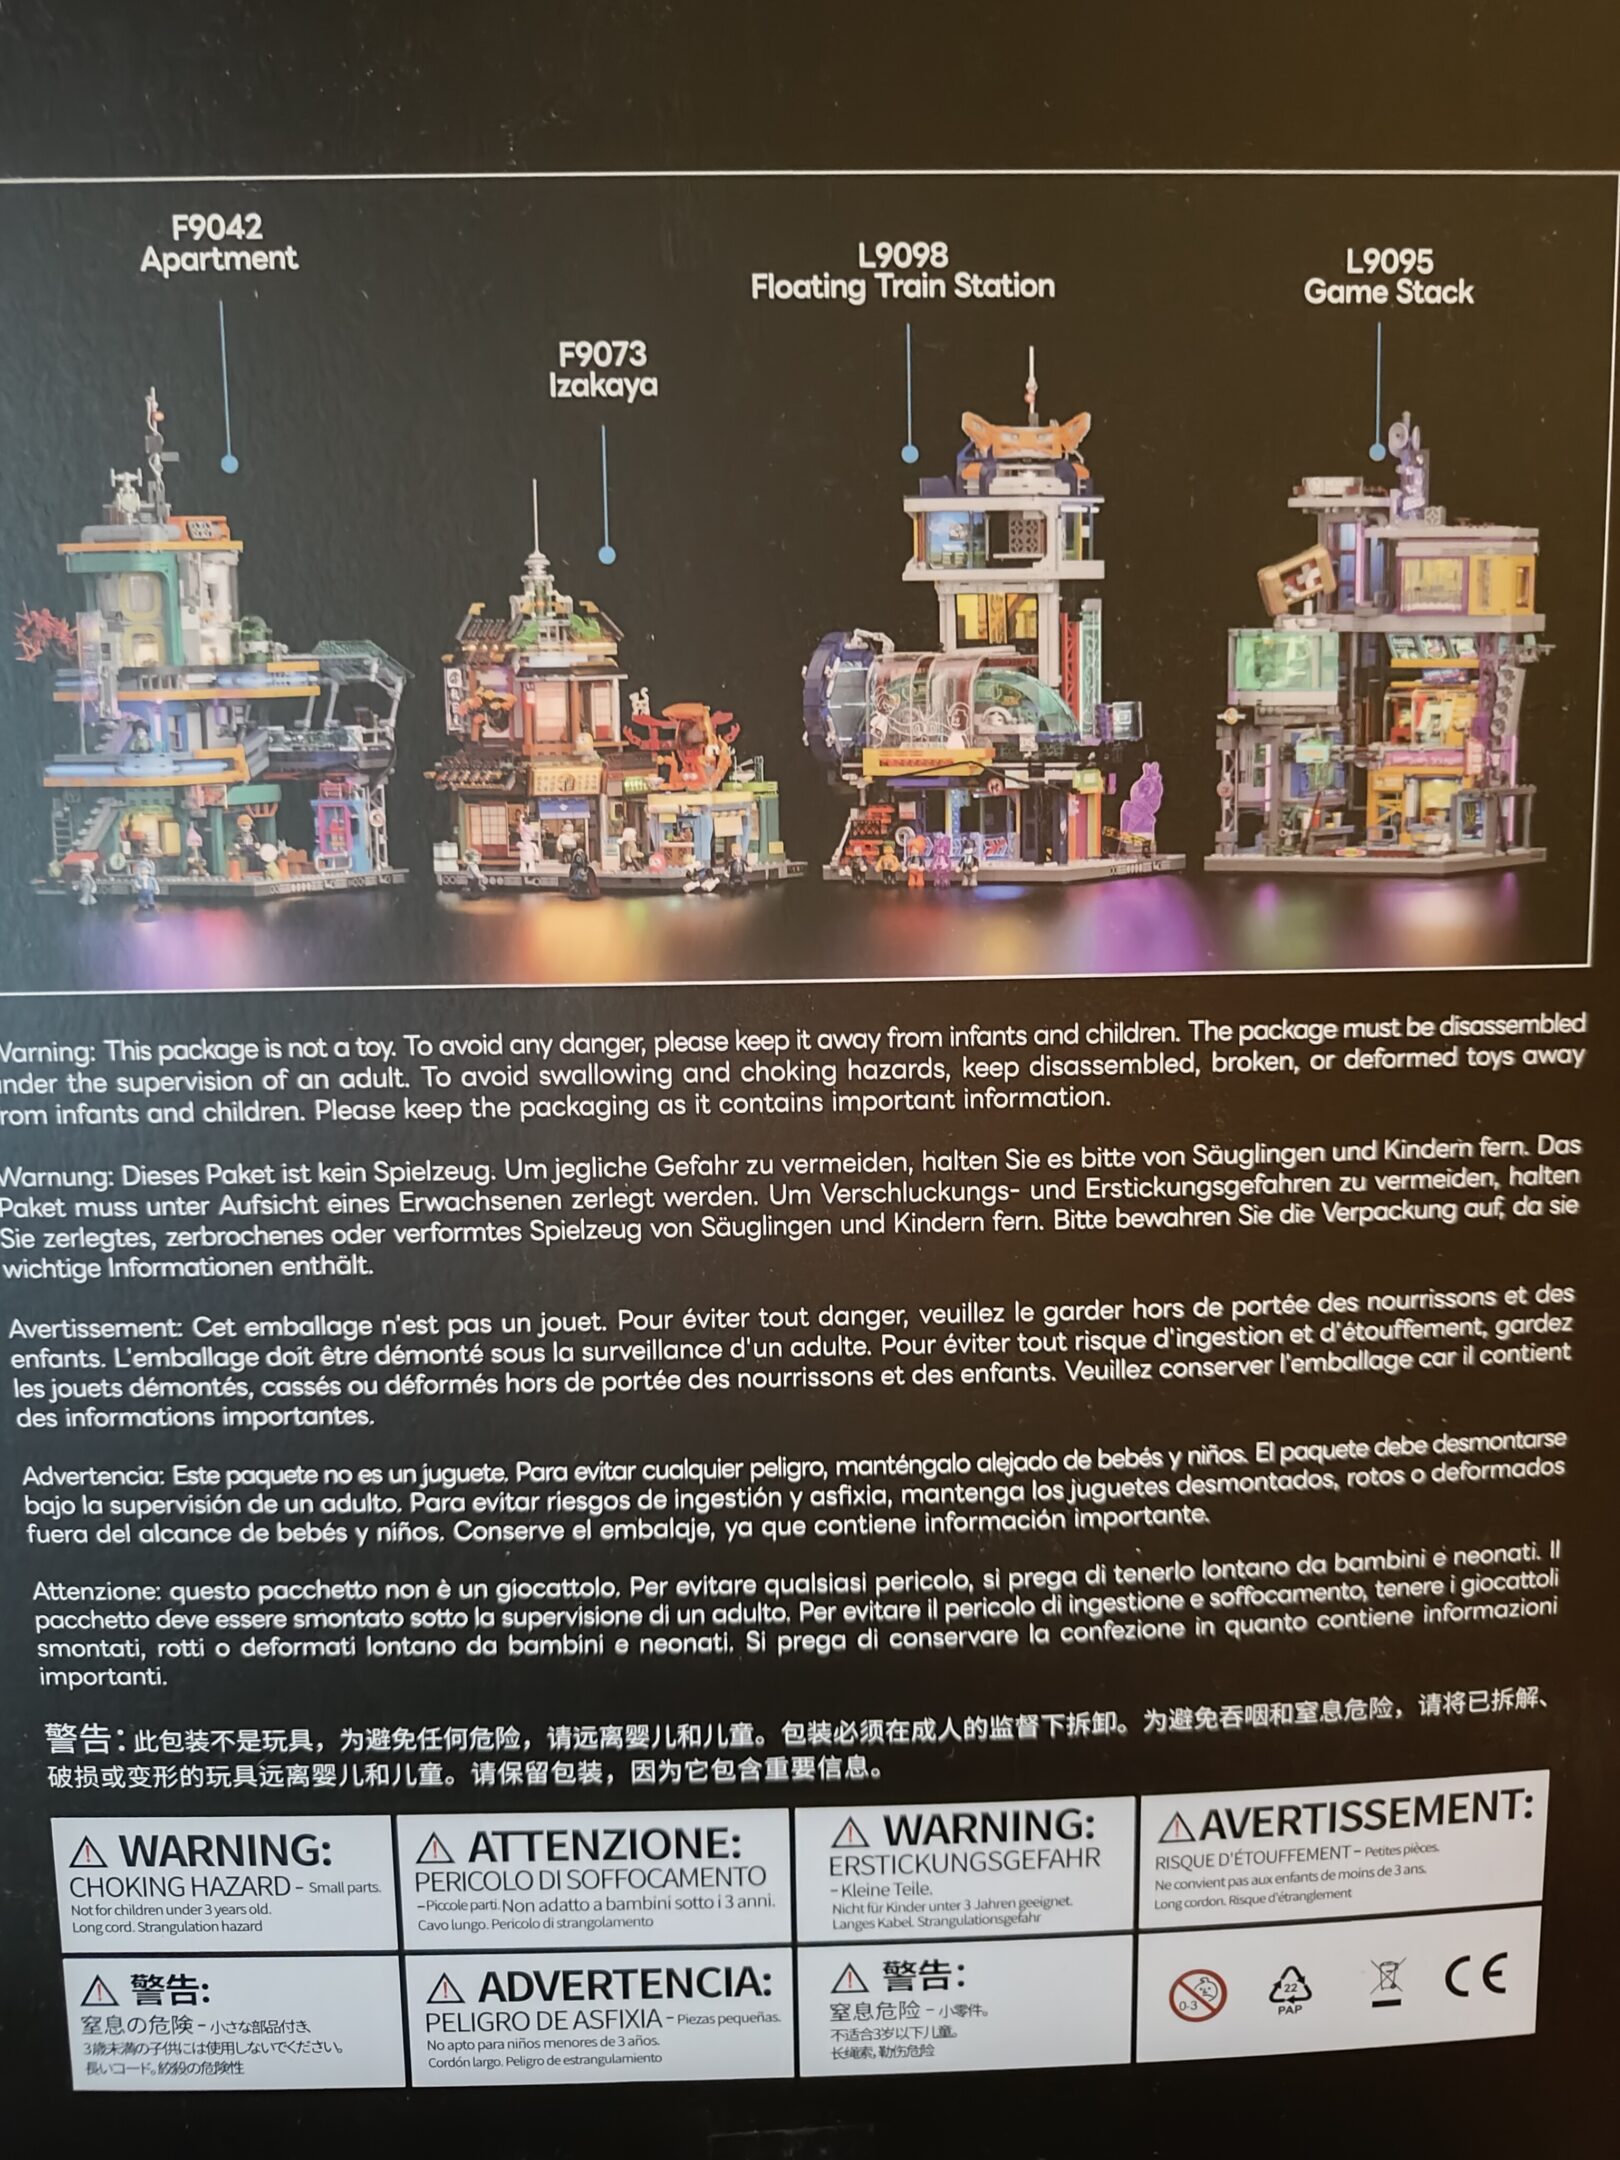
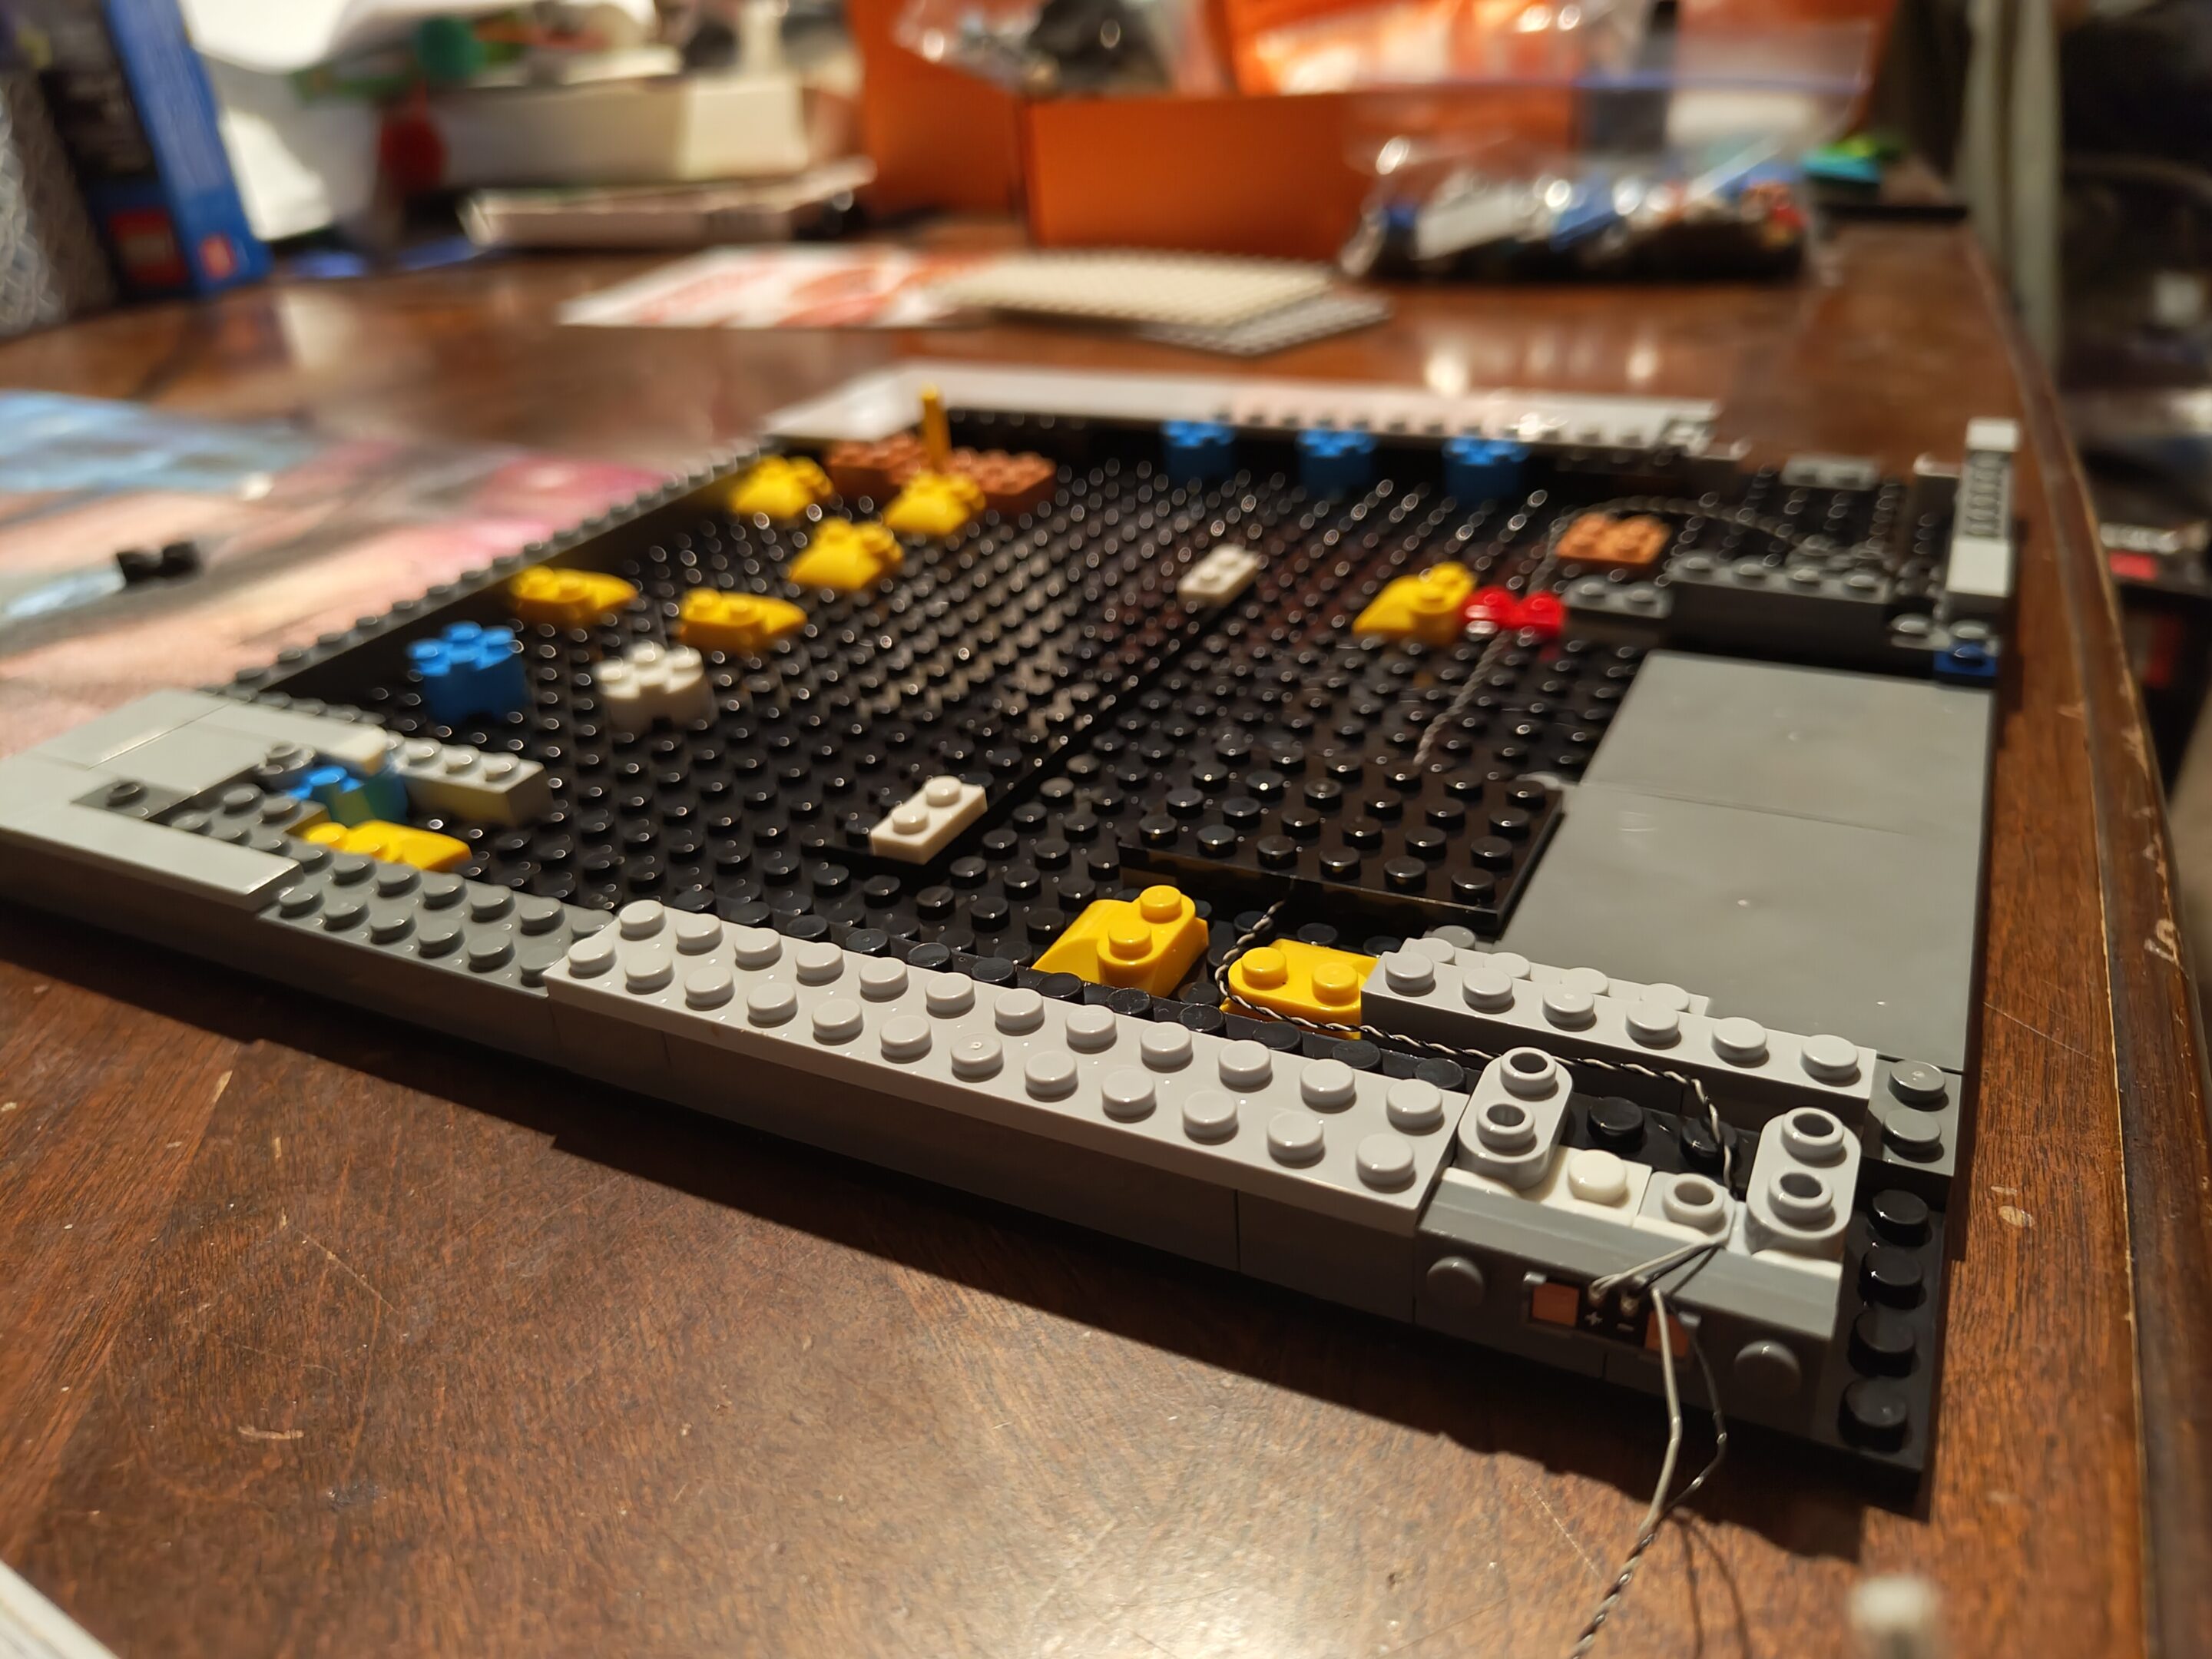
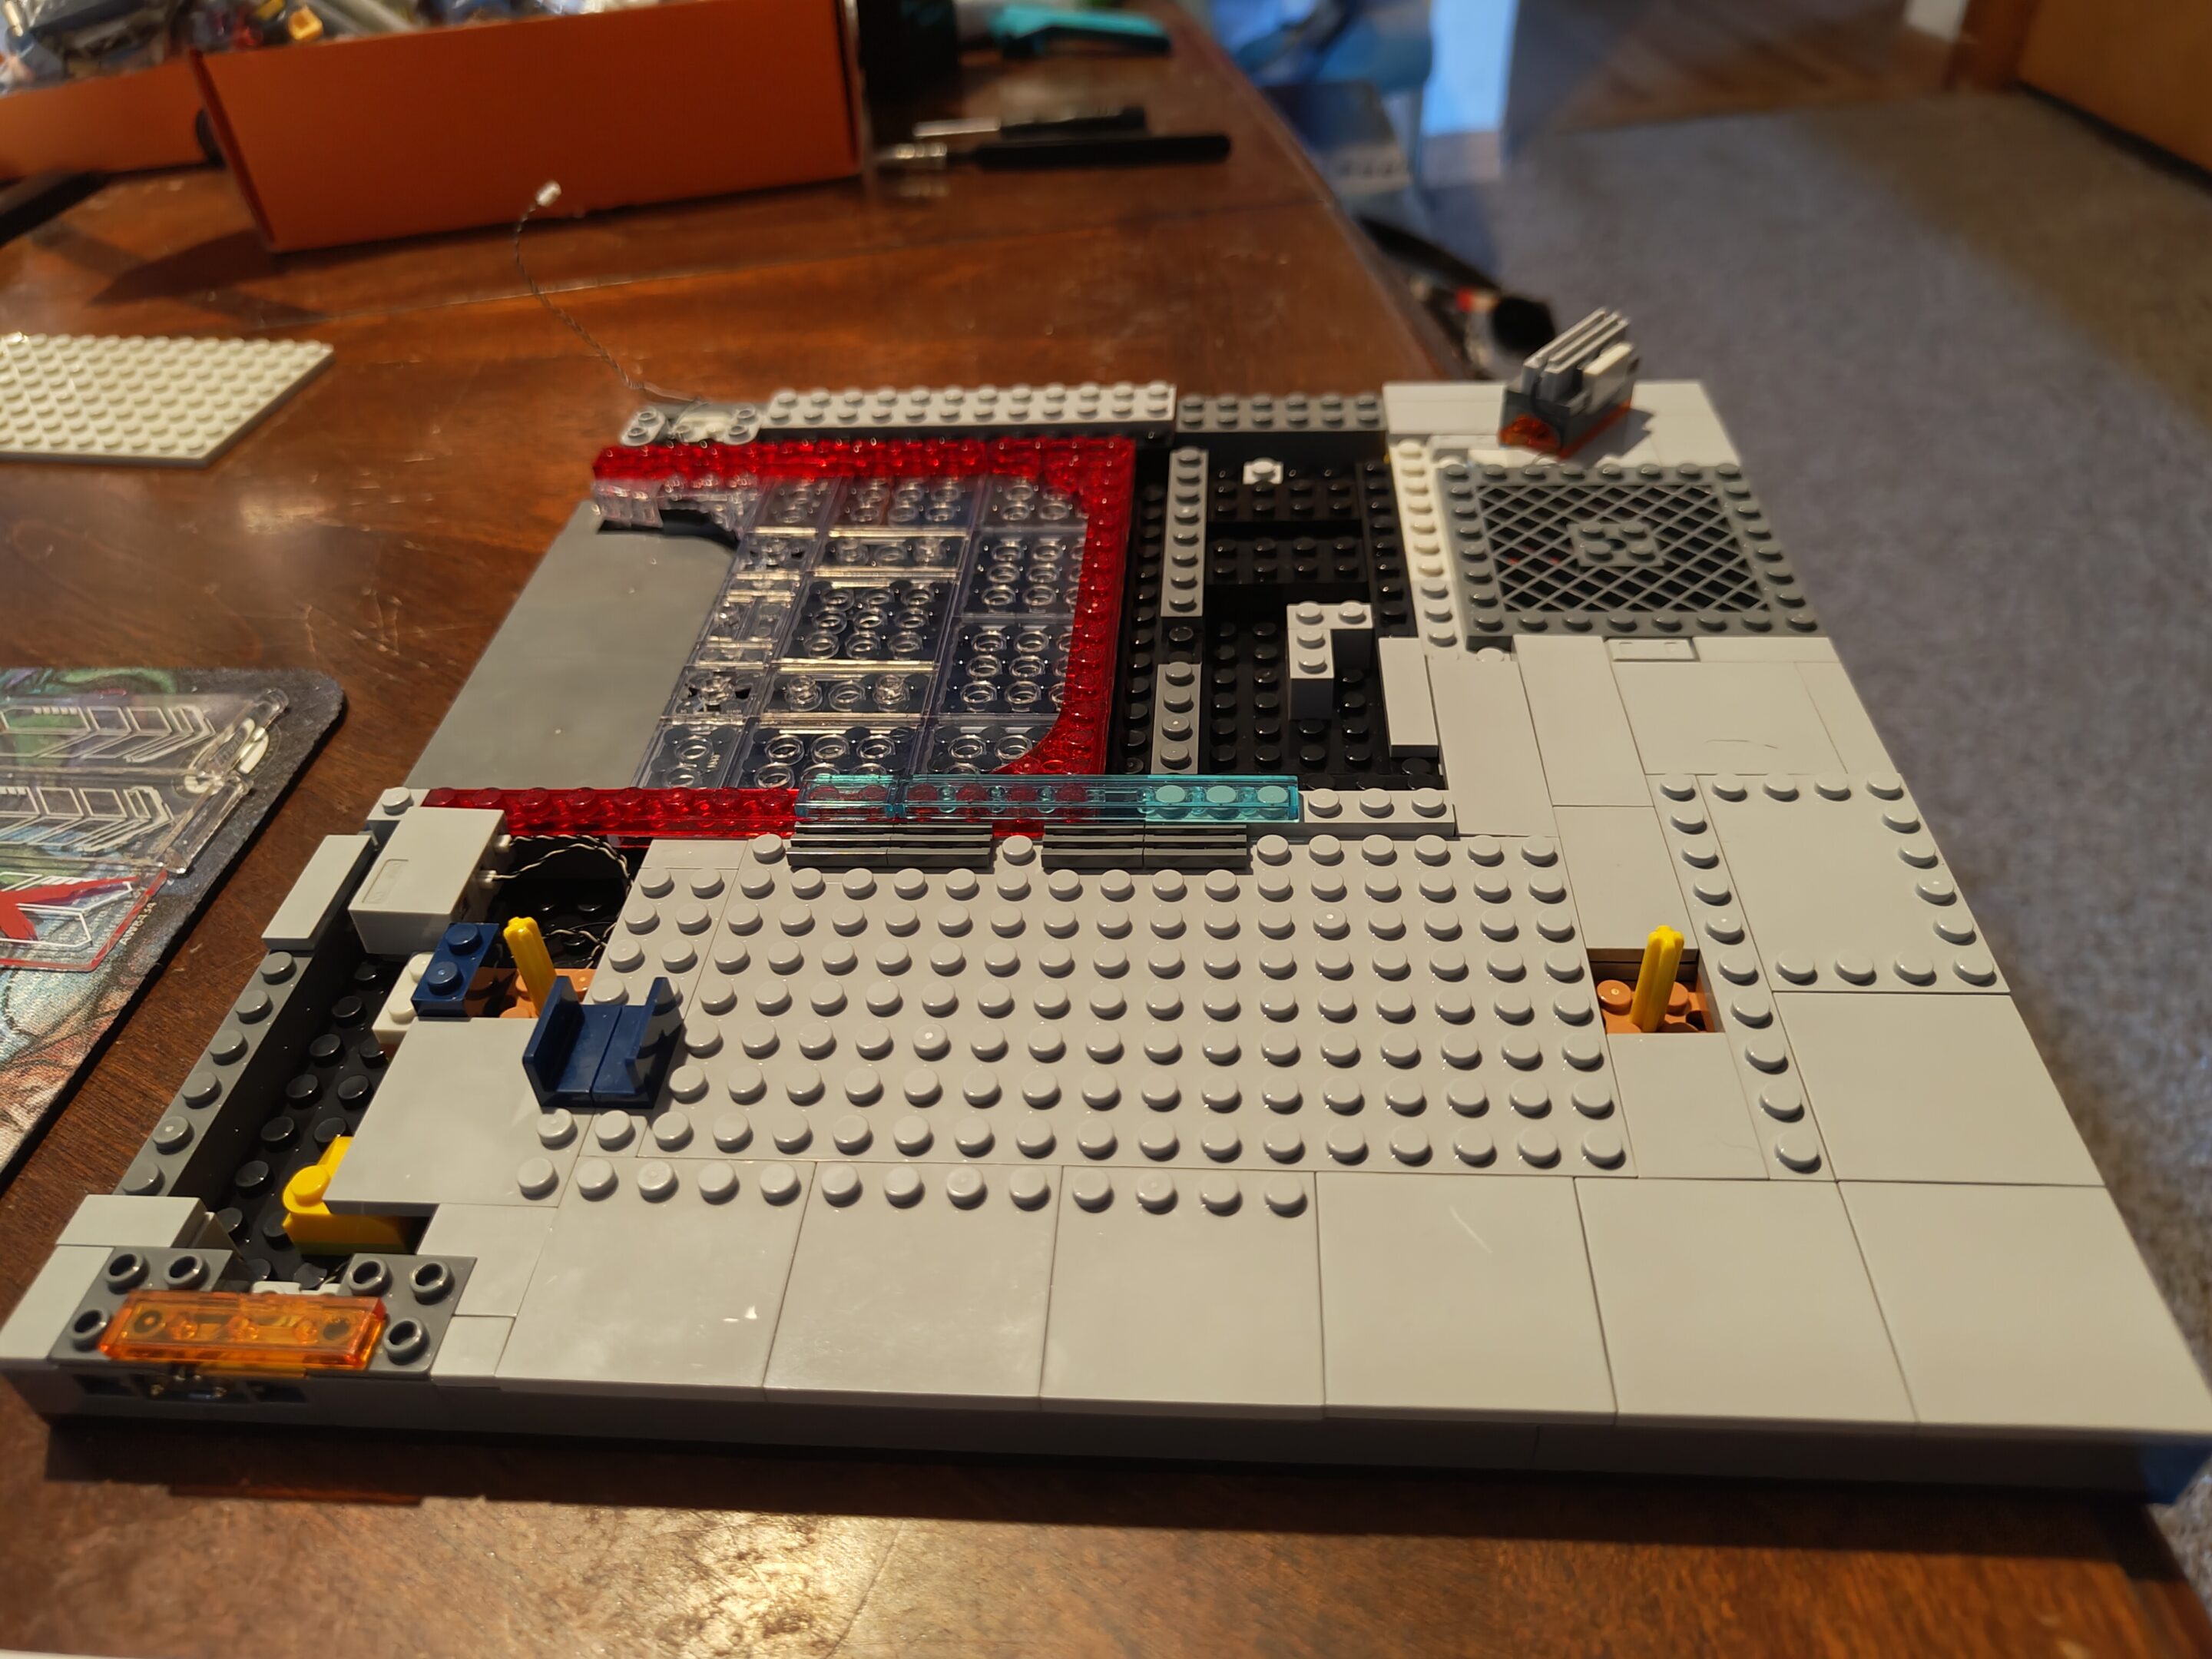
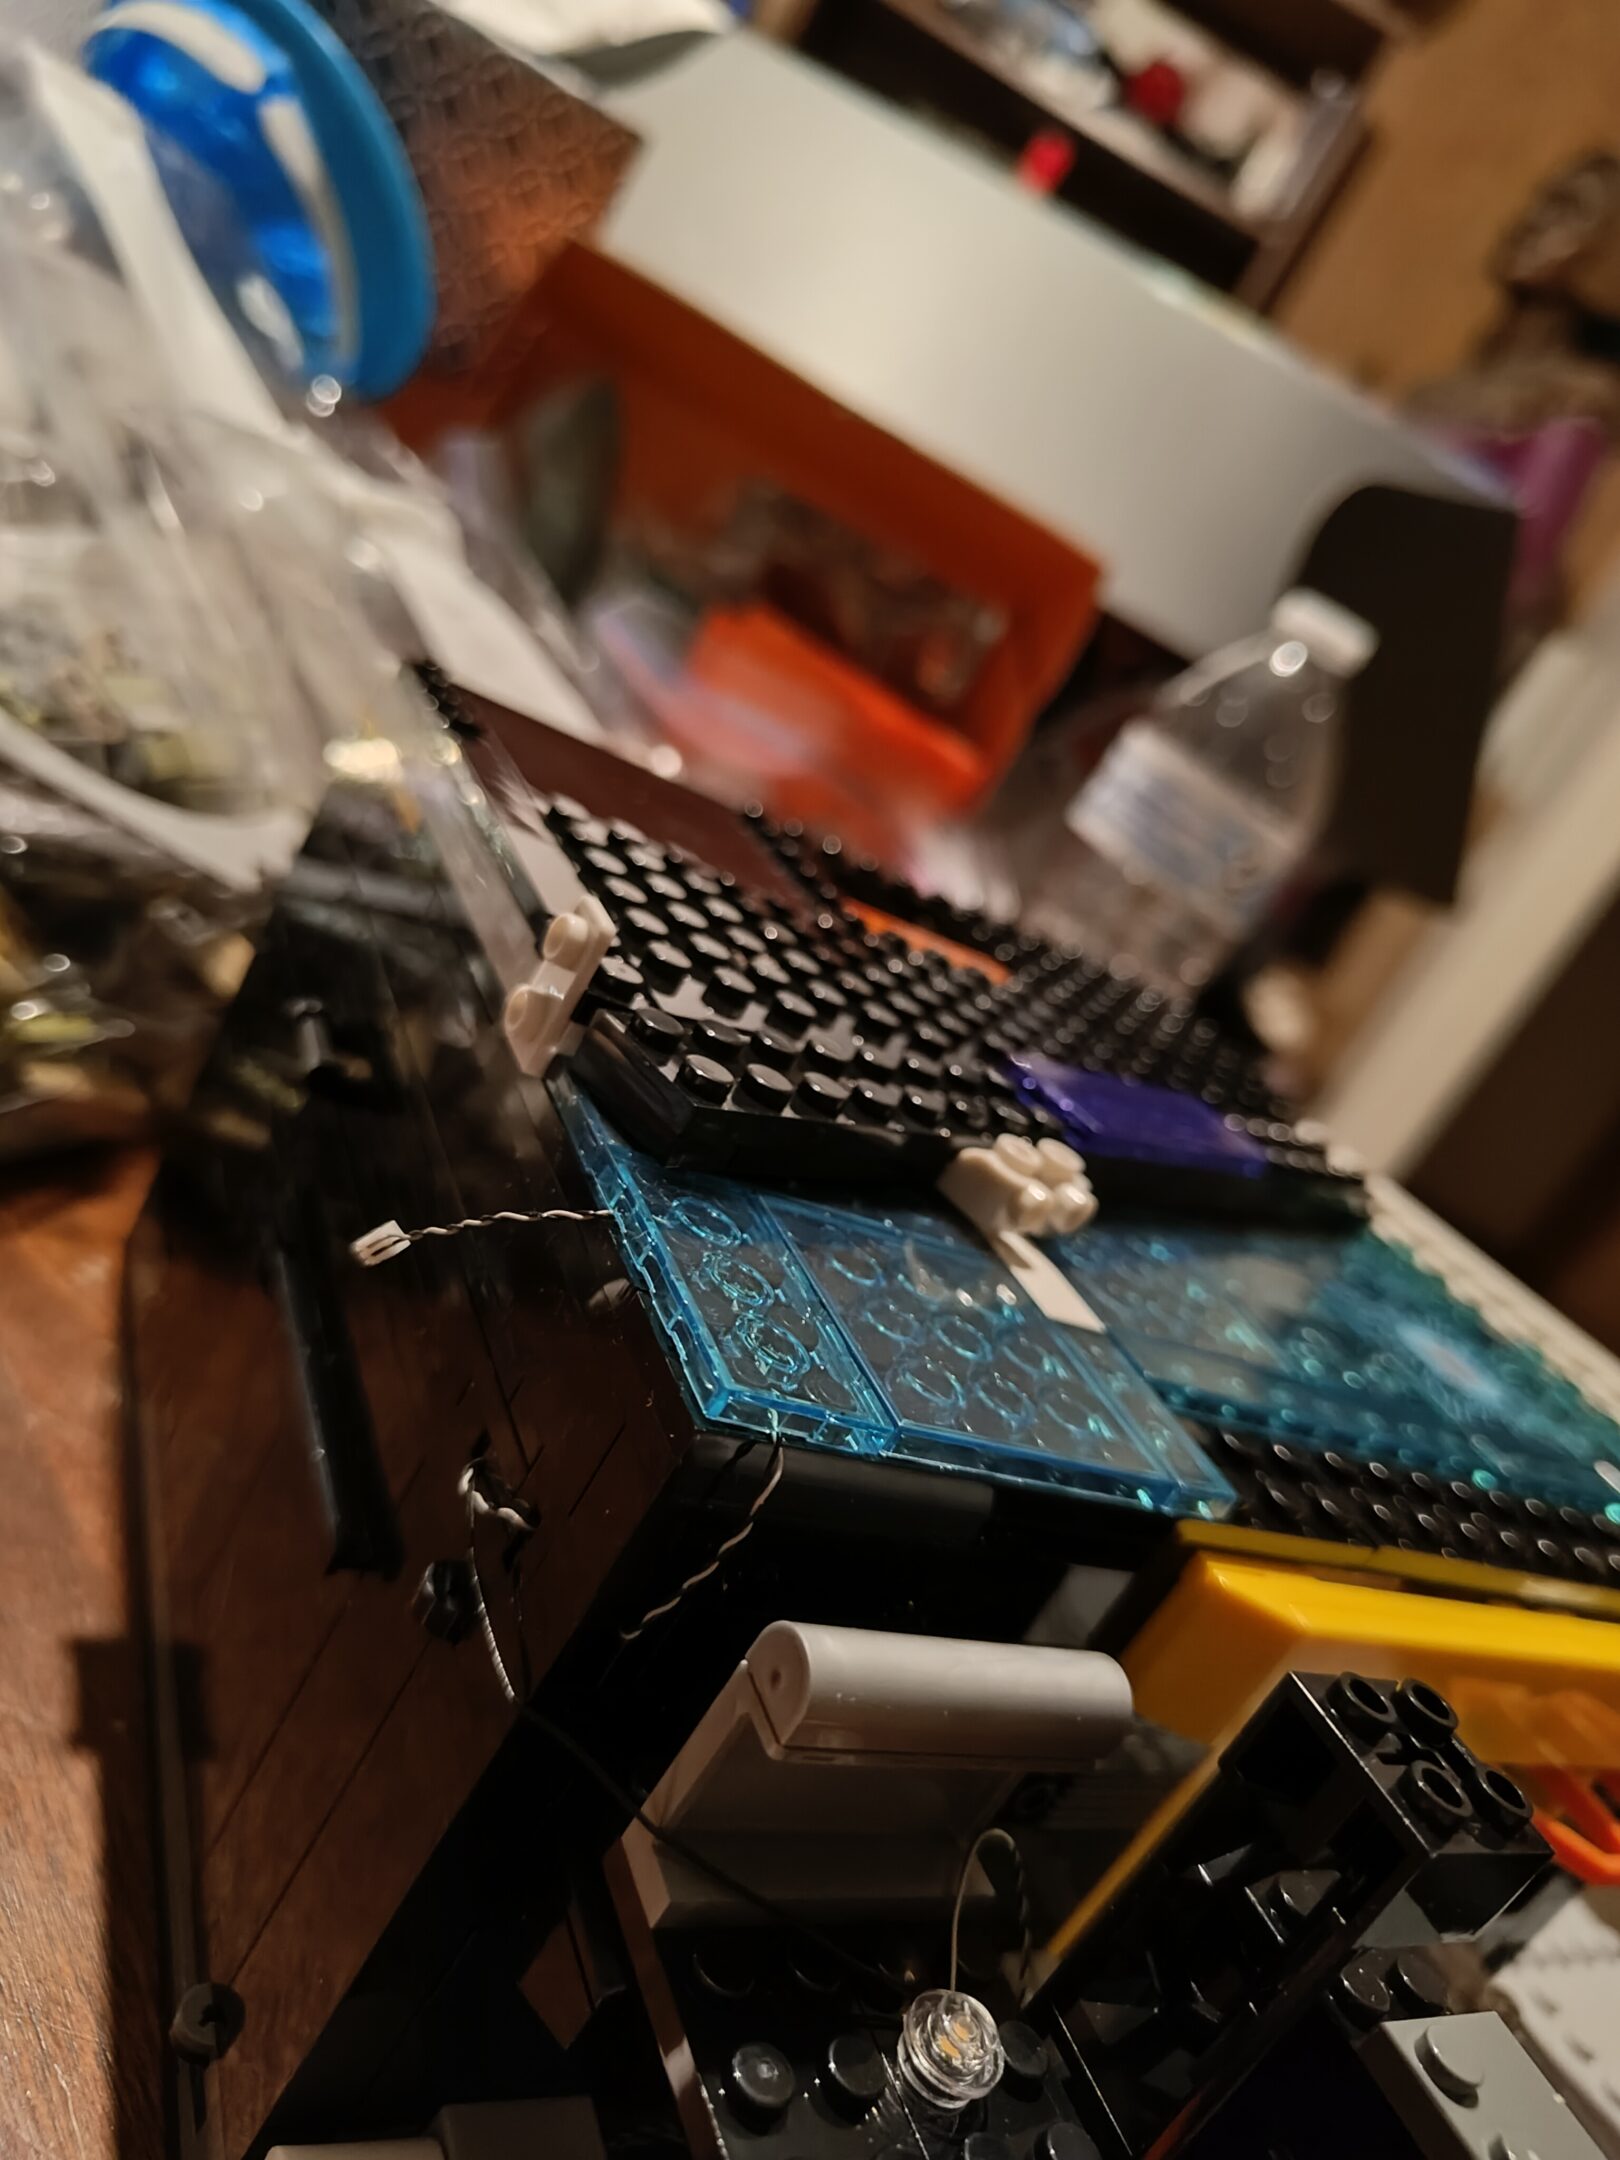
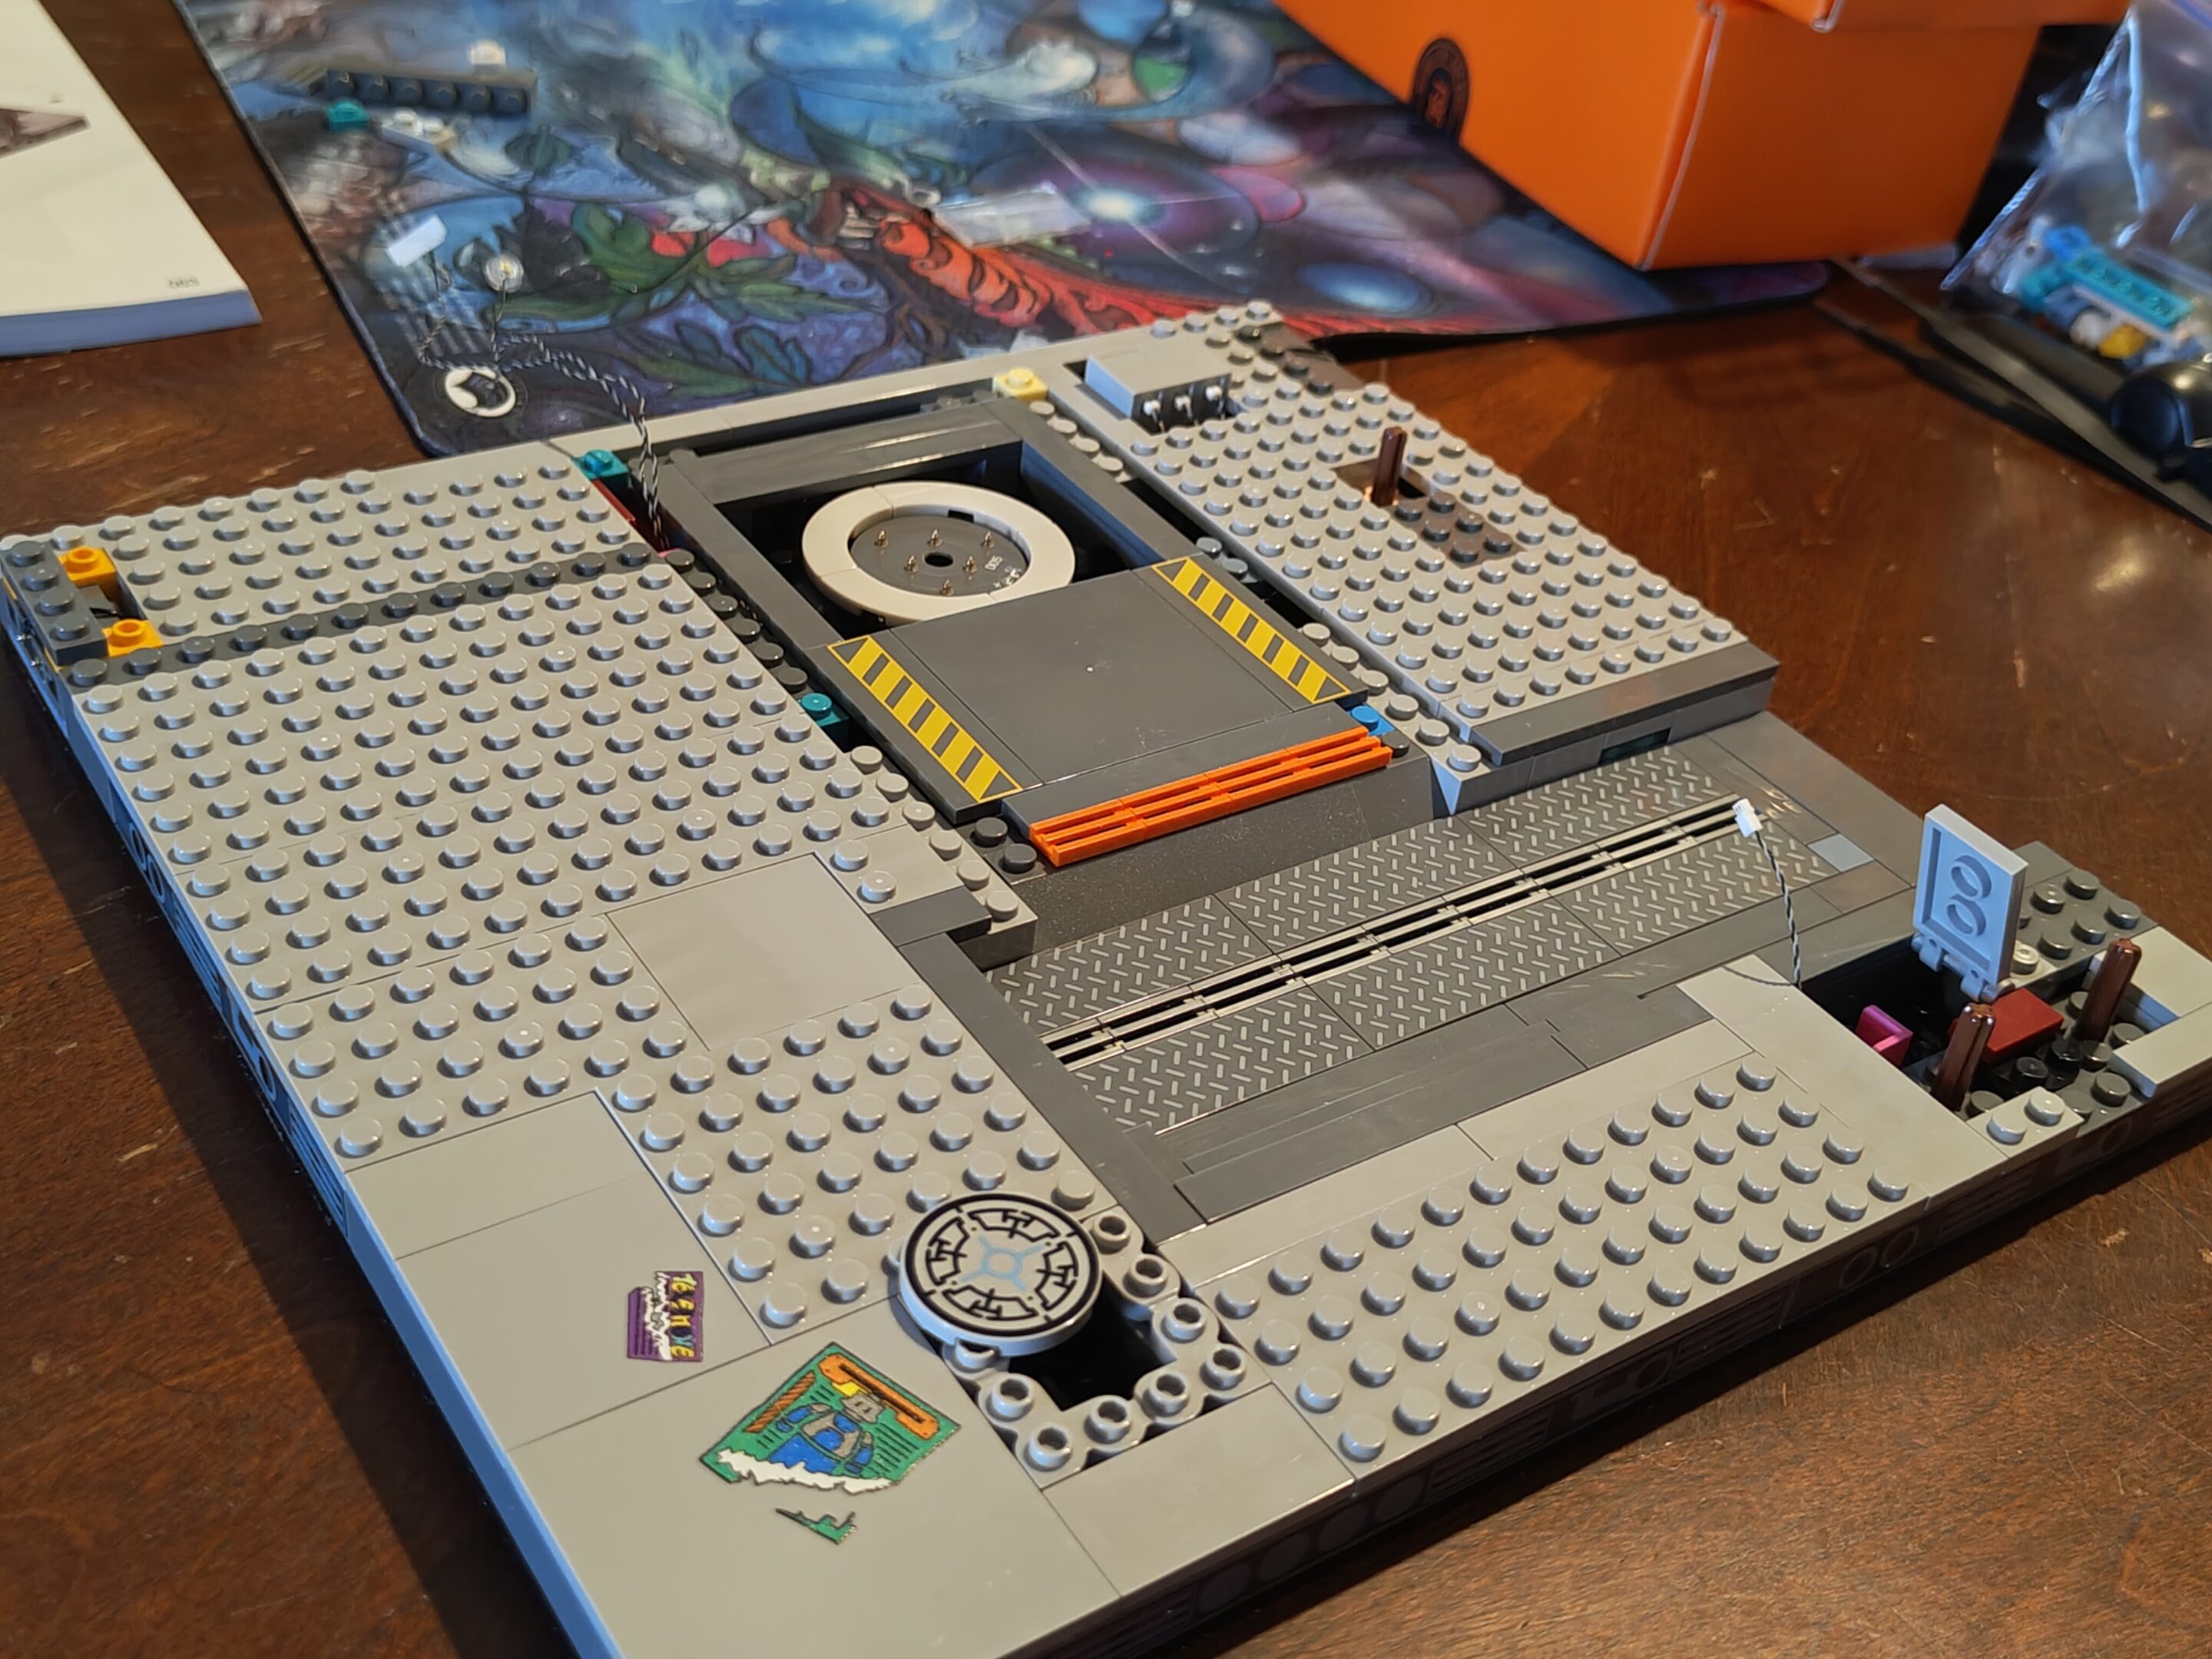
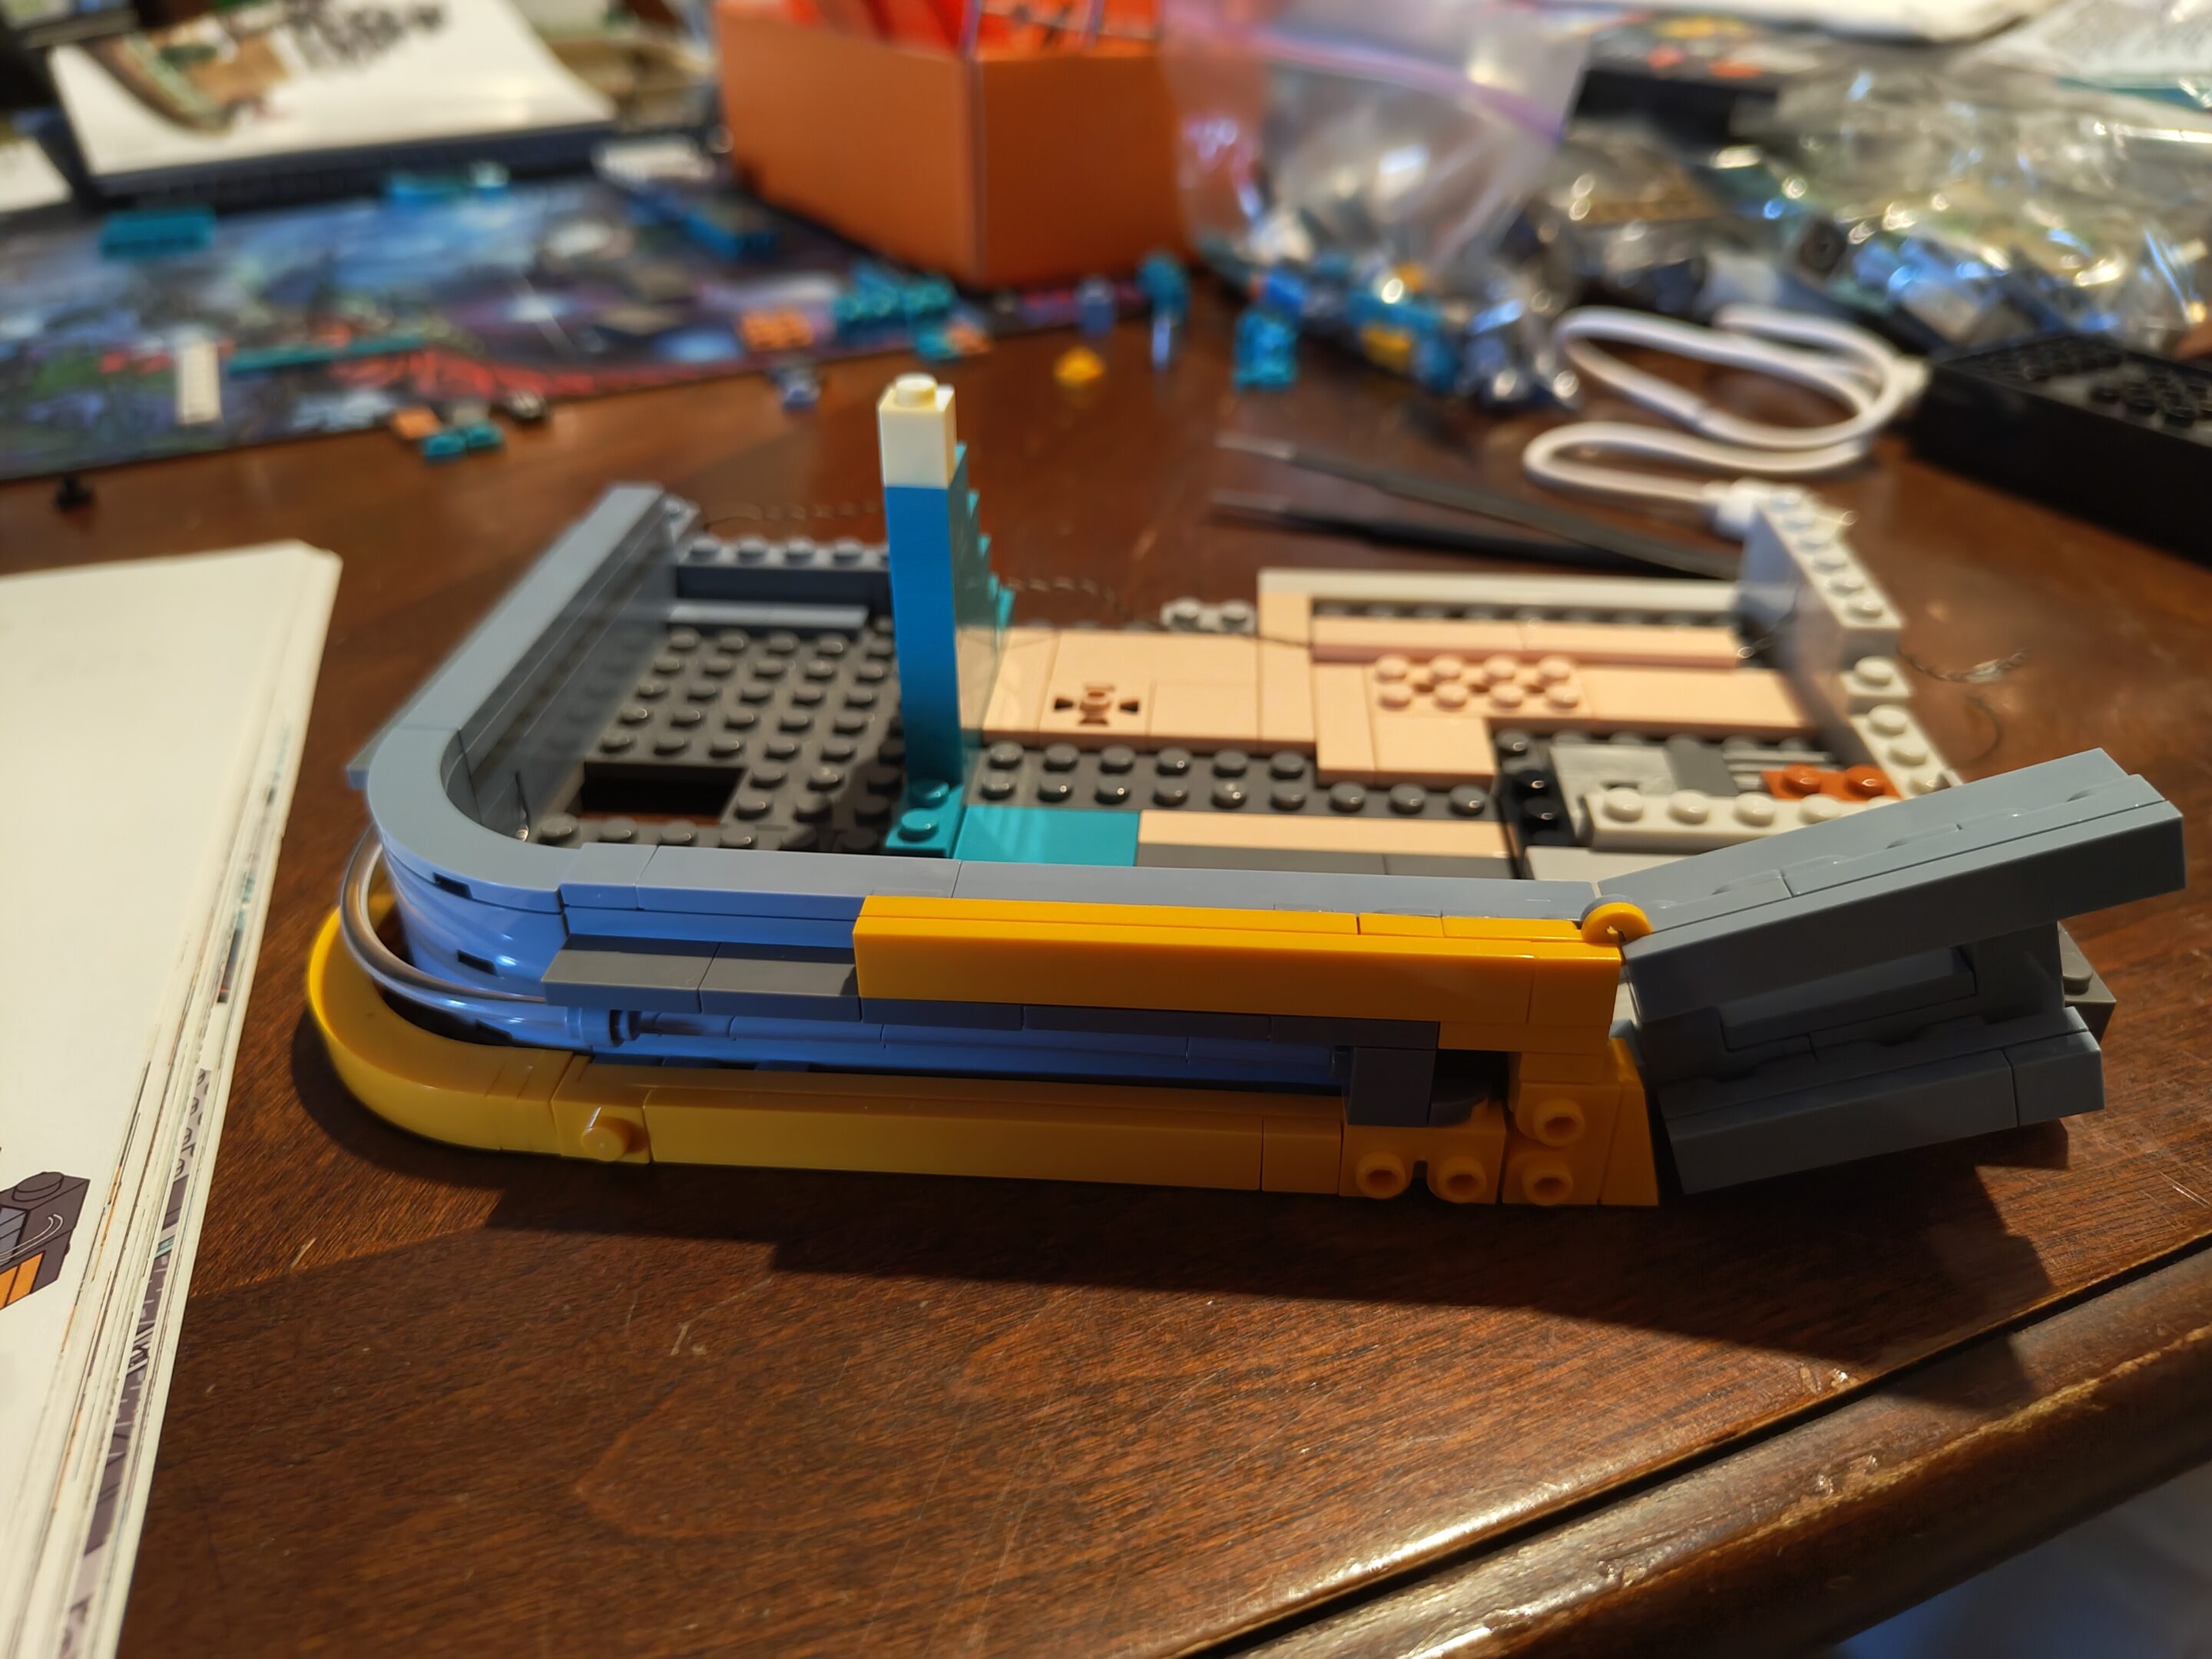
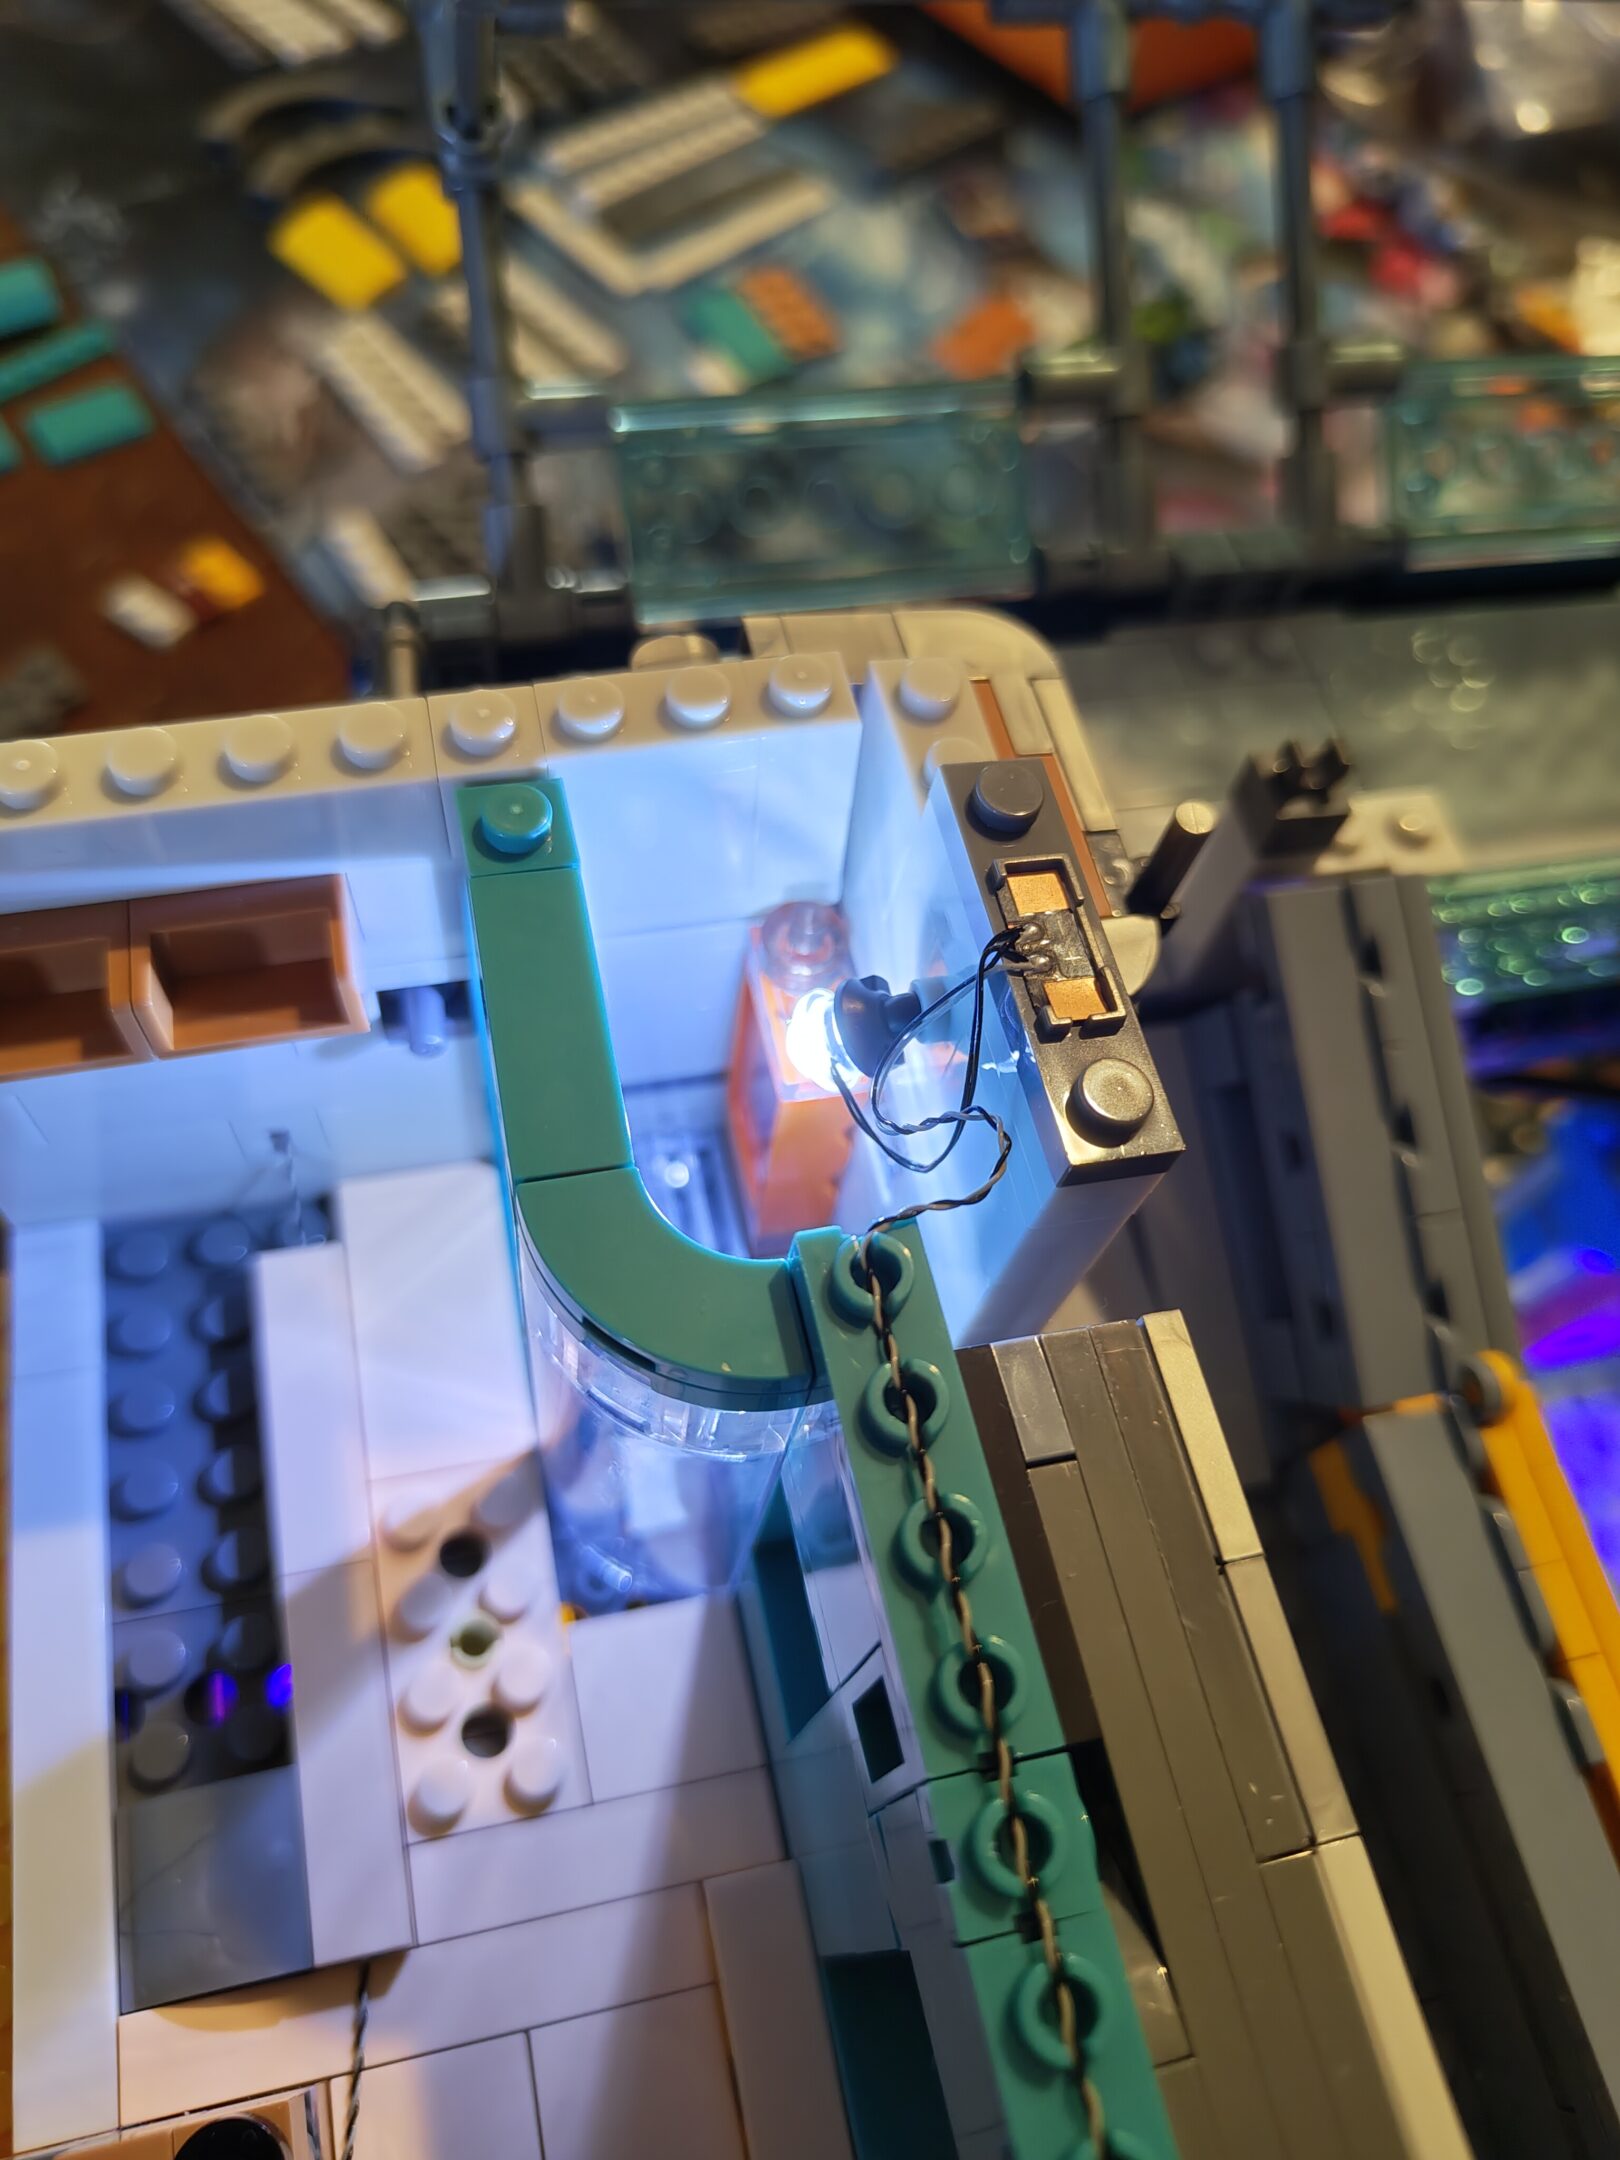
Front of the boxBack of the box — with an unreleased set! Game Stack hasn’t been released yetSide connector bit for connecting to the other CPNC setsWhat the blocks typically look like under the pavementBeginning of the train station illusion, I think?The first of the power connection bricks. This one has a switch and mains power (USB-C) on the other side
oop forgot to upload these
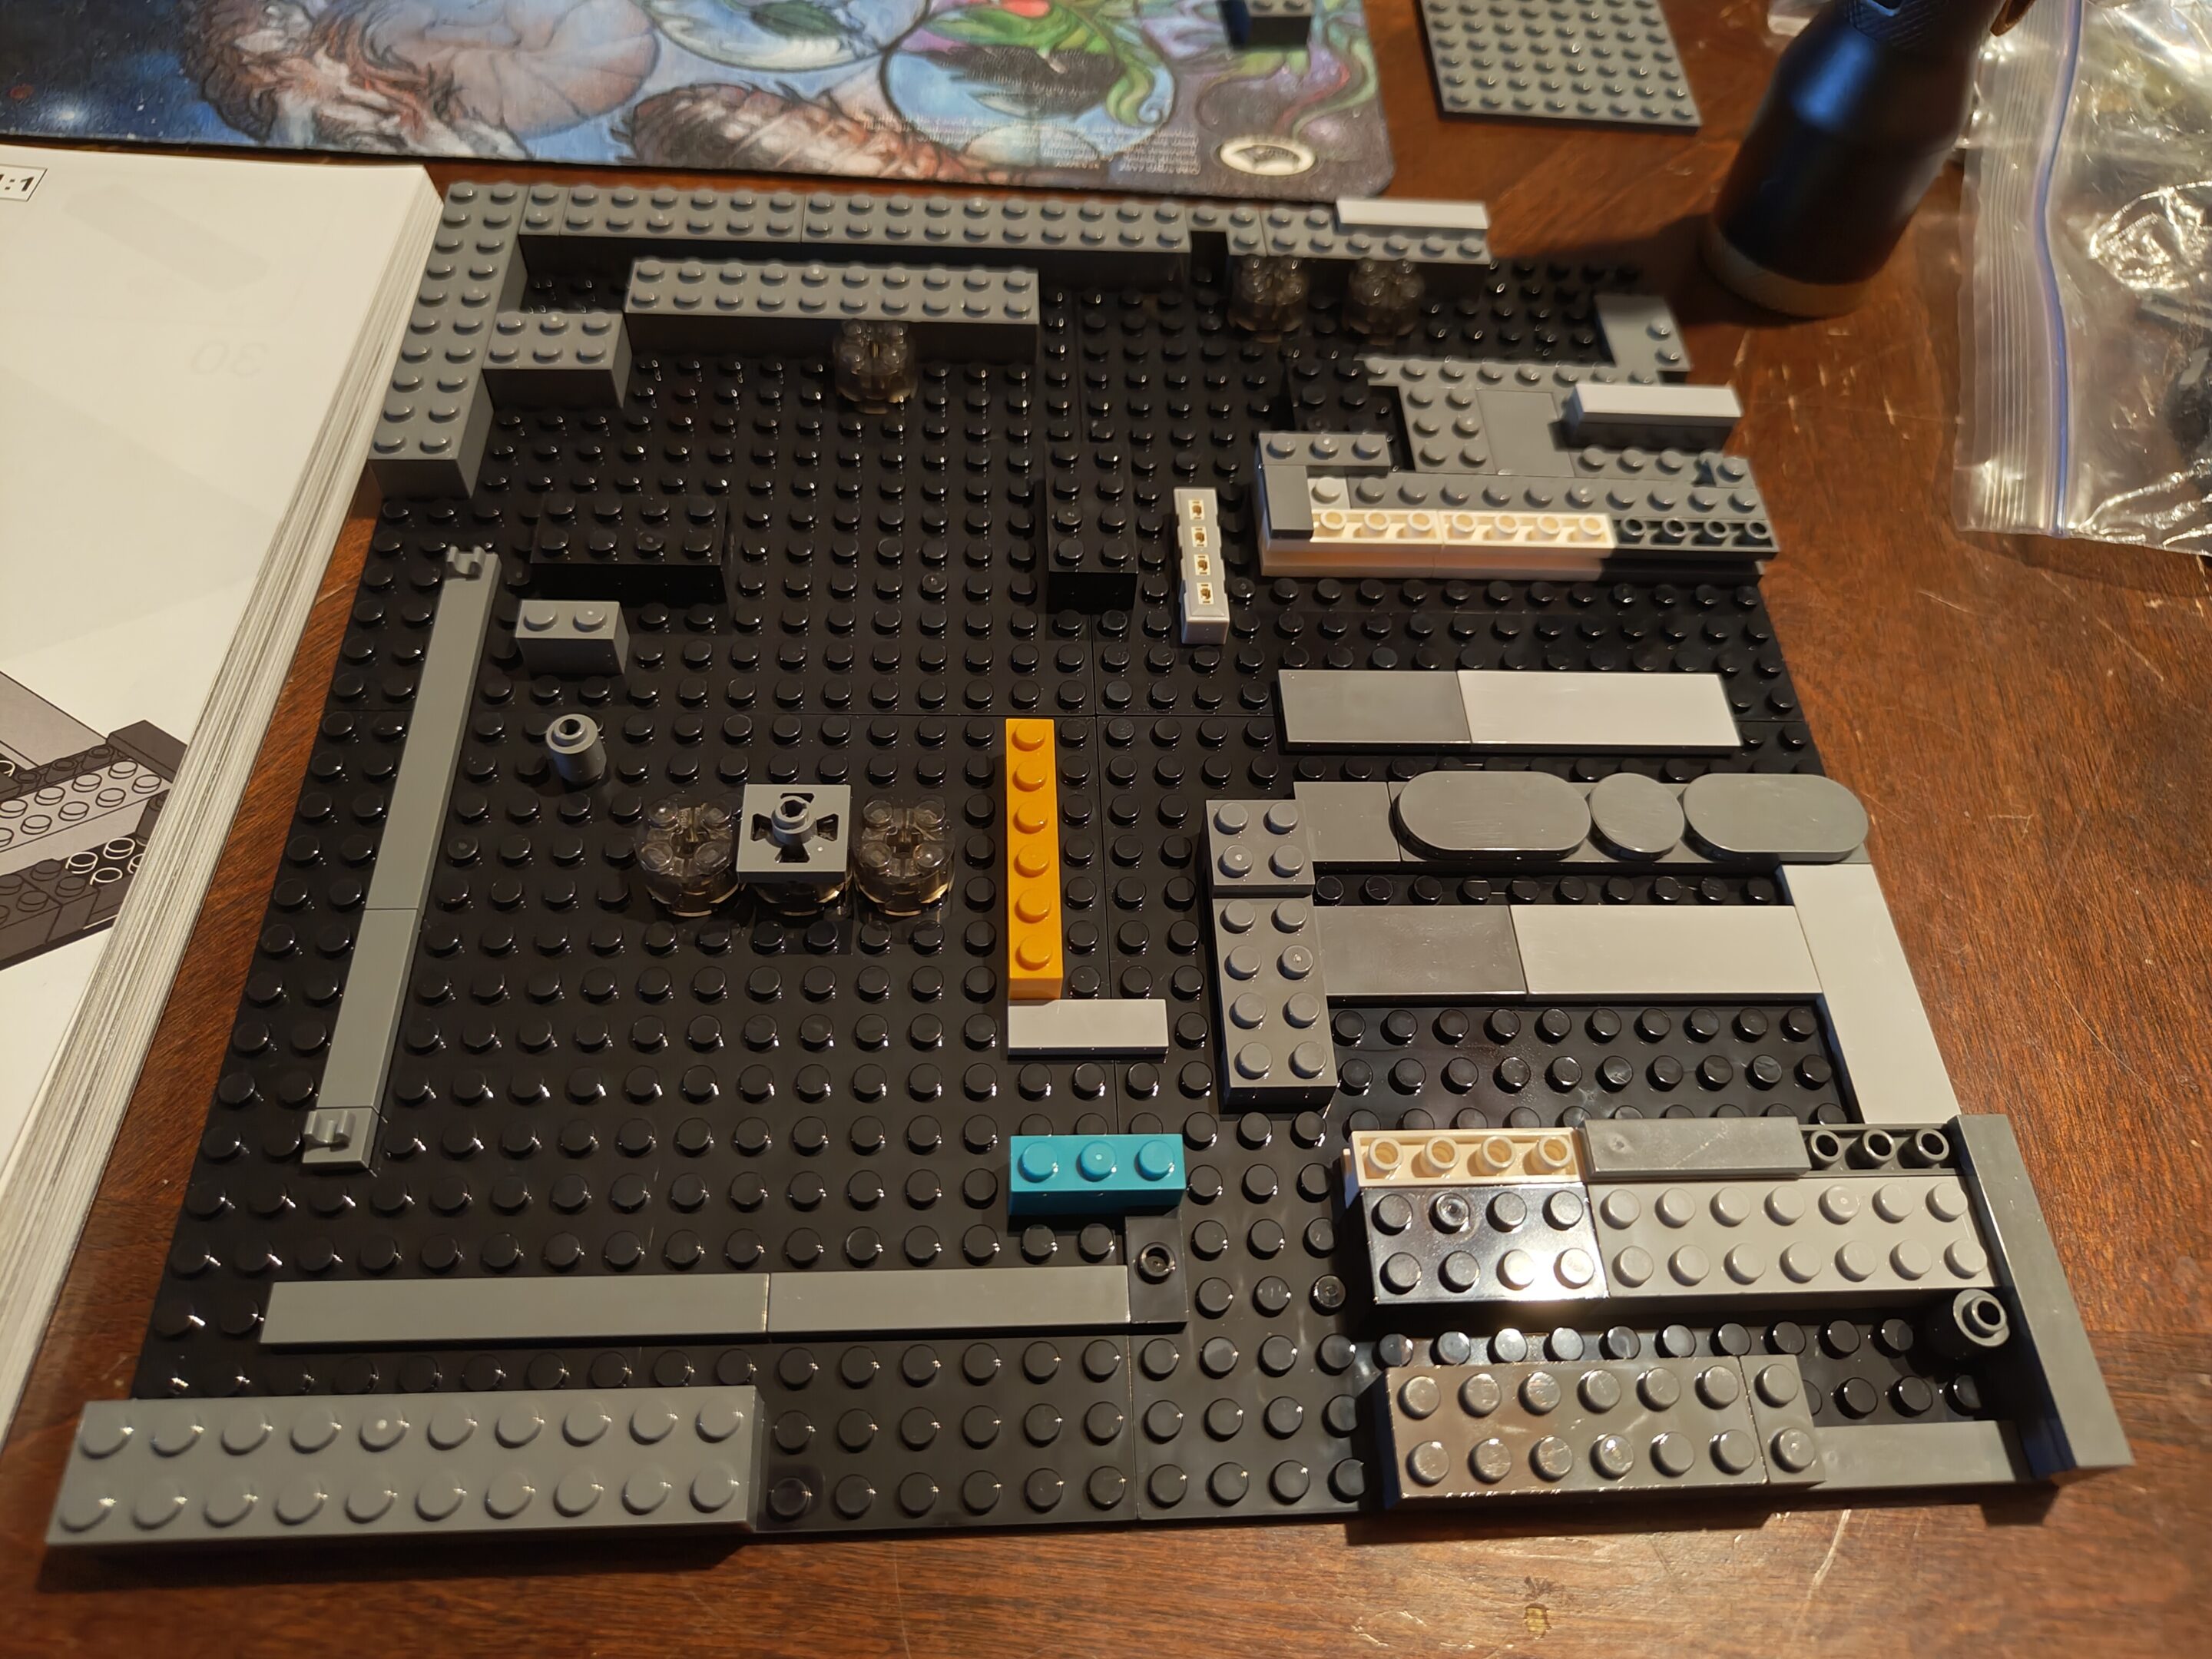
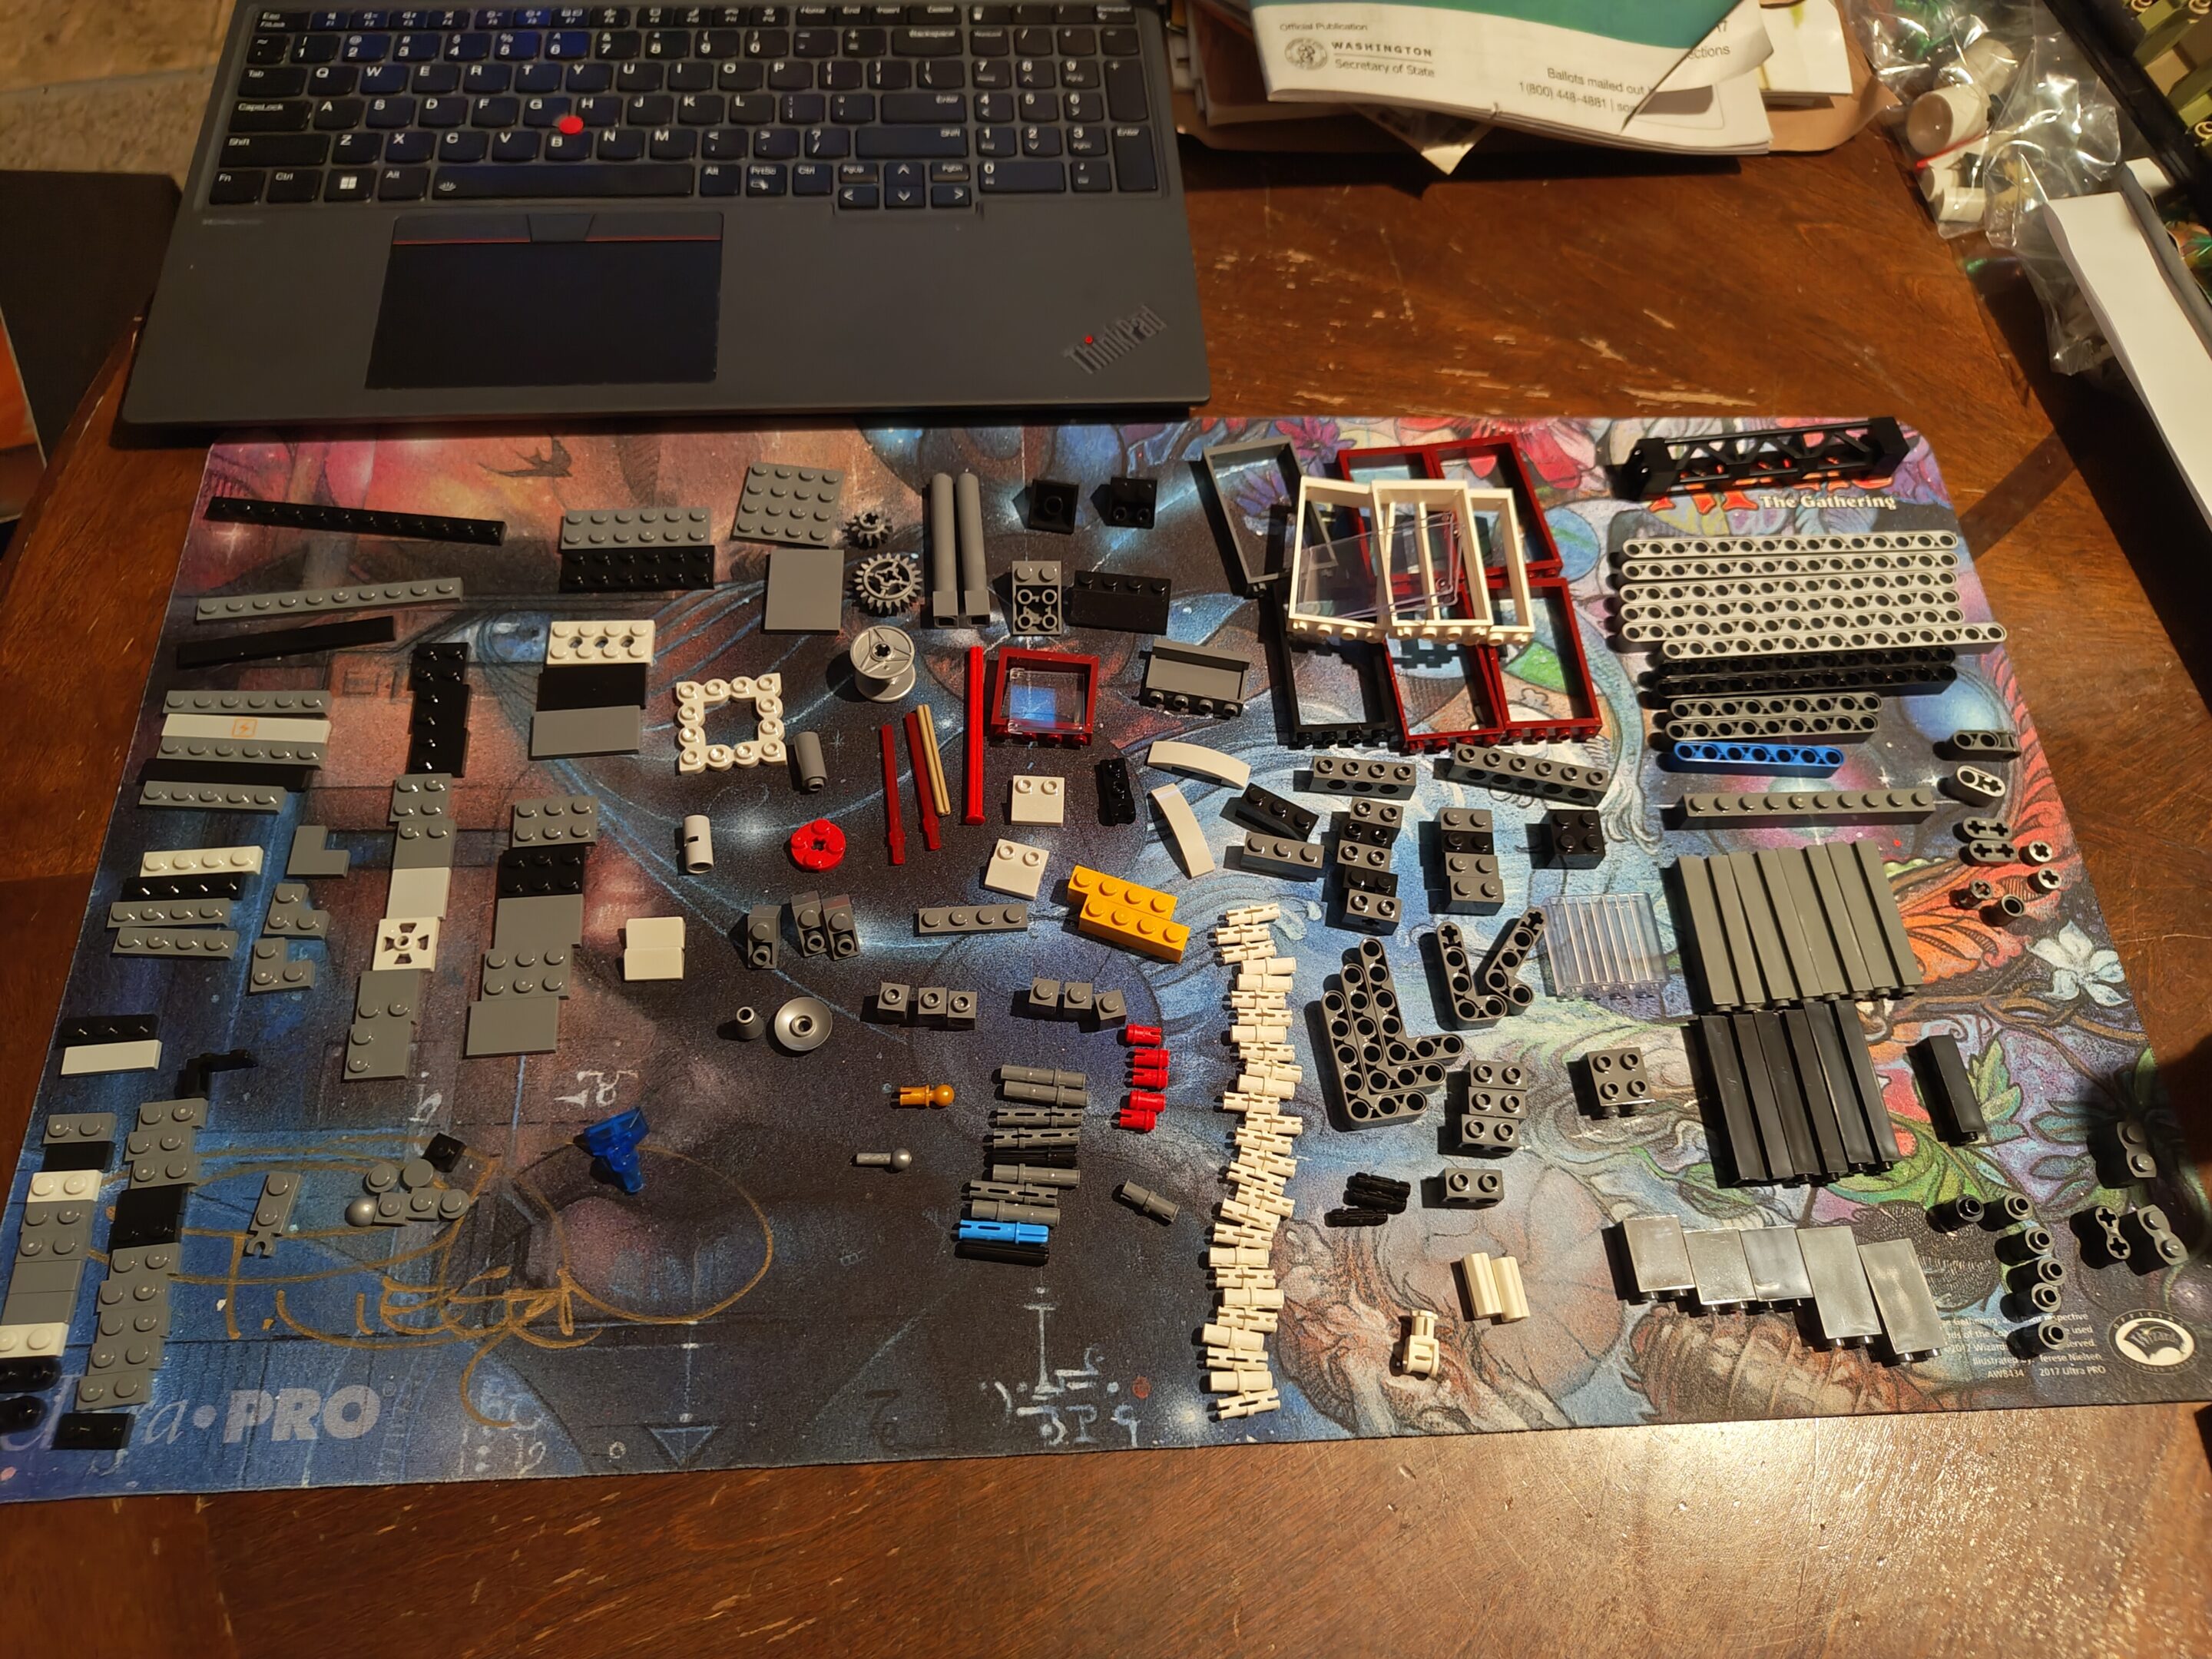
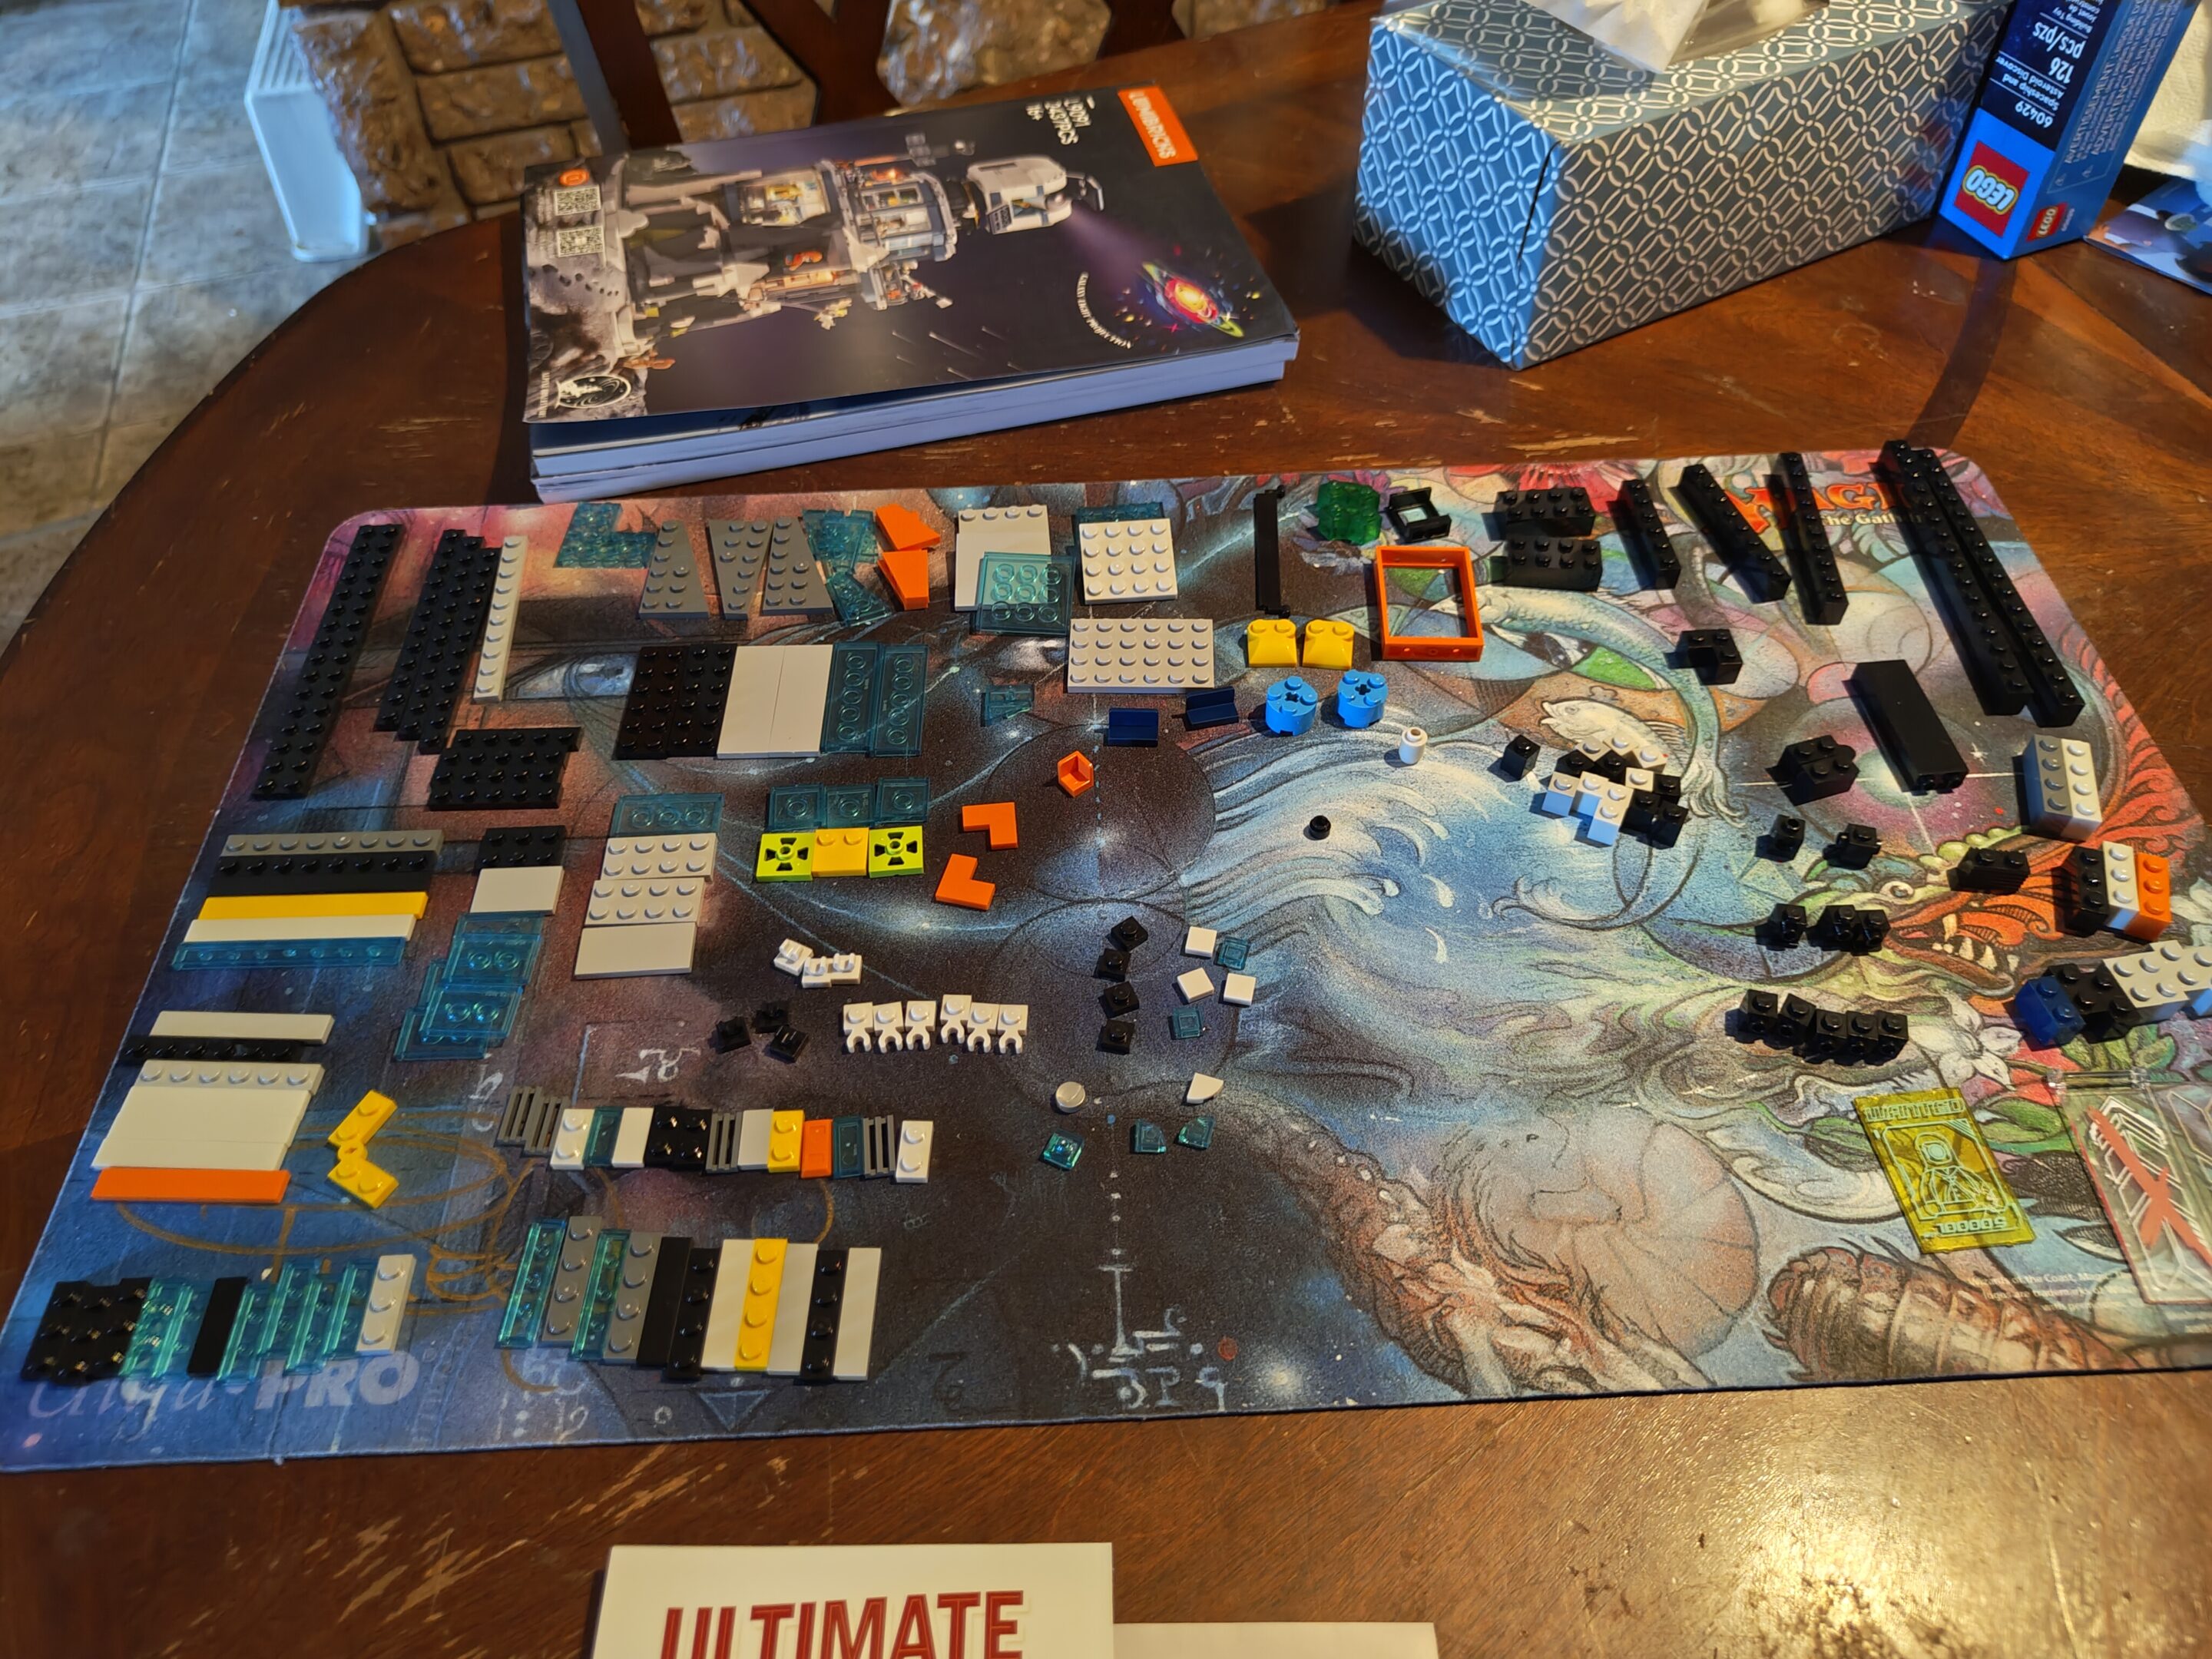
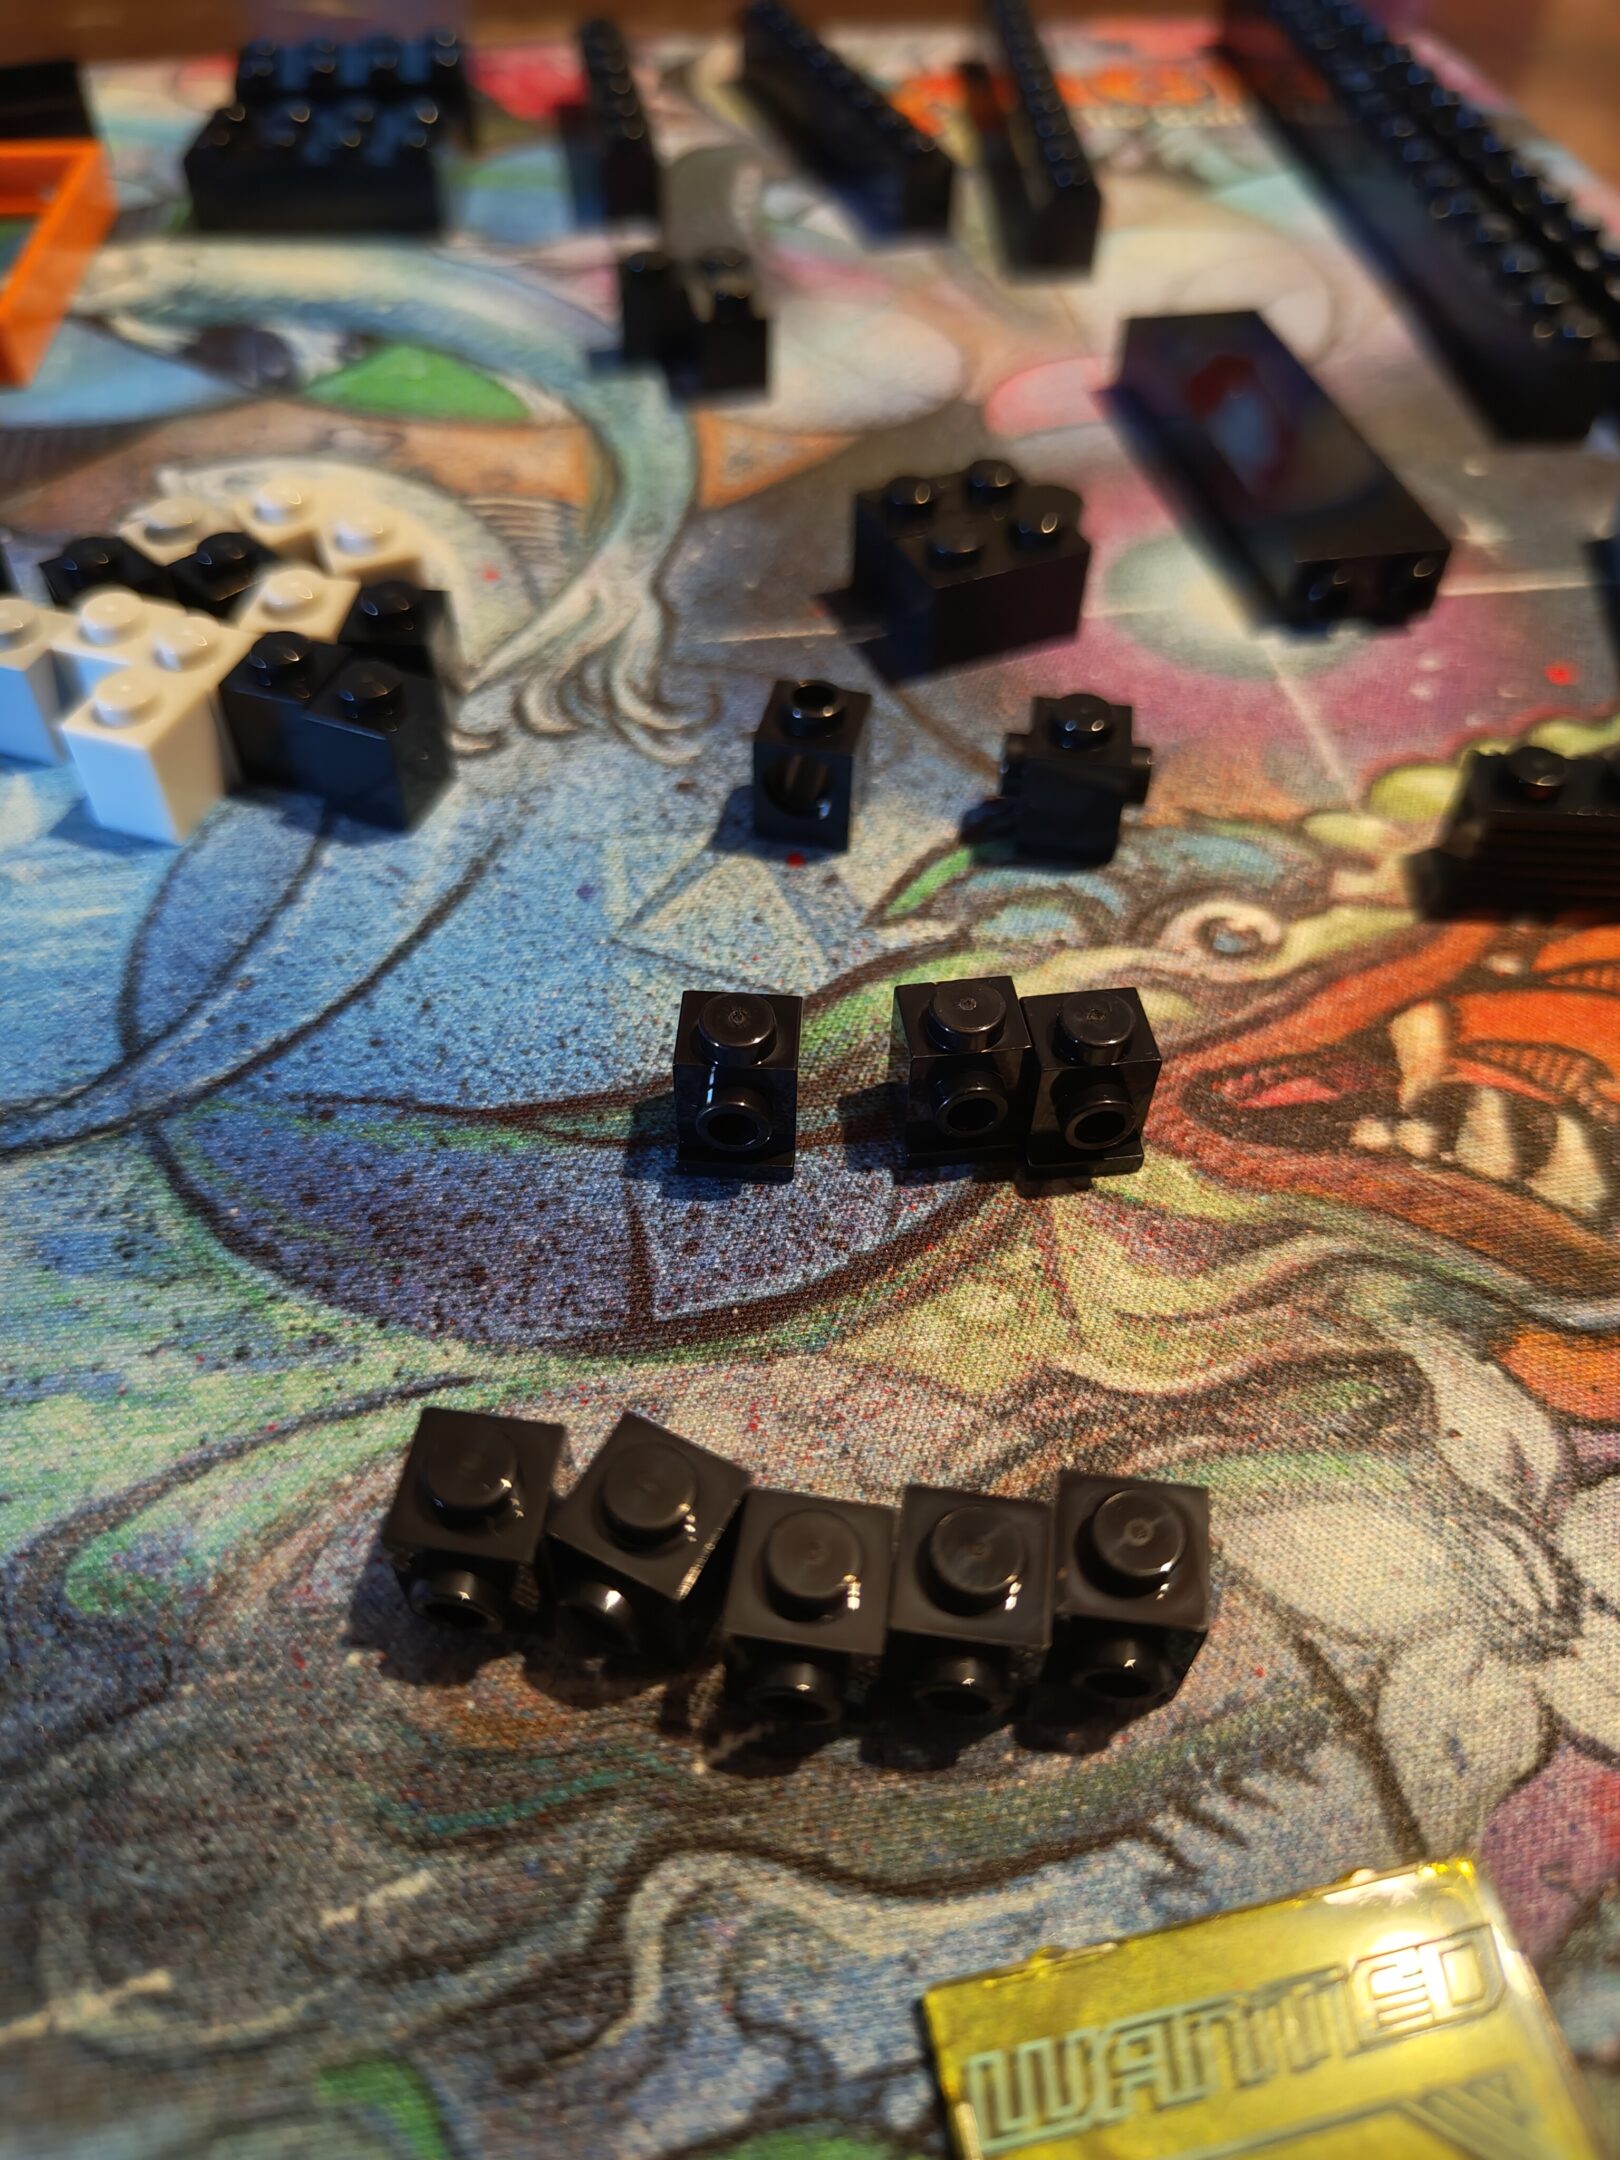
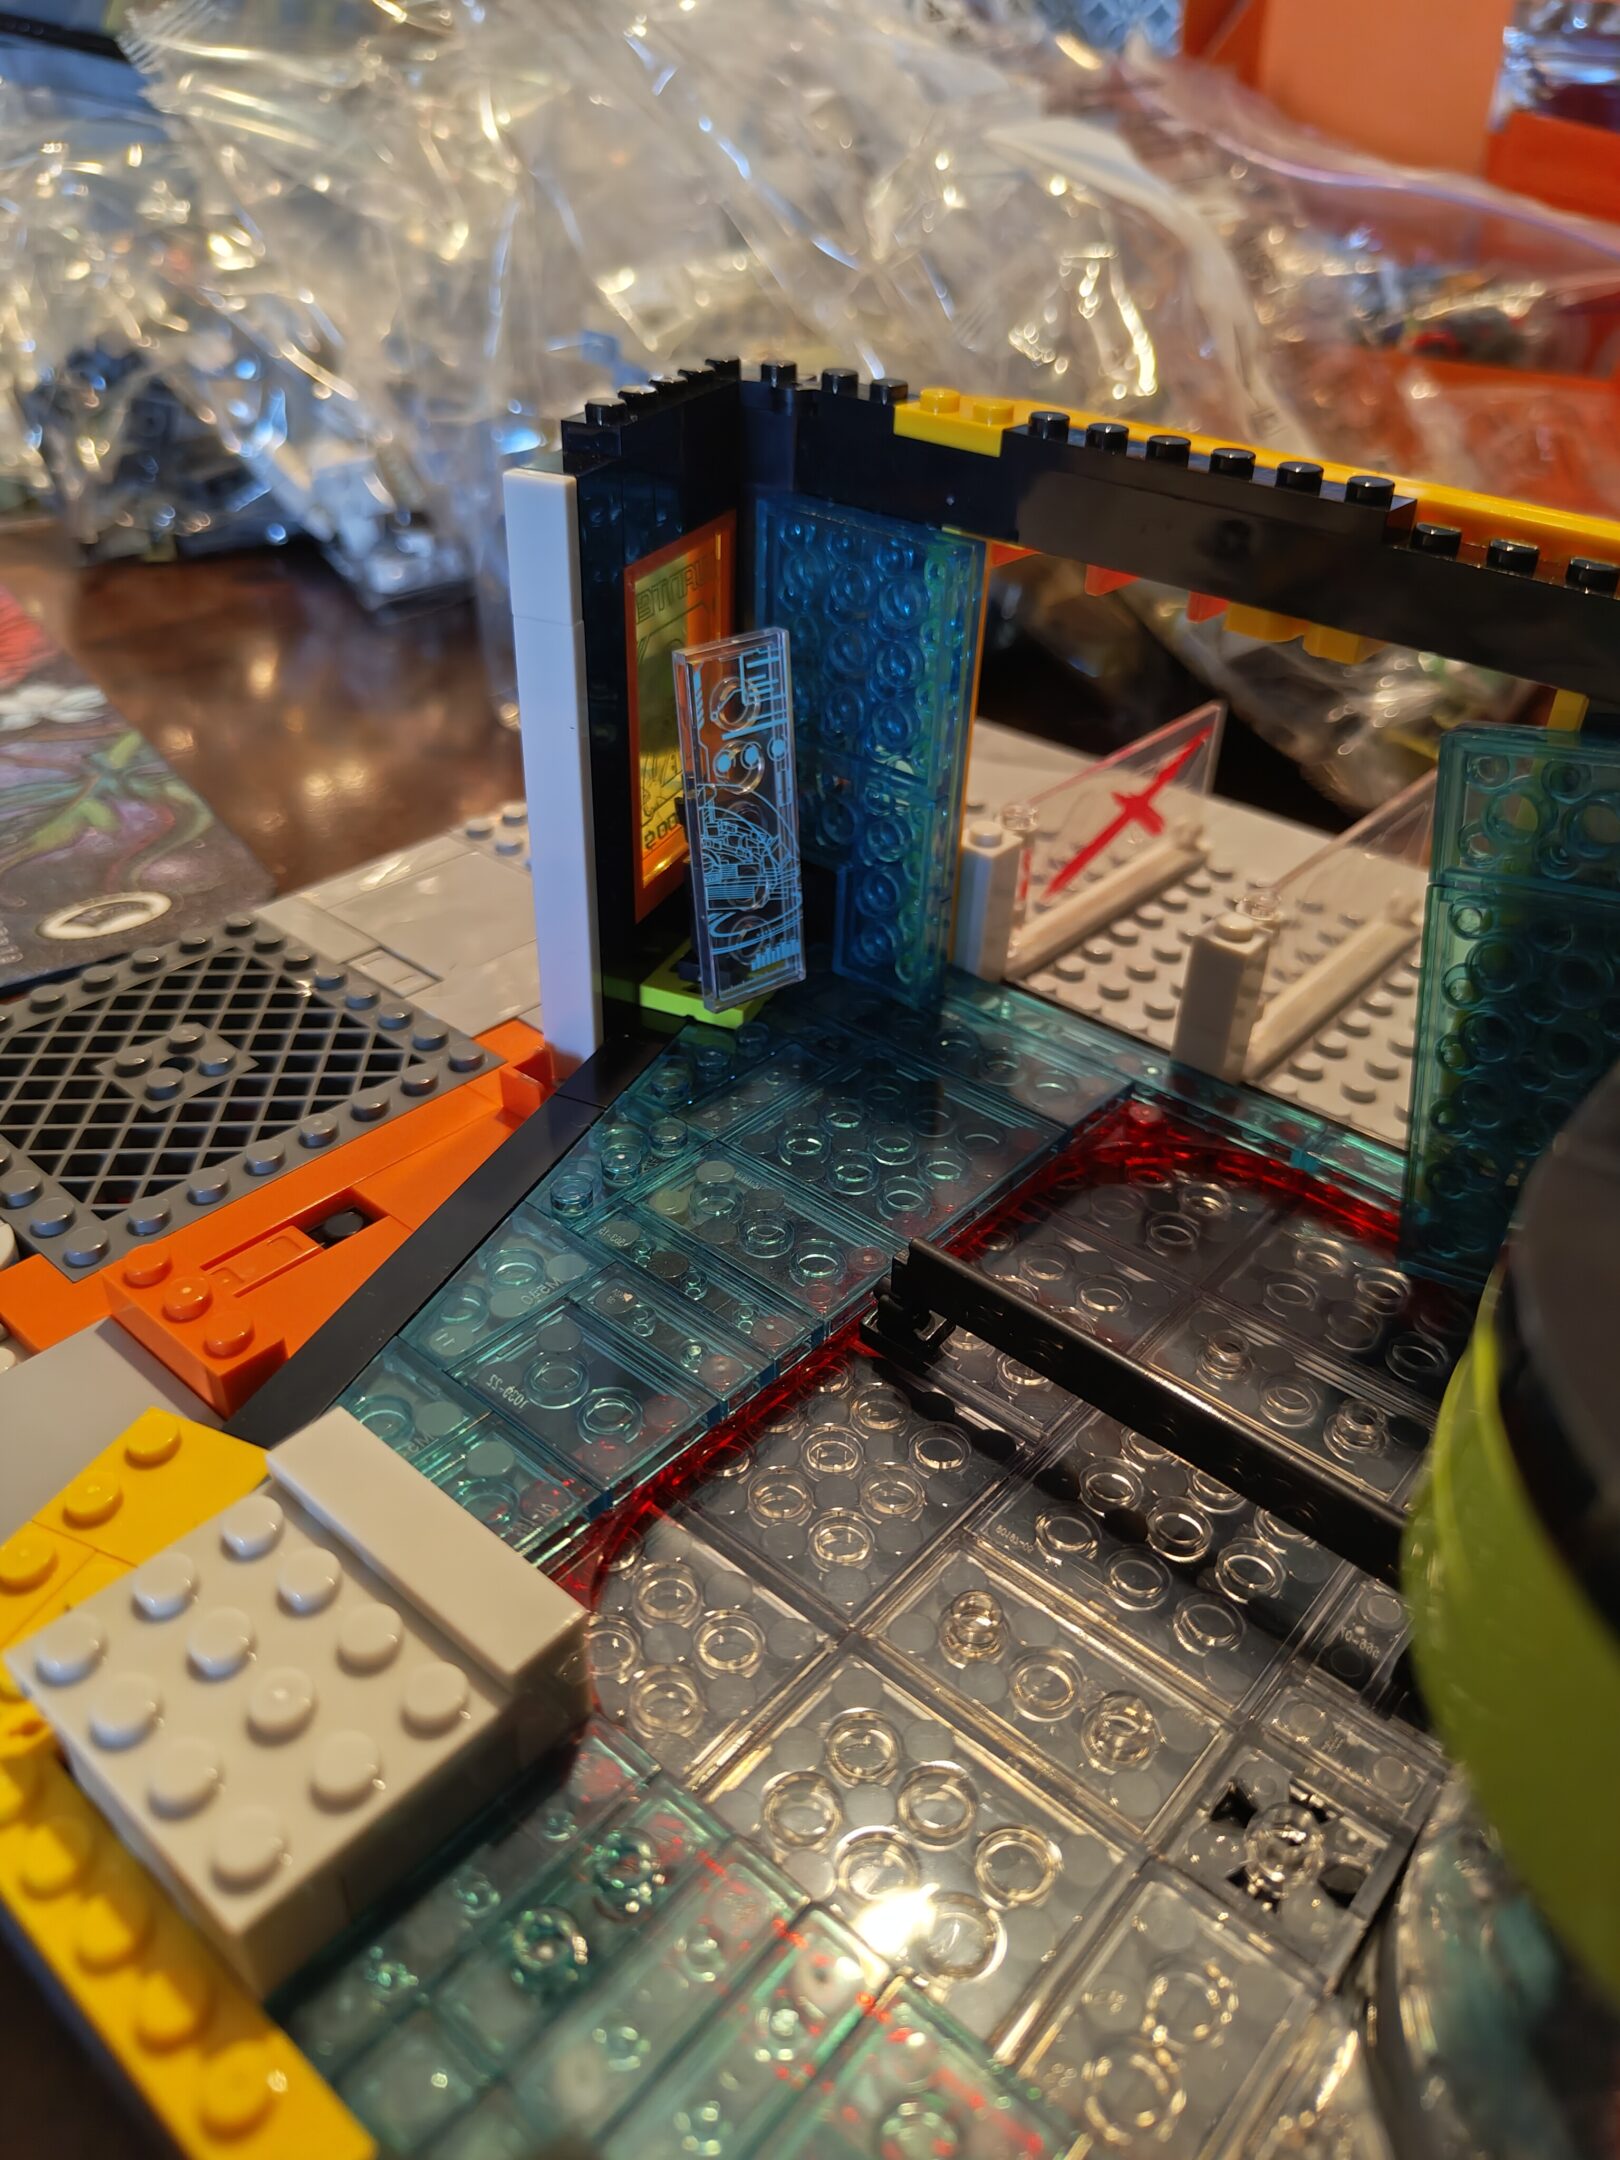
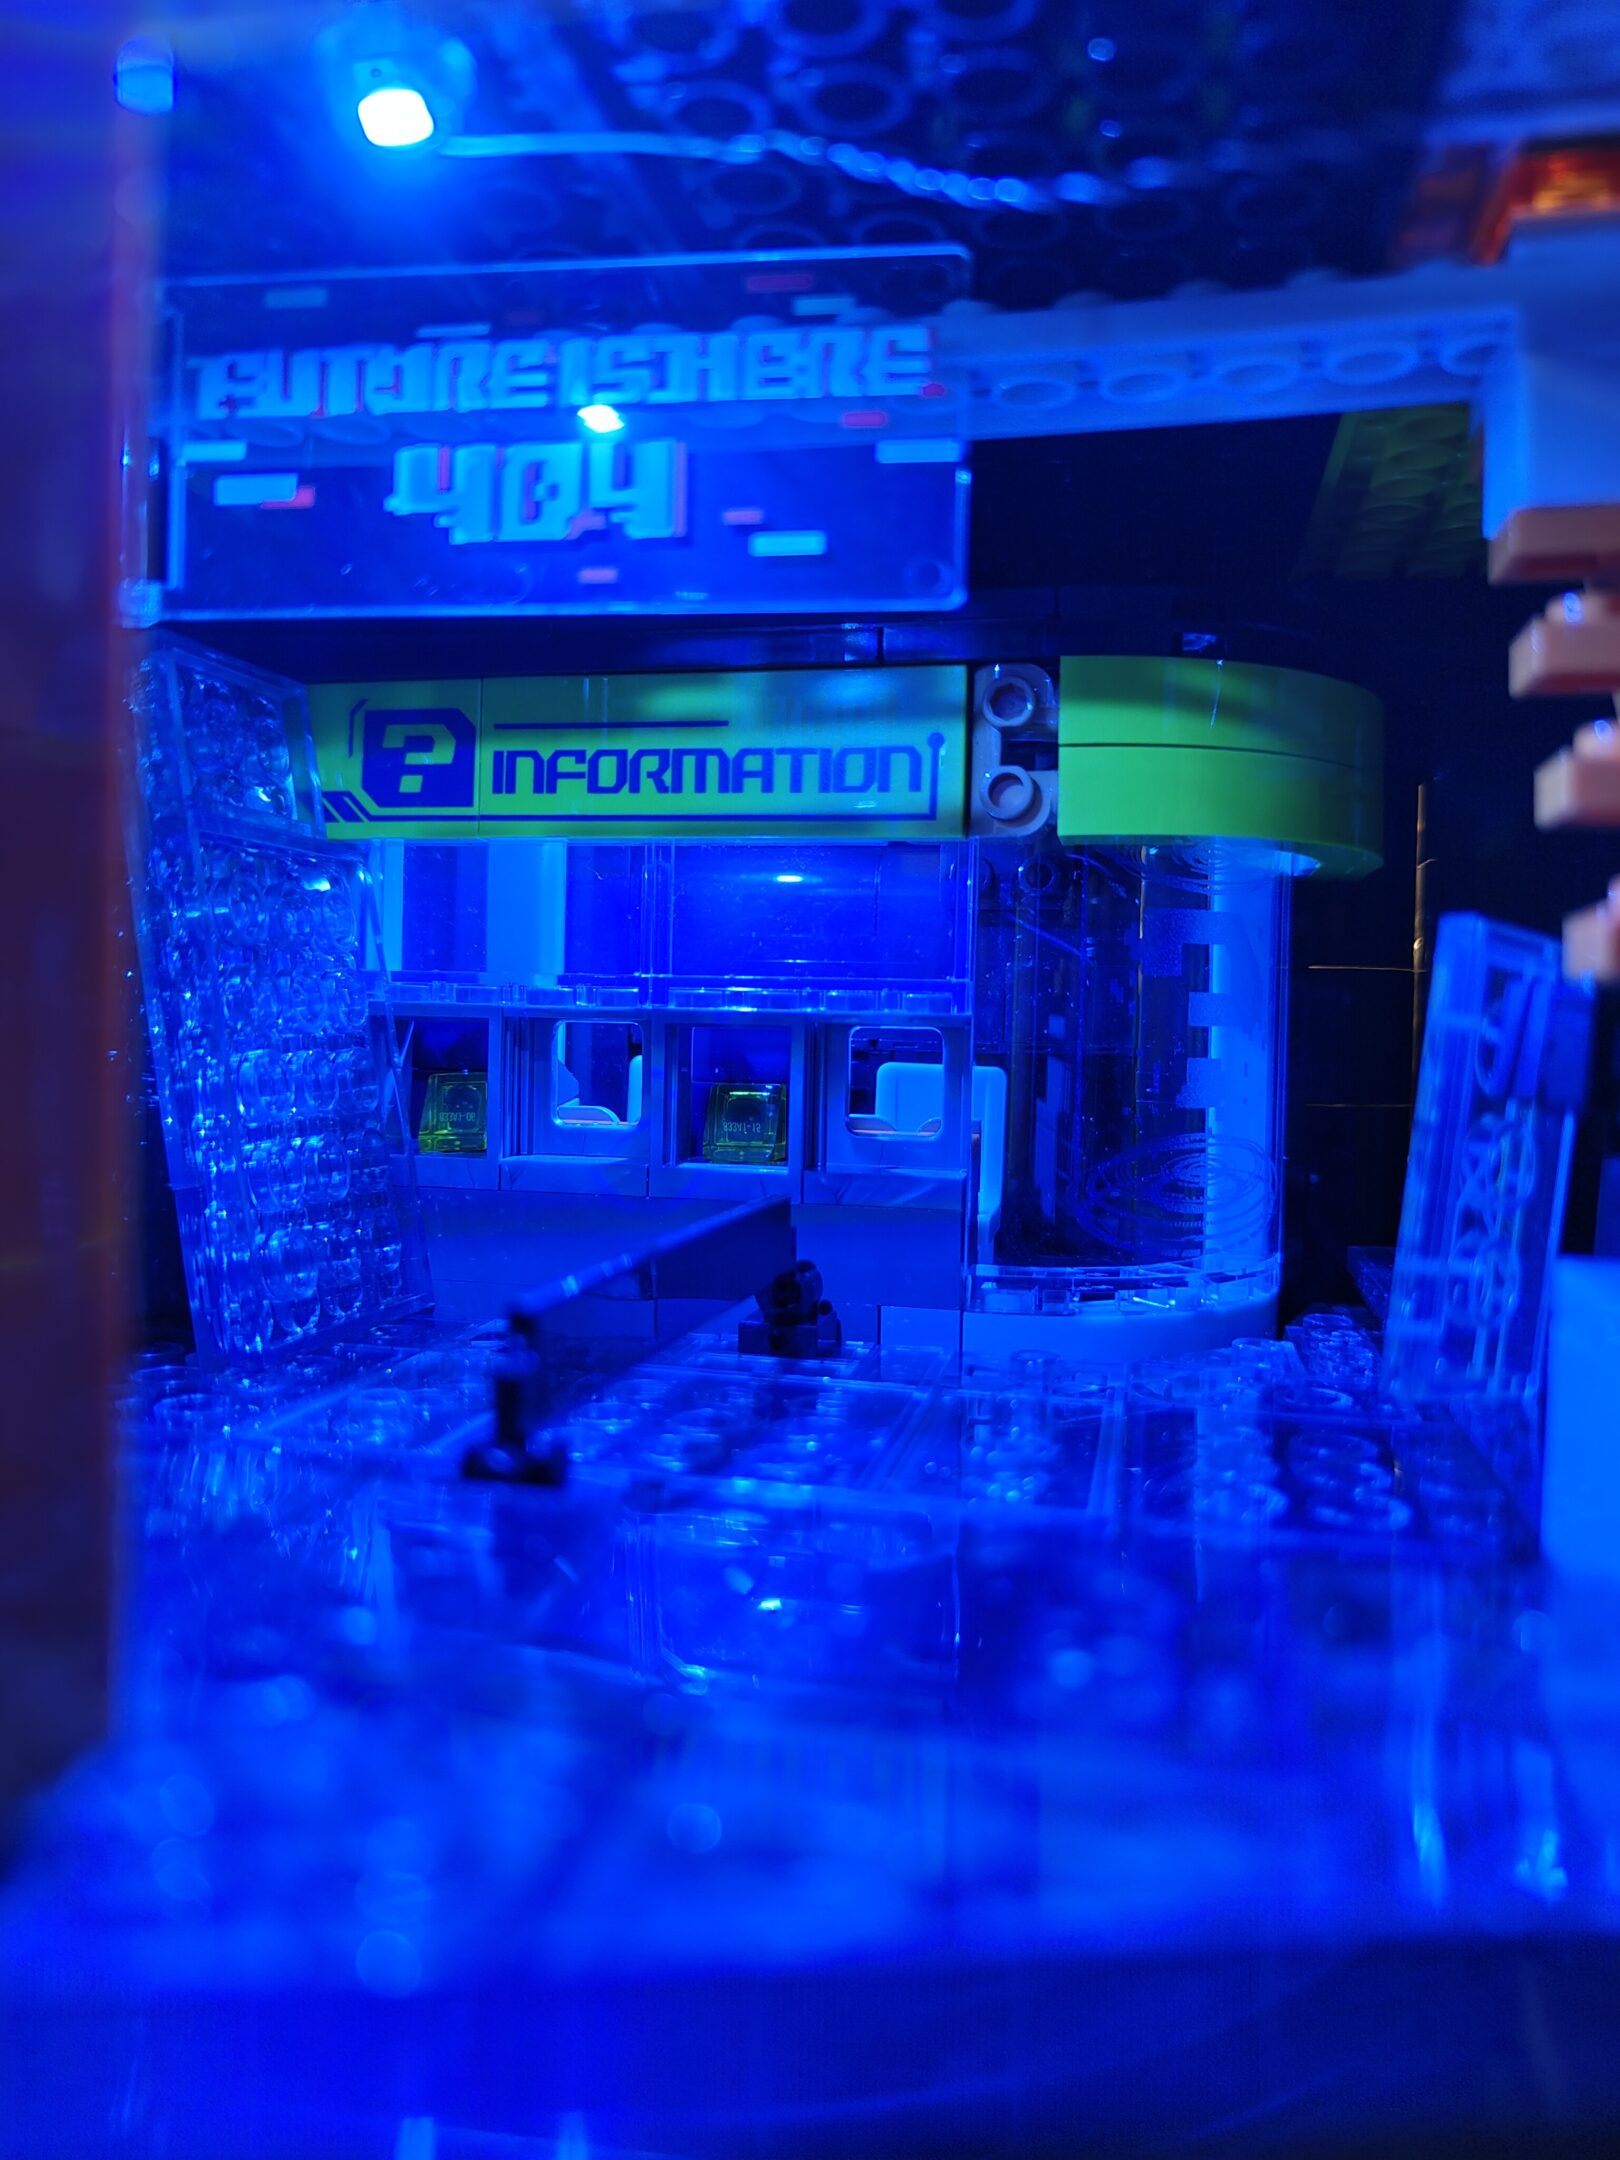
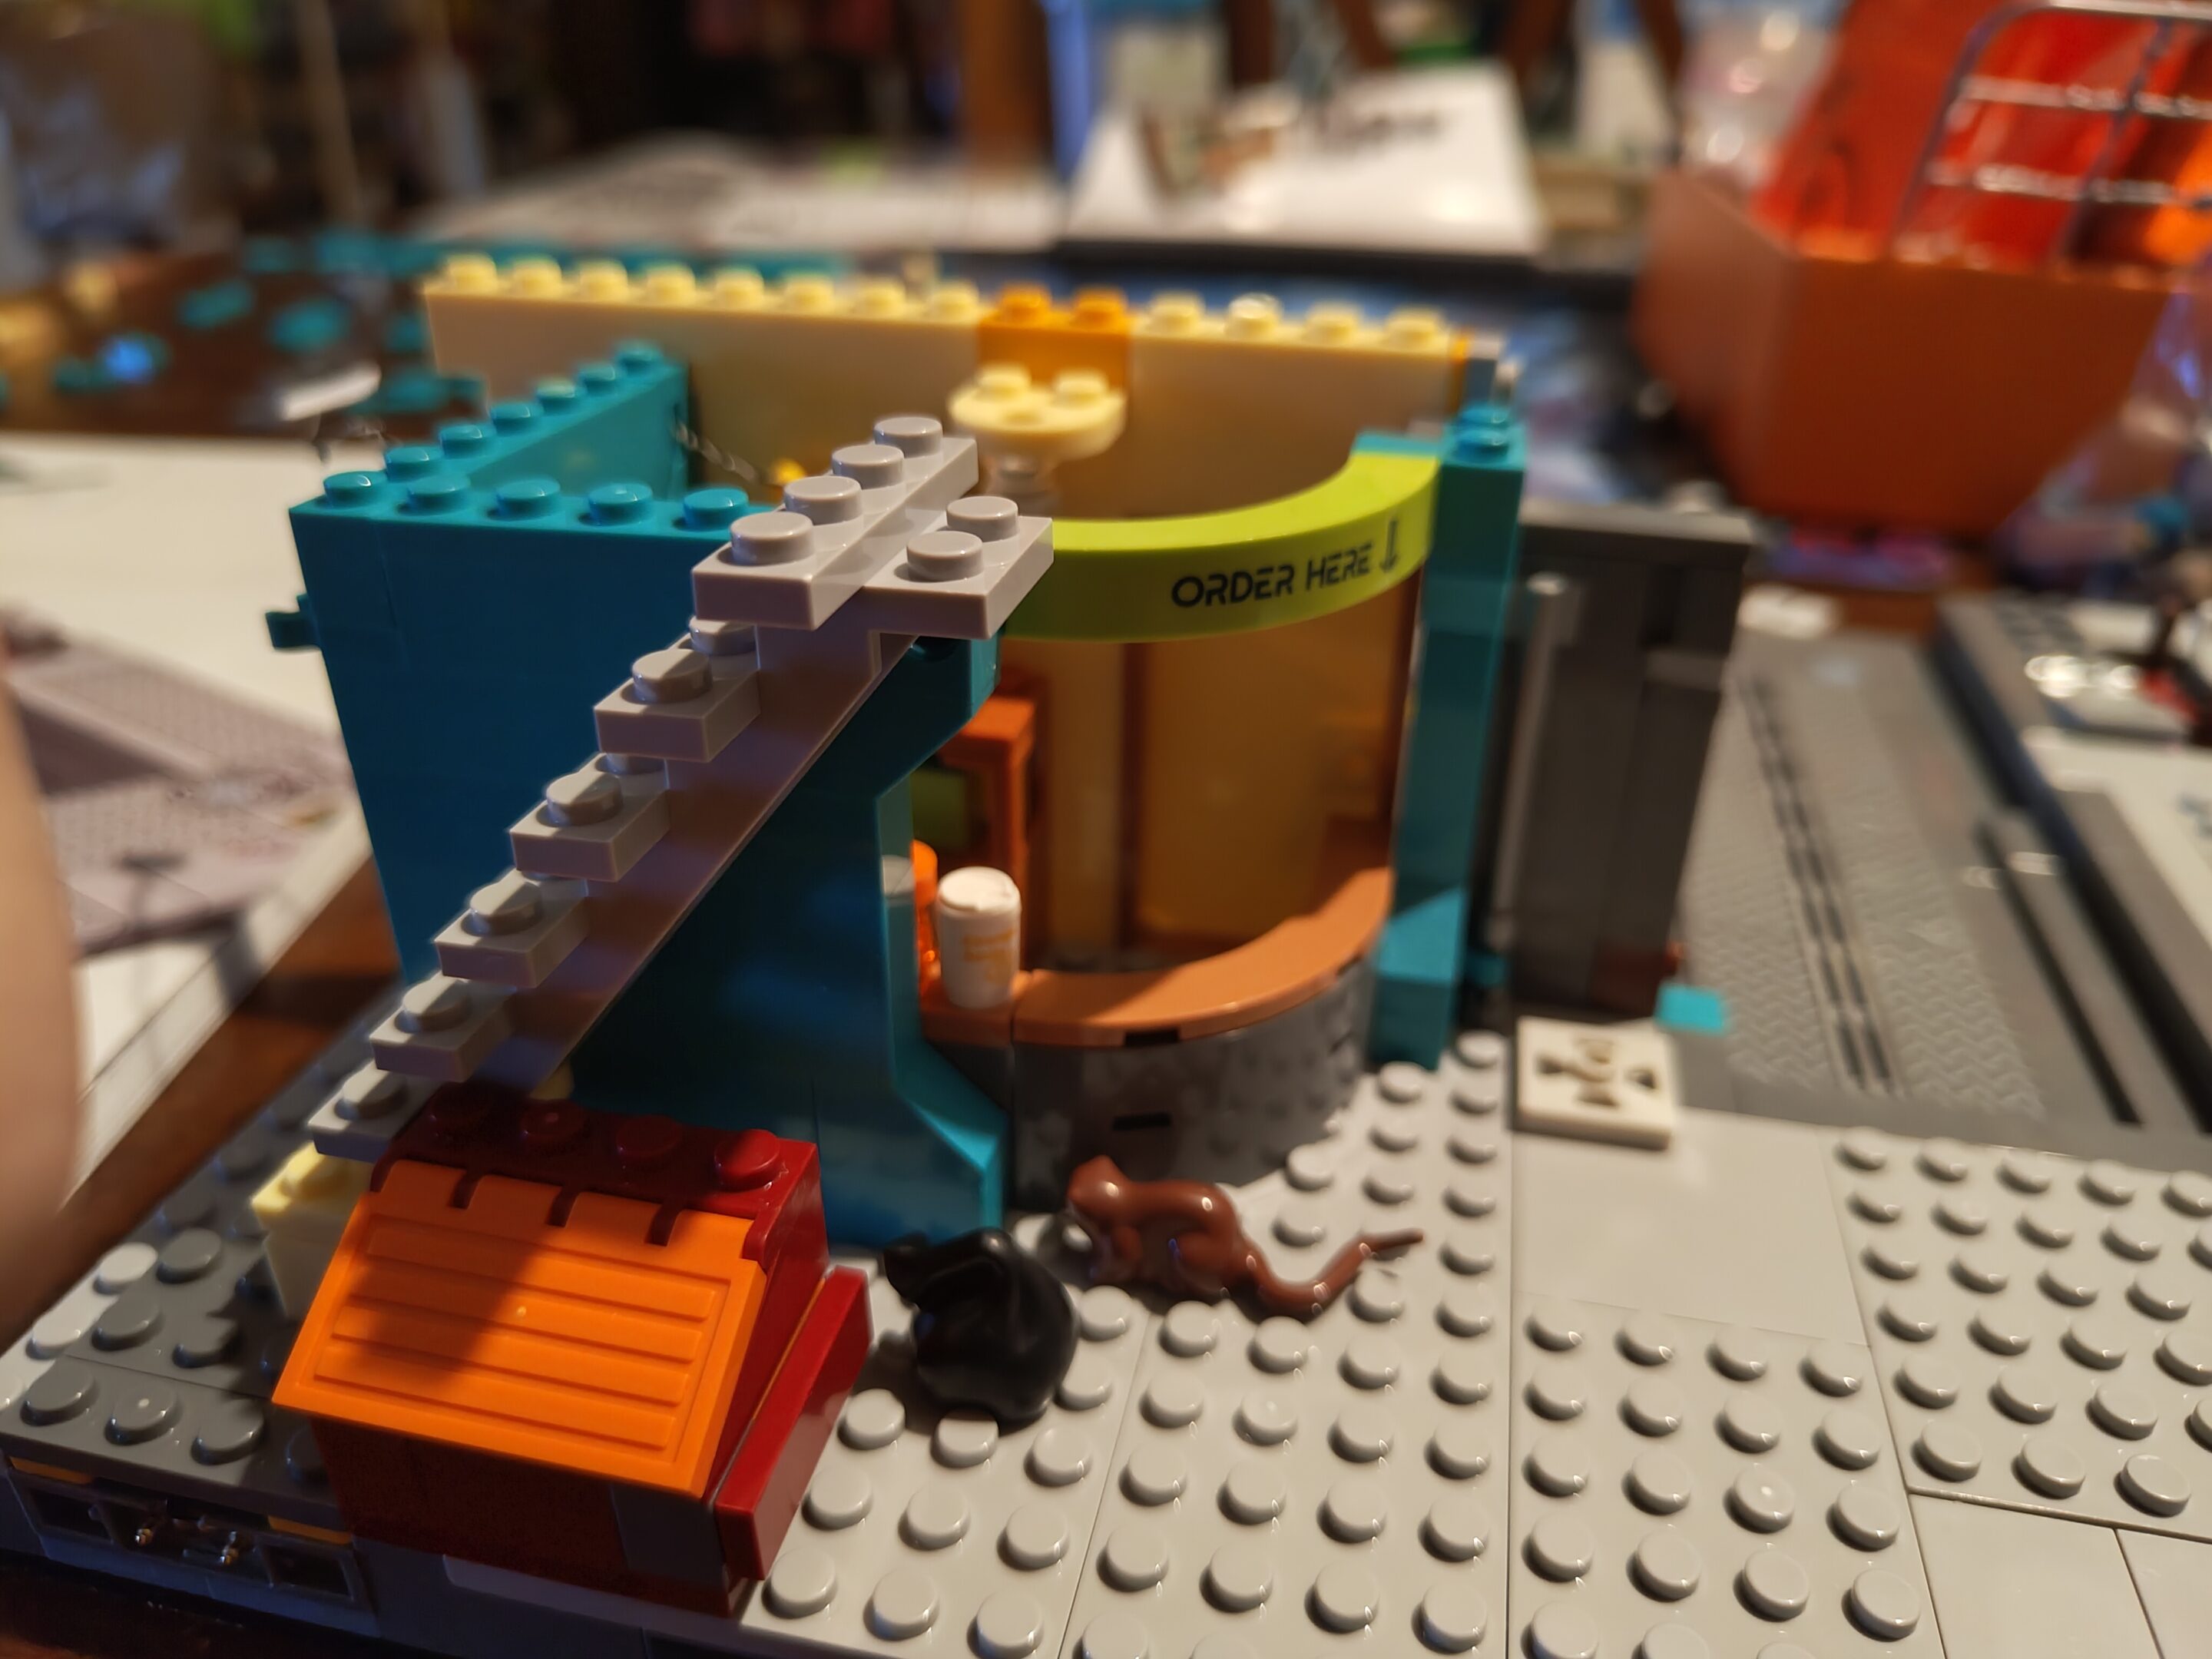
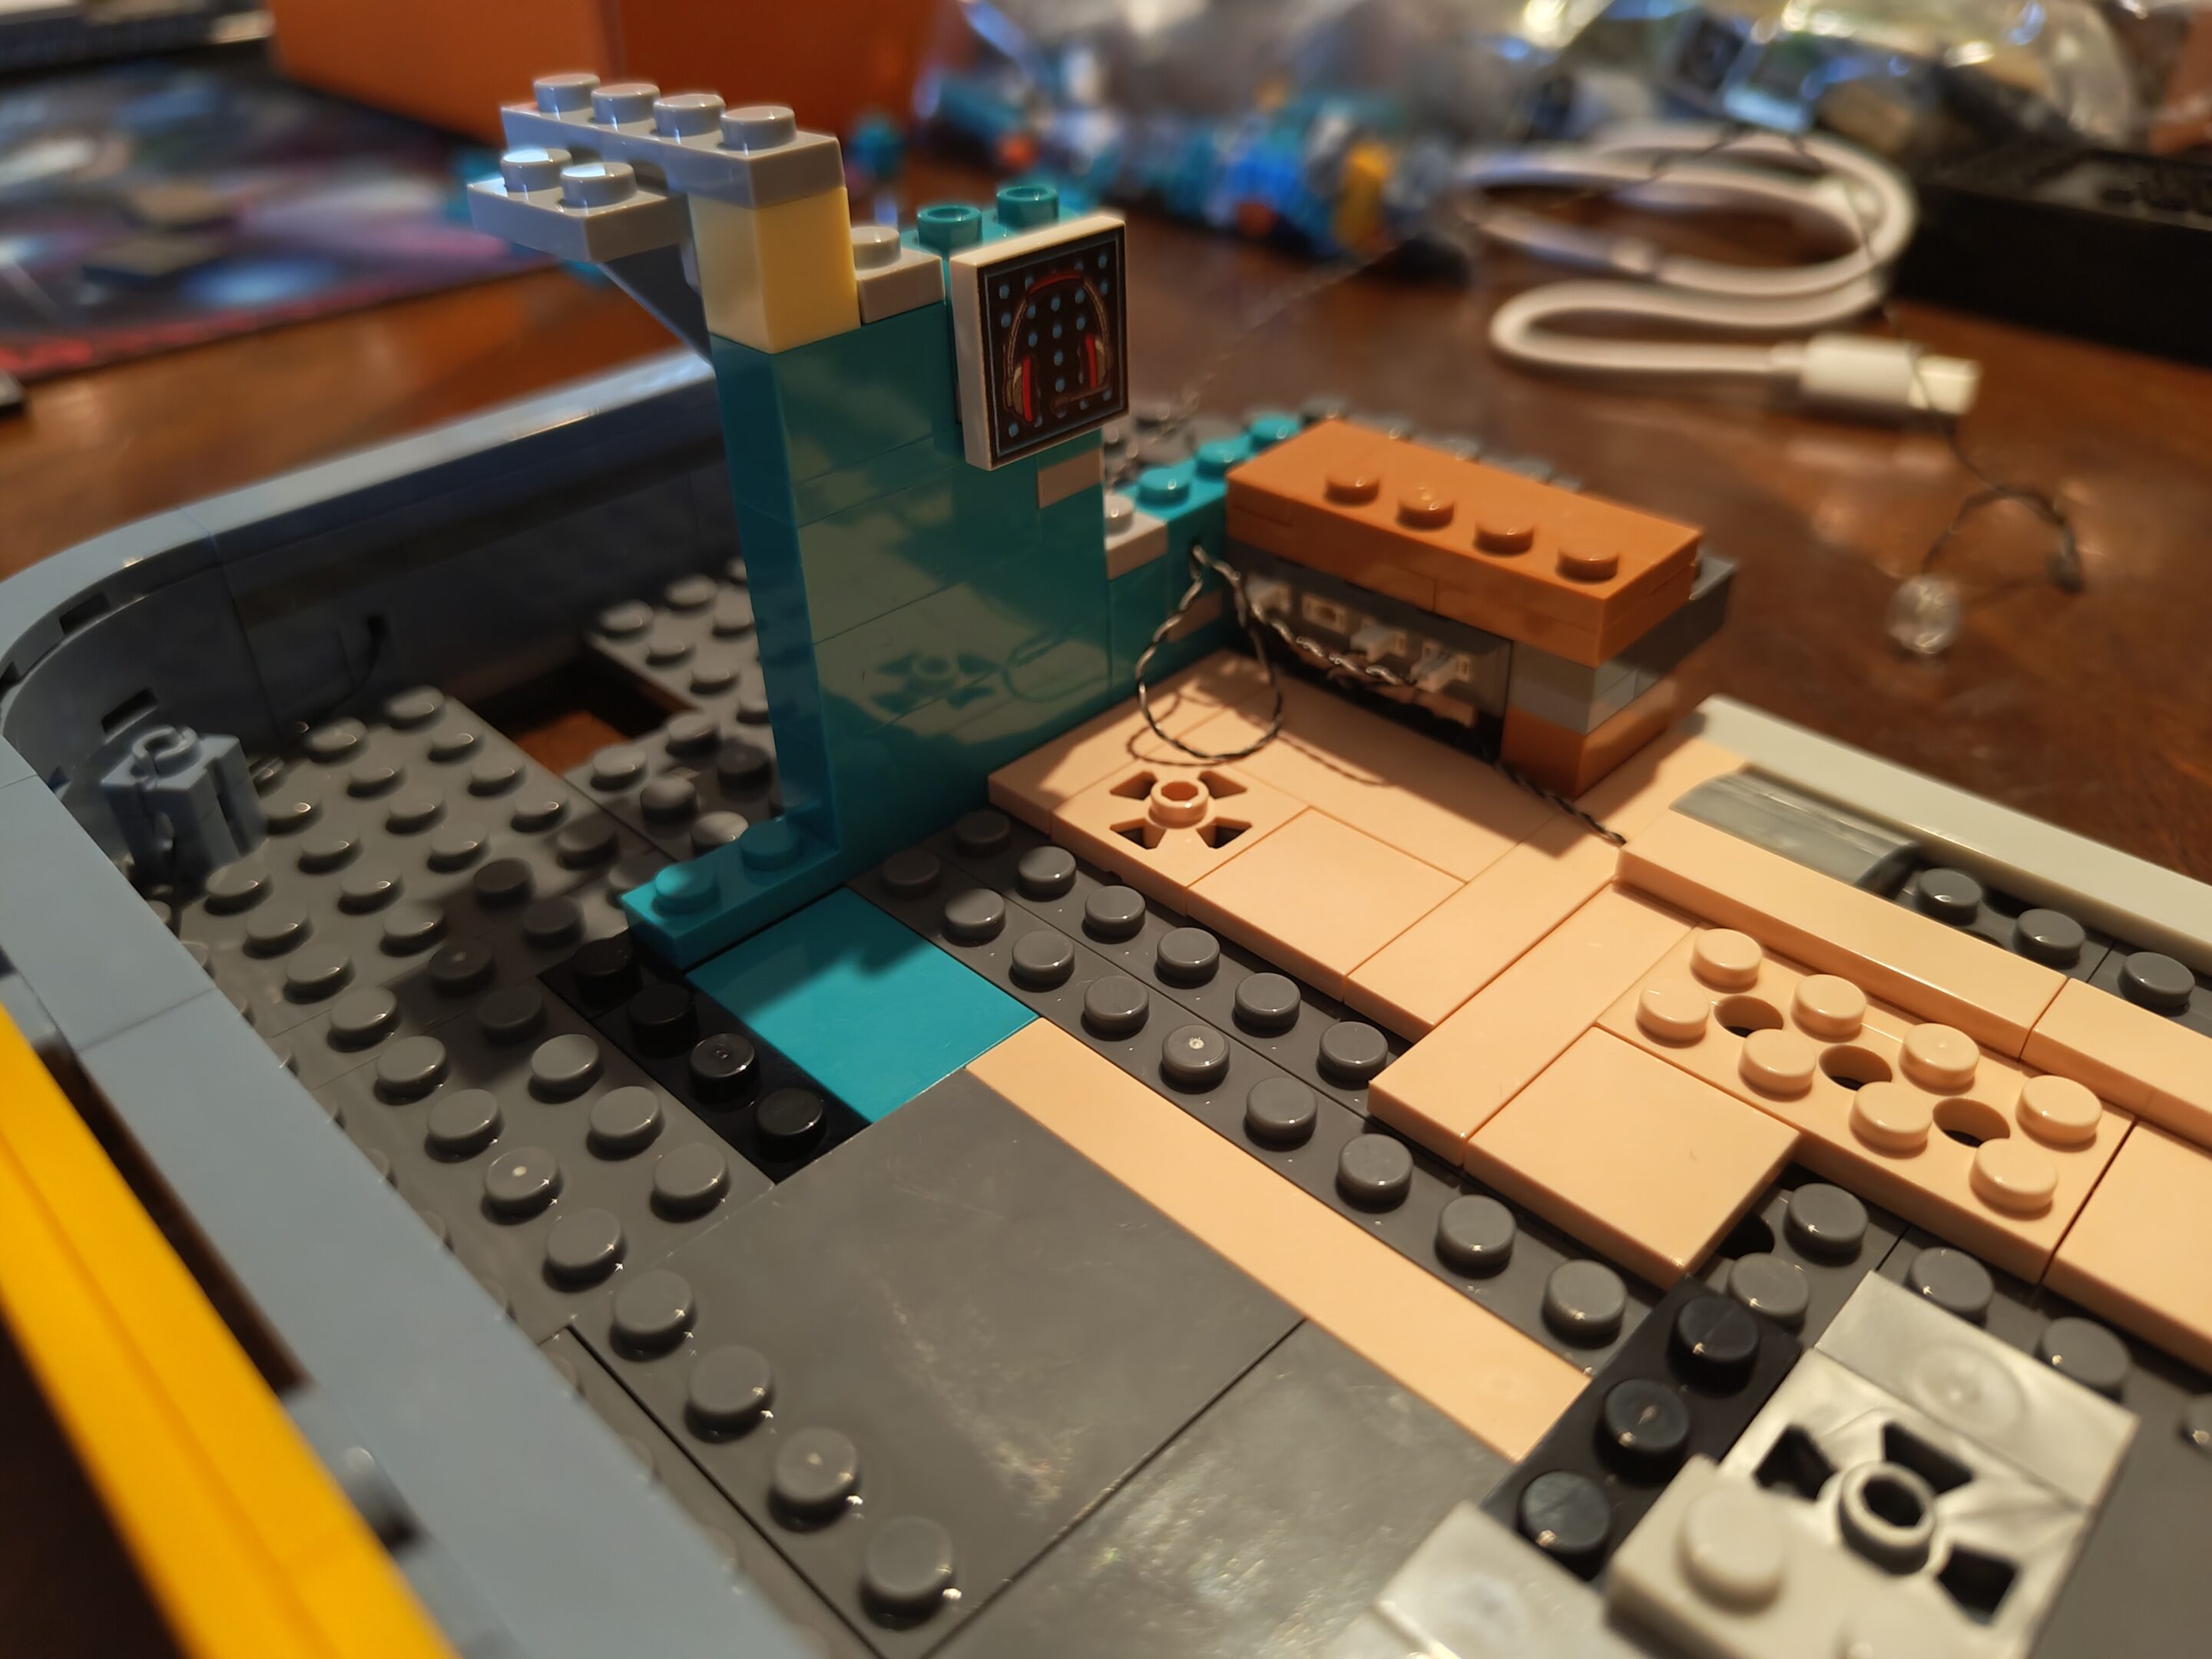
My sorting style — generally by size and/or typeAll of these are different. The ones on the bottom of the picture have a solid back. Middle ones have a hollow back. One above that to the right has two pegs (instead of a solid or hollow back). The one to the left of that is a corner piece (two pegs, rounded edge). To the left of those are just plain 1x1x1 blocks… but the black plastic is like vantablack and it’s hard to see themLess text, more building.Wasn’t sure what this was but since I’m adding these after the next gallery it’s a queue for the info desk?Angular wallOne of the first “neon” (led + acrylic) signs
took a couple days off for being sick but did some work on this today but also did some lego stuff with mom, busy day with the bricks today (tuesday, september 23rd) but also the game stack came in the mail today! will have to get a couple pictures of the box and make a temp post blah blah anyway here’s more pictures
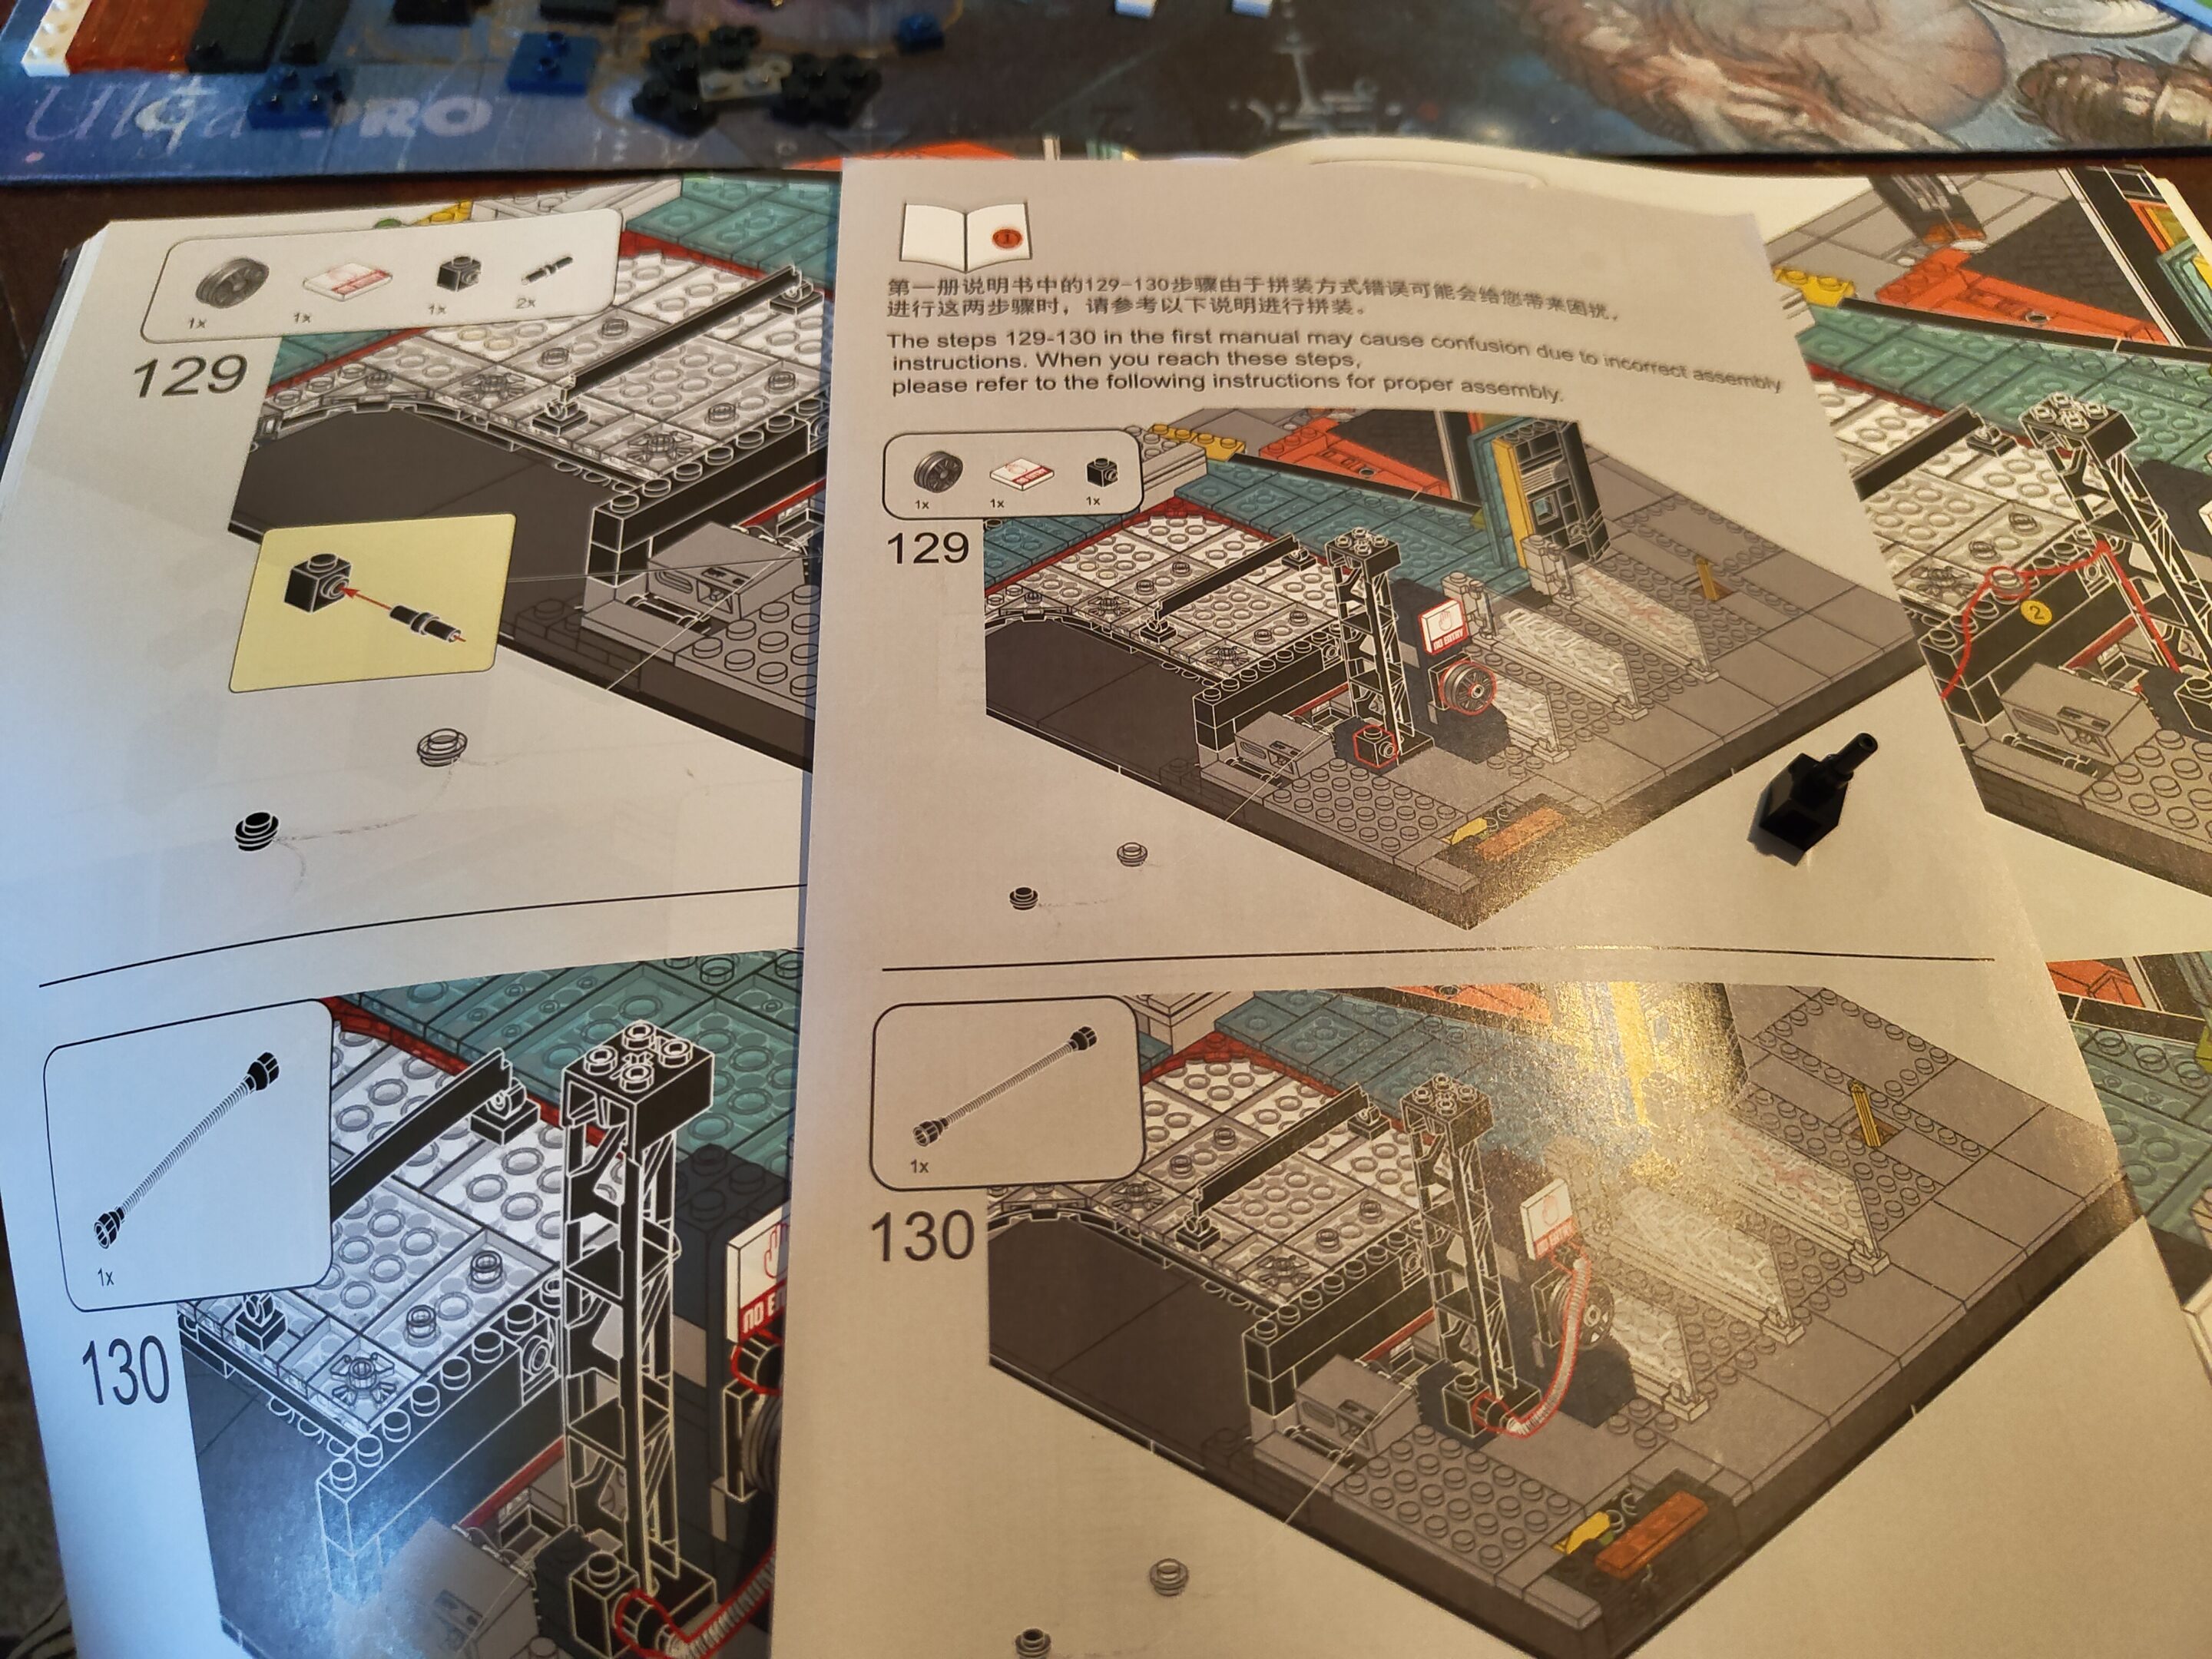
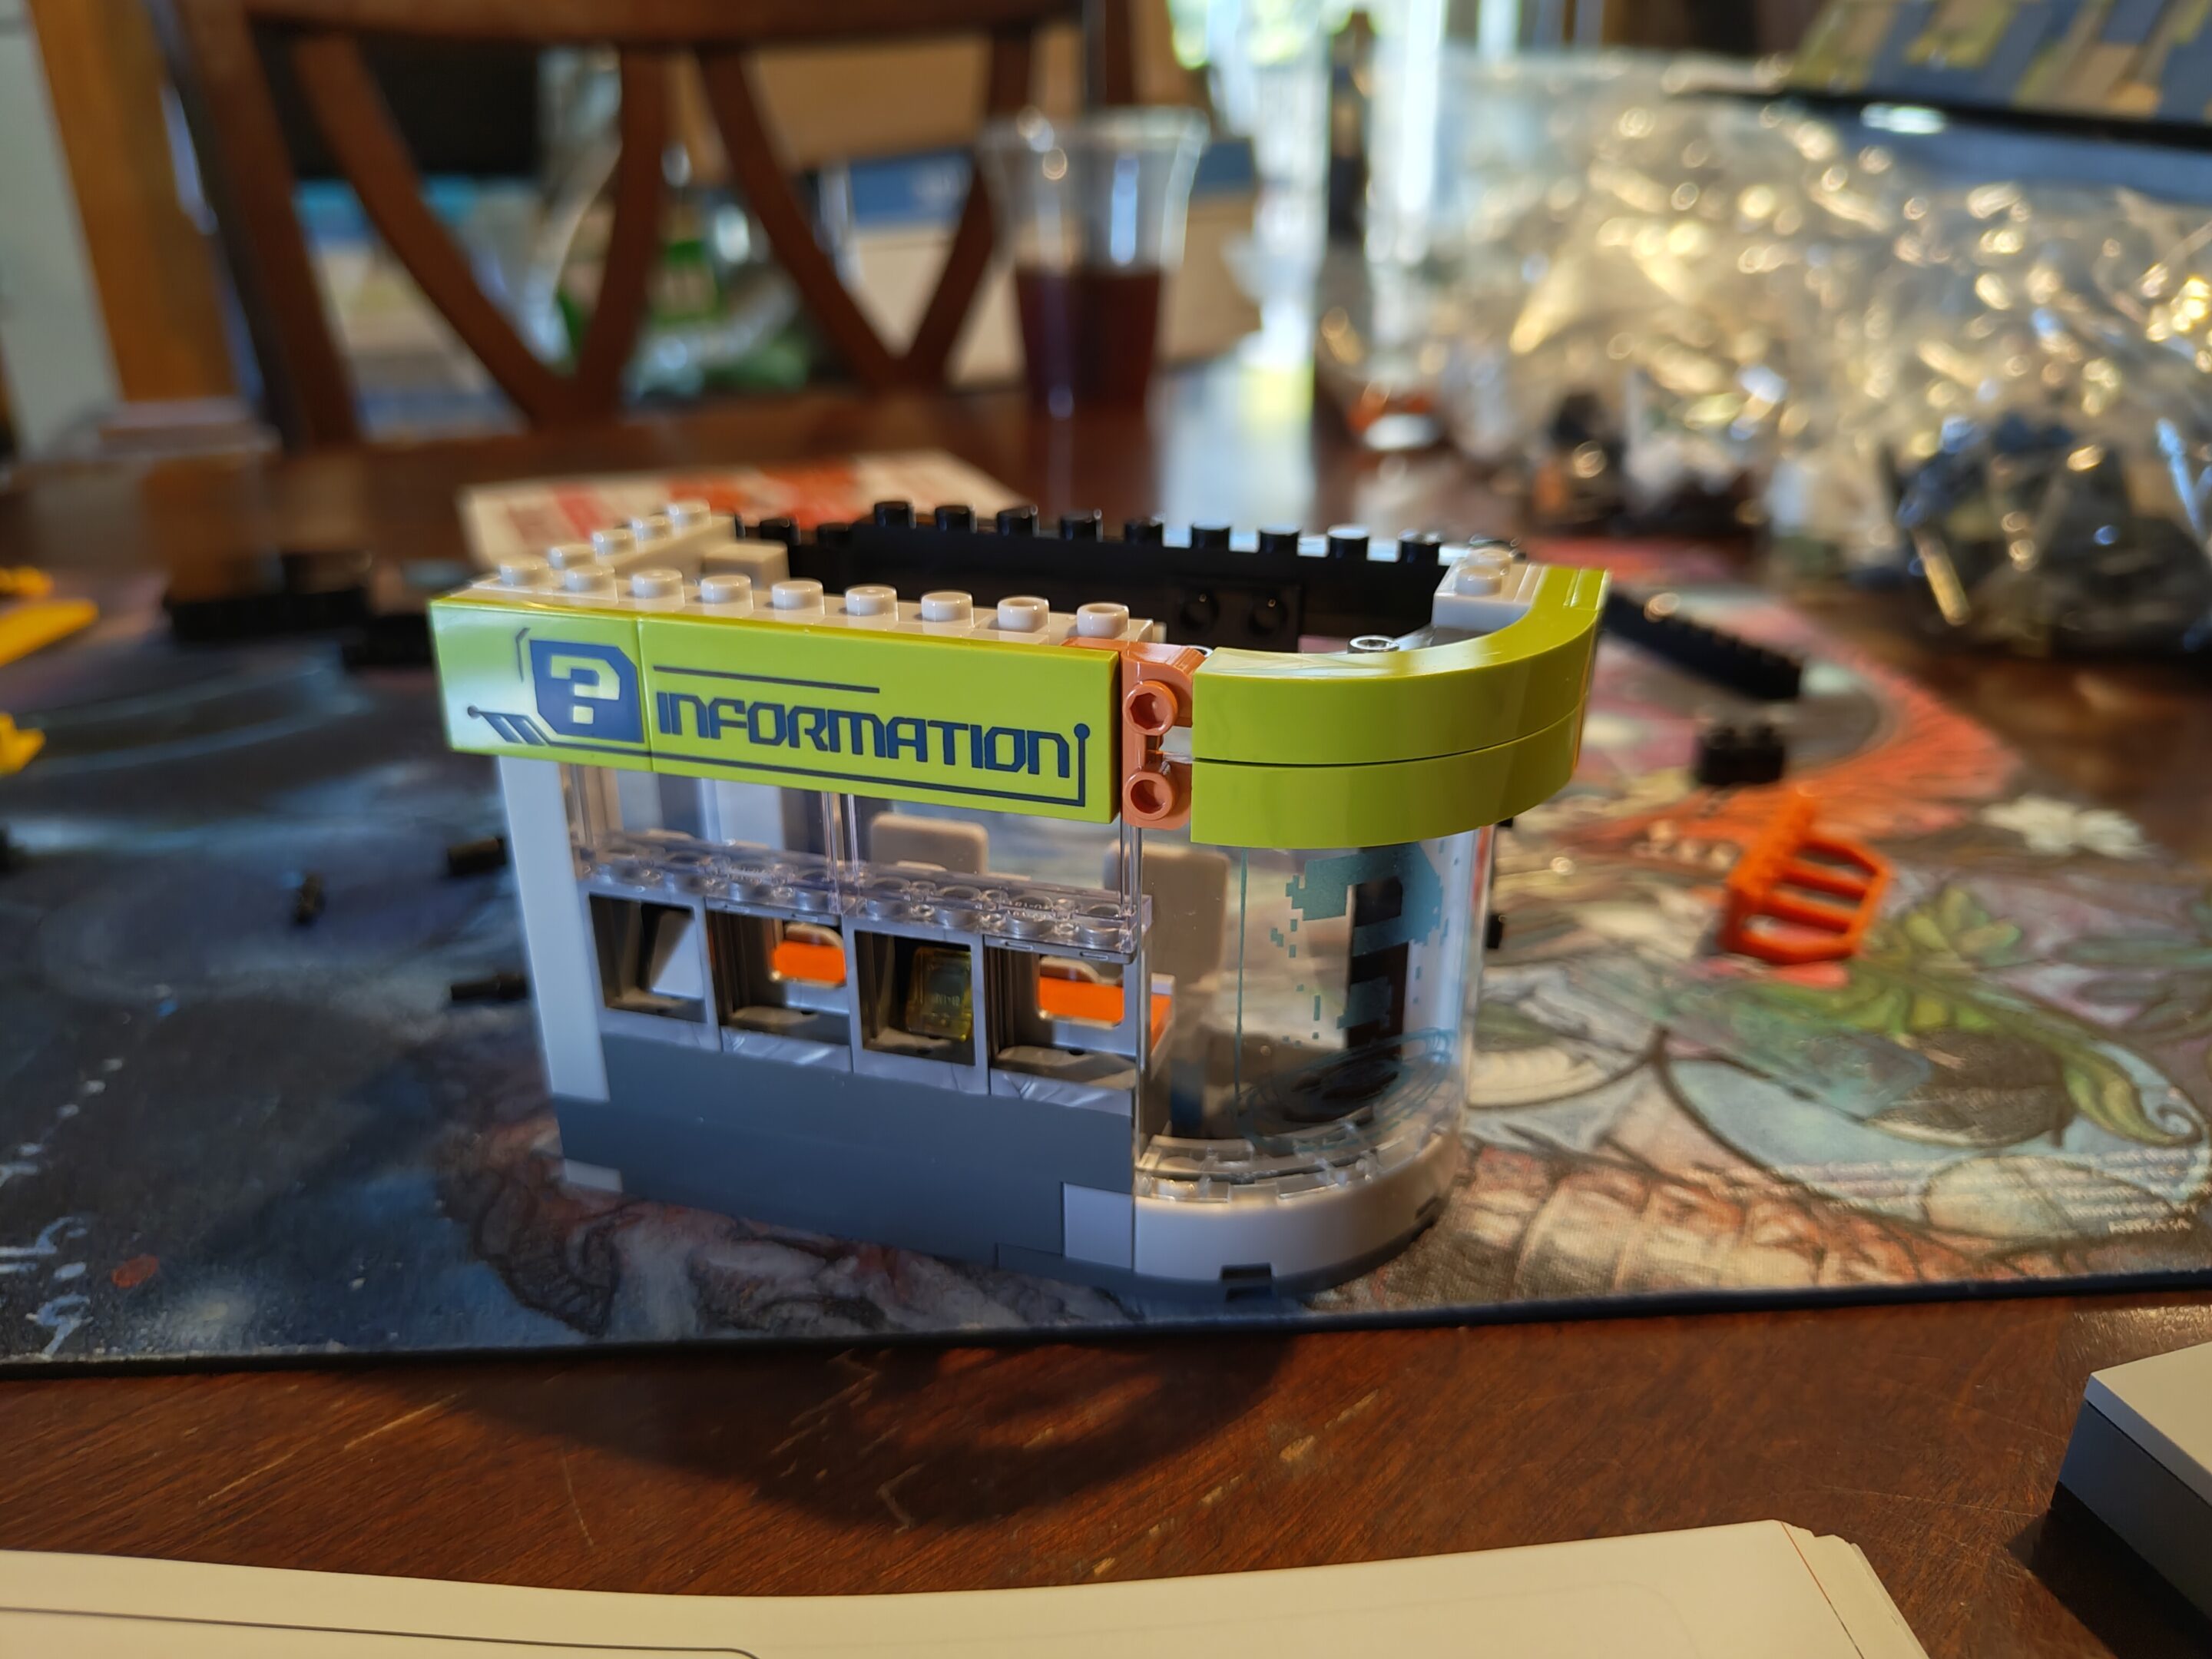
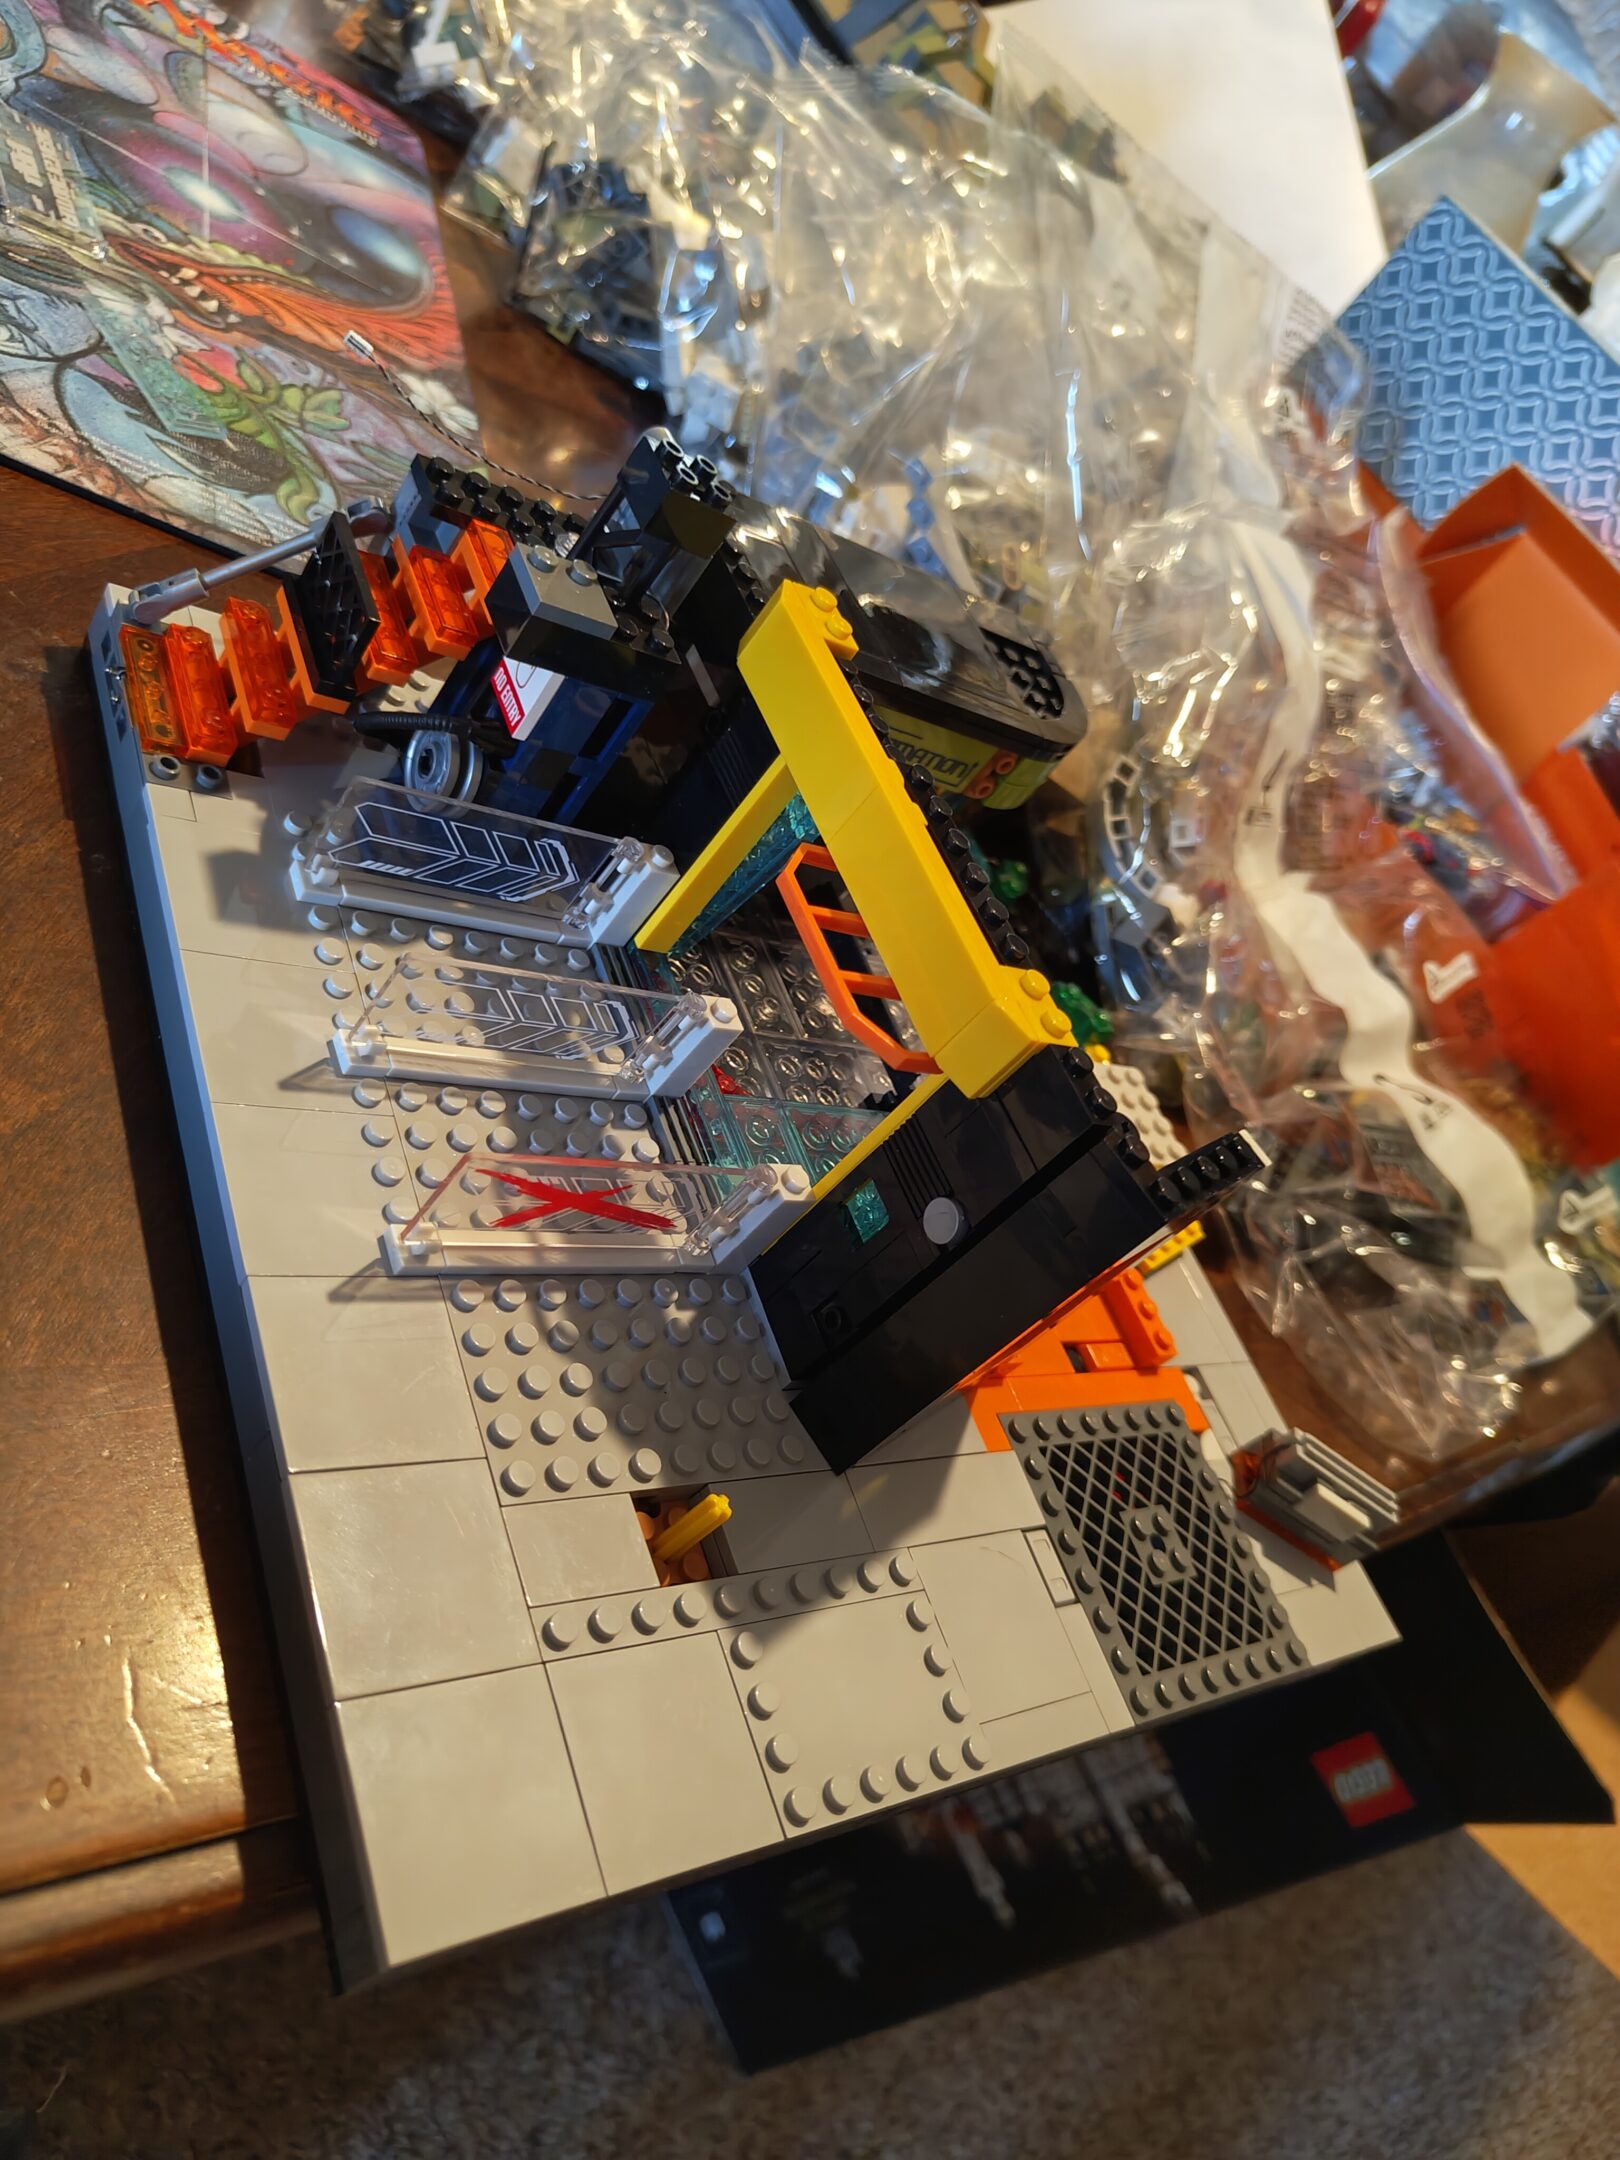
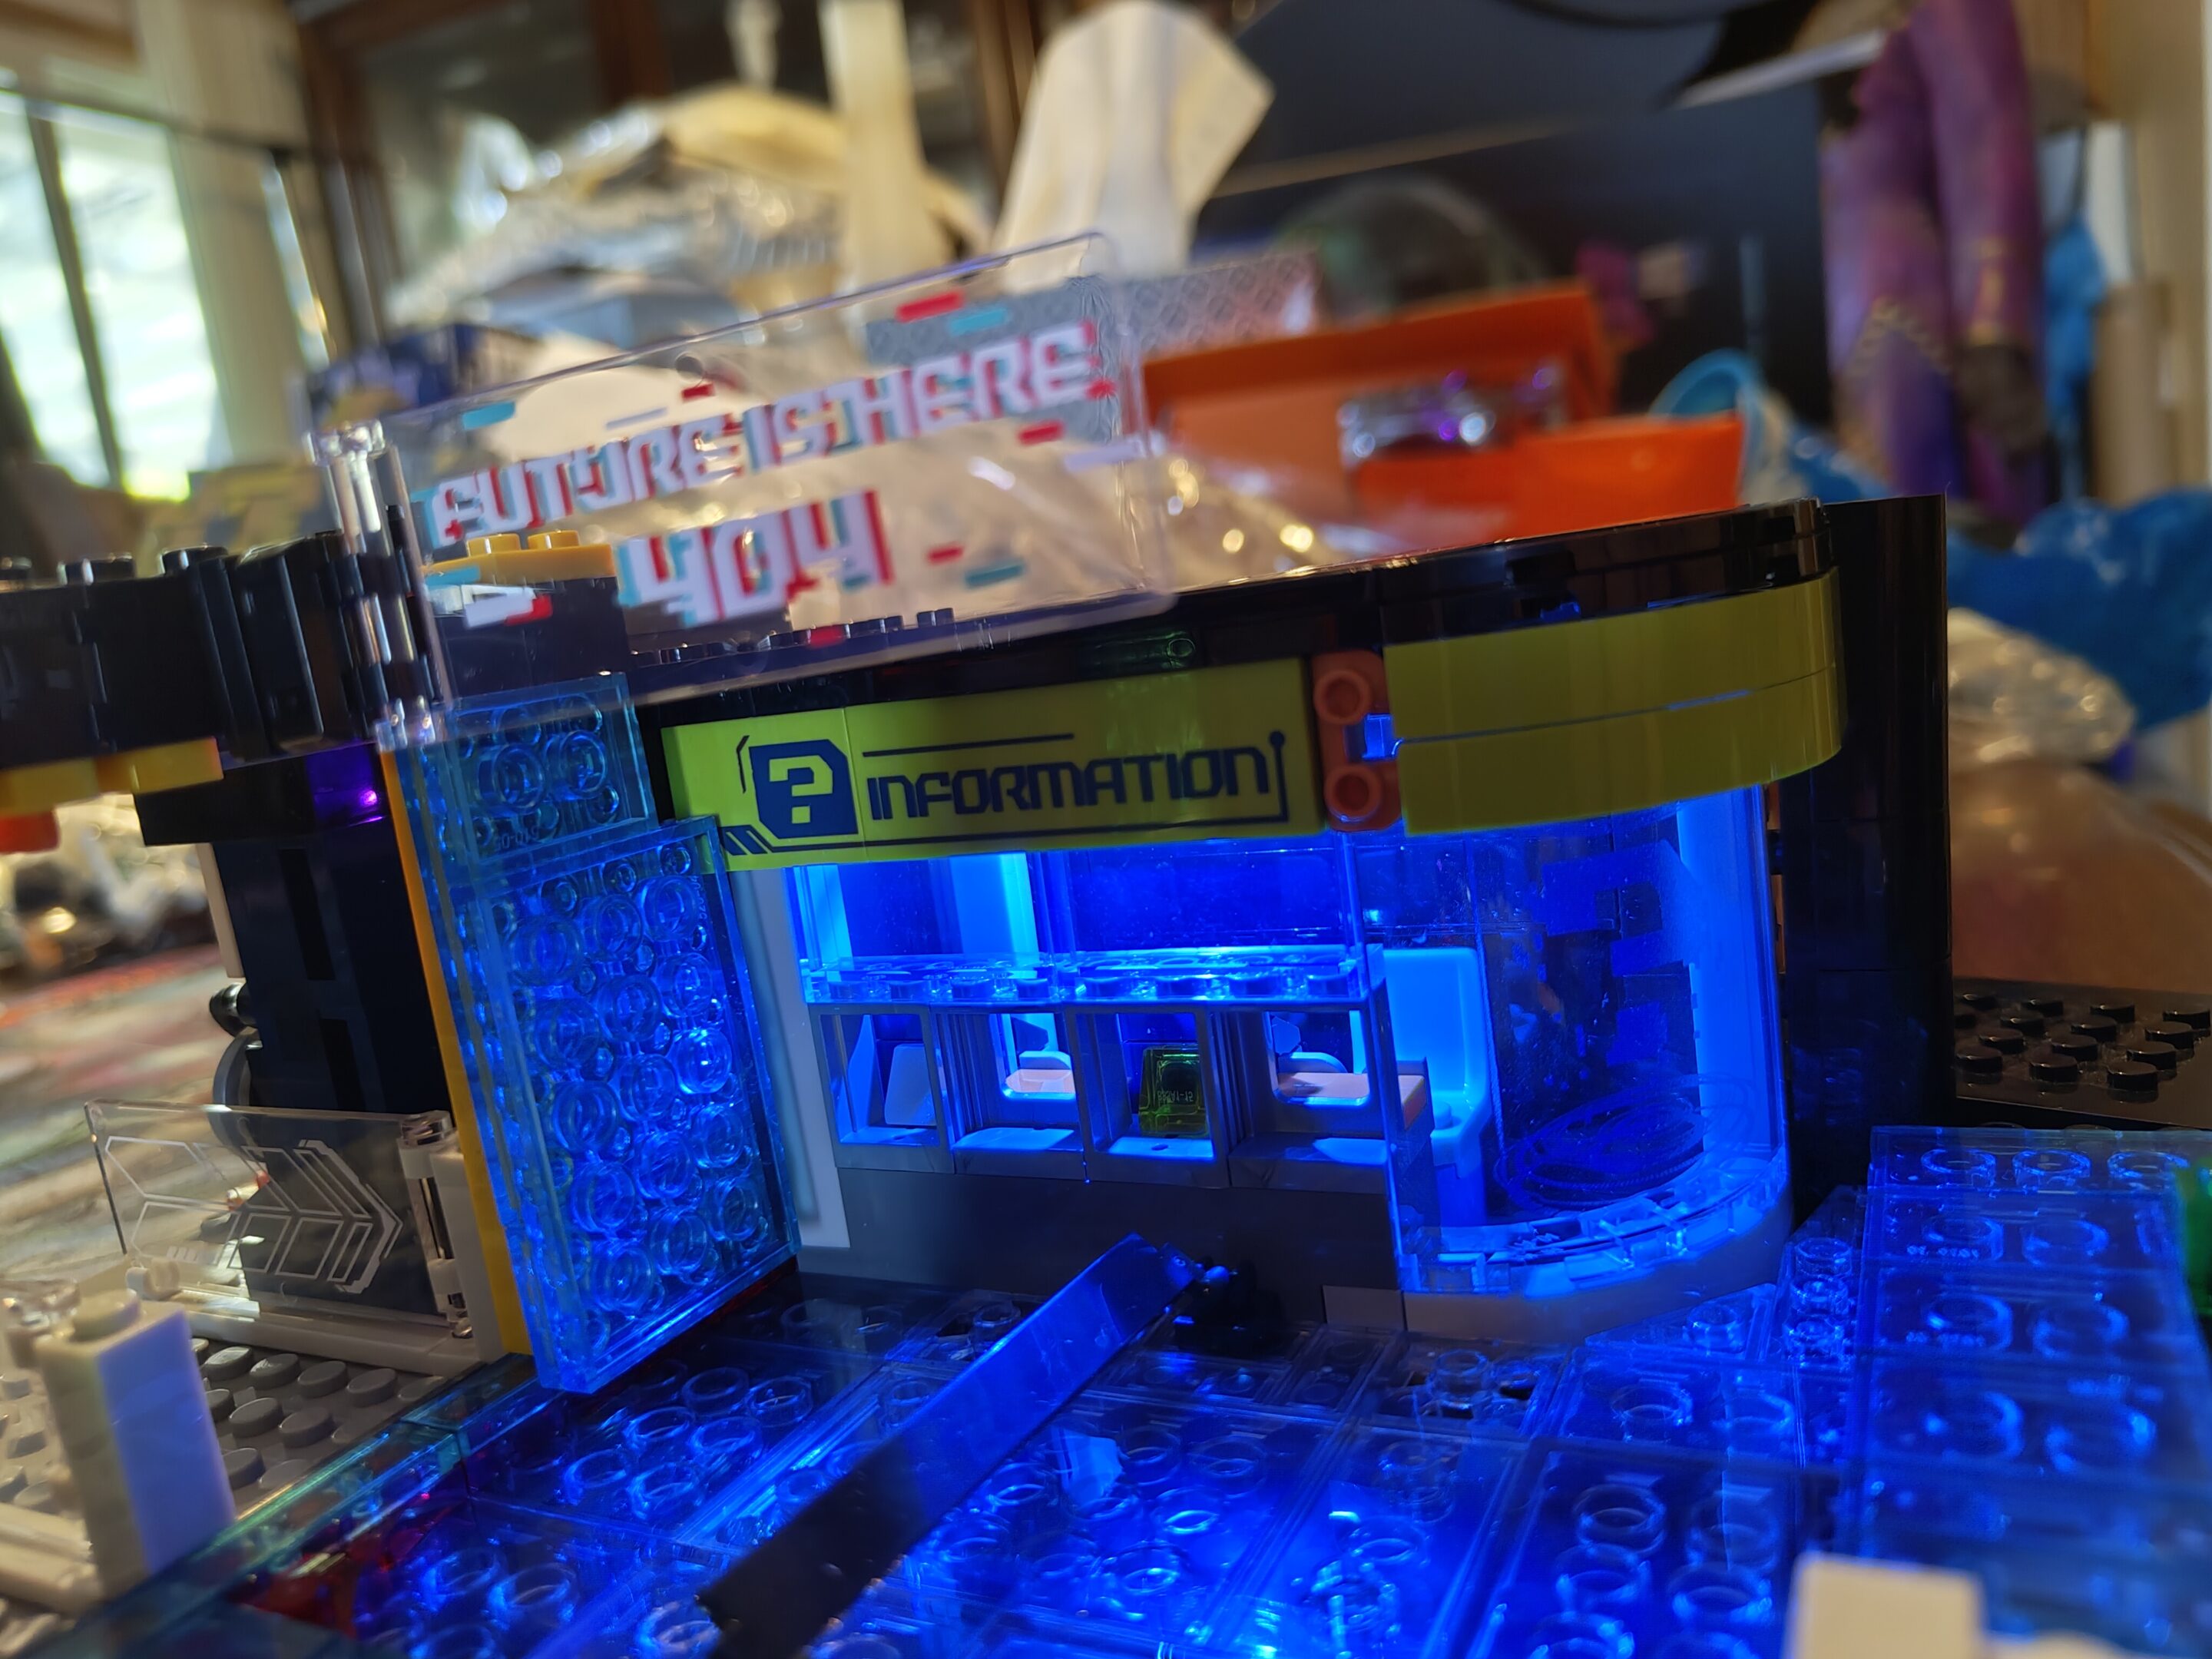
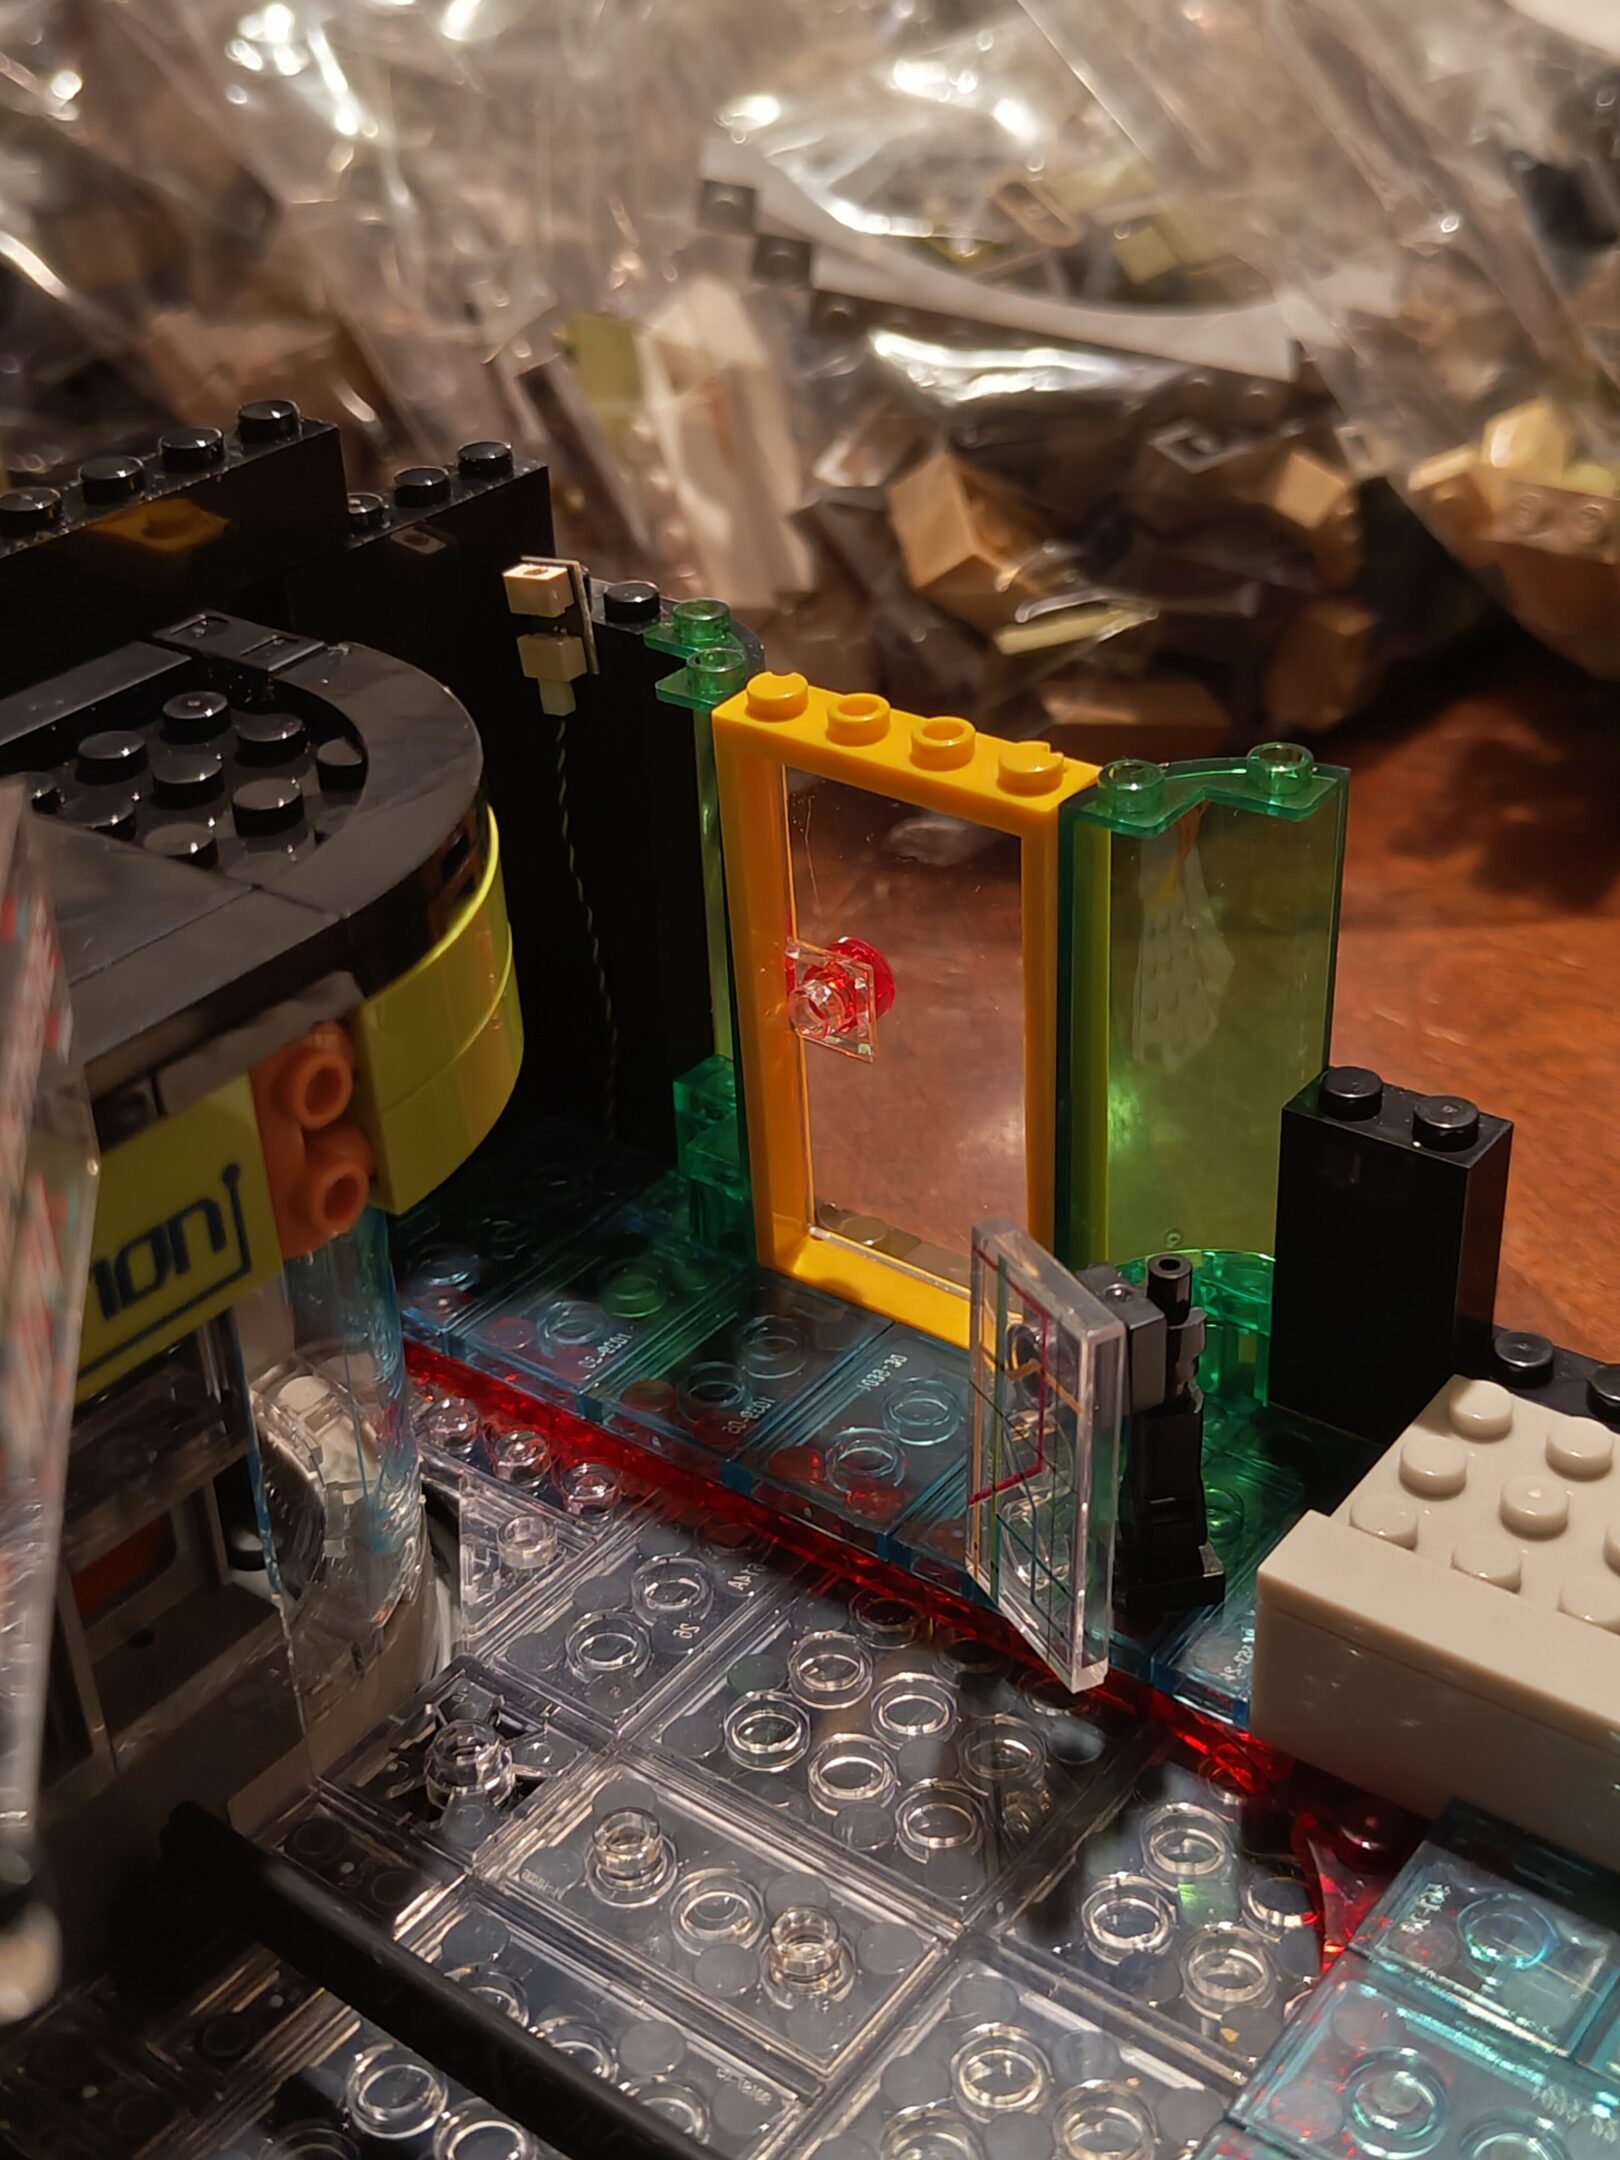
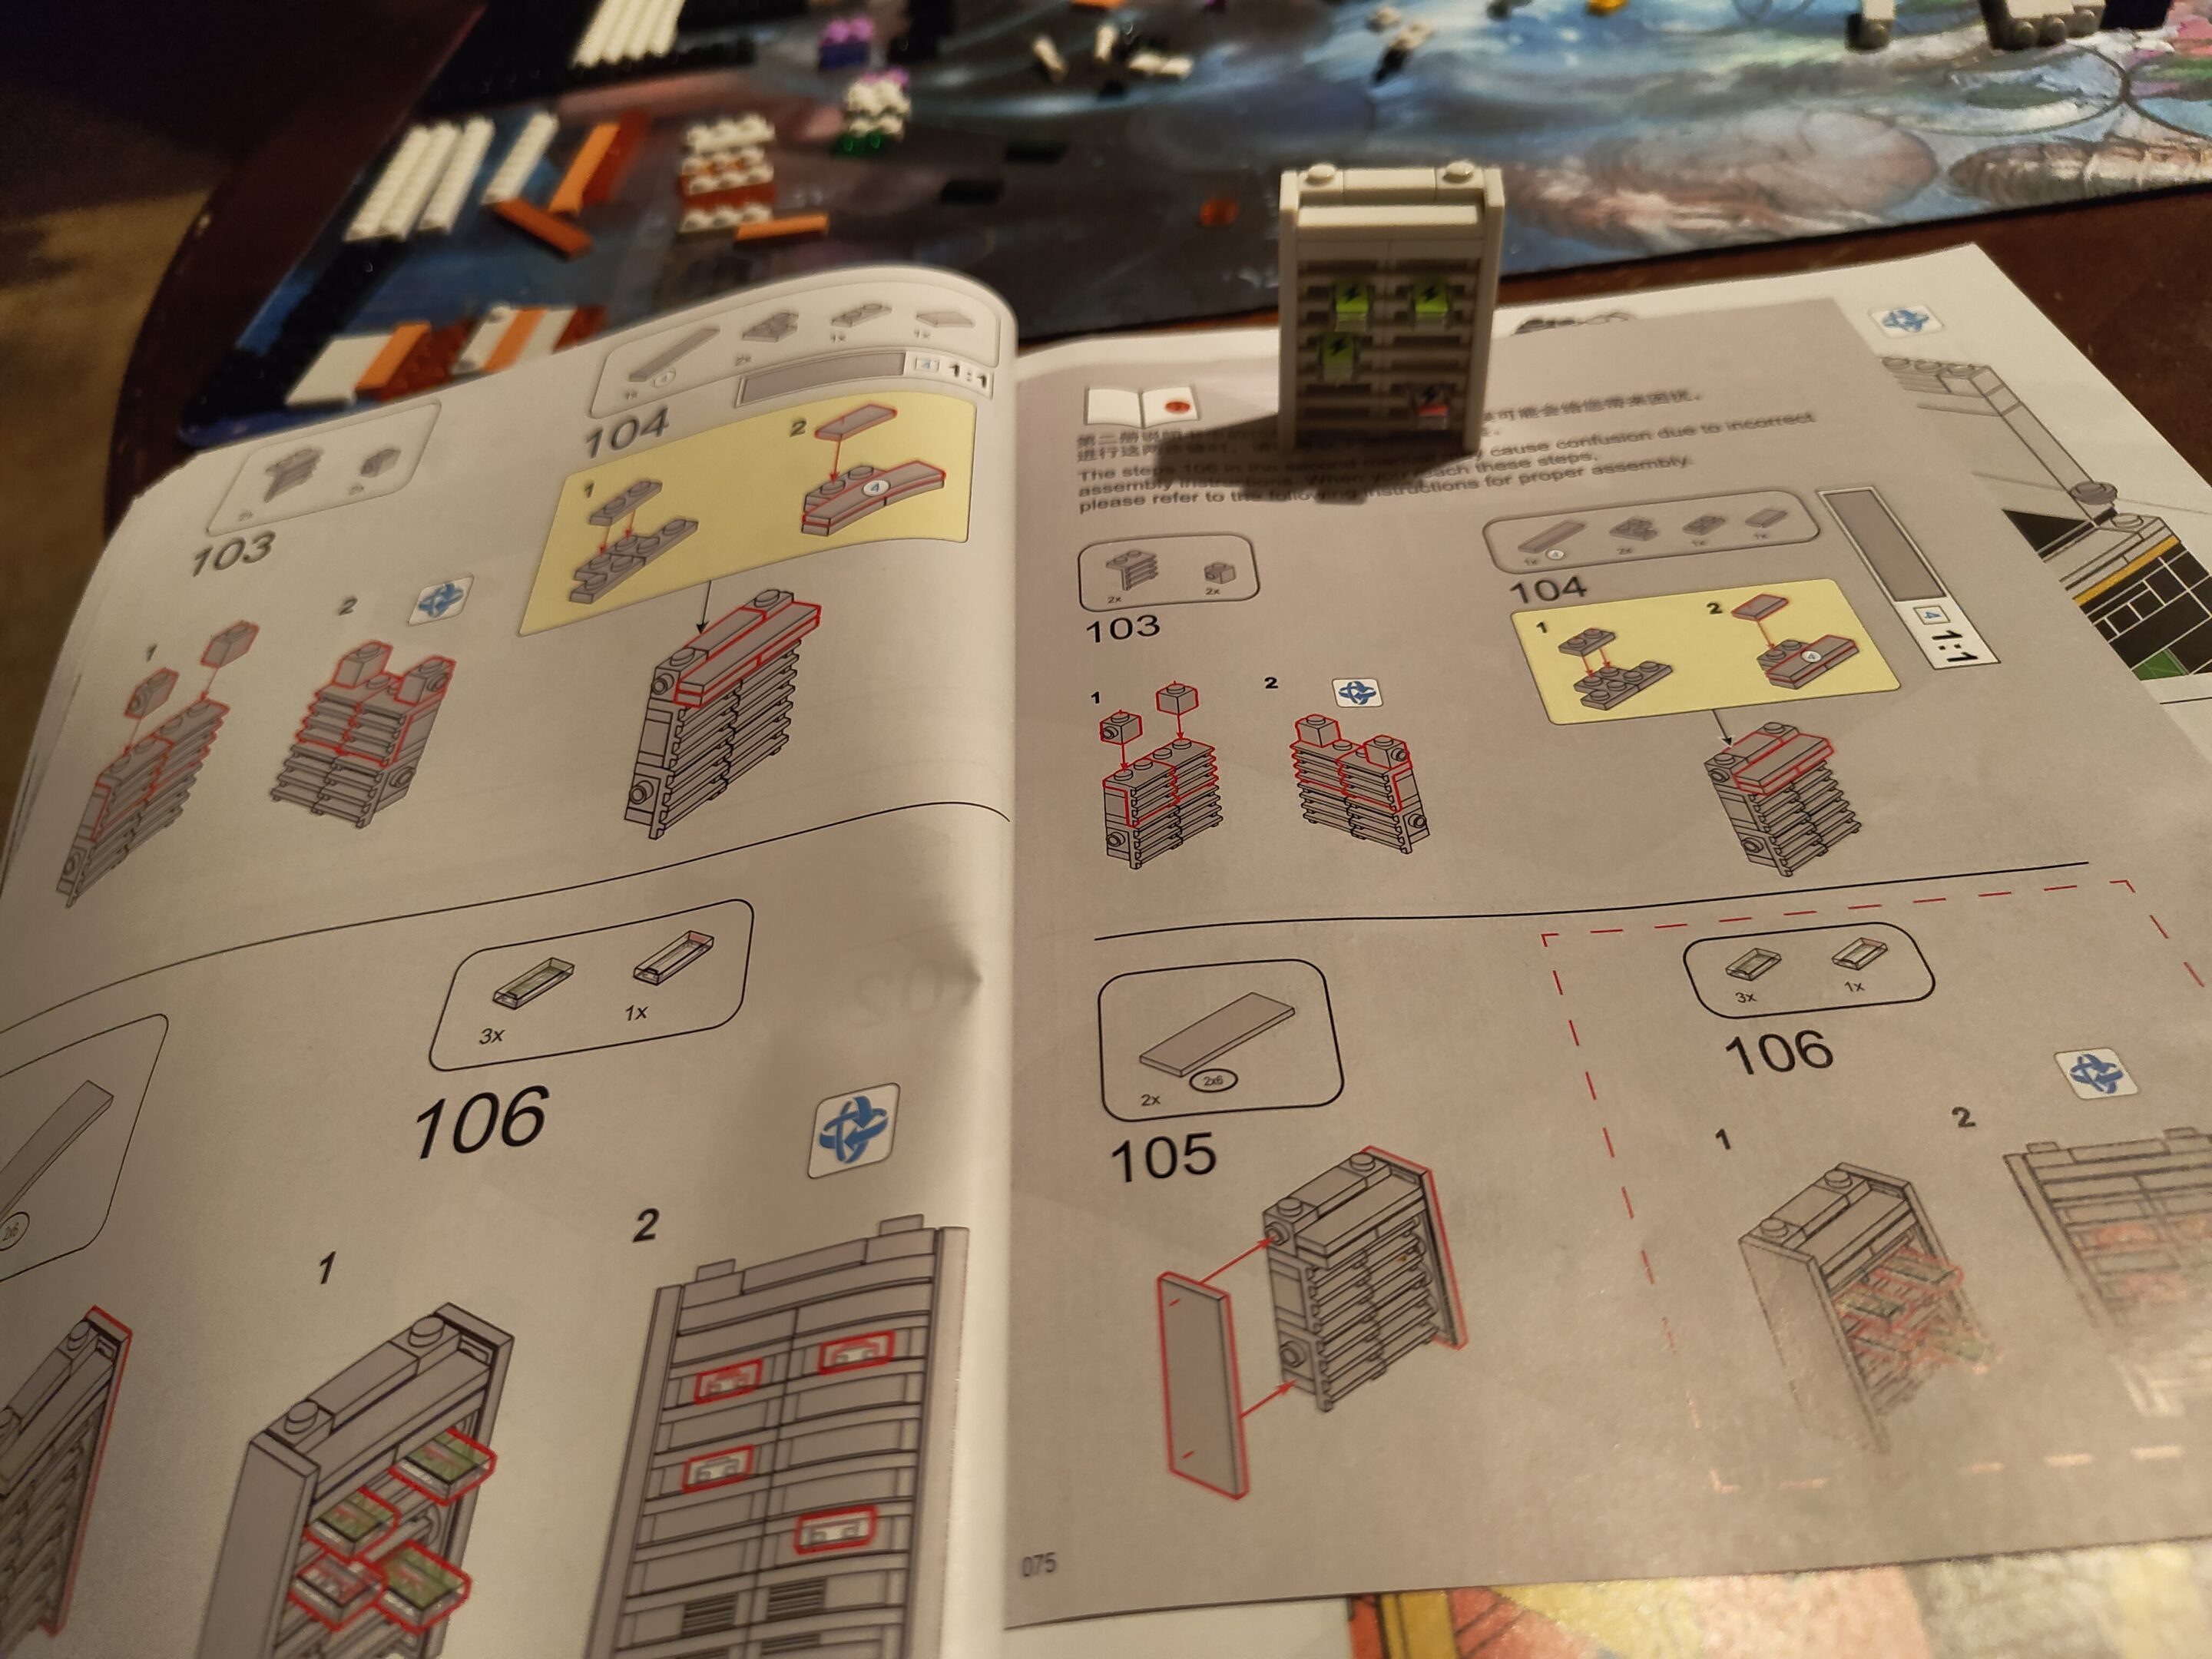
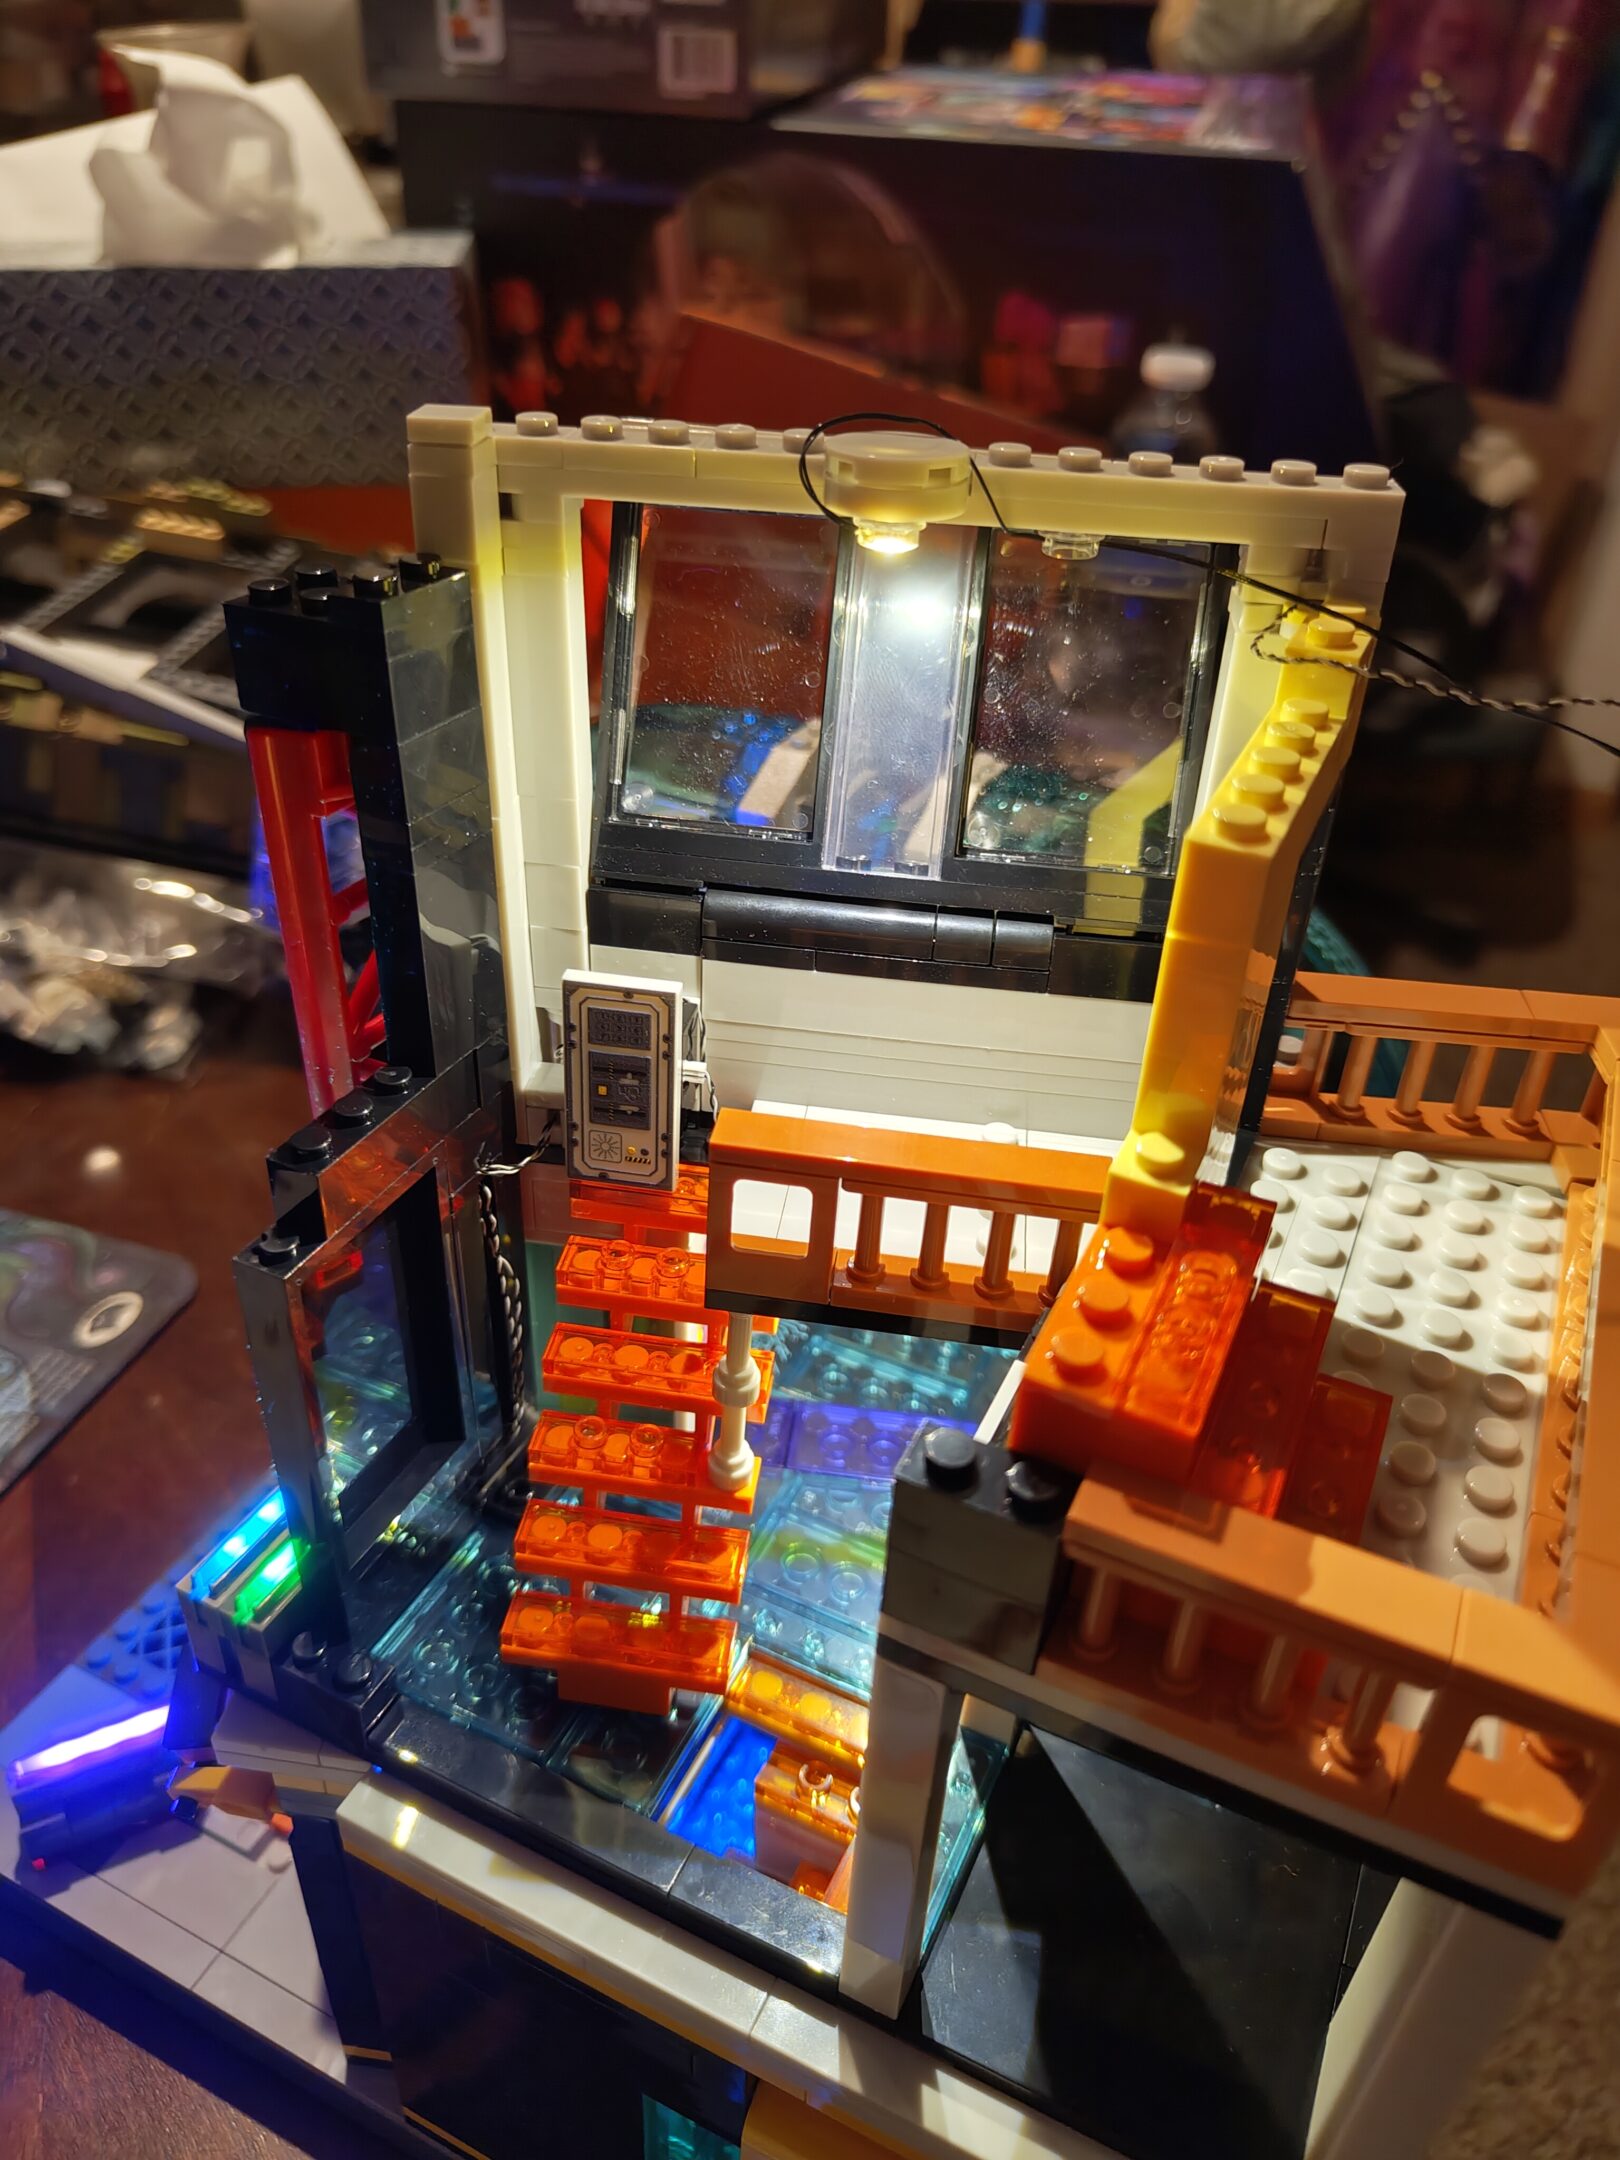
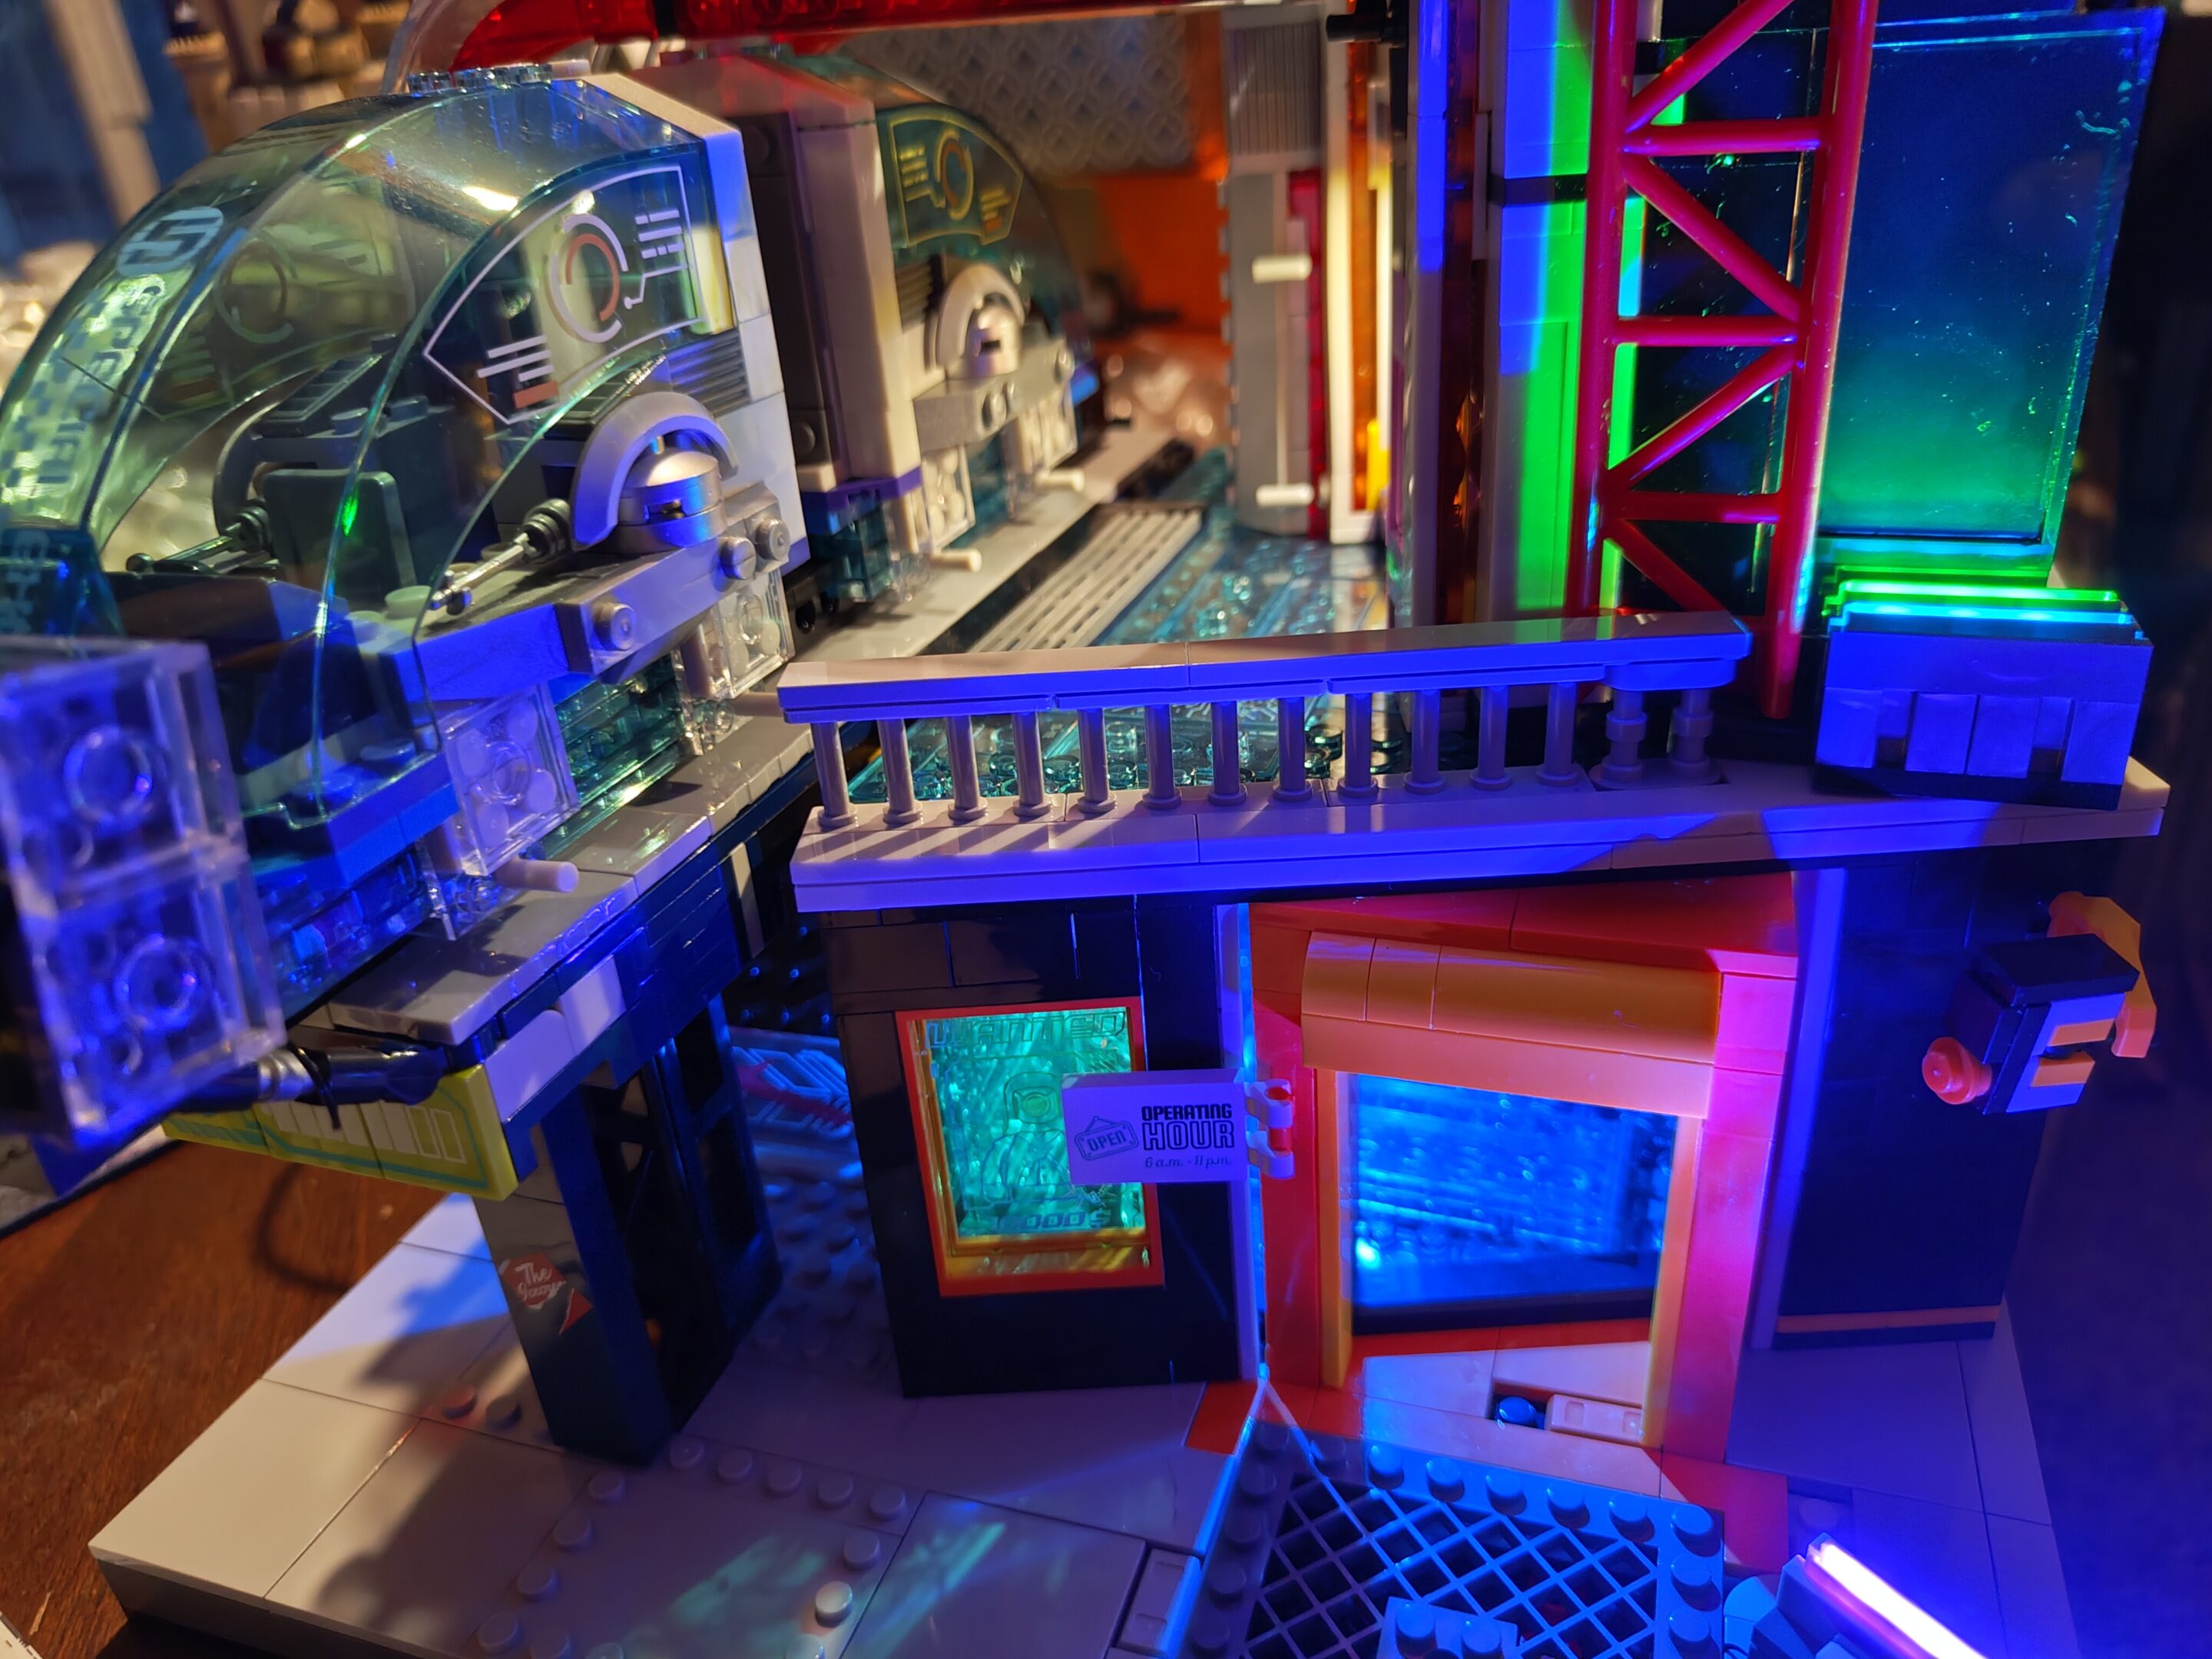
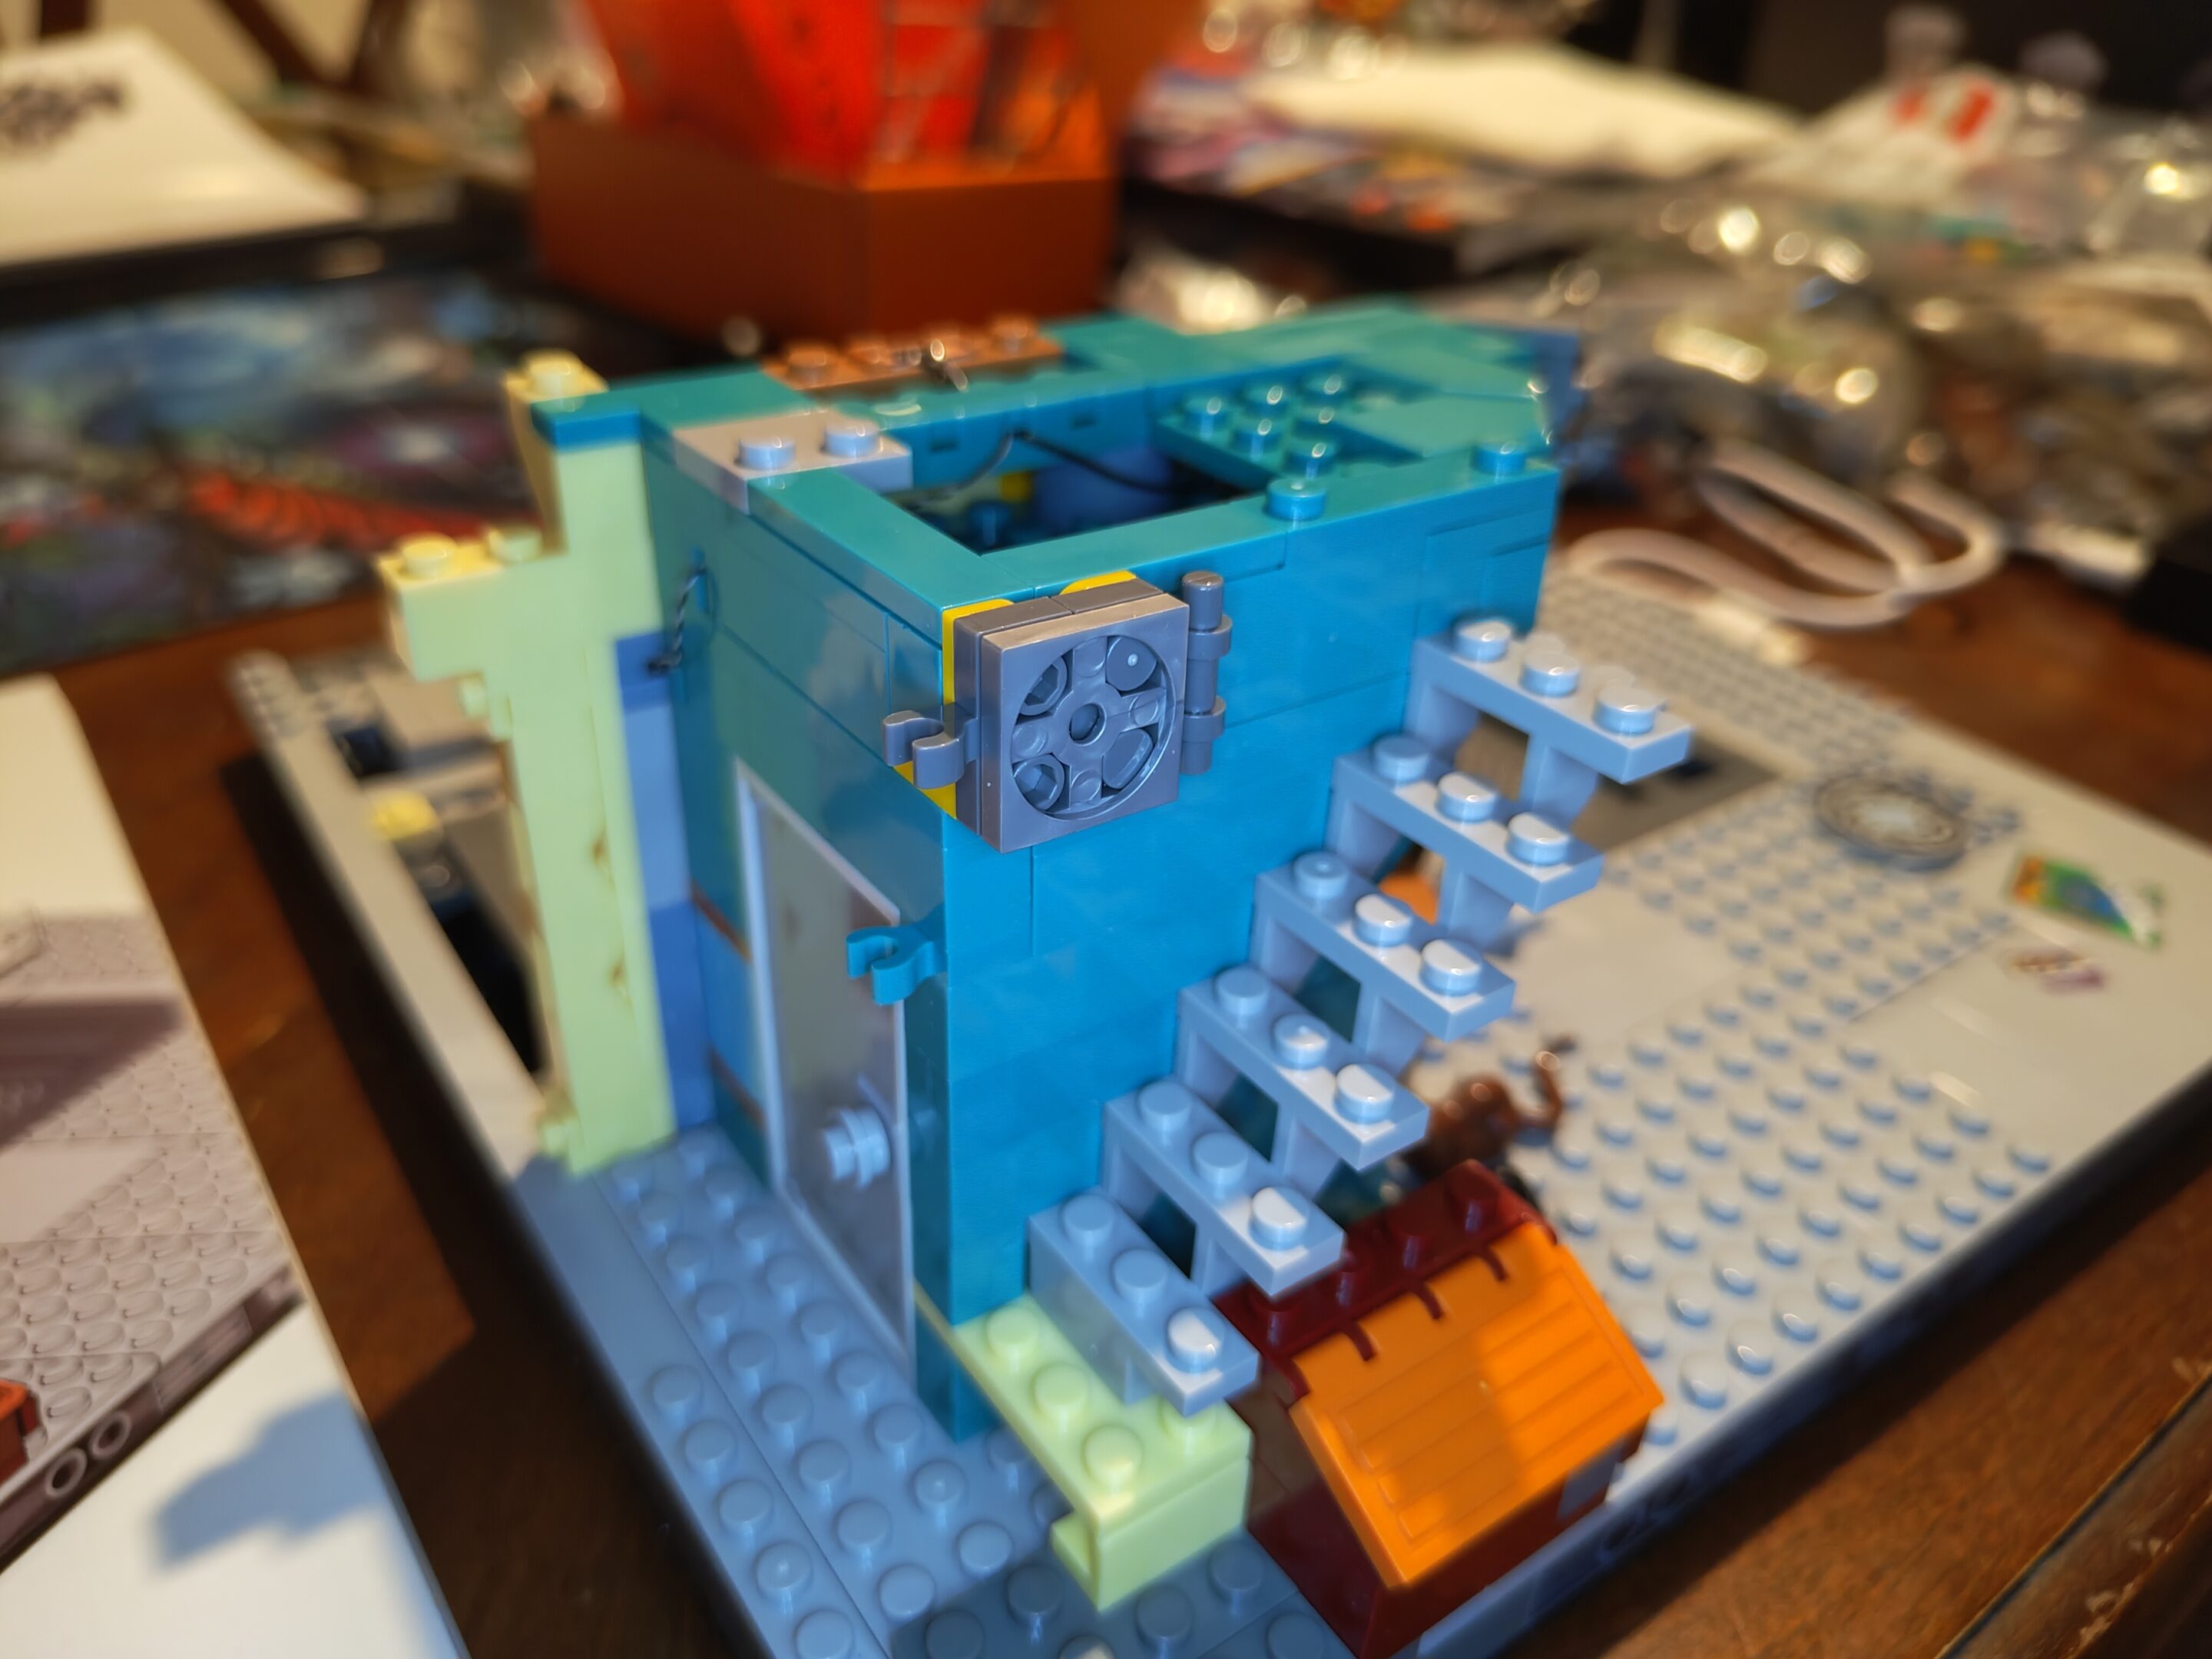
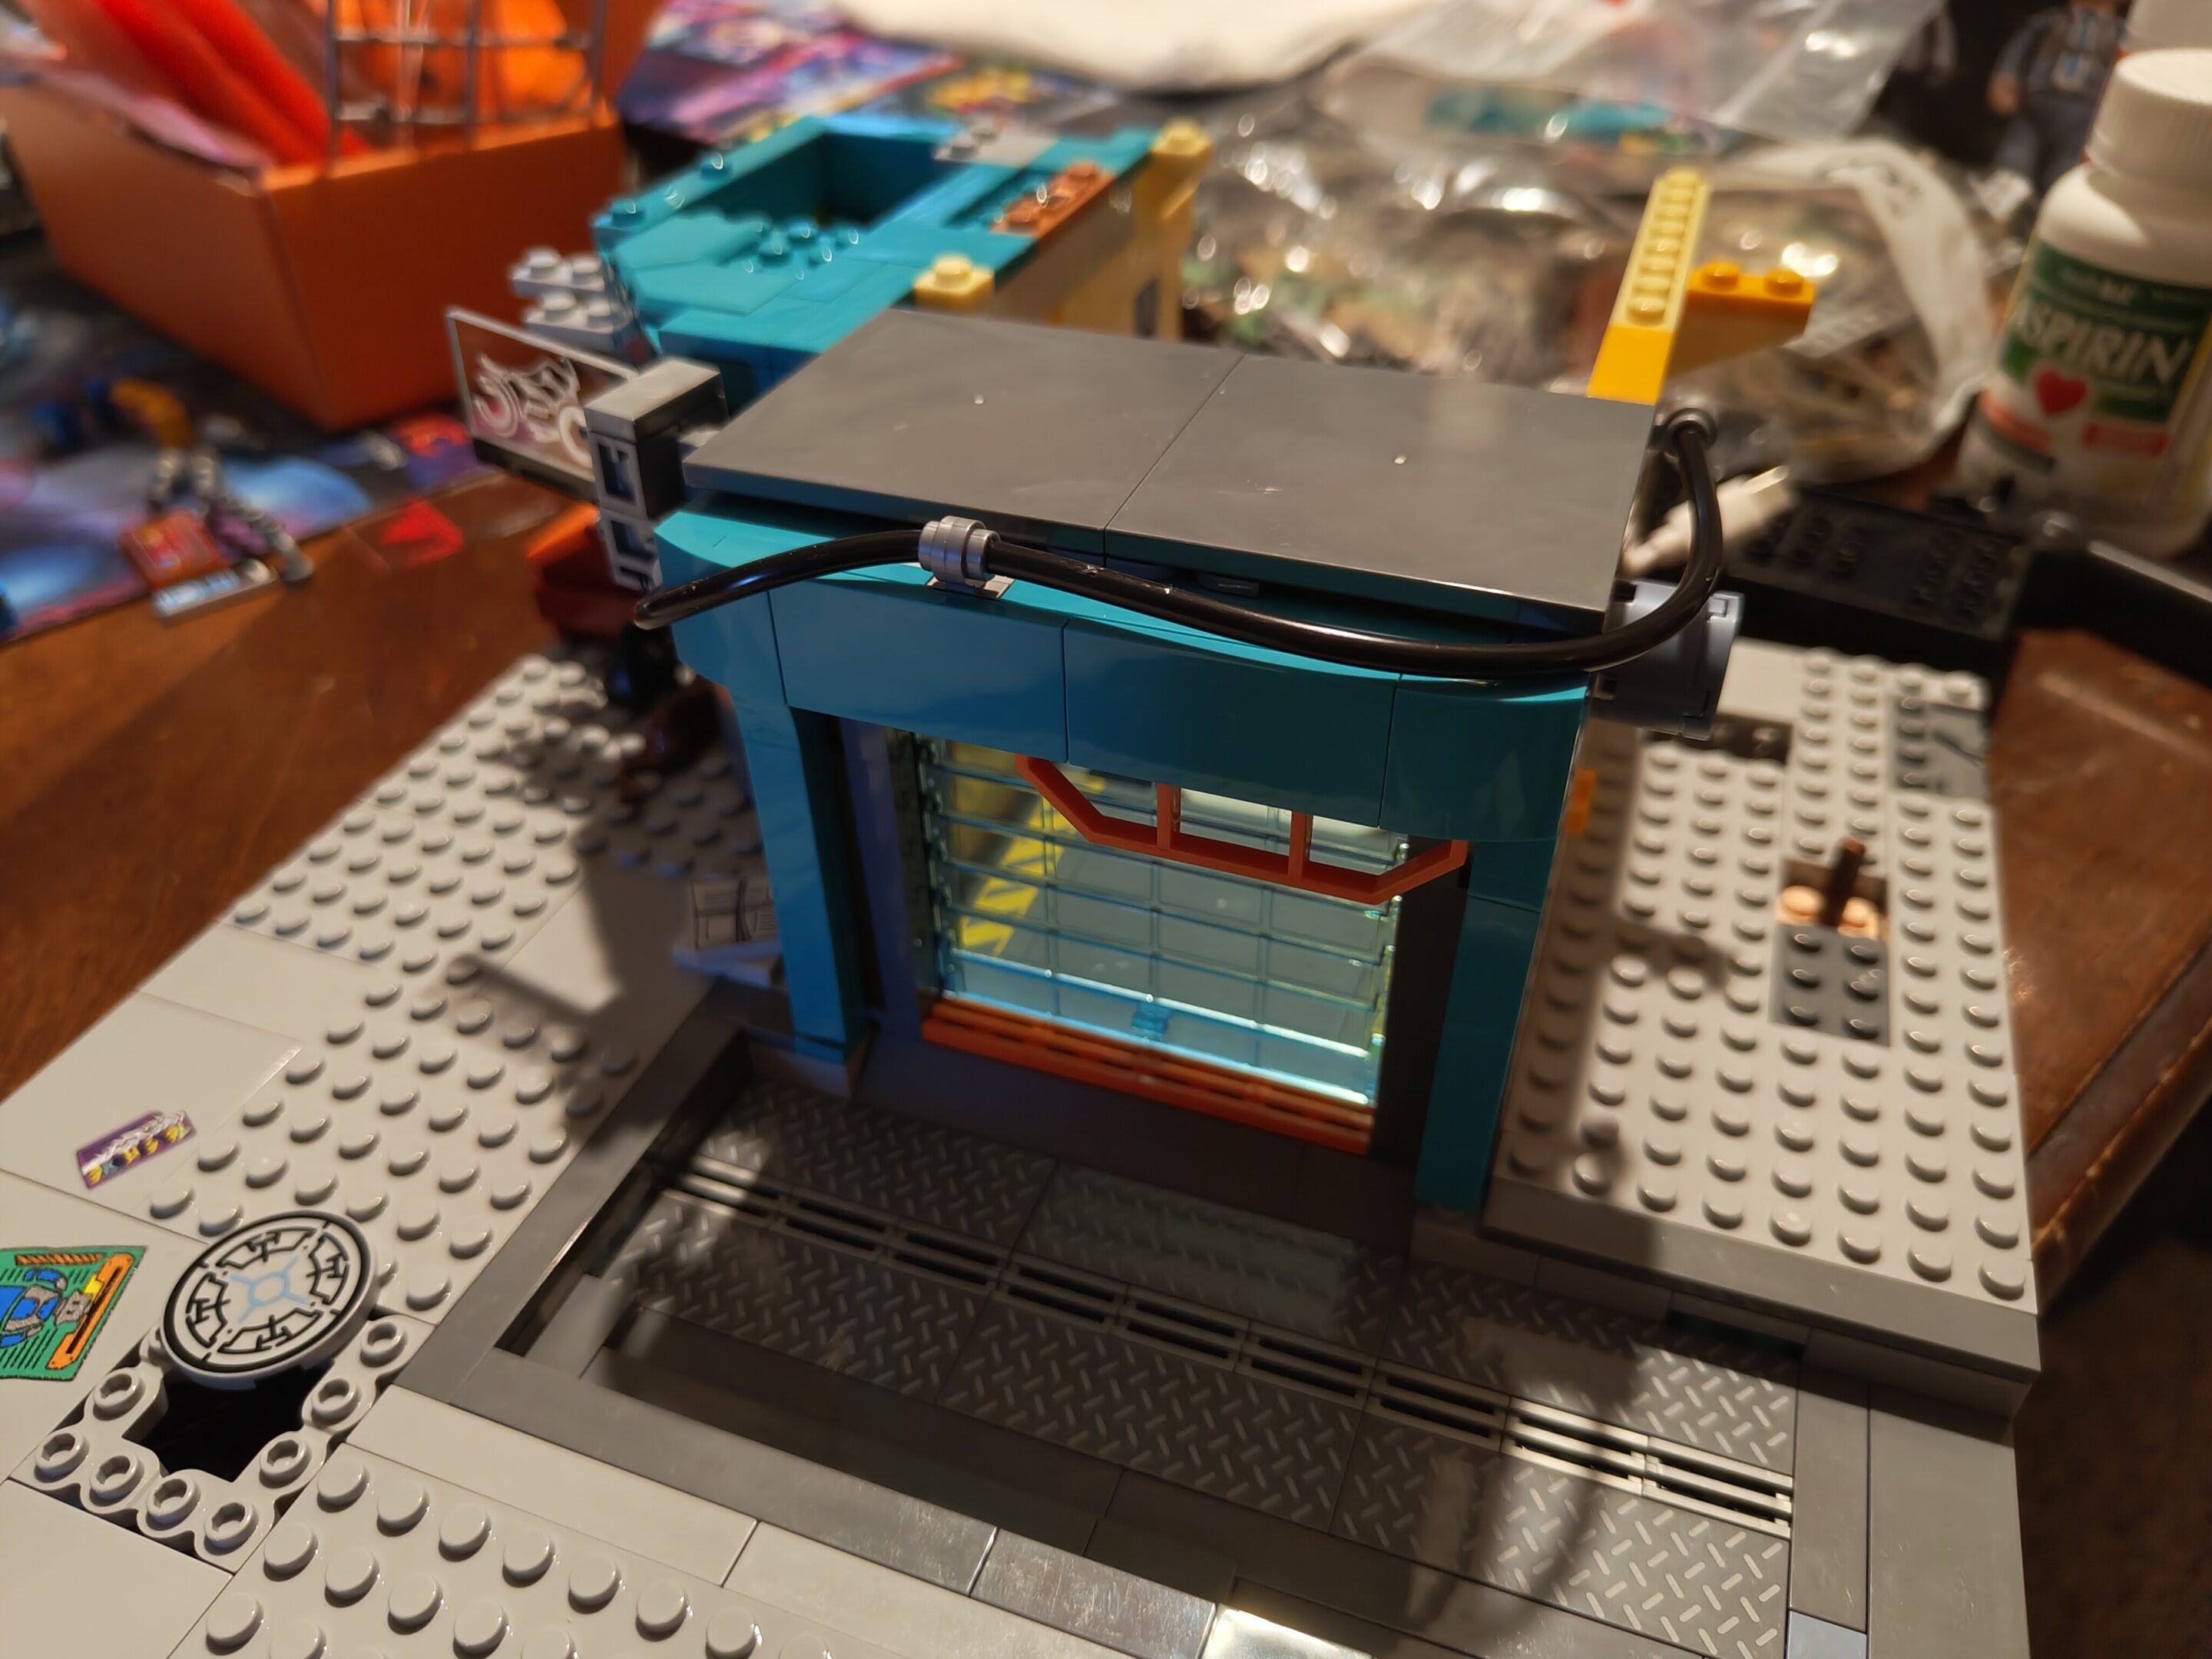
My first errata page(s). They had to fix a page in book one and a page in book two (there are three books)Running a little lighting and some stairsInformation booth seems helpful. Staffed by actual people in the future though? I doubtInfo booth mounted on a hinge so it can swing in and outFacade workThat thing in the corner was so damn hard to put togetherThat lighting I ran earlier was the light for inside the boothAnd this little light on the top right too
did a little bit yesterday after lego with mom but was running late so i kinda just left all my shit on the table, ugh. i did finish up the next day (today, friday september 26th) but wasn’t really feeling very well so it took me like two days to get one set of instructions done, not great. on the plus side though, finished up the first book and onto the second book — and i found another error that’s not in any of the errata so i got to remember to email them about it. also not a lot of pictures like other steps due to not feeling great and just trying to clear up the mess so mom and i can work on the castle tomorrow
A door.With an awning.Angled wall and security cameraIt’s really a dramatic angle. The door is on straight.Tuck this little bit of wiring under a roof bit…The wiring you see in the awning picture up and left one is the light that ended up on the ceiling for the information booth. Hard to get a picture through the doorway but I think you can tell what’s up
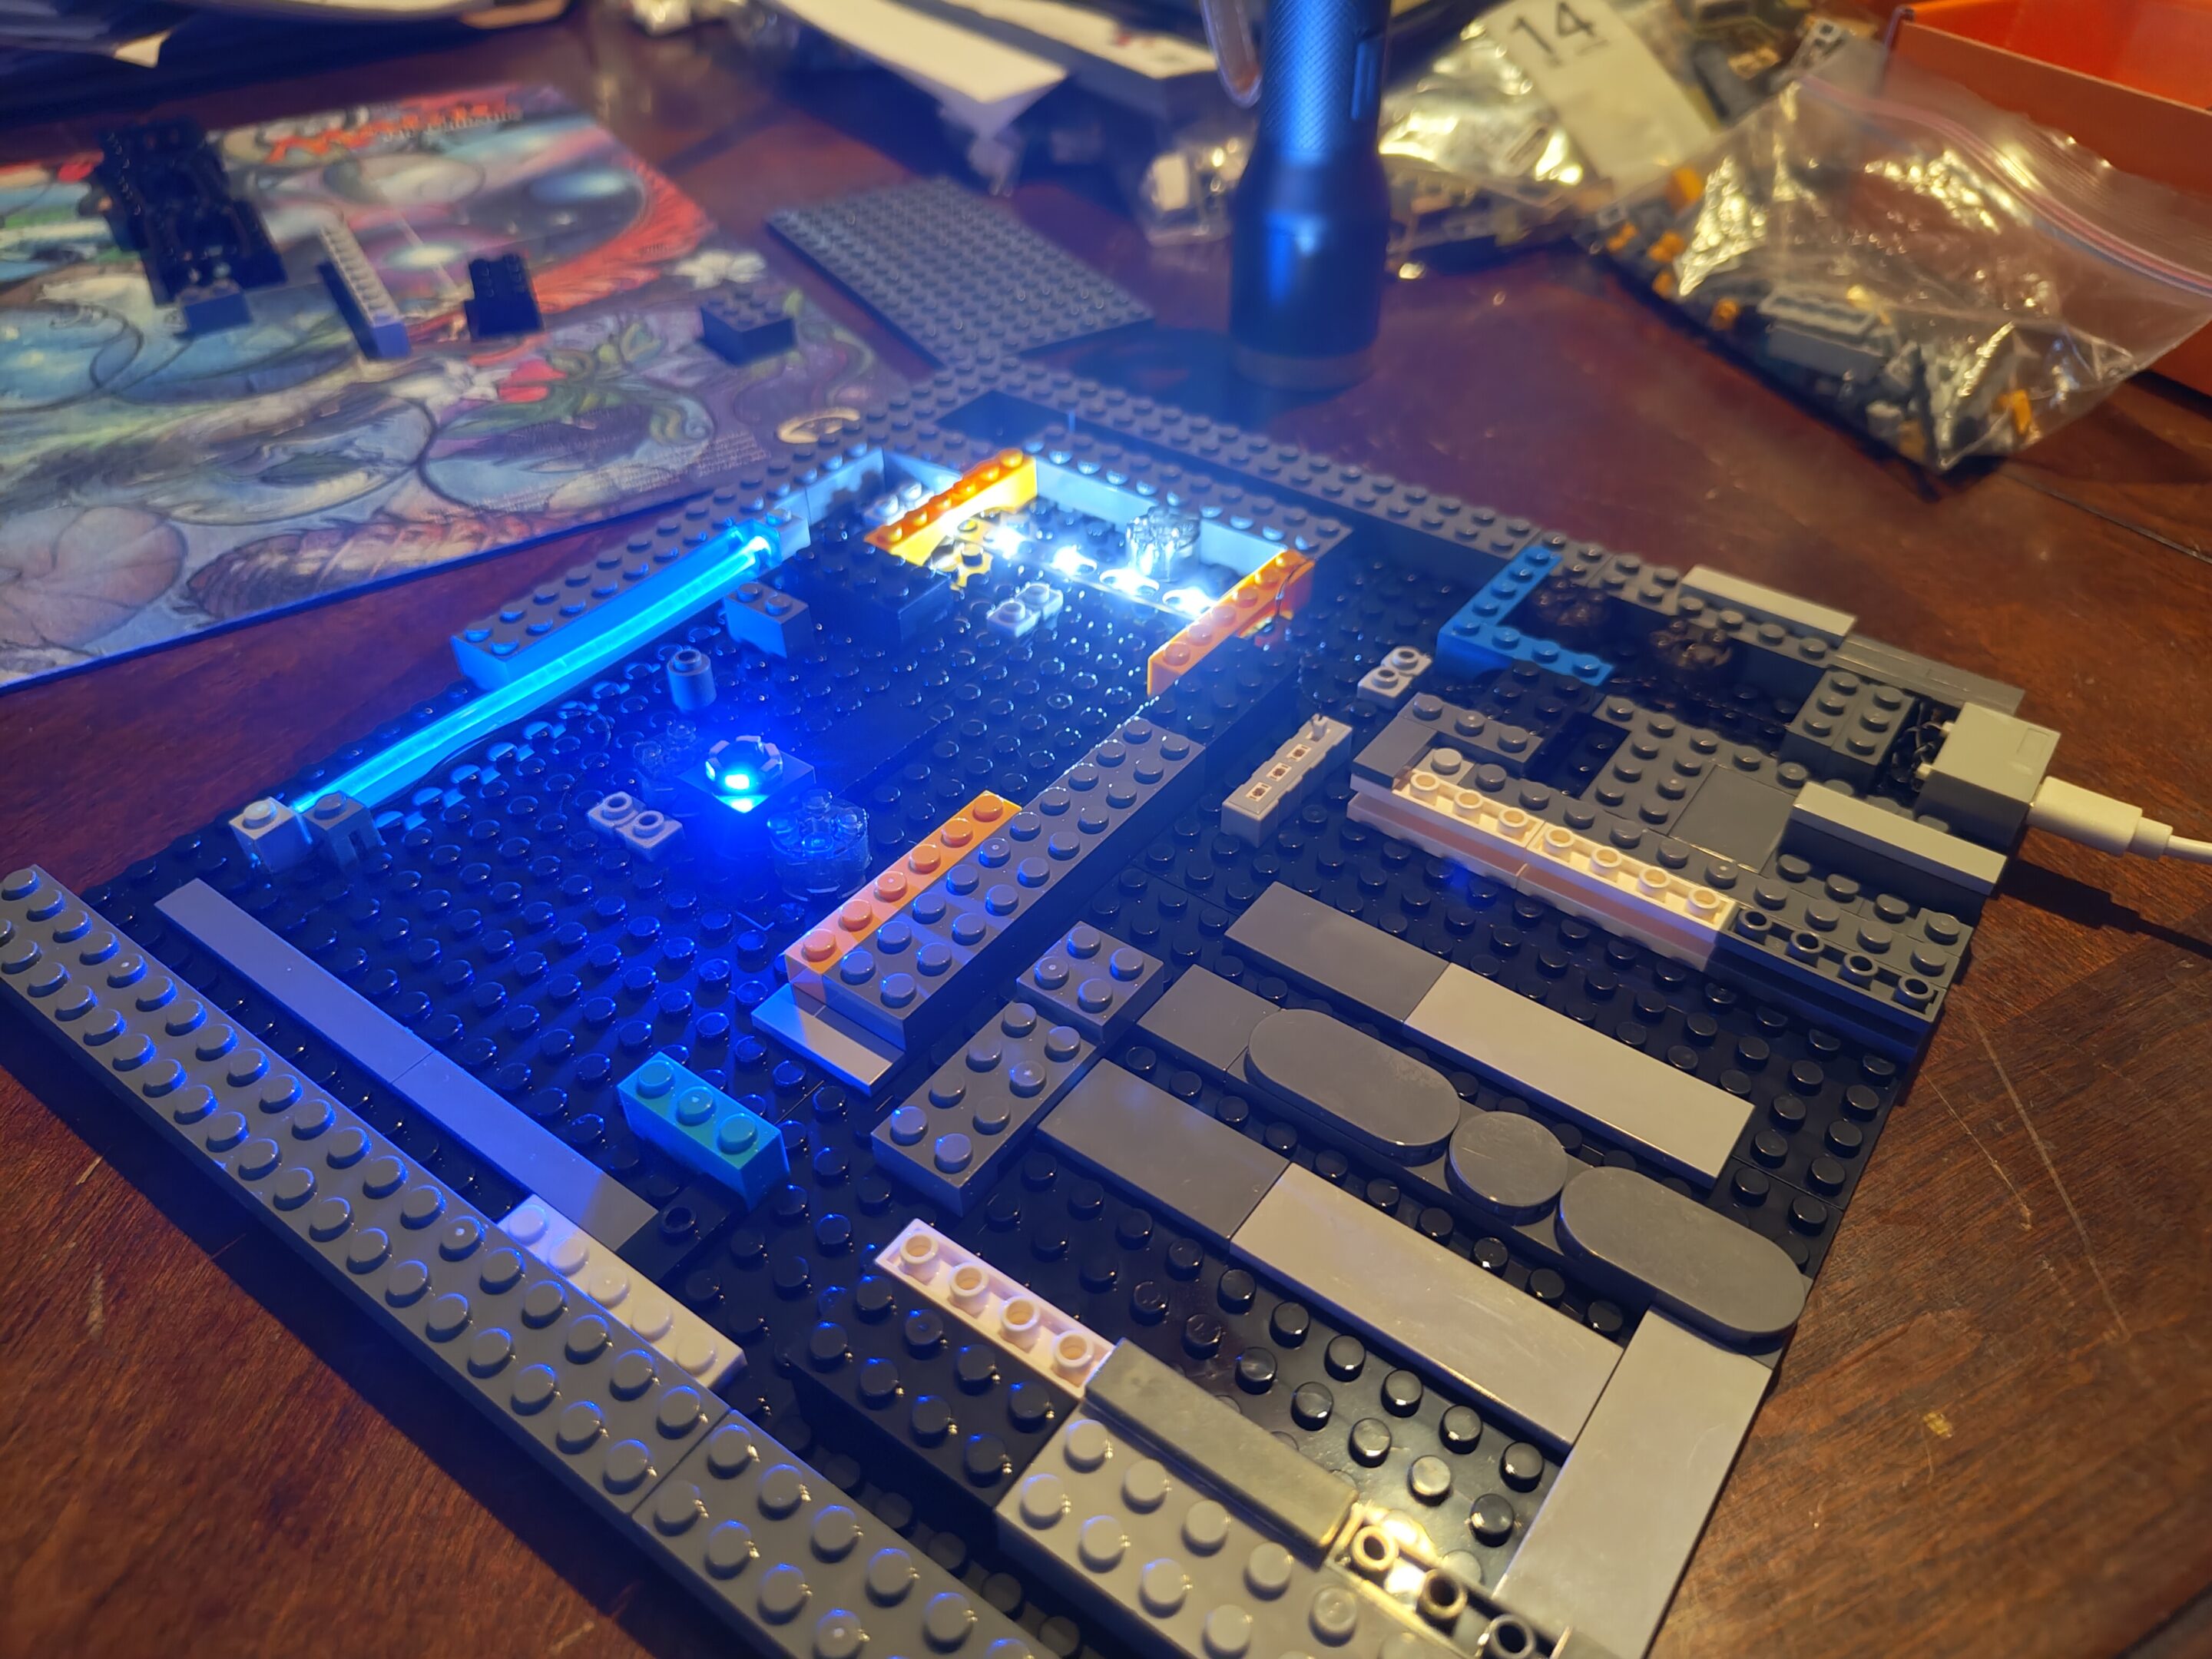
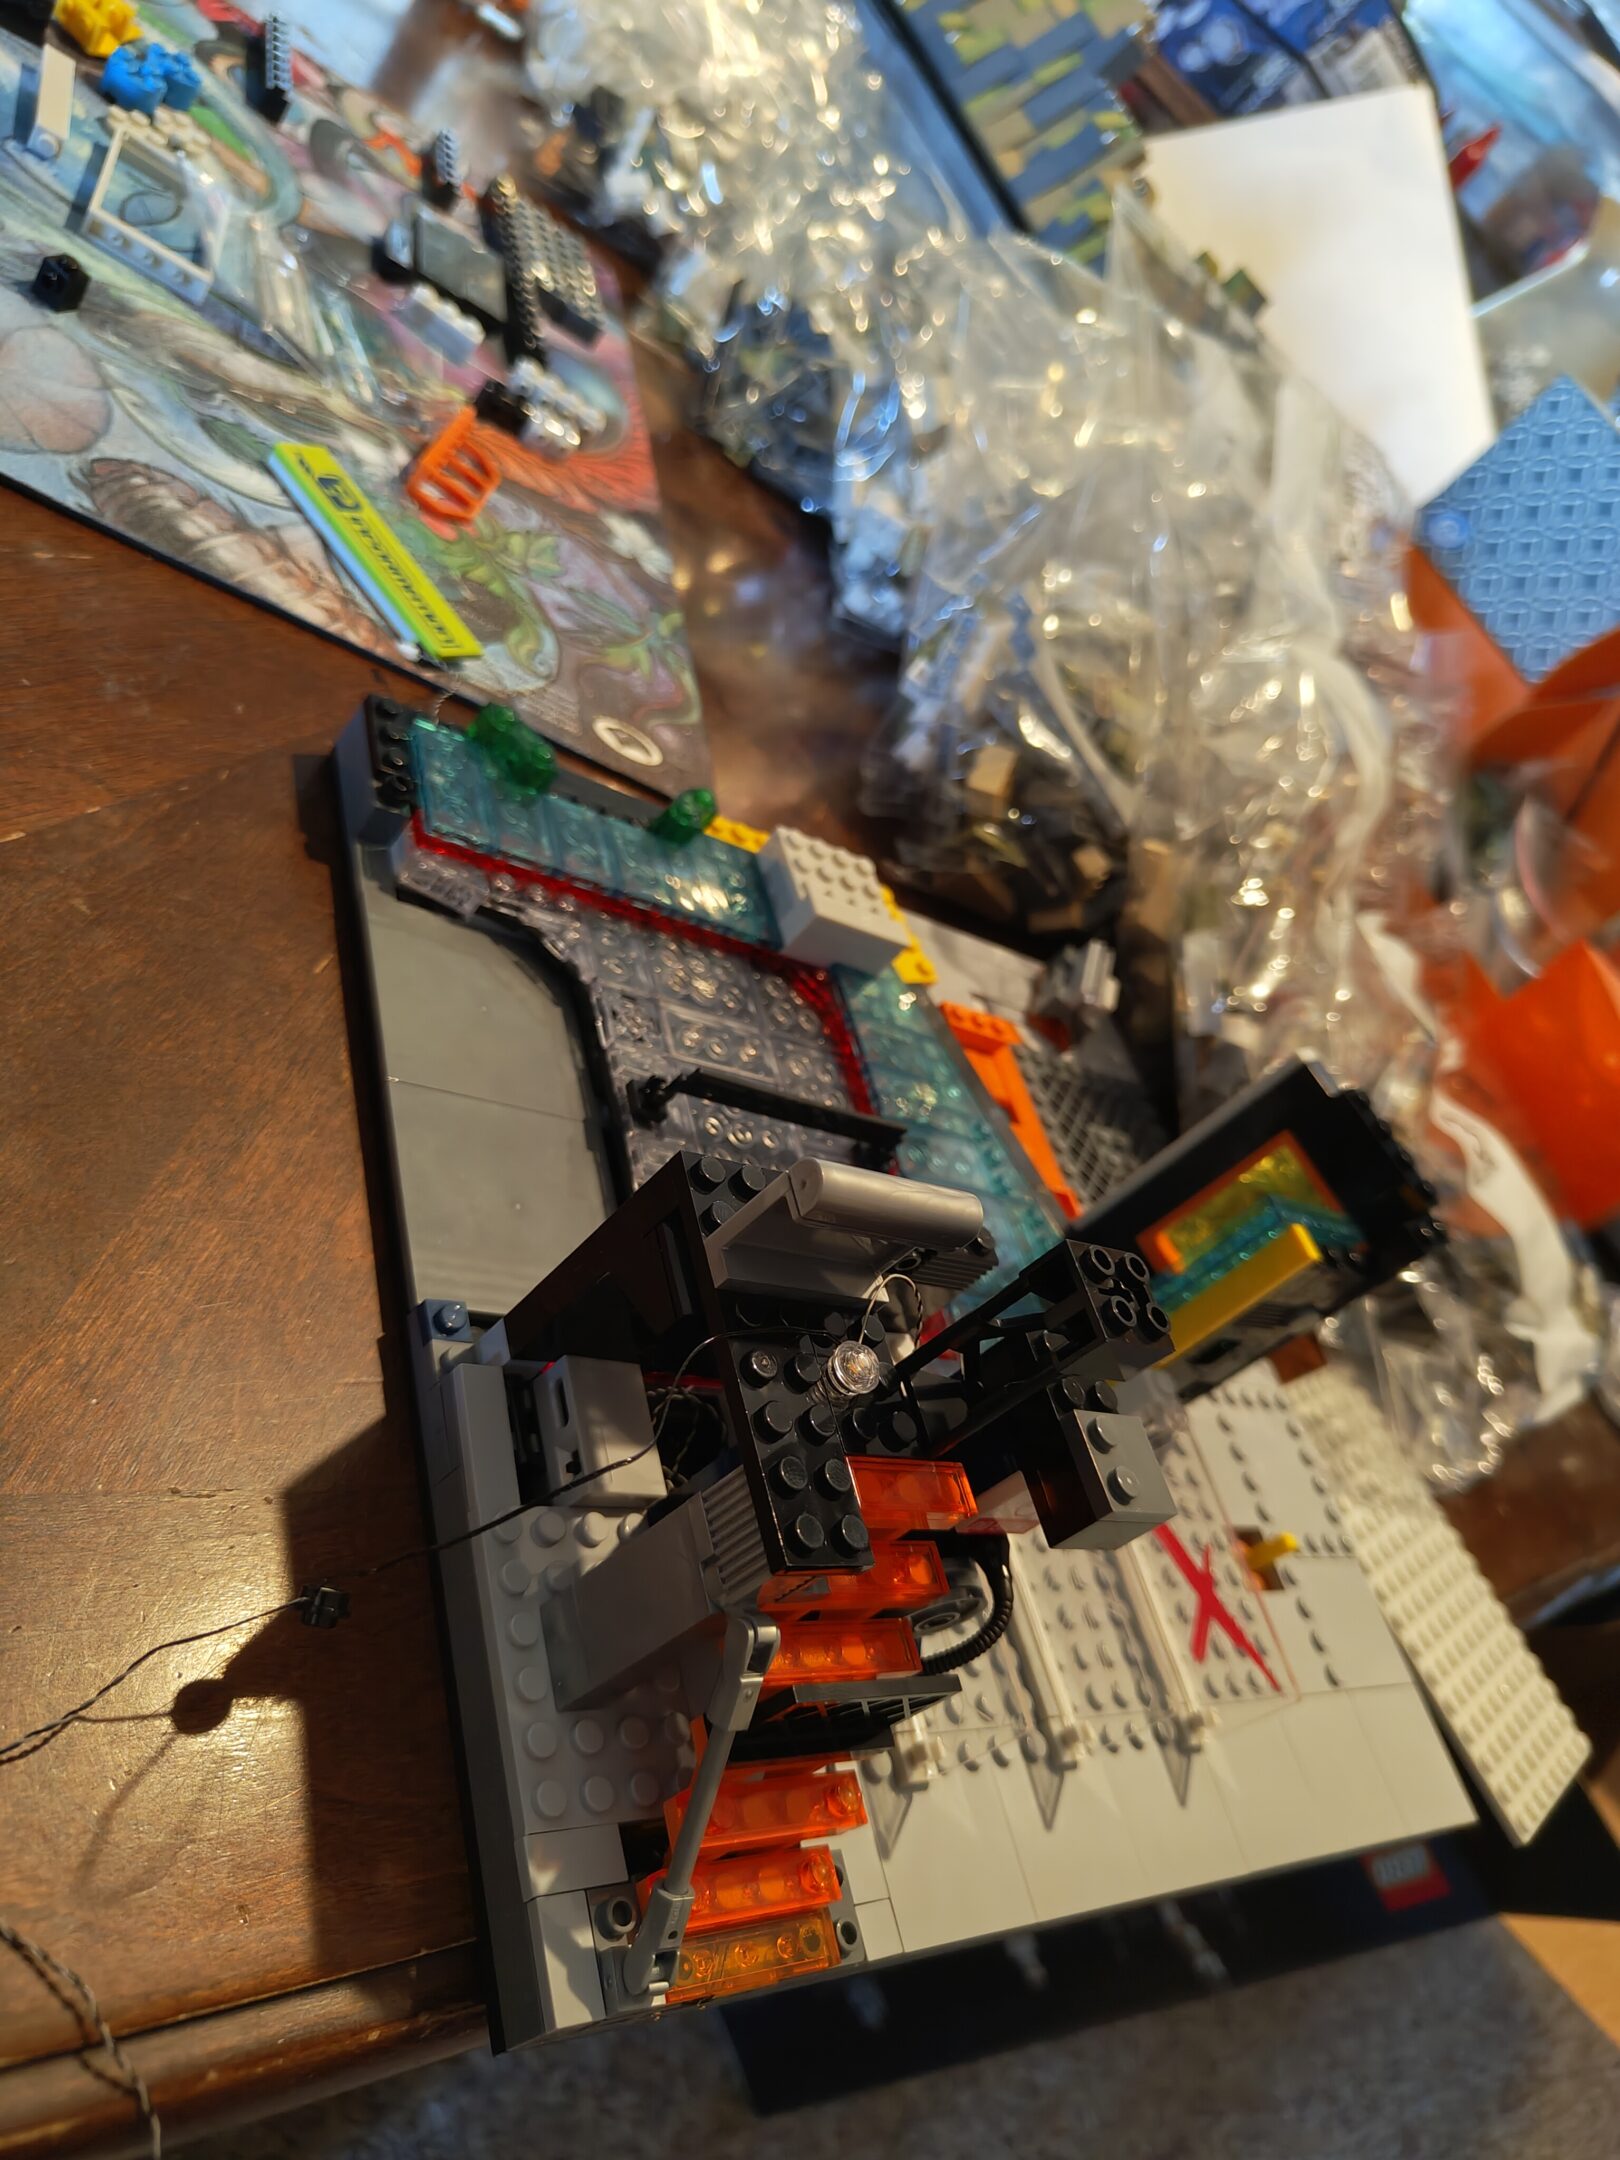
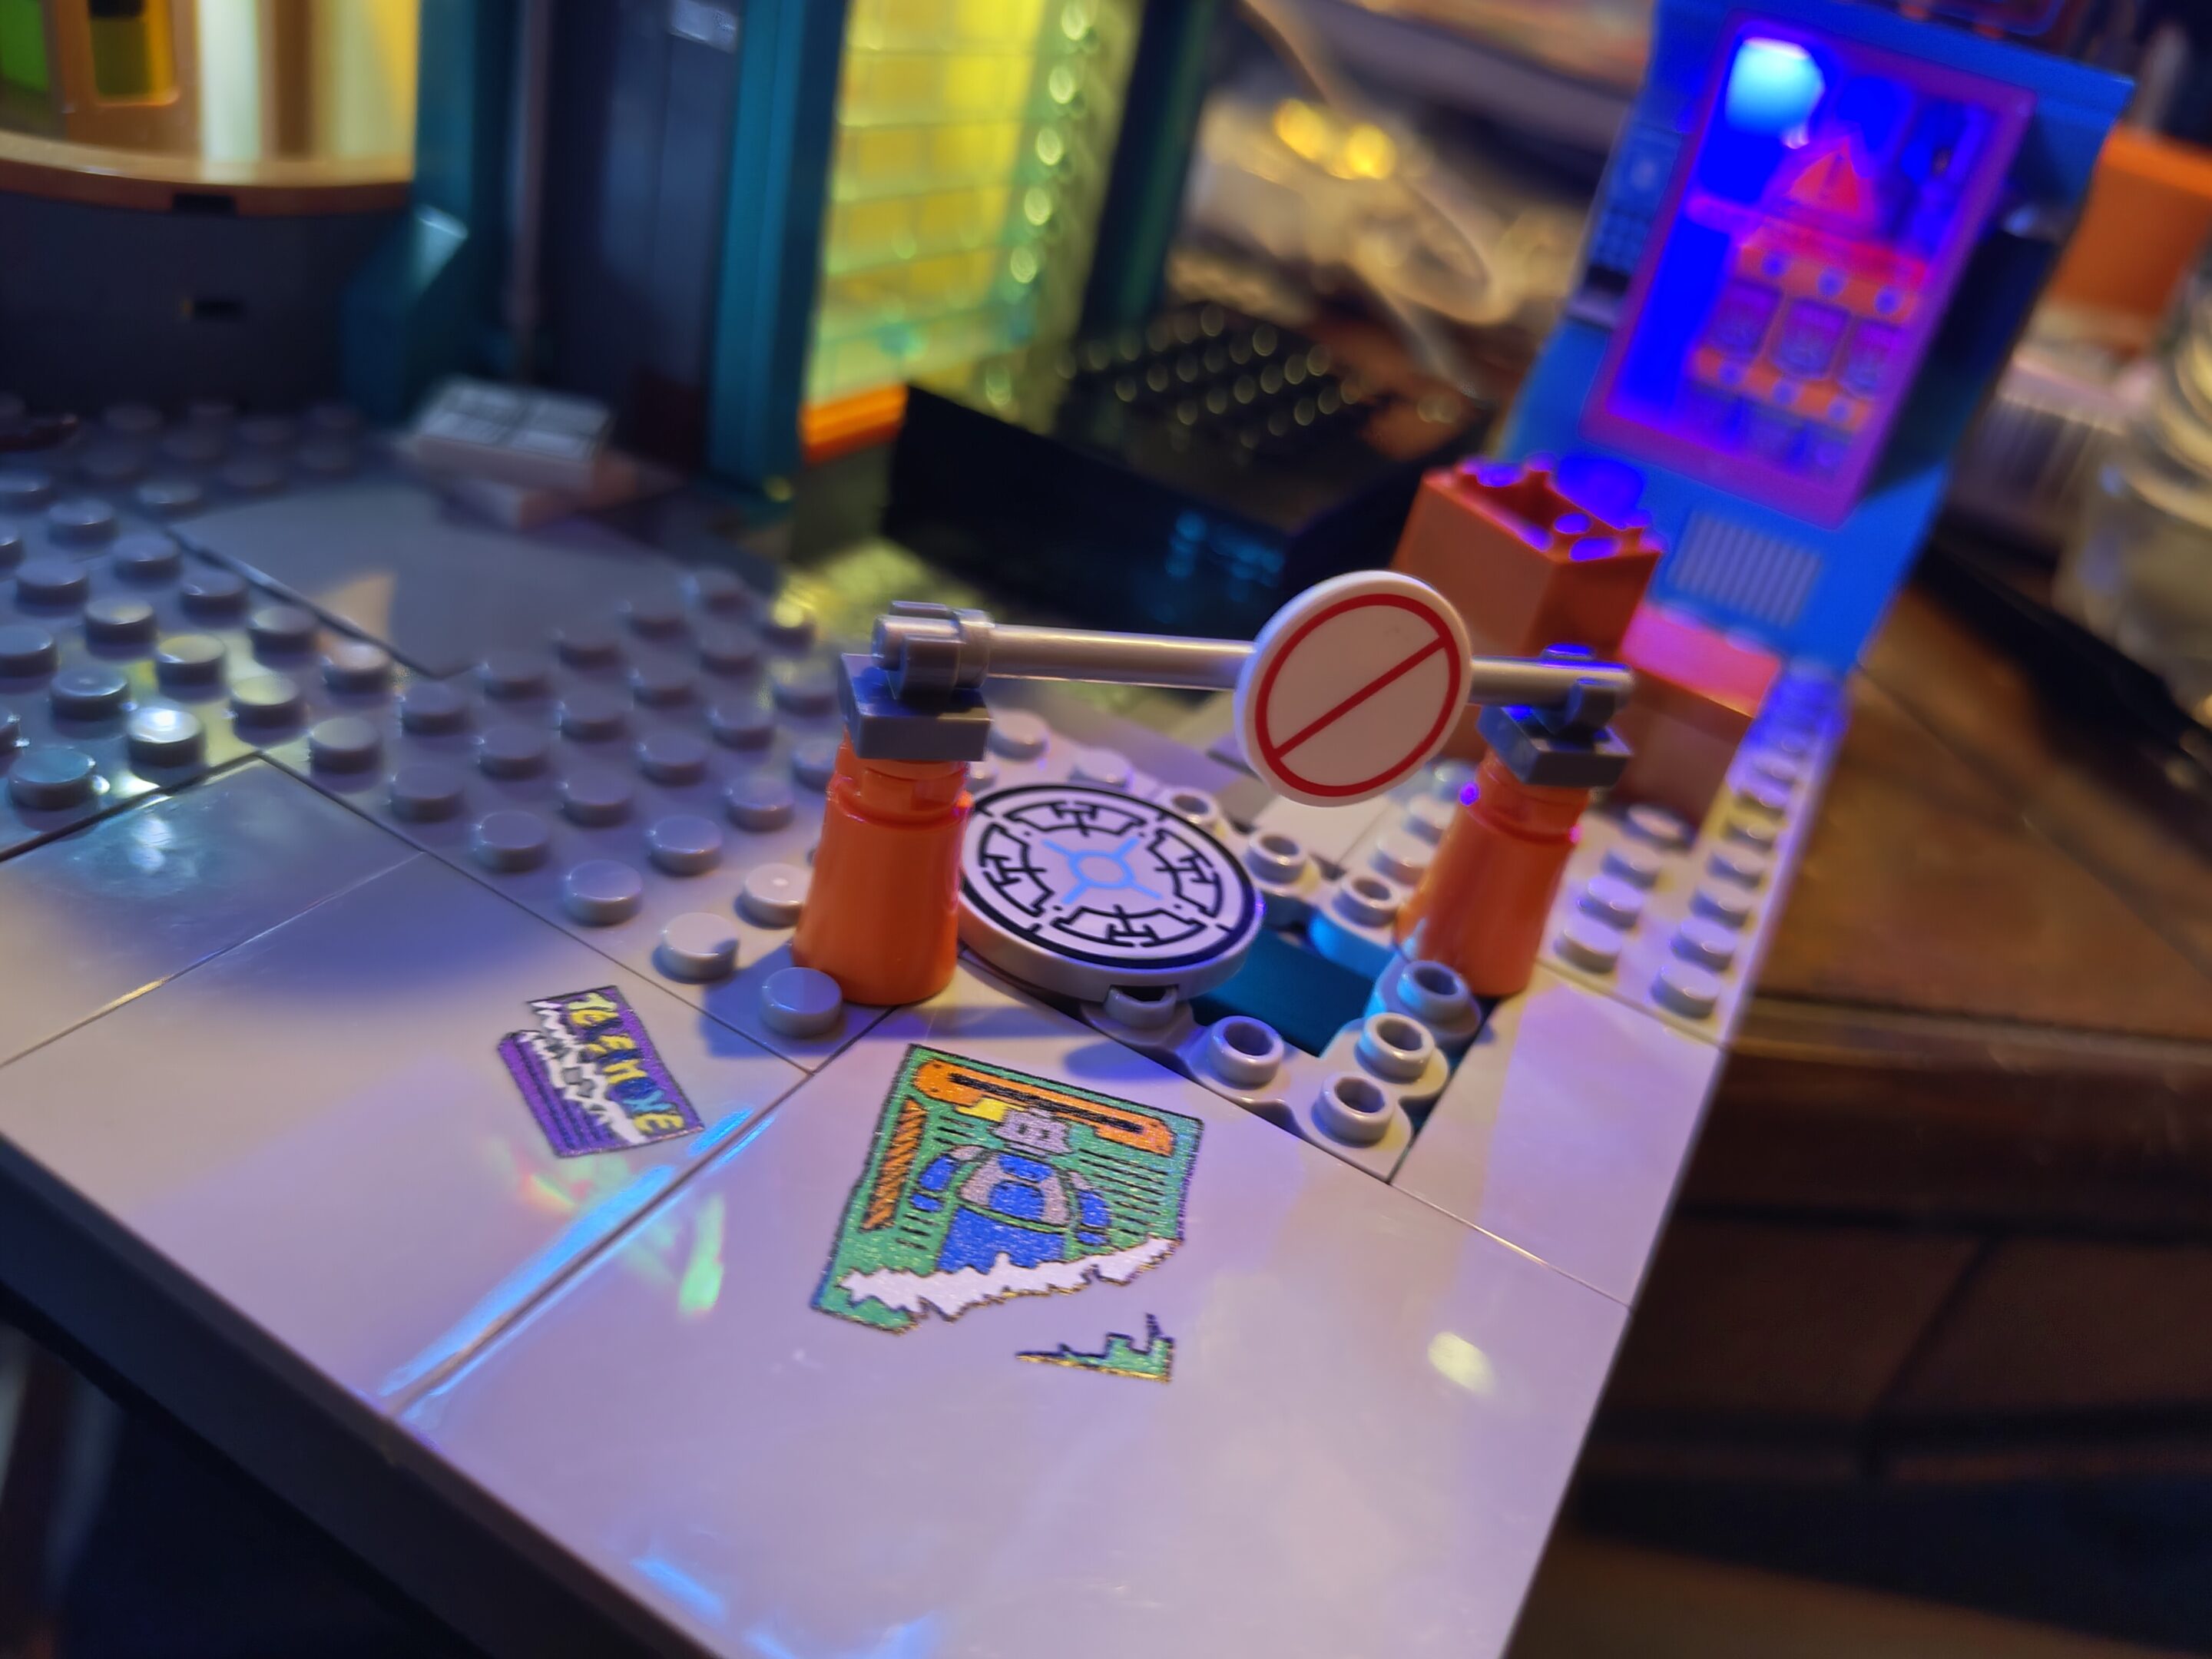
lots of lighting bits today, still a few things to go and i’m not sure how the “animated” thing (the blue and green lights in the last picture today) is supposed to animate yet but i guess we’ll see?
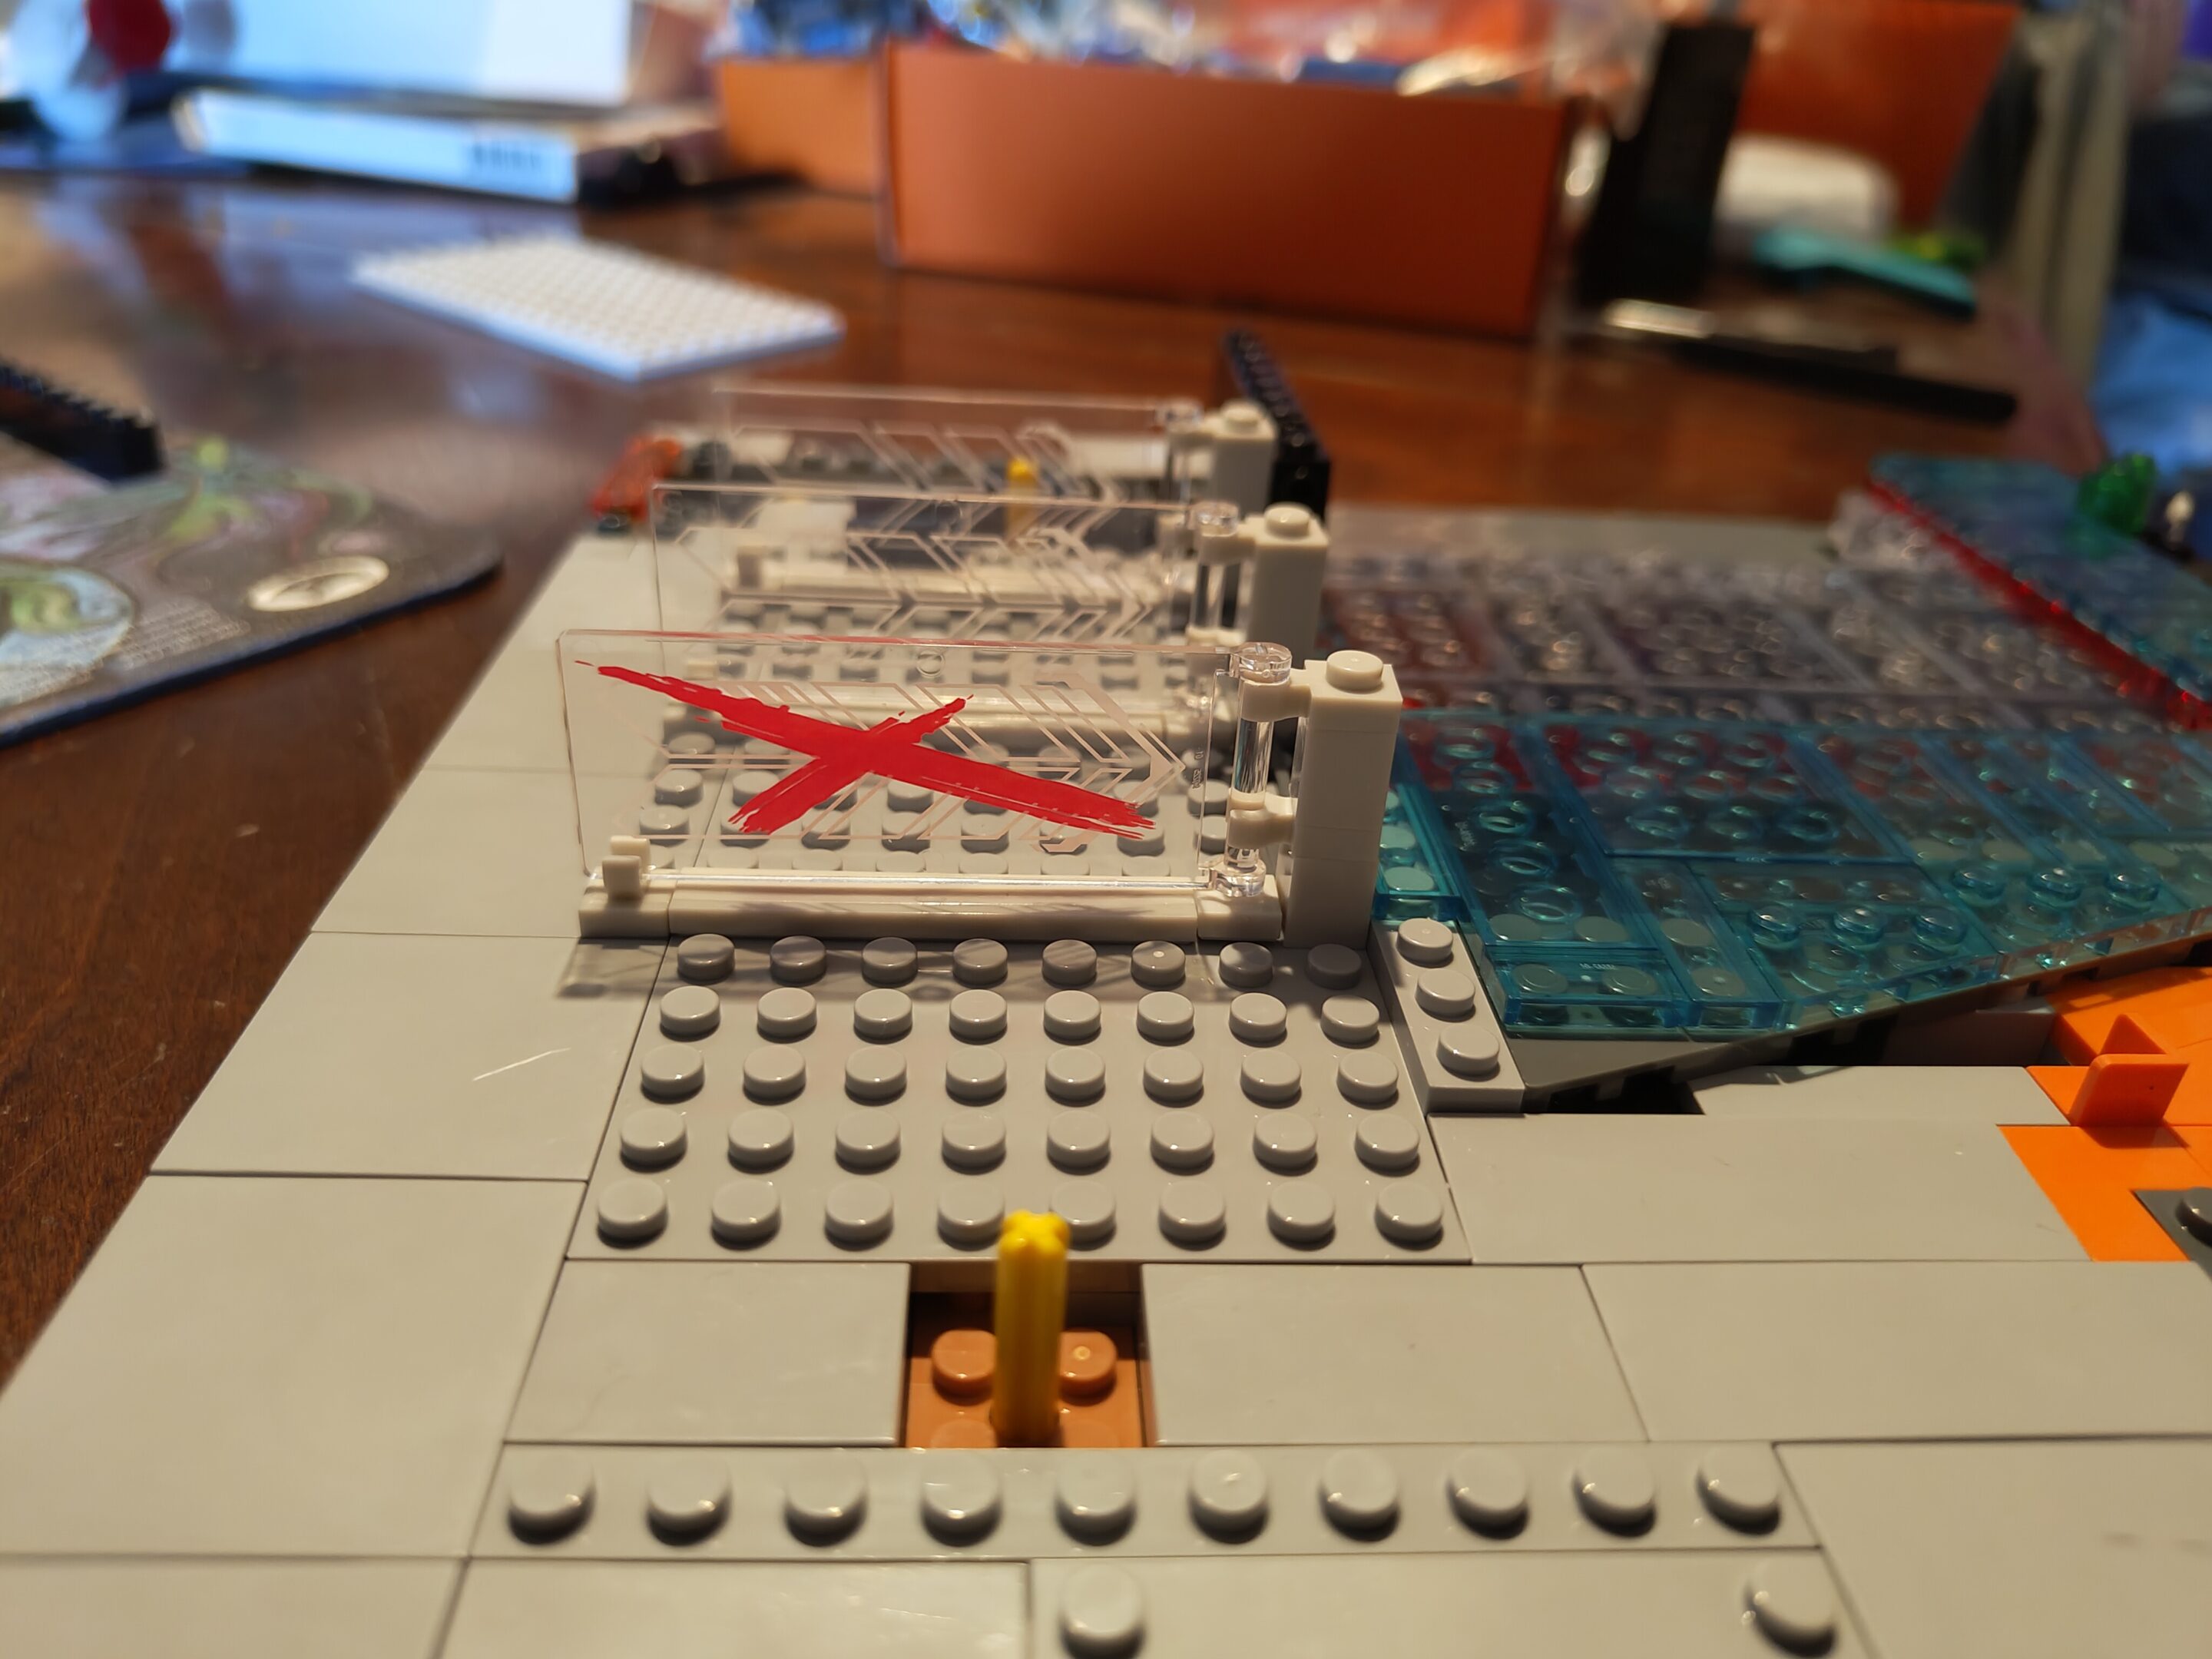
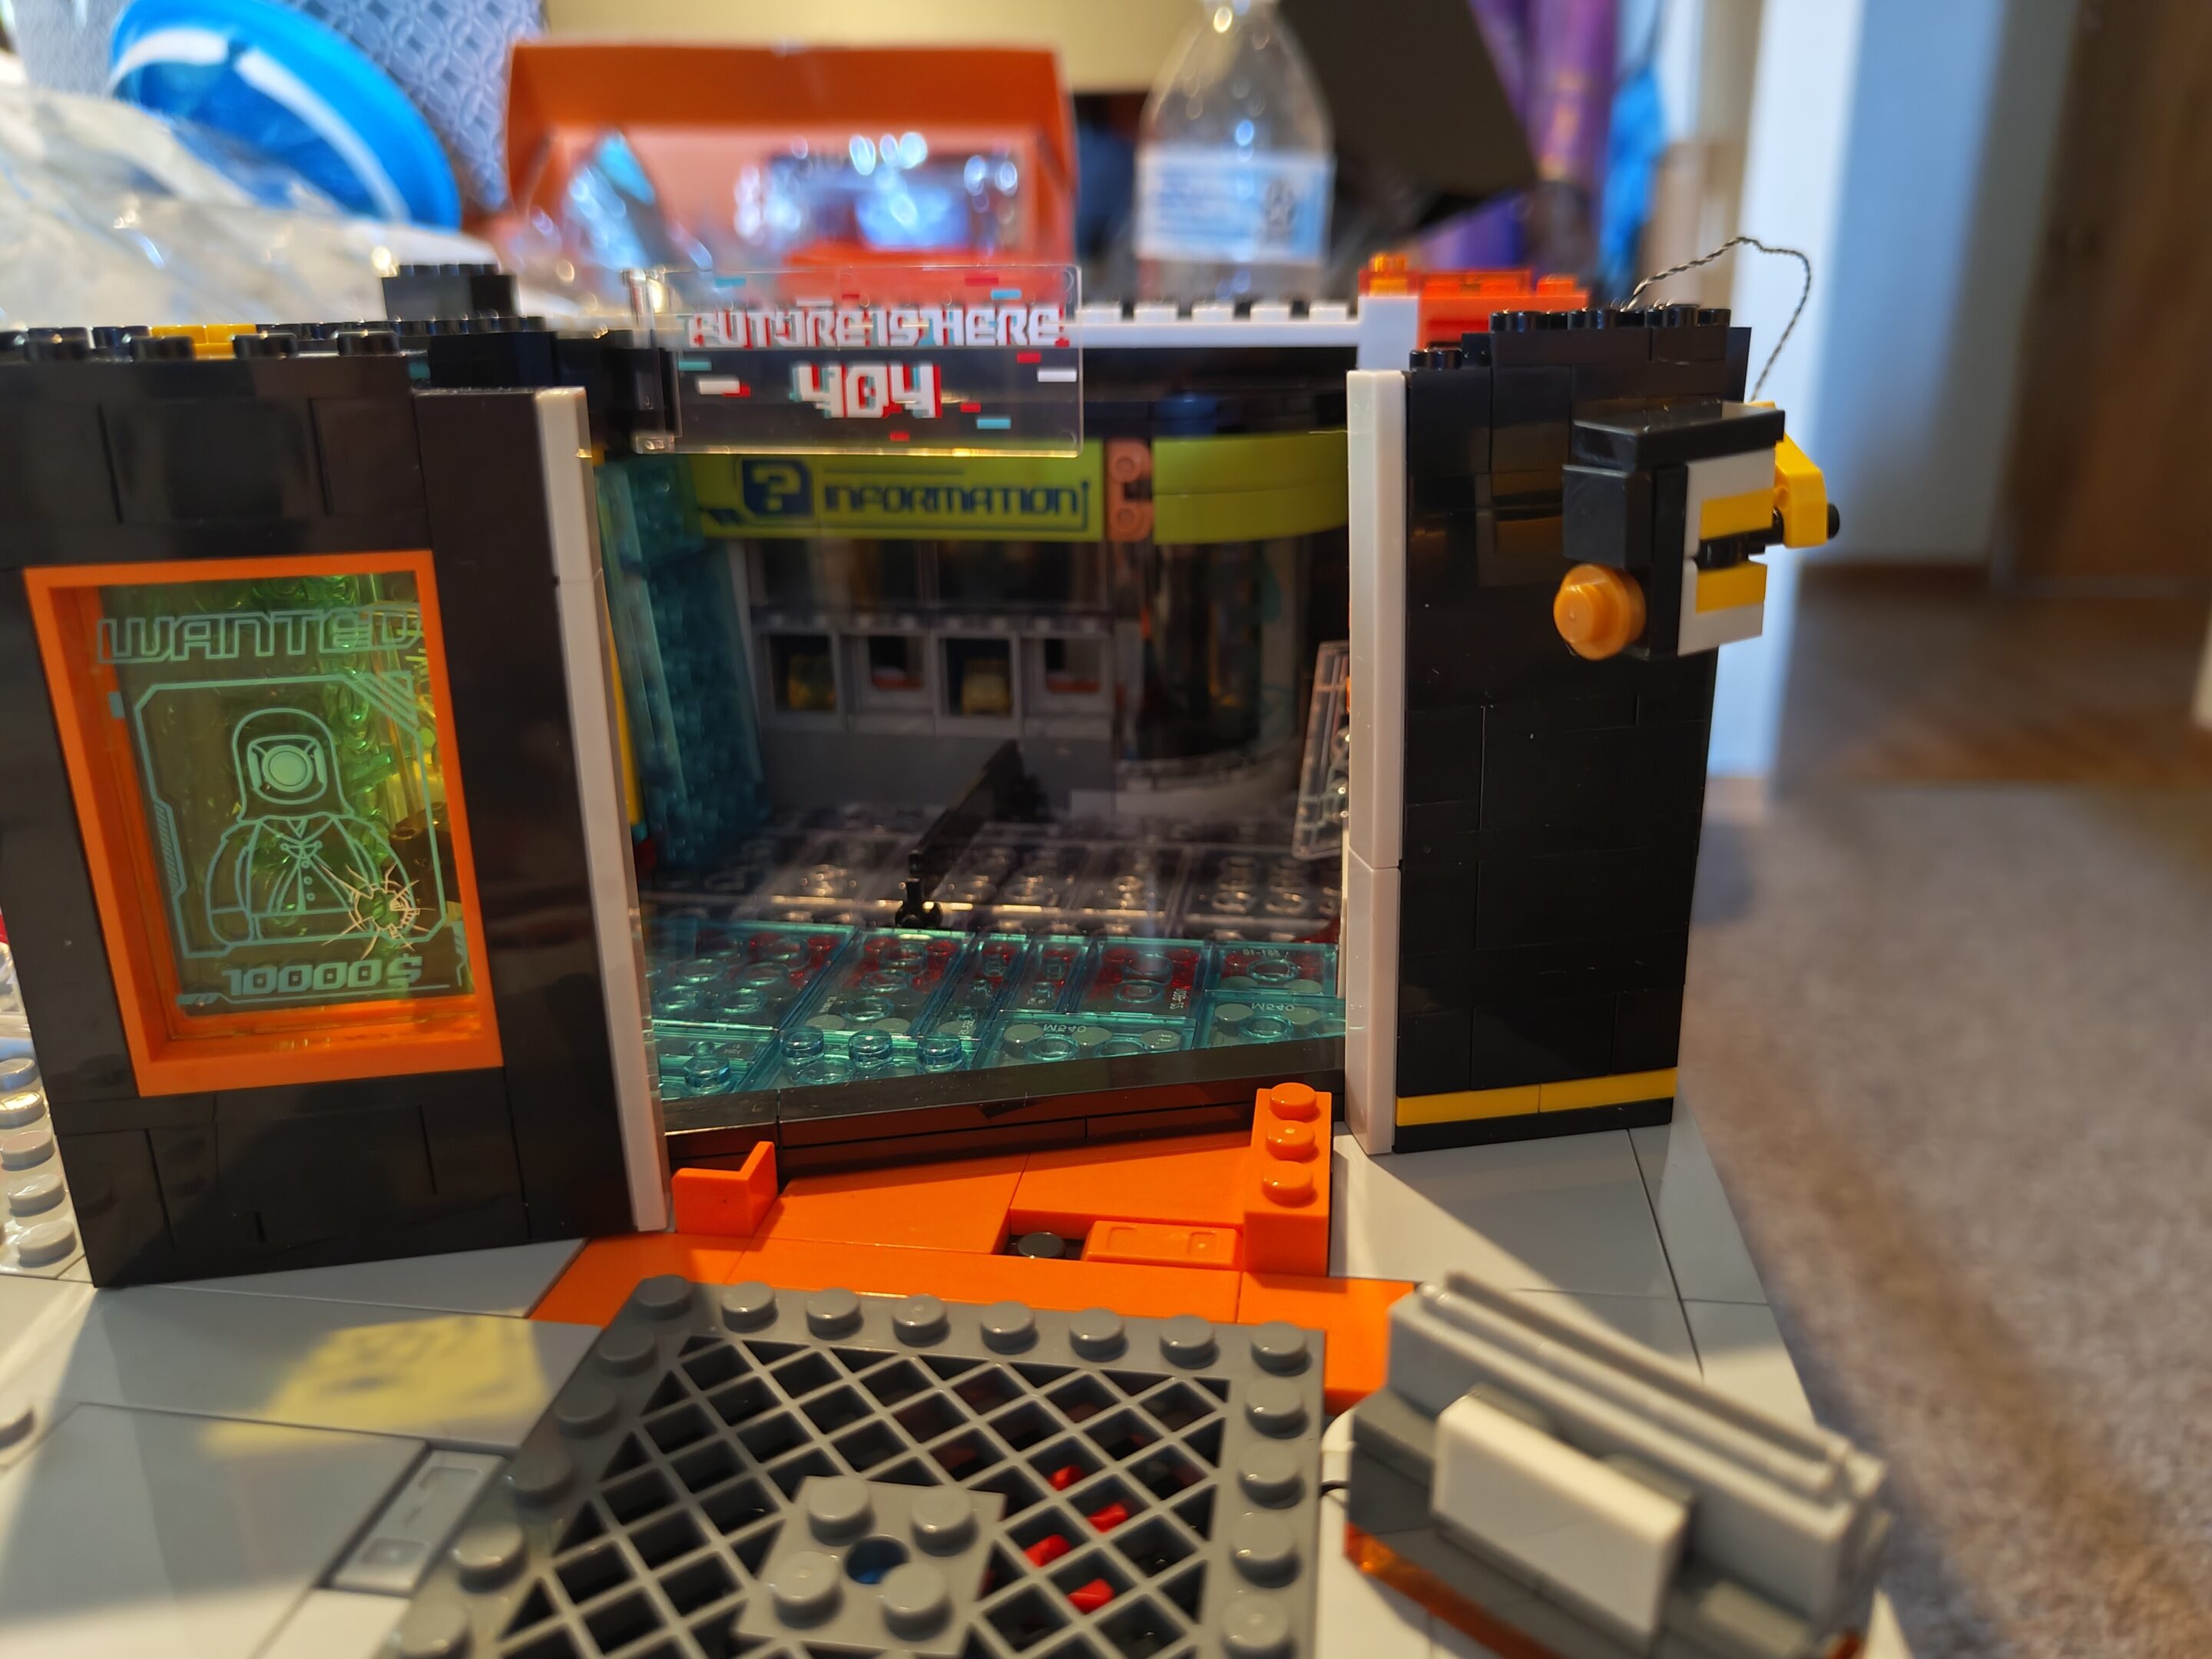
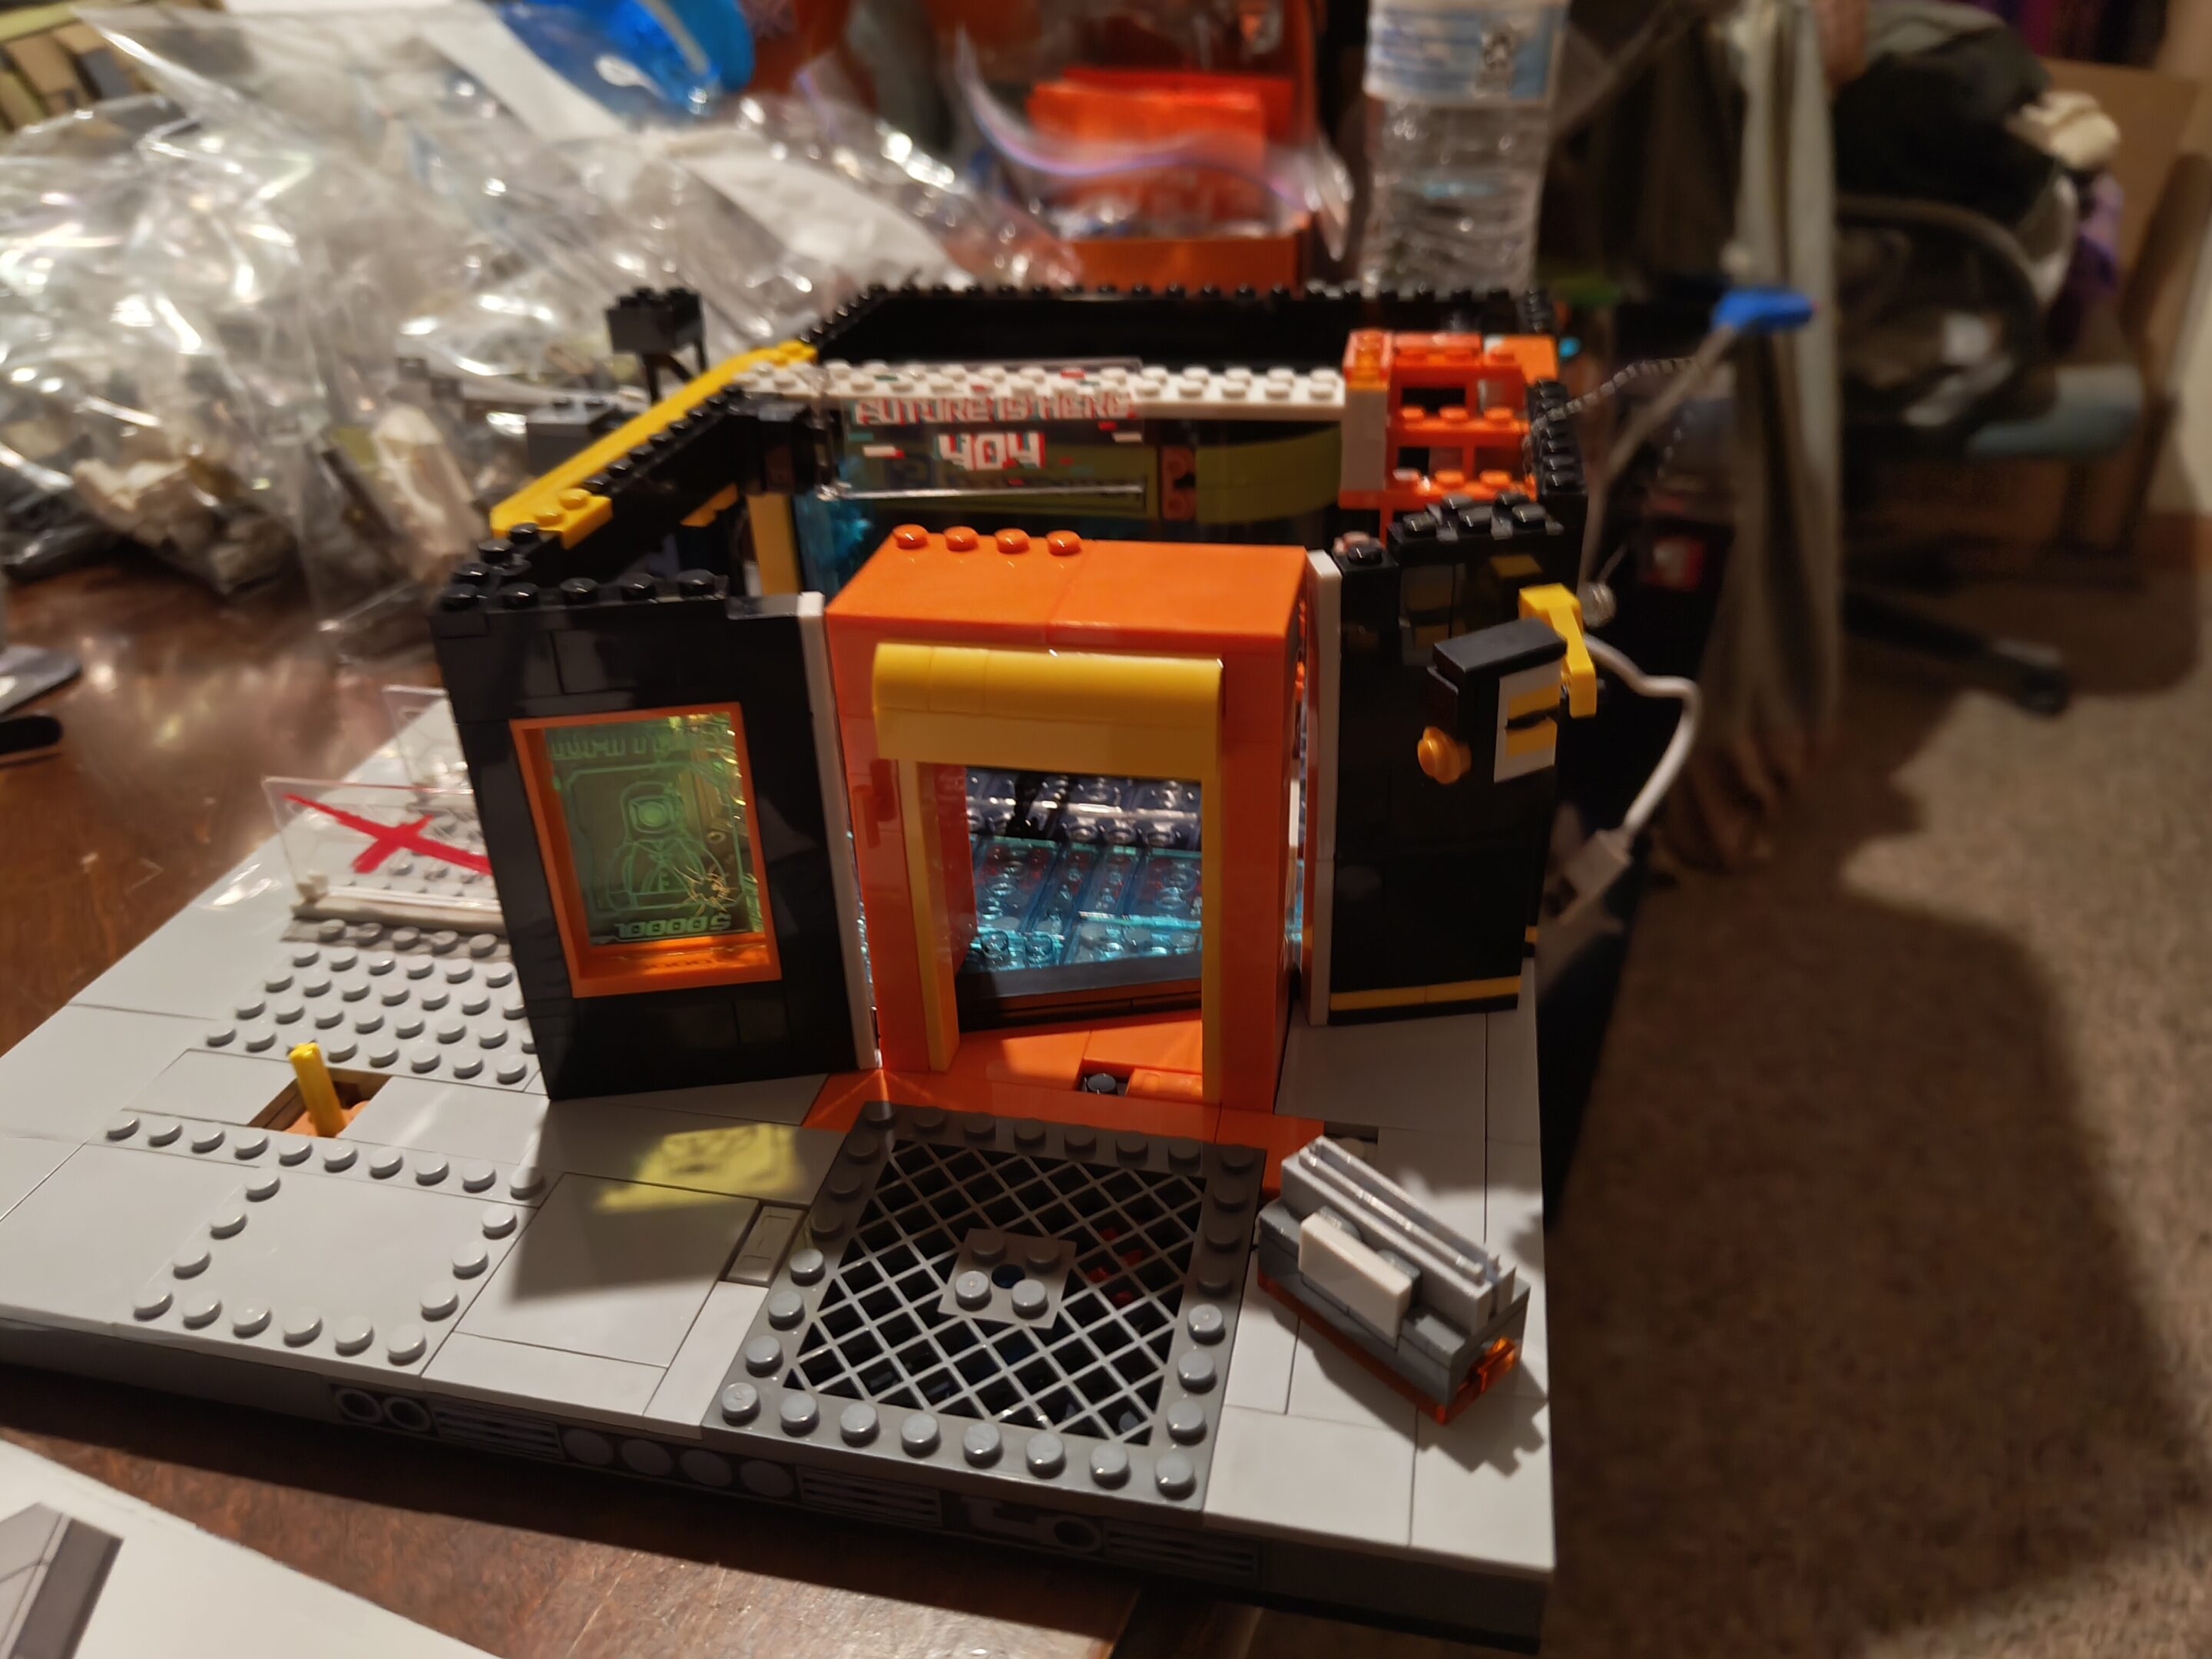
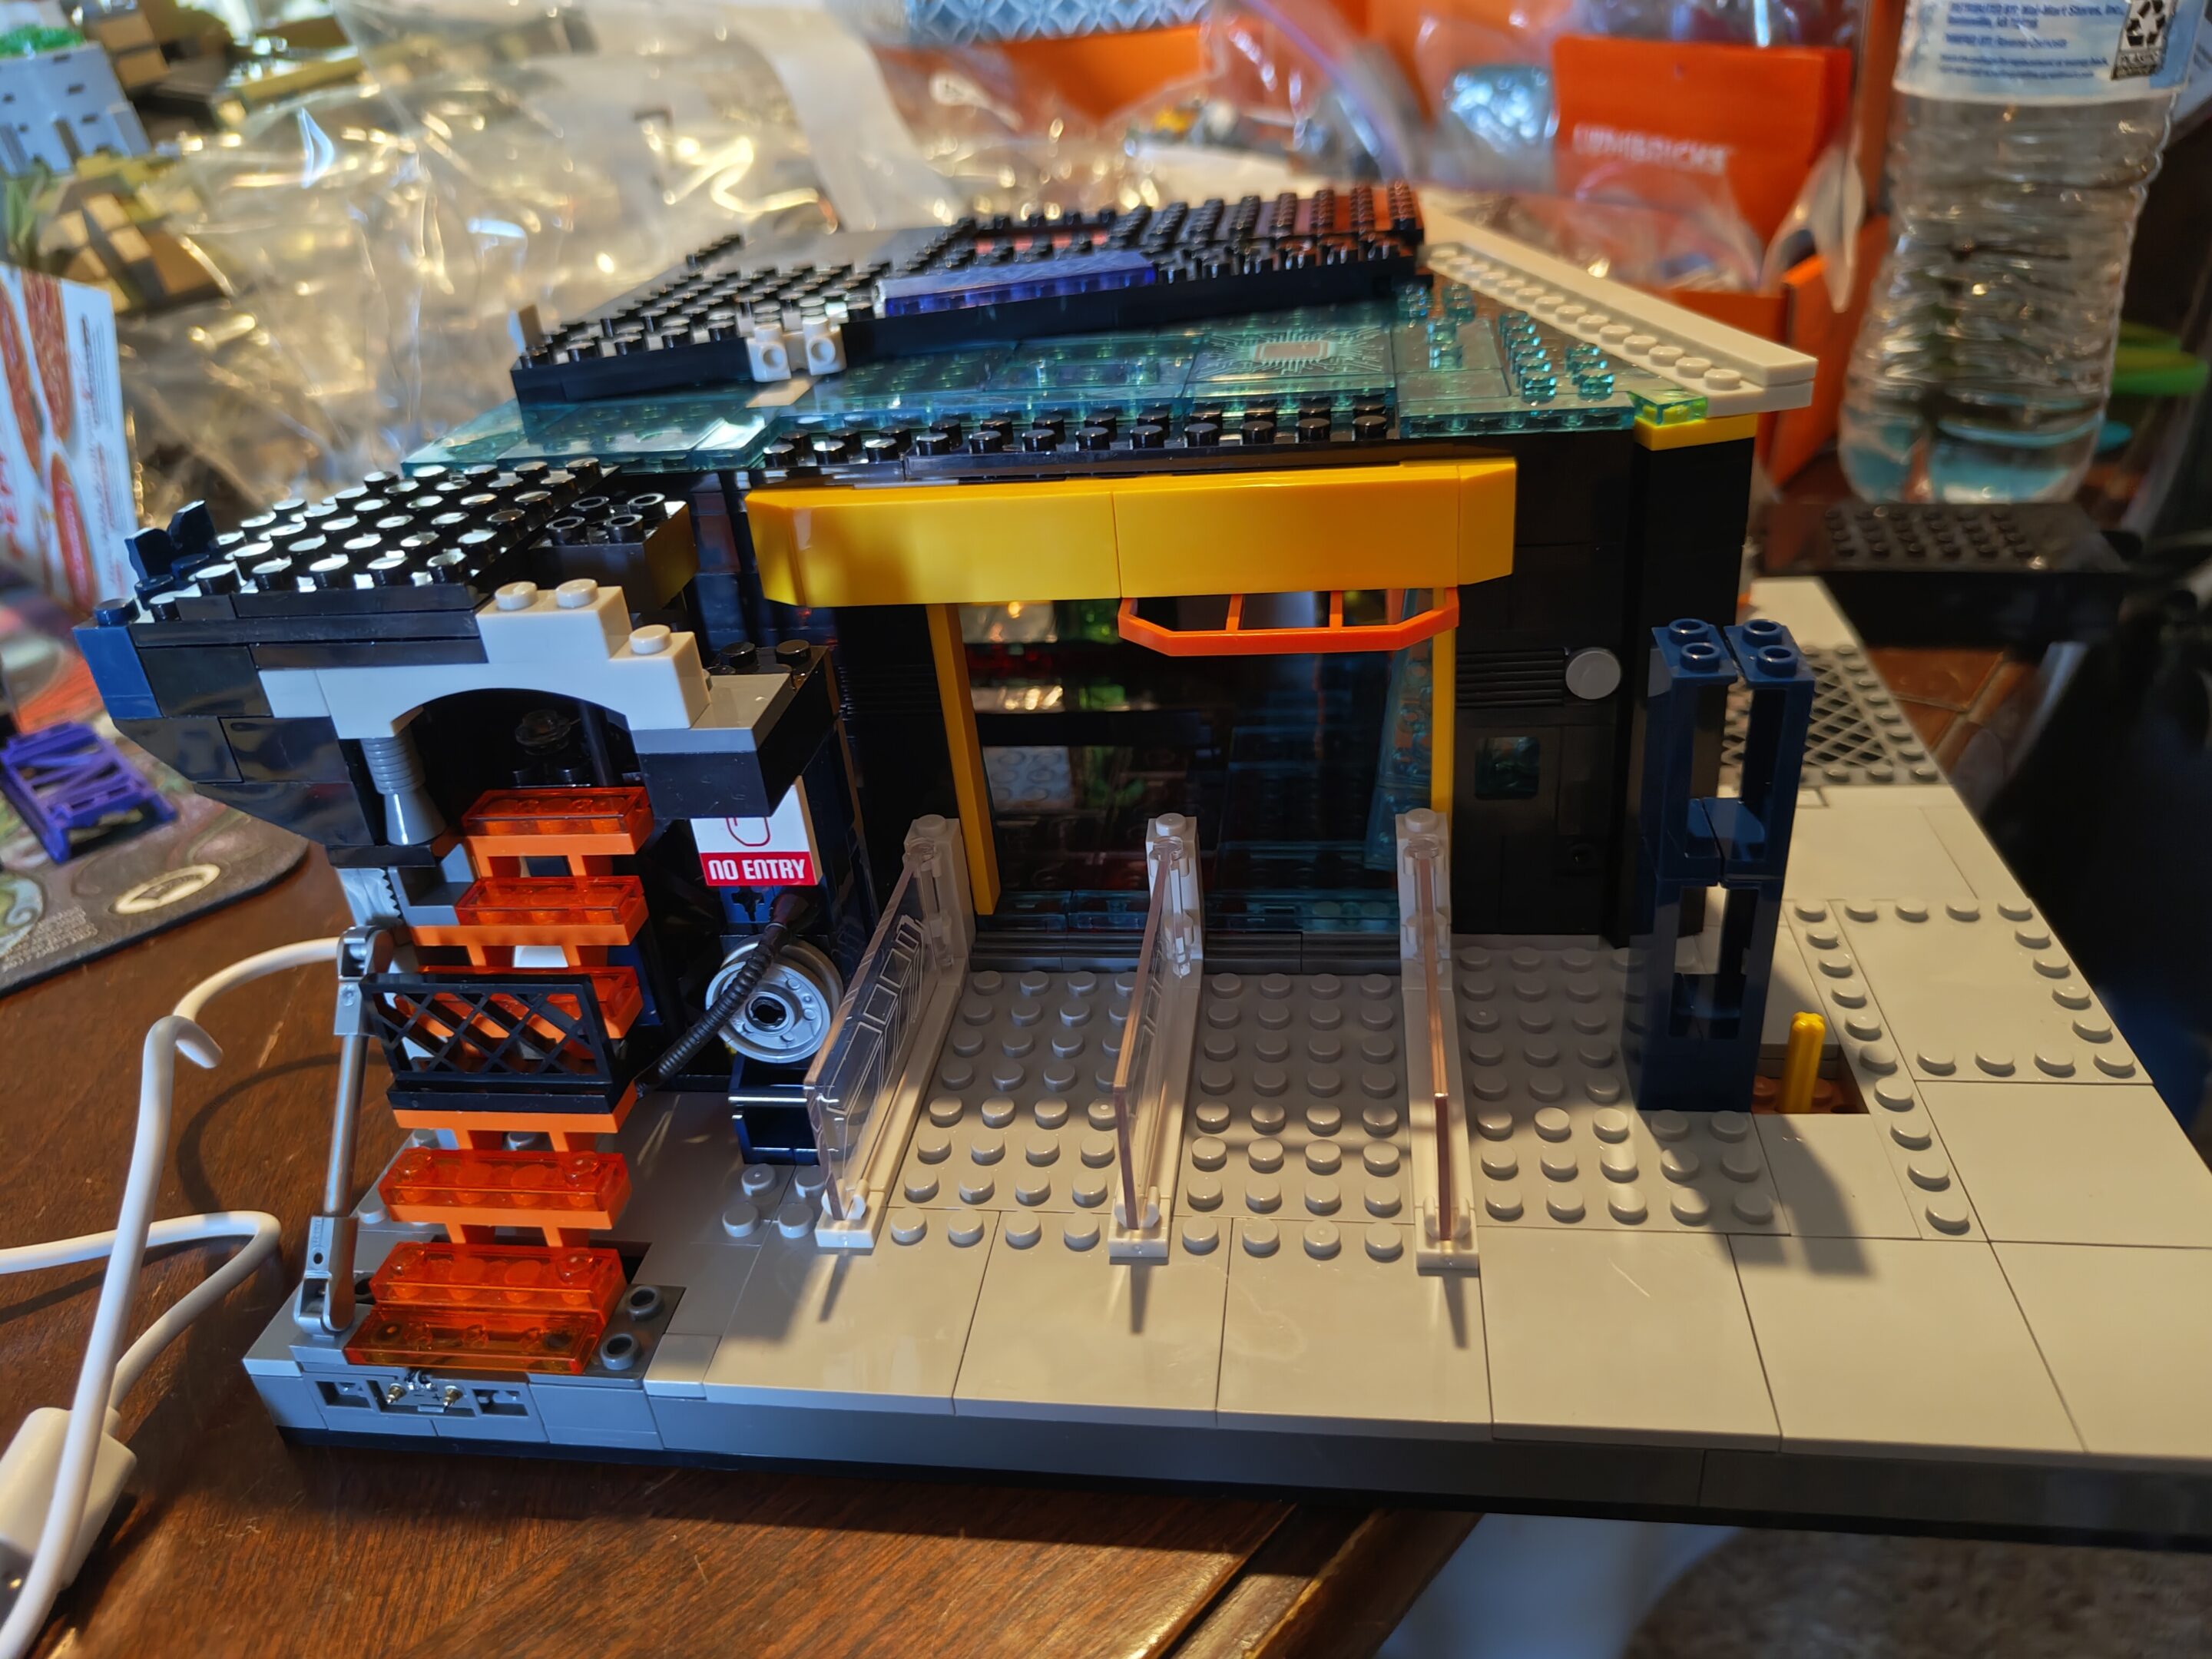
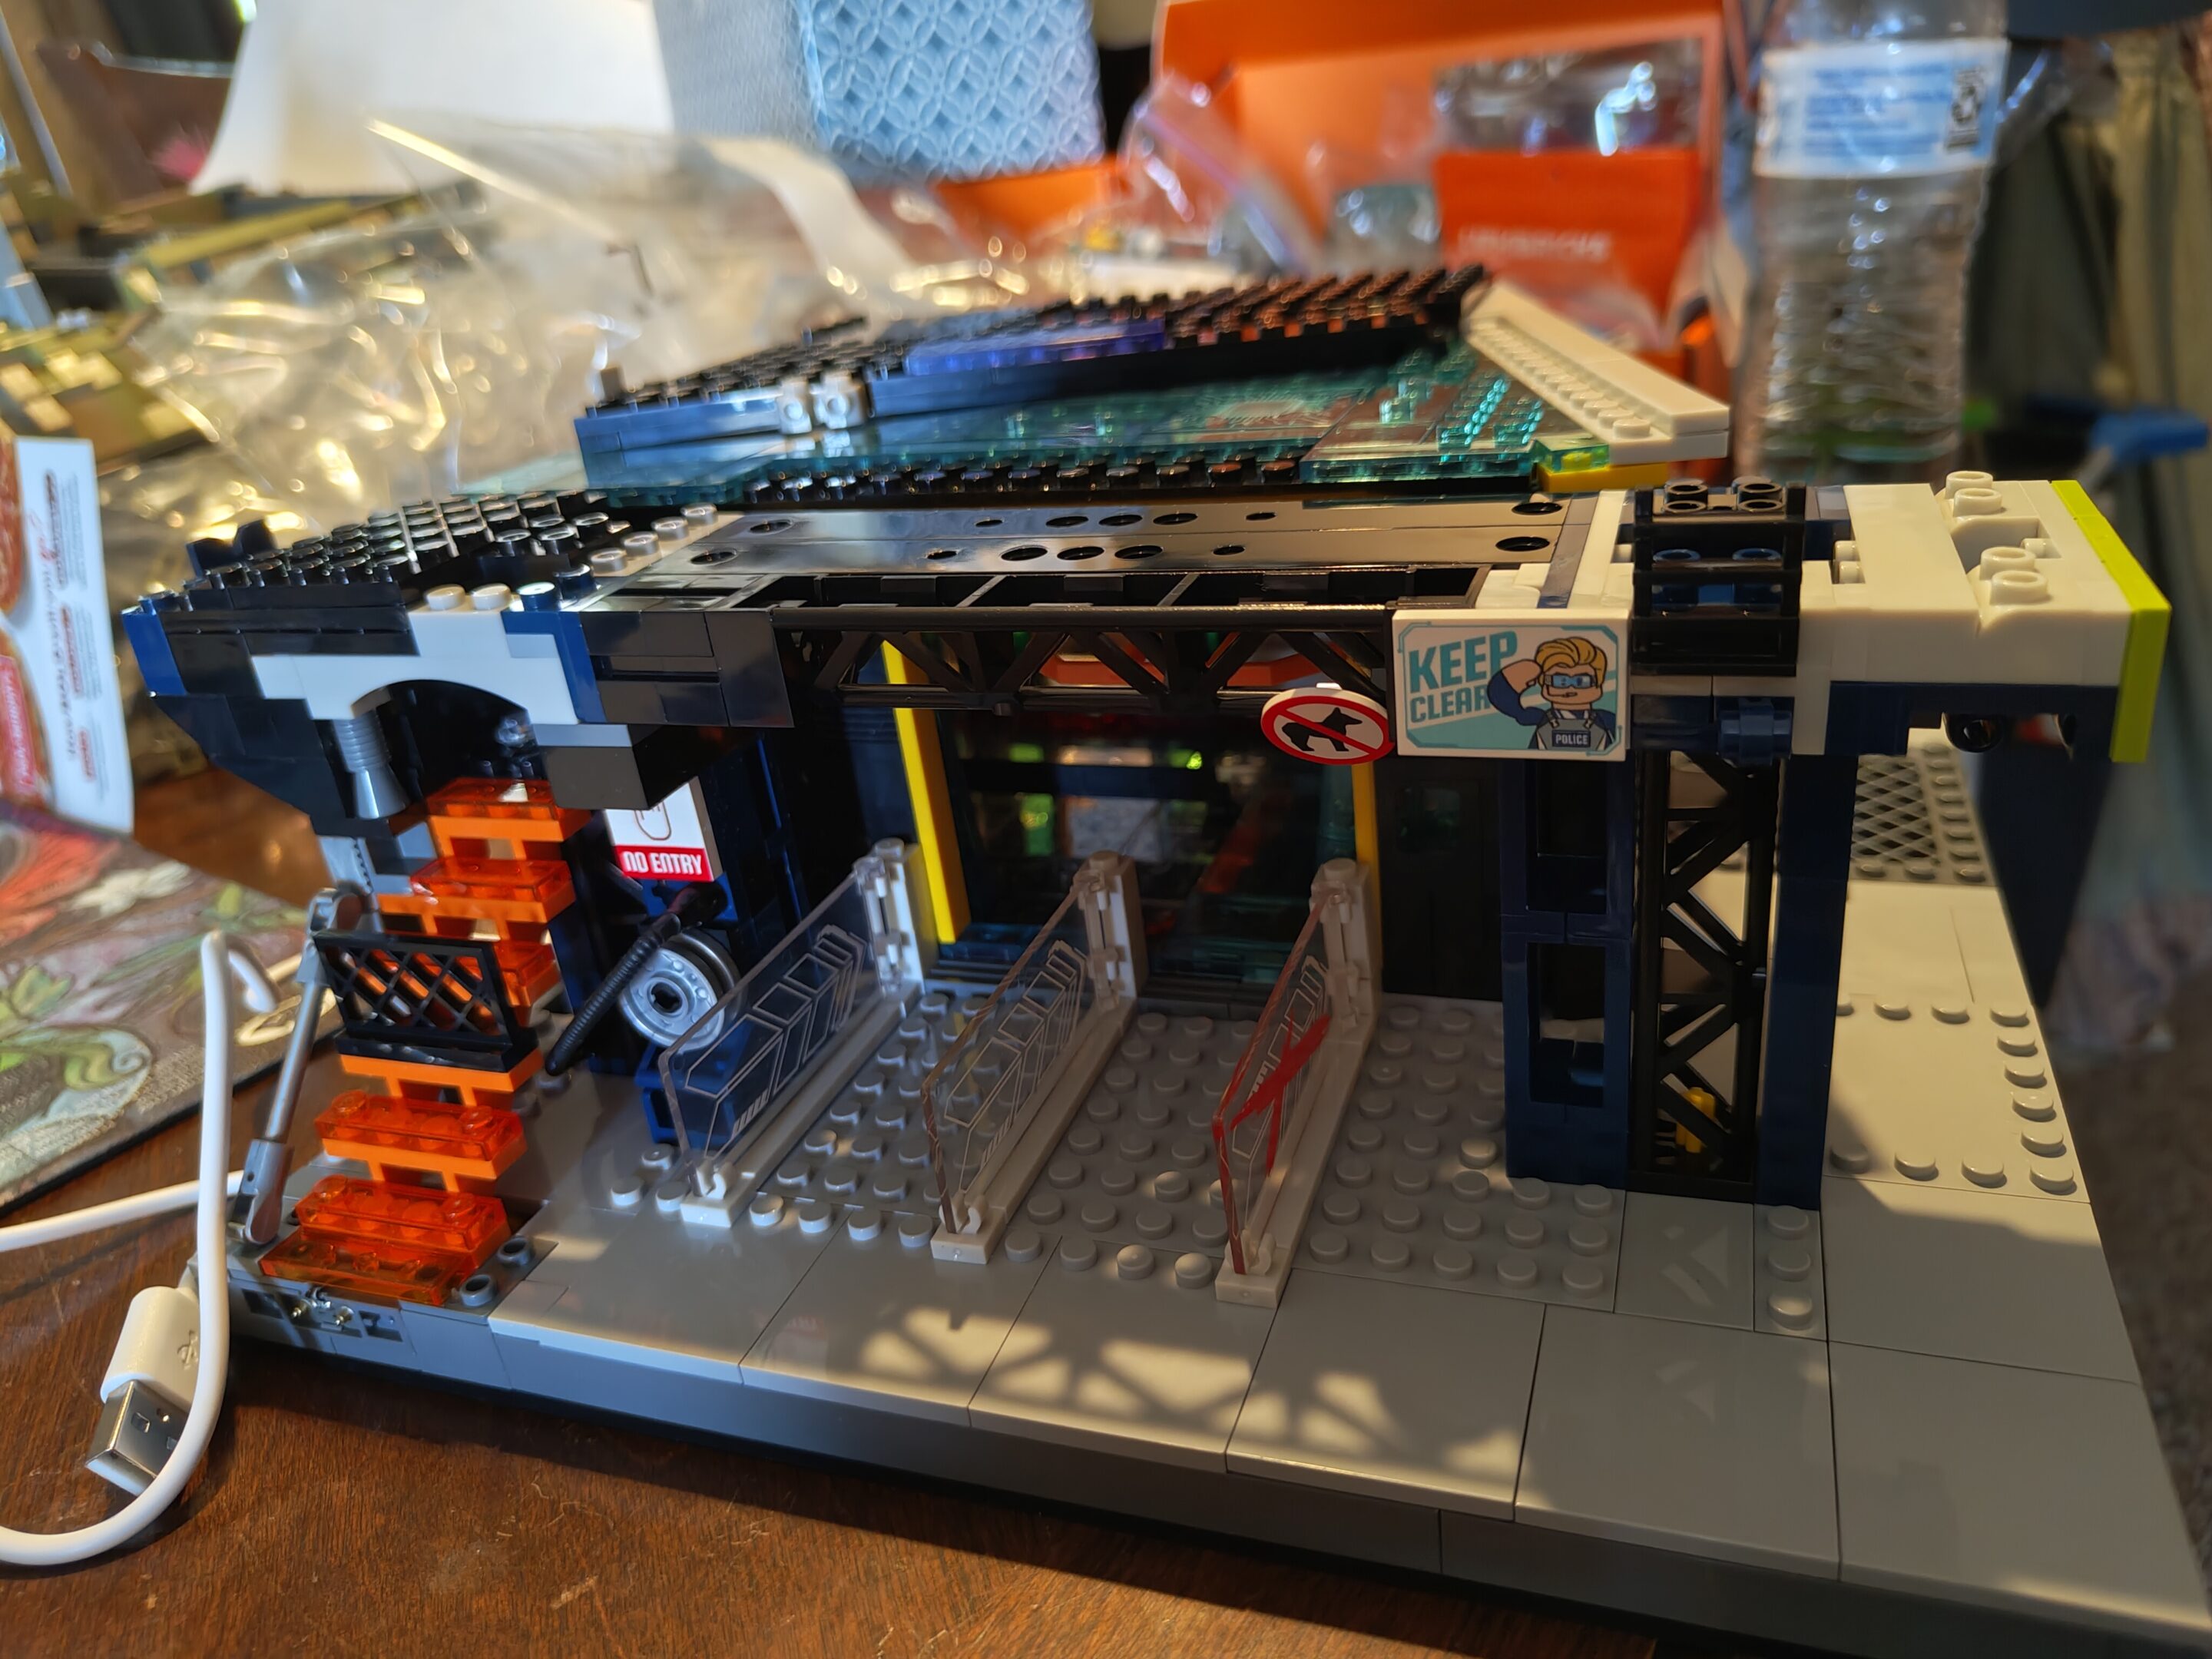
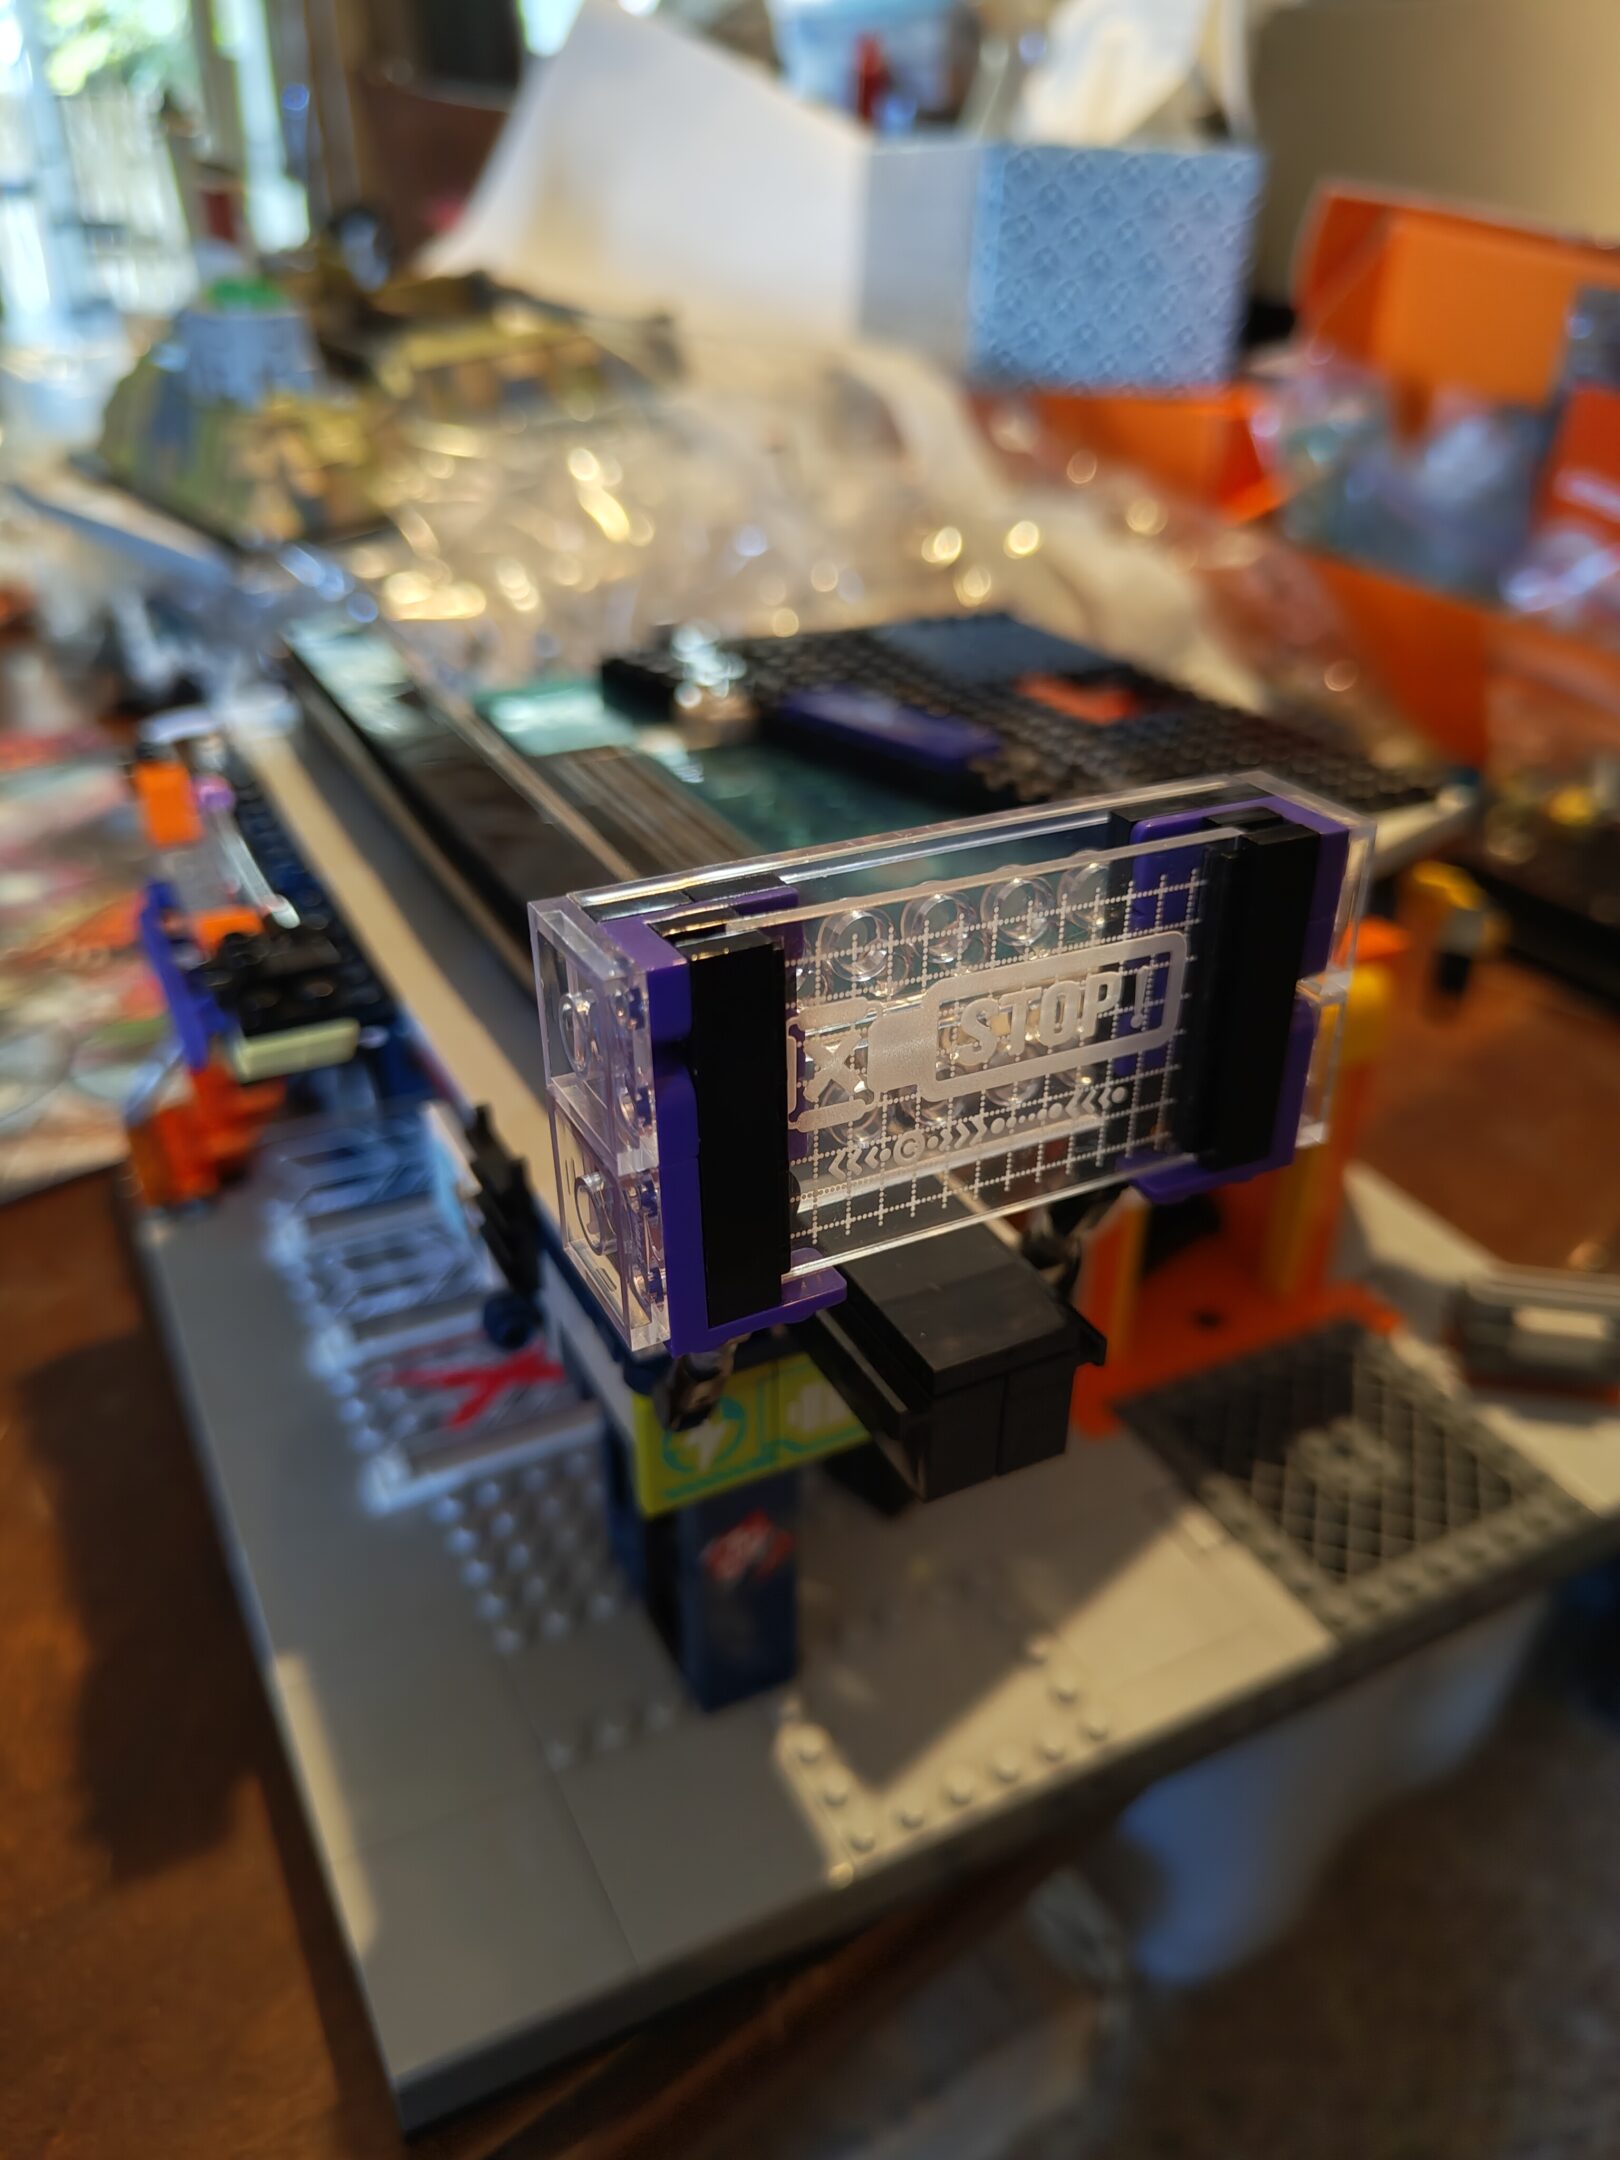
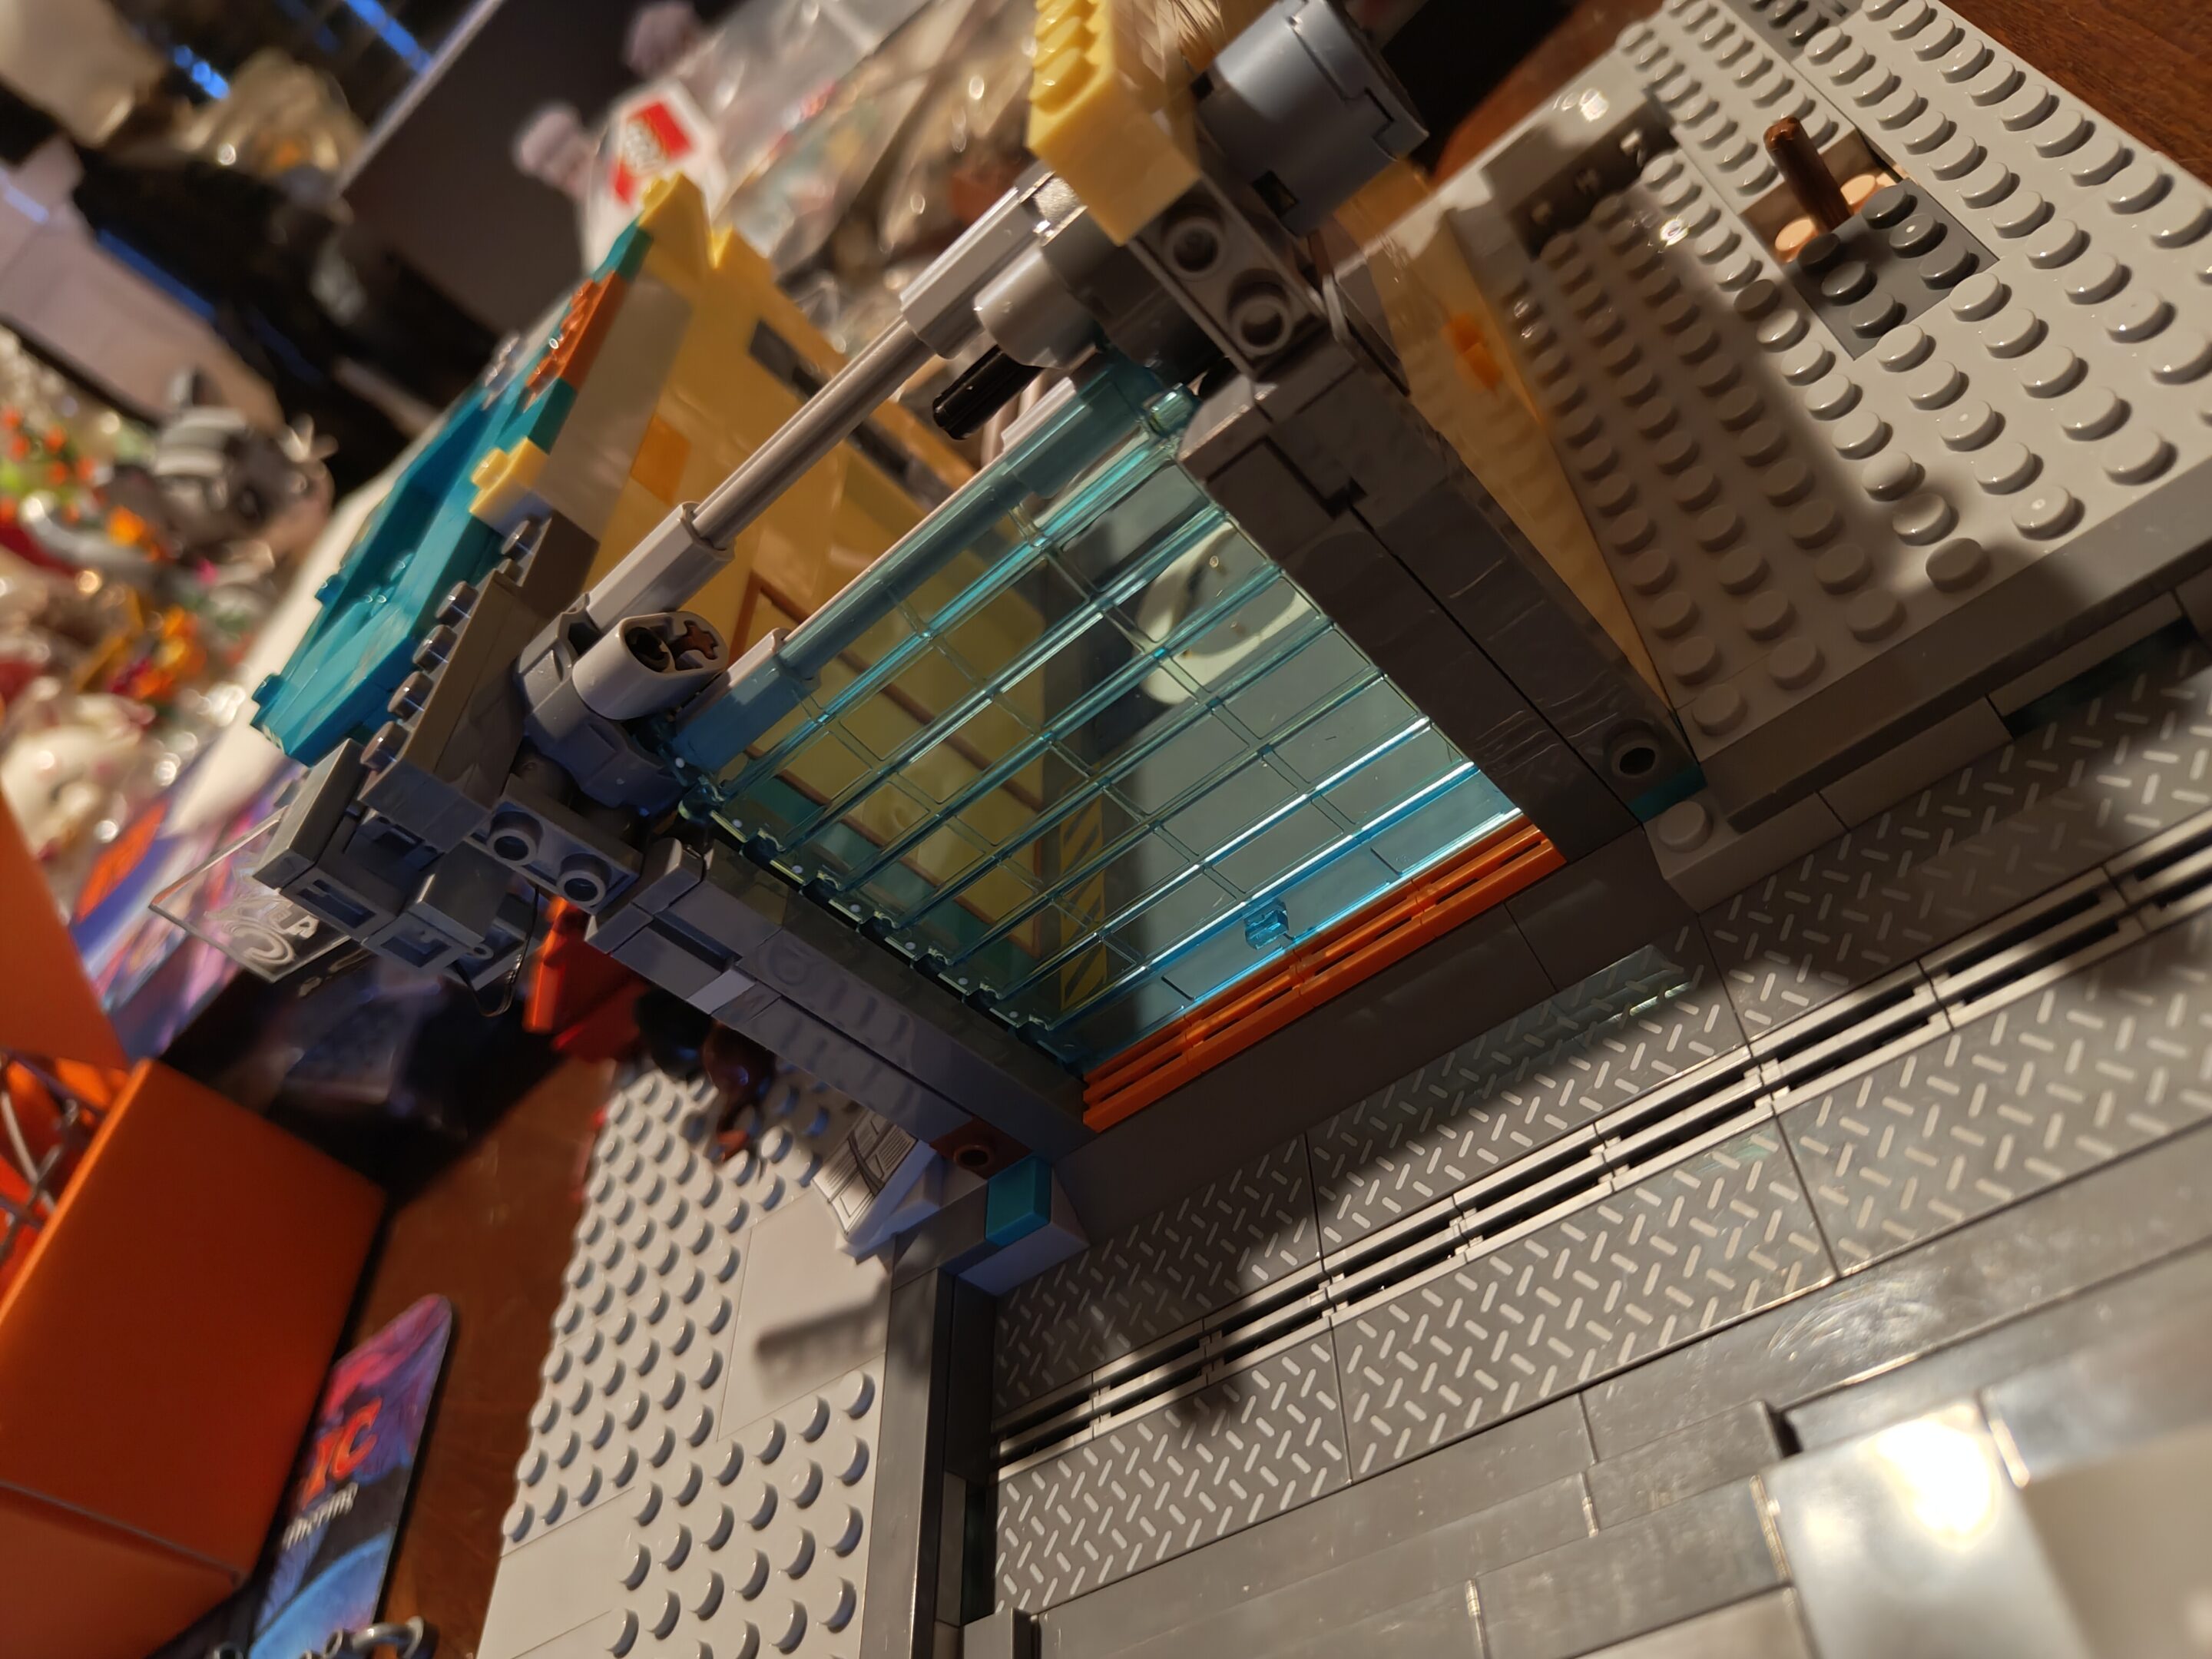
We start the day with a … man I dunno what even to call some of these yet. But it was on the left.Train goes here (eventually)See, here’s the train sign and everything“Ever since installing the flashing stop sign, we hardly have any trains fall off the tracks anymore!” (from the instructions)Maglev train track (and neon)See, neonPower hubWiring everywhereHere was the second set of errata but … yeah okay they are slightly different but honestly this one was only cosmetic (unlike the other)Wiring absolutely everywhere at this momentTesting connectionsWiring wildly out of controlMuch tidier wiring. Testing lights and connections — unfortunately where I stopped for the night the train sign and neon aren’t connected yet. But it looks so coooooooooool already
little work today and serendipity occurred as the timing of the only bag/step without wiring was the one i was in the middle of as mom wanted to do lego stuff so we worked on the train together. this is the first one of these sets that she’s done any work on and being able to have a little time where we got to do it together was really cool. that’s why there’s not as many pictures this time, but i did take a quick video
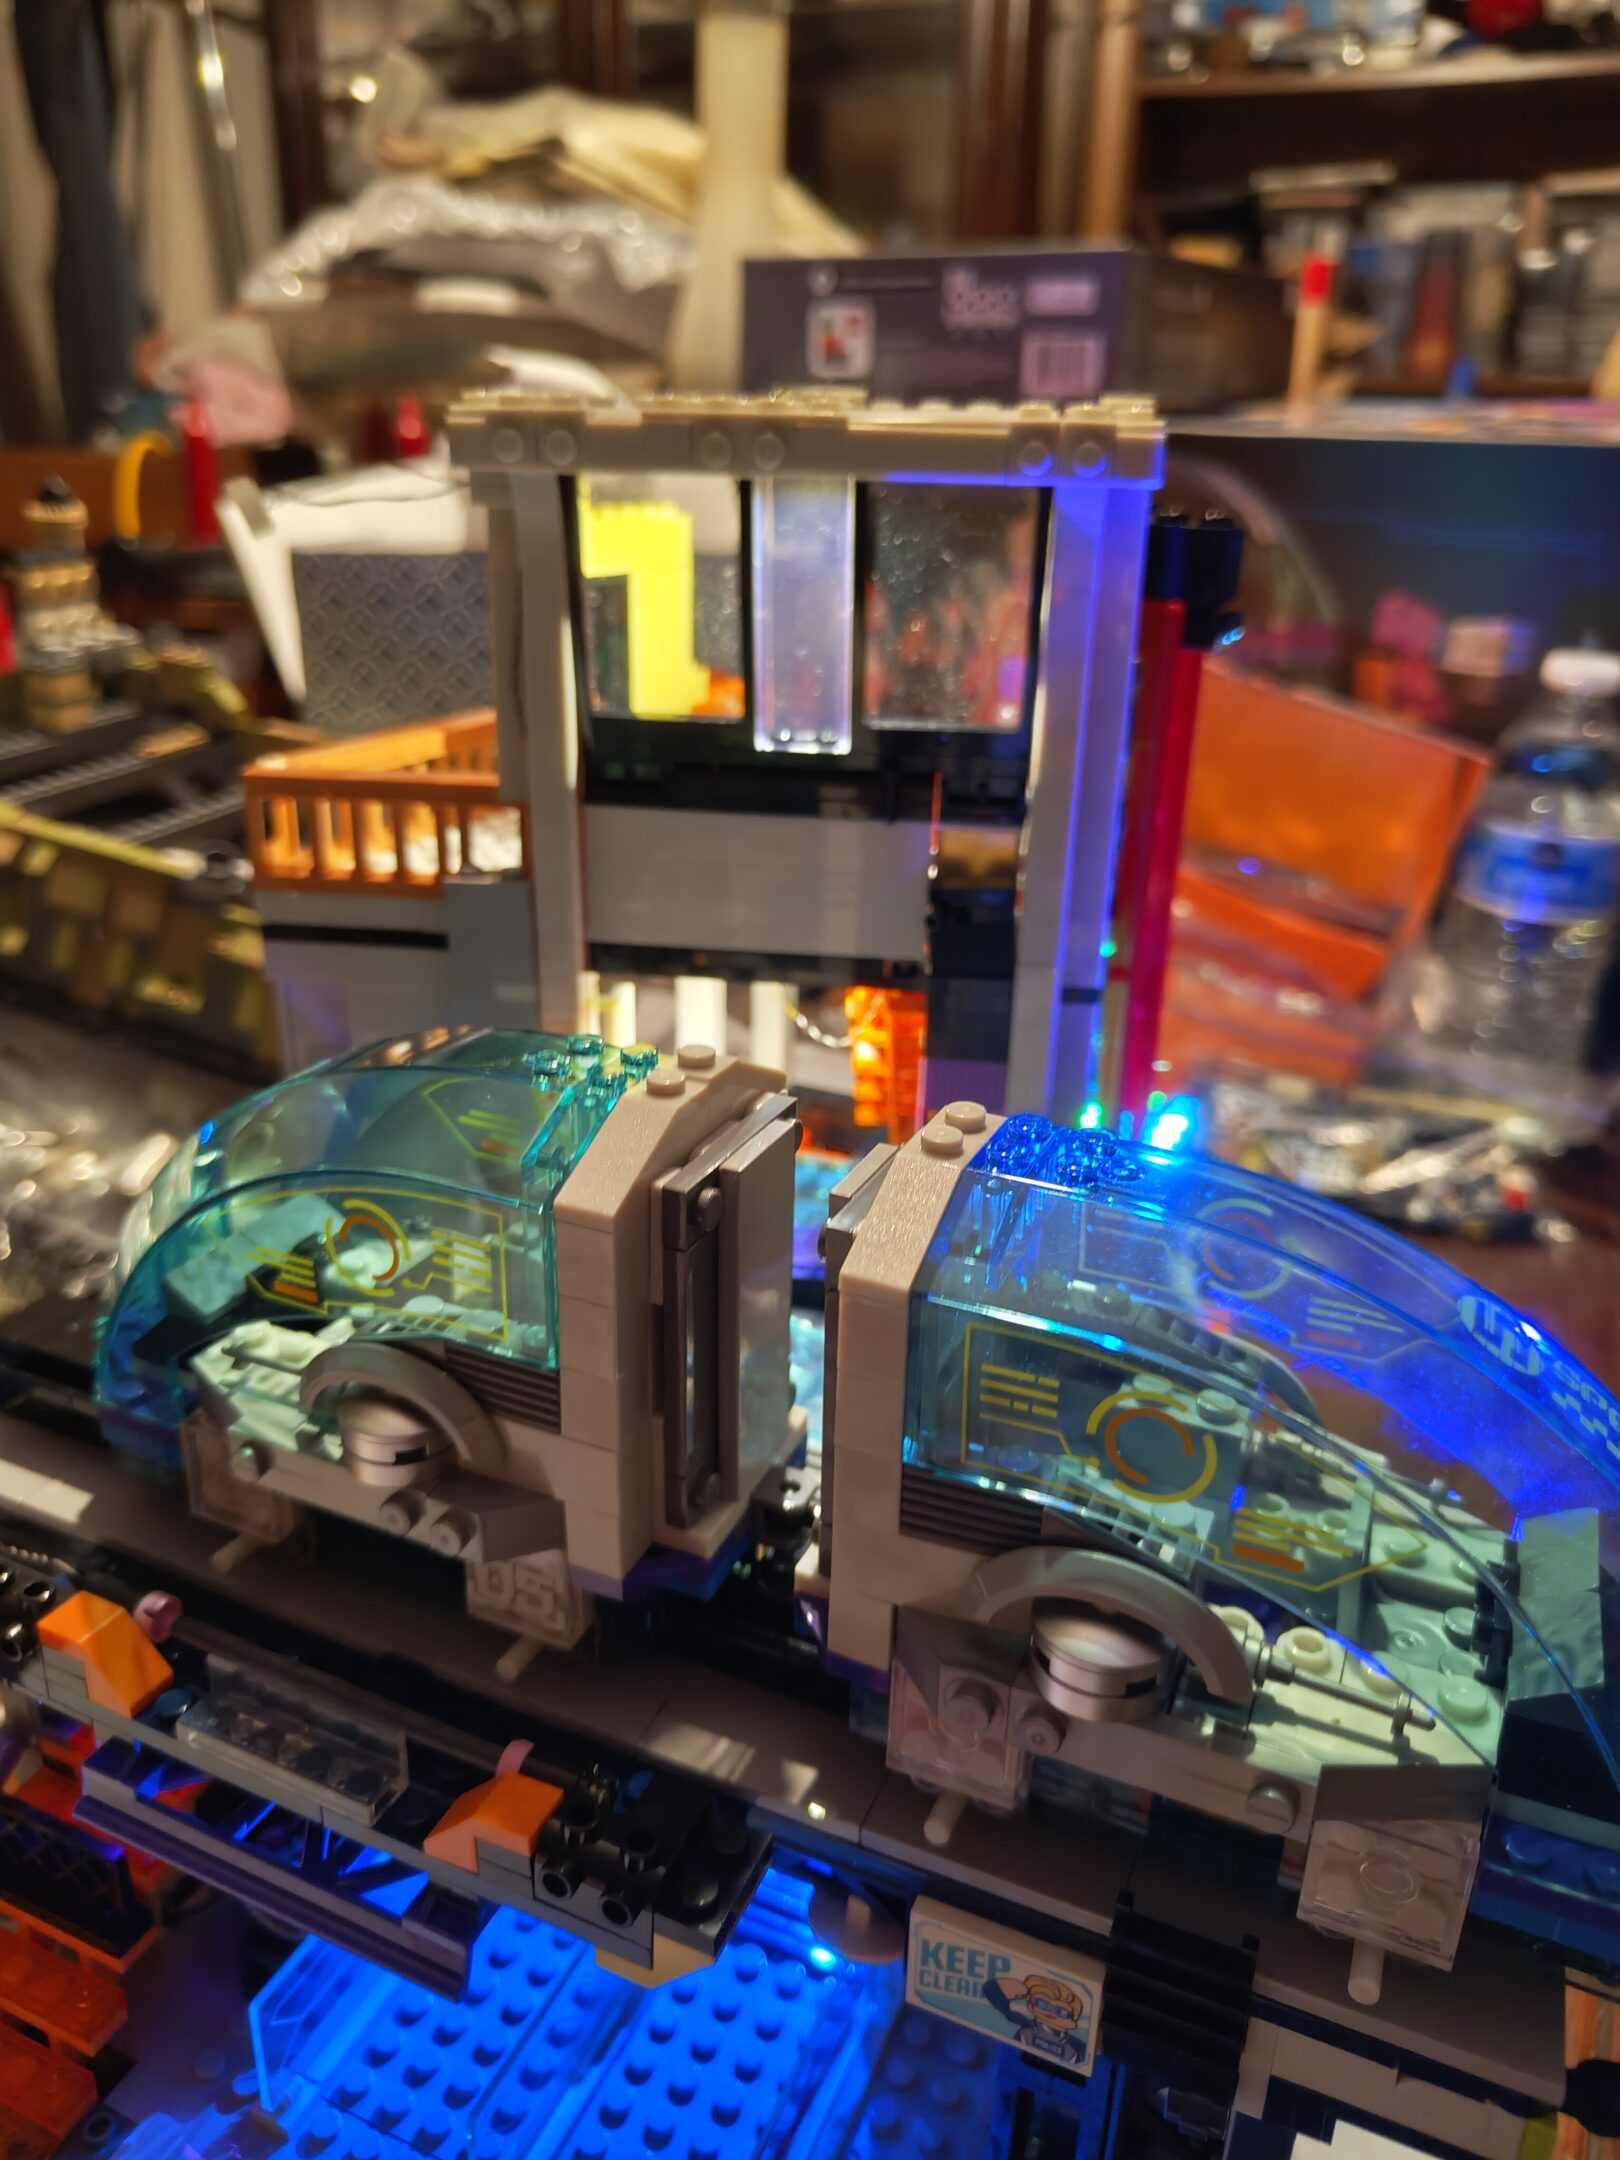
Train framesResting on top of the rail…Actually on the rails. With the lights on too. I took a video
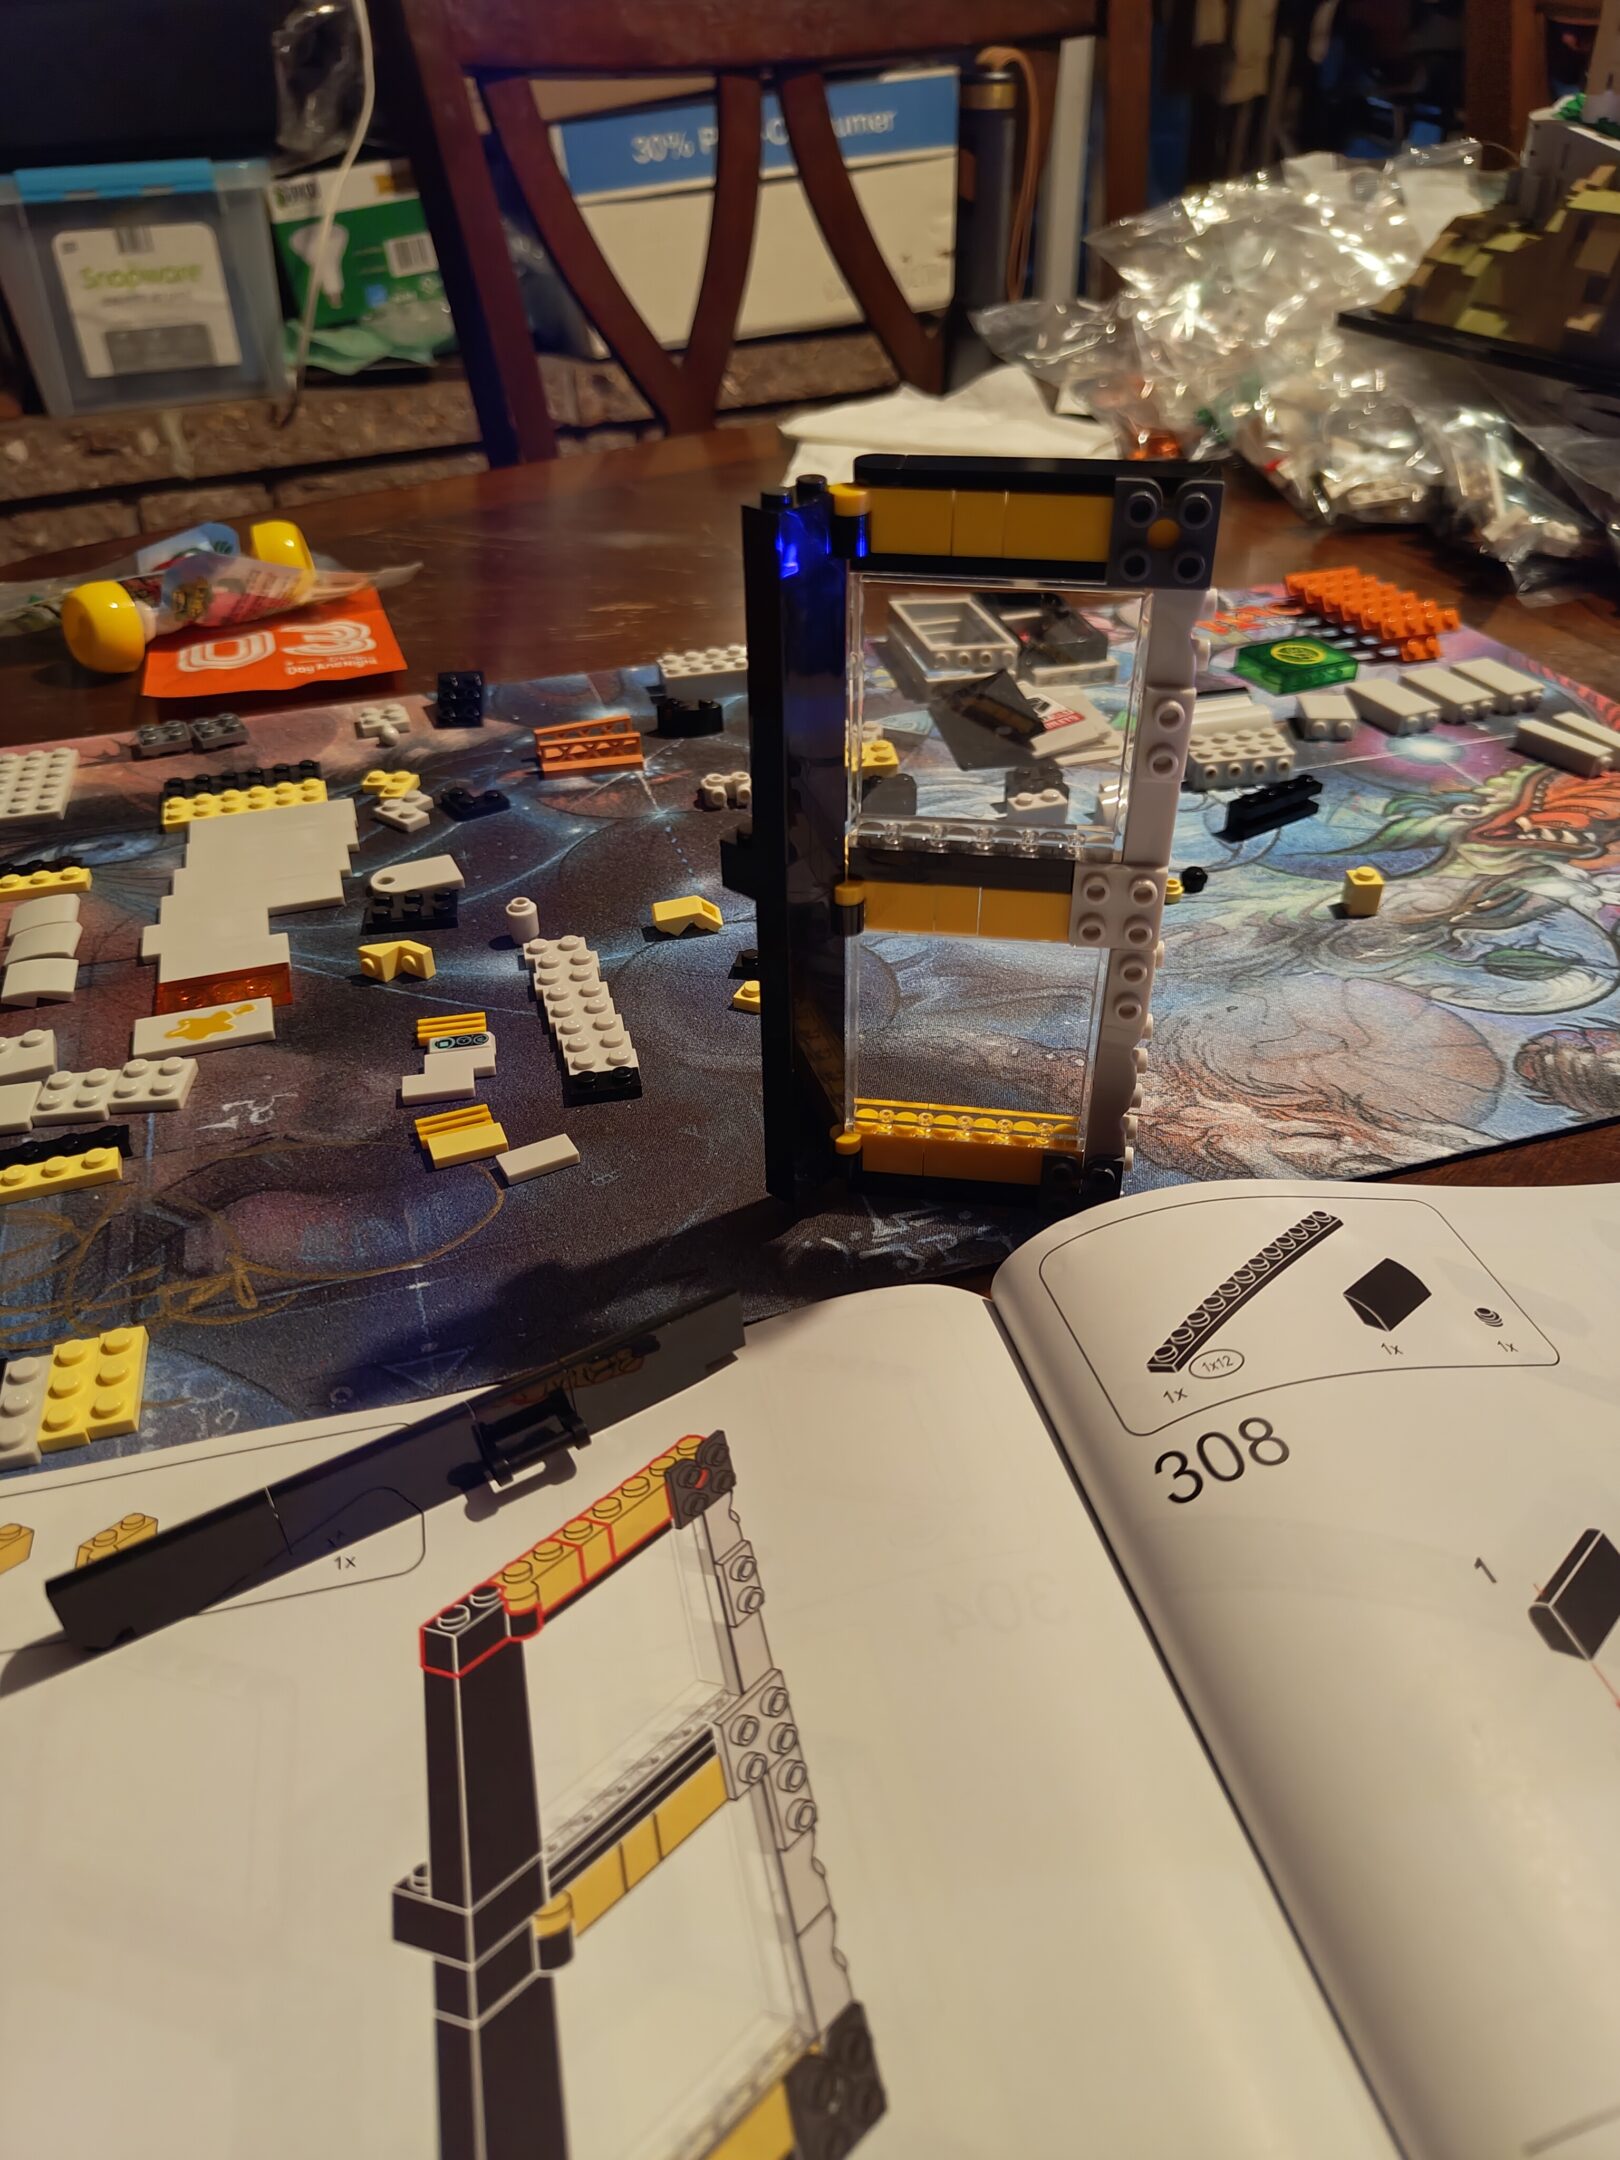
small progress on the train station today too, added a little bit of 3rd story here’s some pictures. on the plus side i checked the instructions and the next step doesn’t have any special parts (so no wiring) so i might be able to have her help me out with it
A door and some stairsA wall goes upAnd a (tilted) window goes inThird floor lightingDone with the step and done for the night
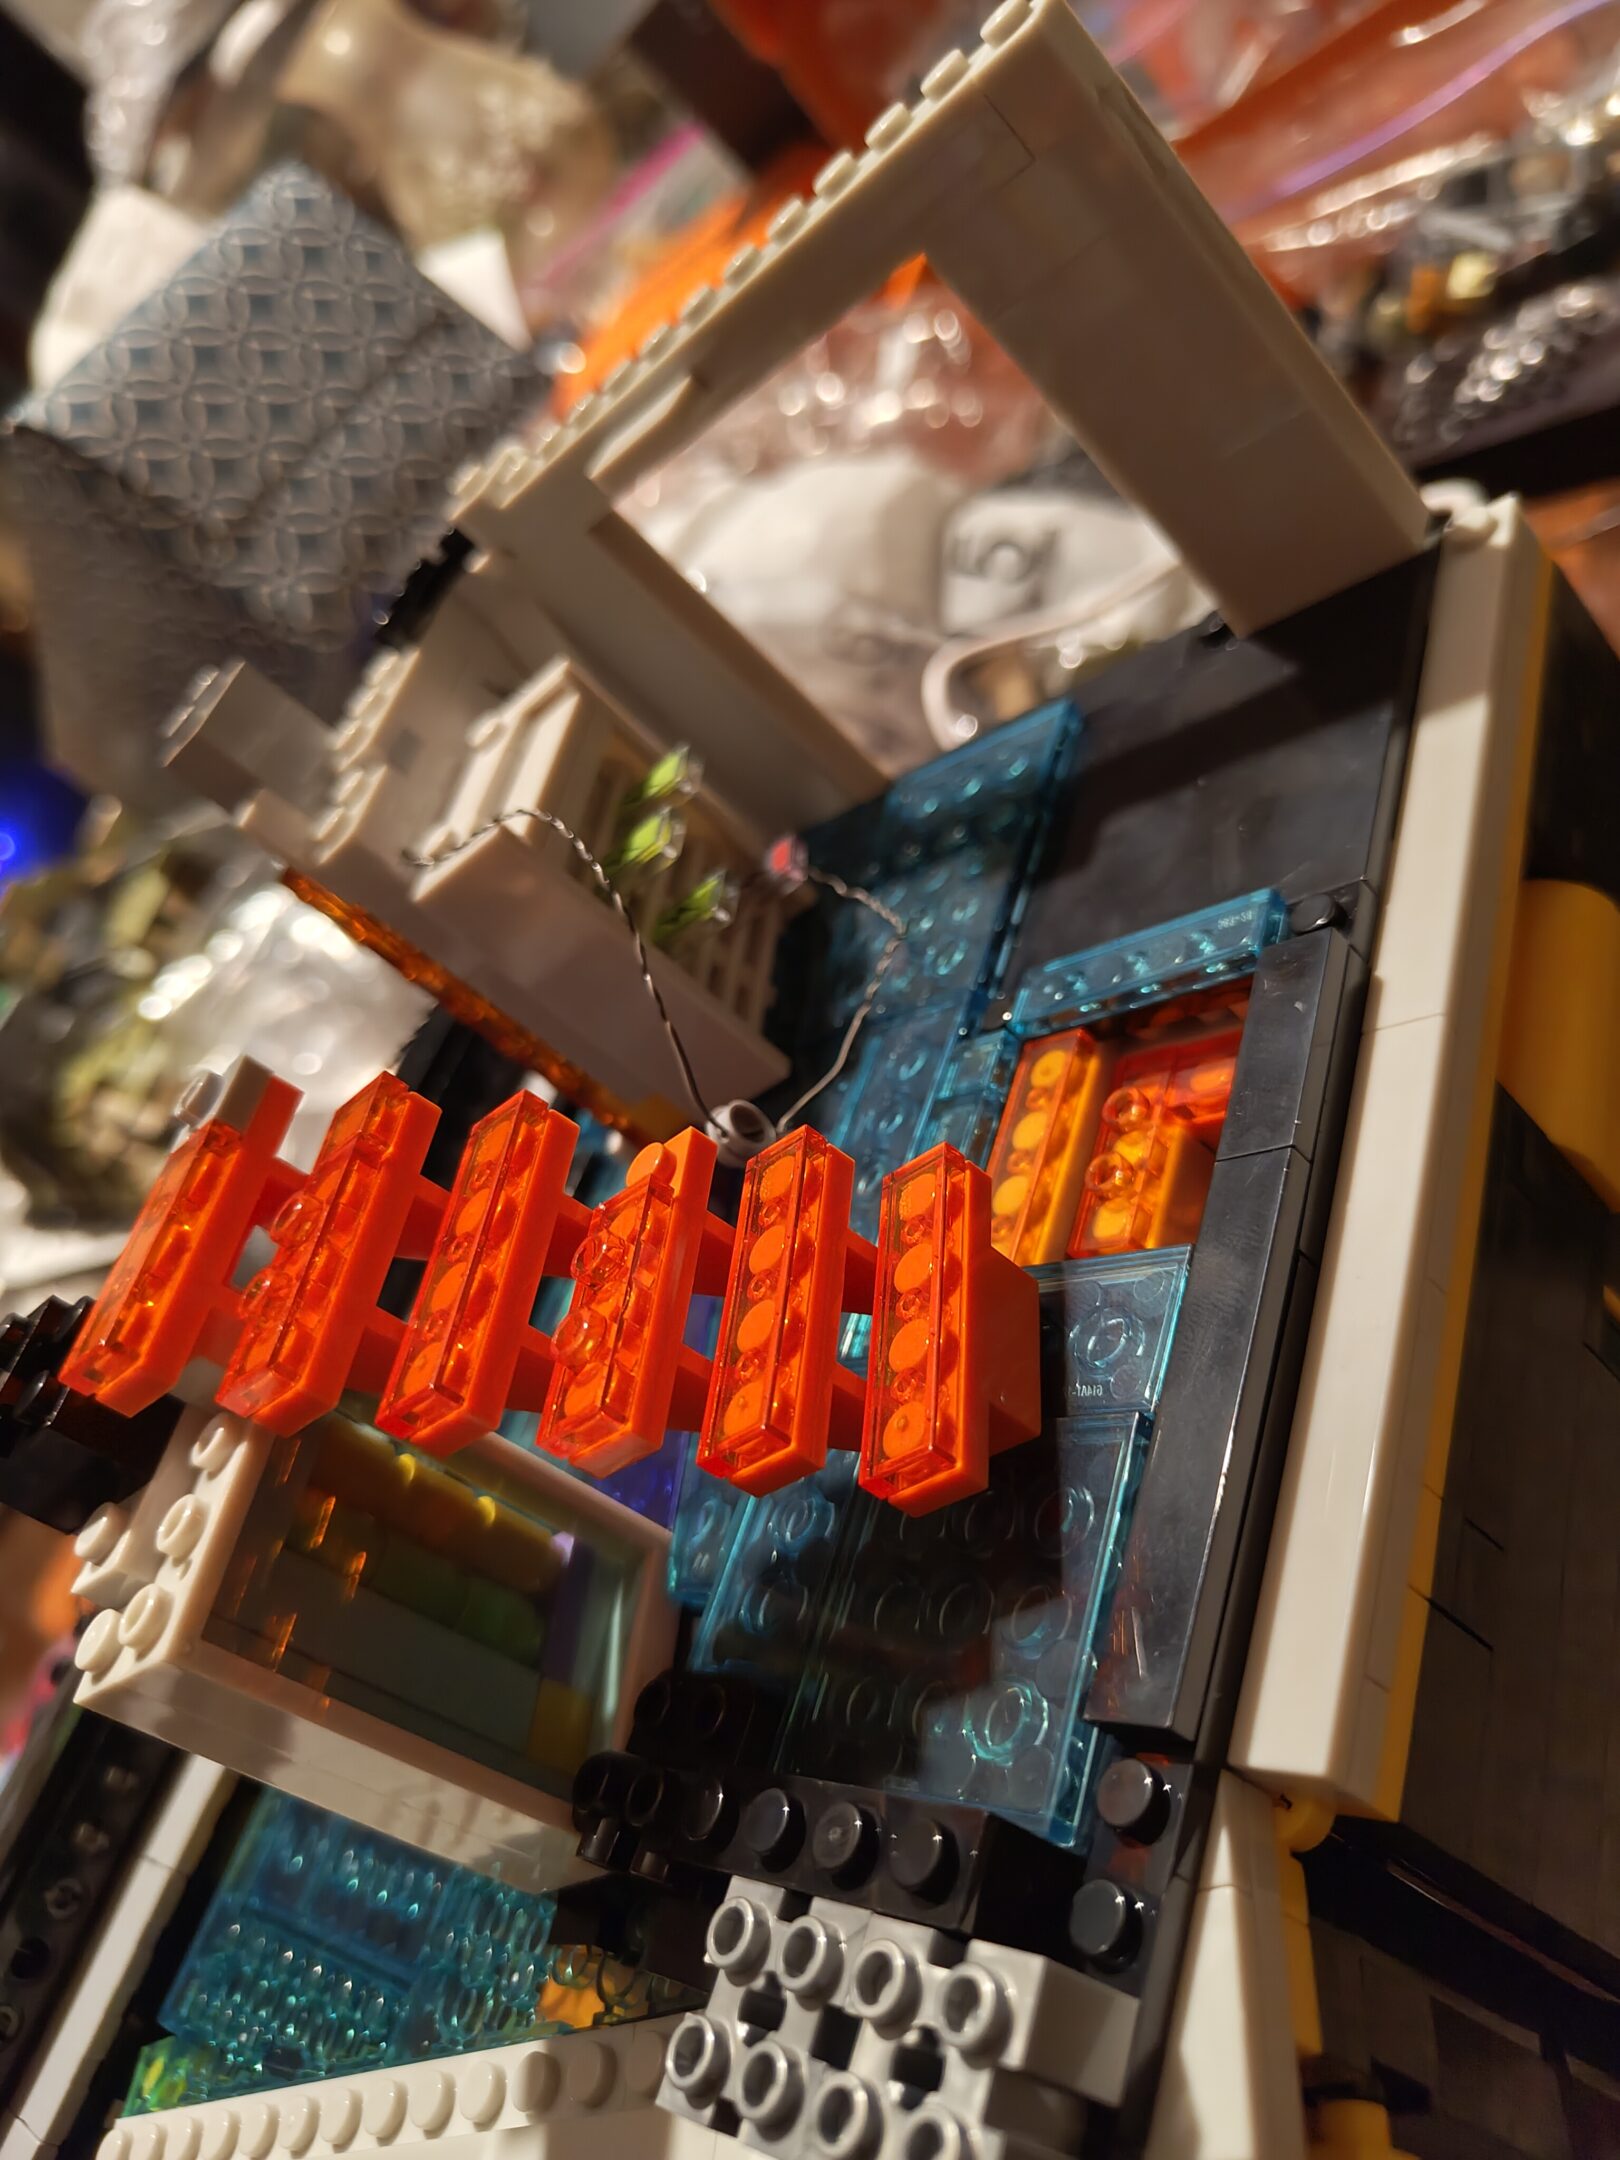
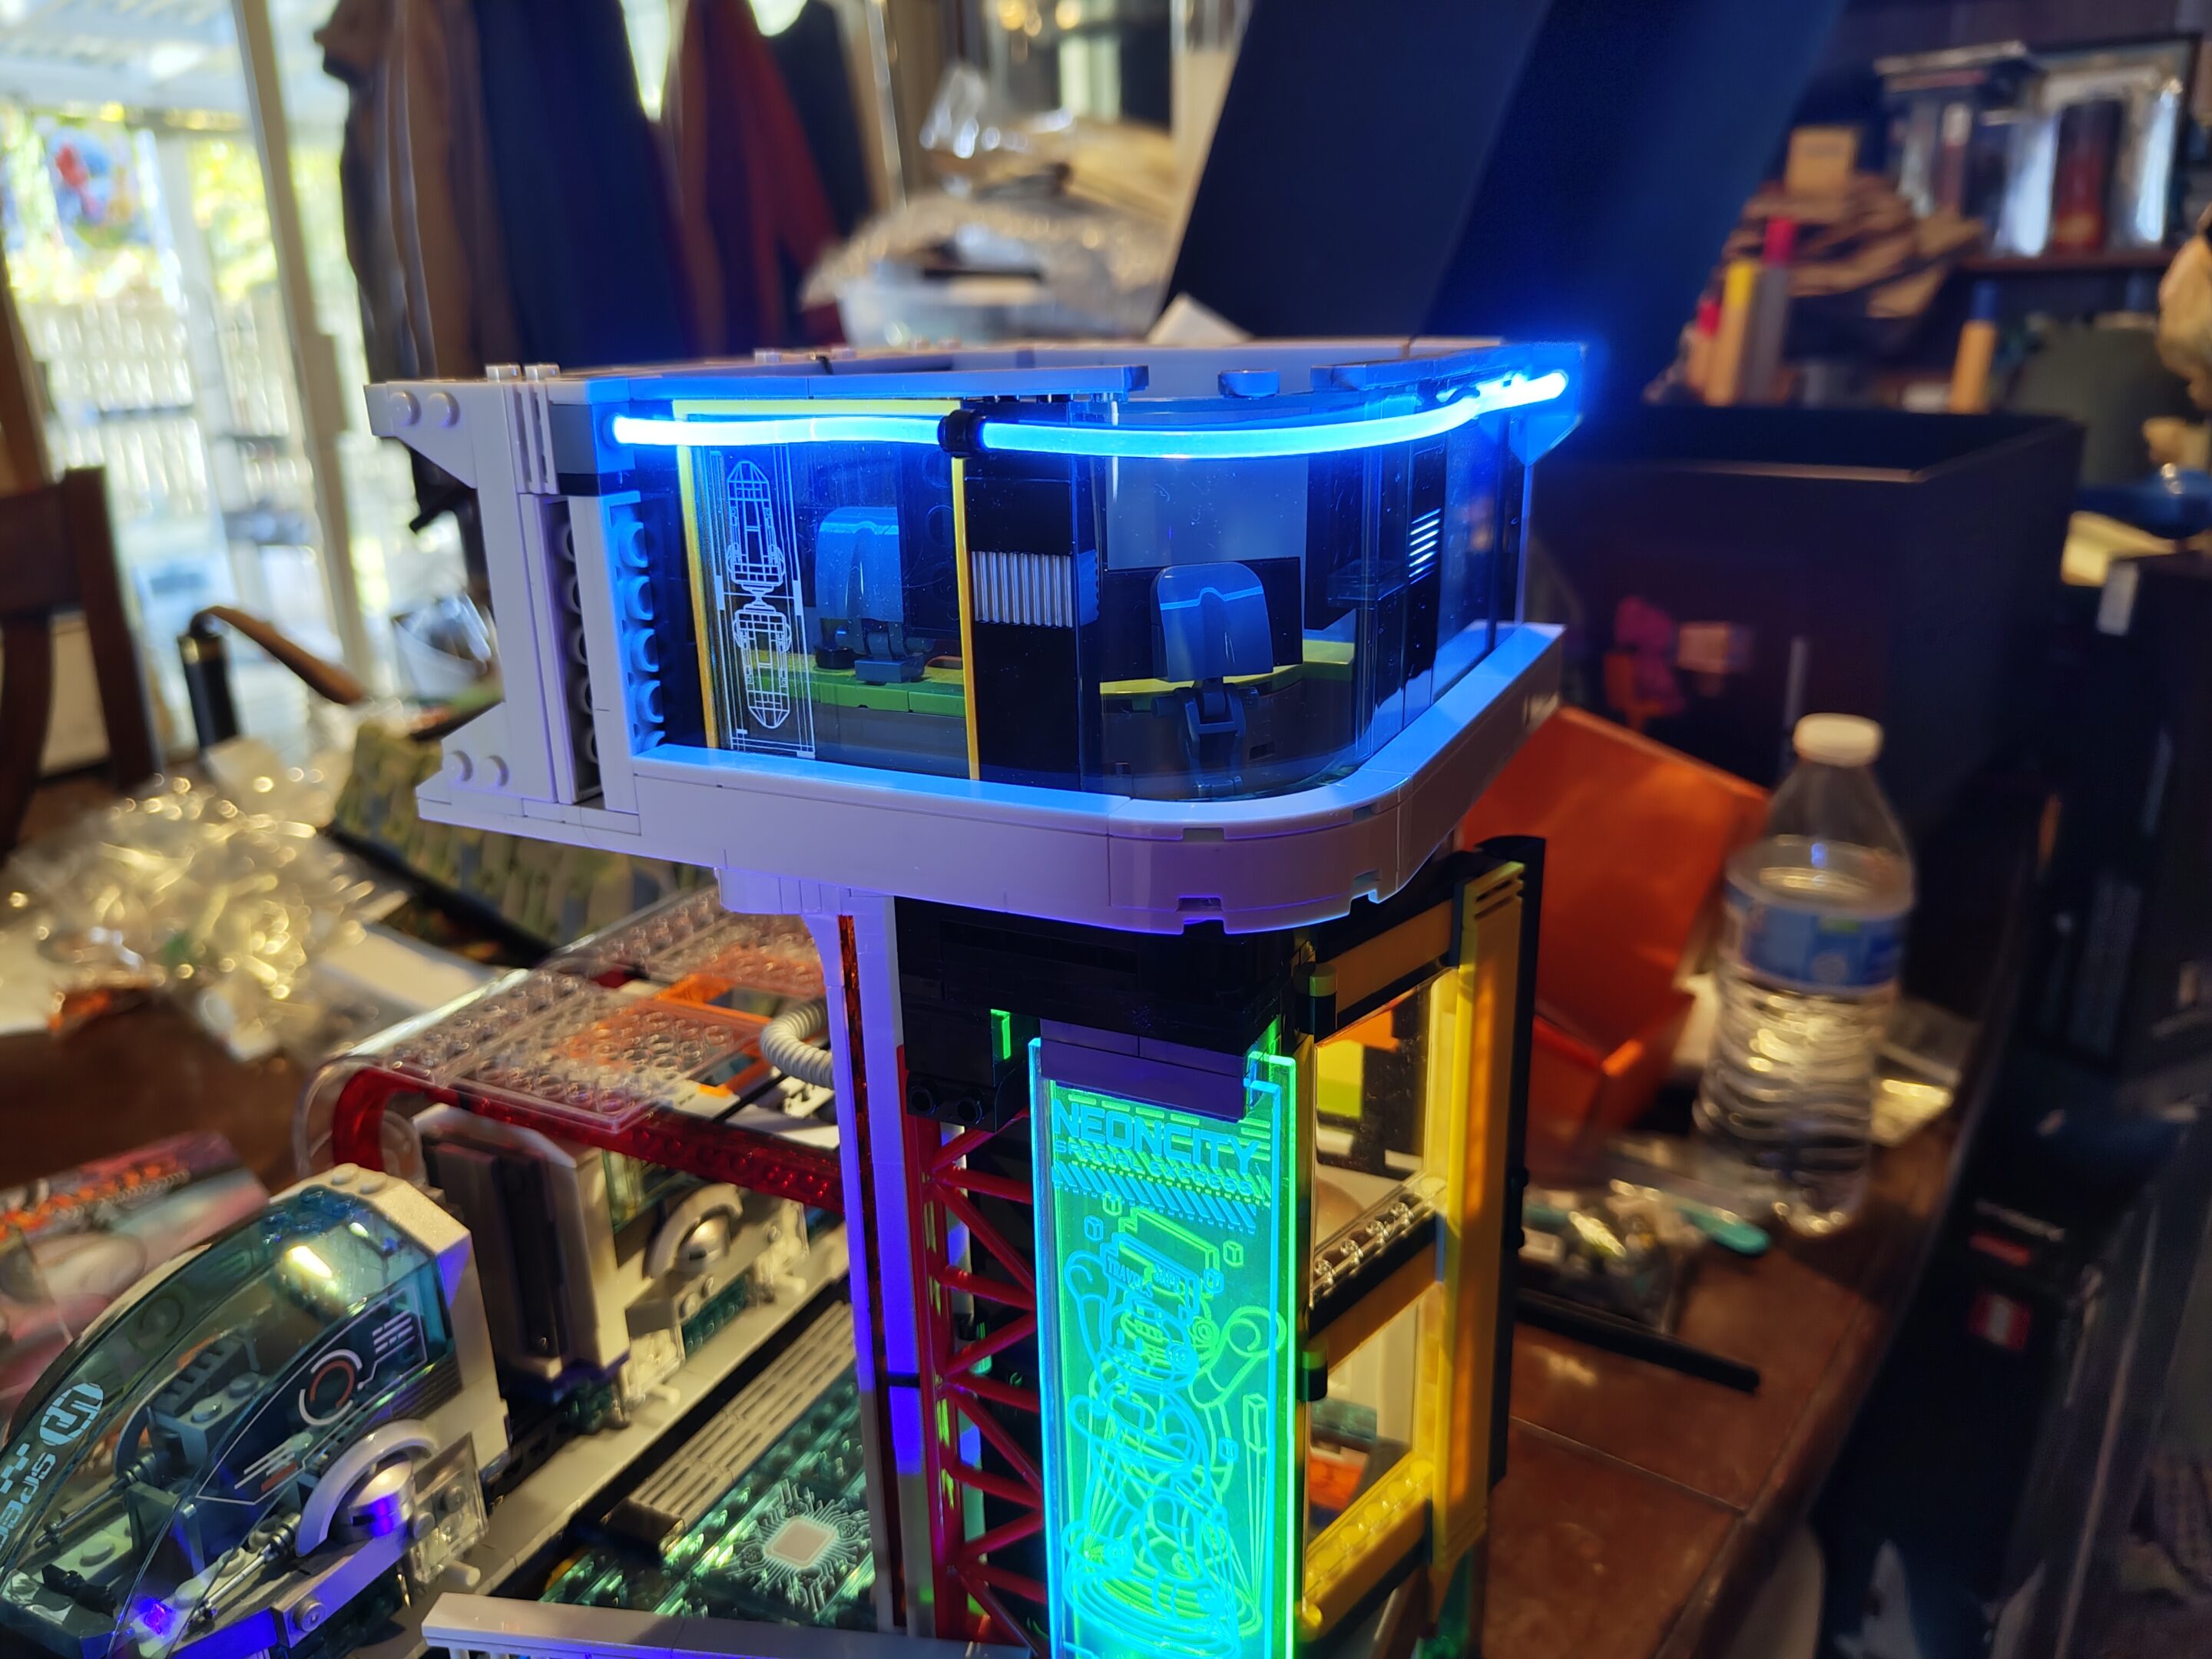
ah, went ahead and did a couple more bags/steps next one is step 11 and the first step of the 3rd (and final) book… really coming together. finally put the big neon sign together and i’m still not sure how it animates. maybe there’s a power controller or something further in the set to make them alternate?
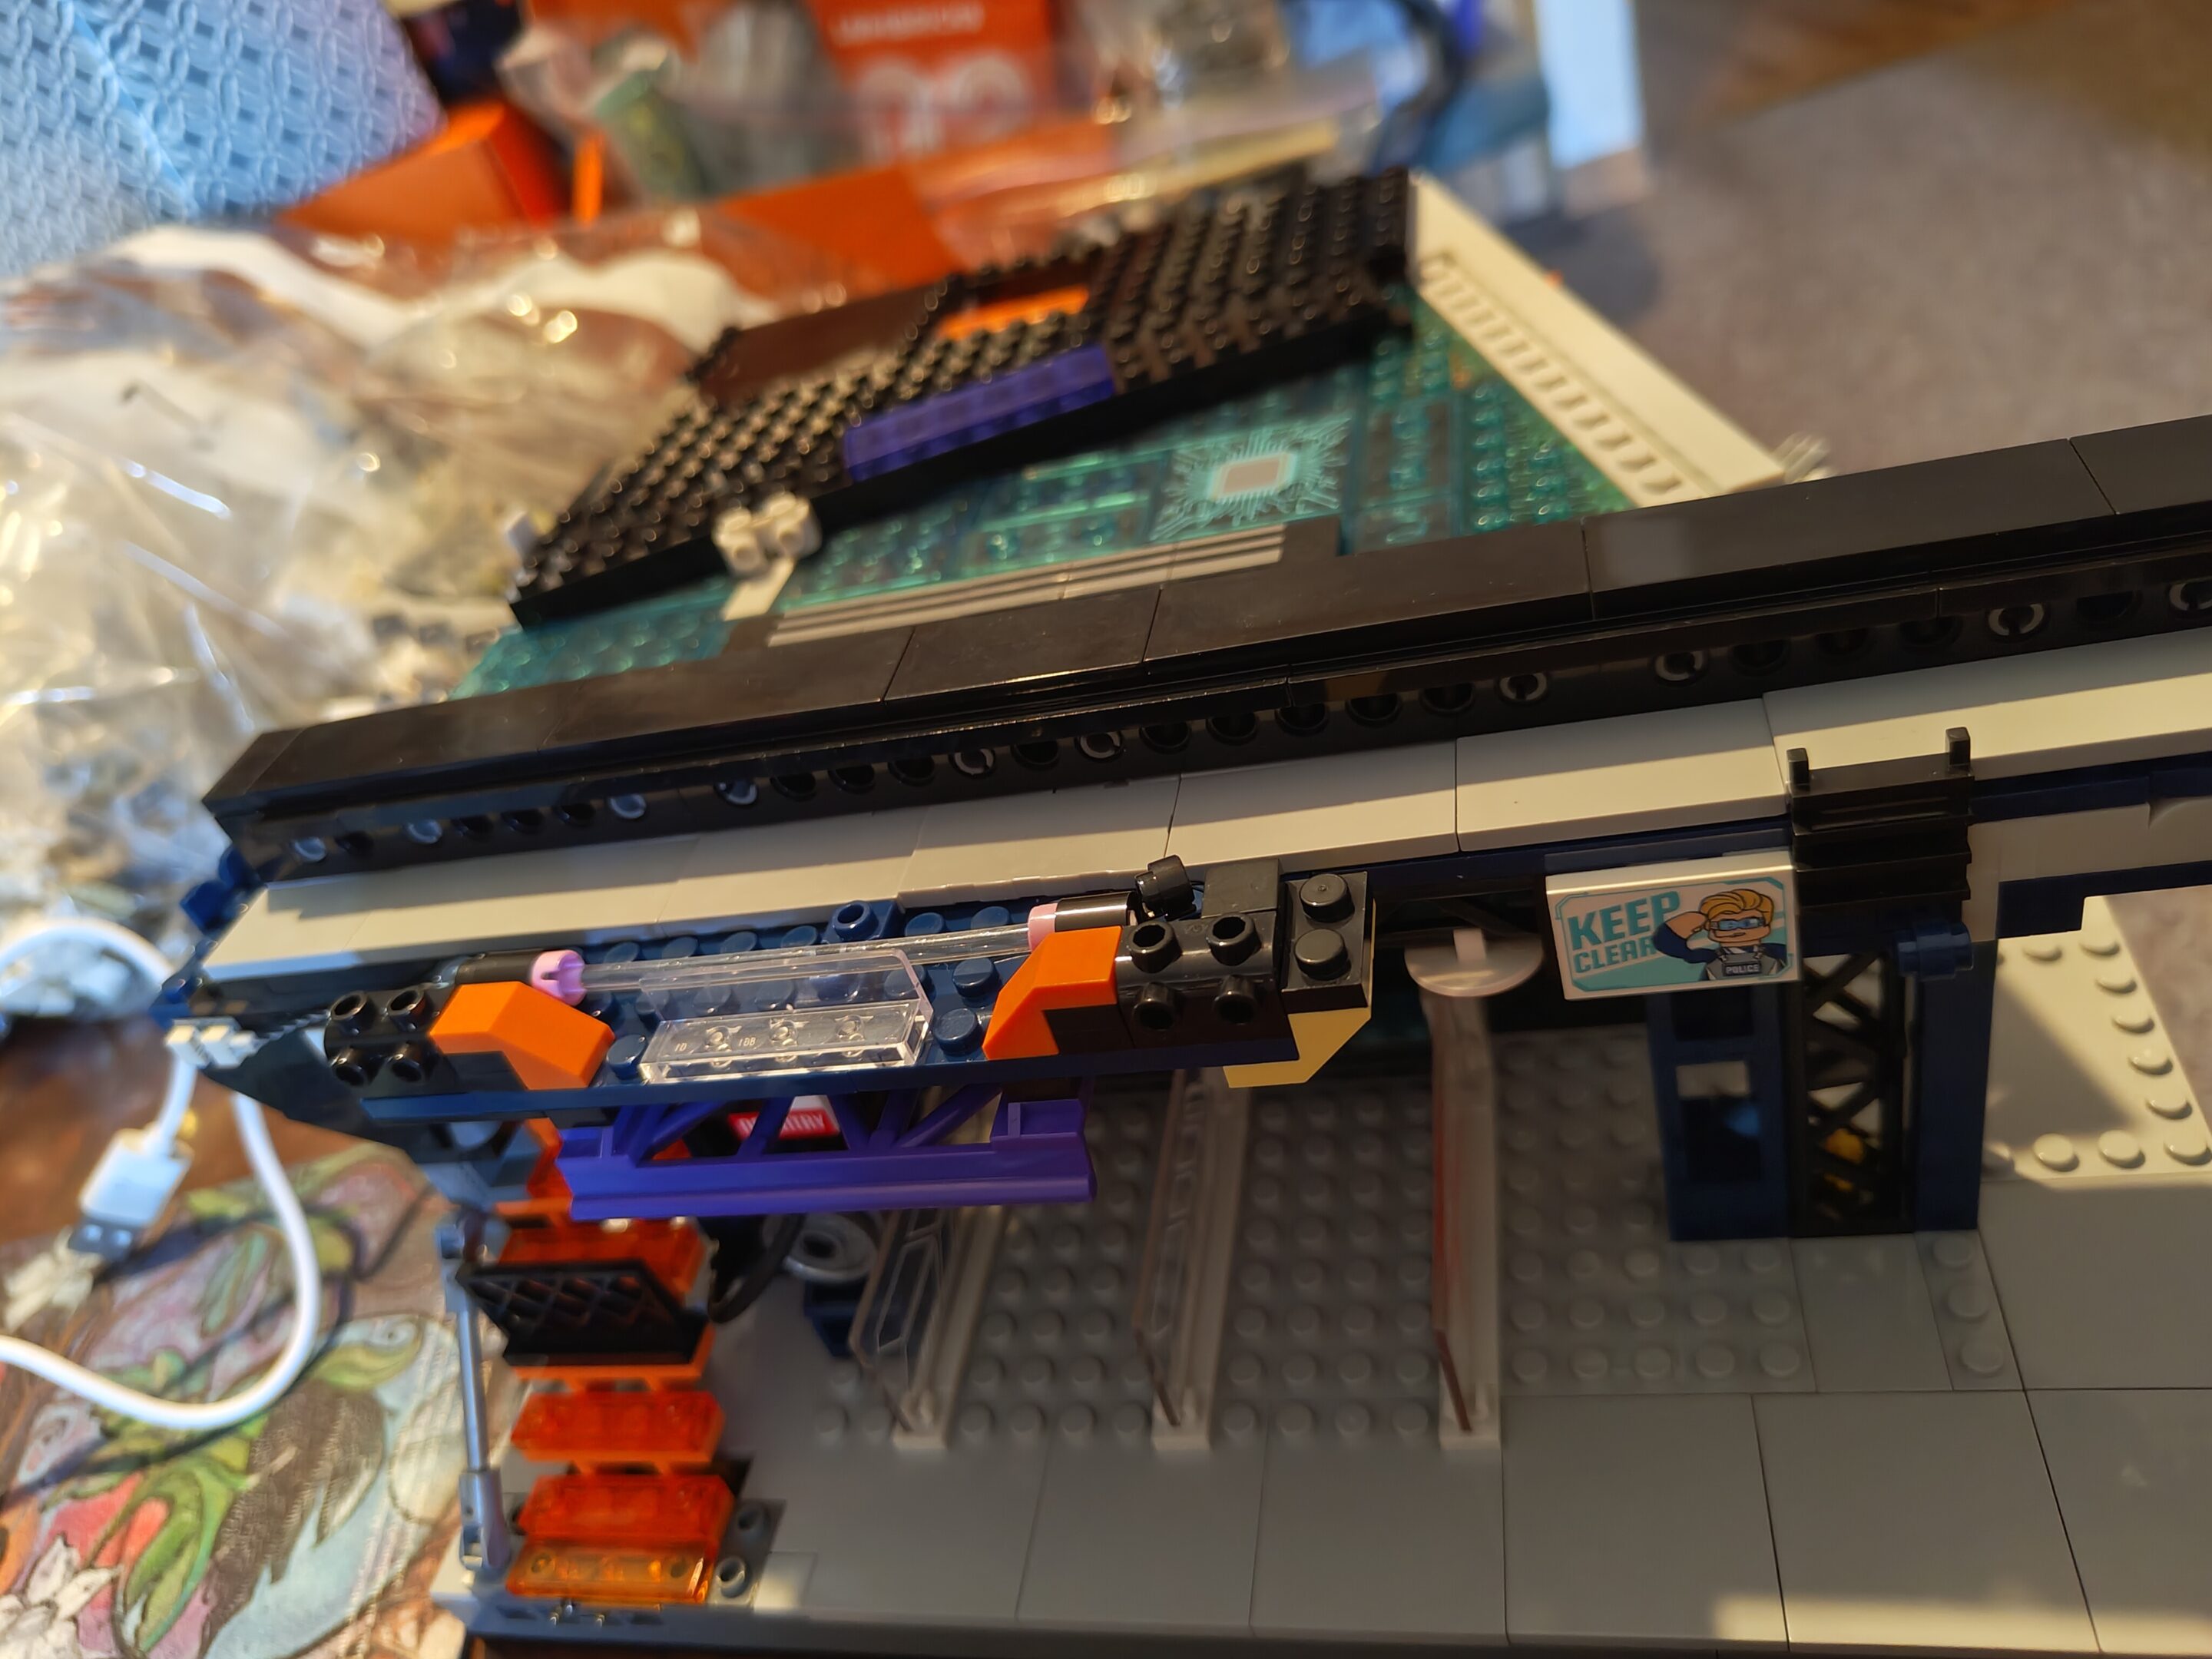
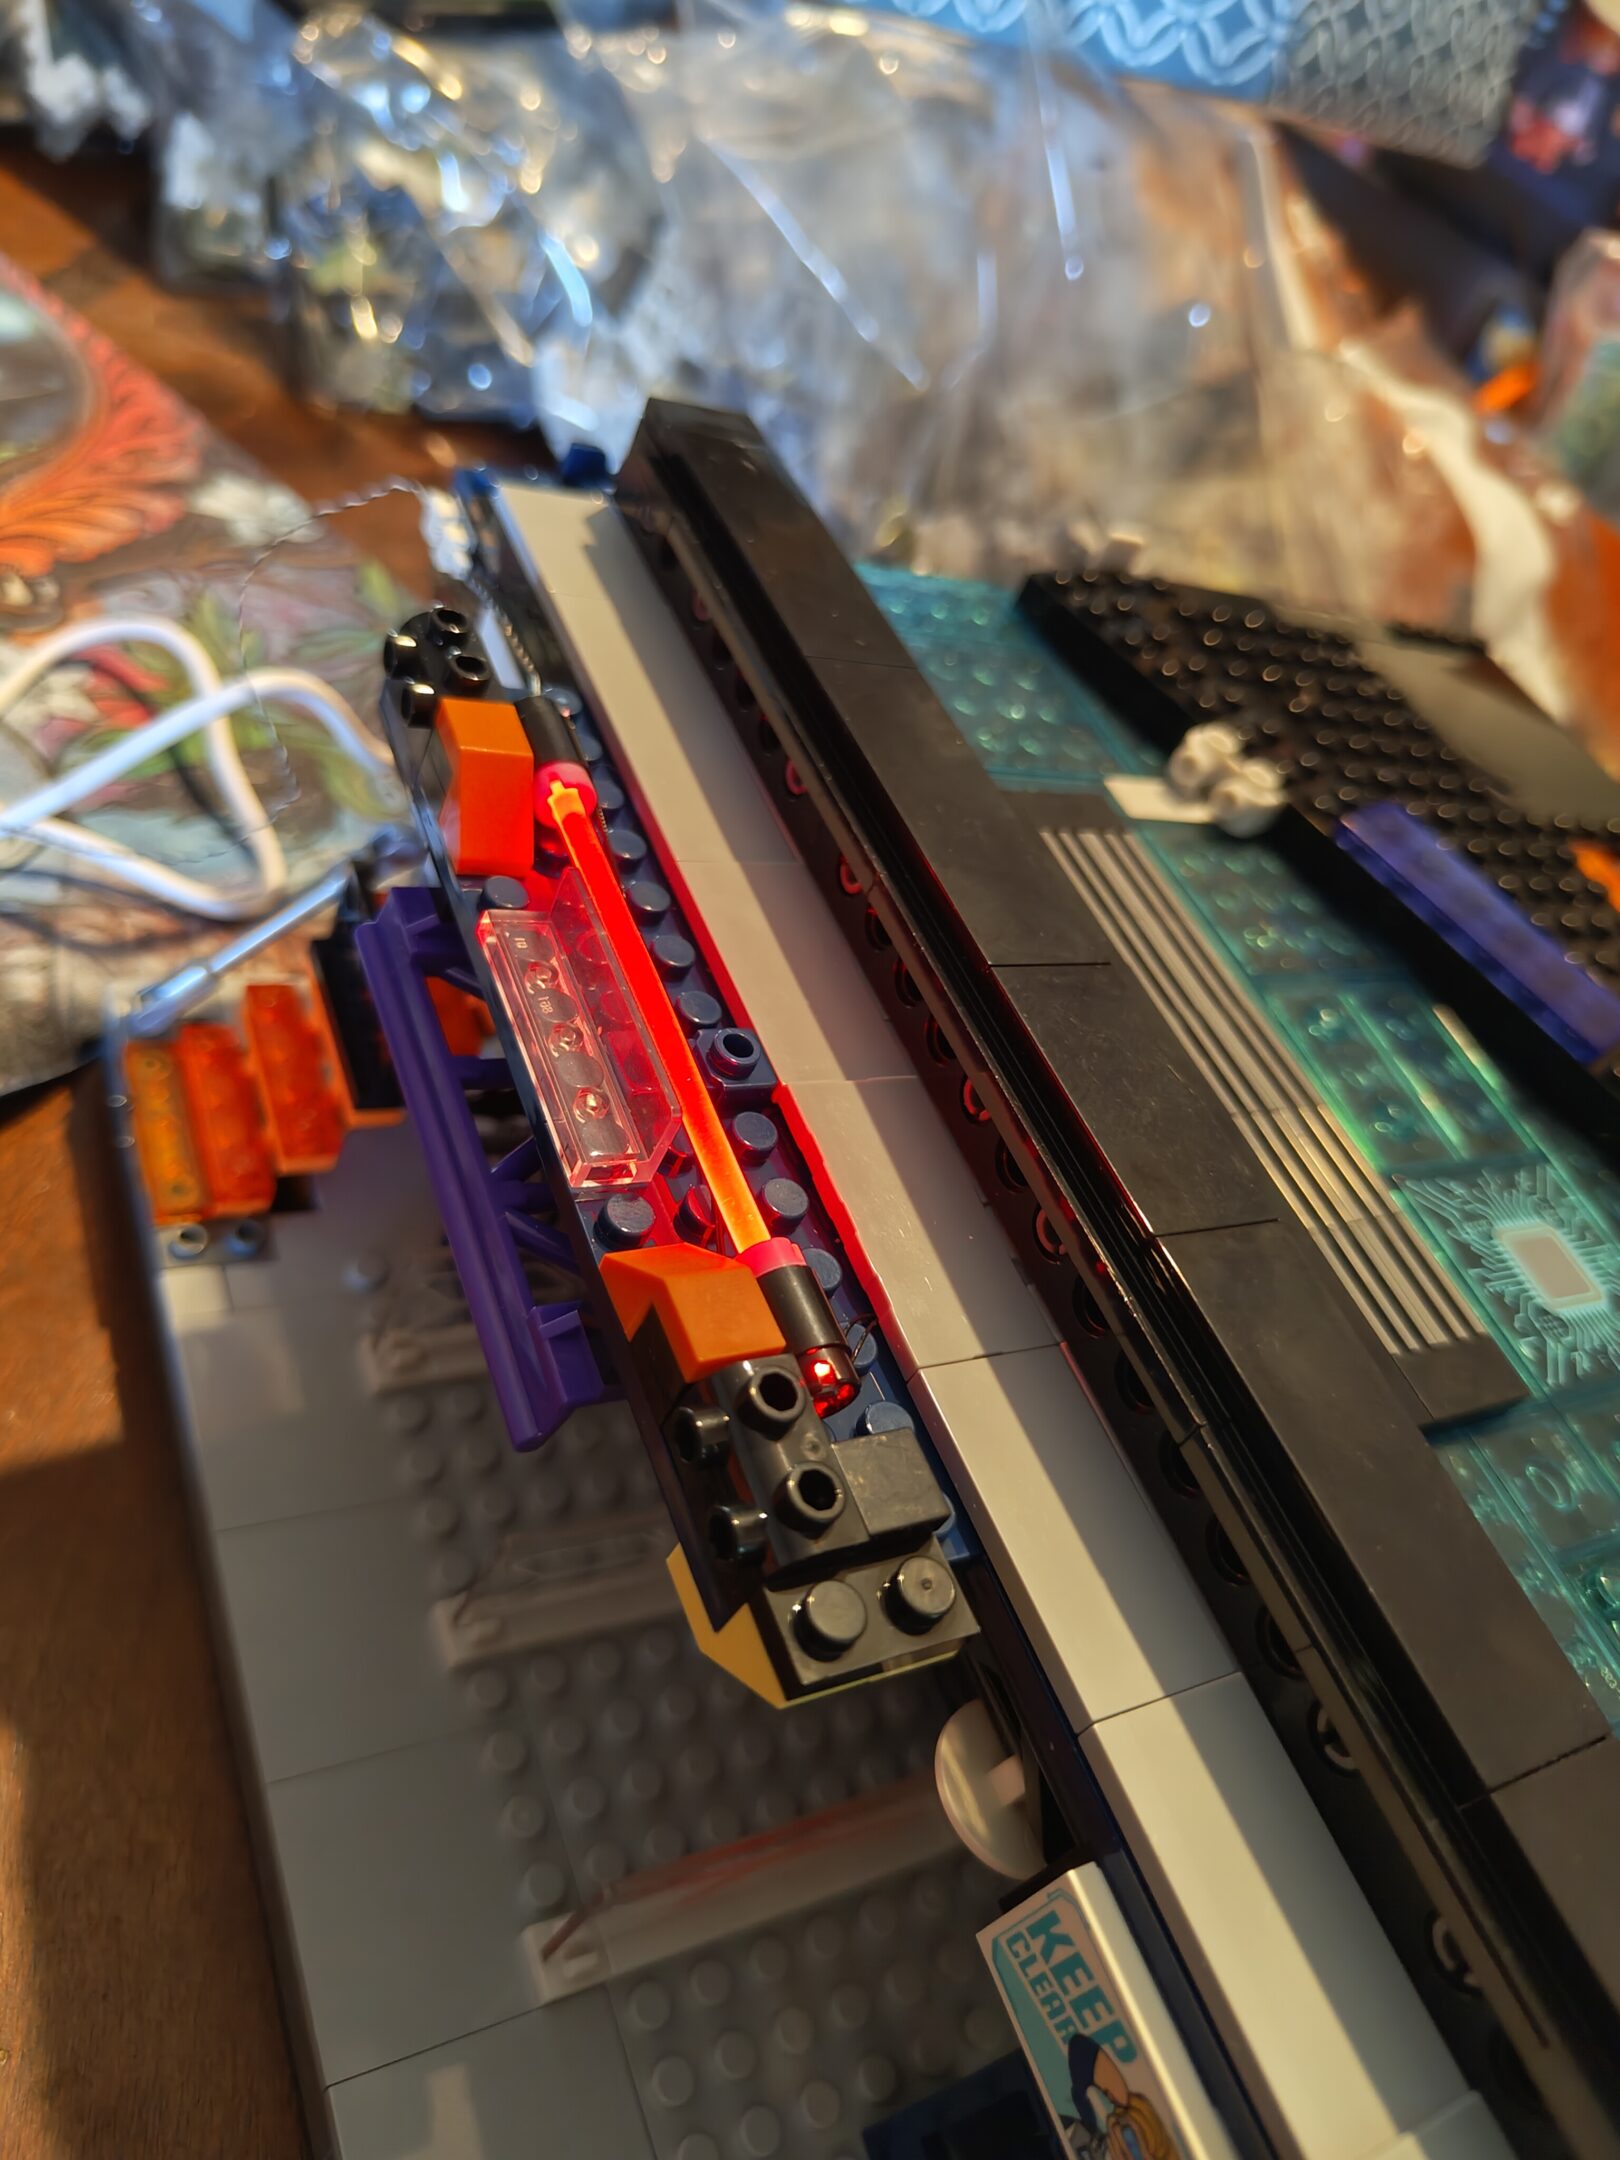
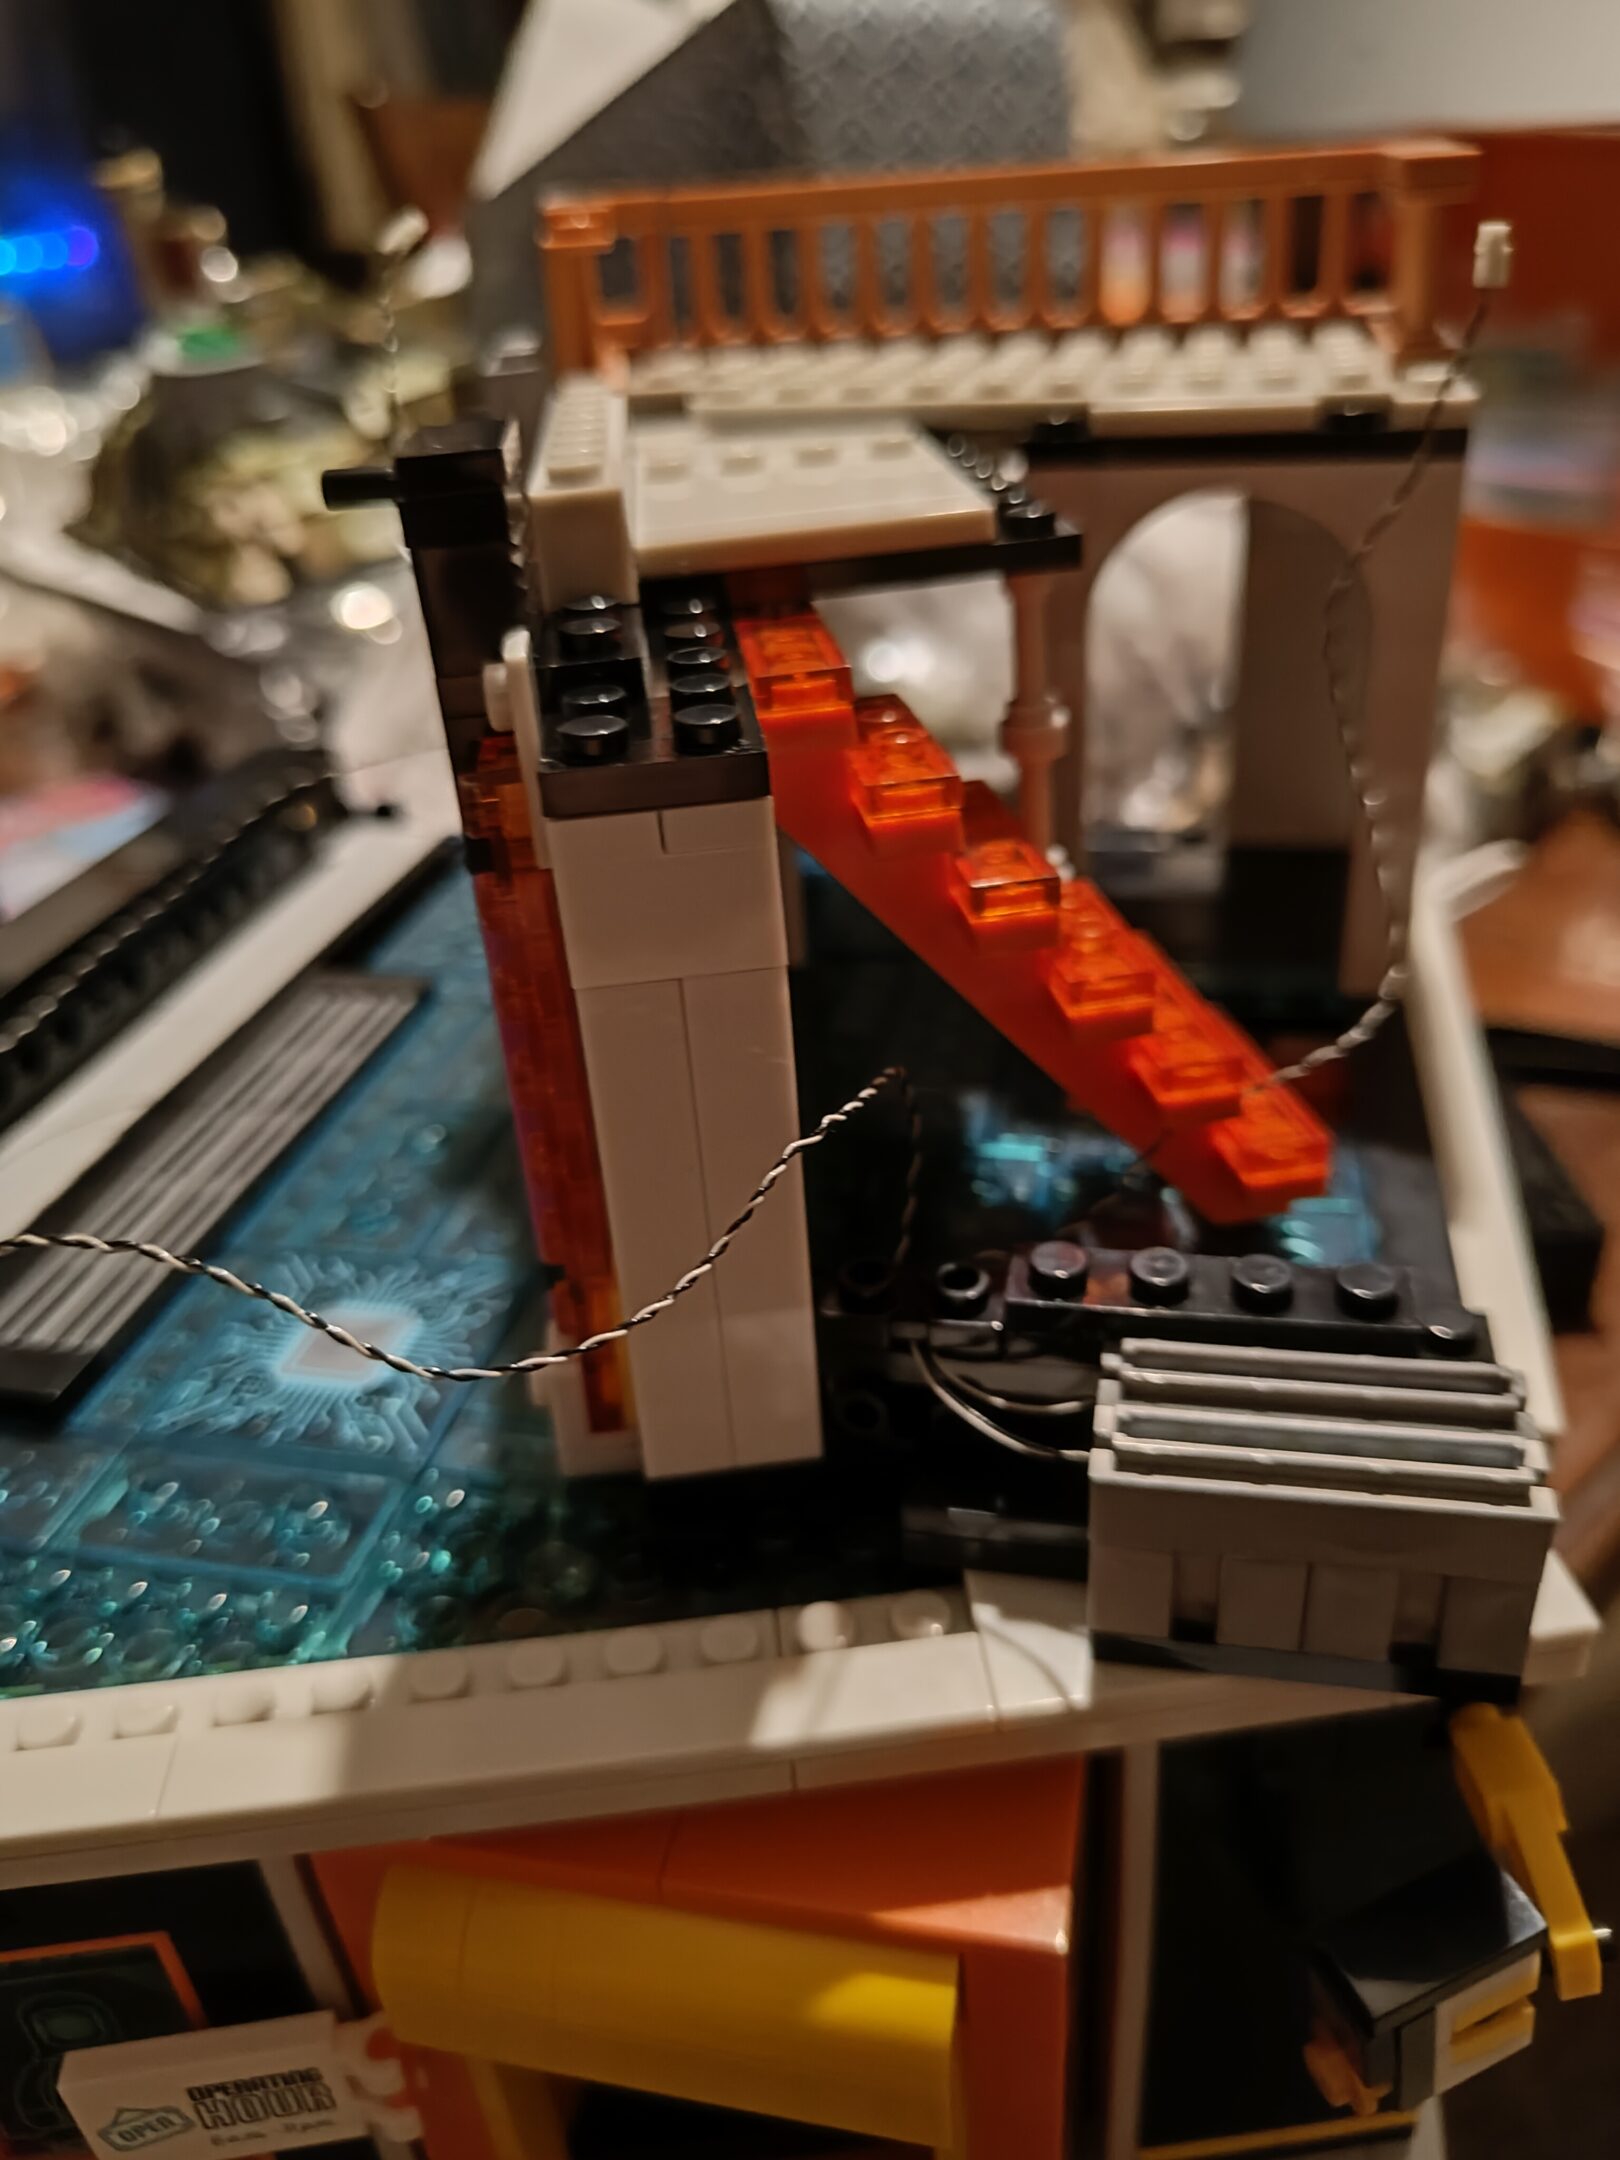
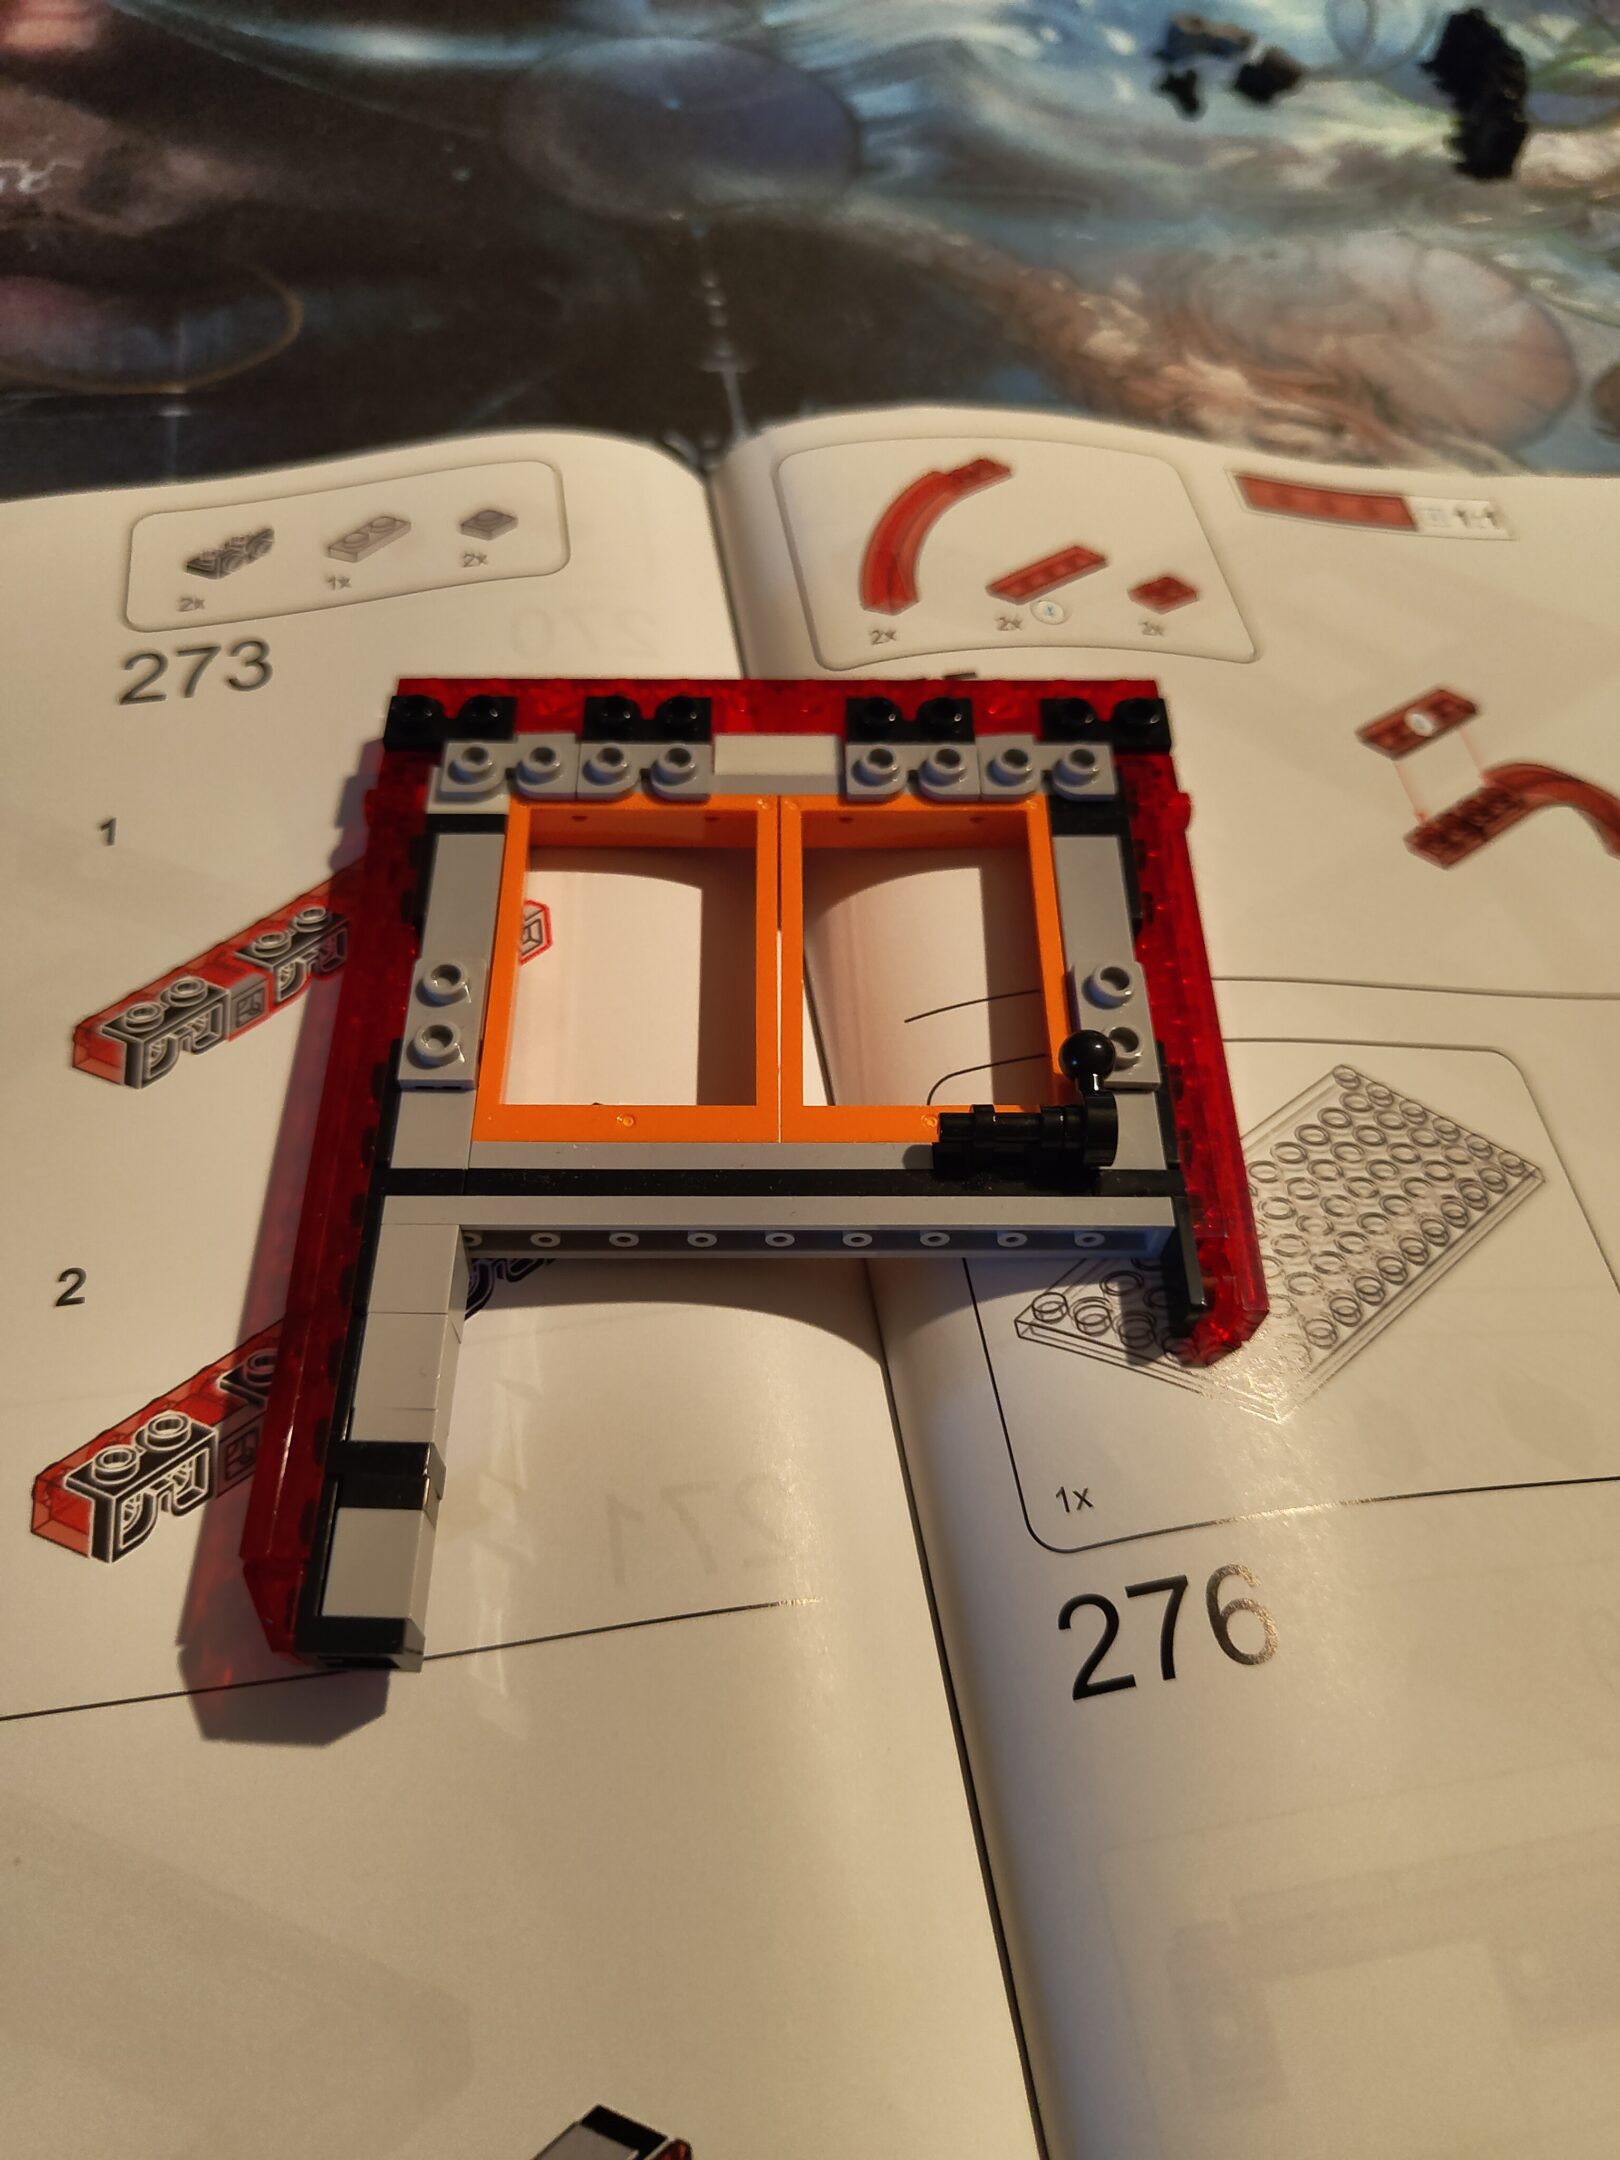
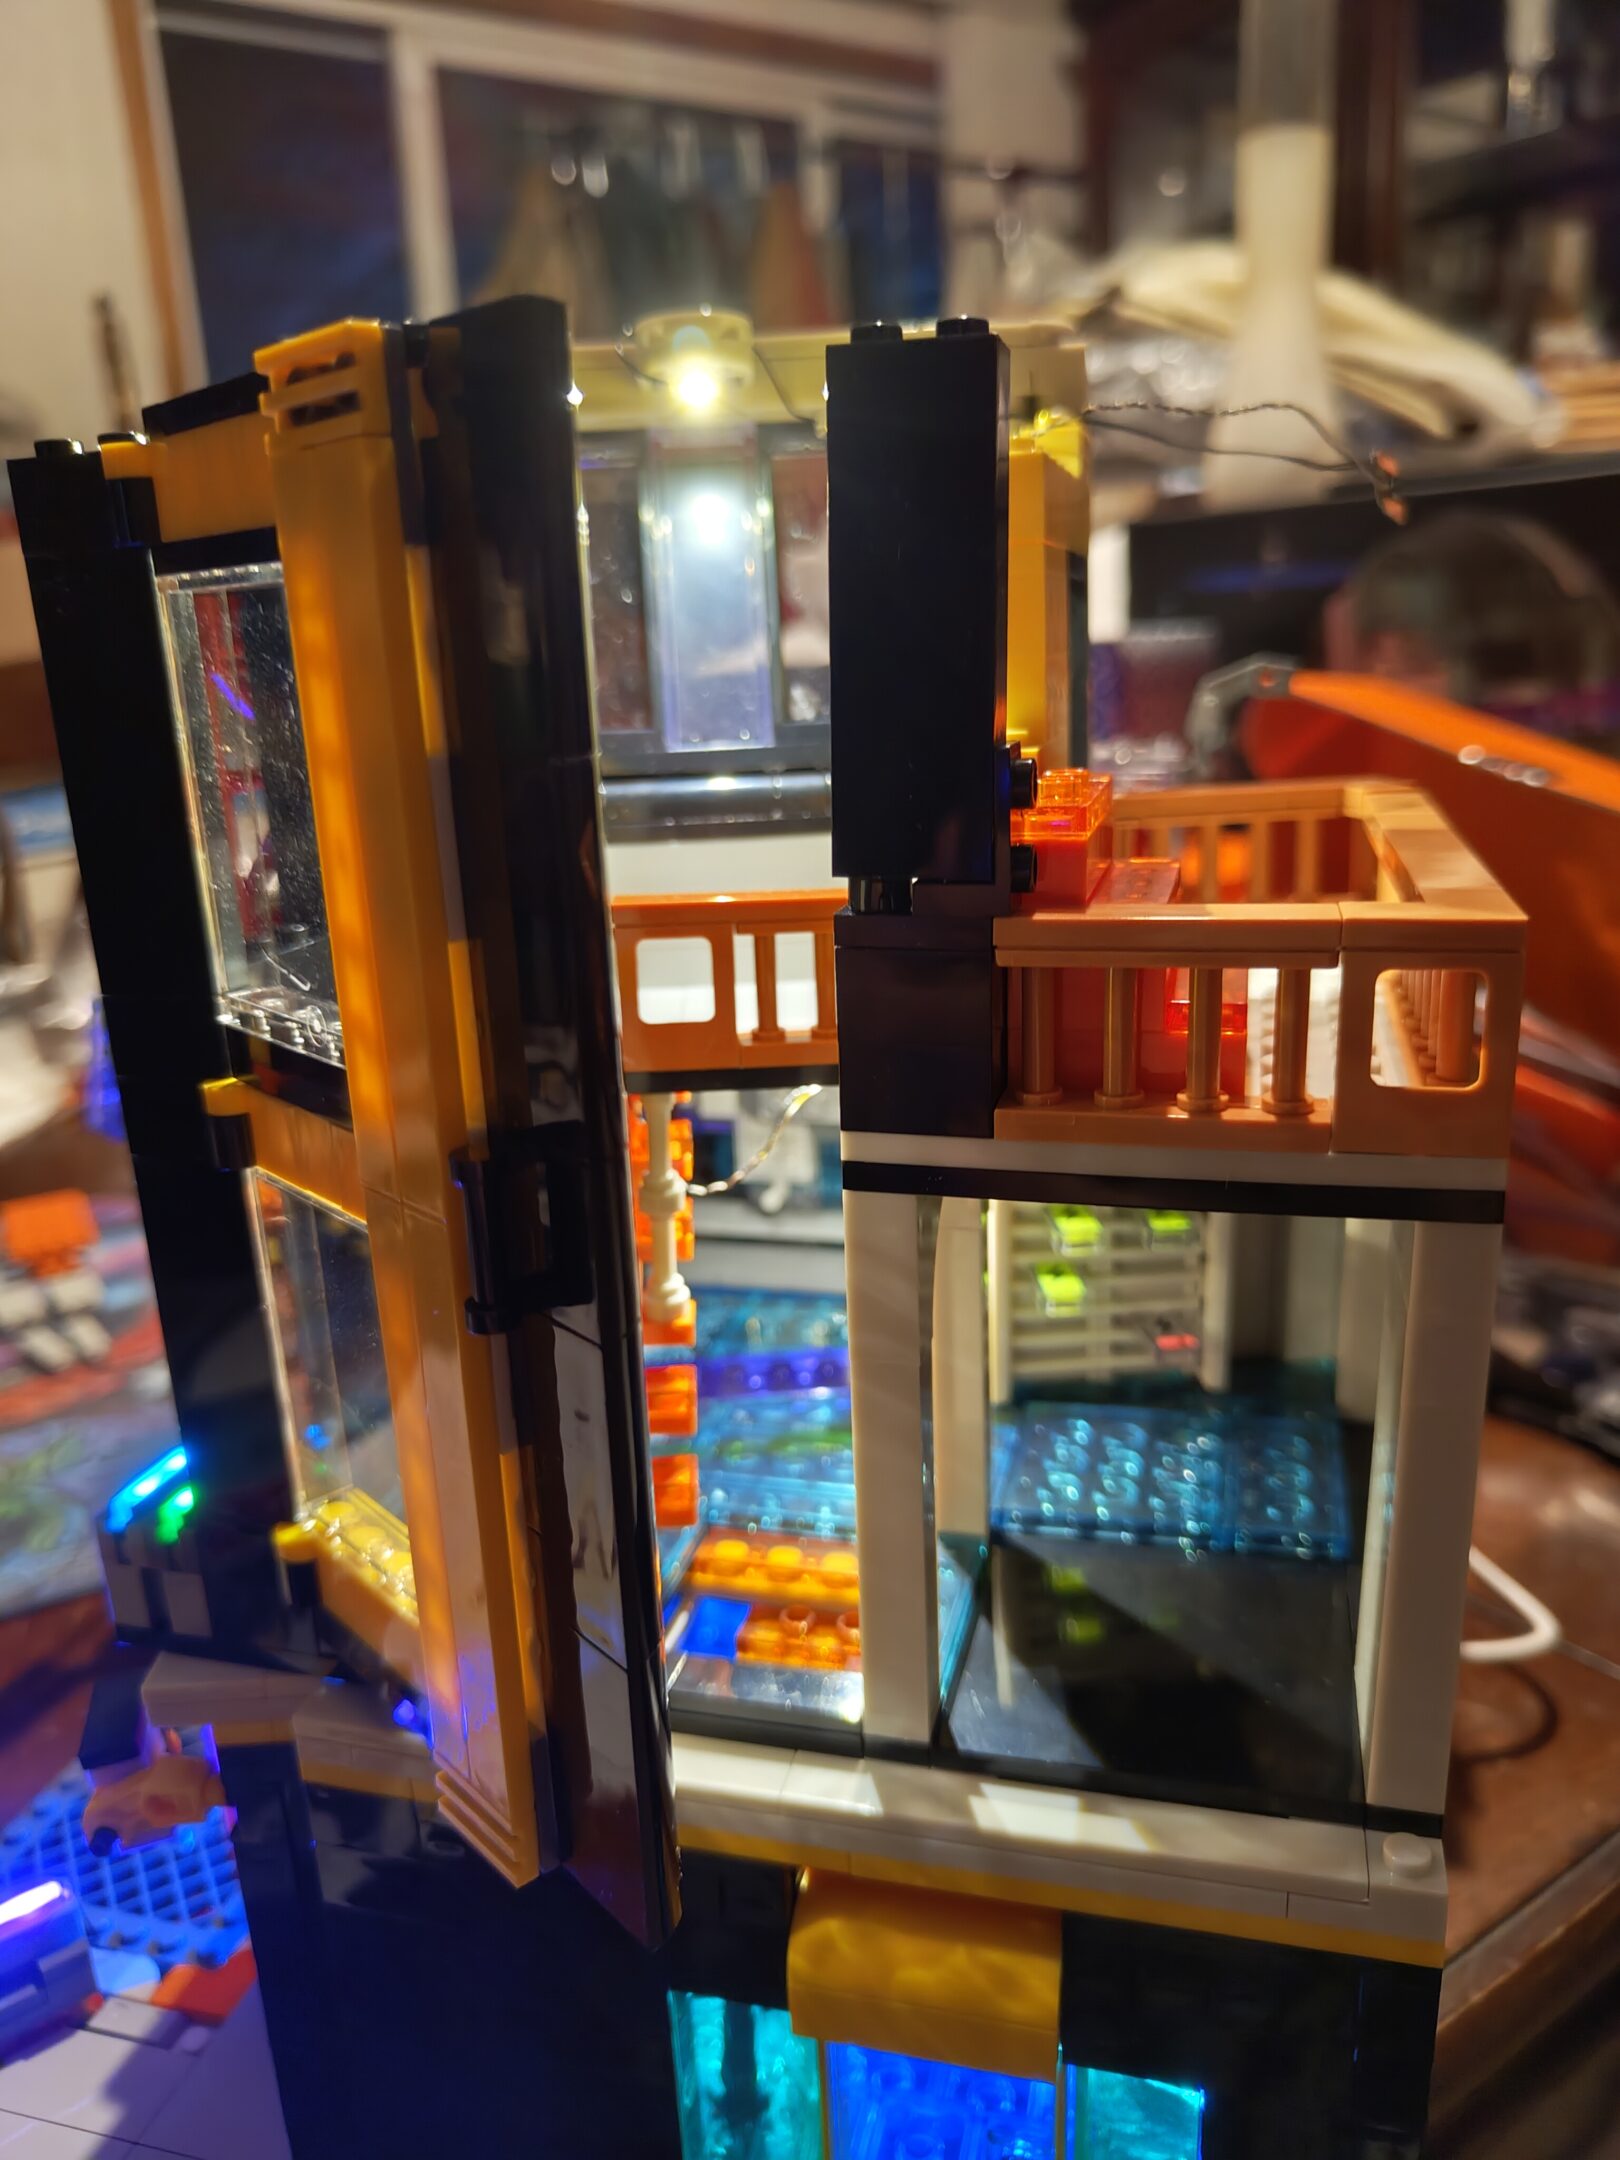
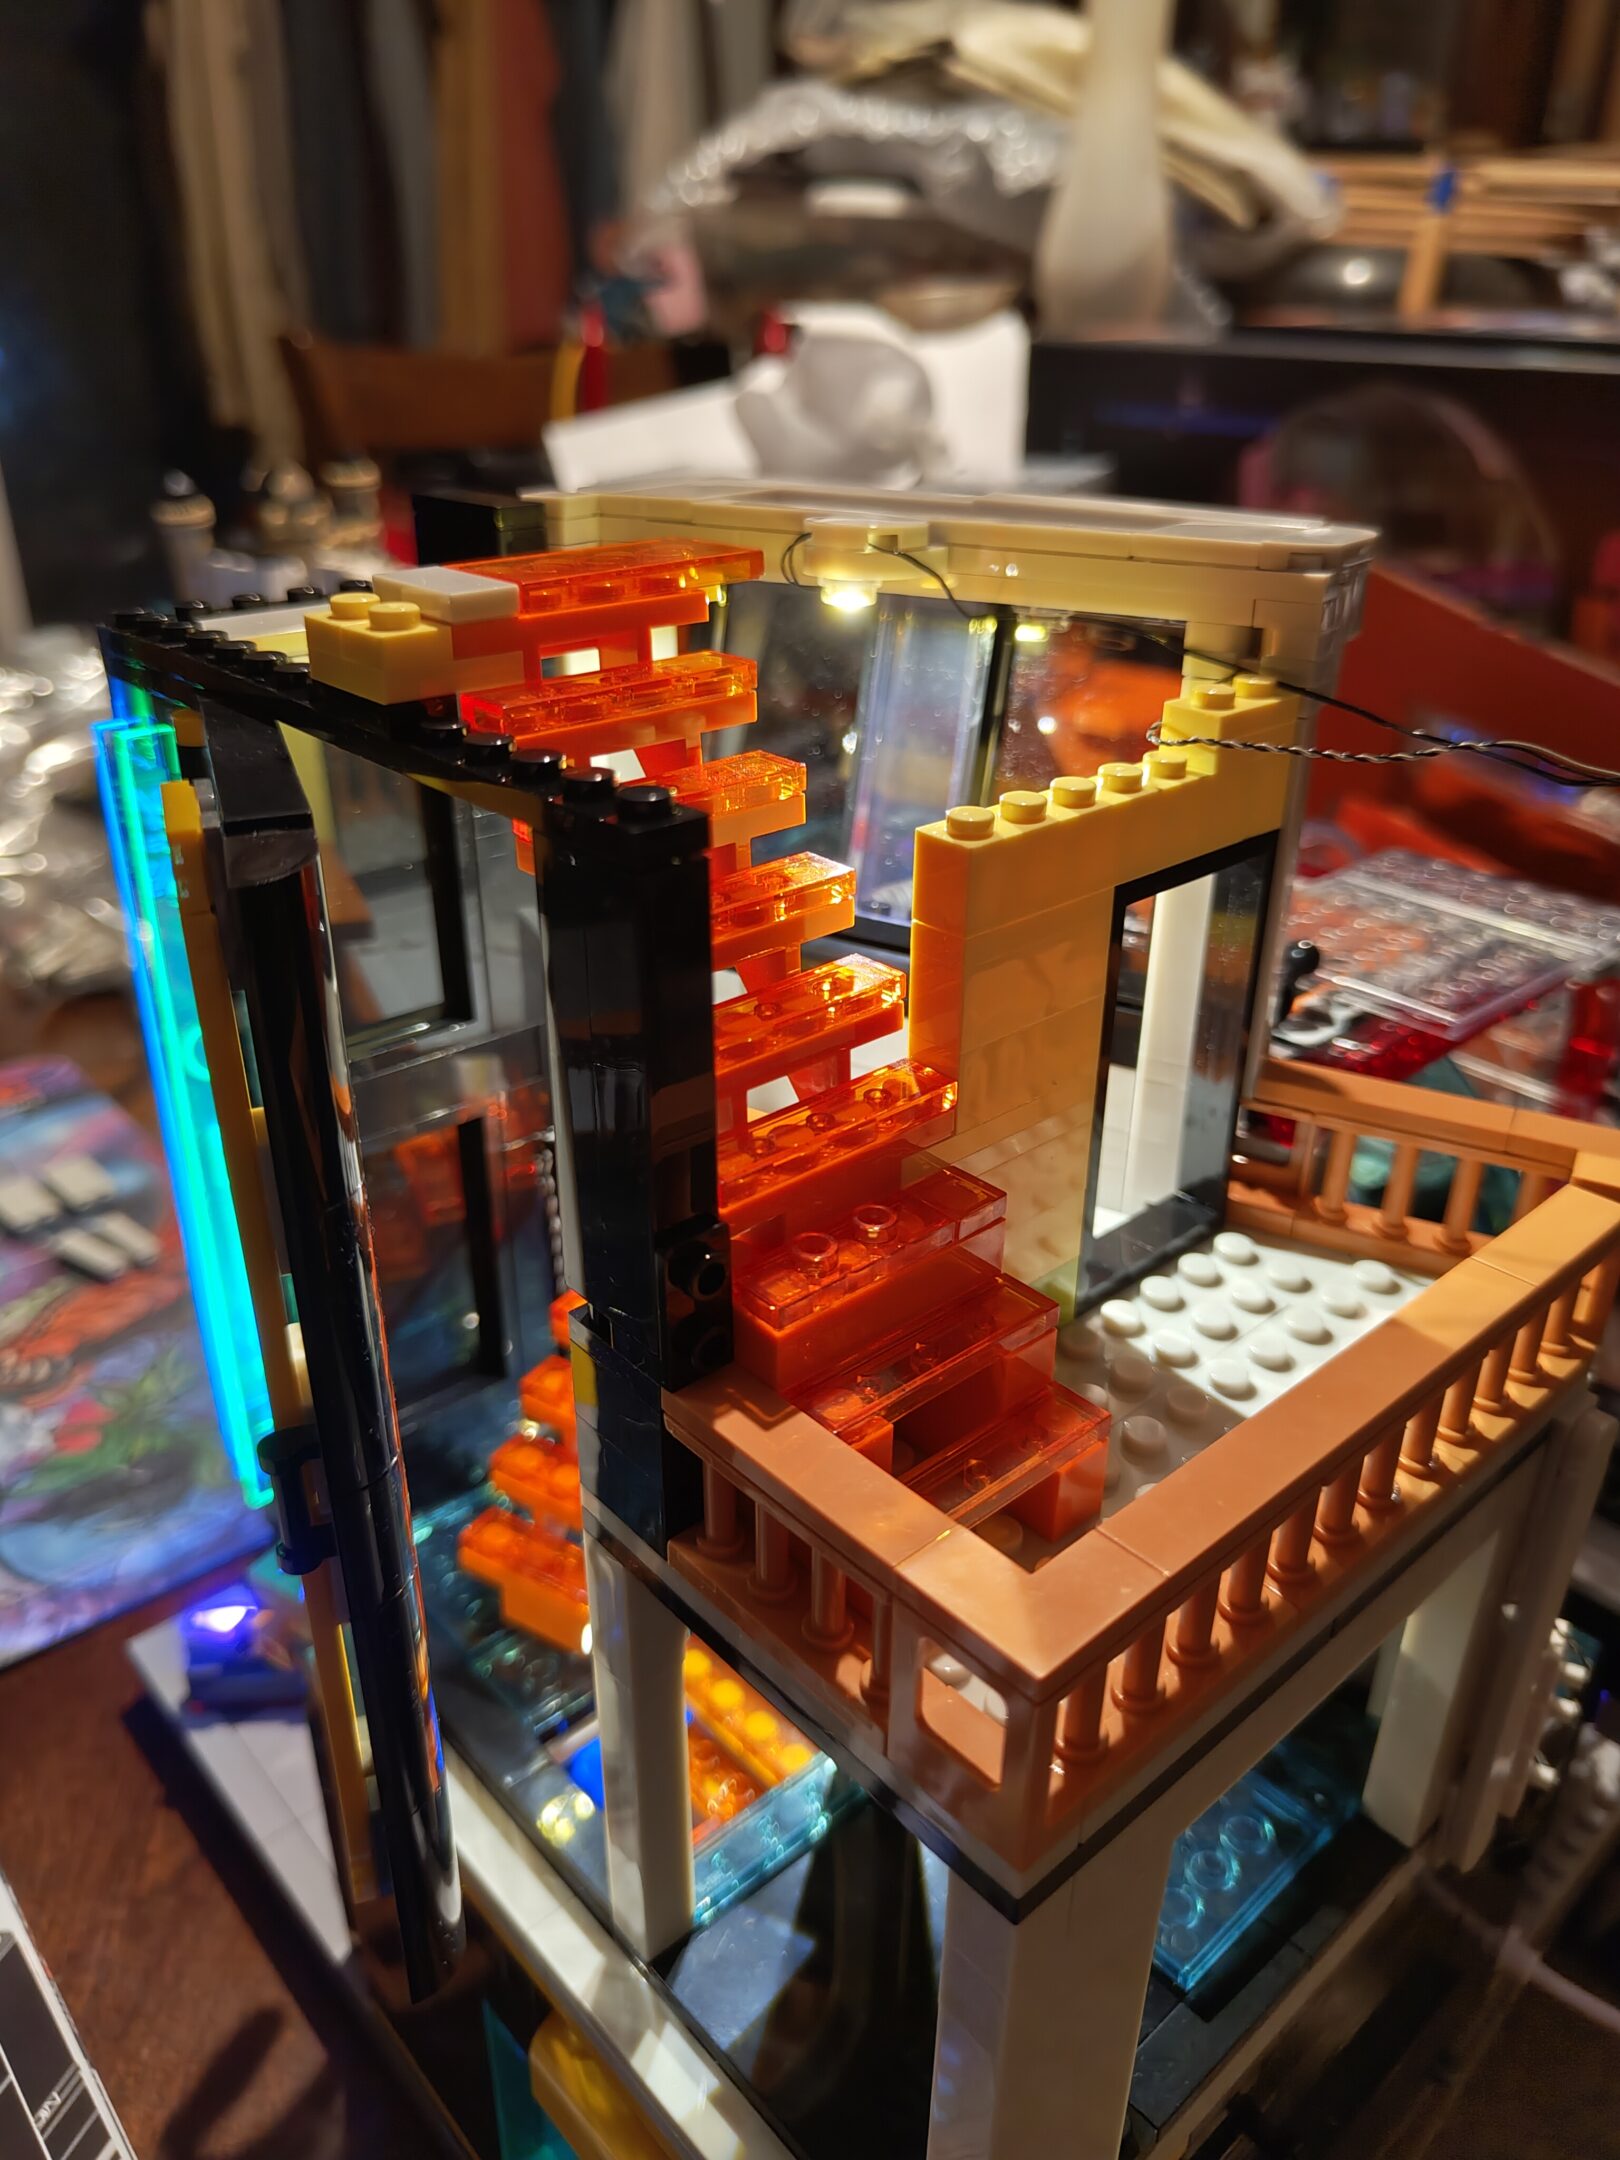
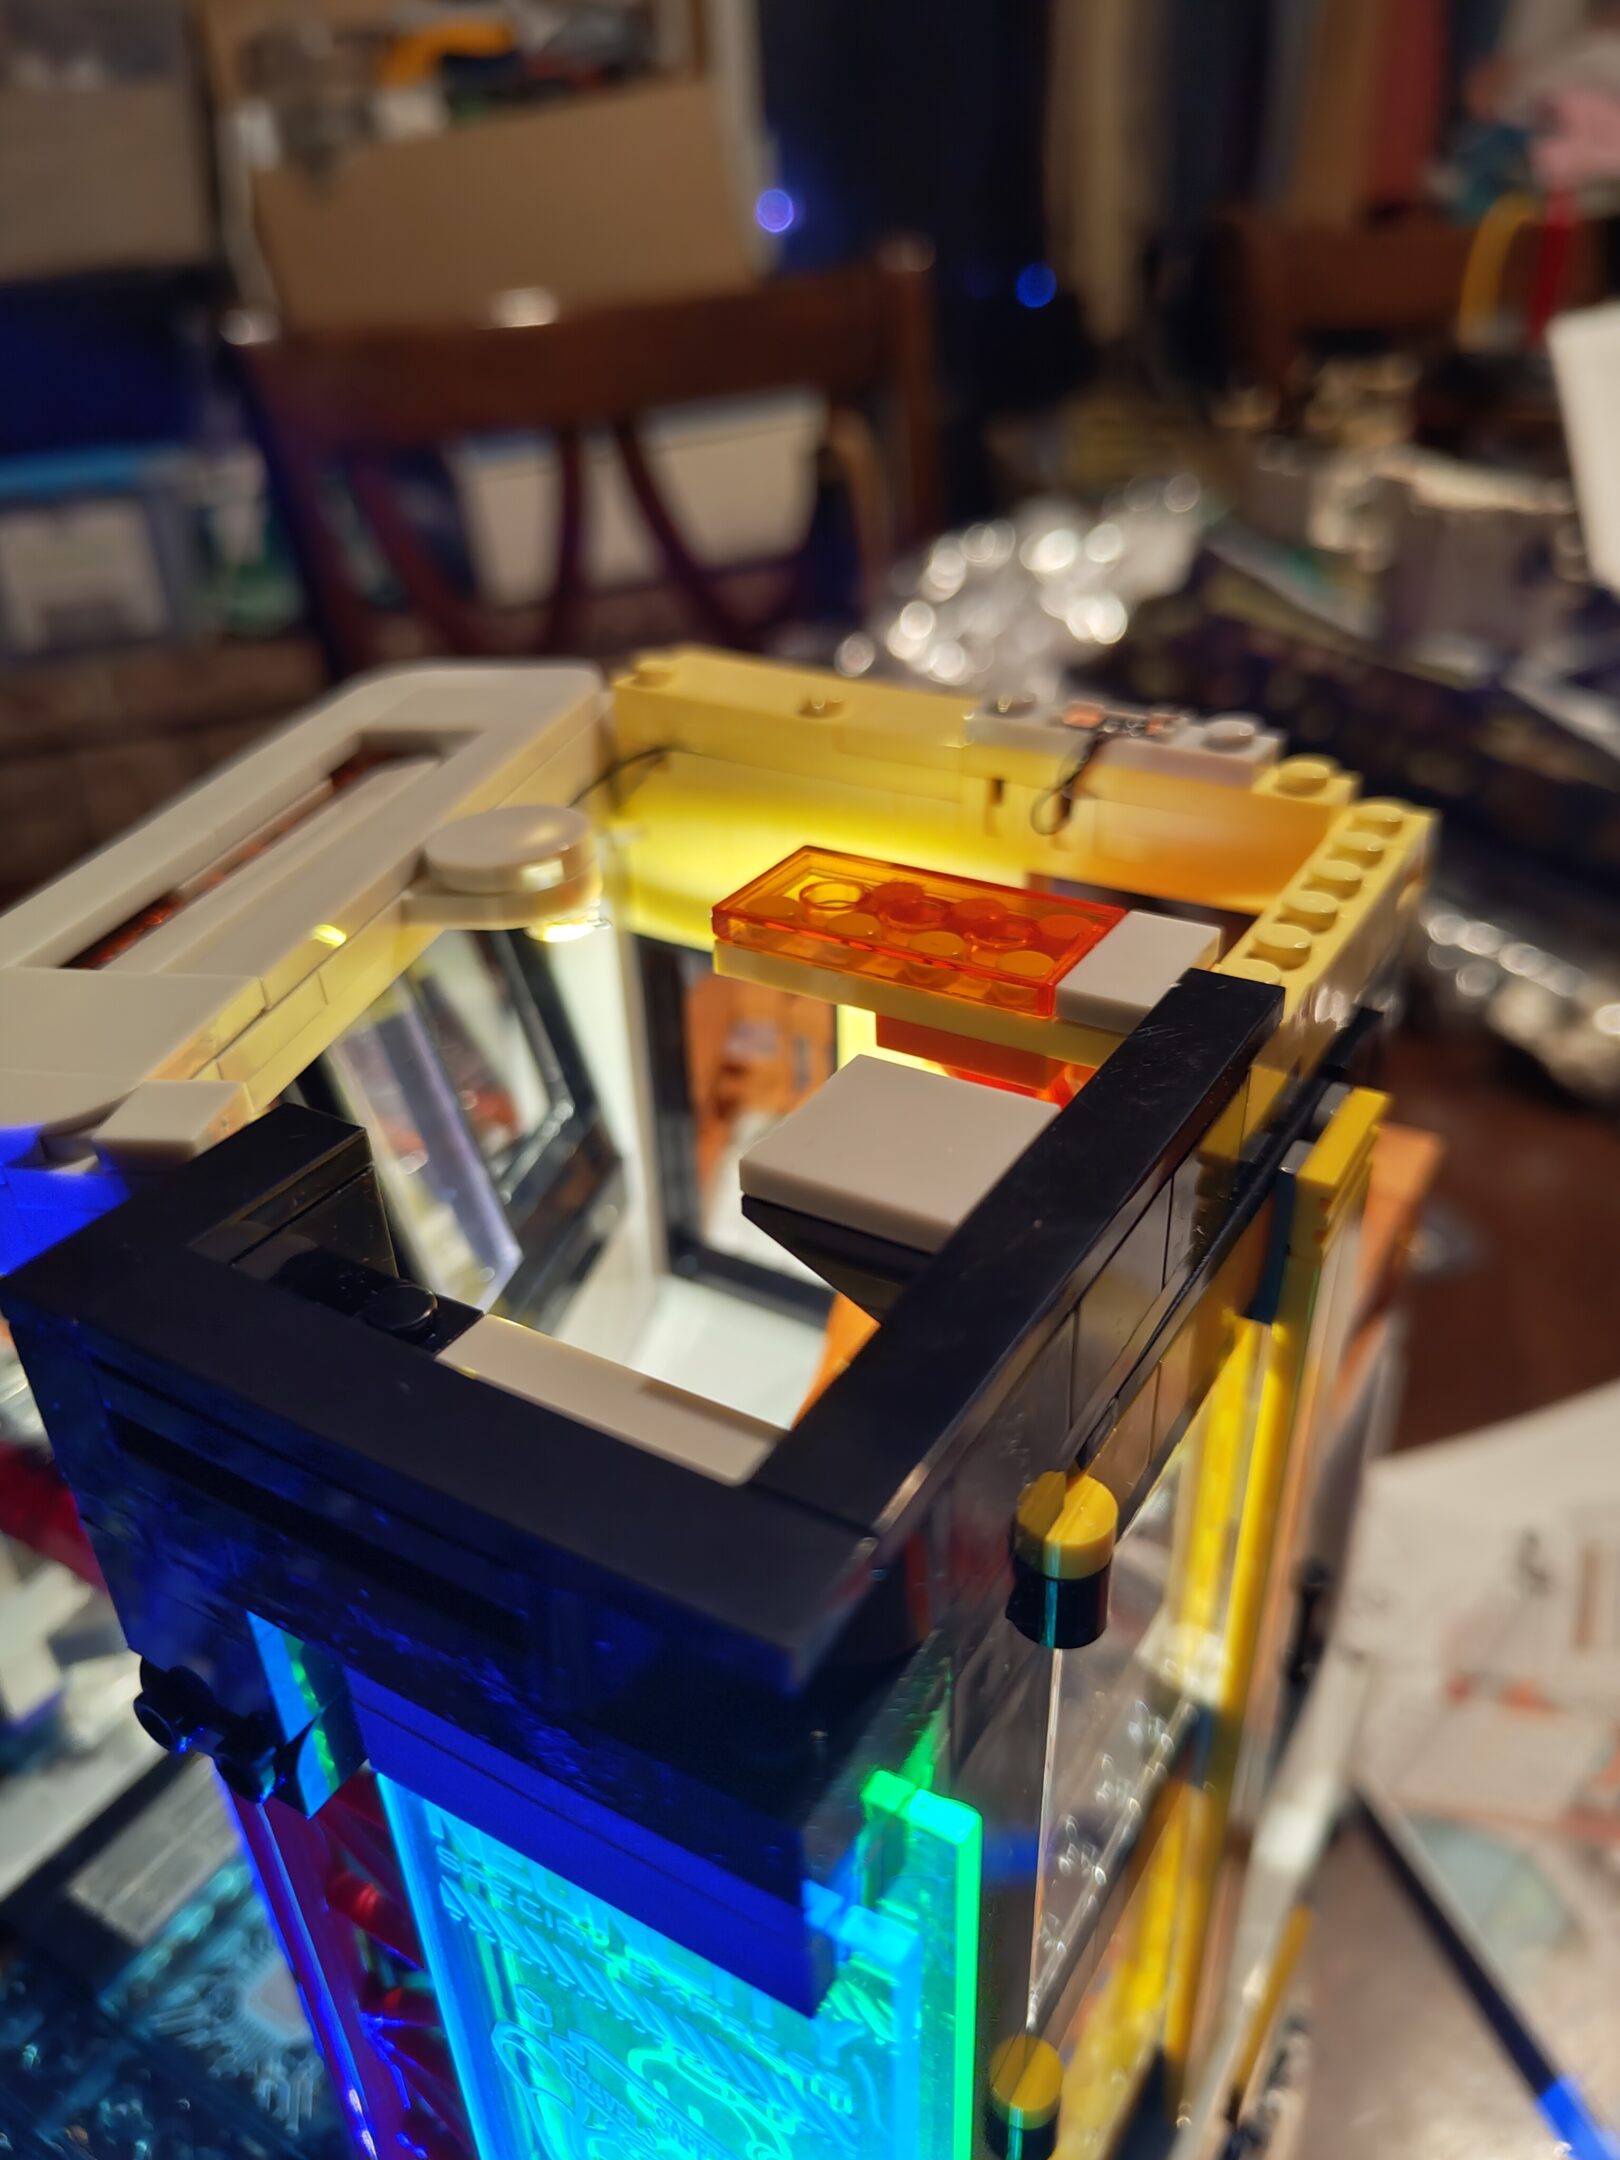
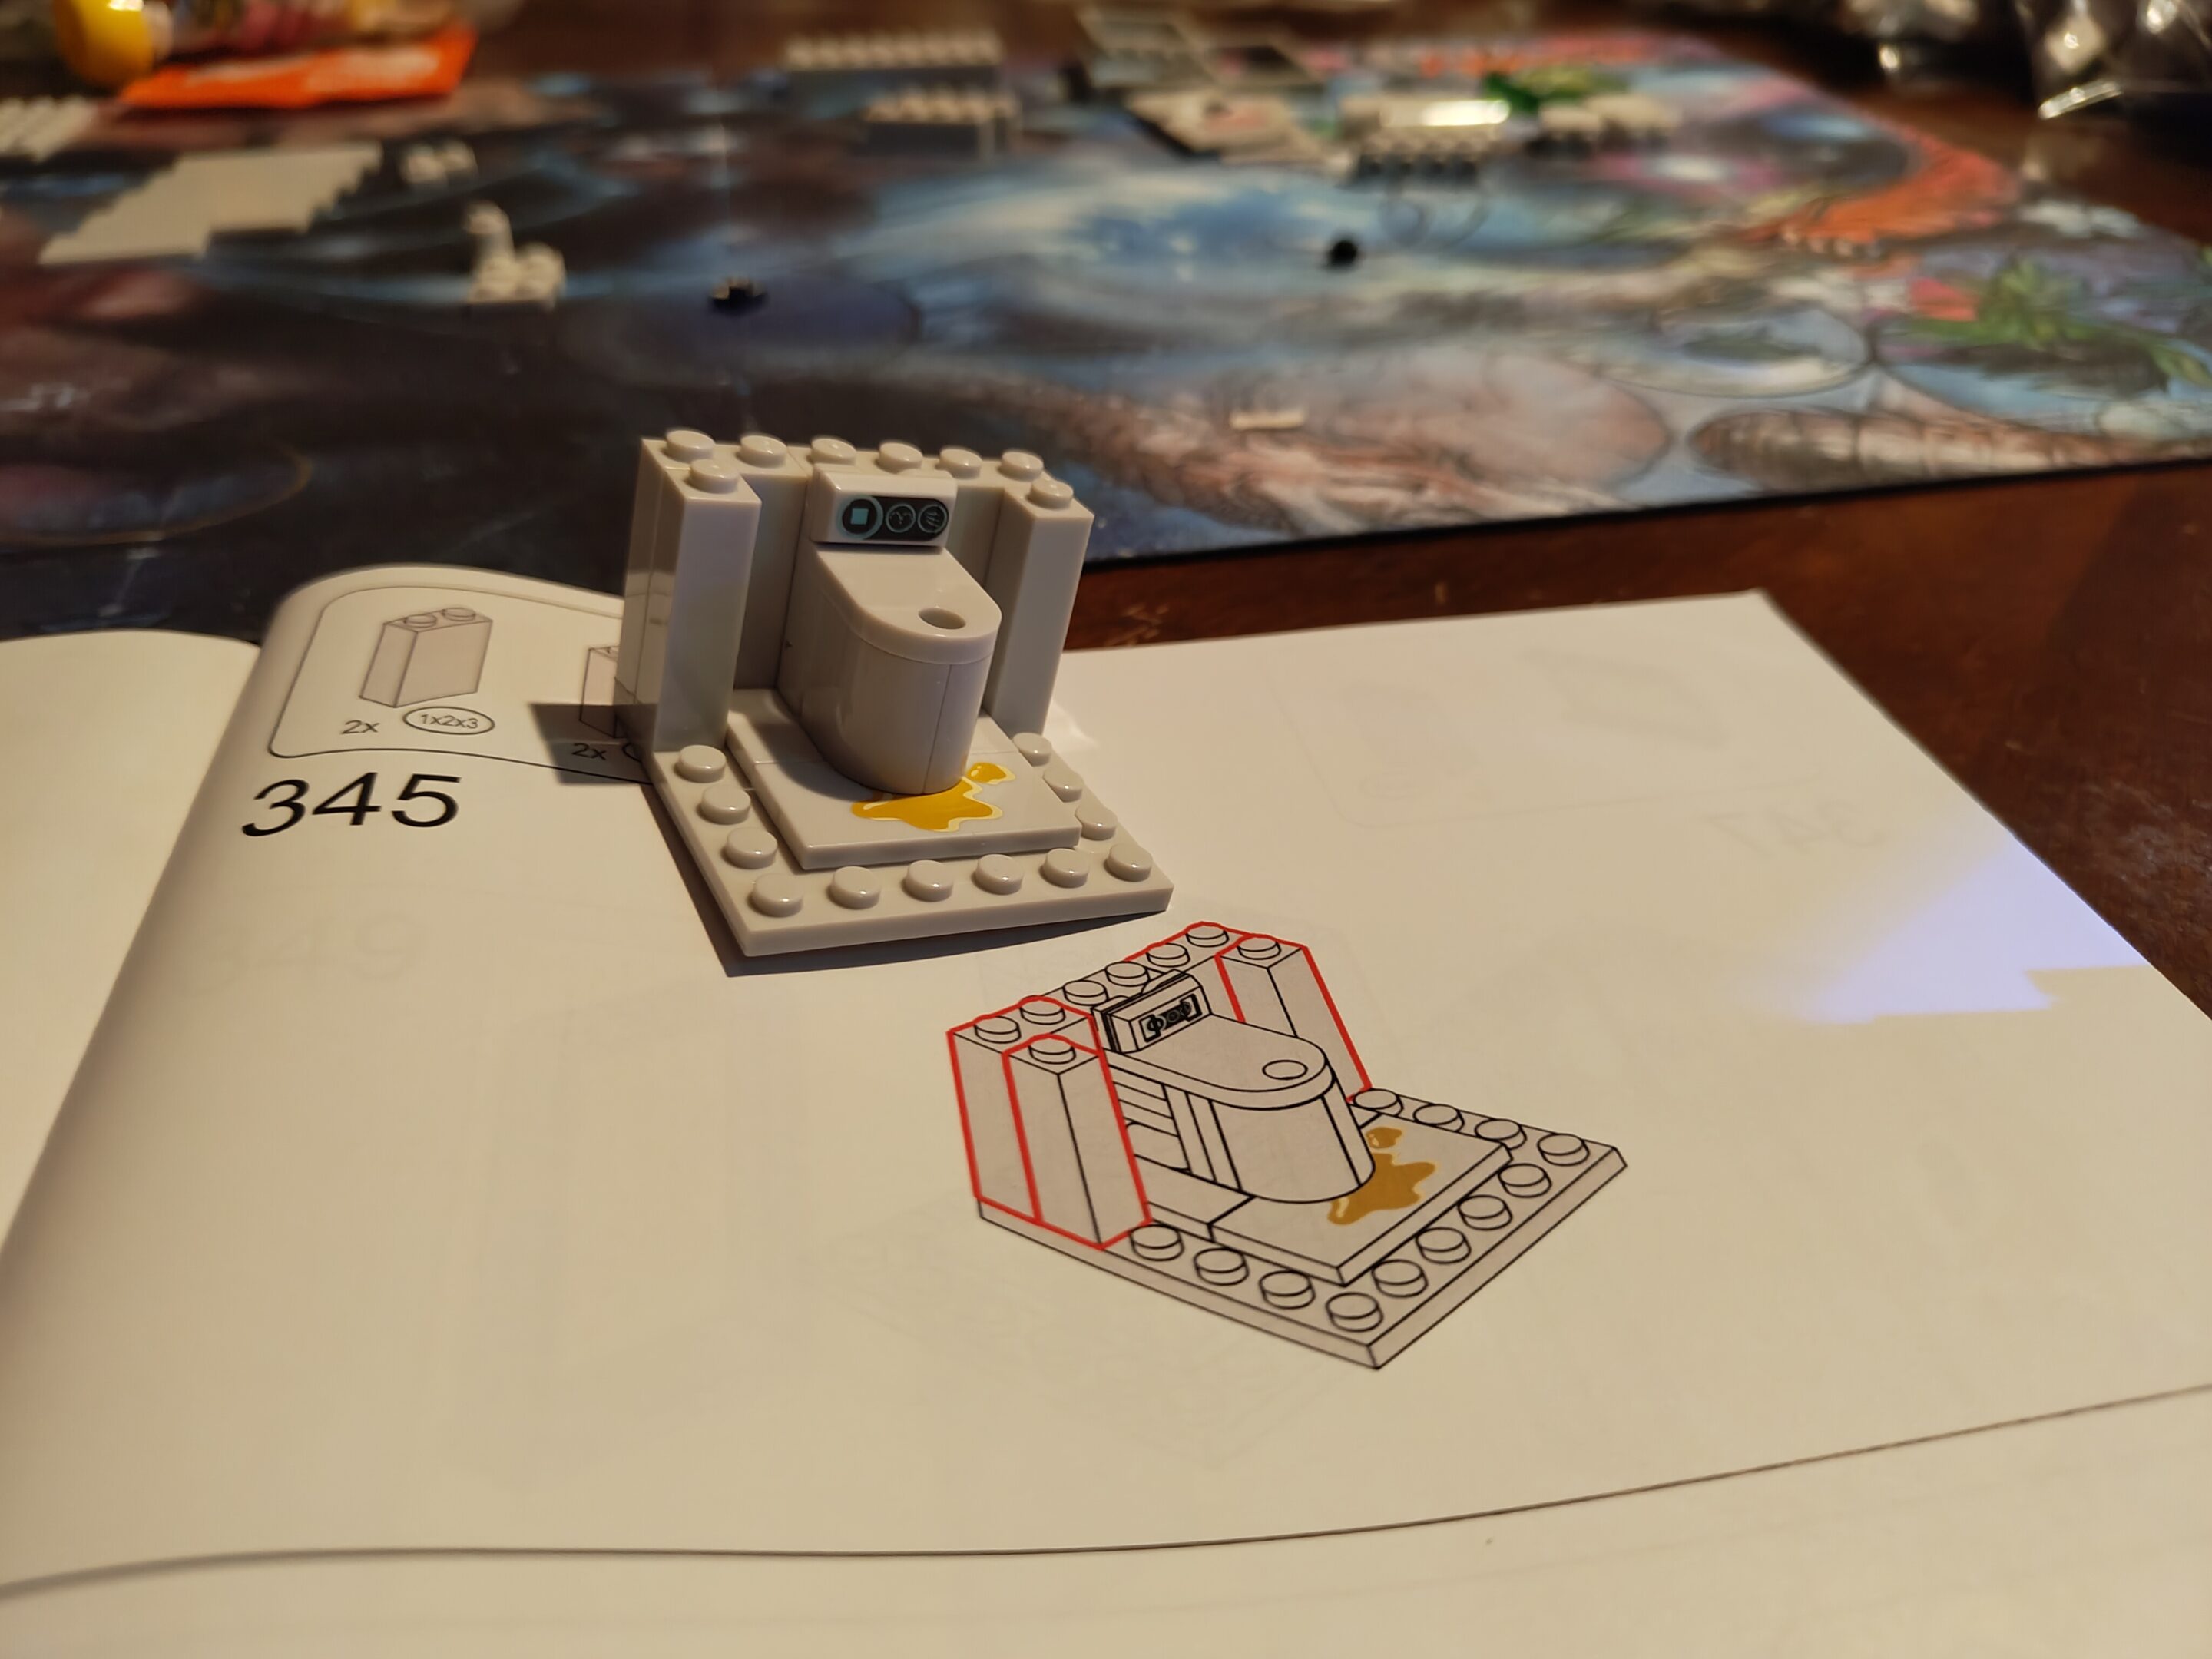
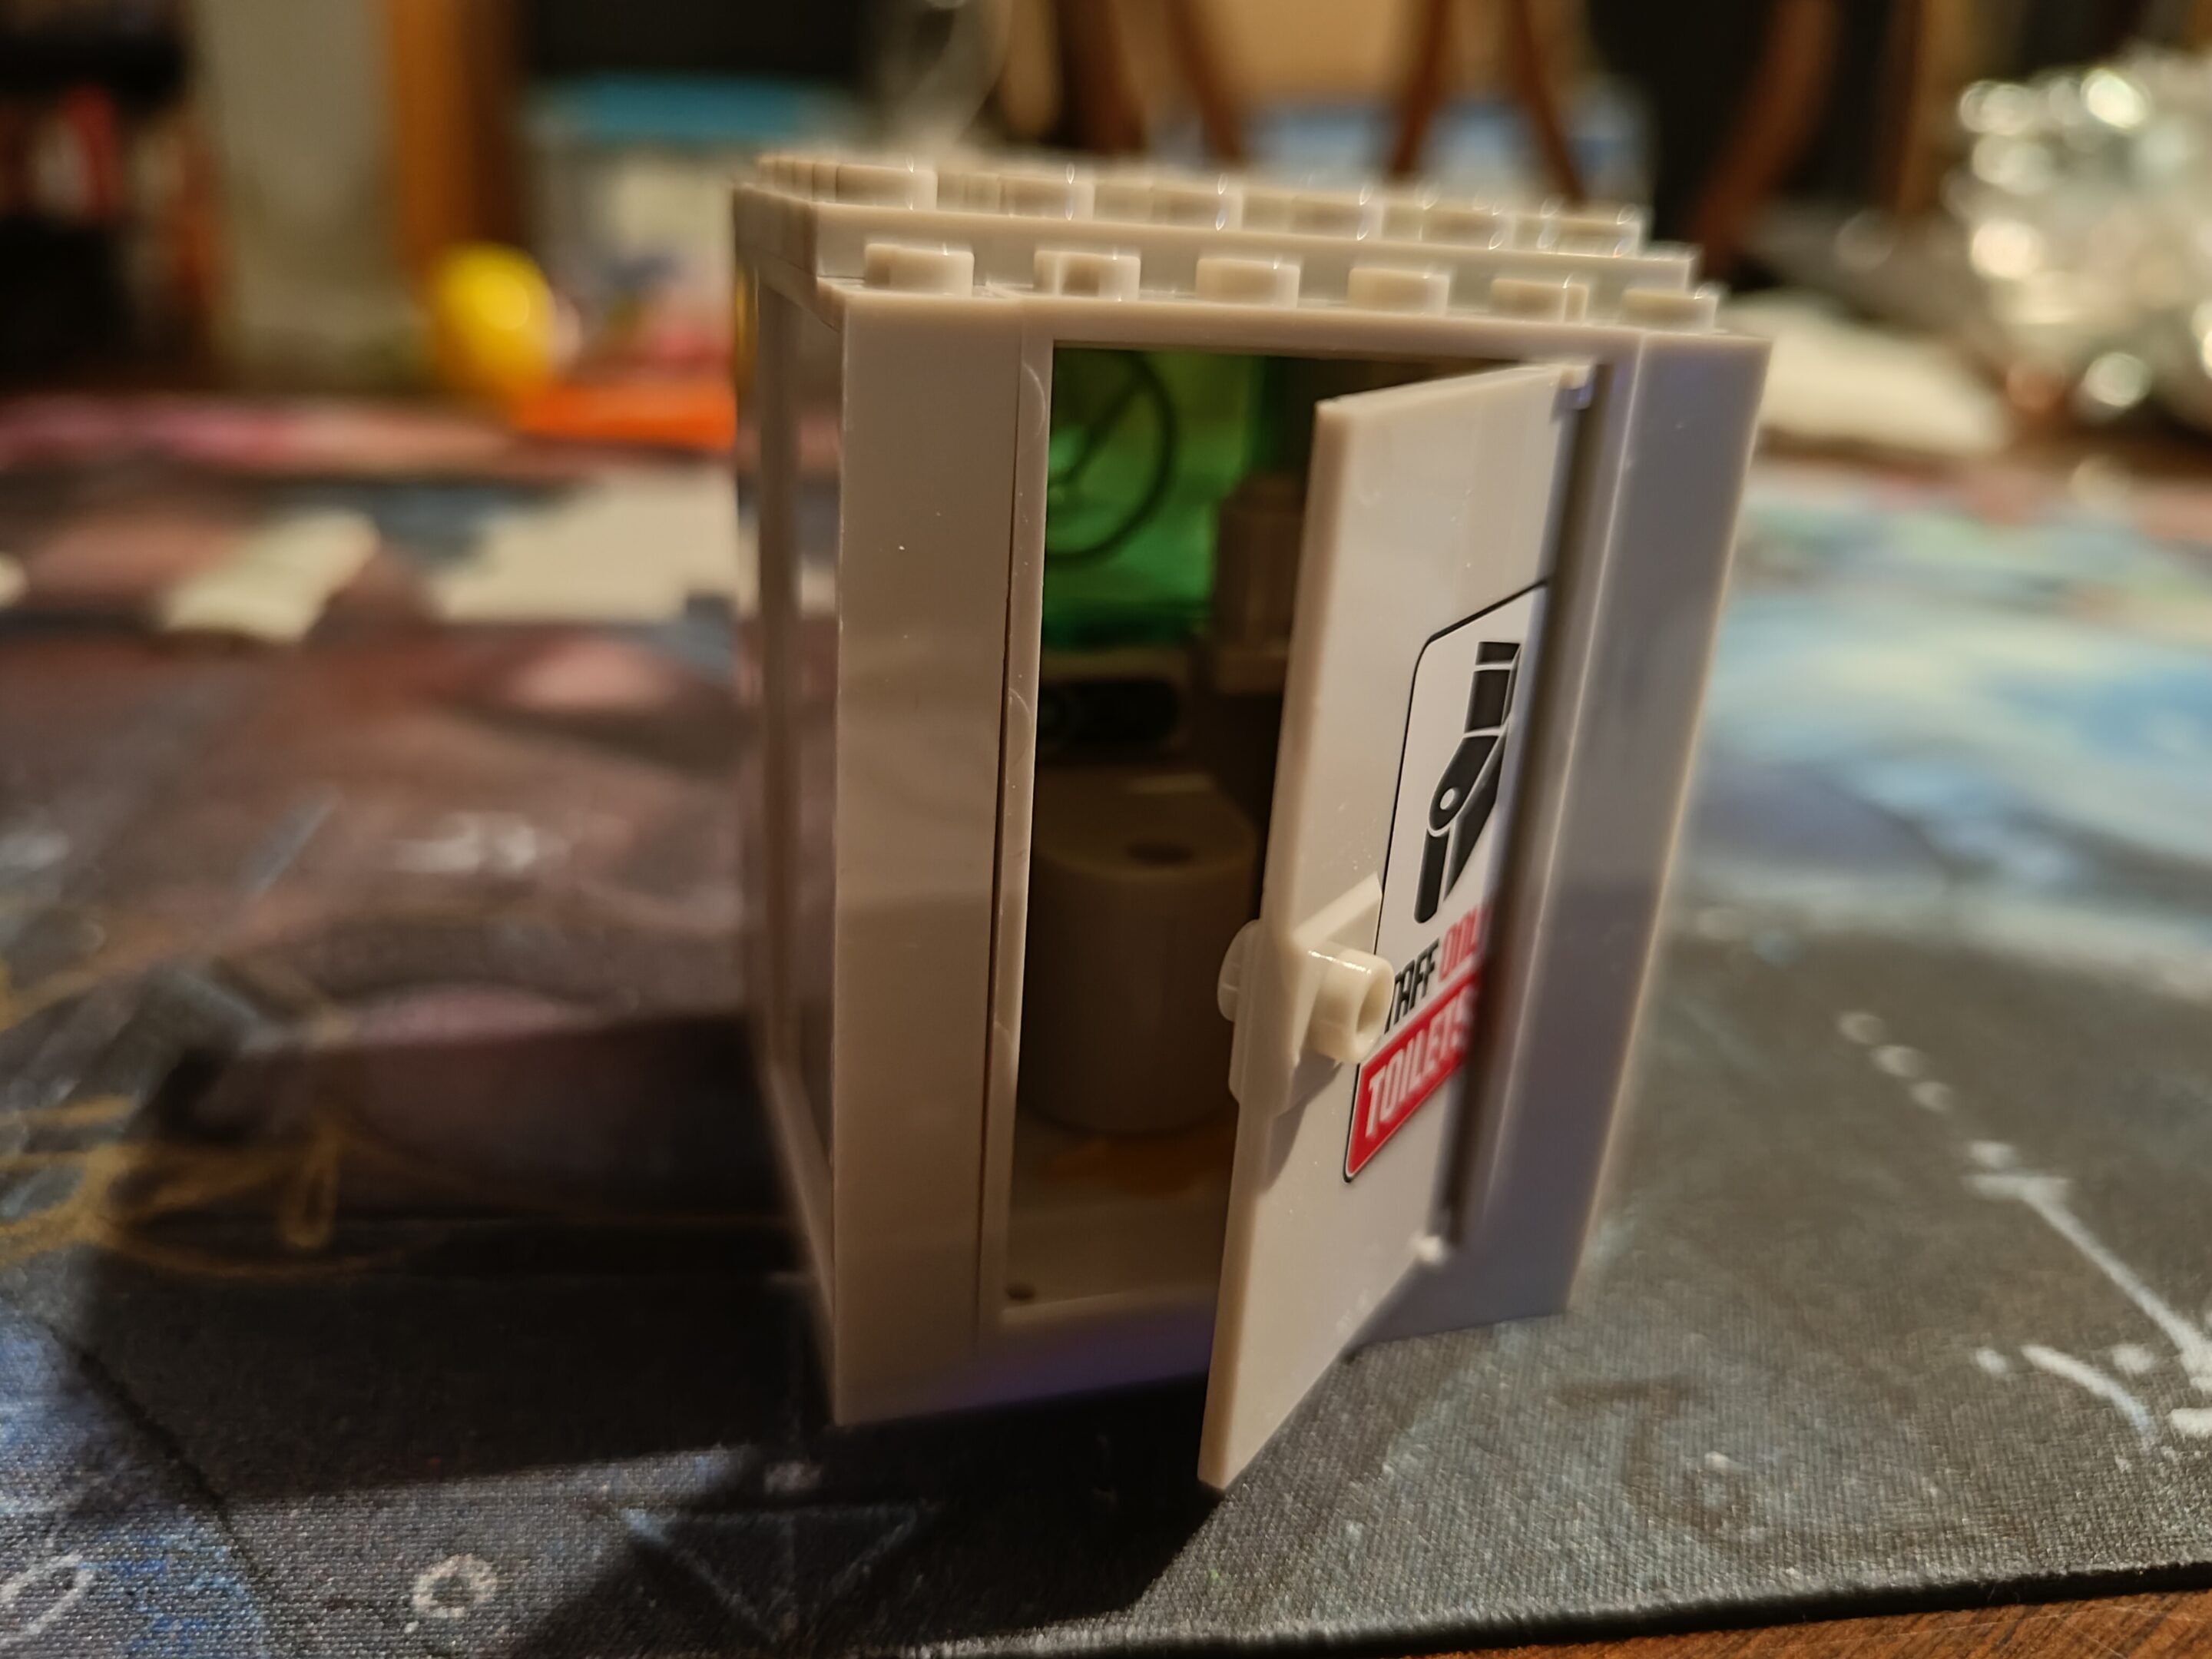
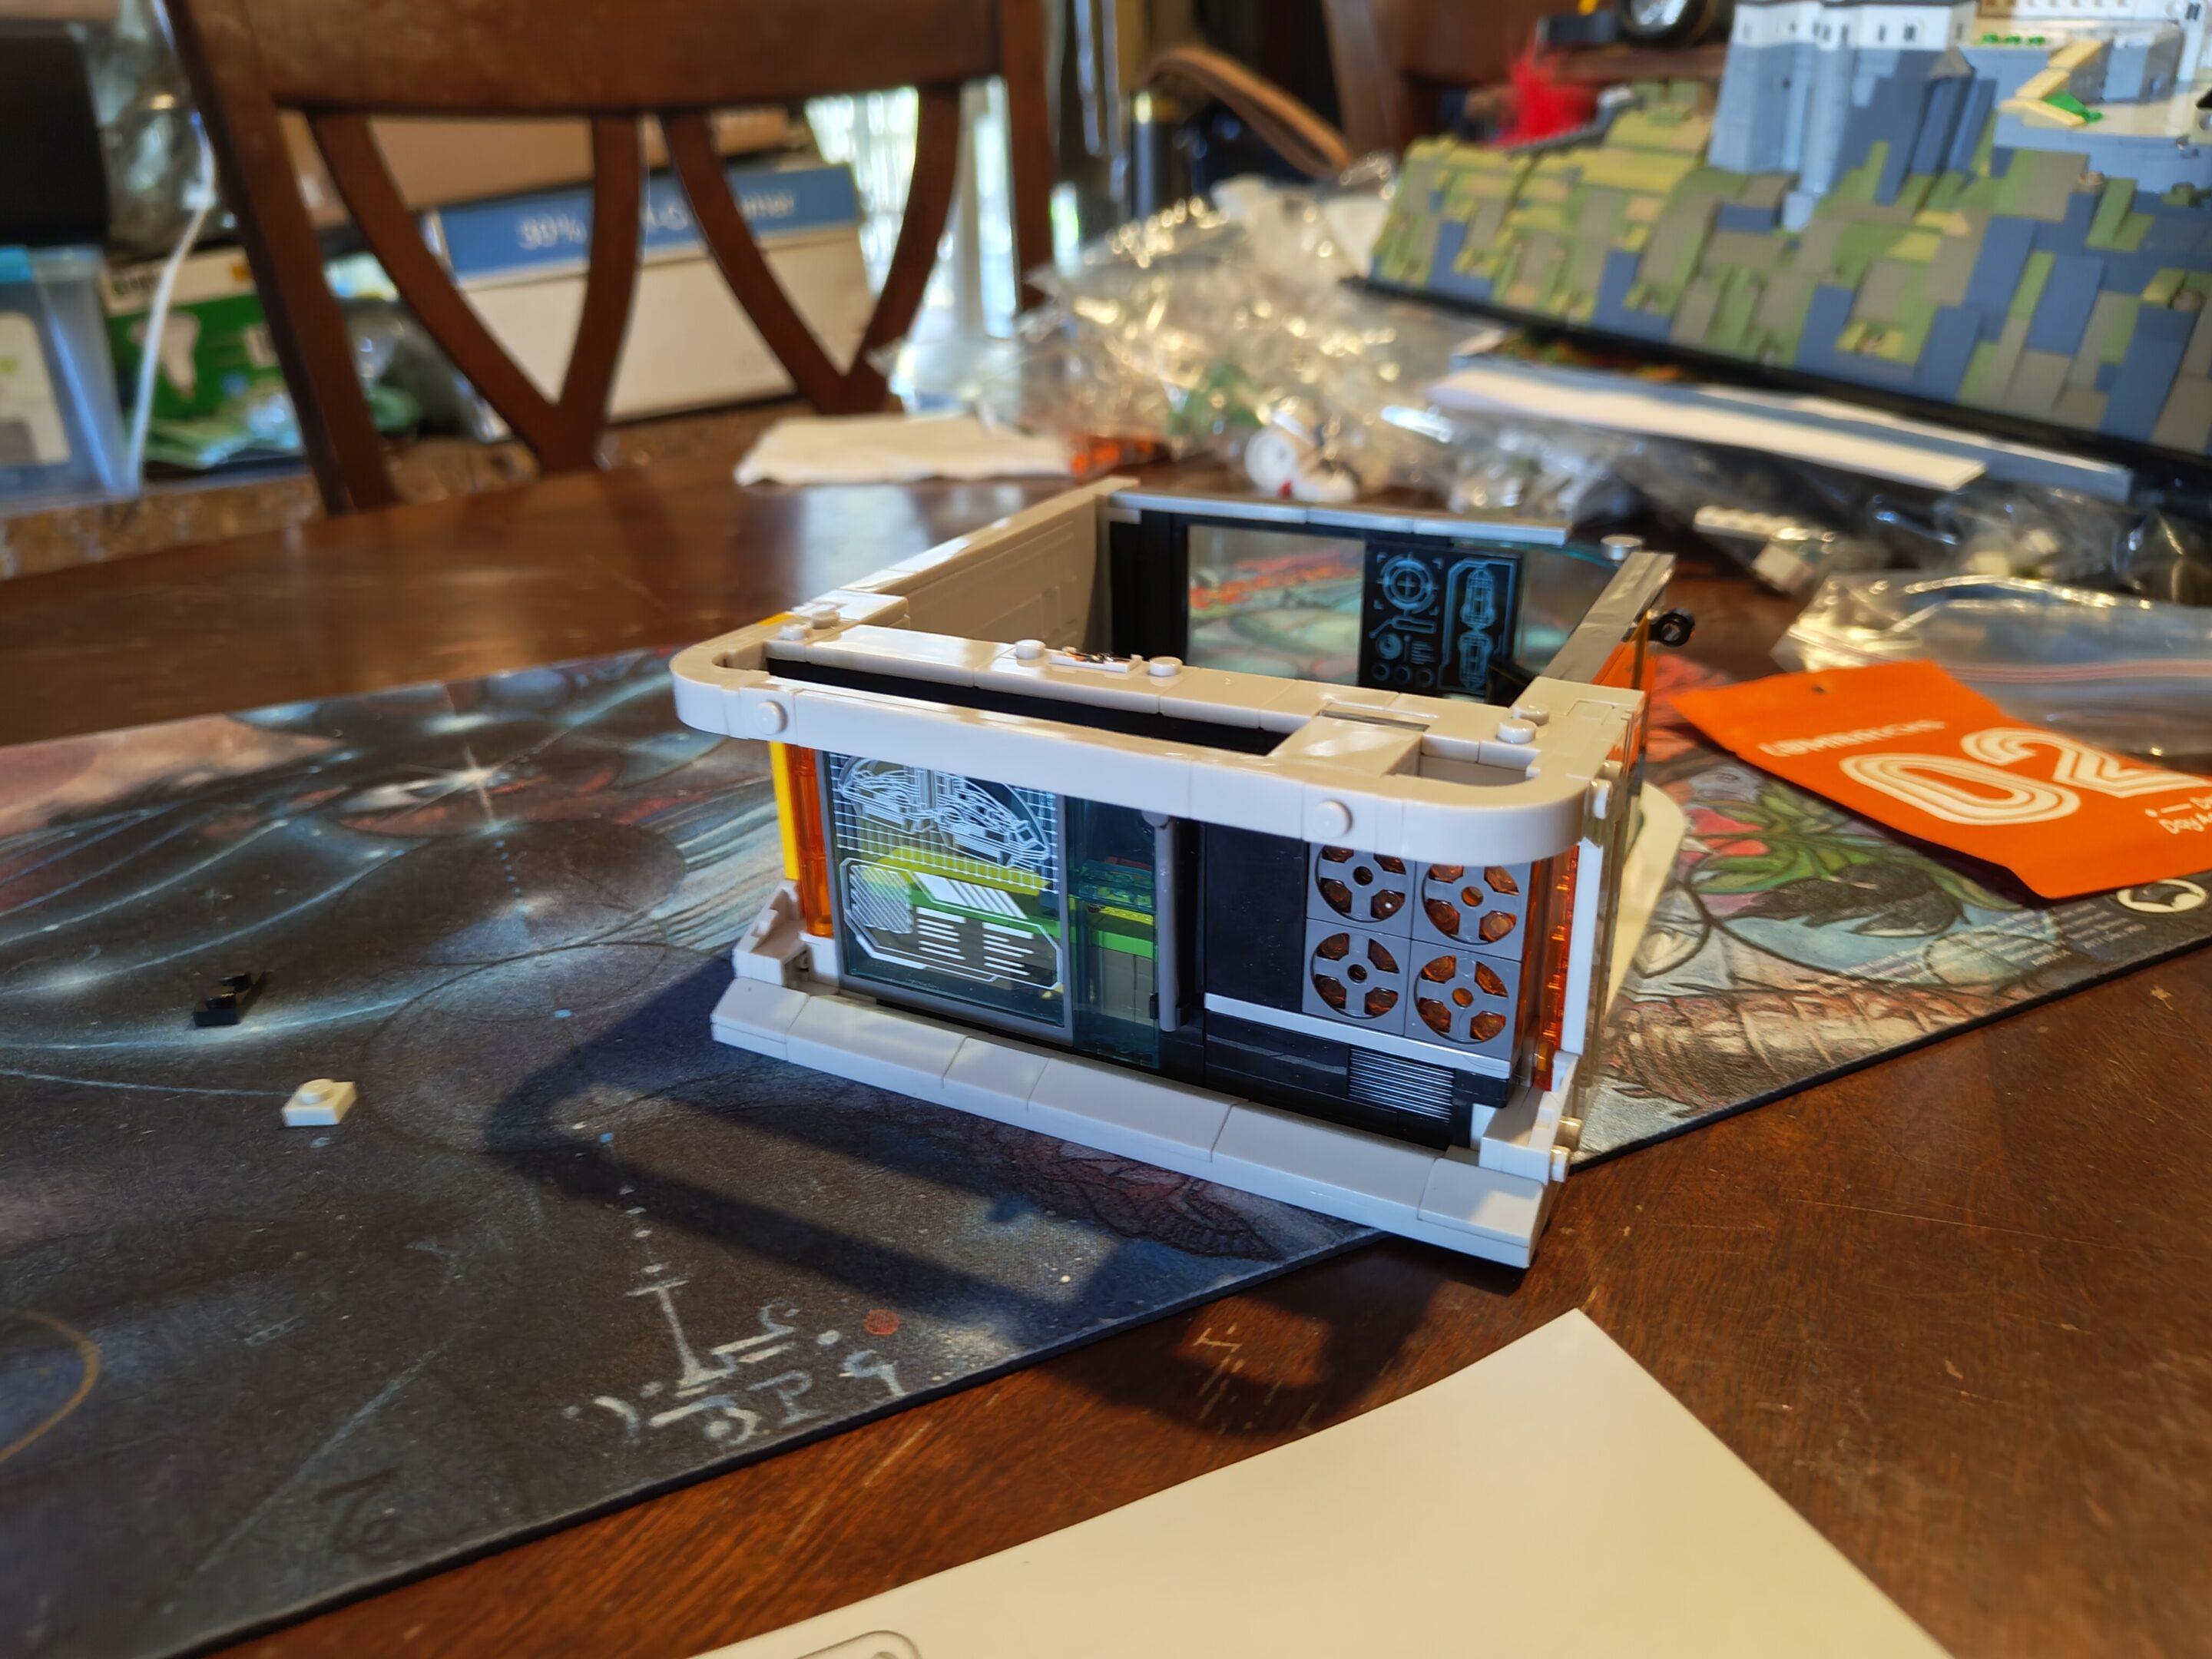
Think this should be the thing in front of the train…Probably because it wasLittle side railAnother swing-out wall structureI think the hinge pieces might be among my favoritesFor some reason, thought this was supposed to animate. Not sure how yet?Some wall, some wiring. And a staircase for good measureCleaned up wall, cleaned up wiring.Someone should have cleaned here, too…Bad staff, leaving a mess in the toilet.Just kinda slid into this hole here with a knob on the back to push/pull it into place
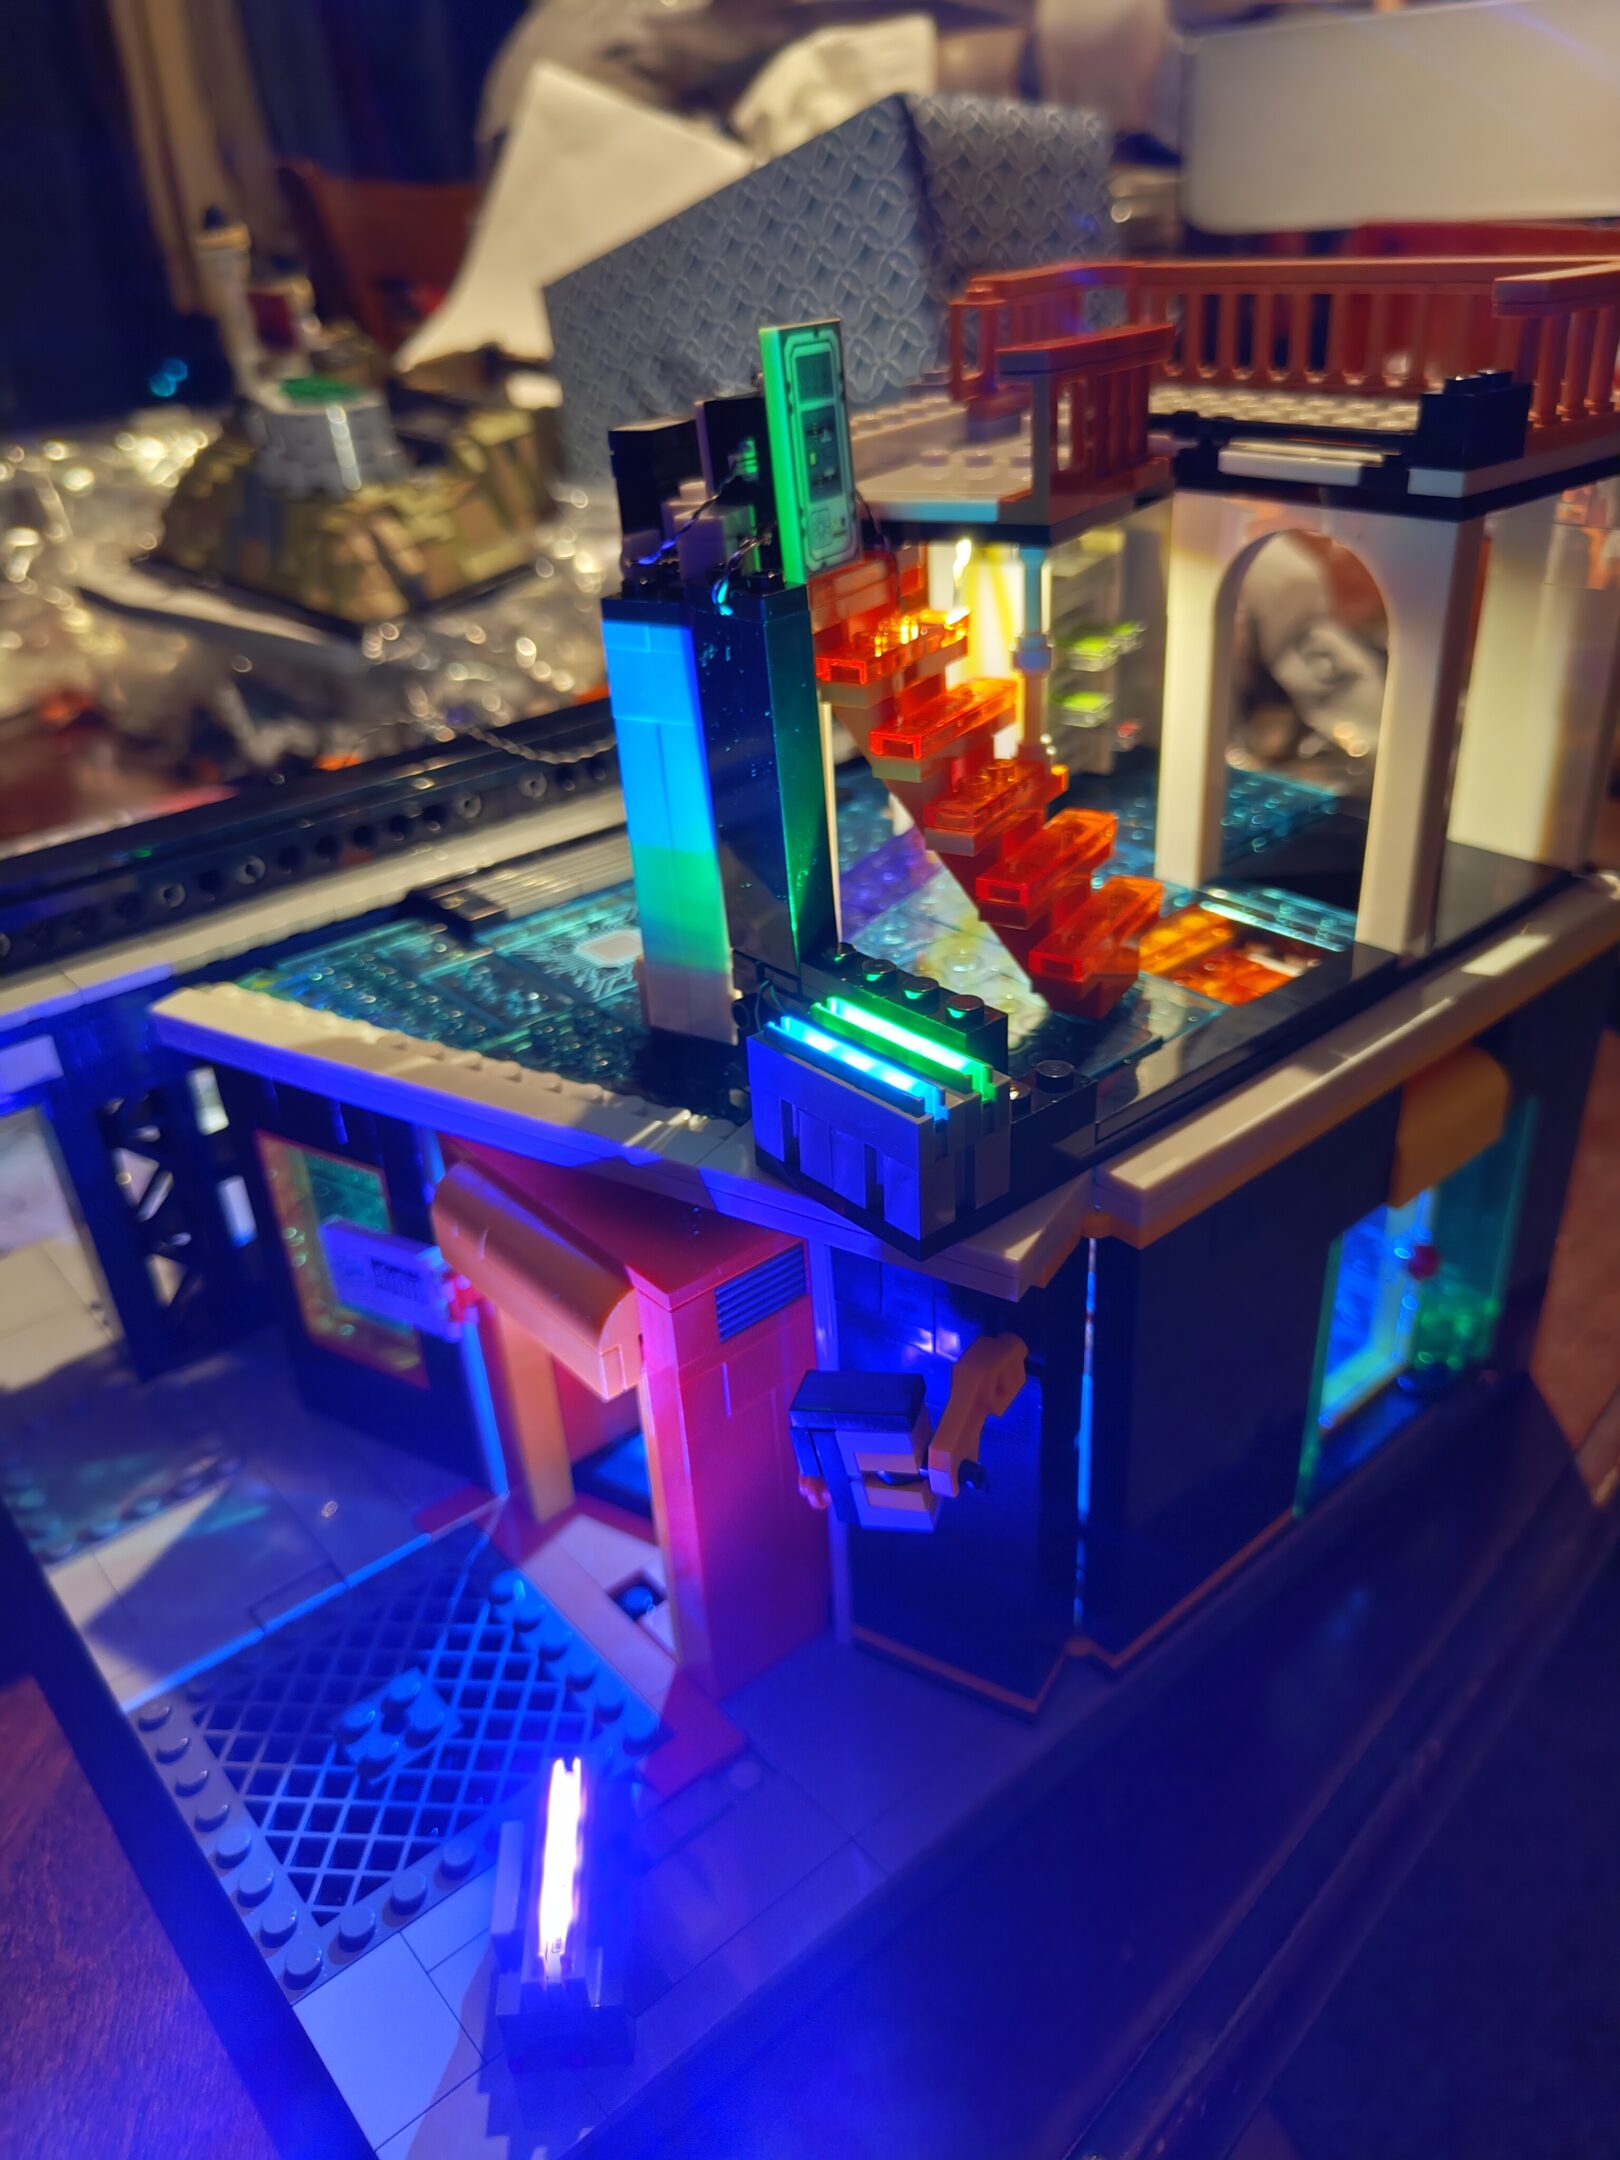
okay, got a couple steps in today (sunday, october 5th somehow) and put in one of the bigger neon effects which of course i adore
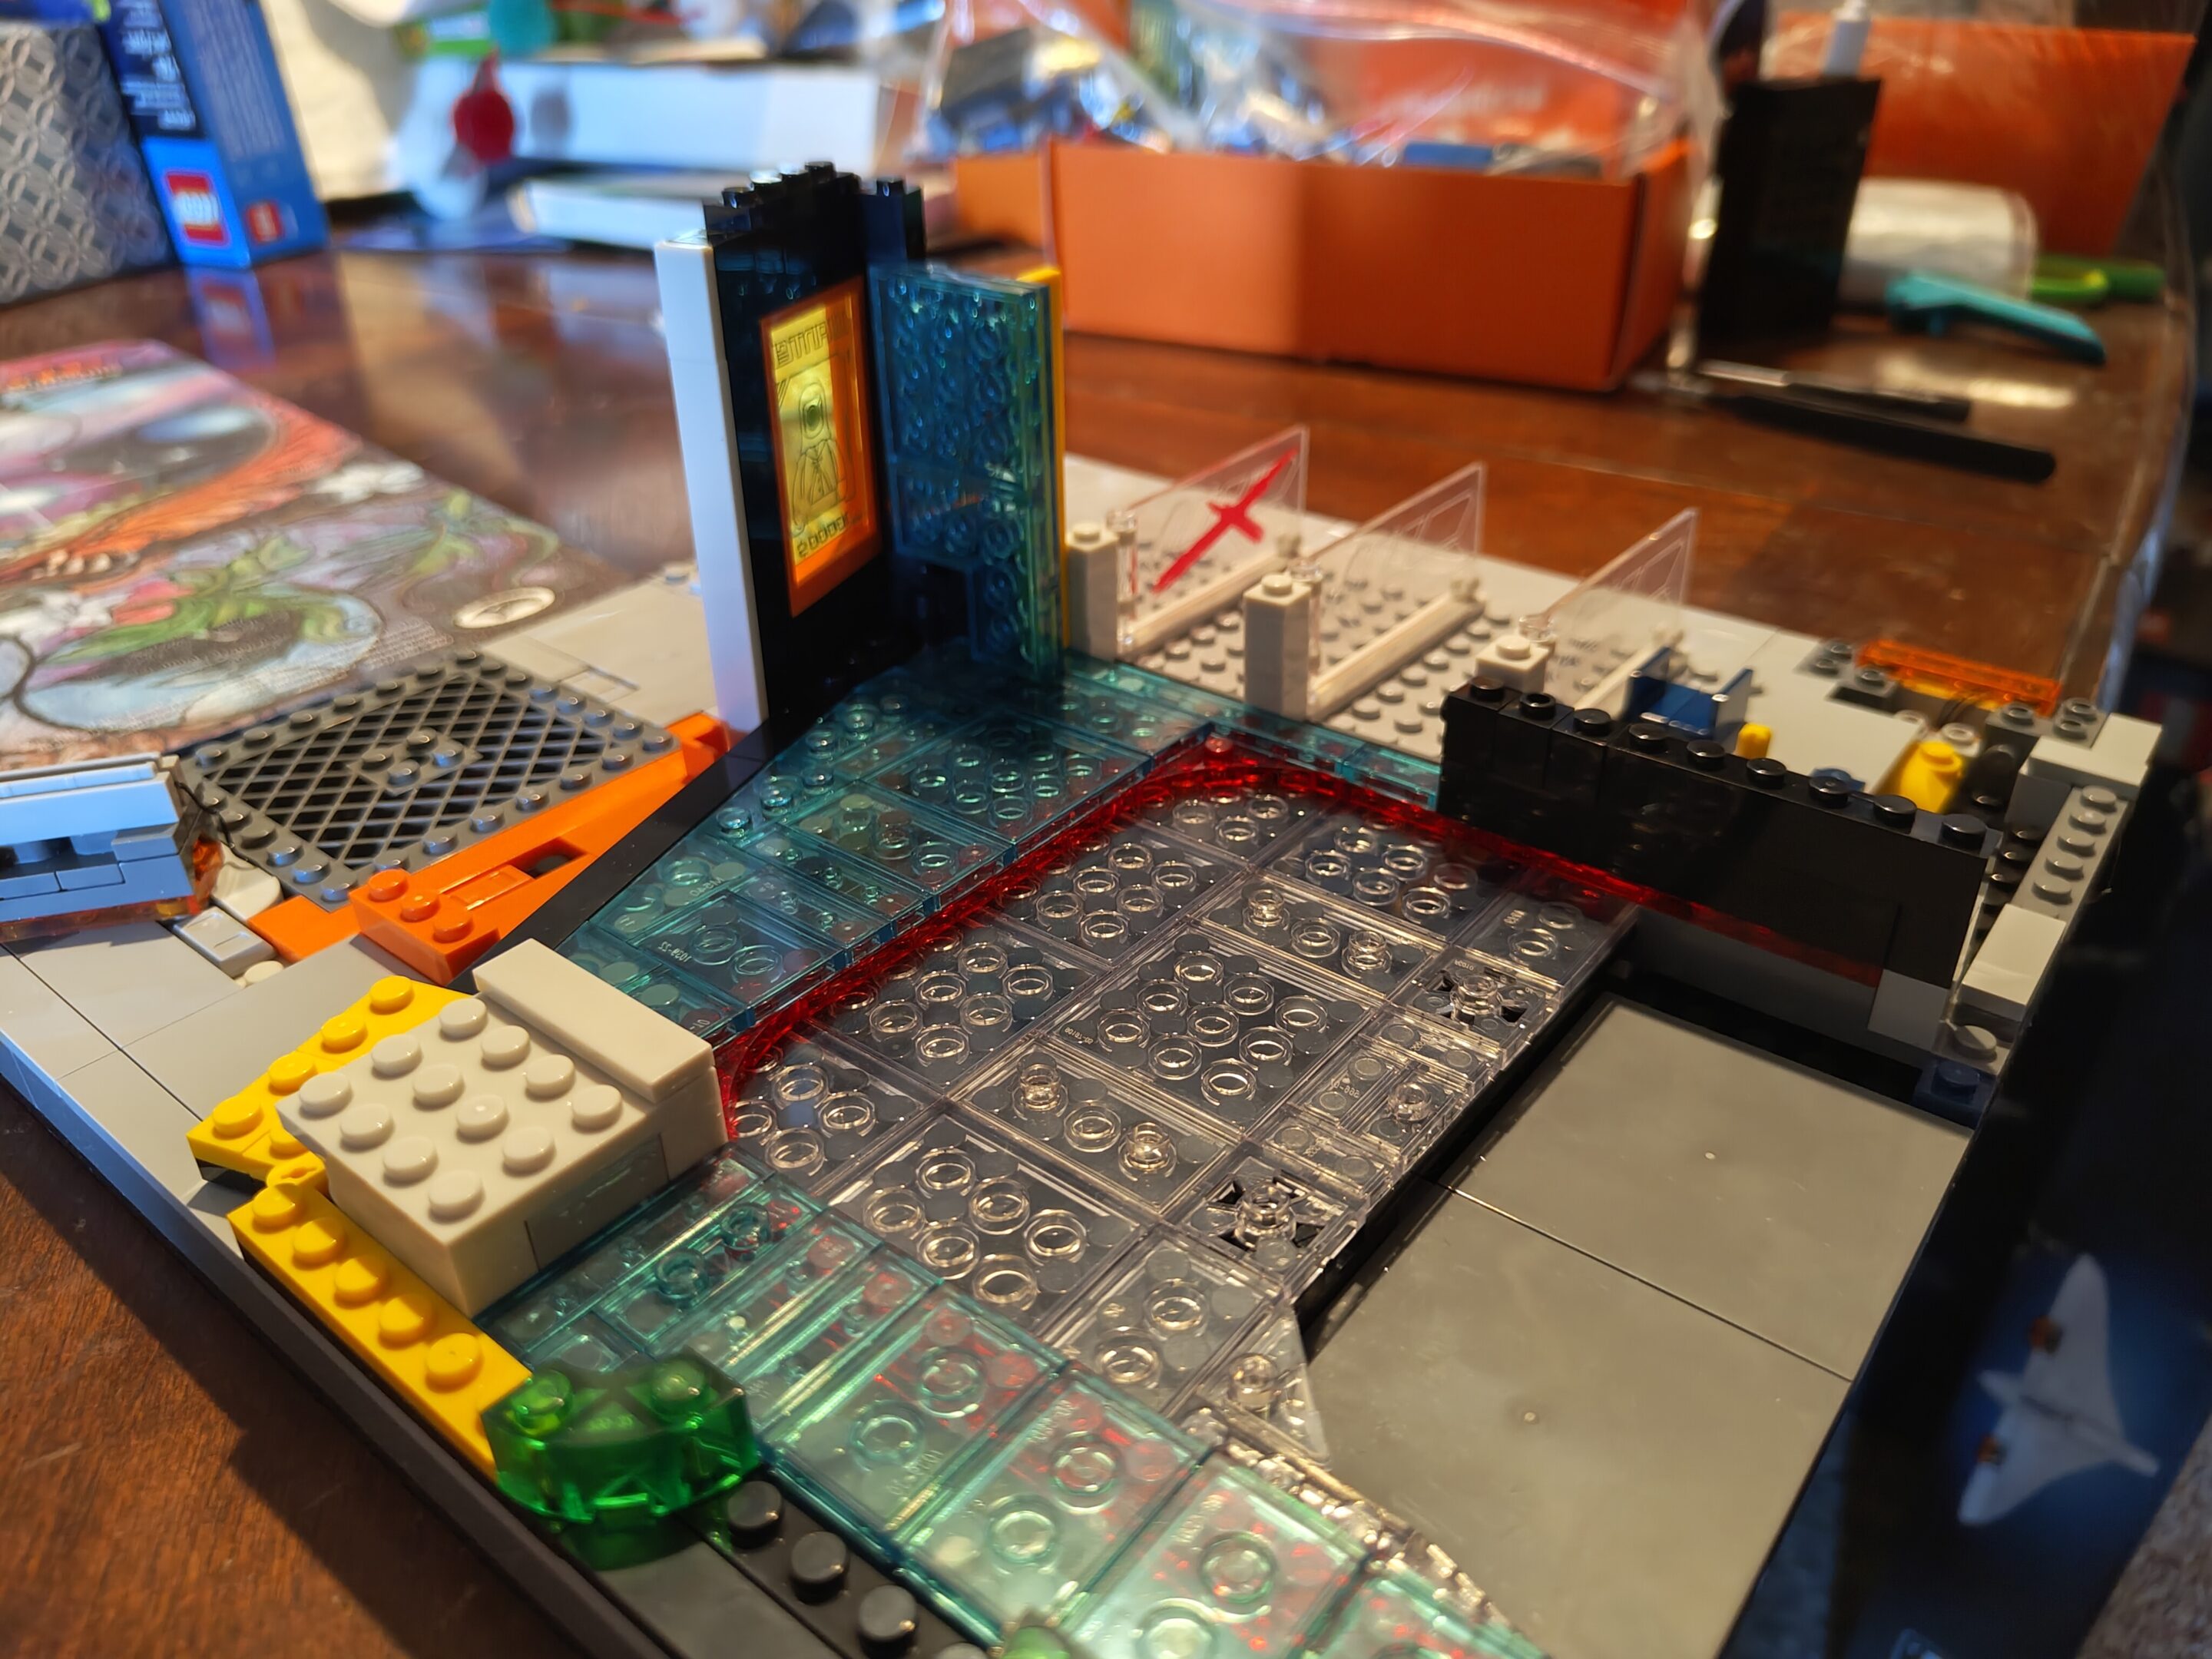
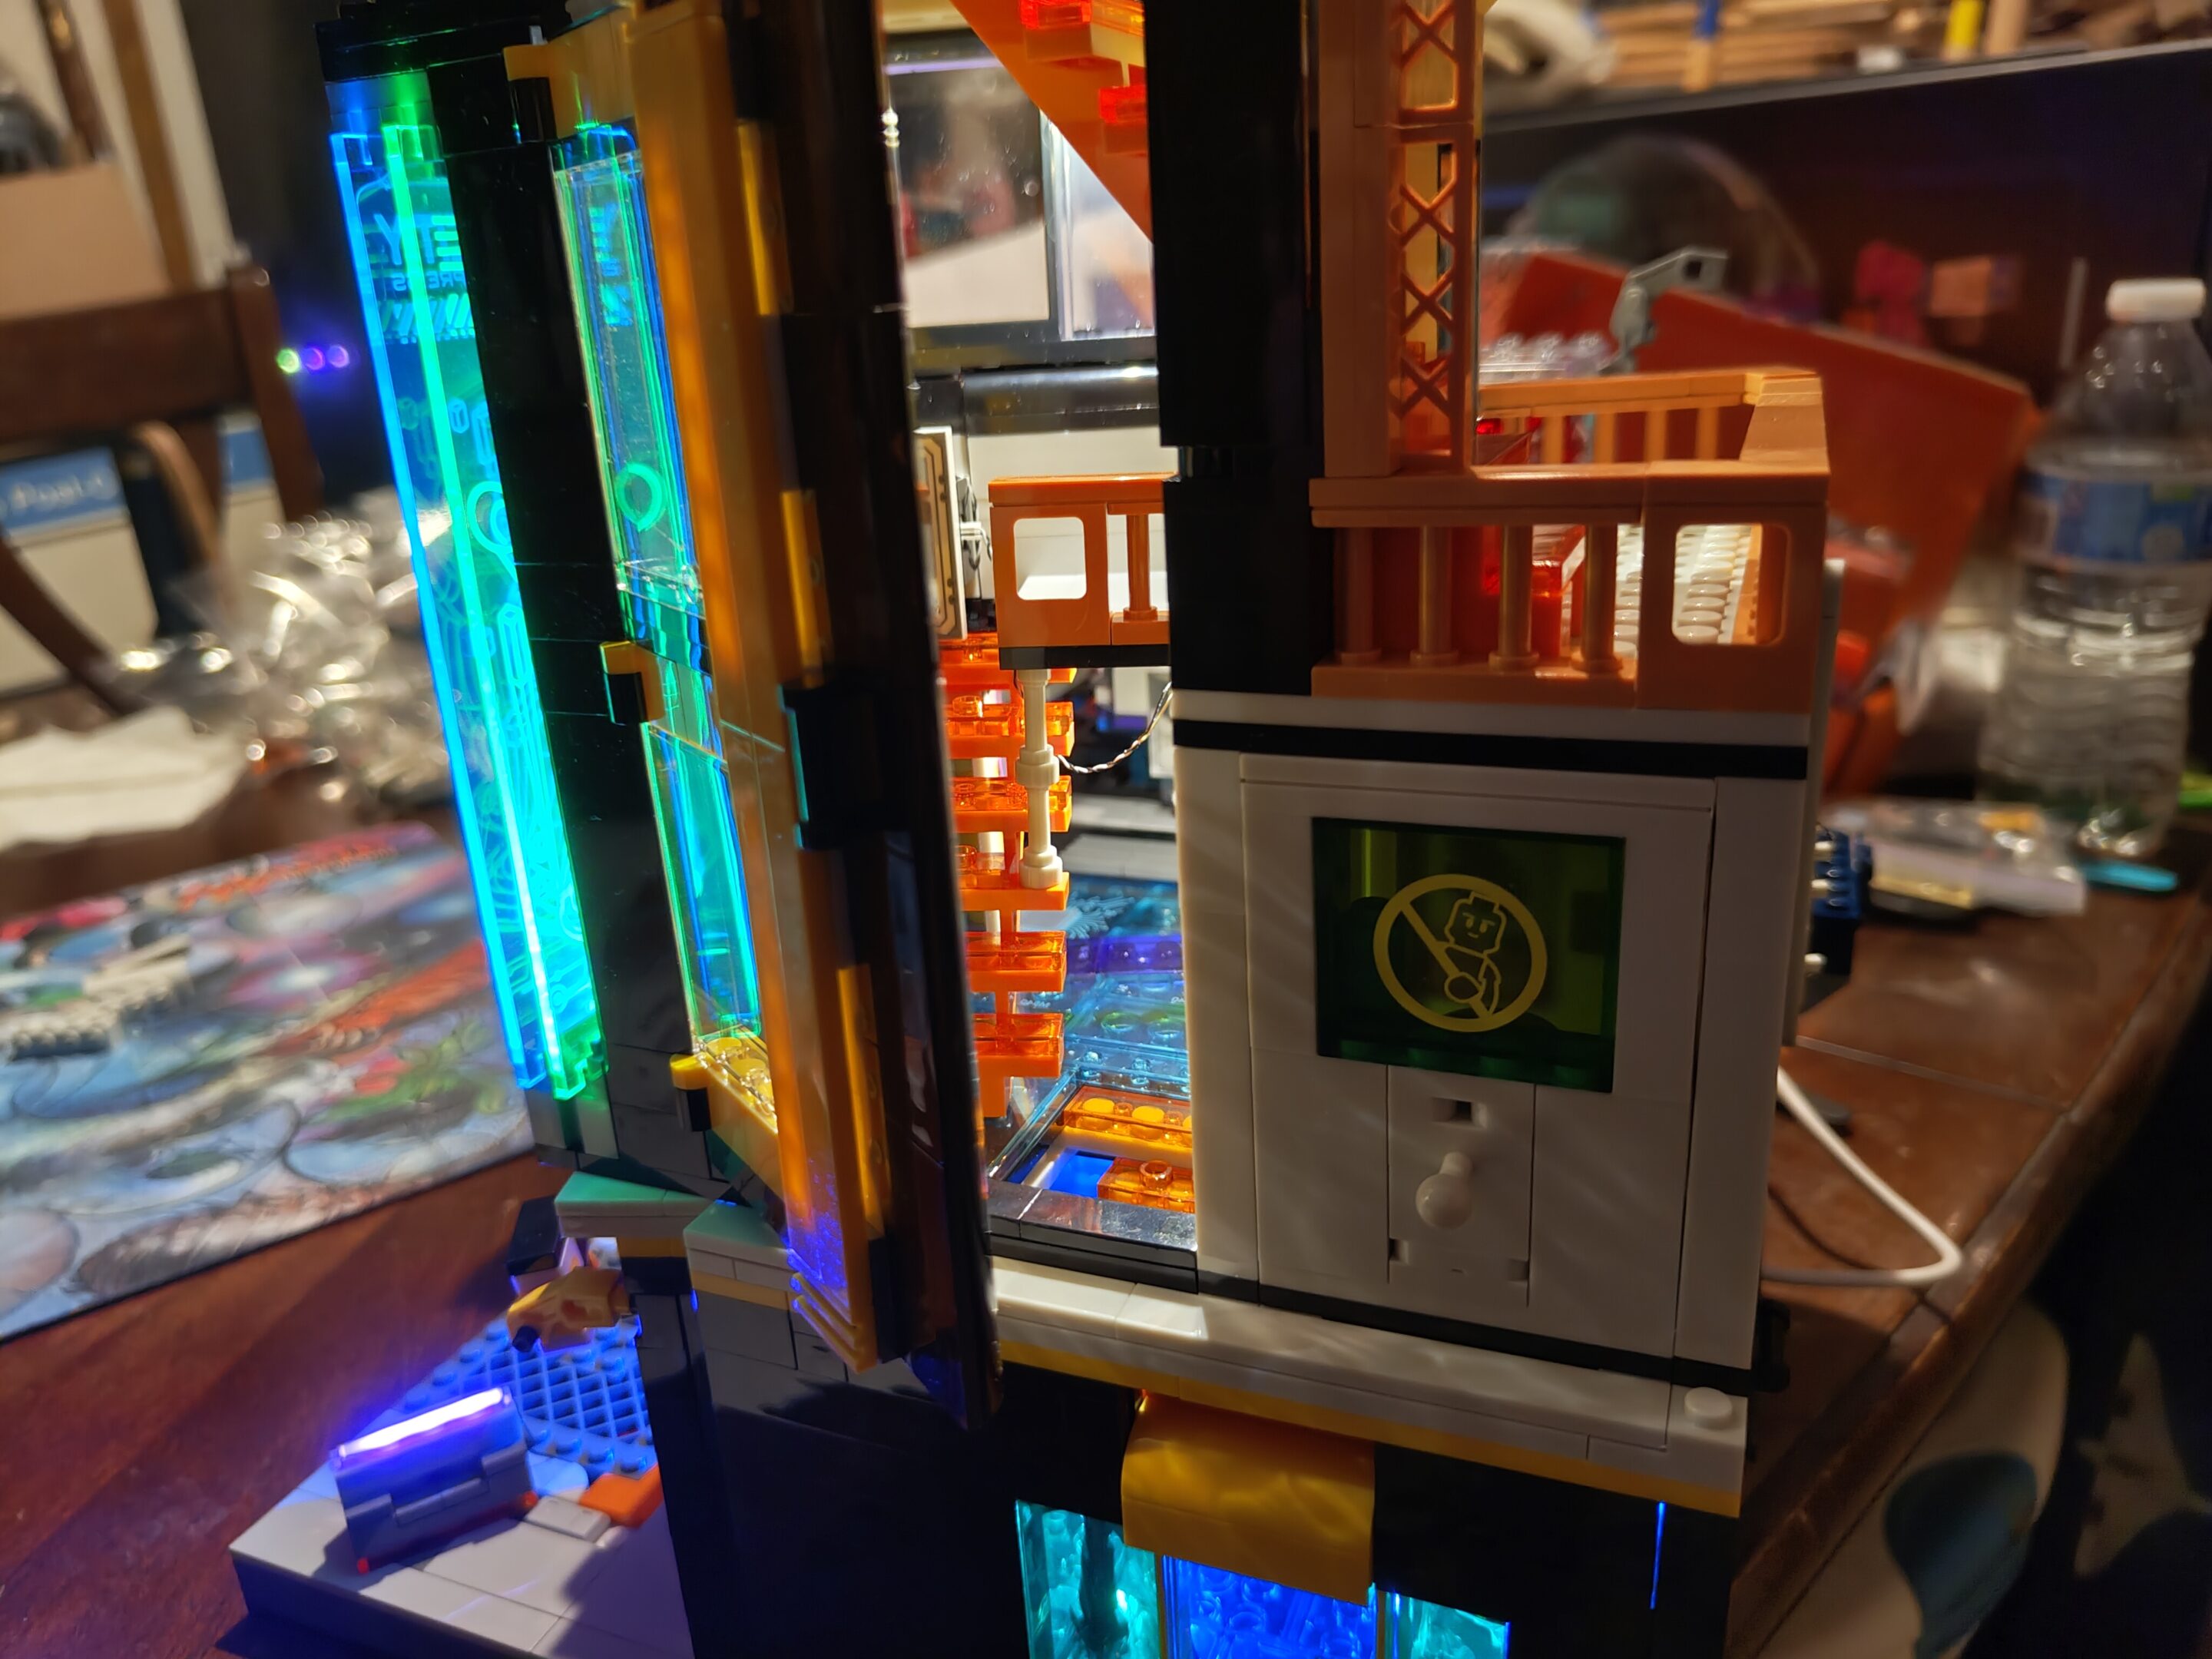
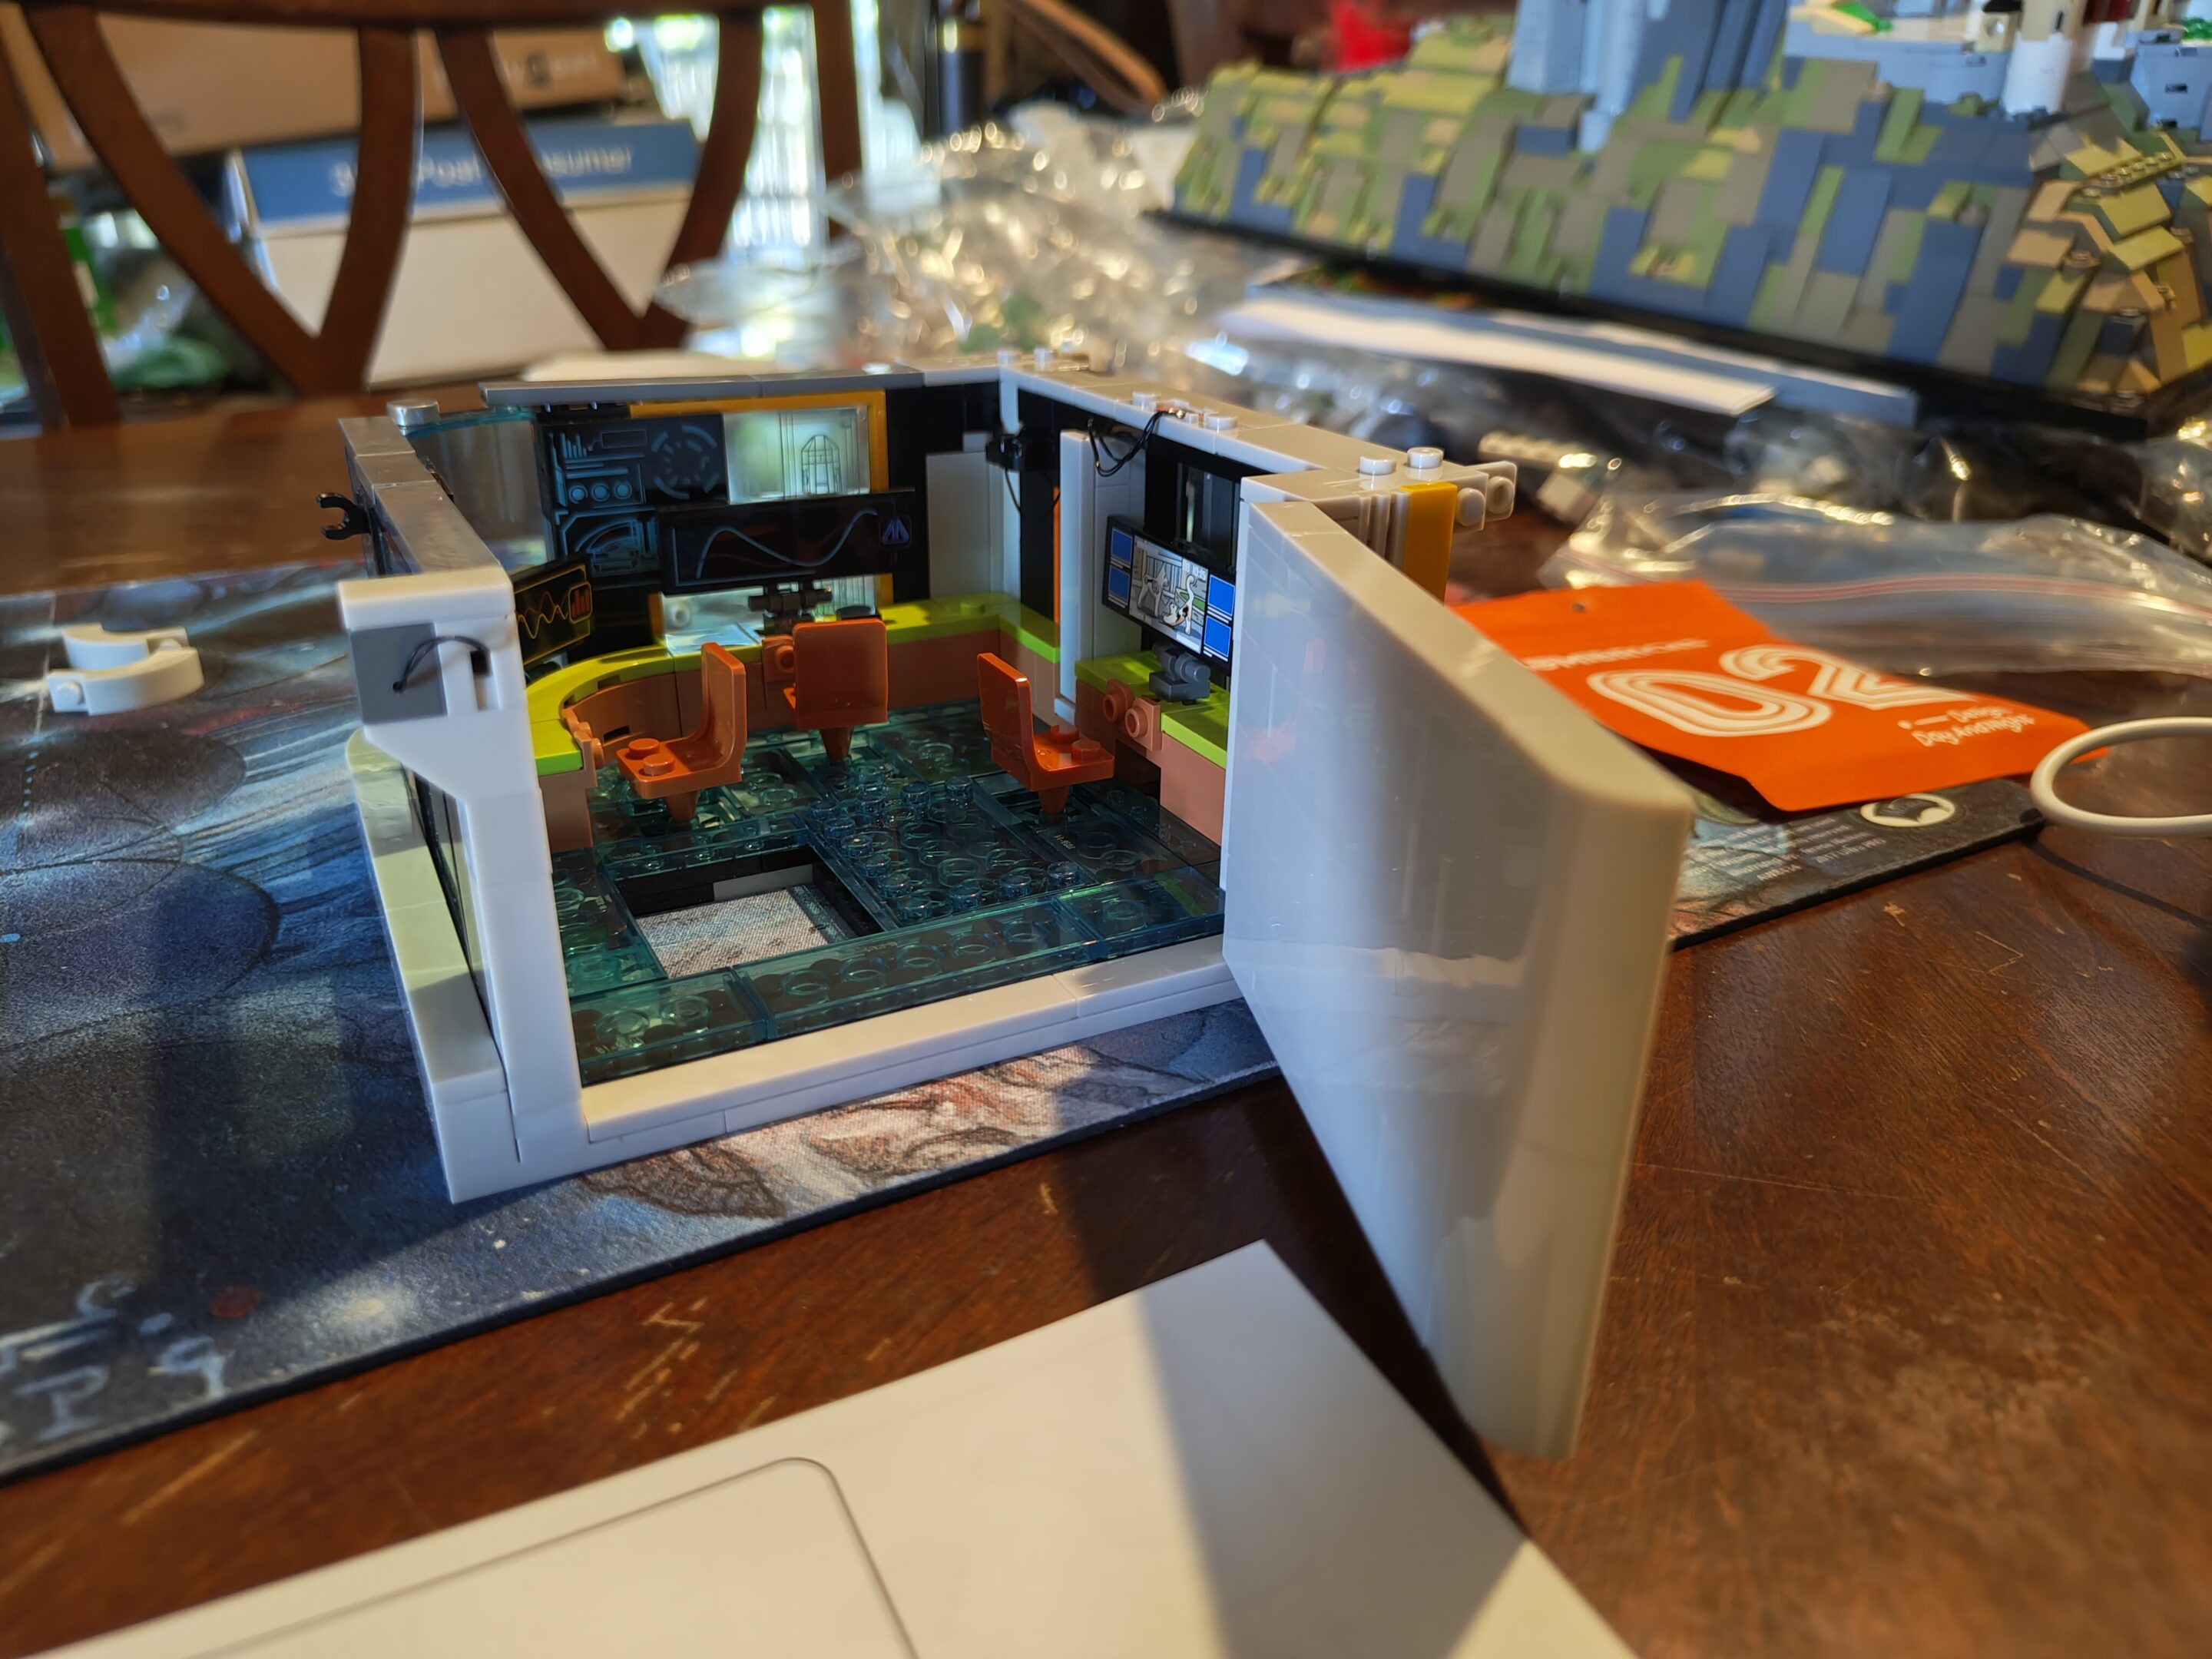
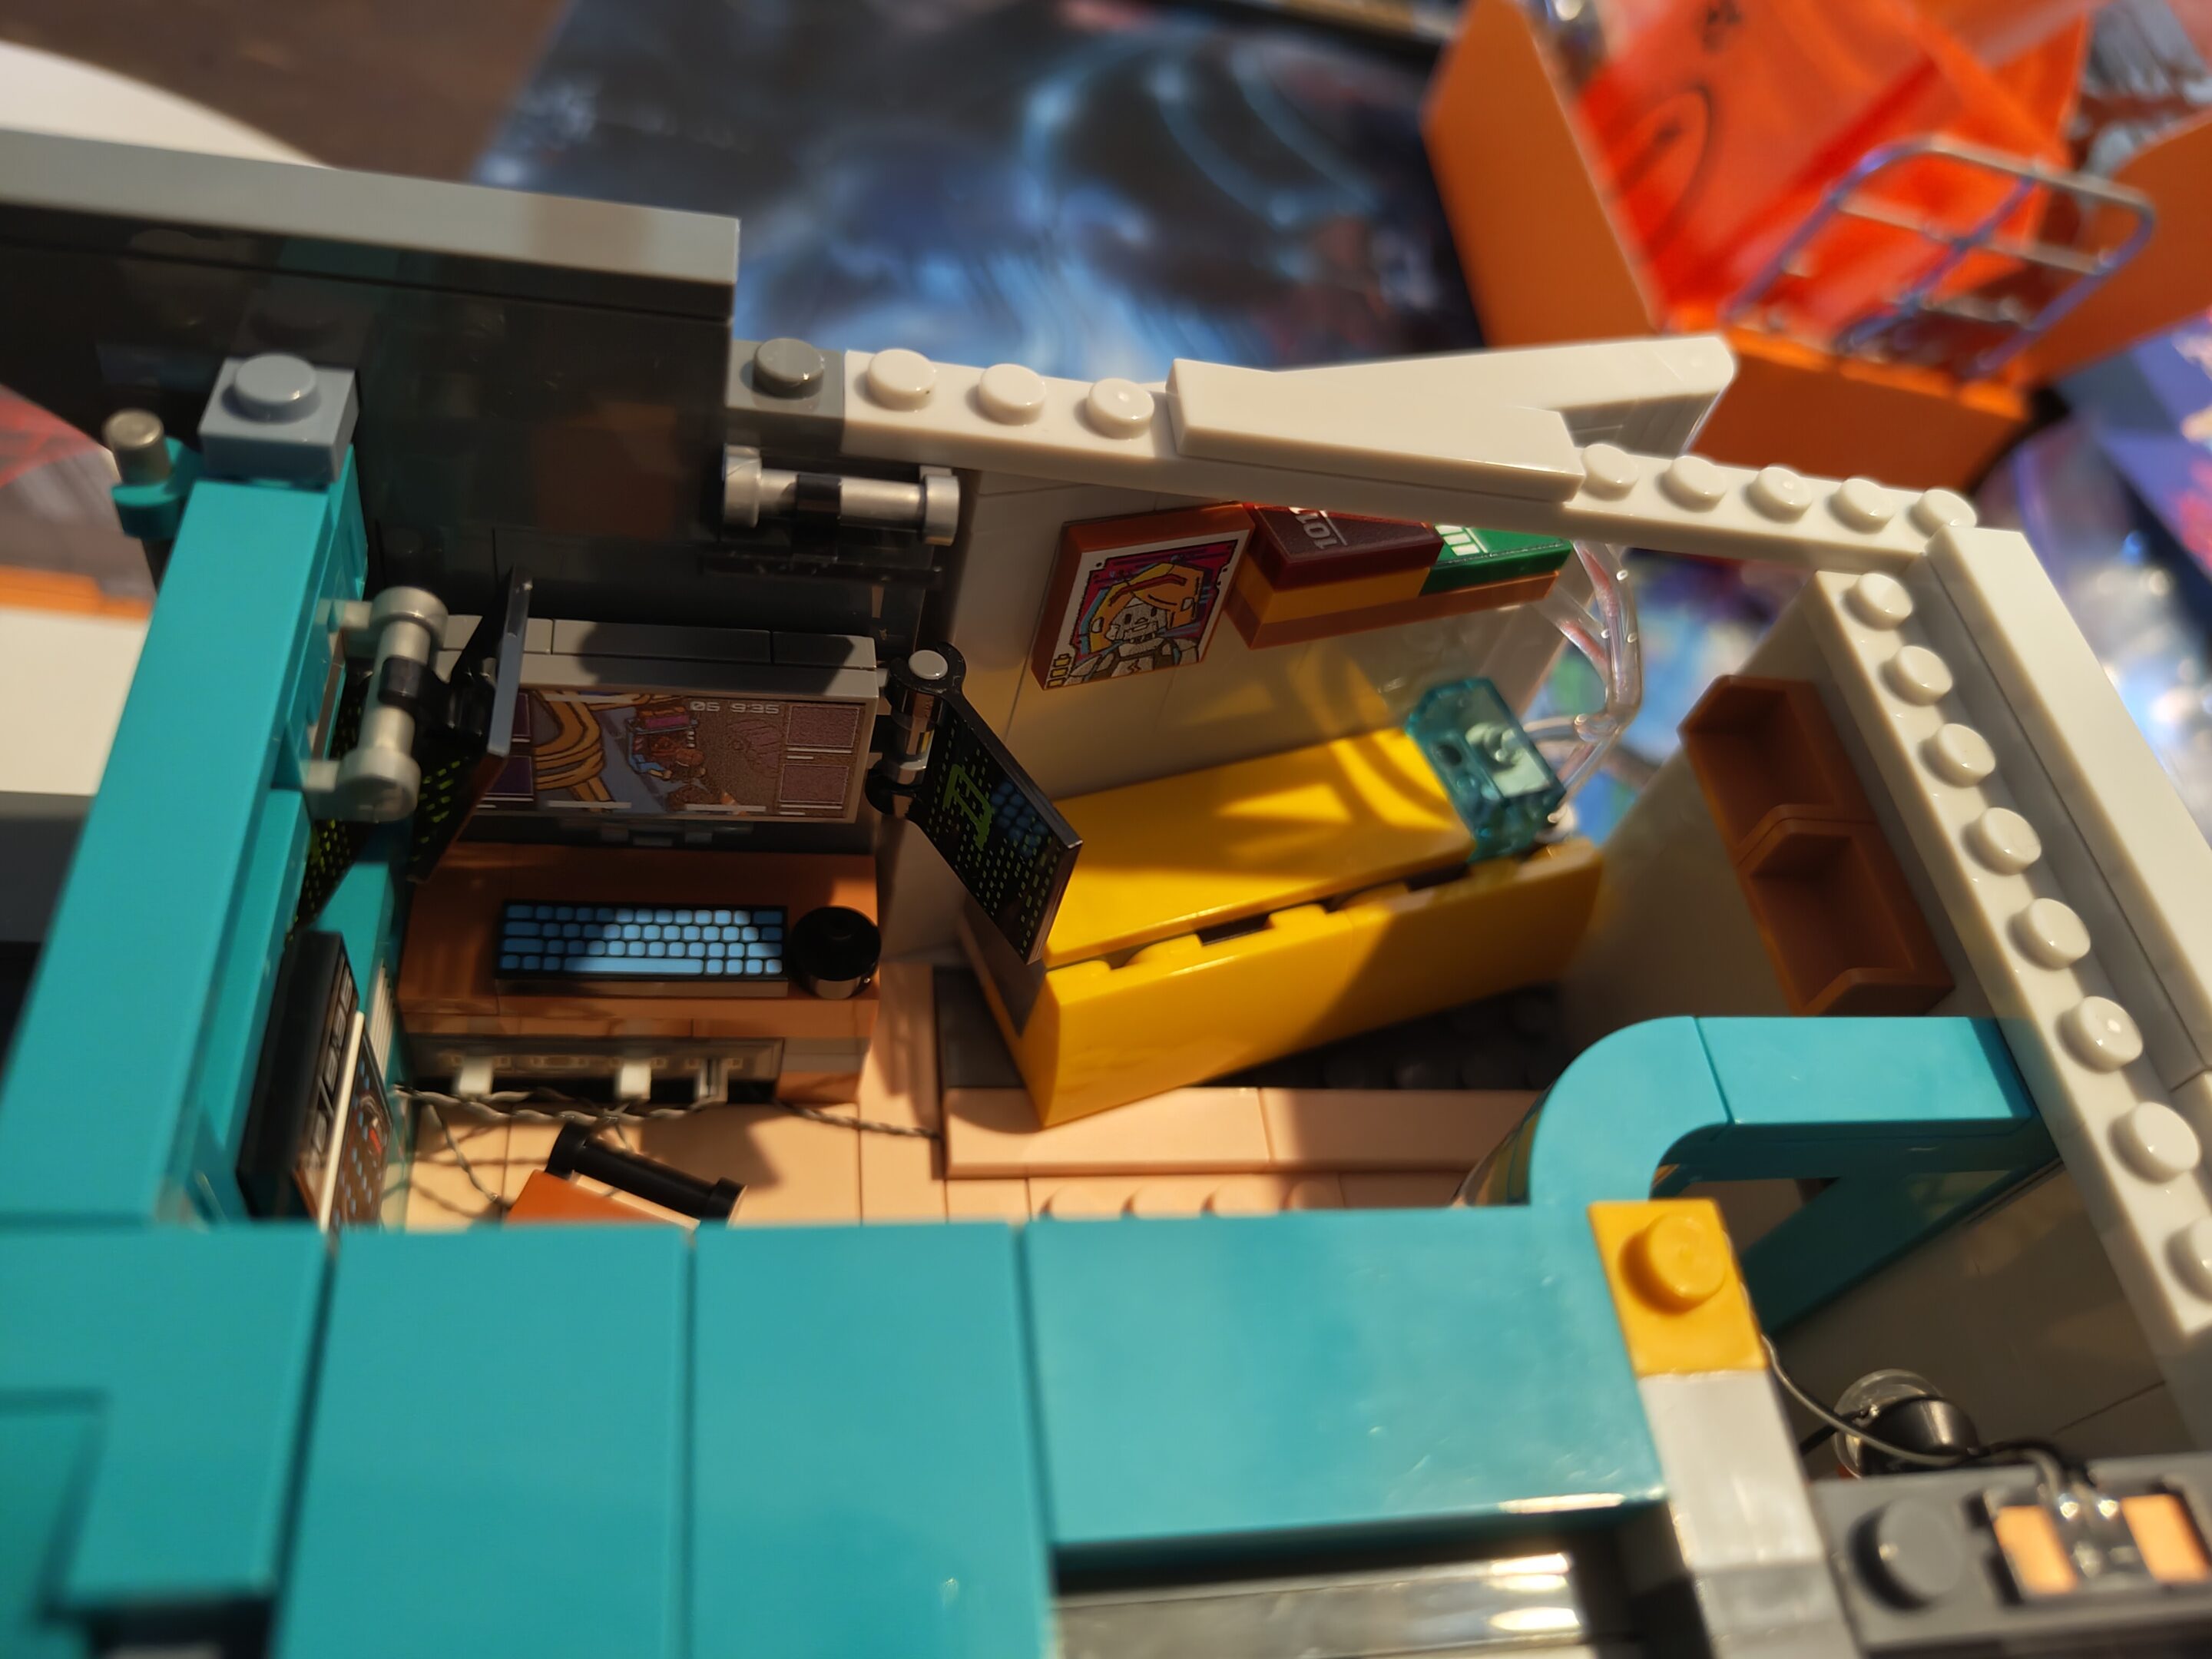
Not super interesting yet but I like these translucent tiles…of which there were a bunch of in this stepWiring for this step starts here (the pogo pin connector block)Grey blocks attached to wiring make the neon effectWasn’t sure what these were at first, but they’re desks. One has a mouse alreadyLots of windows on this floorDesks and monitors. Wiring for the next floor, too (pogo pin receptor on top)Finished walls + windows and ledgeAnother swinging rear door for play accessI had to rebuild this section during the “finished walls + windows and ledge” because I put the wrong piece underneath the fan section – a grey 1×6 plate – the manual was a little unclear in this step as it’s used the same indicator “not silver” for both white and grey?In place with the lights on, third floor of the train station is the control room
not really sure where the last couple days went but like i didn’t seem to take any pictures and this probably isn’t even going to be it’s final spot but i guess i zoned in and finished up? anyway…
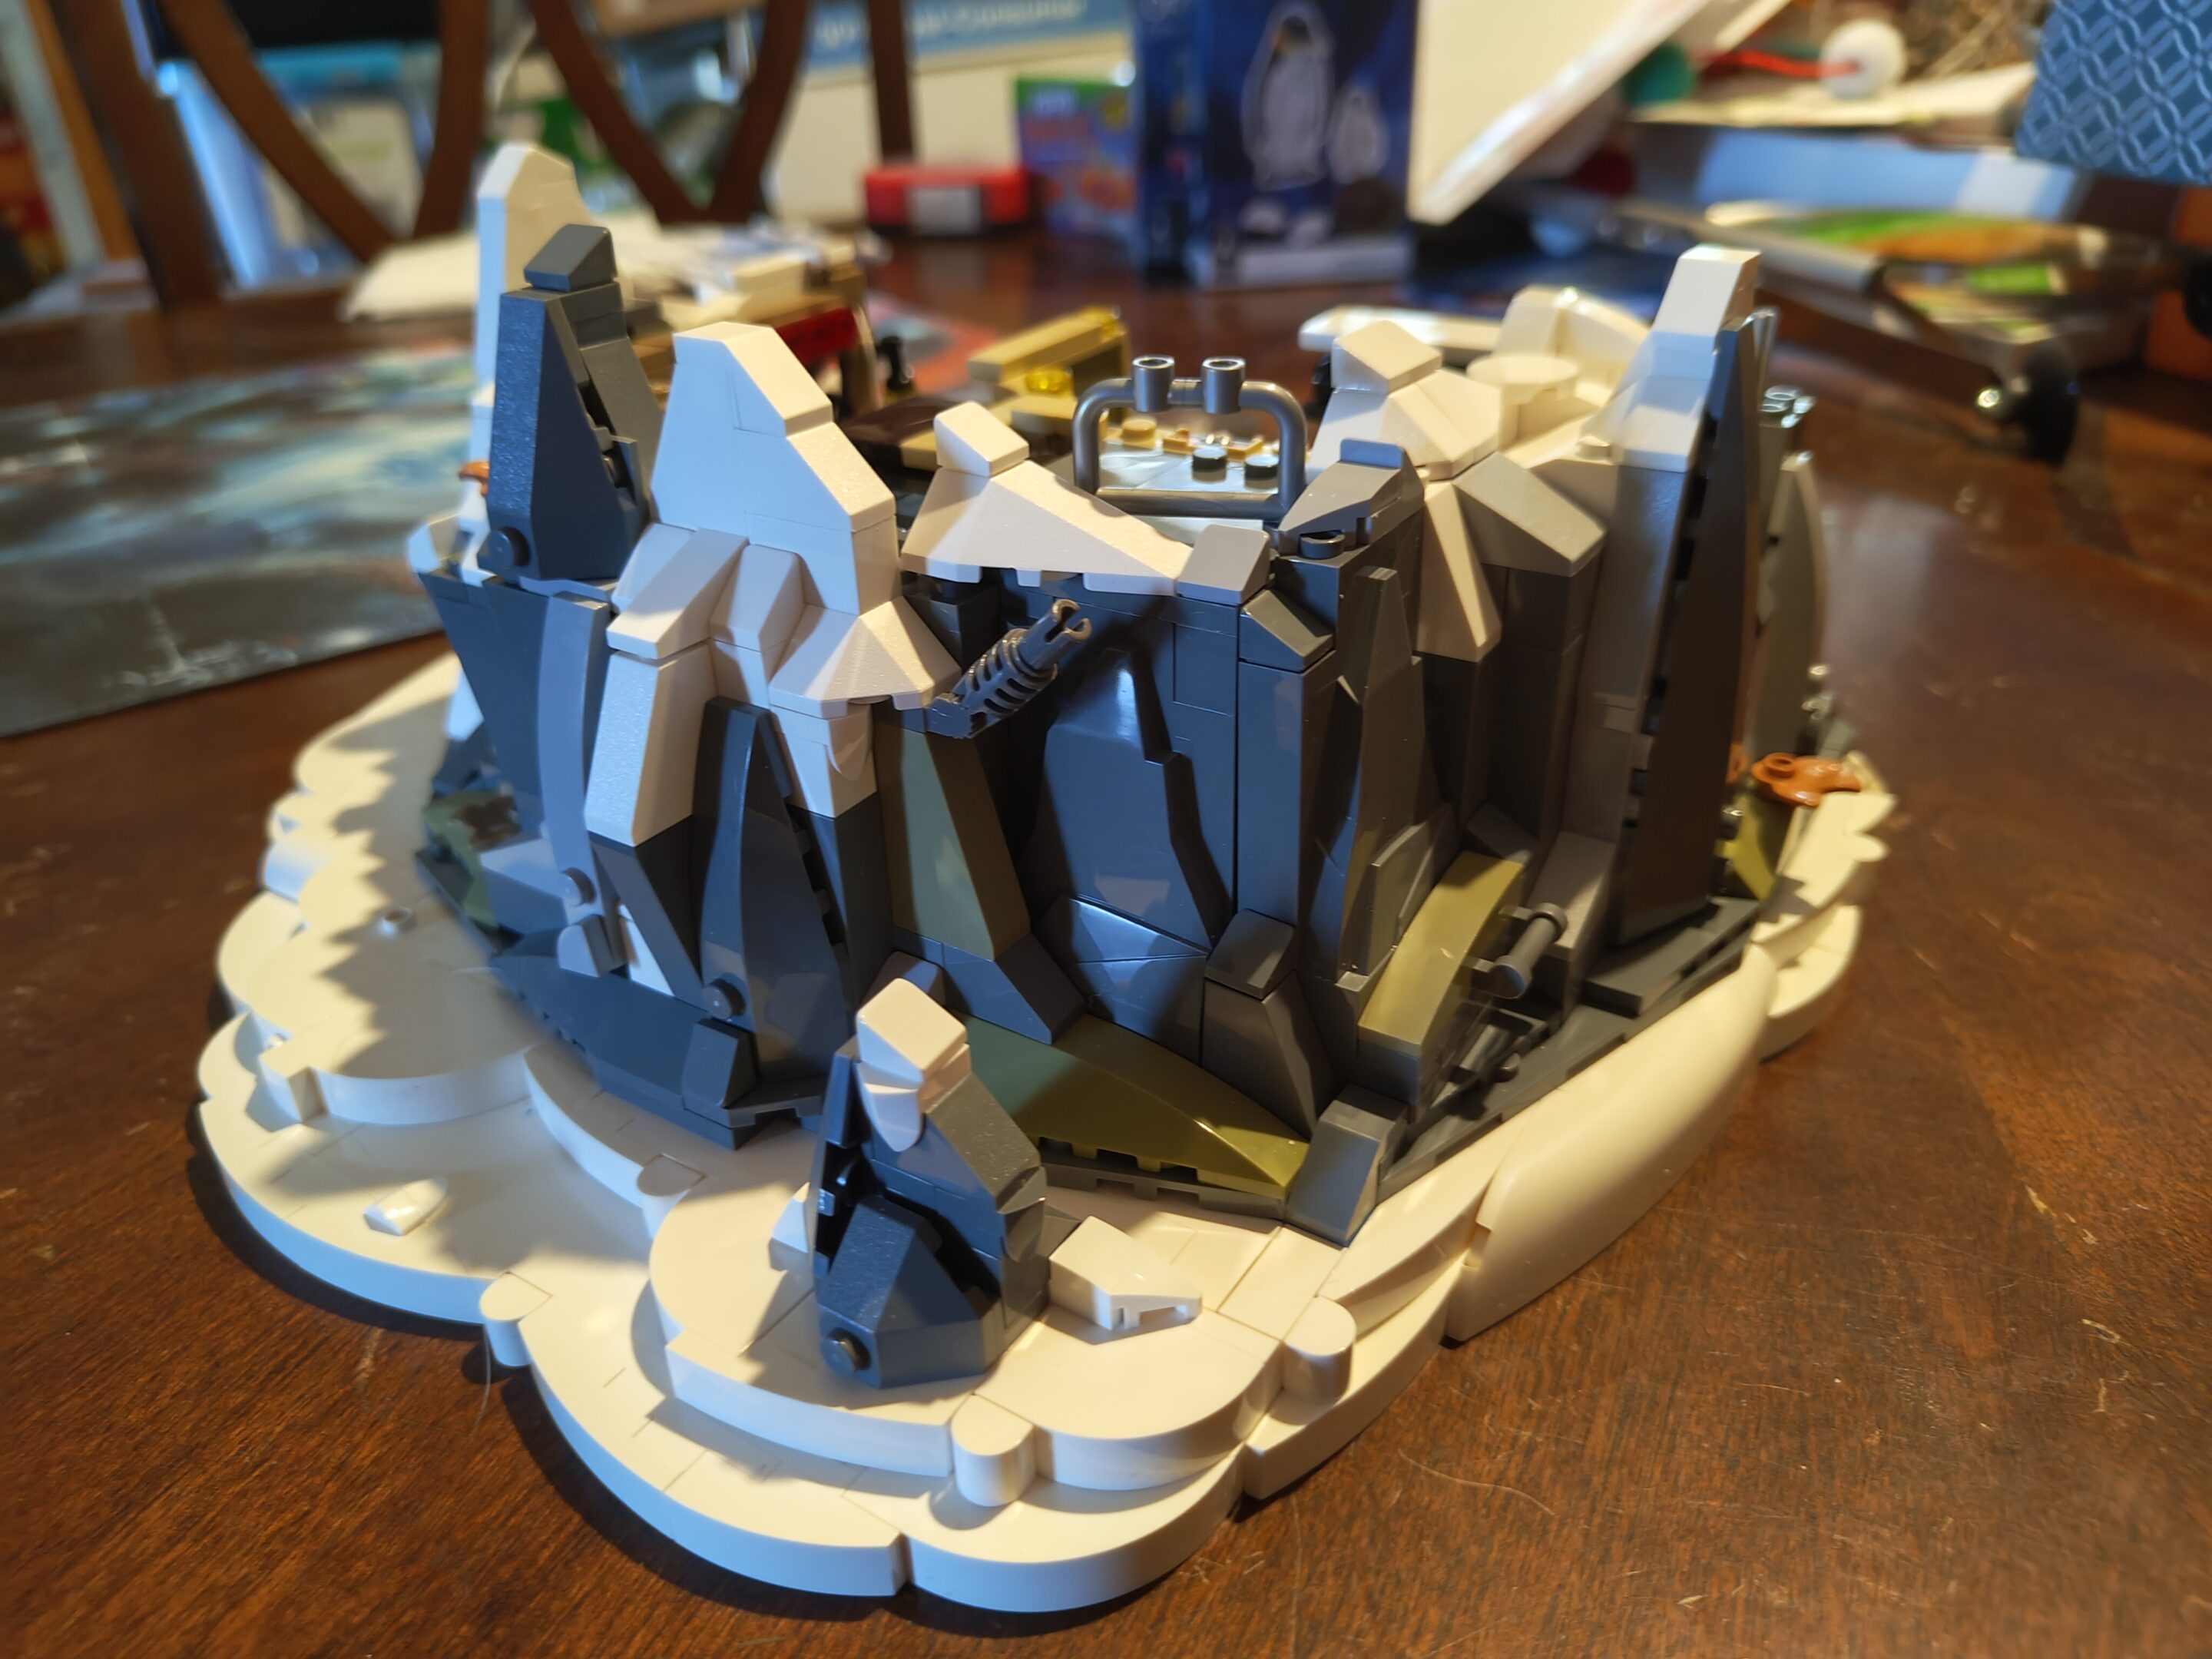
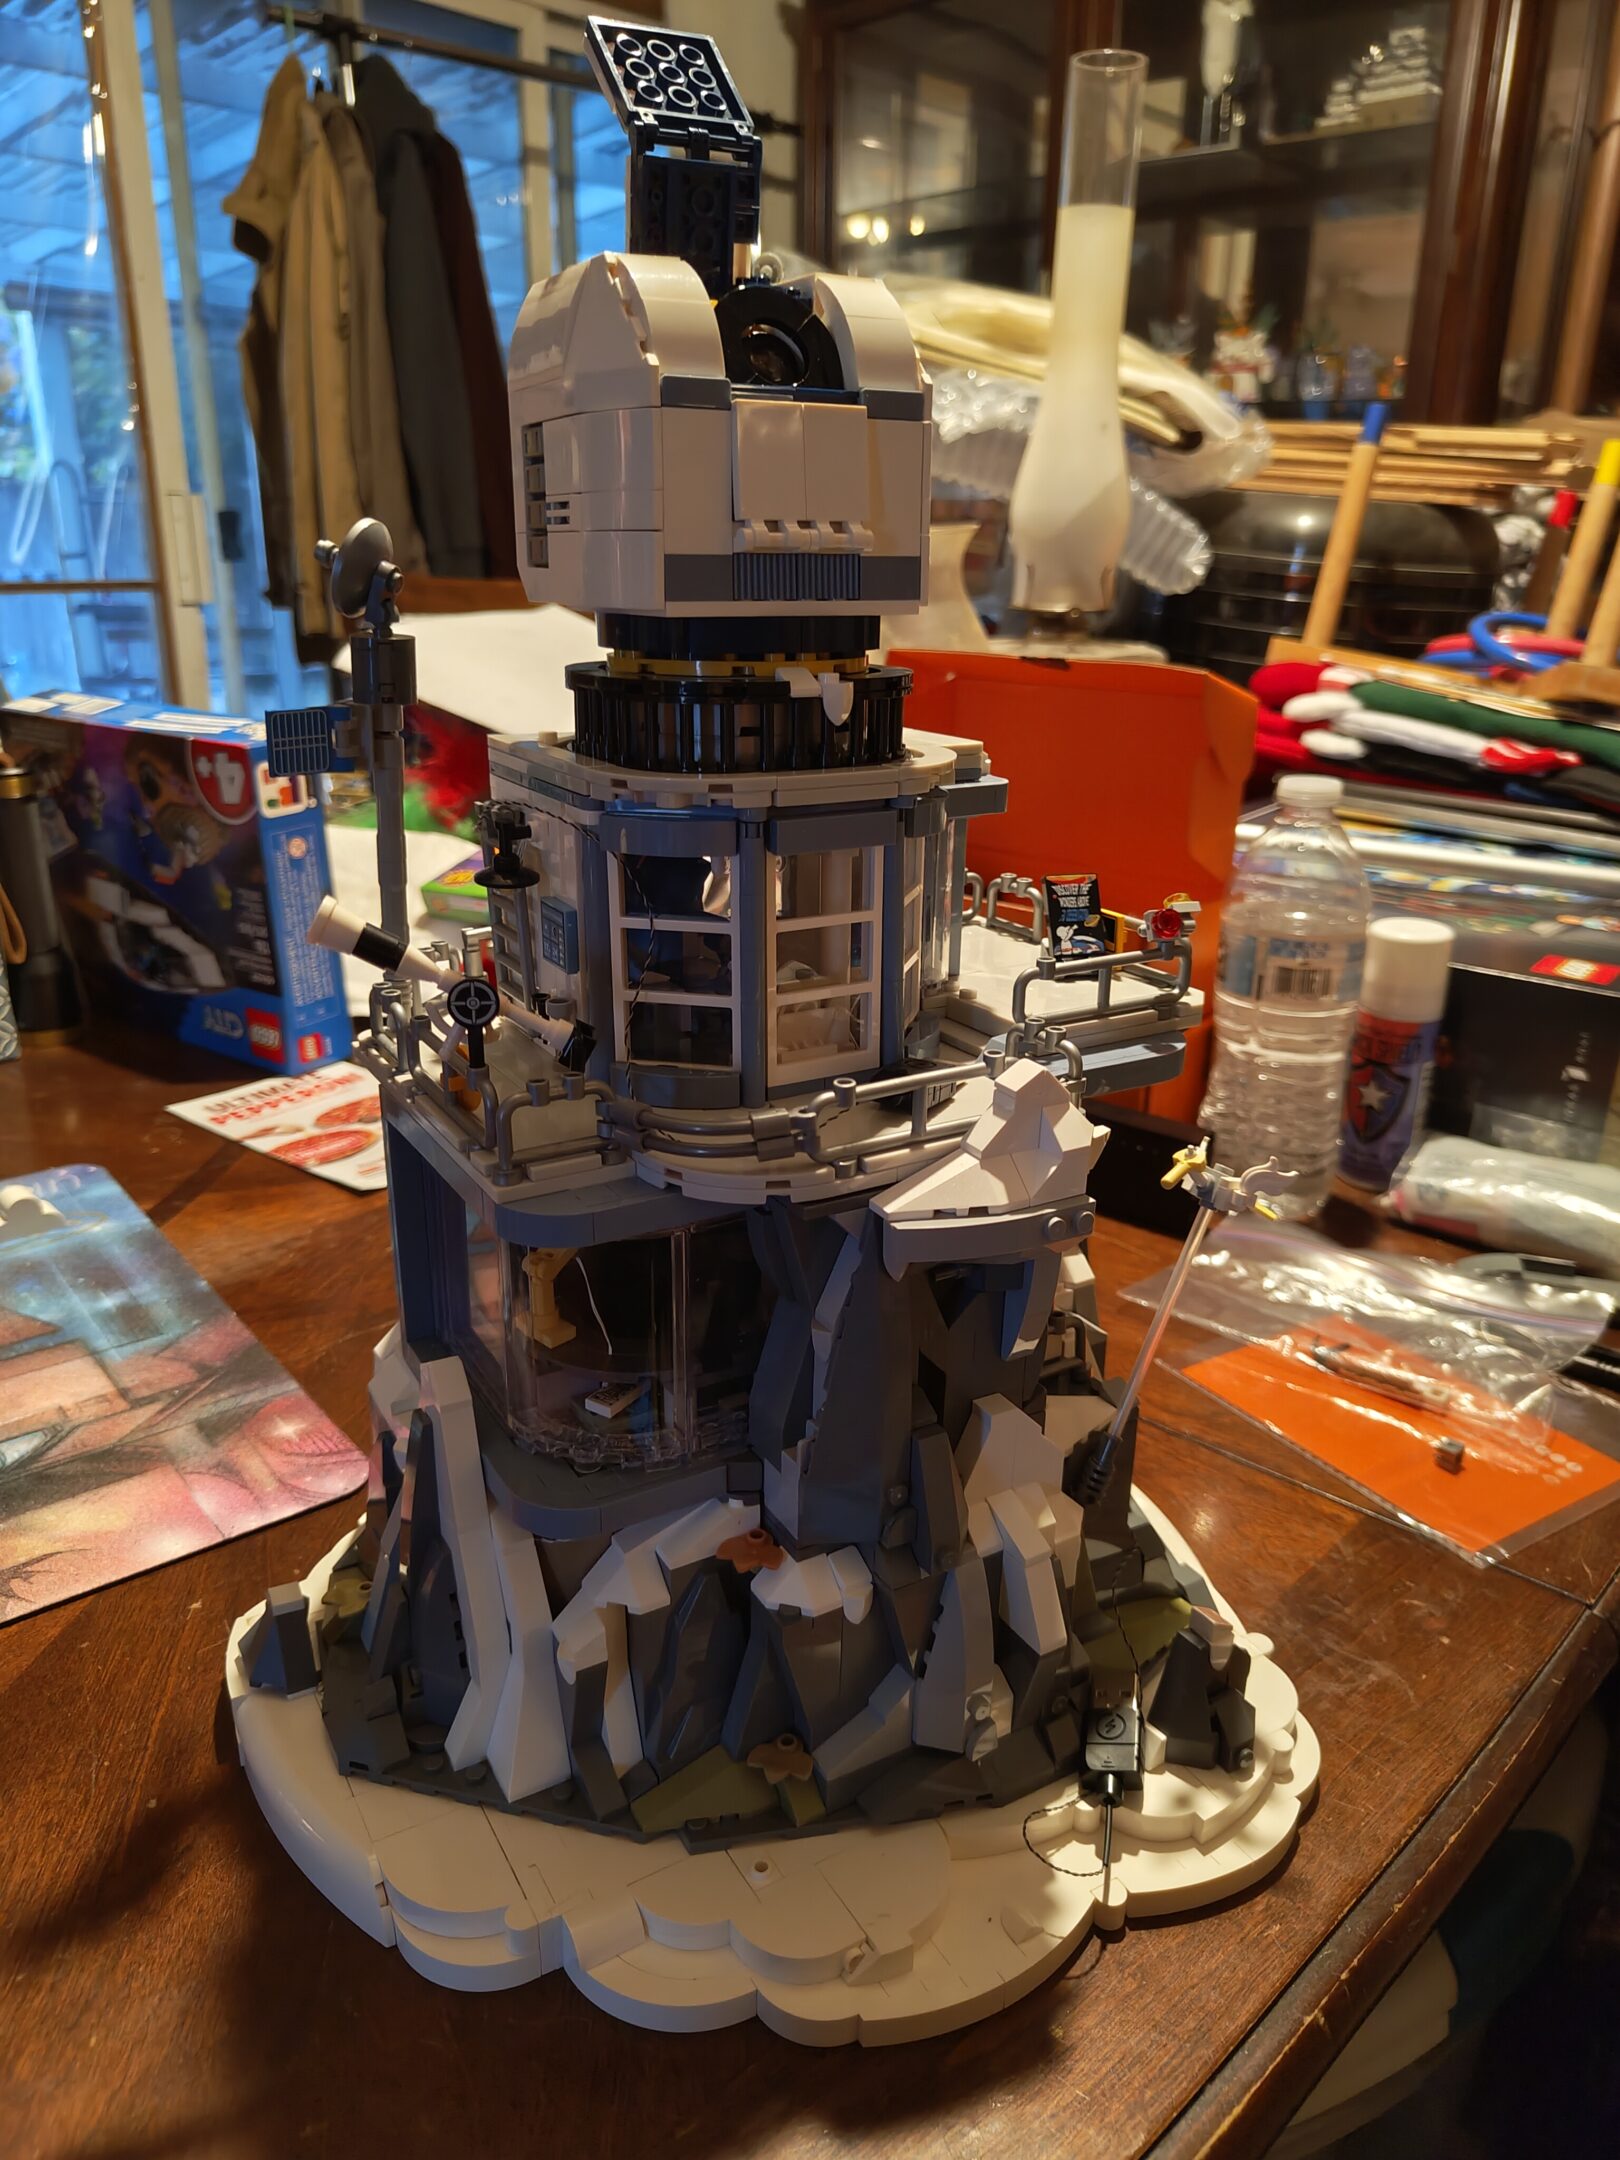
this set just dropped on lumi’s site or amazon and figured it looked like fun while waiting for the cyberpunk train station set (which came out yesterday, september 12th) a little quicker than expected but i’d already bought this one, might as well full send. also this was the first one i got with only the lumibricks branding — much, much better brand name than funwhole, right?
update: 18 september 2025: finished
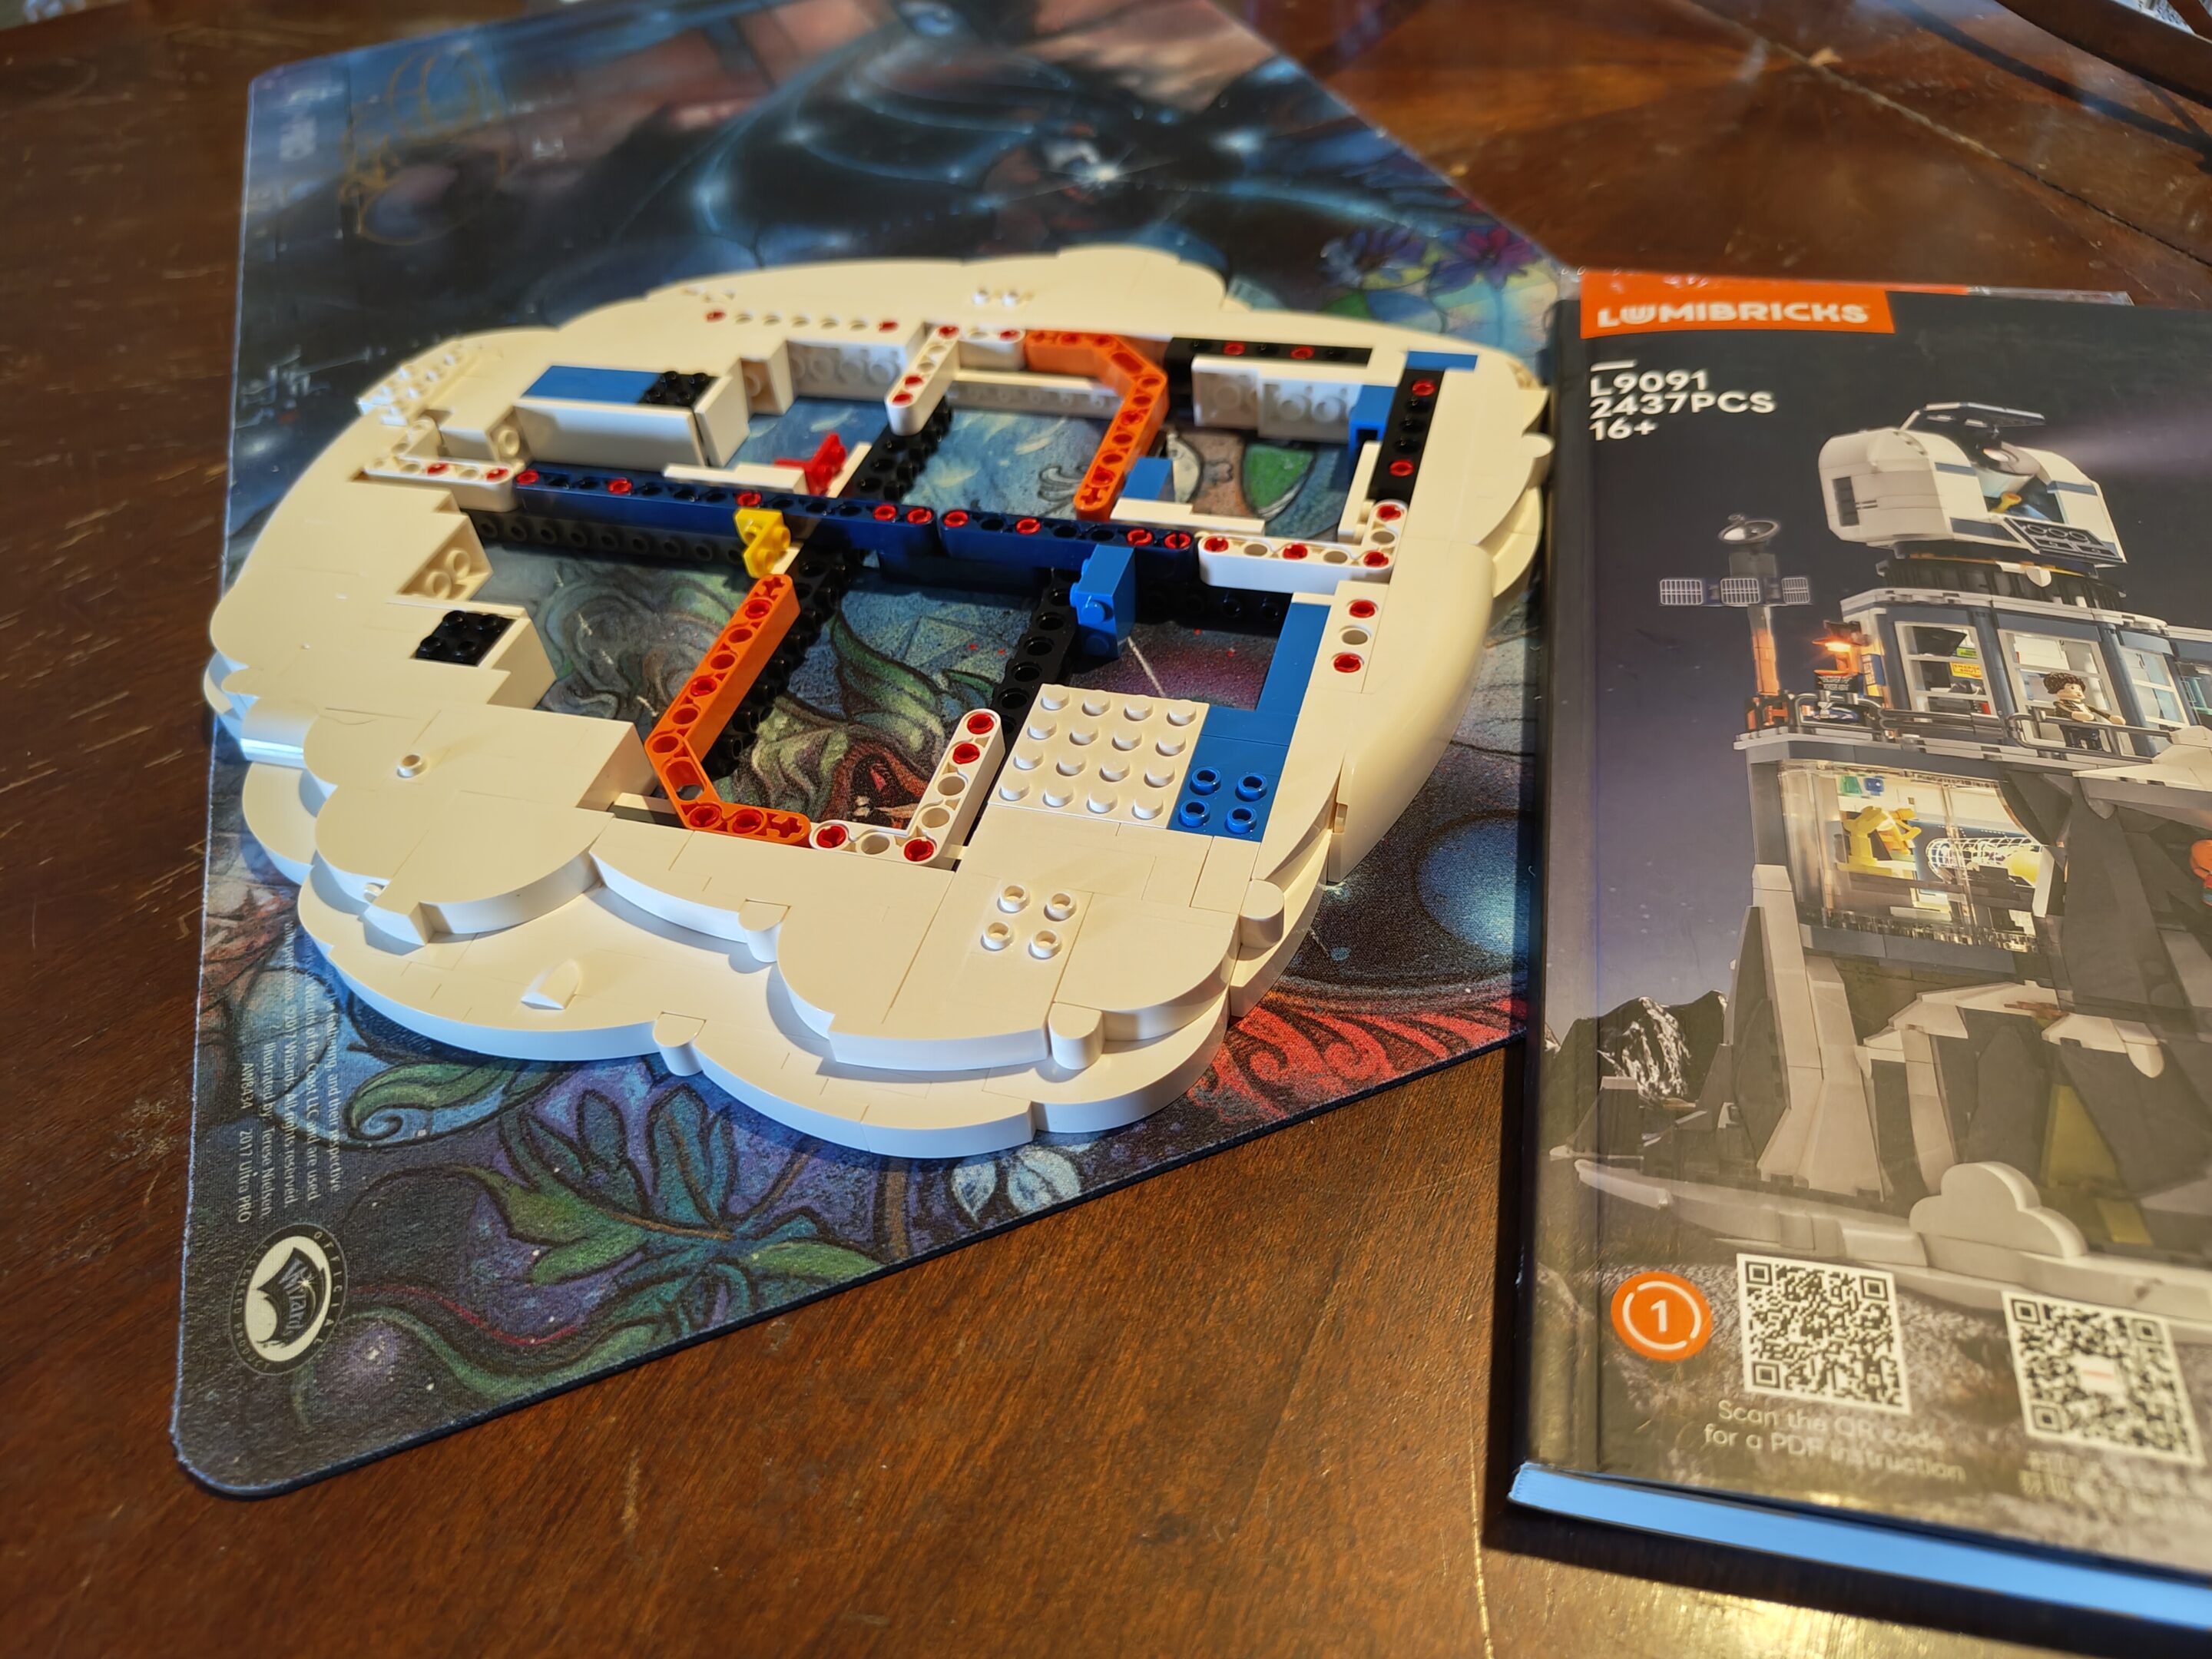
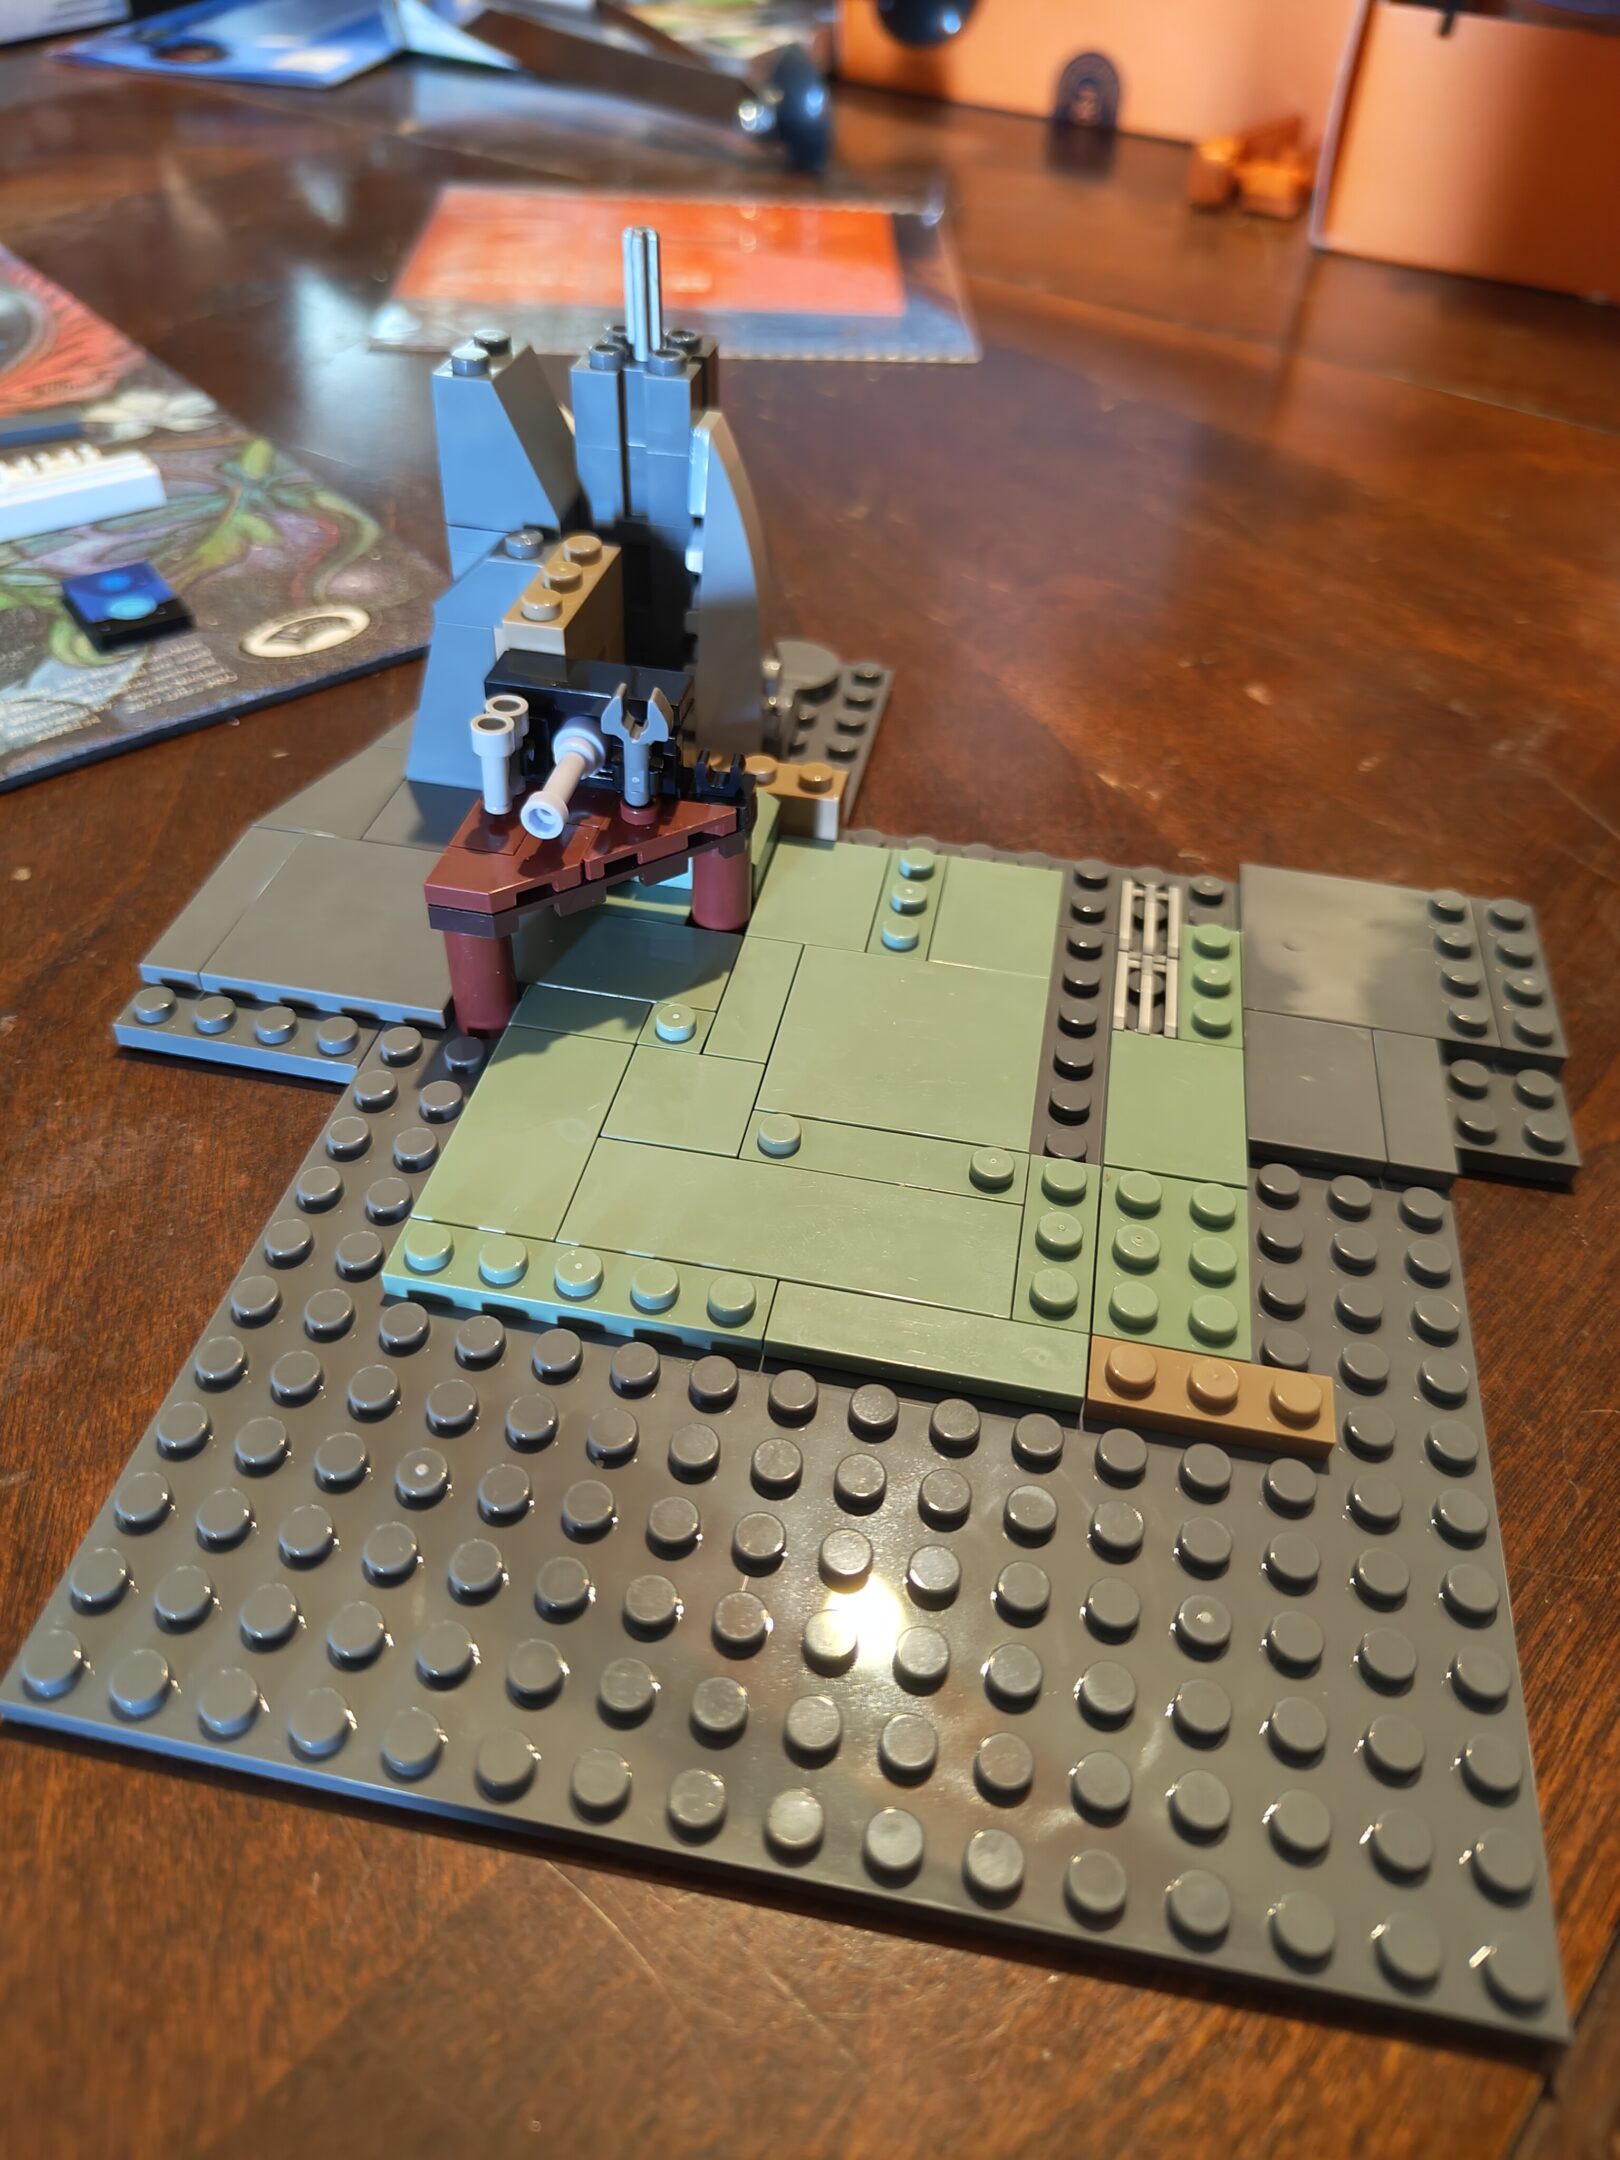
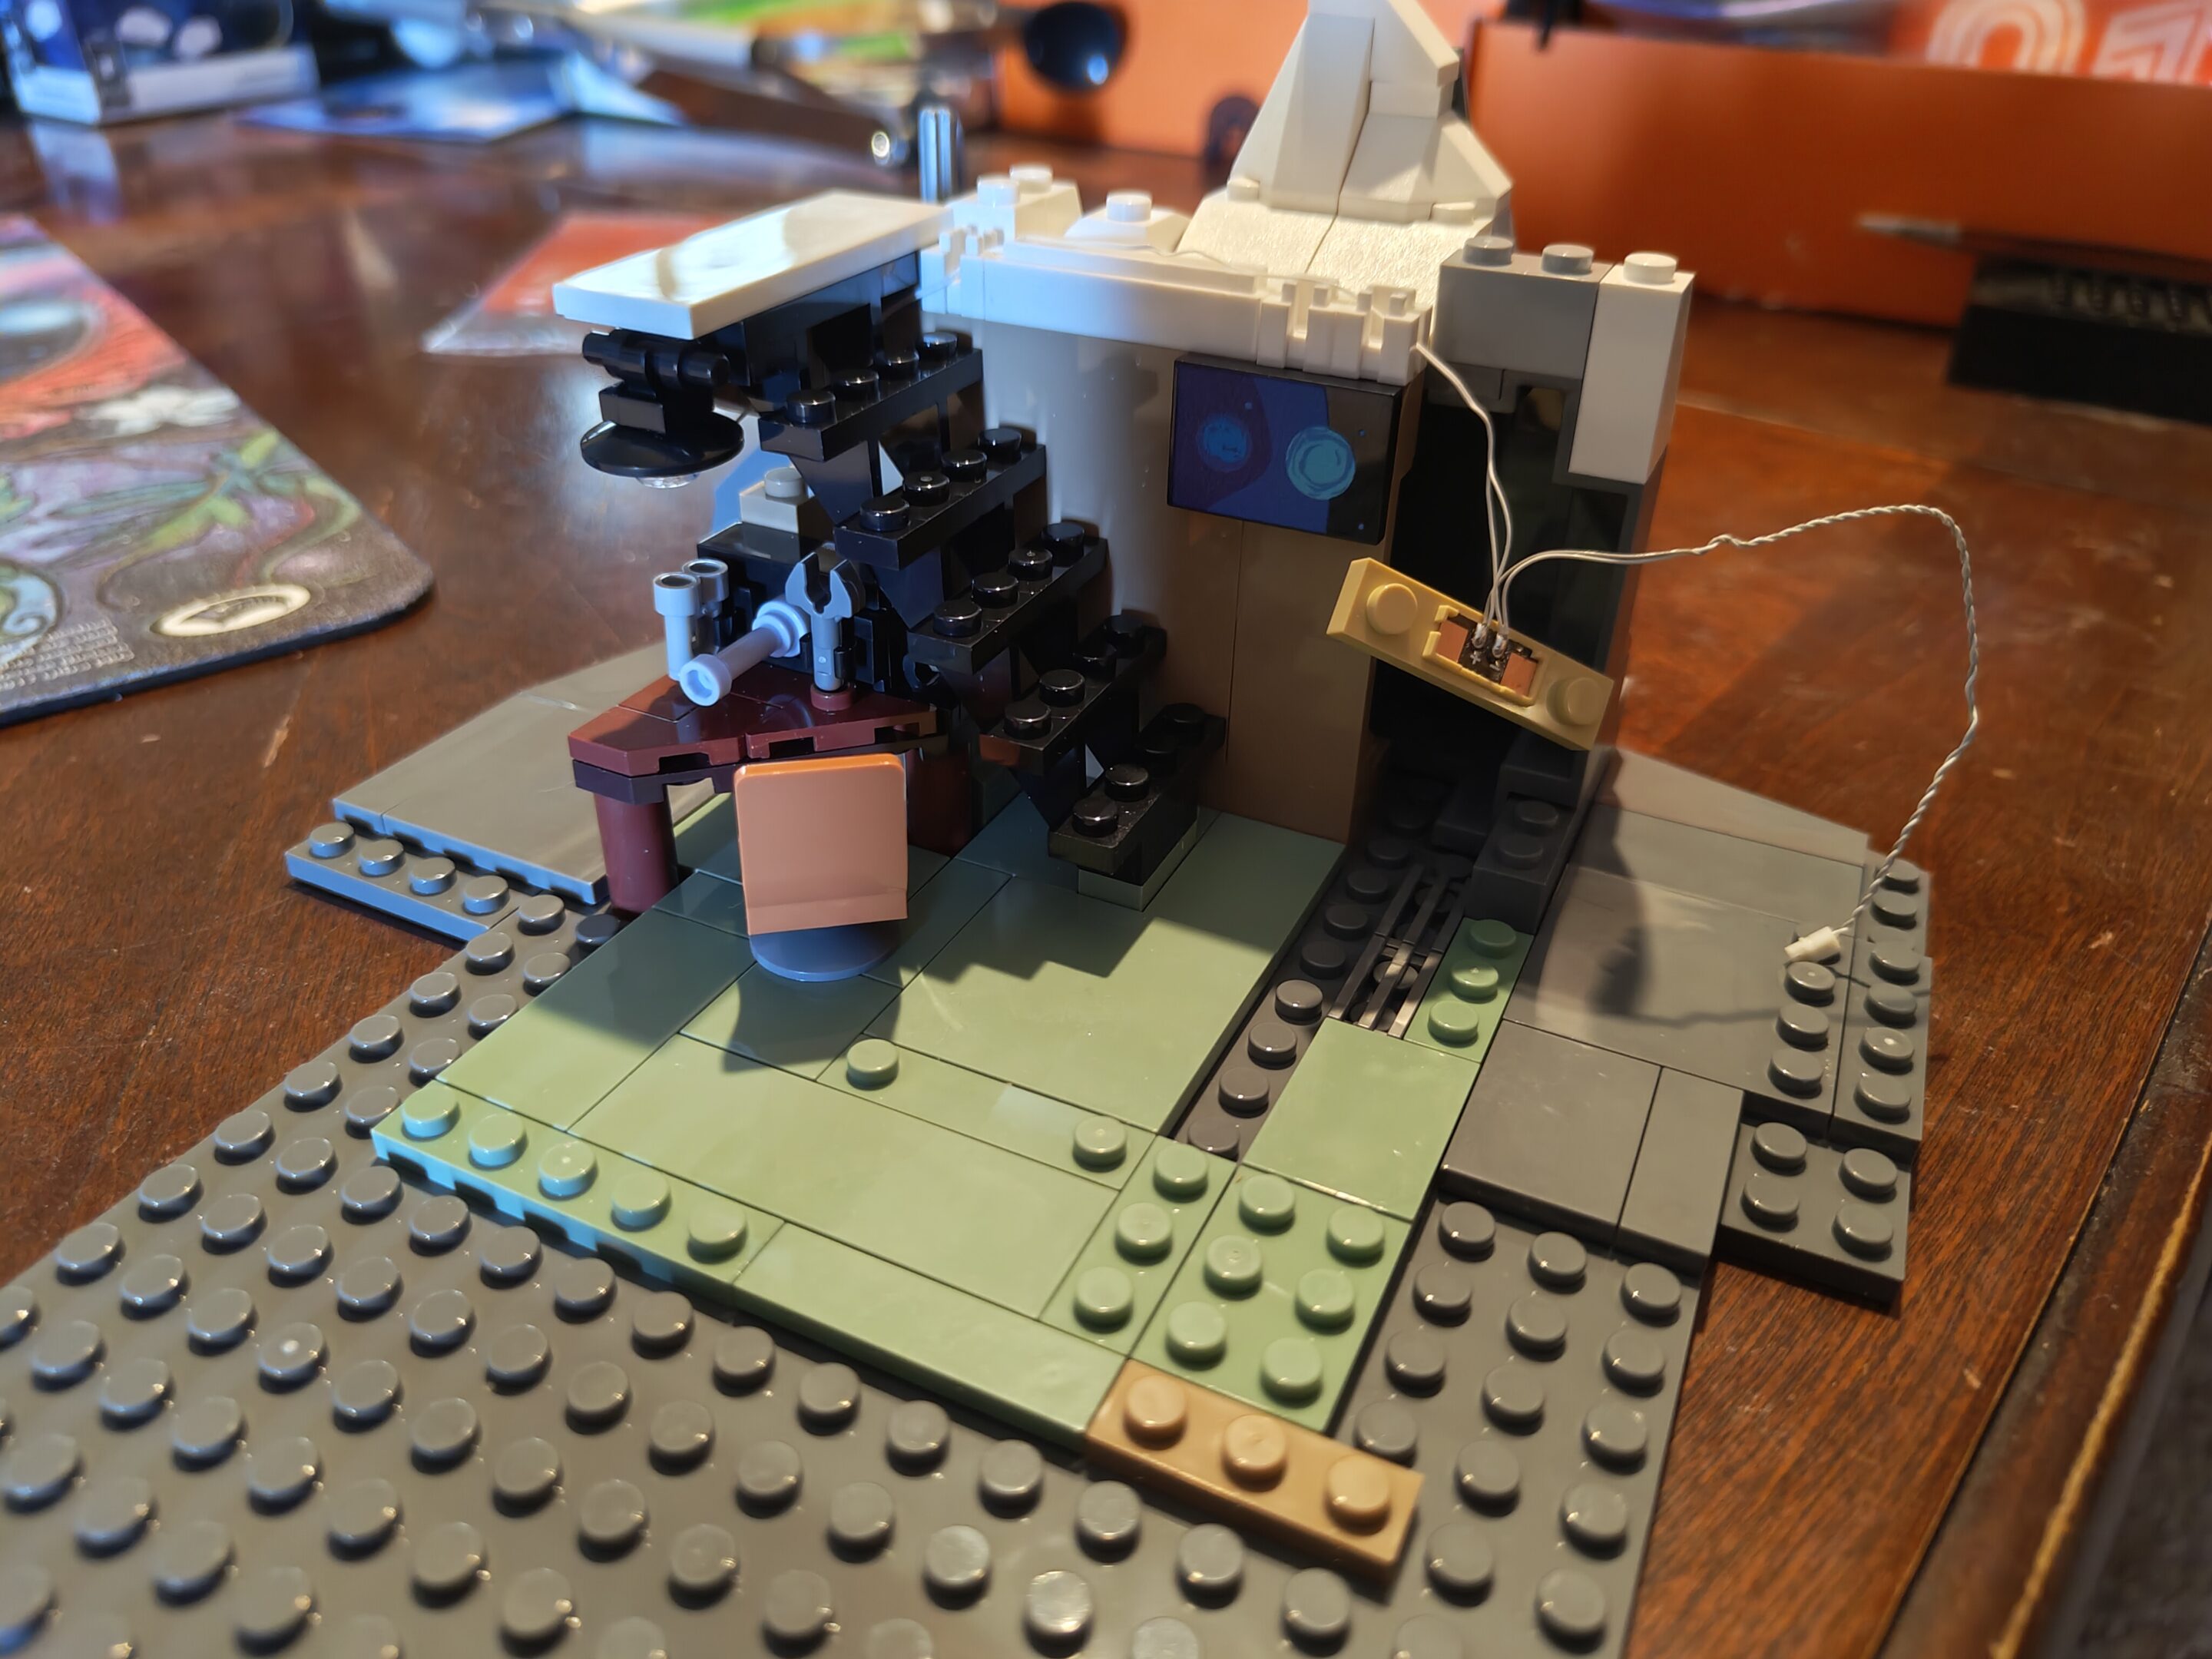
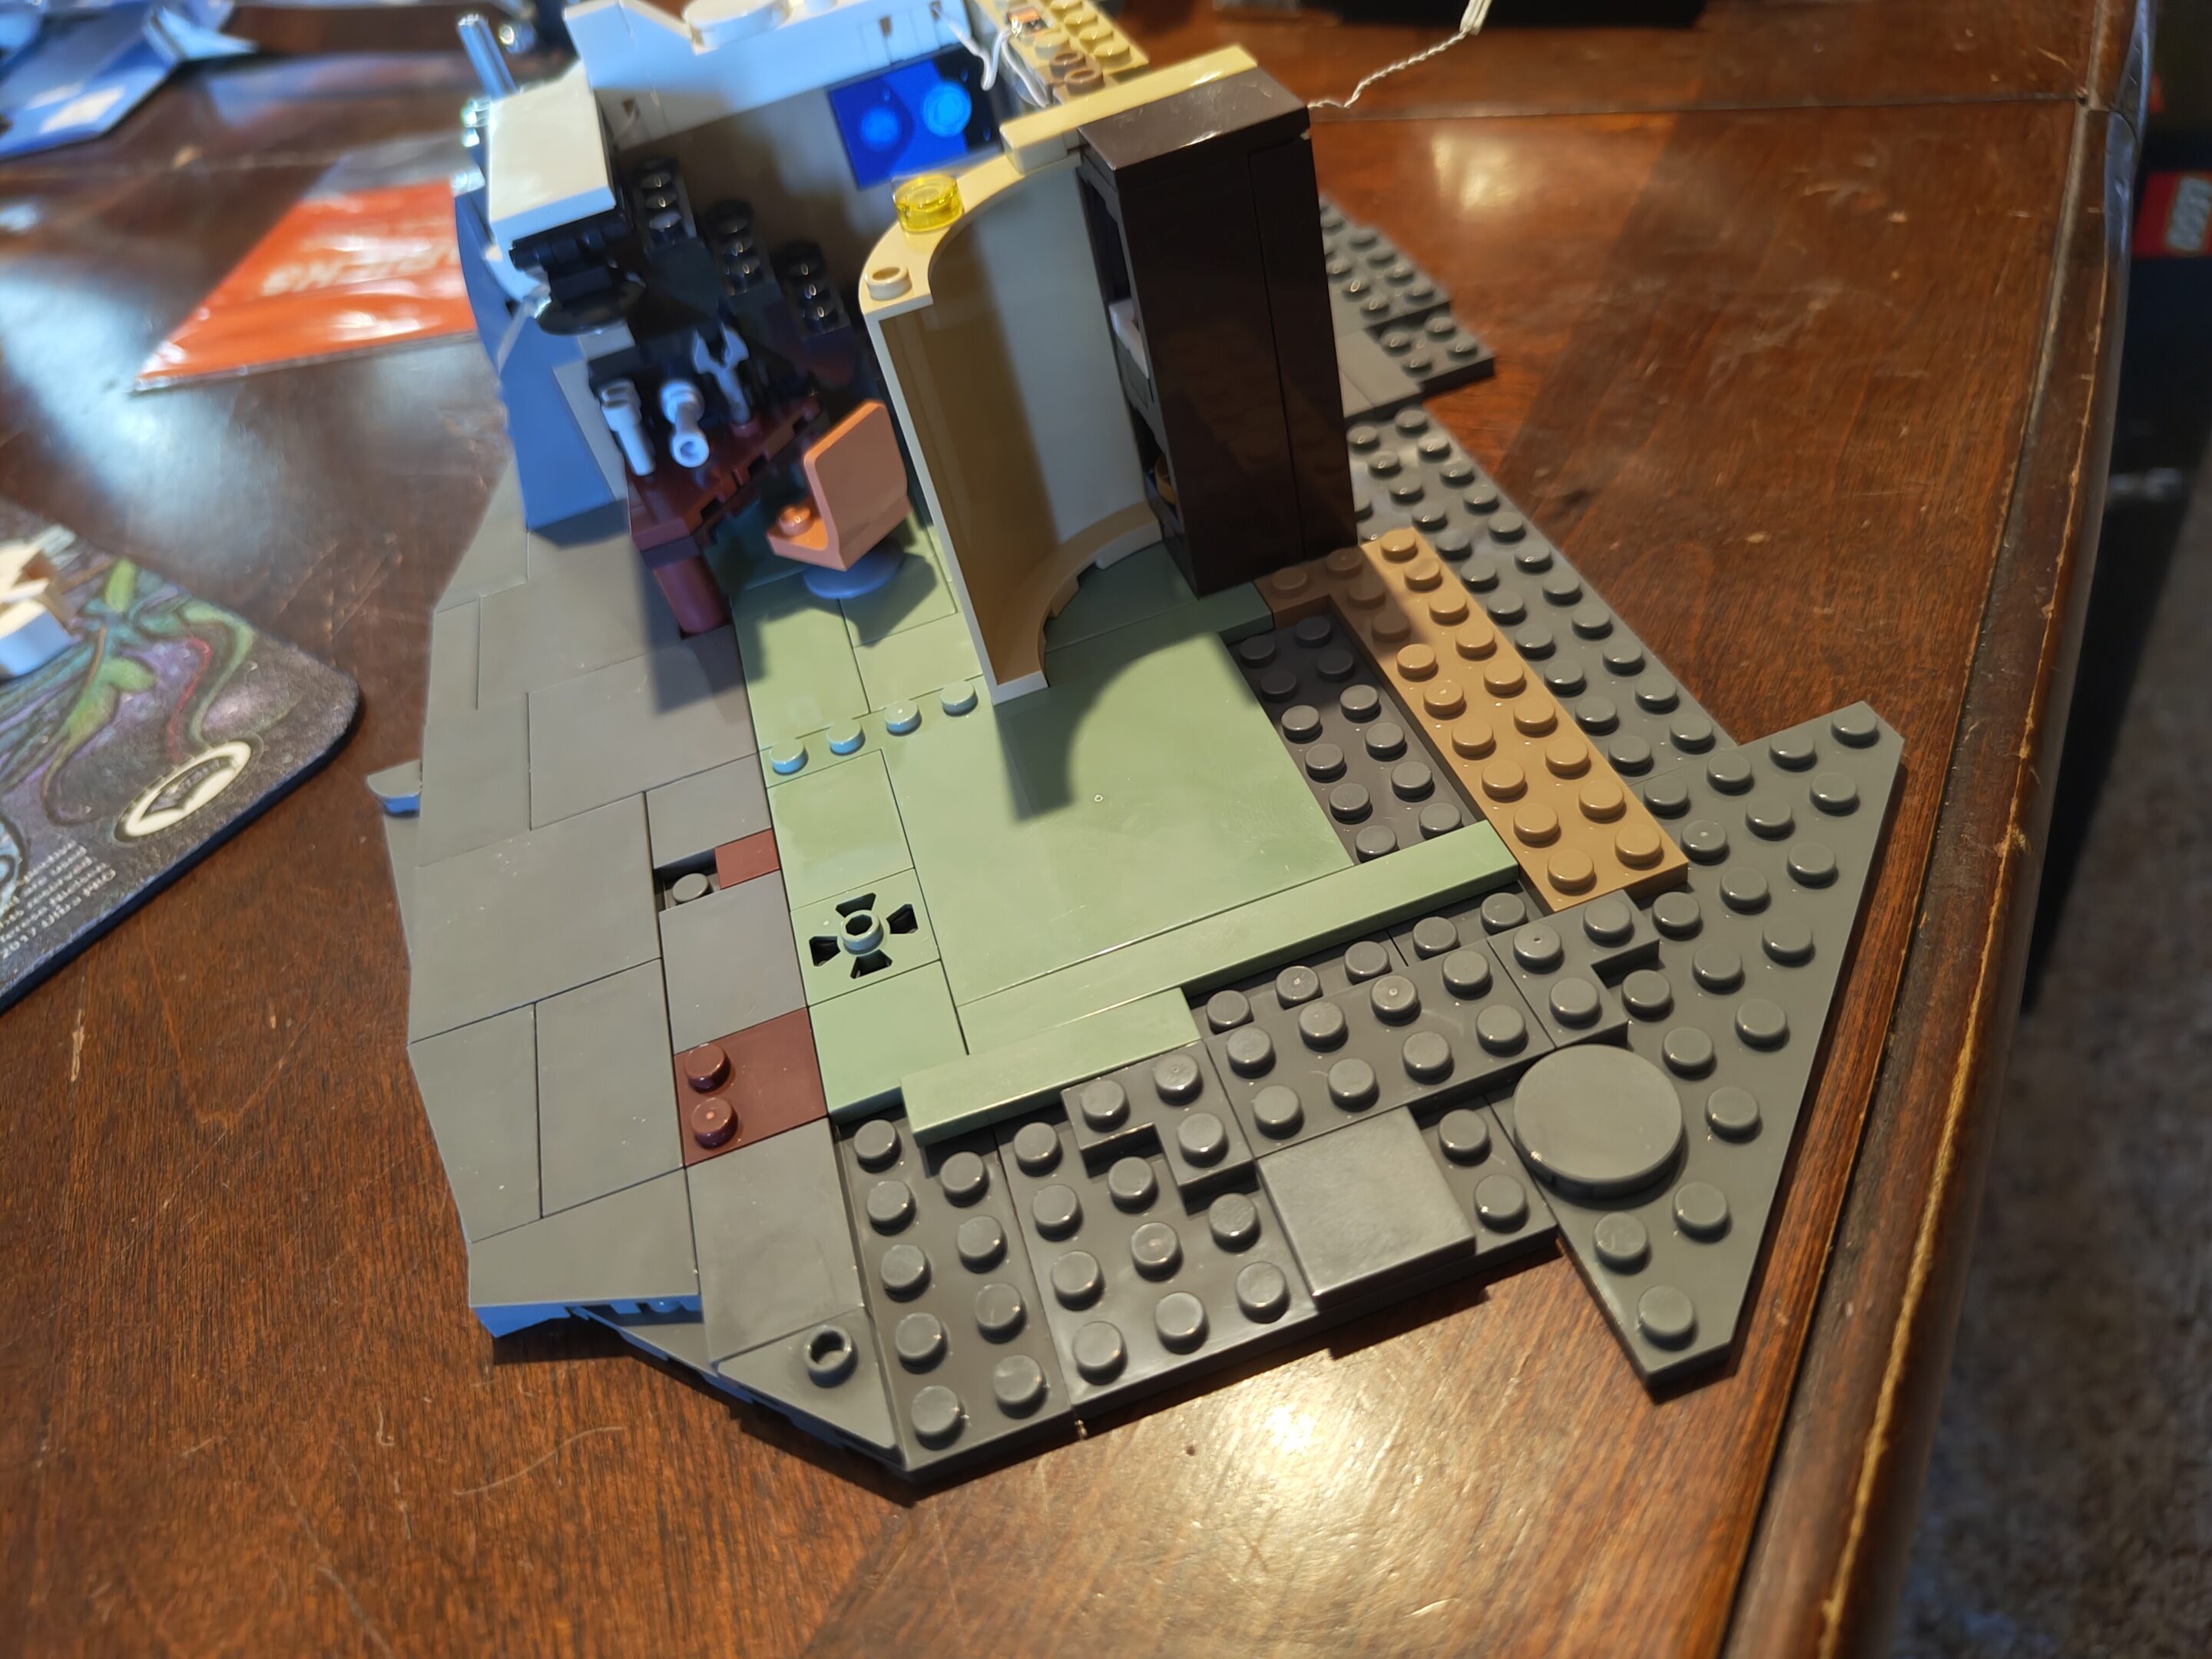
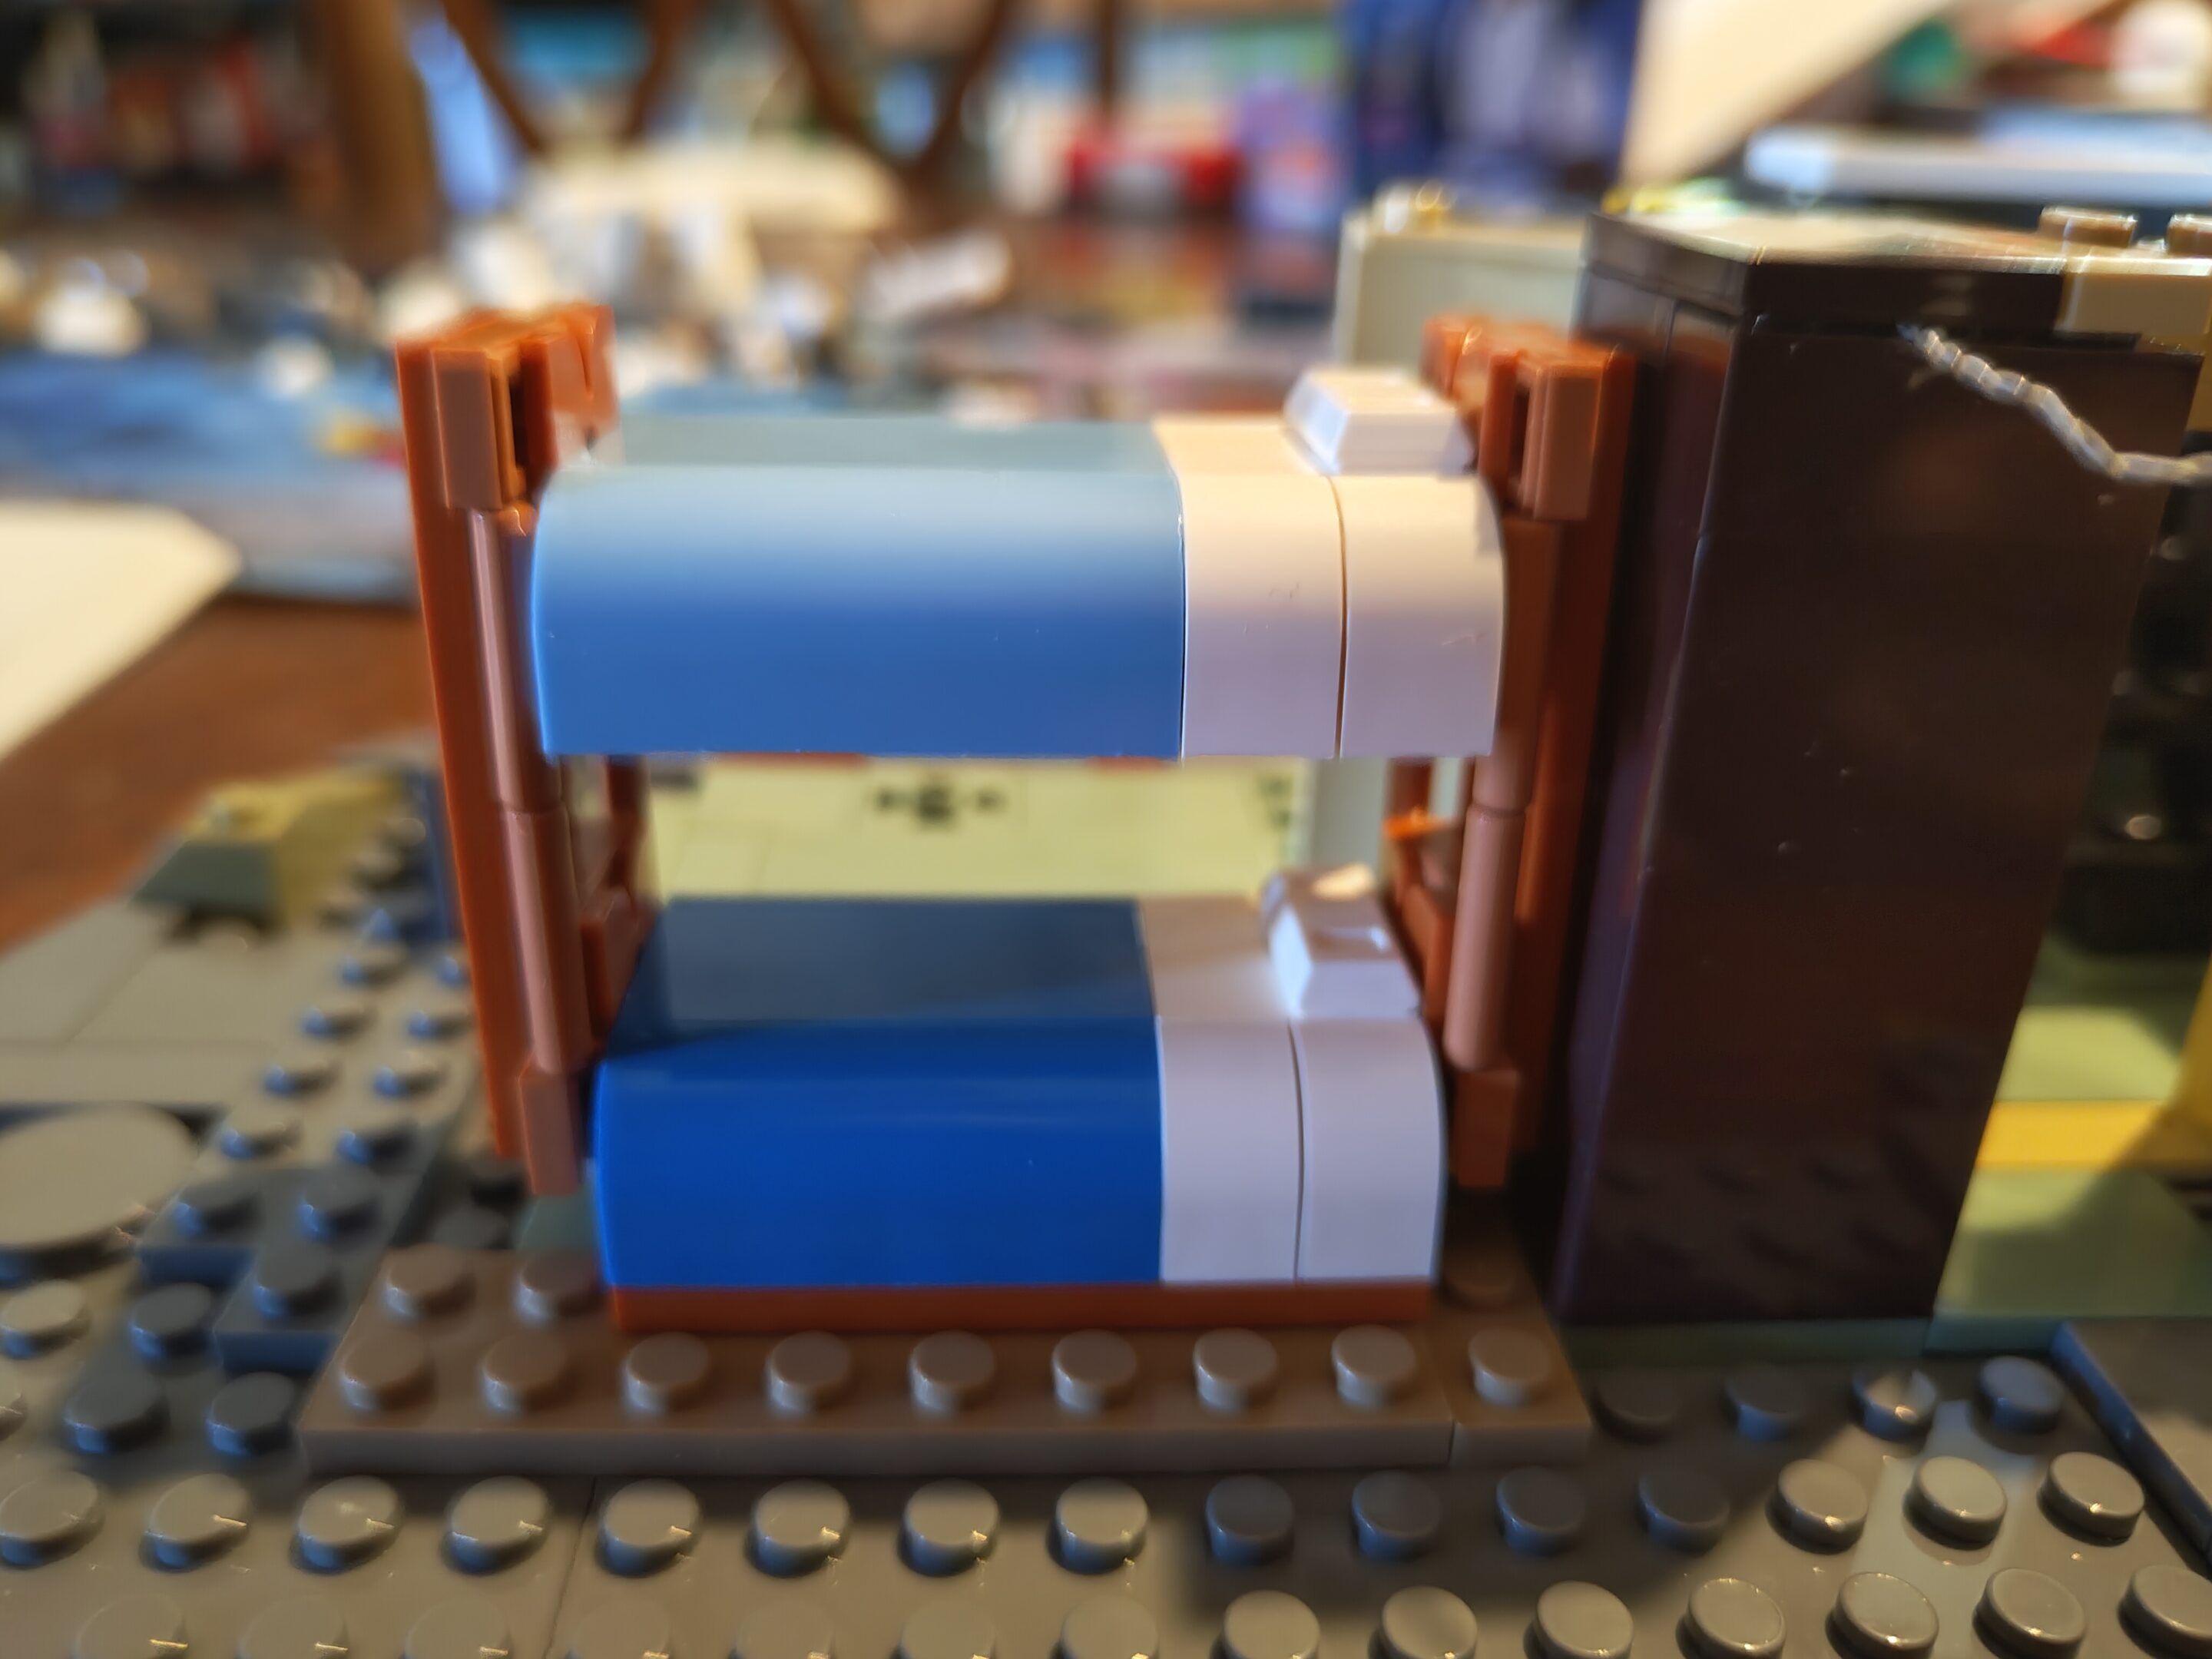
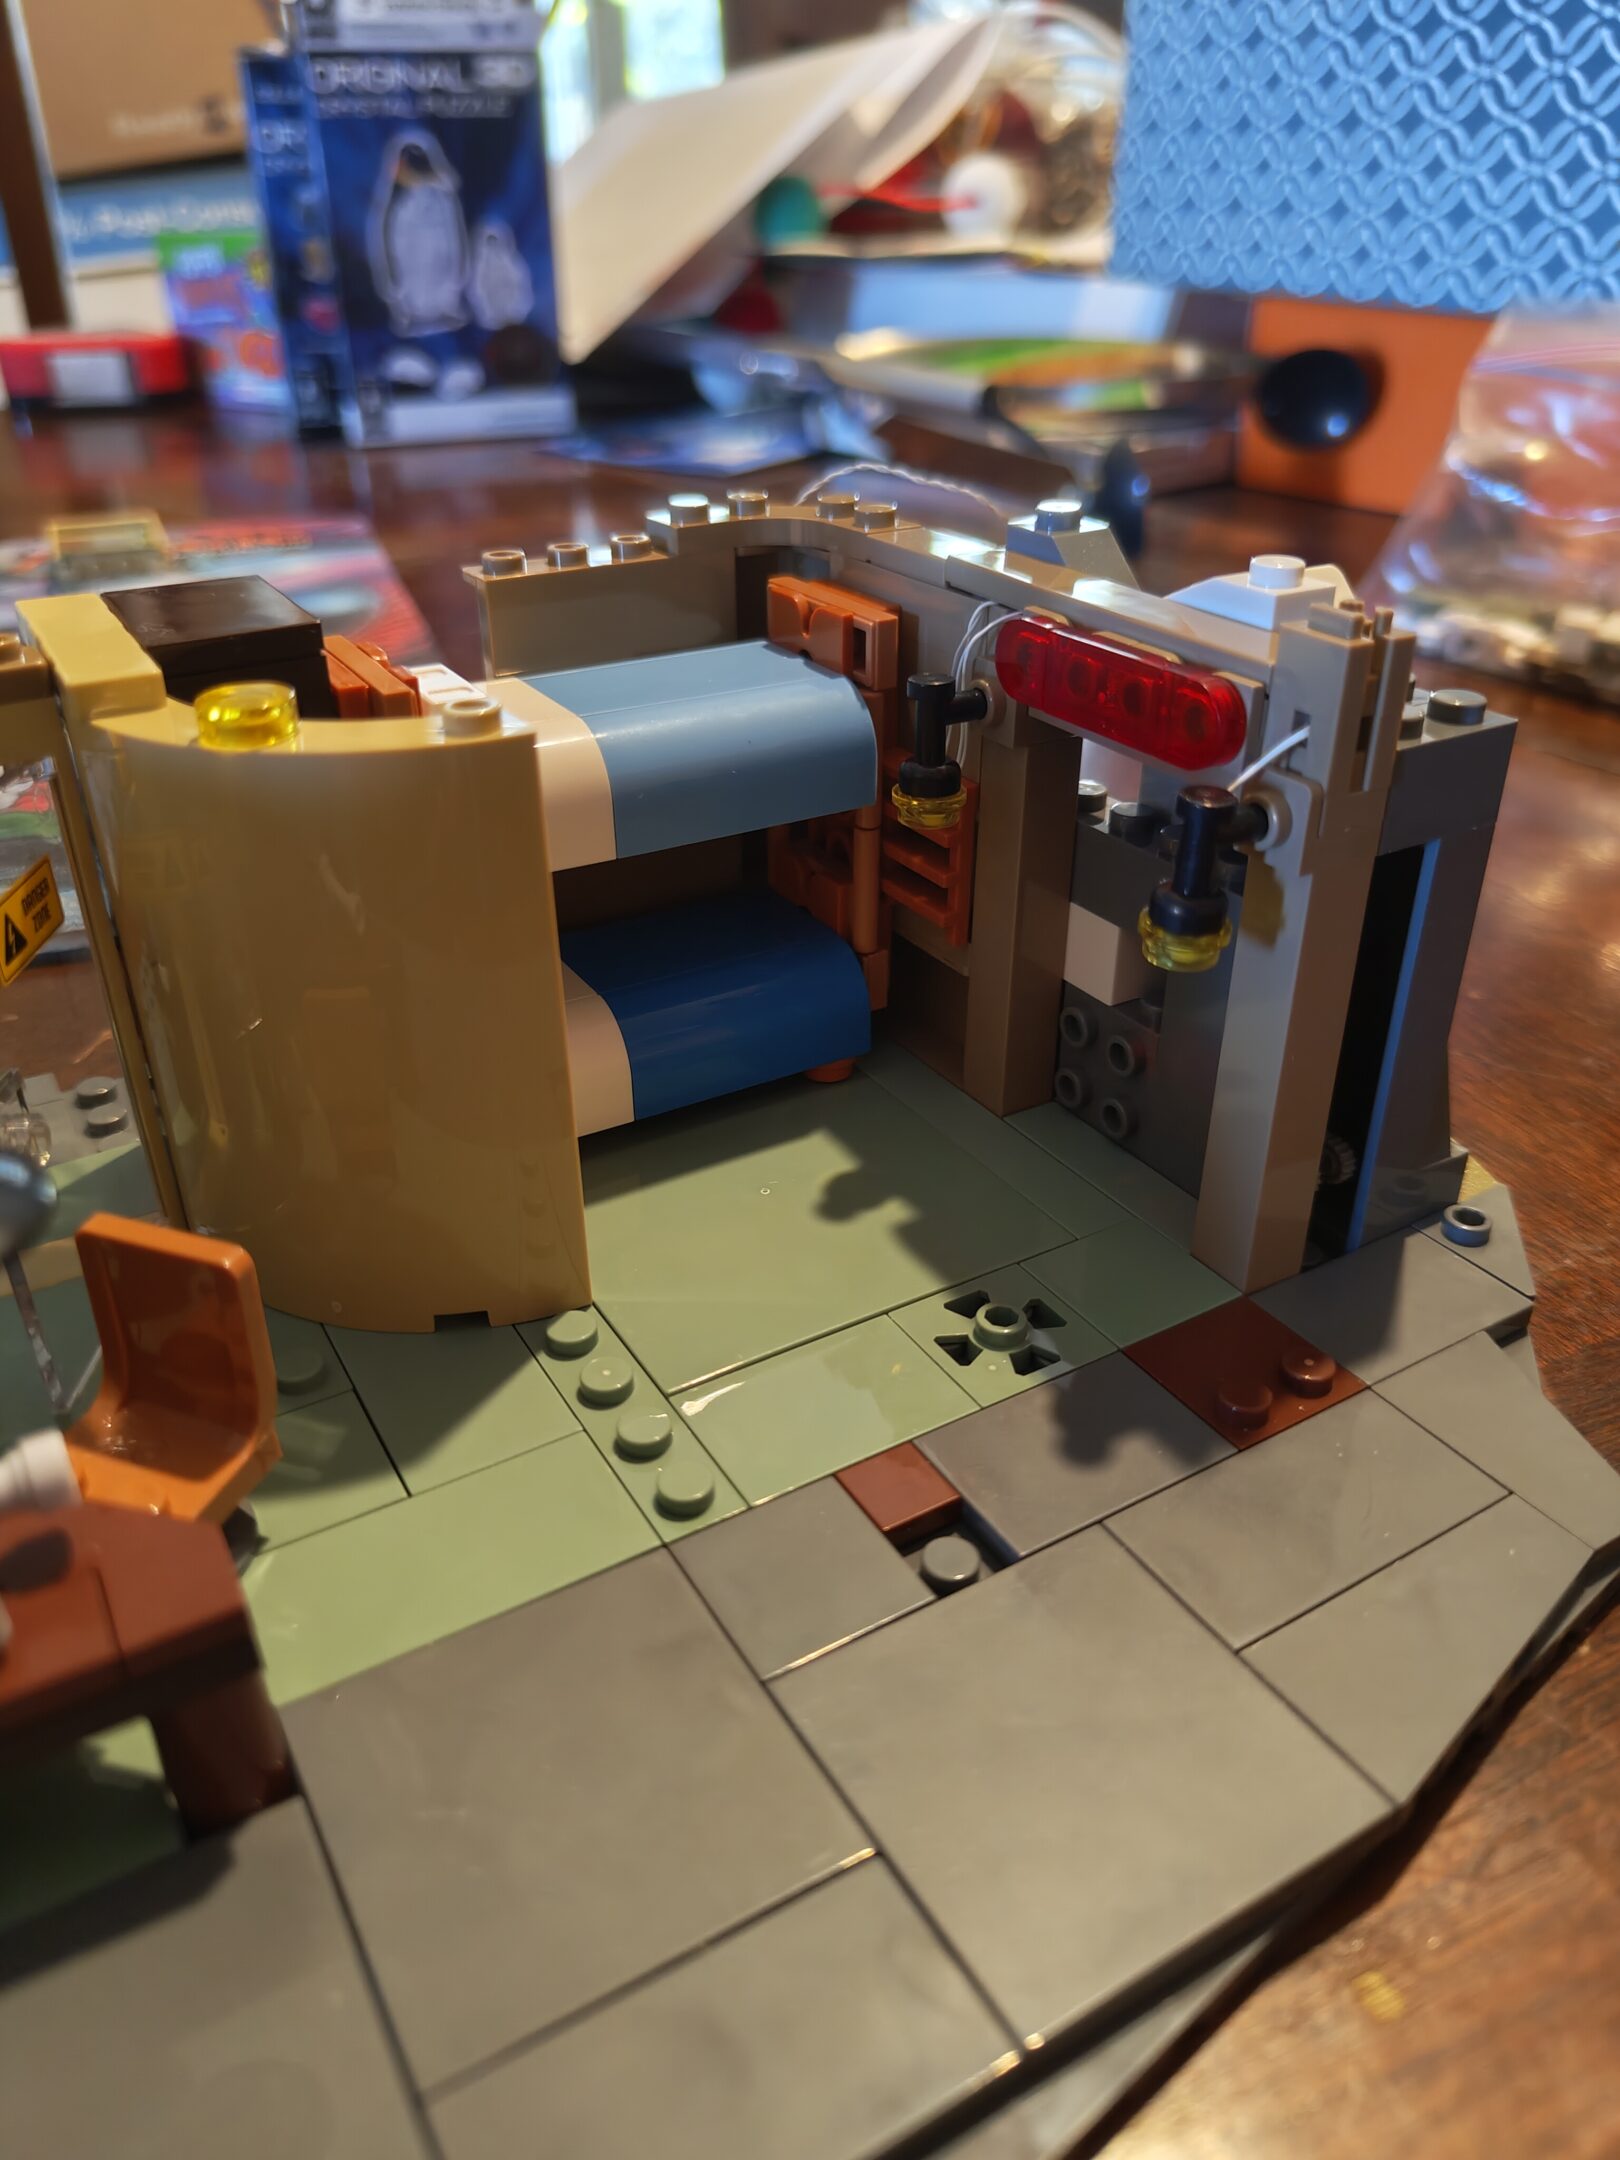
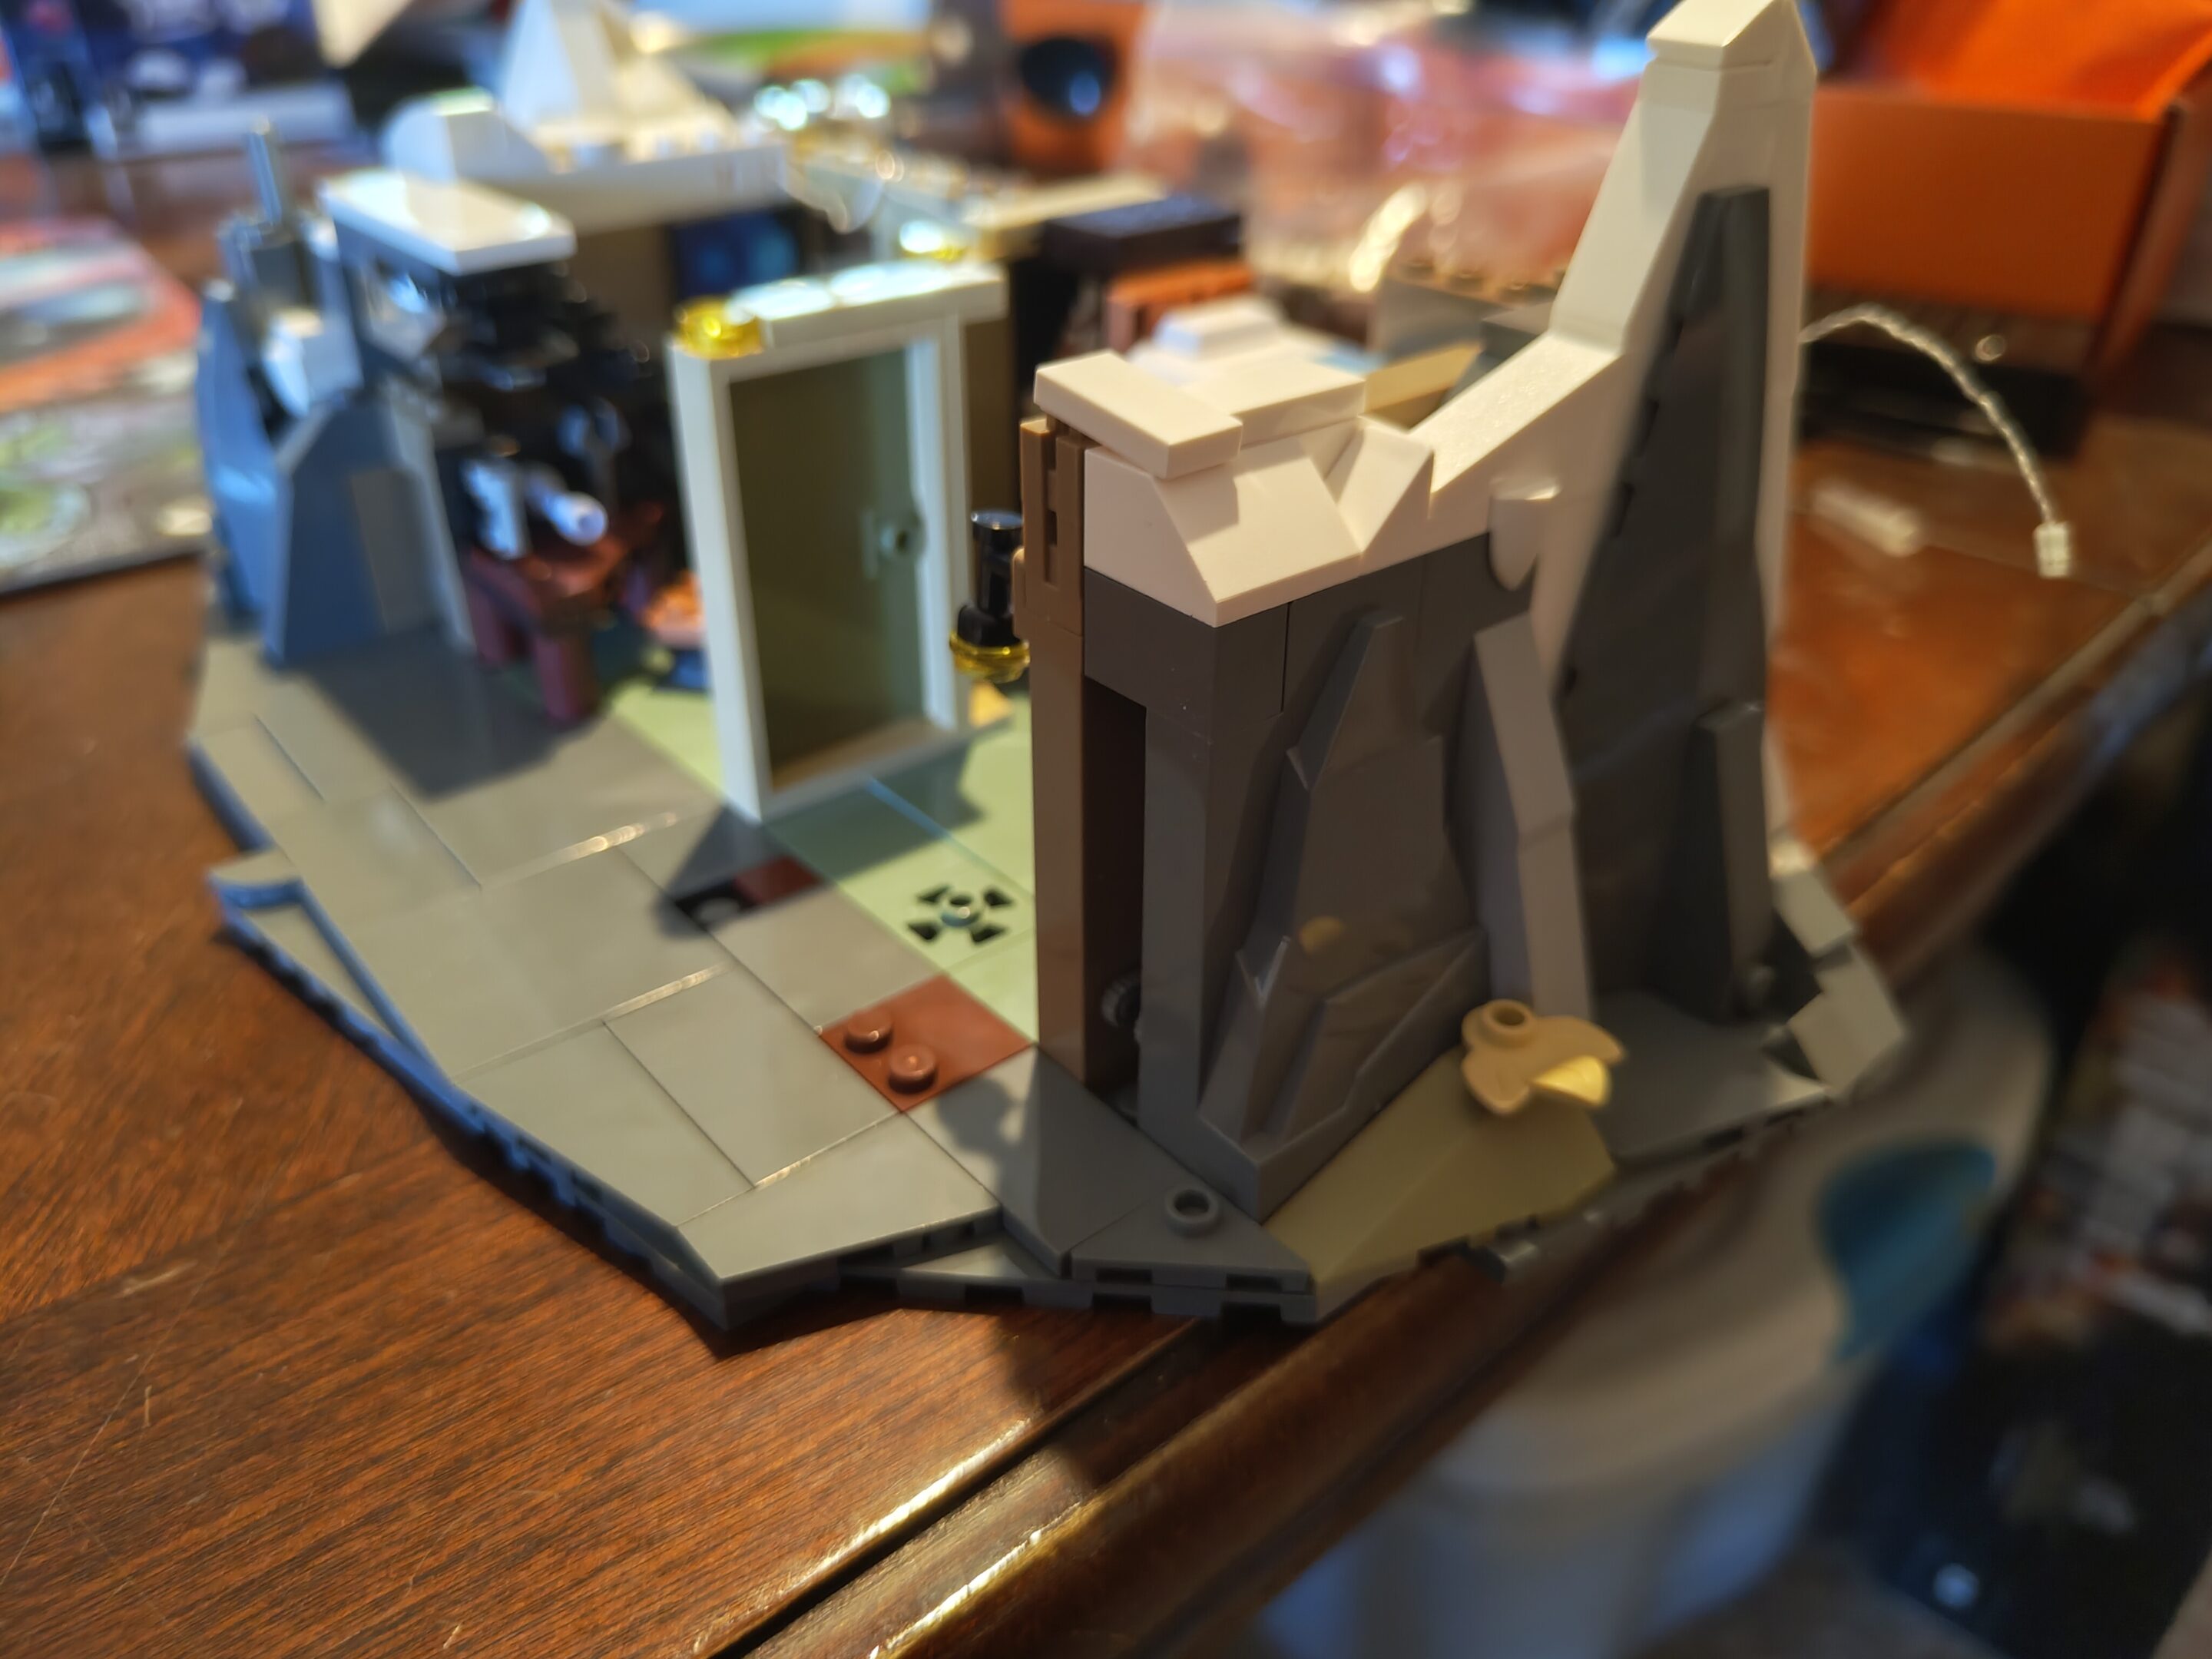
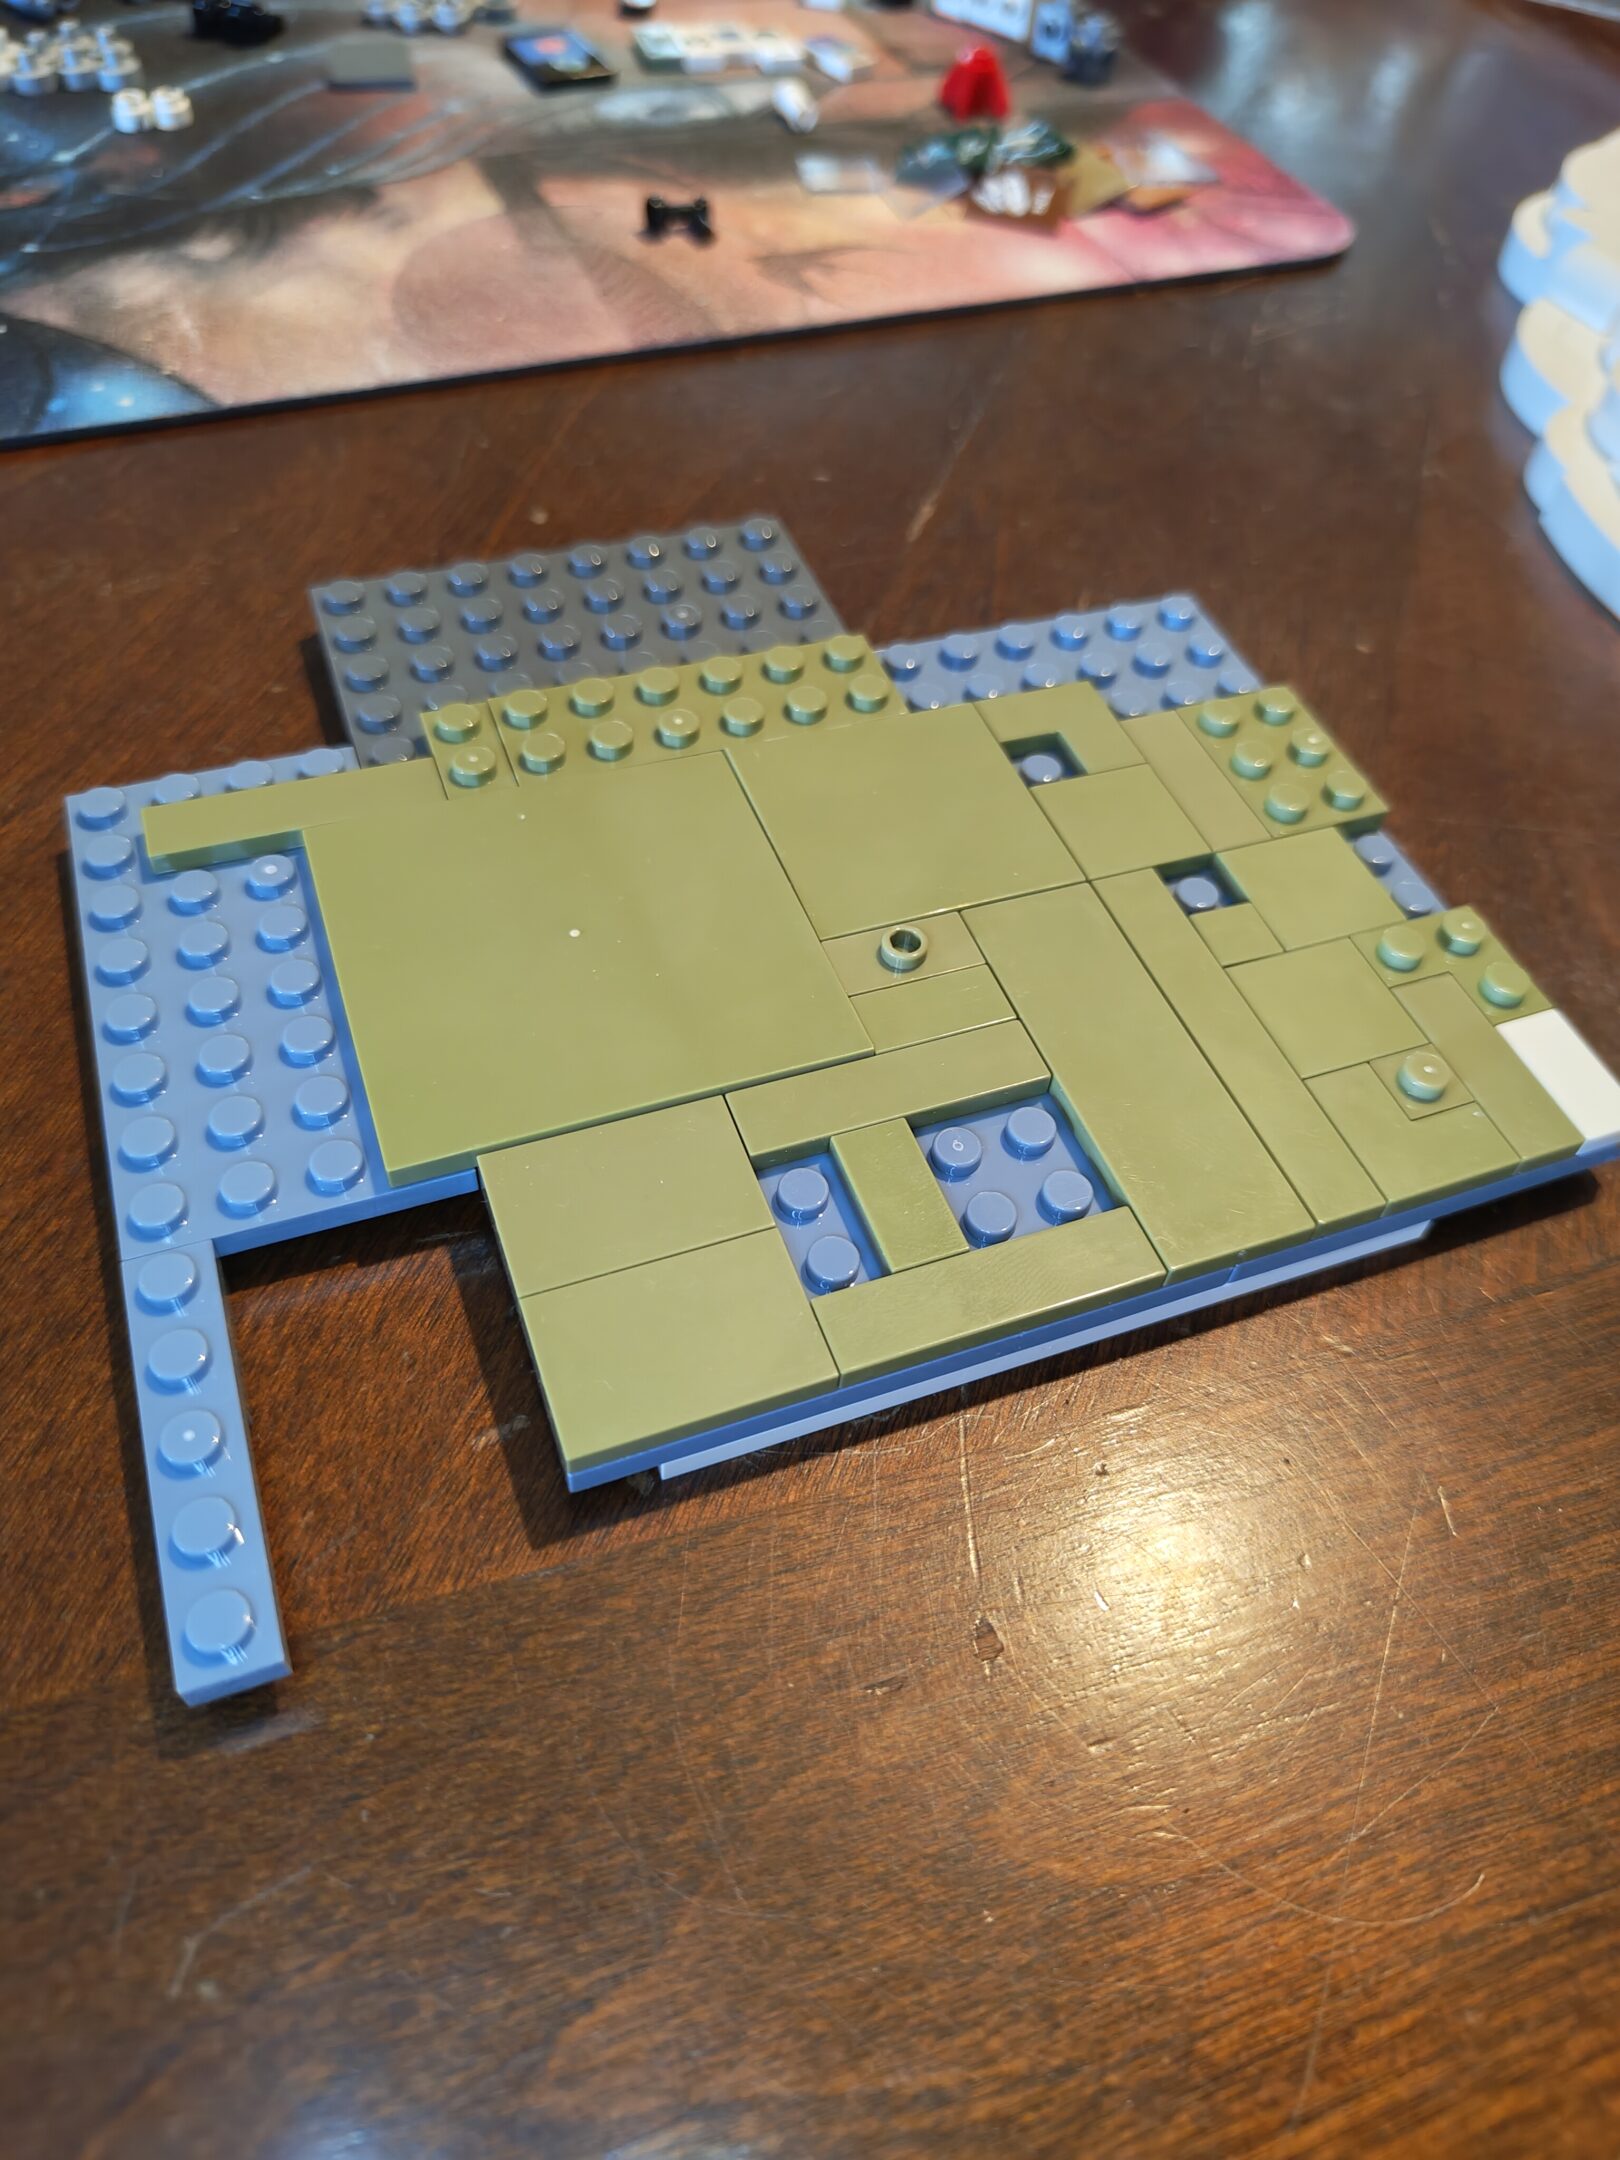
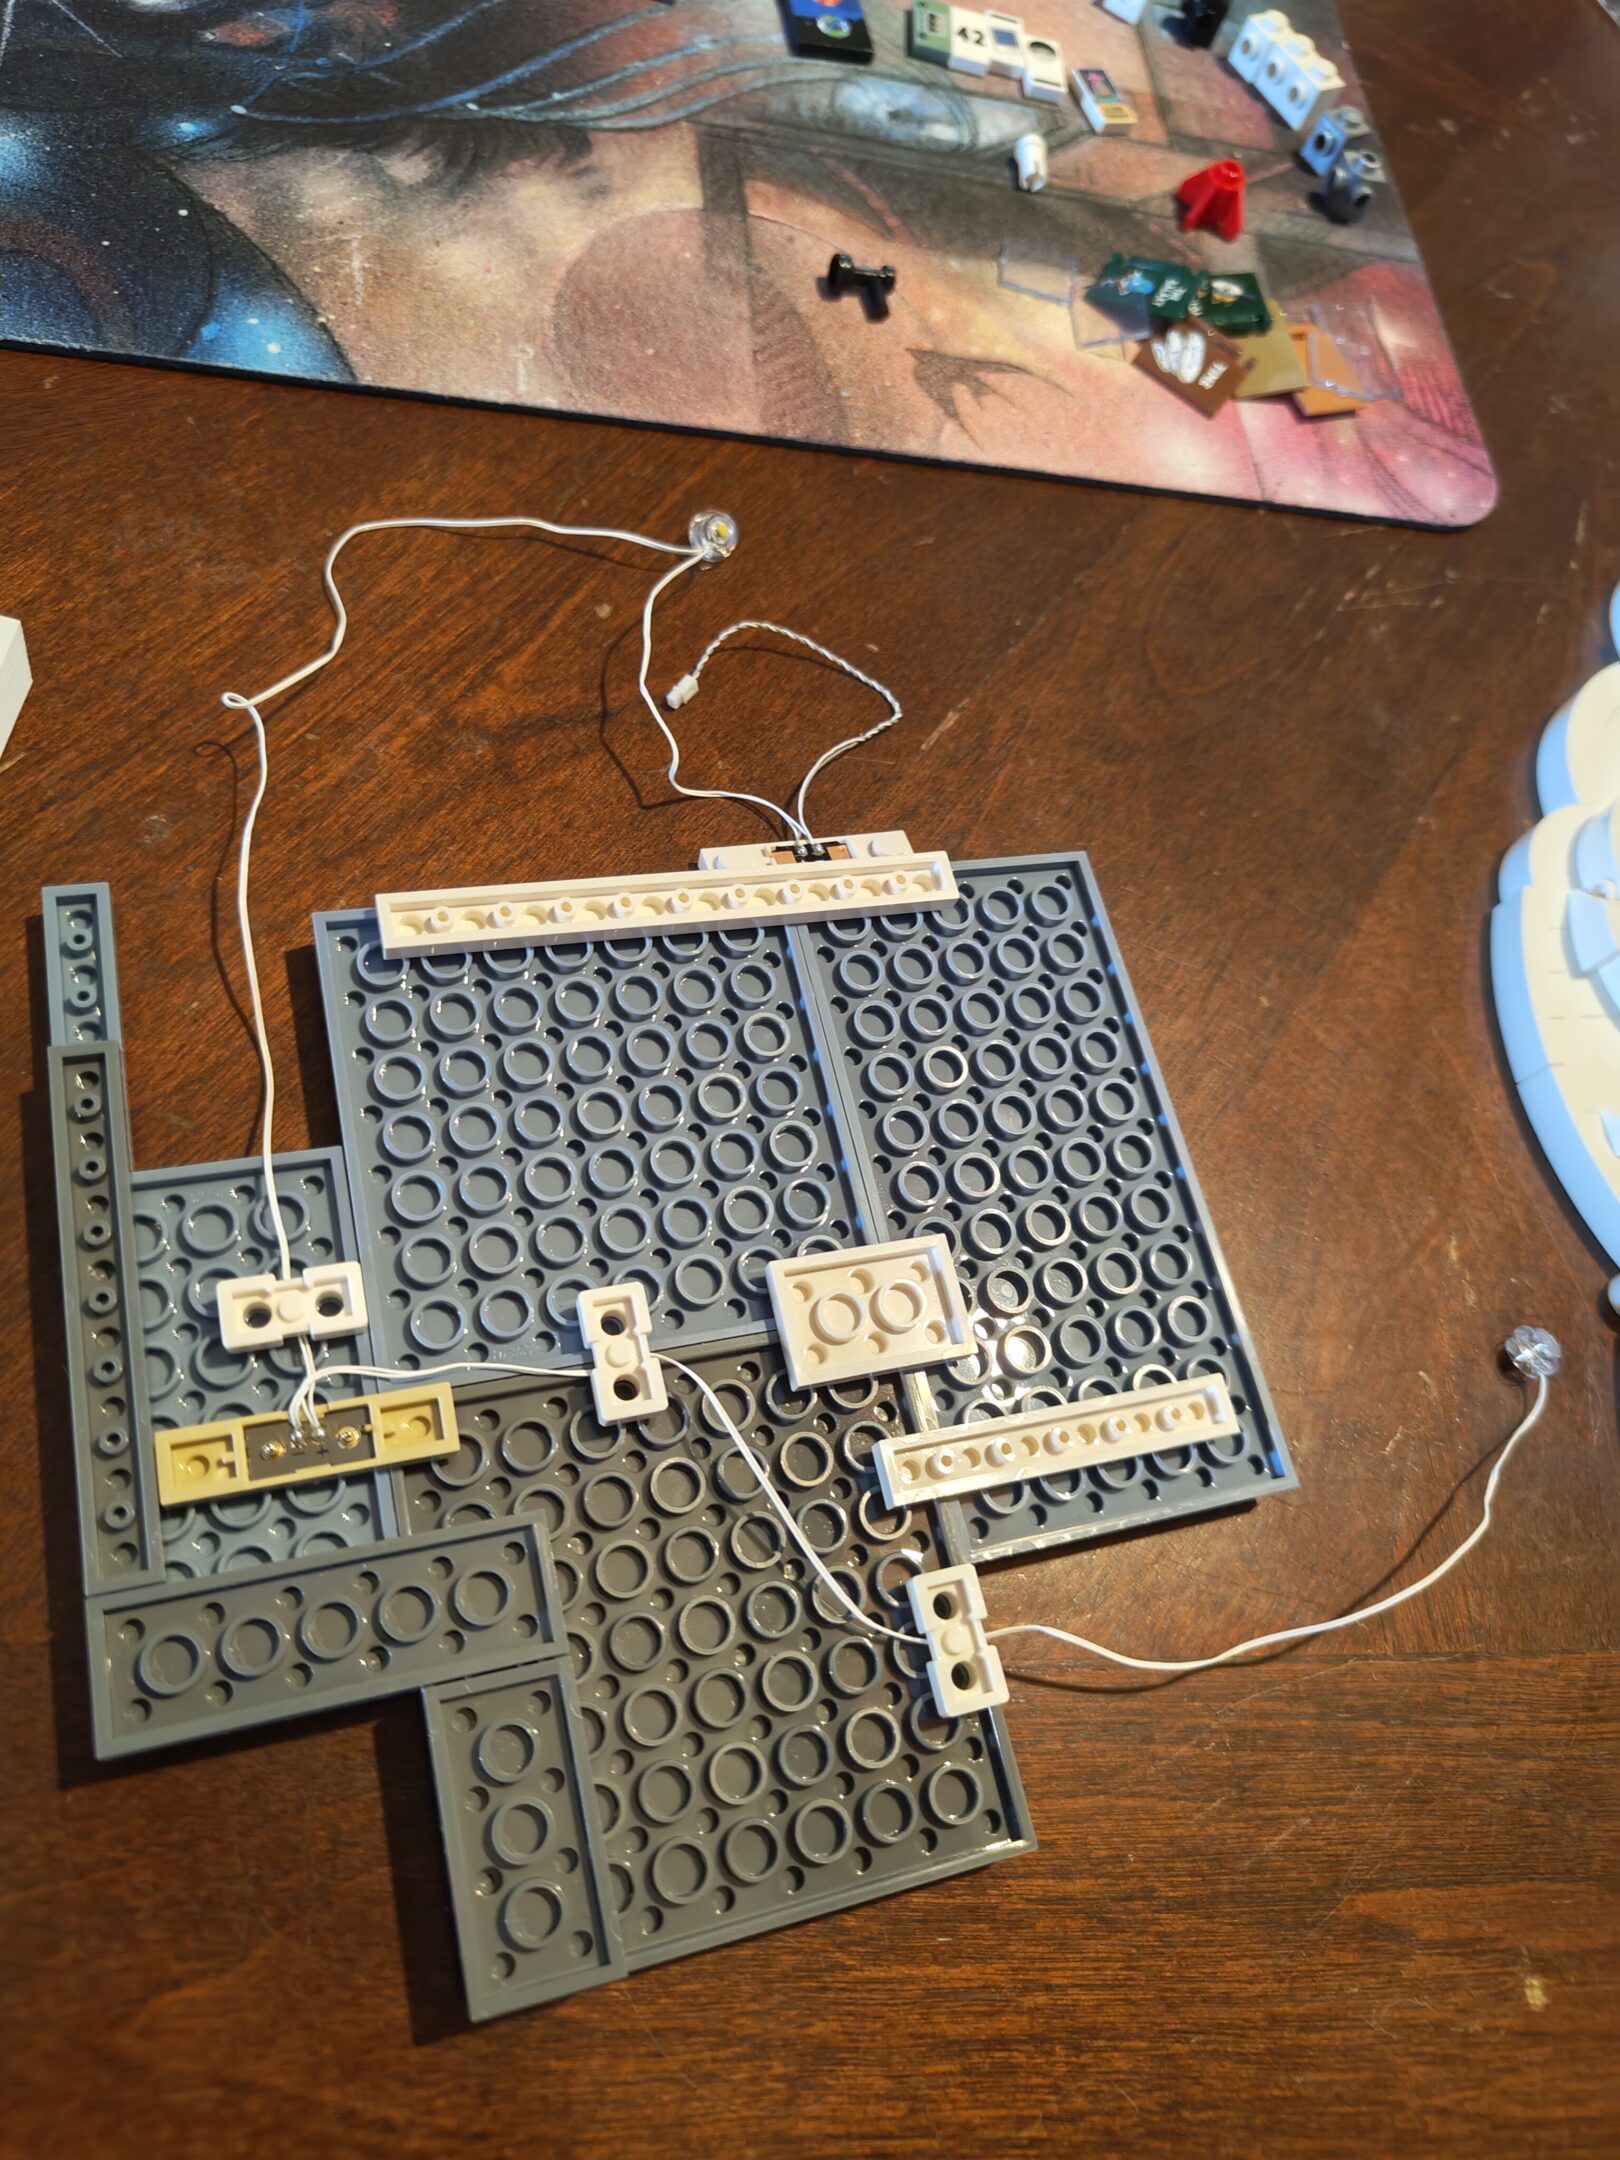
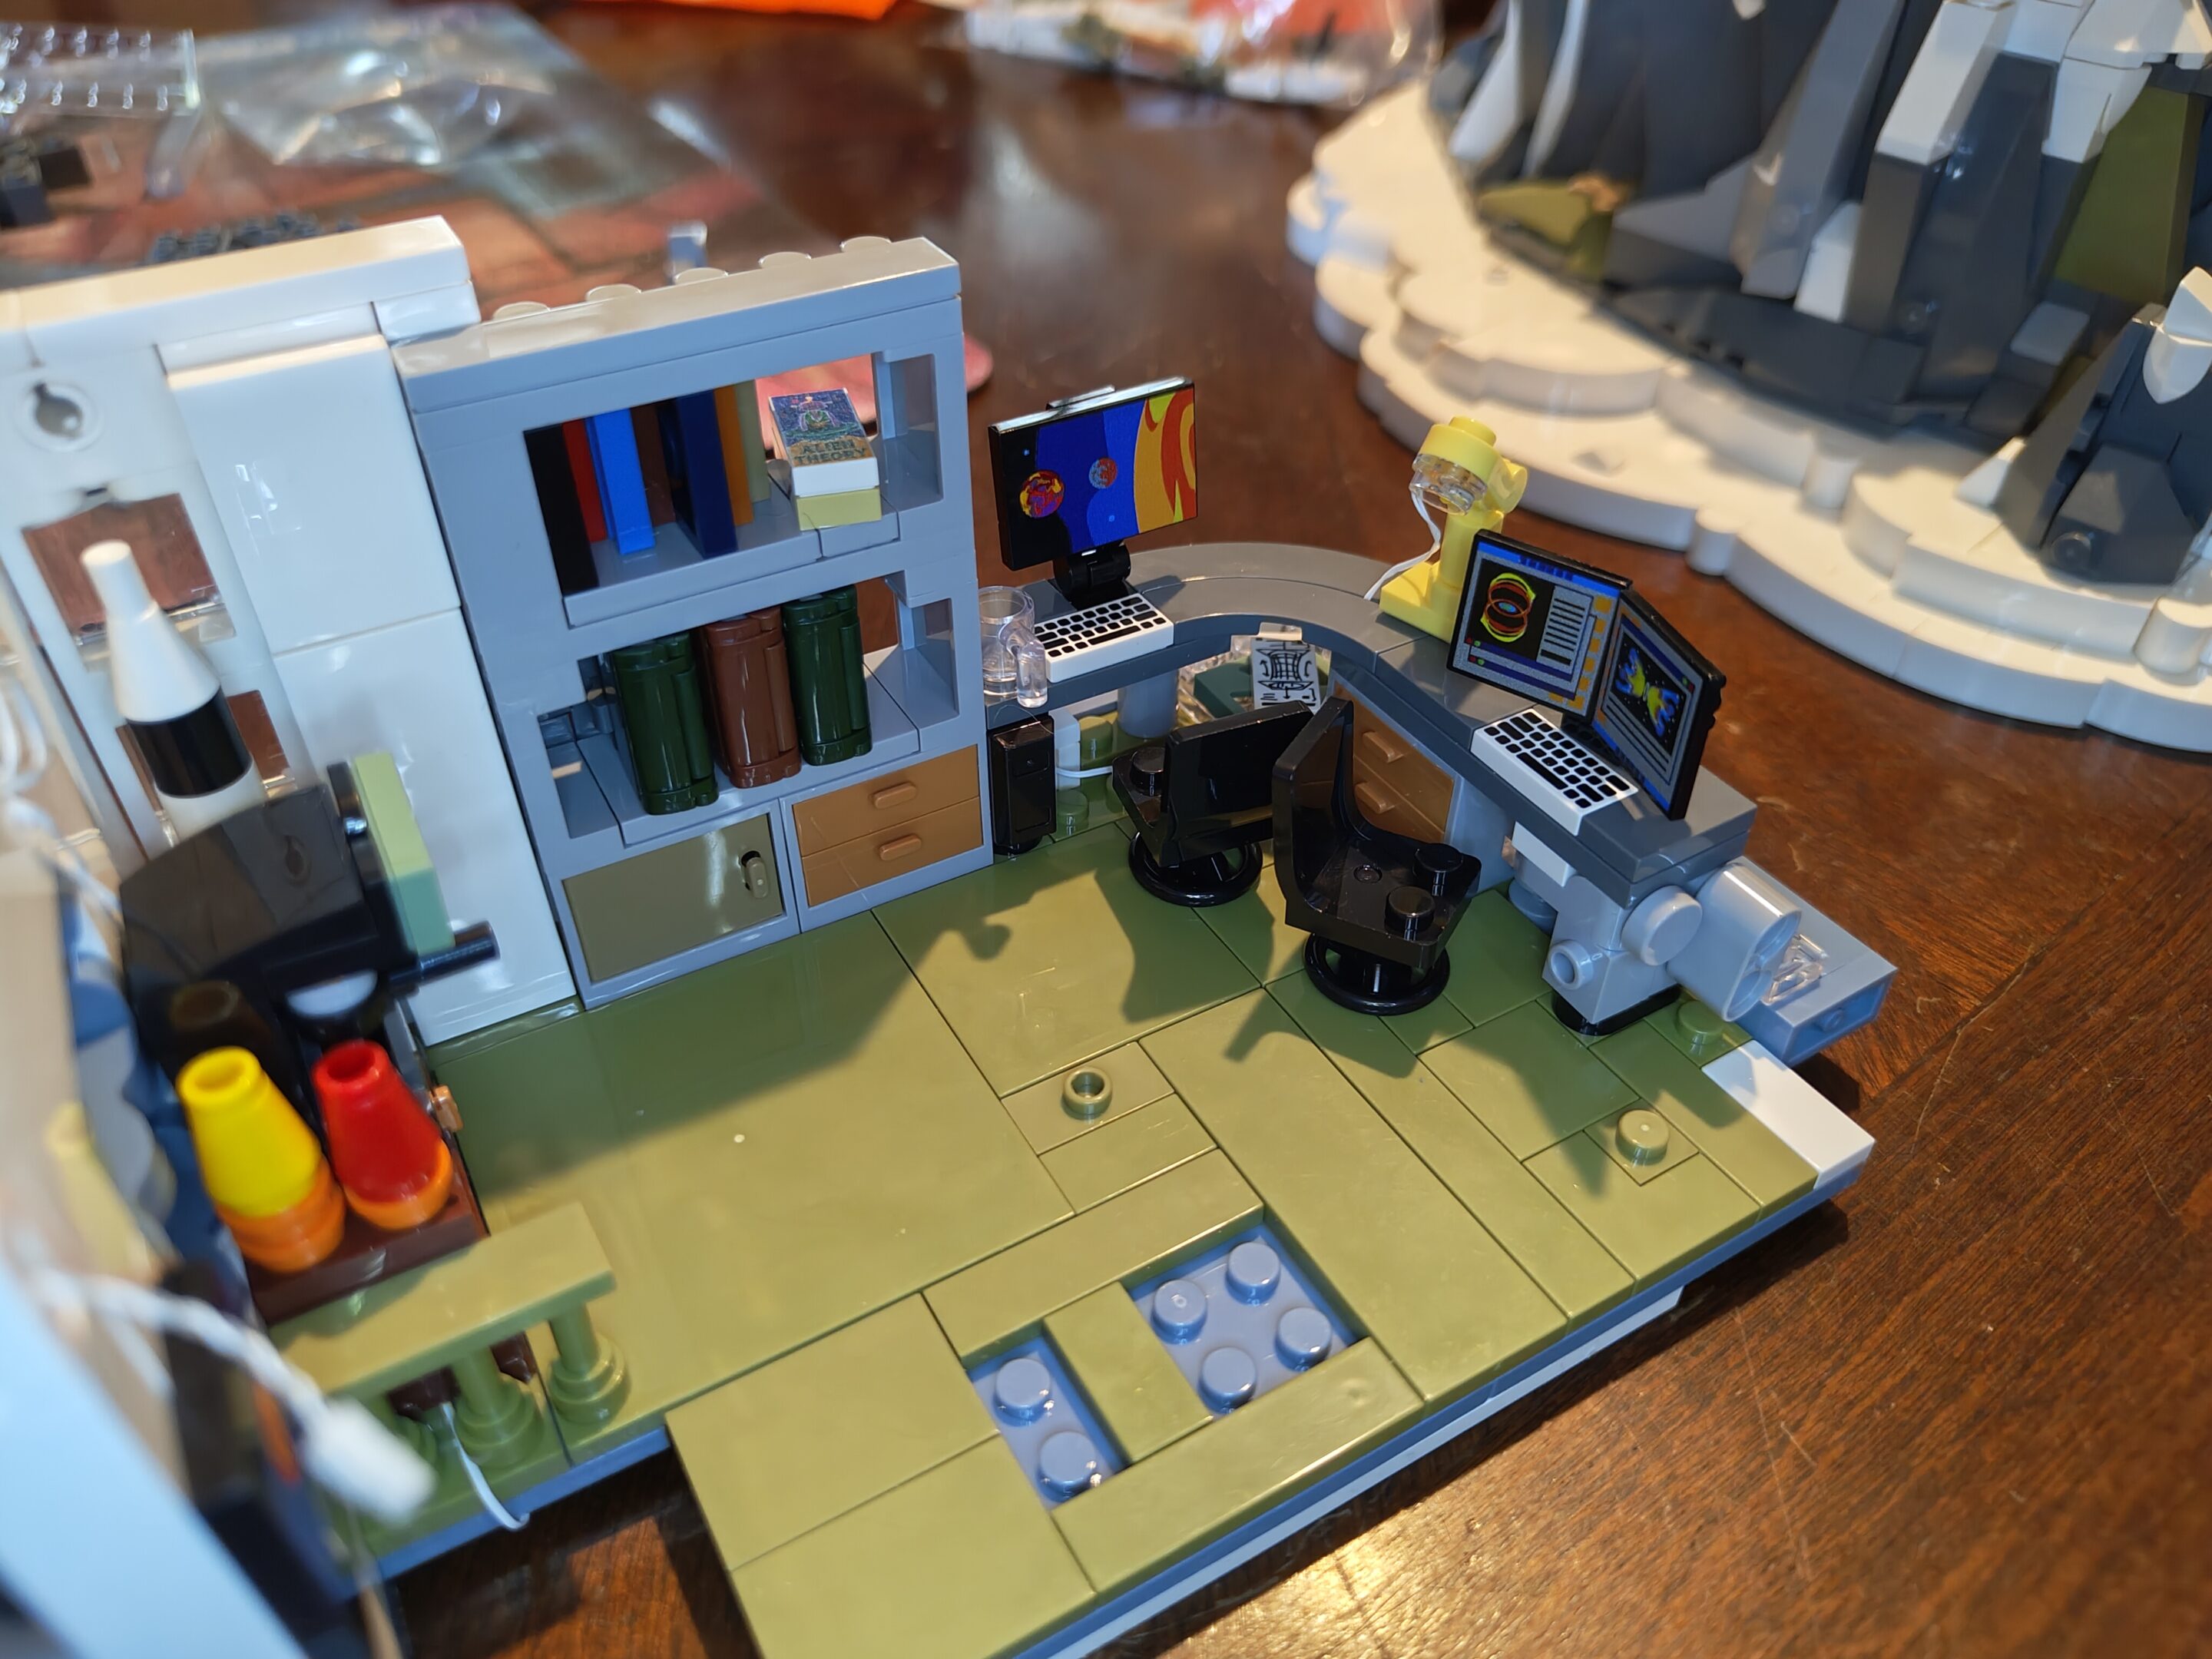
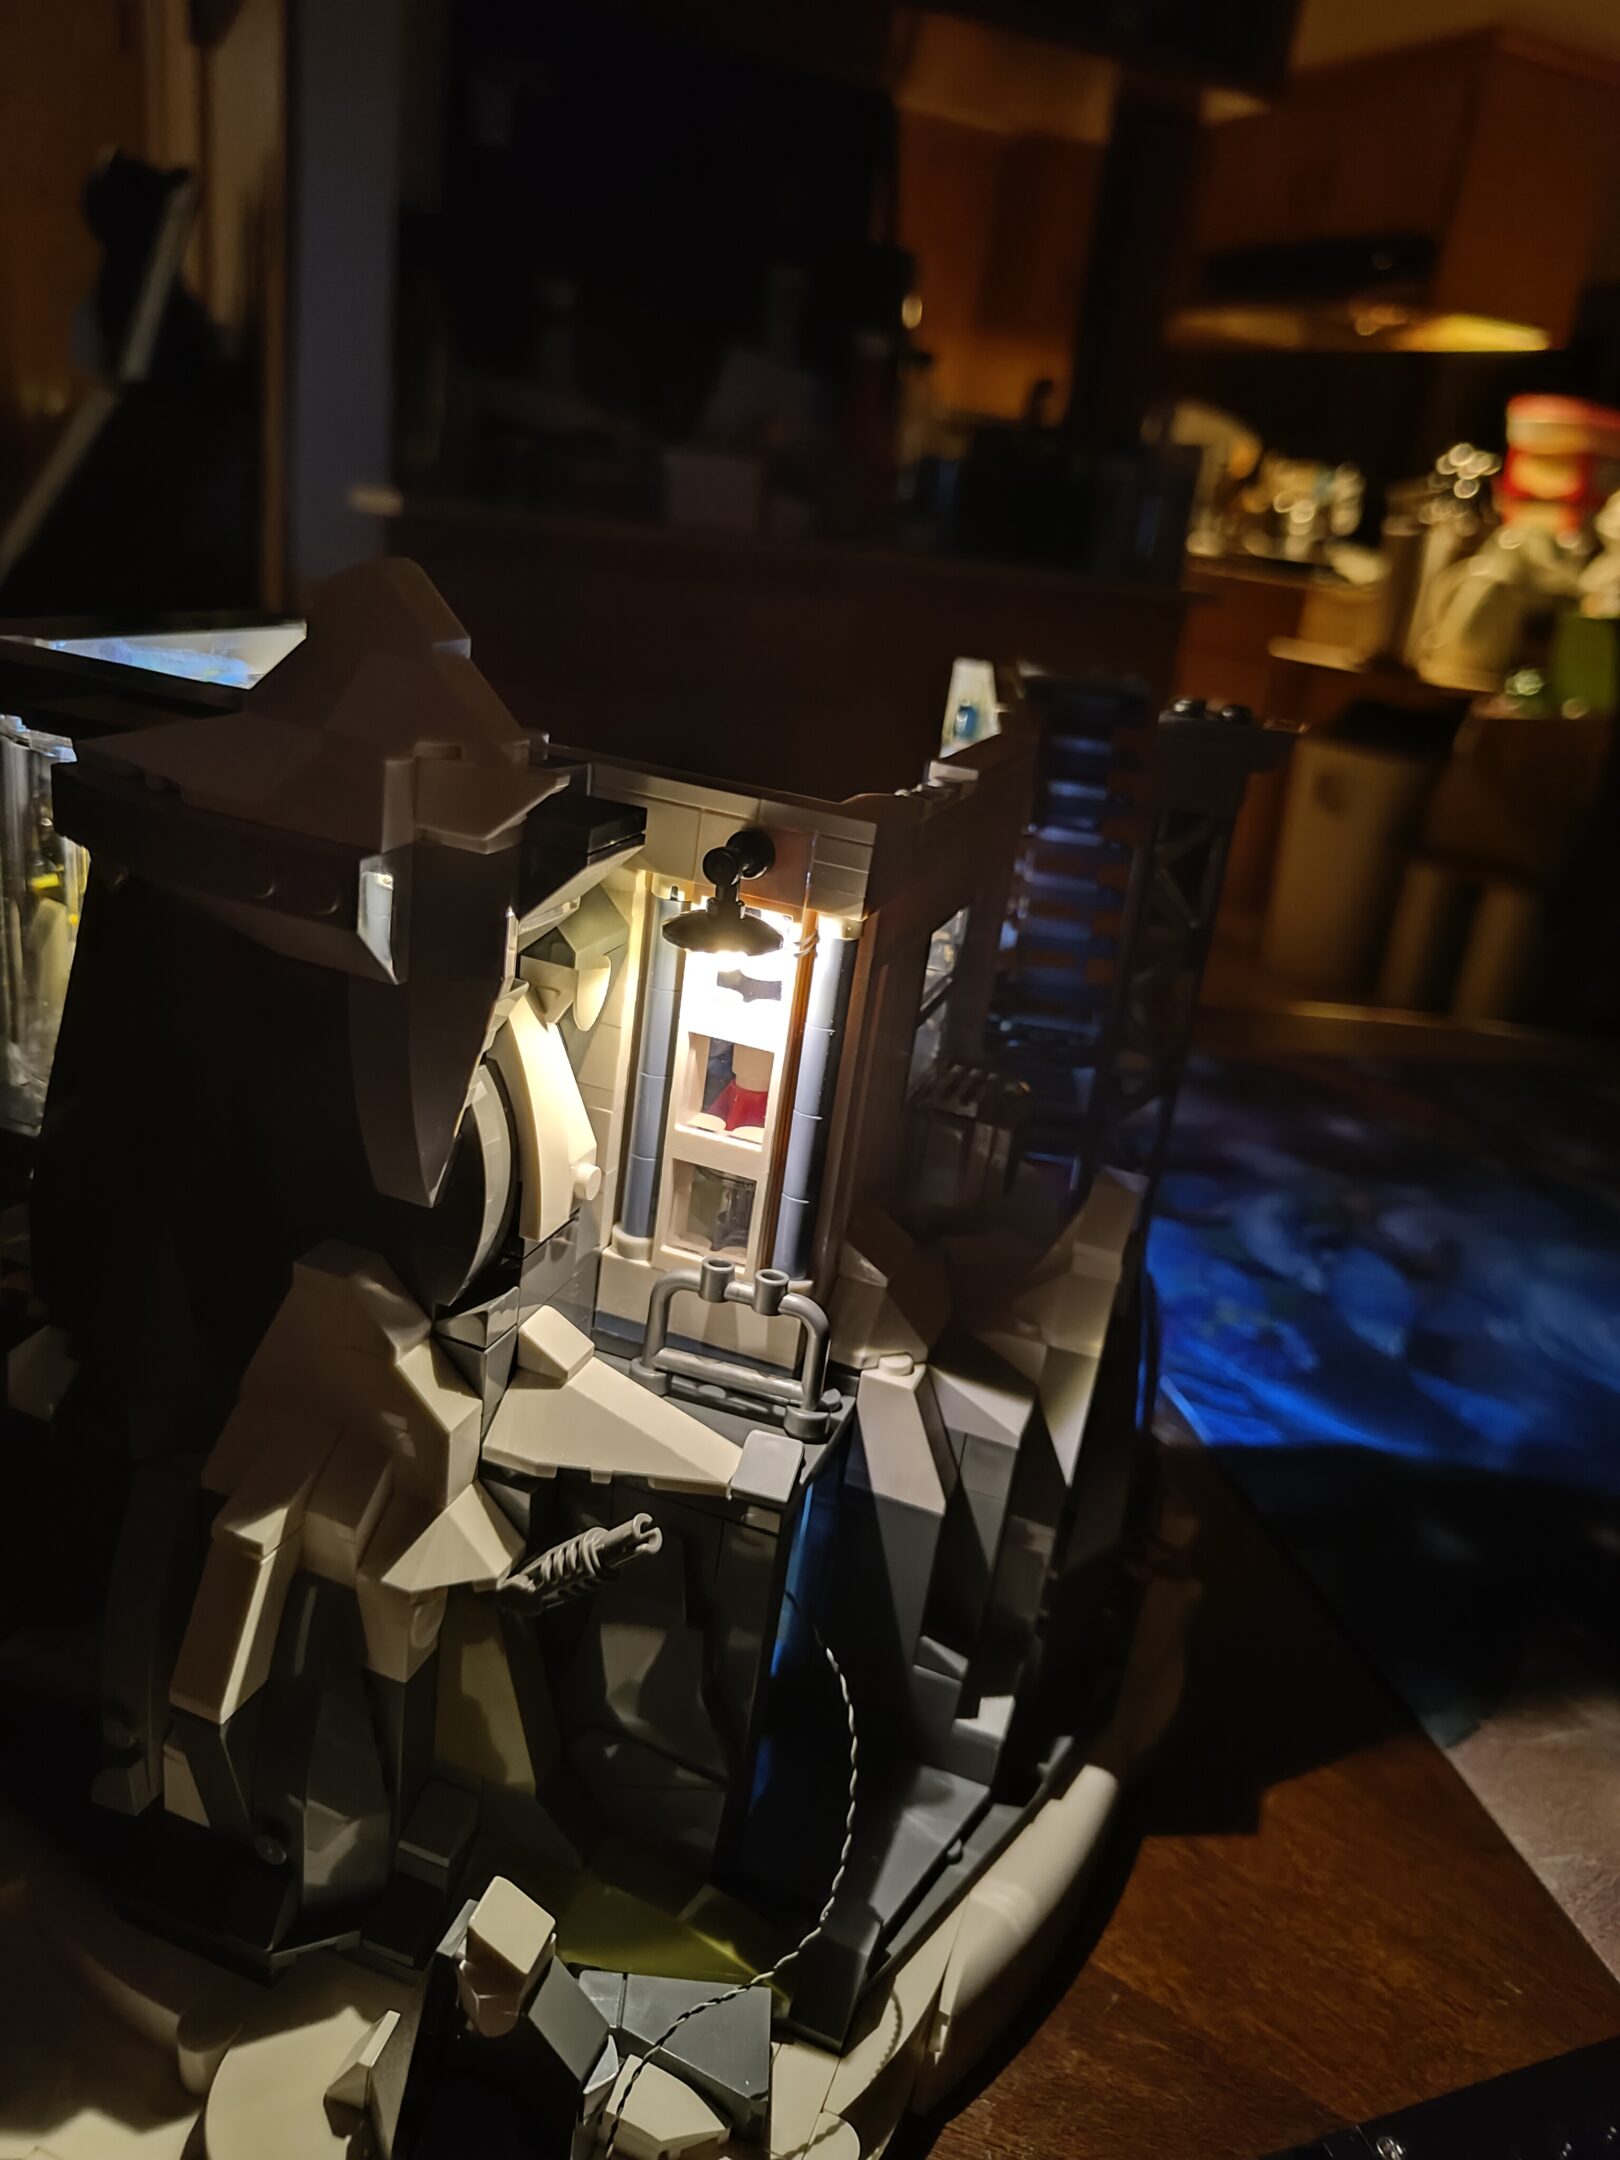
Front of the box, AKA how it will look at the end, dramatizedMore dramatic shots and a lot of text from the back of the boxLayer 1: StructureLayer 2: Additional structureLittle work bench and some flooring…After and before – that piece on the right is one big weird brick and there’s 4 of them that make these neat little mountainy thingsScenic photo, everyone takes thatThe first of the lights – above the deskThe first fixtures and some detail work…Installed more floors. And a wall. And a bookshelf!Probably hook up this wiring at some point and make things interestingBunkbedsSecond set of lights and more wallsCloseup of the wall detail (poster)More interior detailFirst time turning the lights on outside of testing – the first junction box is installed (rear)A slot for the battery boxA sliding device to mask the slot for the battery boxStarting to look a little like alpinesWe’ll just put a cute little crag right here…
lotta work done today don’t usually smash through almost an entire booklet of instructions in one day but might be a little excited for the cyberpunk train station
edit: okay so i finished up the actual rest of the book, first time i’ve finished a book of instructions in 24 hours but here we are, i’m going fast so i can get to the next one(s) i guess? and then i’ll have ……………
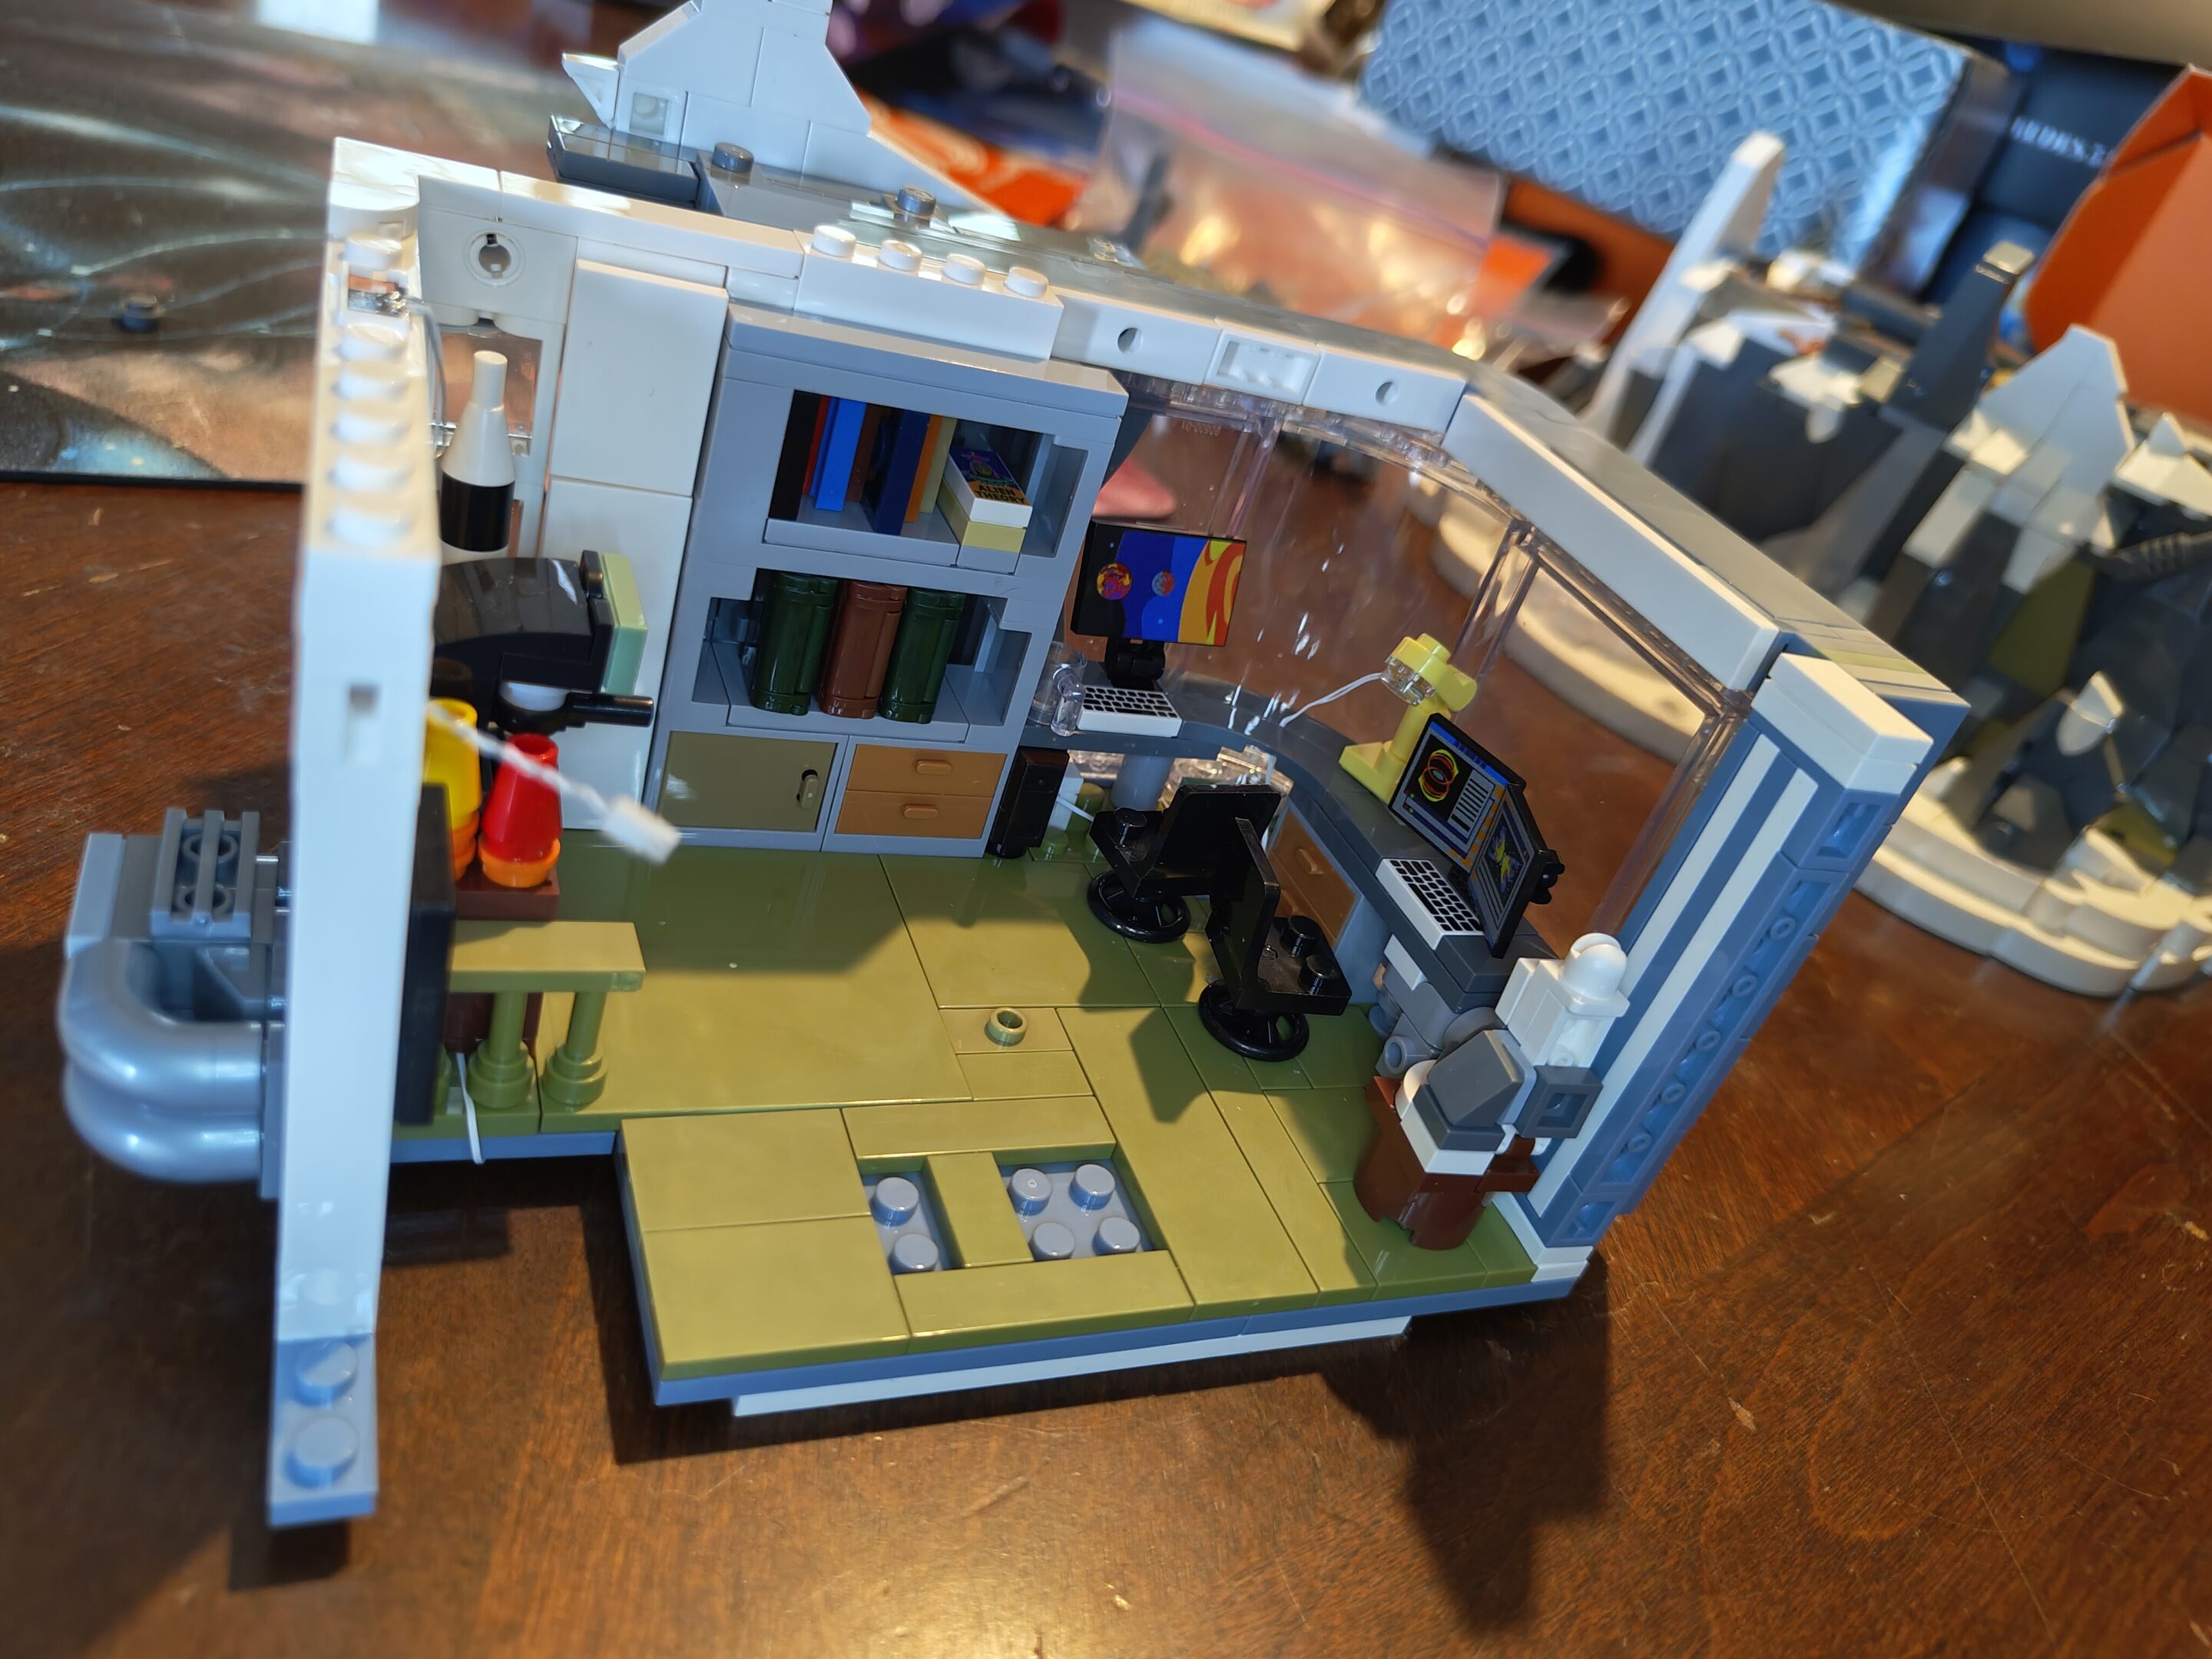
Just a cute little desk I didn’t mess up on at all and had to completely redo because of that little grey slice…Outside of (easily) removable wallInside of (easily) removable wallIt feels like this is probably all of the first floor and I should be working on the rest in the next book. Will I finish tomorrow? Will I no life Destiny Rising? Tune in next week
yeah yeah did more the next day (sunday 14th september)
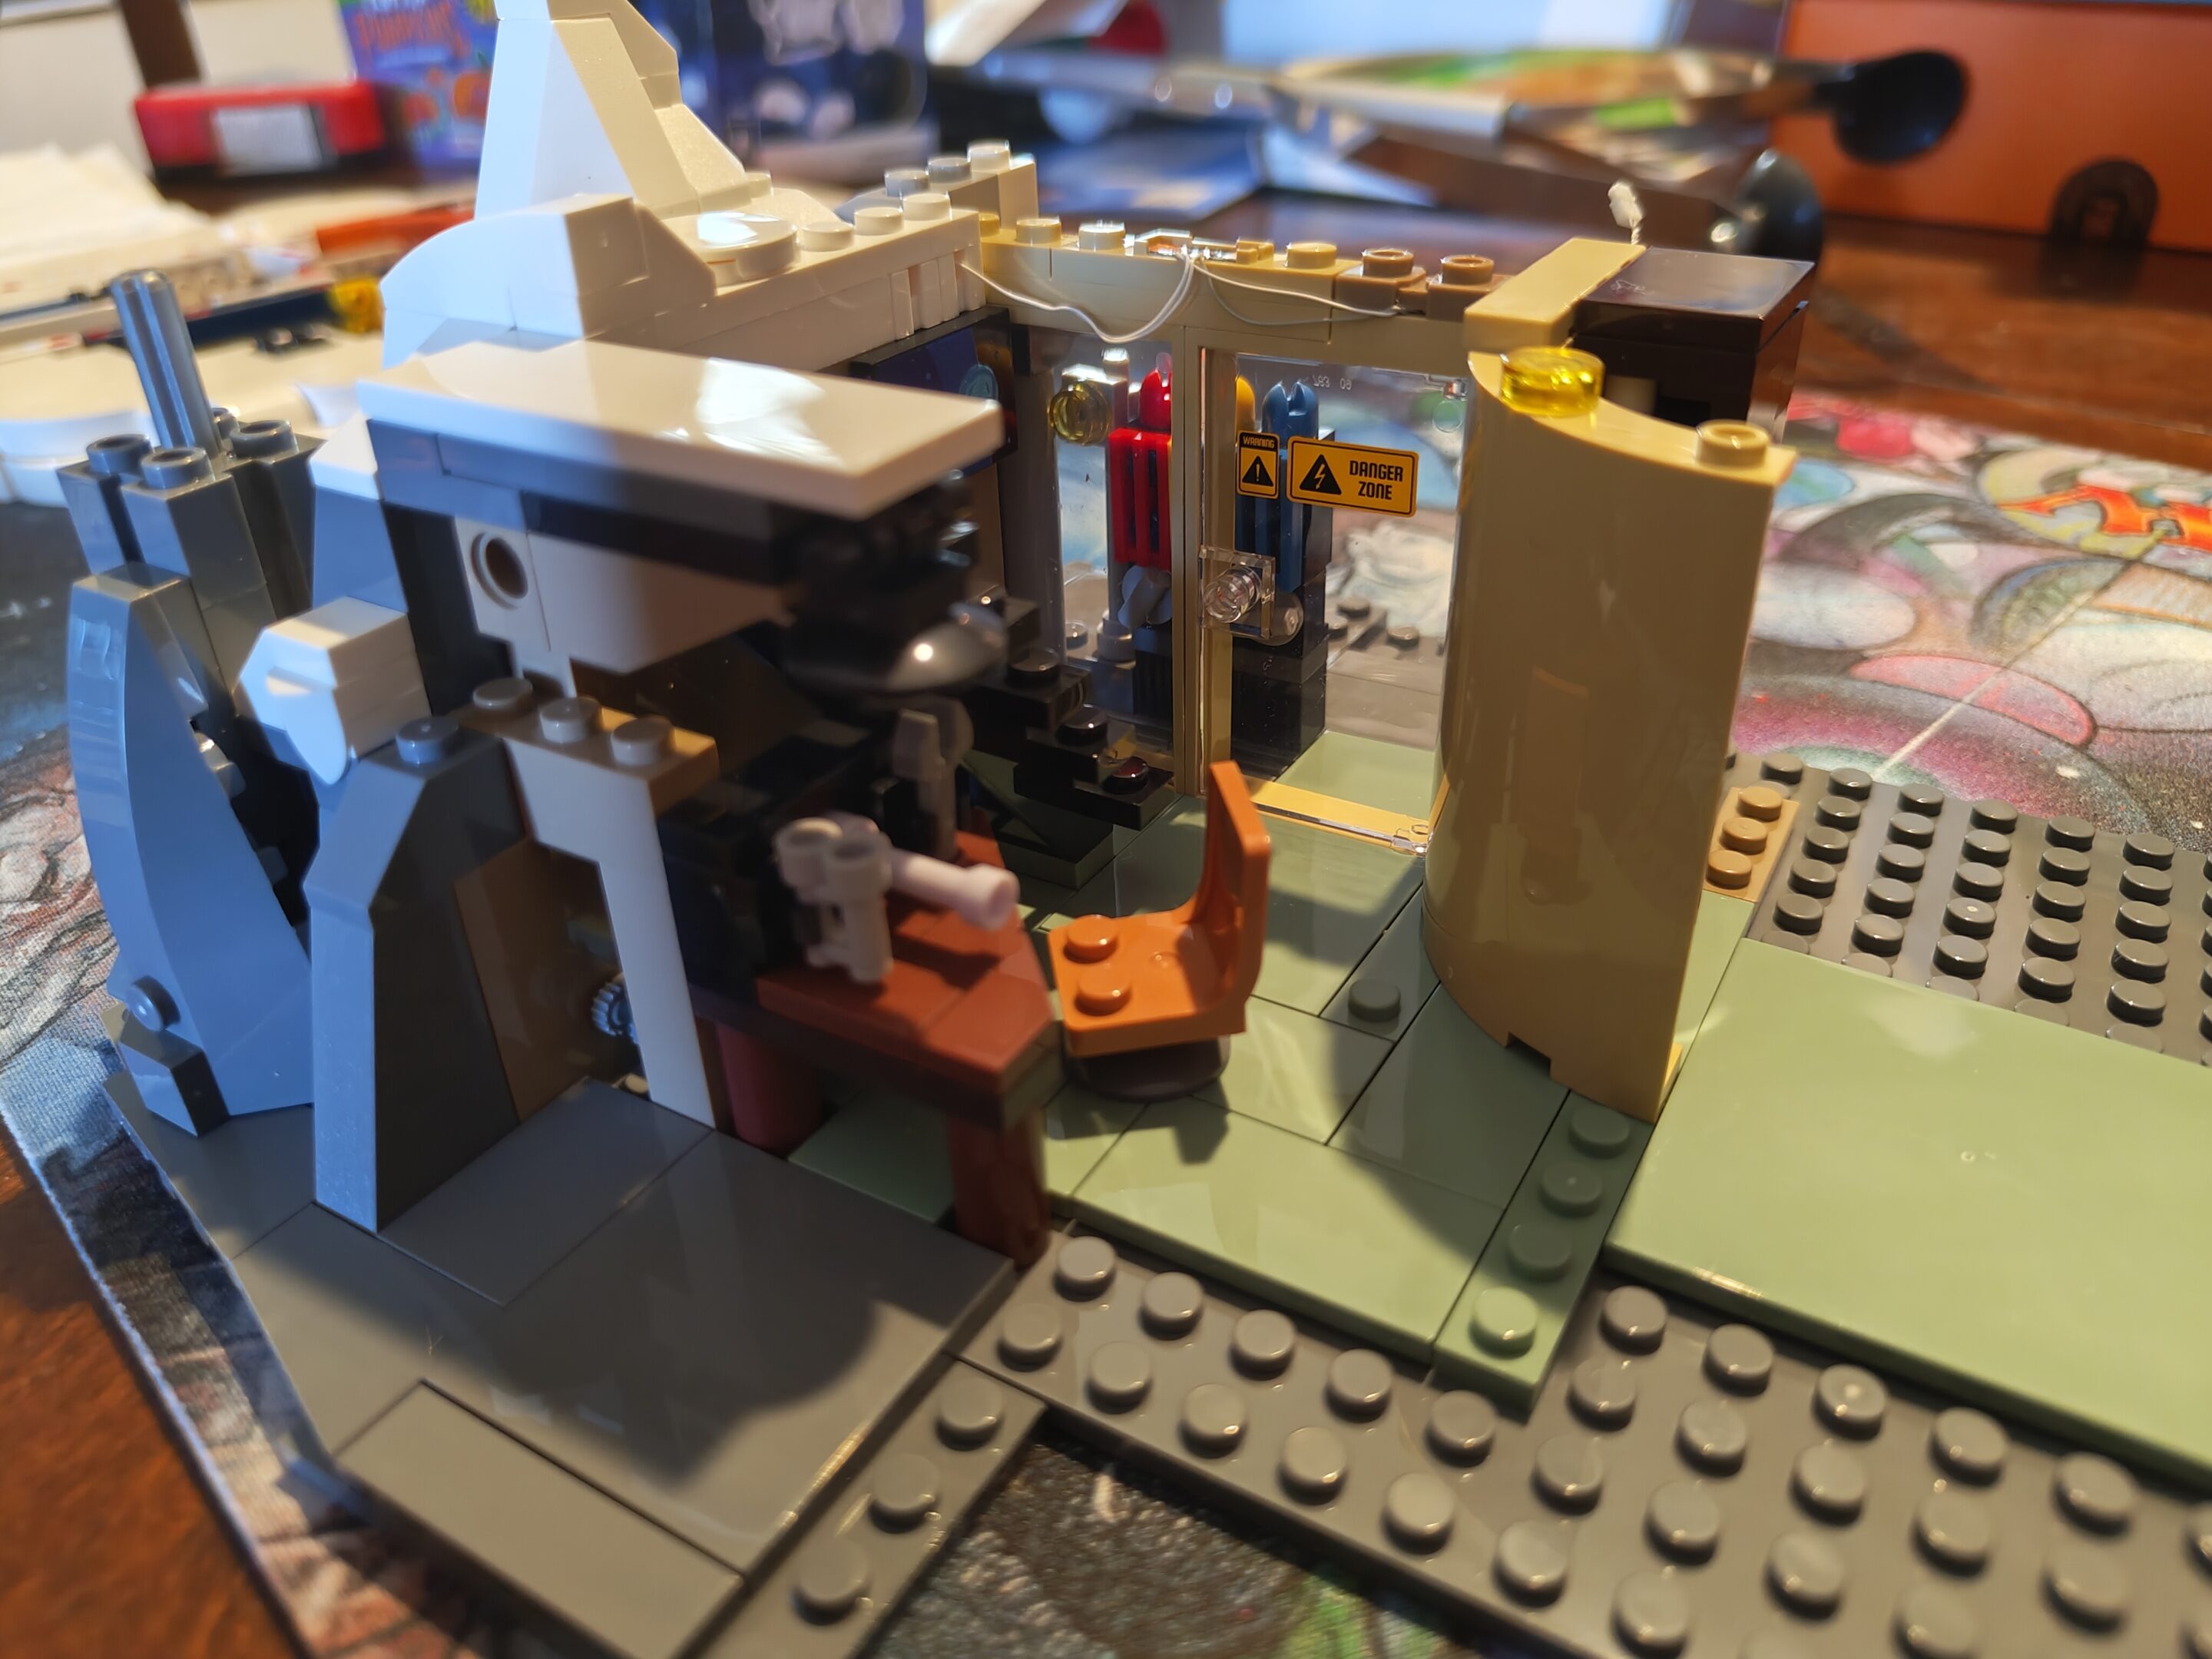
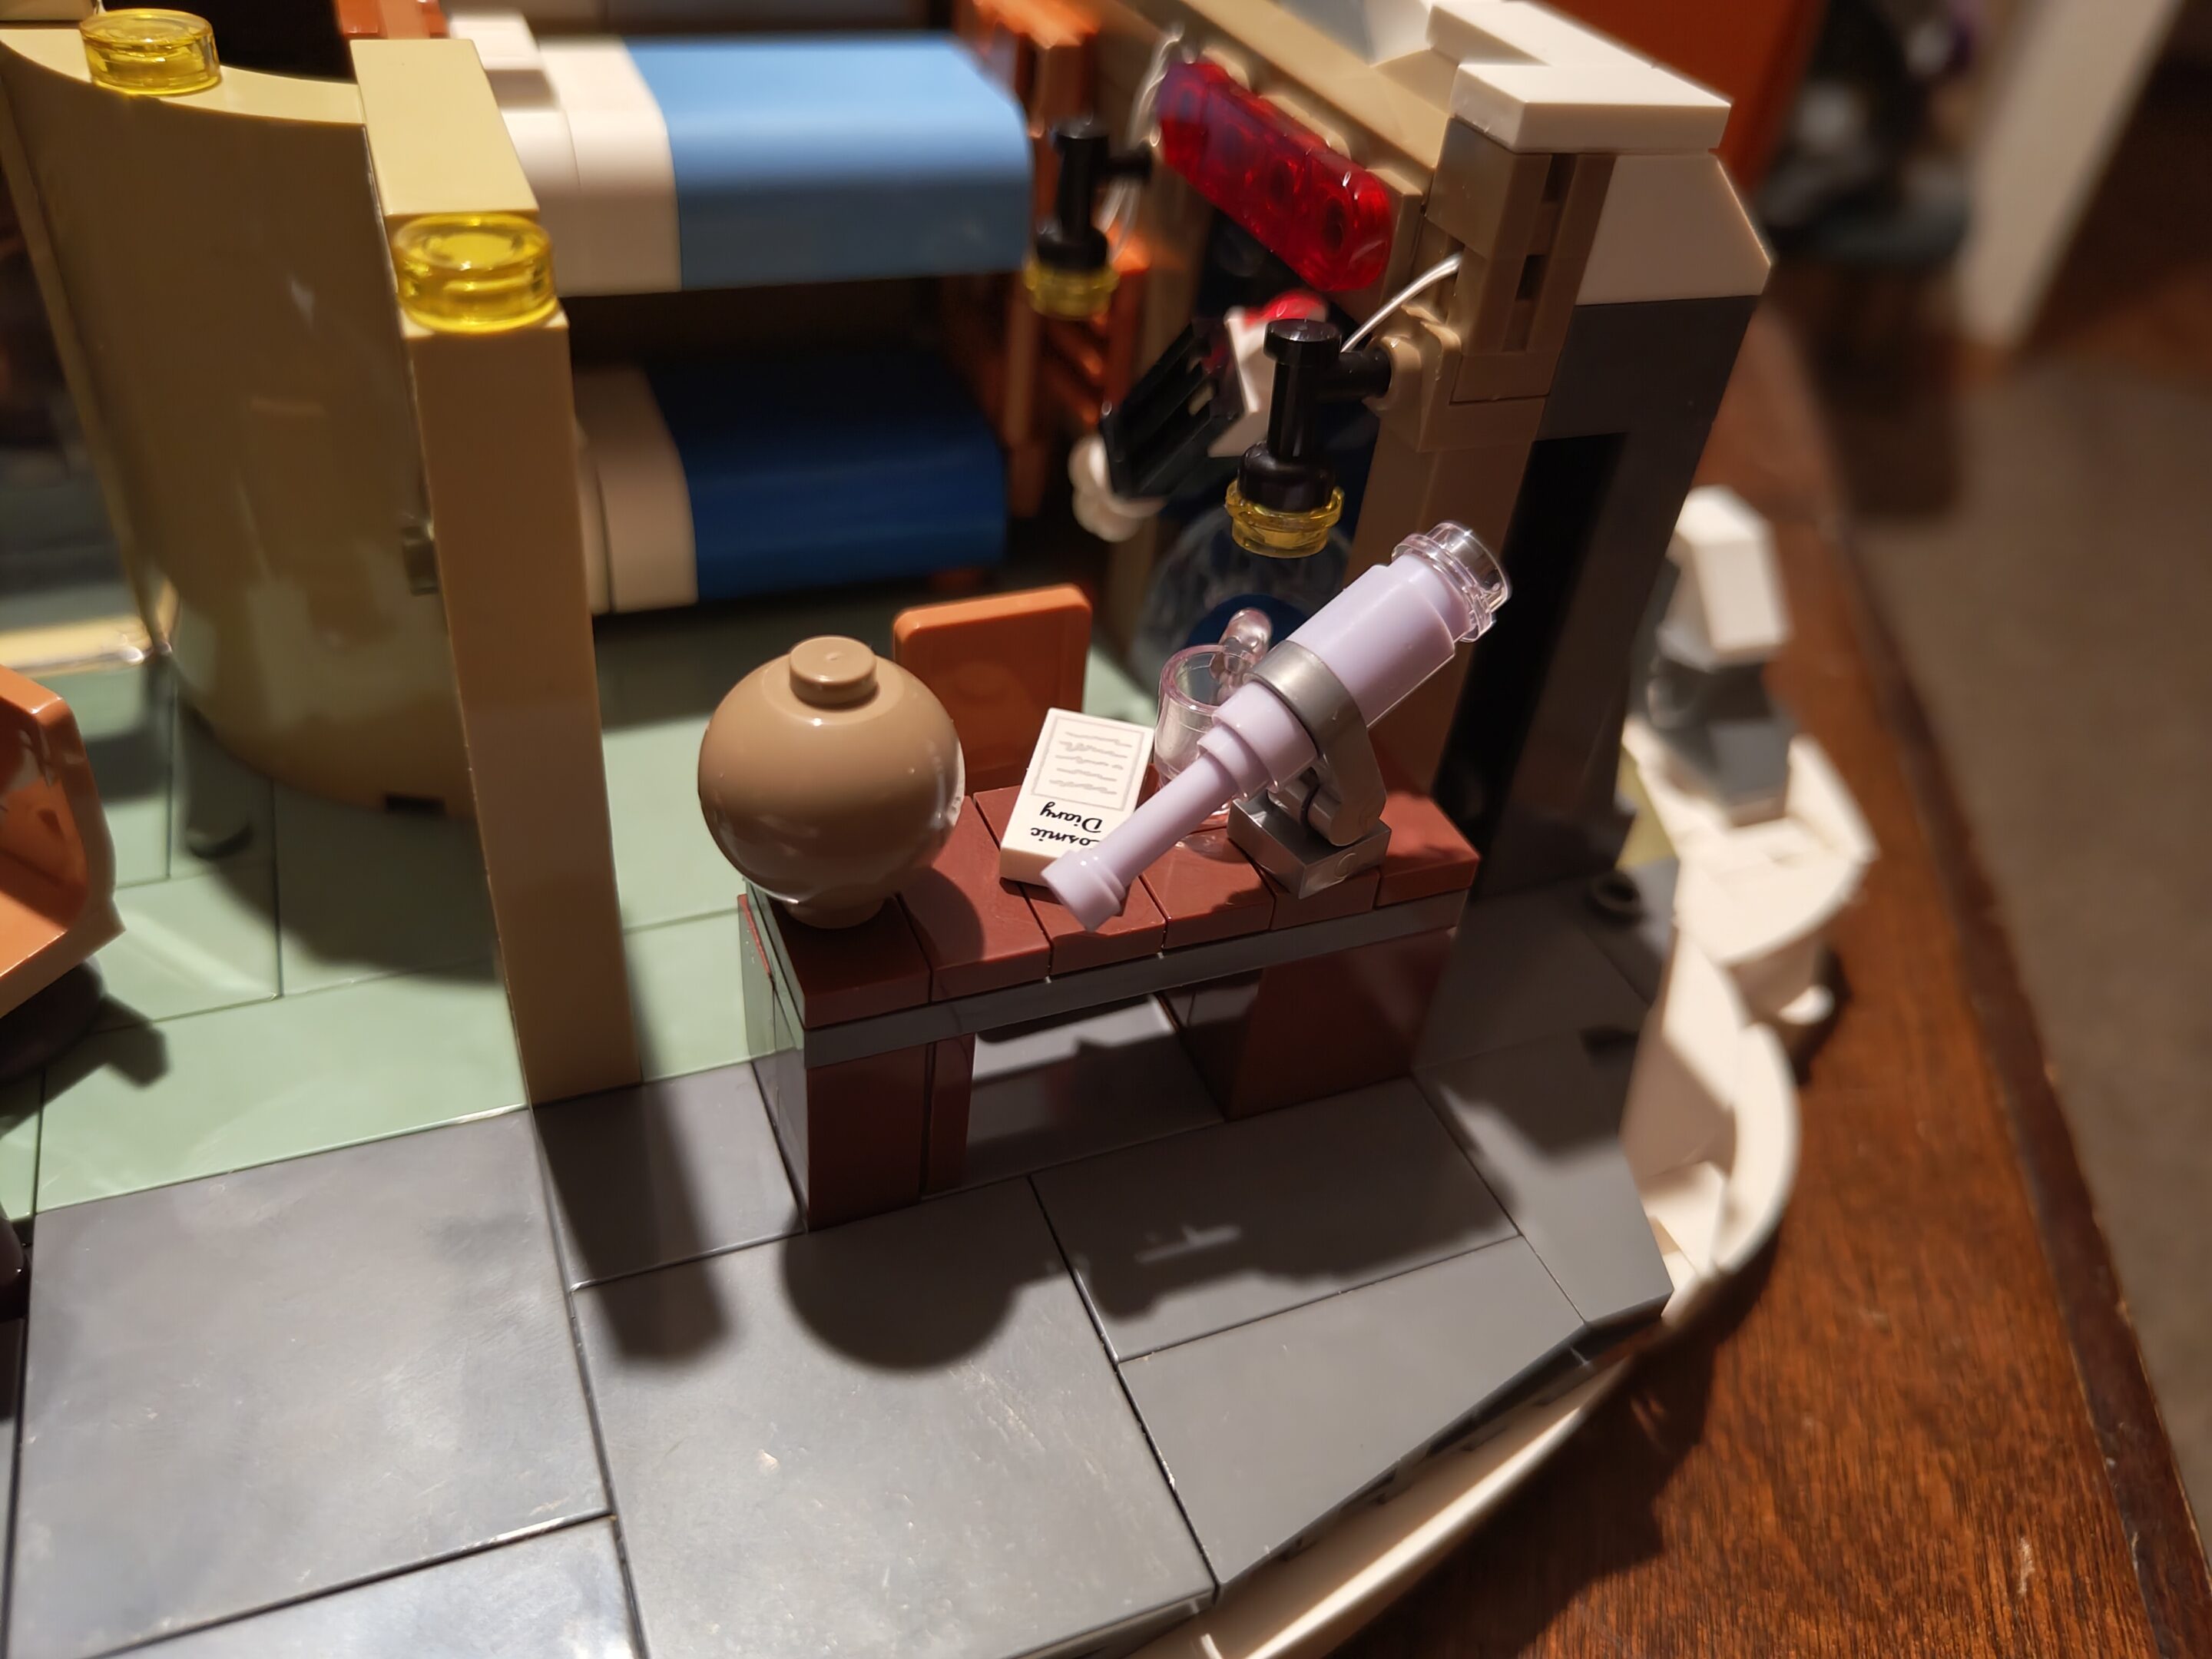
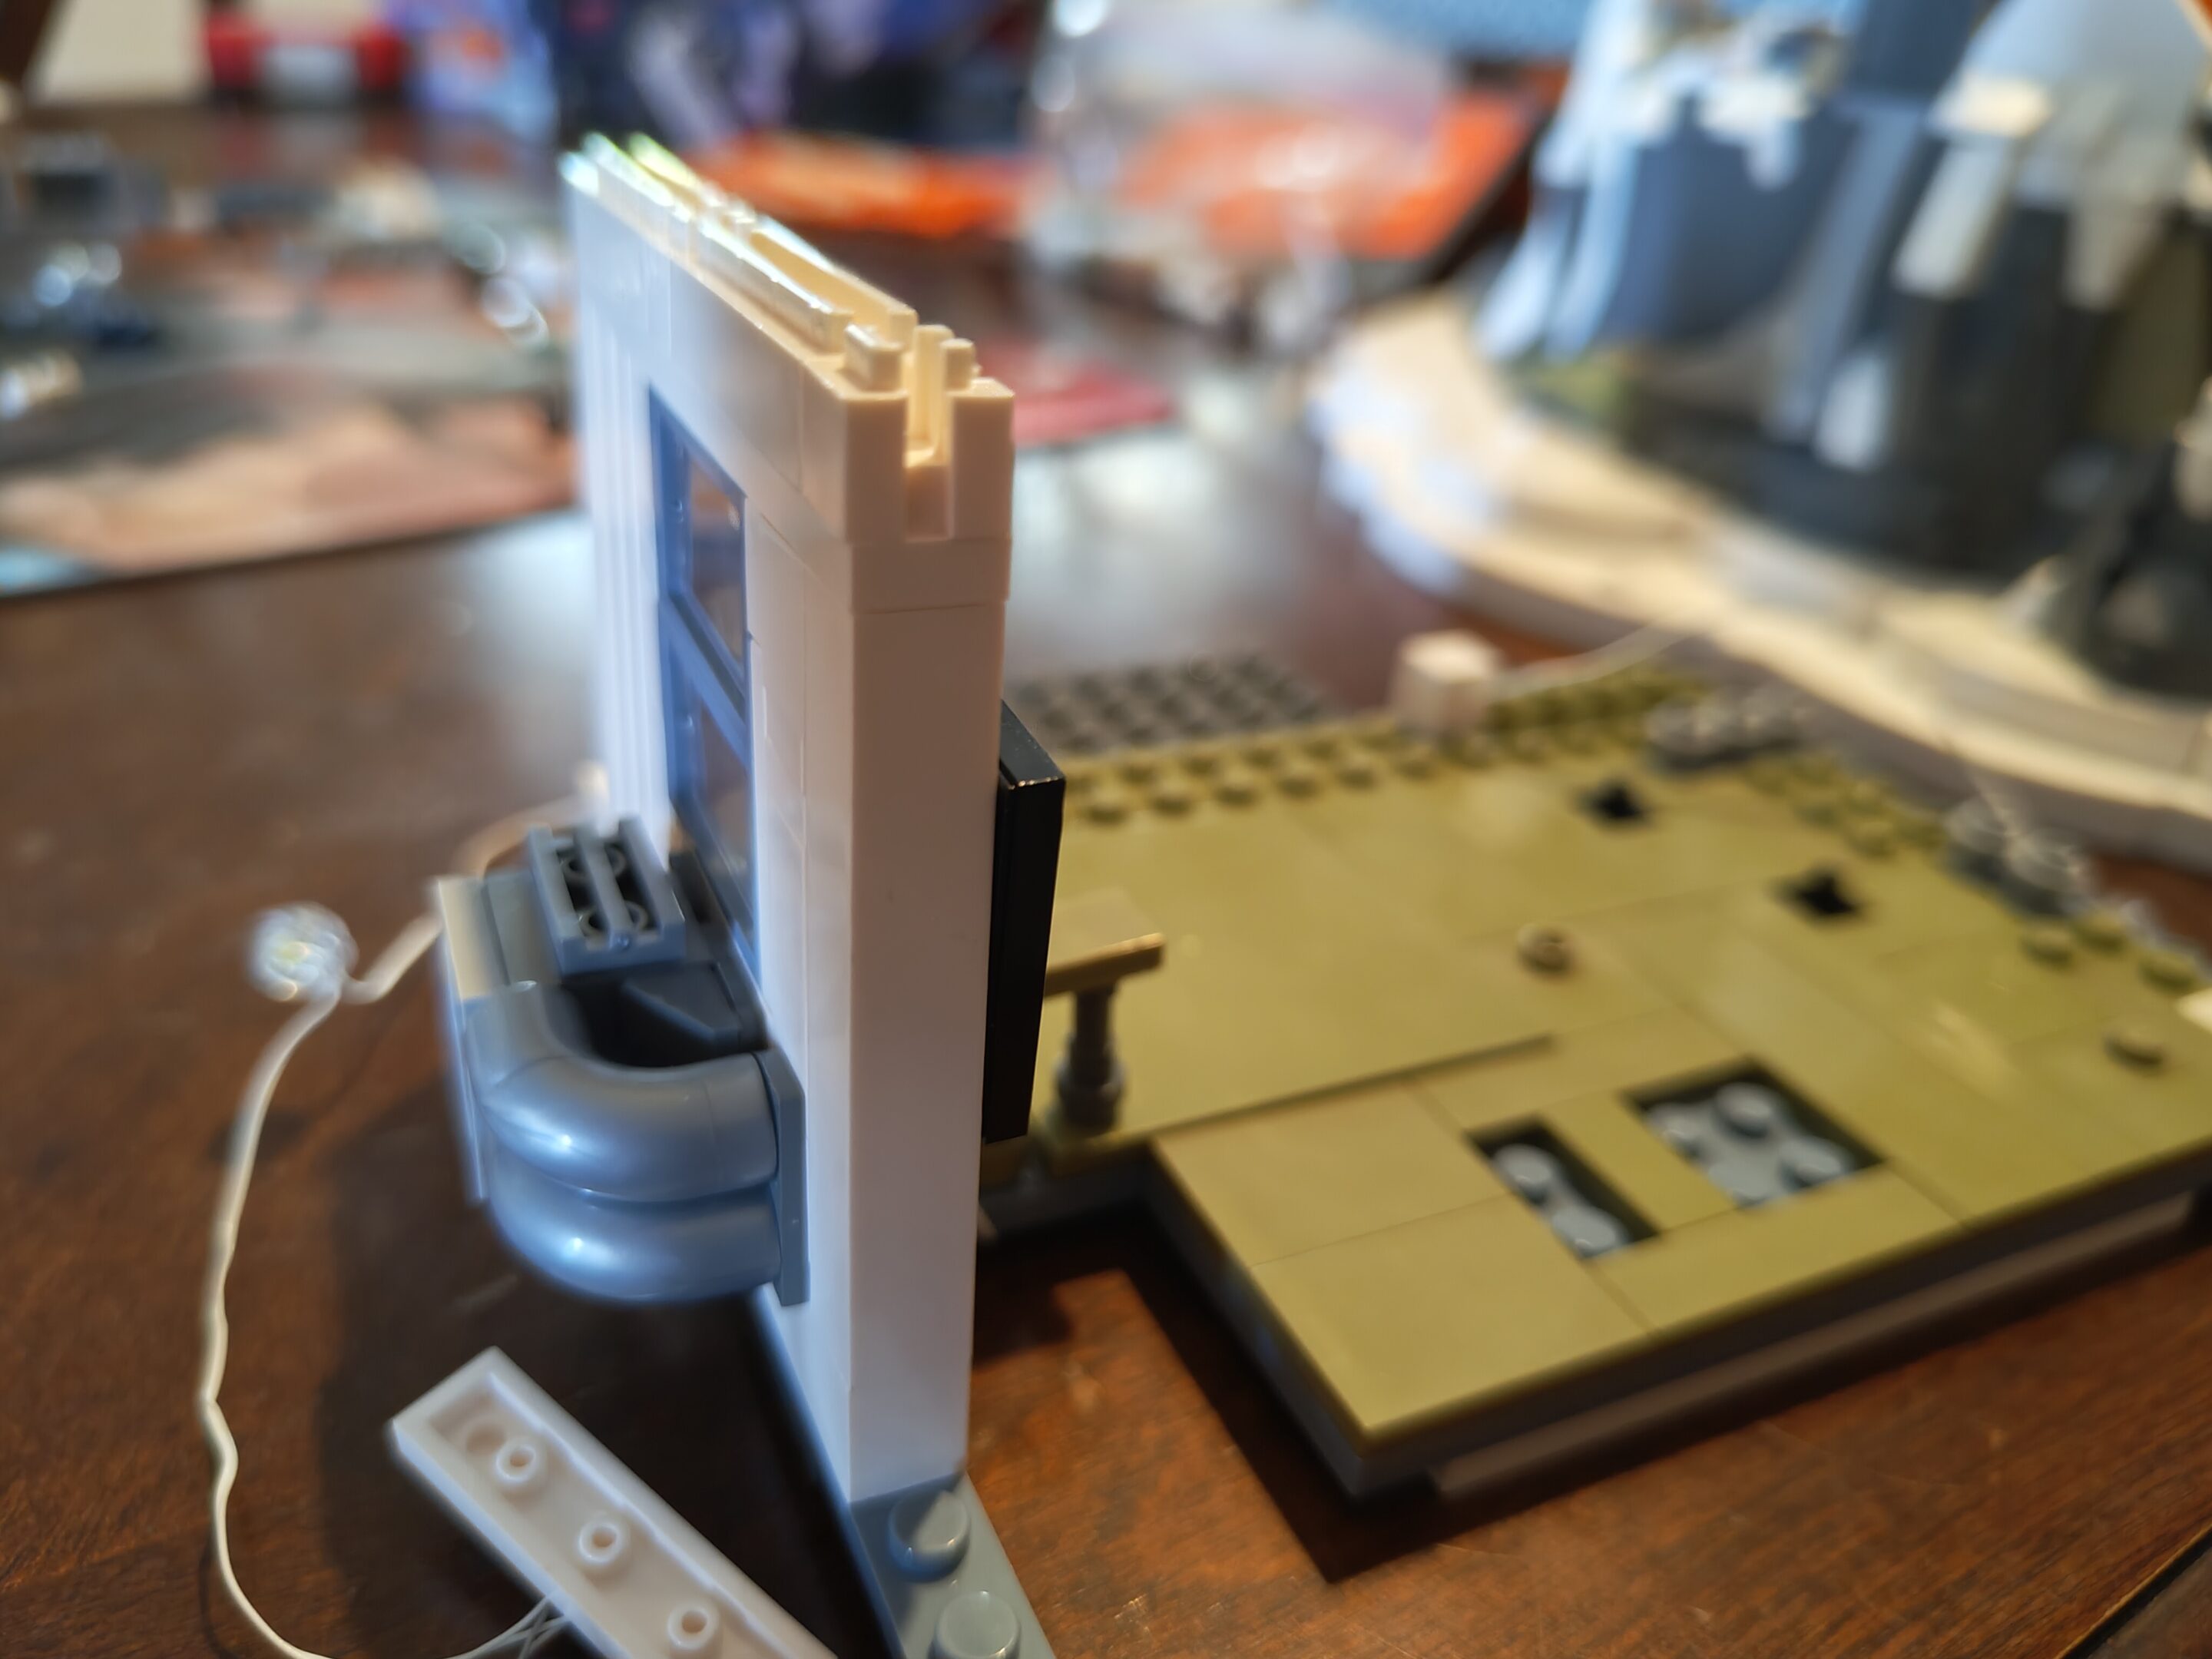
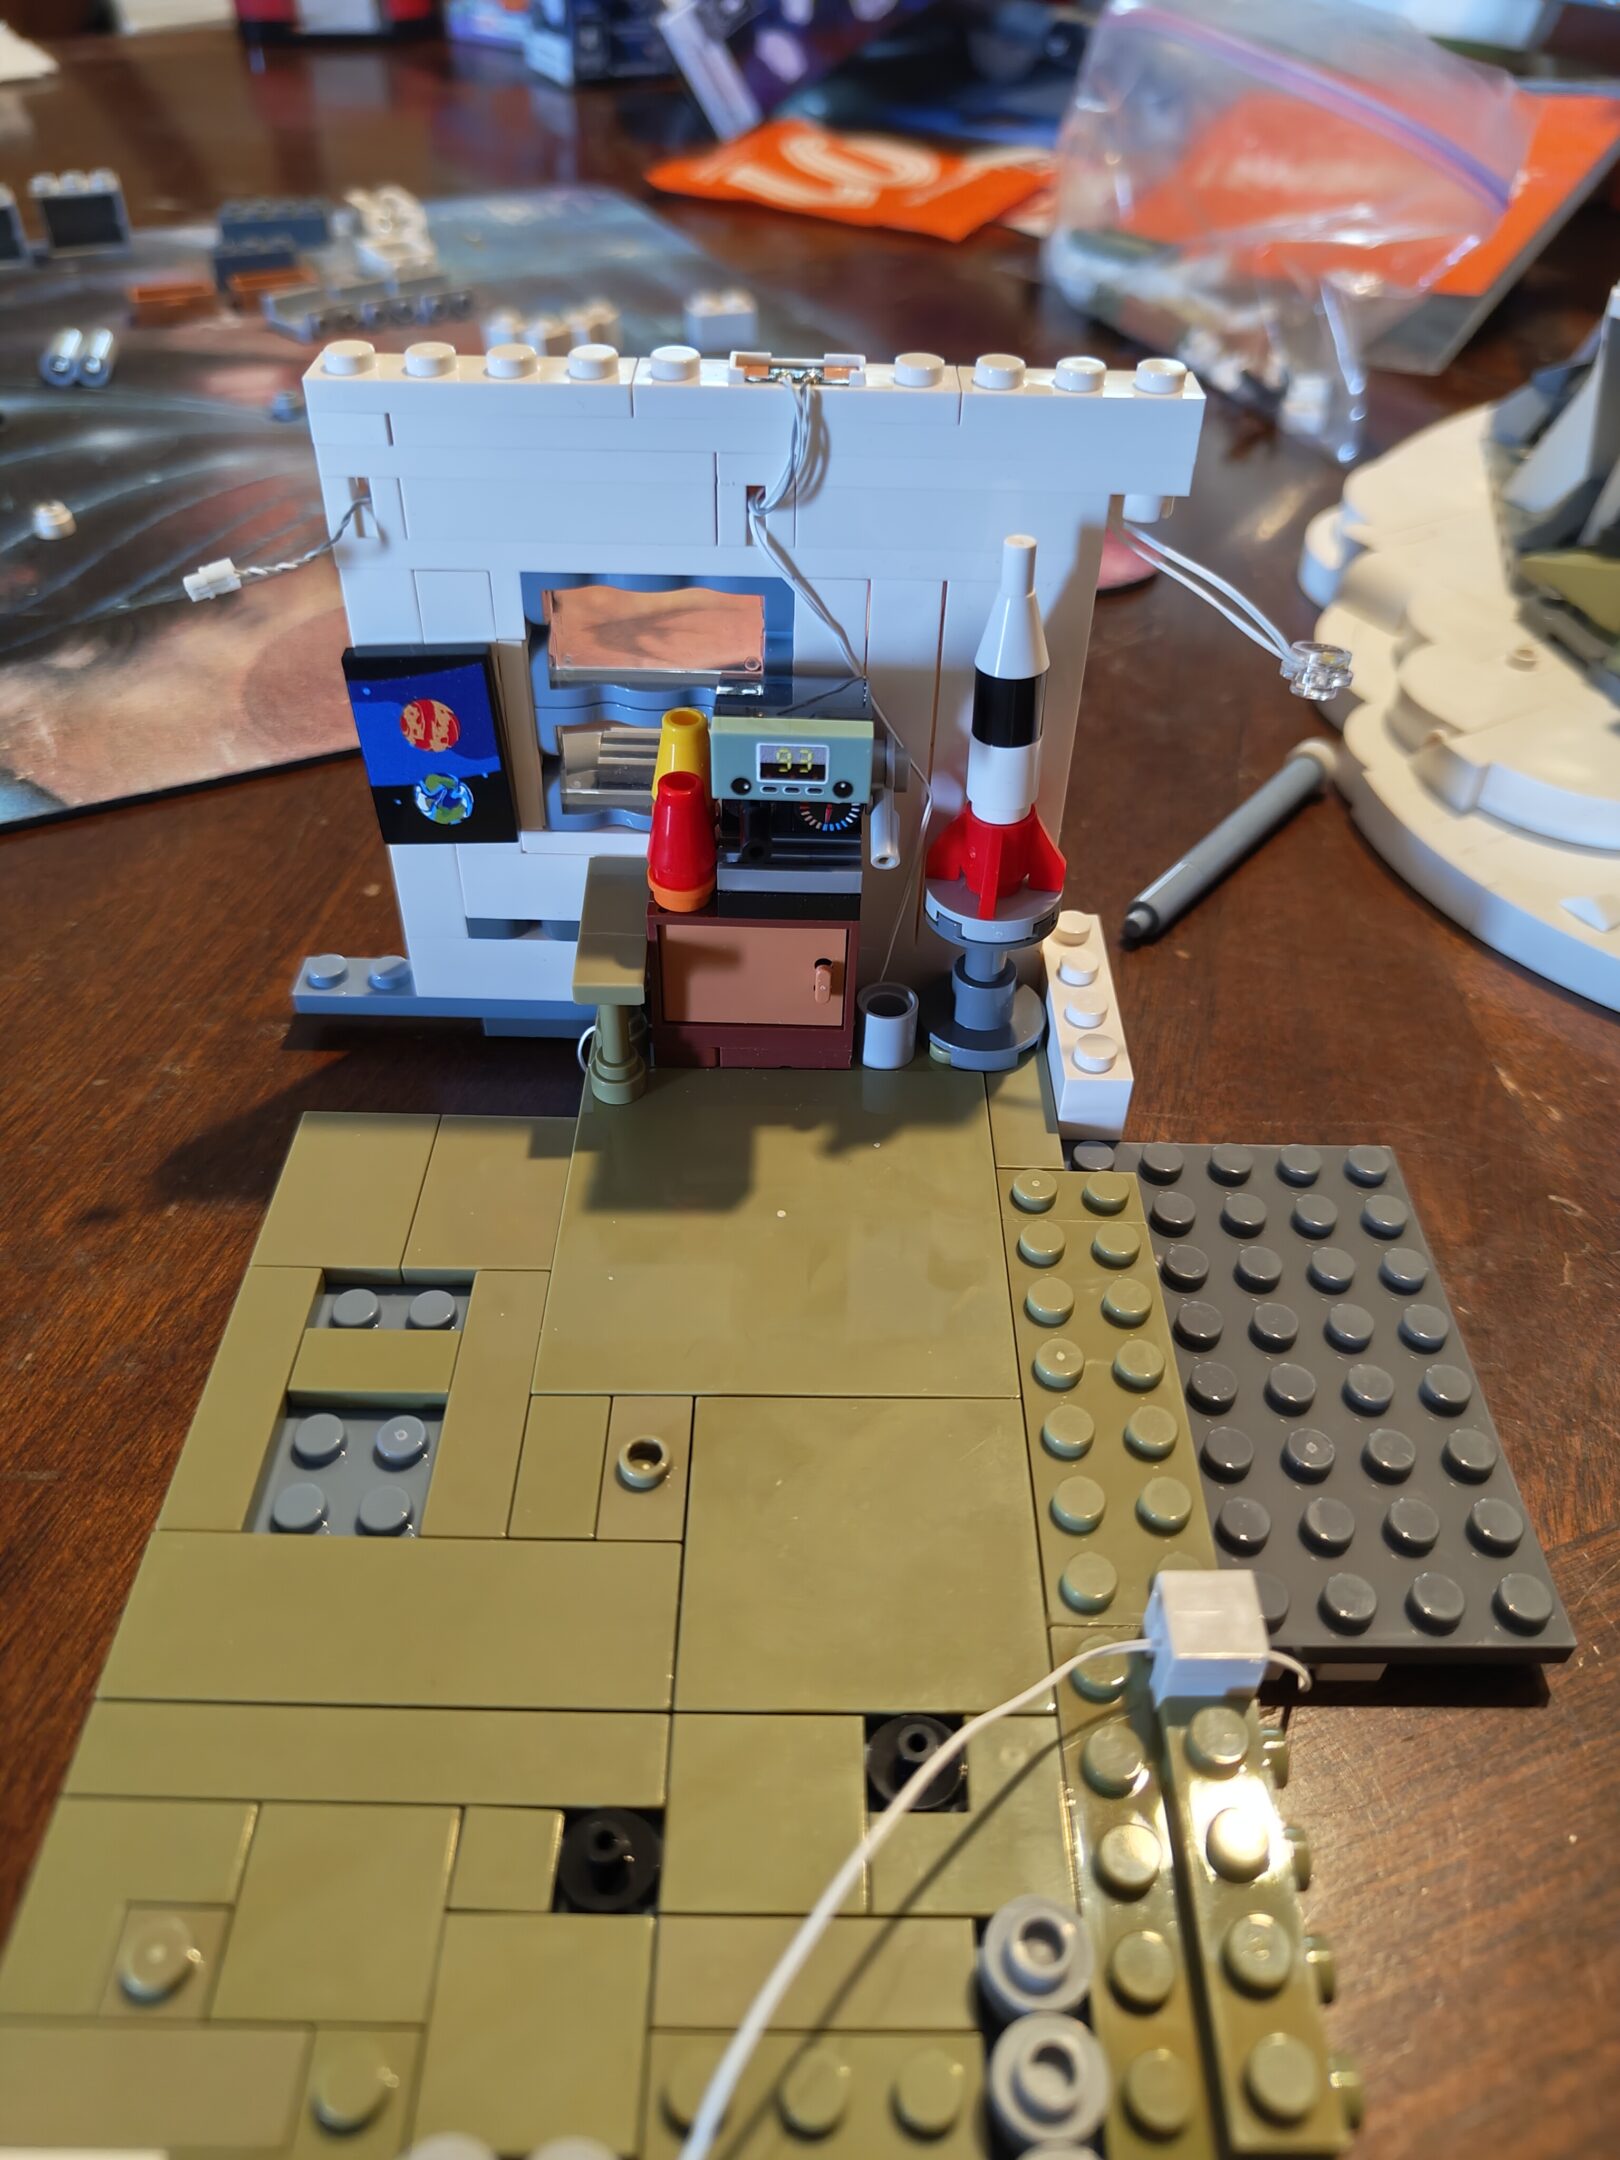
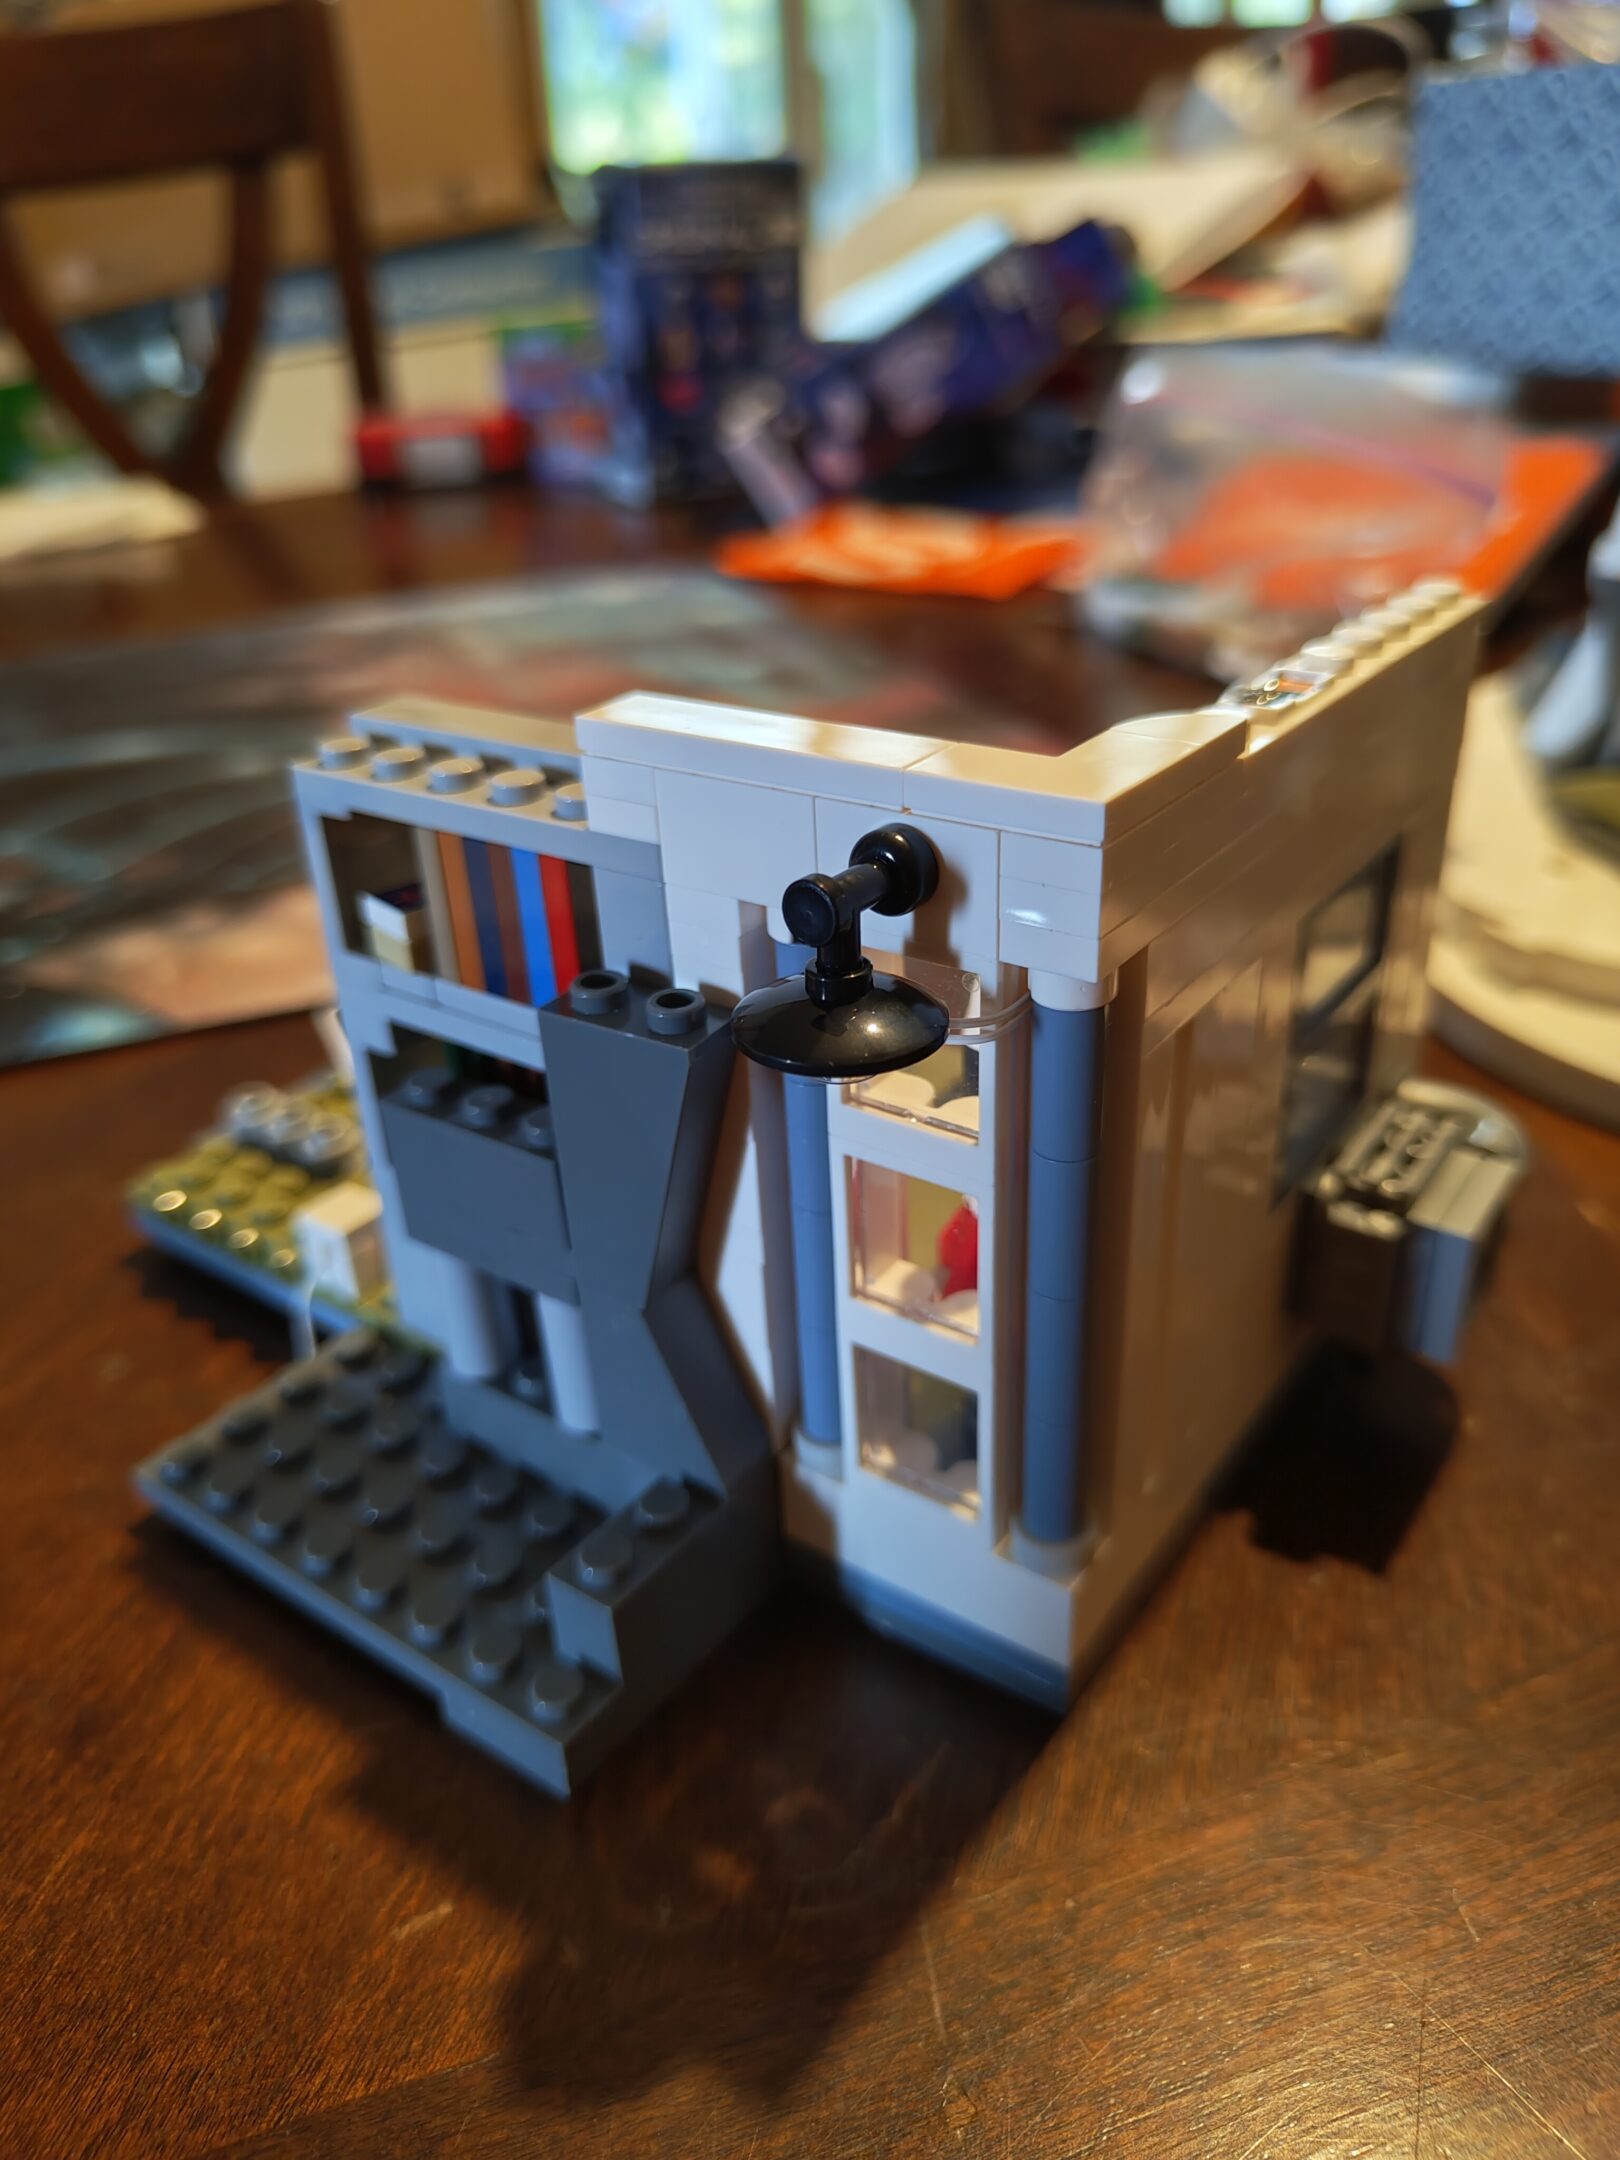
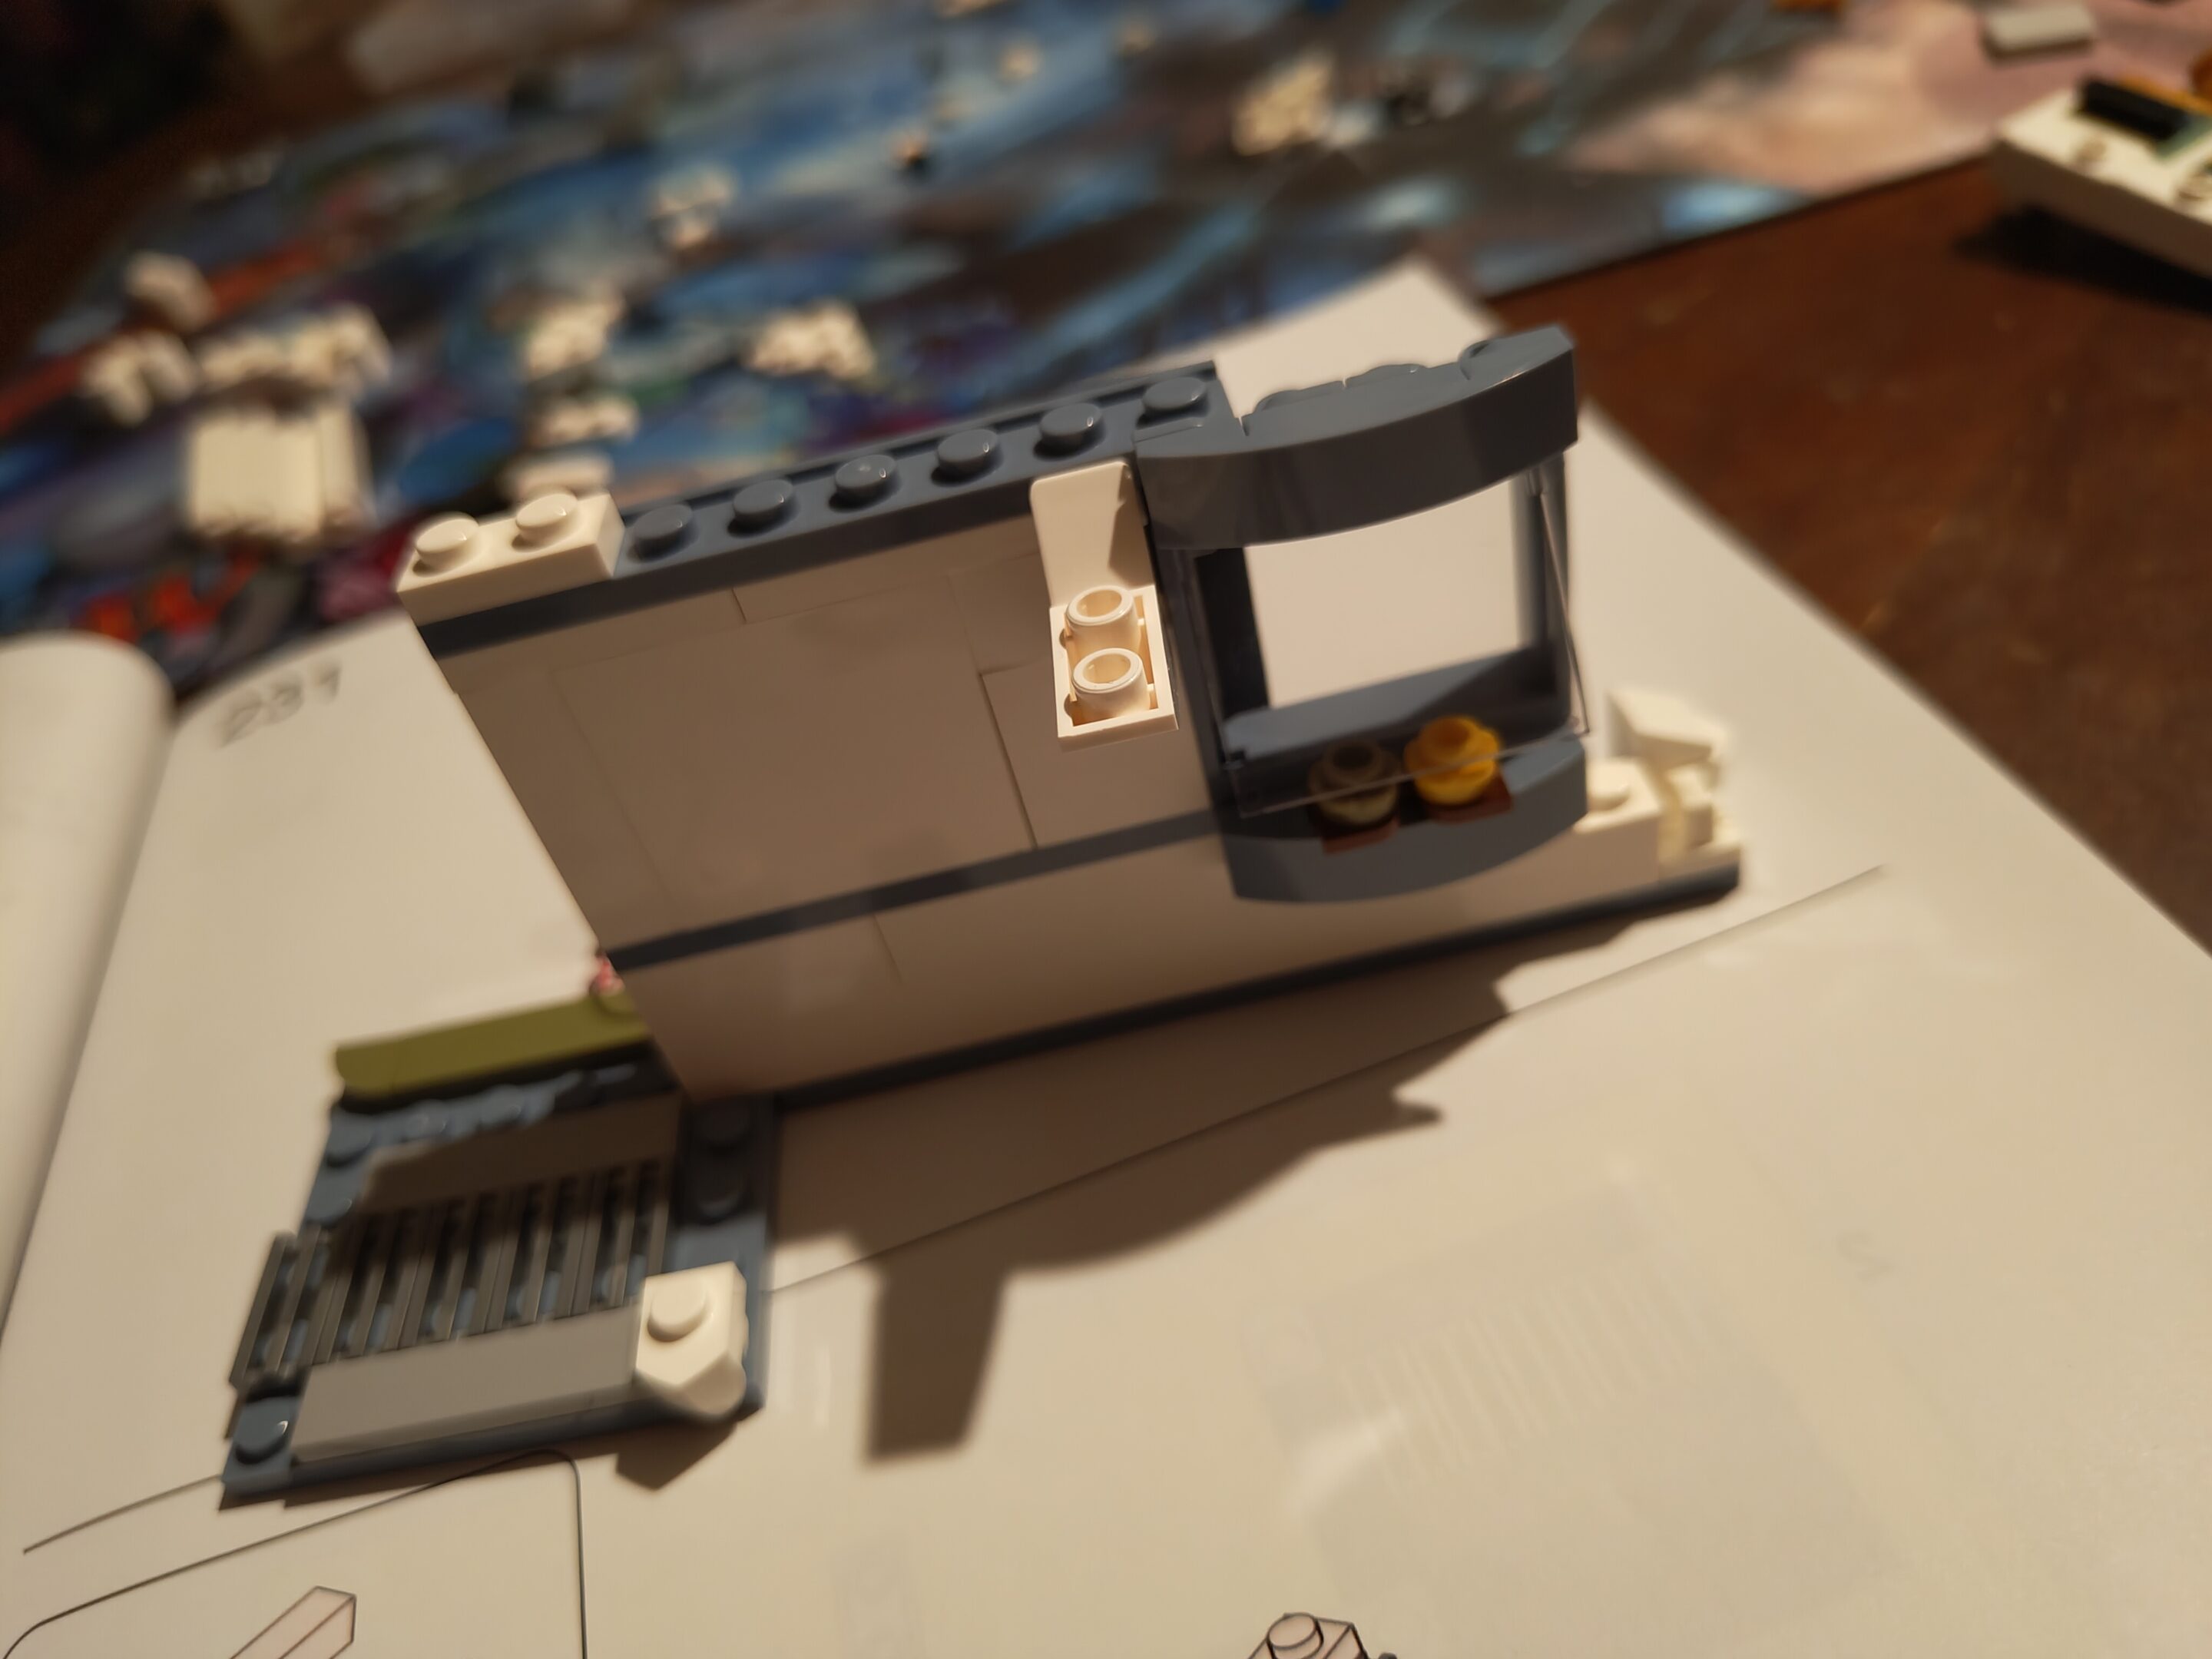
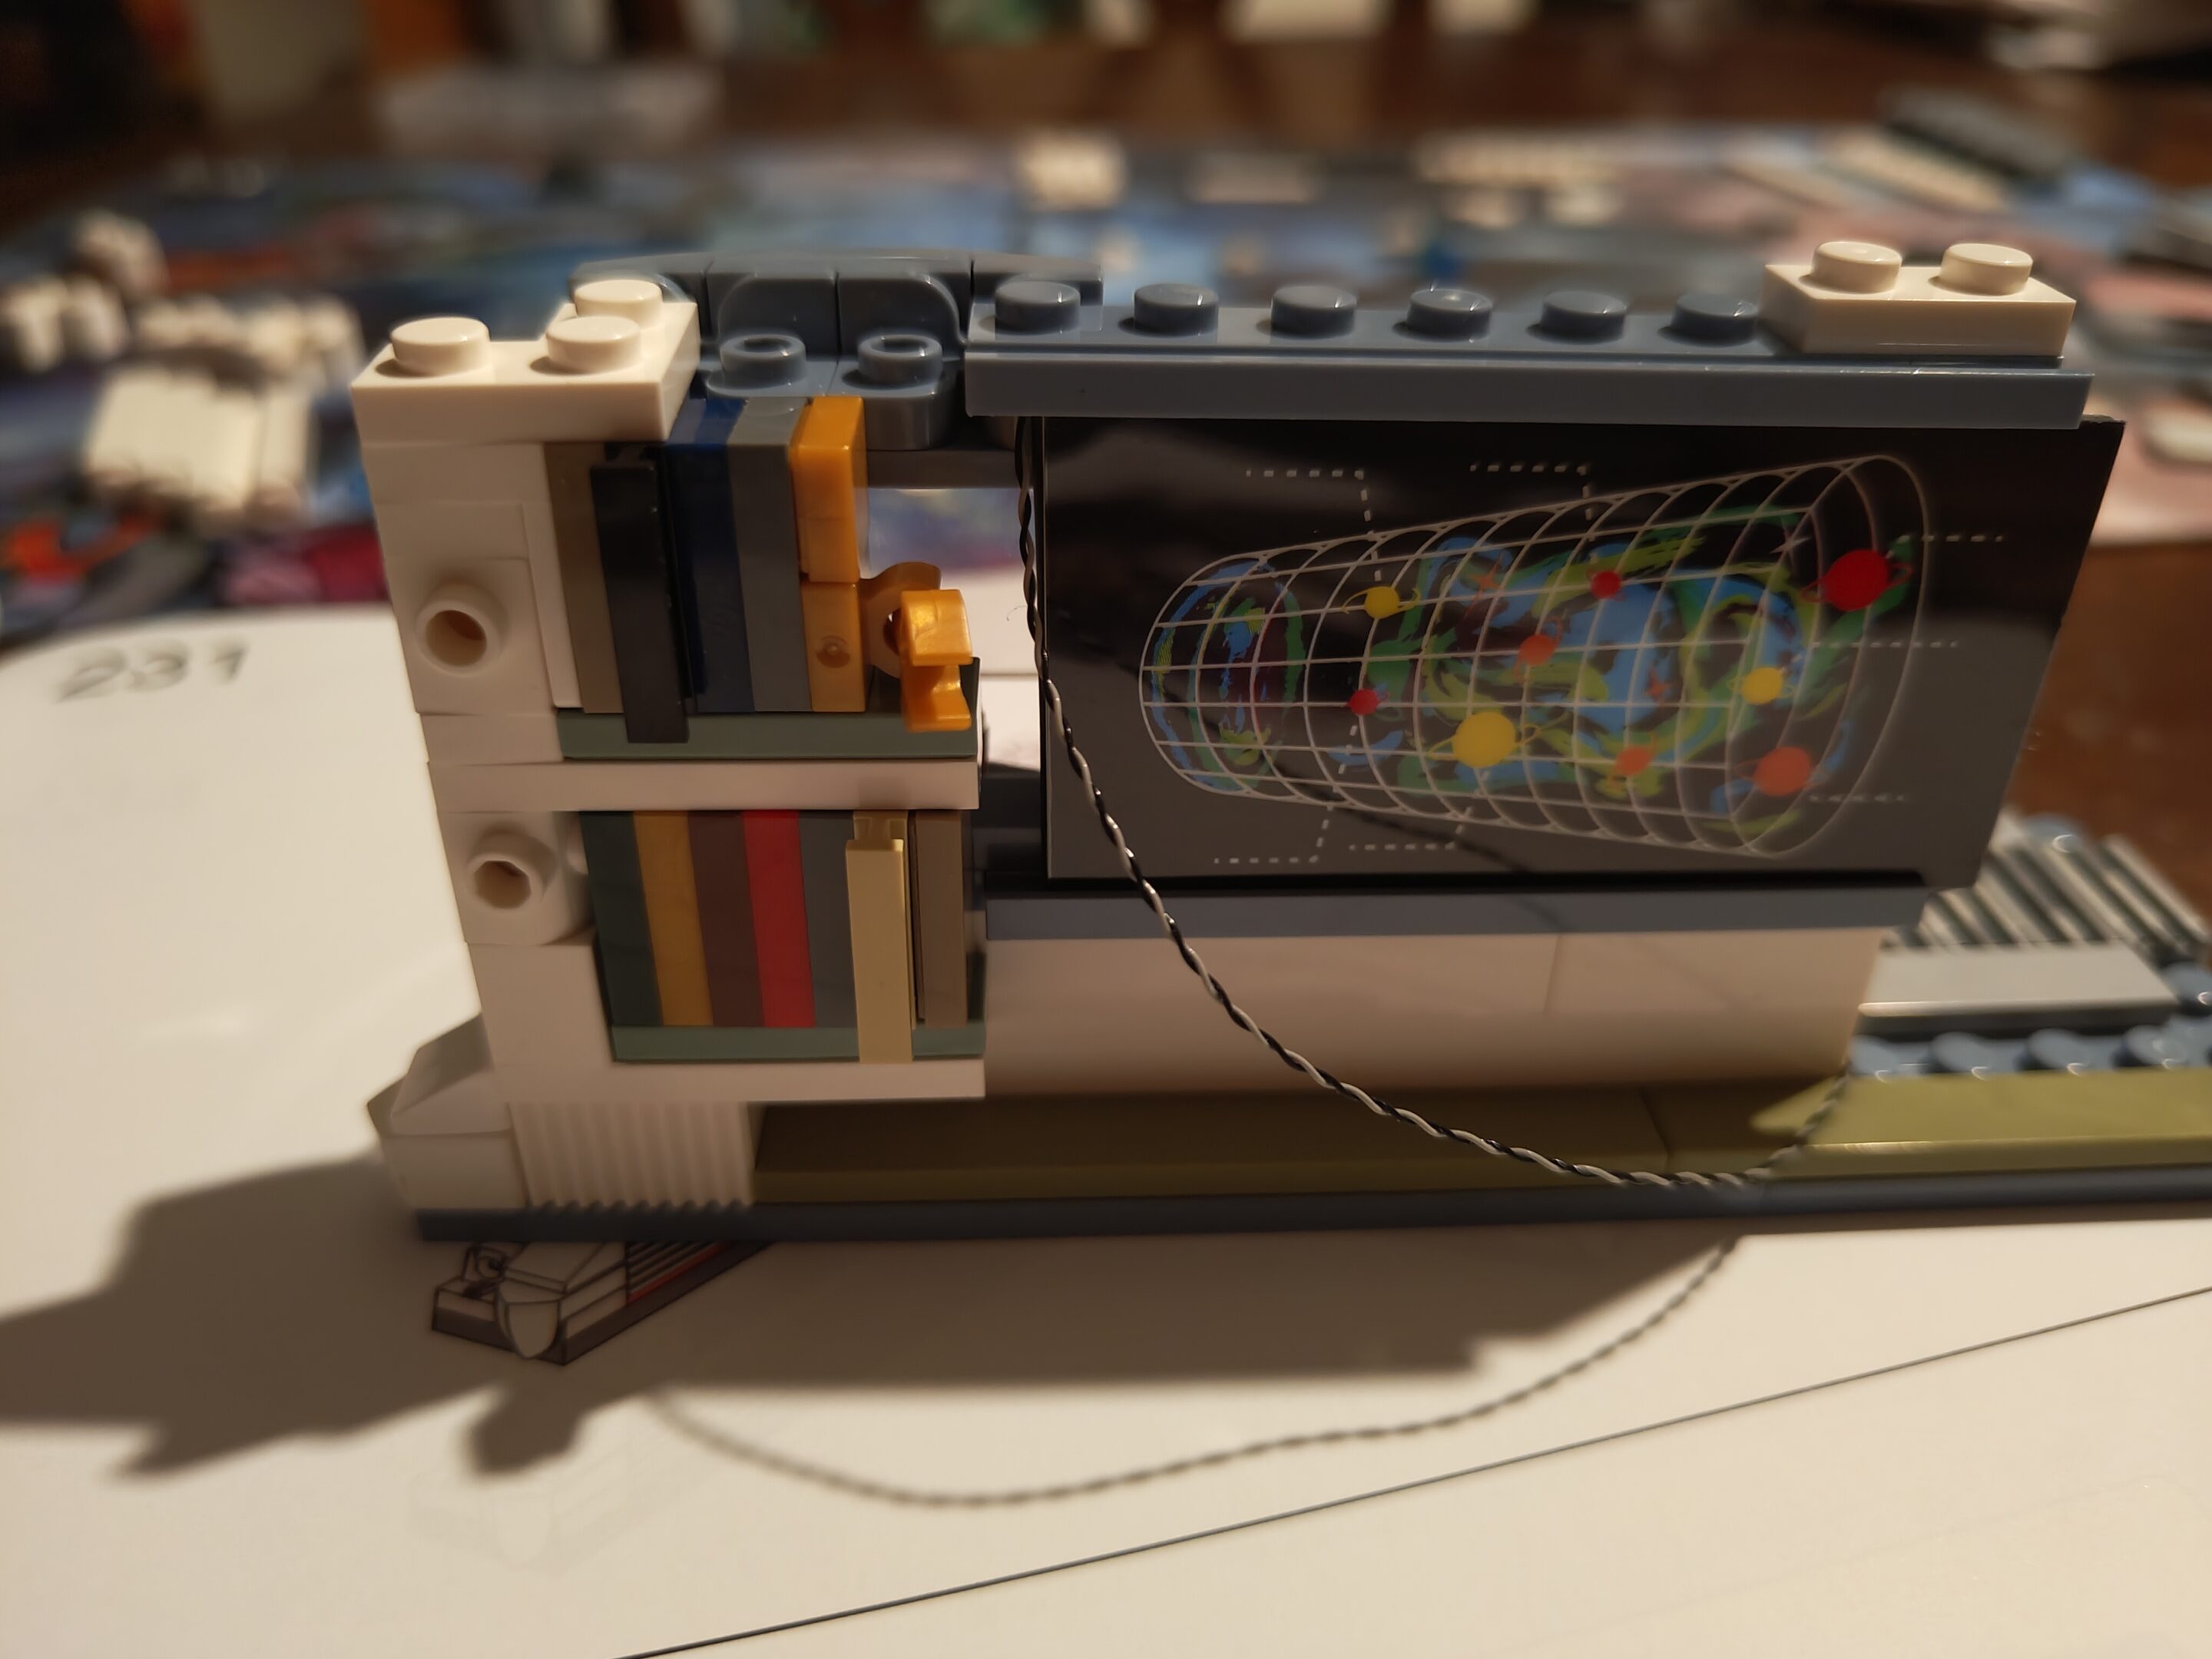
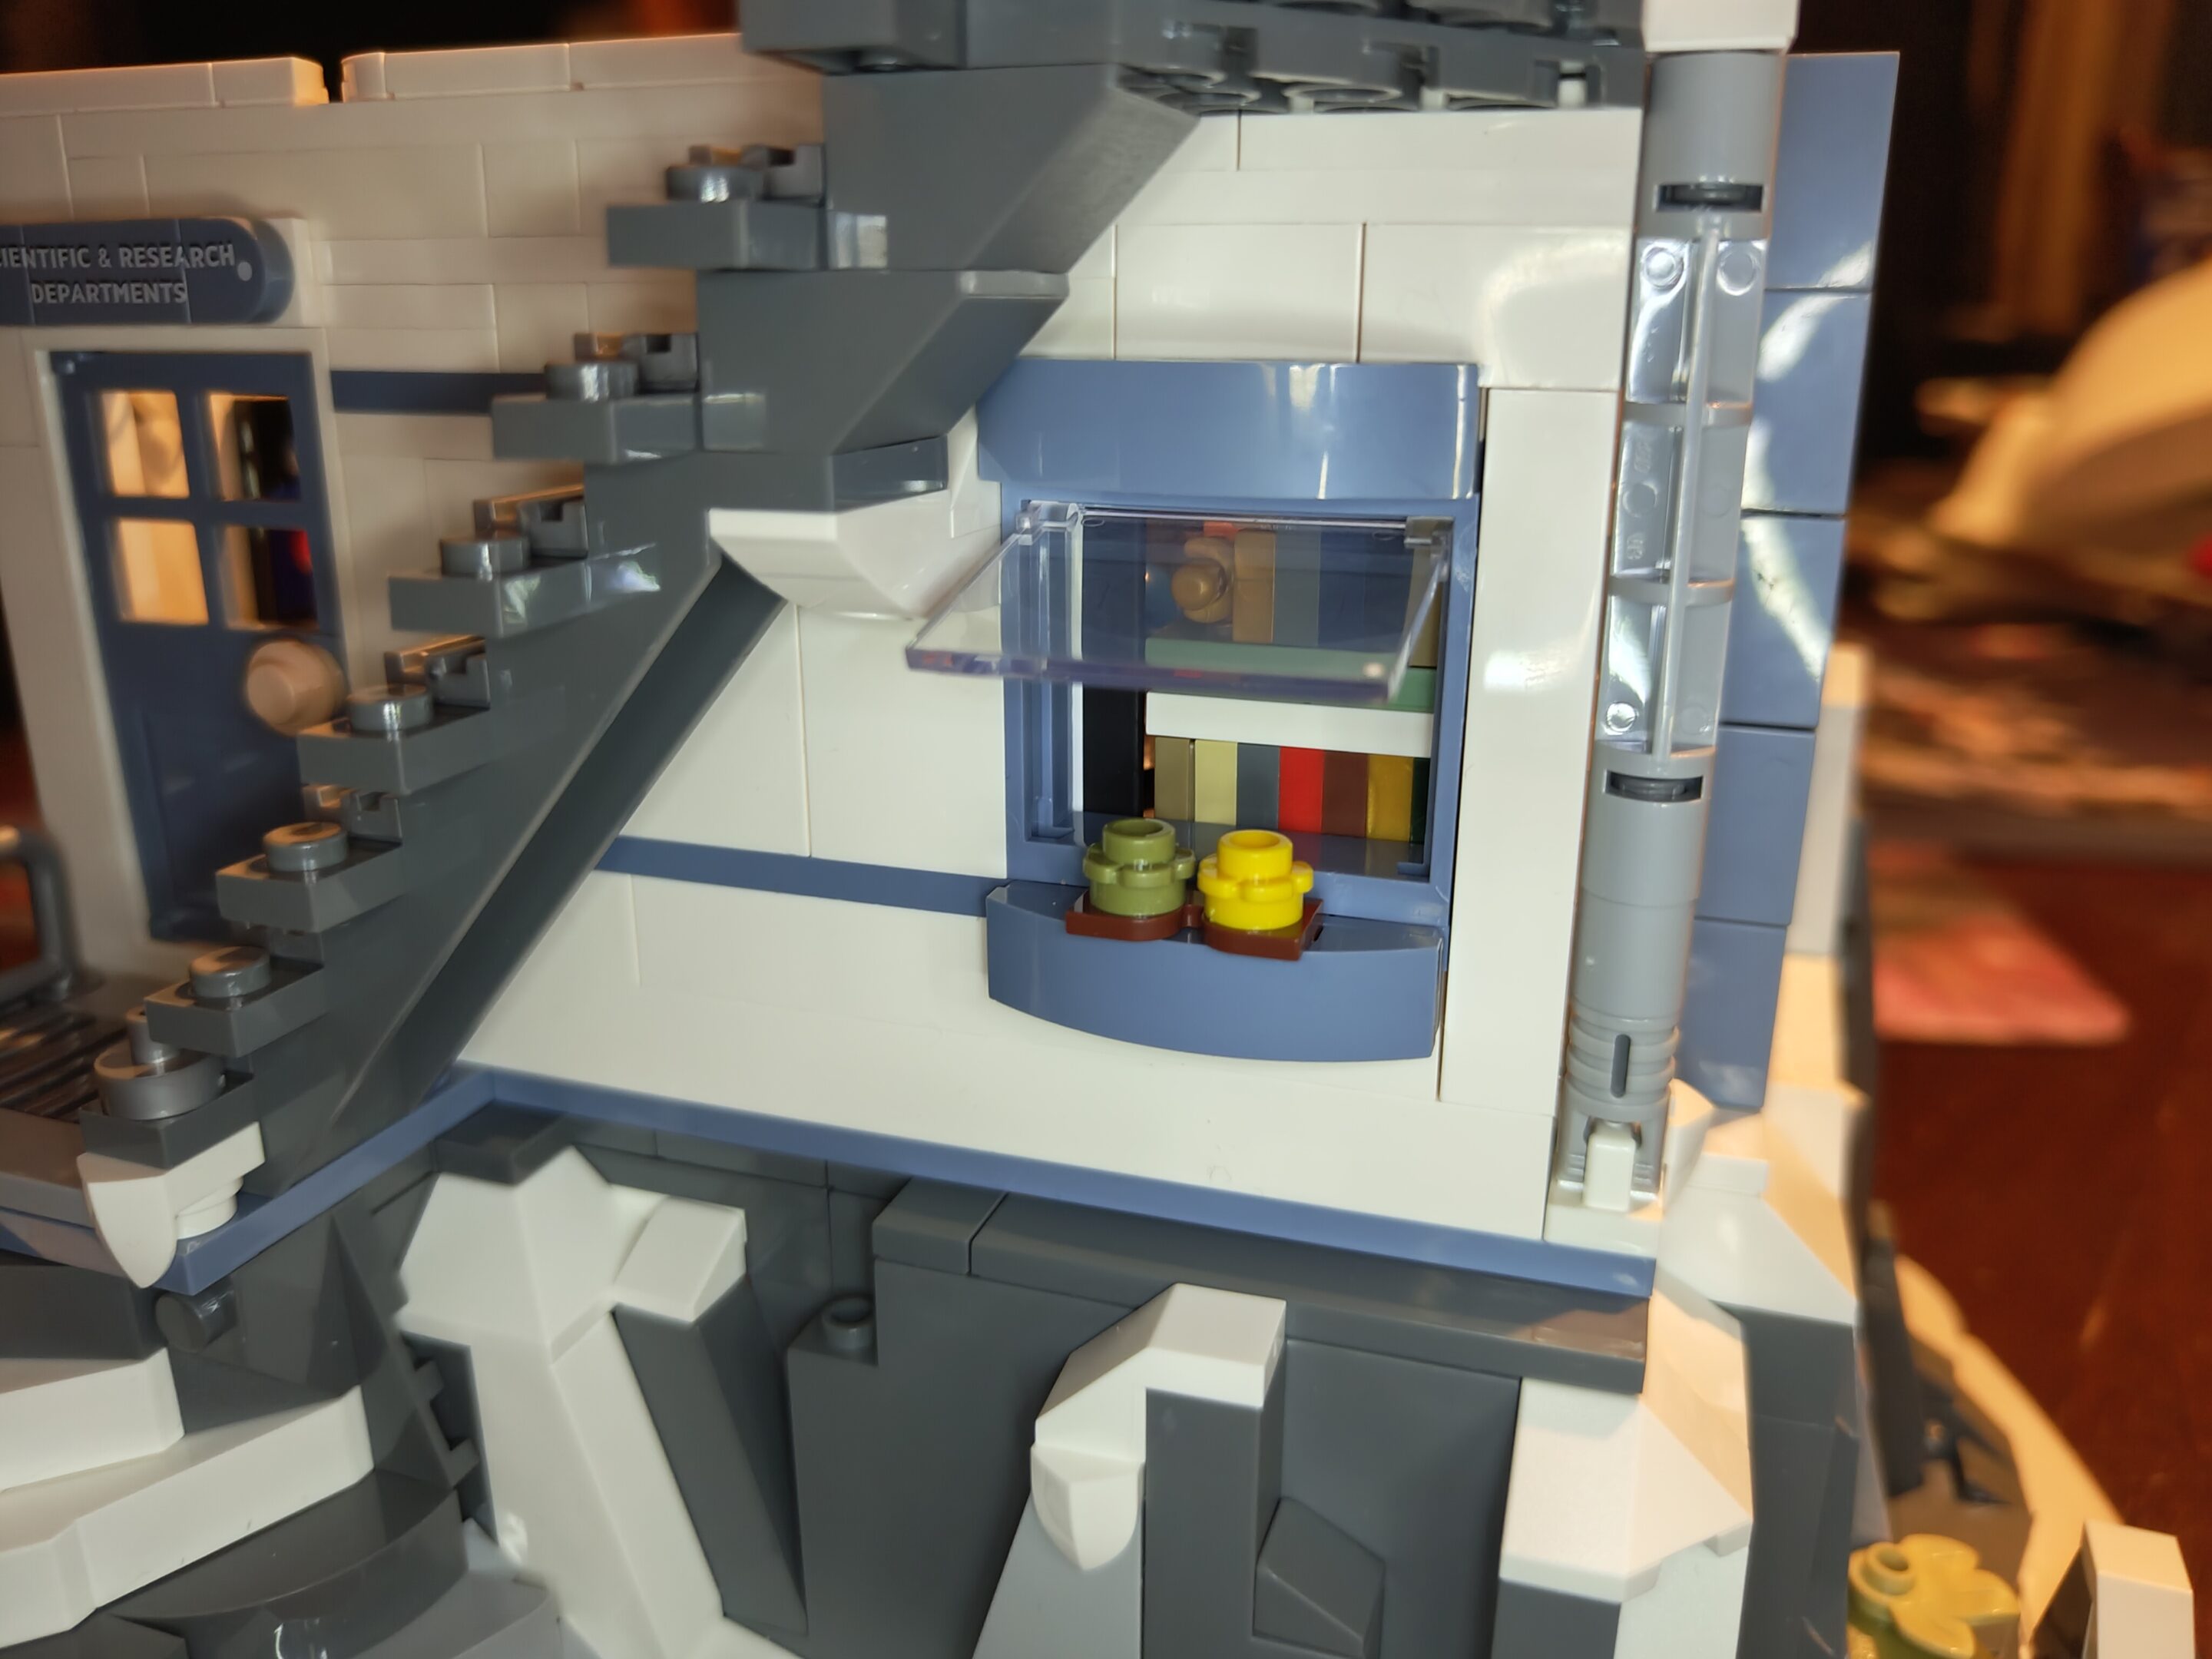
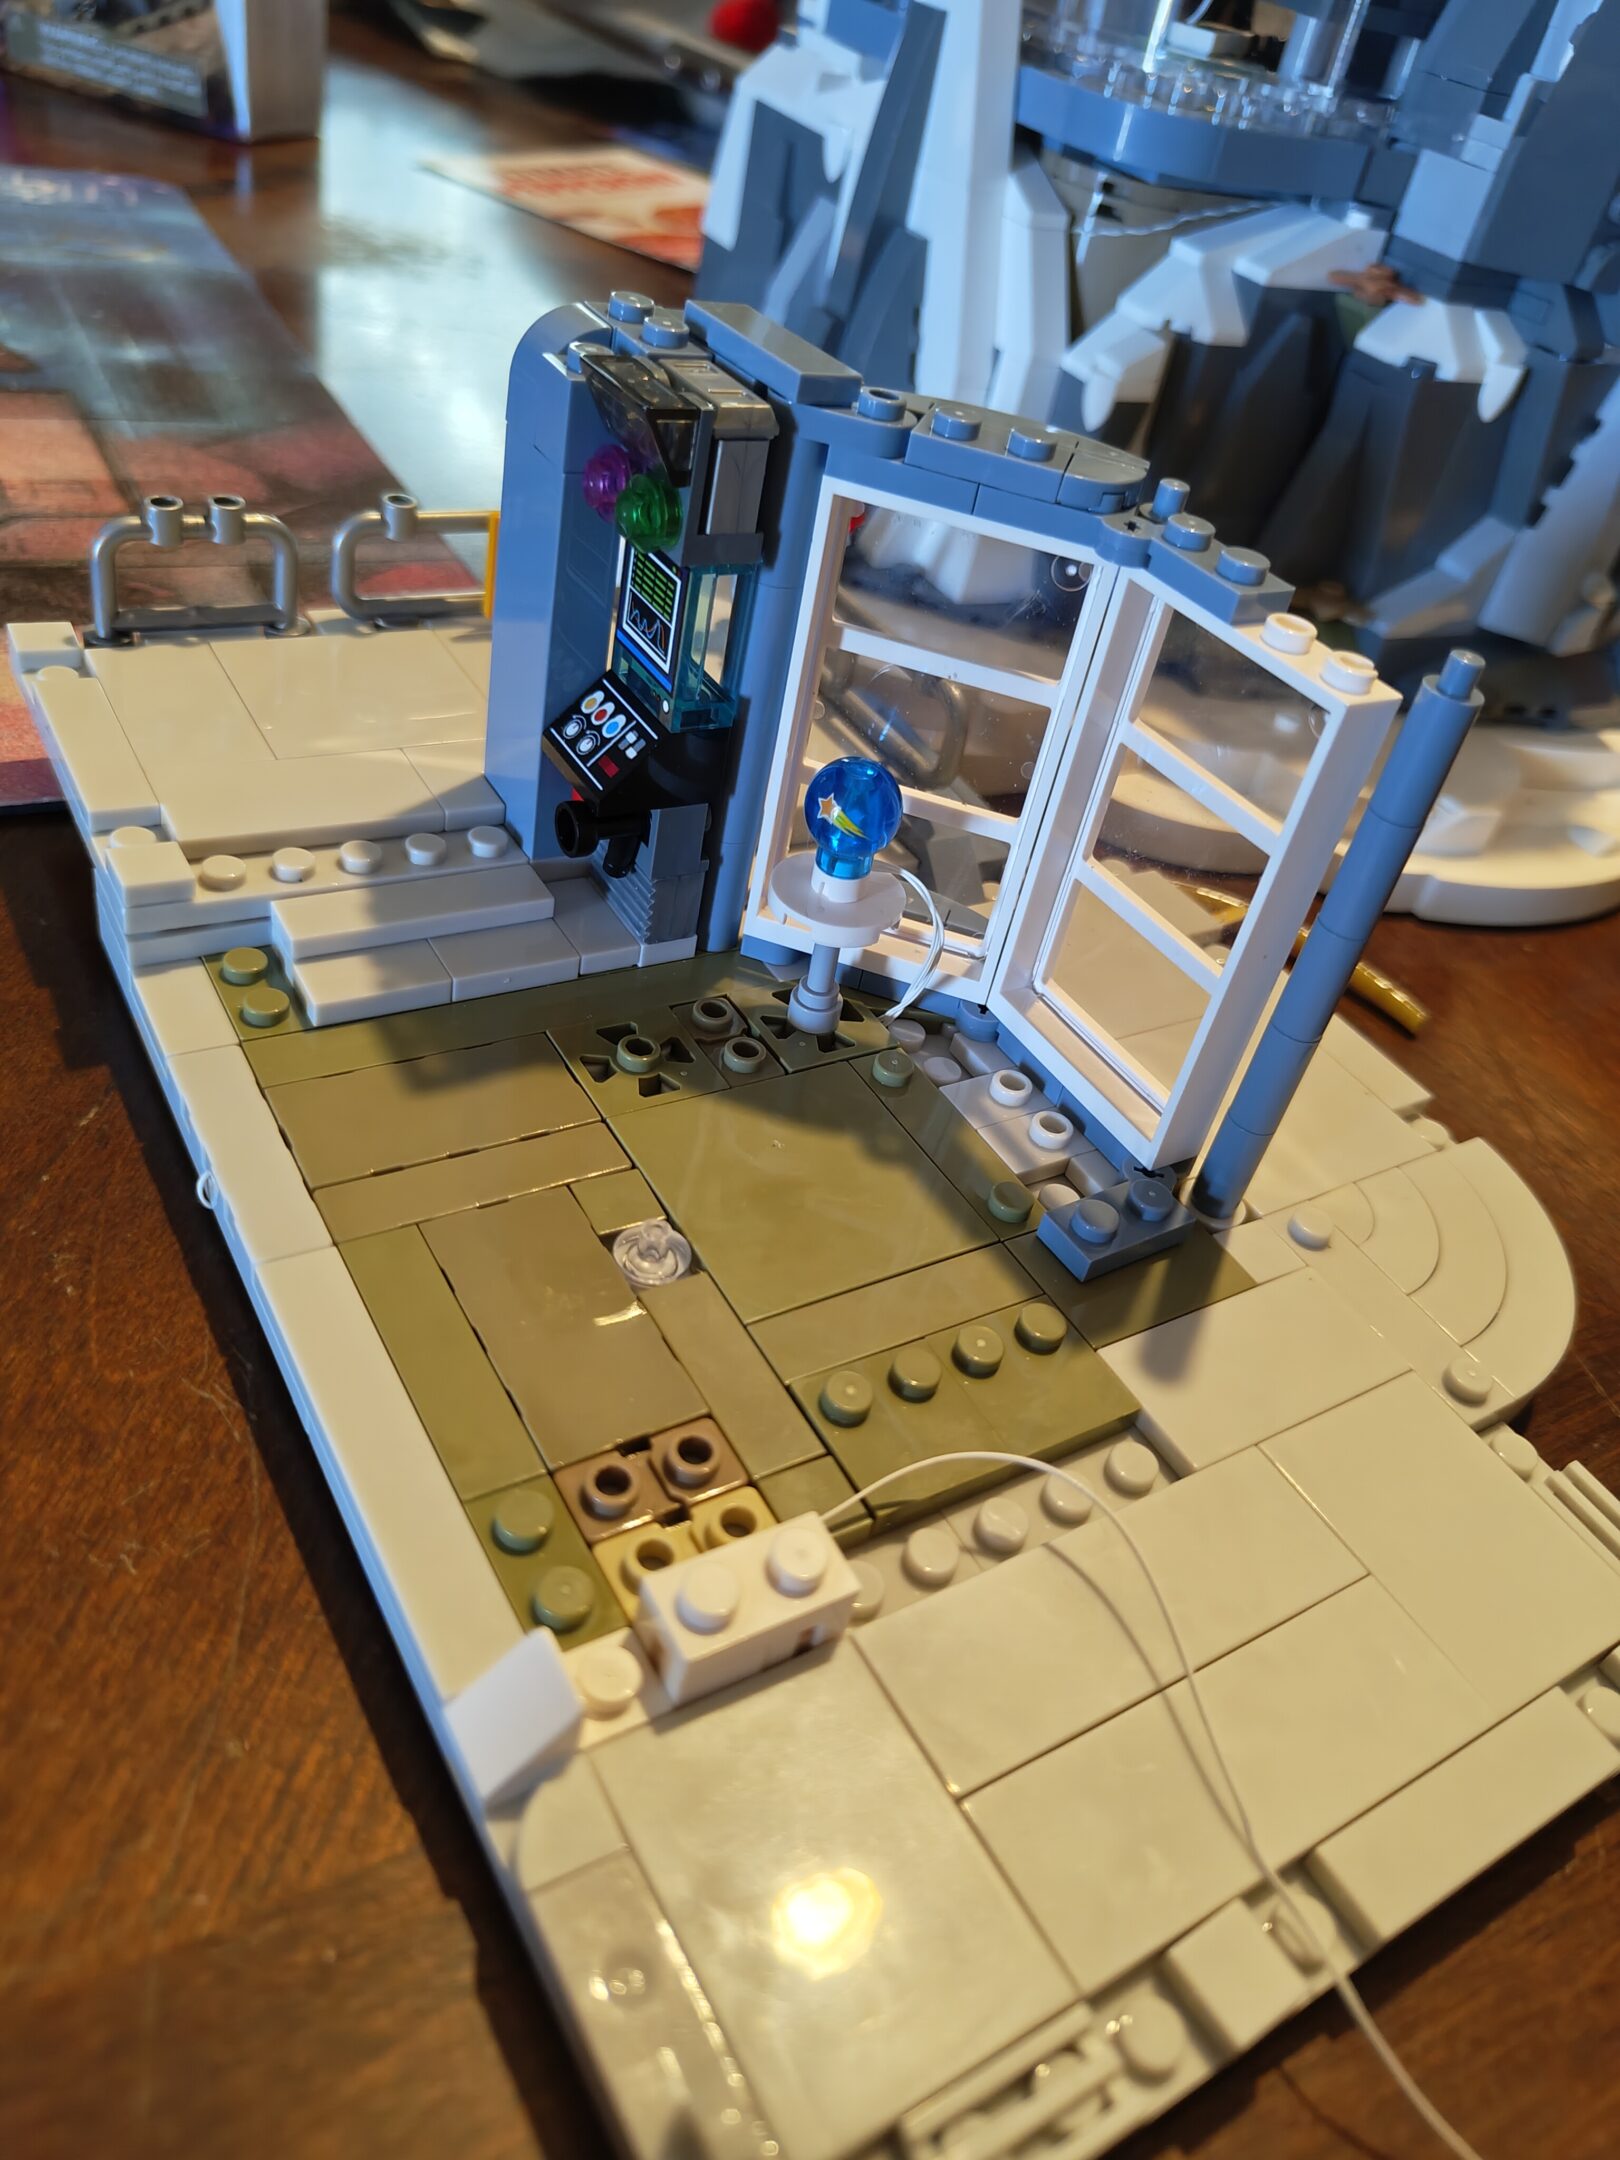
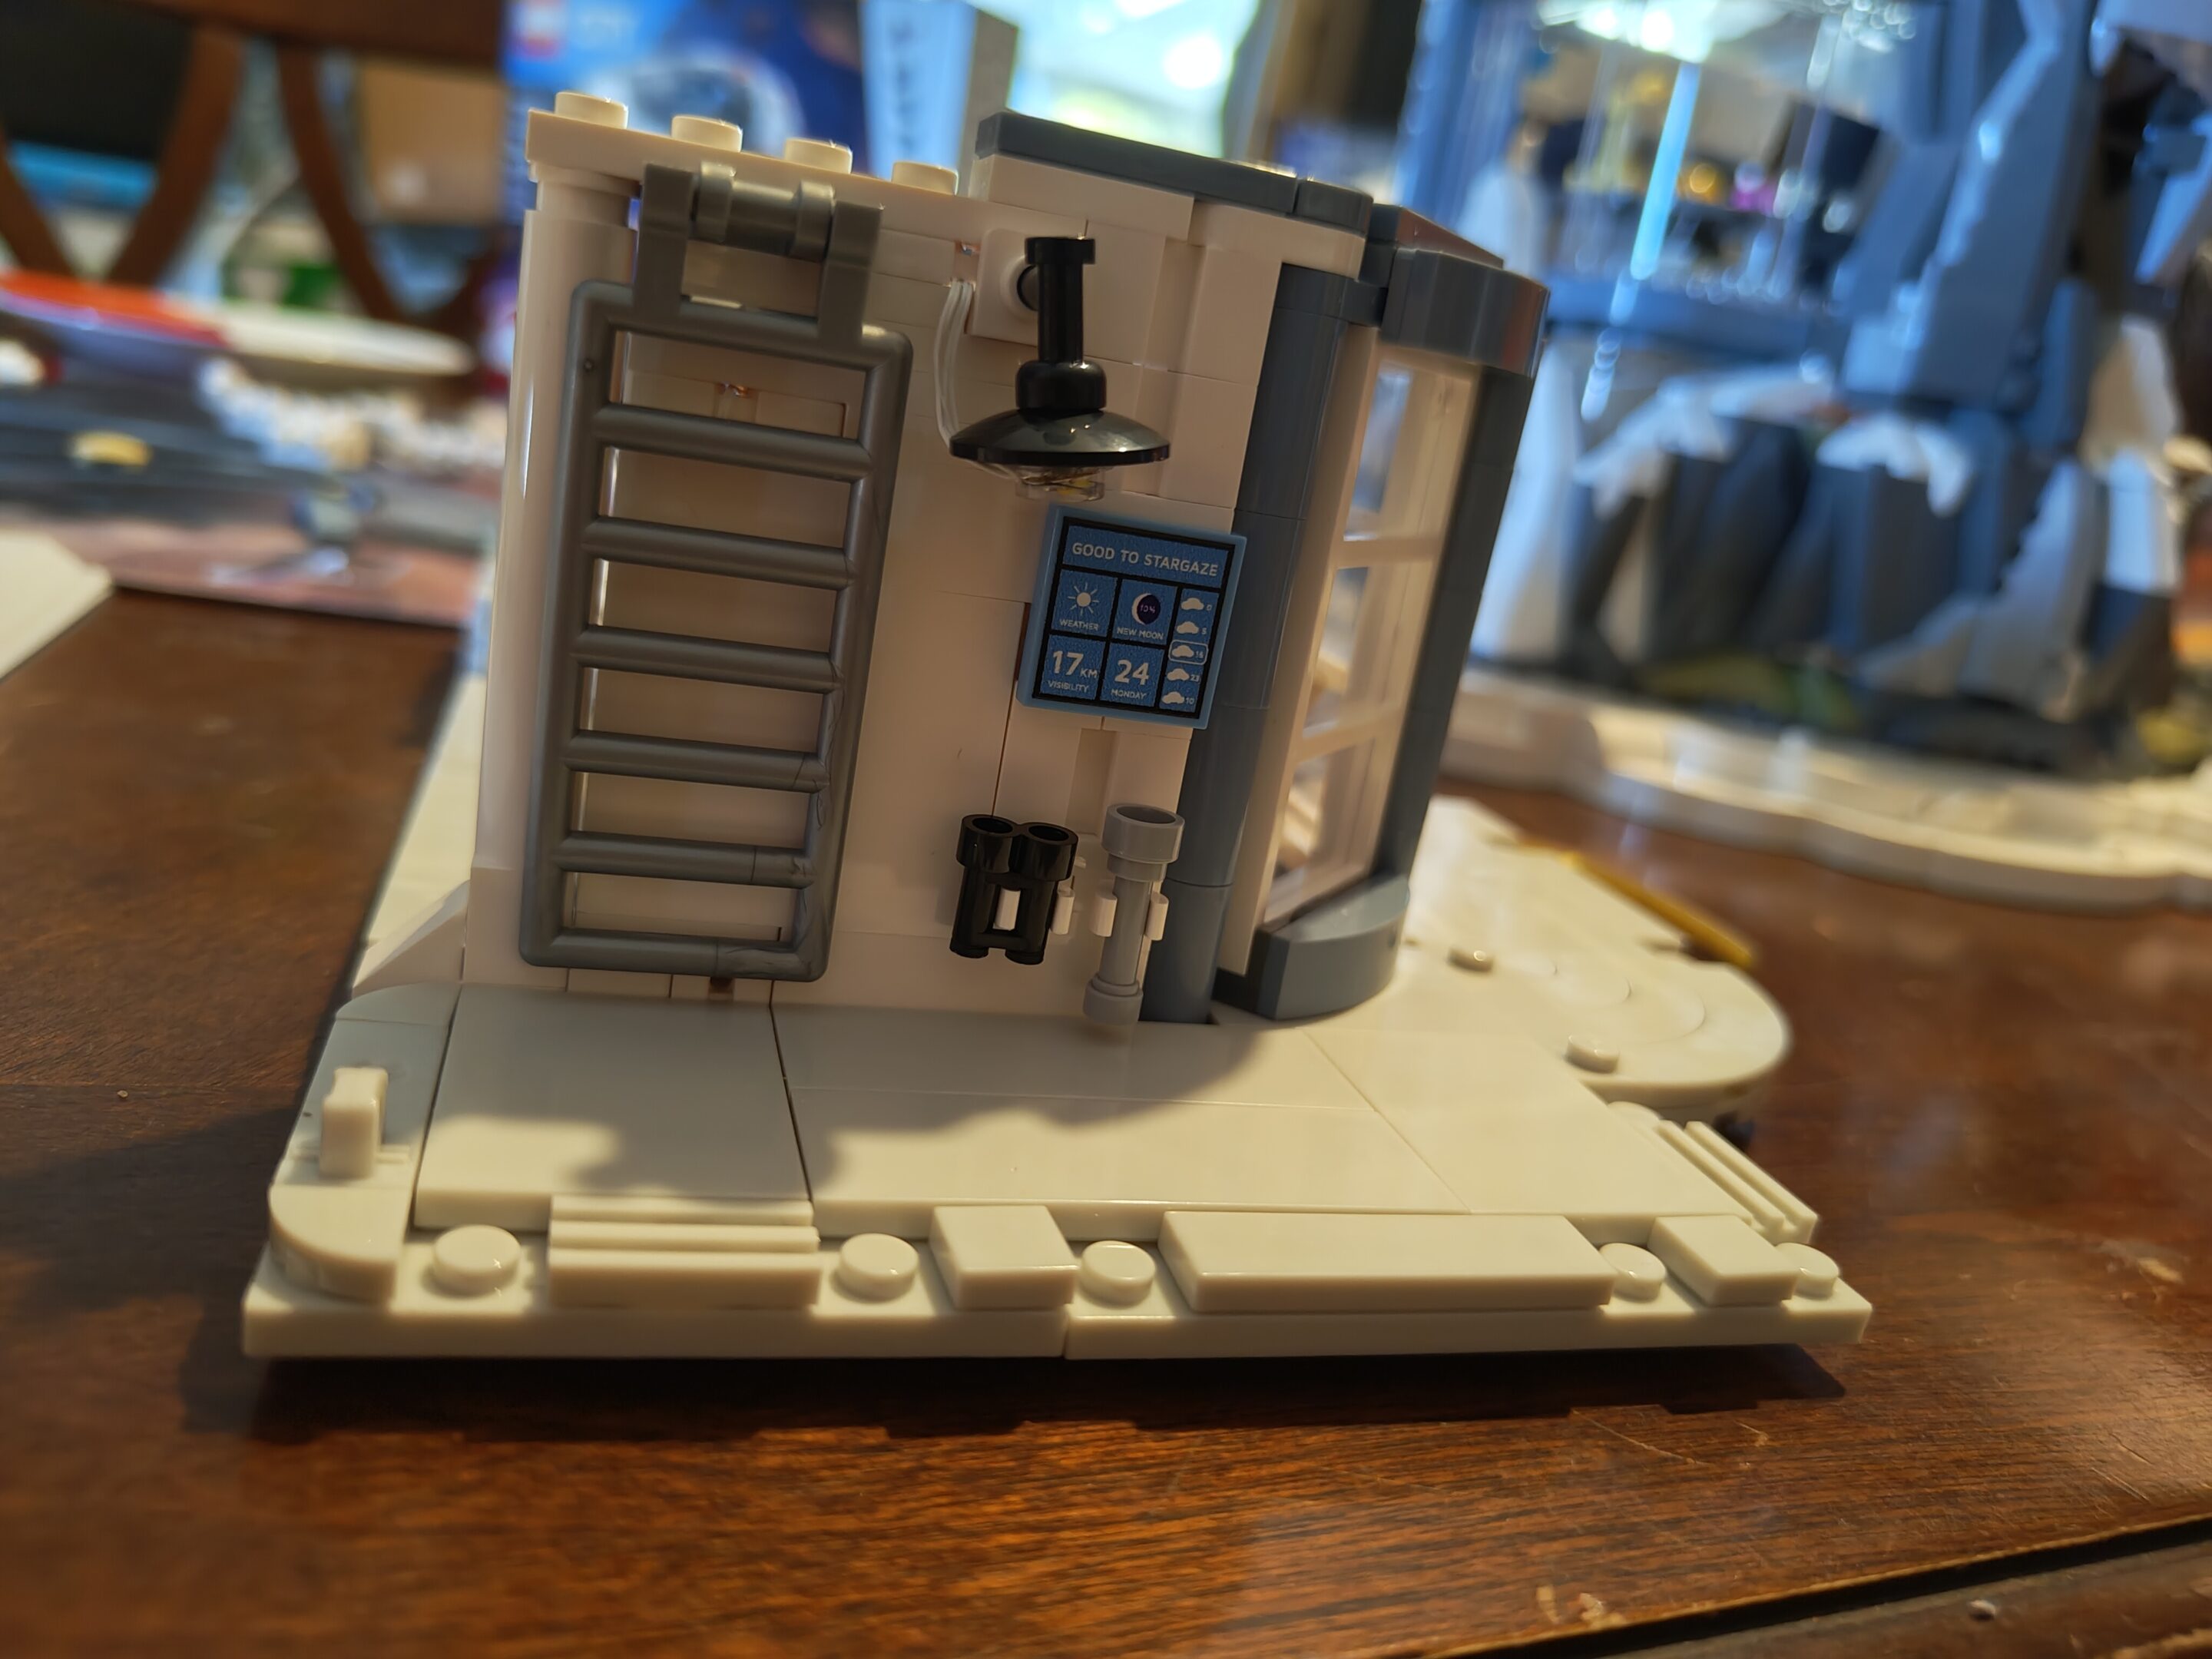
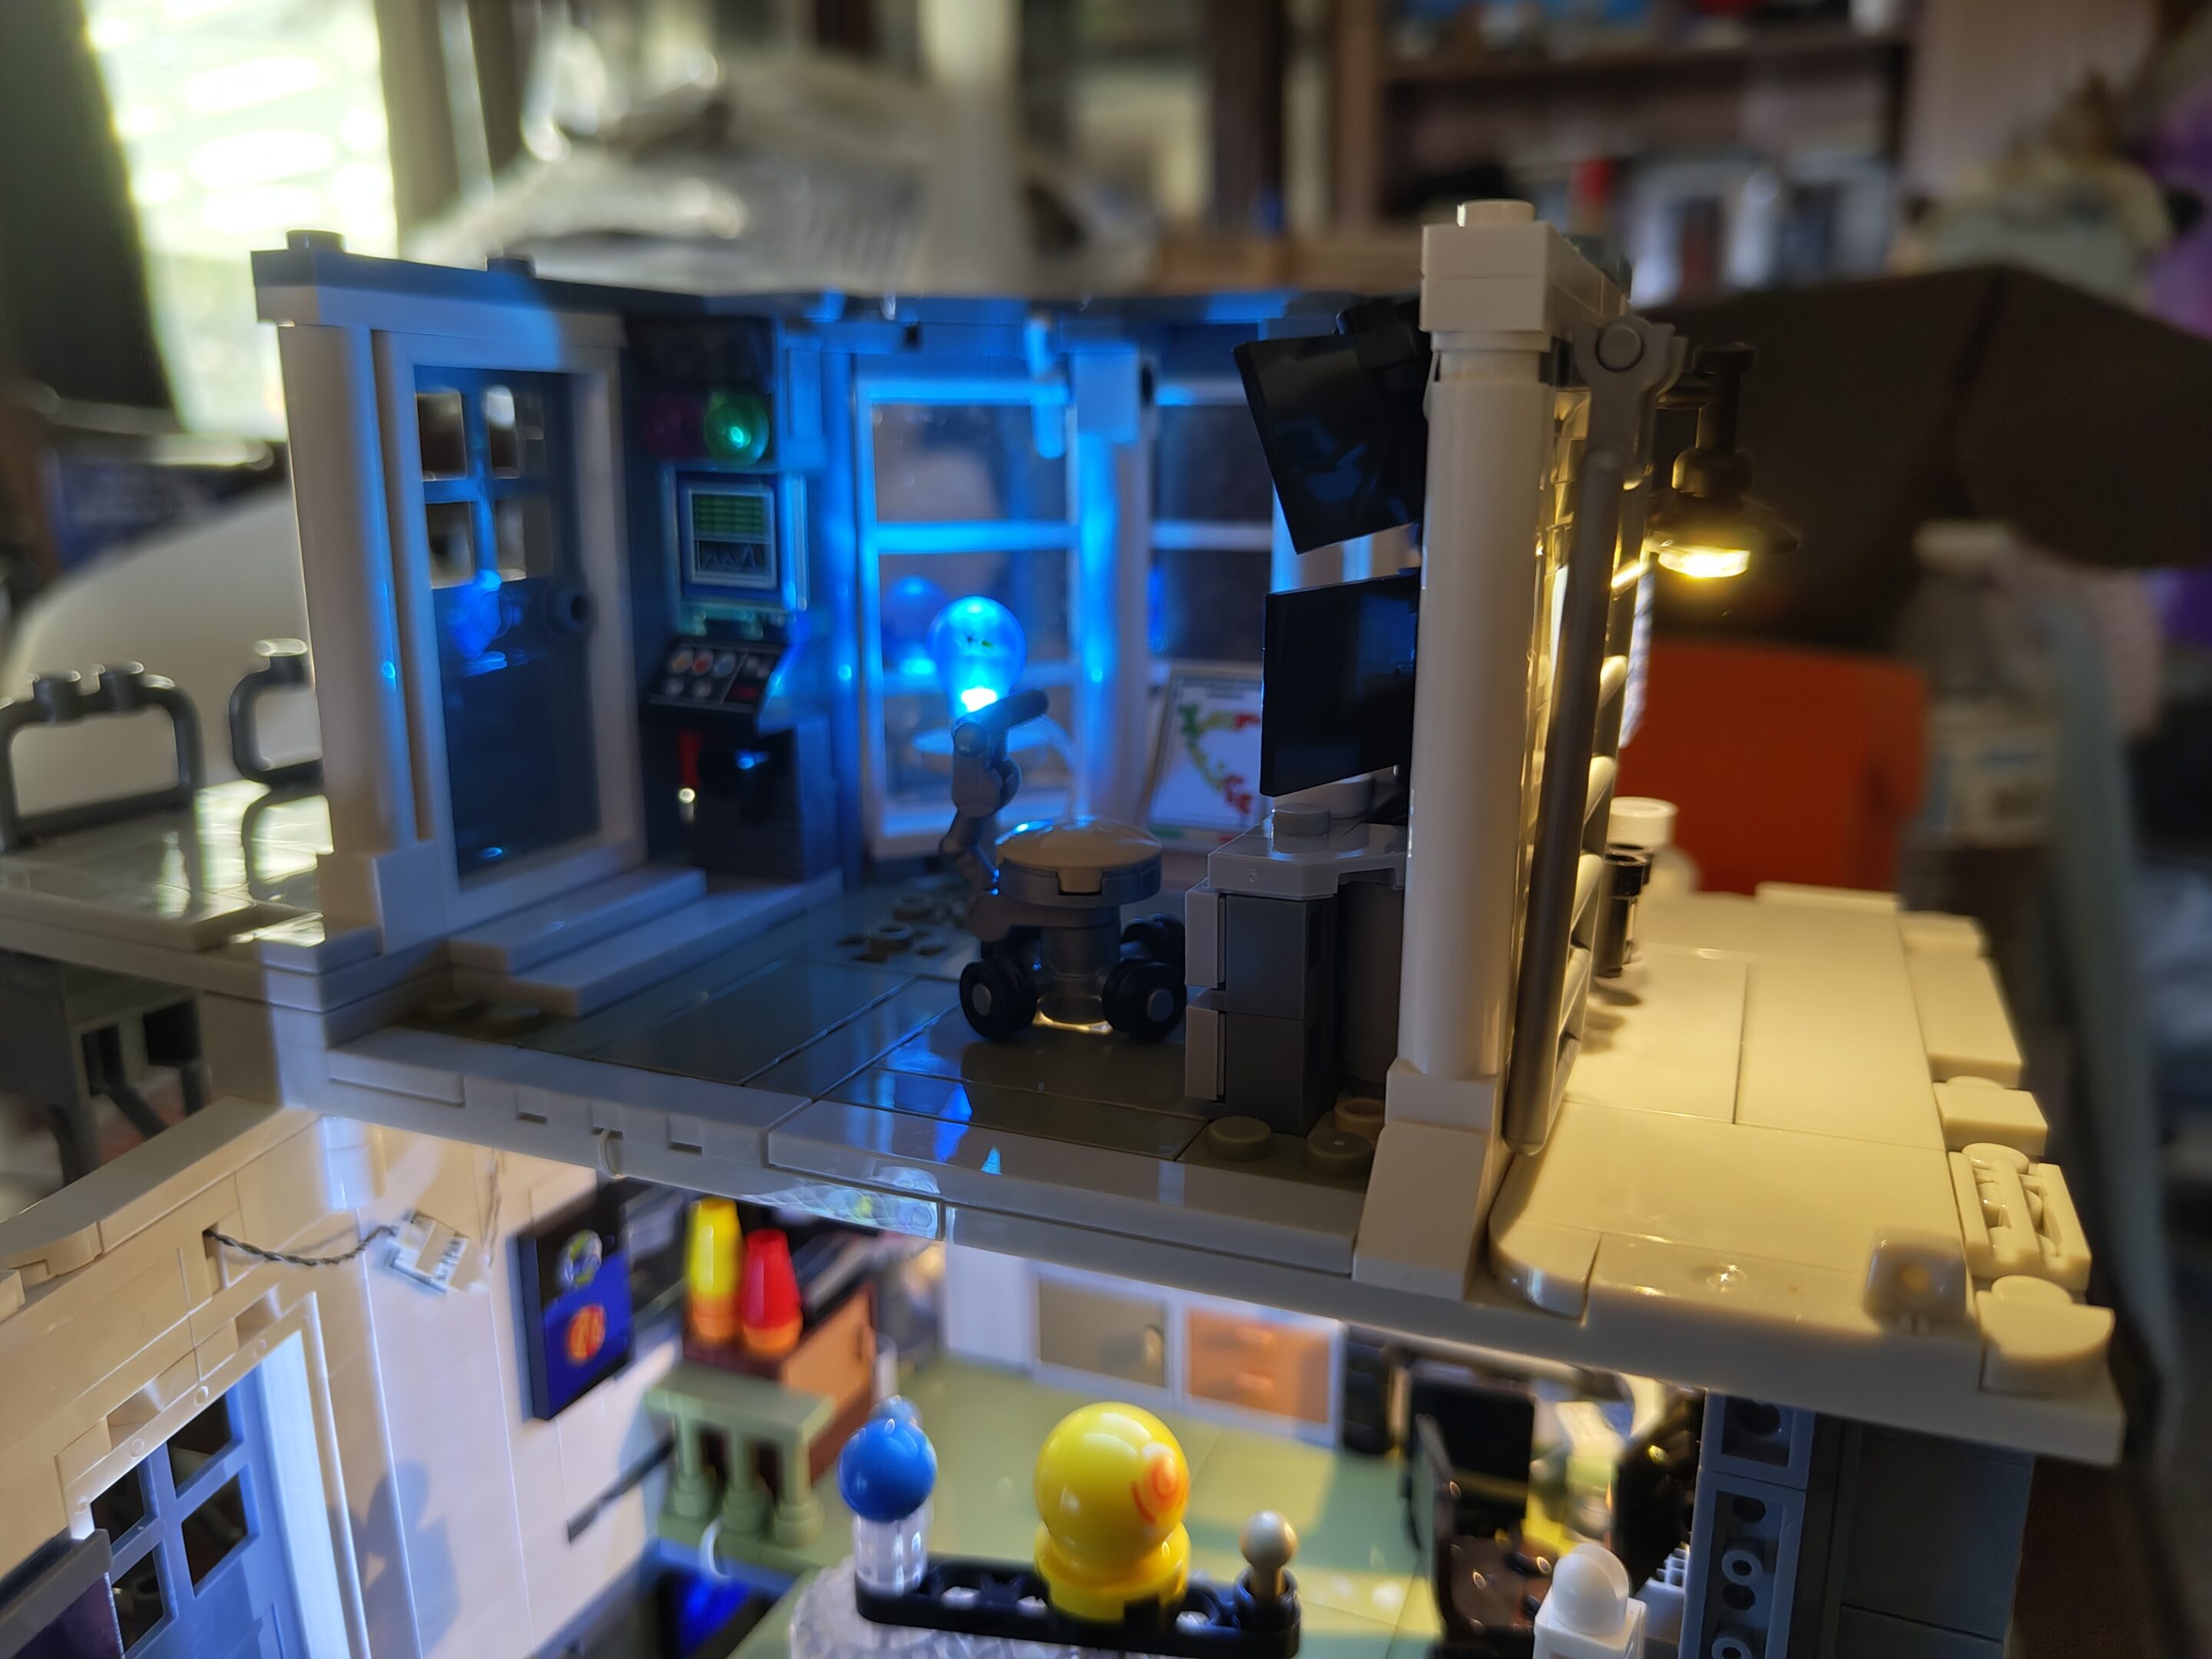
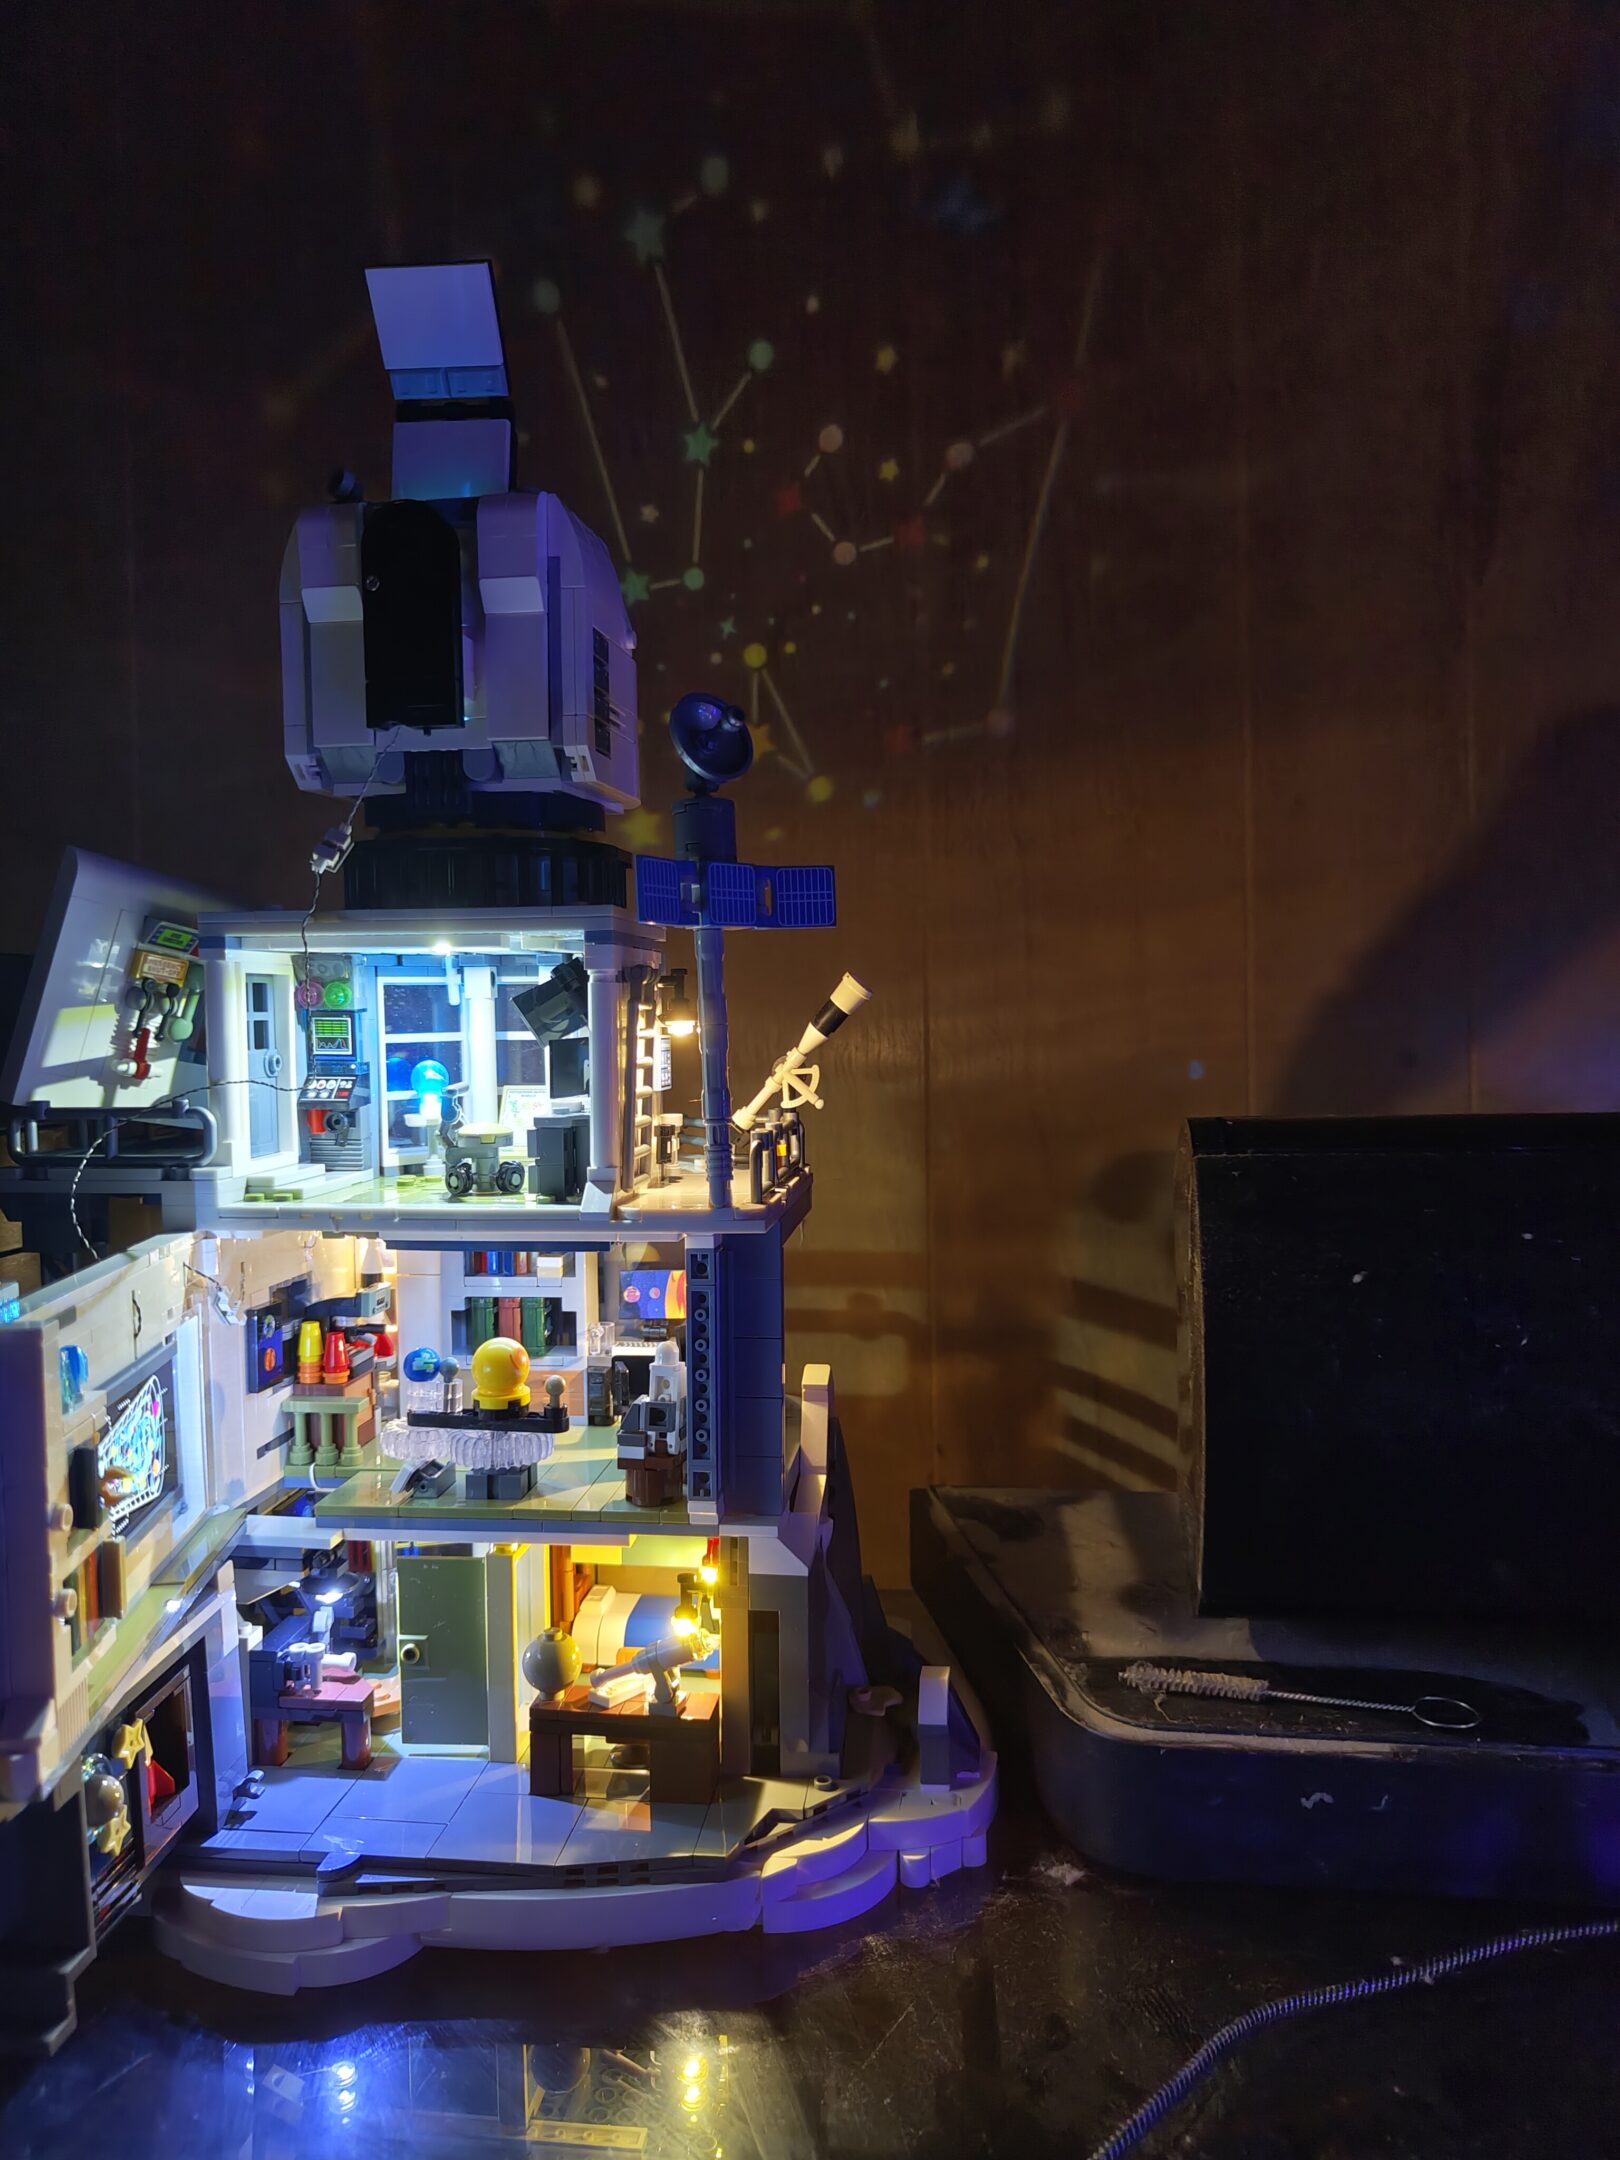
FloorBut also ceiling and useful bits. The thing on the lower left with the wires coming out of it is the pogo pin power connector (so it’s kind of plug and play)Side wall and maybe like an AC unit or somethingOffice coffee pot and model rocket, standard office decorBooksBooks on a bookshelf (and desk, computers, lamp)Outside lightingWindows are inLights work!Pies cooling outside on a windowsill? I will stealThis looks neat but is on an exterior wall…Oh, the wall swings out. Convenient.Stairway to the observatoryI will steal.Outside lighting checkInside lighting check. There’s a sweet little planet display that rotates and the moon rotates around the planet as it goes around the Sun. If this was motorized, I’d lose my mind
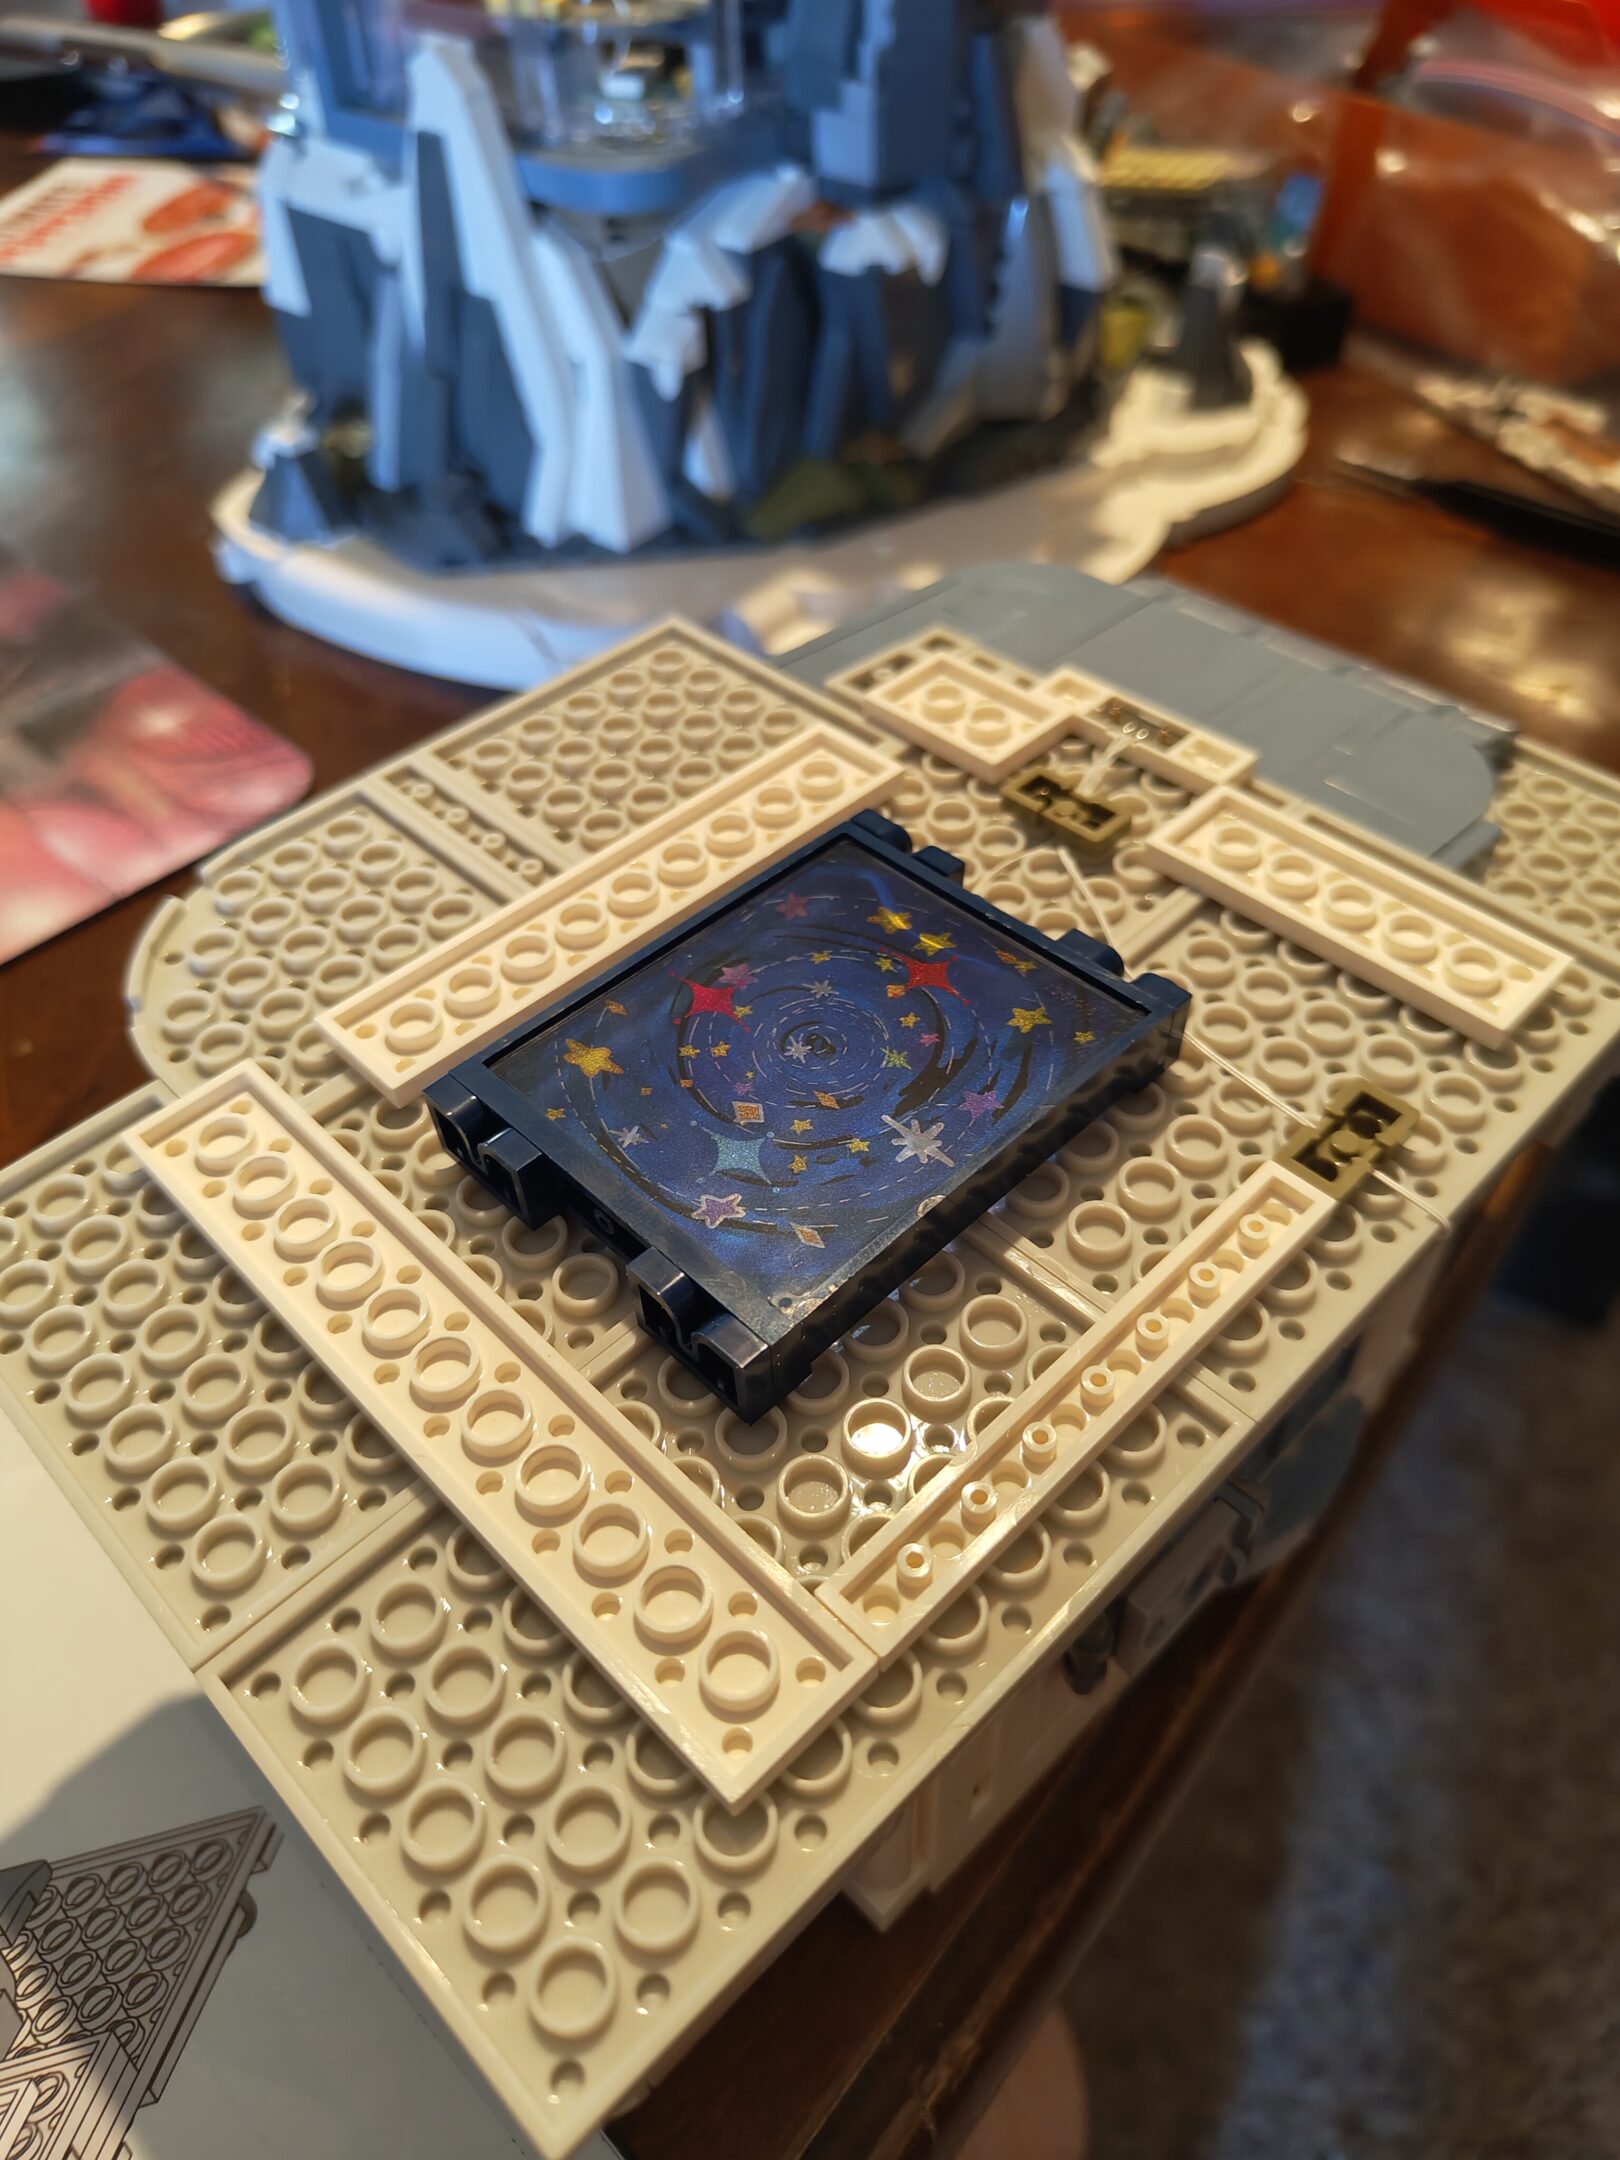
tuesday, september 16th saw more building, few more steps (#10, 11, and 12) two left – but one of those is just finishing touches. this last step should be the projector level (neat) so i’ll be able to figure out which i want to “project” of the five that came with it — i chose constellations
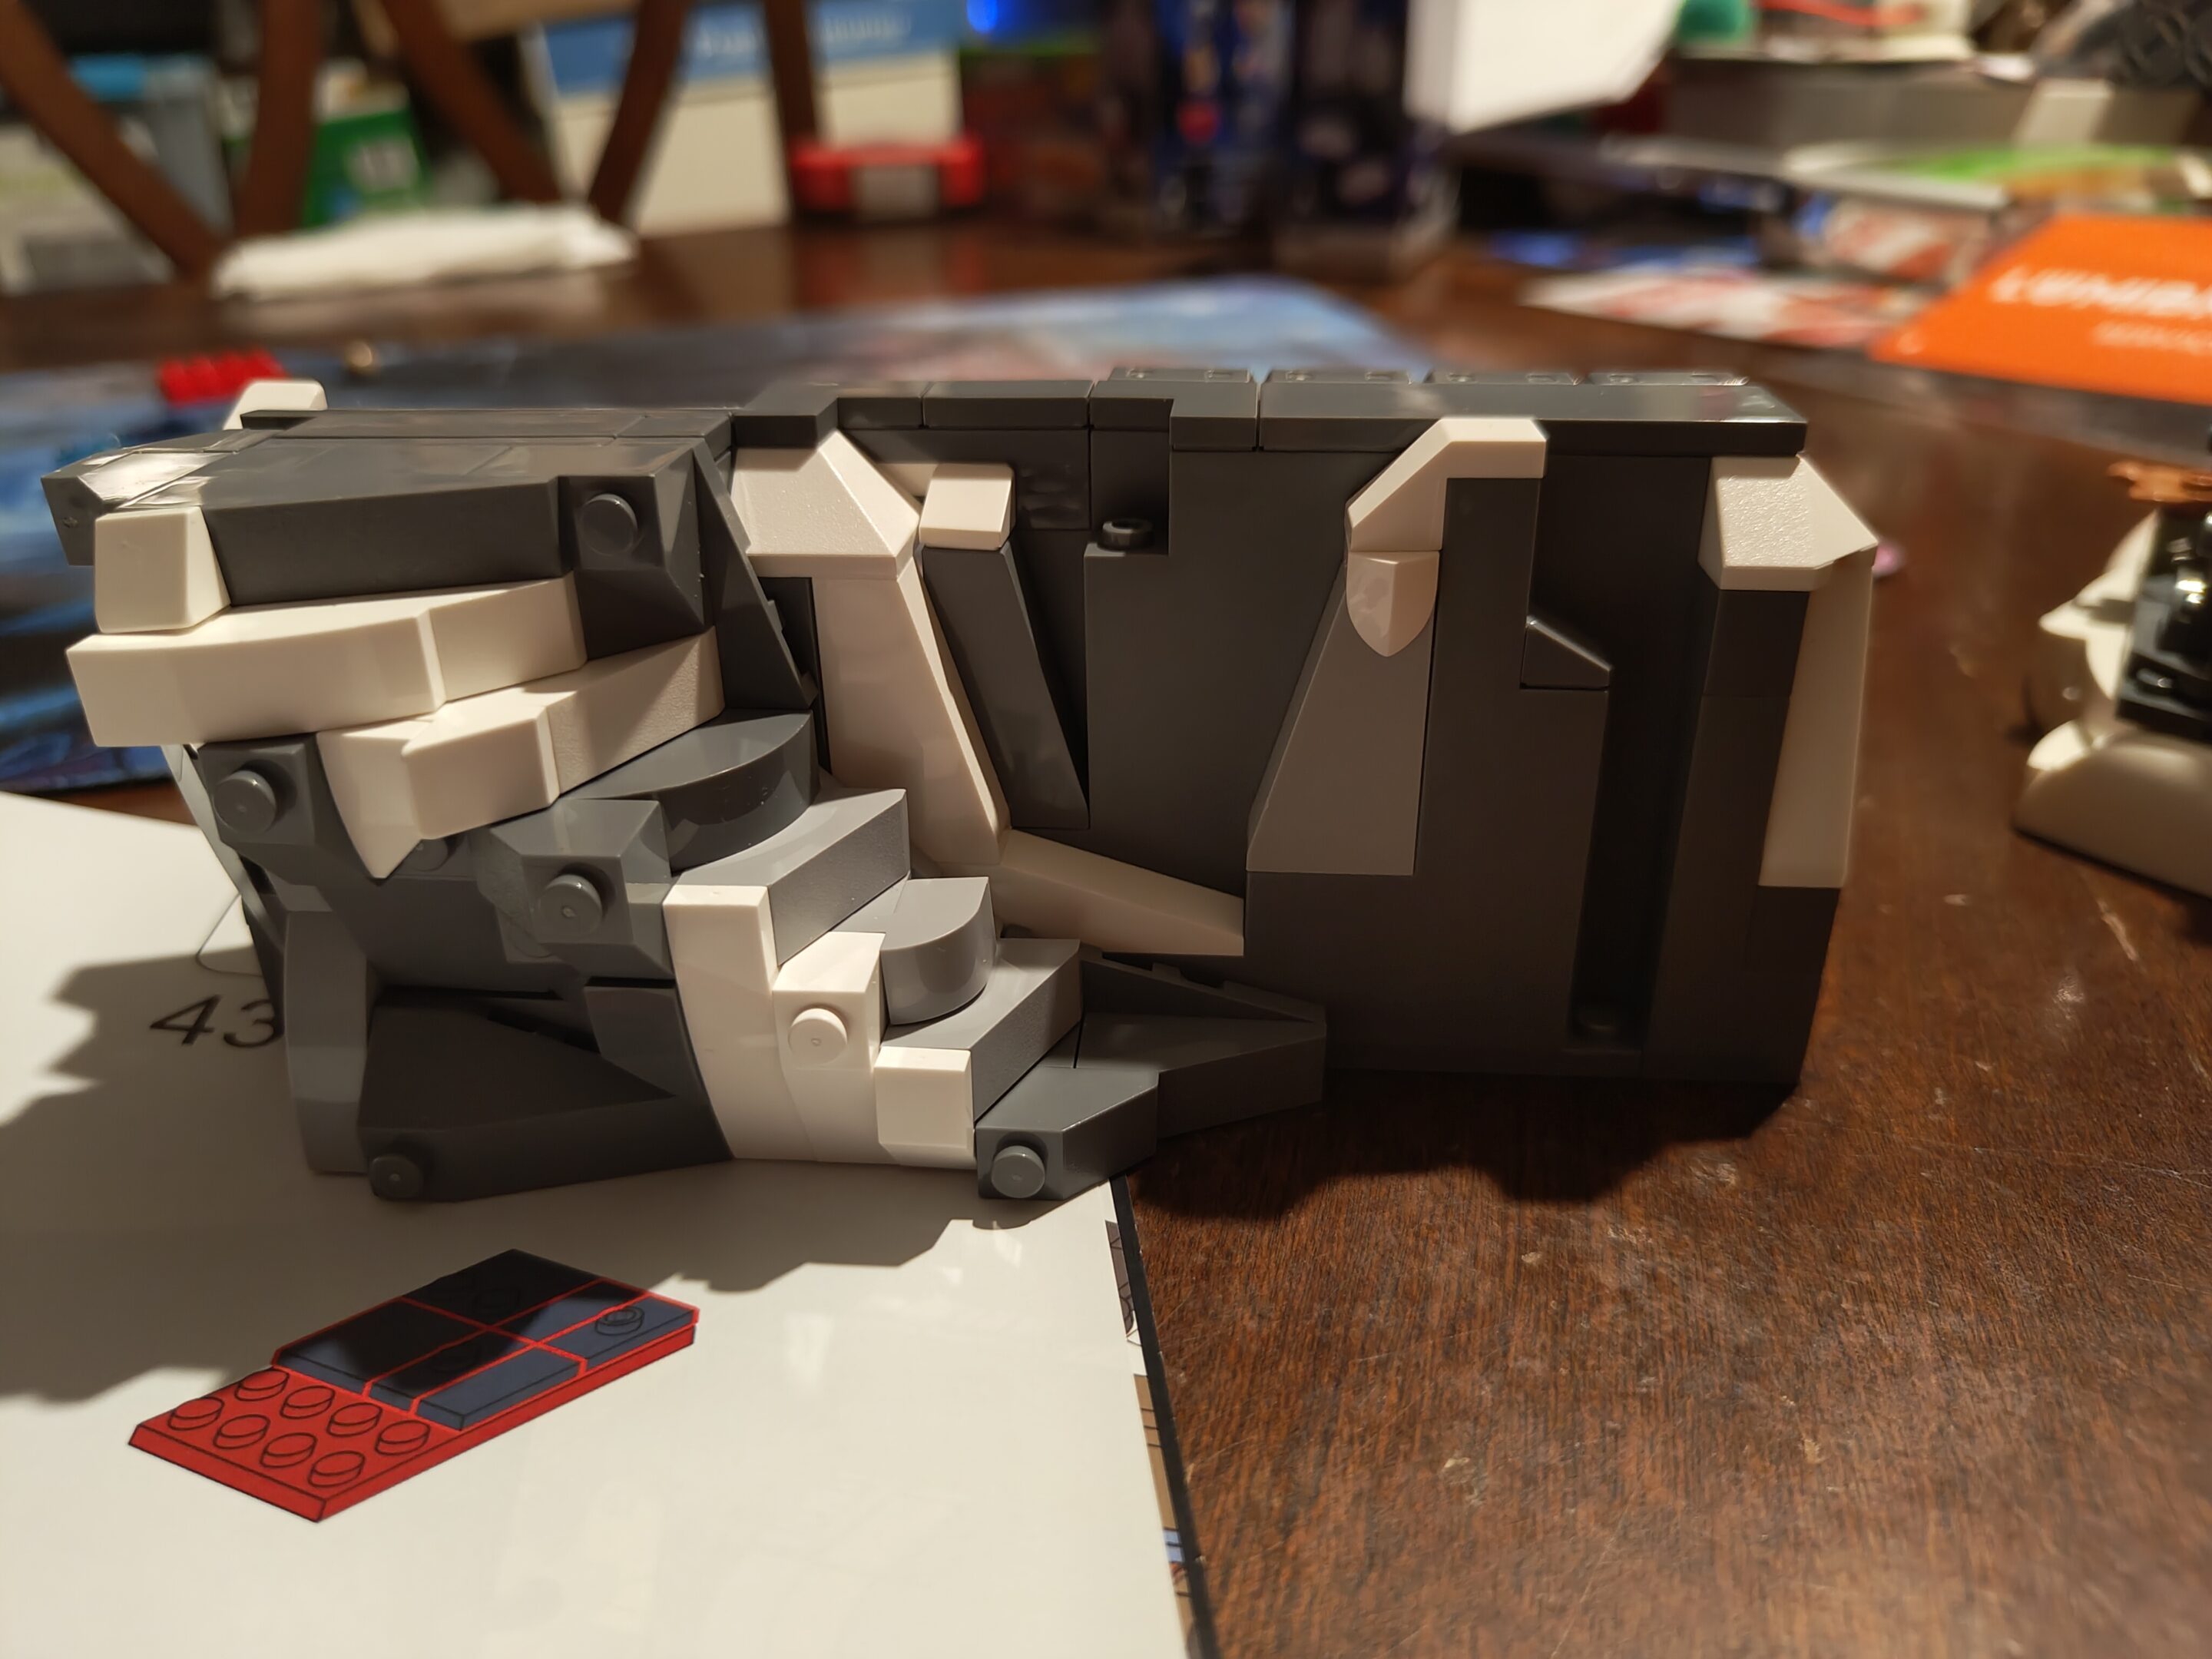
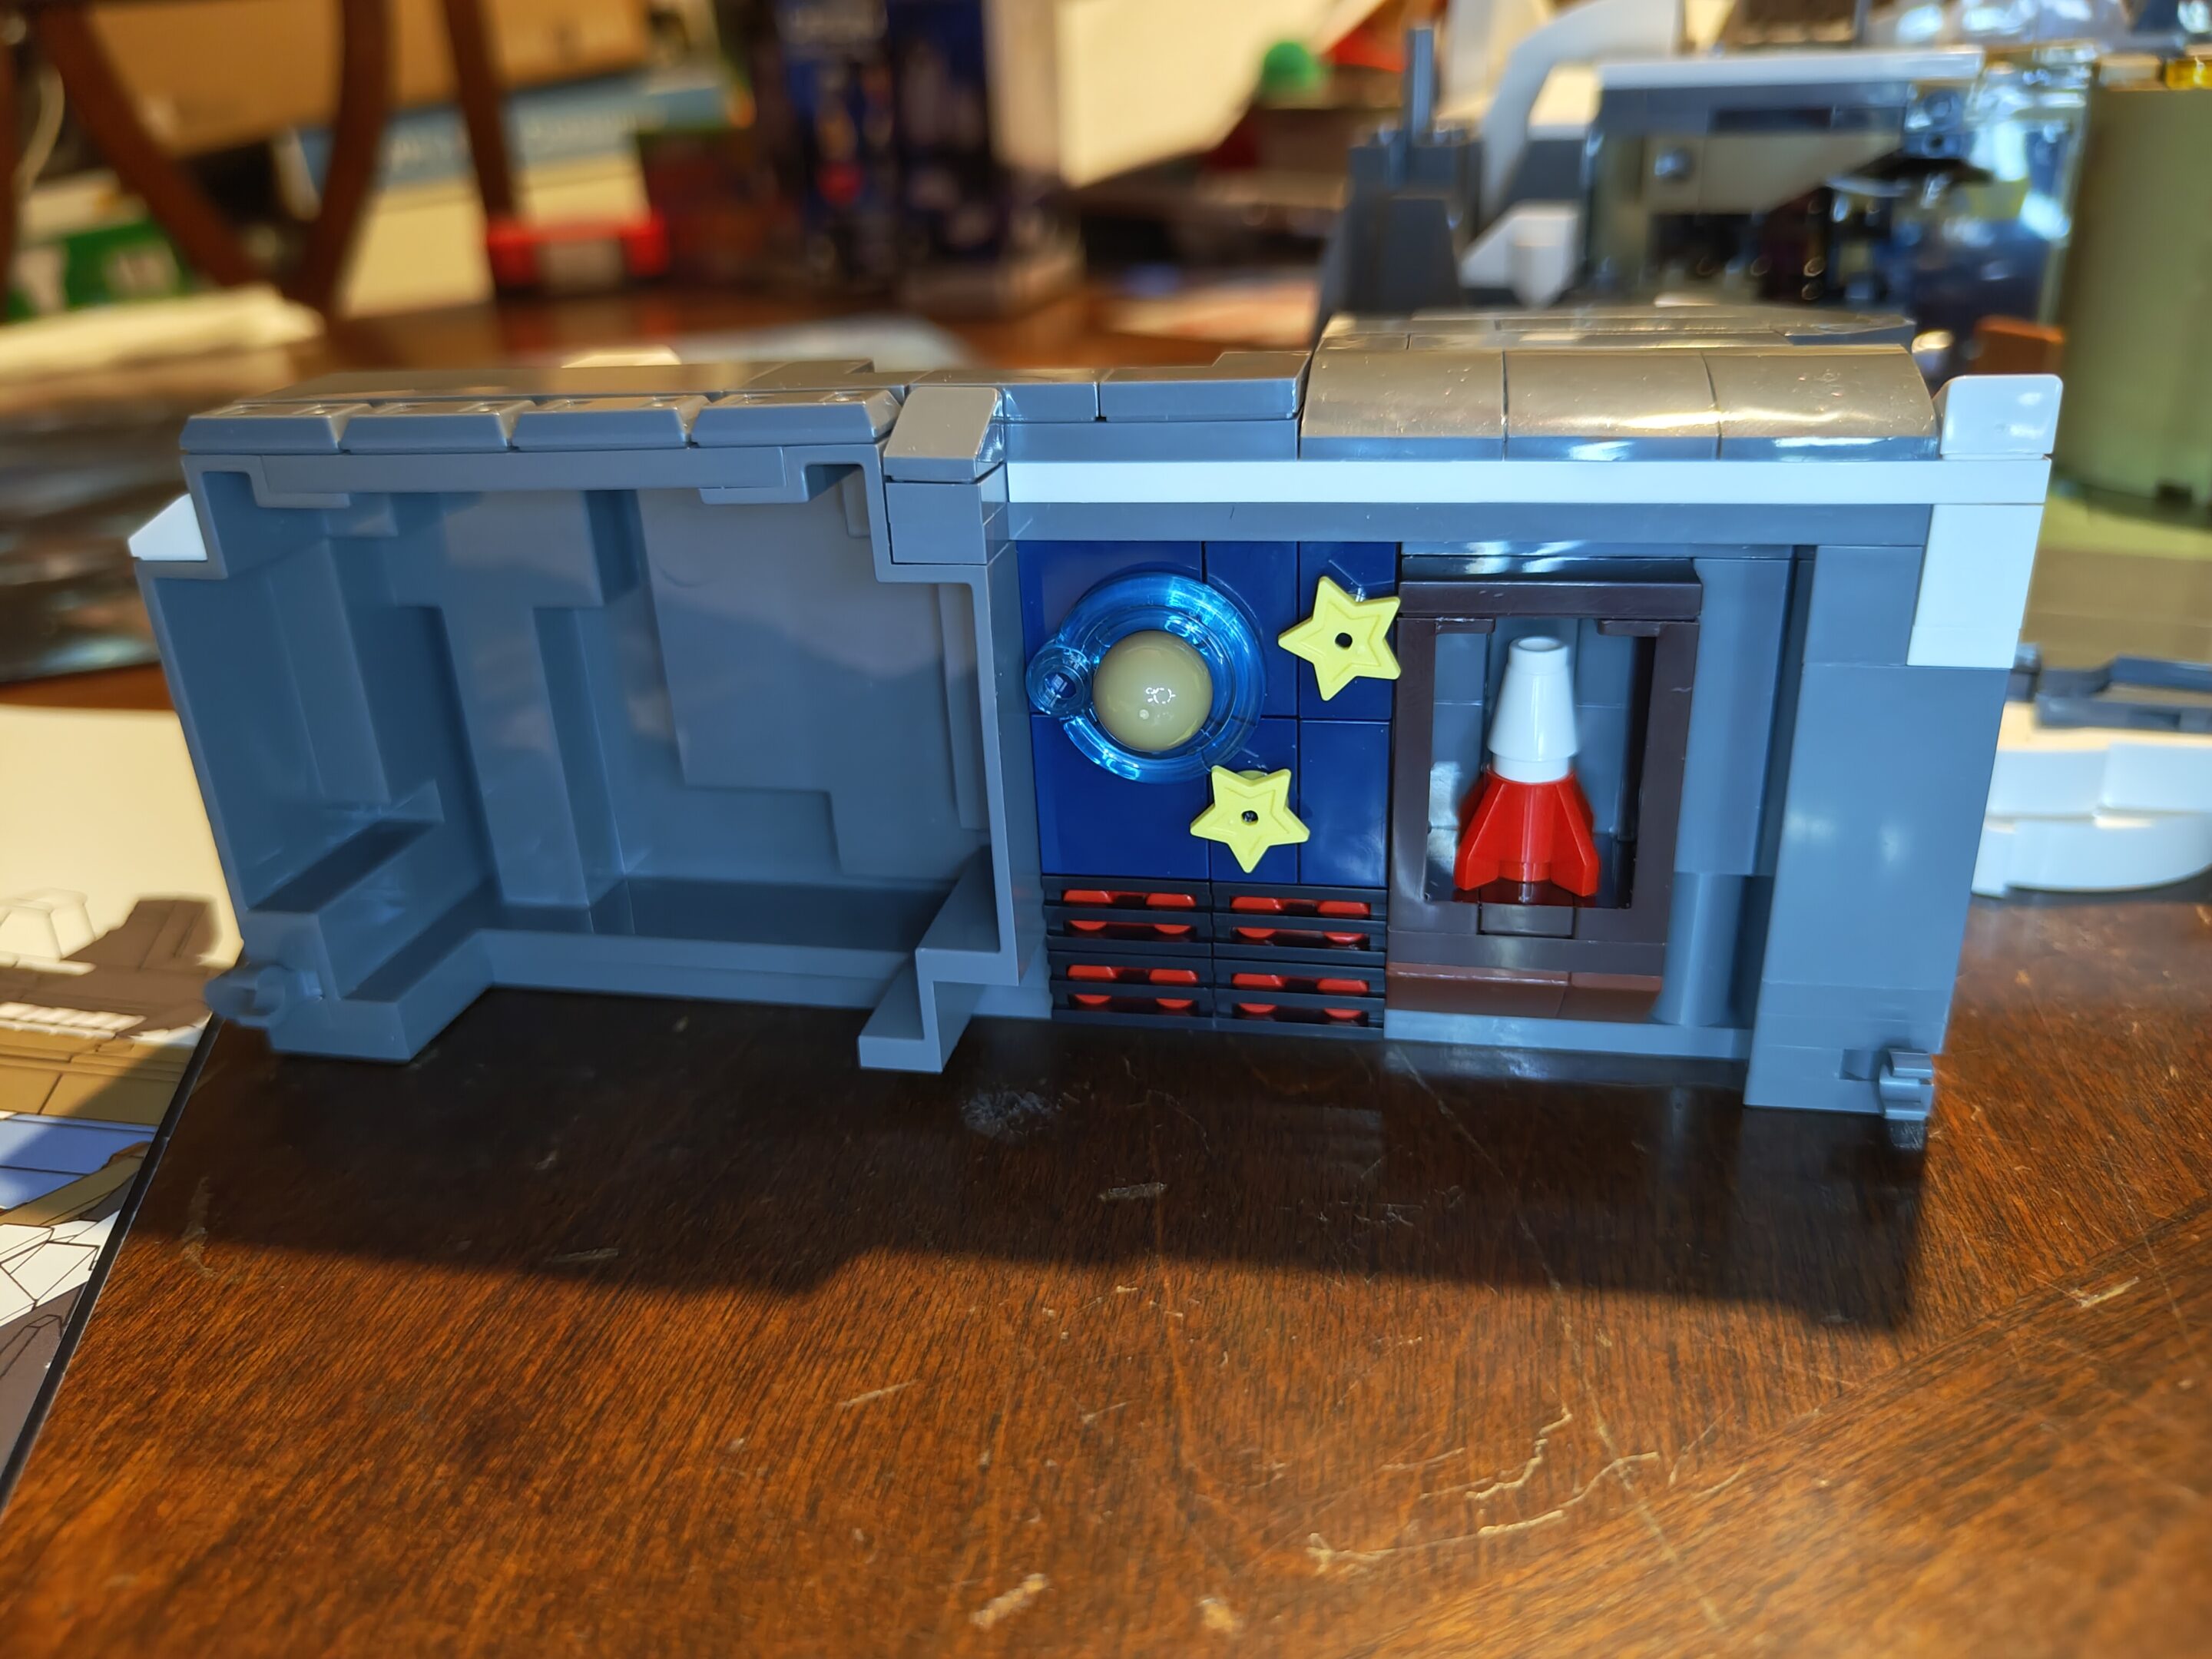
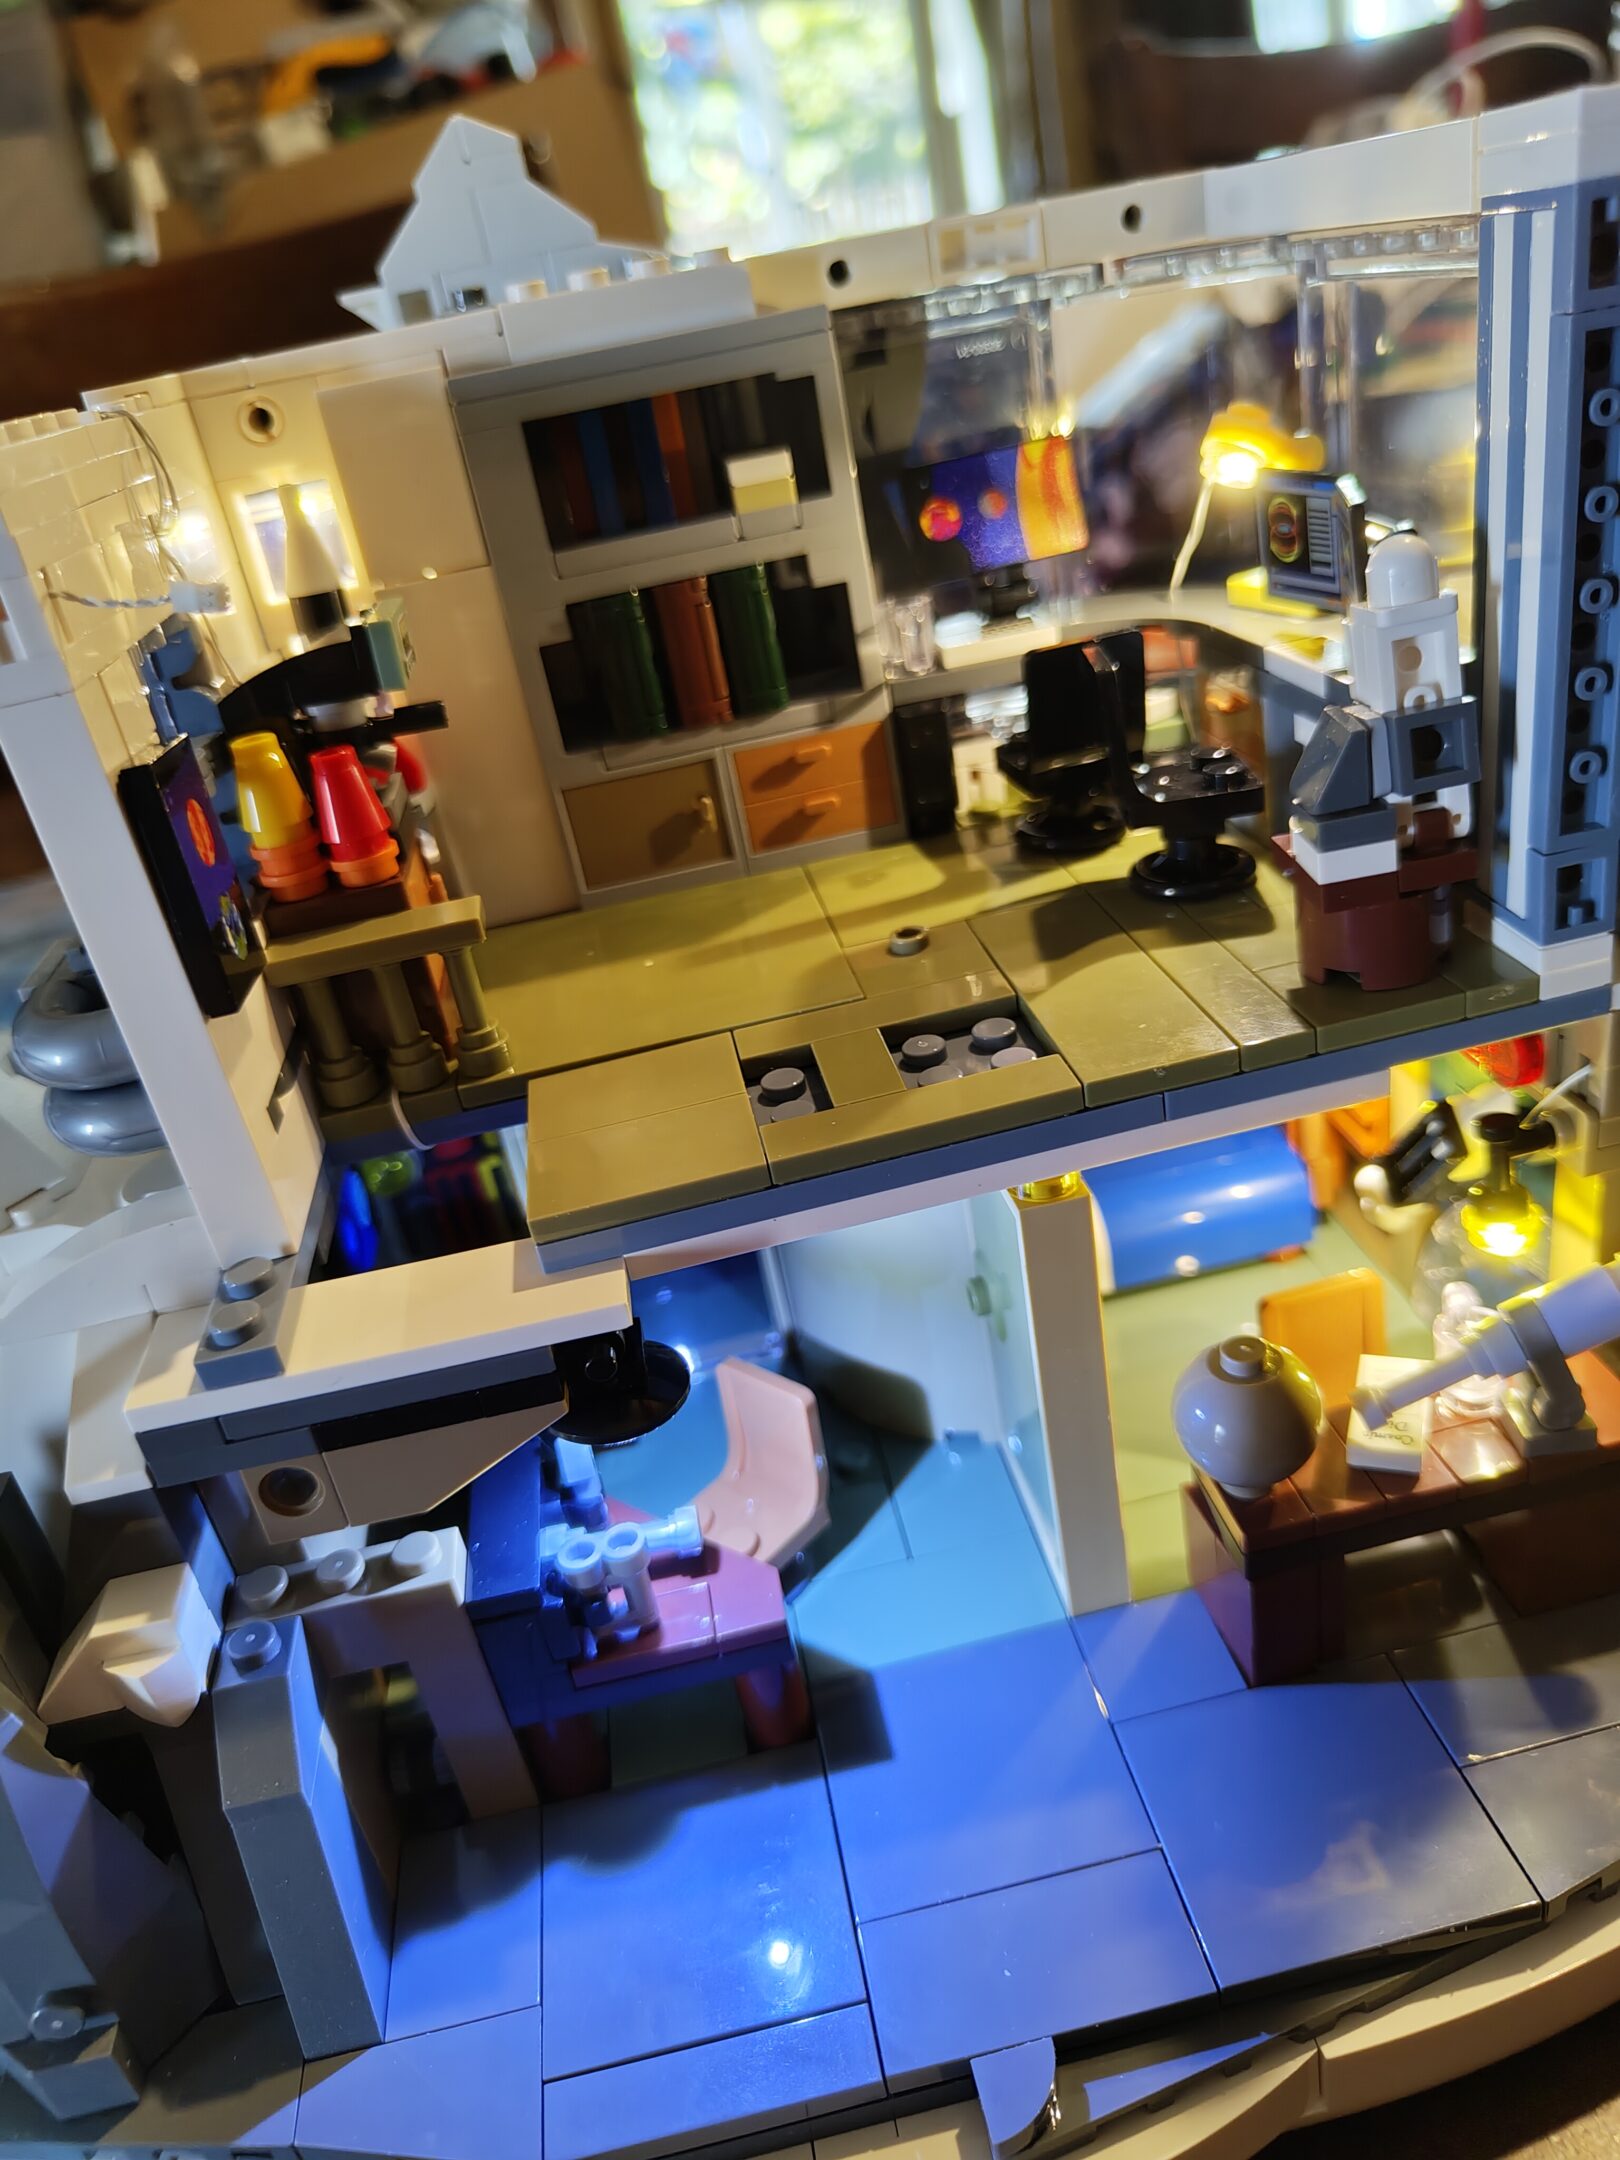
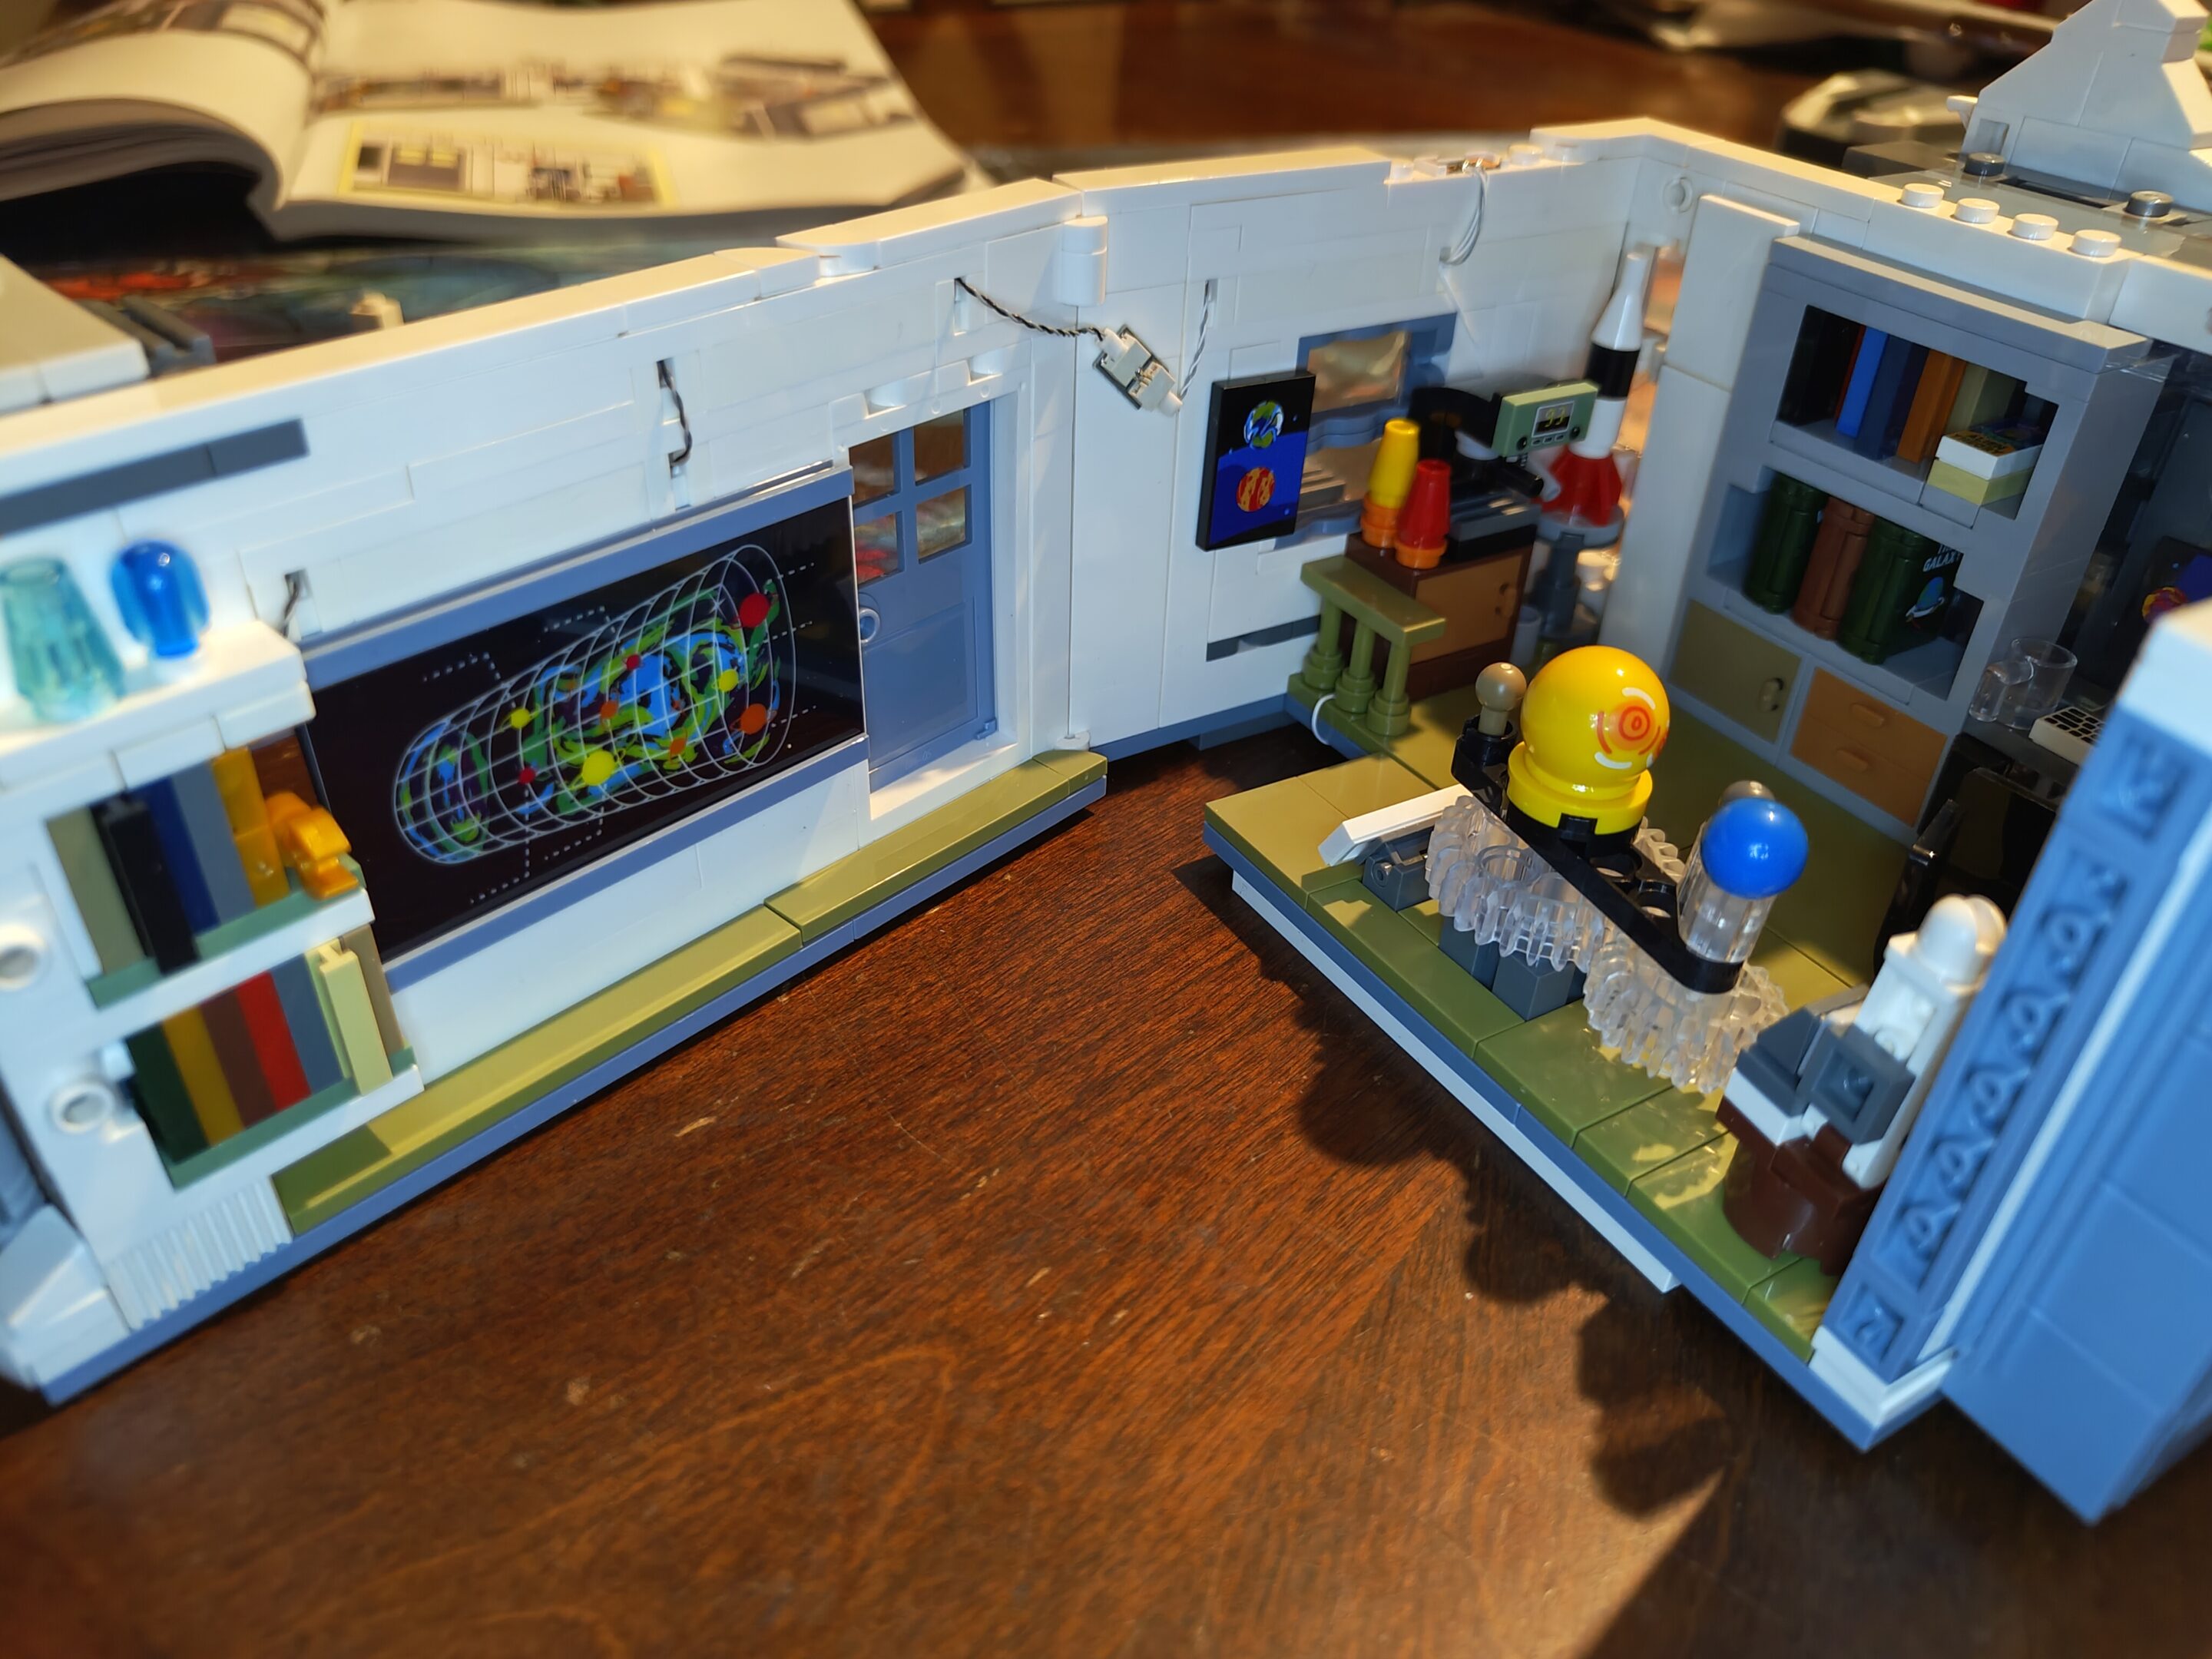
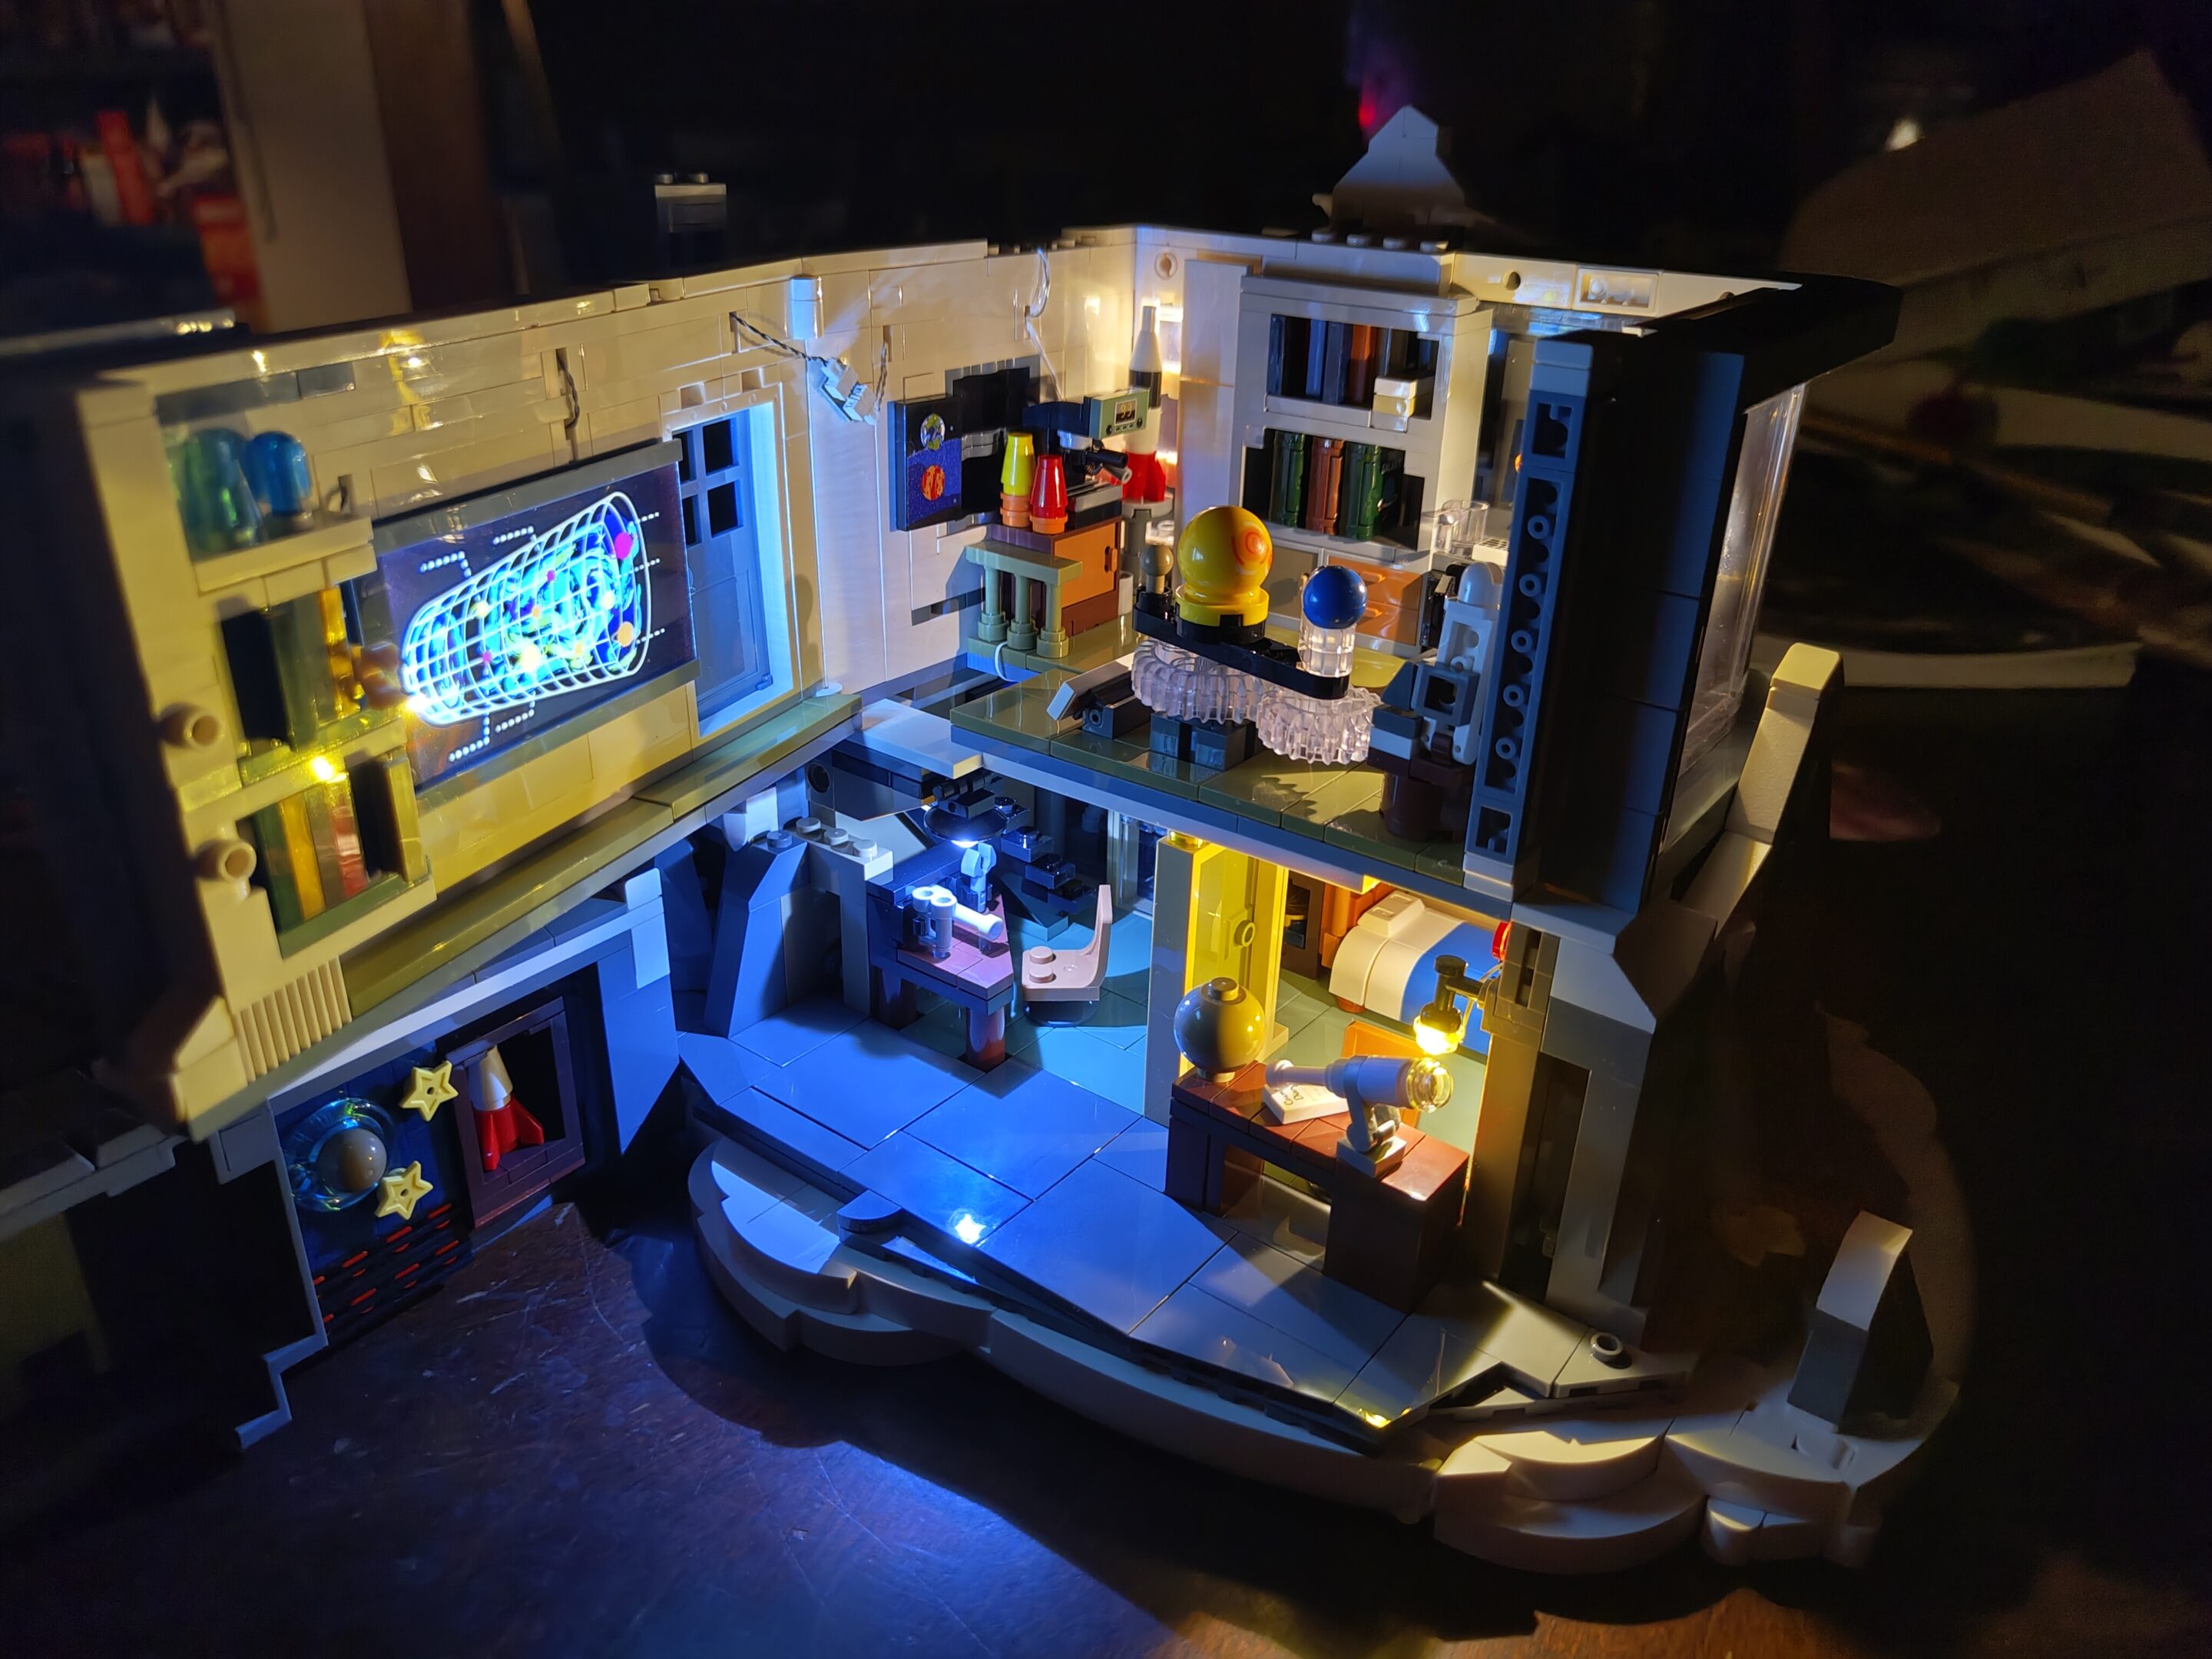
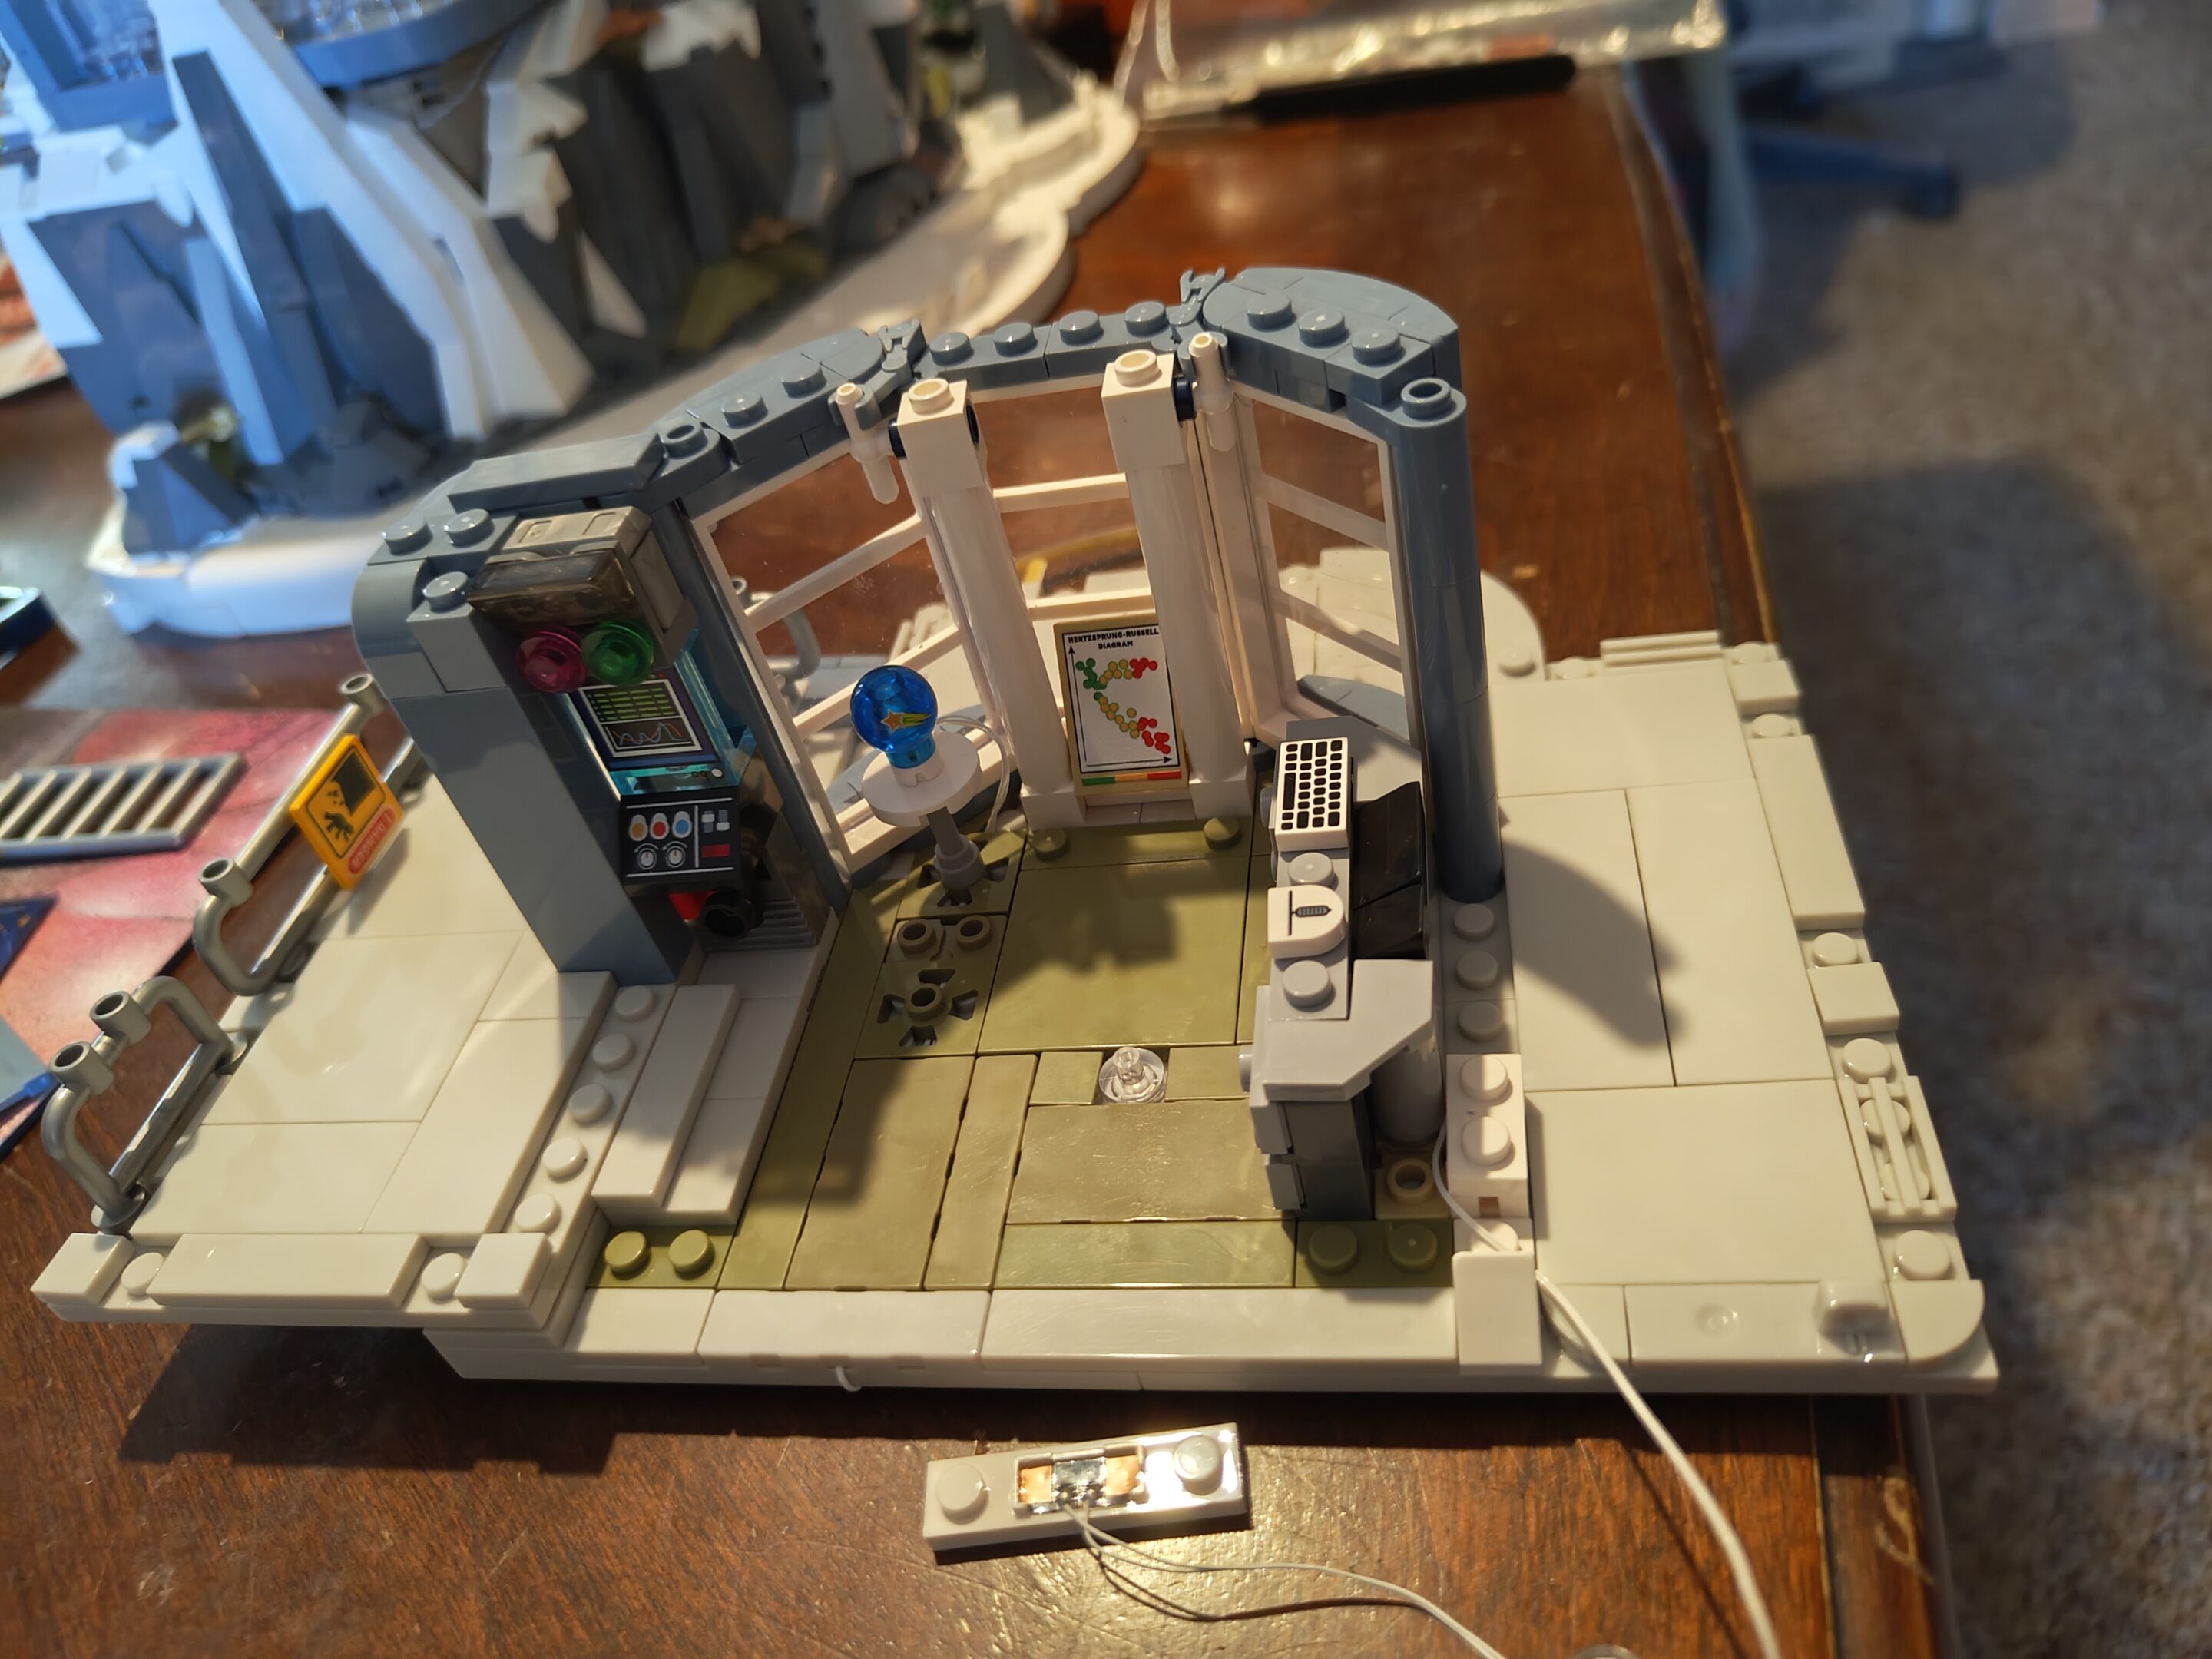
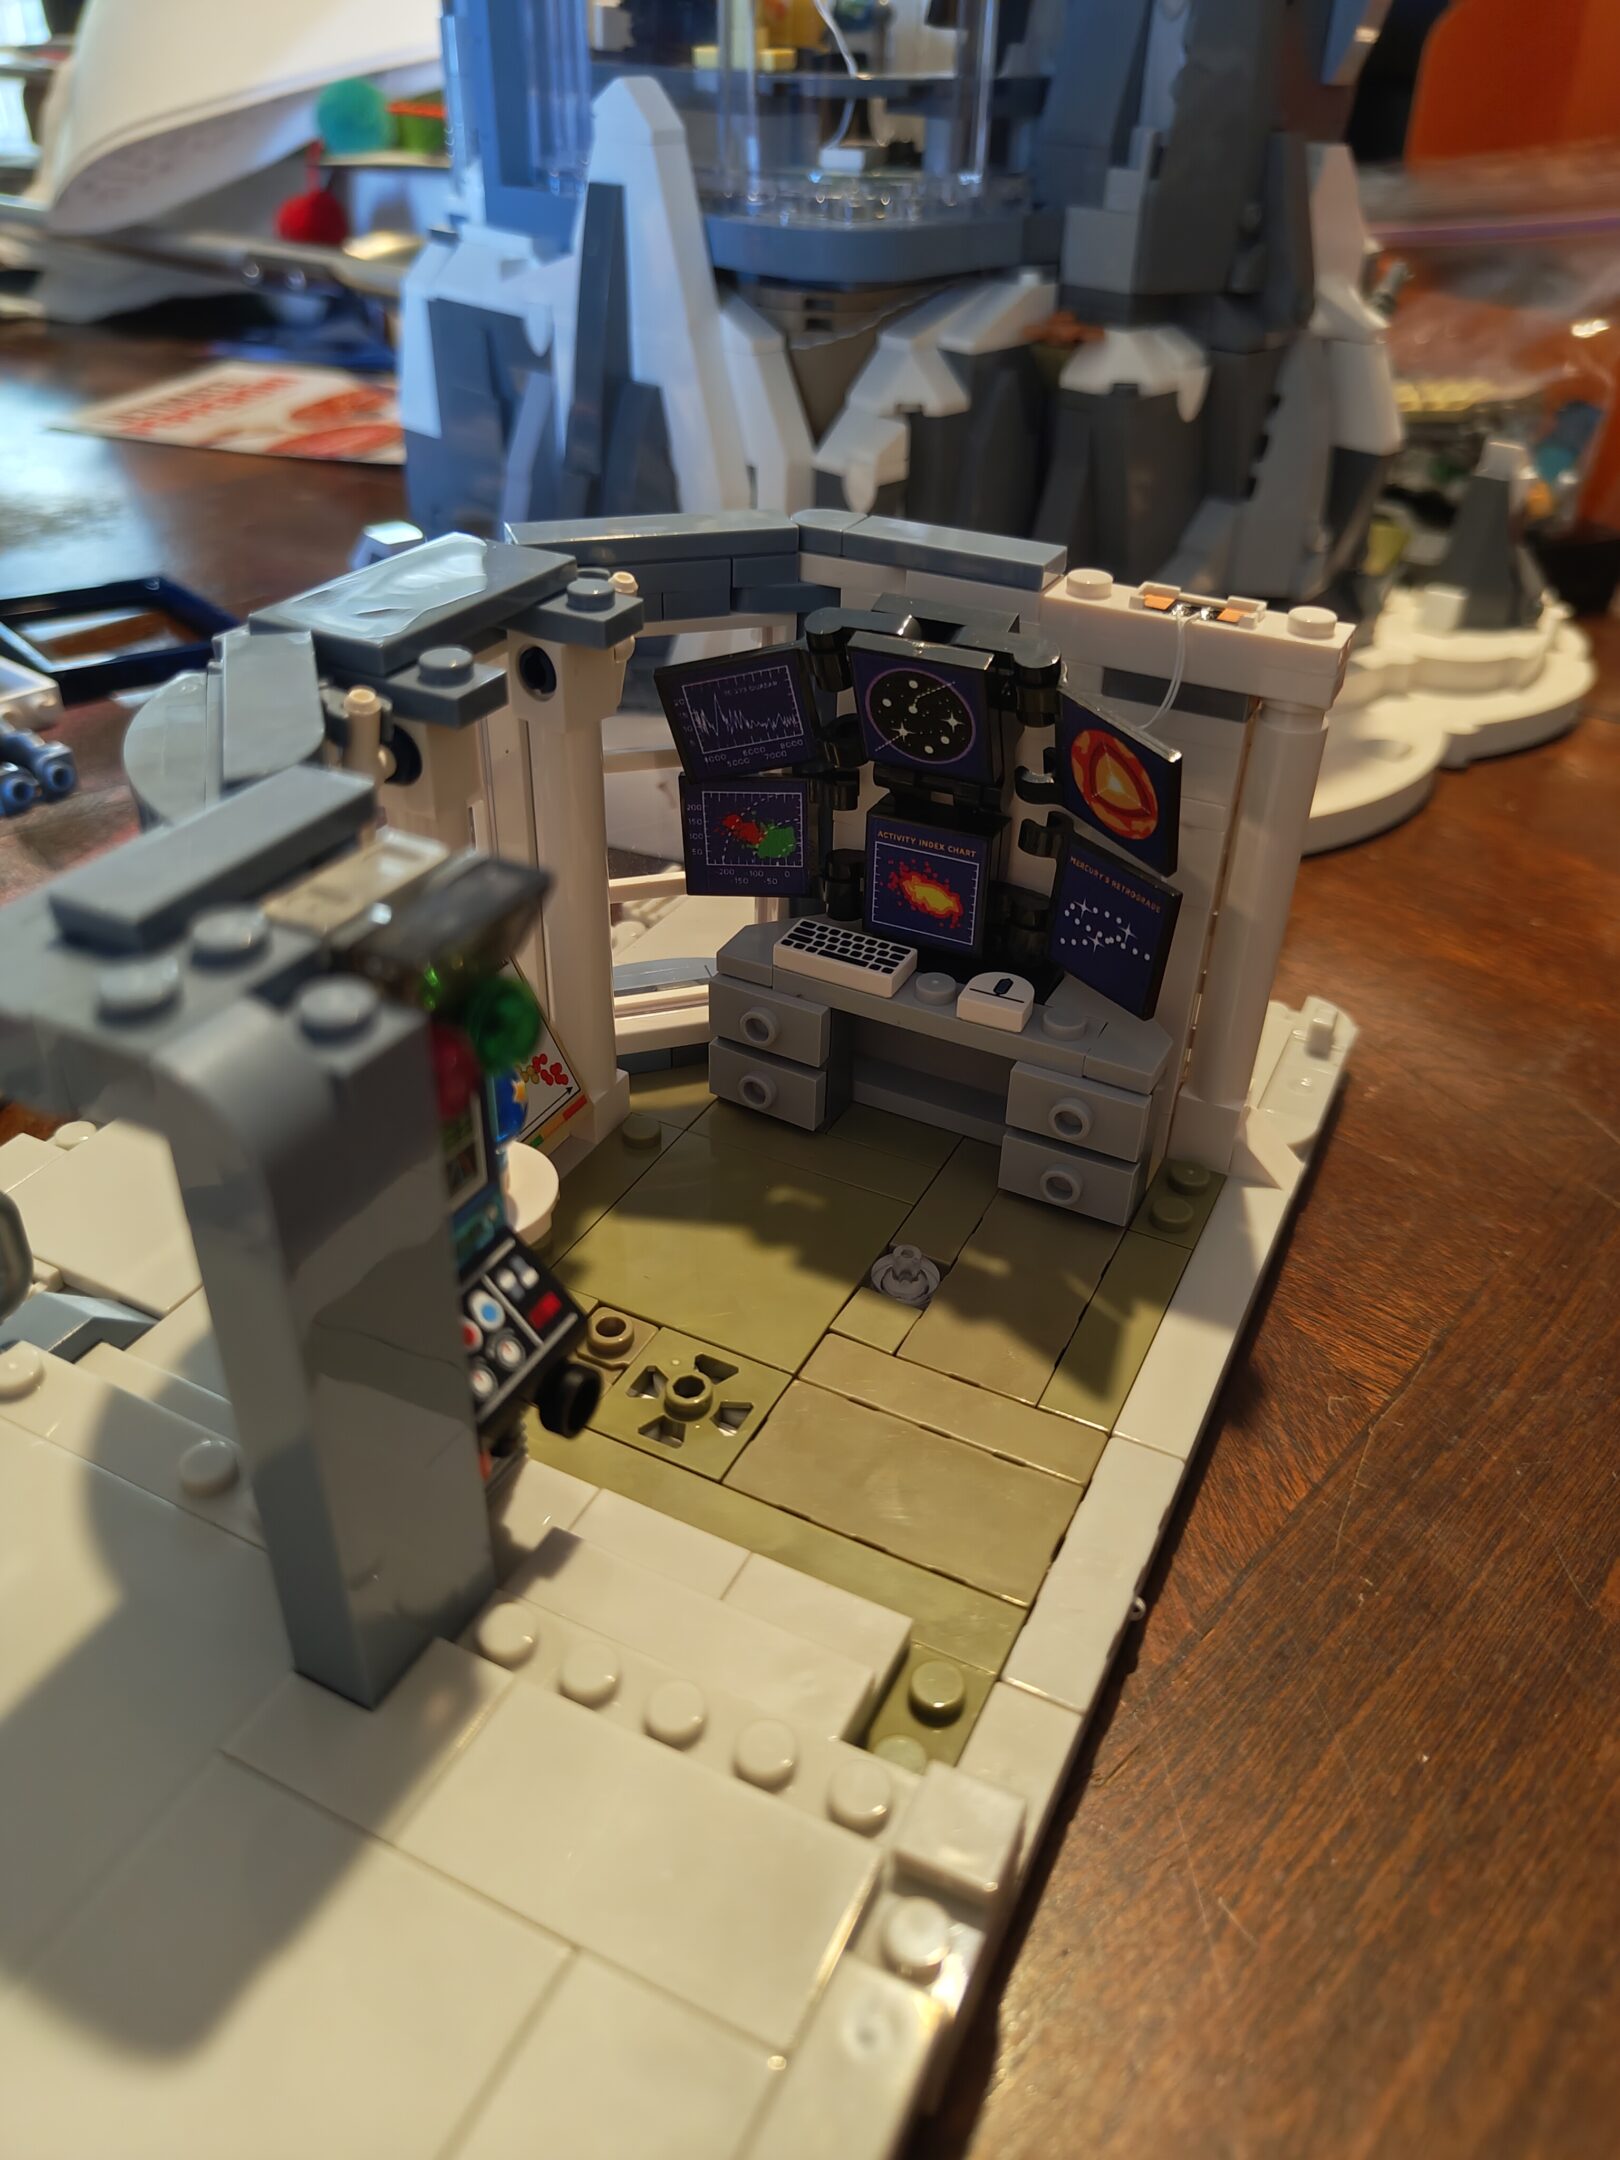
Another floorWhich is also another ceilingThird floor balconyNeat little lit globeLooks like the start of an officeHandy outside lightingNo office would be complete without six screensSweet little lightbox that’s going unseen 99% of the timeGlobe lights upCeiling lightbox lit. This one is neat it should be on the wall or somethingSpeaking of walls, here’s a wallStart of the projector/telescope boxProjector bitsKinda looks like a cameraProjector: openProjector: closed
finished up today so here’s the last of the pictures. we were just about done last time with only a few little bits to add really
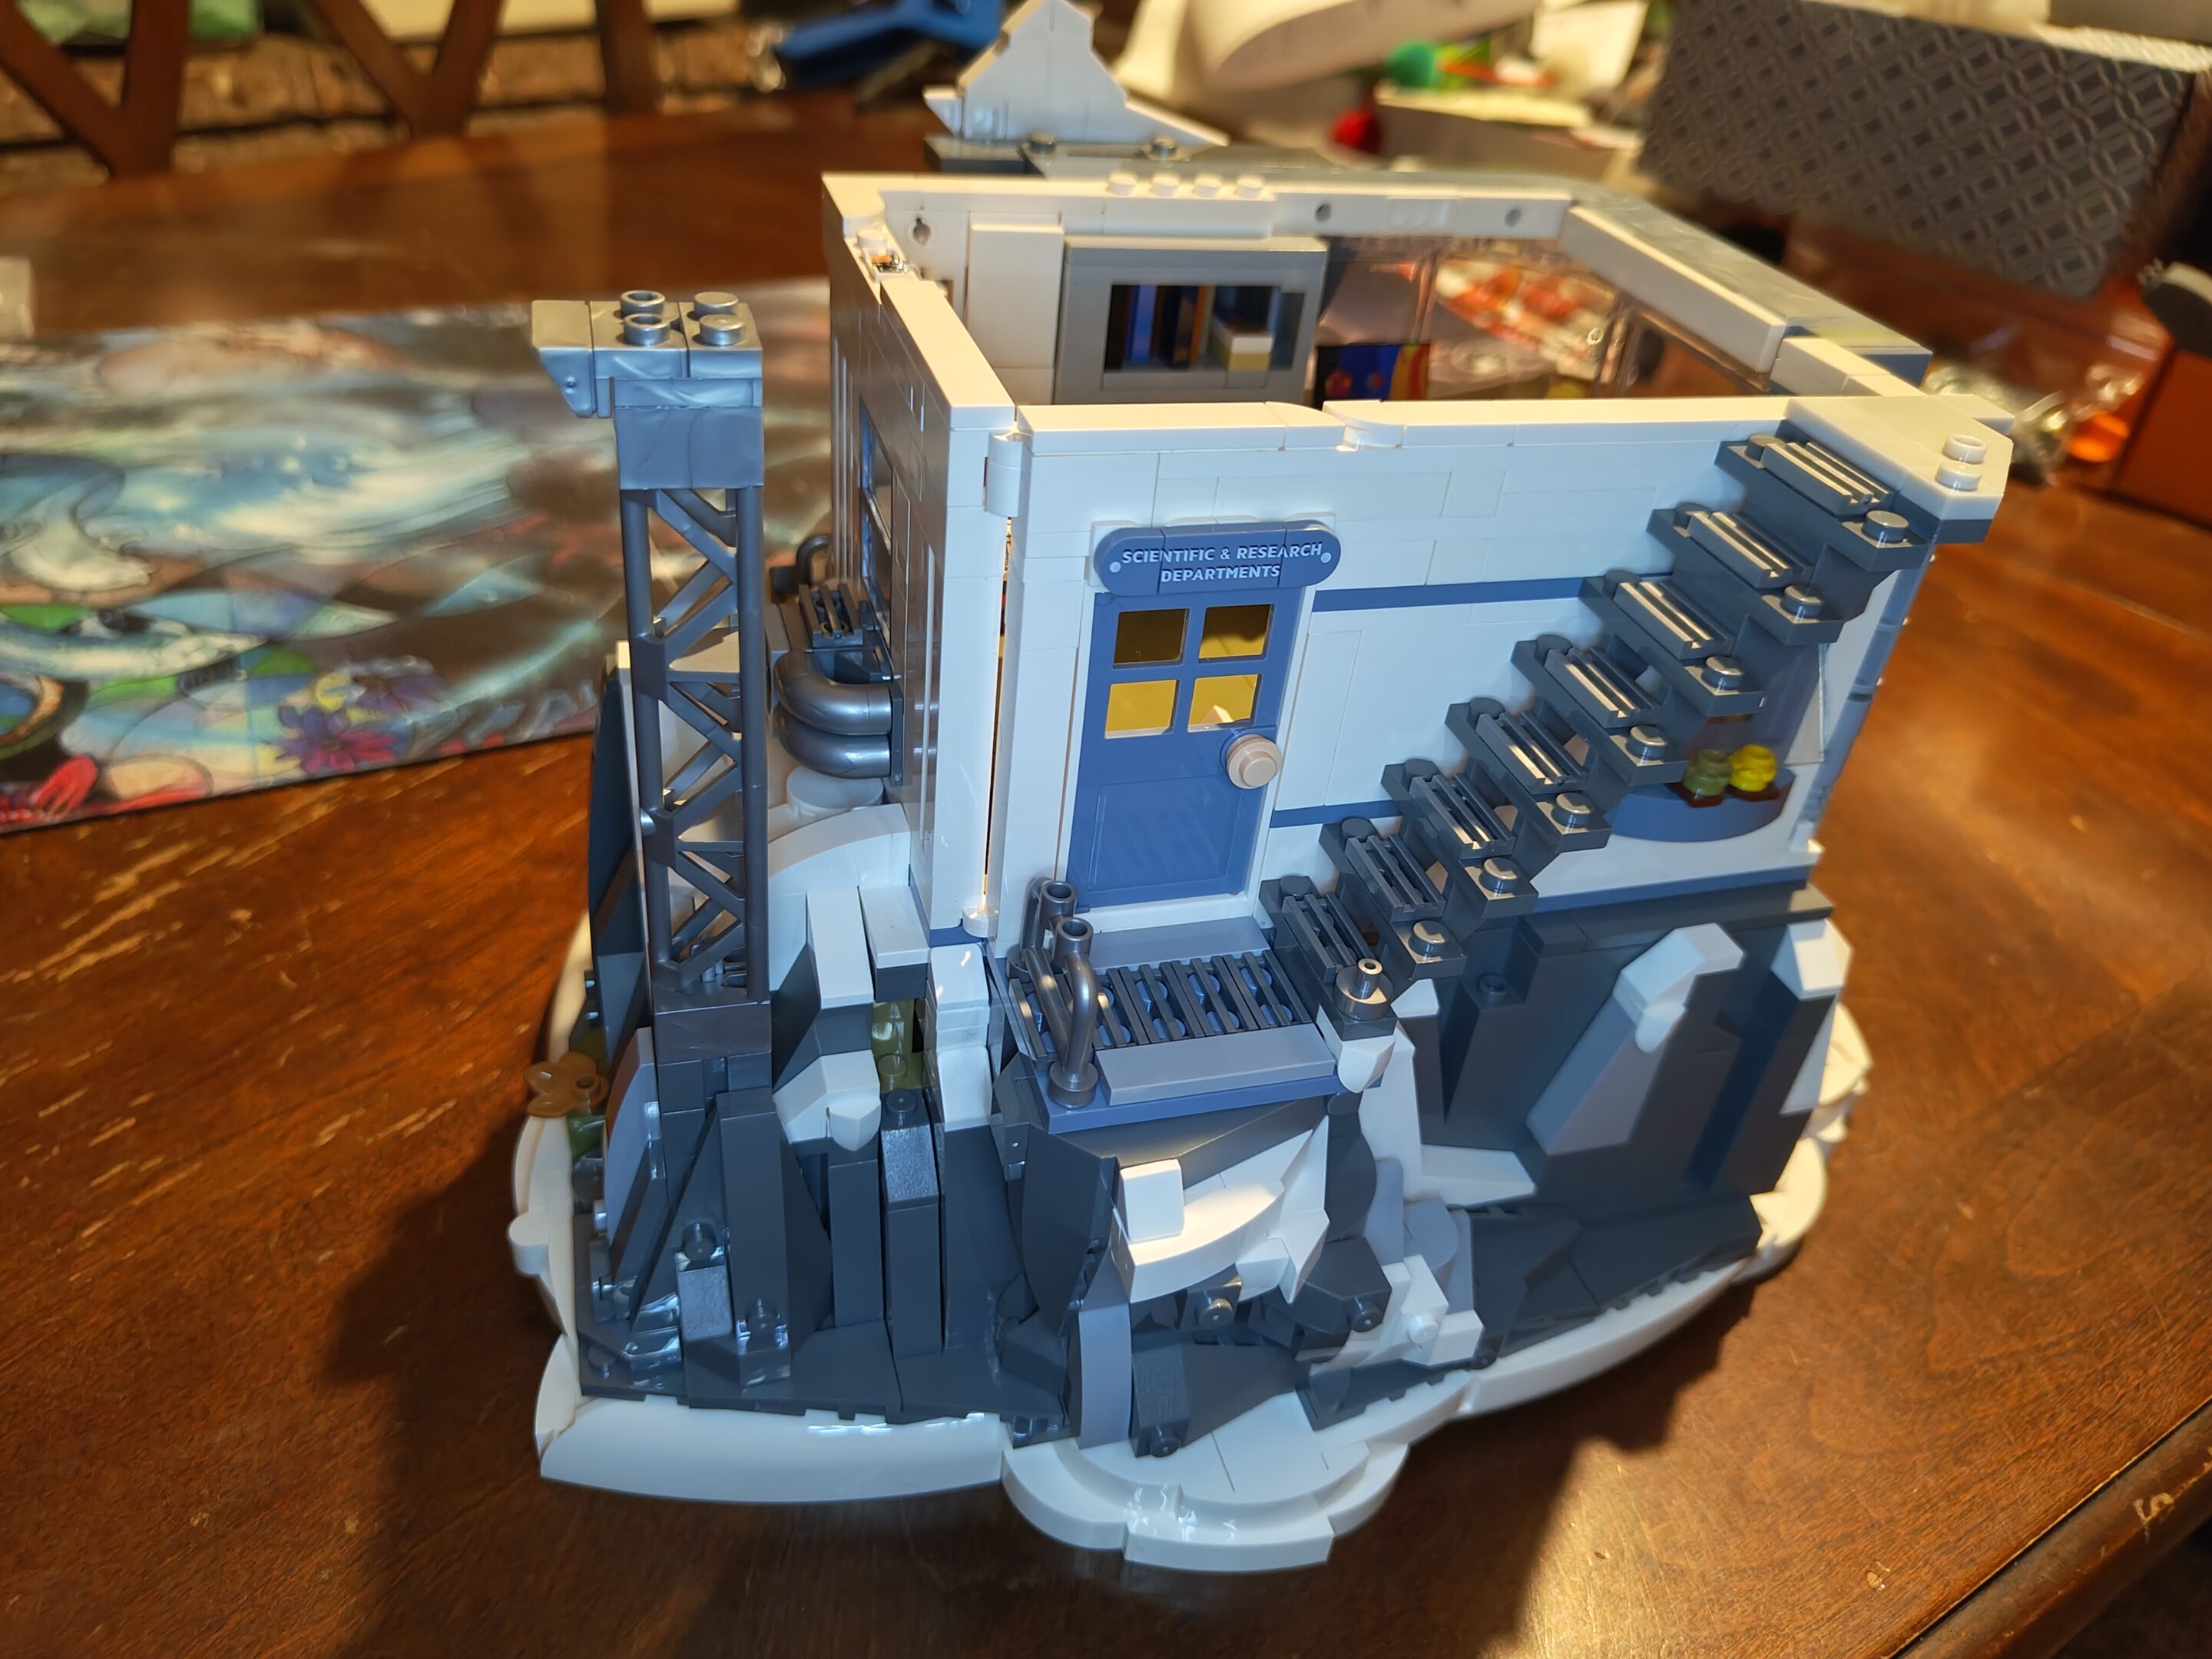
Hidden detail on this side…And another on the opposite side…Betting the projector goes hereCompleted Alpine ObservatoryIn place and all lit up
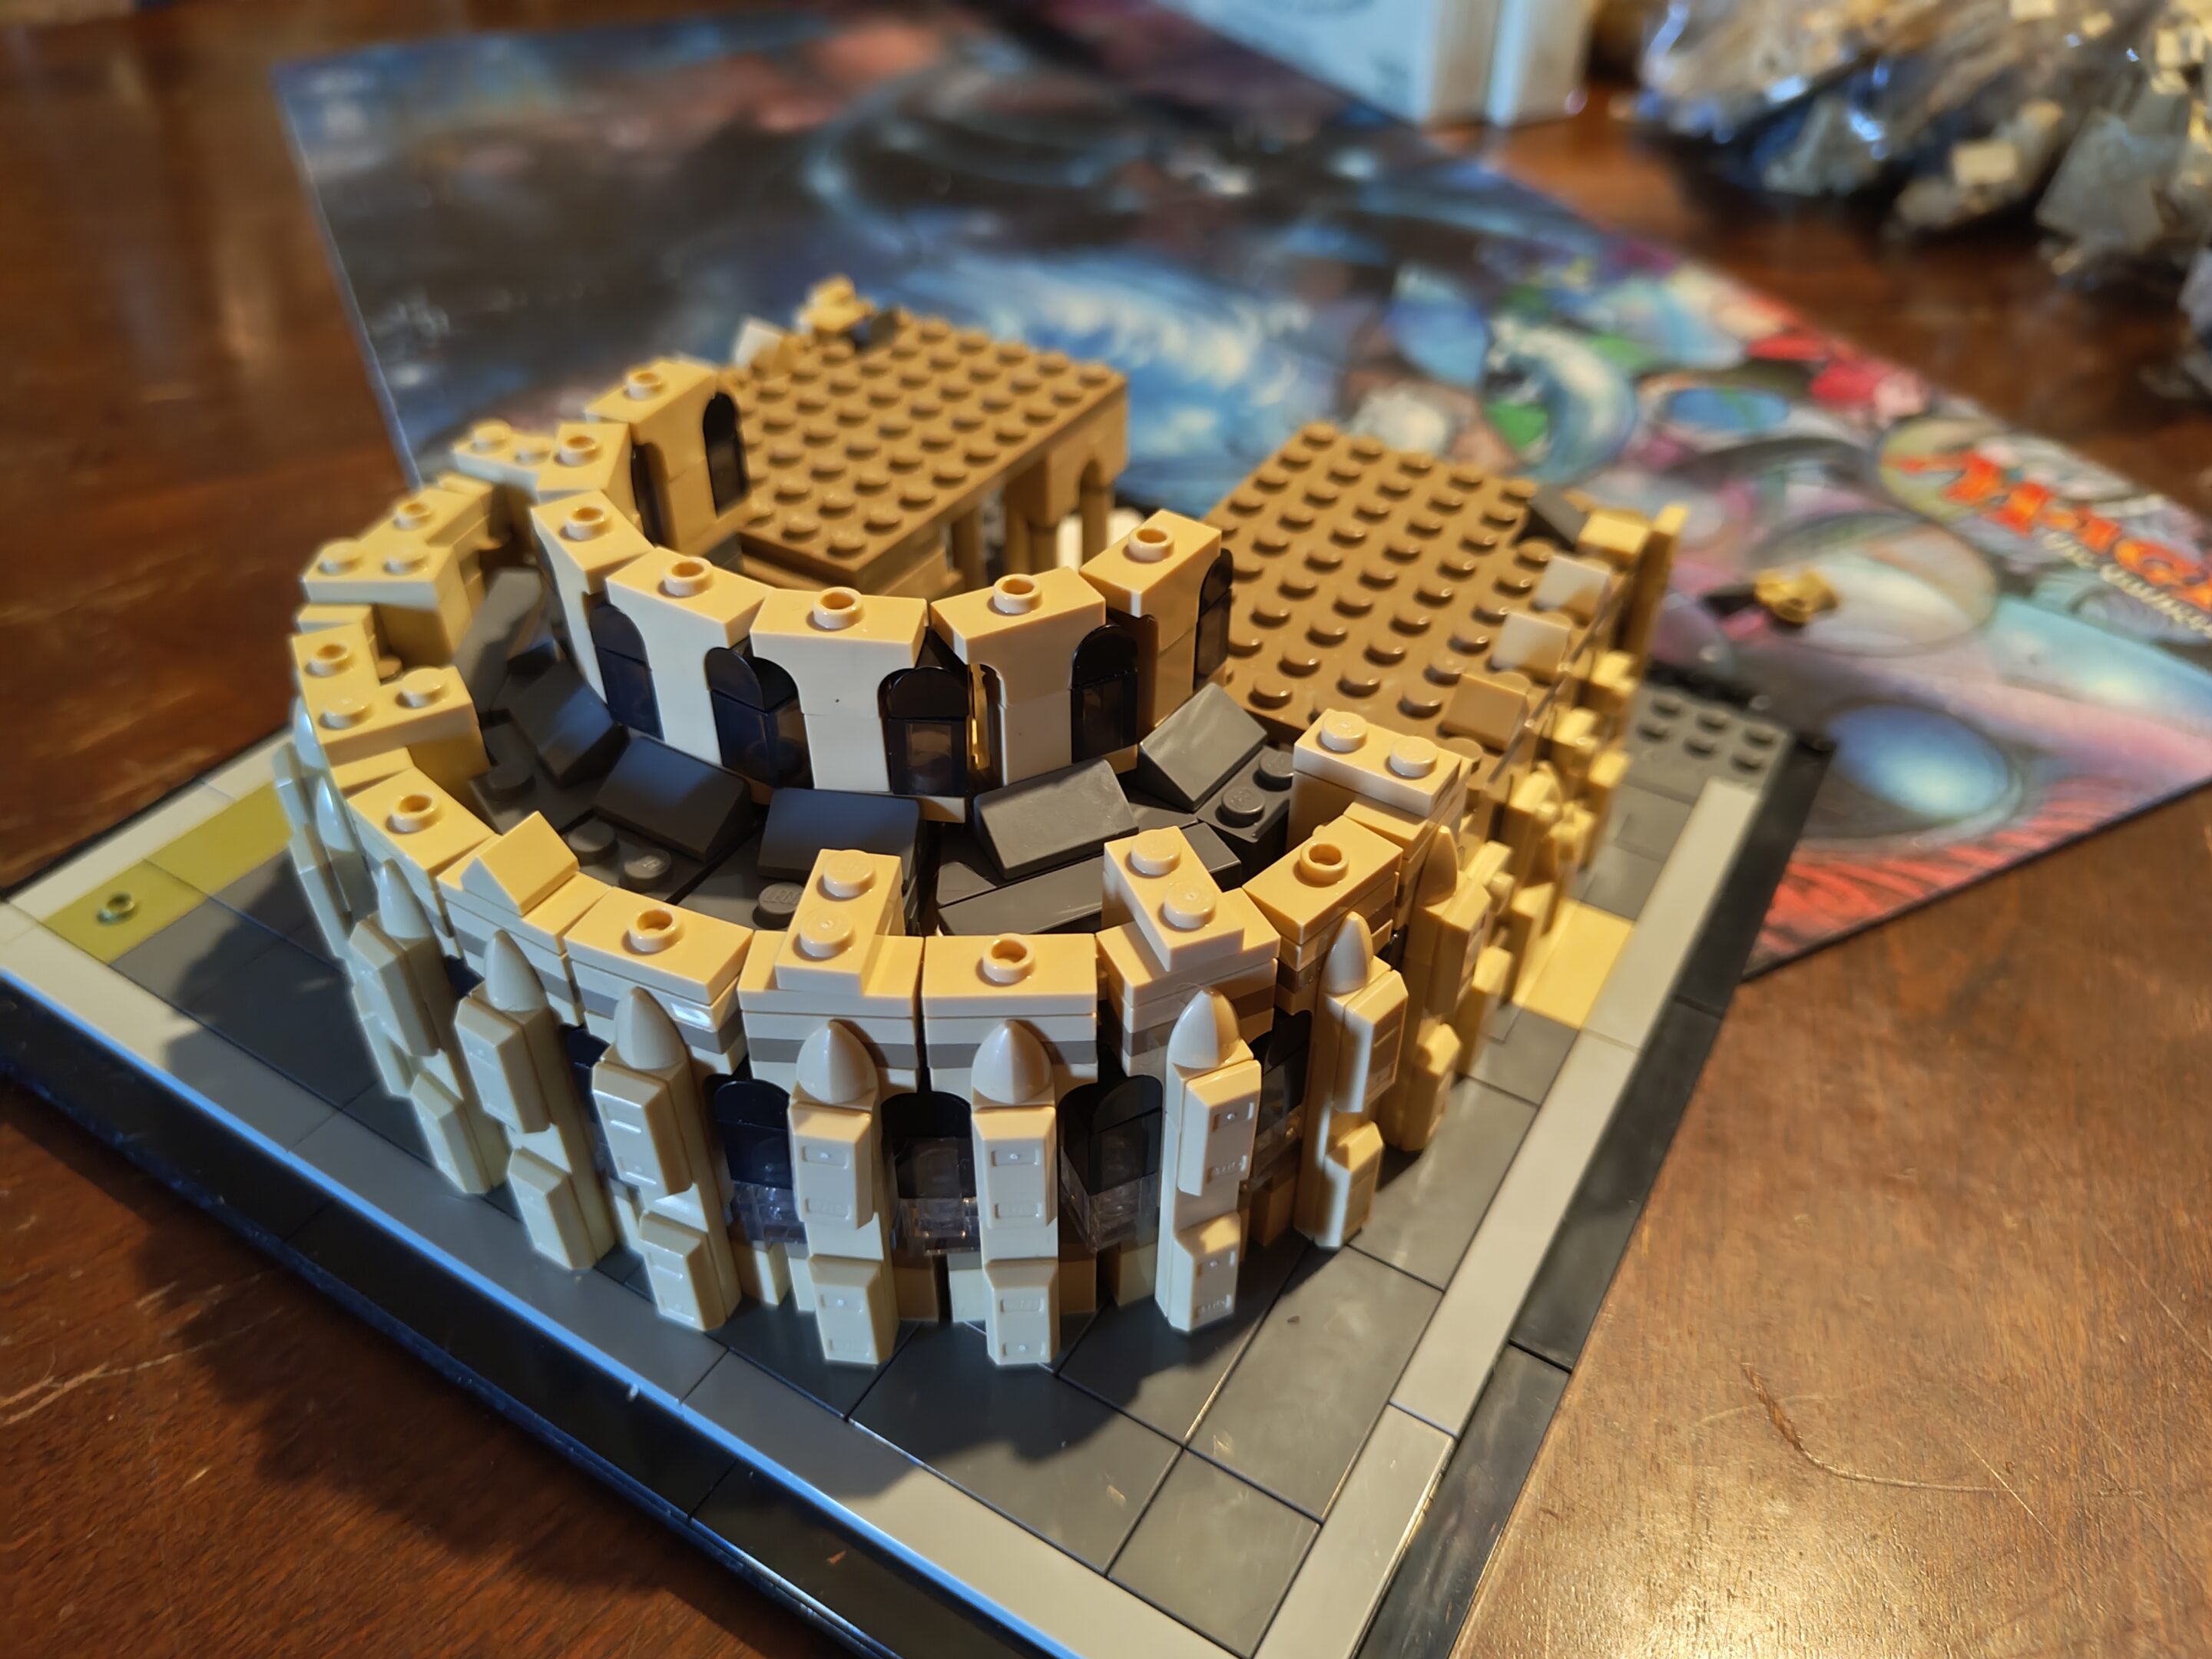
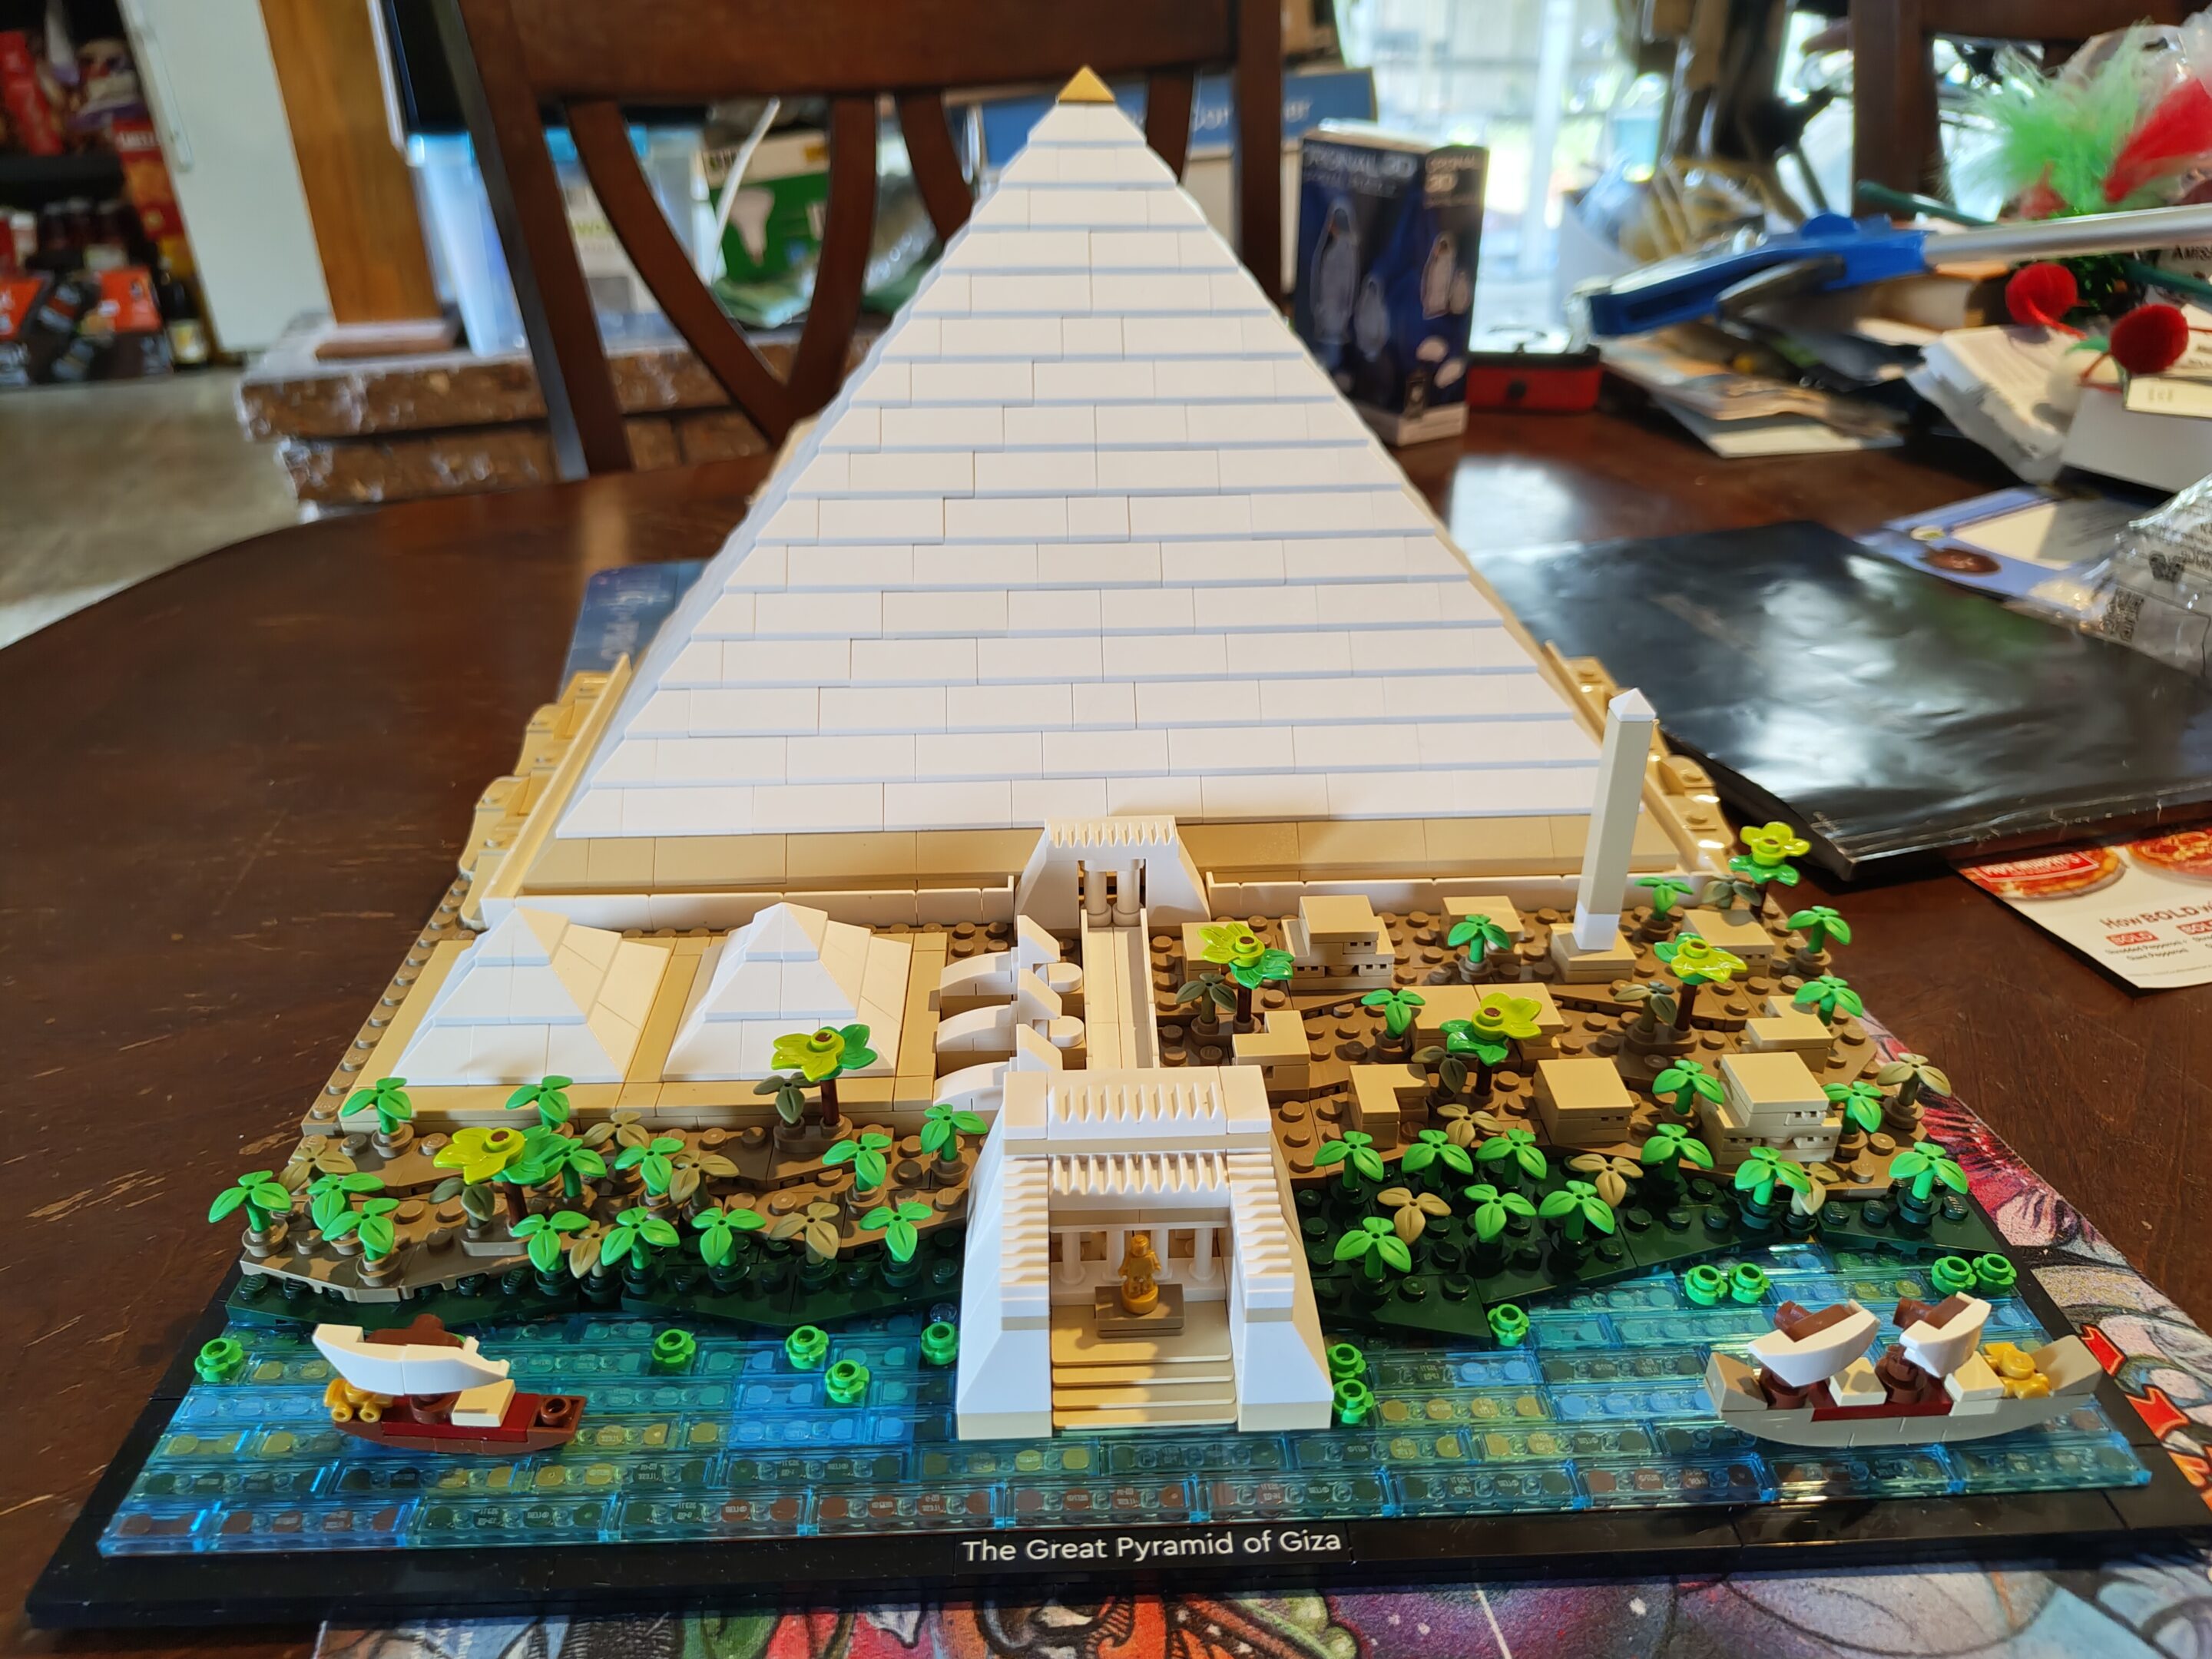
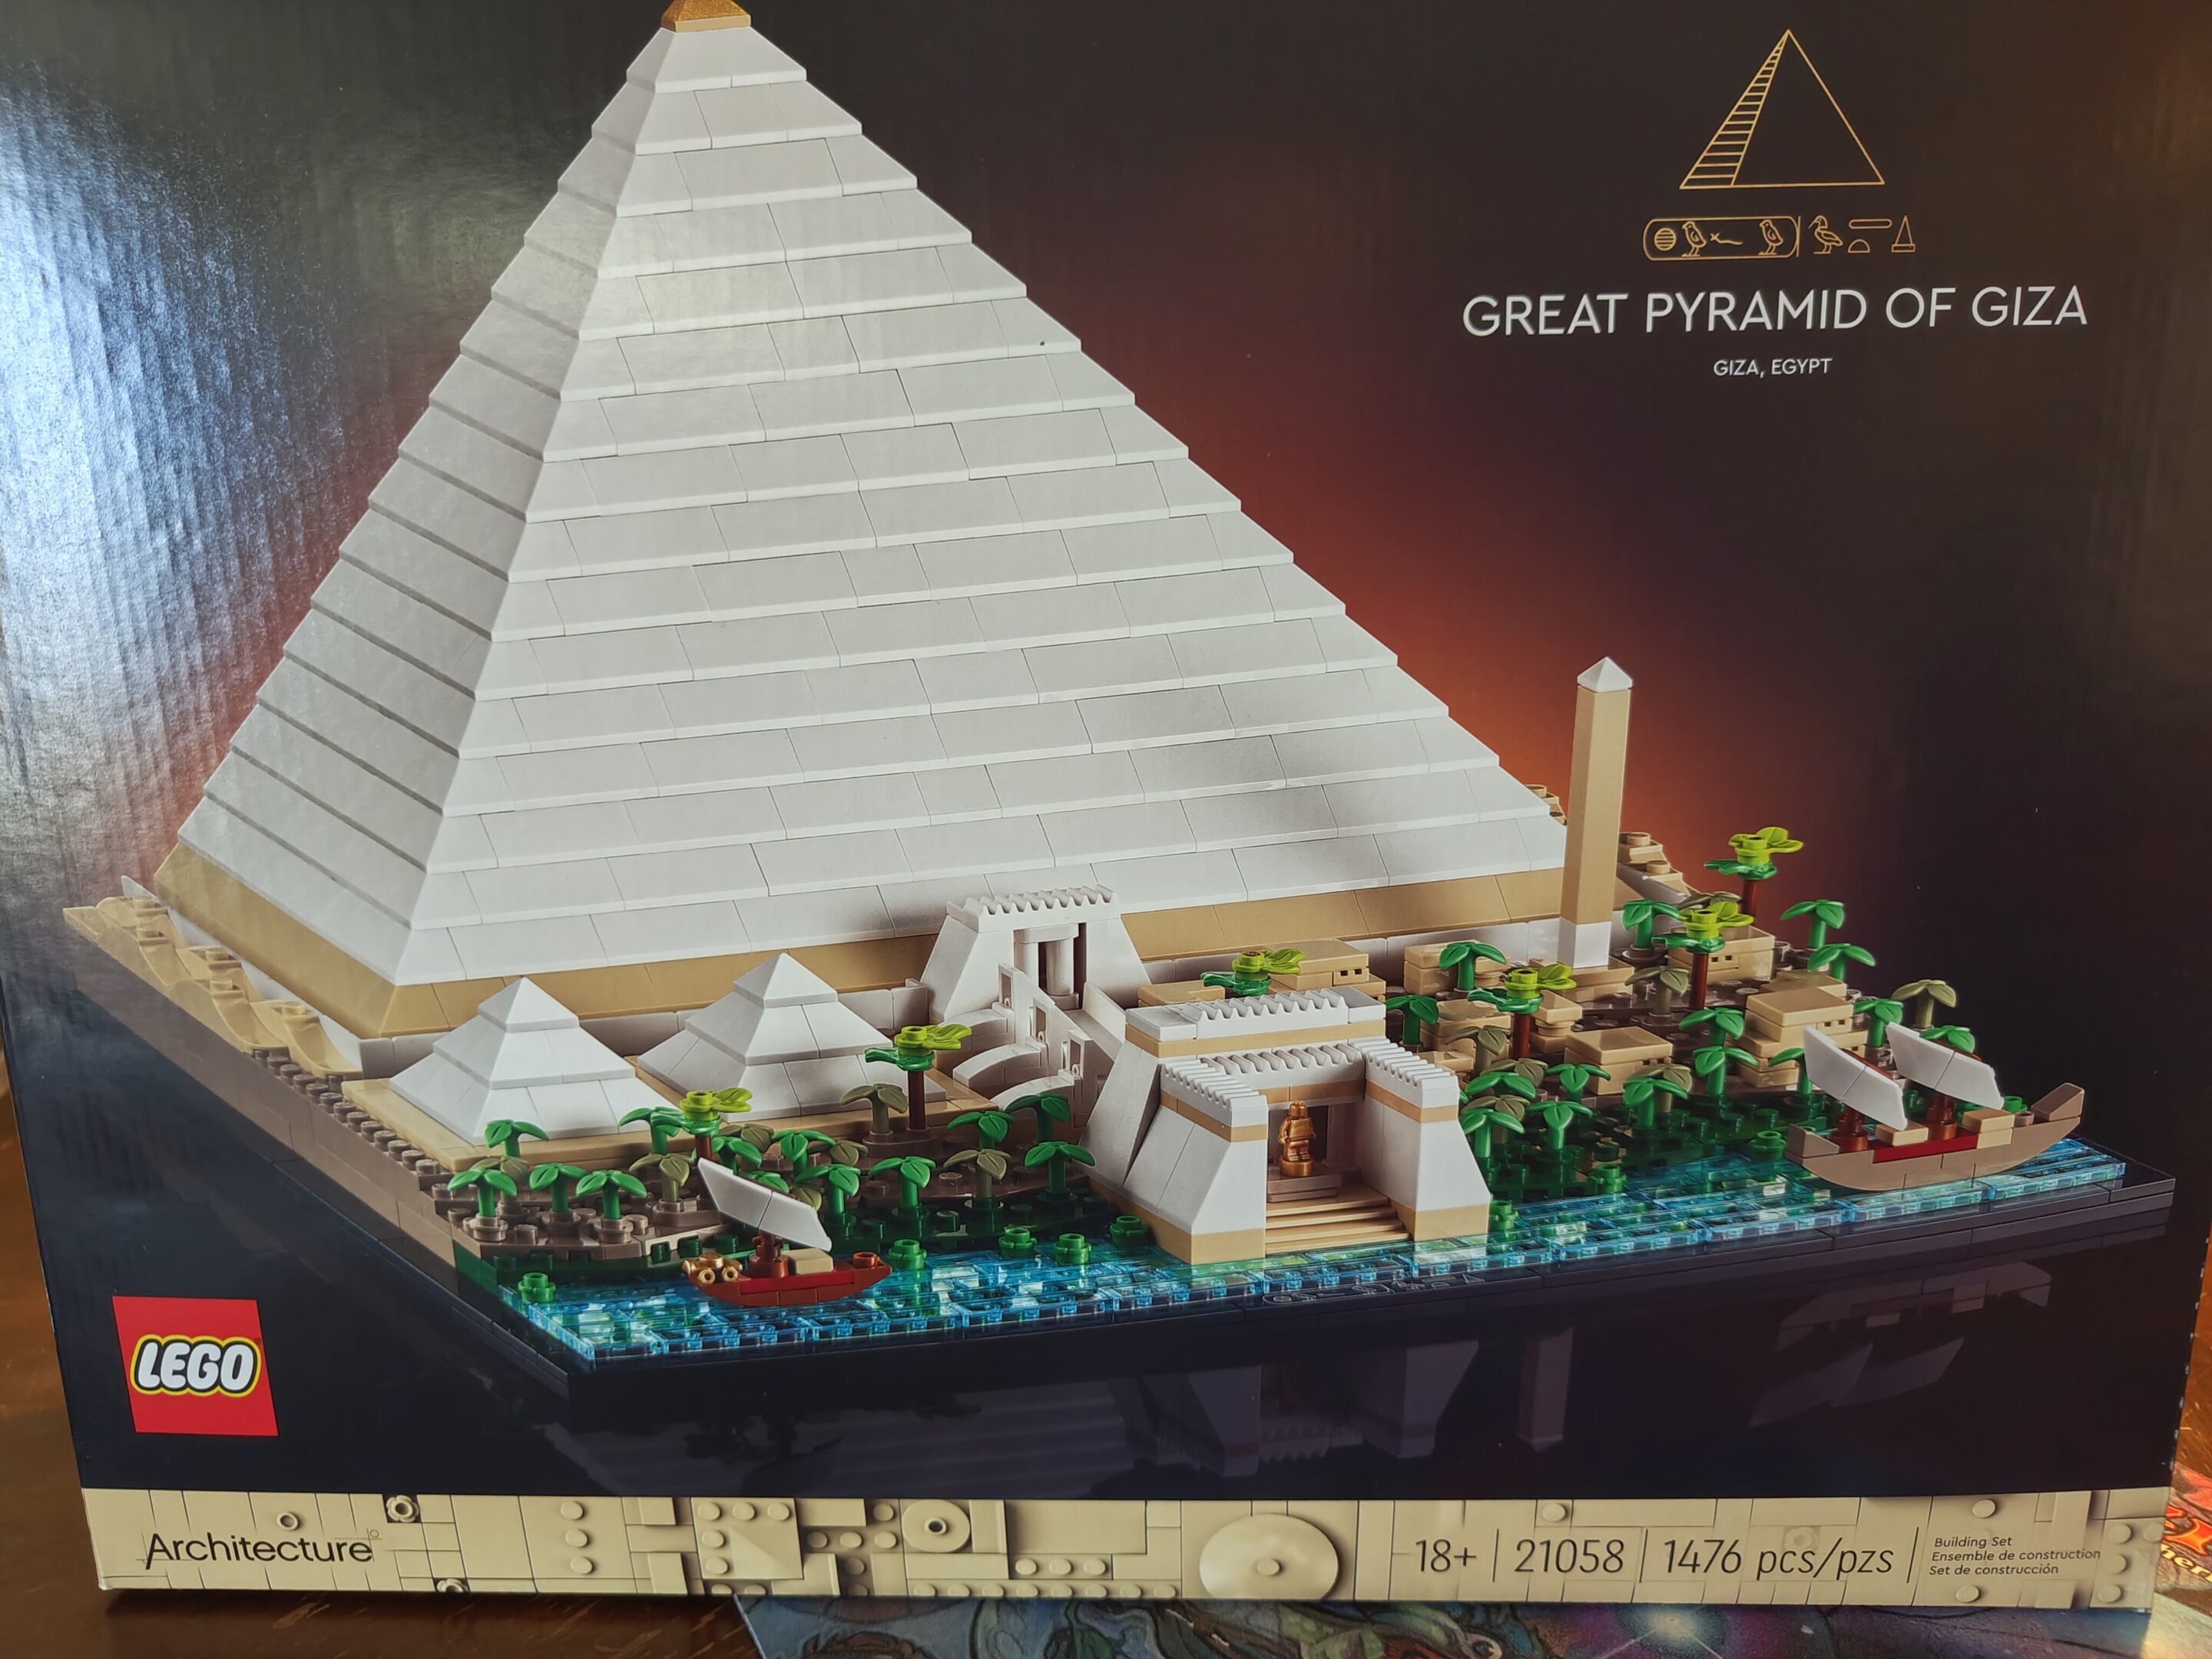
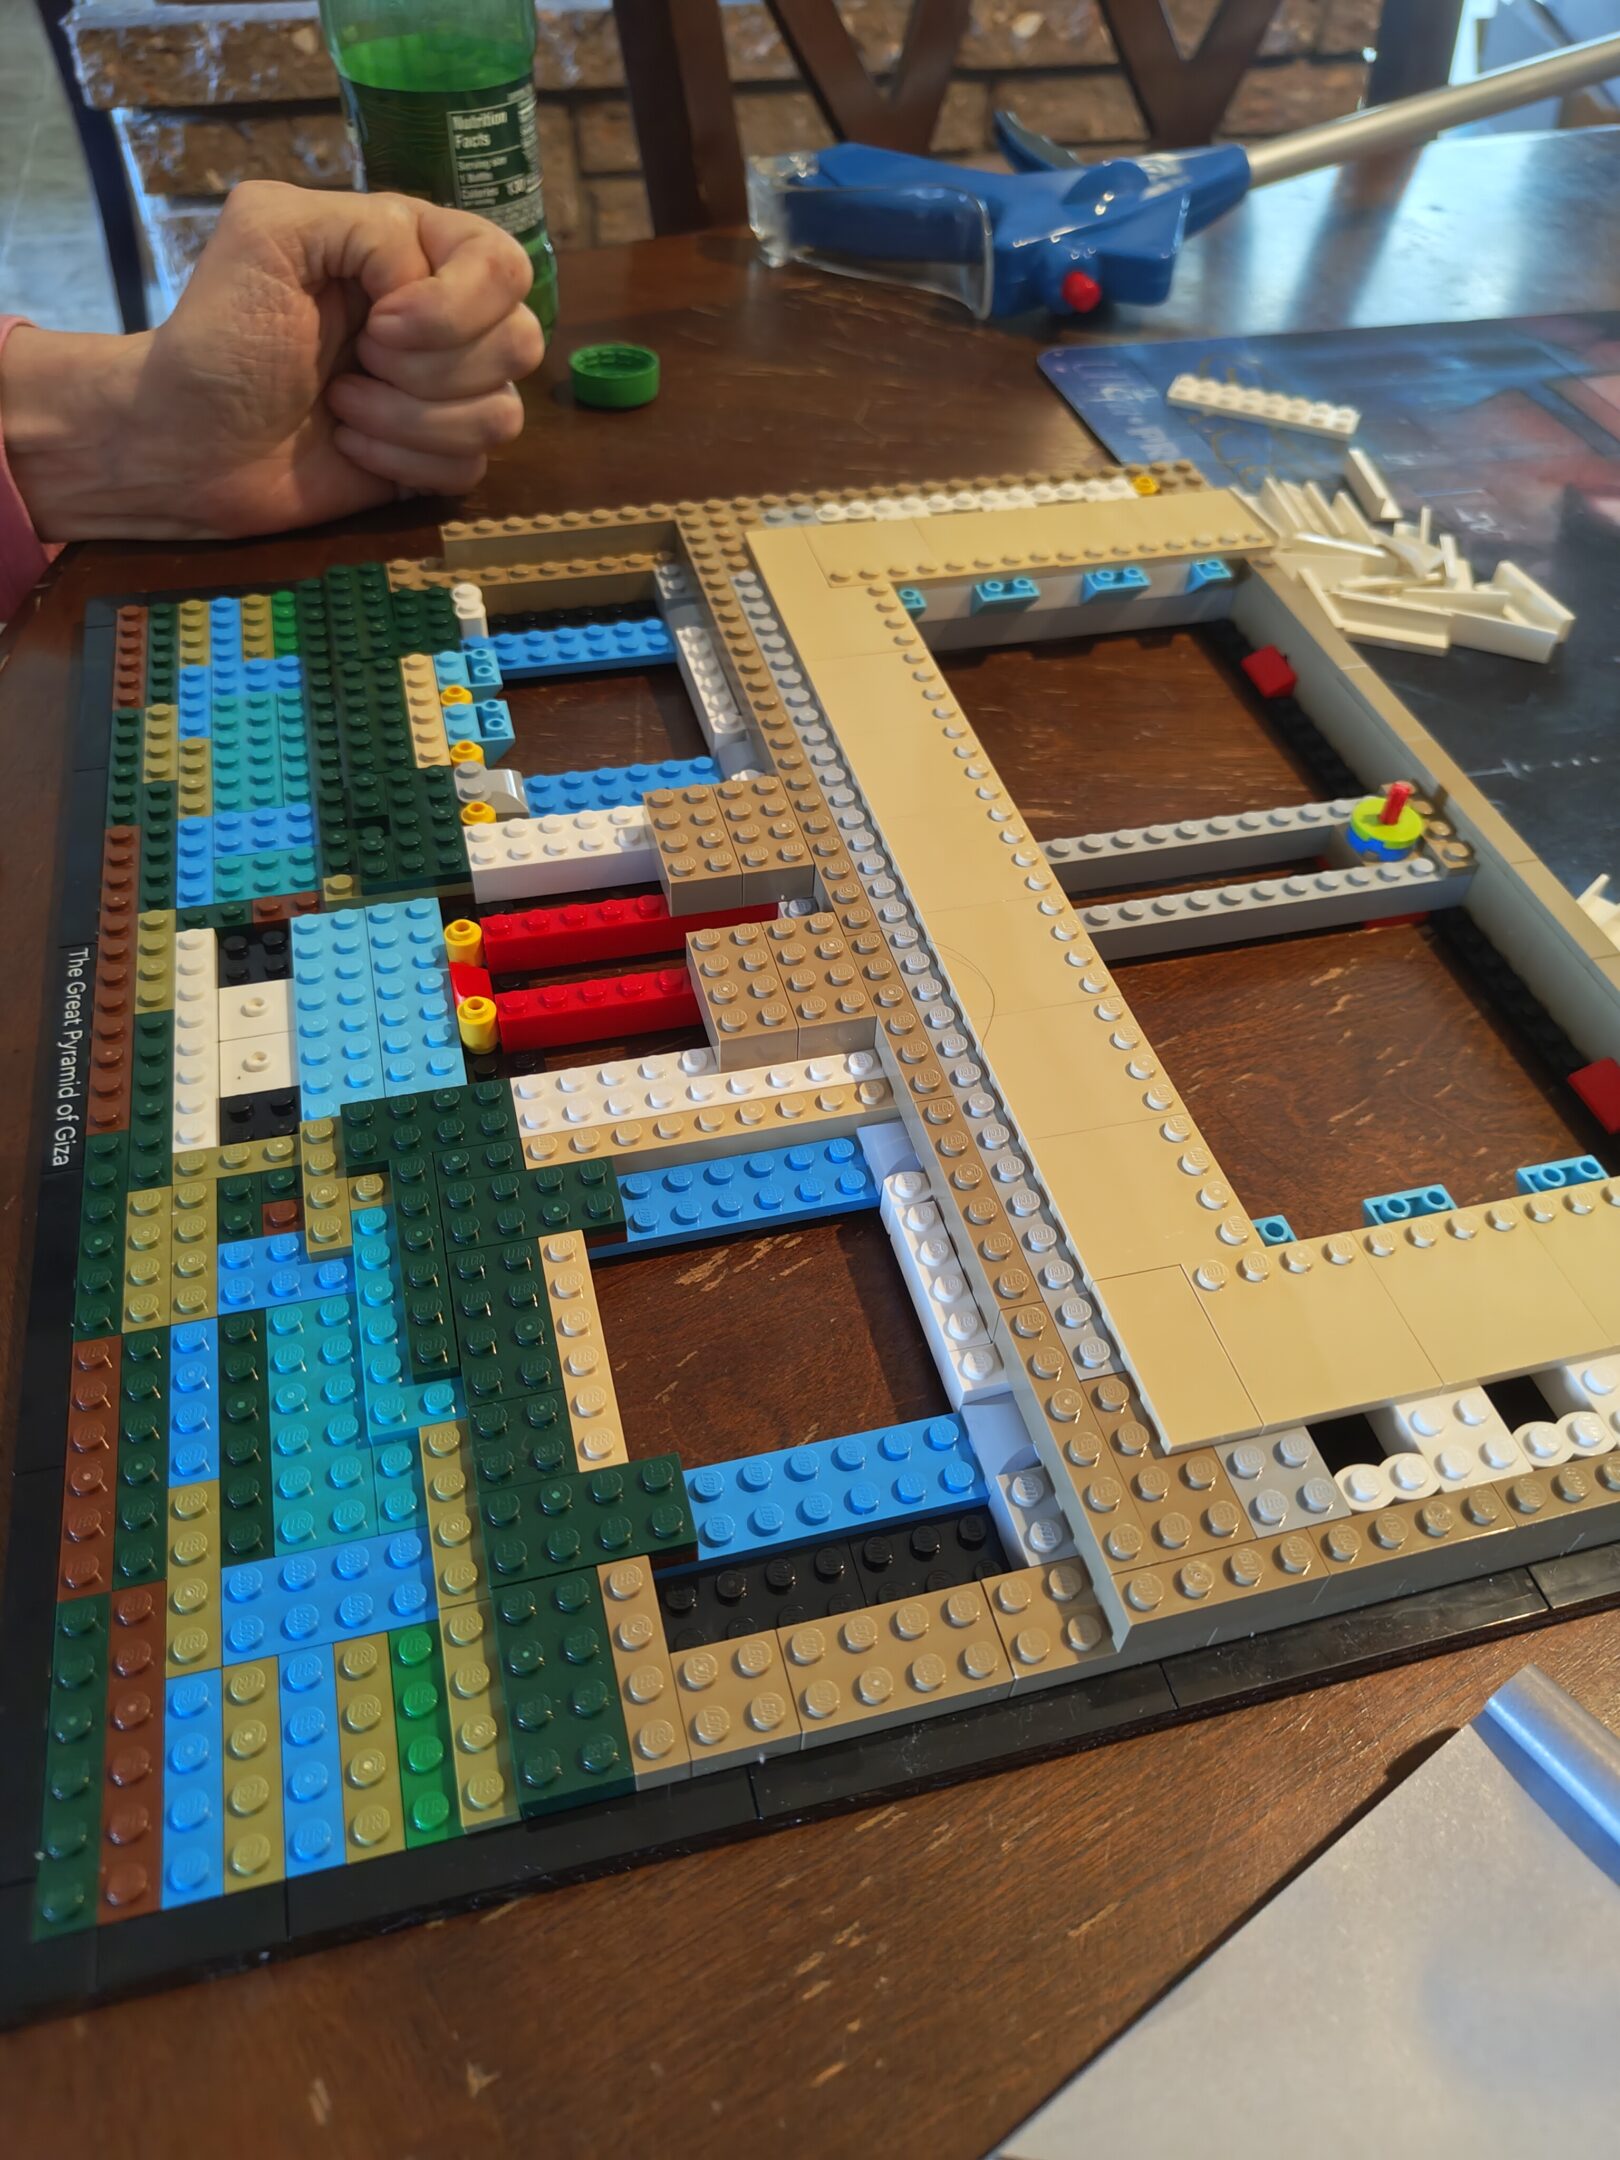
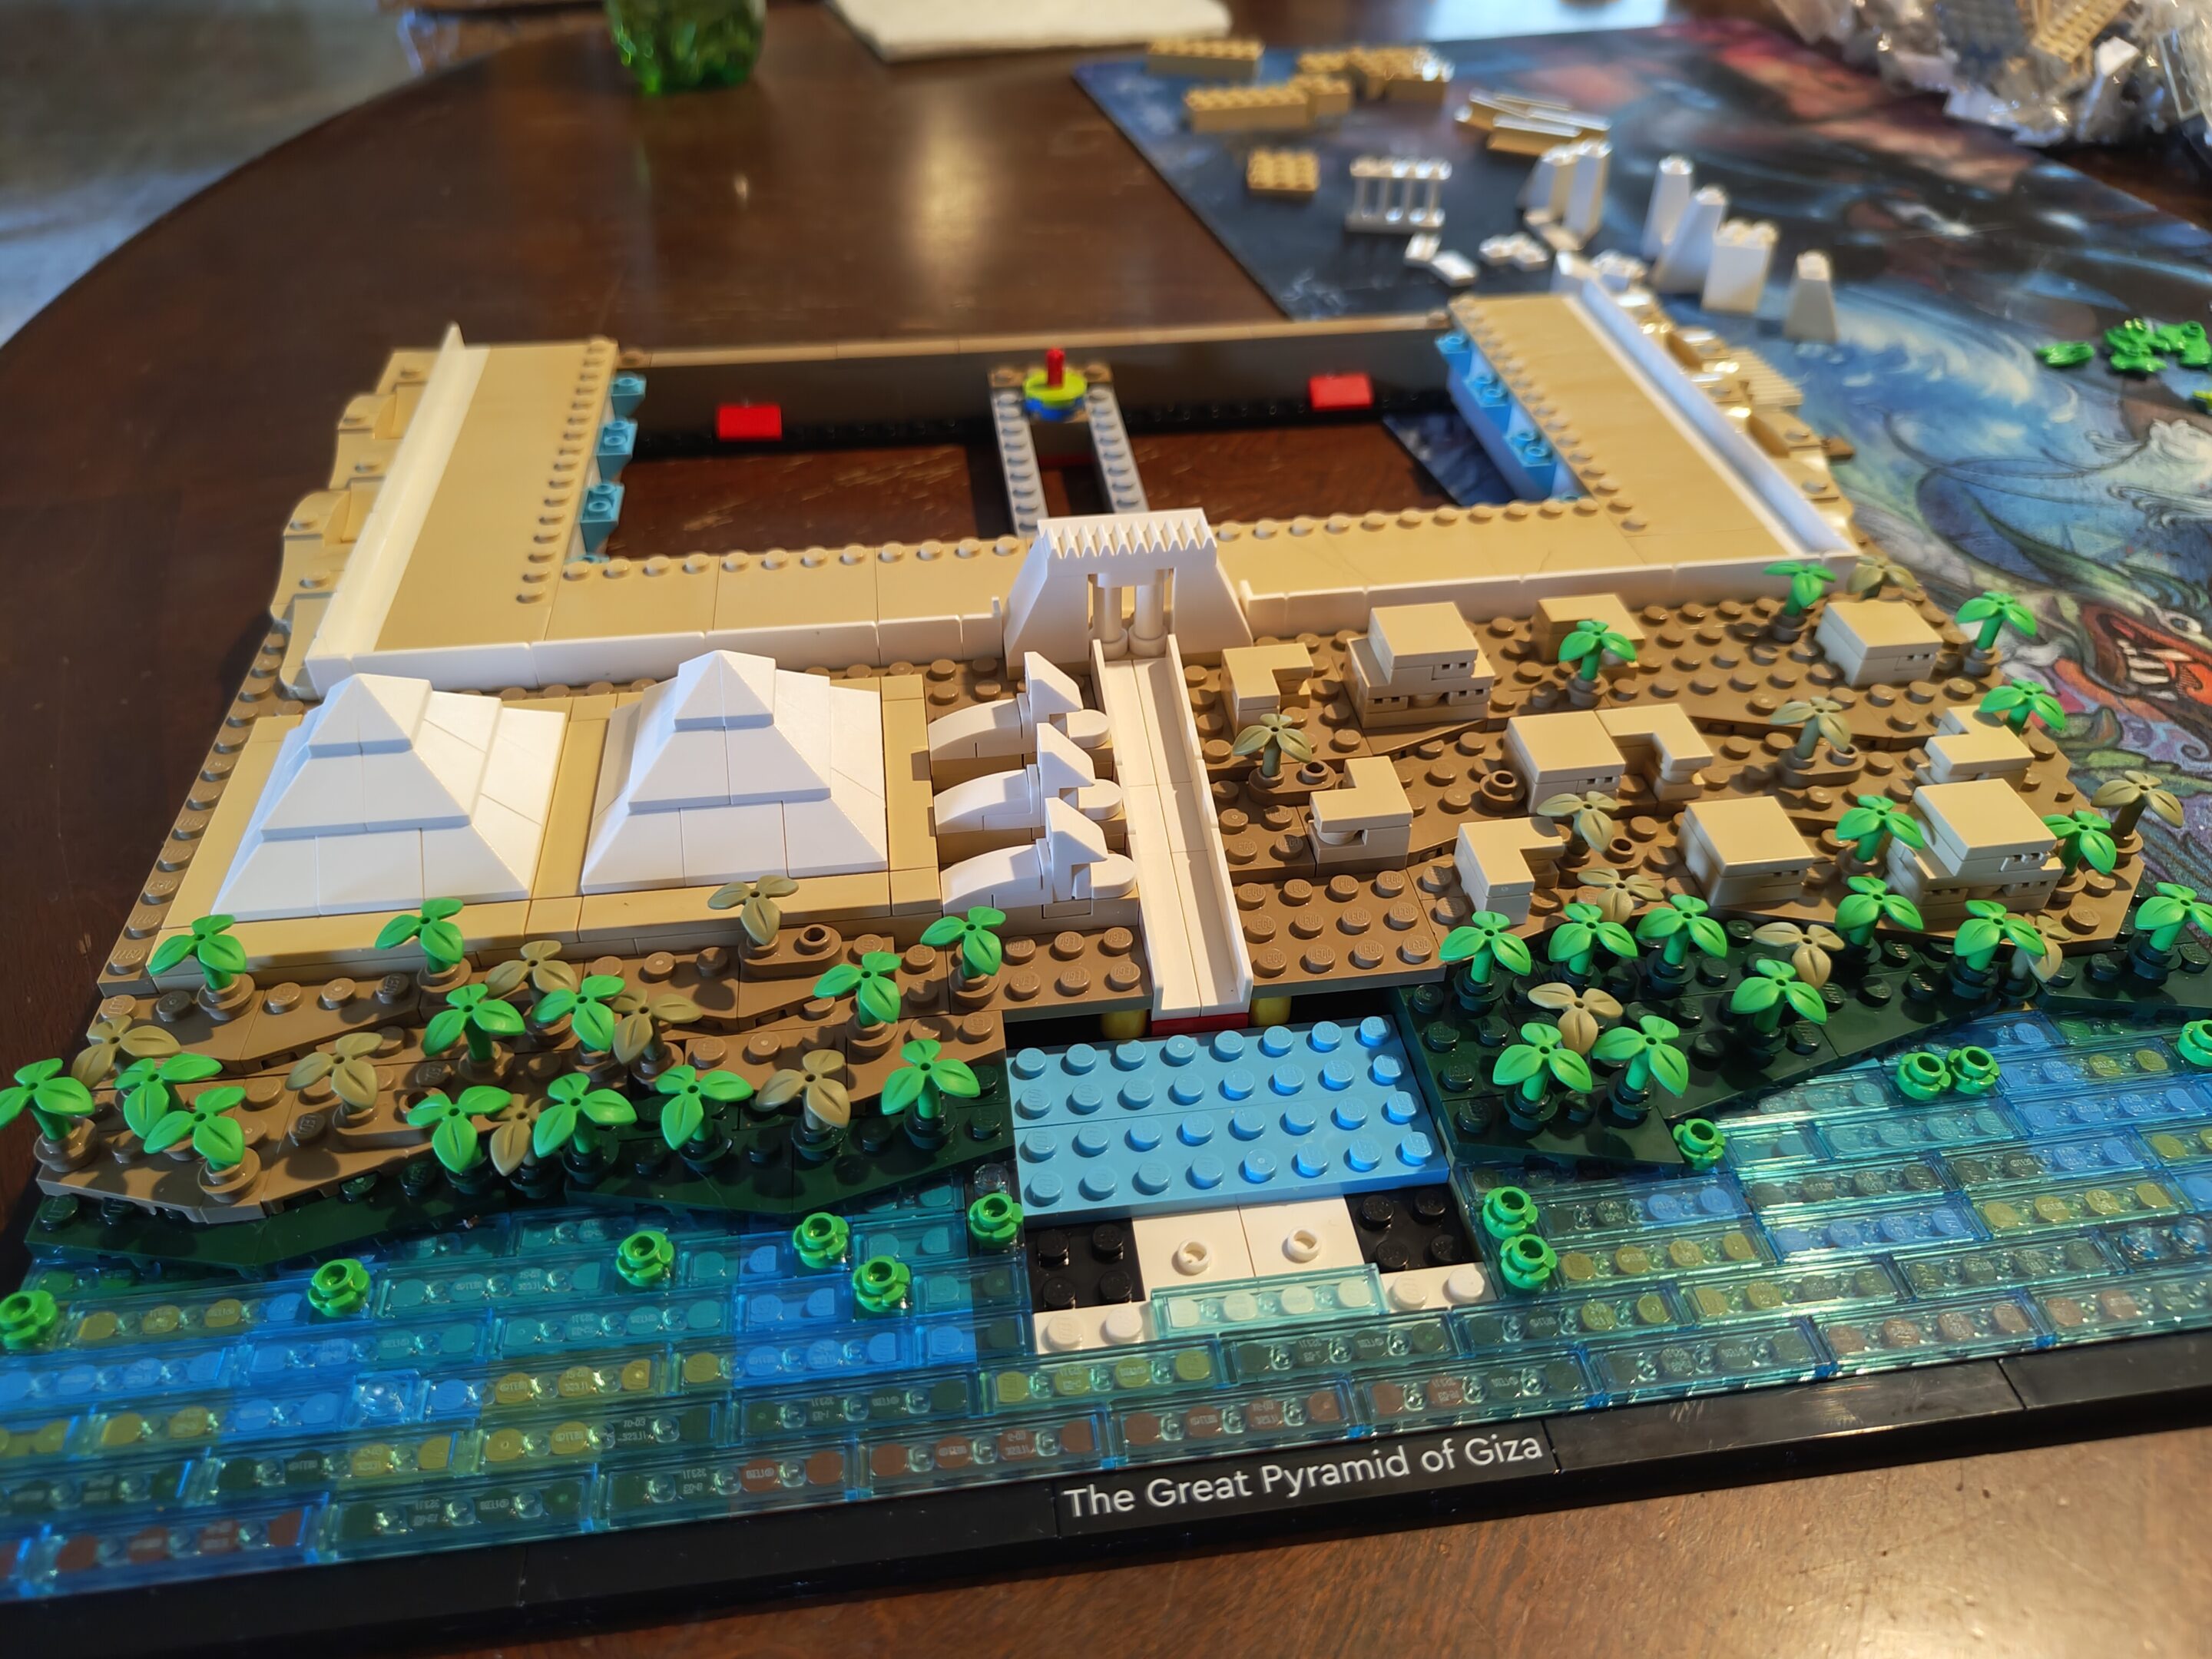
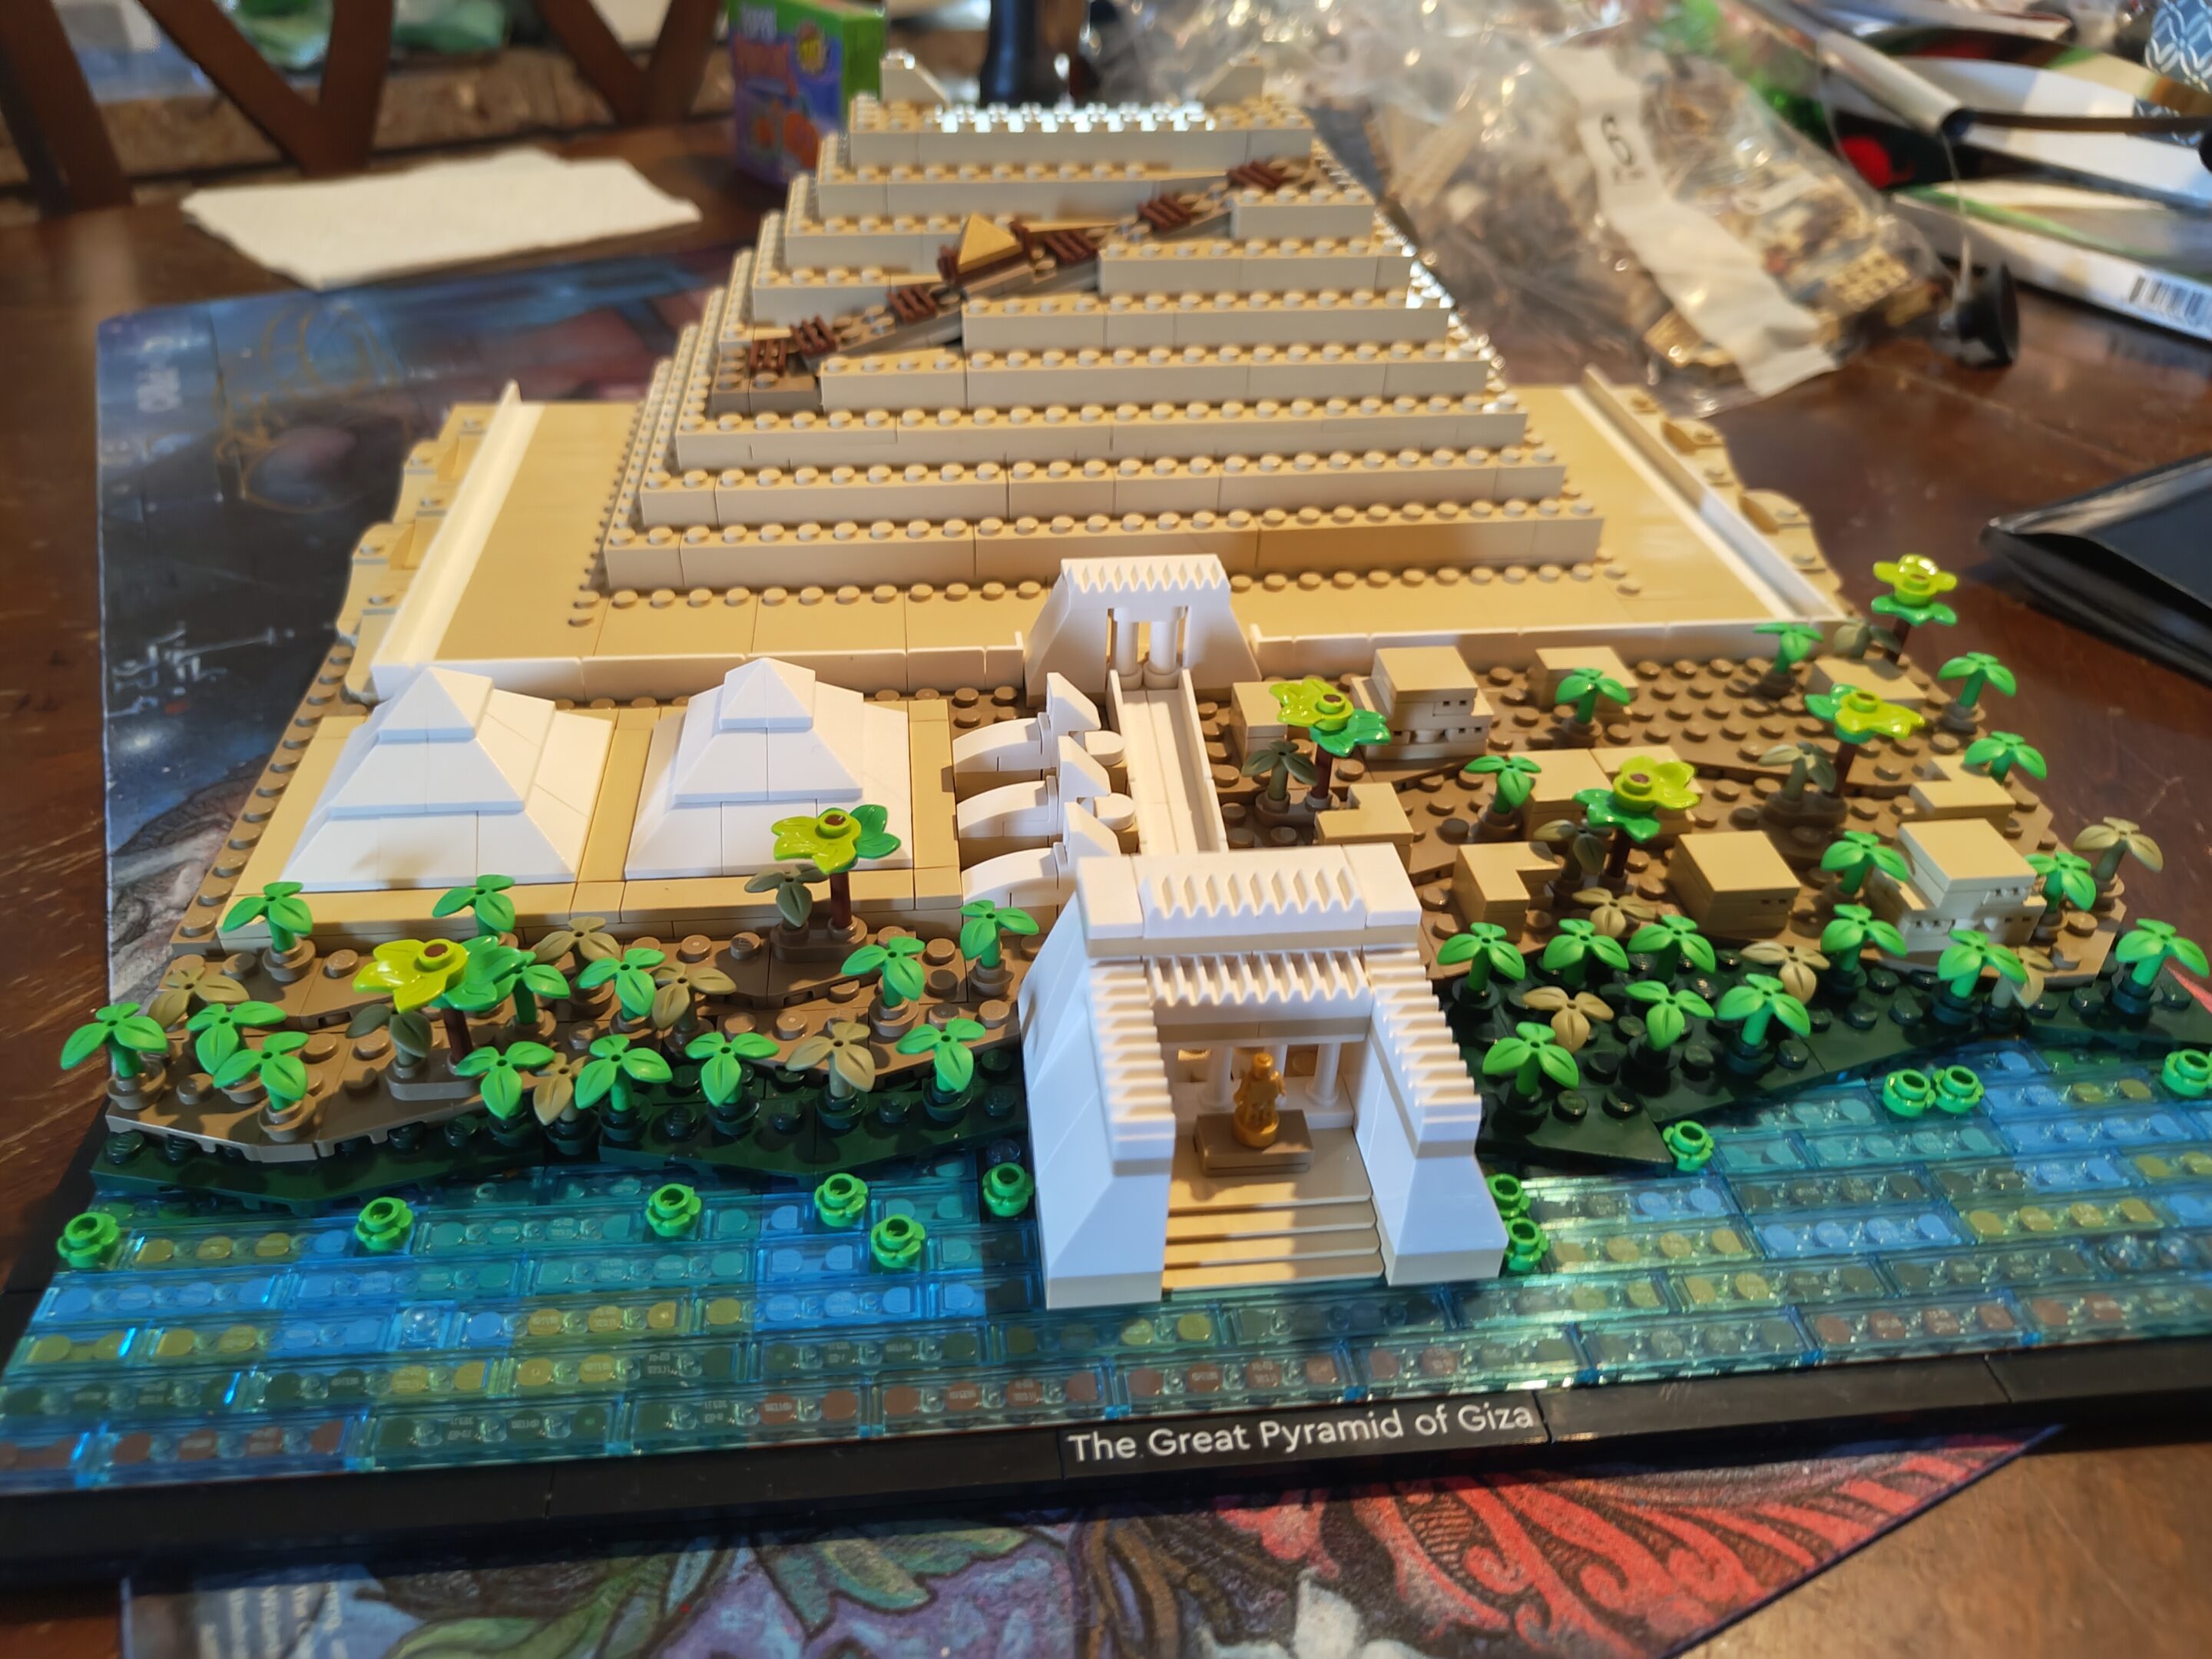
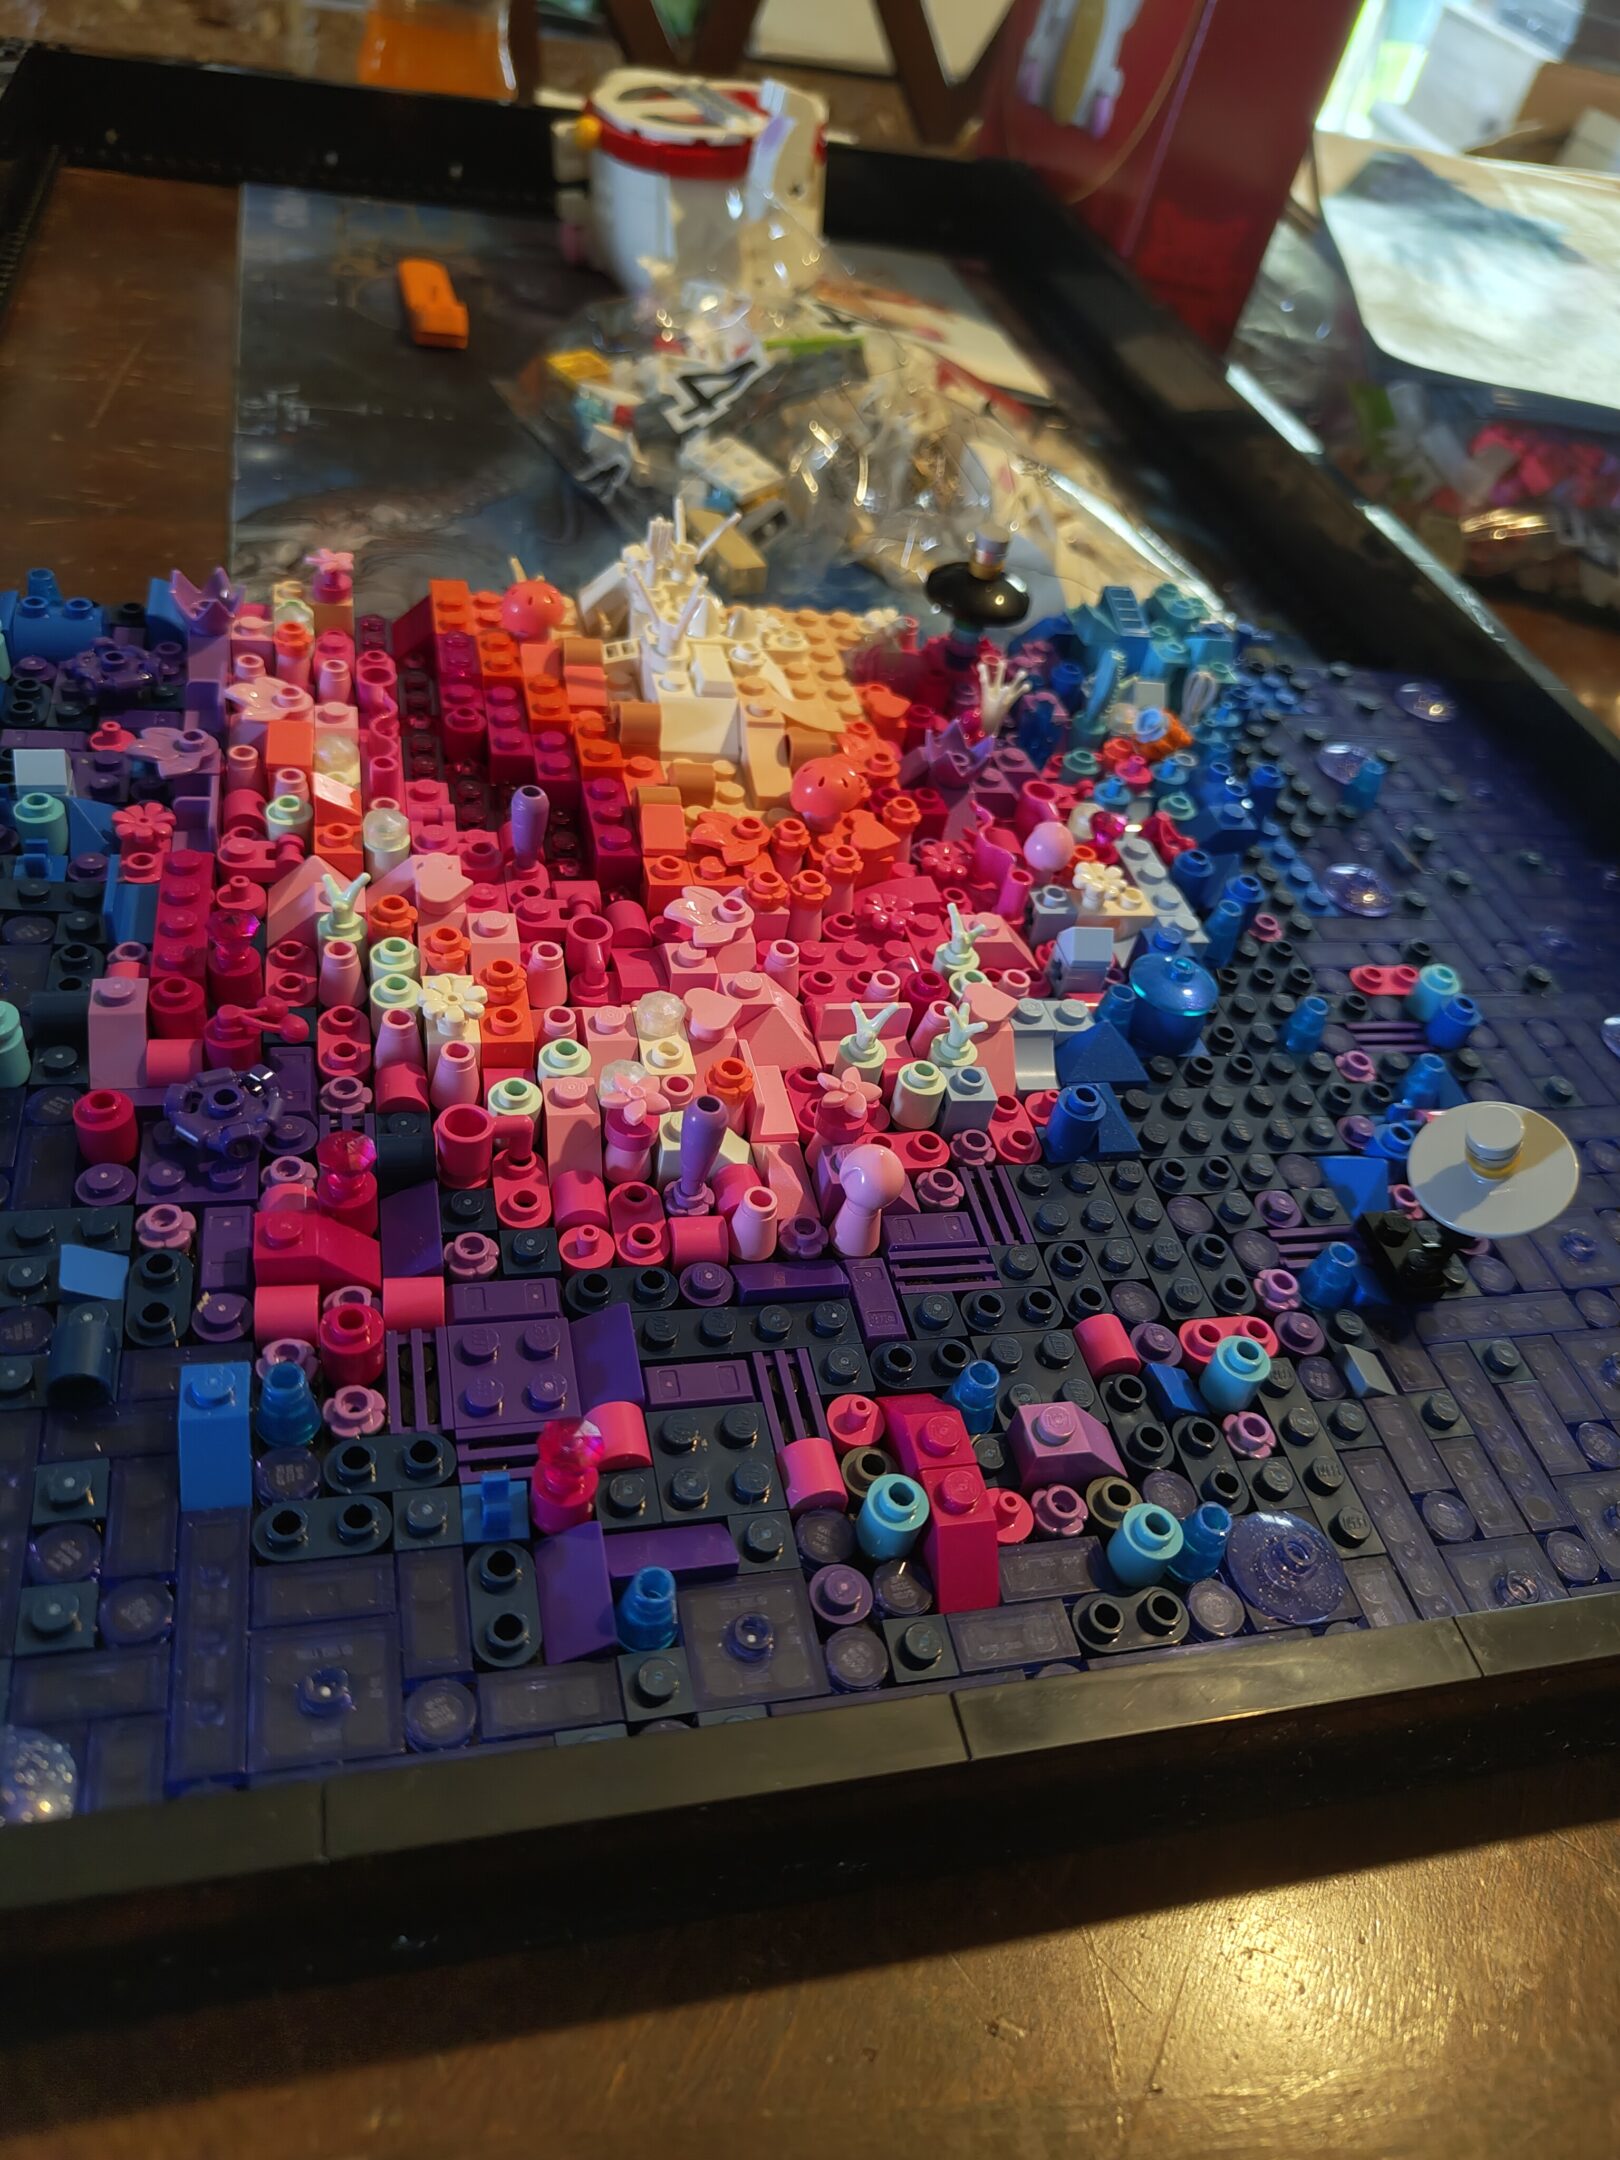
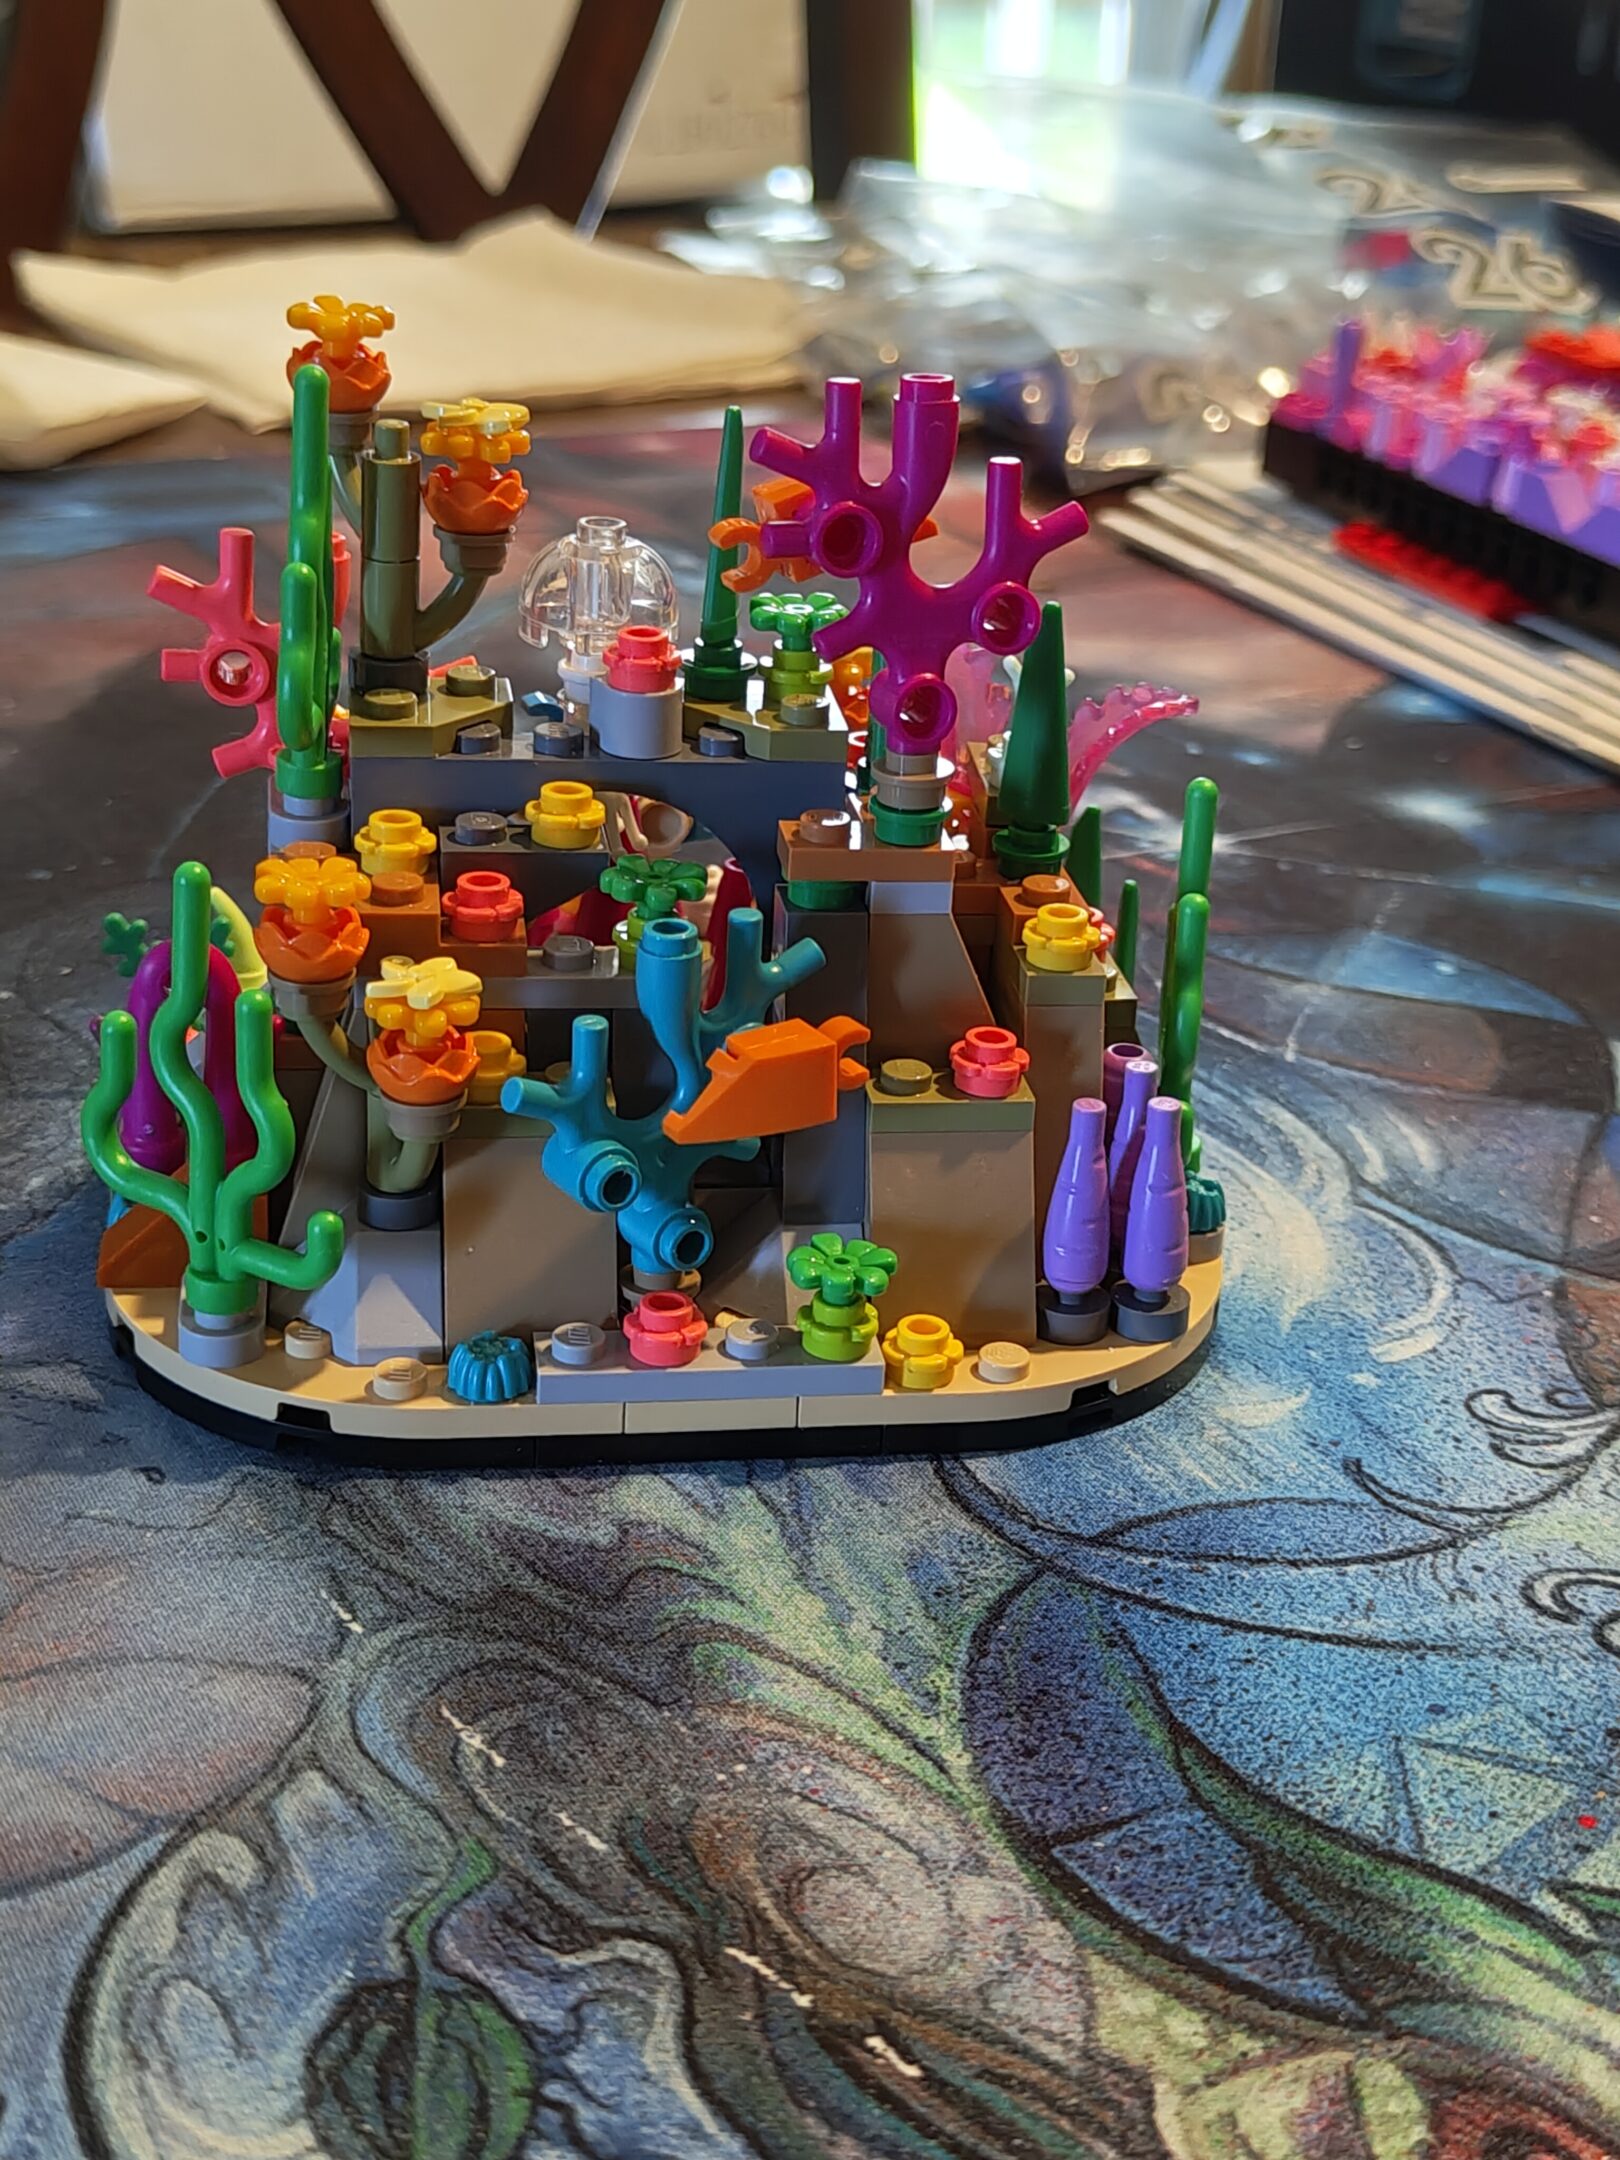
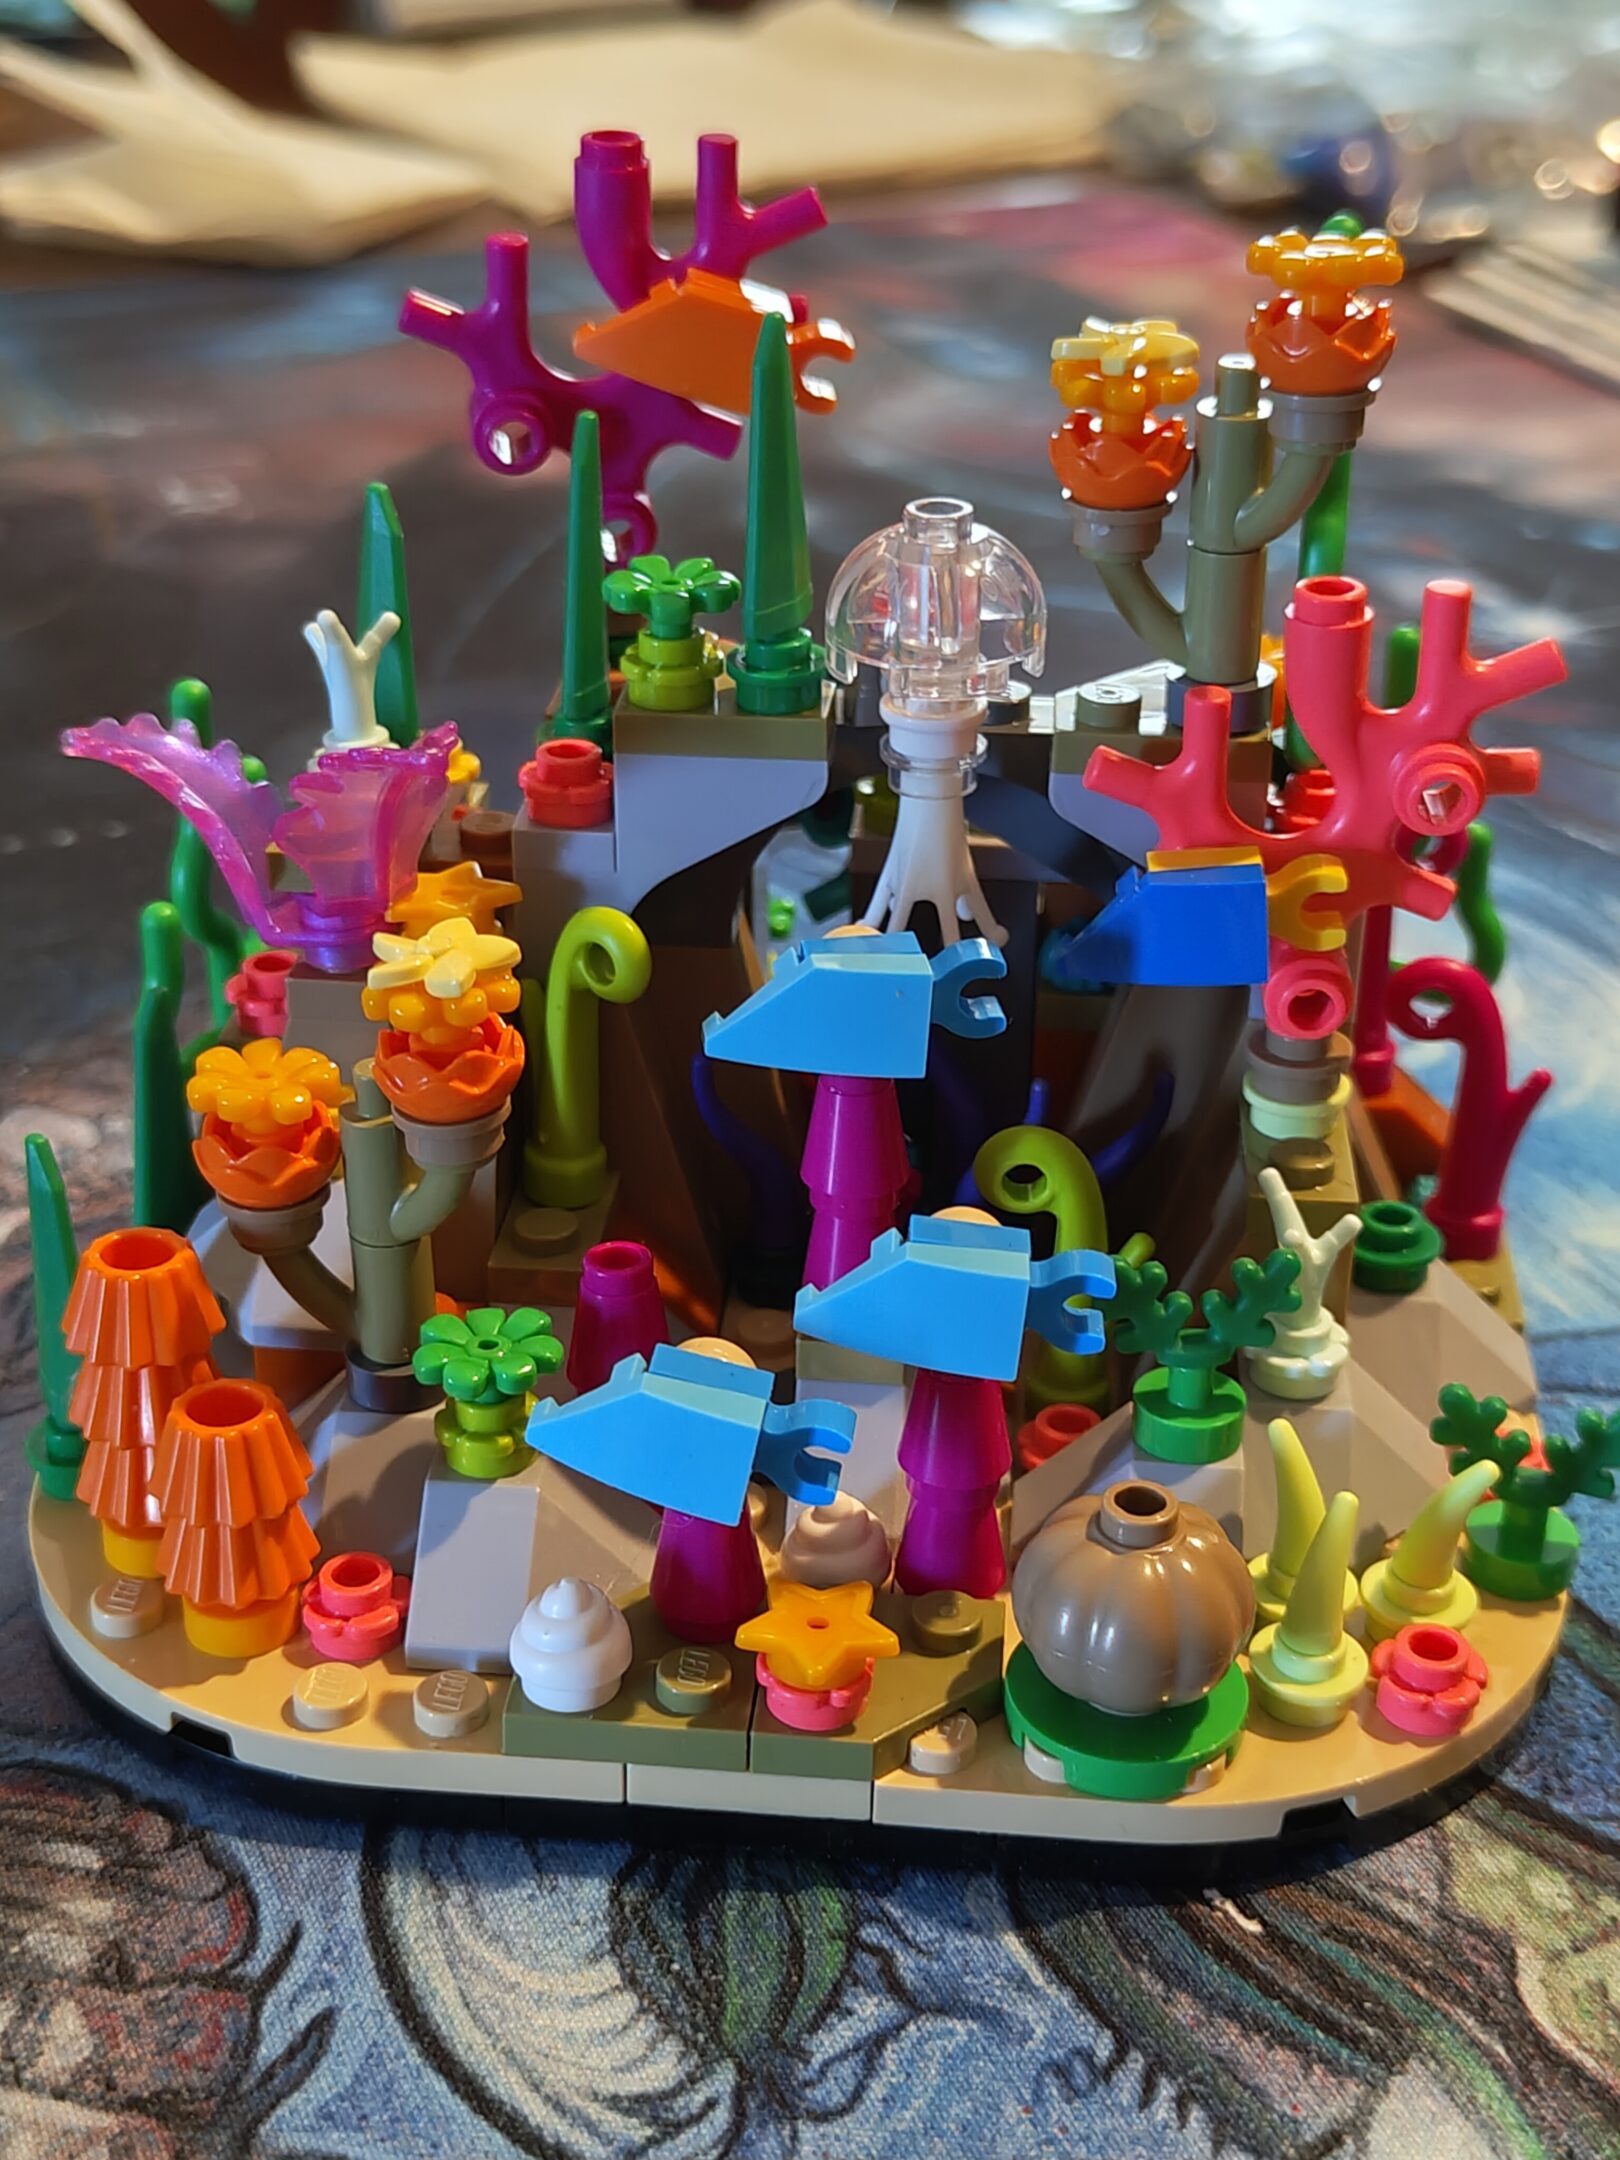
picked this one up to be the next project with mom, figured it would also look cool when we’re done (check out that water in the front) and after this we’ve got neuschwanstein castle too. having a really good time doing all these sets both with mom and the ones i’ve done on my own. if you’d asked me a year ago if i was gonna be that guy i probably would have been surprised… but i also still have the lego bricks from the sets i got as a kid somewhere in my garage still. maybe i wouldn’t have been that surprised.
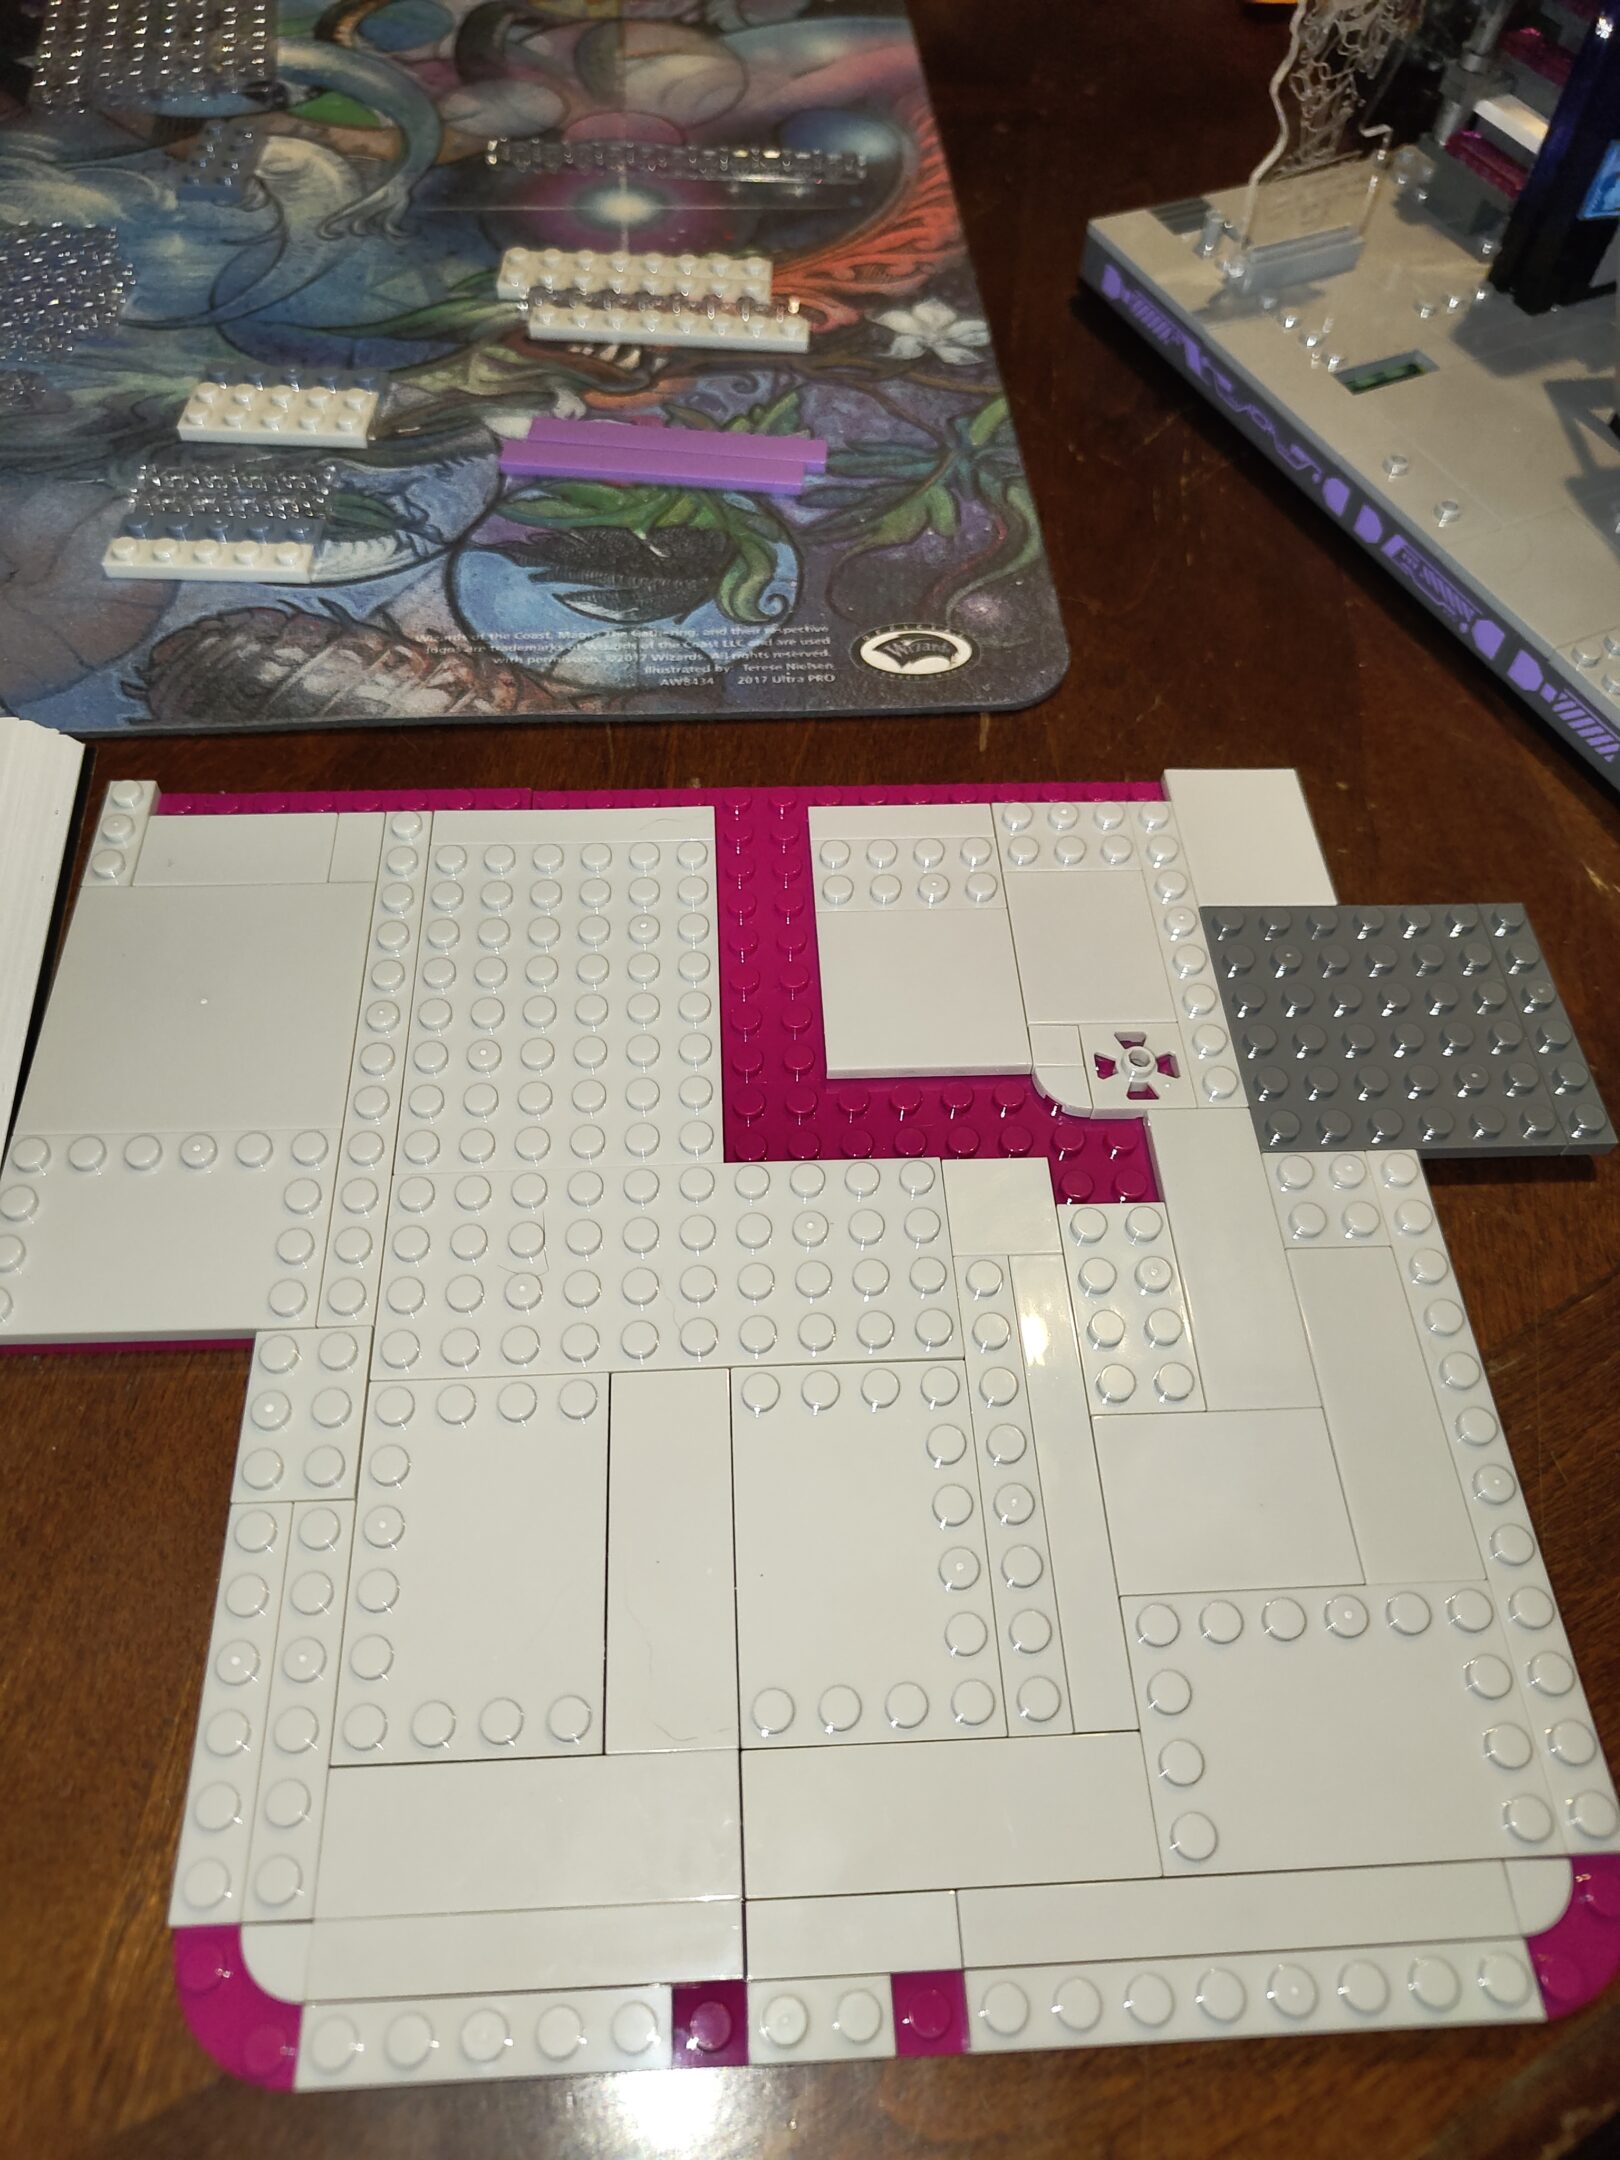
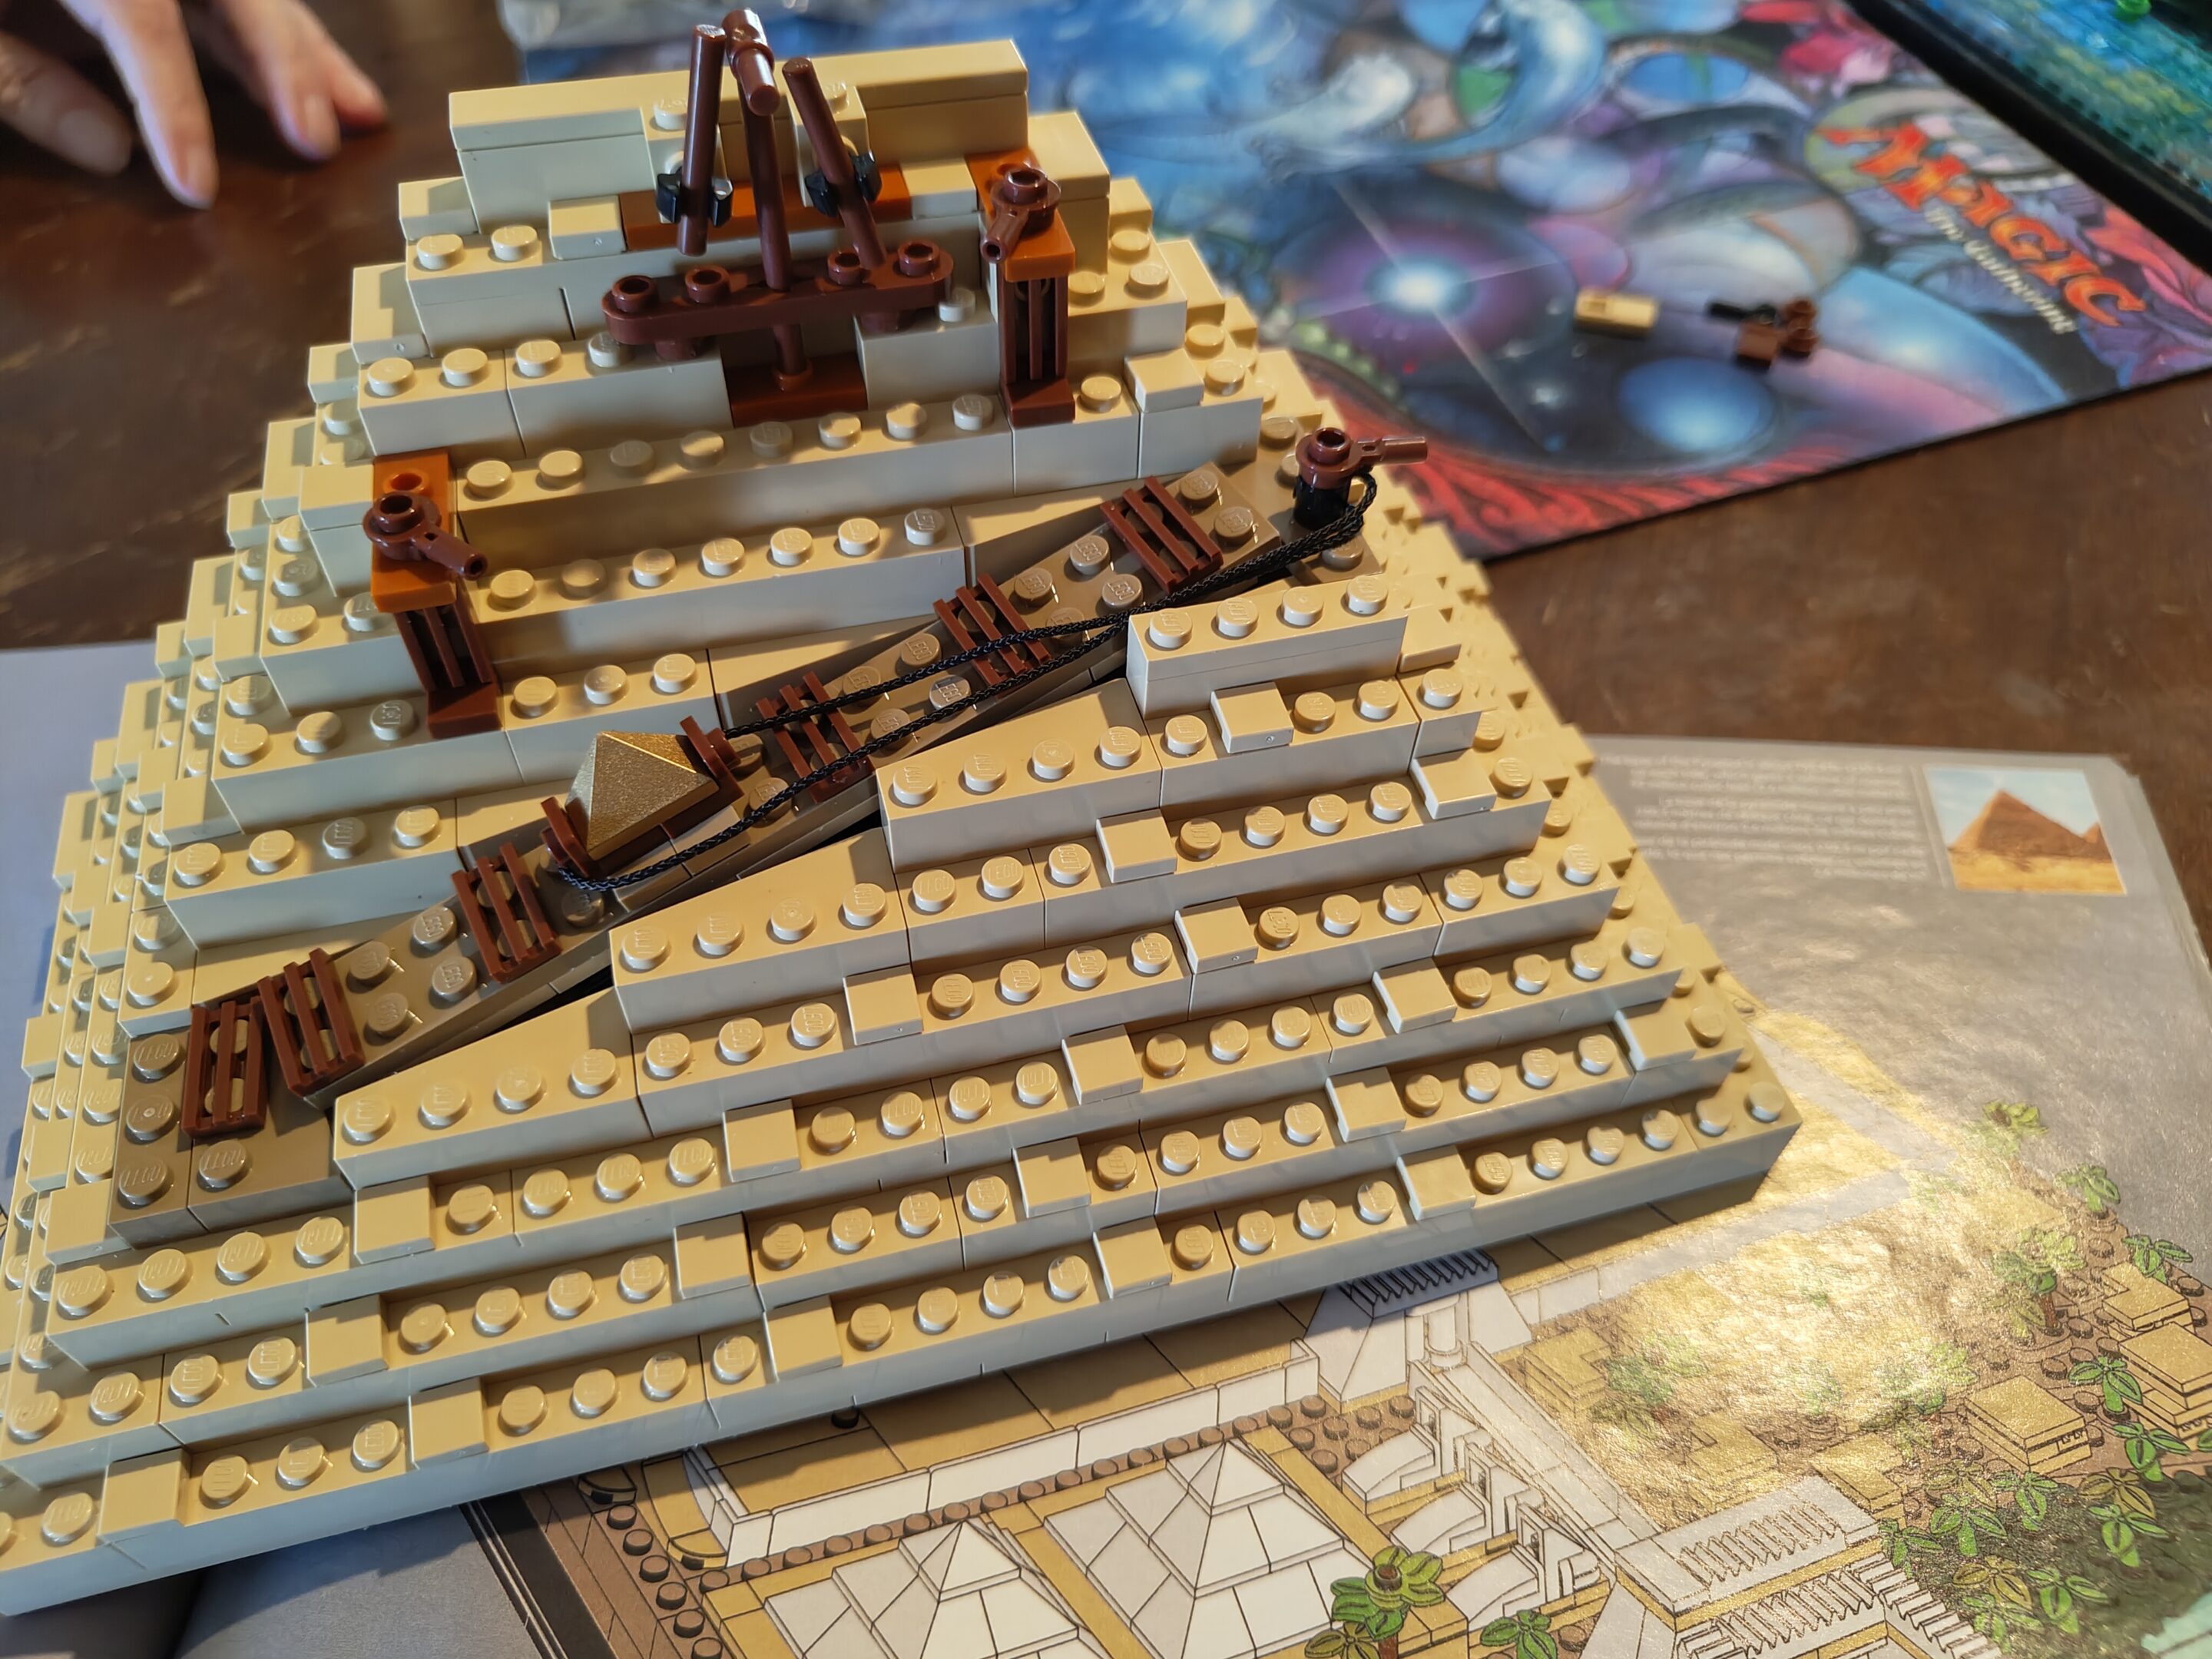
started today, sunday august 24th or whatever day it is. time is weird when you don’t really have a day-to-day schedule anymore
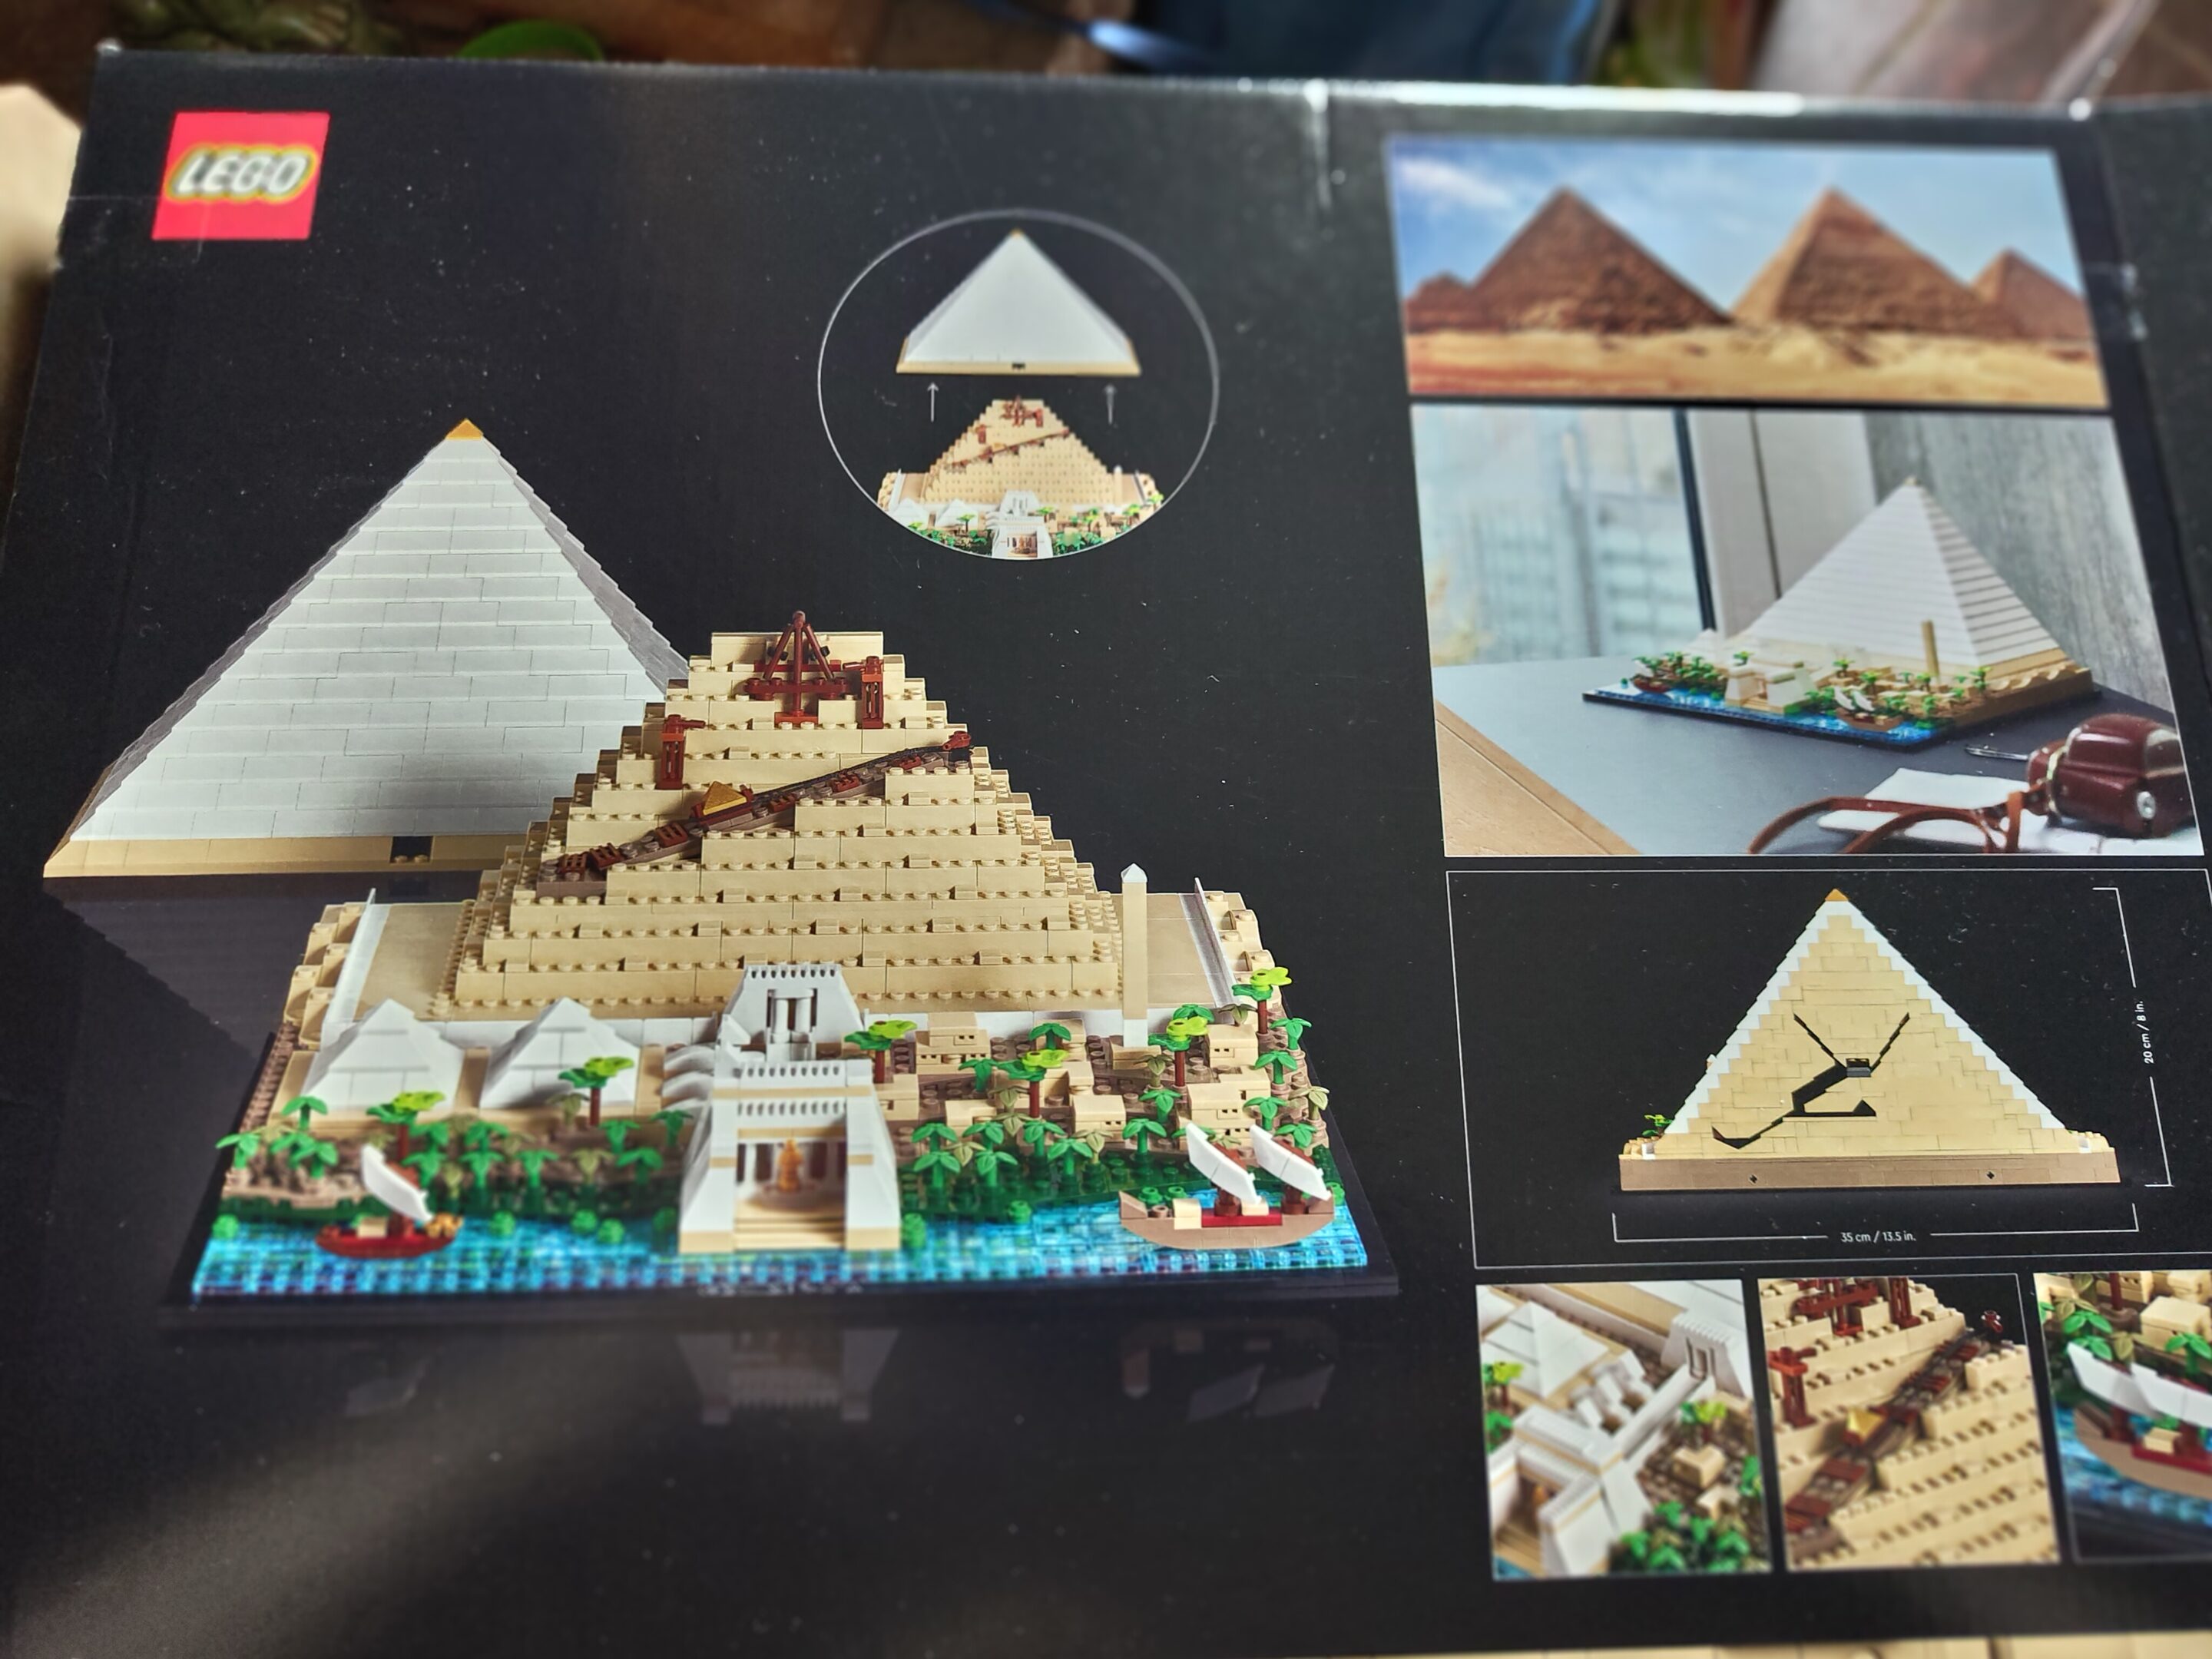
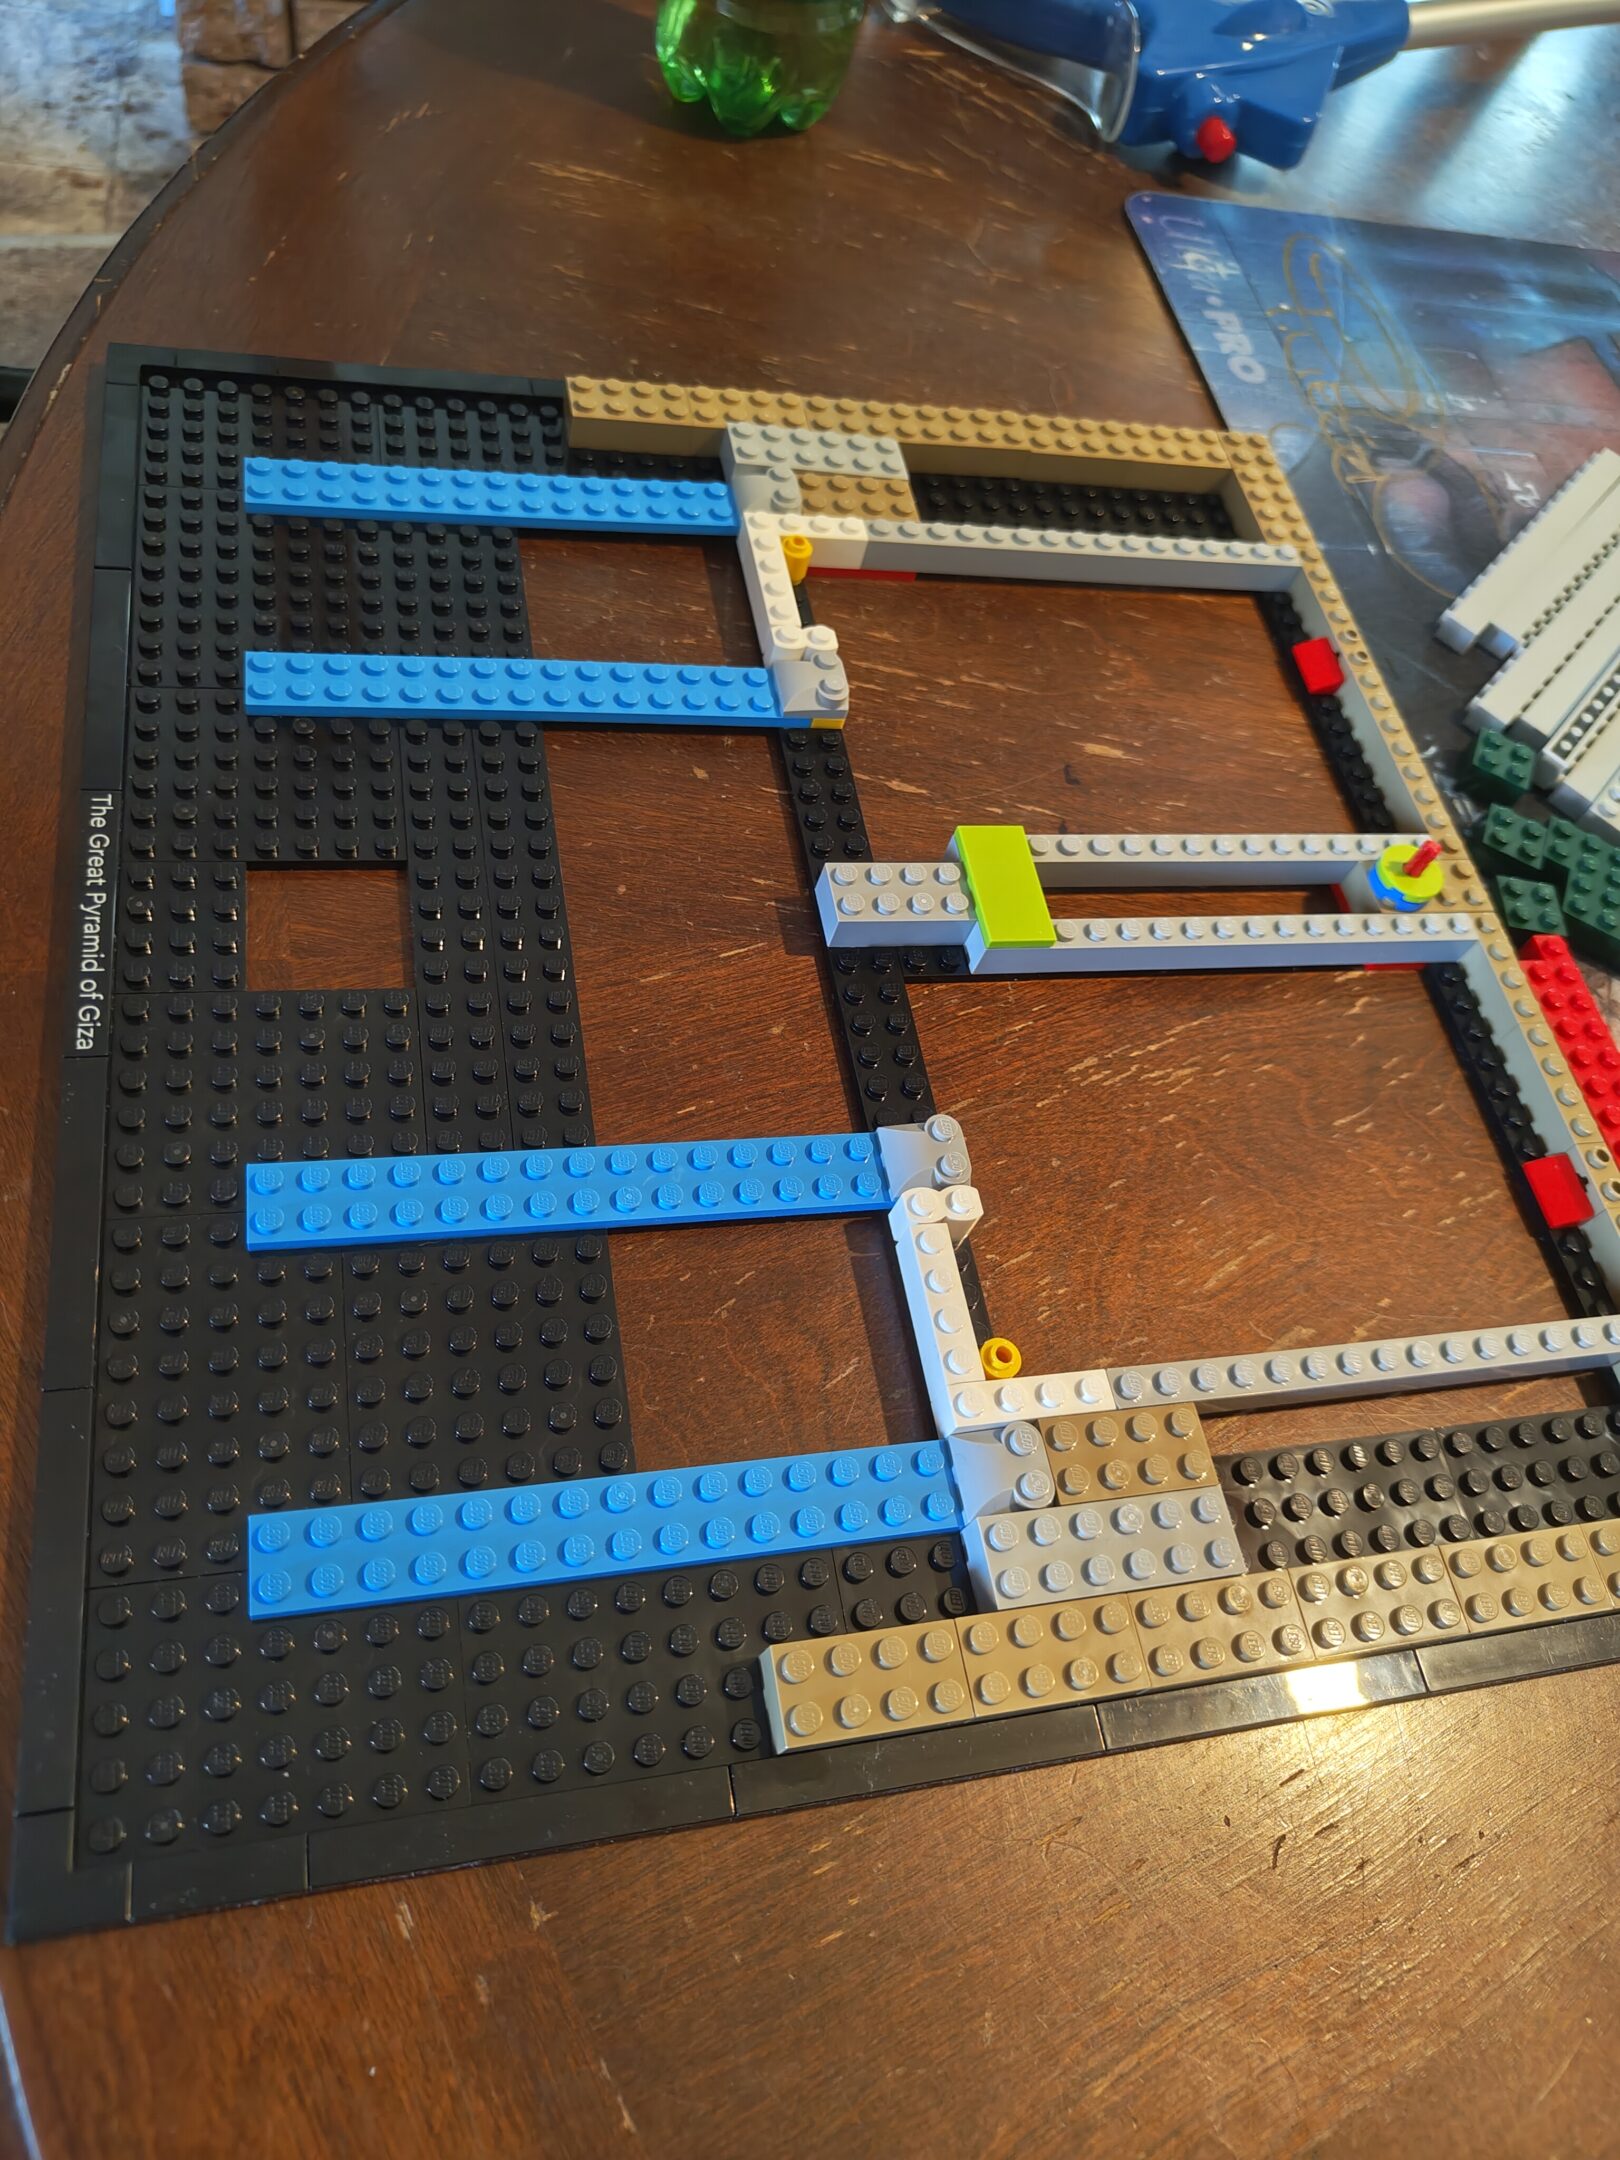
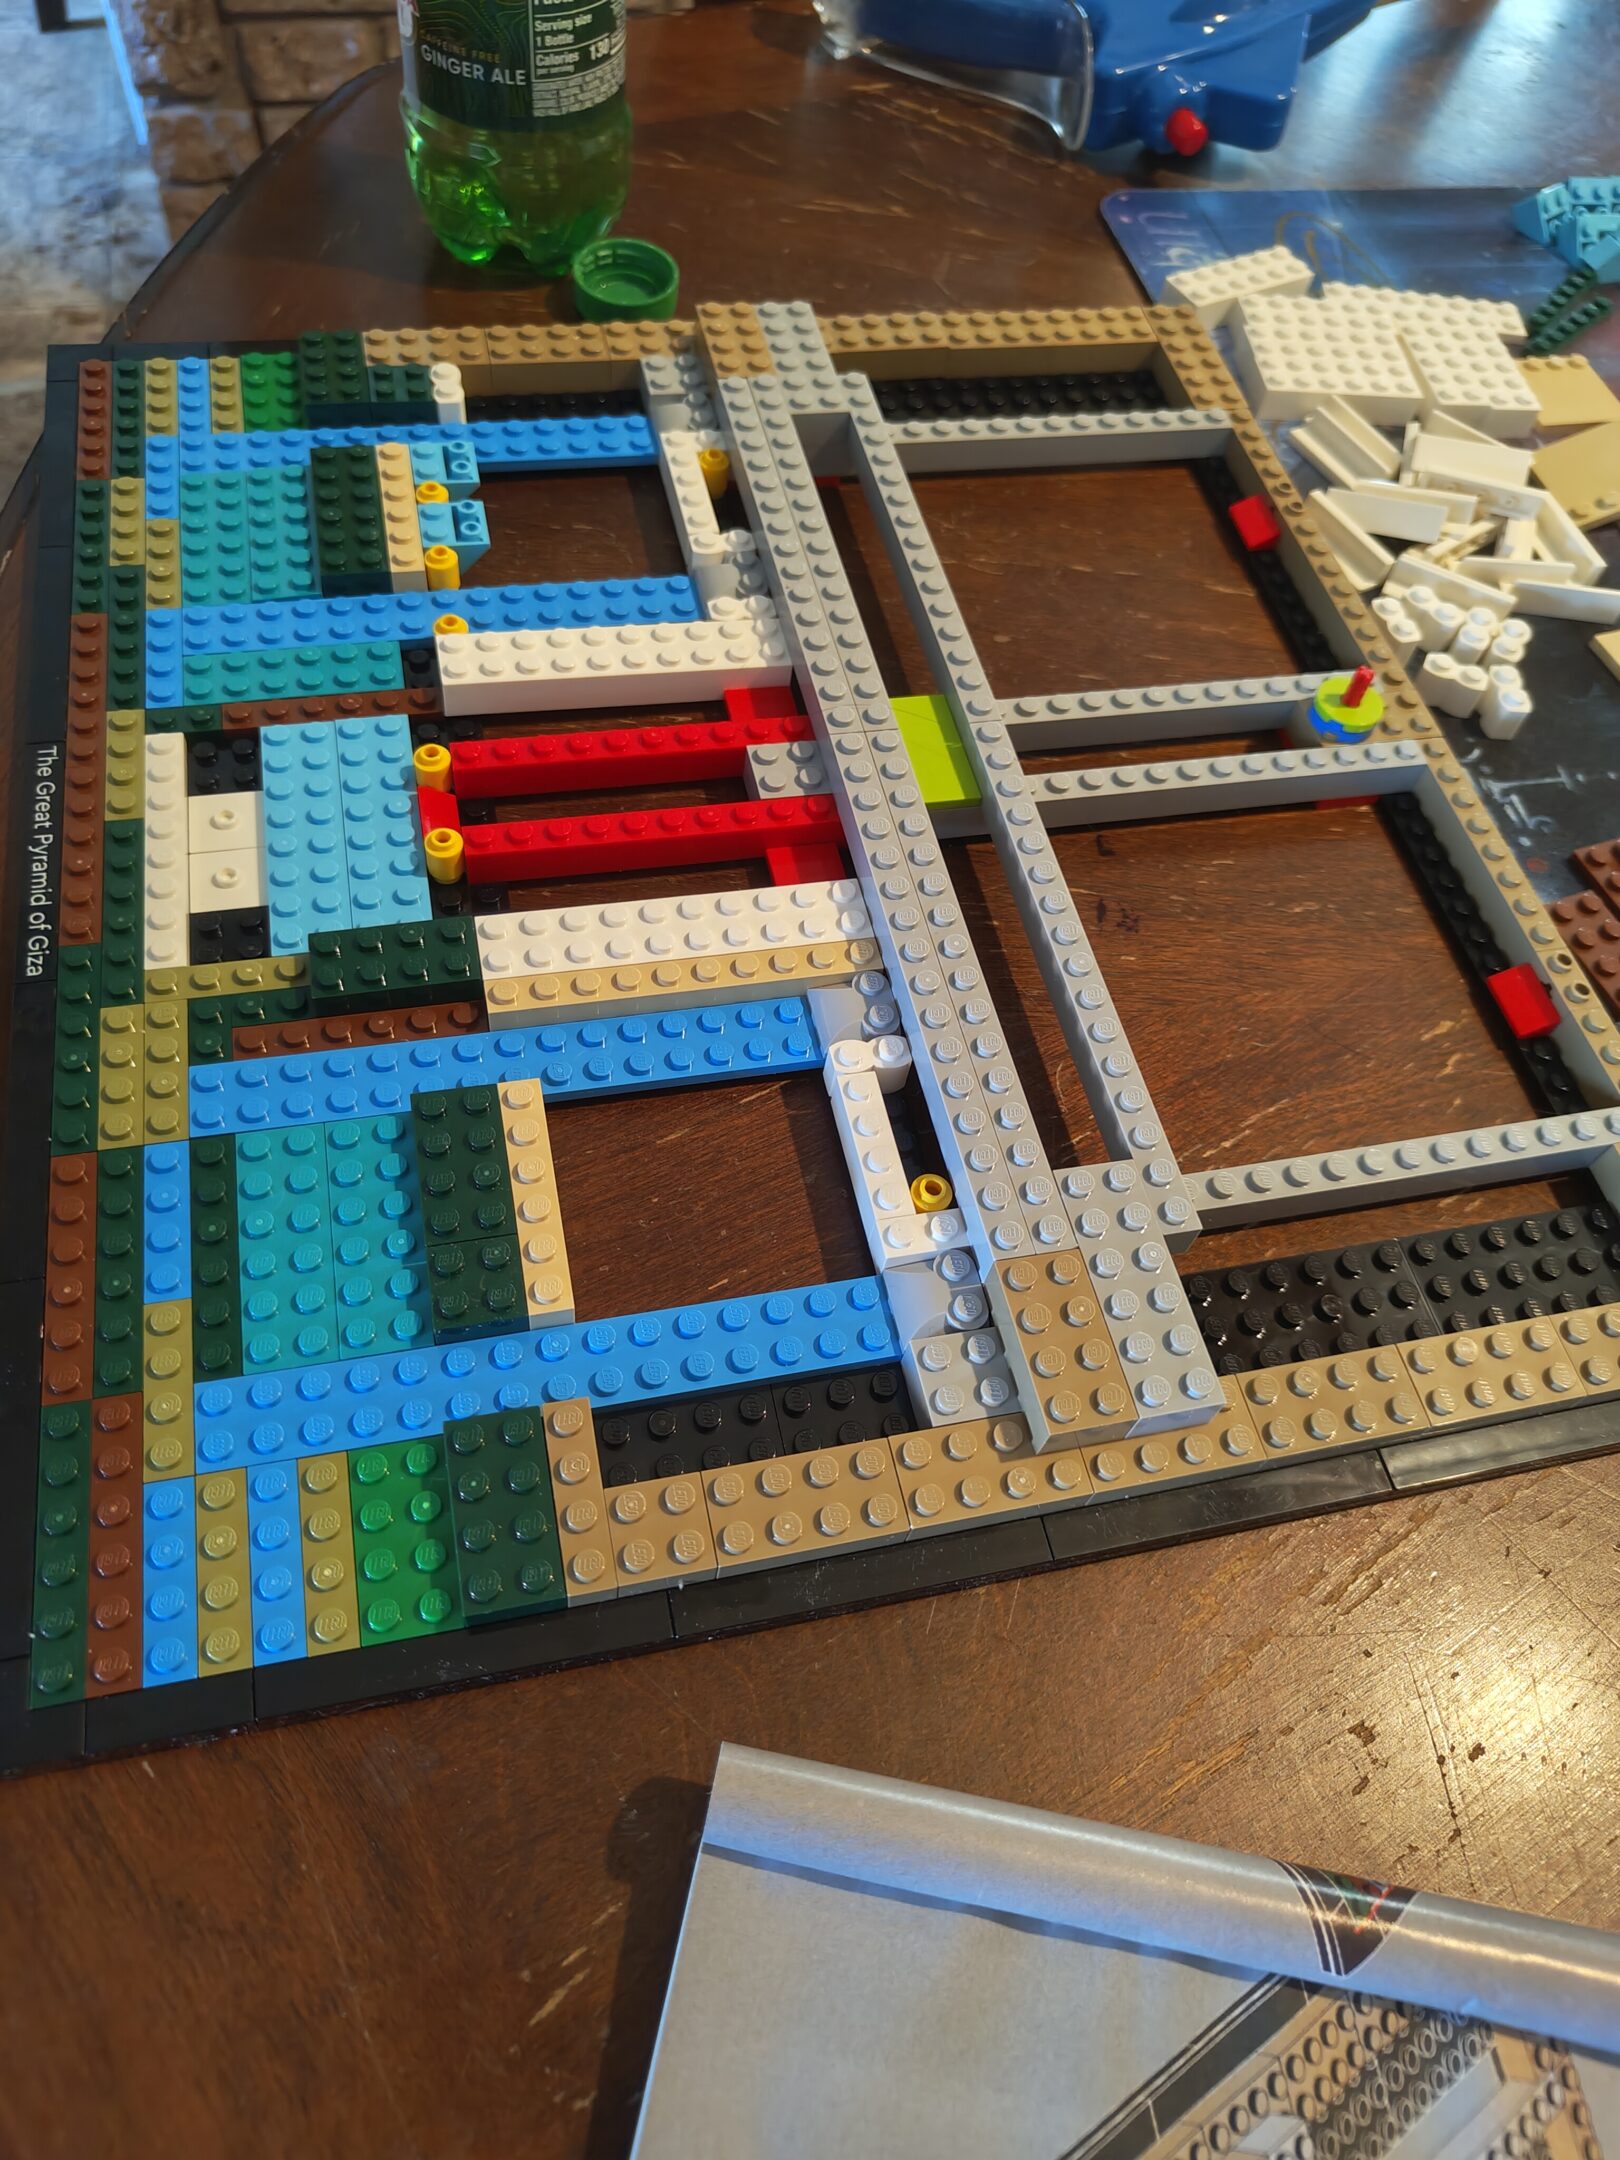
Front of the boxBack of the boxFirst parts of the framePutting in a seabedBottom of the Great PyramidThese represent the rolling dunesFinished up for the day with a little ramp/chute thing
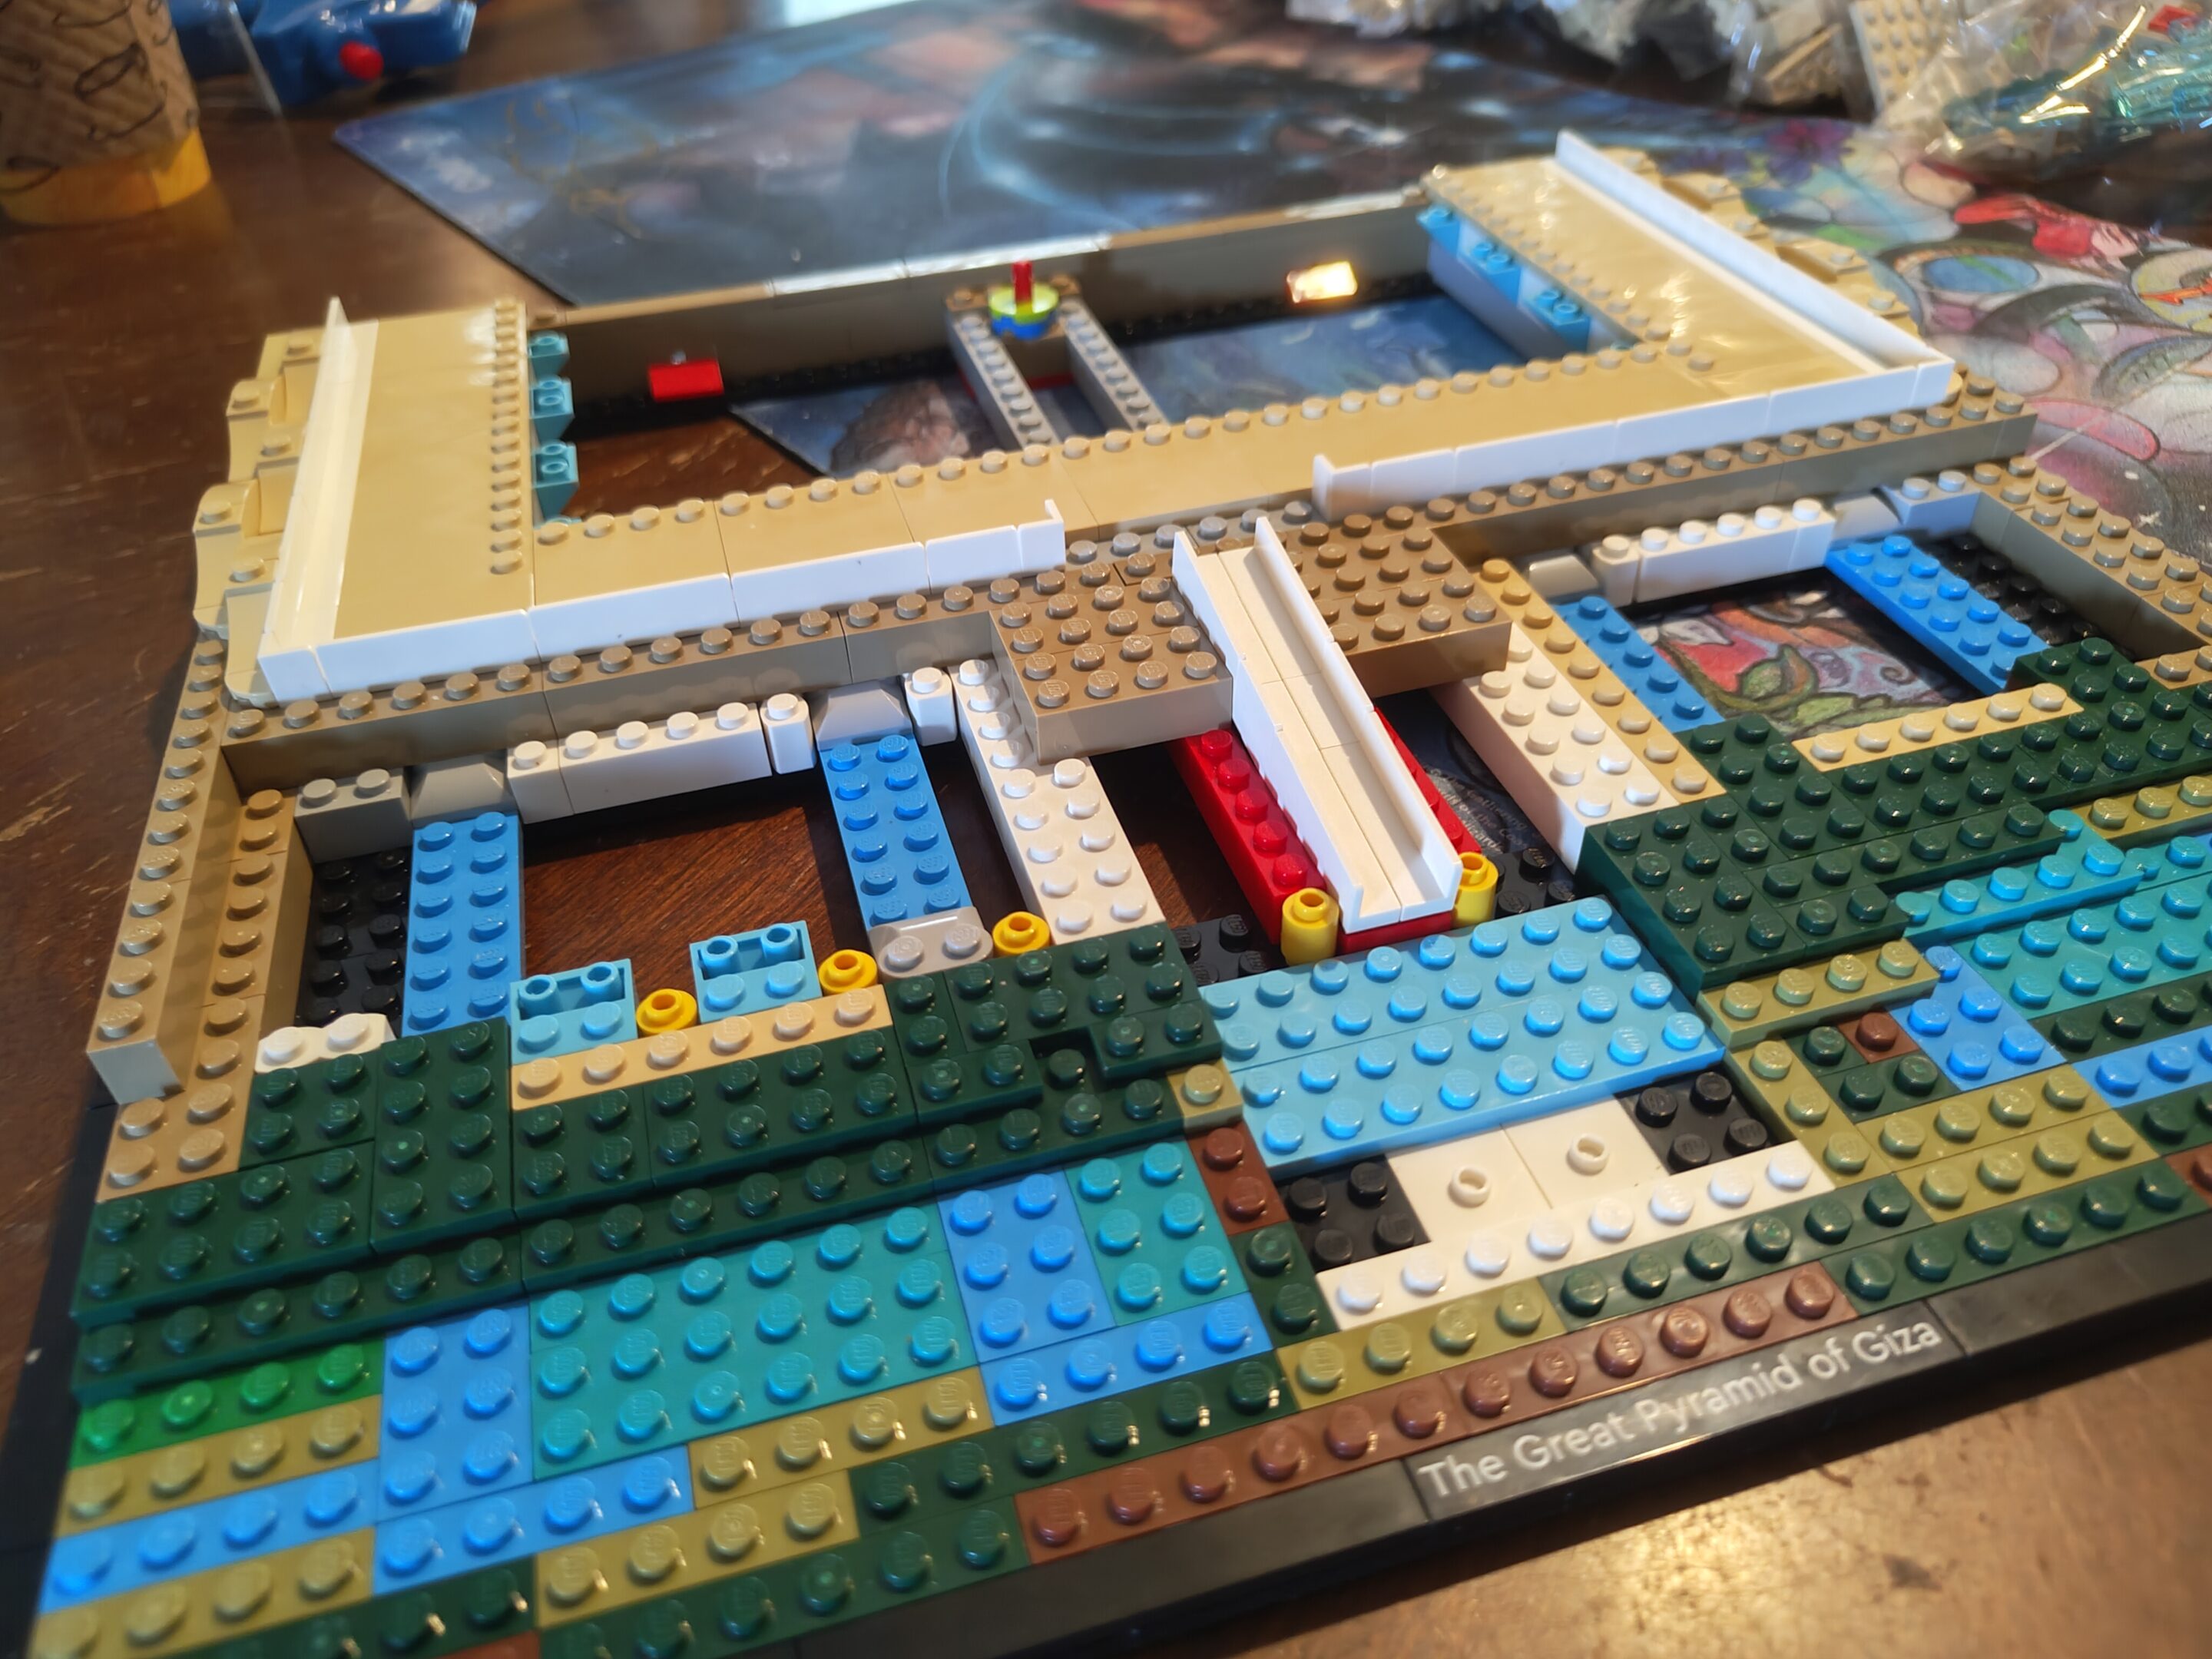
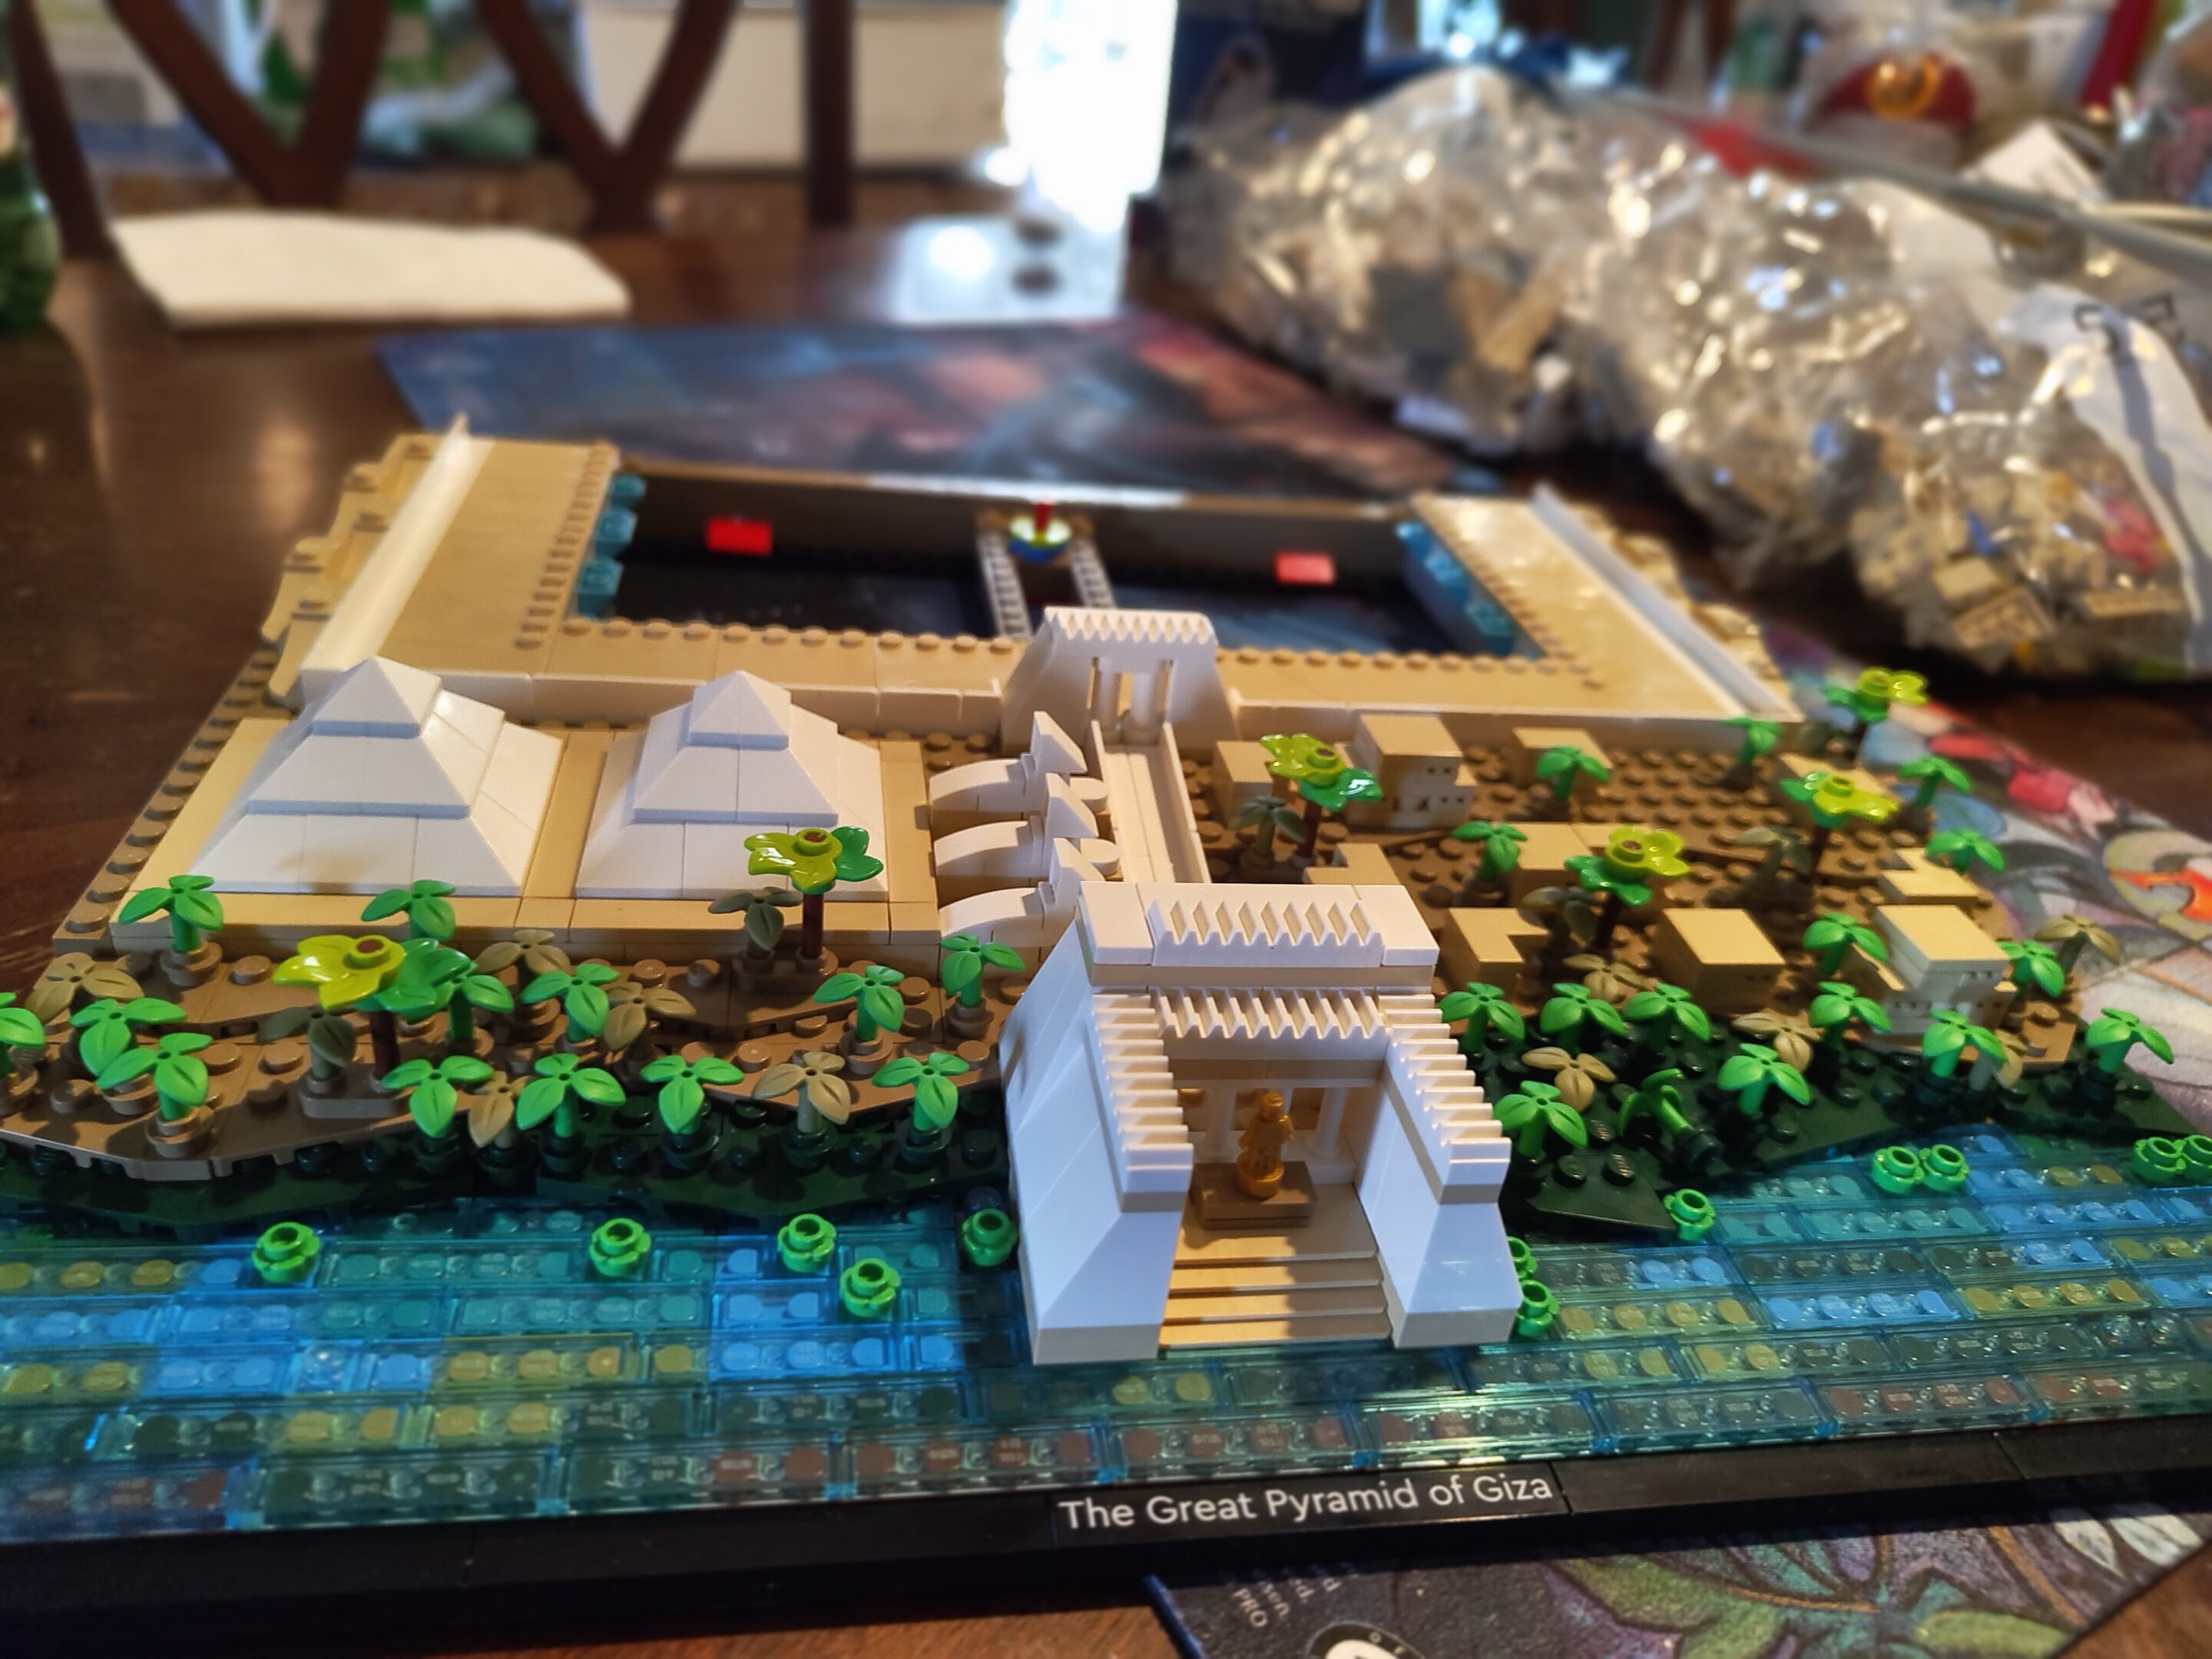
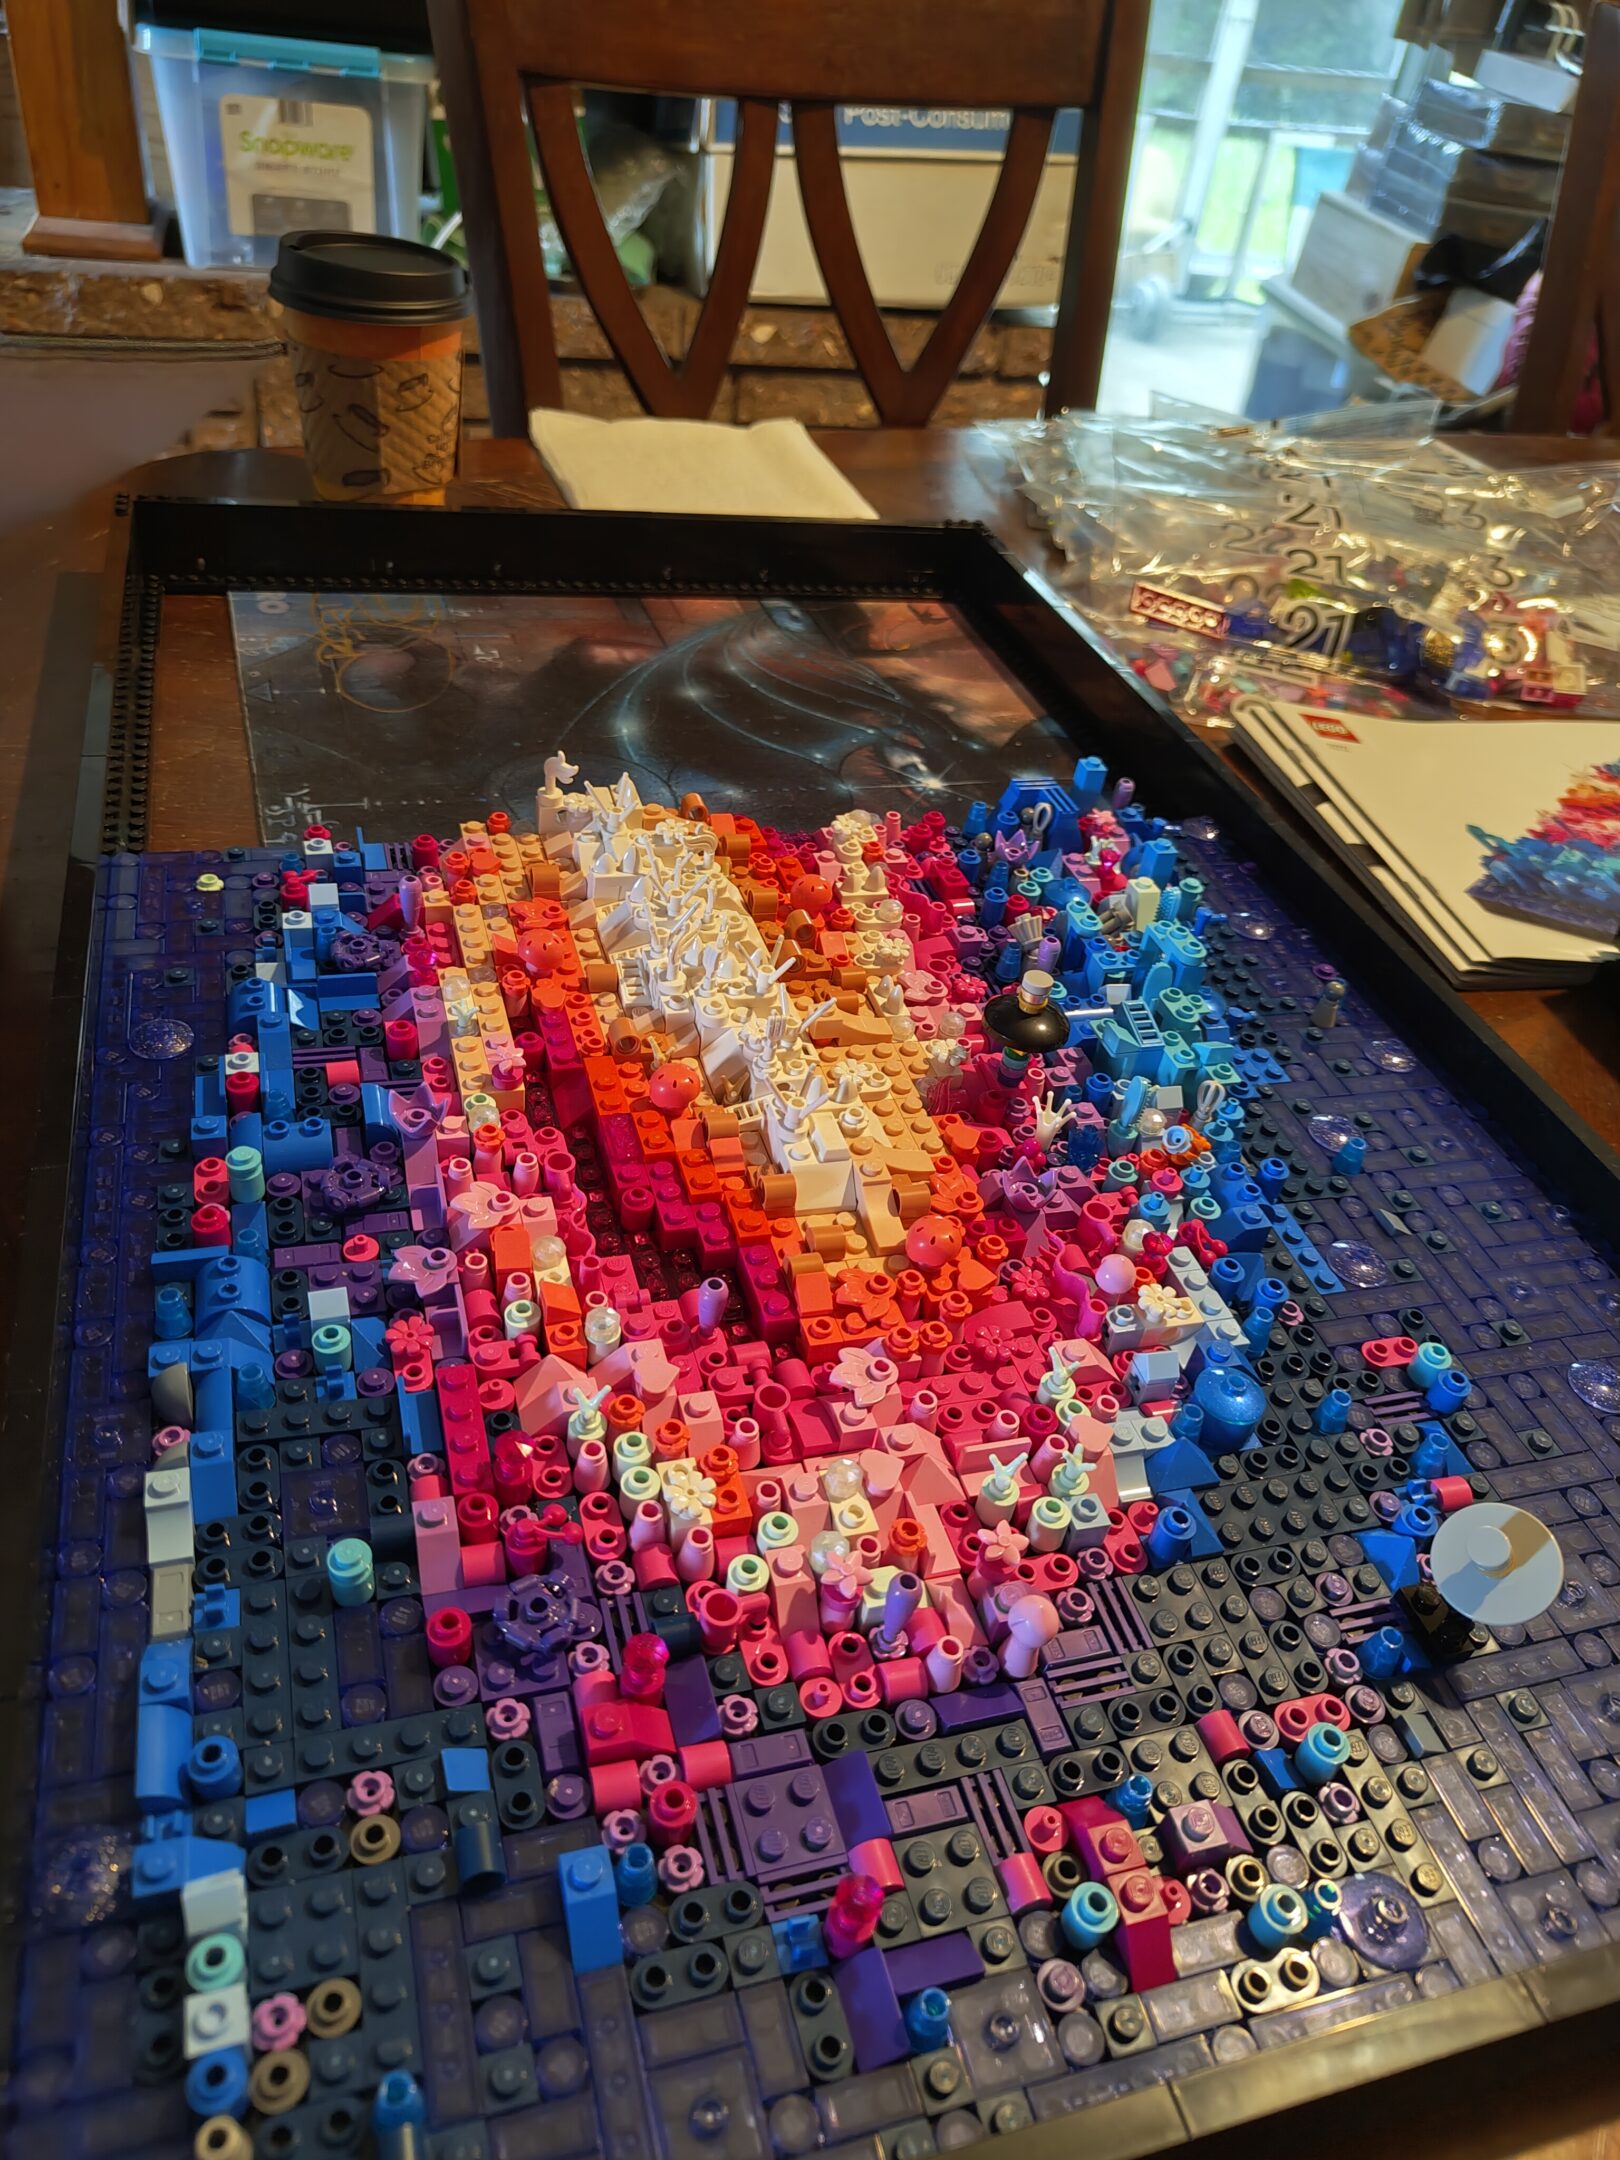
got around to more work today (saturday, august 30th) not a whole lot but progress is progress
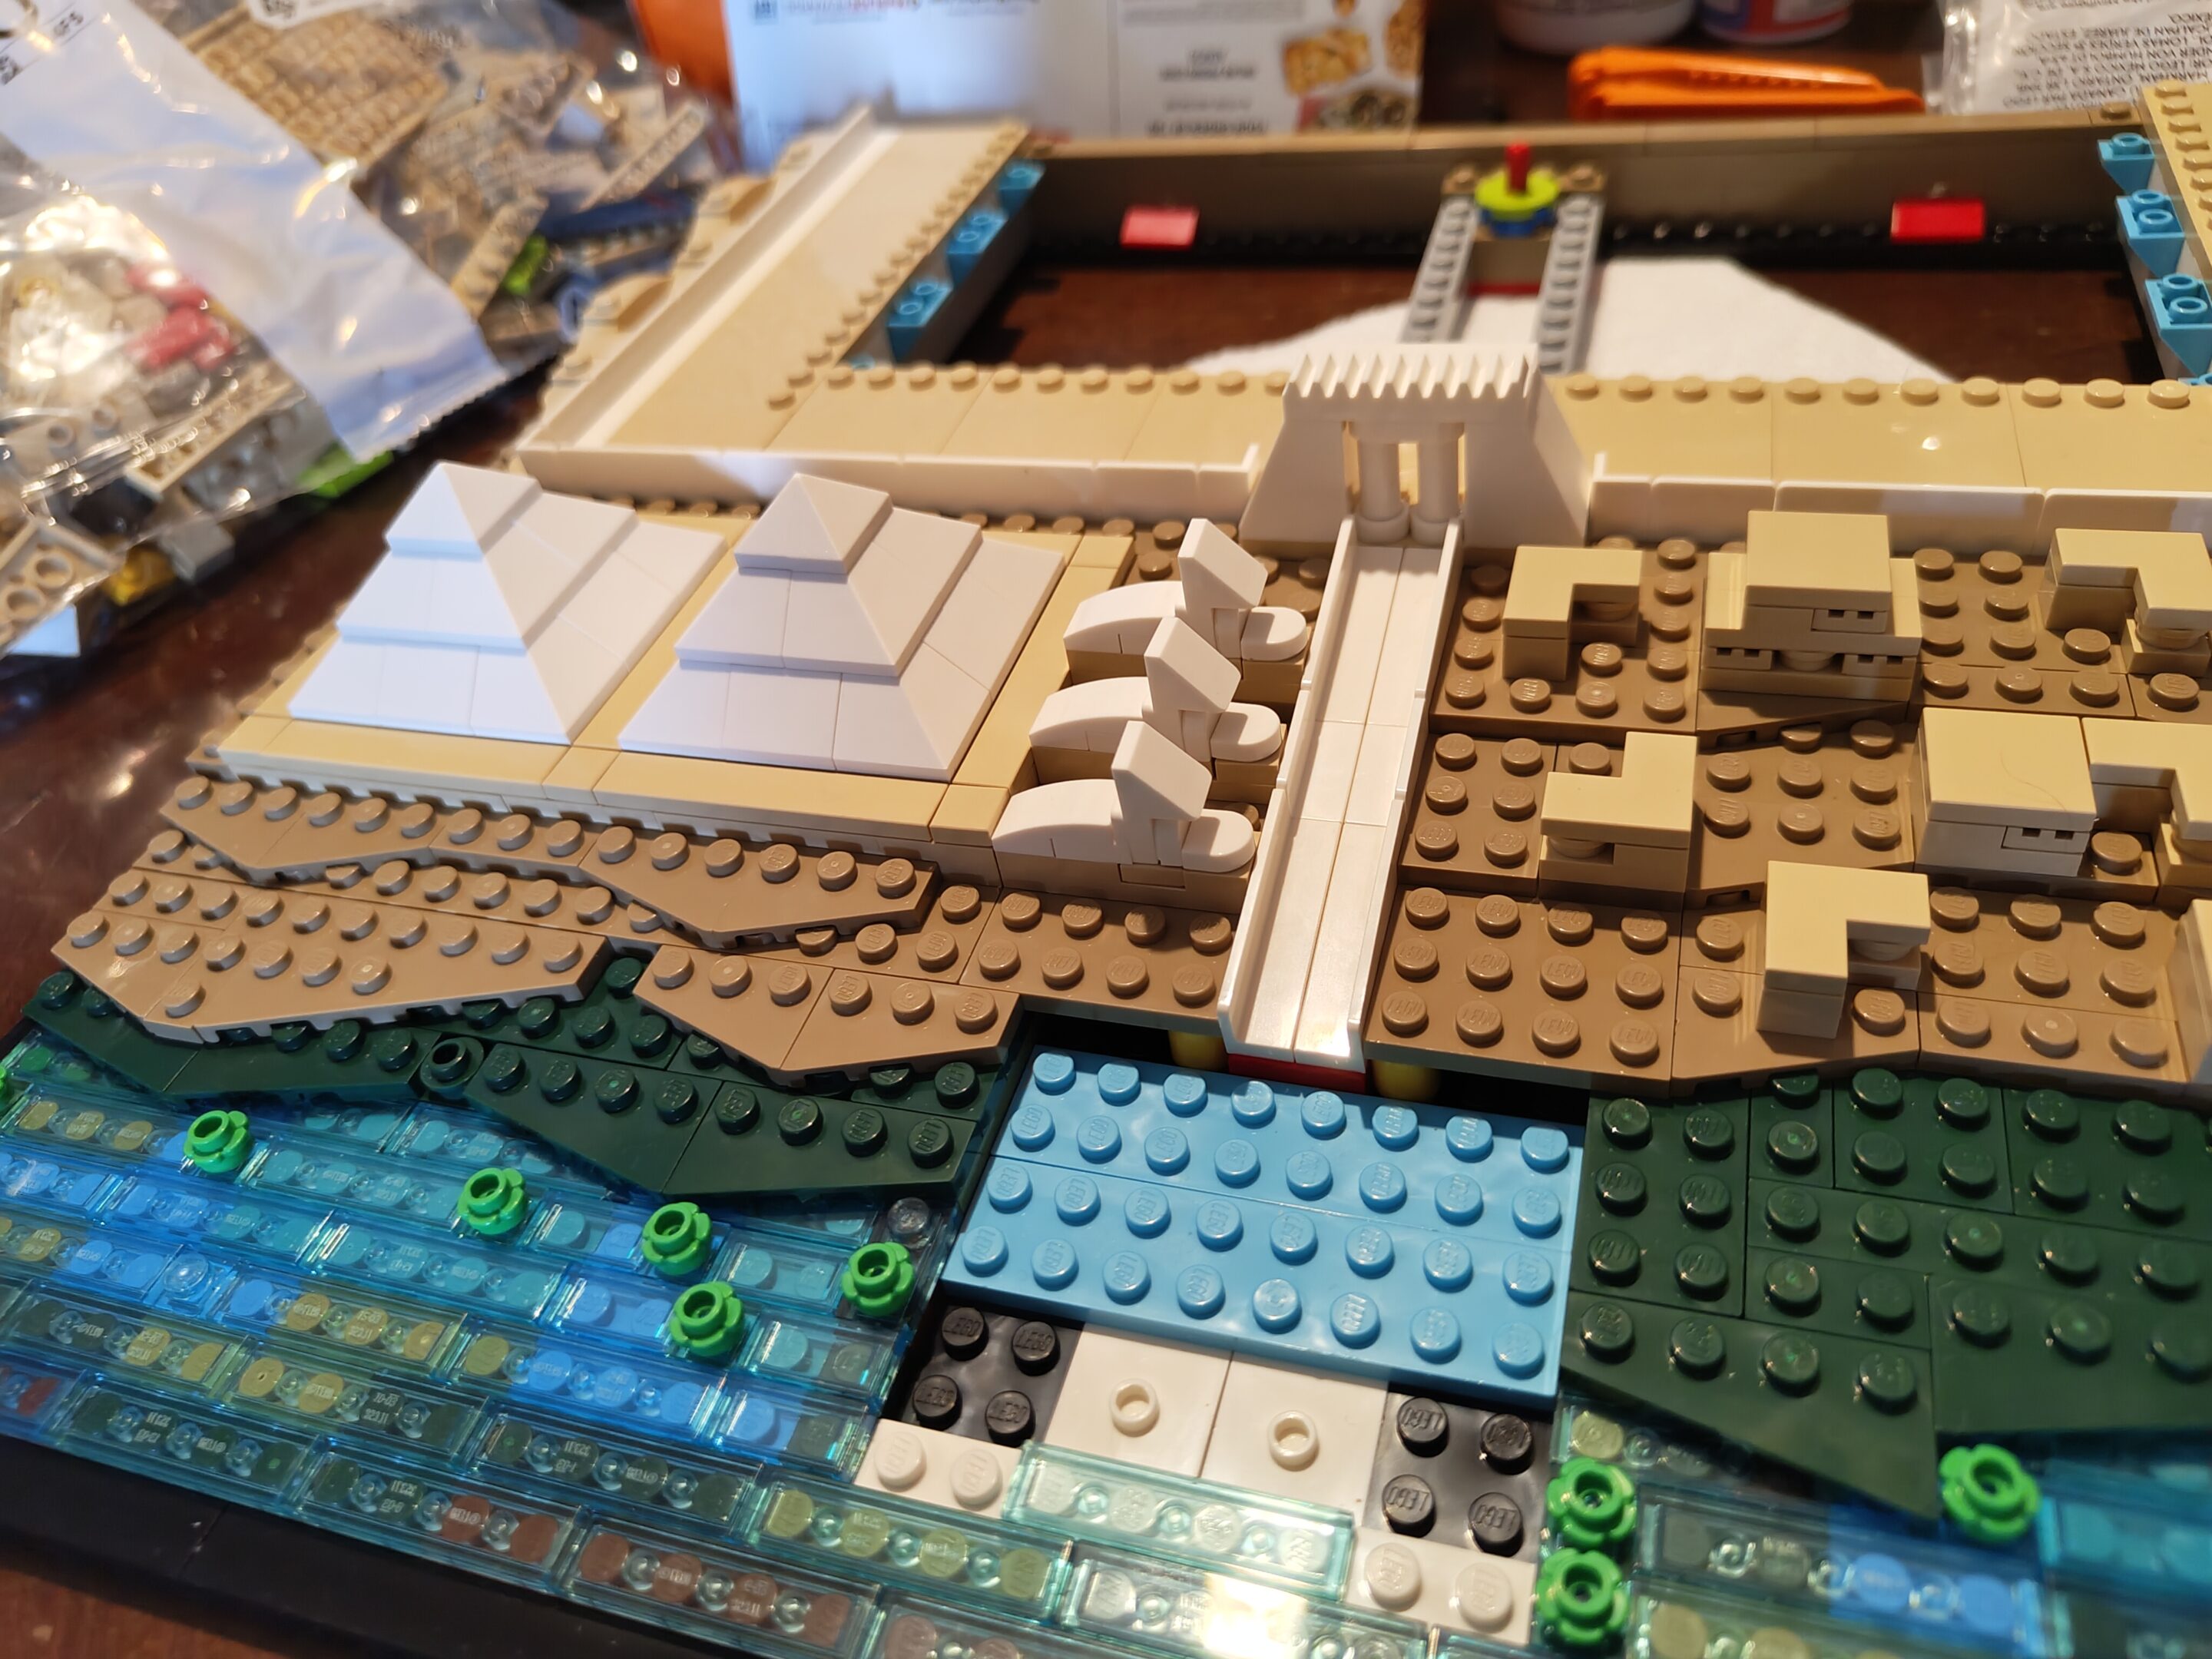
“Mini” pyramidsThese trees were awful to plantMiniature Minifig statueProgress for the day, next up we start work on the Great Pyramid
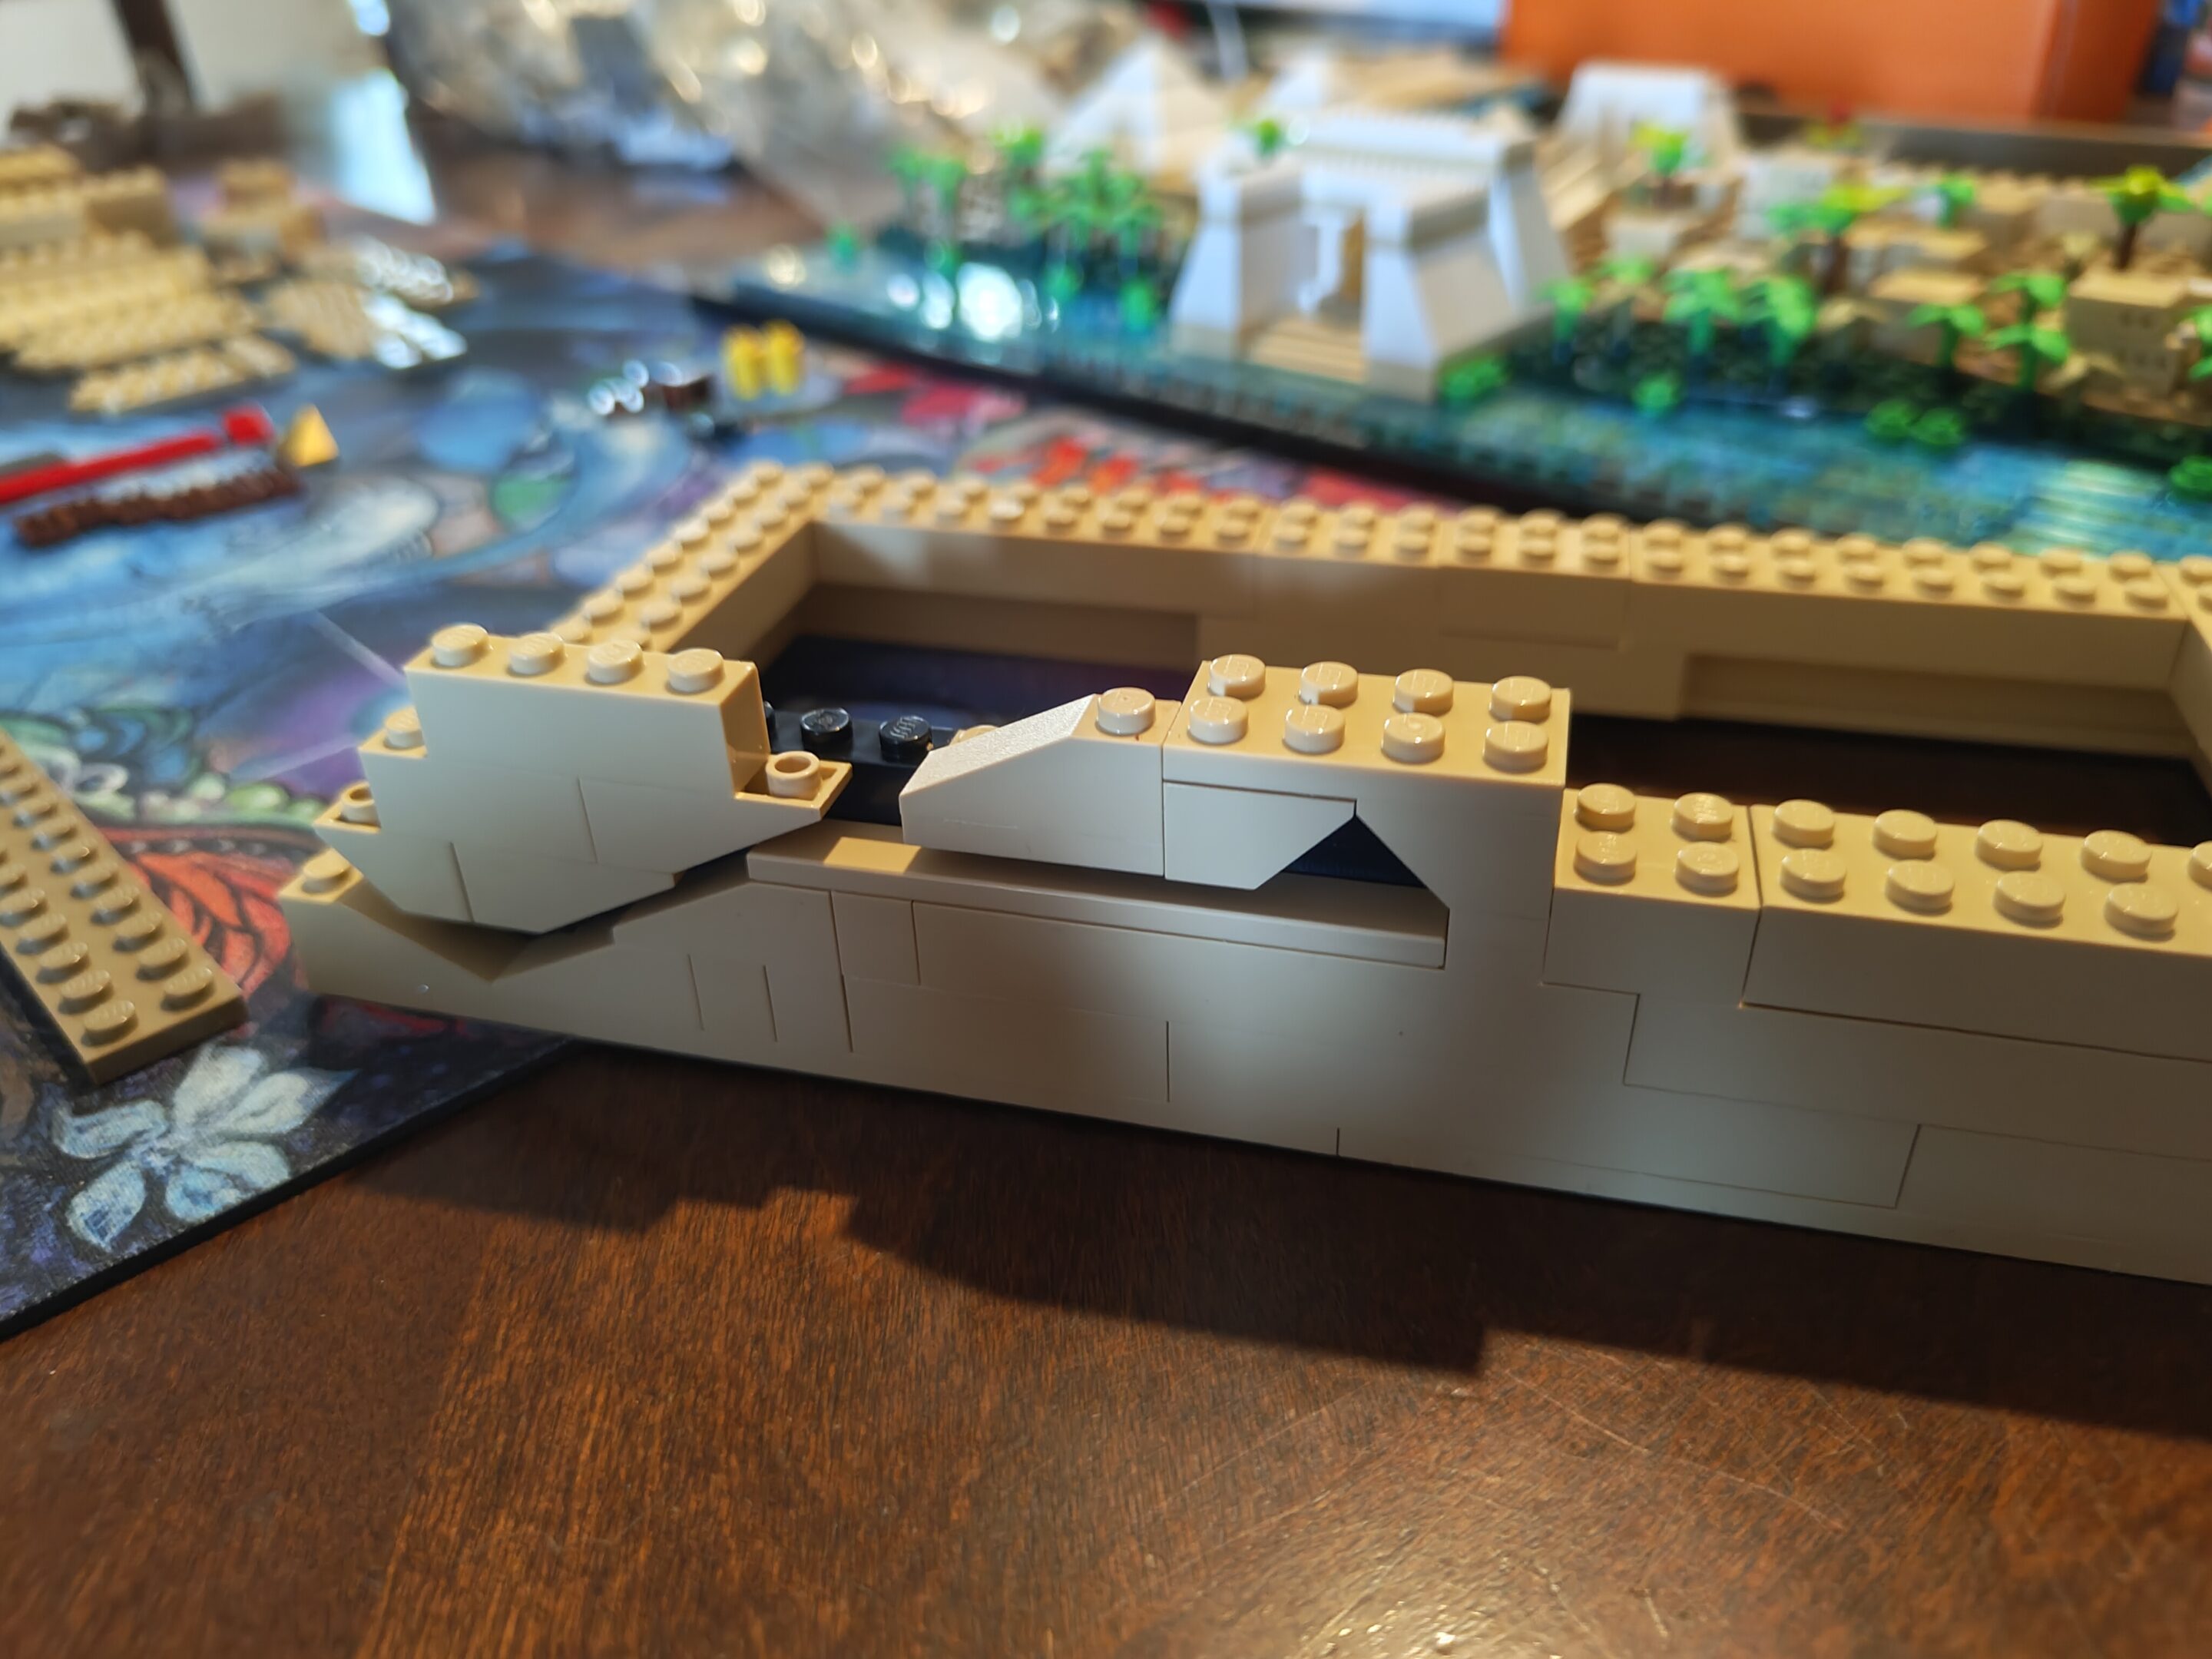
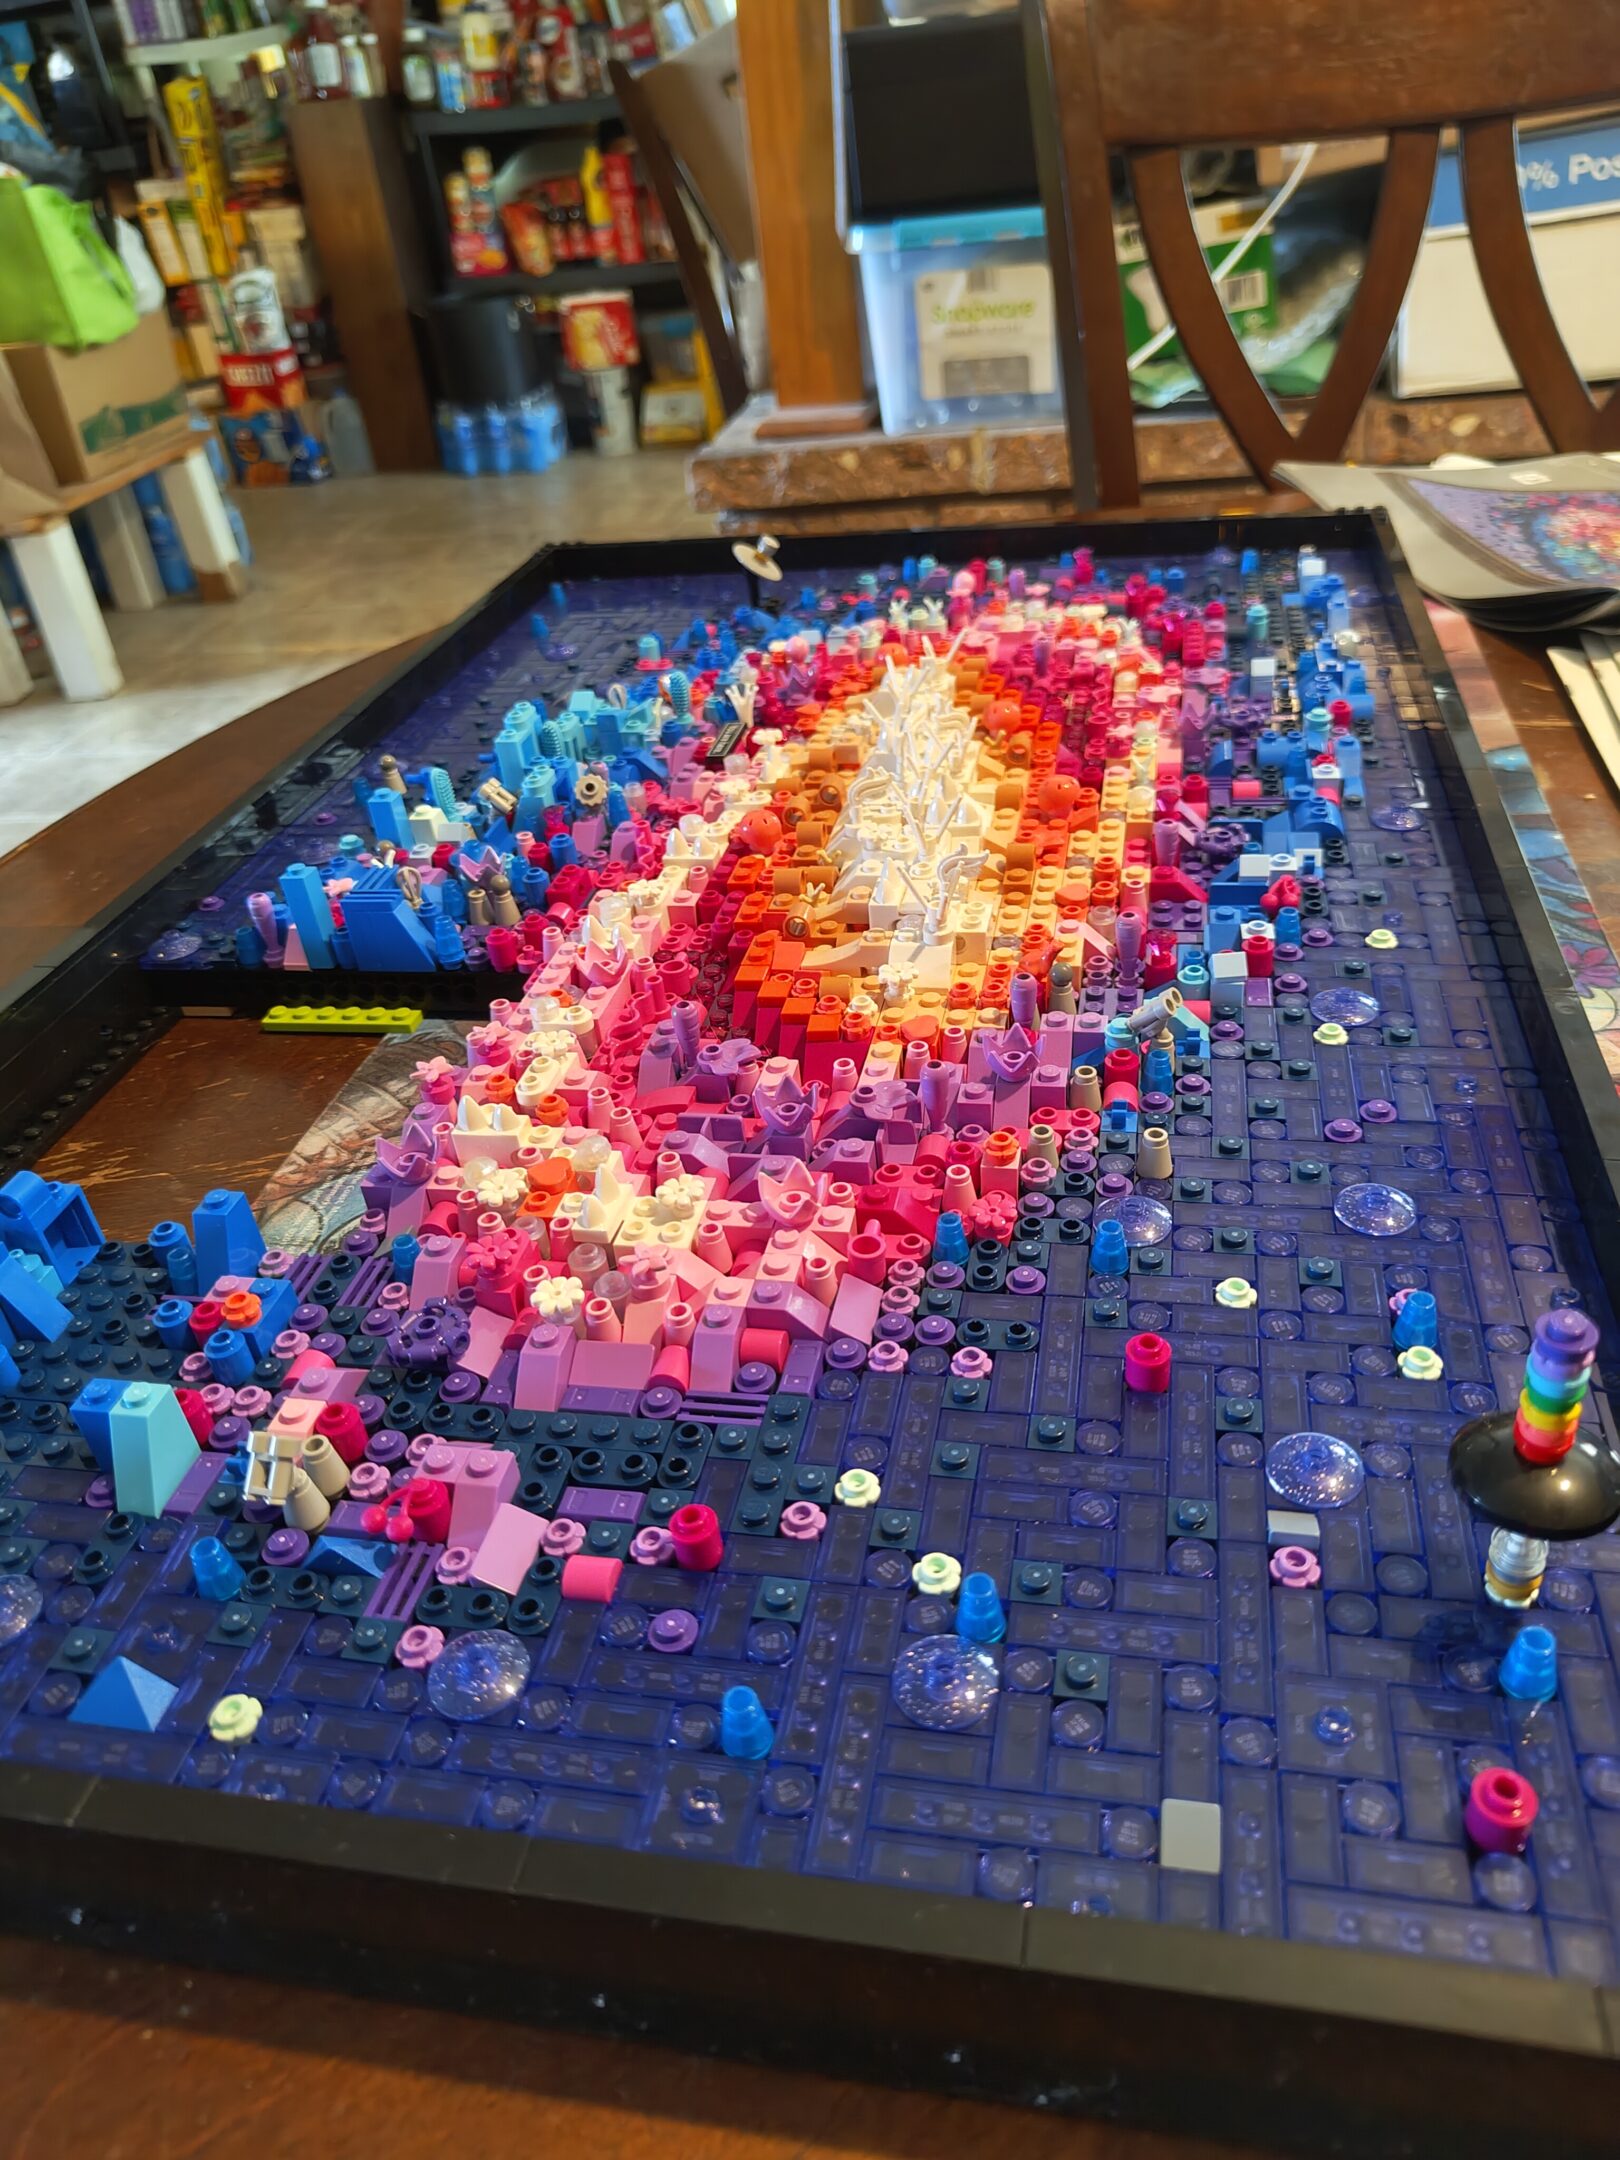
and a lil’ more on sunday. two days in a row who are we people?
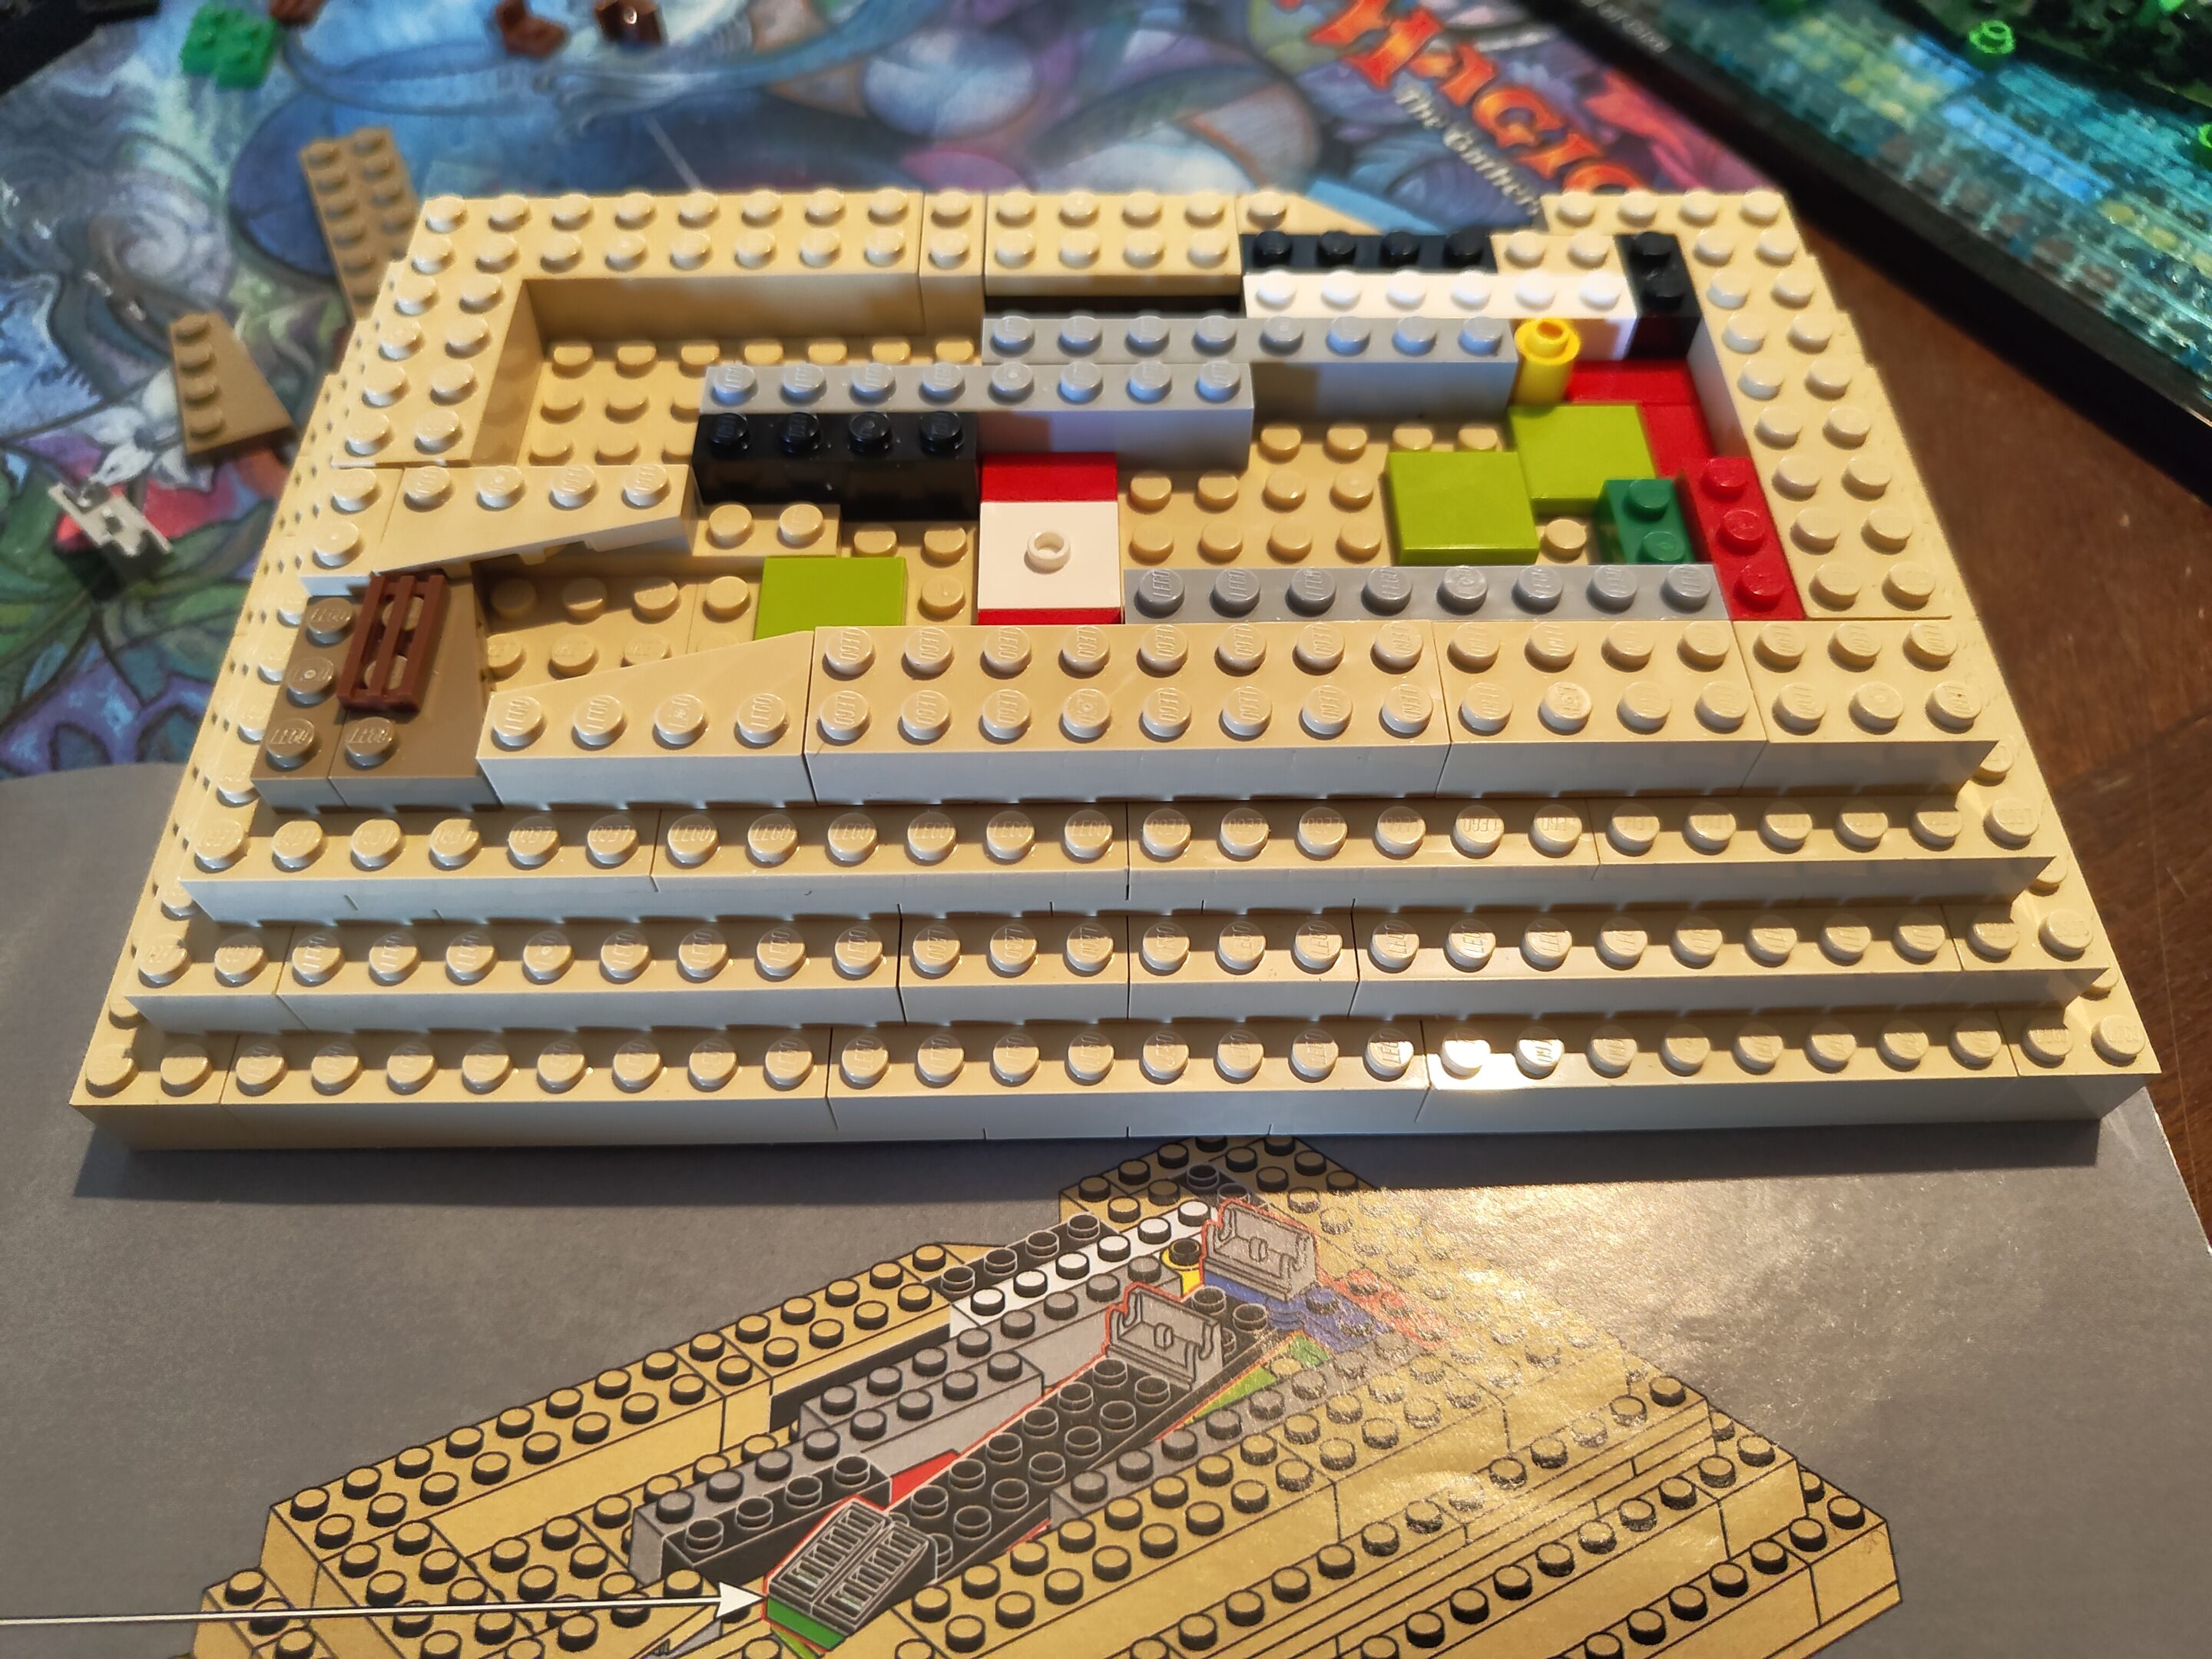
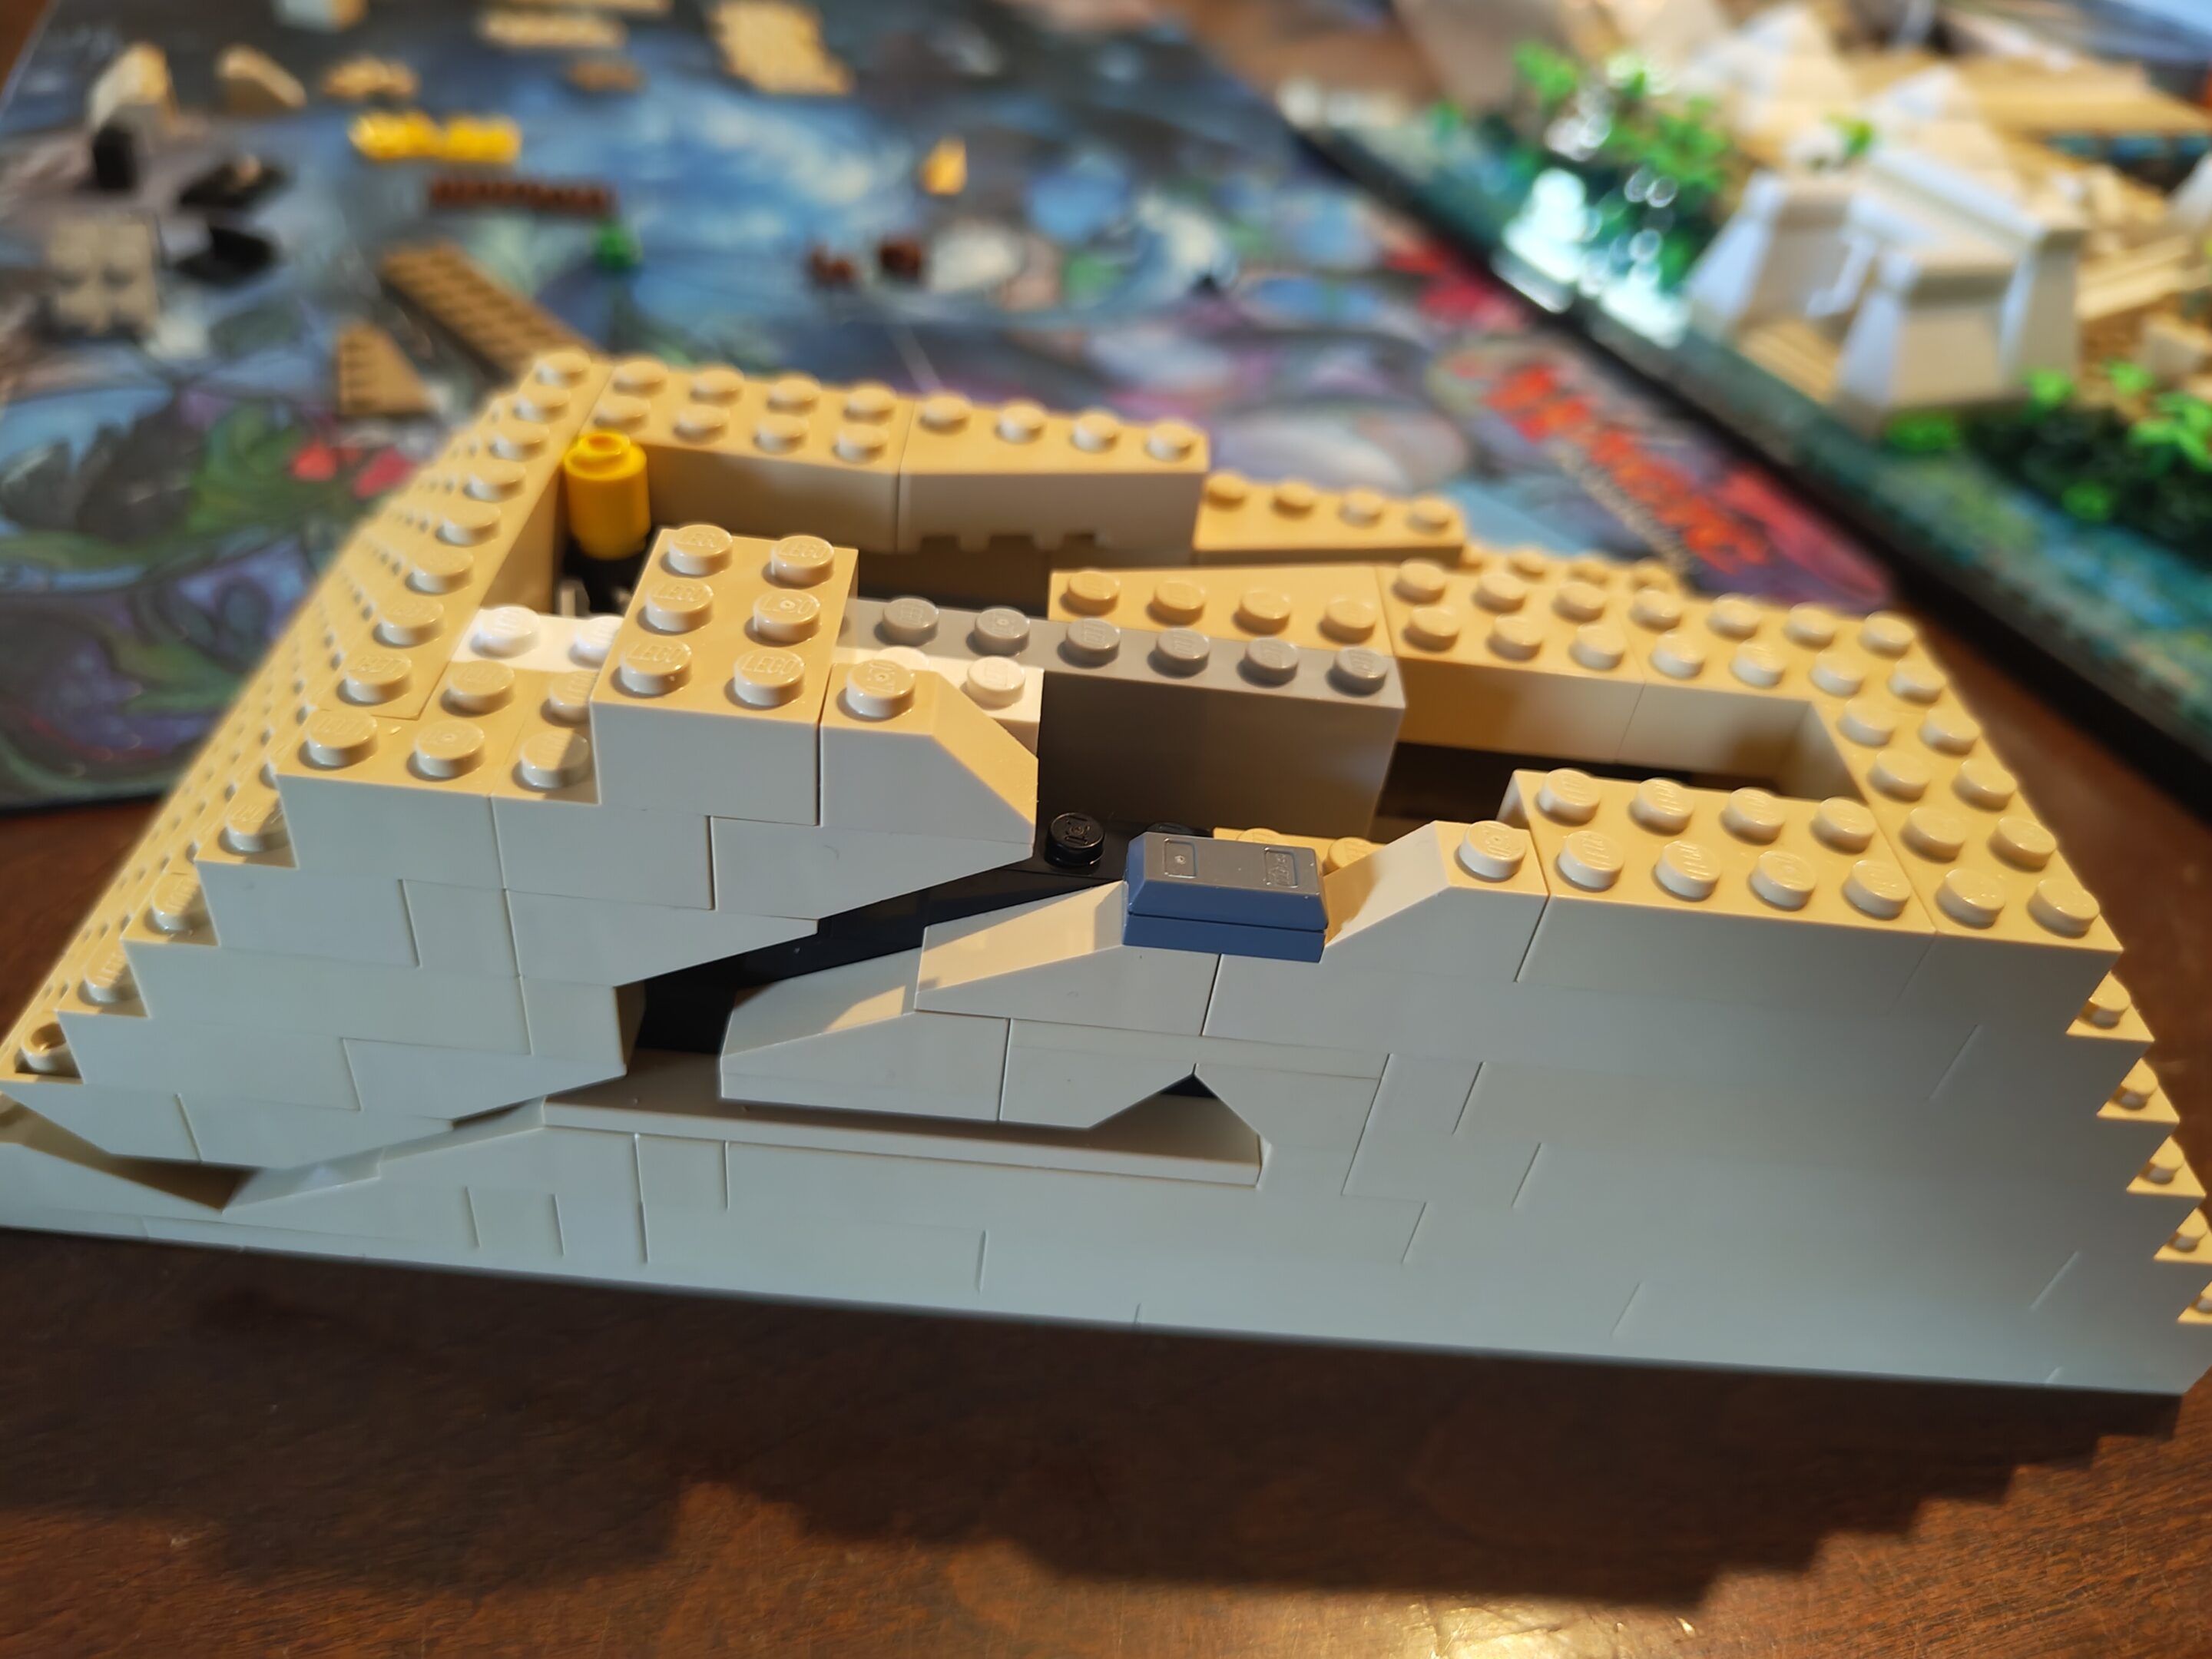
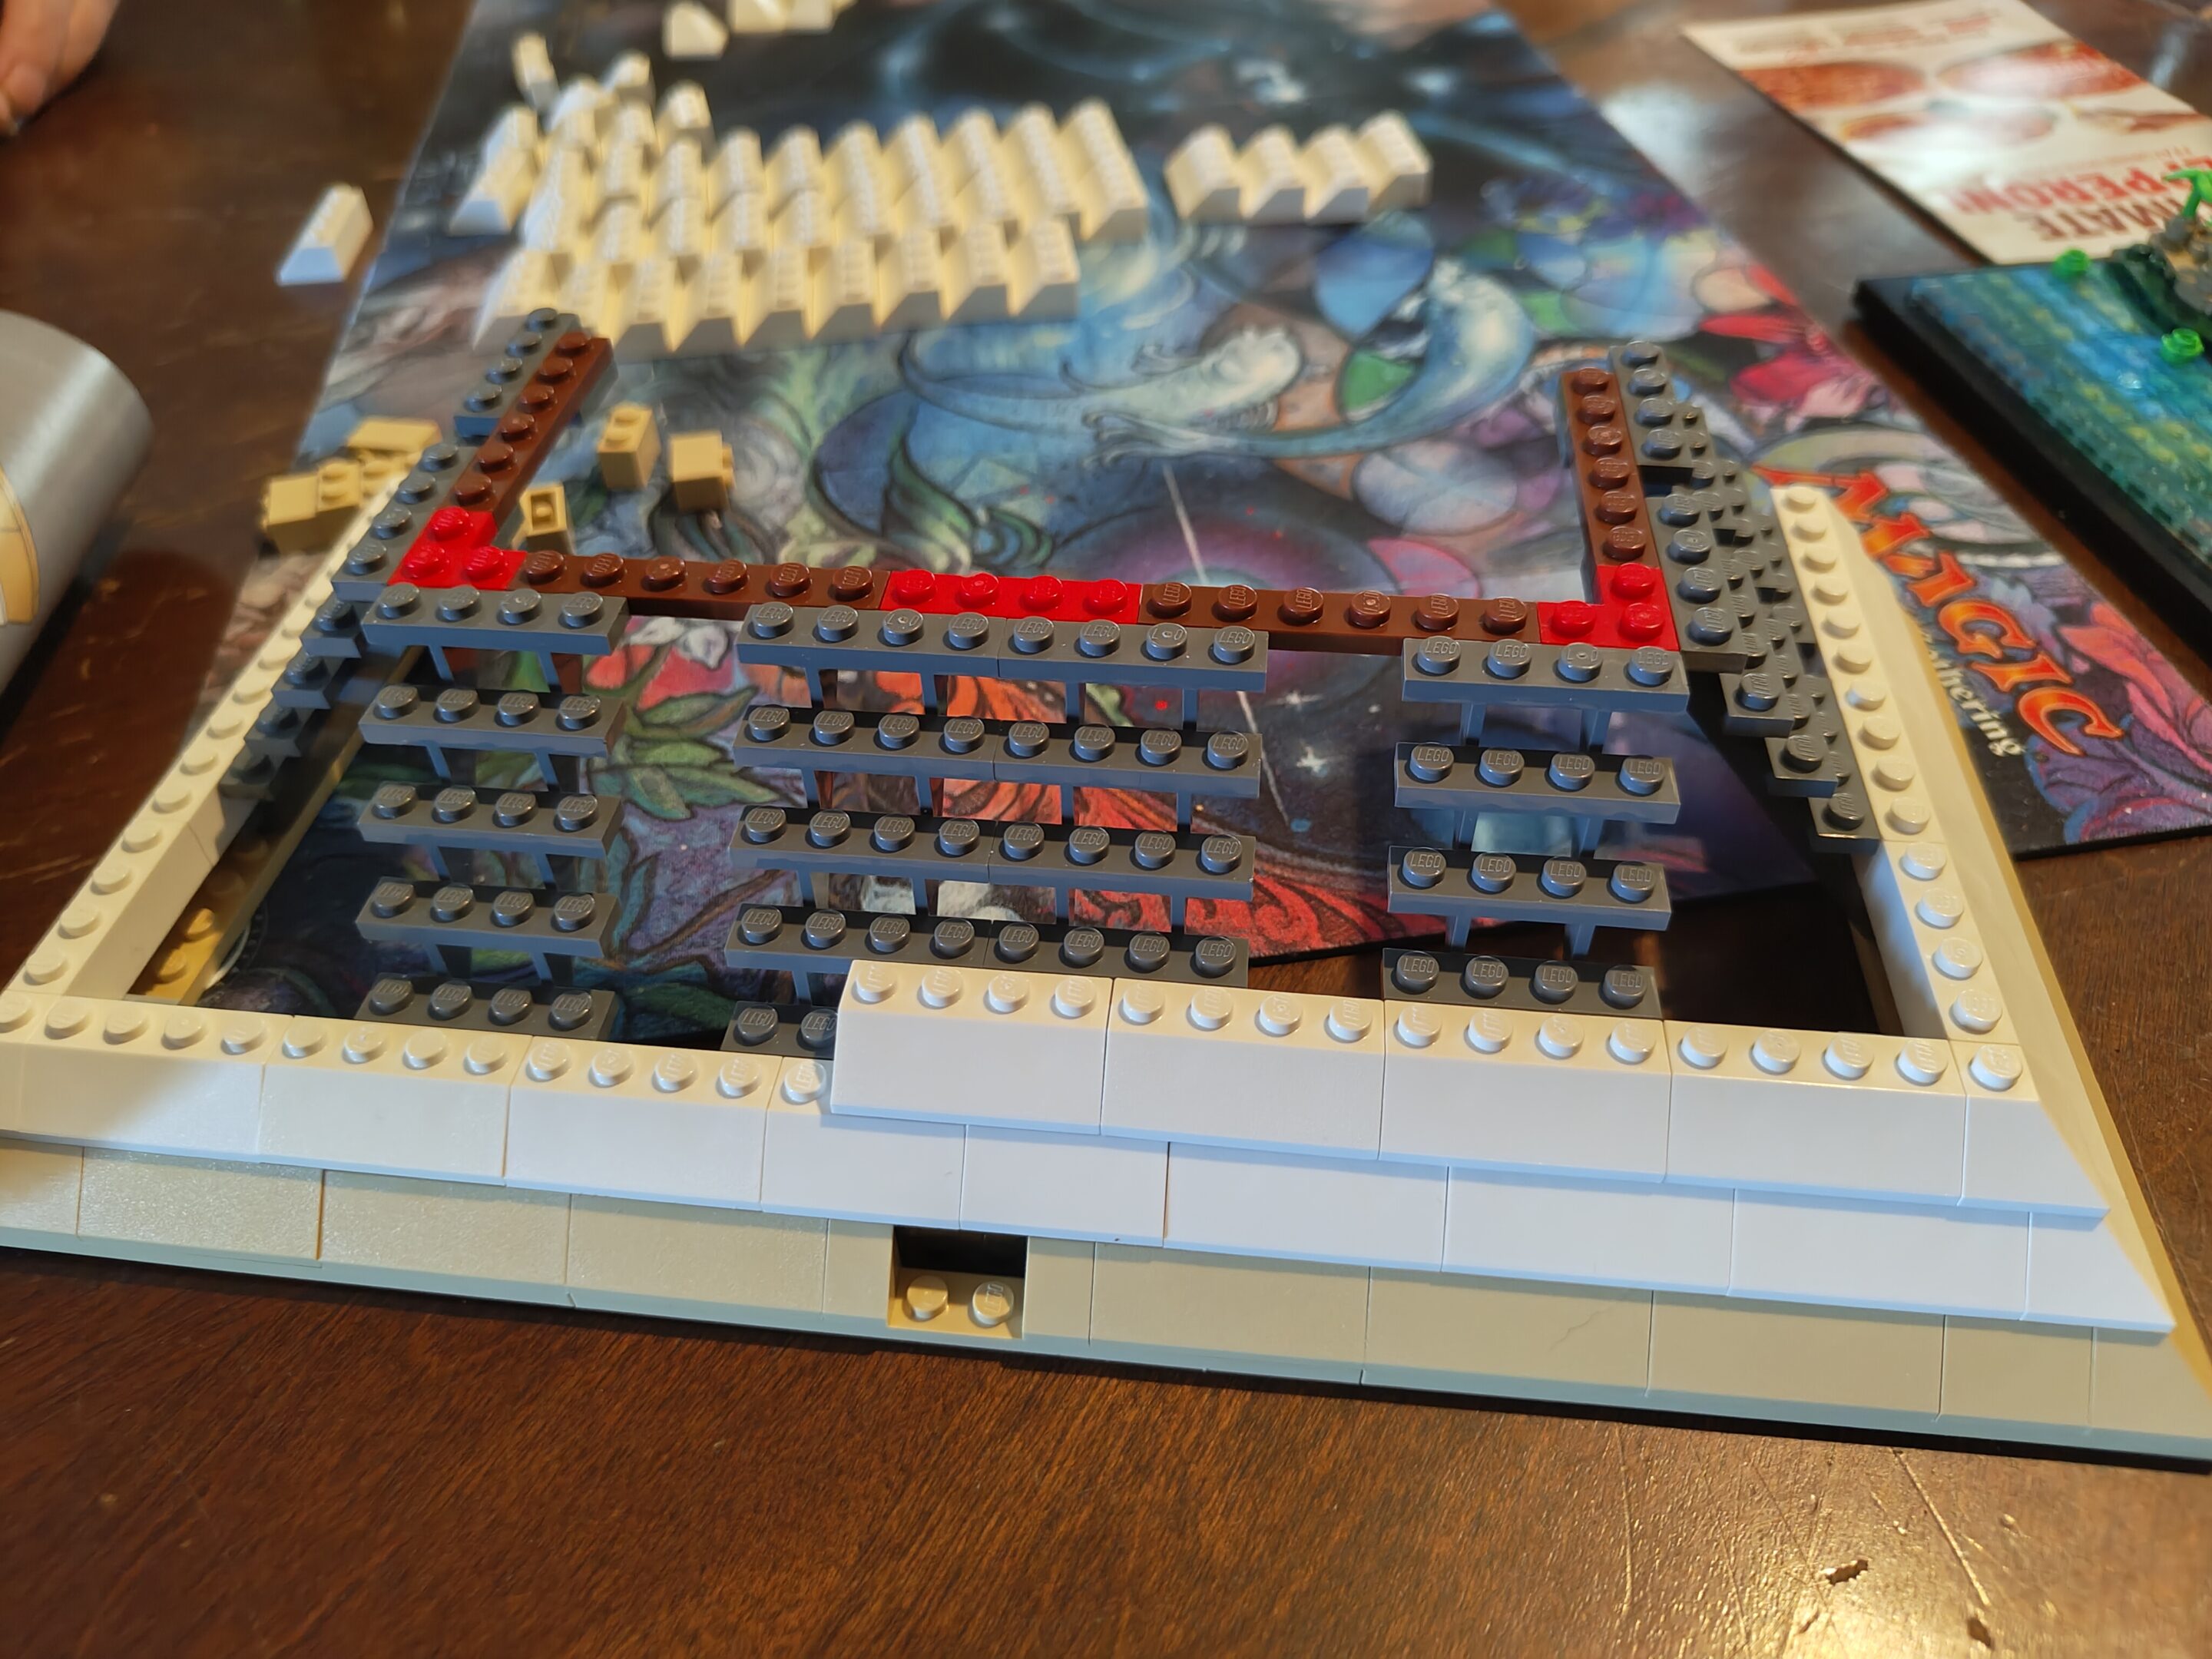
I was wondering what these floating blocks were gonna be…Framing for the “log ramp”I thought these were gonna be tomb detailsBut no, this is the cutaway cross-section of the tombDisappointed by the lack of 20000 Jew minifigs to move these blocksGetting there! Just “three” more bags (actually somewhere between five and nine but only three “steps”)
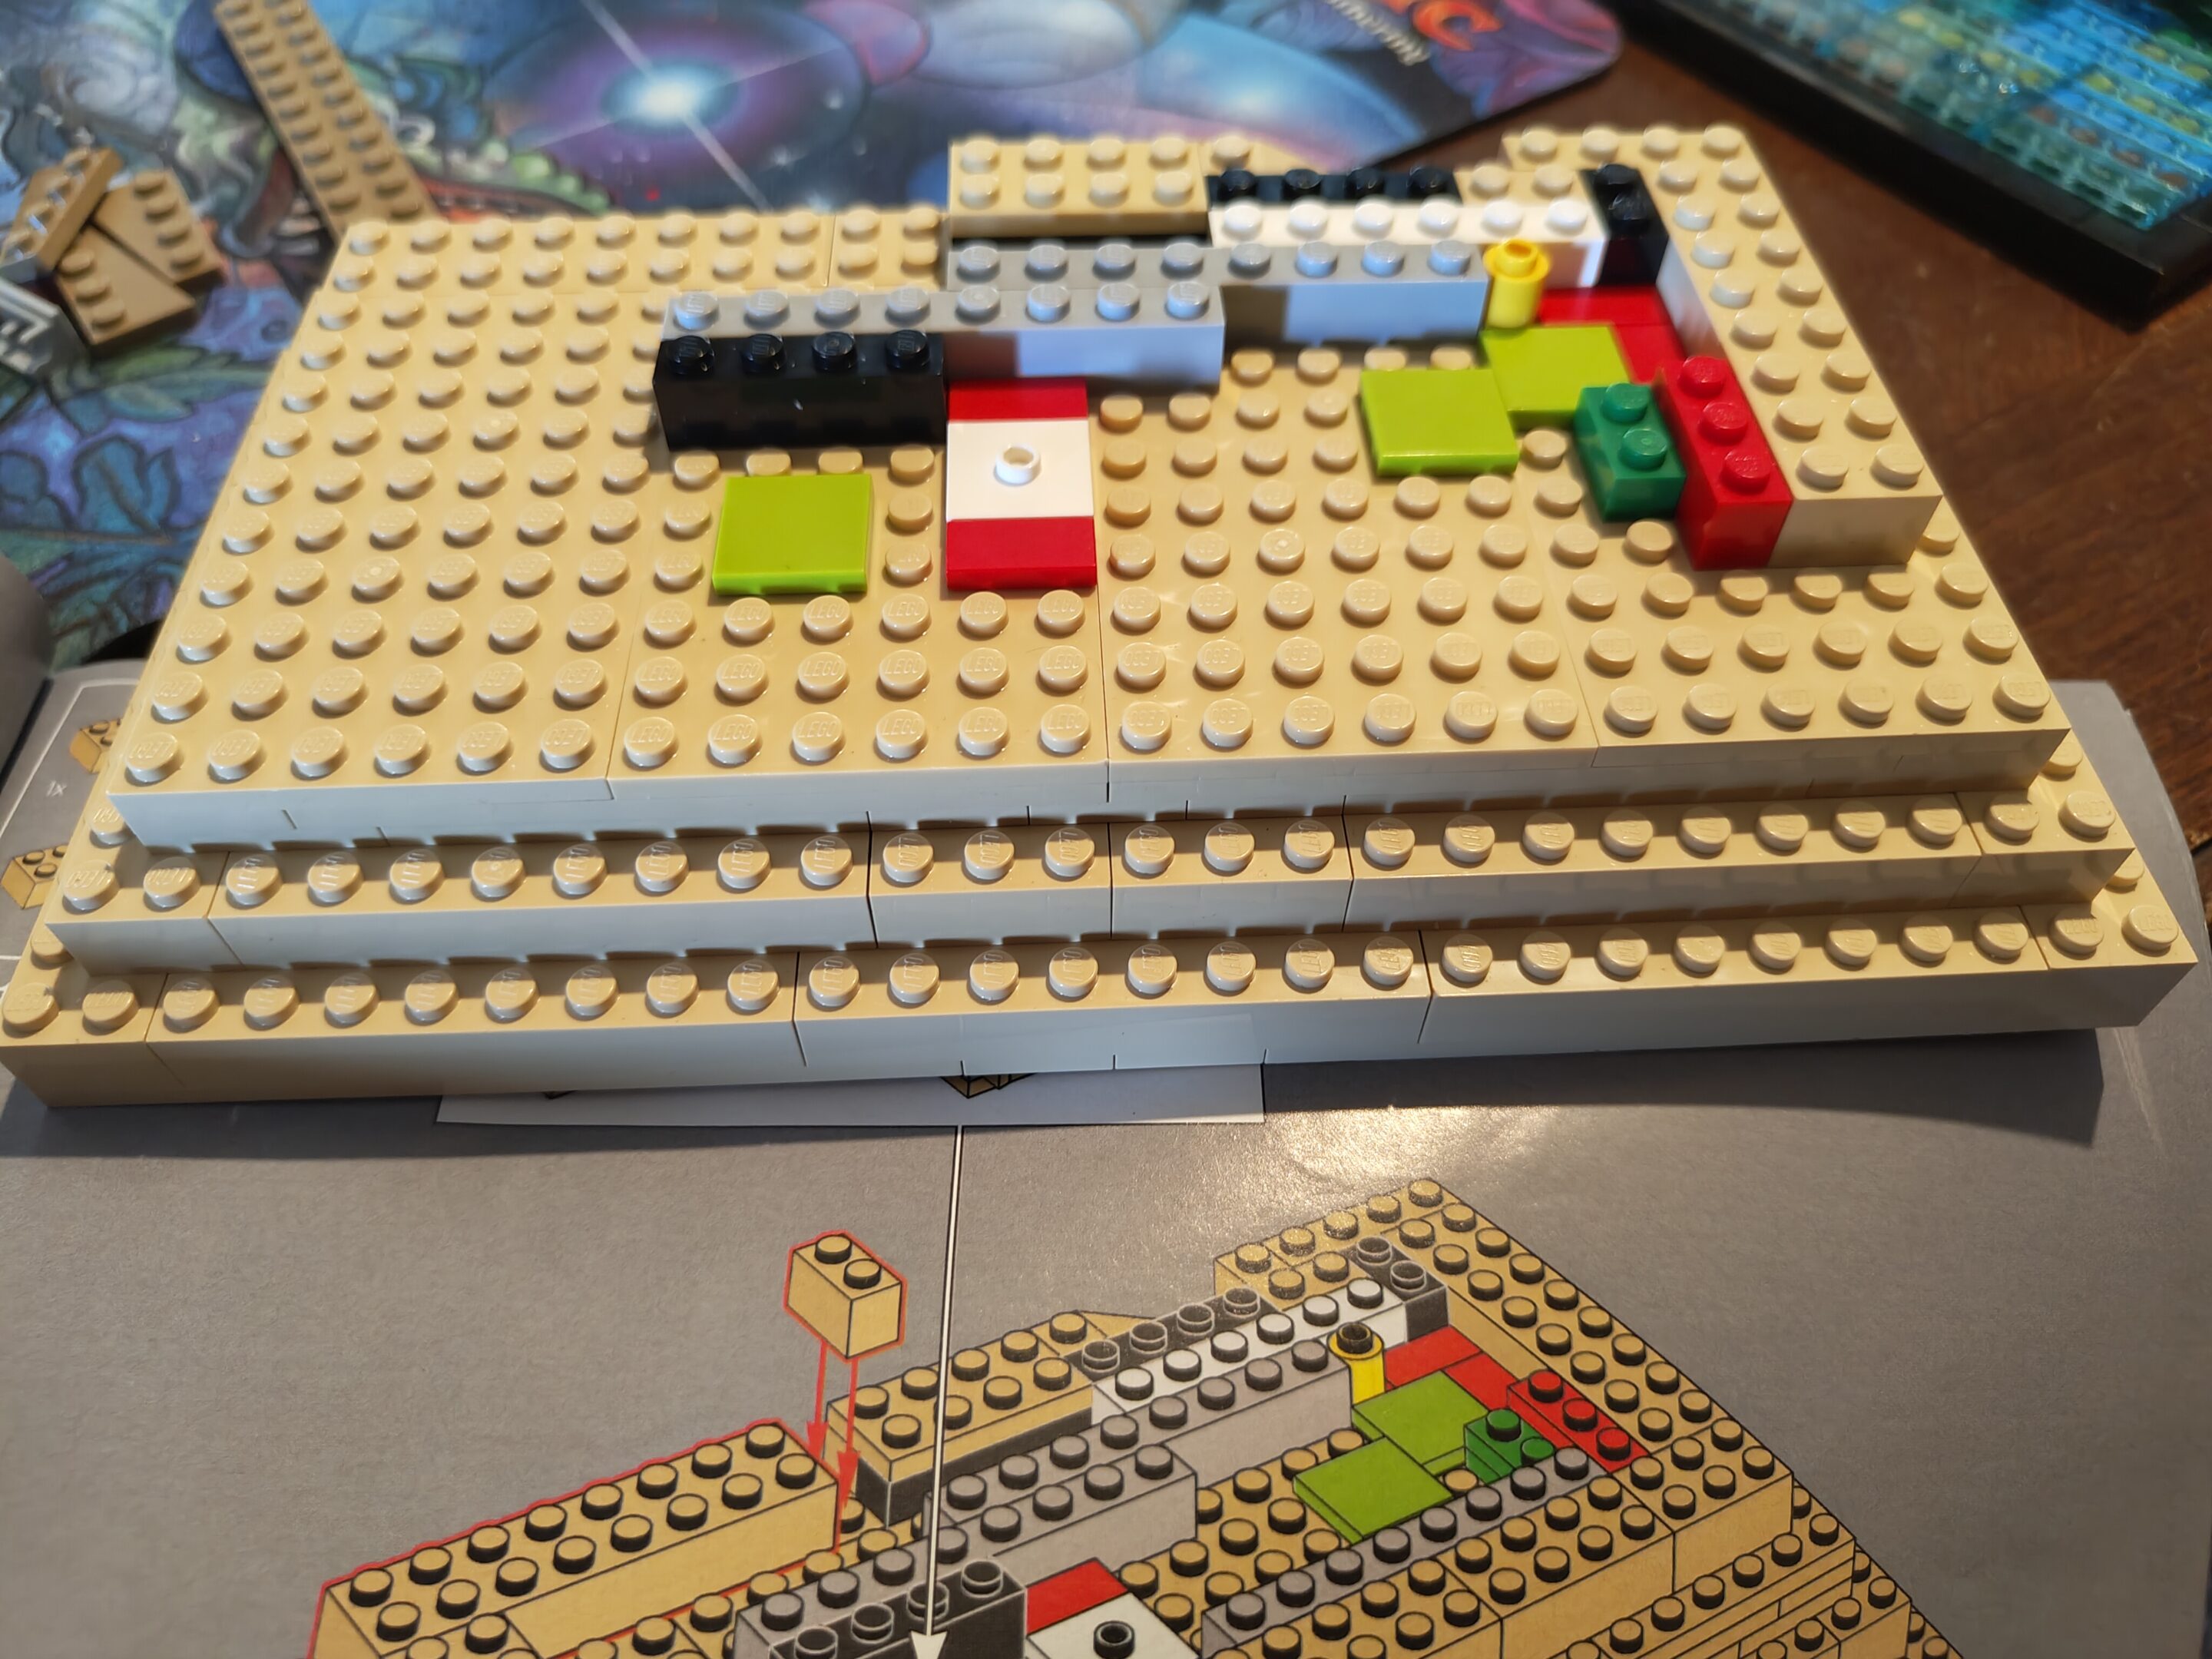
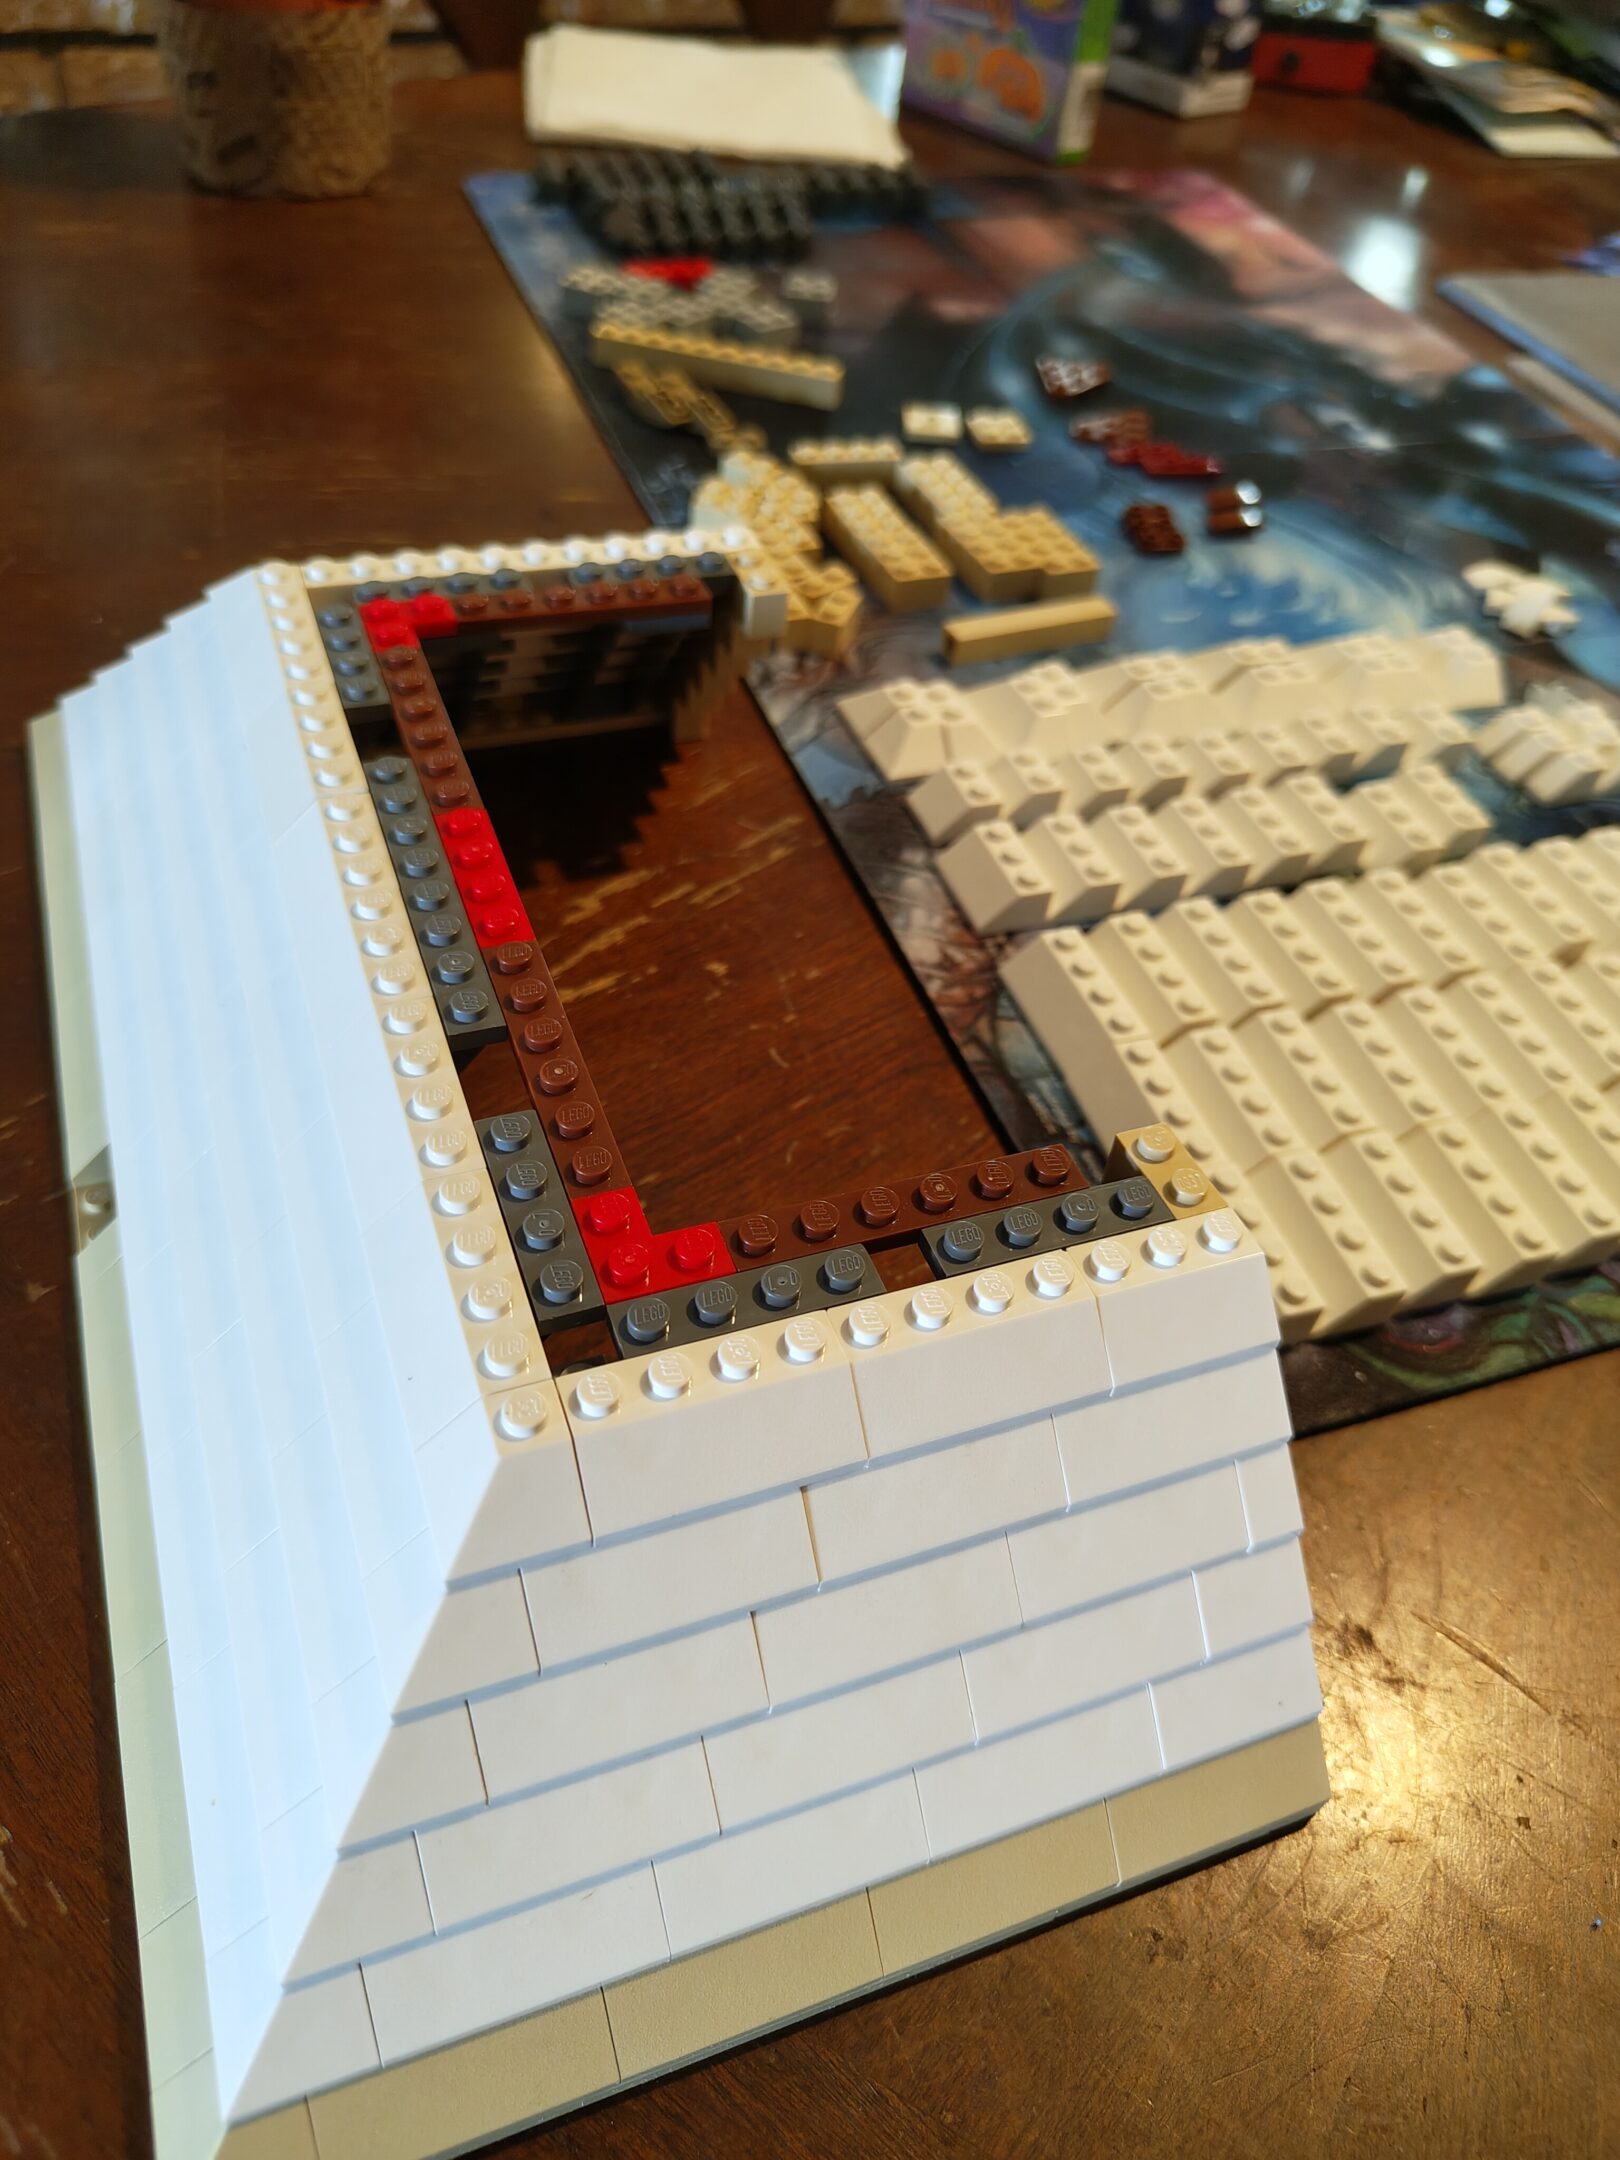
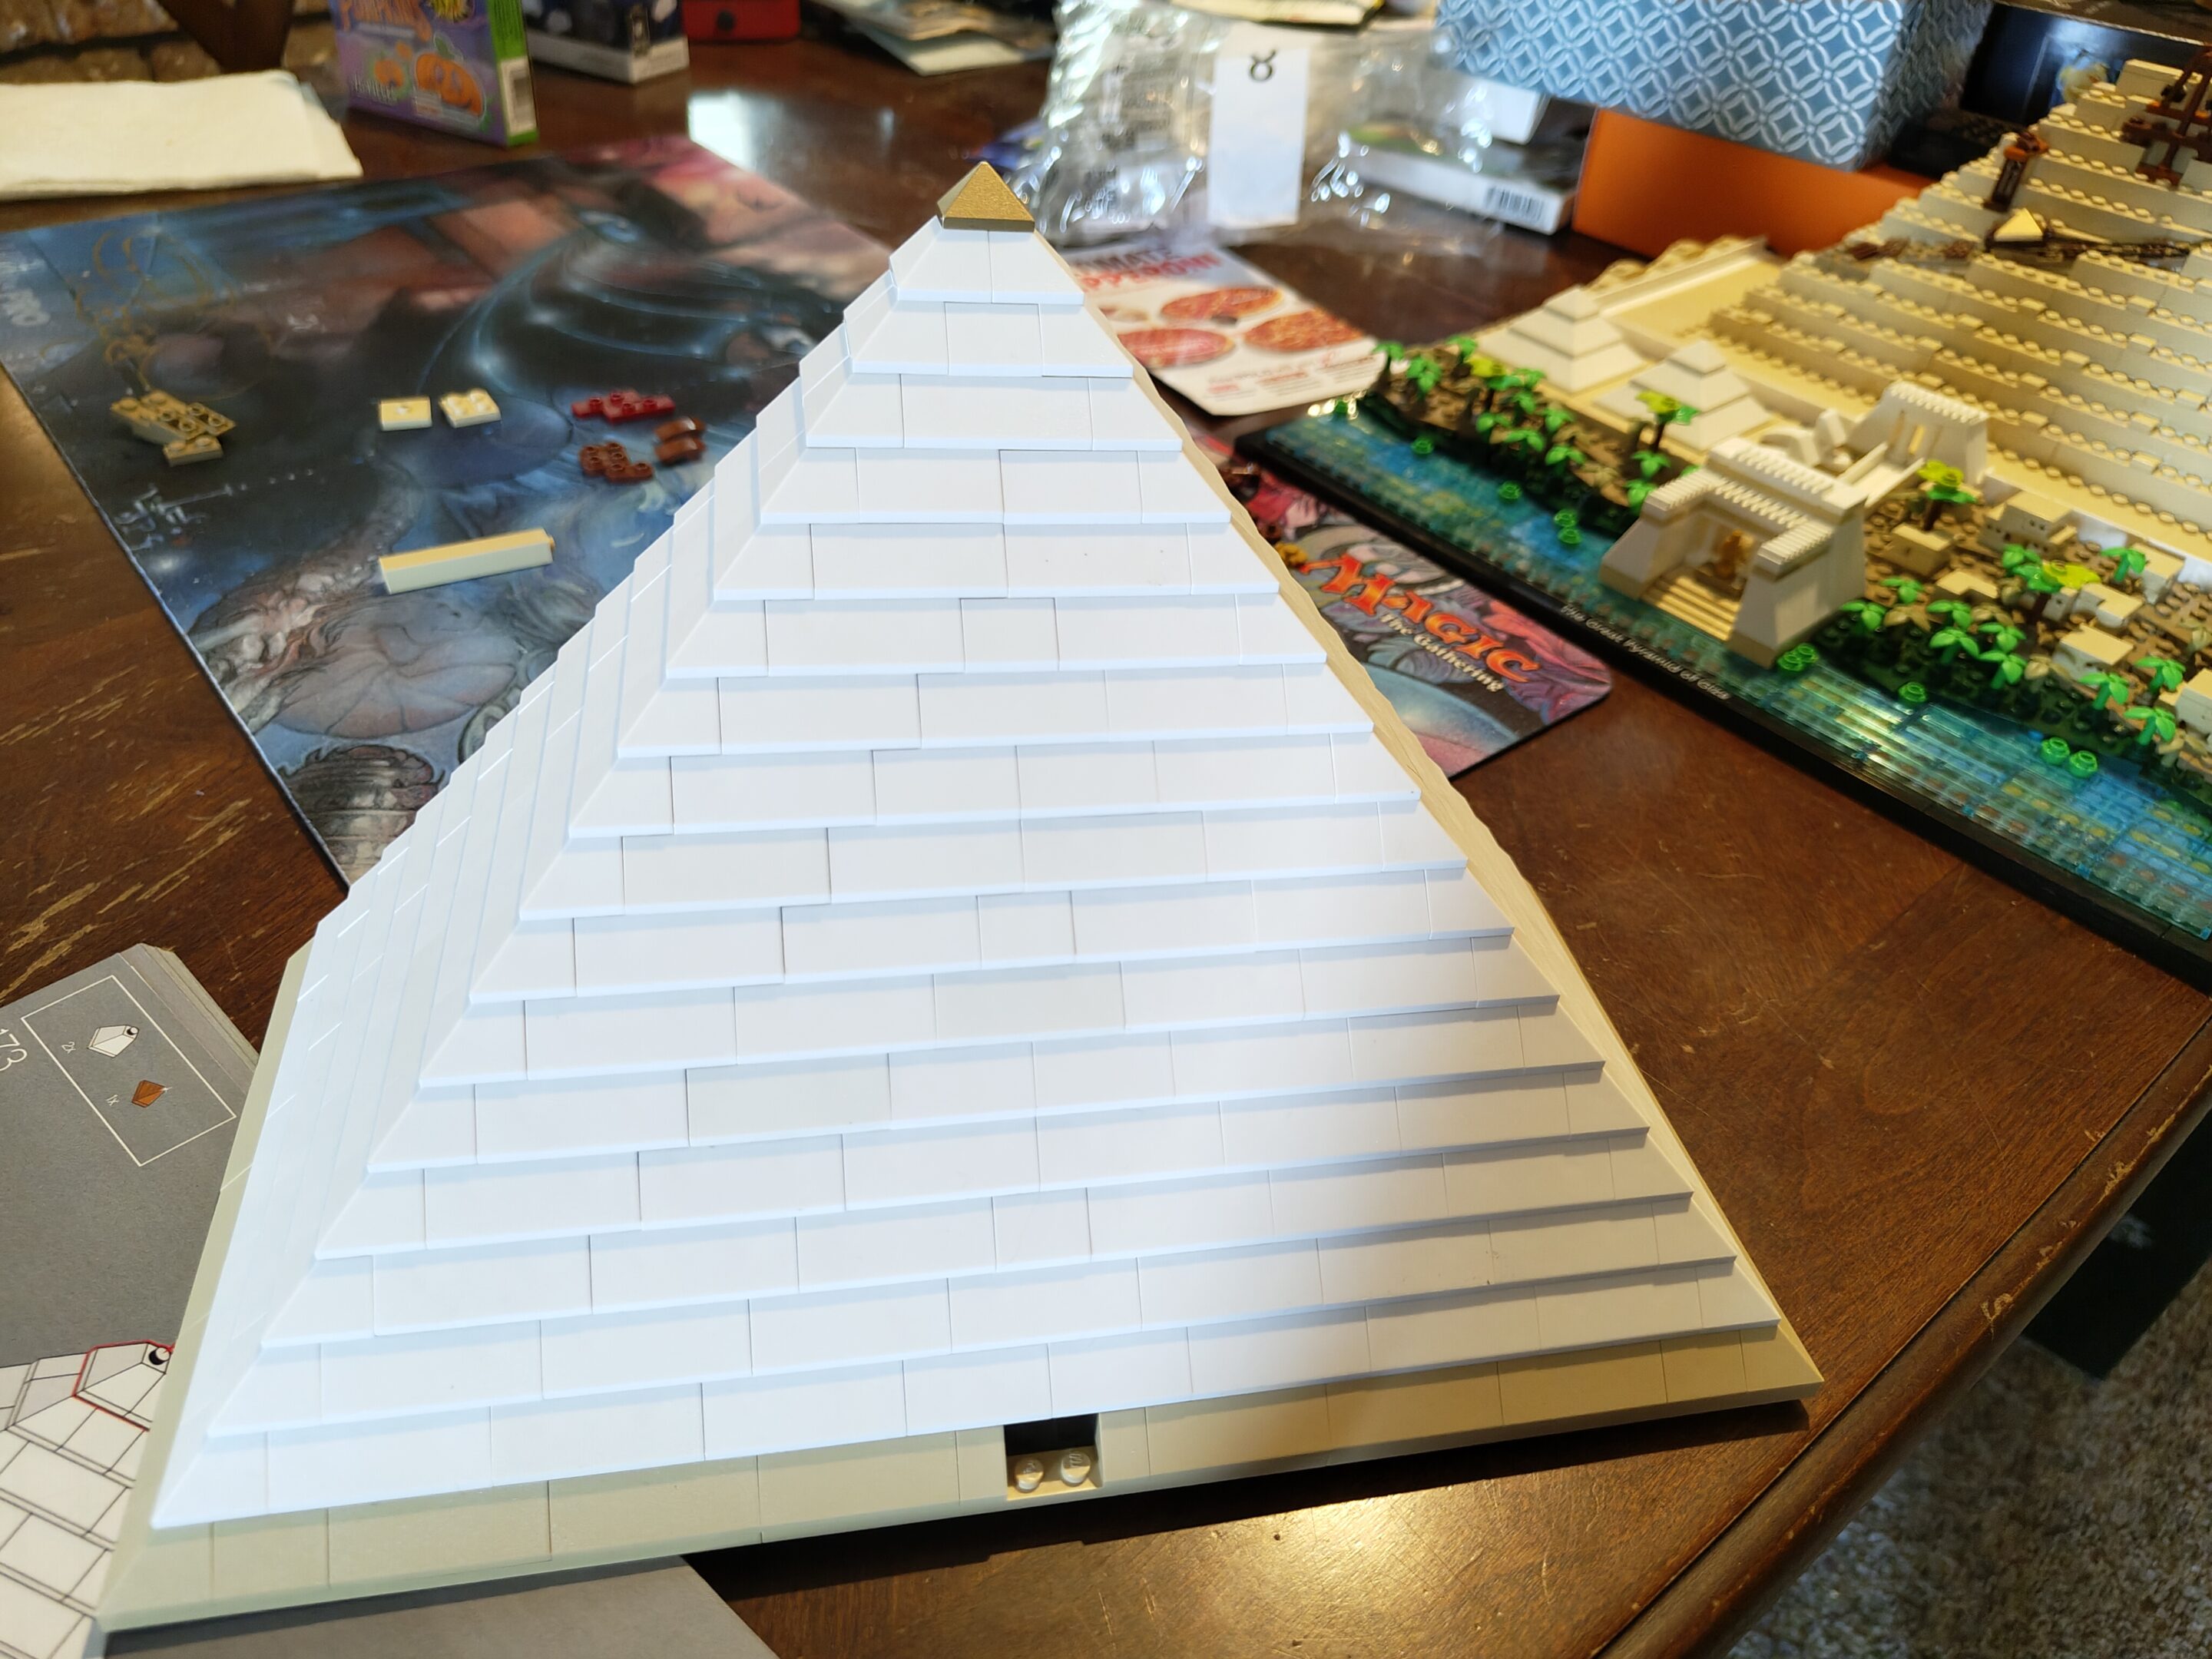
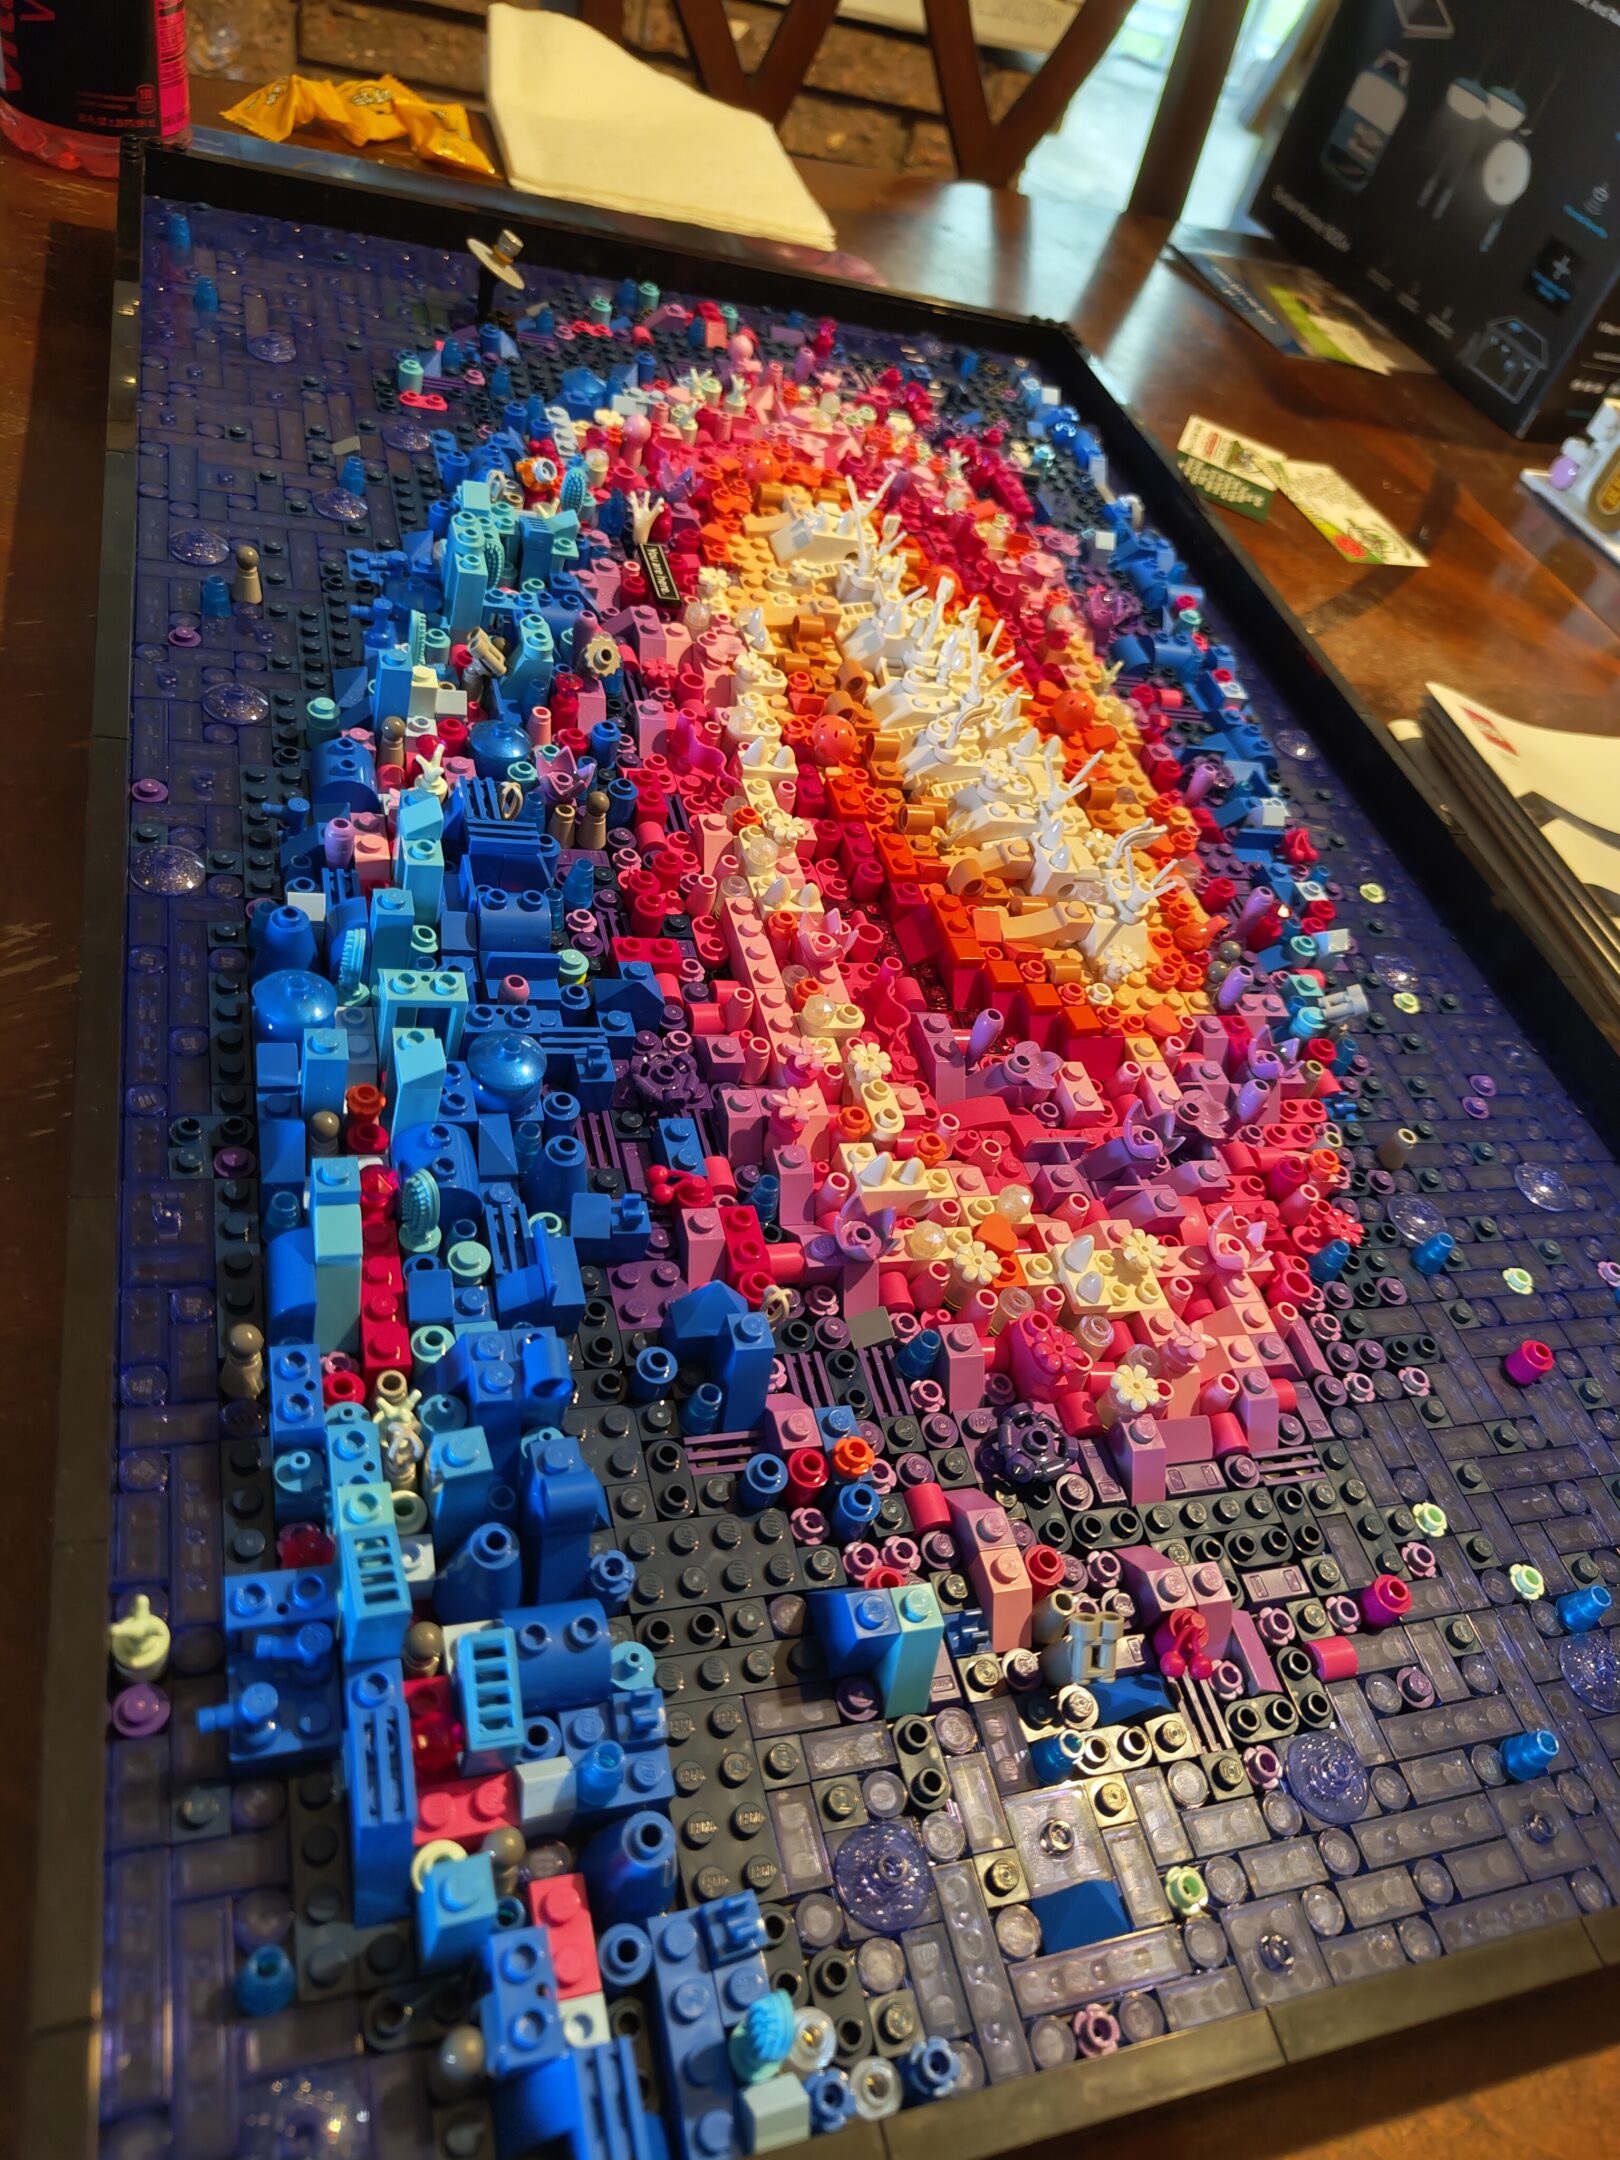
finished here, saturday uh 6th of september
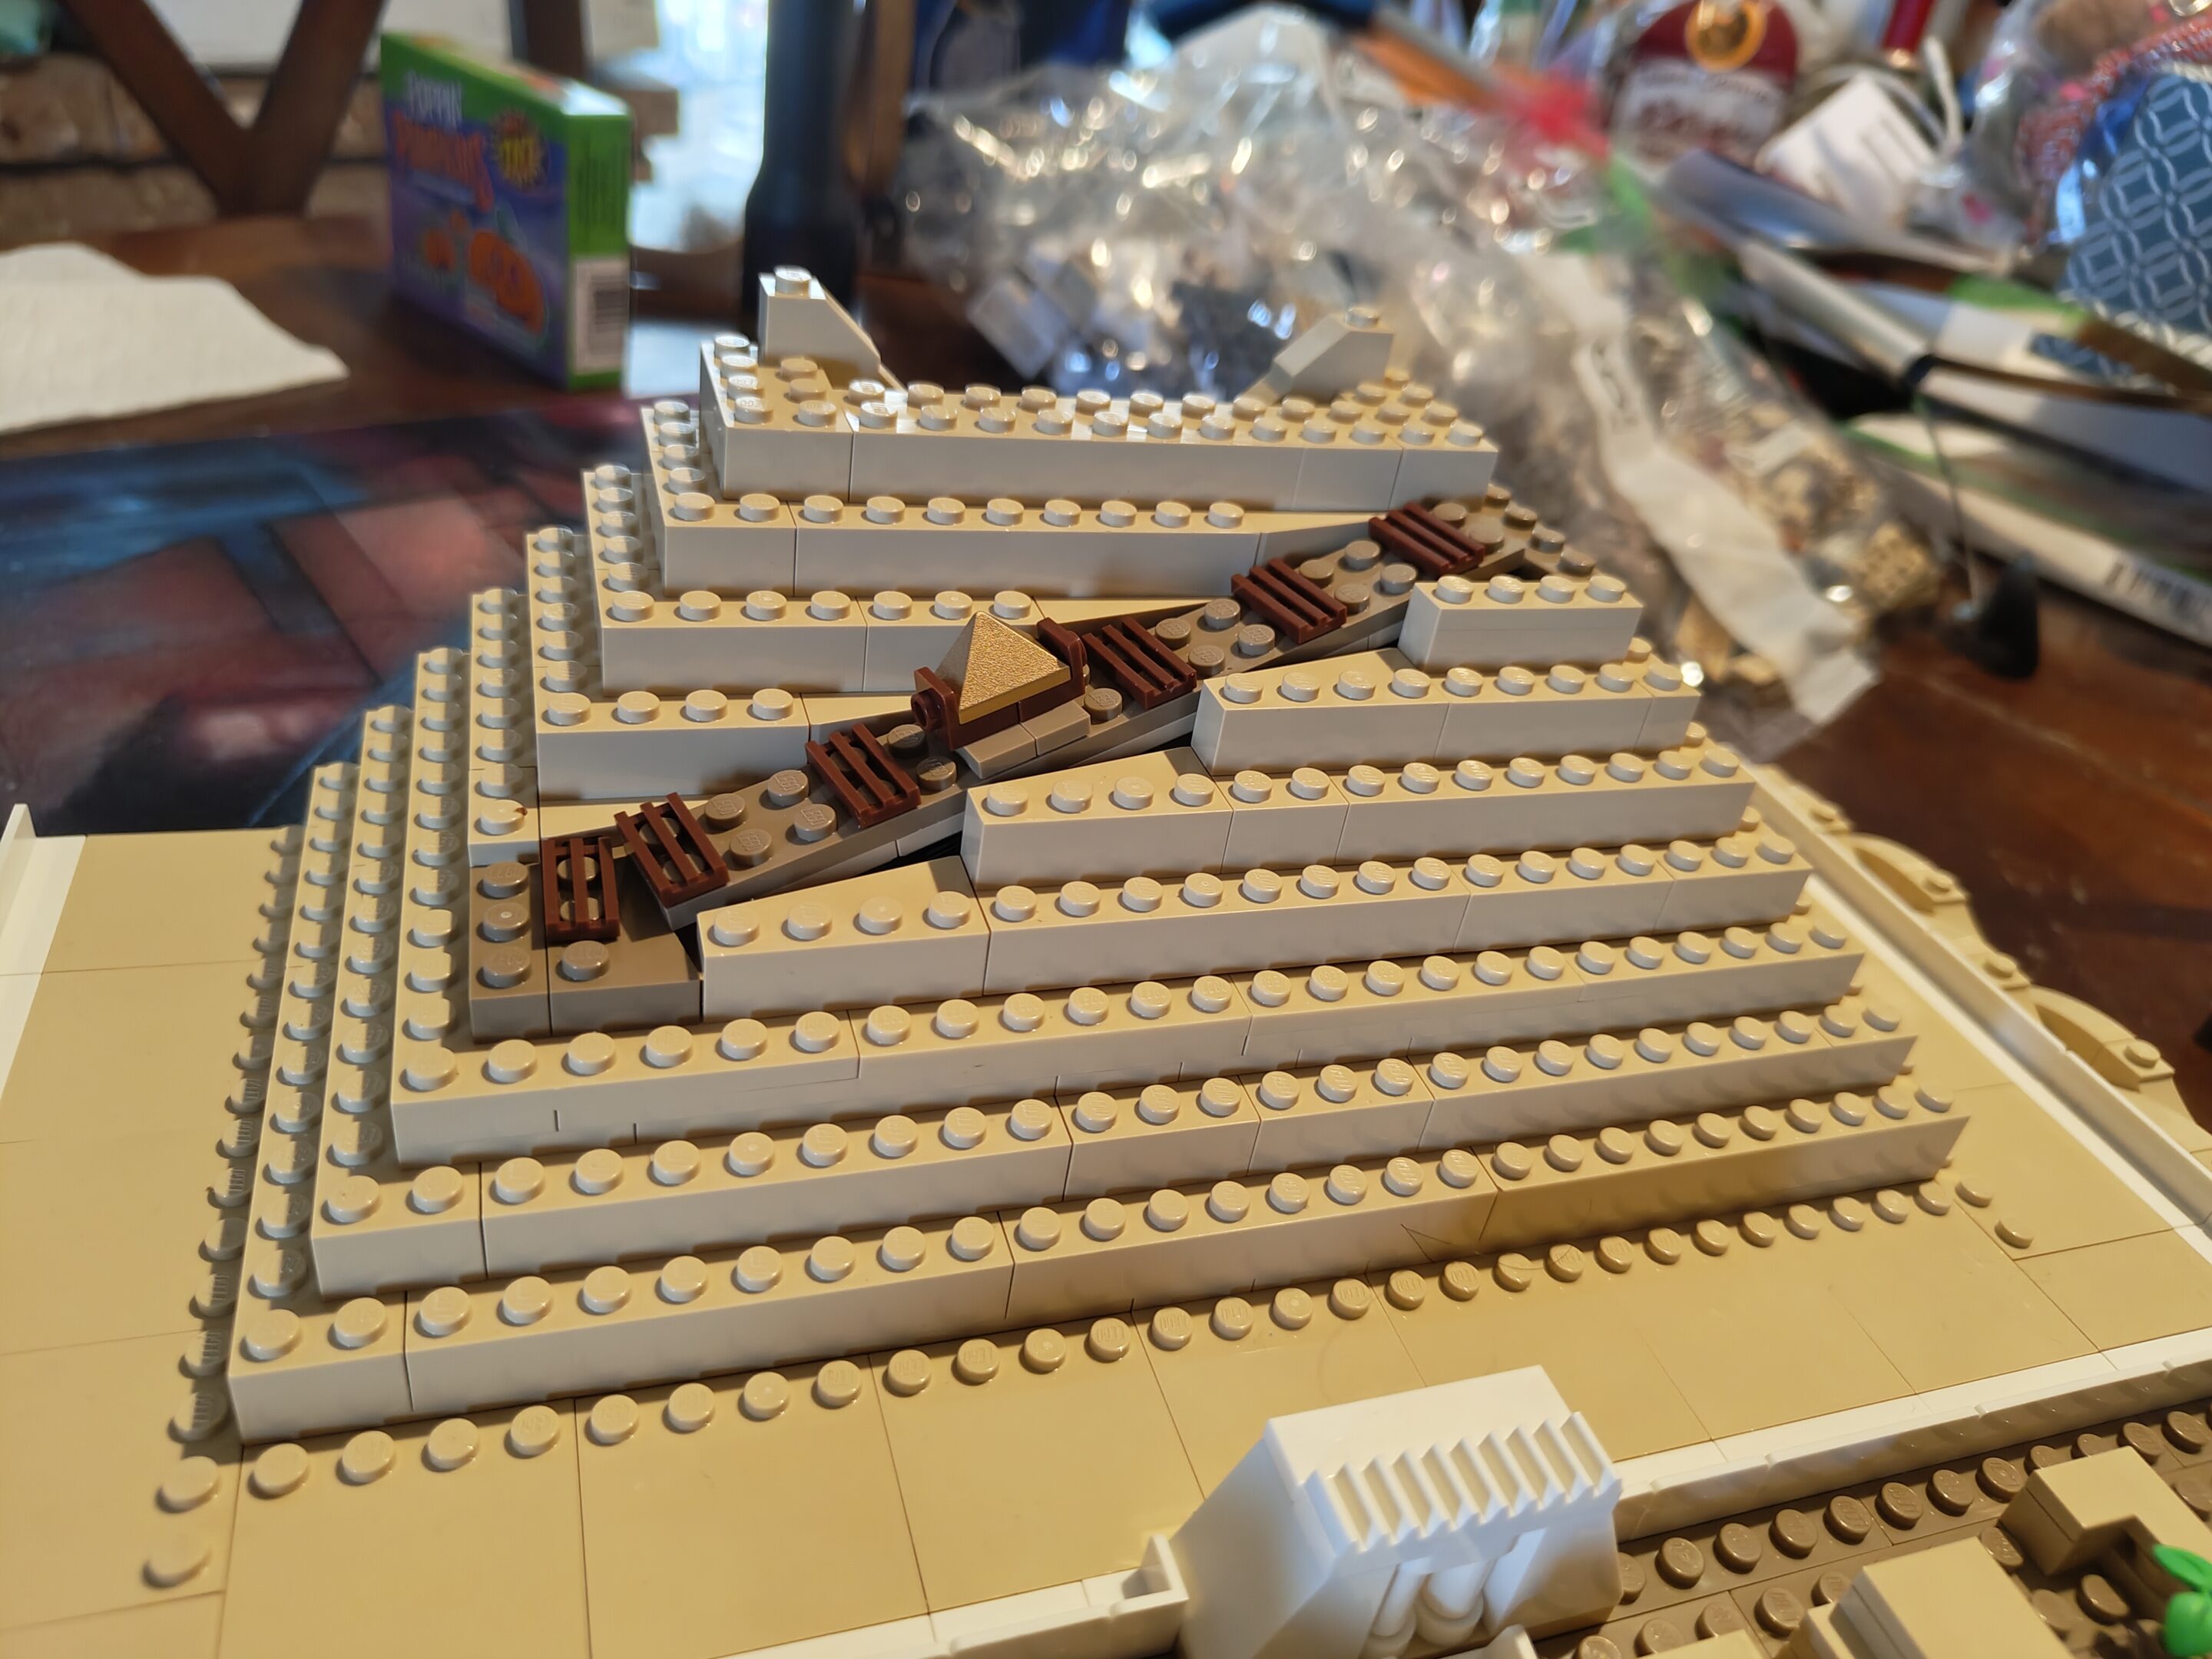
A little winch setup to haul bricks up. Smart.Pyramid shell structure, part onePyramid shell structure, part twoPyramid shell structure, finished – with gold capstoneThe back side, but there’s a neat cutout to represent the tomb insideThe finished product <3
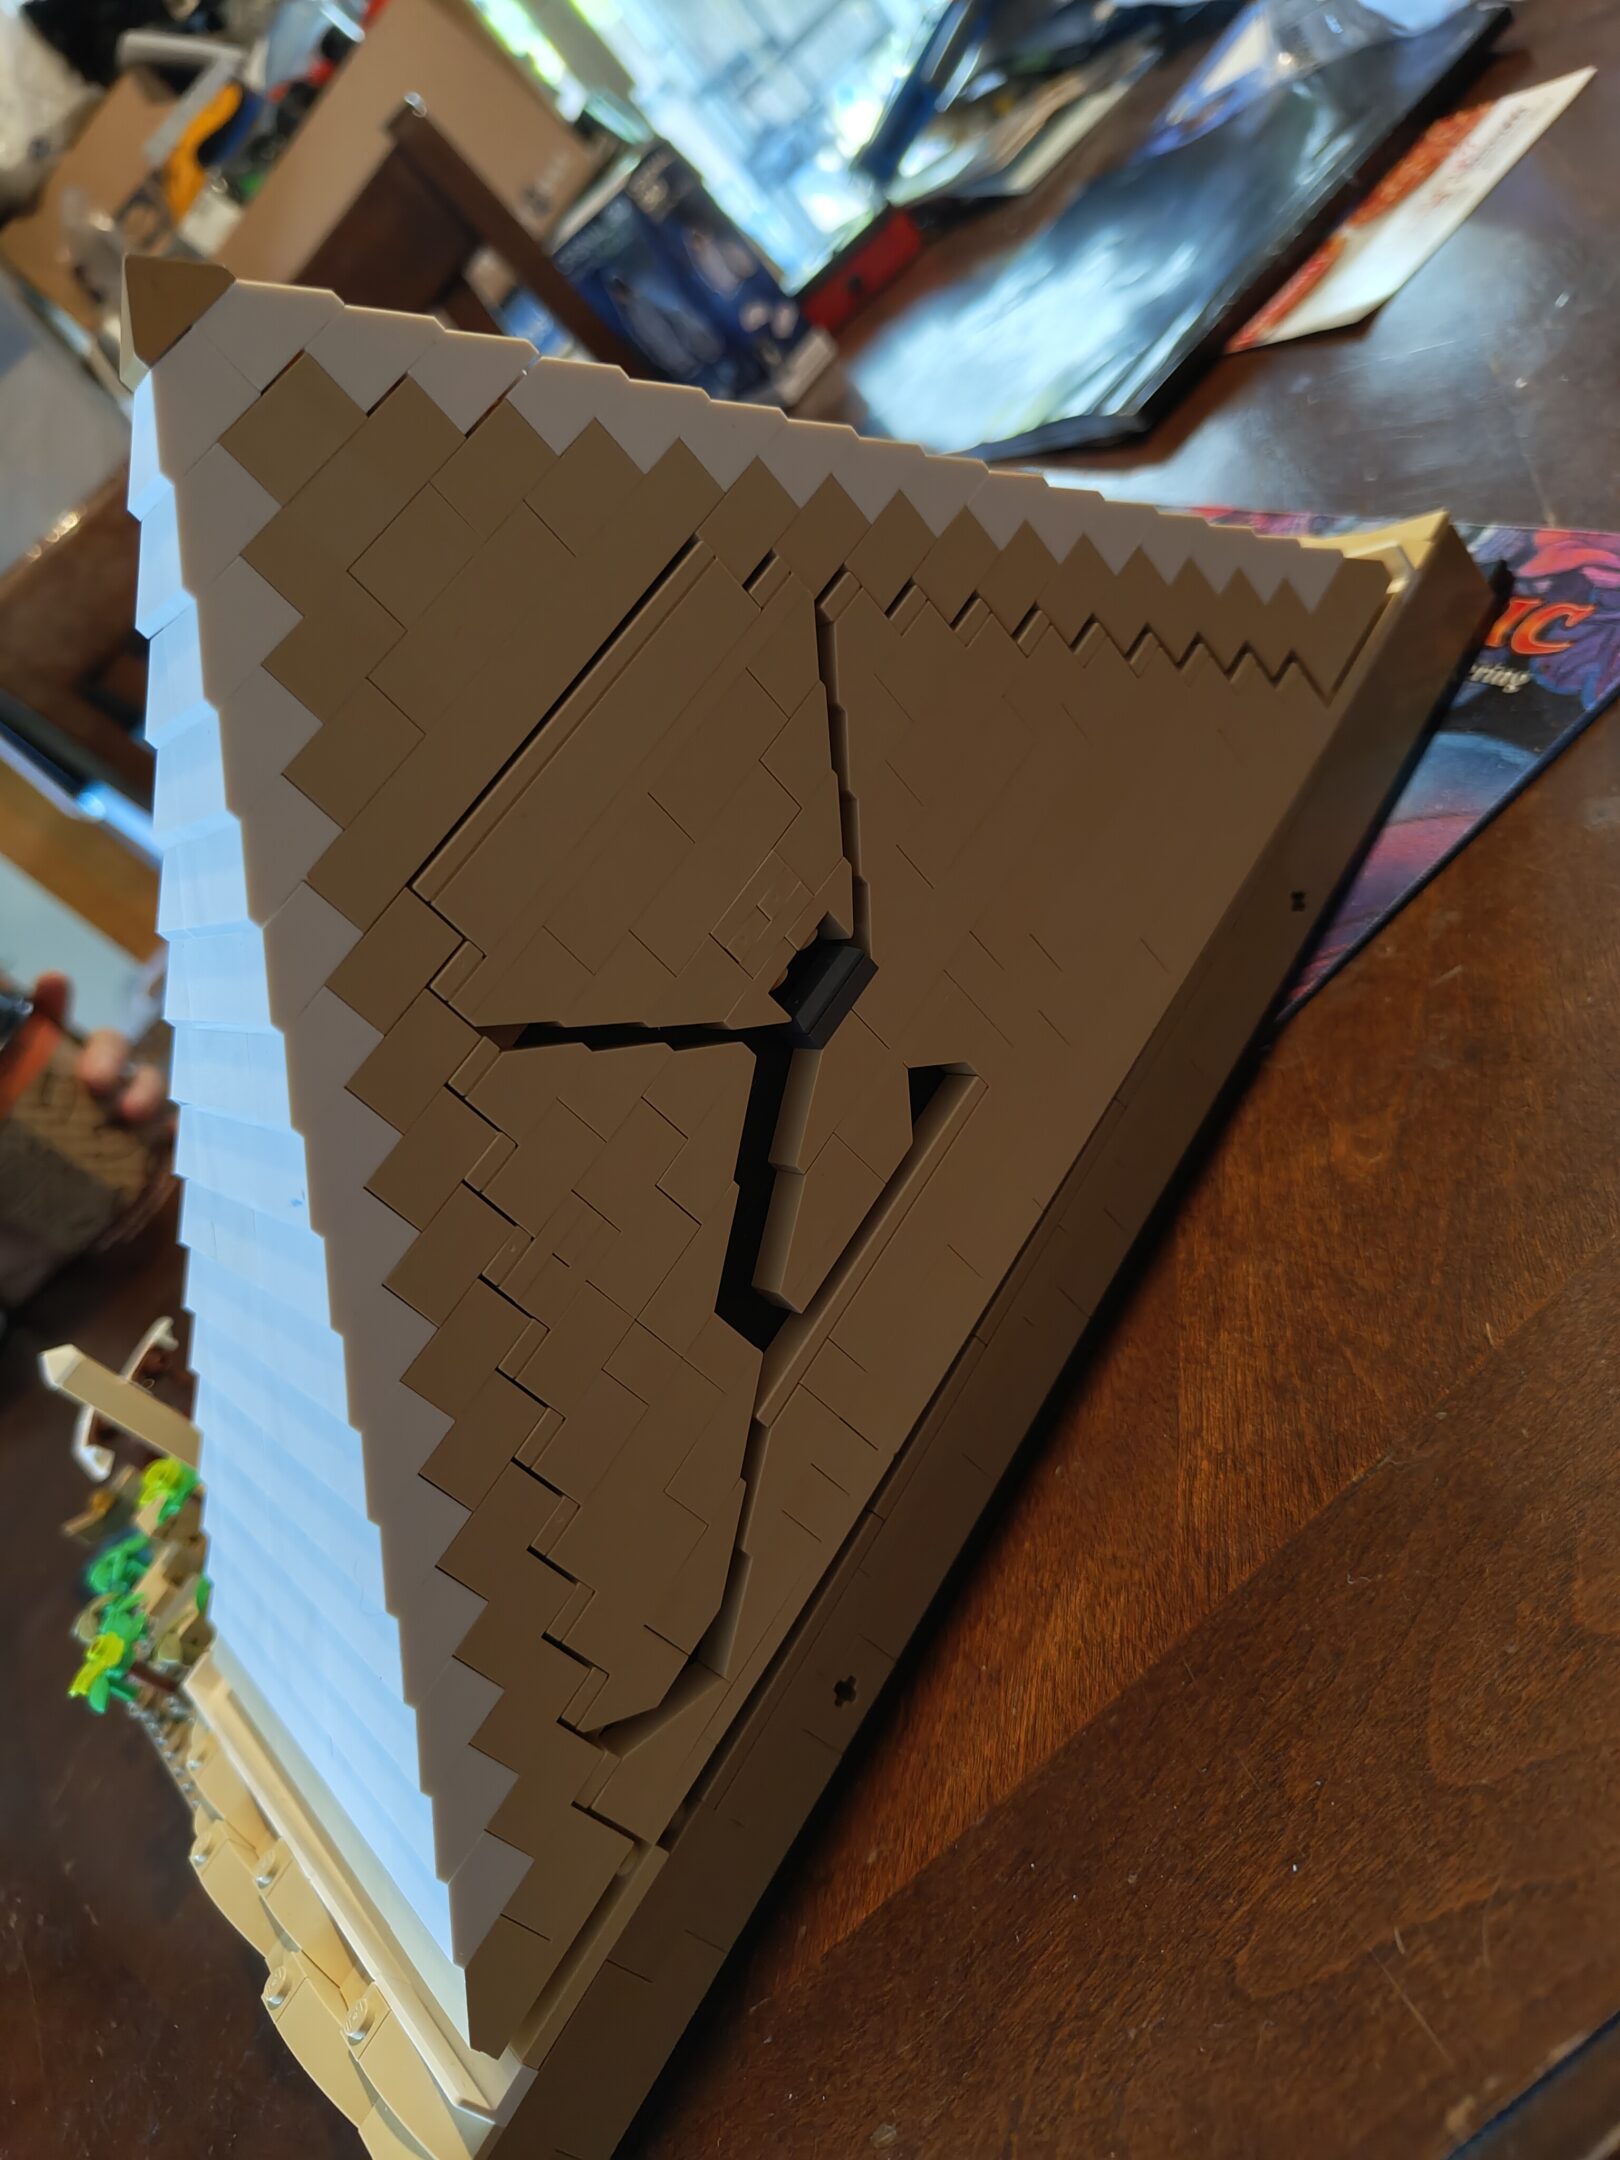
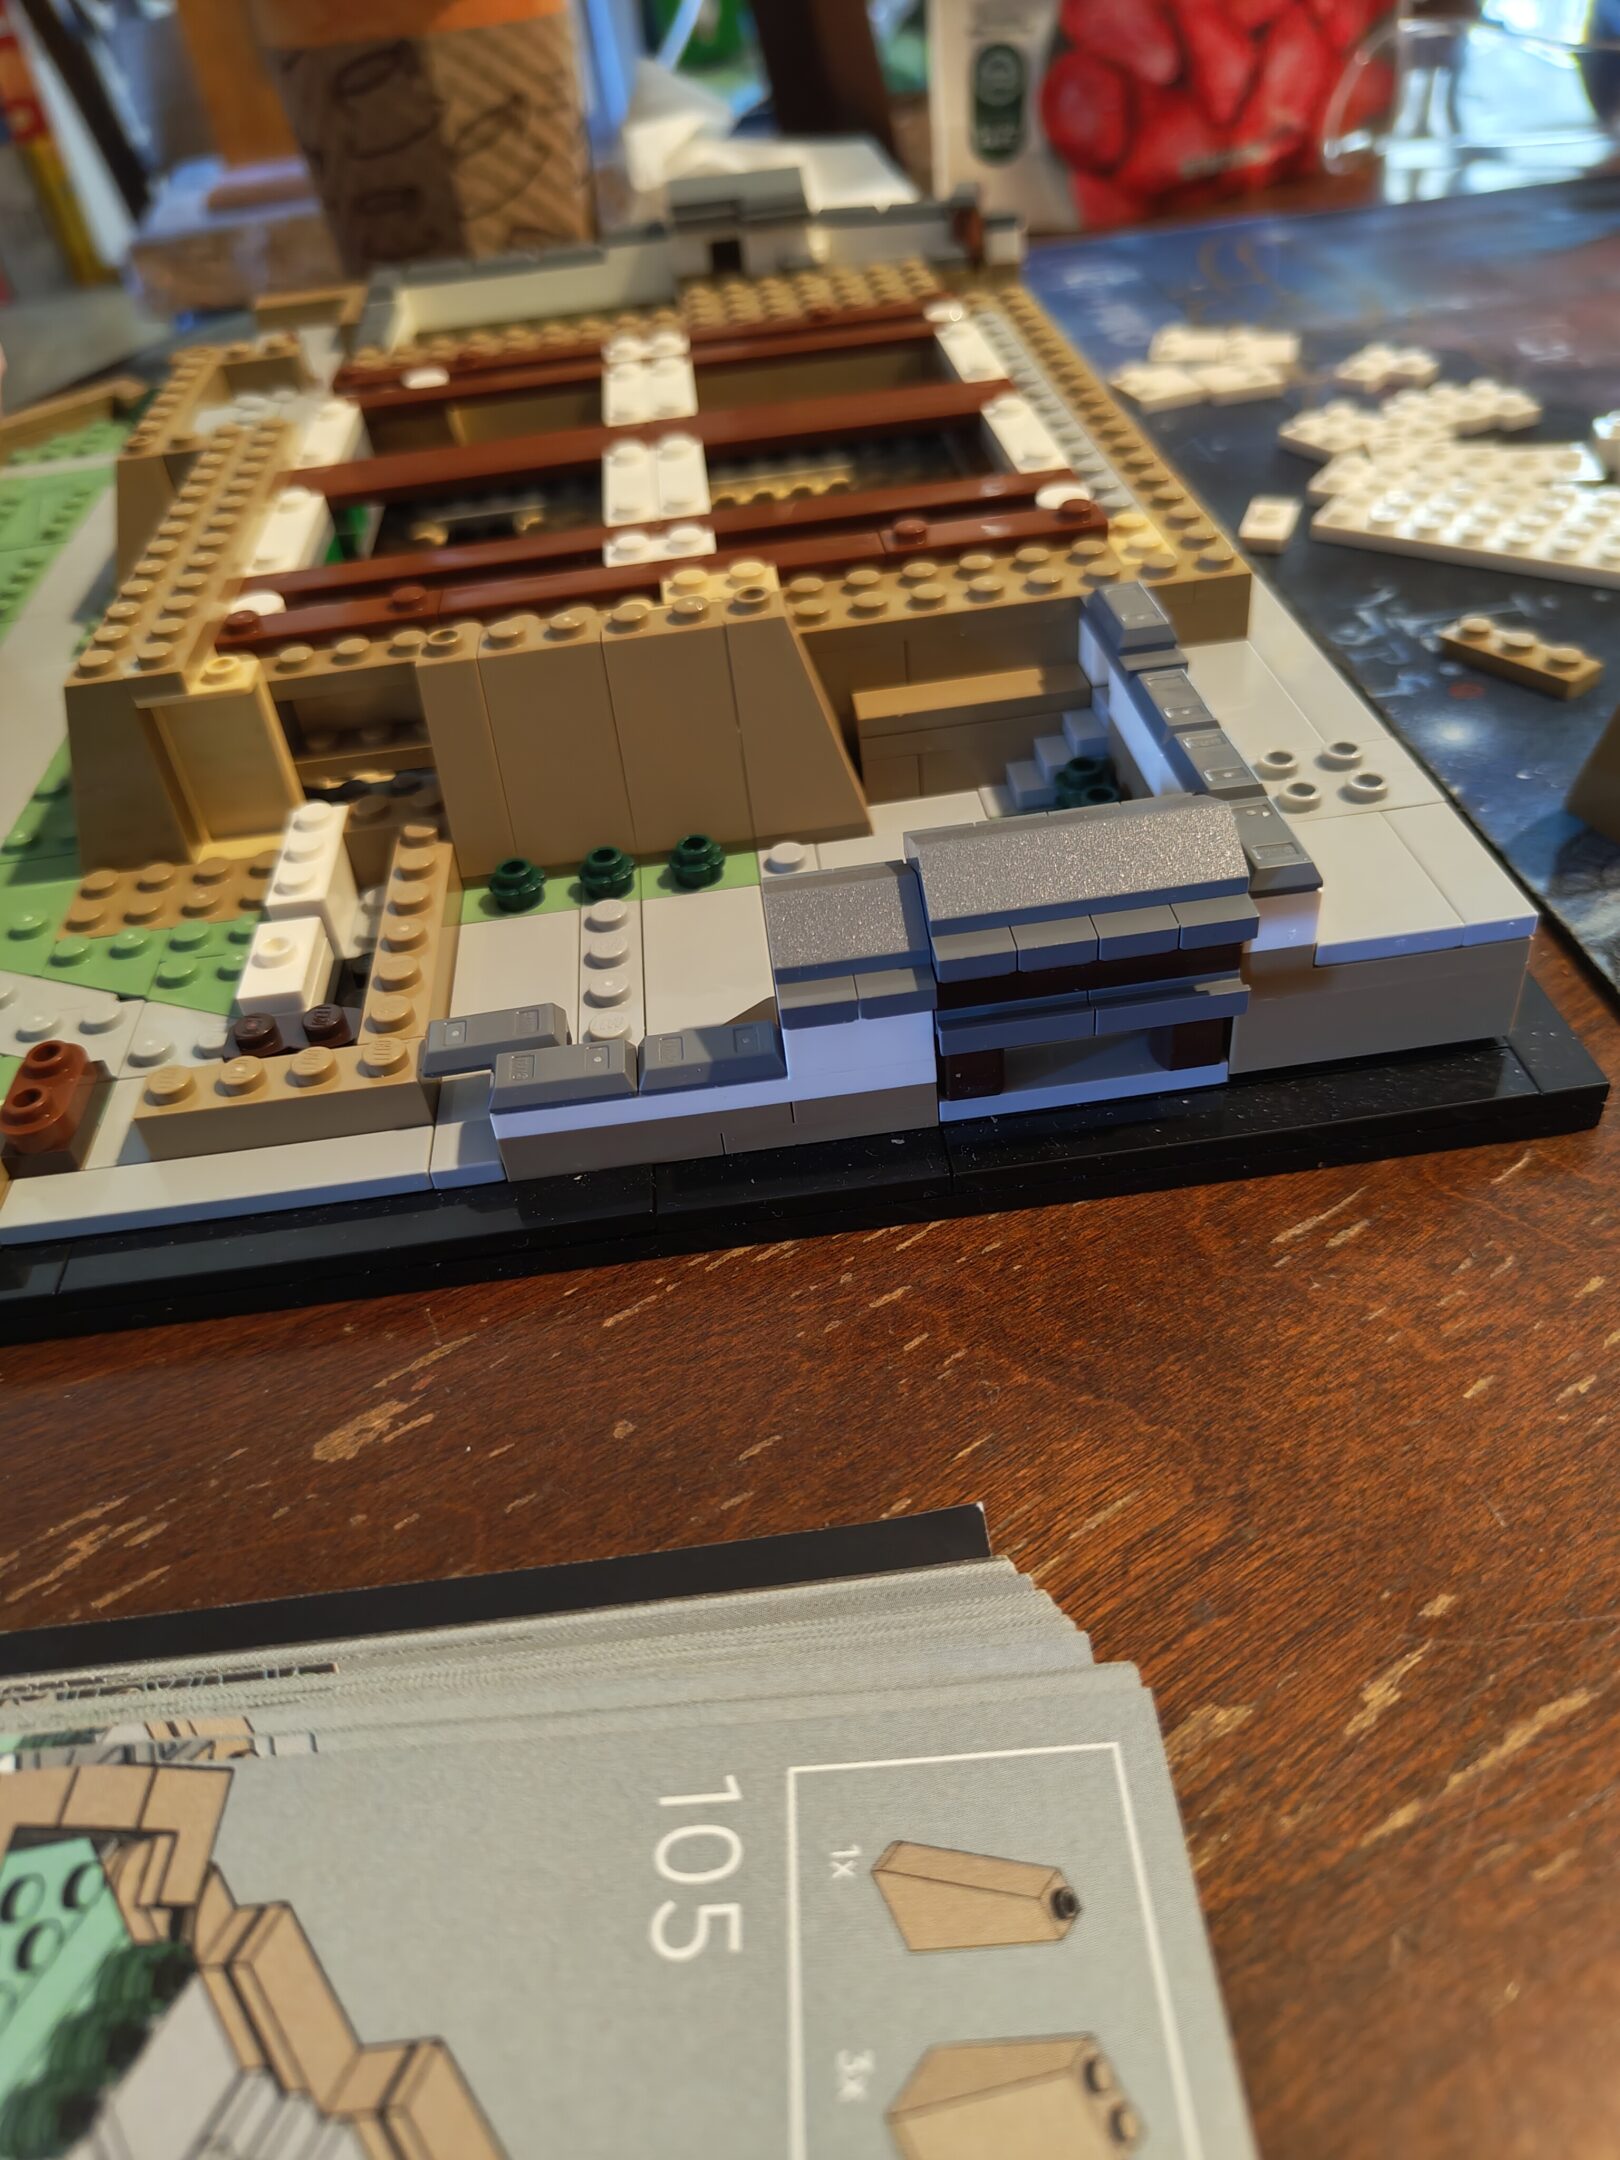
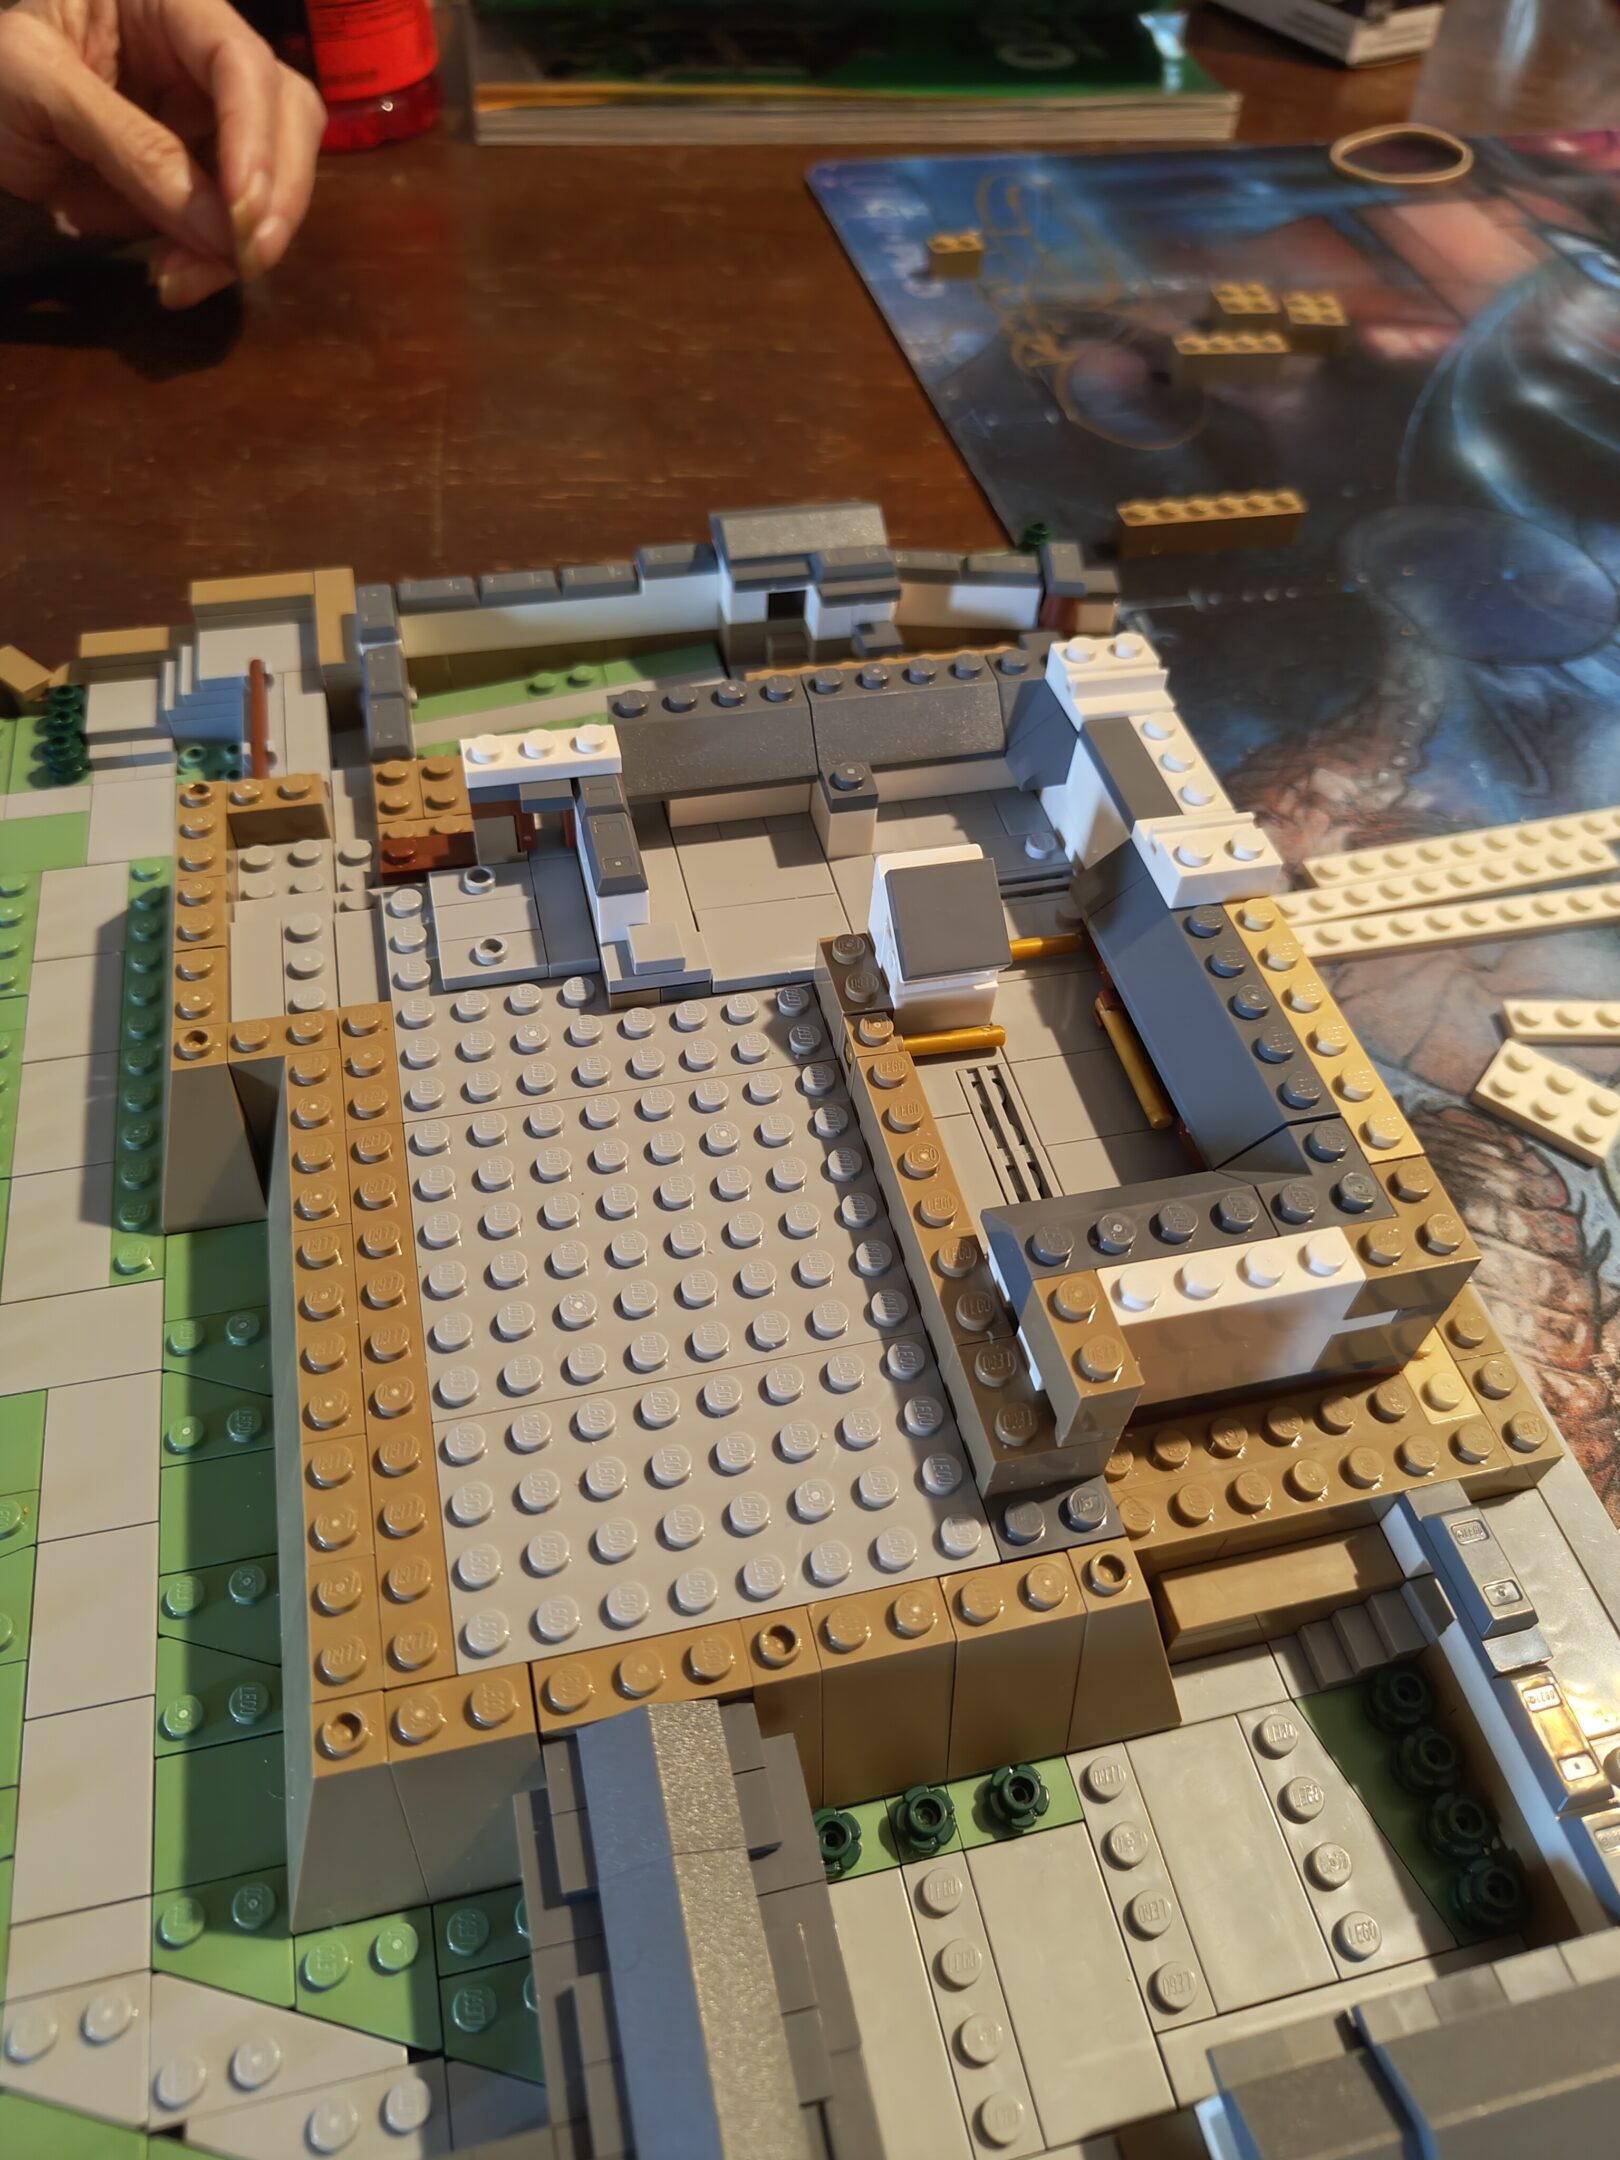
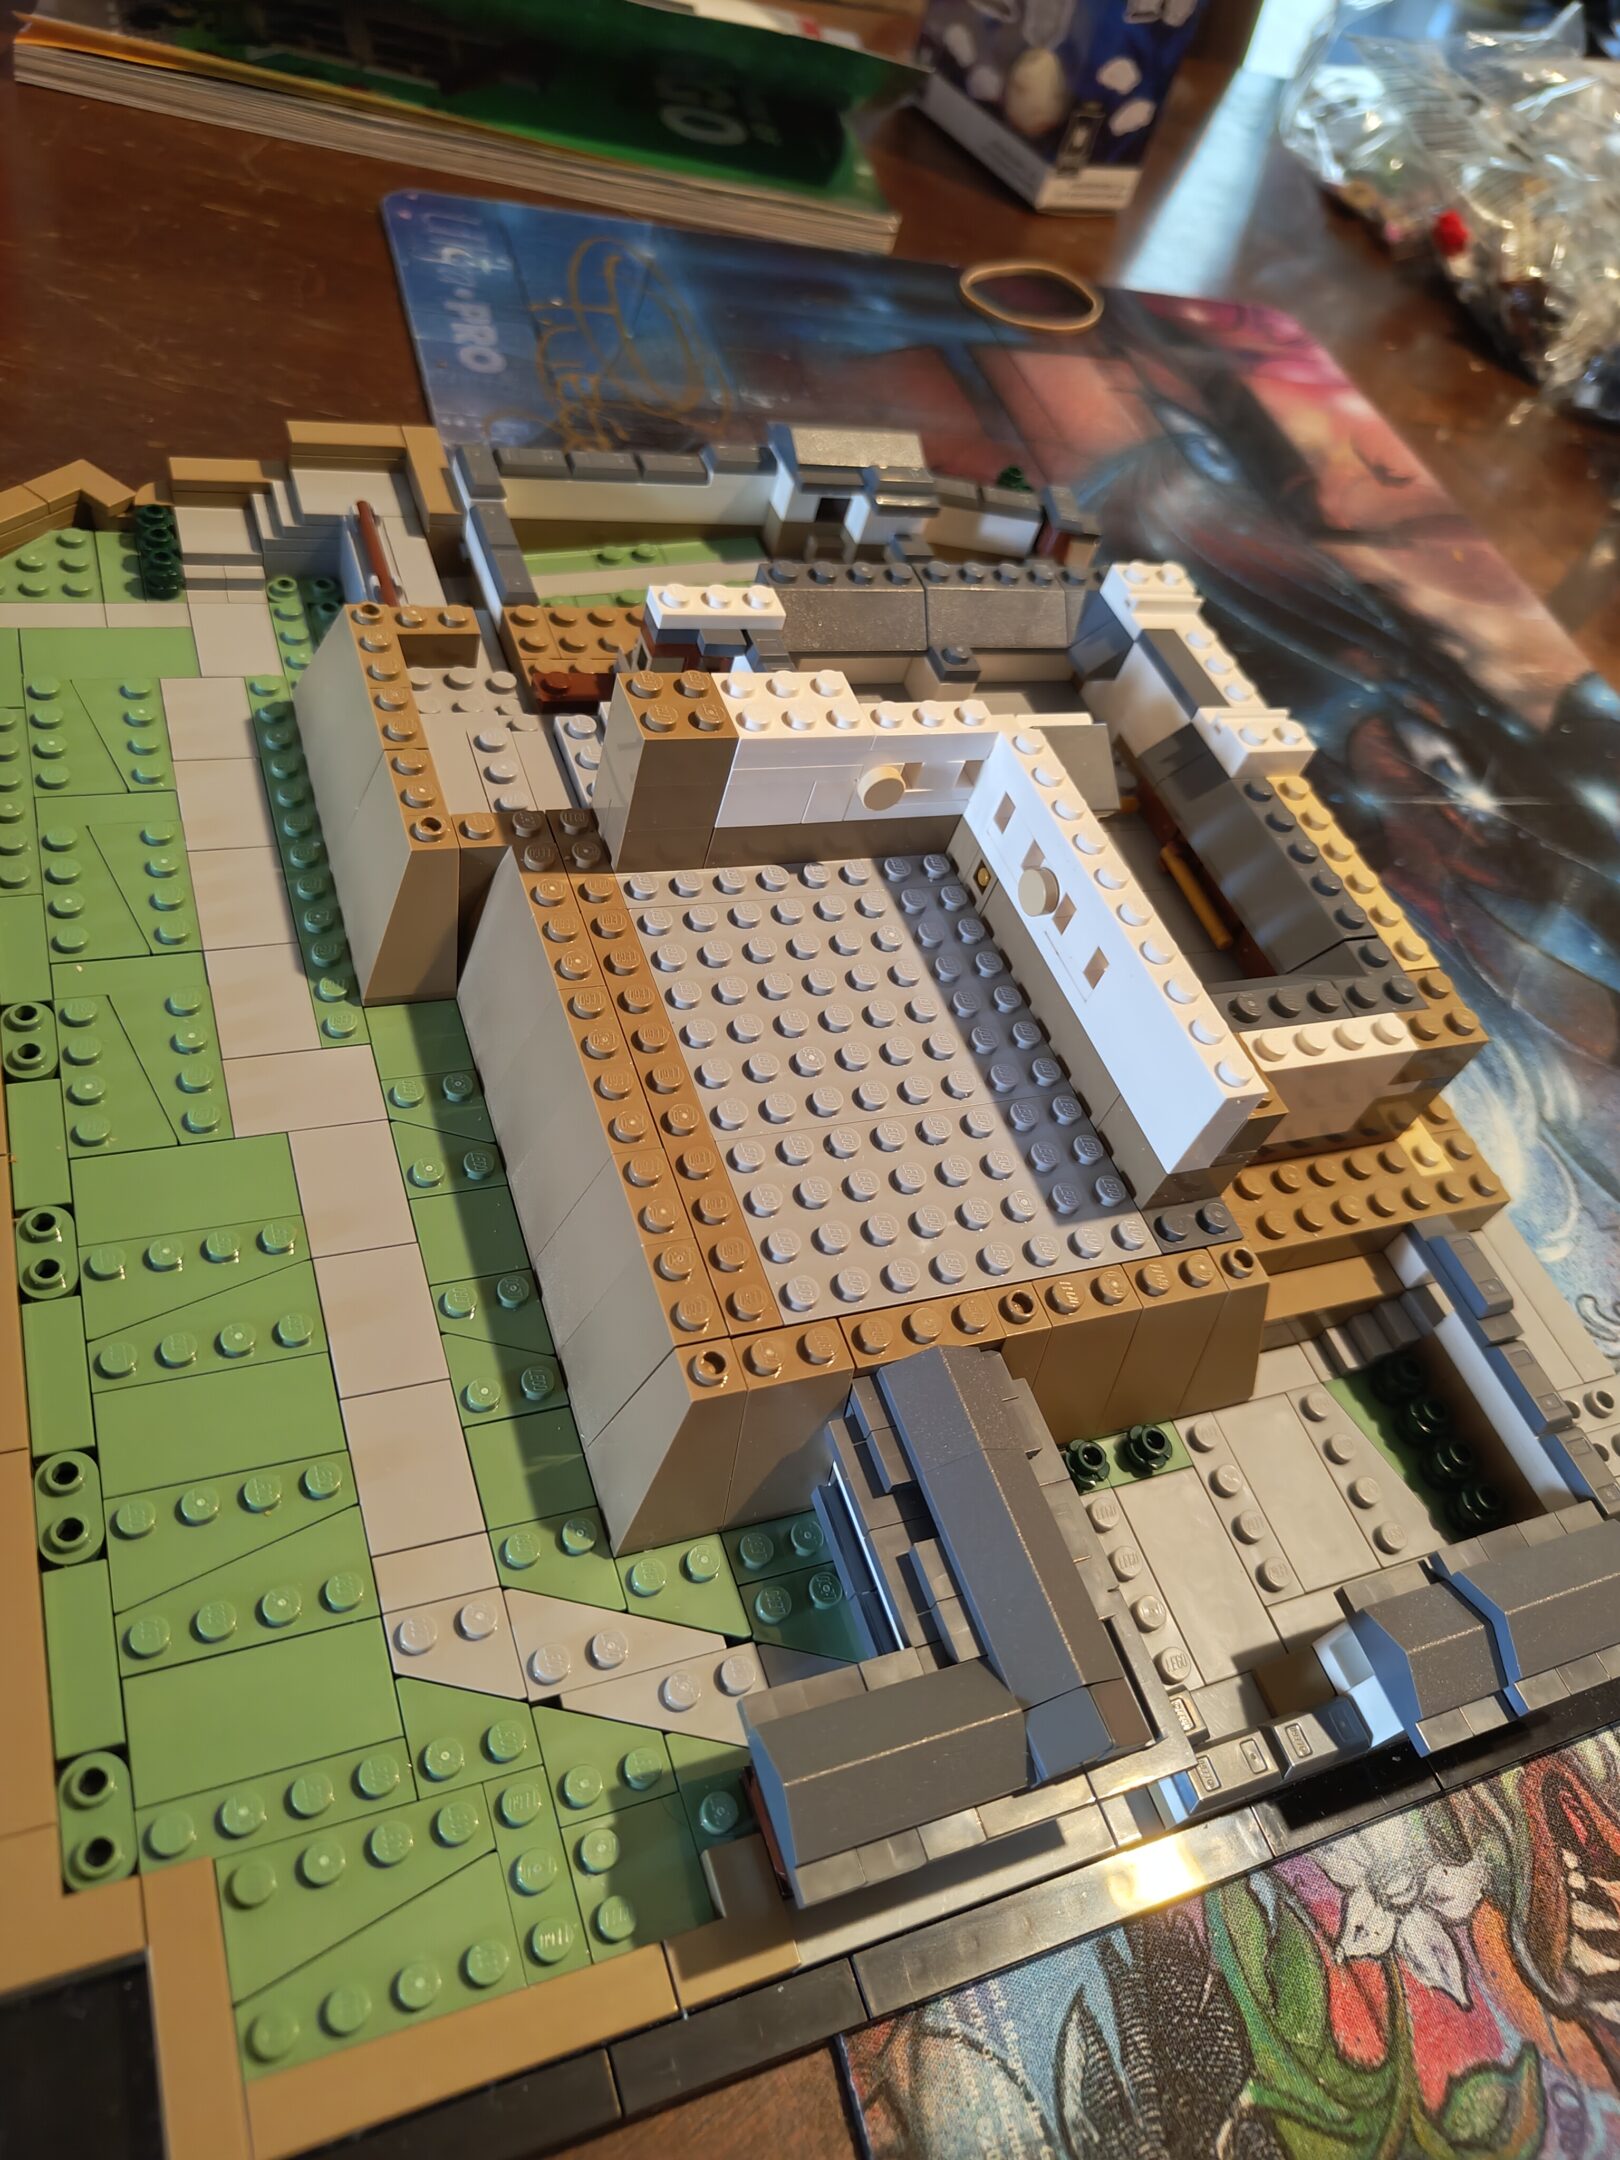
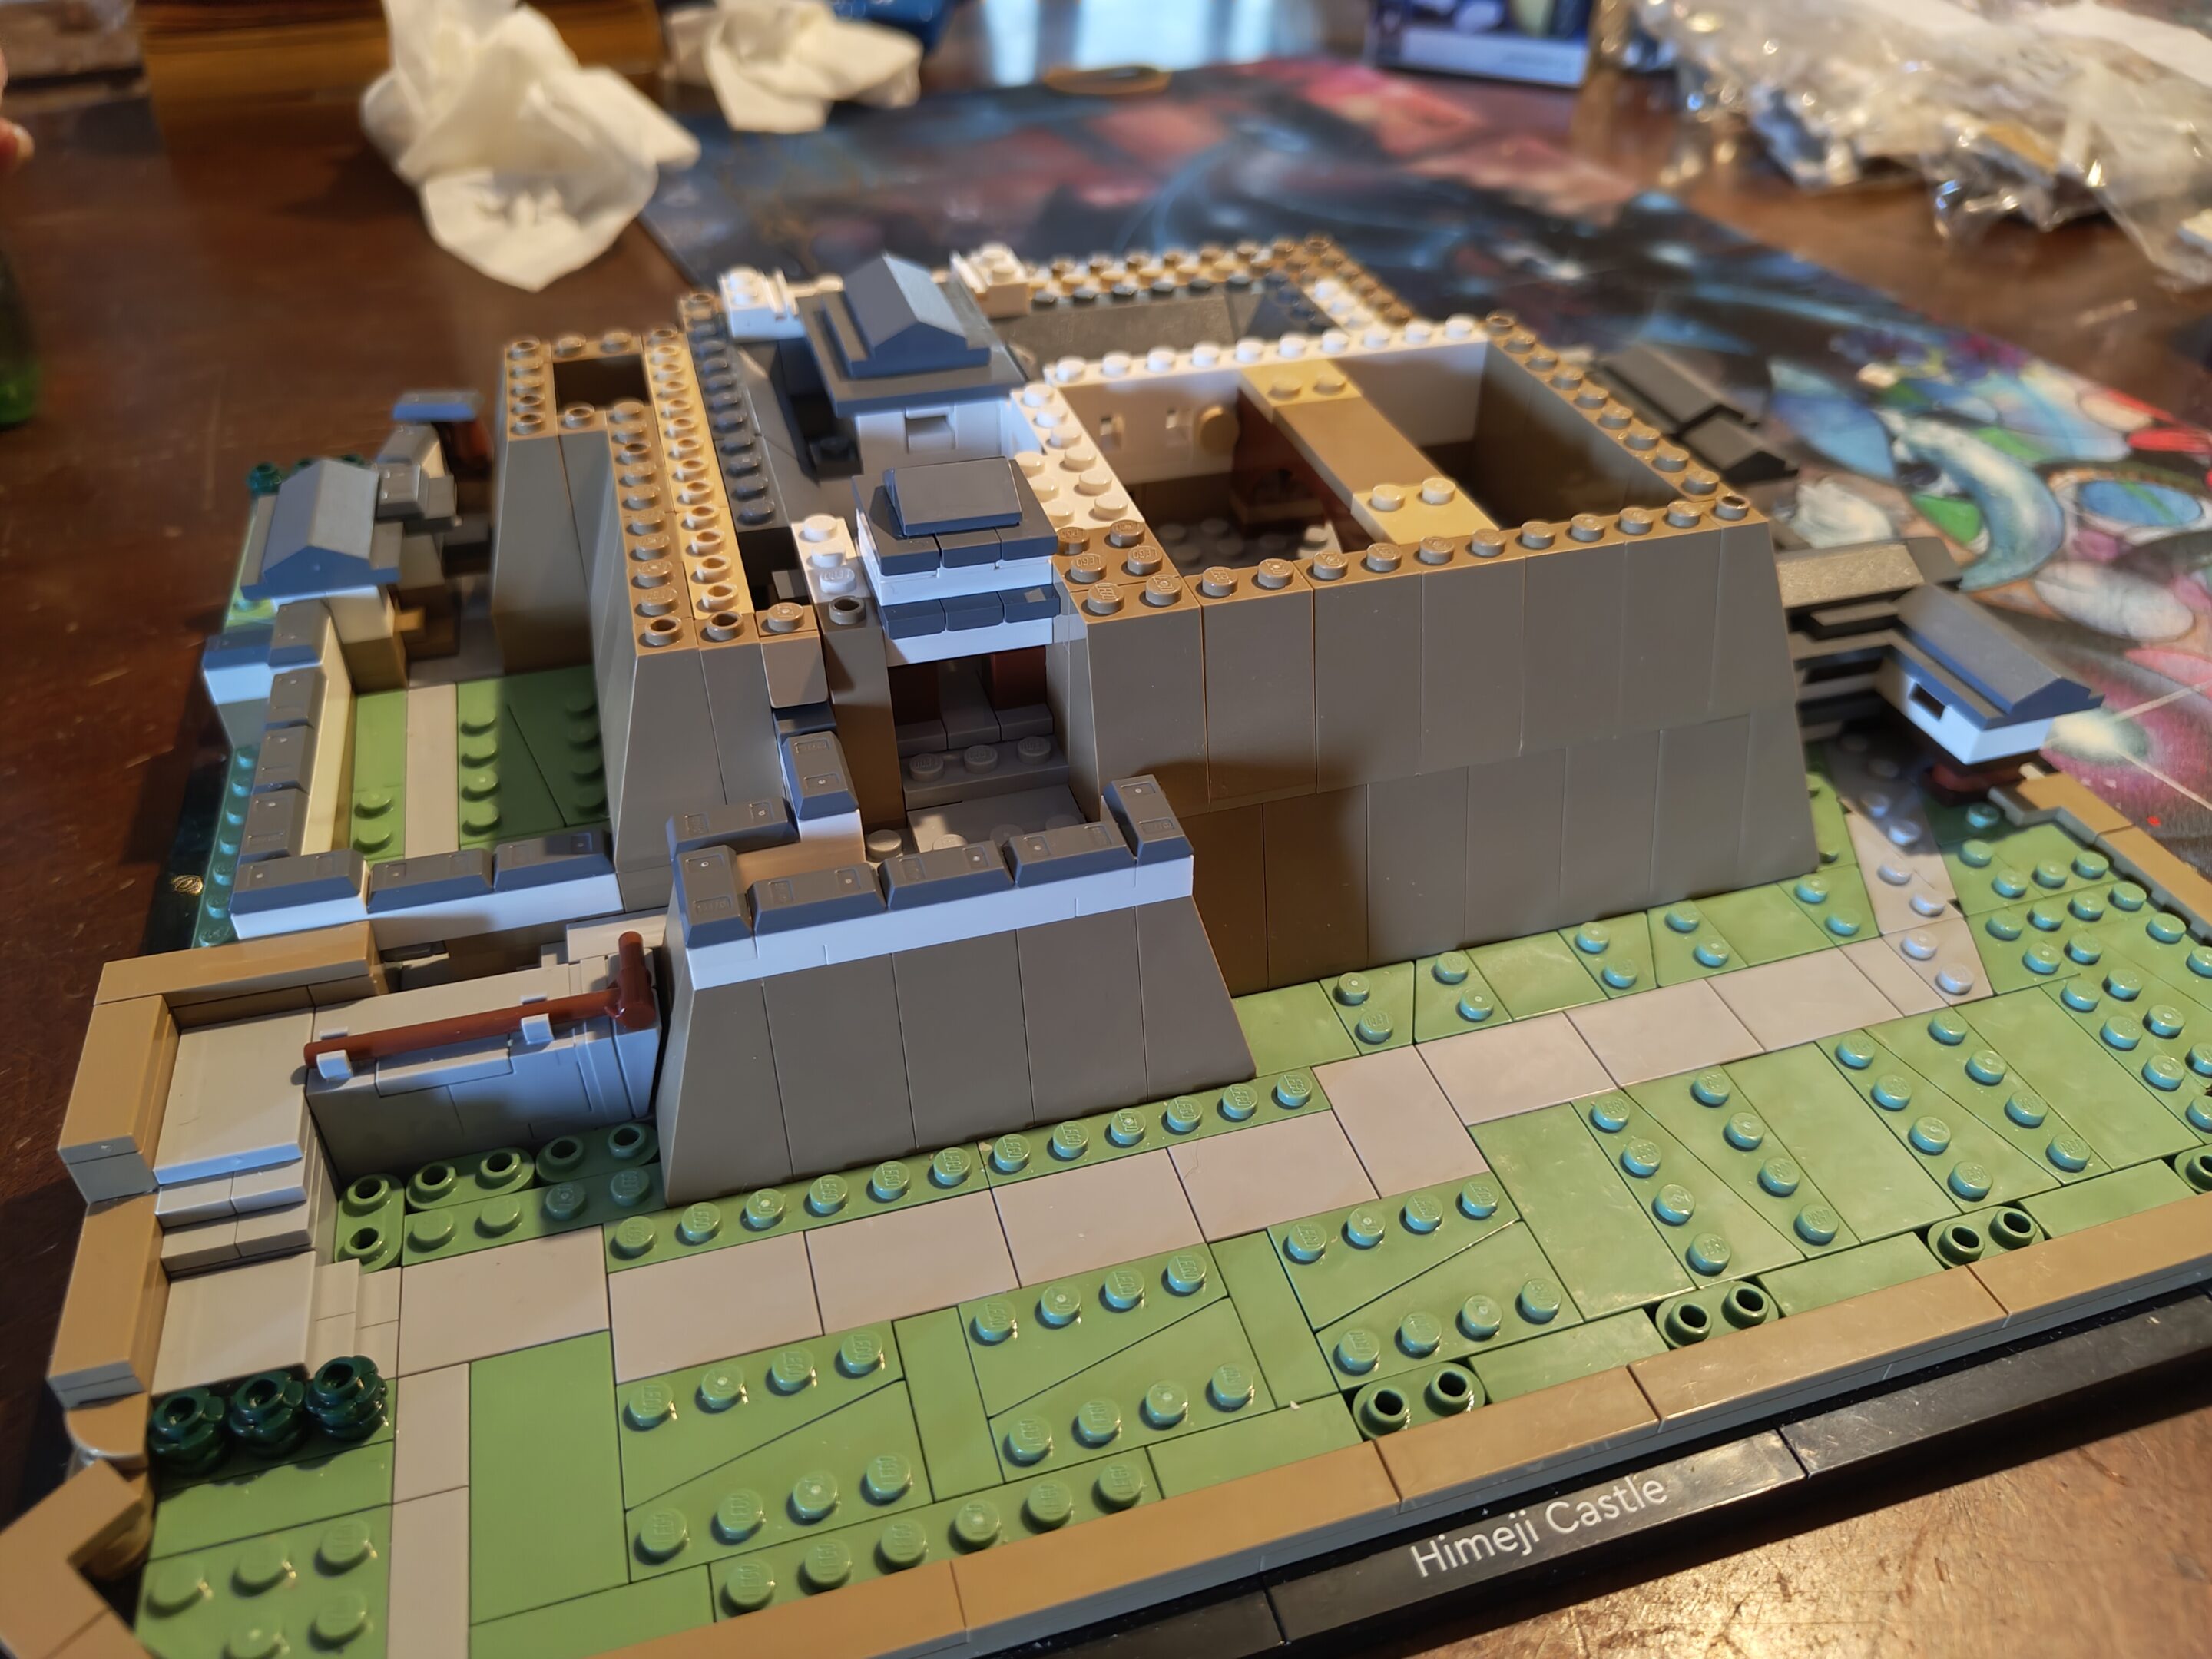
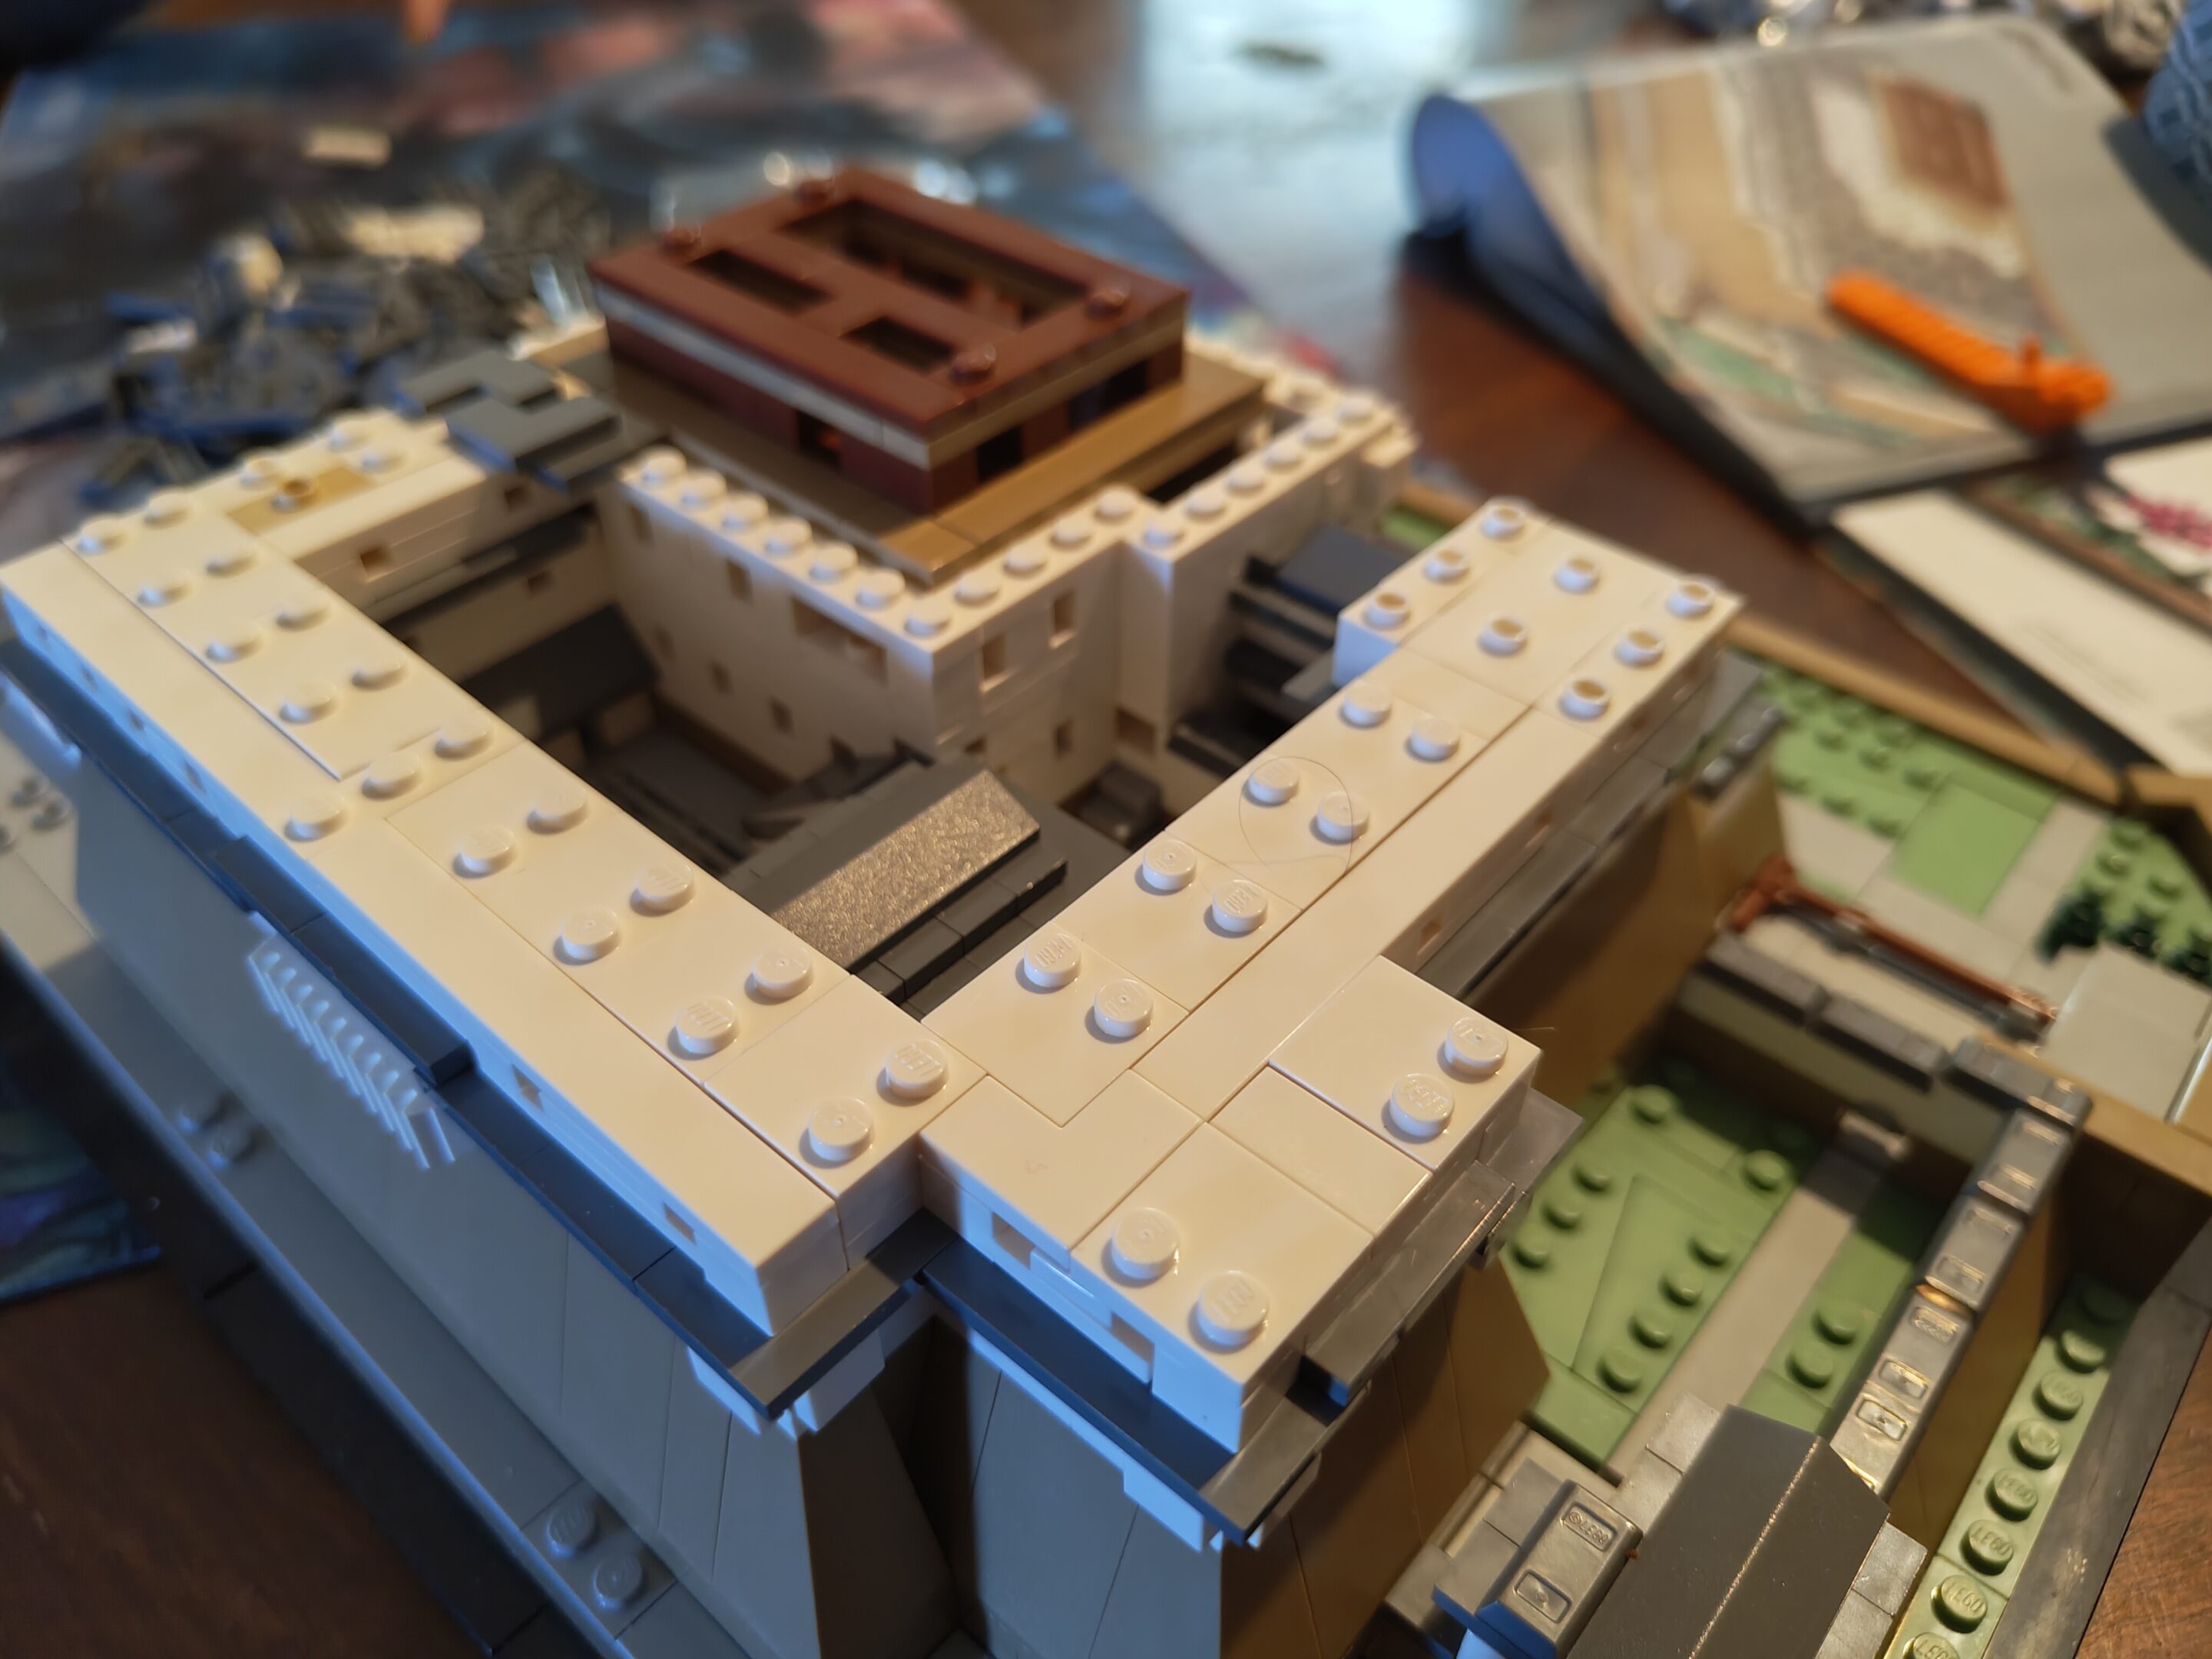
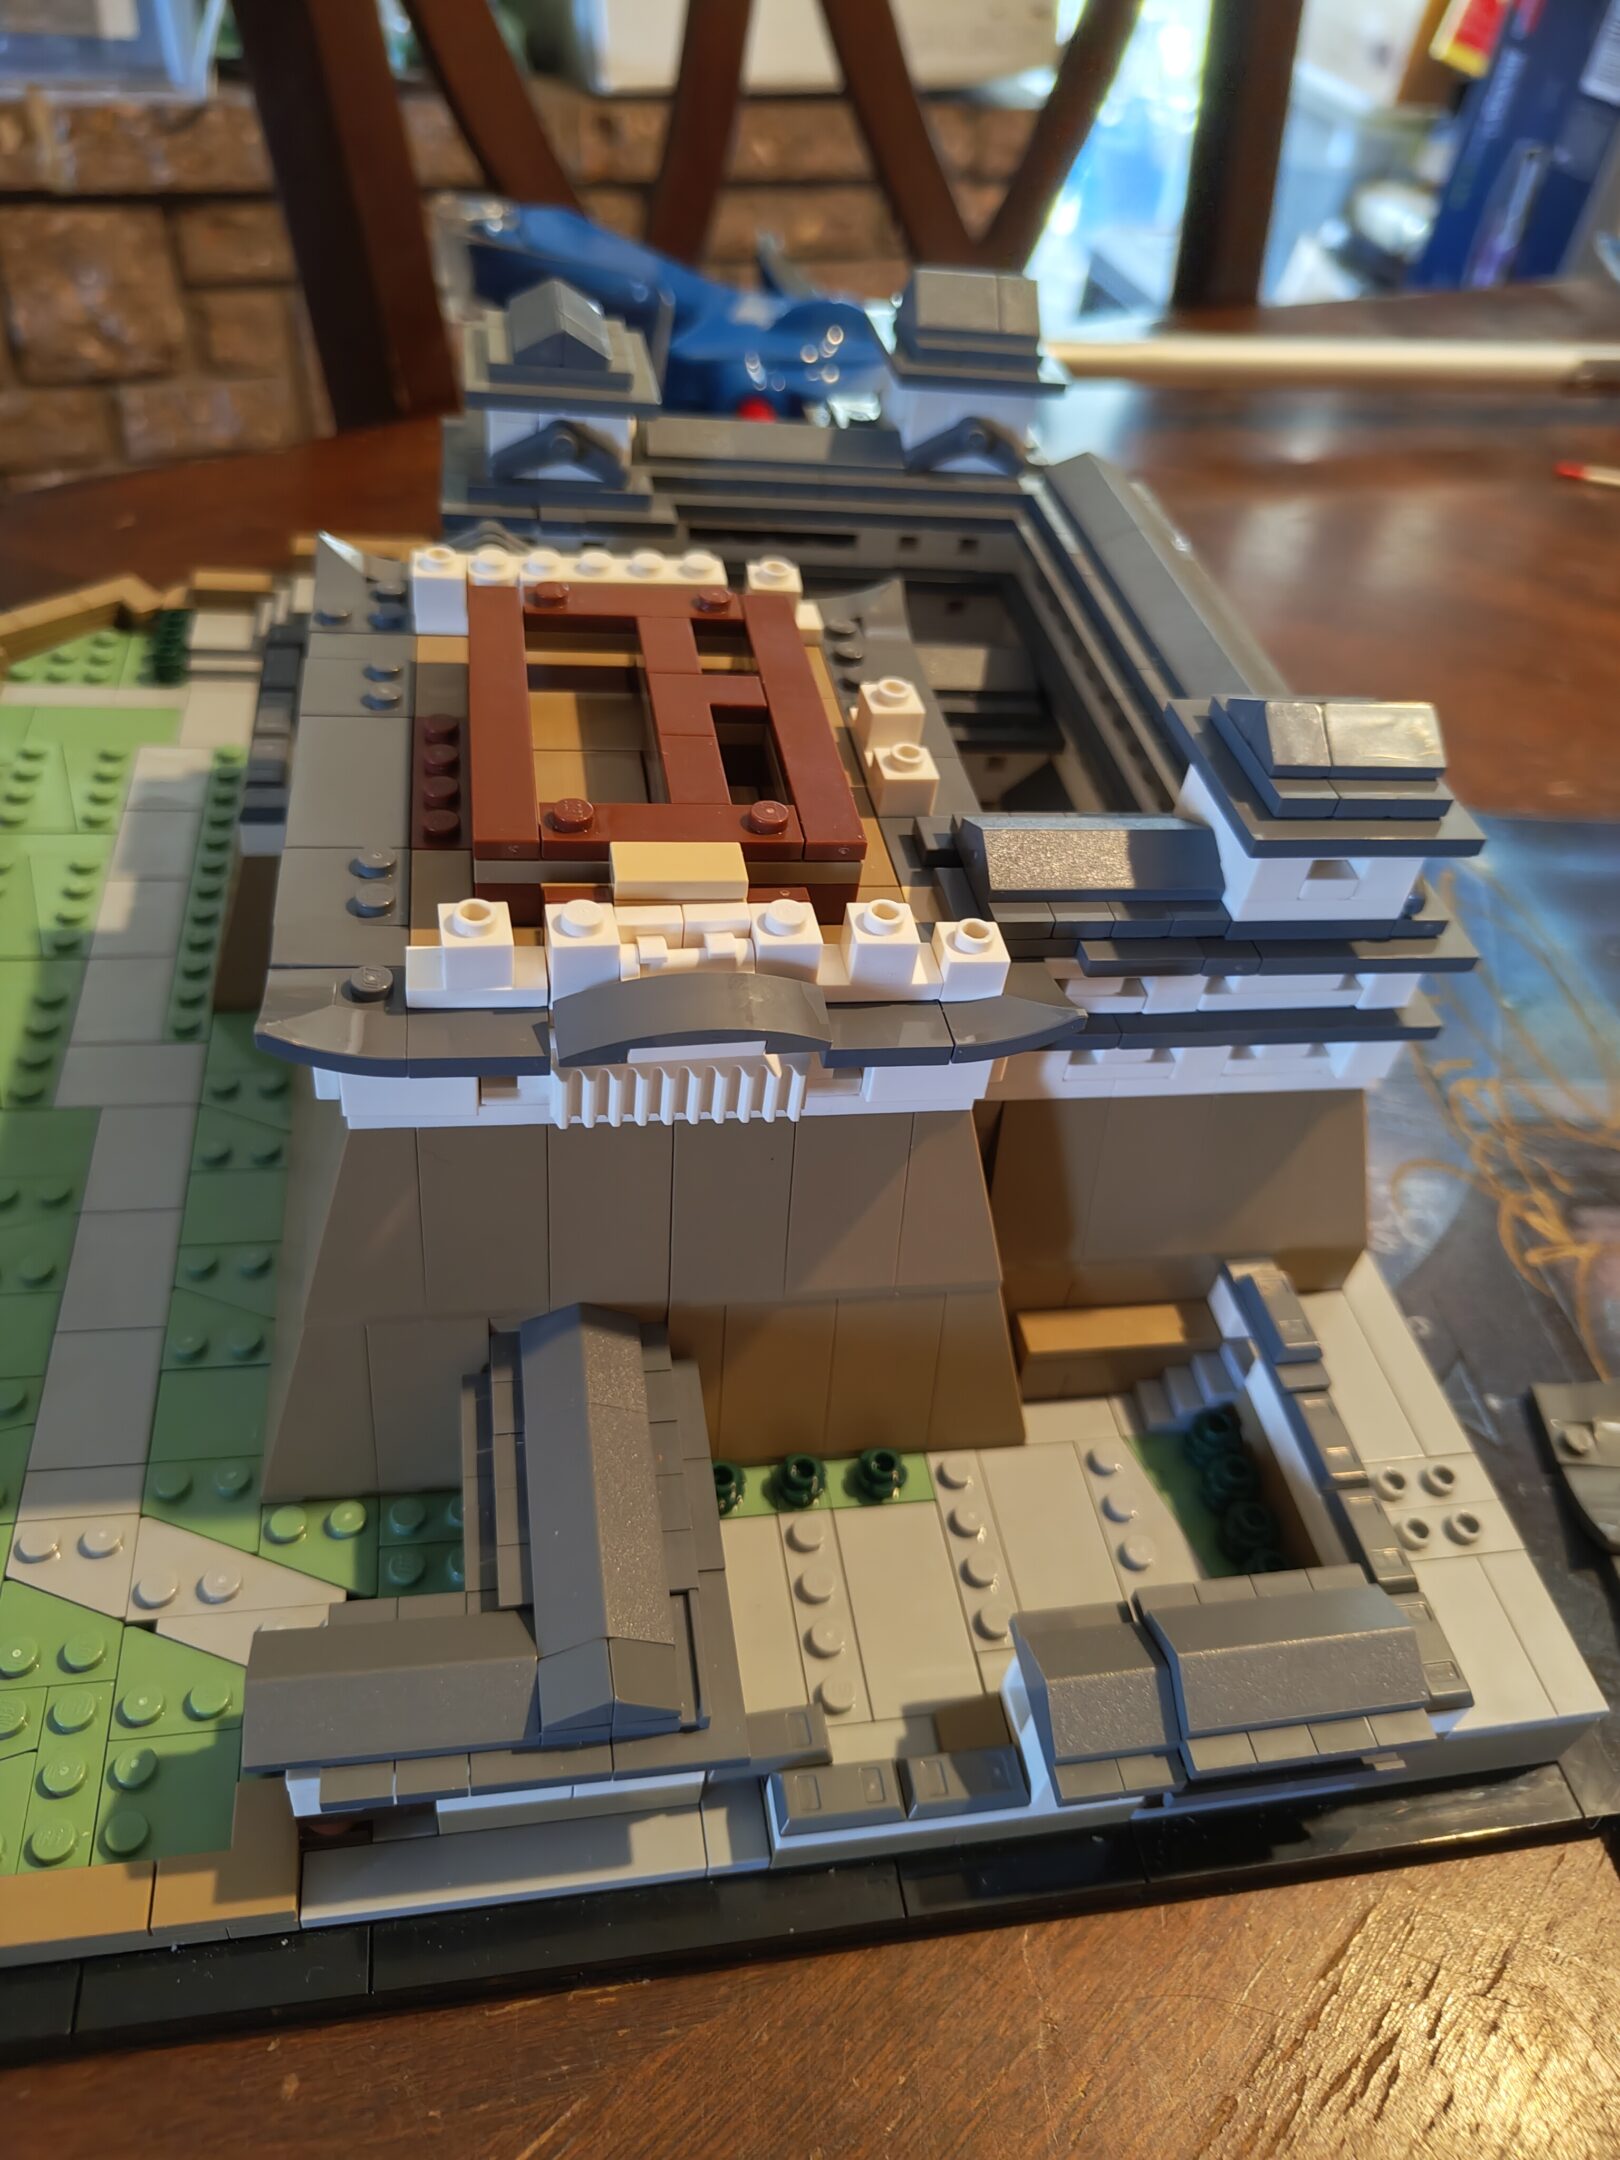
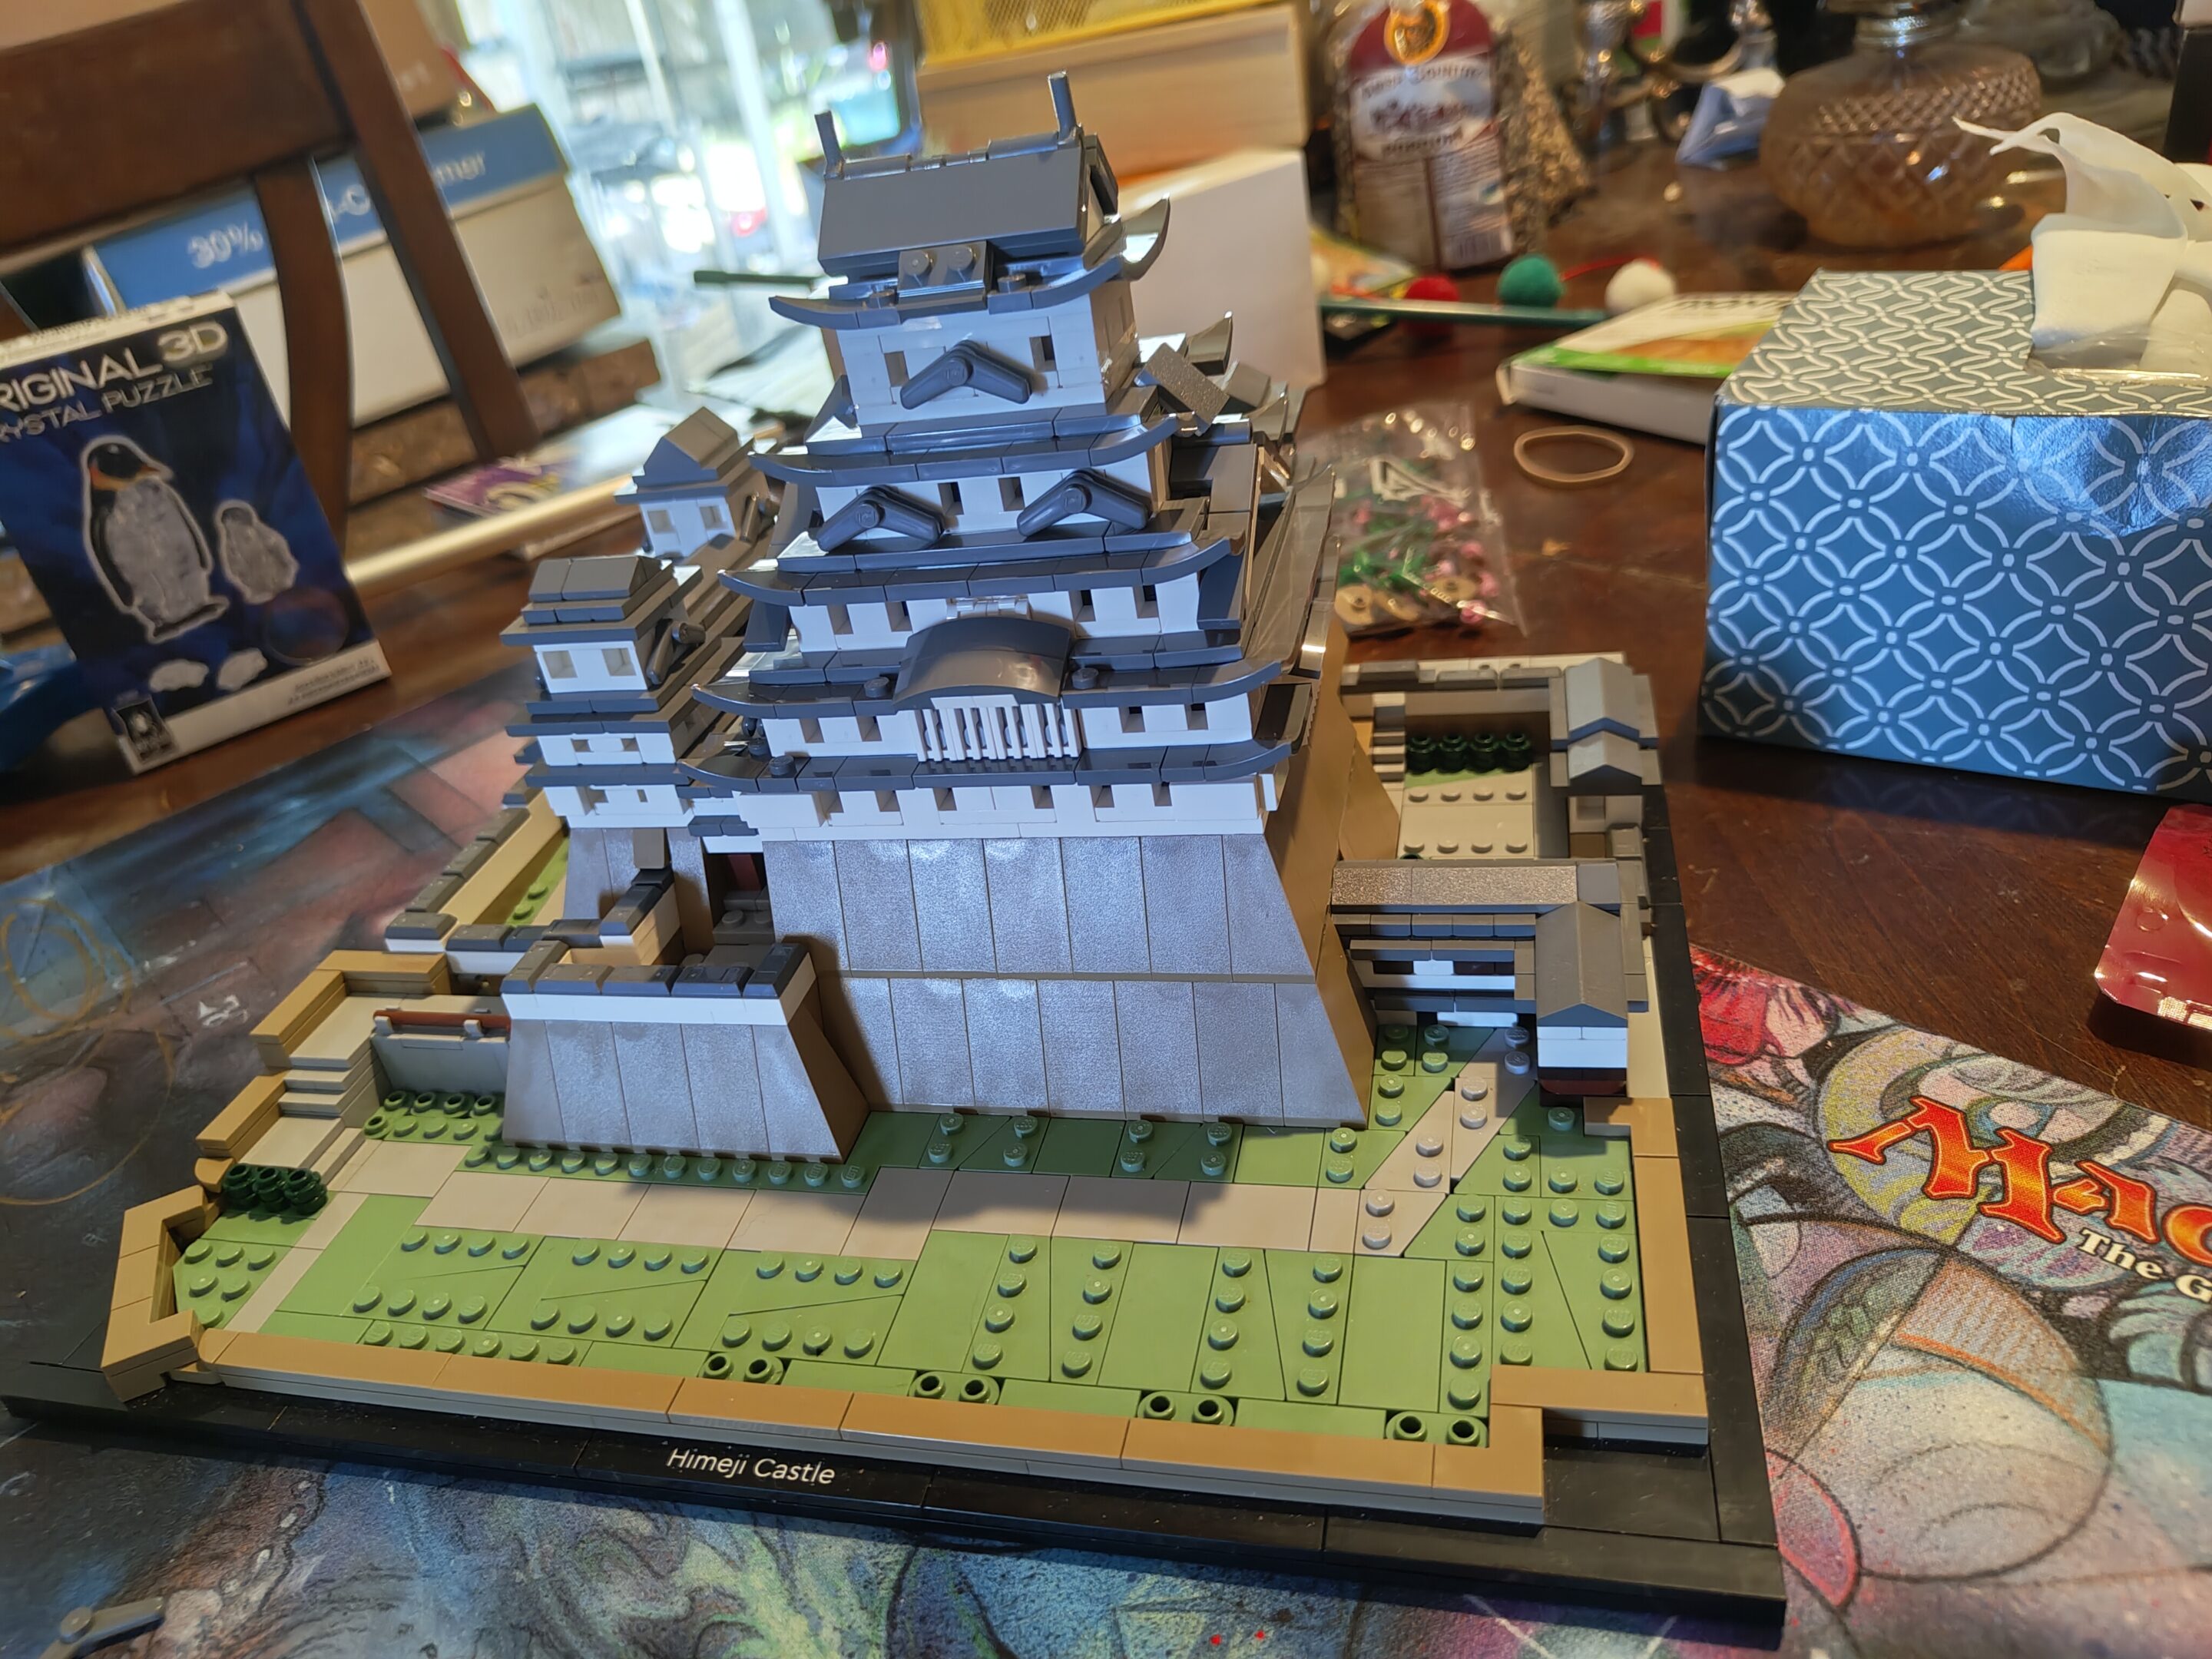
mom really wanted to do a castle and this was the first one i found for sale that was an actual castle shape and not just a building facade. although, lego does have a new one for sale coming out soon in august that i might pick up that’s more of the medieval castle style she wanted to build — lego neuschwanstein castle #21063 — but we haven’t really made much progress on this one lately
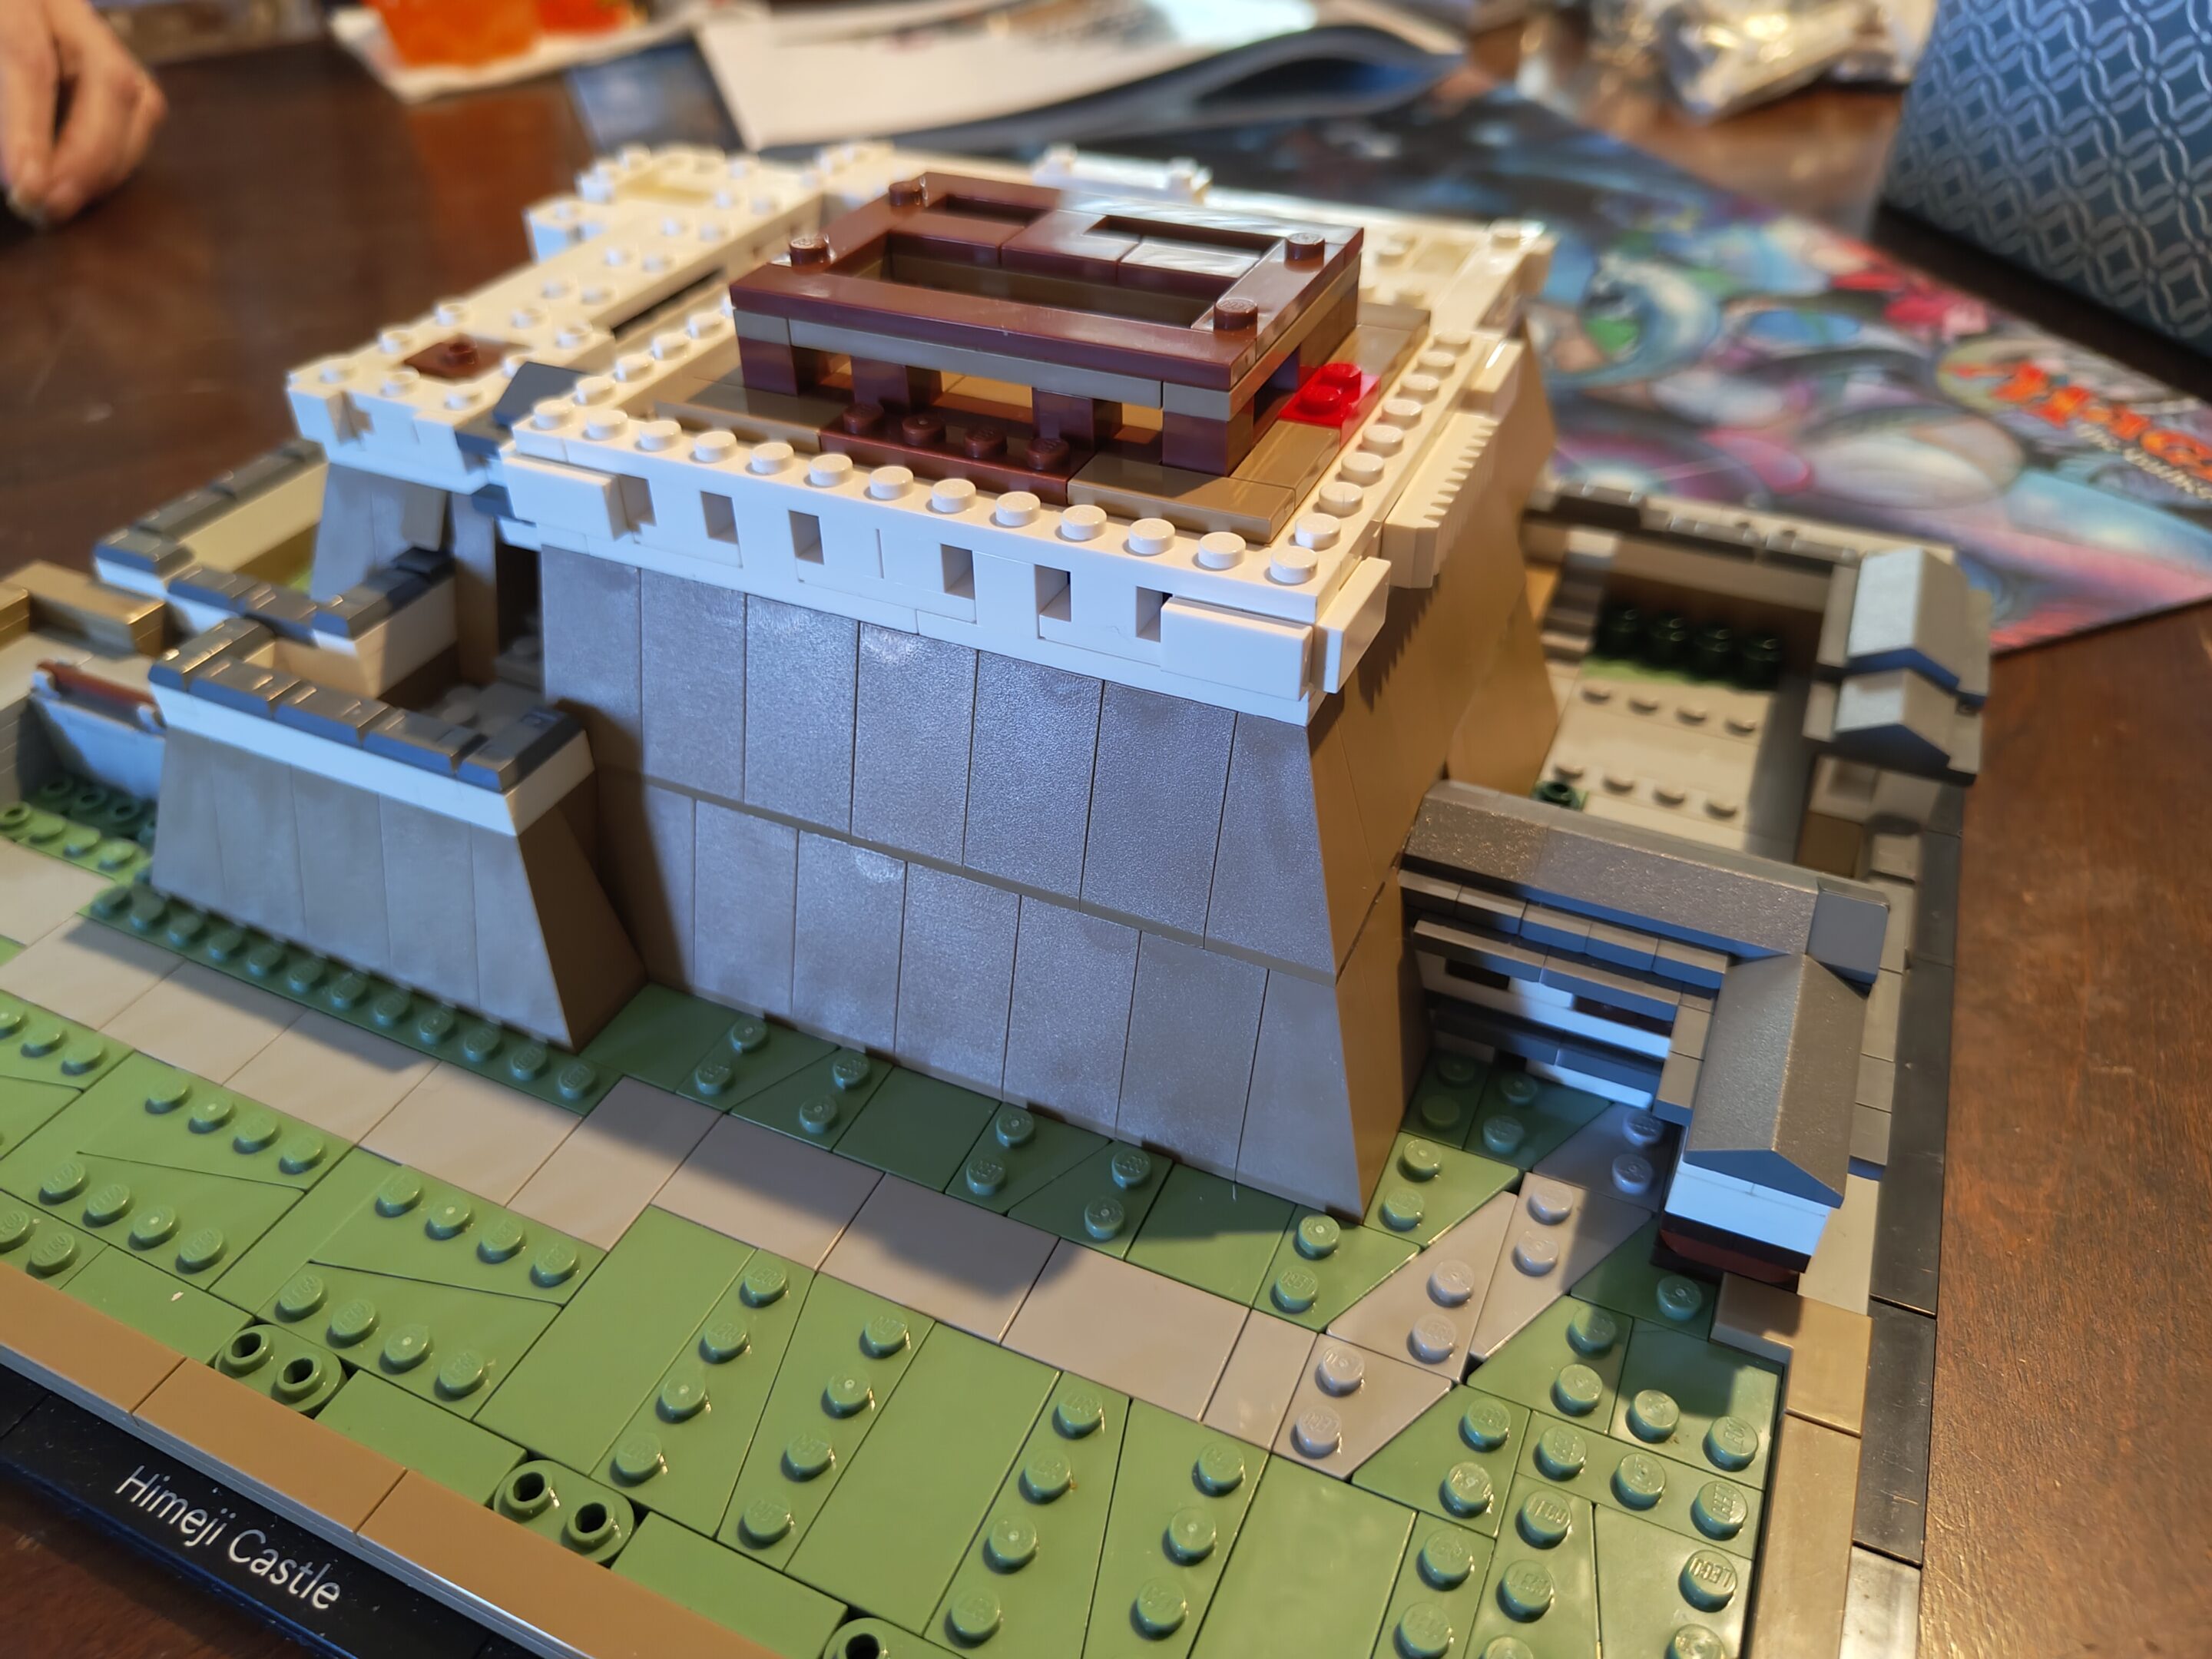
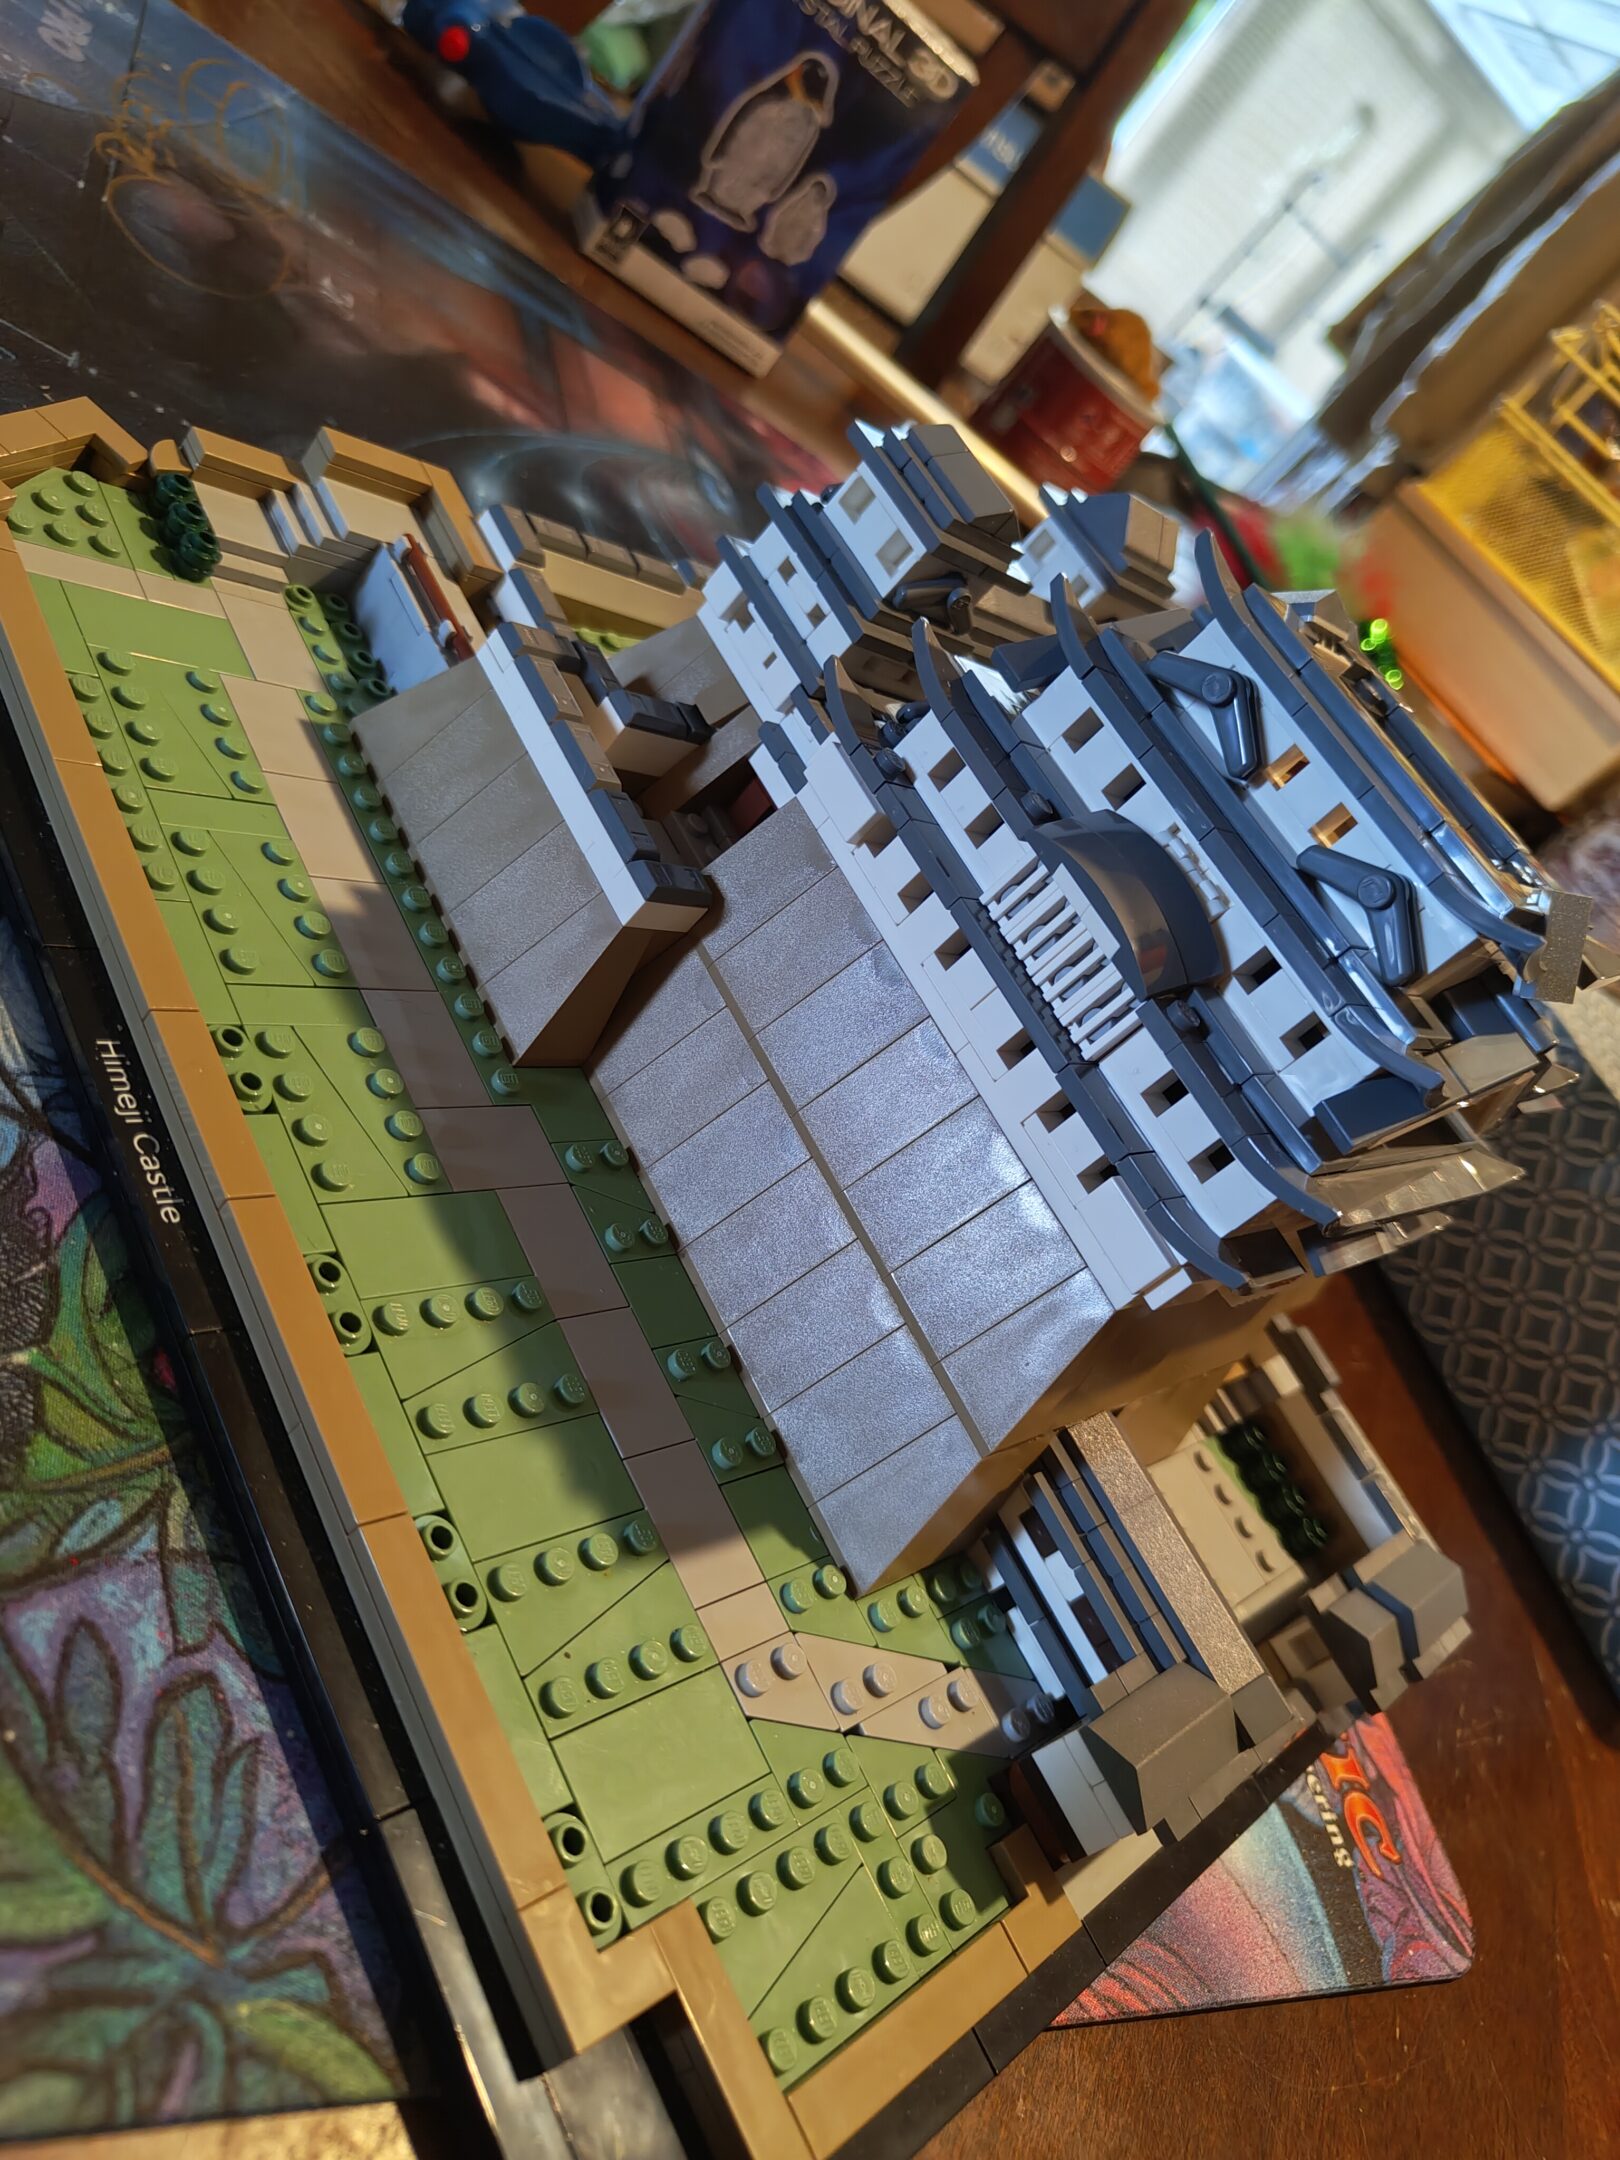
Himeji Castle … or at least that’s what the frame says. There’s a neat Japanese nameplate you can use here as well
more today after mom’s physical therapy
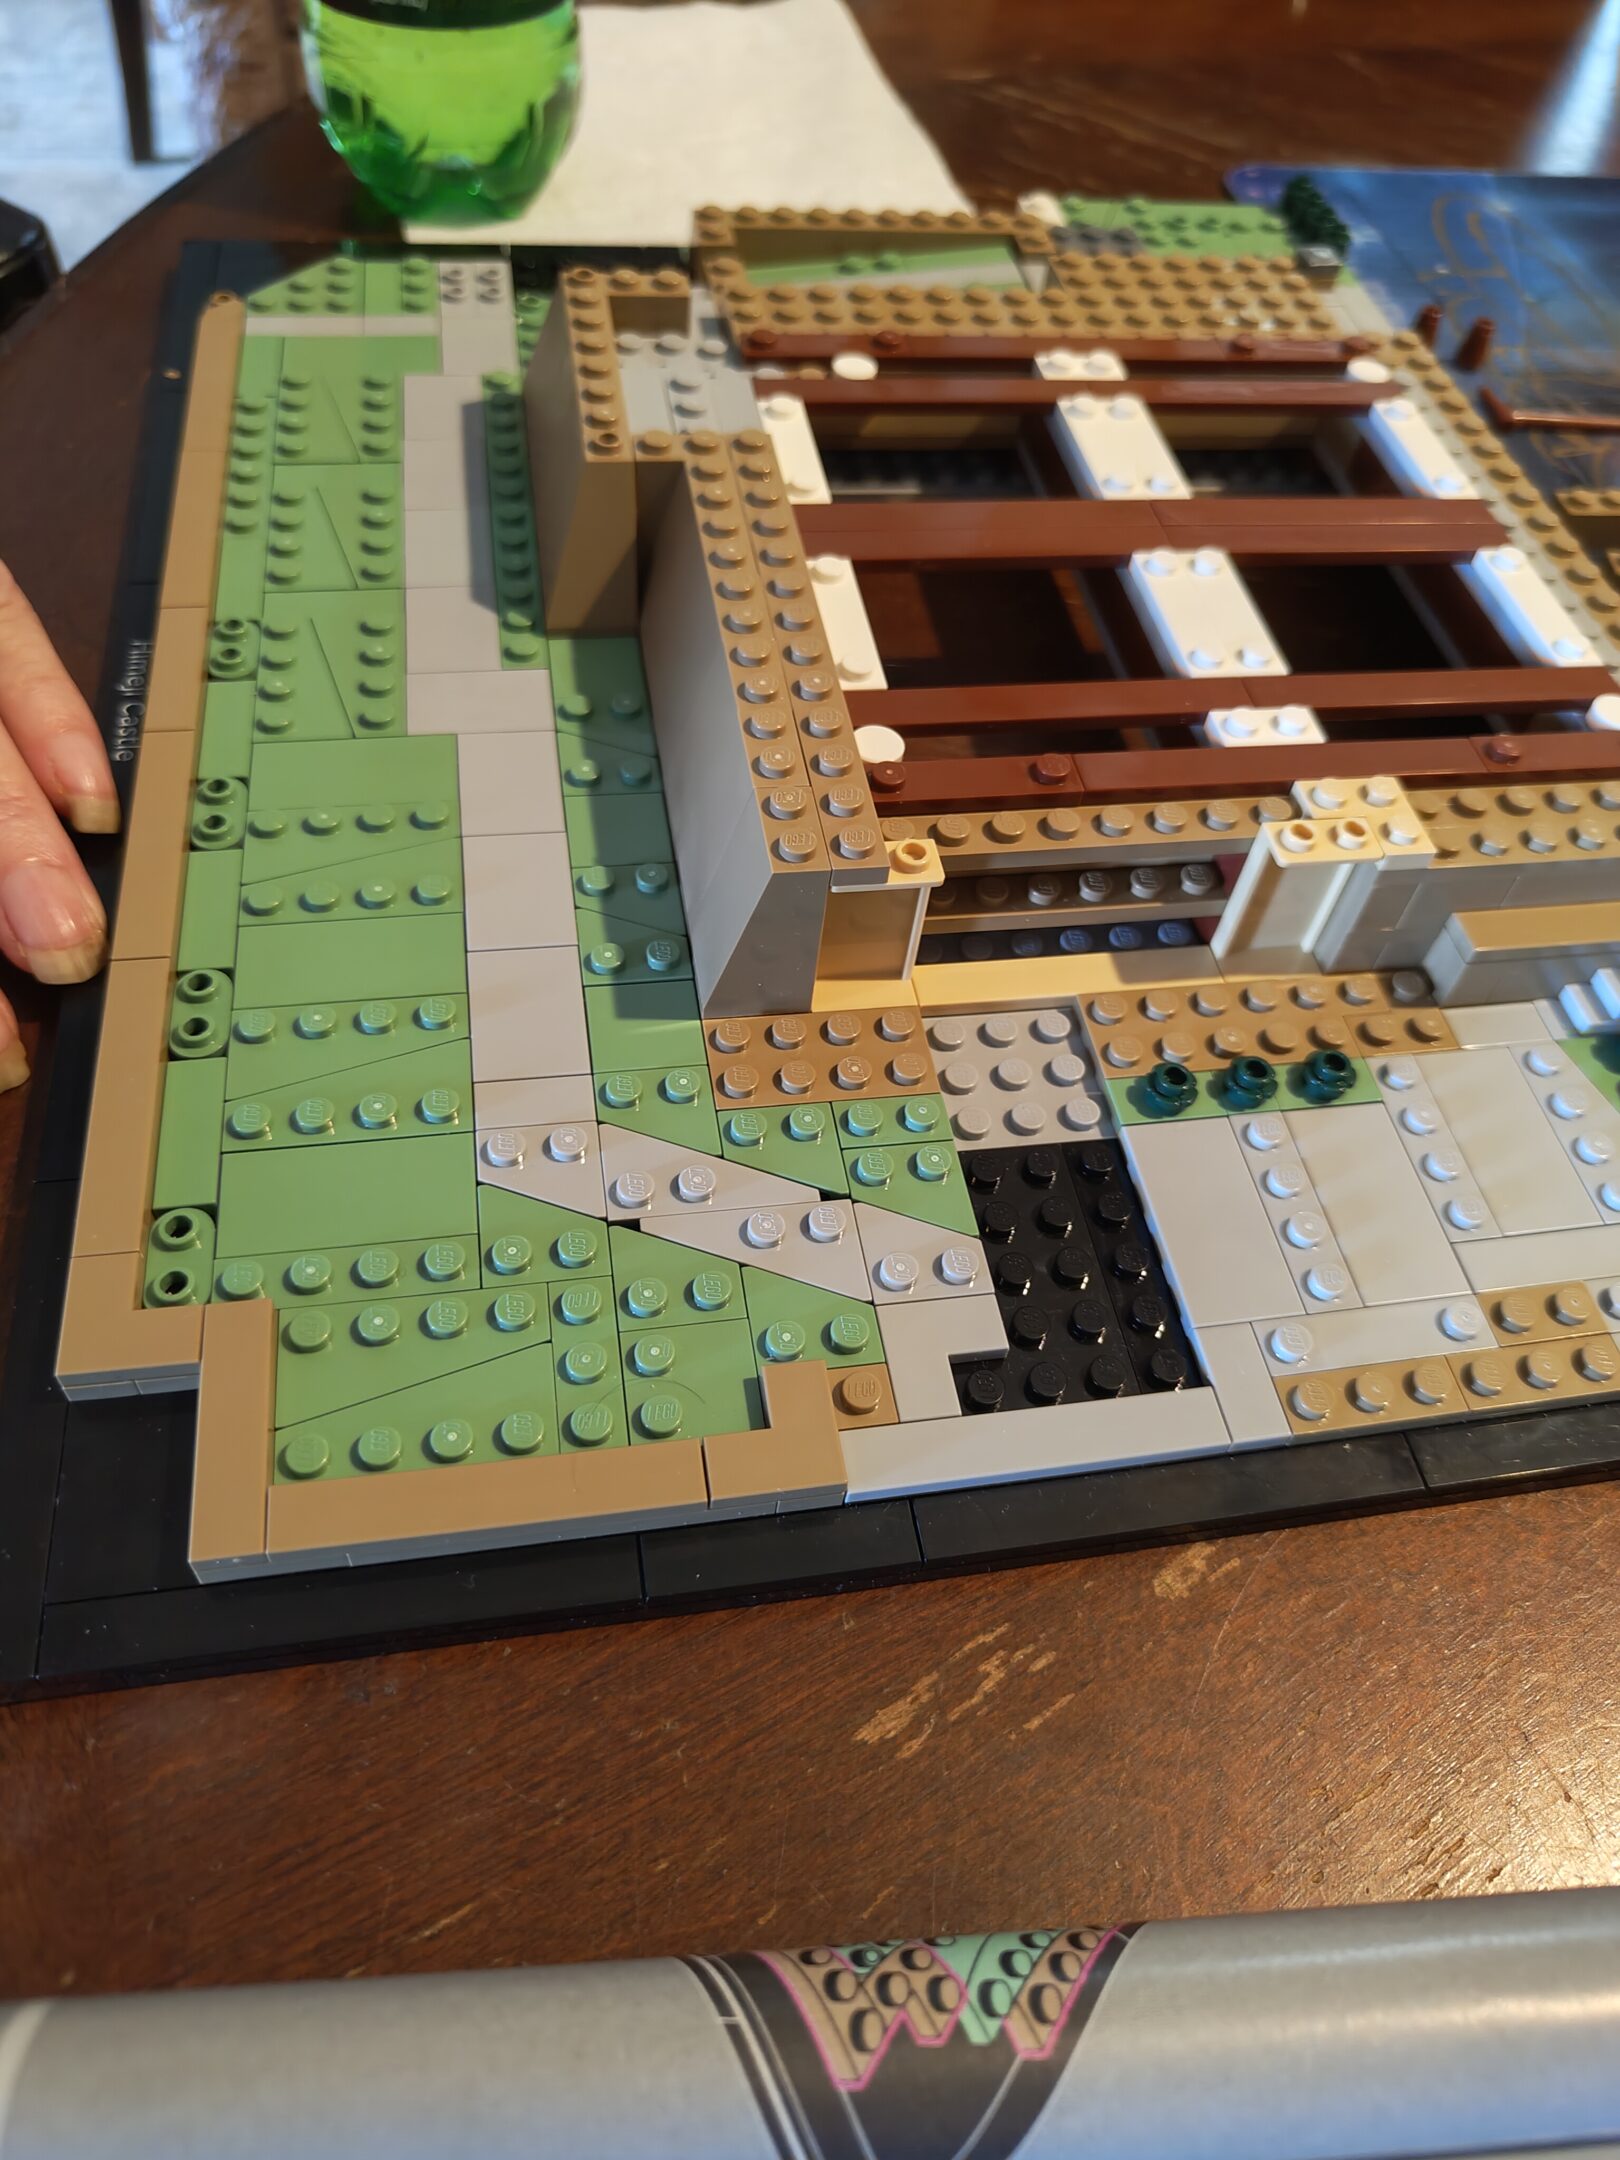
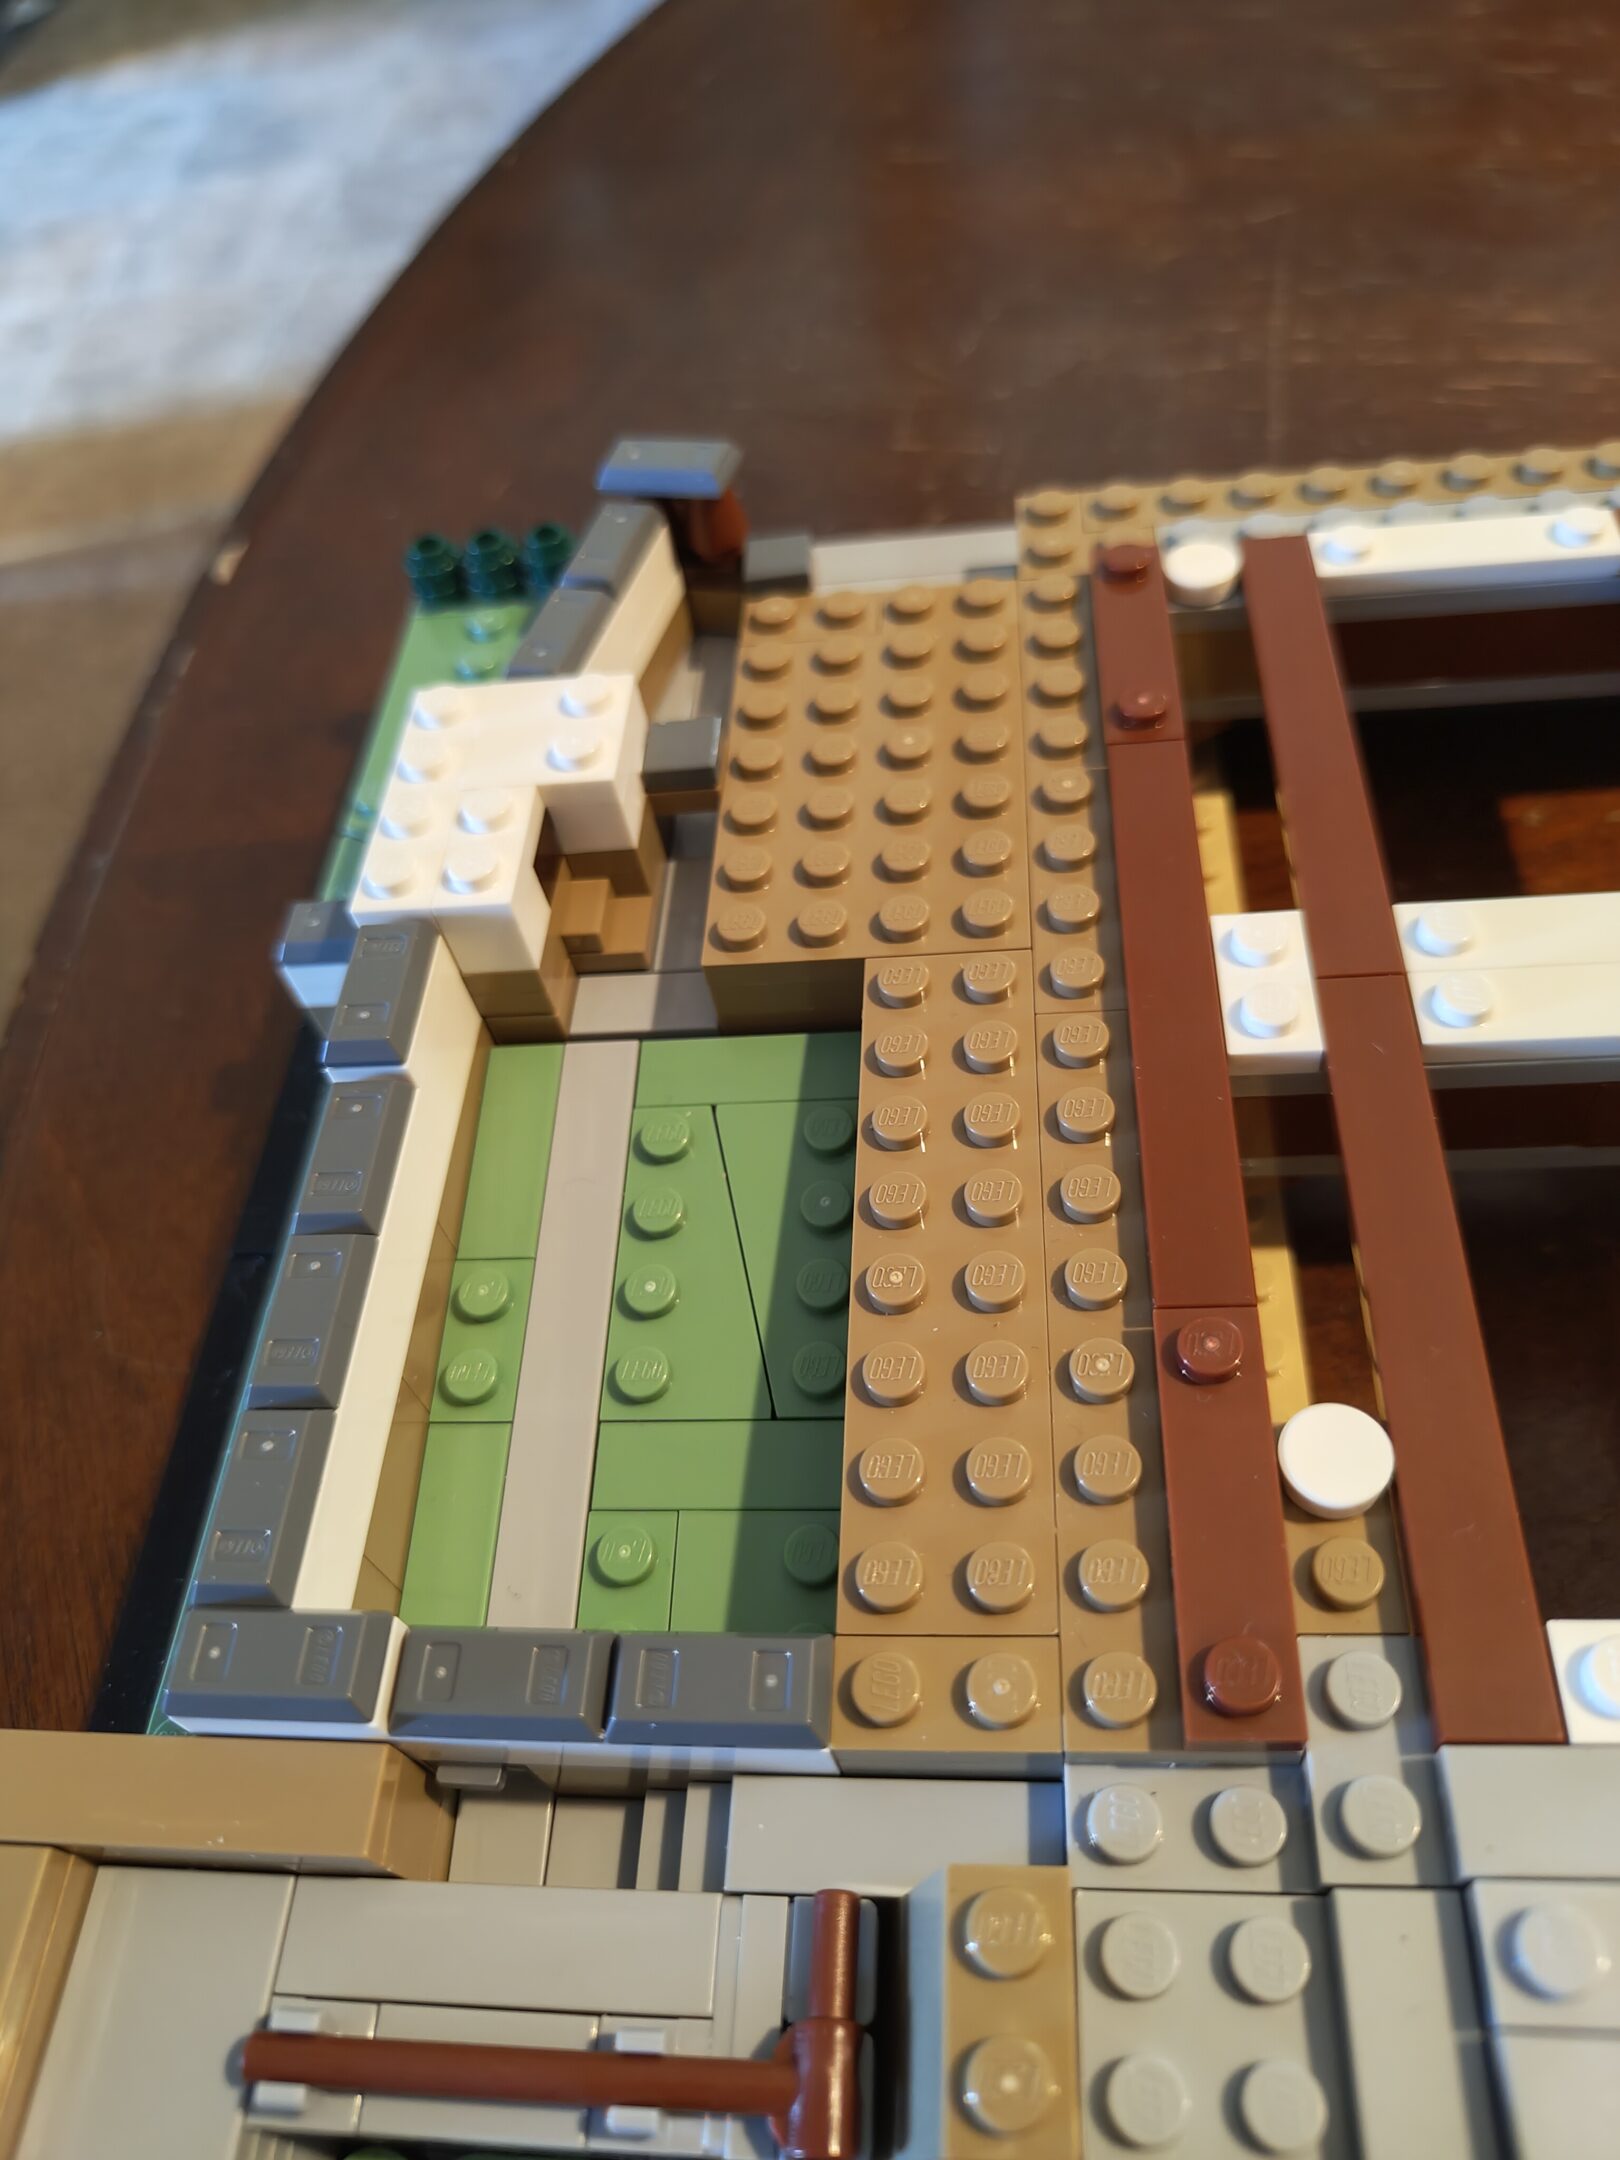
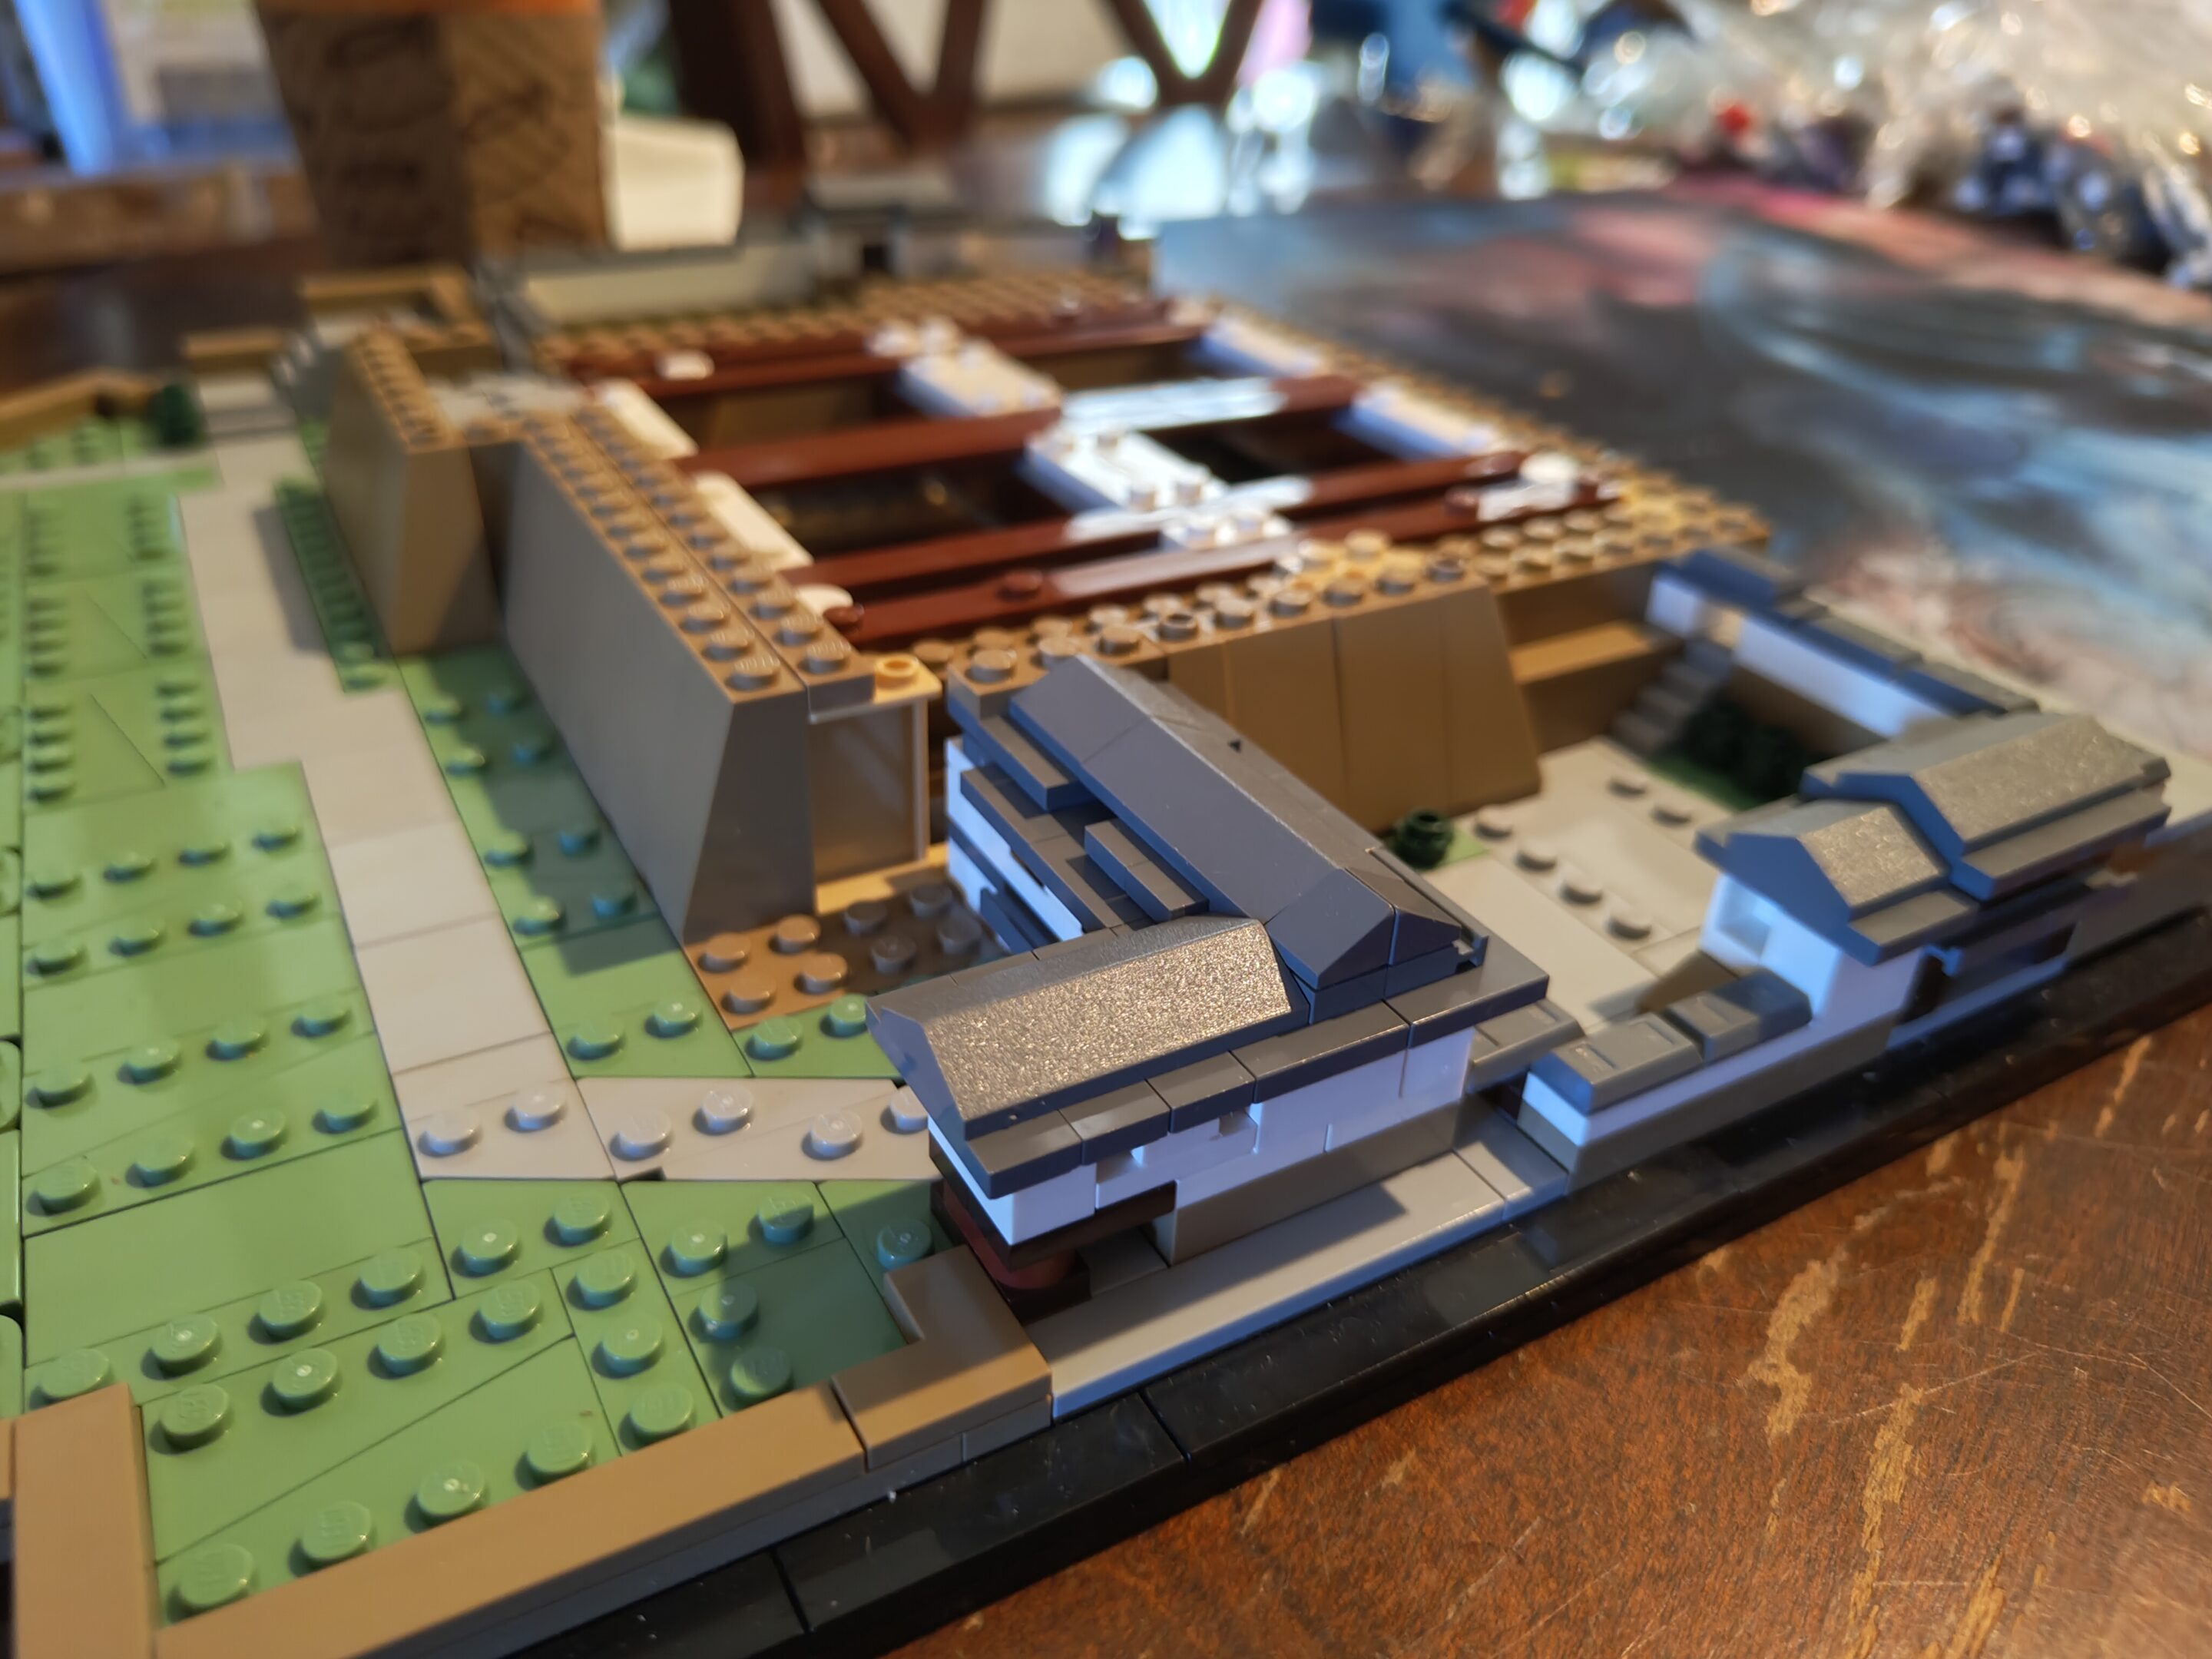
More front wall and garden todayItty bitty little steps
update: saturday, july 26th: a few wall details in. we’re done with bag 5 of 17
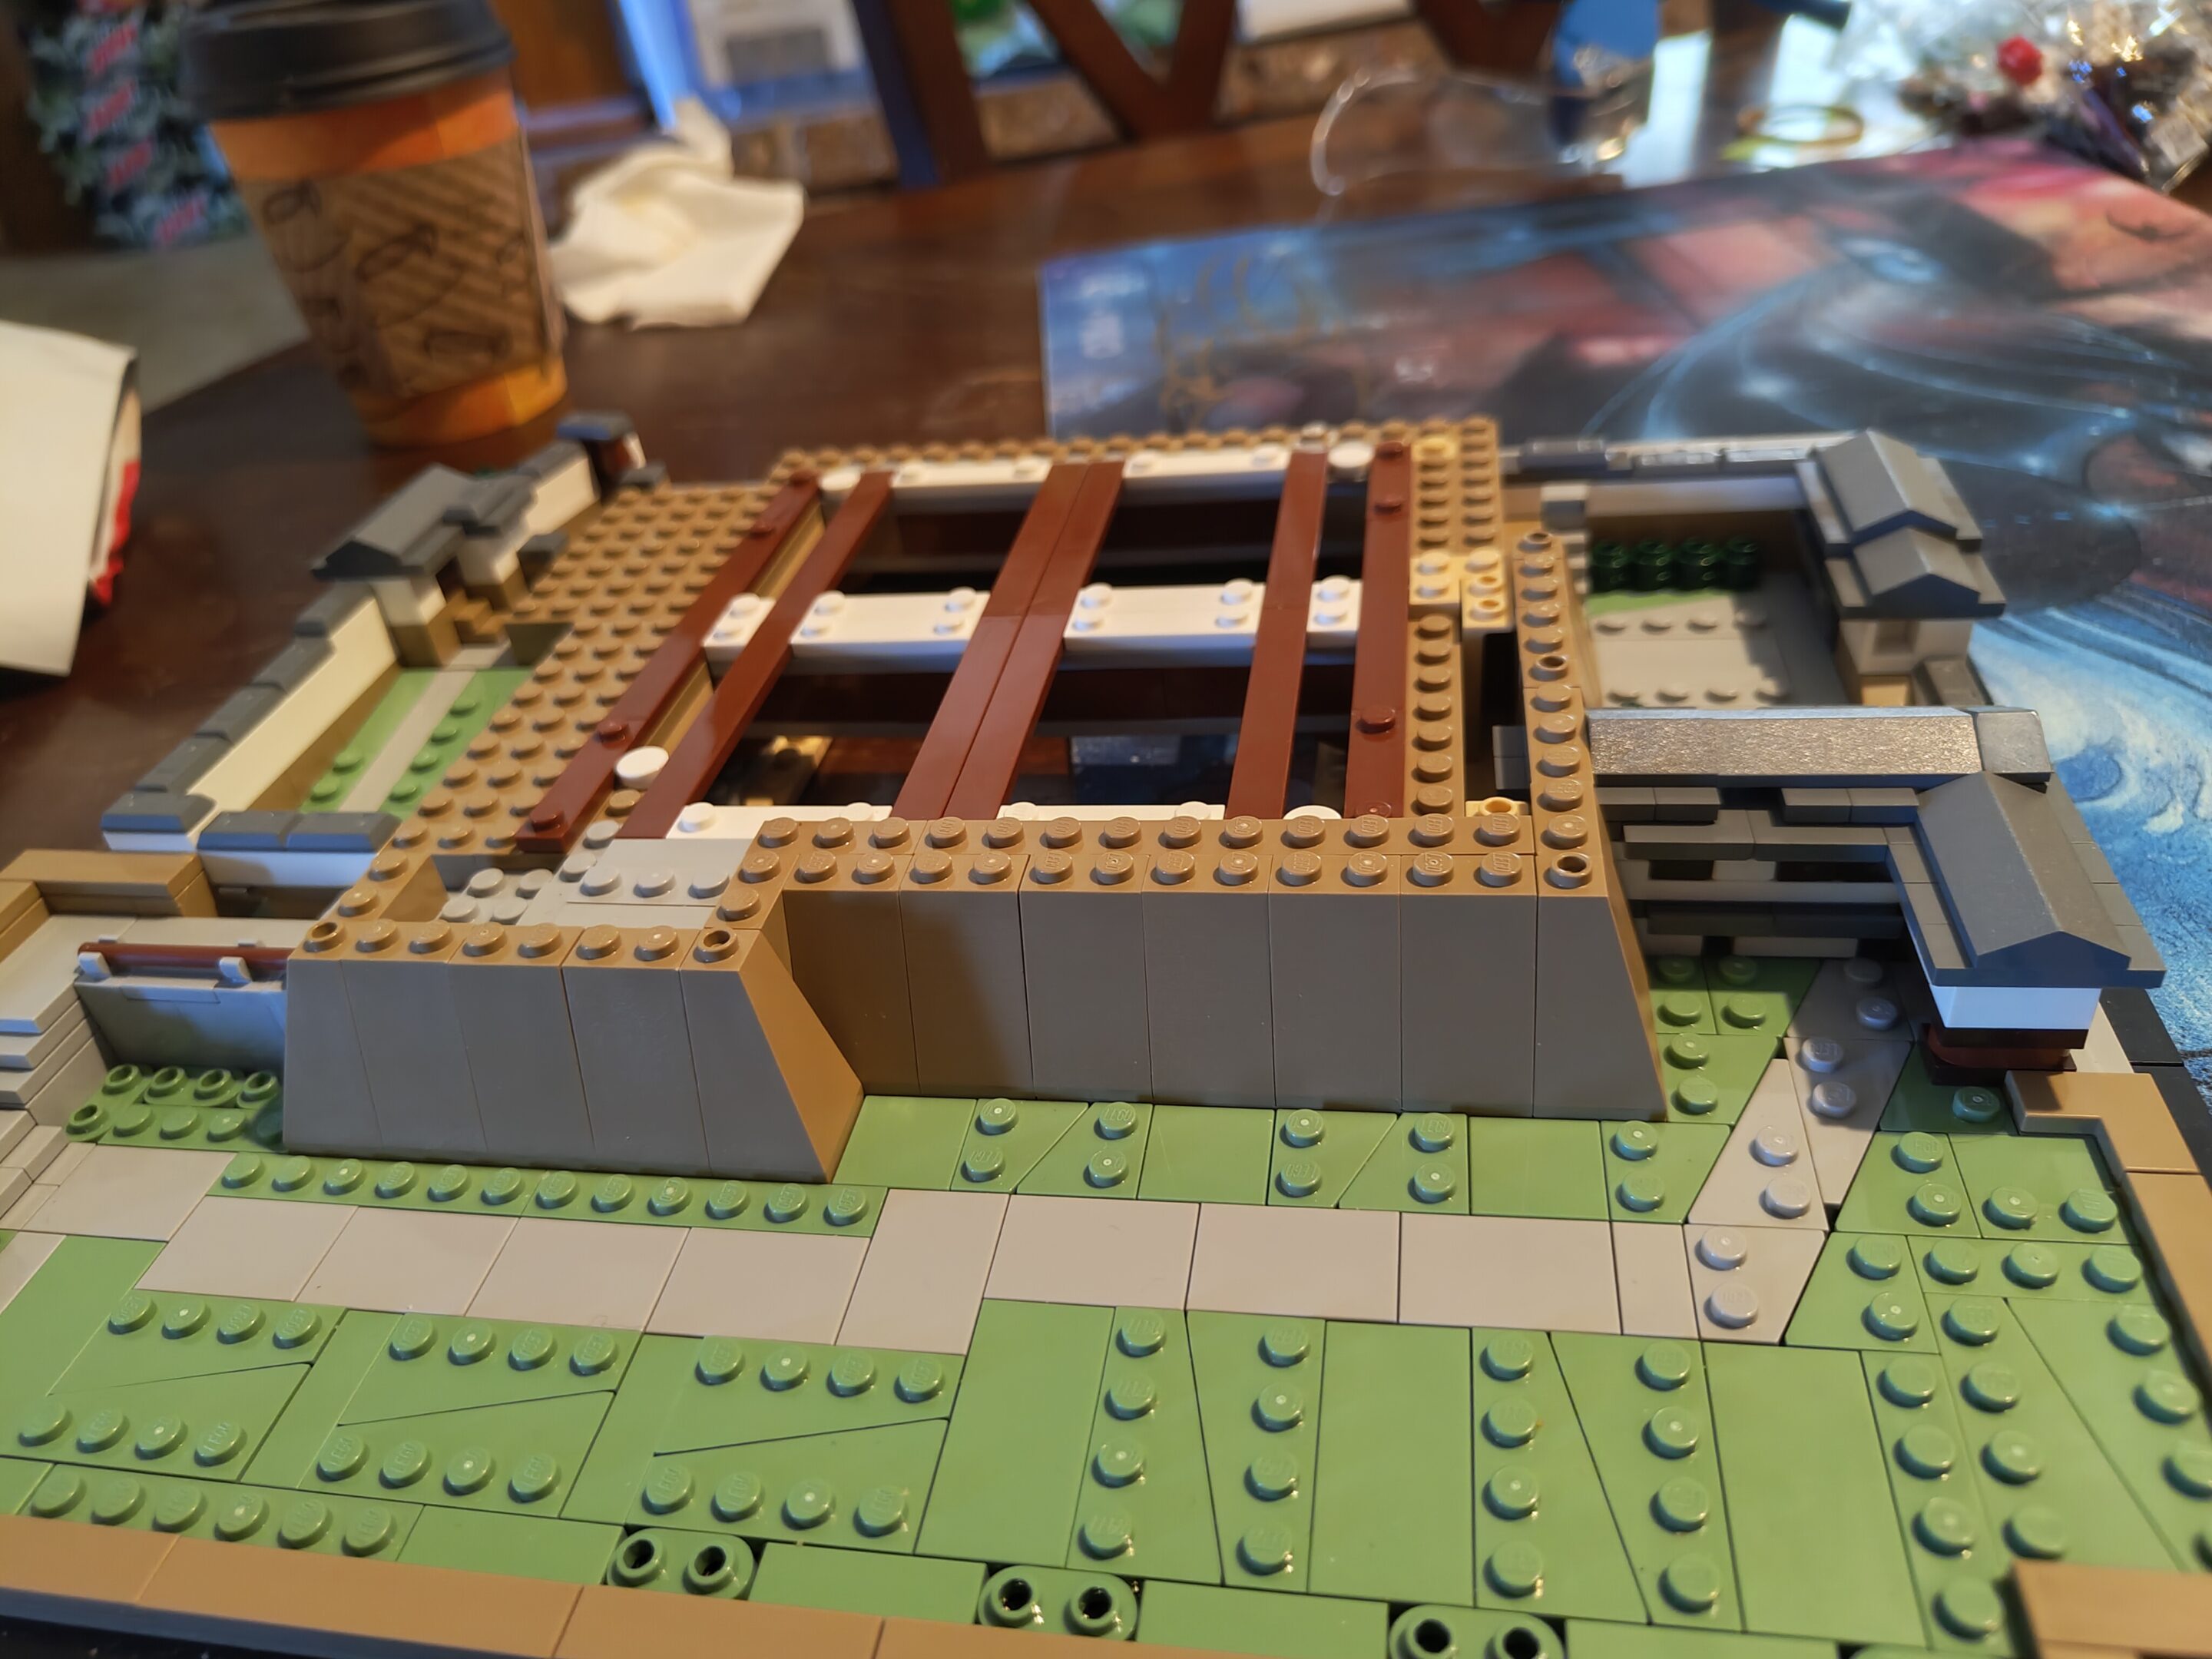
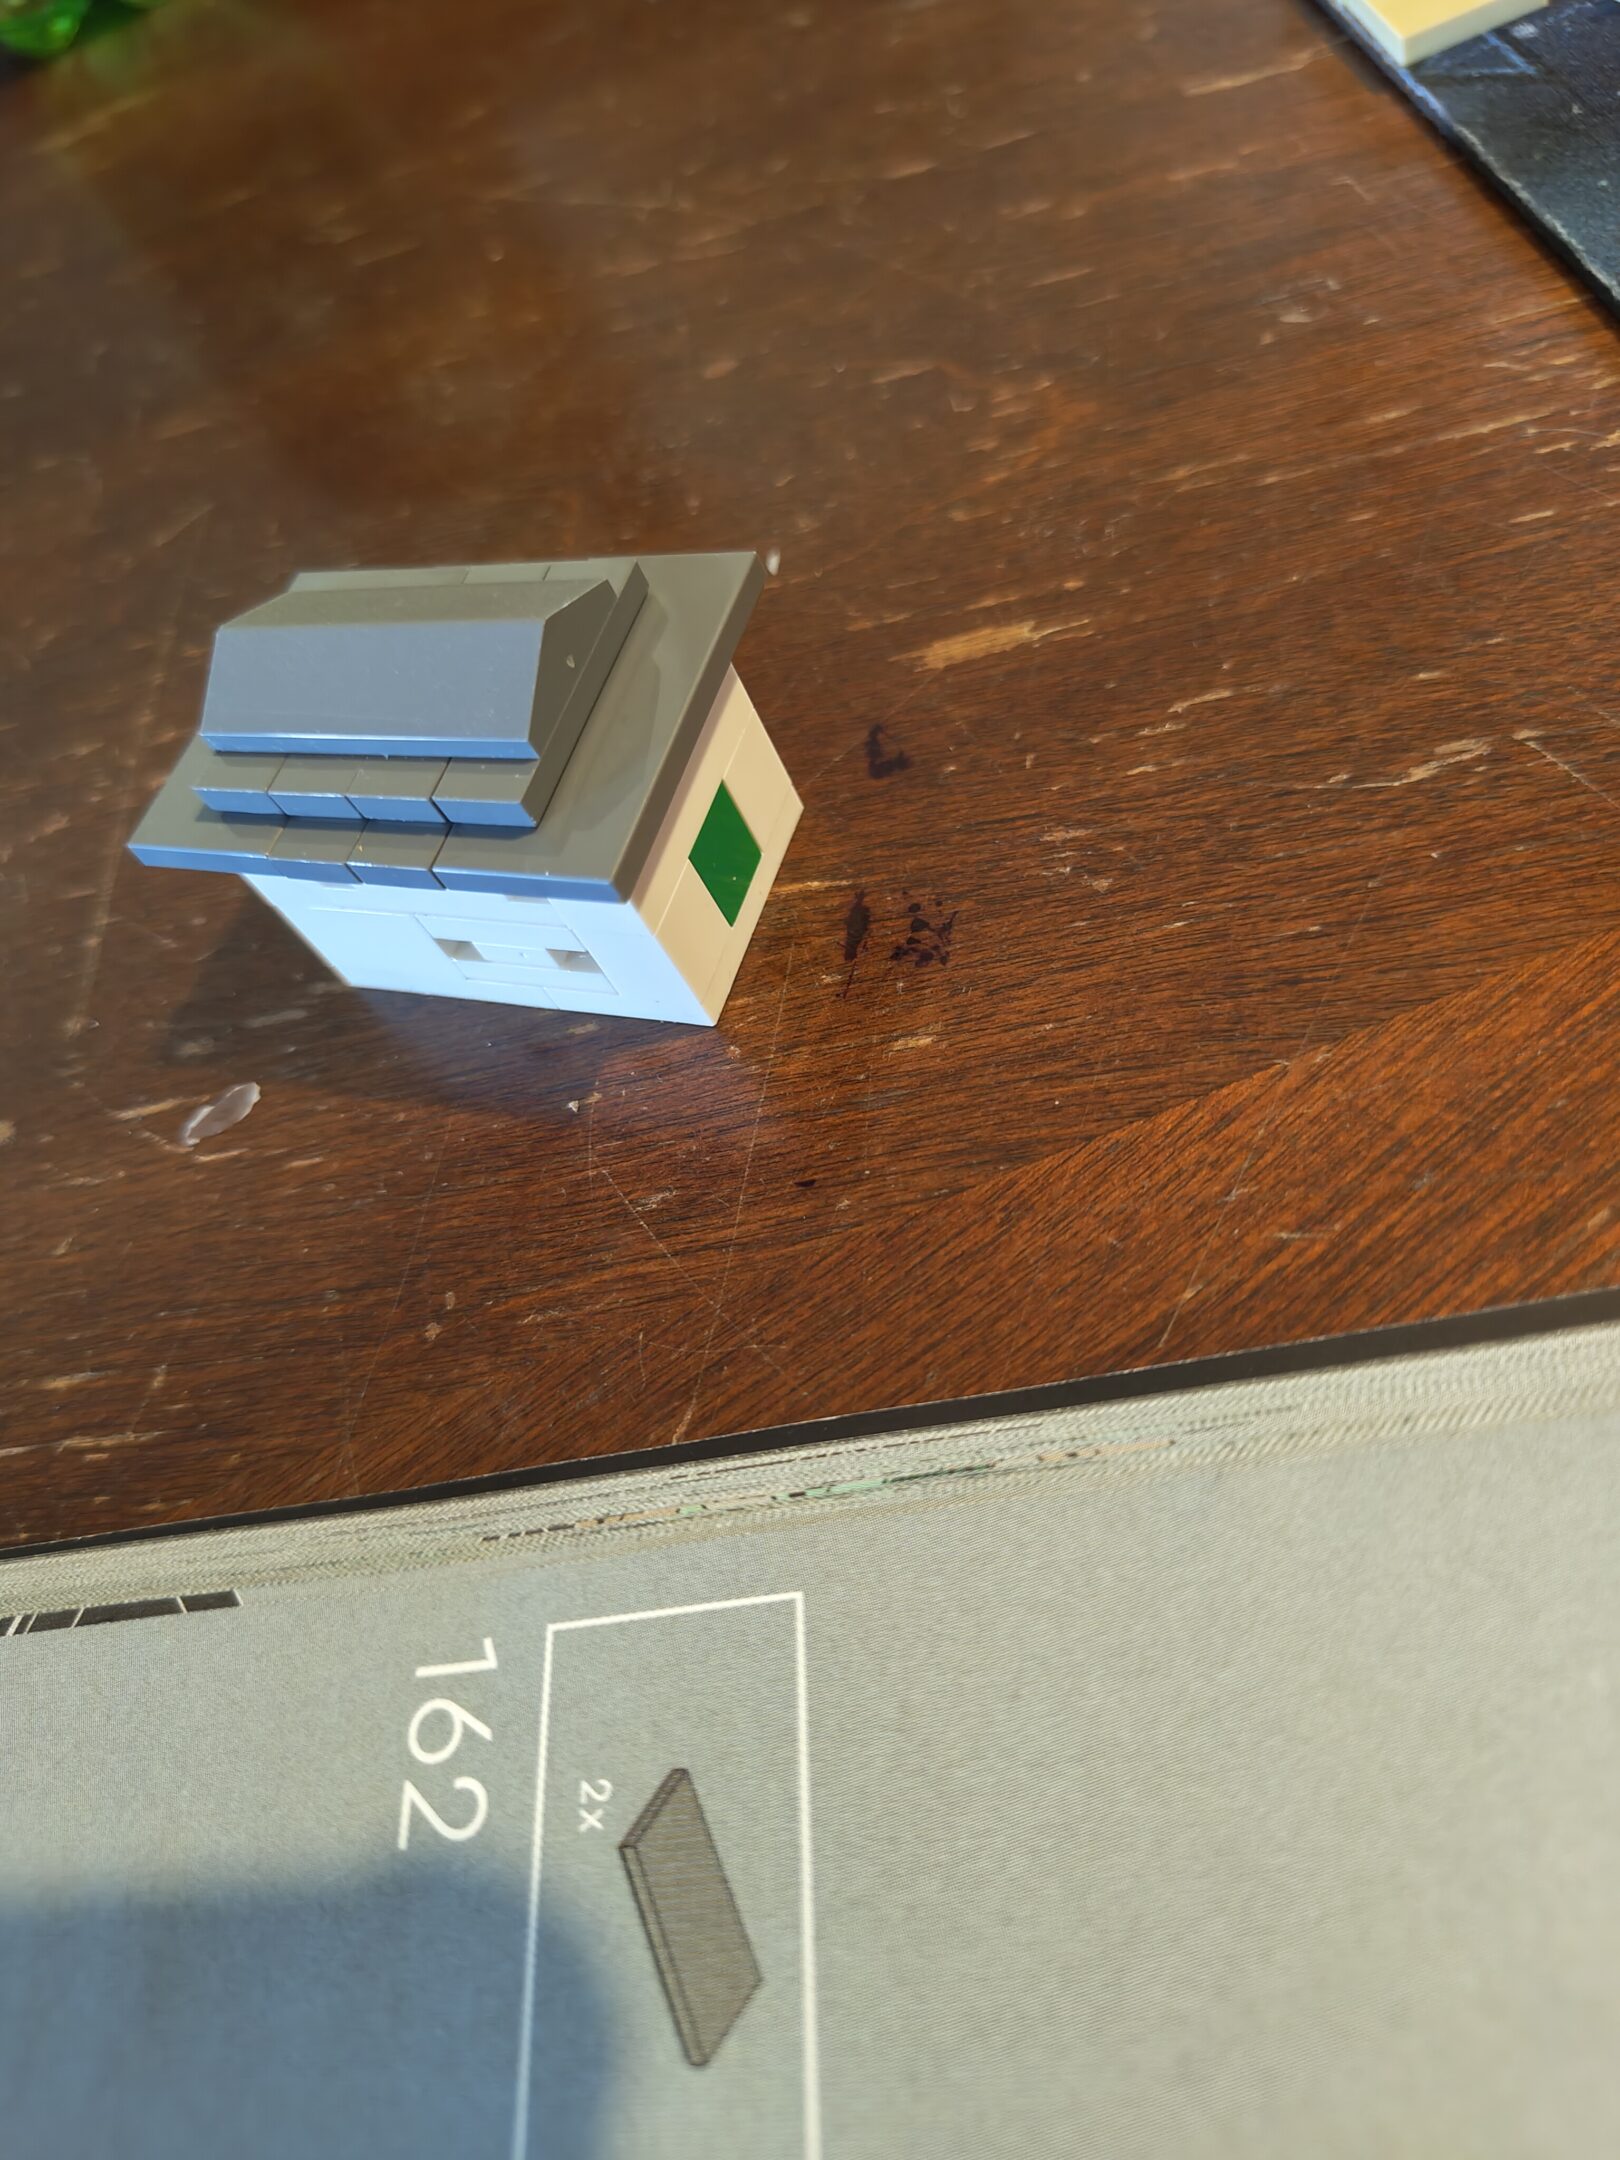
Exterior wall part oneExterior wall part twoI think it’s a little guard house. It looks like a little guard house.
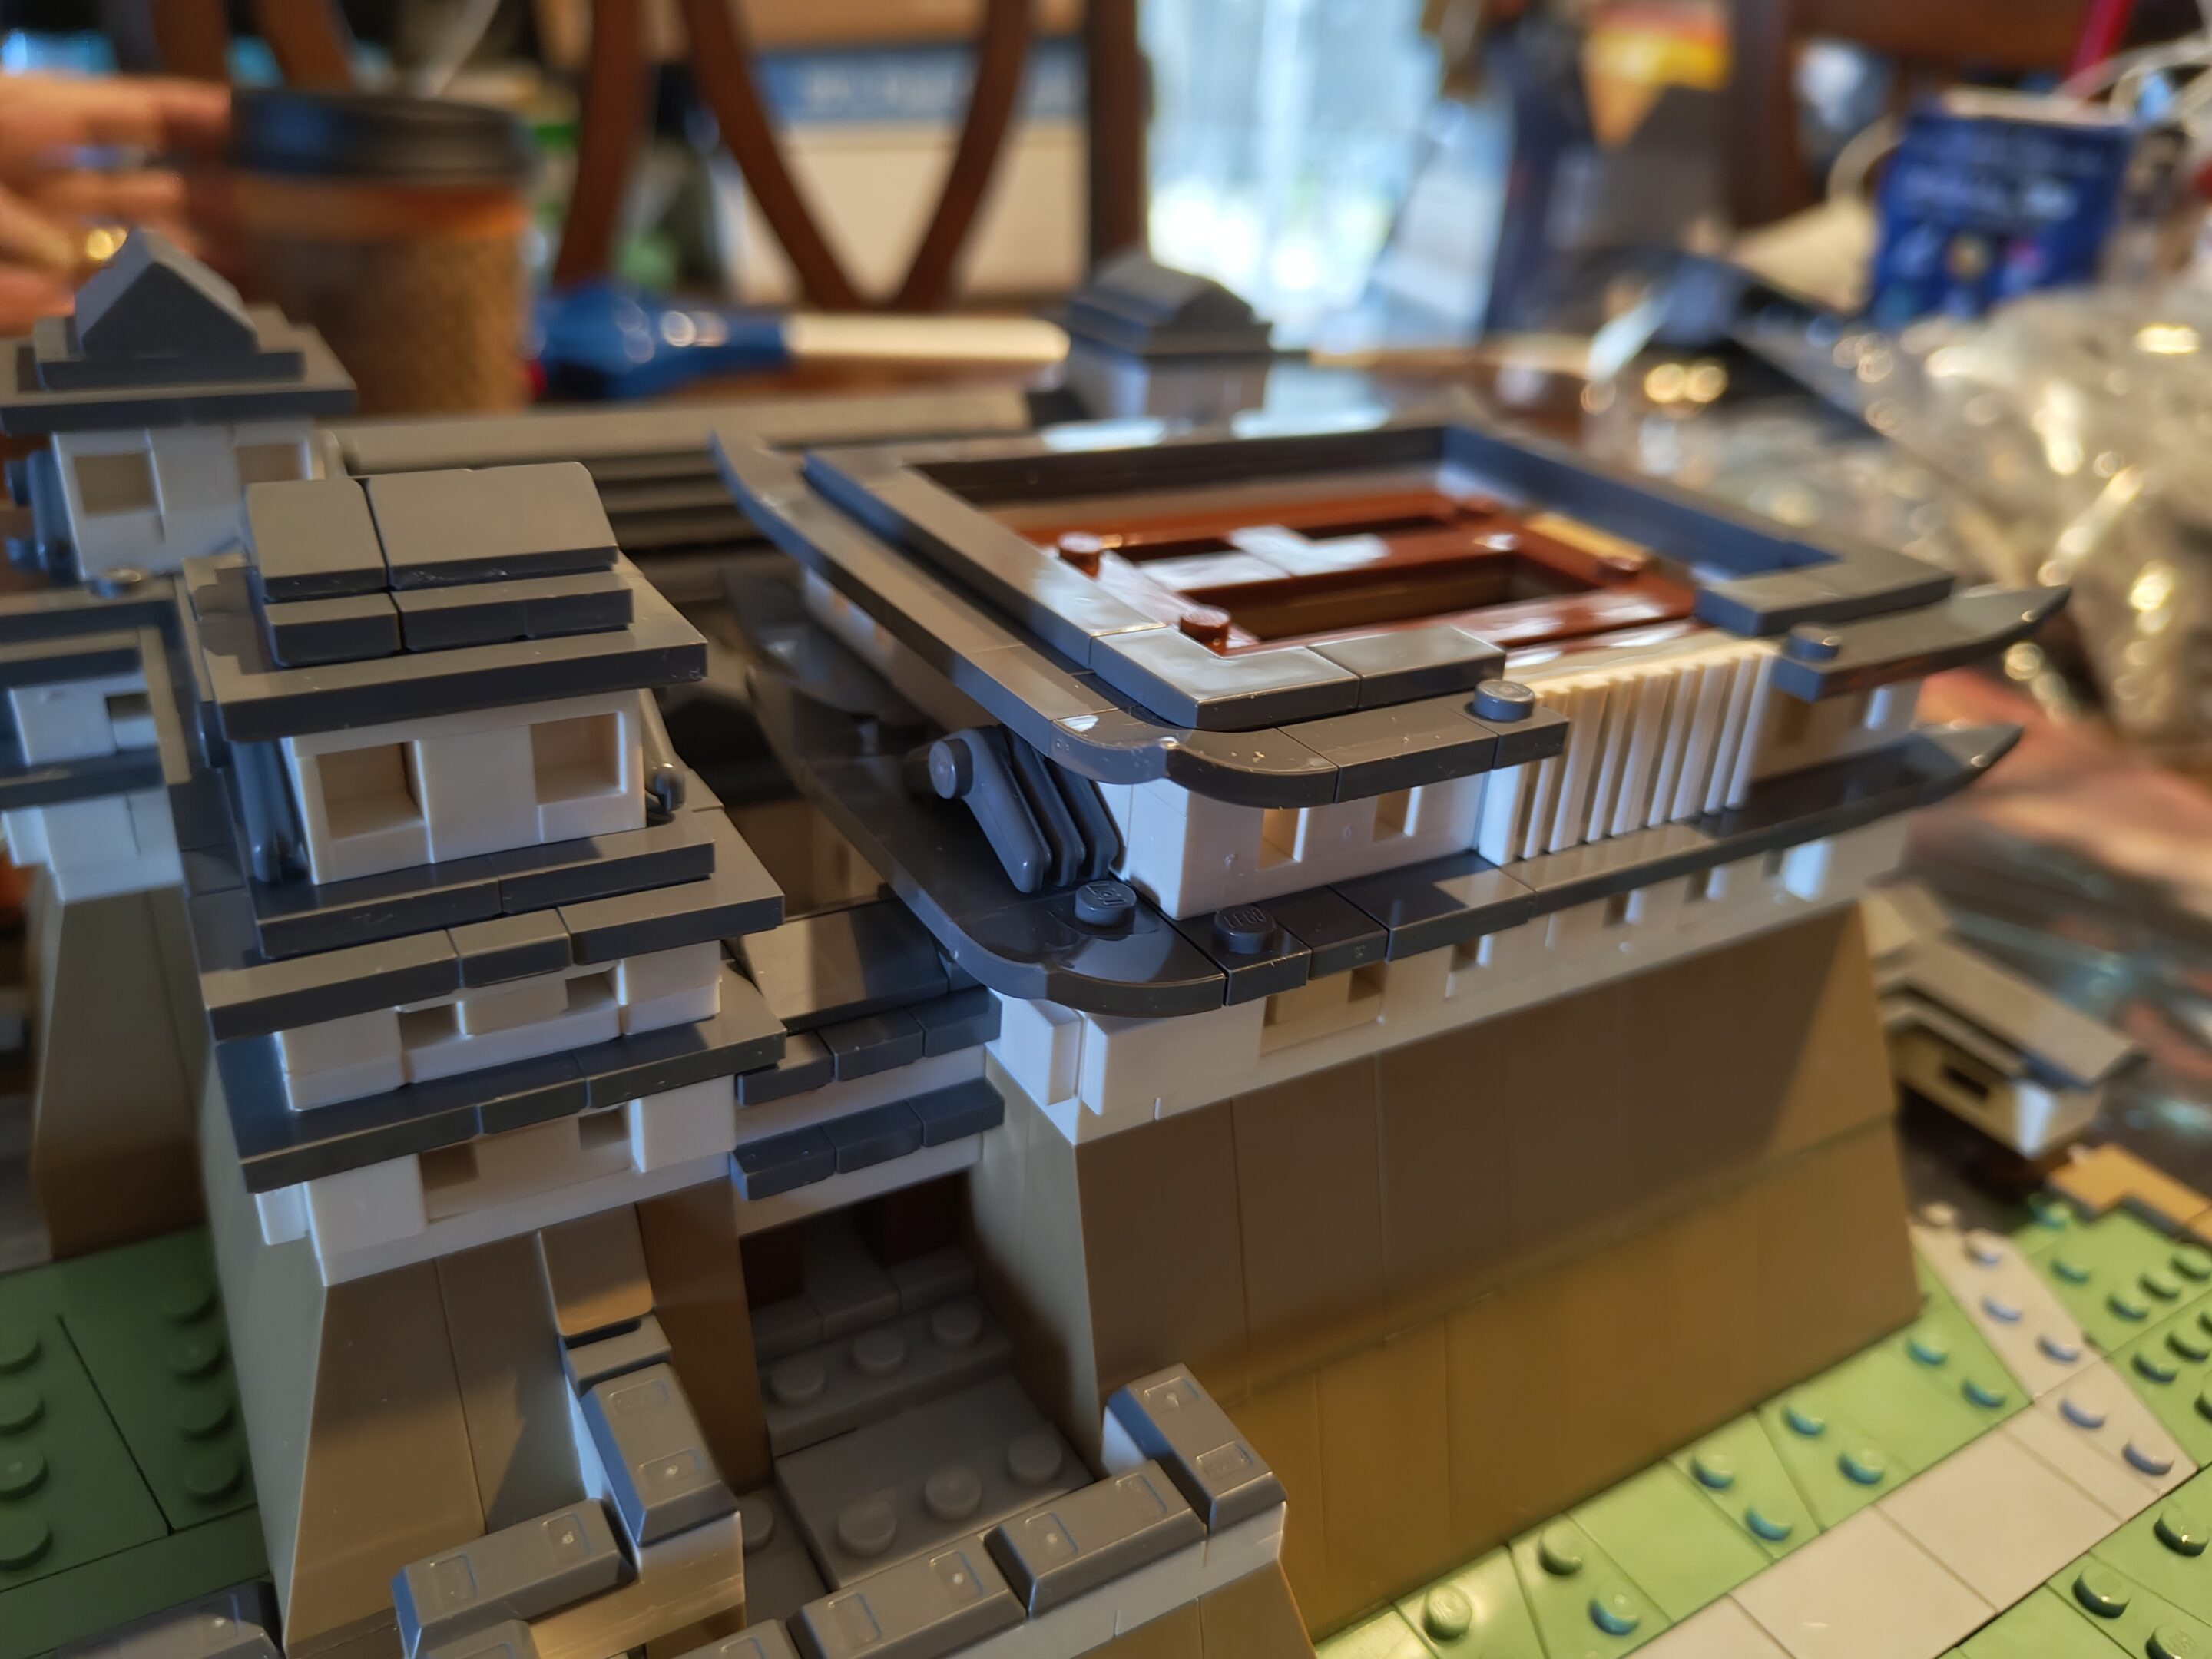
more stuff done this week
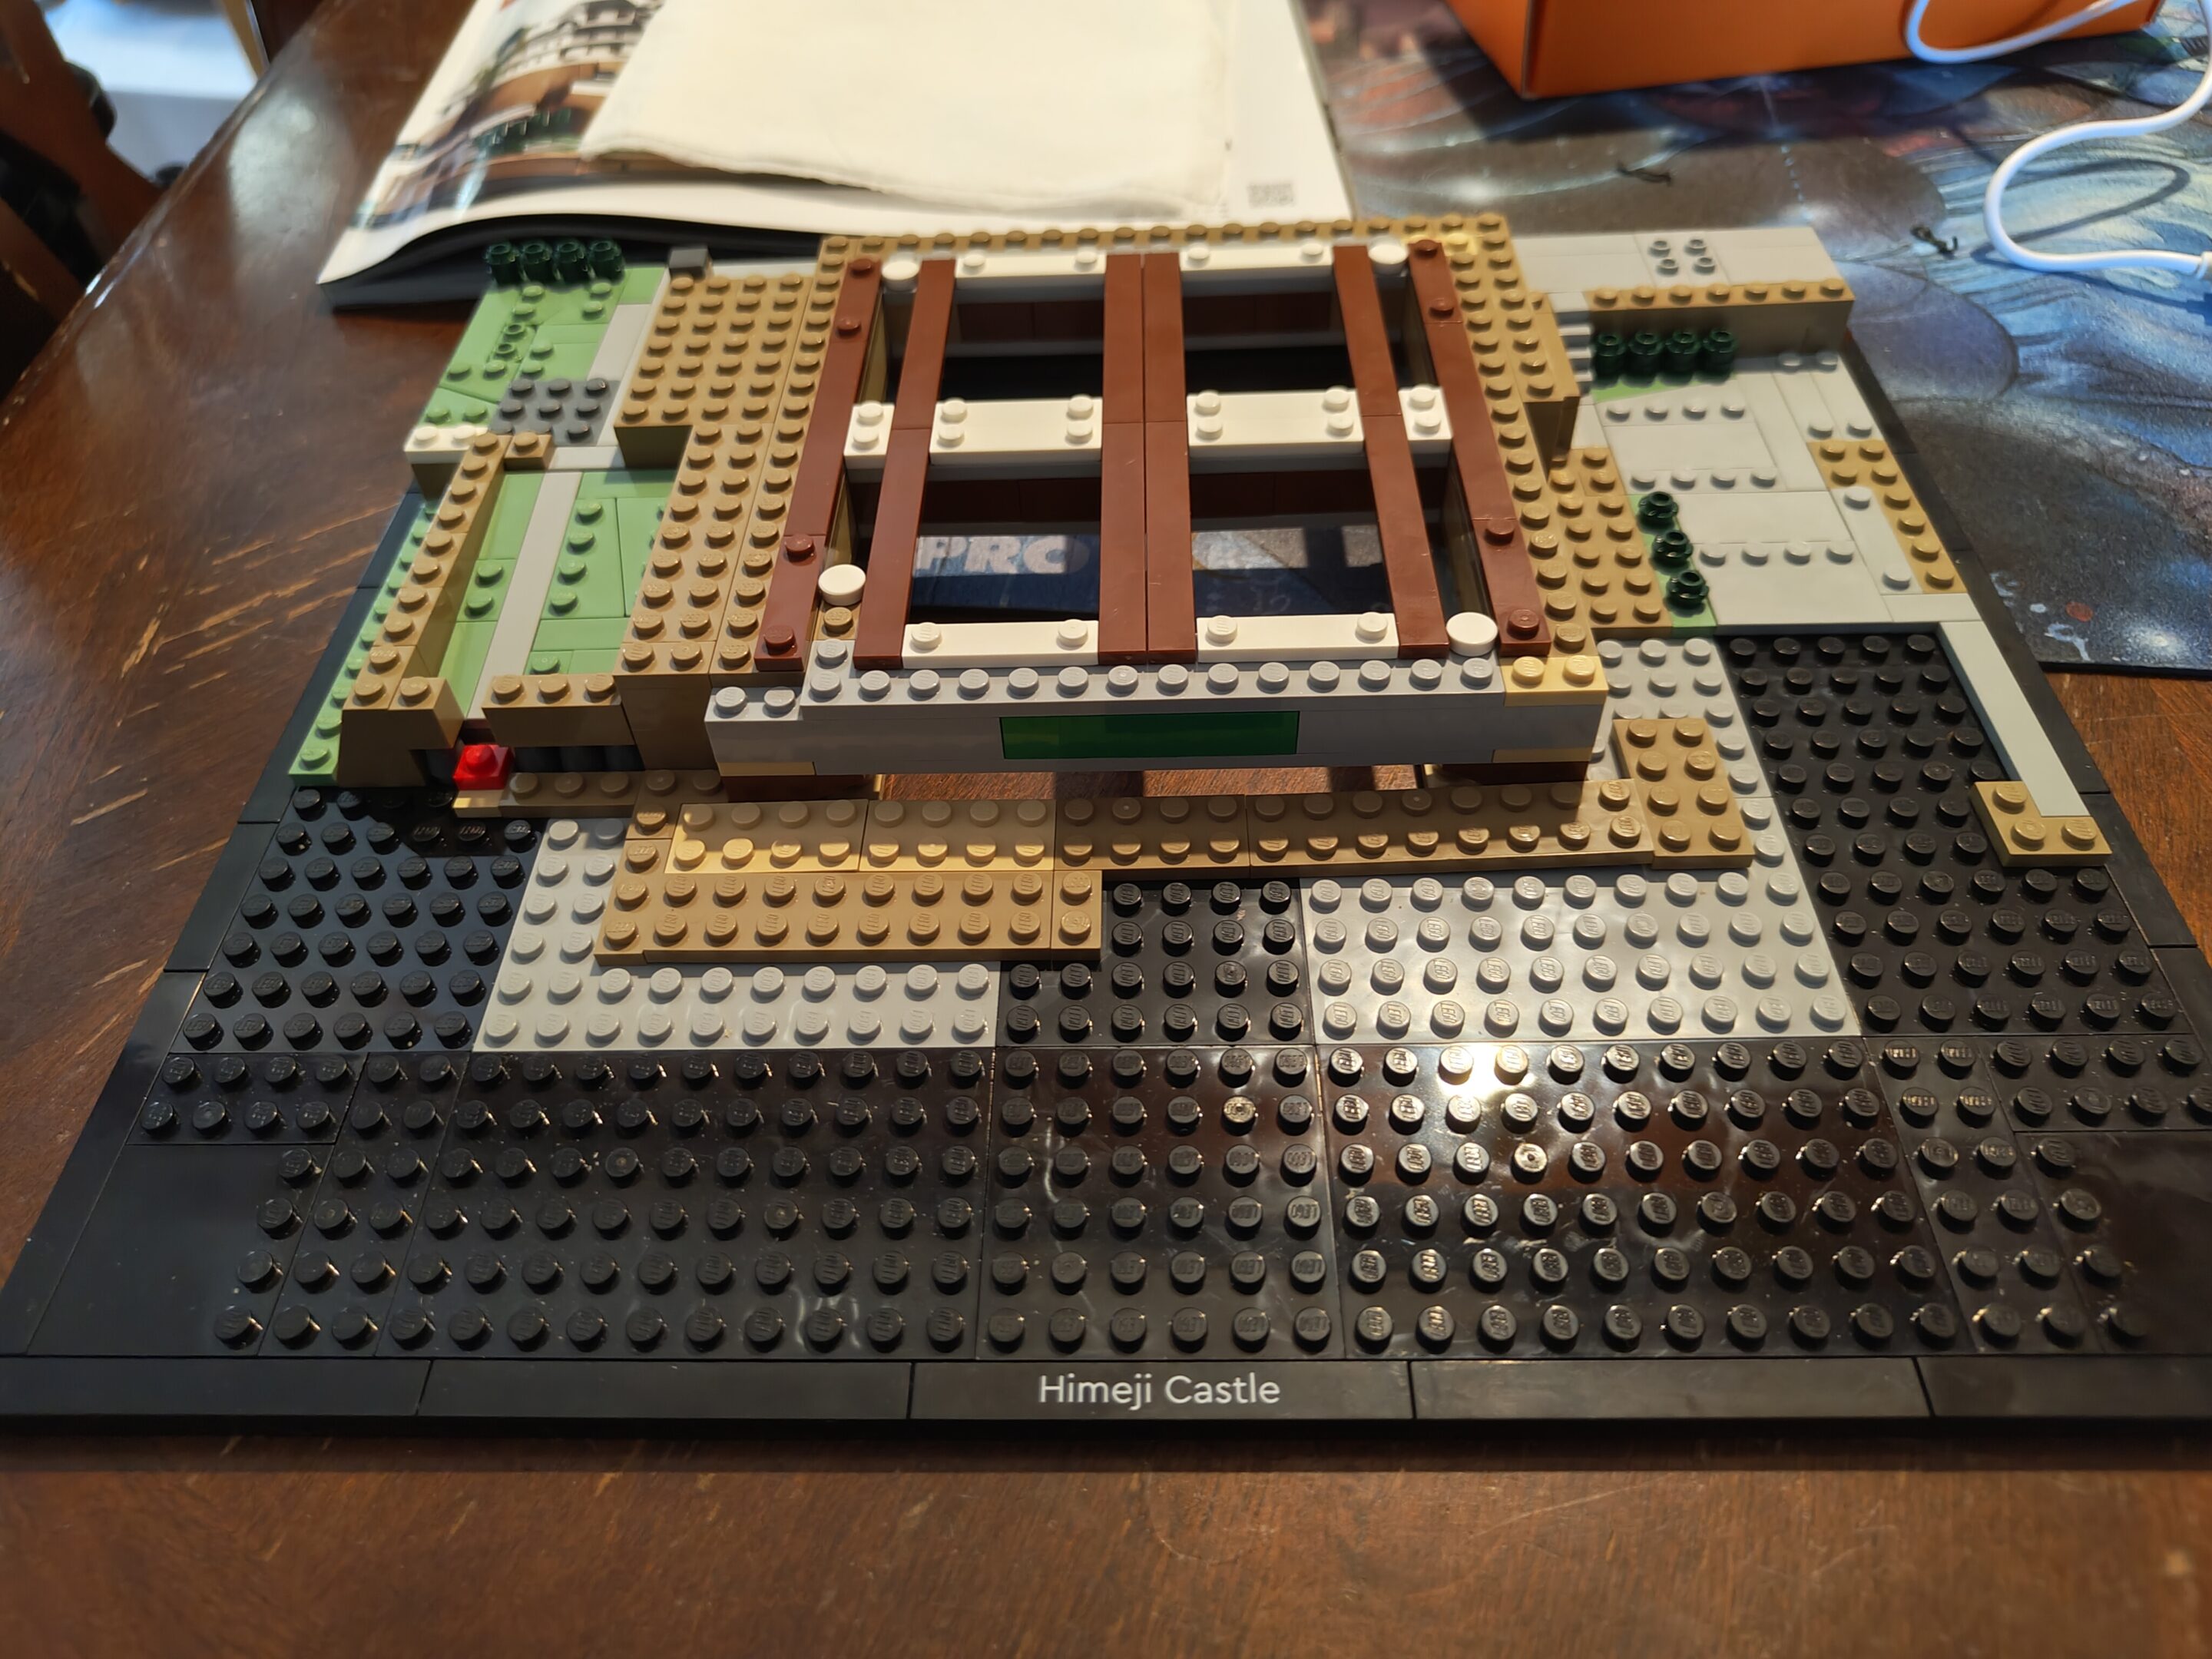
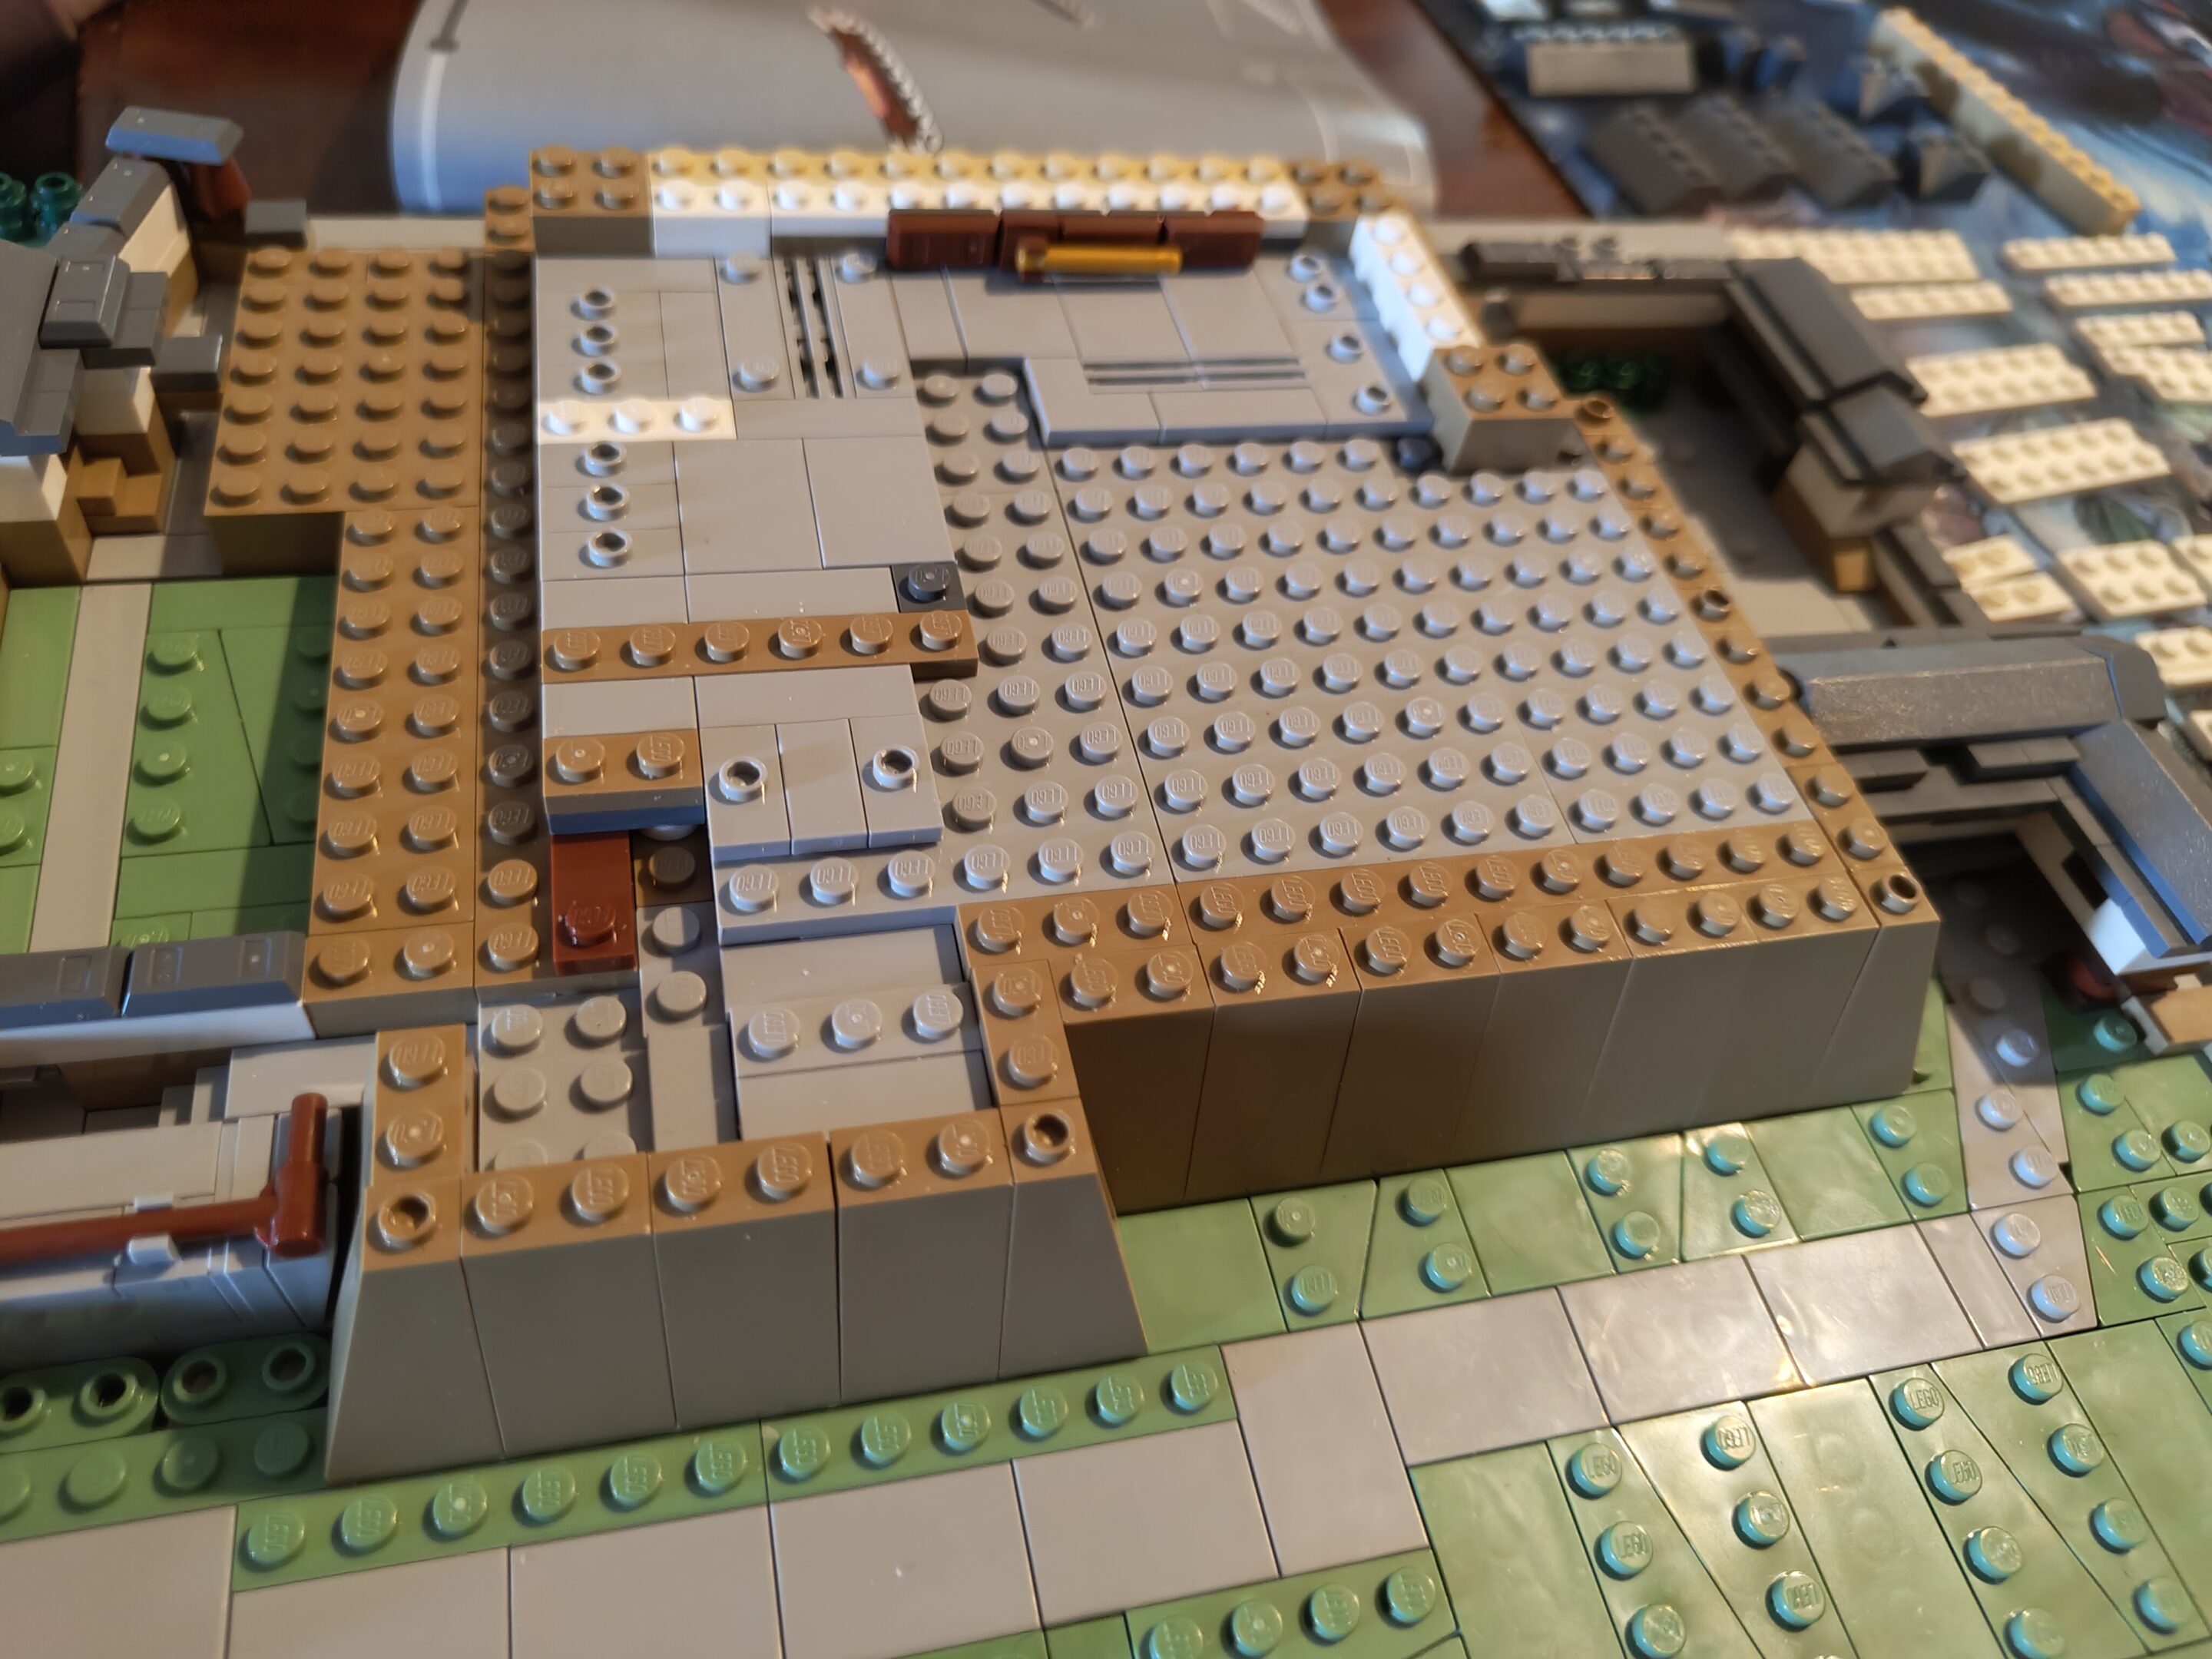
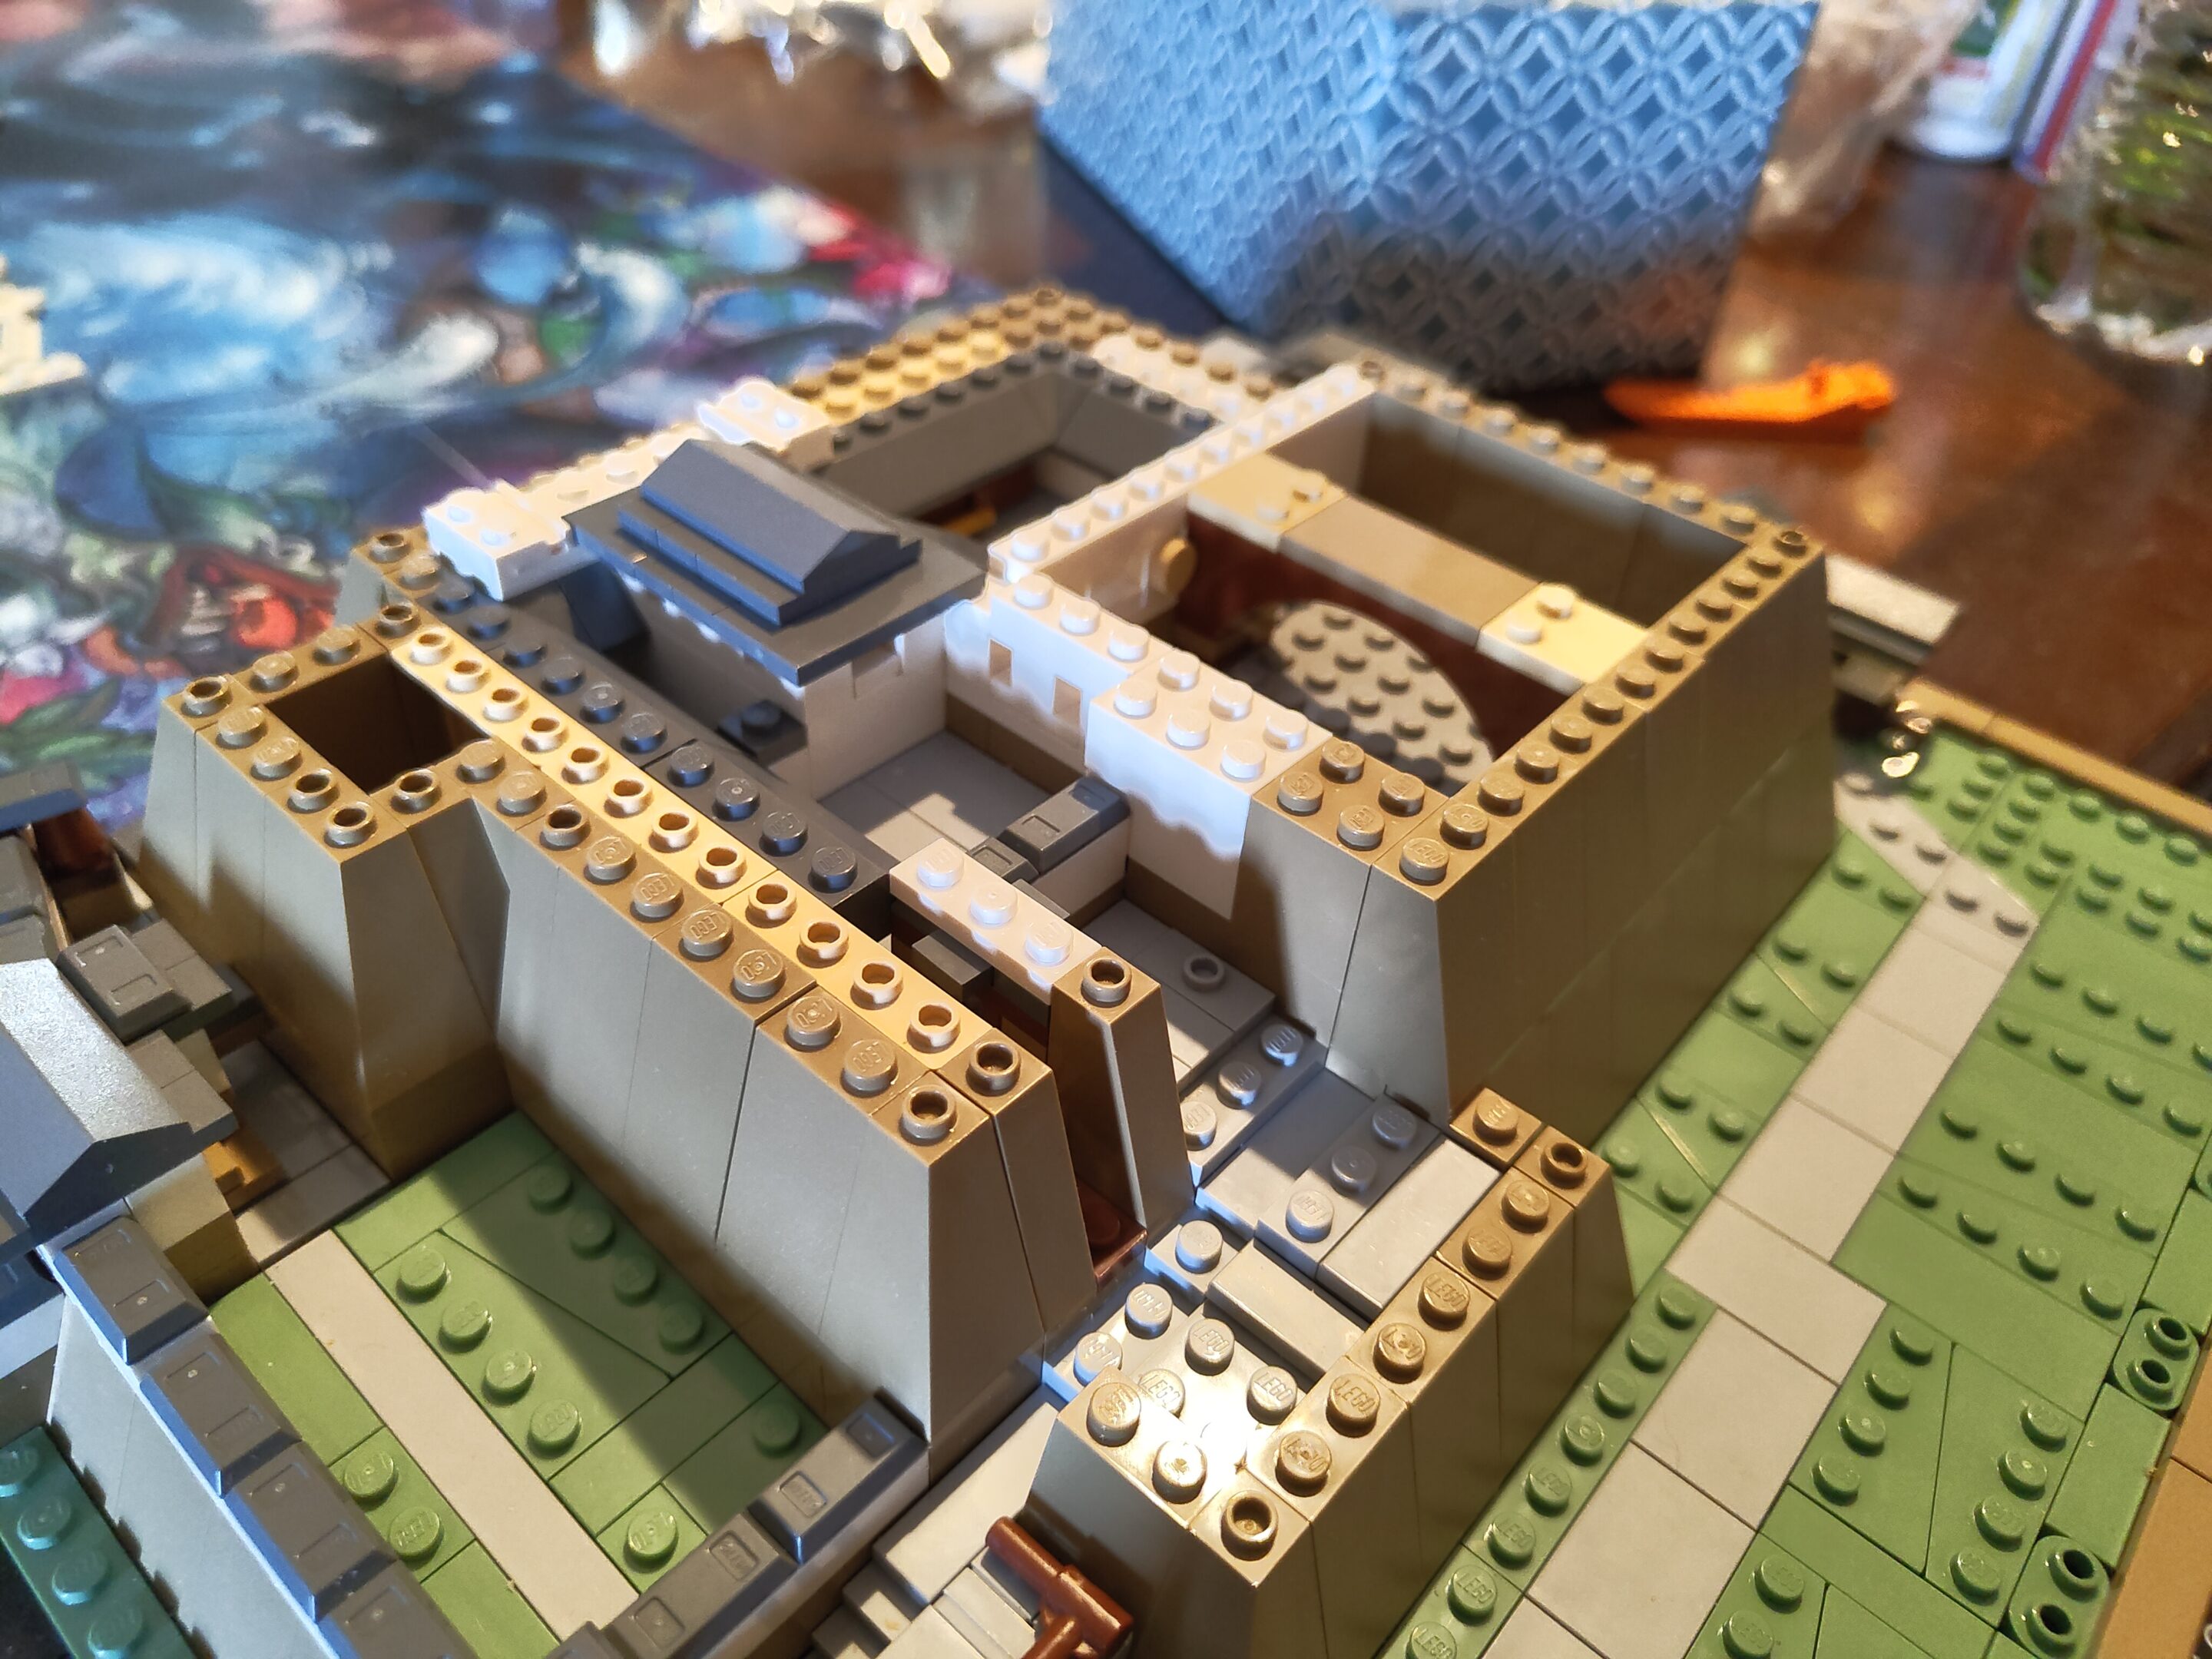
Some mini roof detailsSide entranceMore front walls?Main castle flooringLooks like a little bit of plumbing hereFinished up for the day with a couple interior walls
more progress, still have bags 11-17 left to do after these:
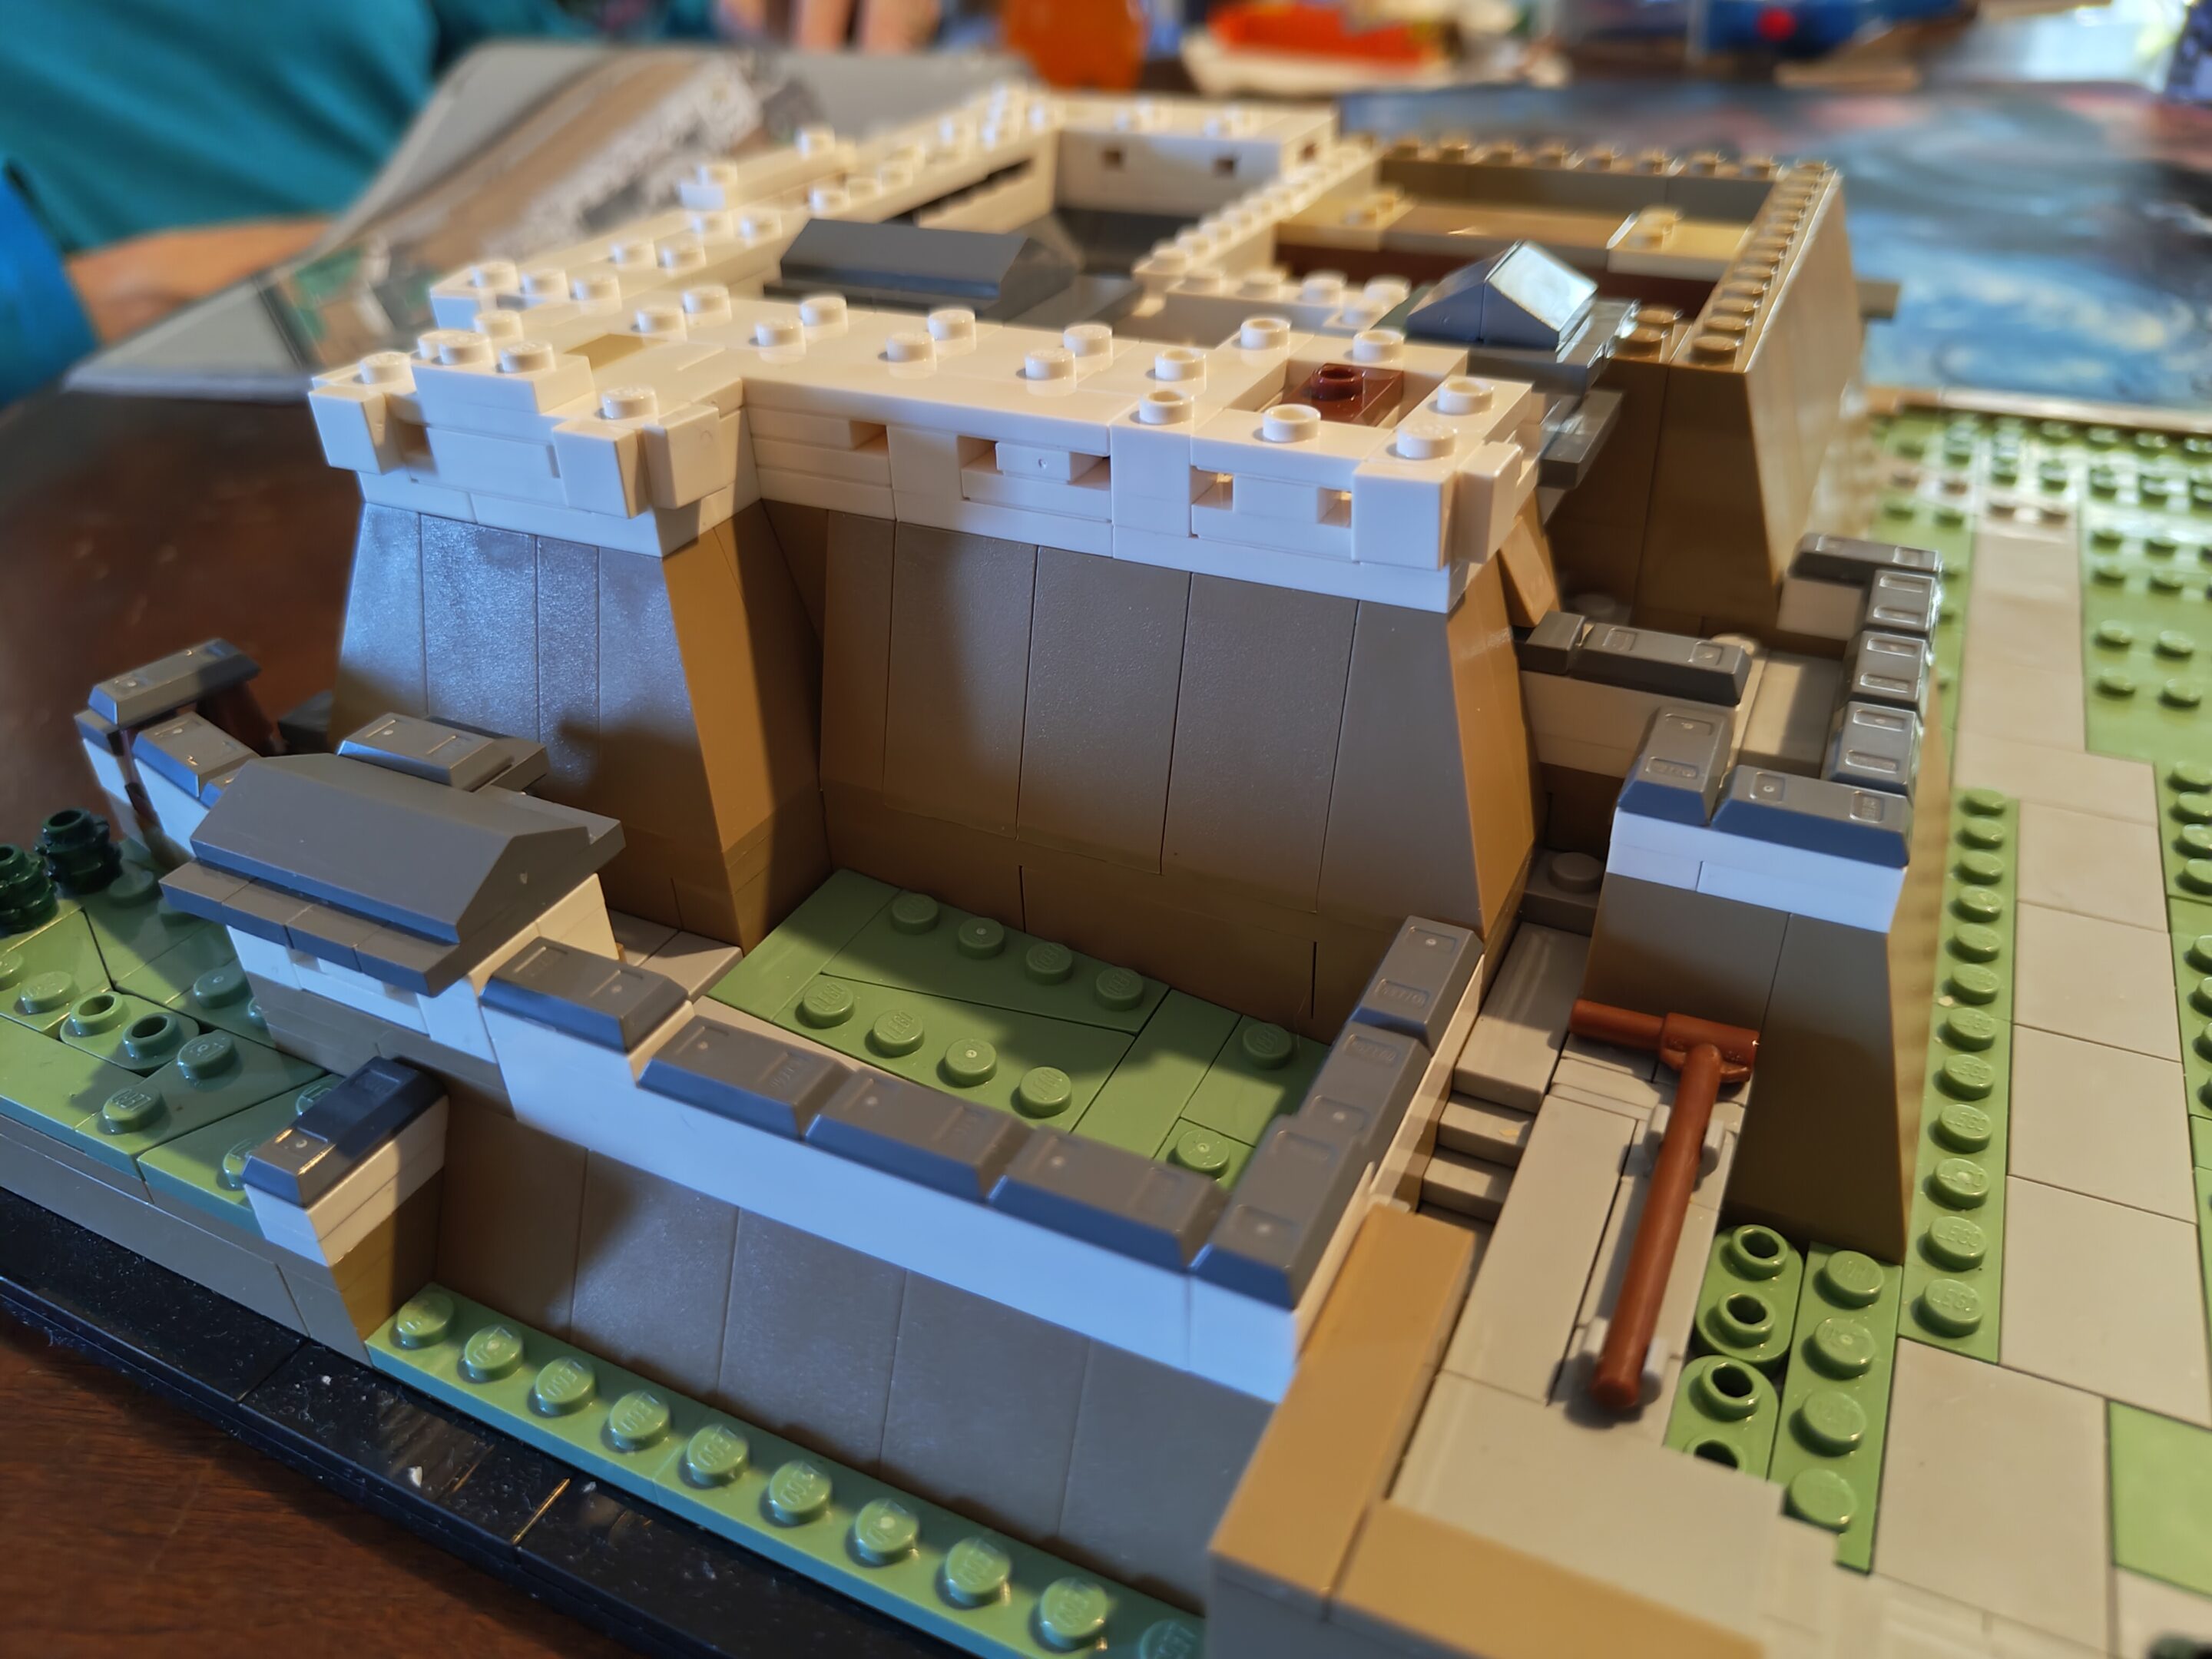
Another tiny little guard house?Arch supportSmaller detail and front wallingPorthole windows? (It wasn’t, it was a connector) but the other spaces are intentional windowing detail I thought was neatMore of the windowing detailCurious what these interior wall details are (long slits)Third level of building — fourth overall if you include the platform I guessHere’s where we finished for the day after bag #10
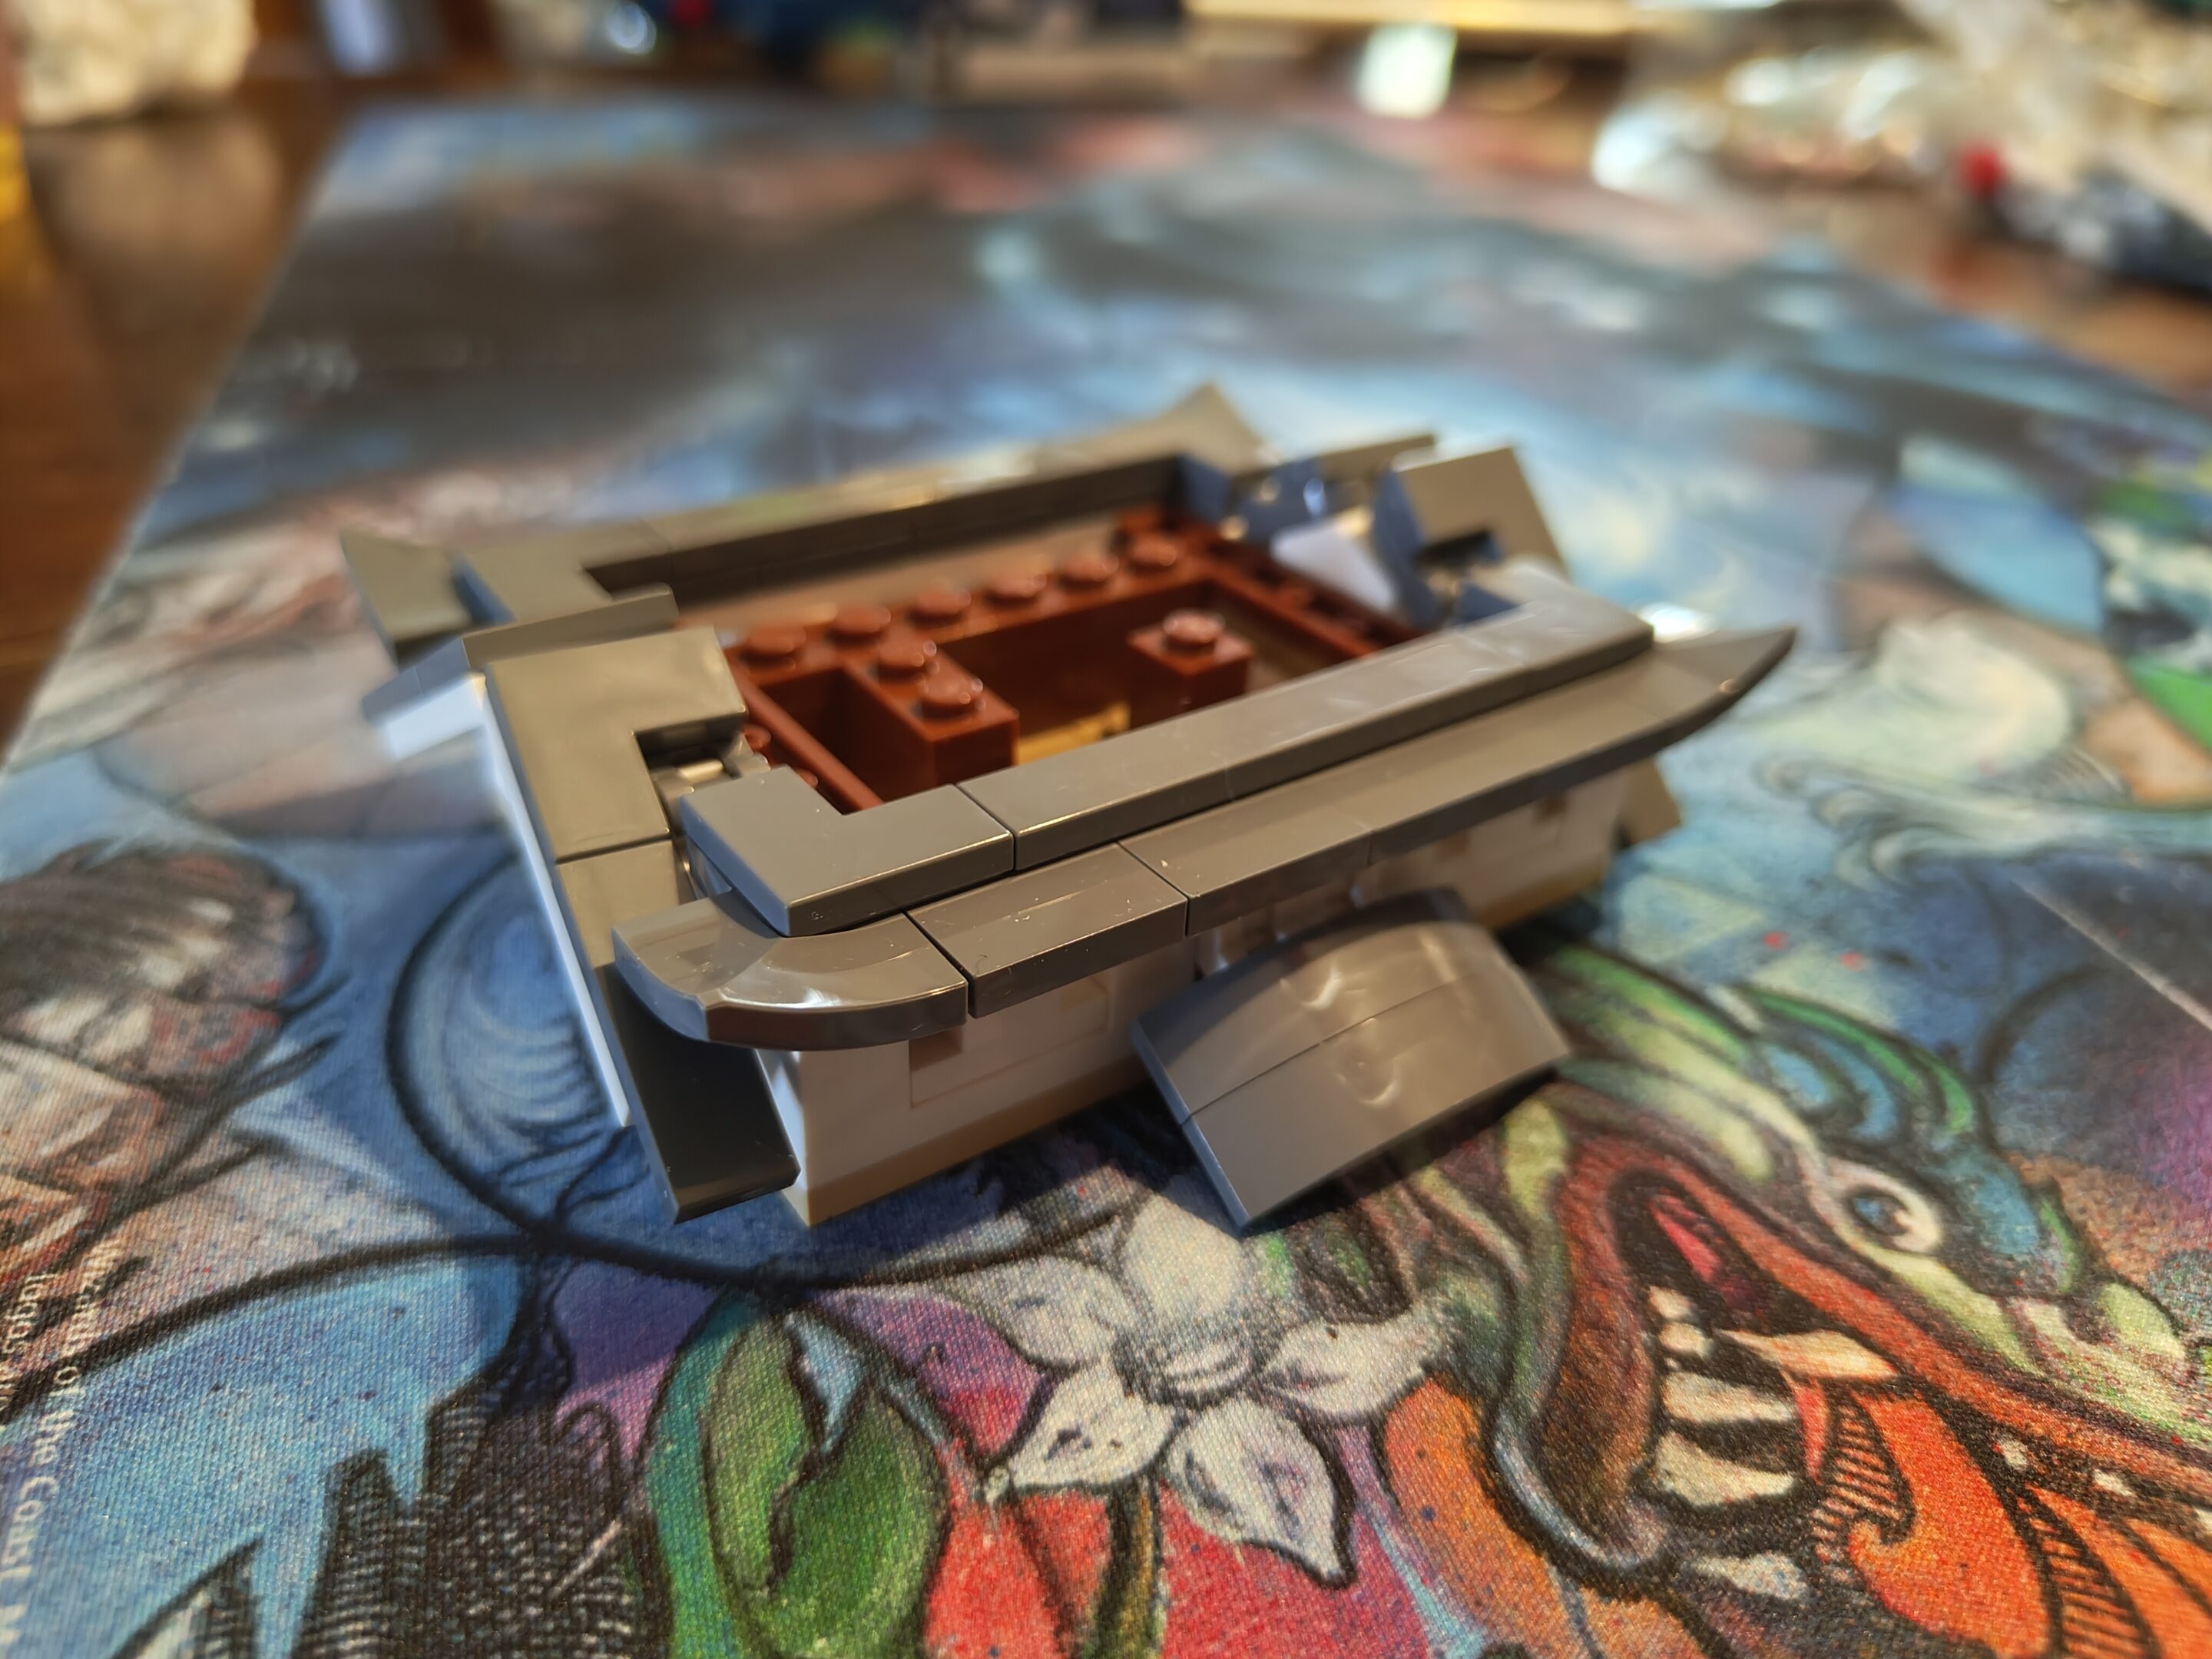
mom had real physical therapy today (august 12th, 2025) so she wanted to read/rest a little after, but an hour later we got in two bags — more than normal lately — so i’ve got some new pictures to show off
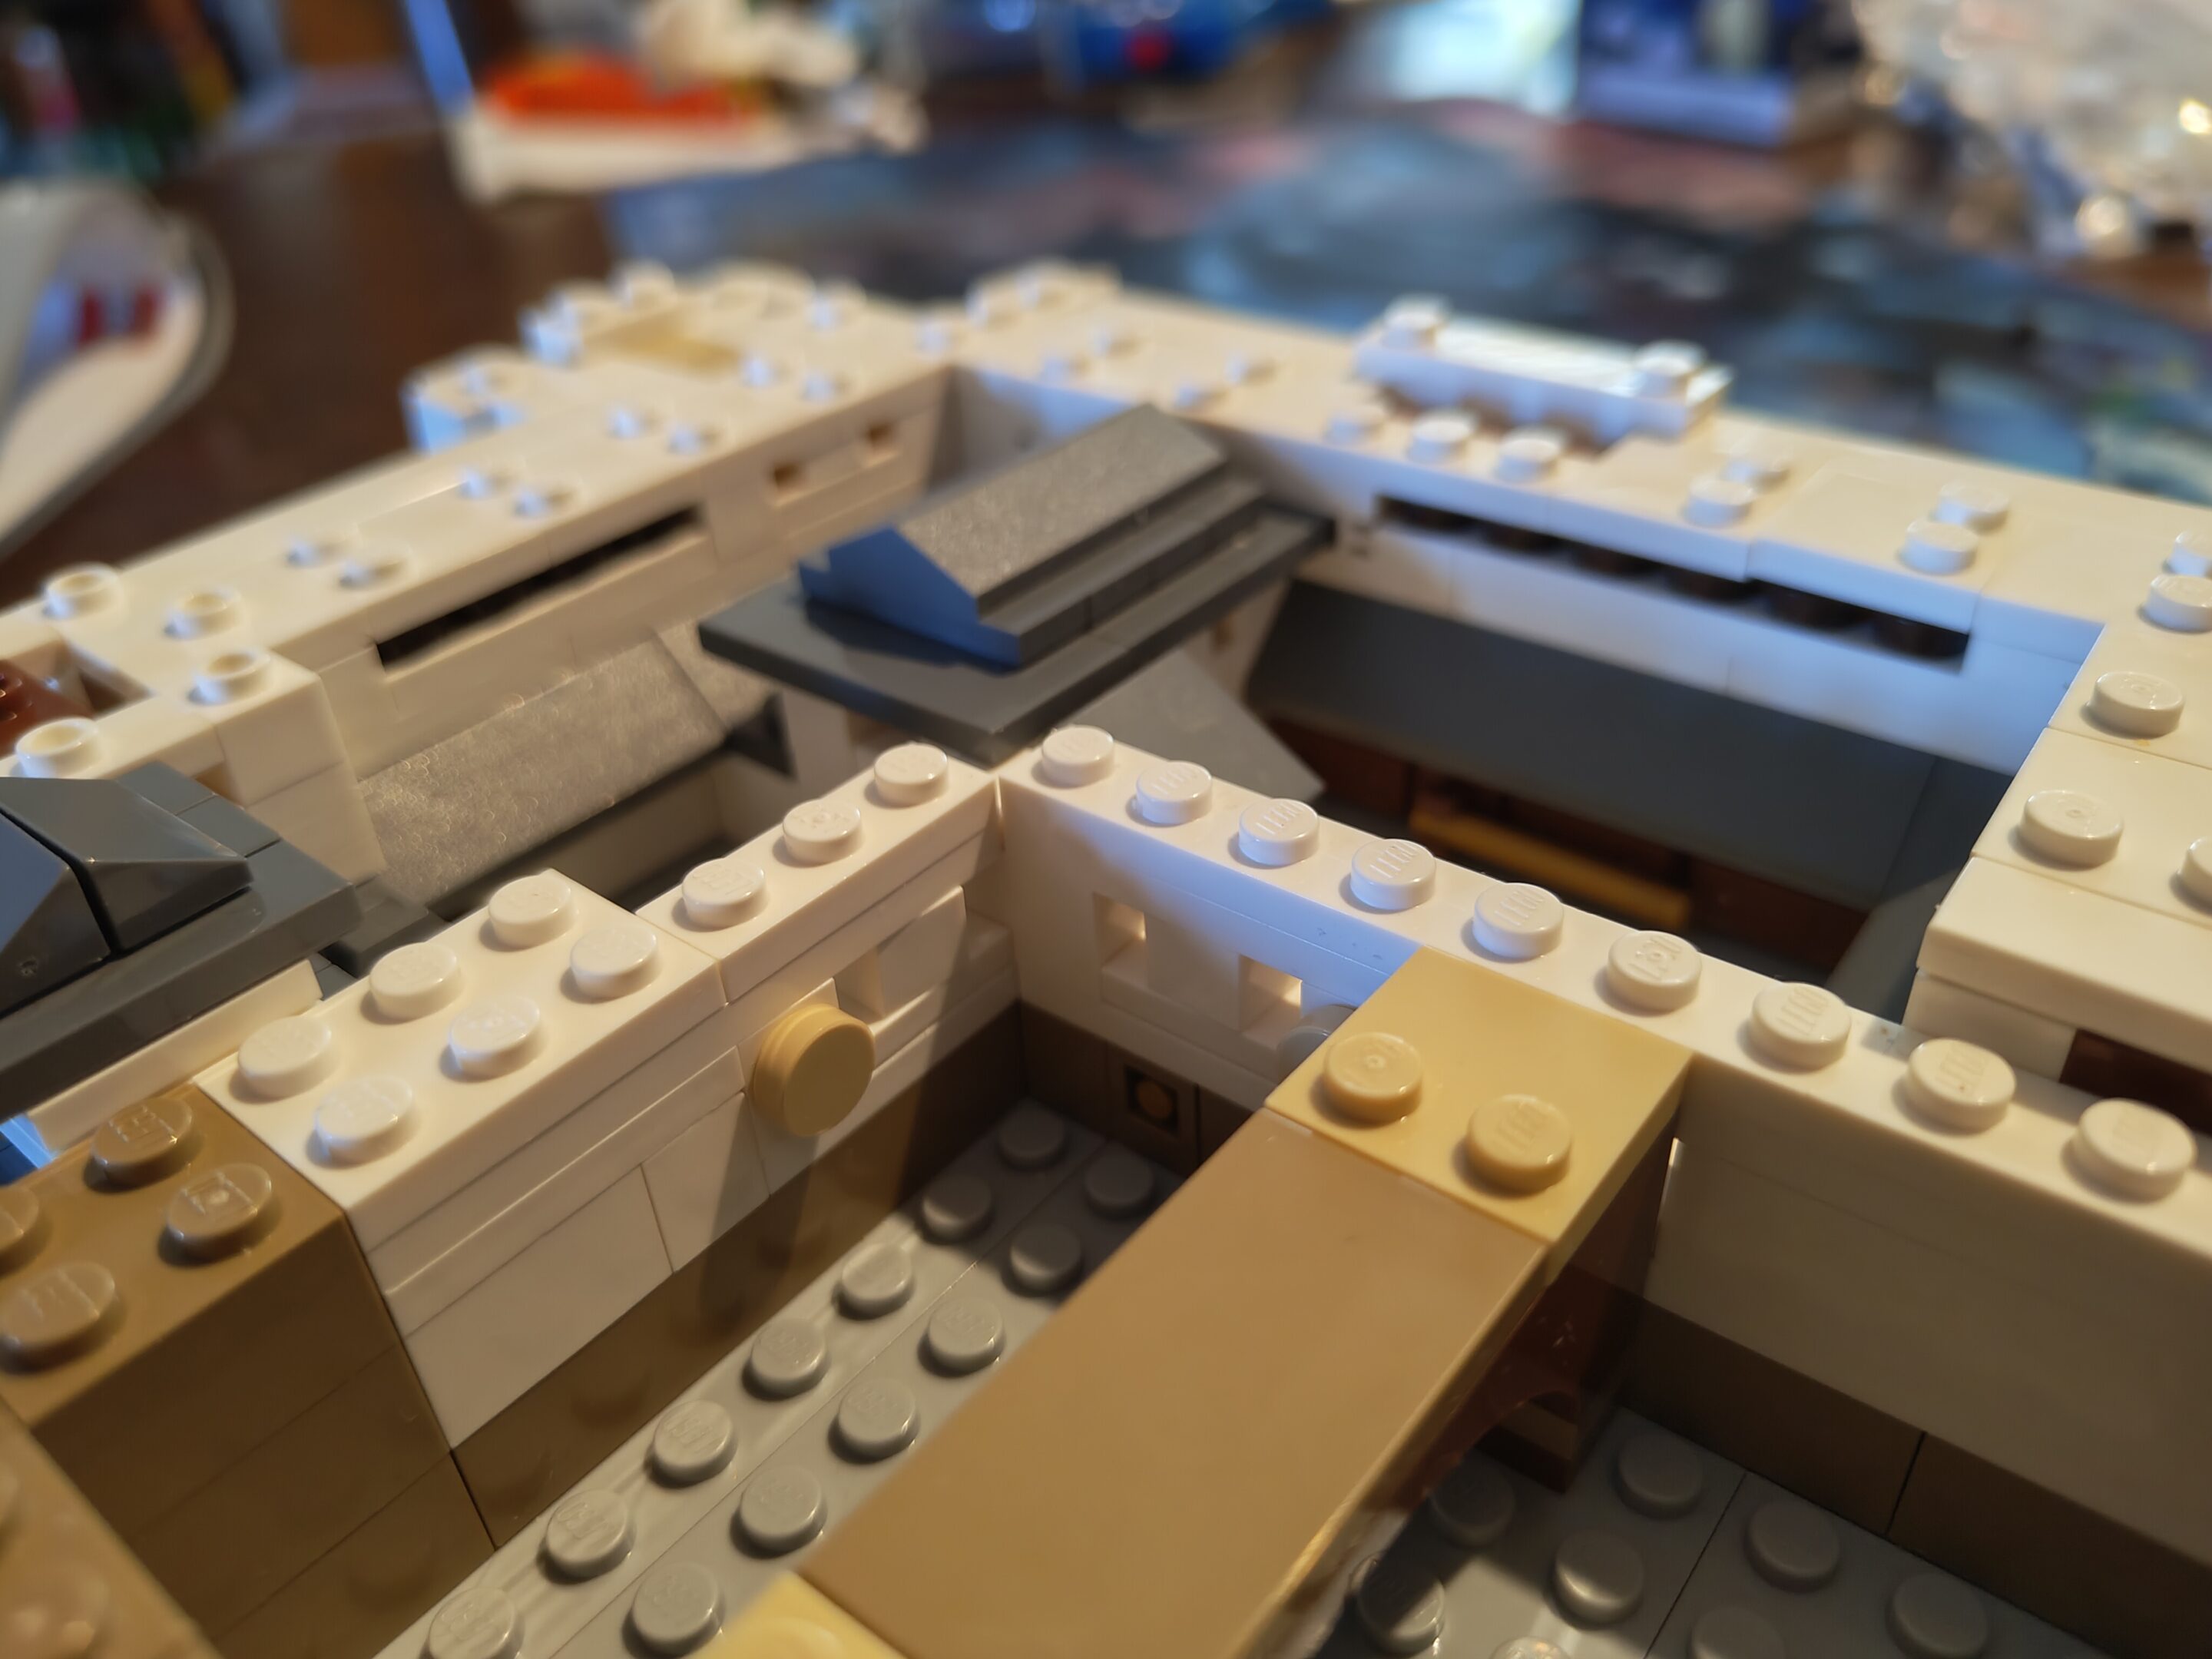
Tiling to give the castle that iconic Japanese lookAnother floor of structures (and what will be windows)Close-up (ish) of additional constructionAdding neat little roofing detailsMustachioed building #1Mustachioed buildings #2 and #3 also have mustaches on the other side. So I suppose they’re Double Mustachioed ™
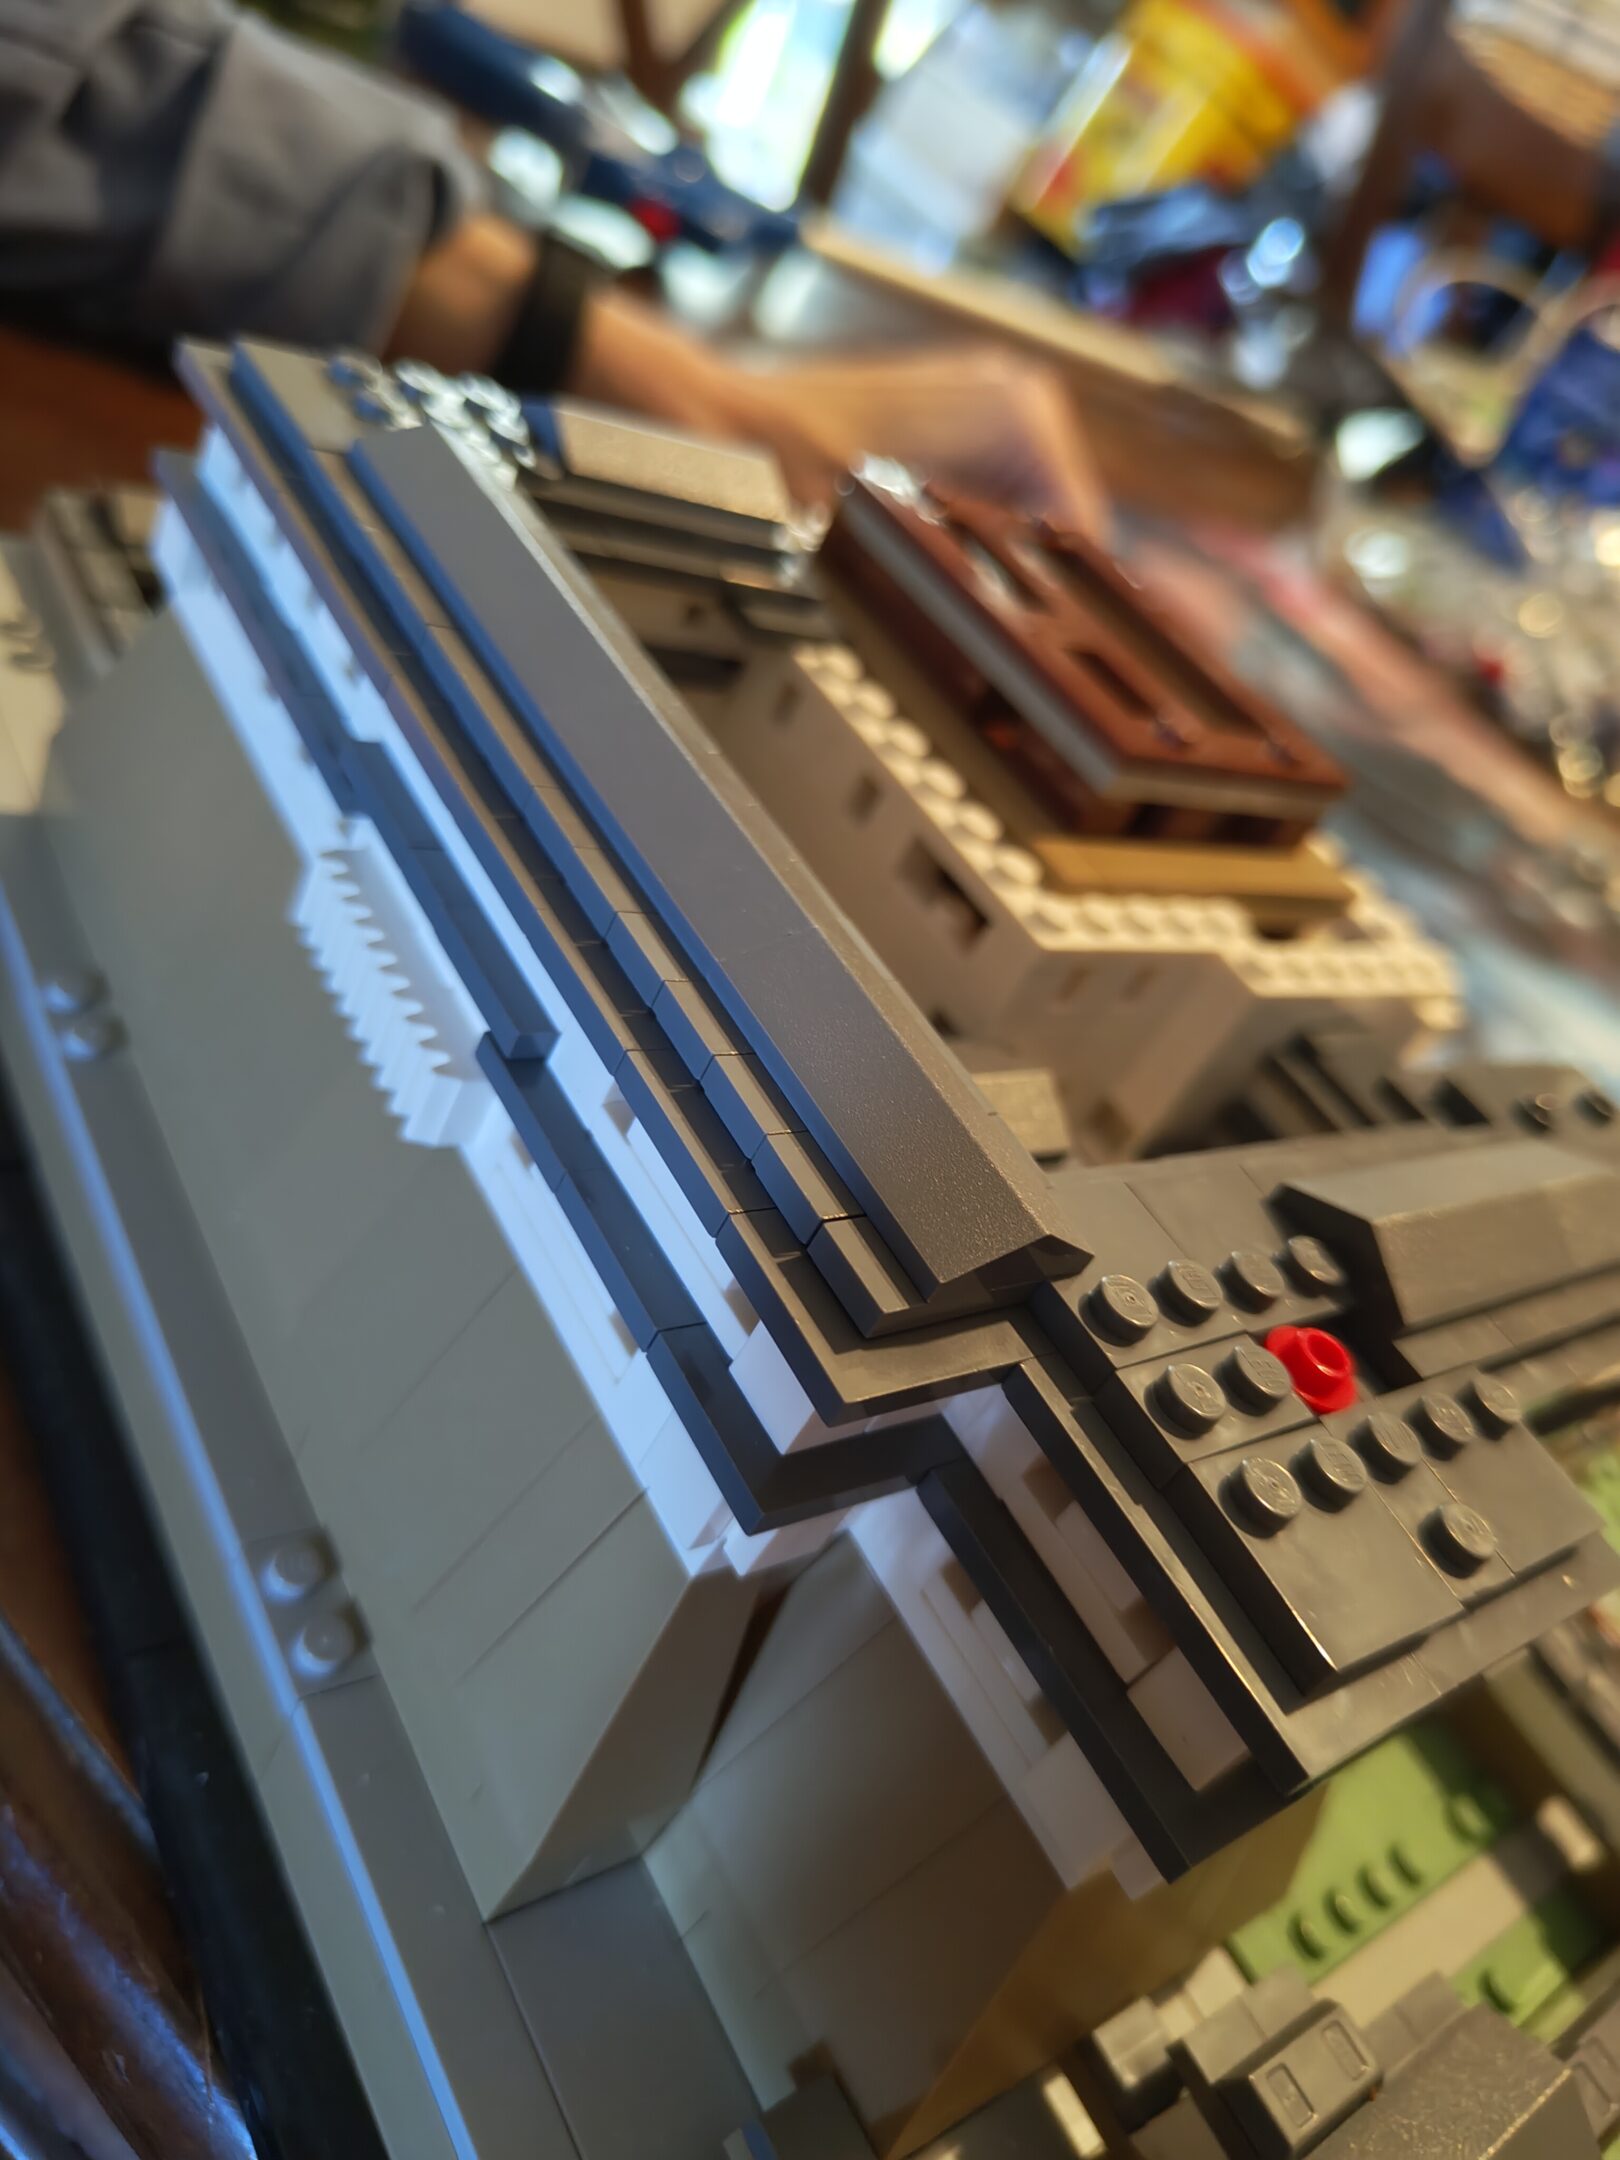
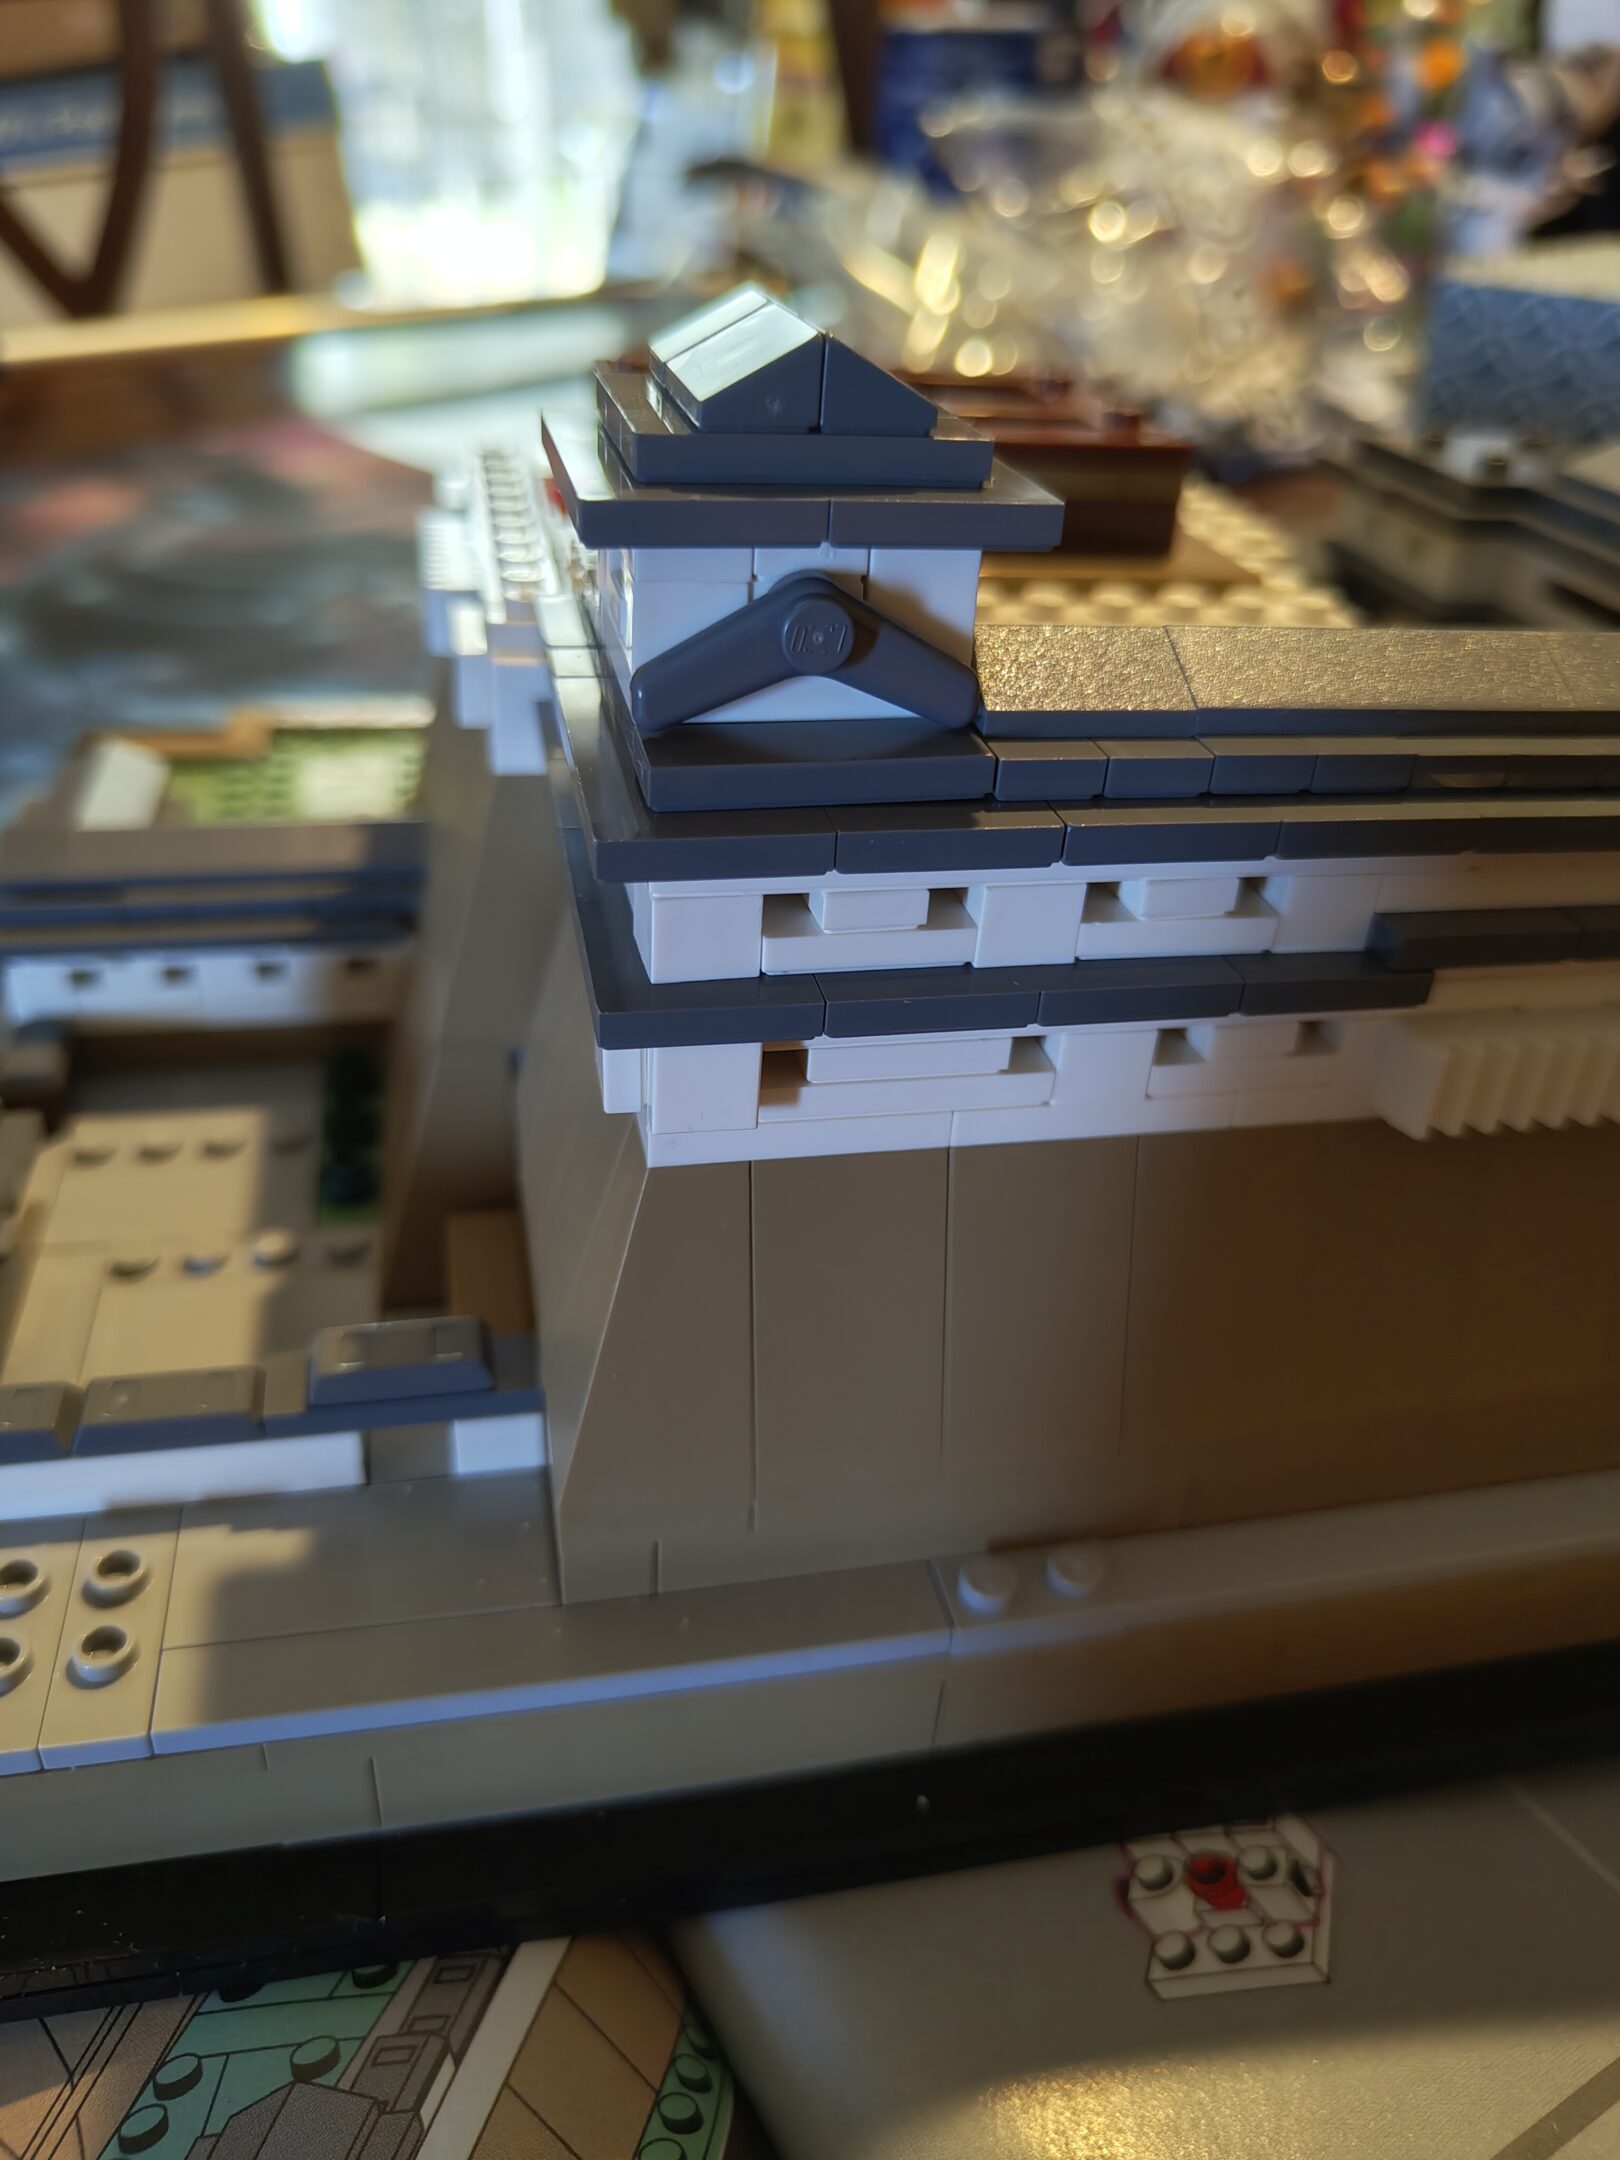
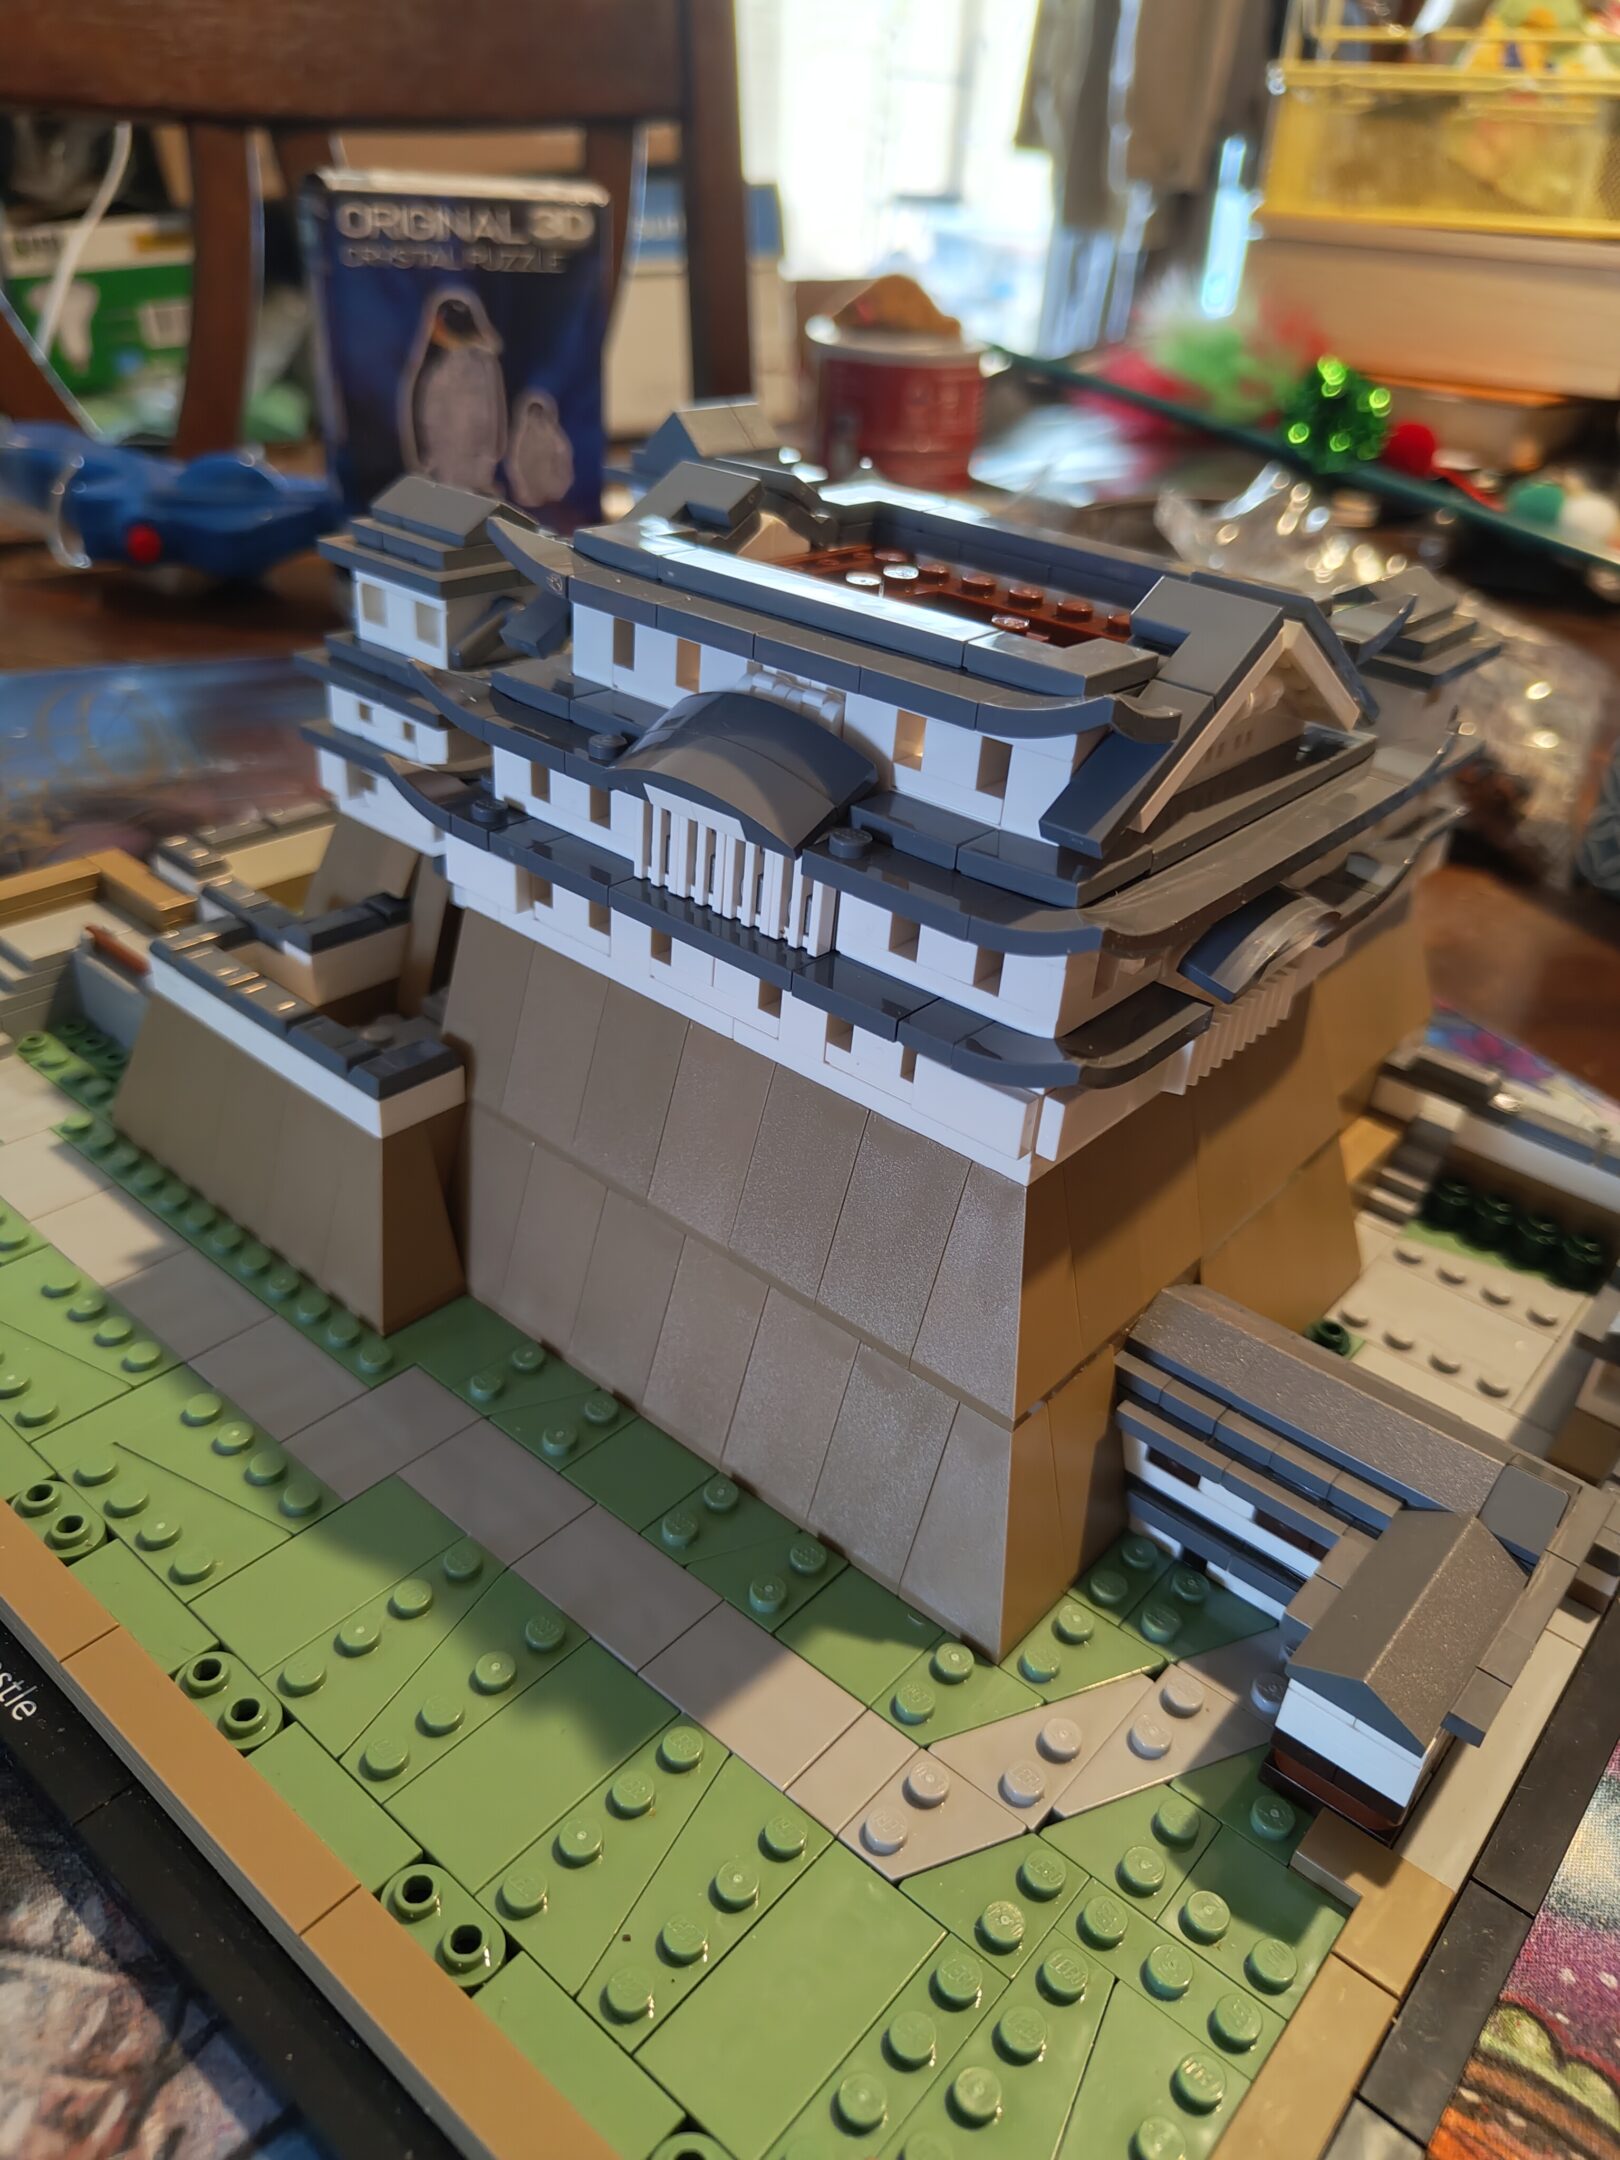
more photos, more work – probably finish up tomorrow (sunday, august 17th 2025)
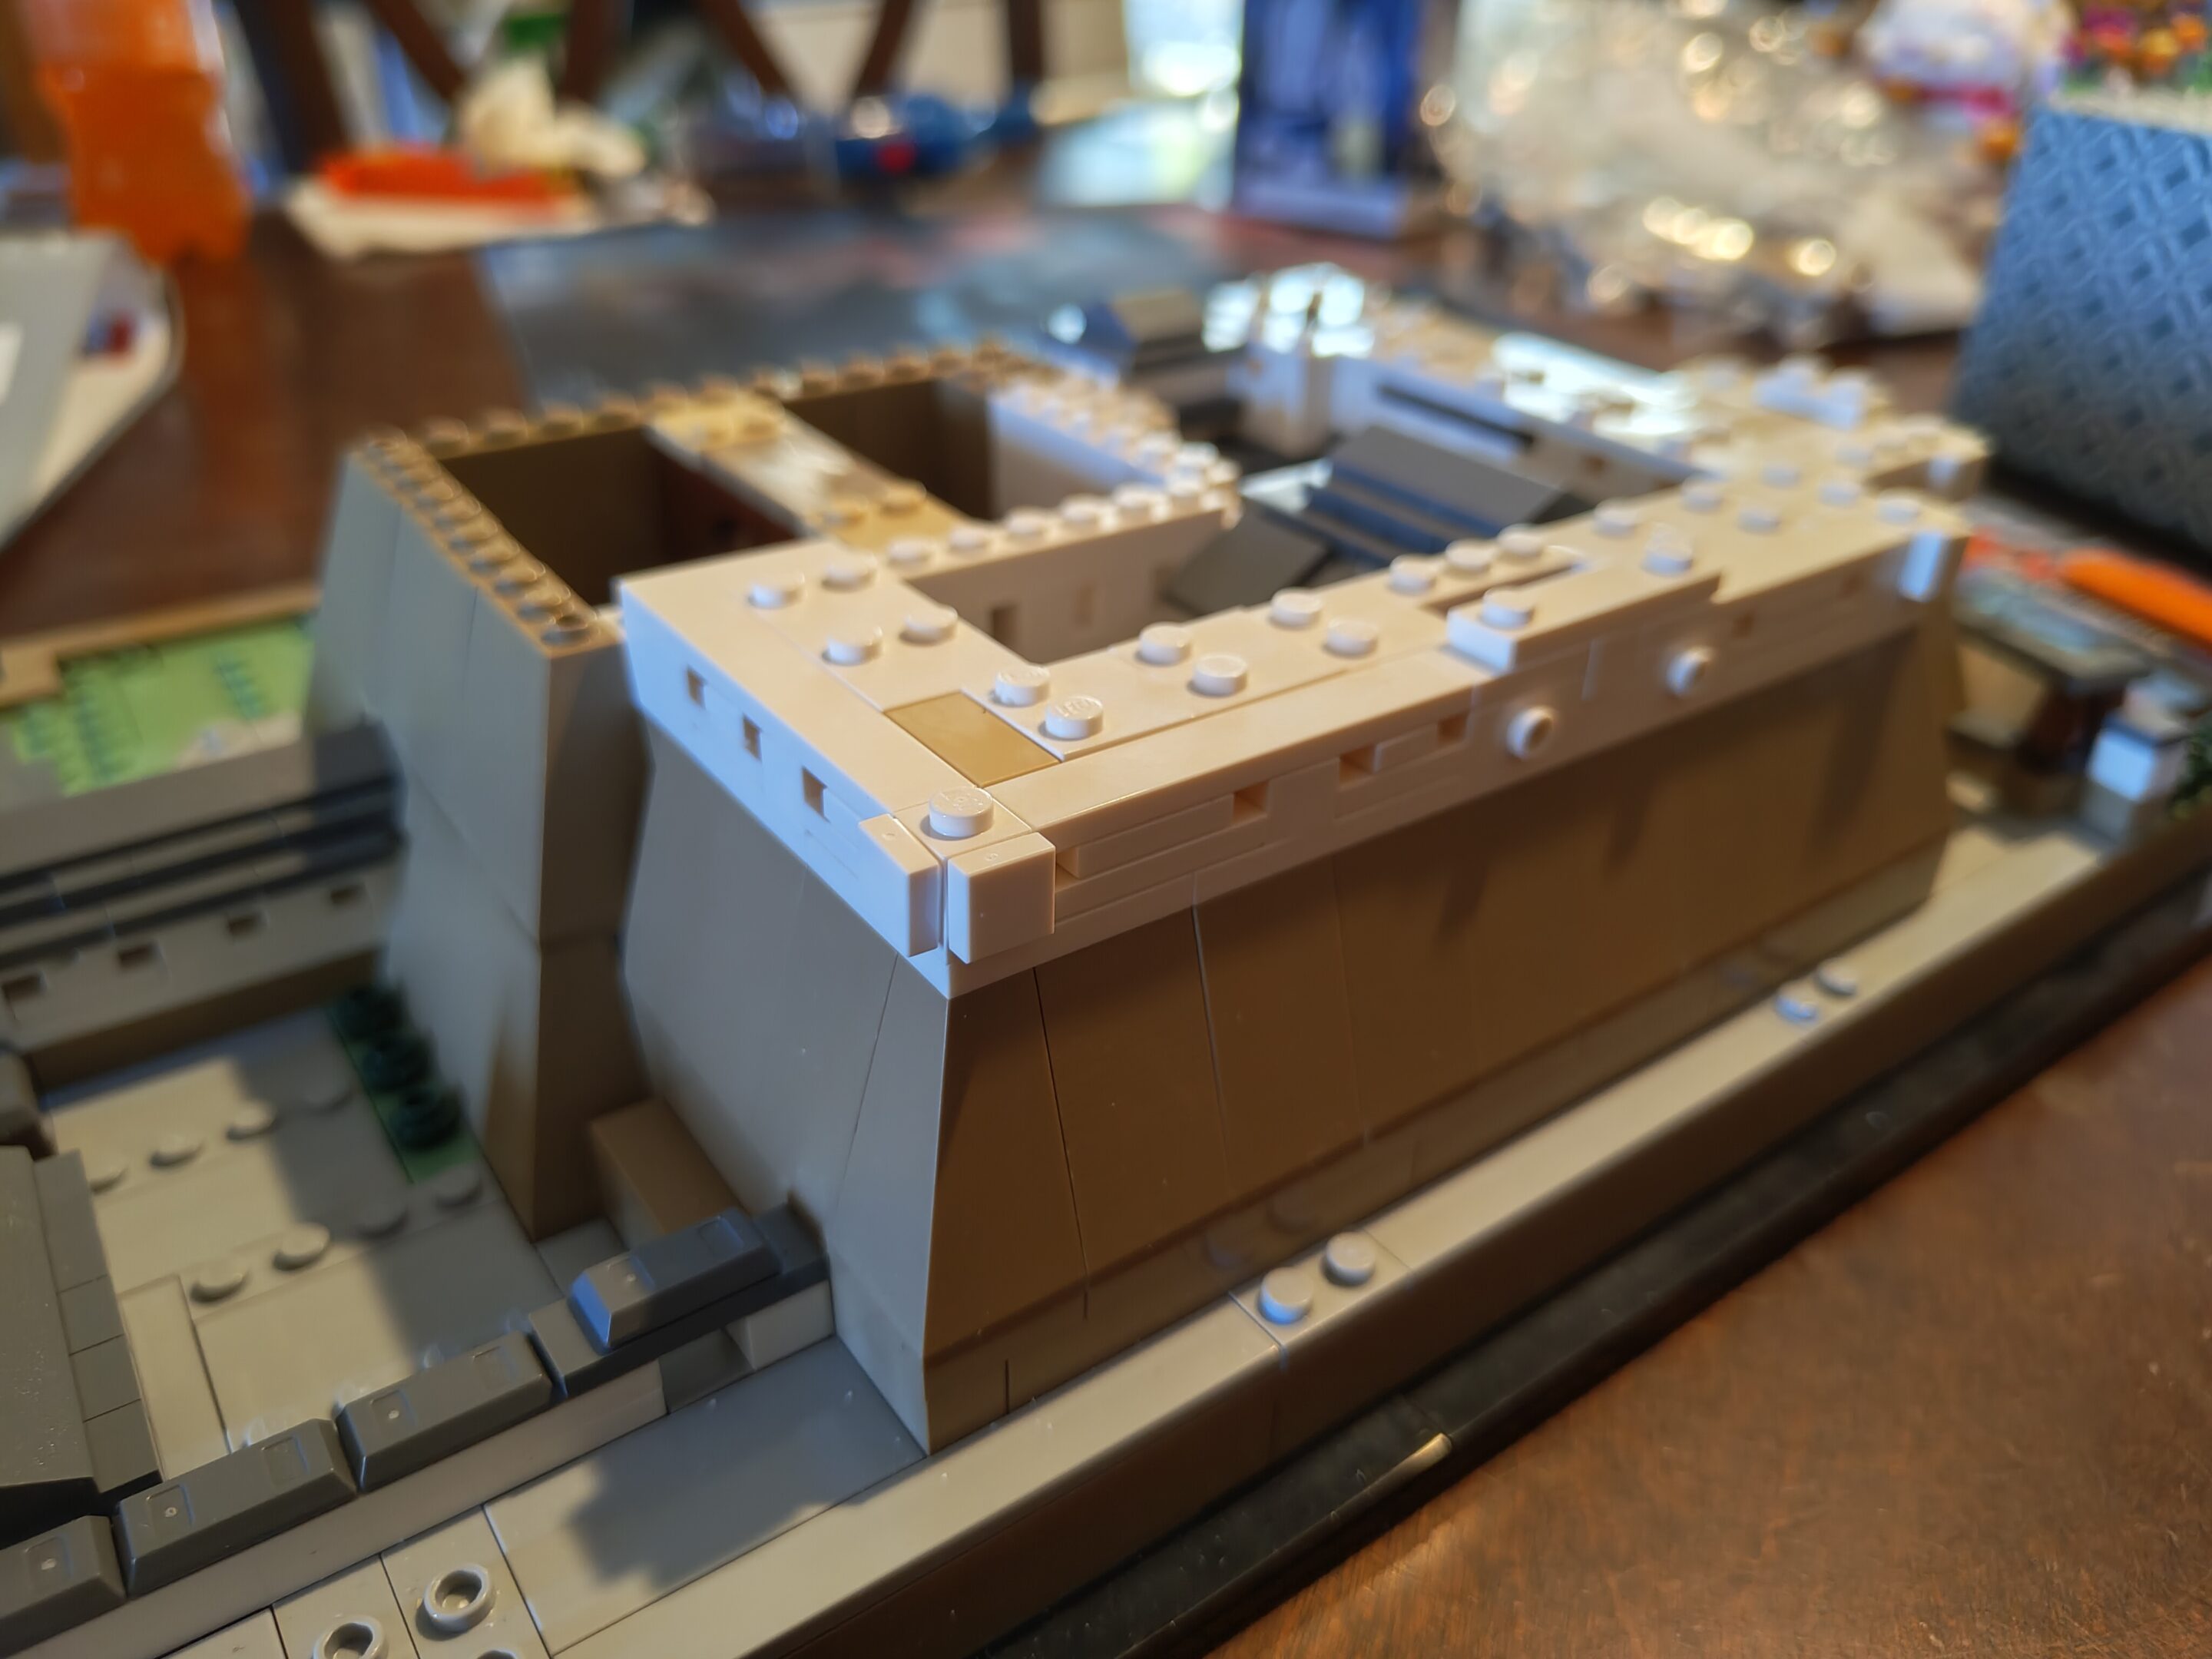
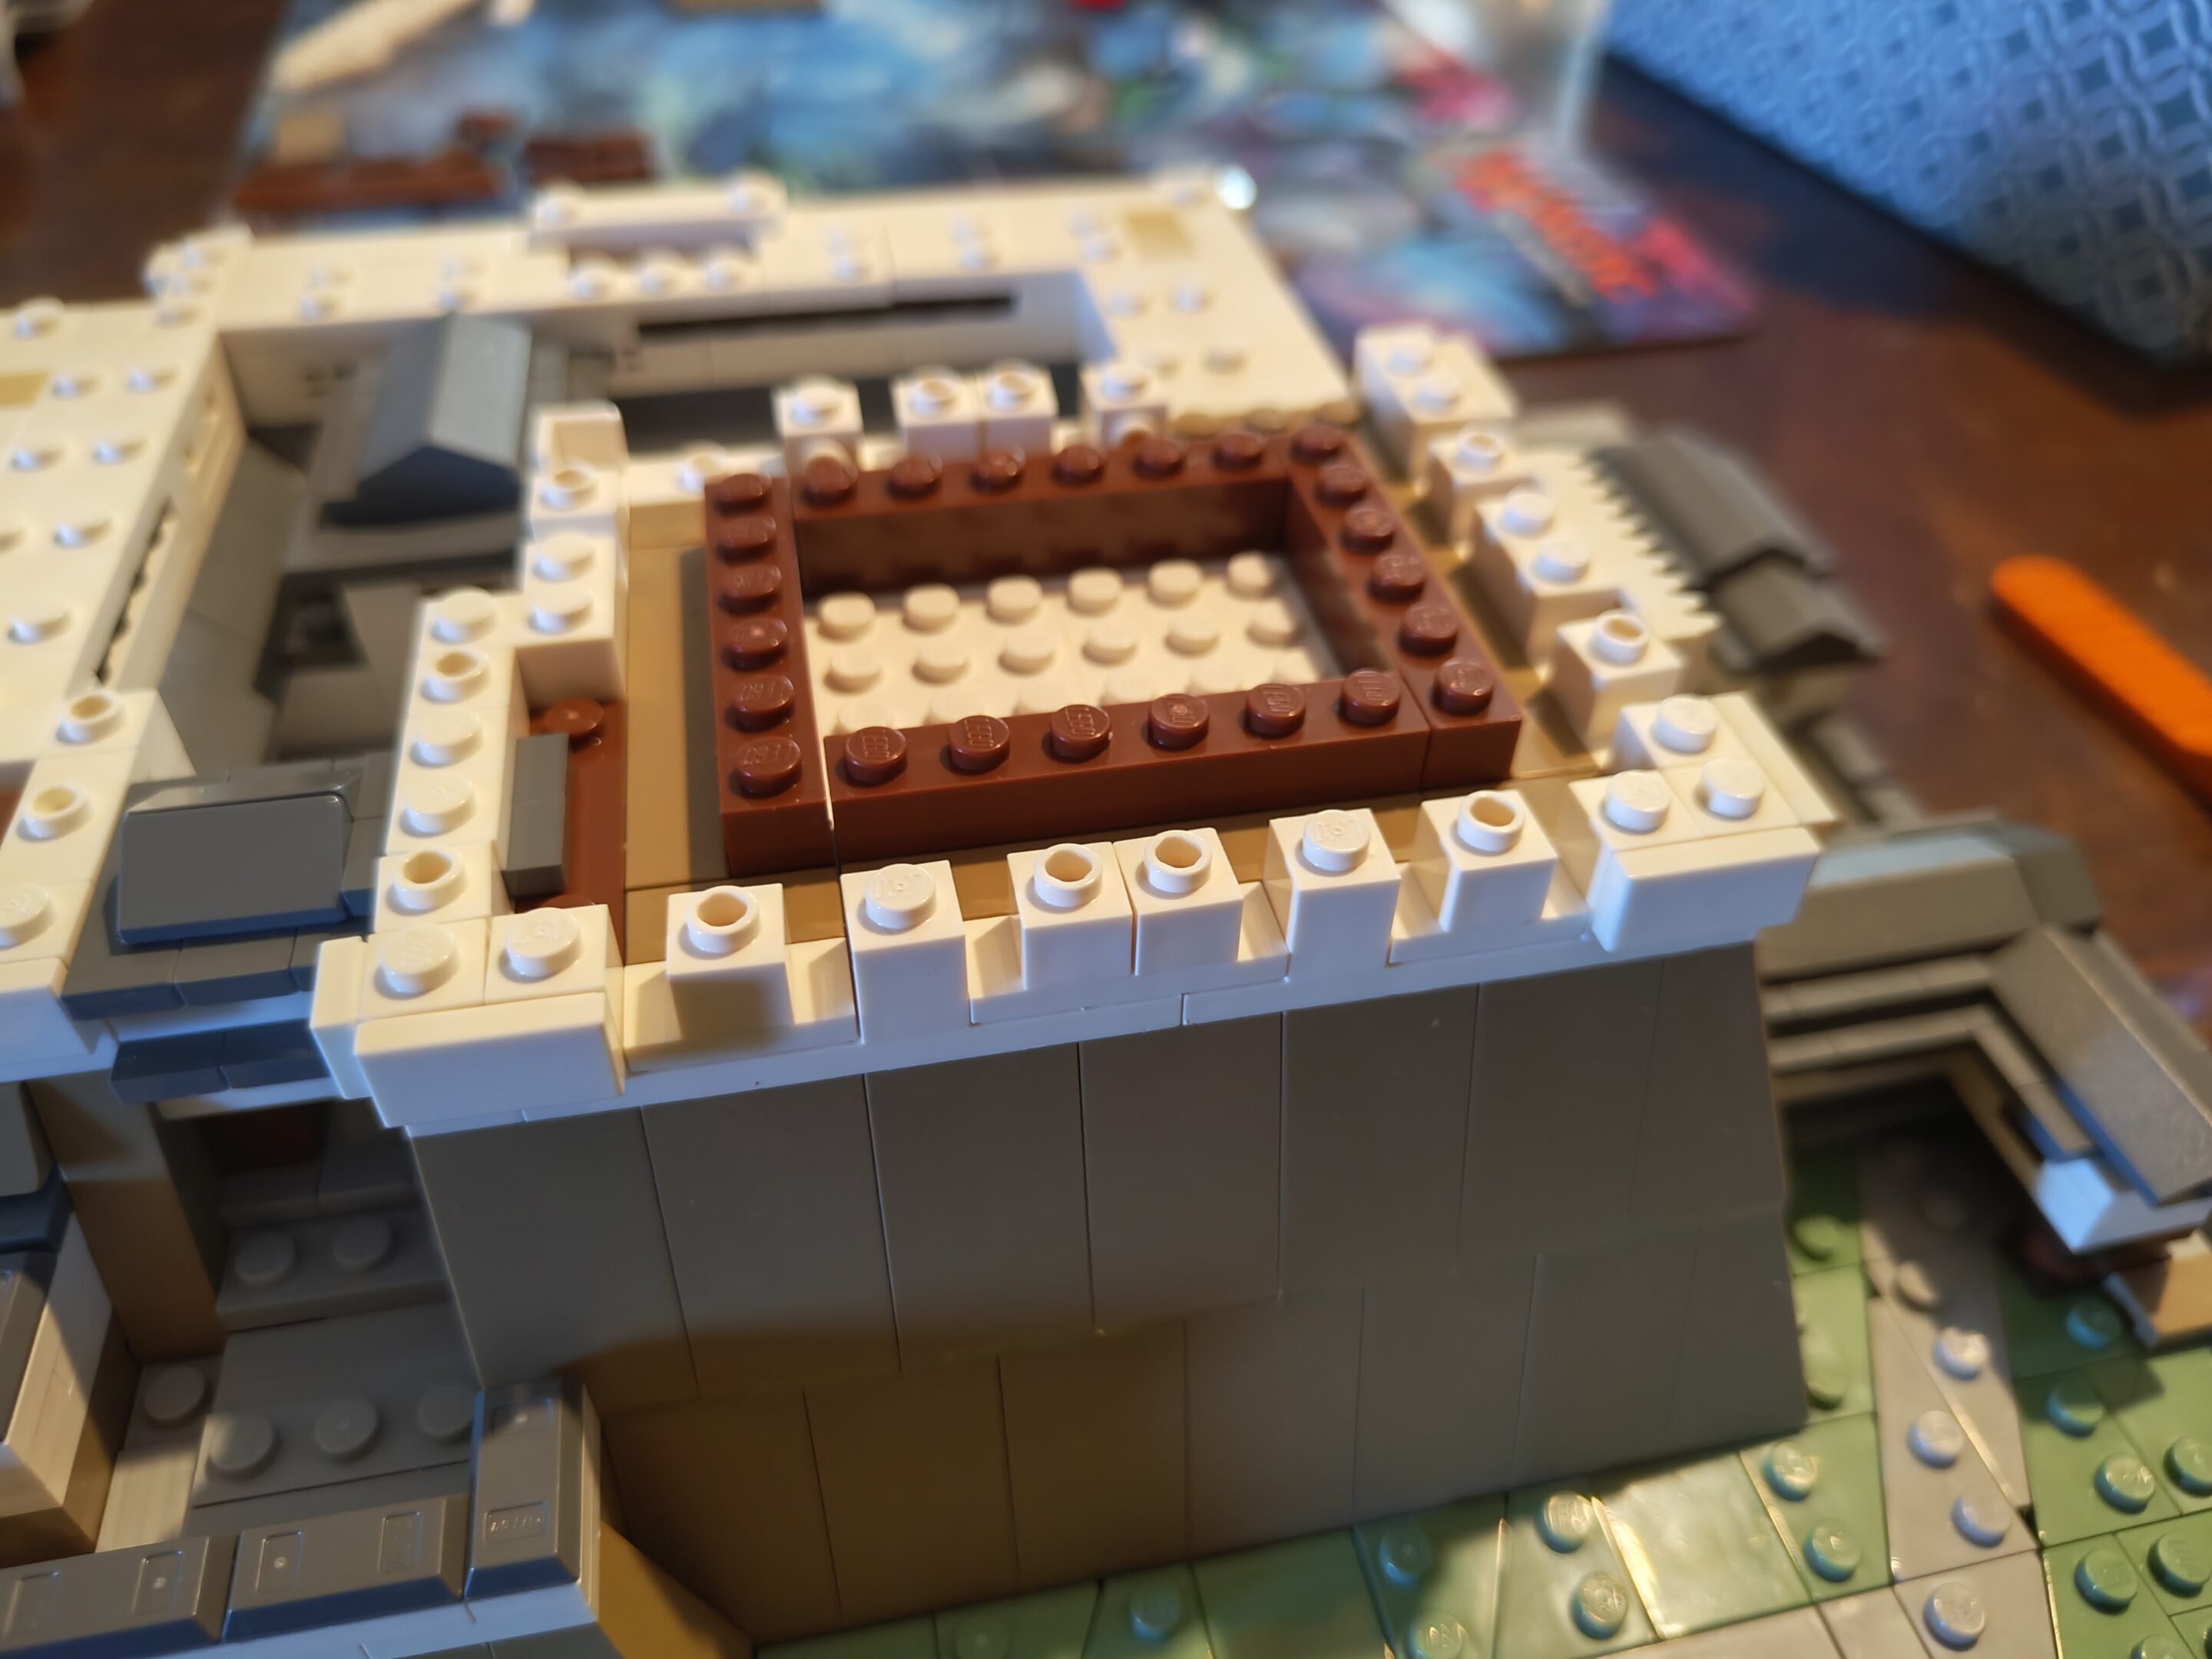
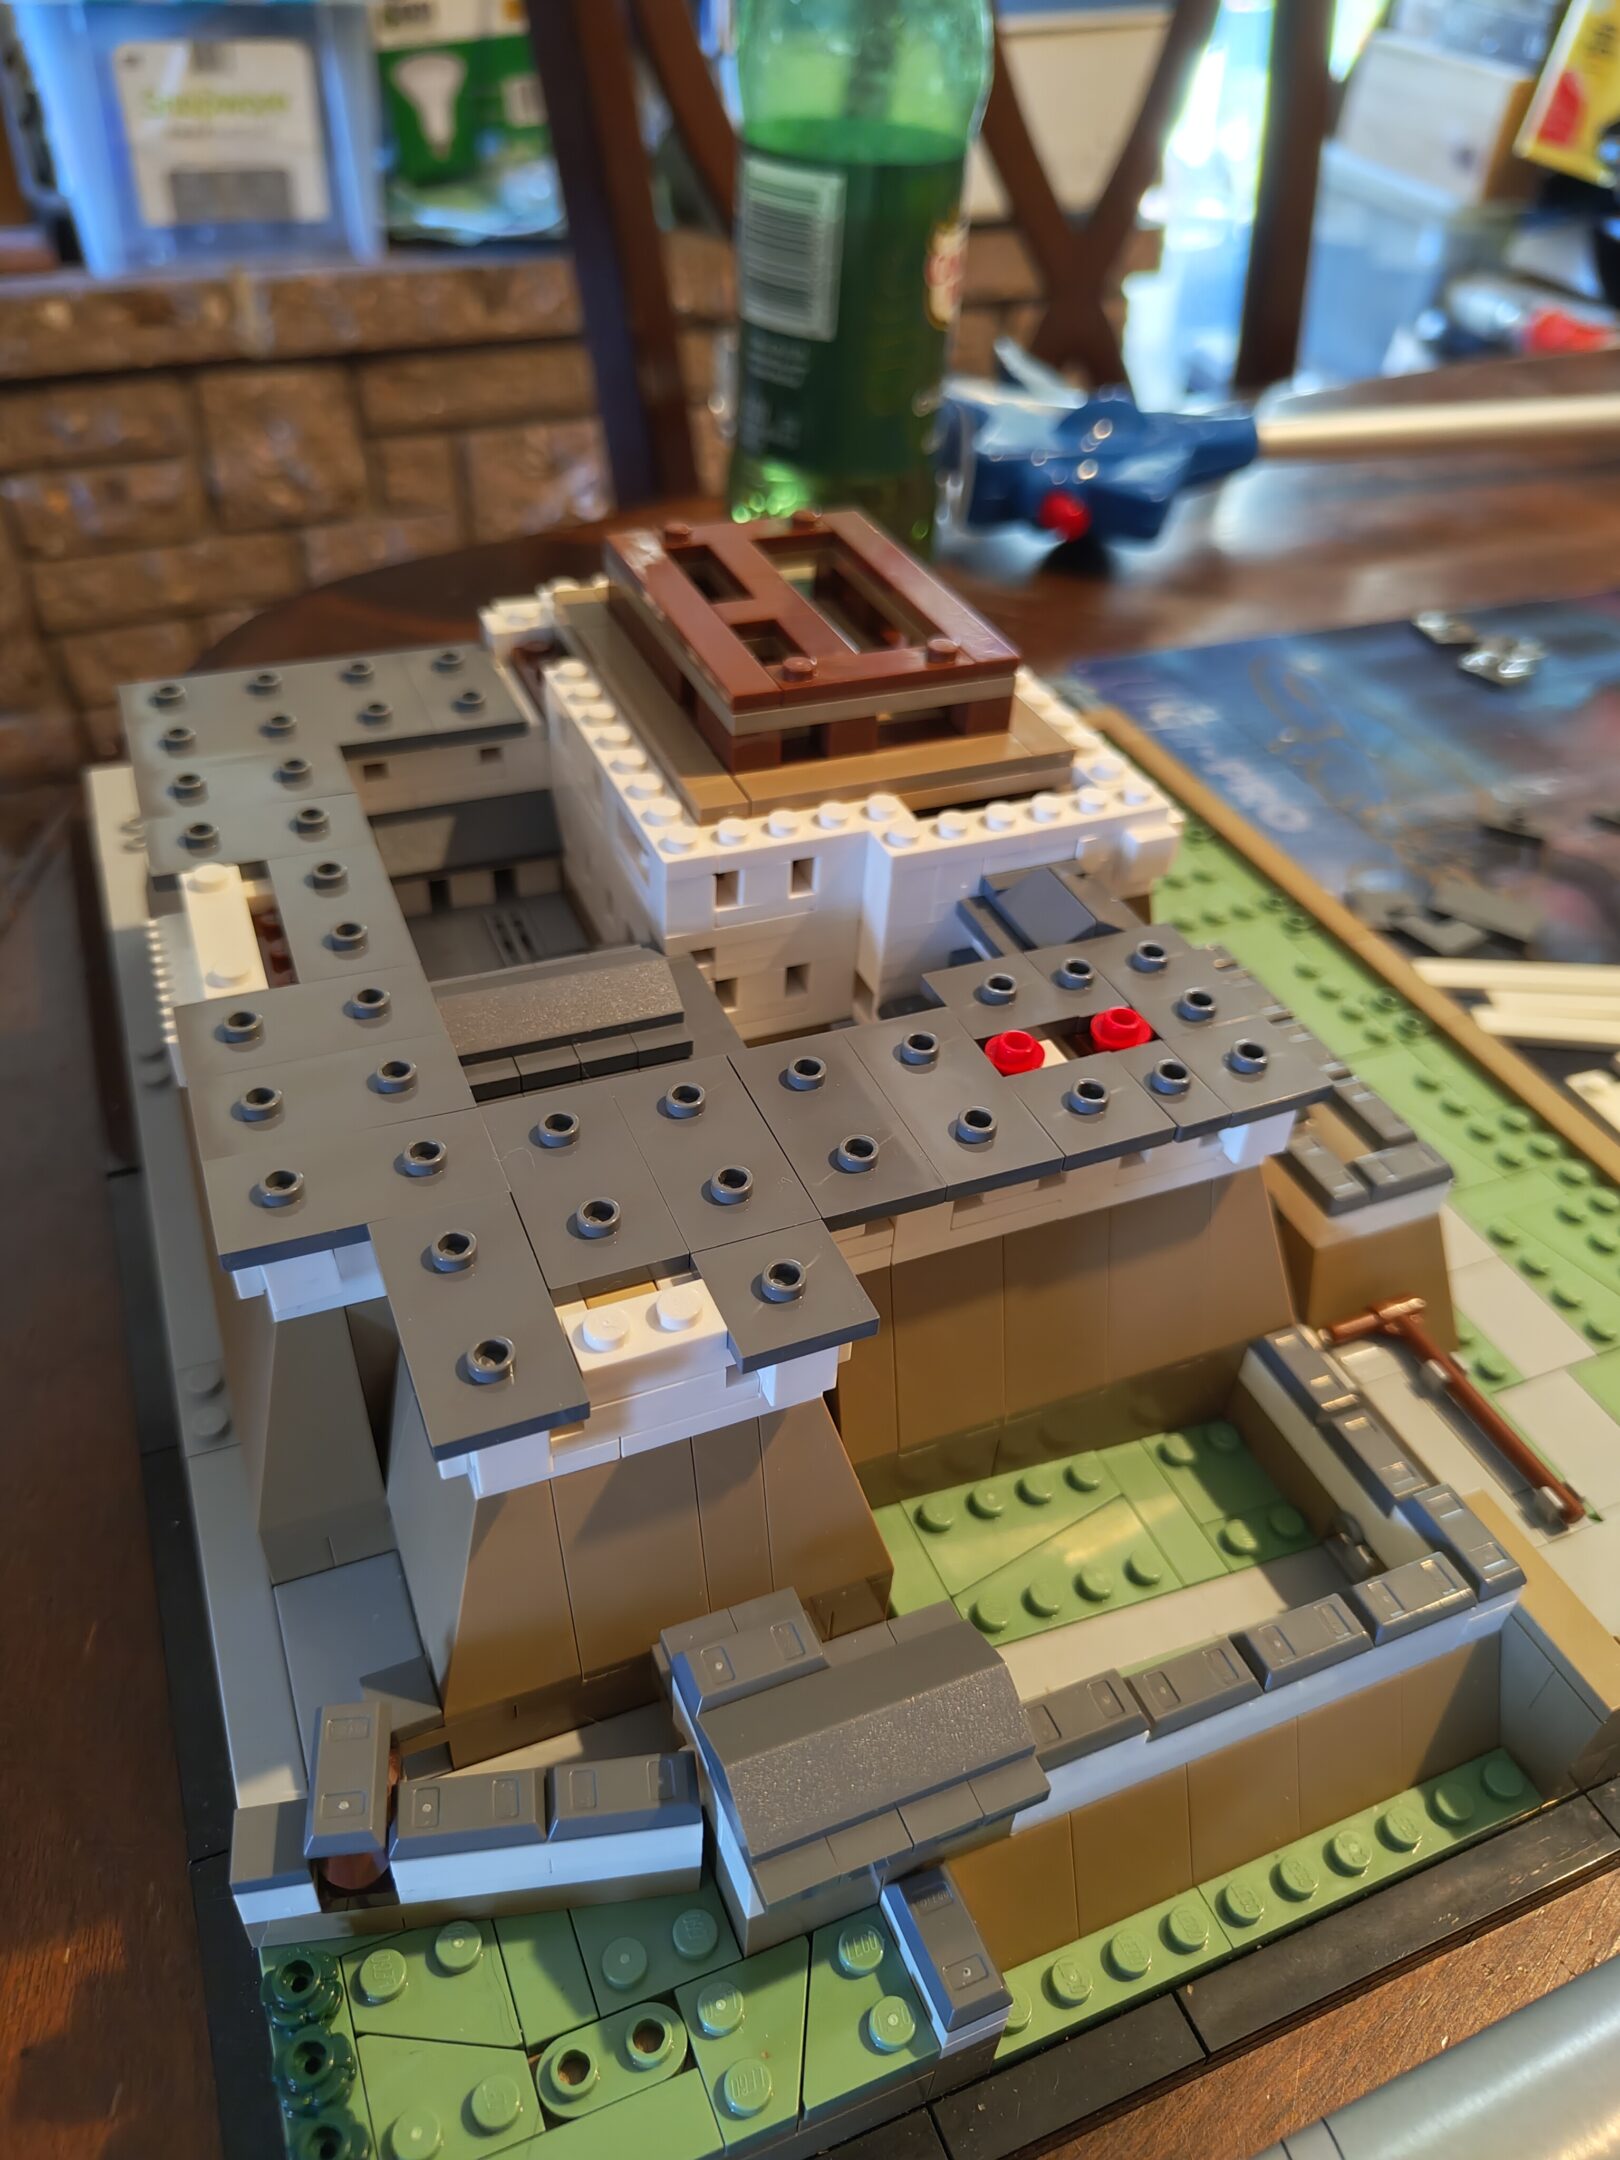
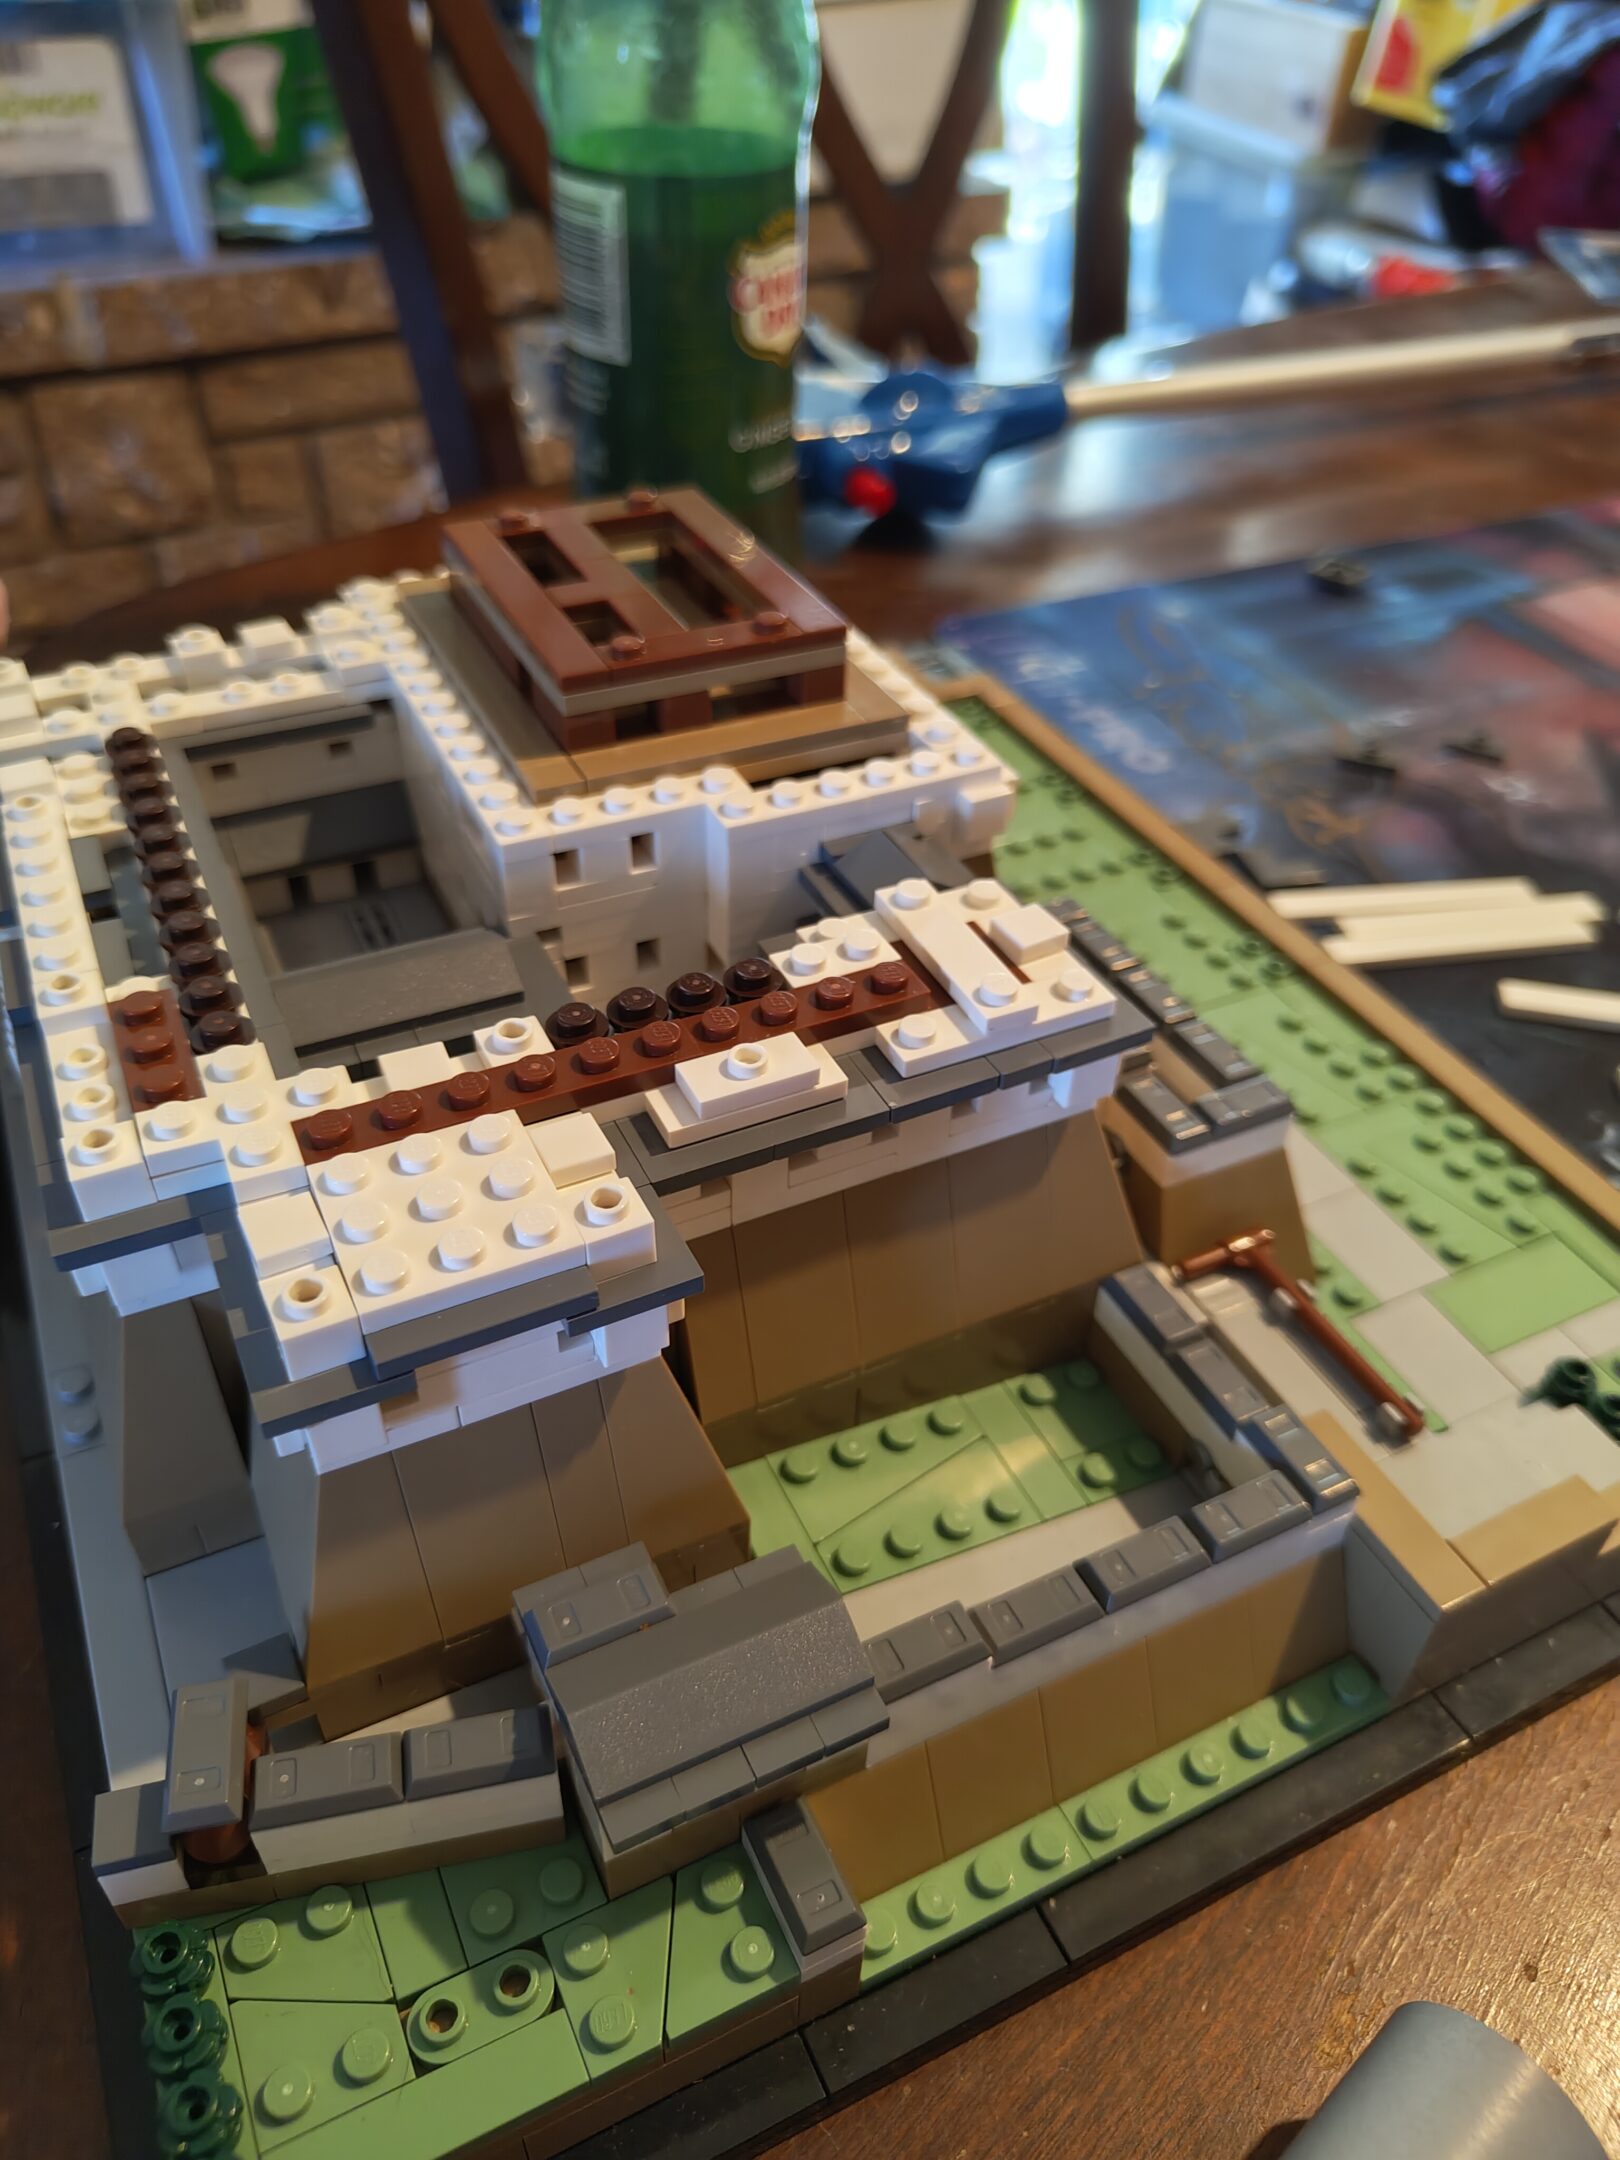
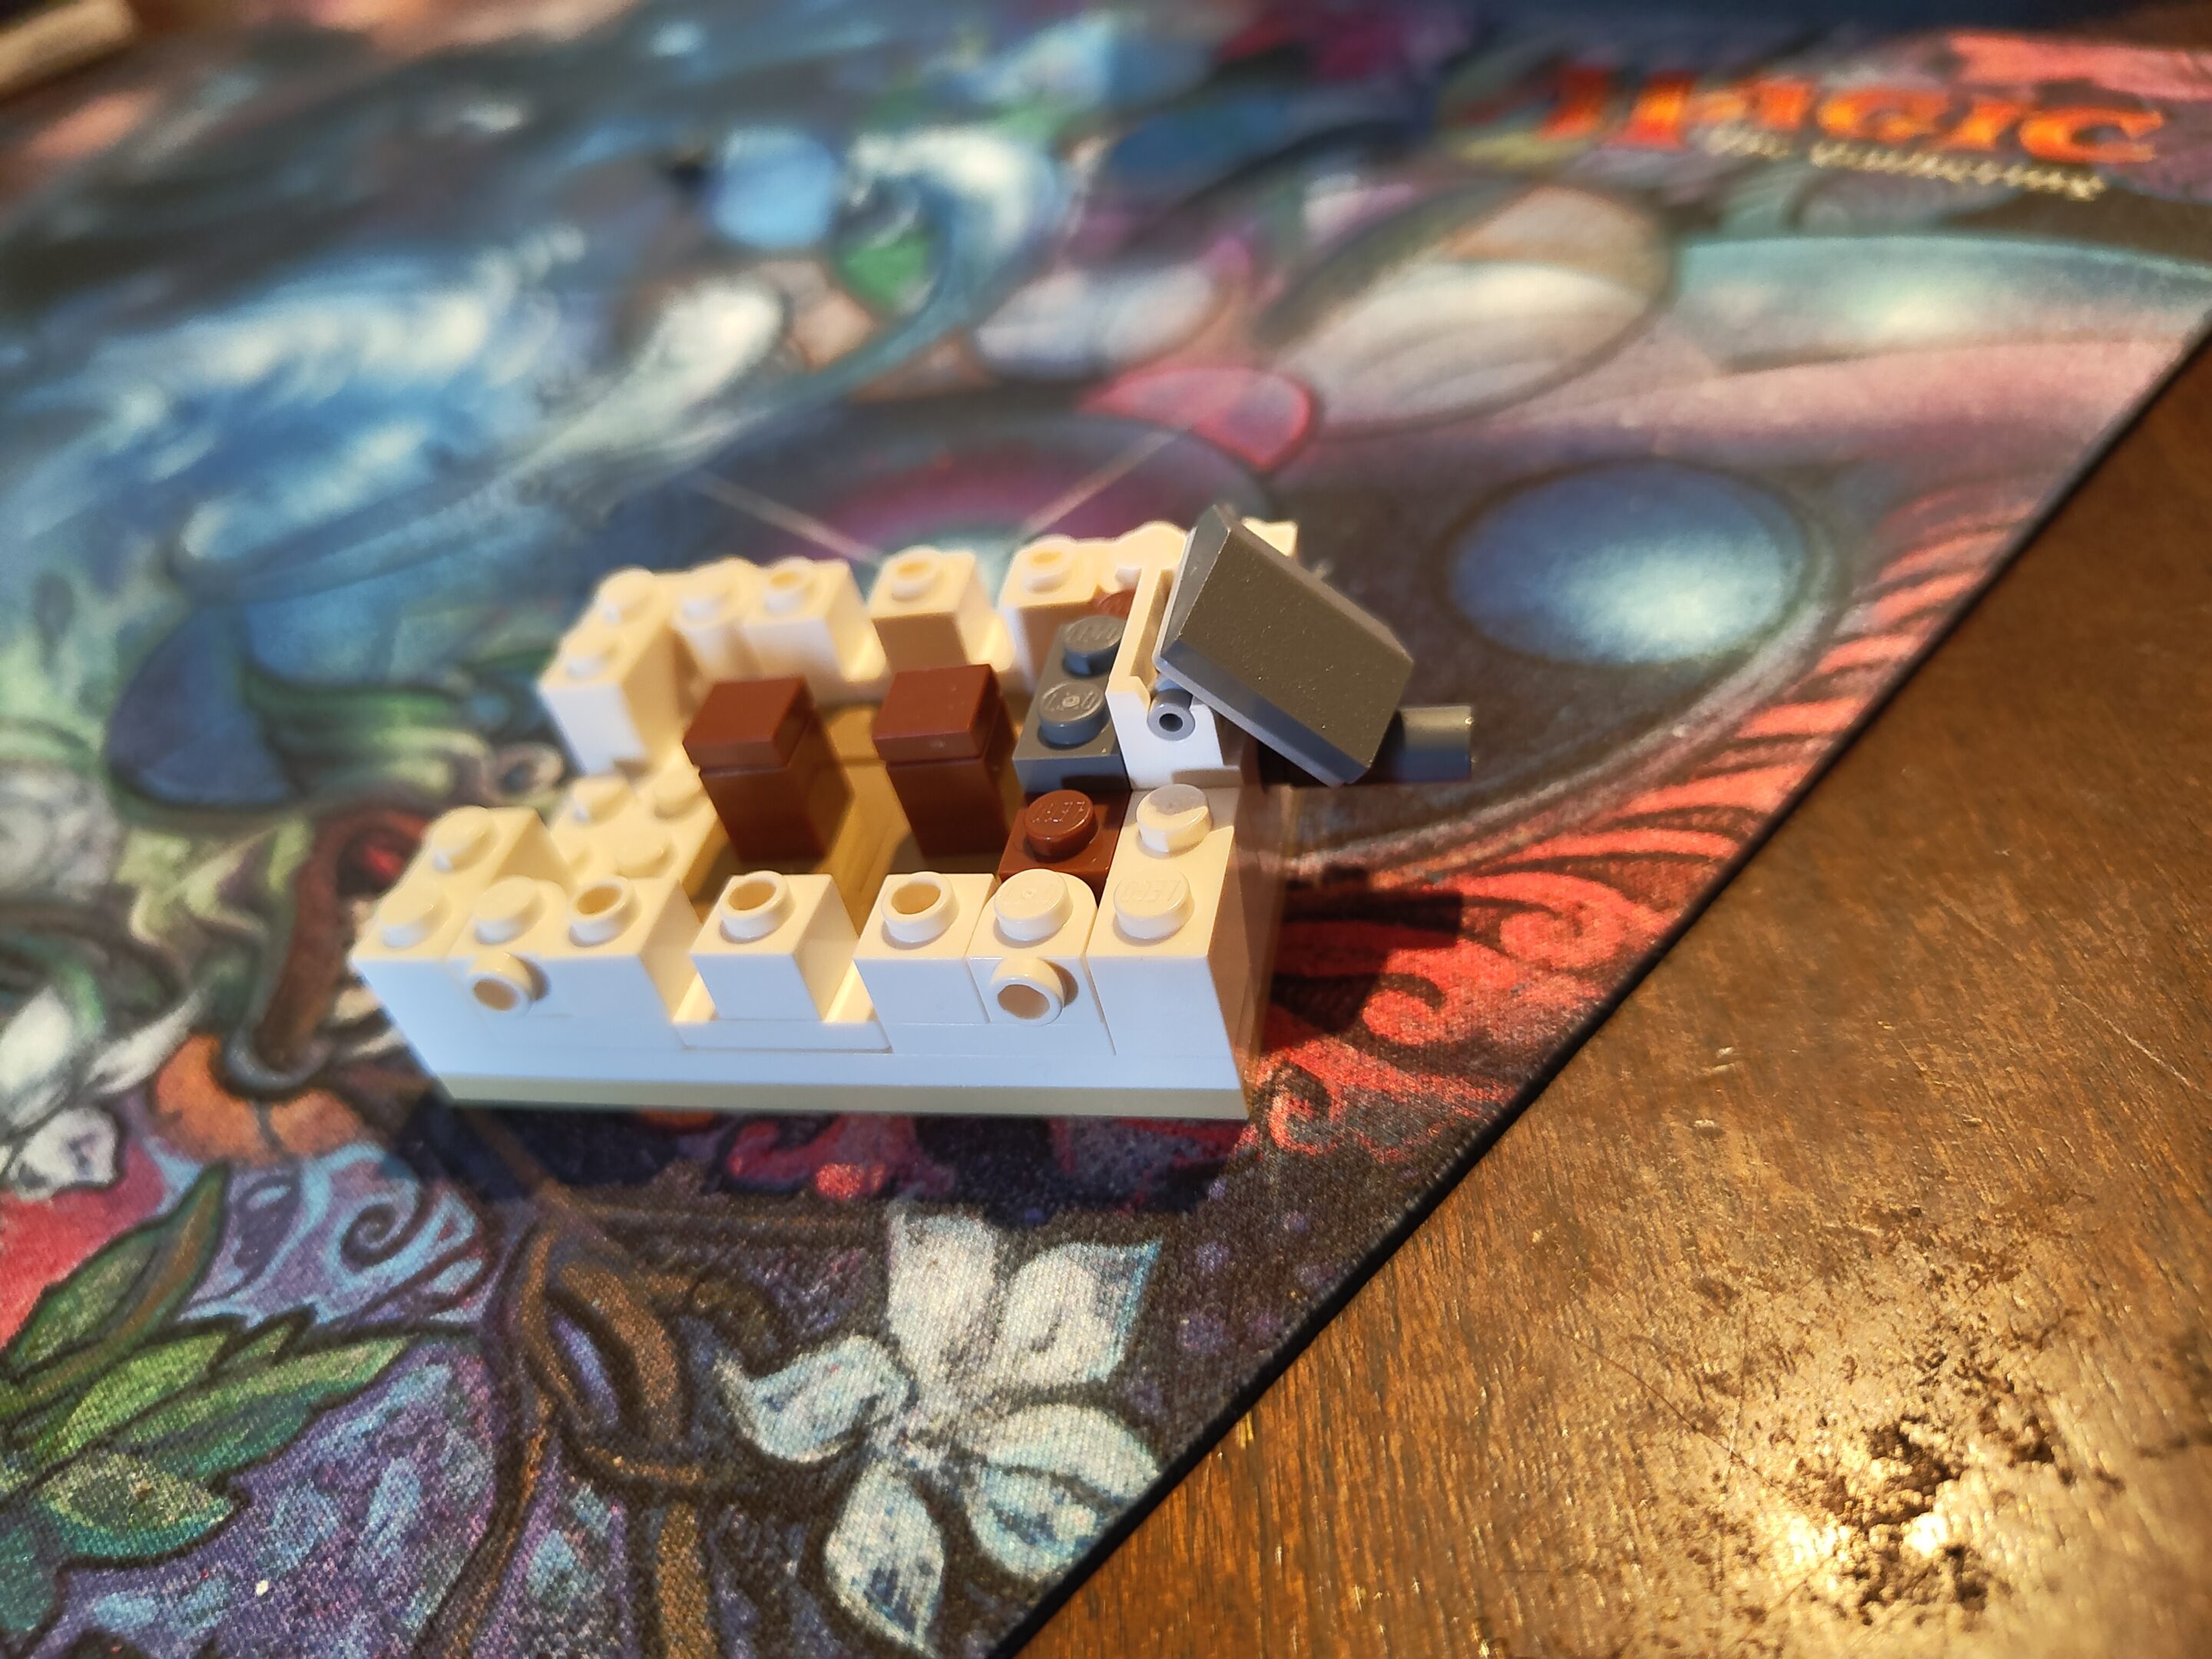
Starting work on the Main KeepMustaches (boomerang) = awningsAccording to the book, each floor of the Main Keep was made to resemble the floor plan from the actual castleReally coming together nowFourth floor detailFourth floor finished (more mustaches)
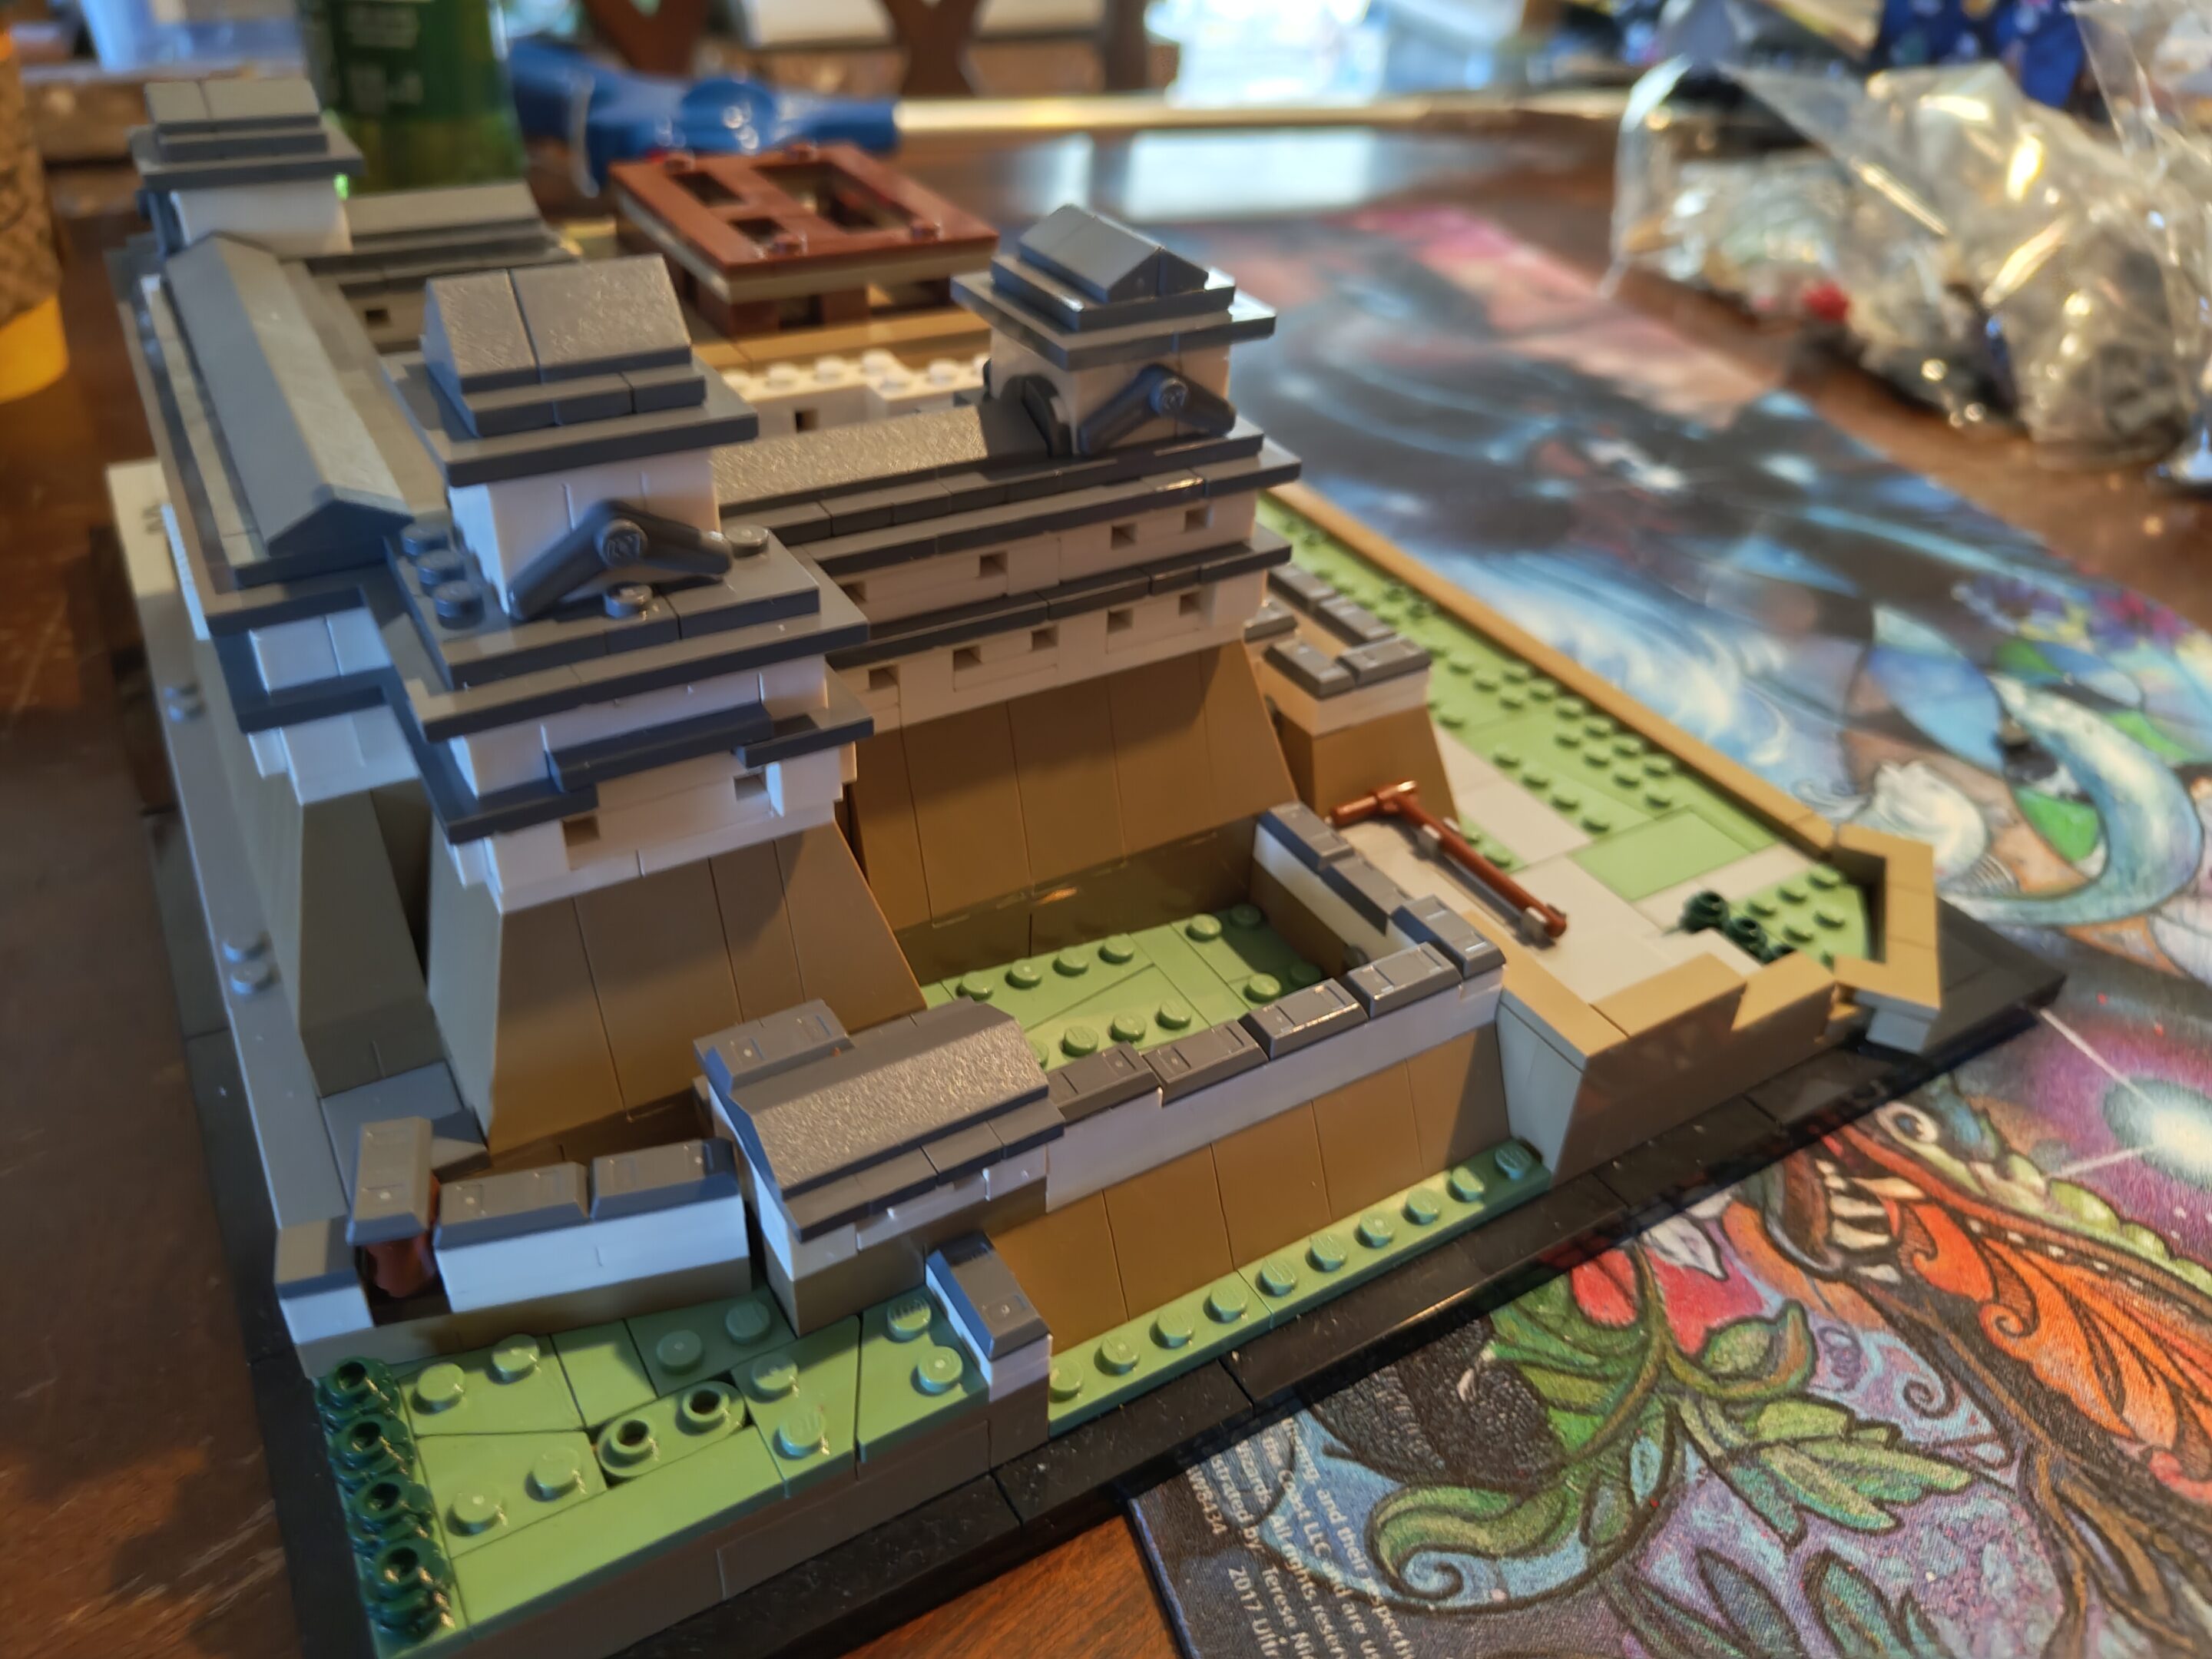
we finished up today (thursday, august 21st 2025) and gonna put it into the display cabinet this weekend with the rest of our lego projects, pretty stoked about the next one (pyramid of giza) and the one after that too. maybe by the time we’re done with the next two there will be some more new sets out and we just kinda keep chaining them. gotta have something to do in retirement, right?
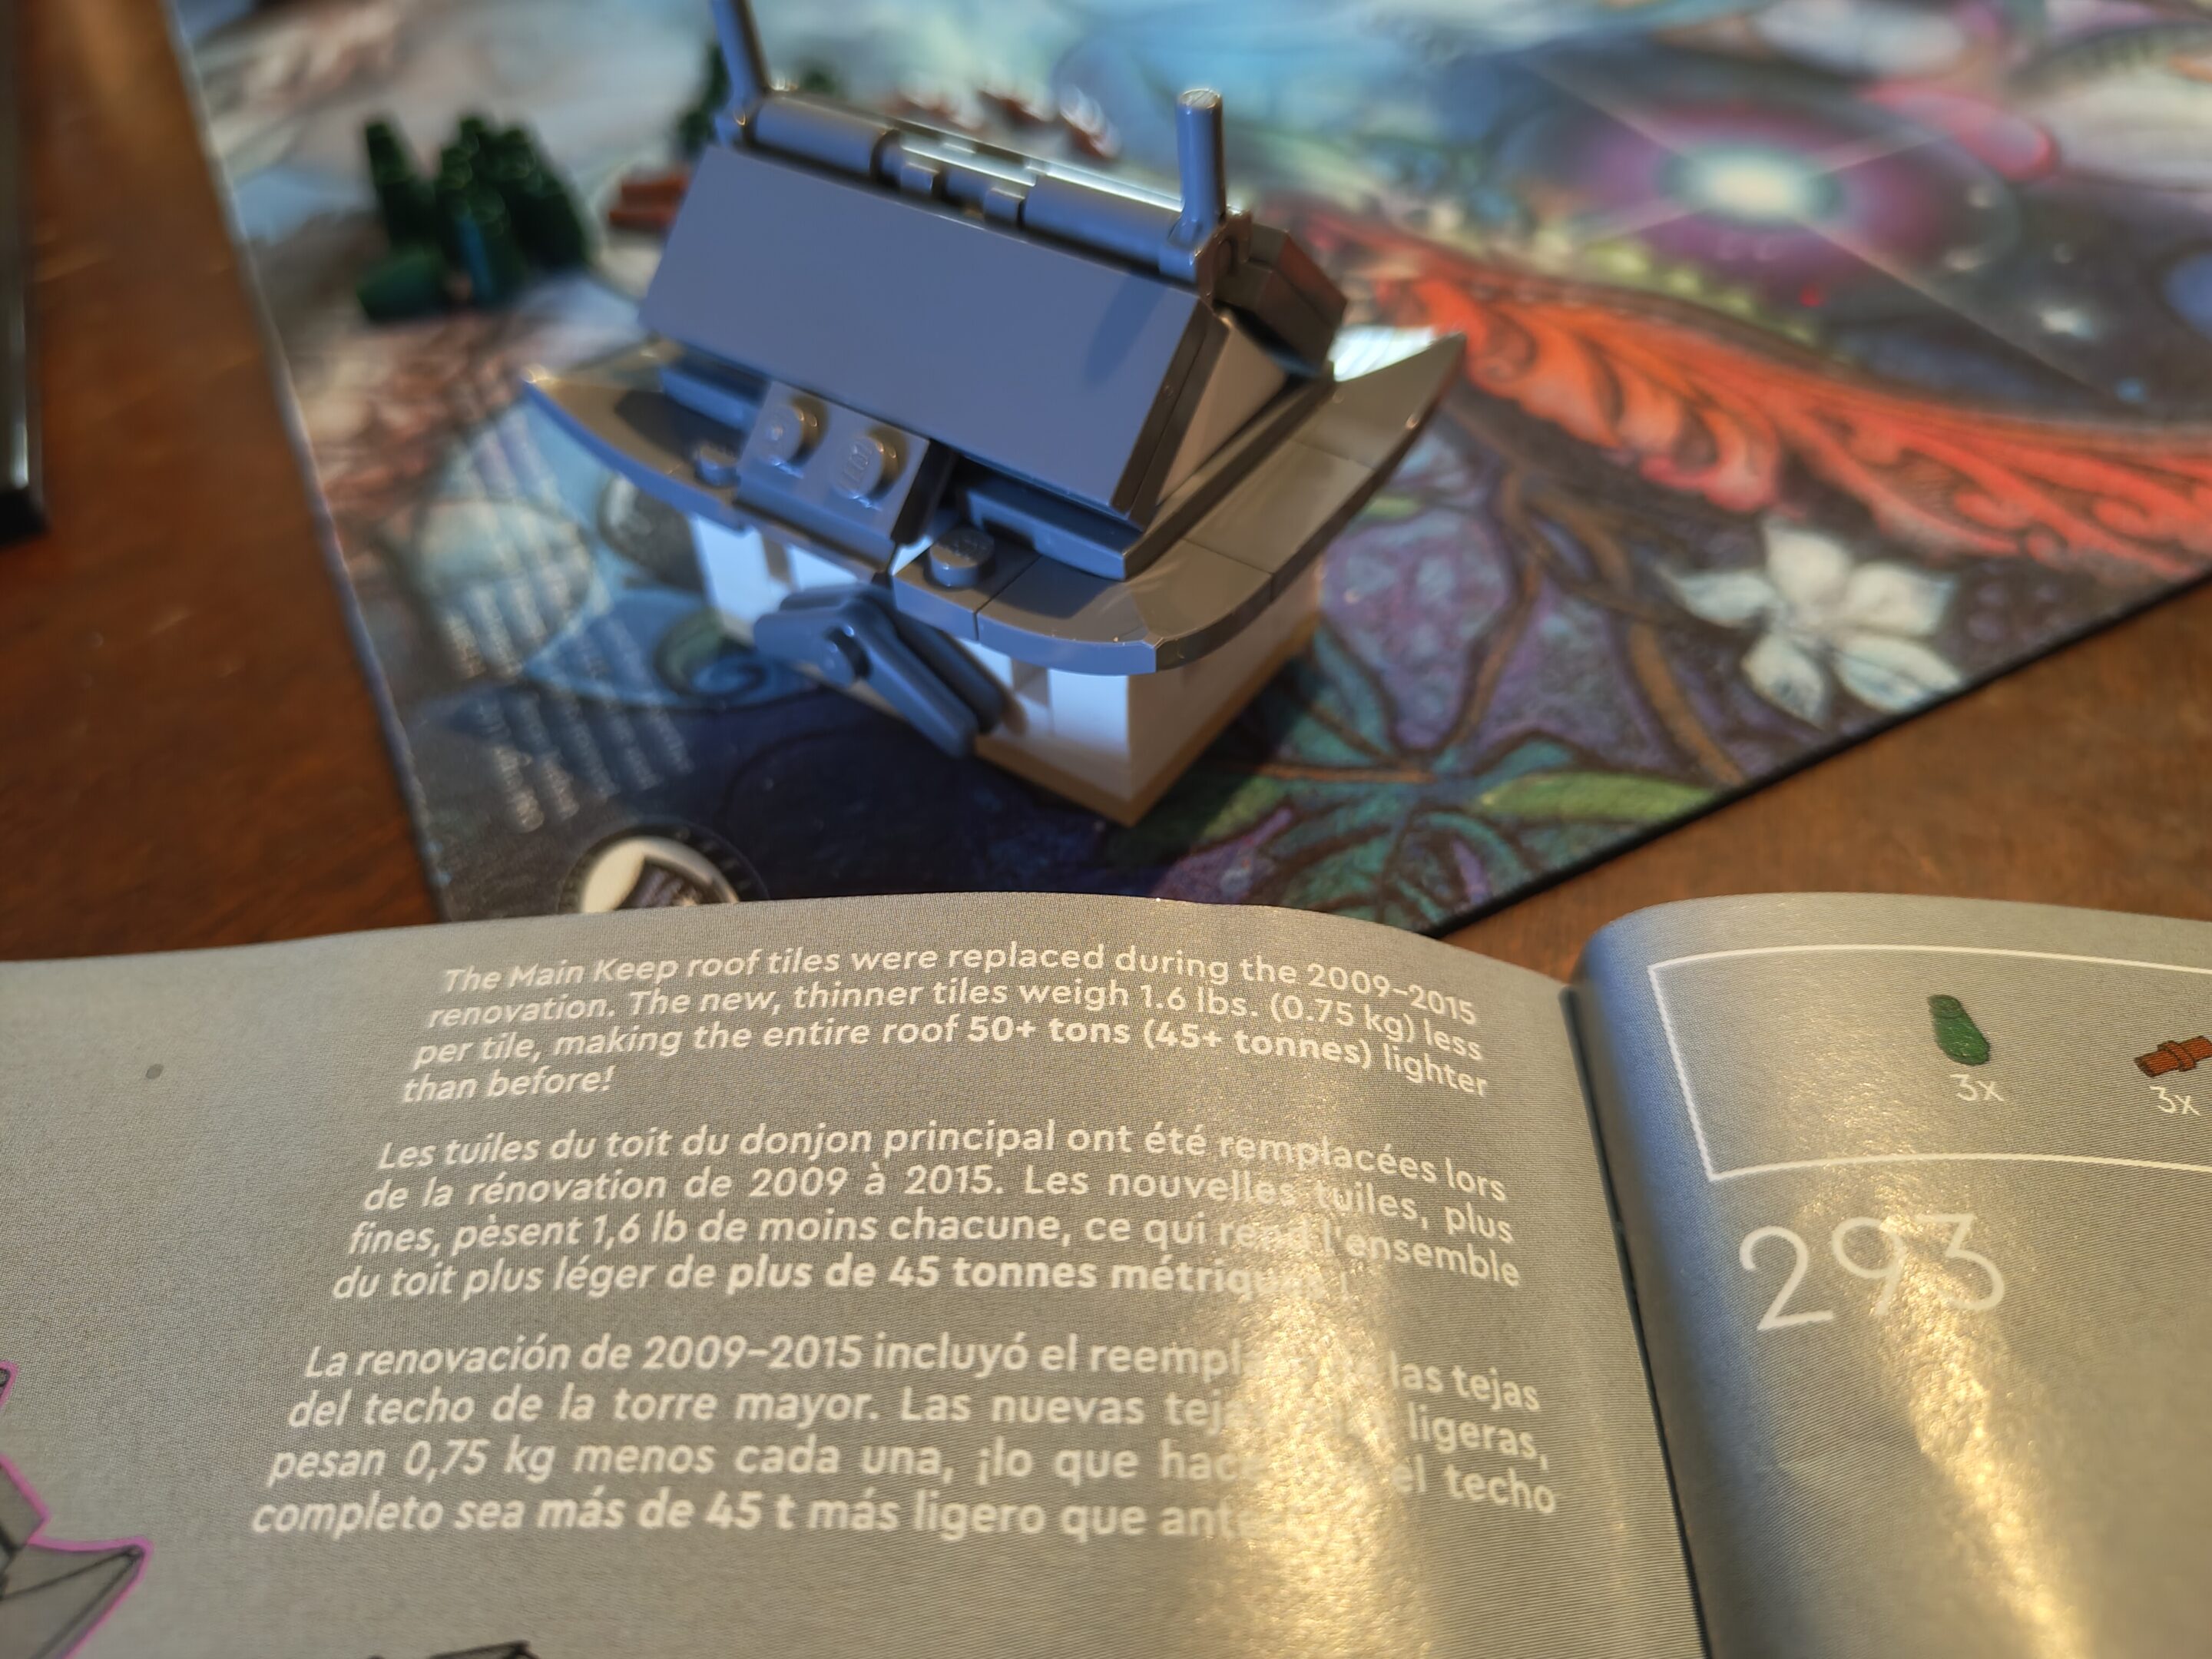
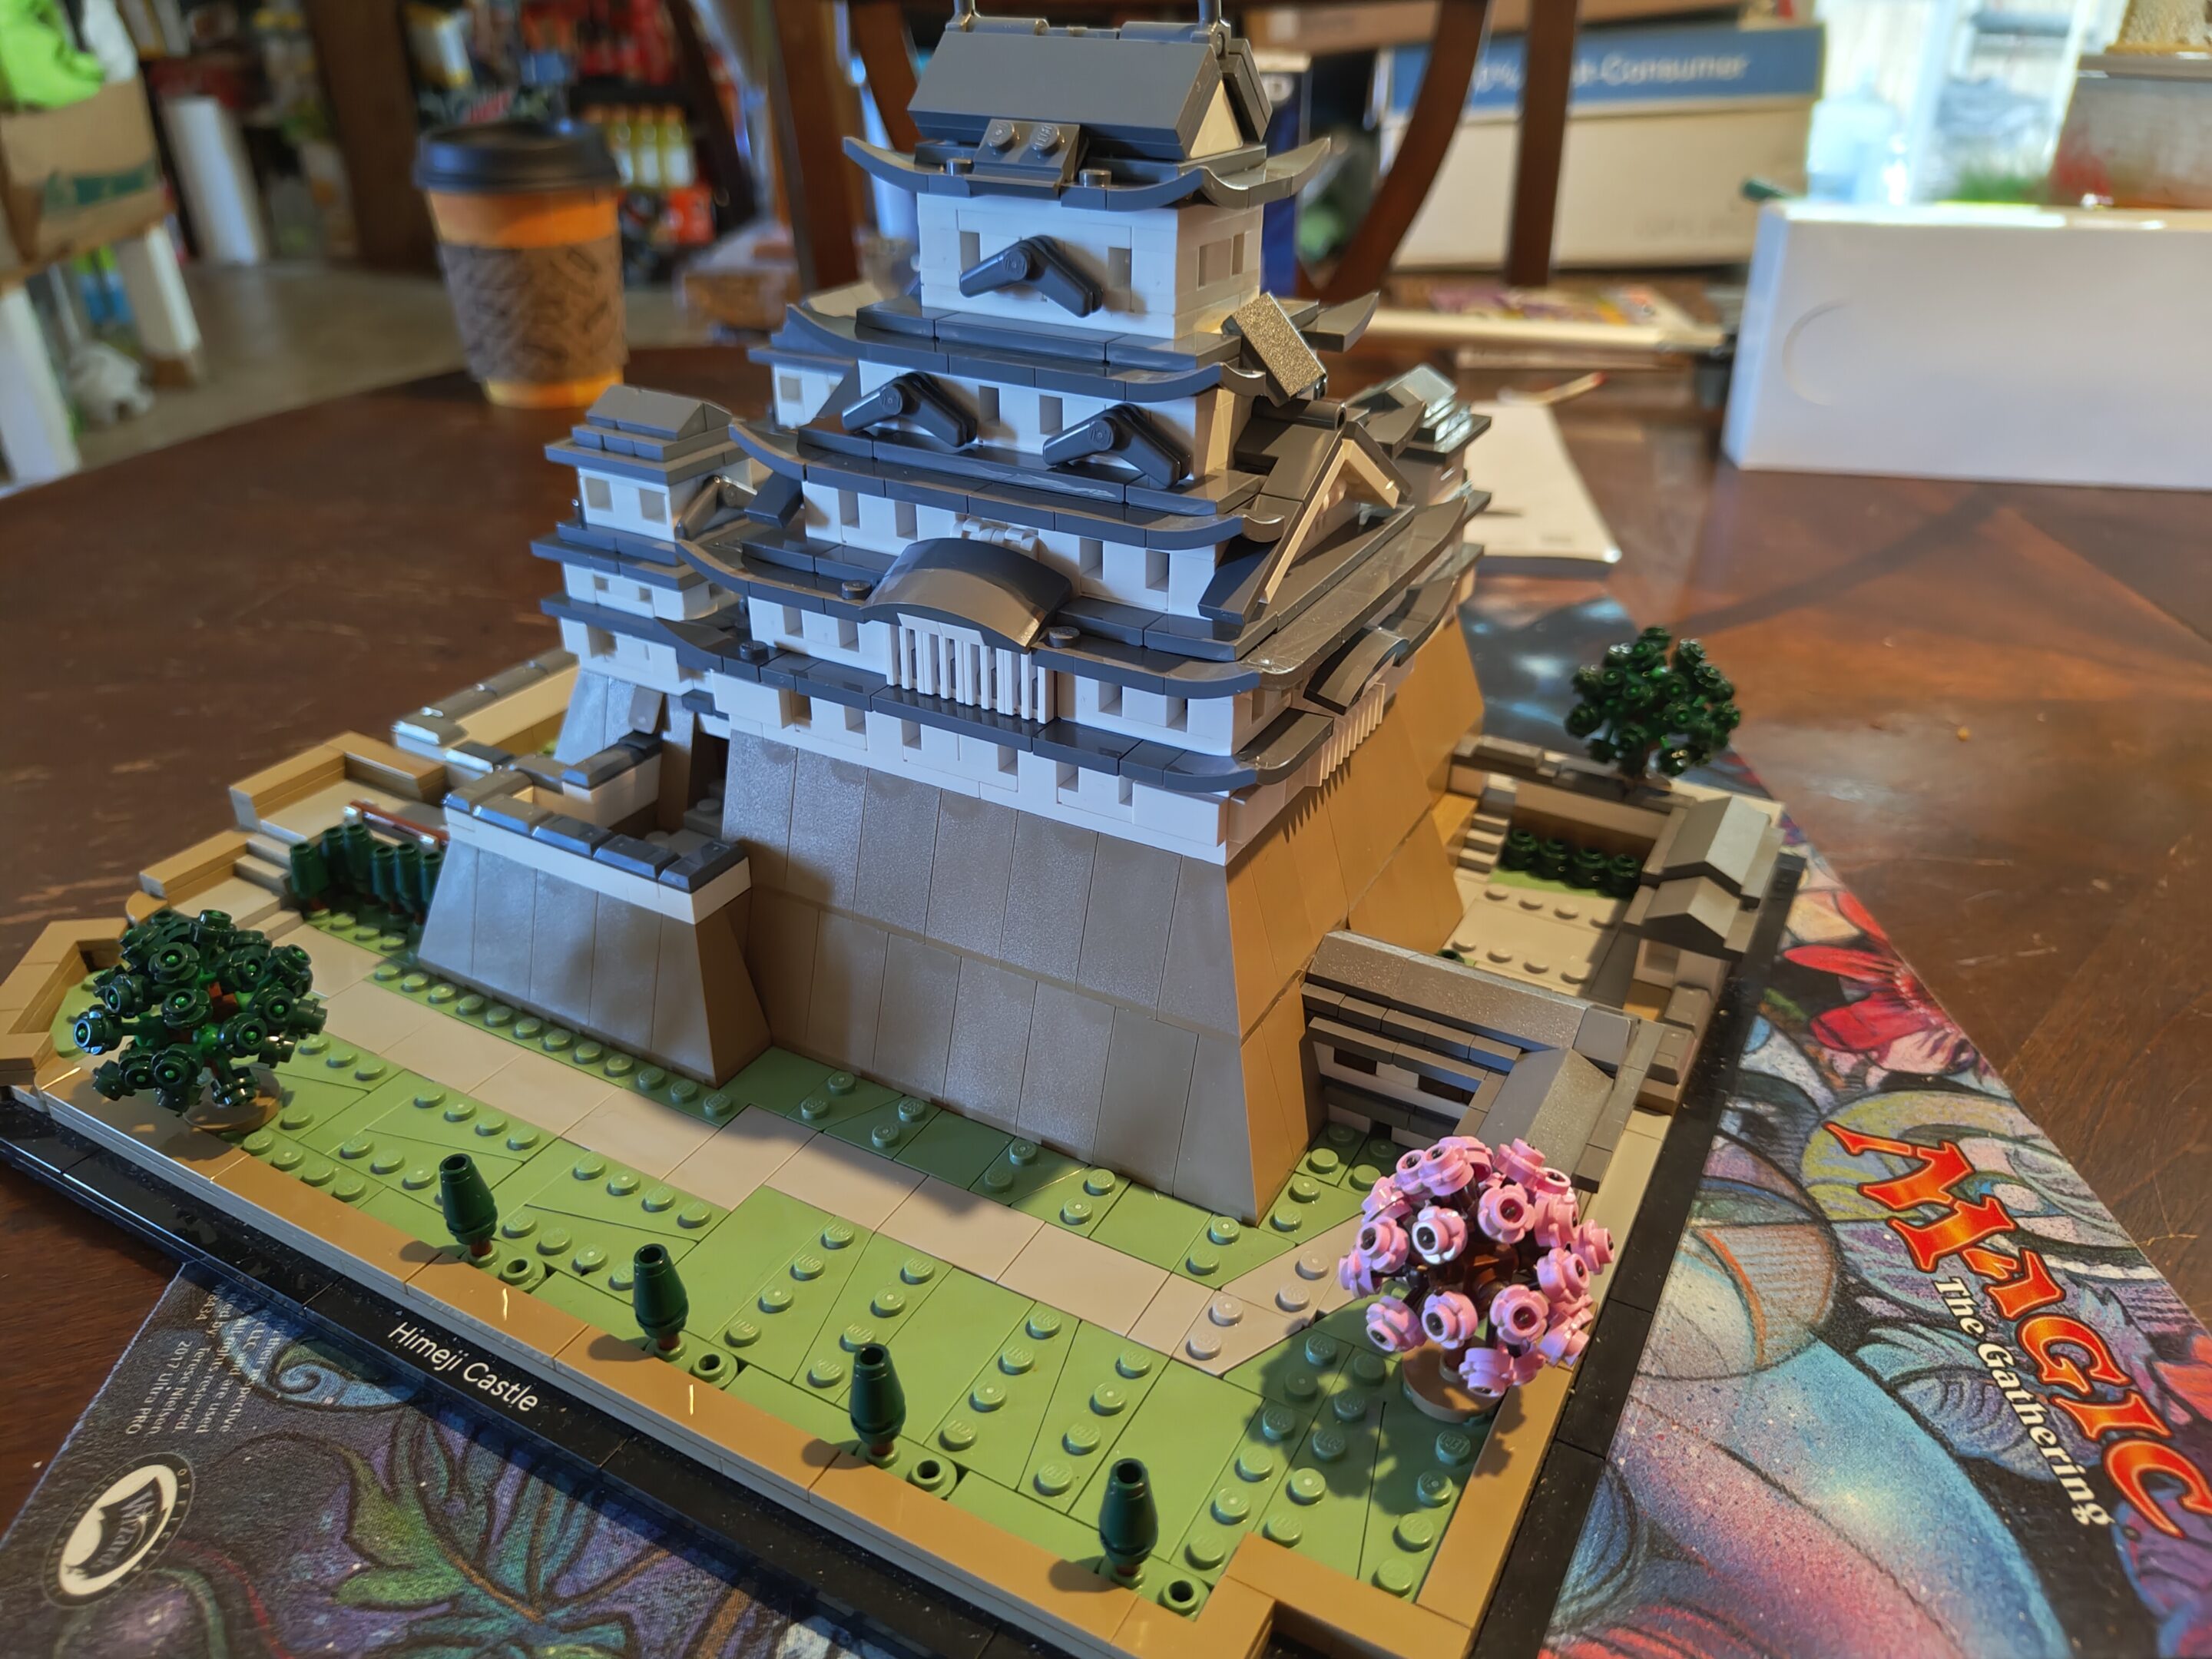
Interior detail with page notes50+ tons of roof tile weight saved feels like a lotMain keep finished!Add some trees and we’re all done!The finished product, glamour angle
weirdly, this one is called “mansion” when you look at it on amazon but packaging refers to it as “apartment” so that’s the one i’m going with. except in the title and again in the text. but i only used apartment once, or well twice now that it’s in this sentence too. anyway, here’s my progress so far, just started it this weekend (july 19-20 2025)
Running wiresFirst stage completePlacing lightsShort-order windowOpen 24 hours!aw look at the cute little exhaust fan + stairway to nowhere (yet)
did a little more, this is ~24 hours of progress total
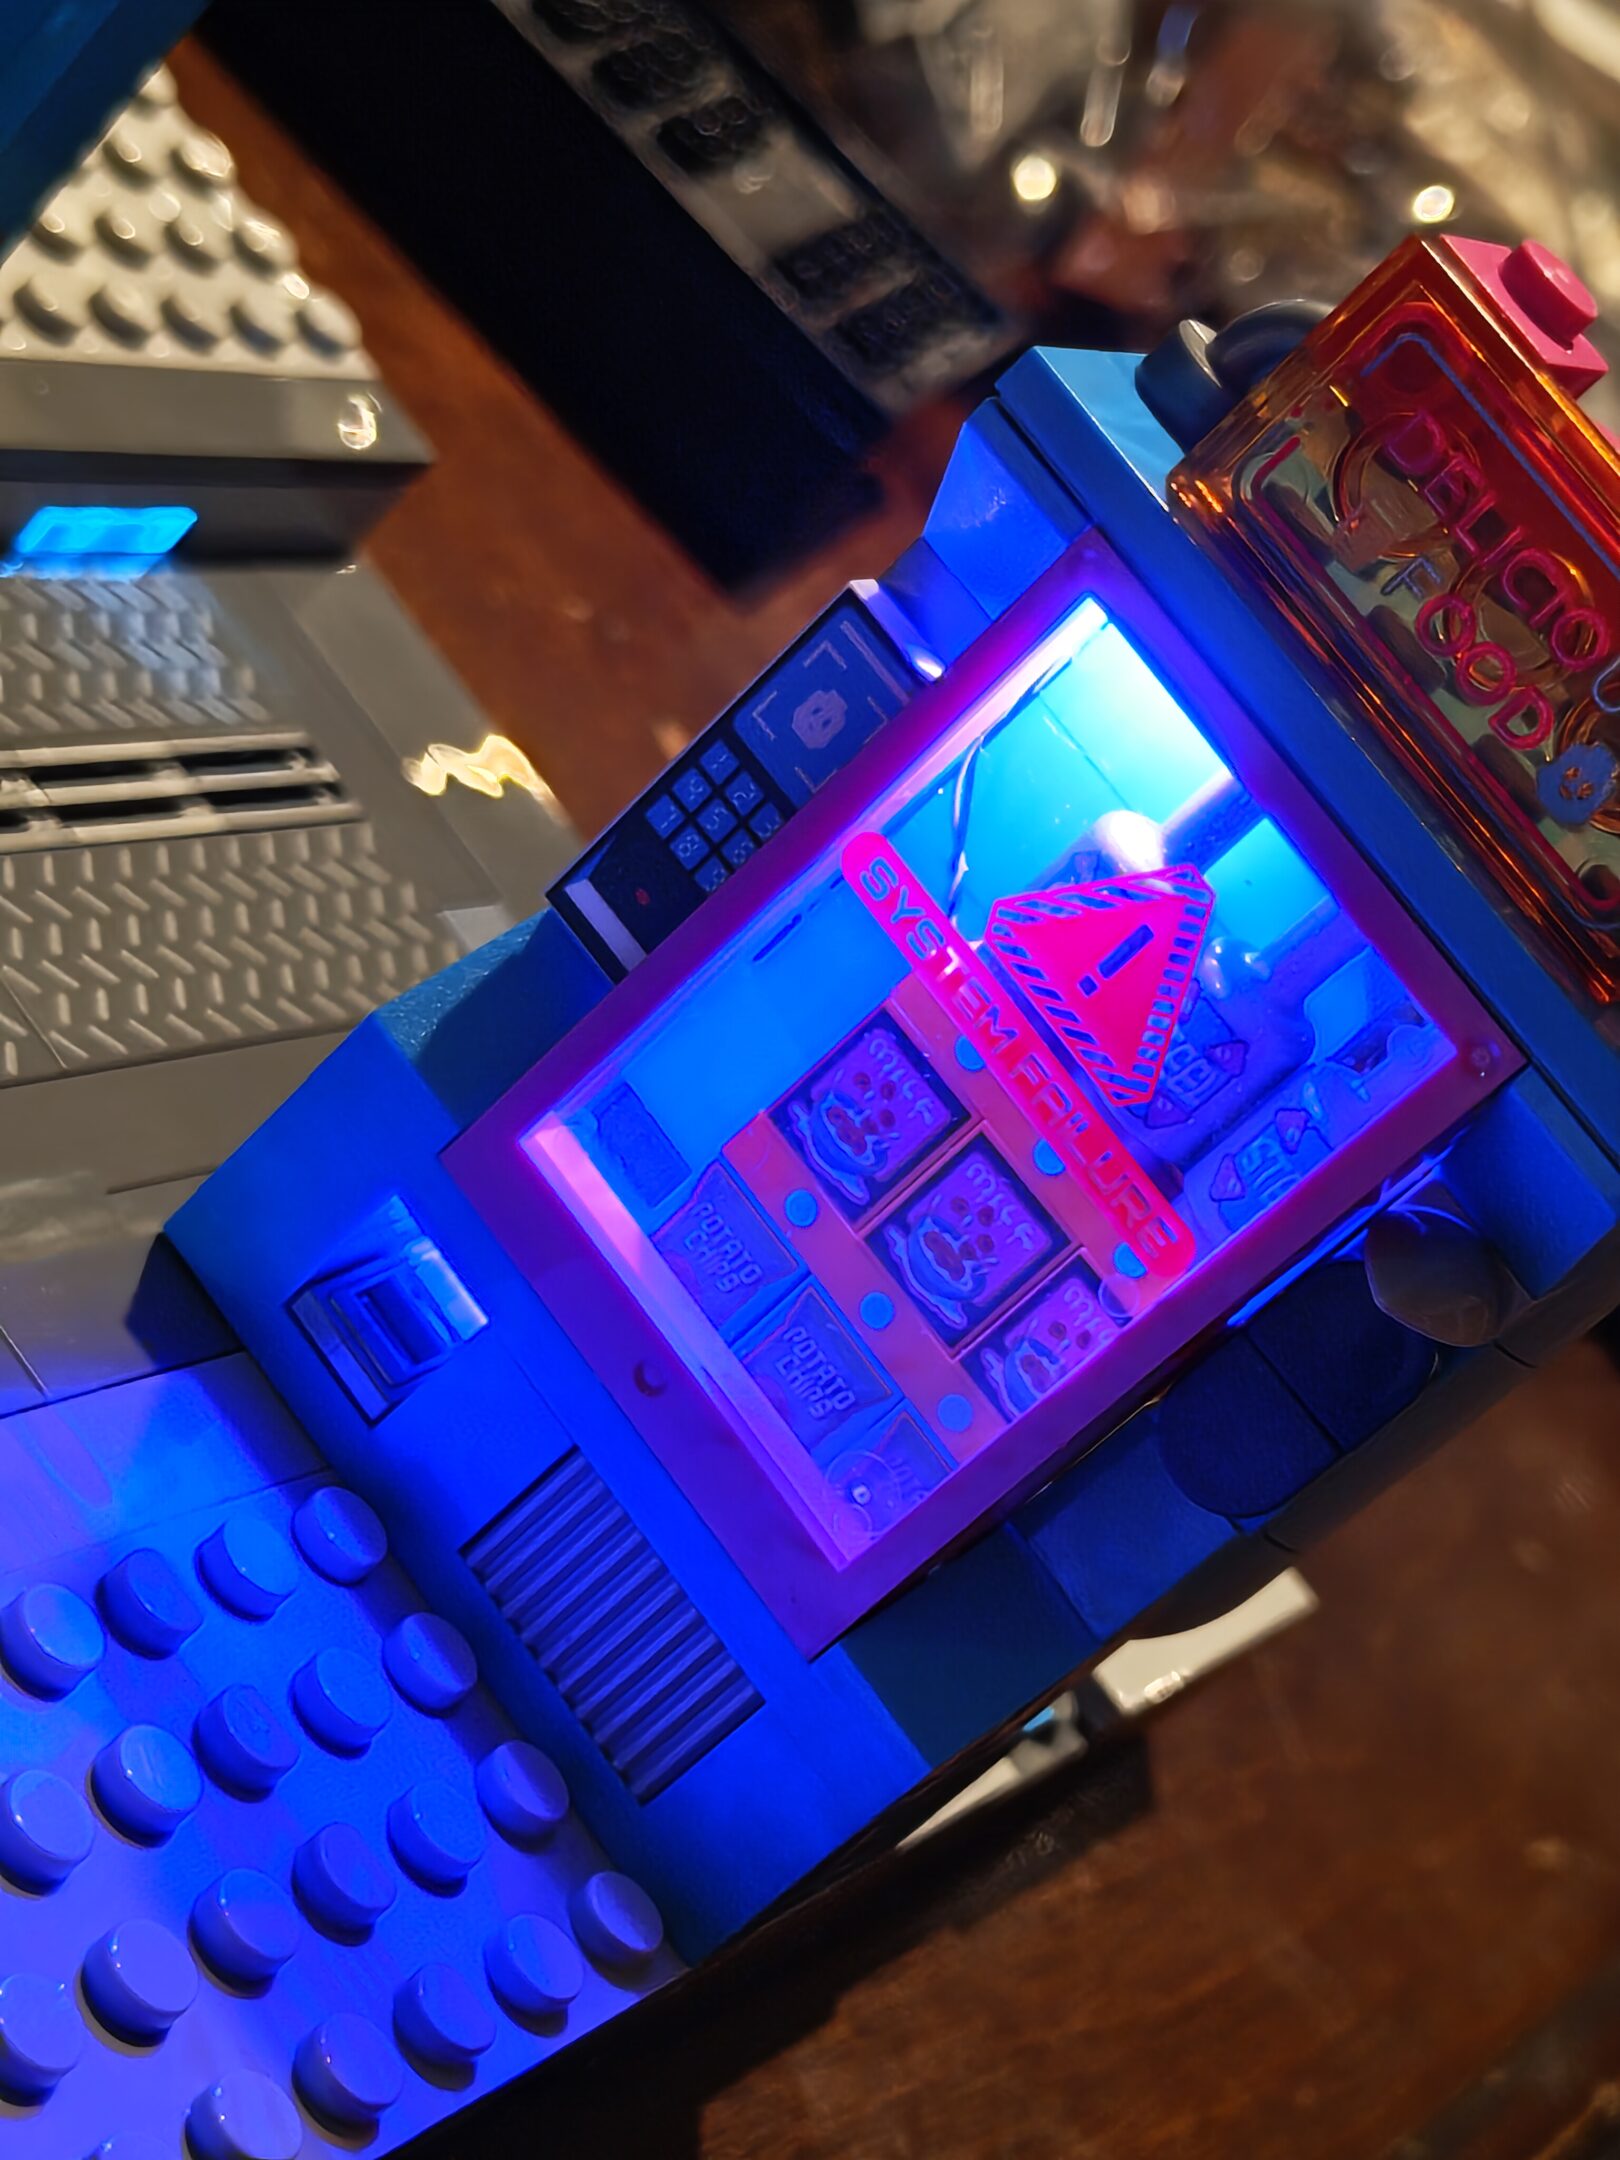
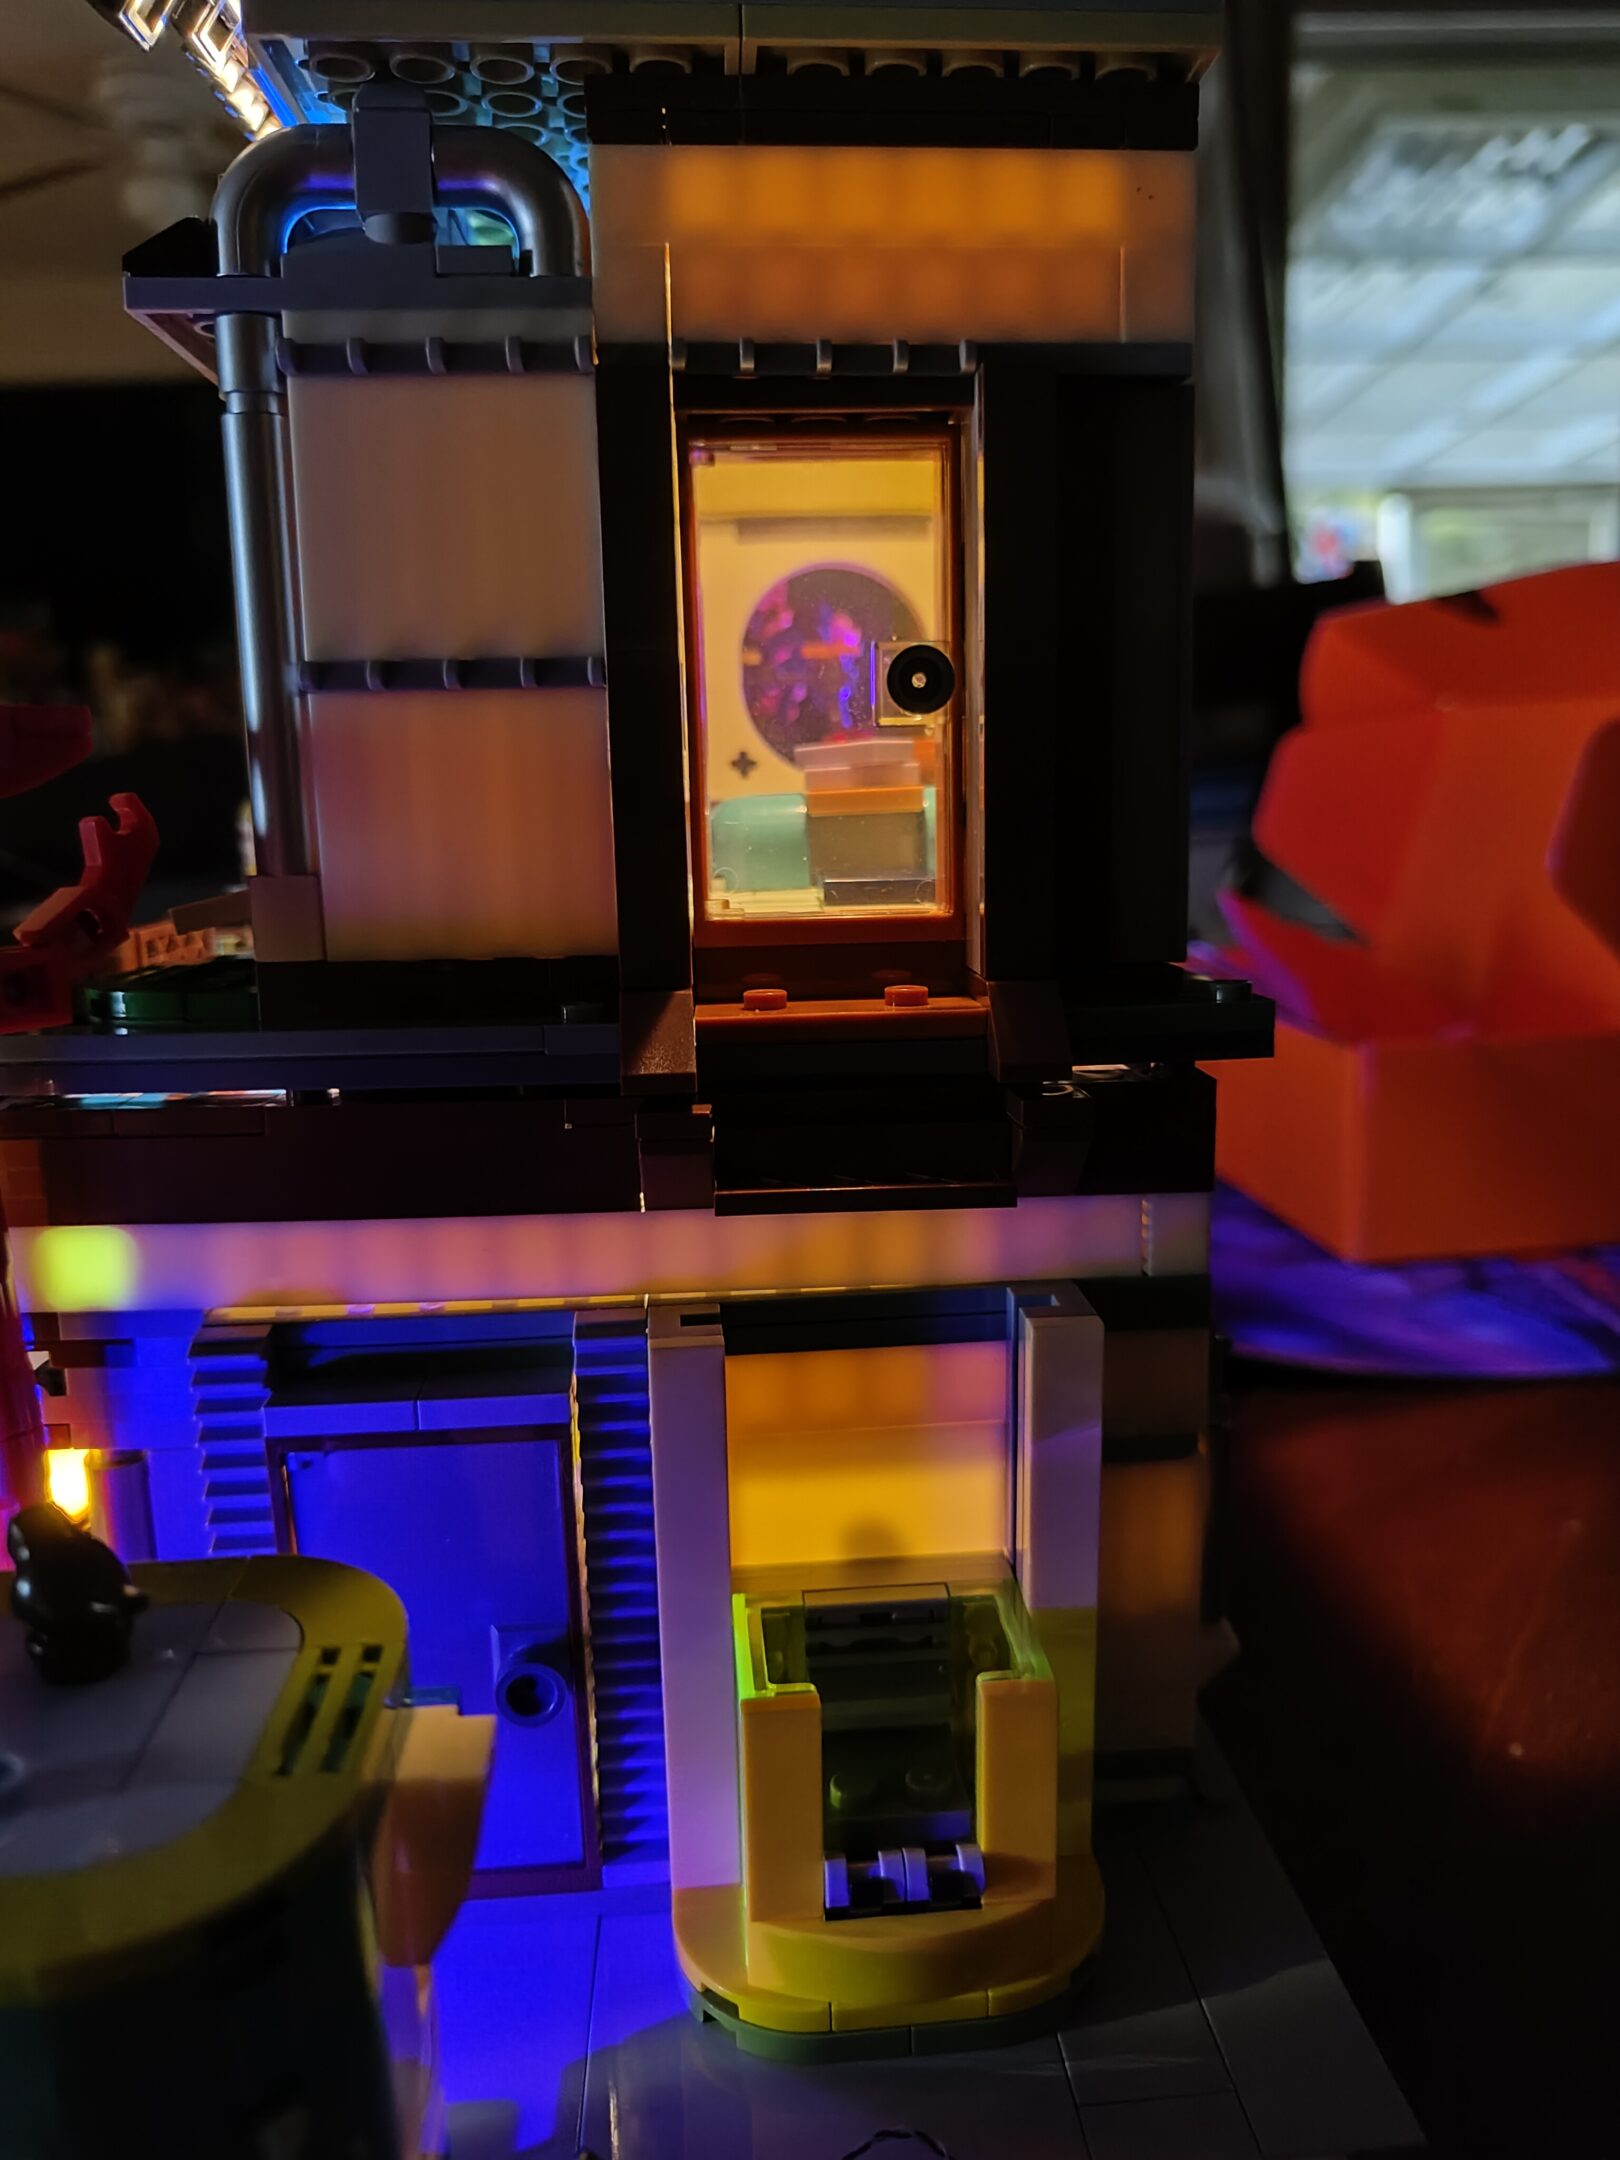
Rolling door rollsGarage door facadeJust a chill lil’ vending machine2nd floor in progressStairway to heaven?Power junction under the desk2nd floor lights: working!
and did a little more today (tuesday, july 22nd)
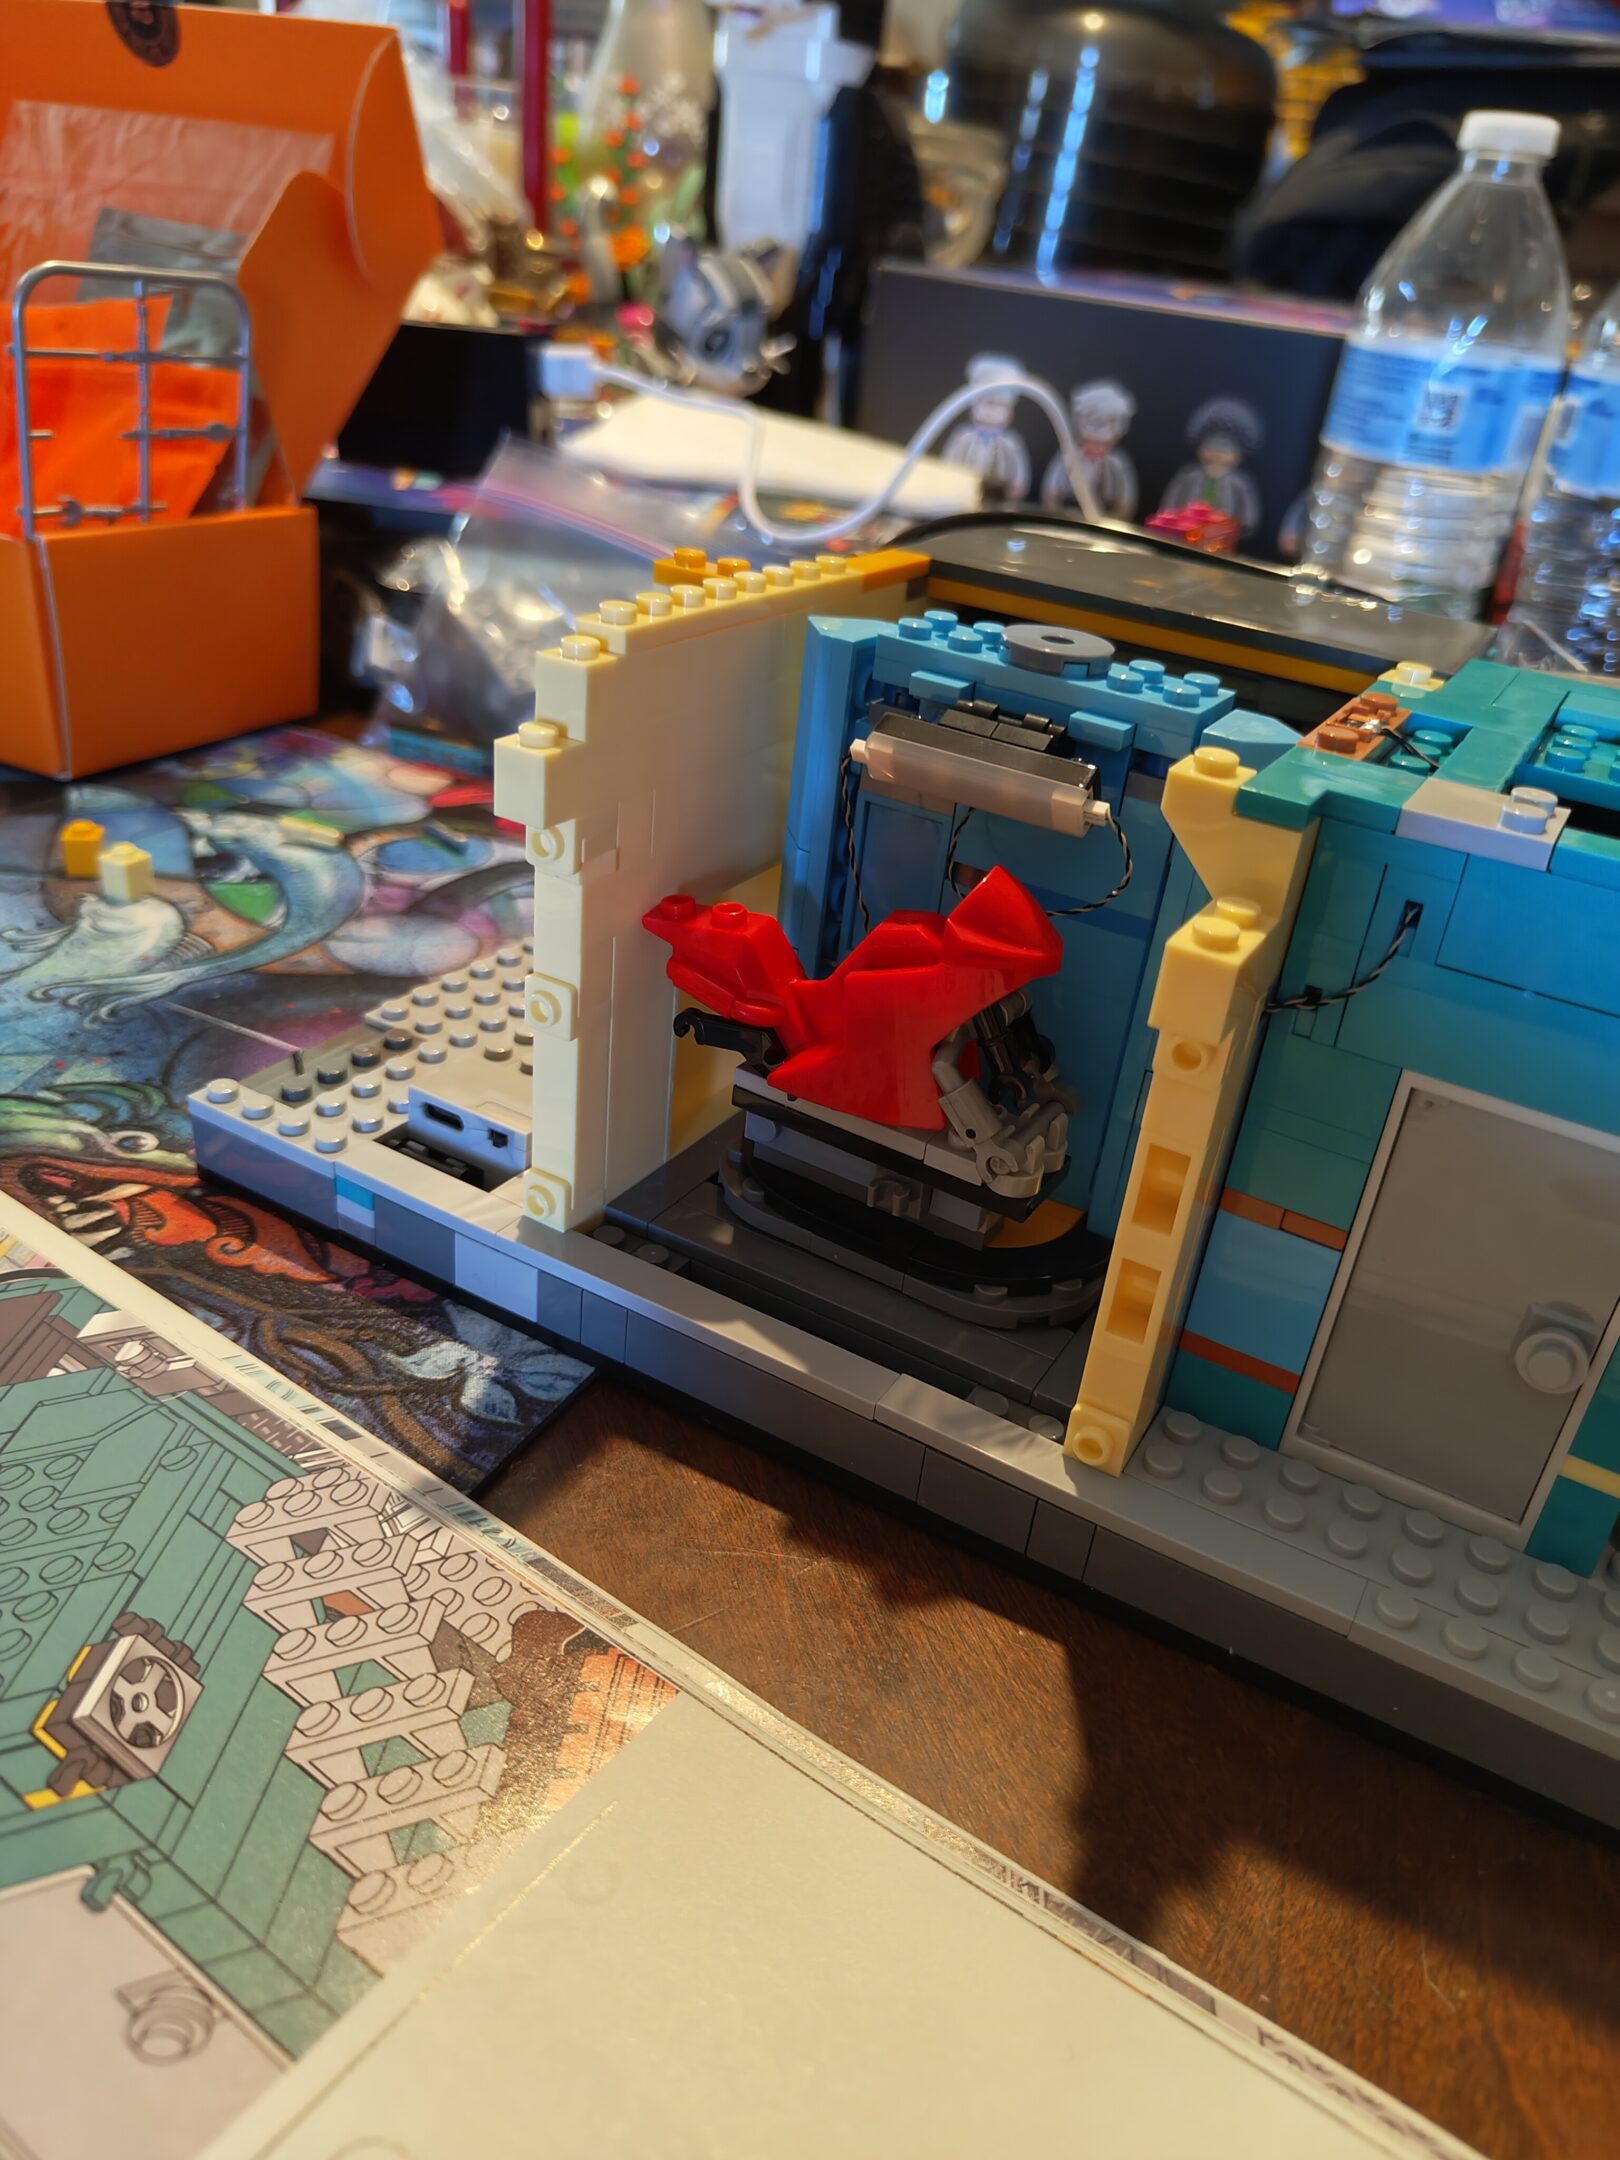
Just an ordinary repair shop…..& ripperdoc behind rotating wallInterior lightingBuilding the garageGarage second floorFront view, now with more tubeStill wondering where this light on the floor above the garage is going to end up (it has a power transfer connector)
finished up the first book of instructions, second book is a little thinner
Sliding entry doorInterior: bathroom under constructionLight wire routing and pogo pin connection panelExtra little connection bit detailThe wall to the apartment swings out. Seems like that would be bad irl though. Here is why I called this power junction box “under the desk” in an earlier picture (the keyboard was several days ago)
saturday, july 17th: more progress. did bags 8 (five bags), bags 9 (five bags), and about four-fifths of bag 10 (two bags) to do this roof two floor apartment because i really wanted to see all the lights and there wasn’t really a good way to check without finishing
Kind of what a ceiling looks like irl, right?Starting electrical (and a bit of trim)Turns out, this is a floorSorta coming together…Trim, with lighting kit runSecond floor loft bed: installedA wall, another pogo power connectorLittle more wiring detailBag complete but it’s not ready yet…Couple windows installed nowFour stories, back viewApartment window detailsAll four stories together and lit up. Only have a tiny bit more detail (the roof, notably) but this one is definitely taller than the izakaya, or at least will be. It’ll be neat to see them together finally.
finished up today, sunday, july 27th. it’s so neat how these will just click together and share power. i really, really want more of these cyberpunkish sets soon because i am enthralled.
Adding a tree I didn’t finish last nightStarting work and wiring on the roofHVAC unit in placeJust gotta run some venting…And a little more “duct work”…Cell phone tower on the building for good 5GProbably helps to have some fresh air, tooSecurity cameraDon’t fall in the open manhole!Here’s the finished work! Plus my thumb. Wish I’d checked that before uploading but meh whatever. The real neat thing is this video below where you can see the Izakaya (right) is plugged in, but the Apartment (left) isn’t. I push them together and with a little luck, poof, magic power and everything lights up. I need more of these sets in my life <3
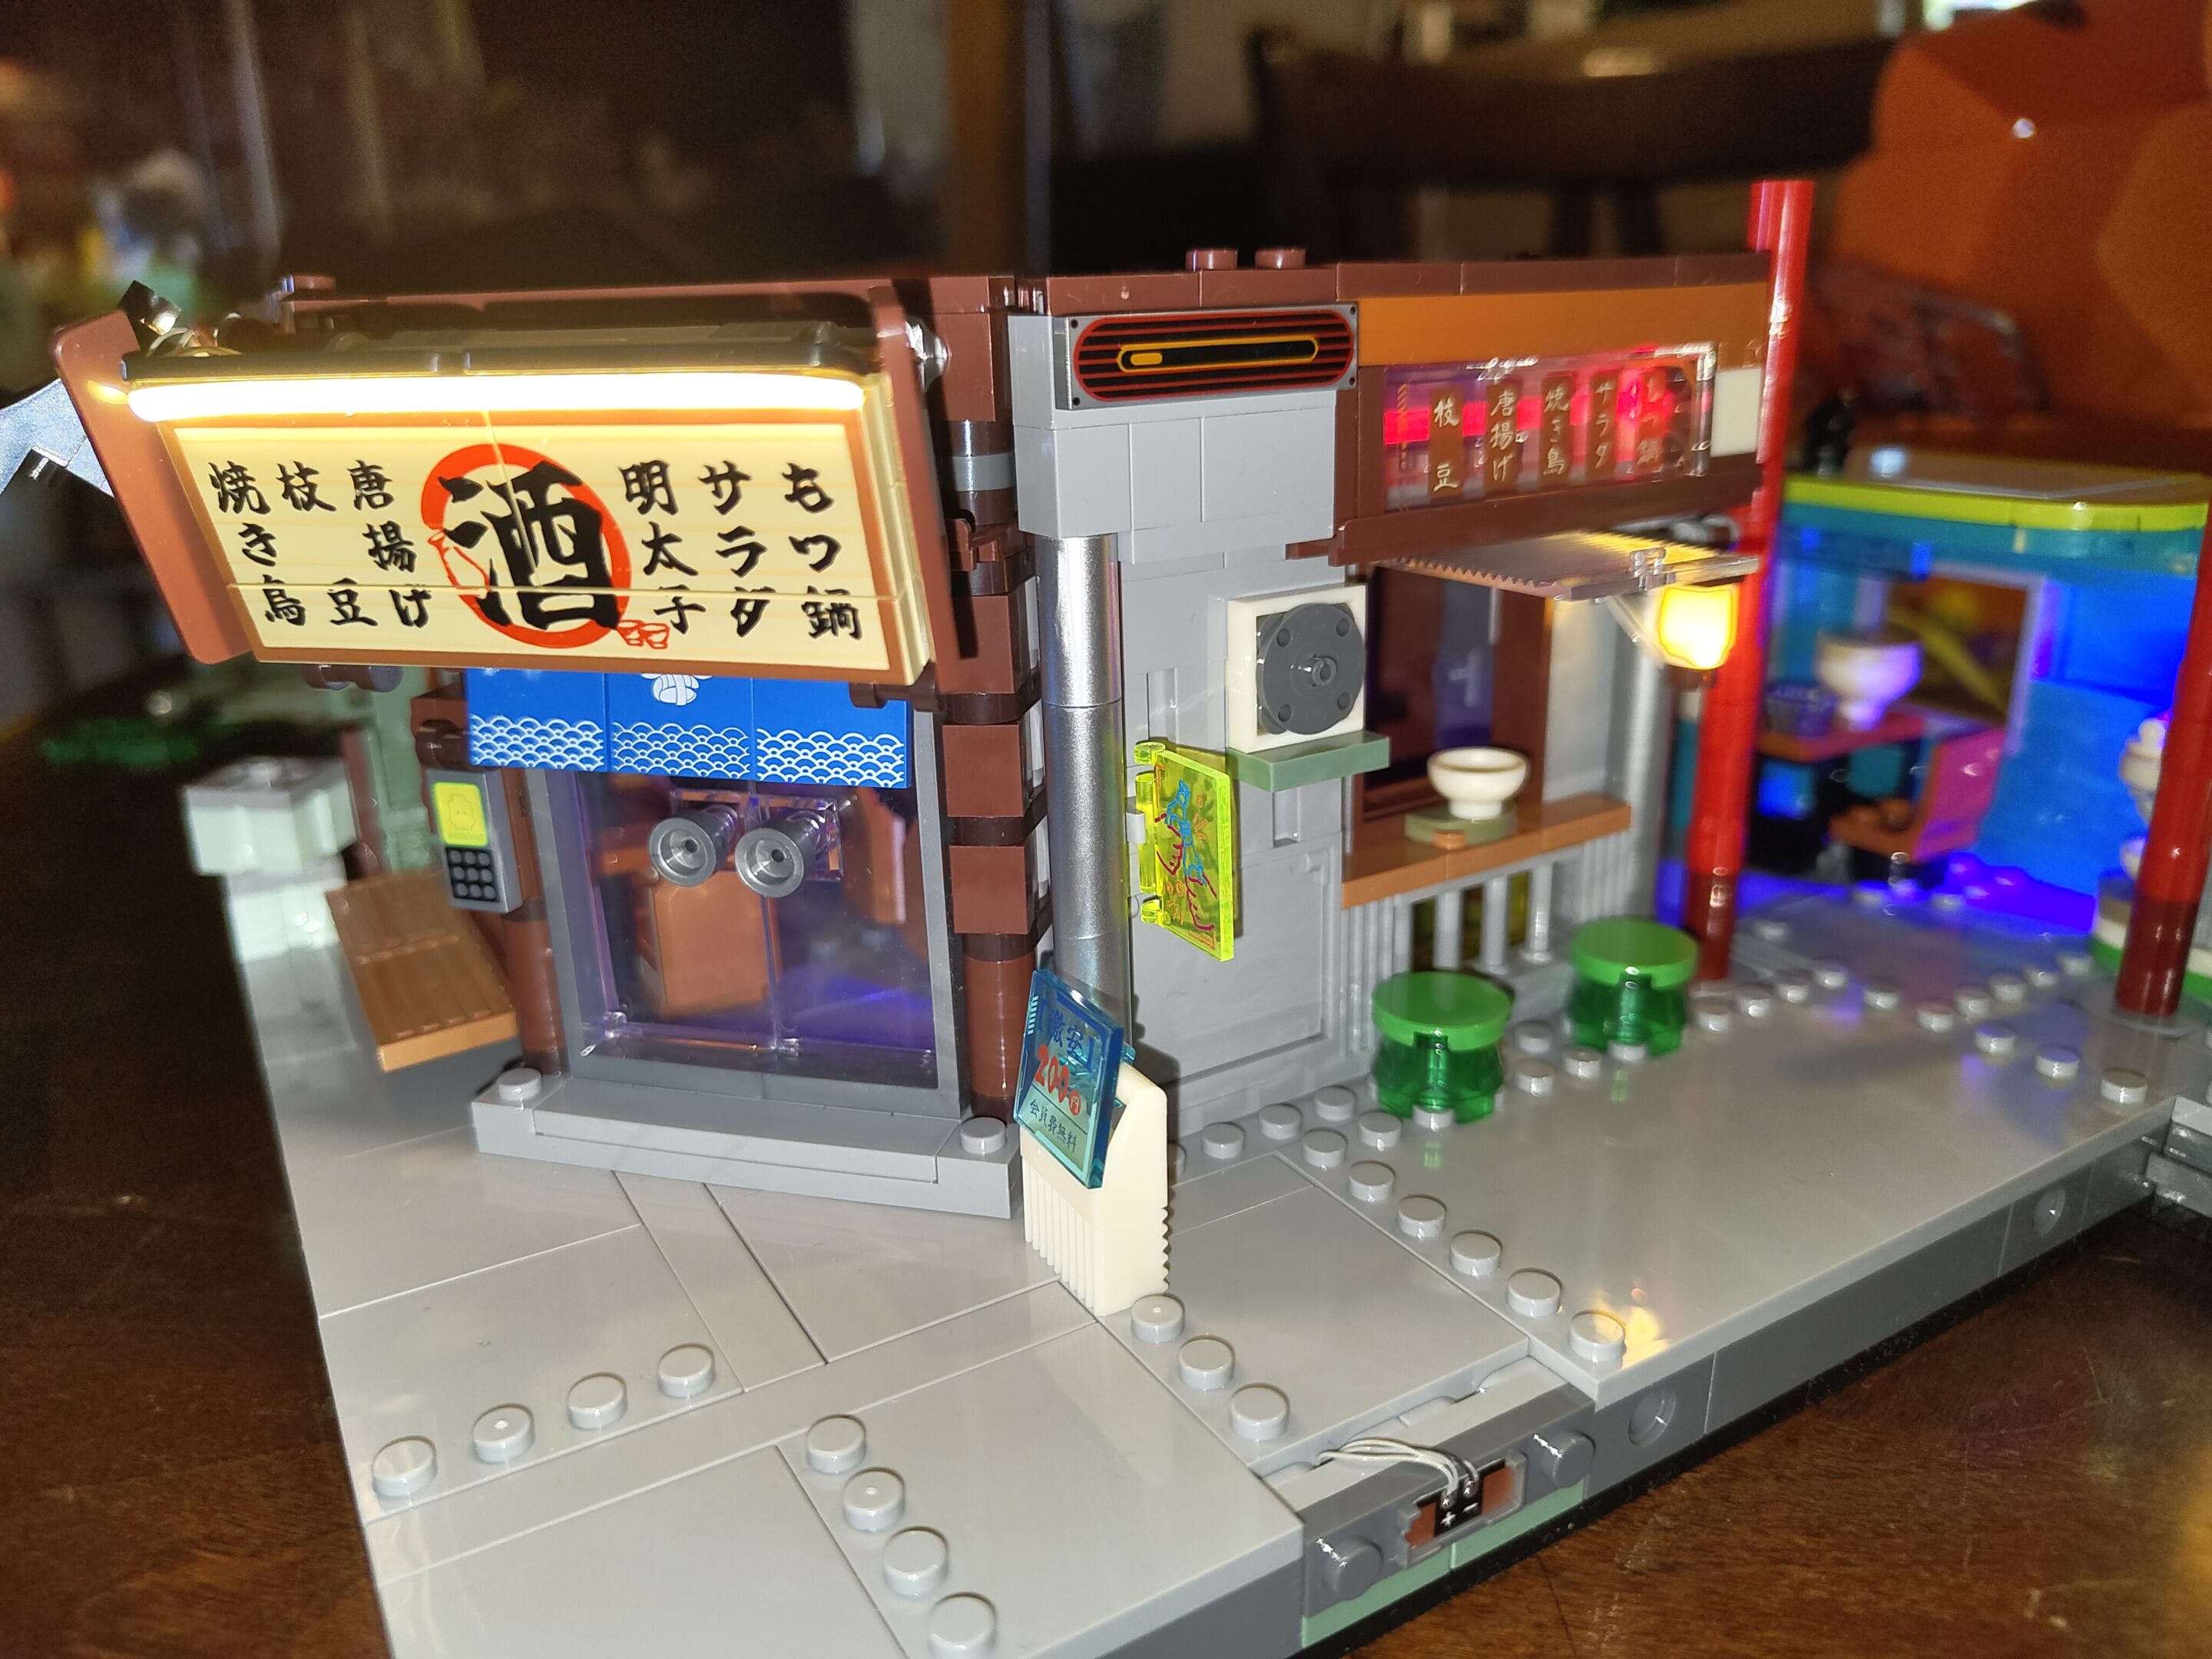
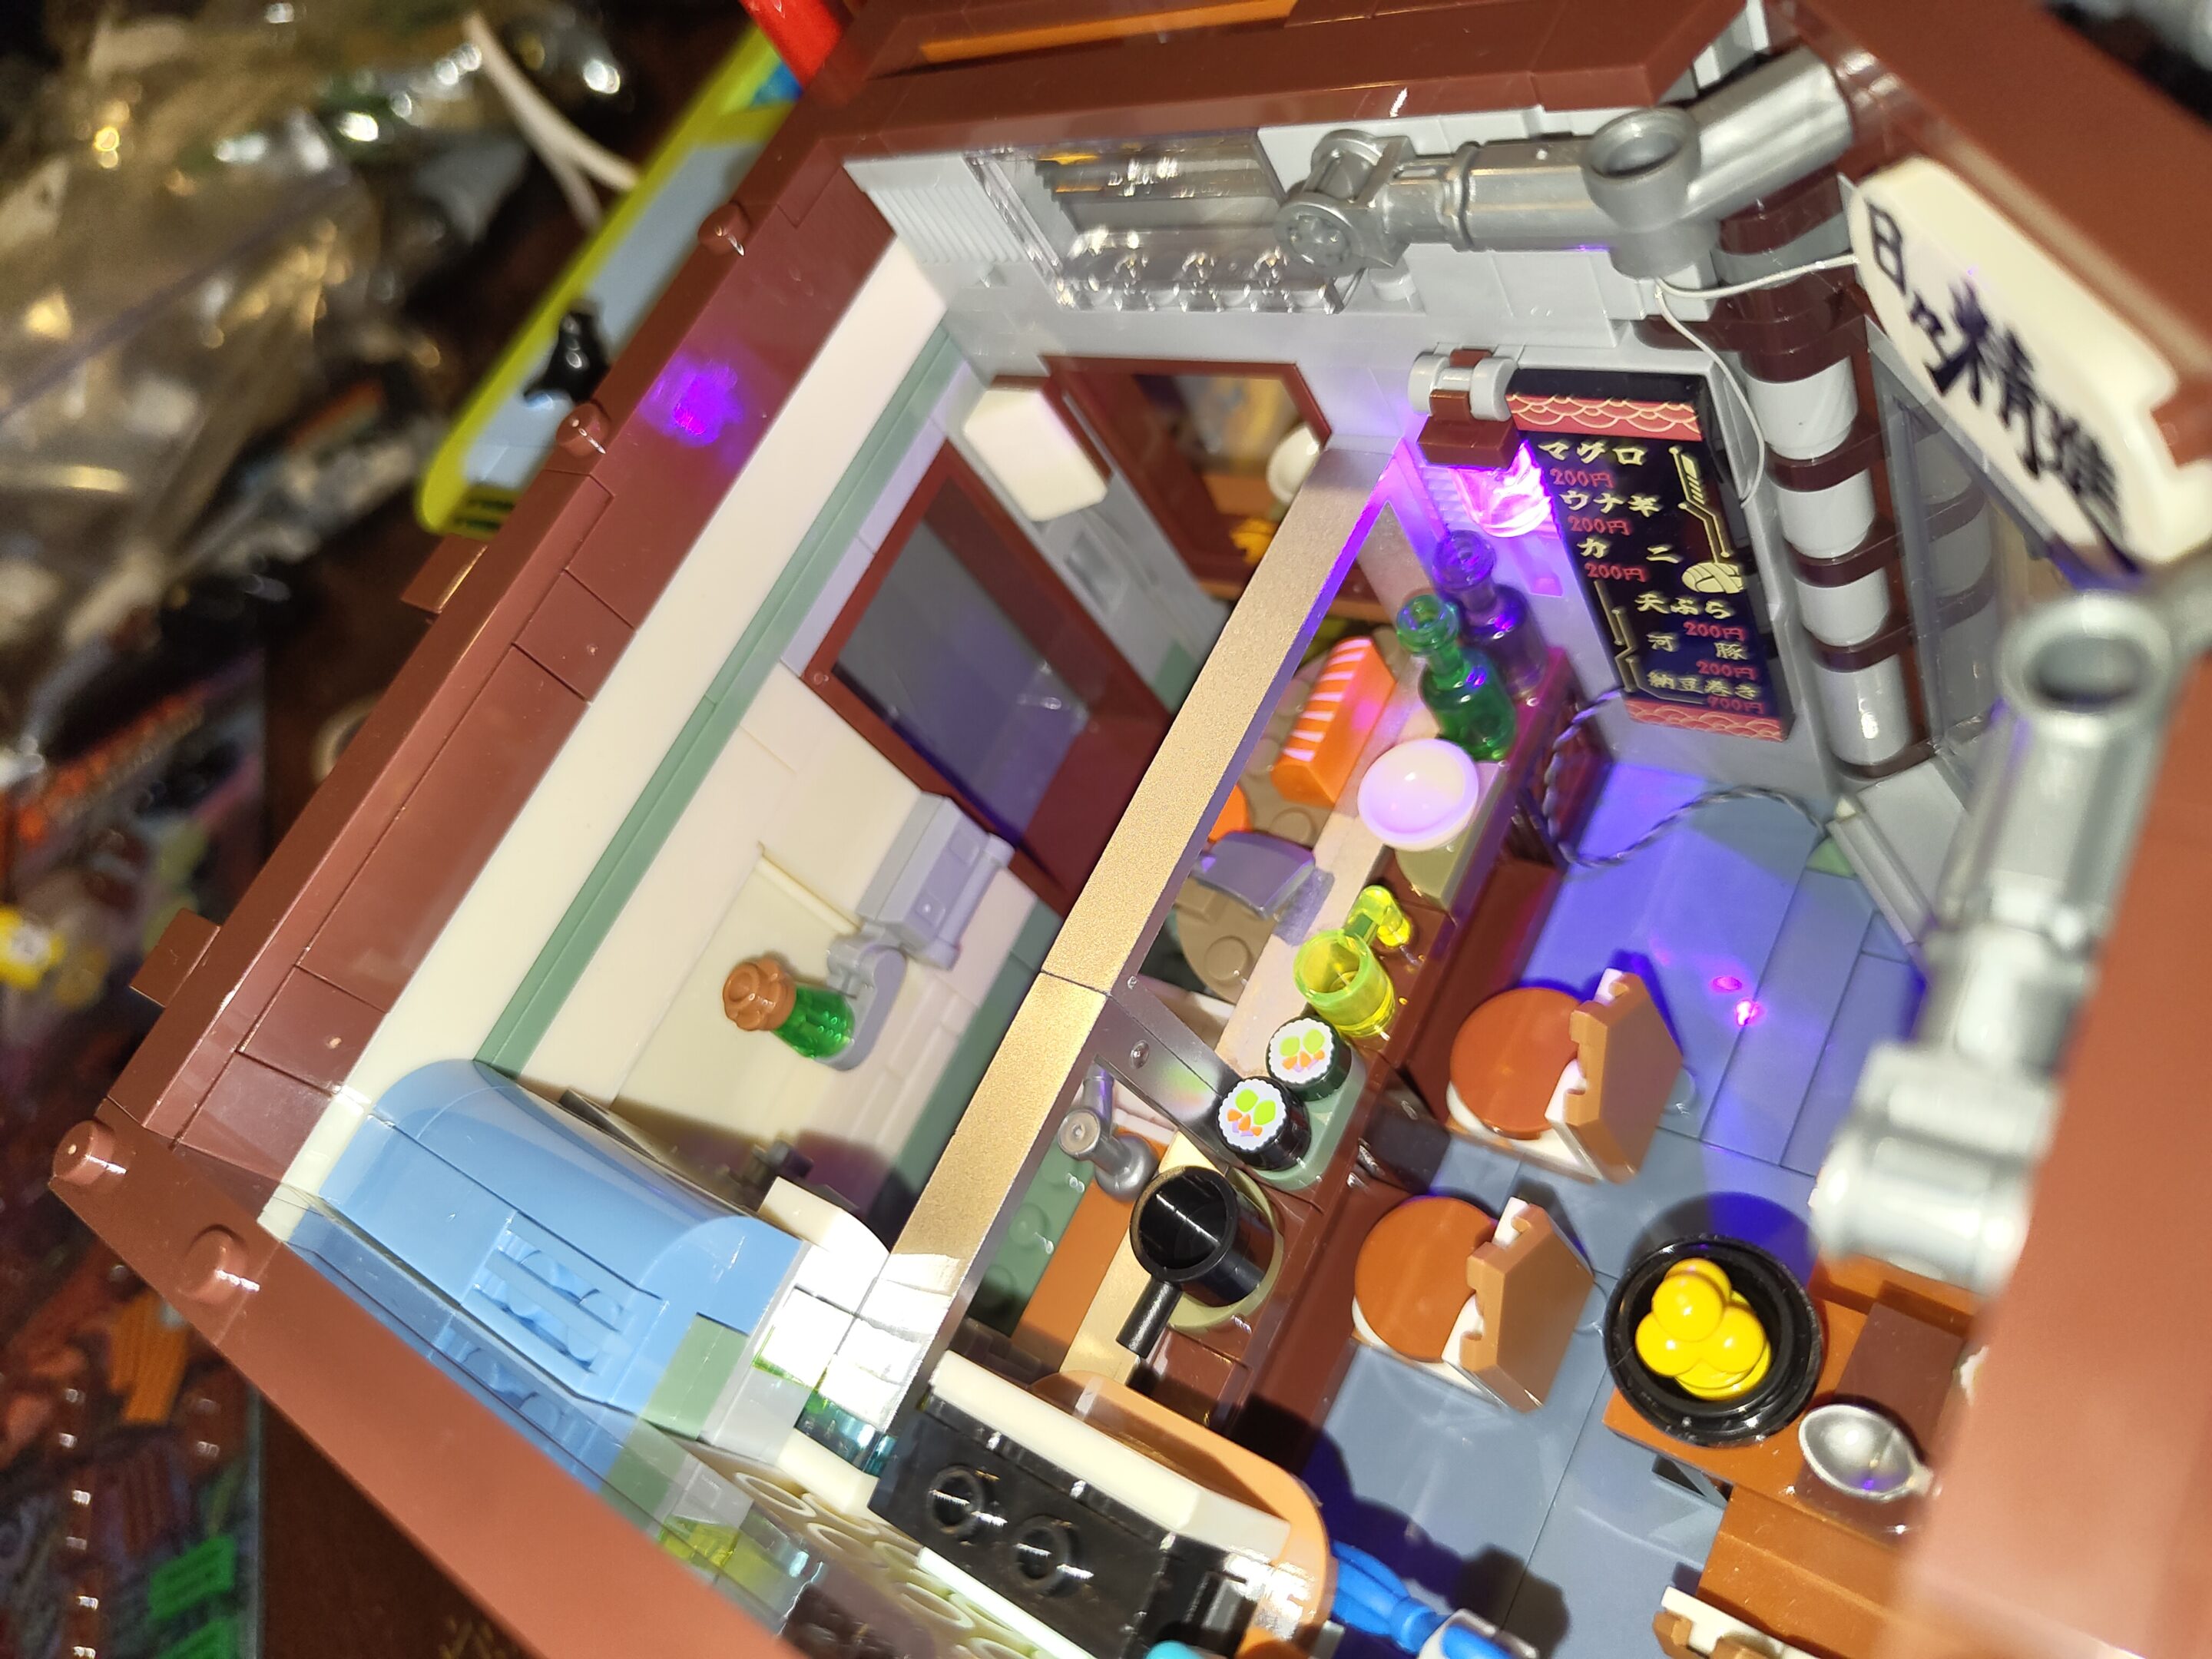
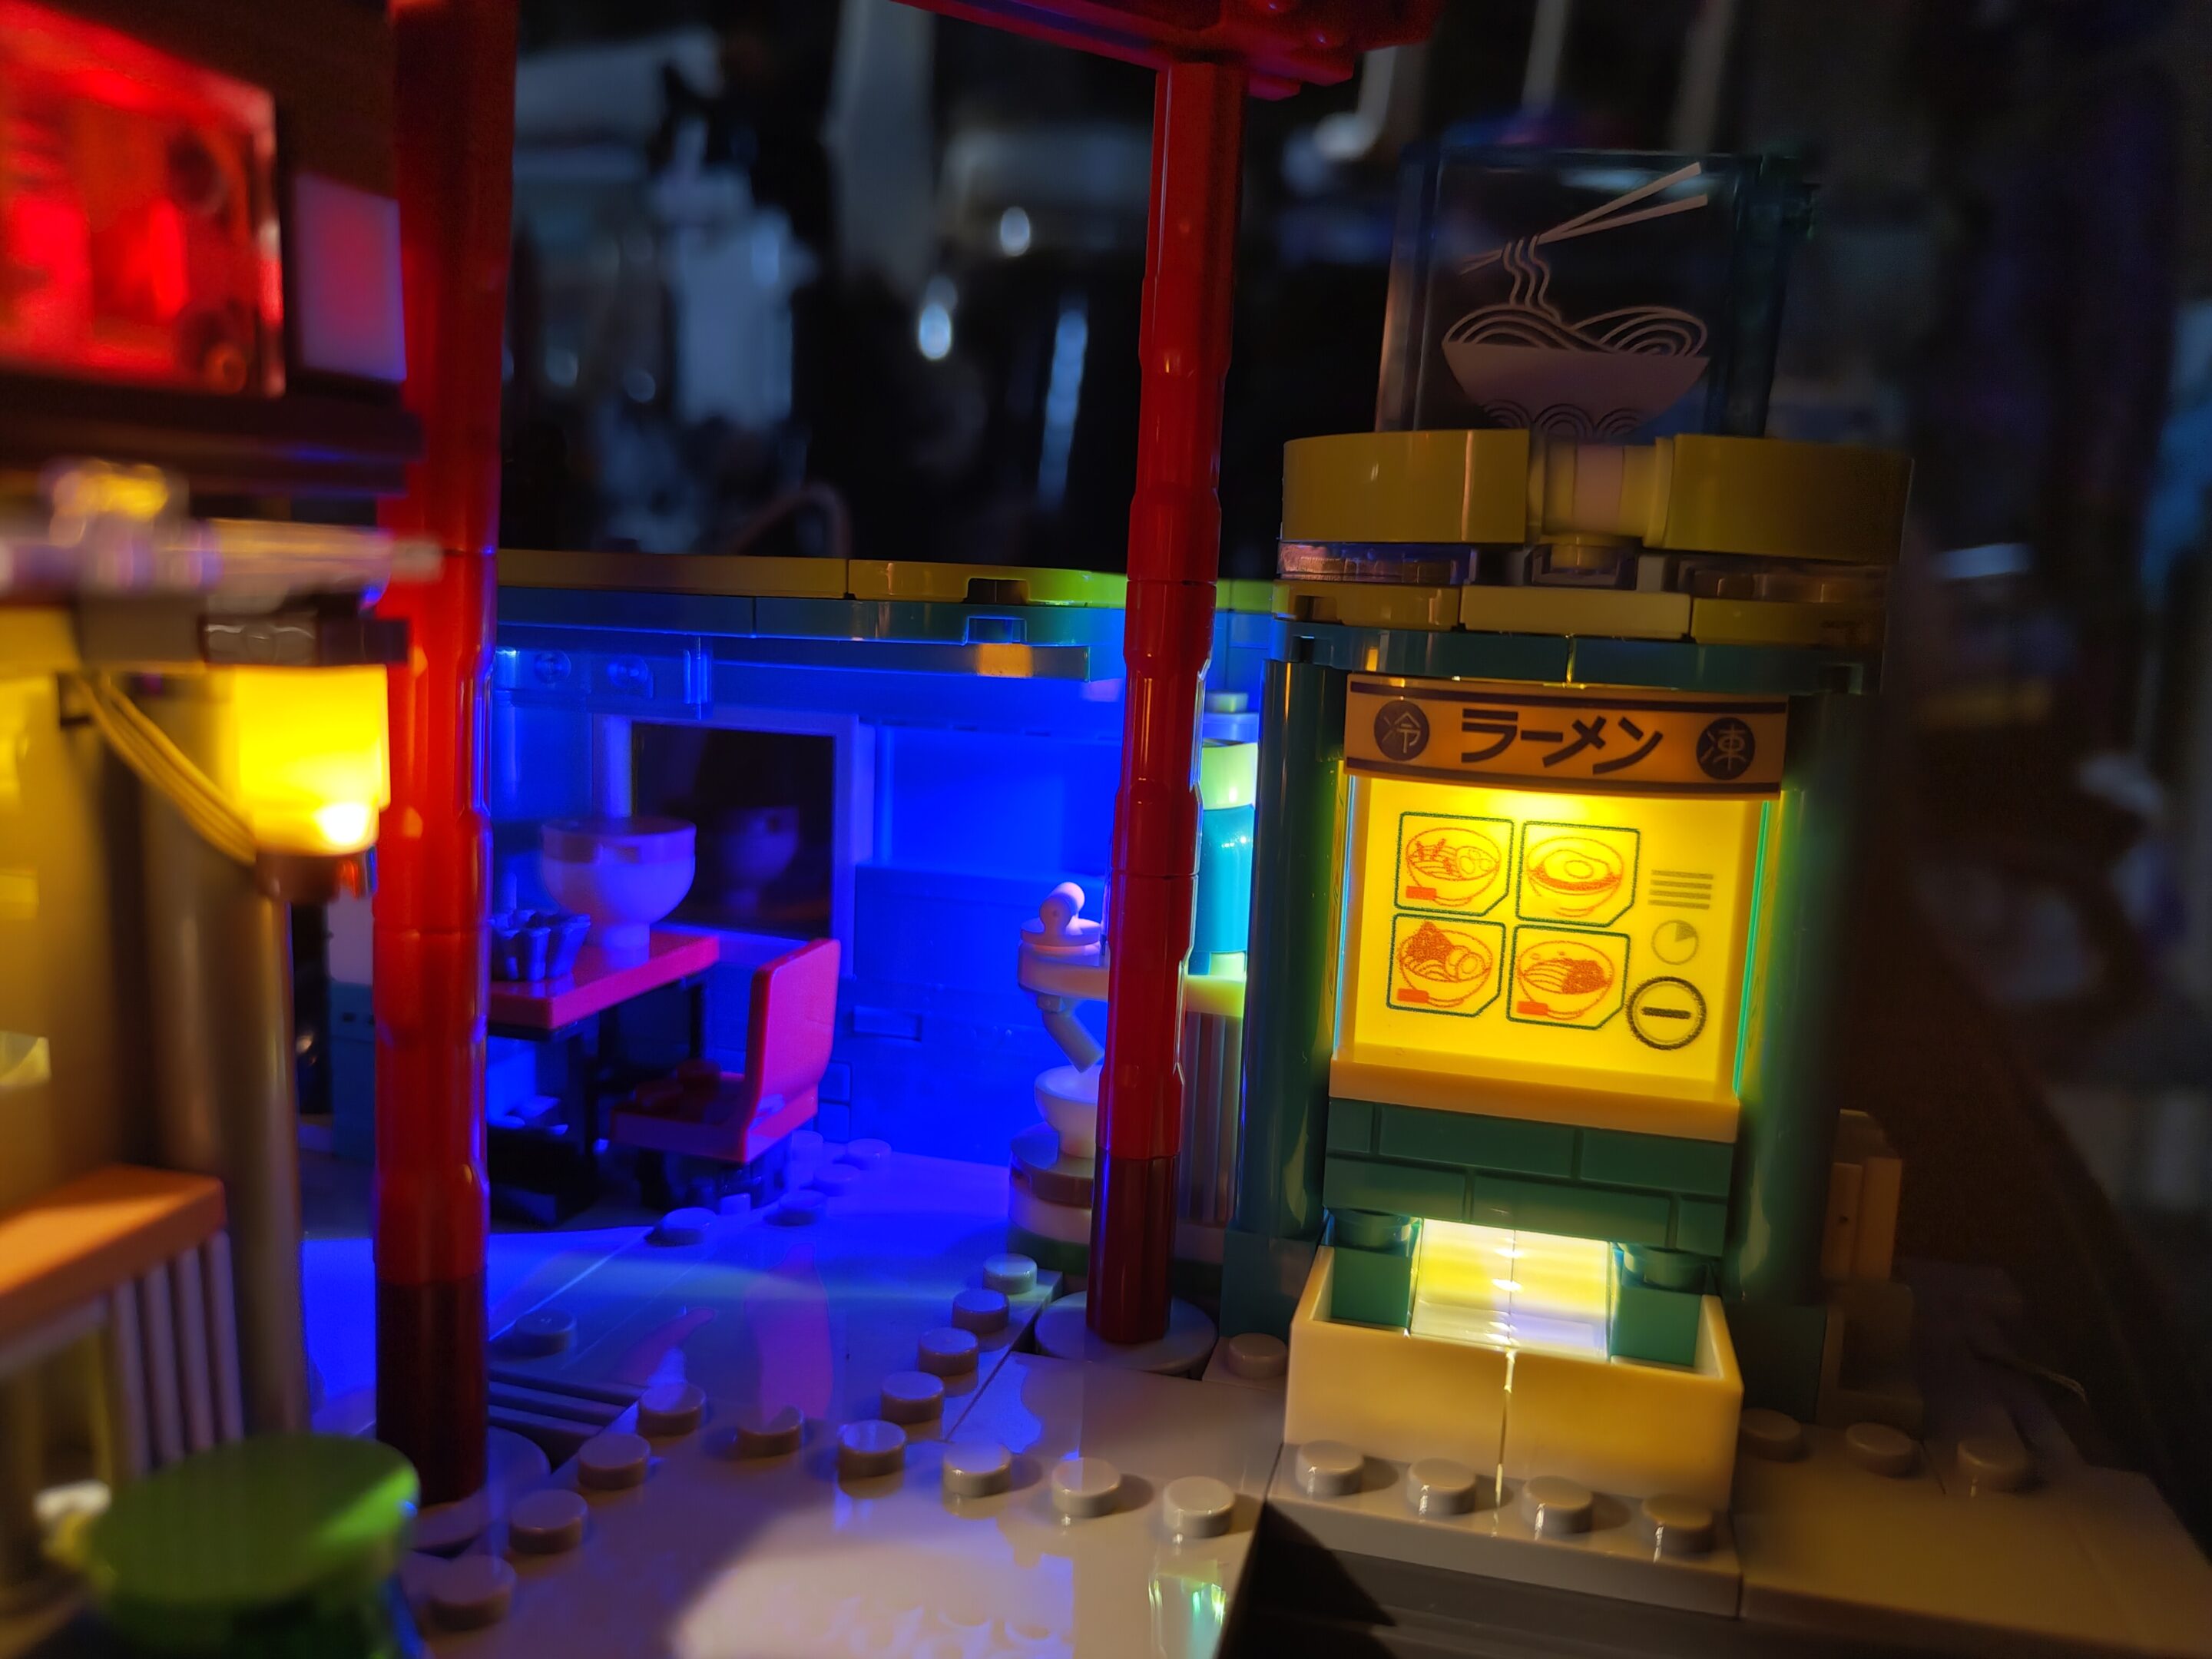
this was my next project and the one that really impressed me with how everything came together. plus all the lights? and other “blocks” (as in city, not as in lego) from the same company can just click together and share power? i’m sitting here typing this out just mind blown
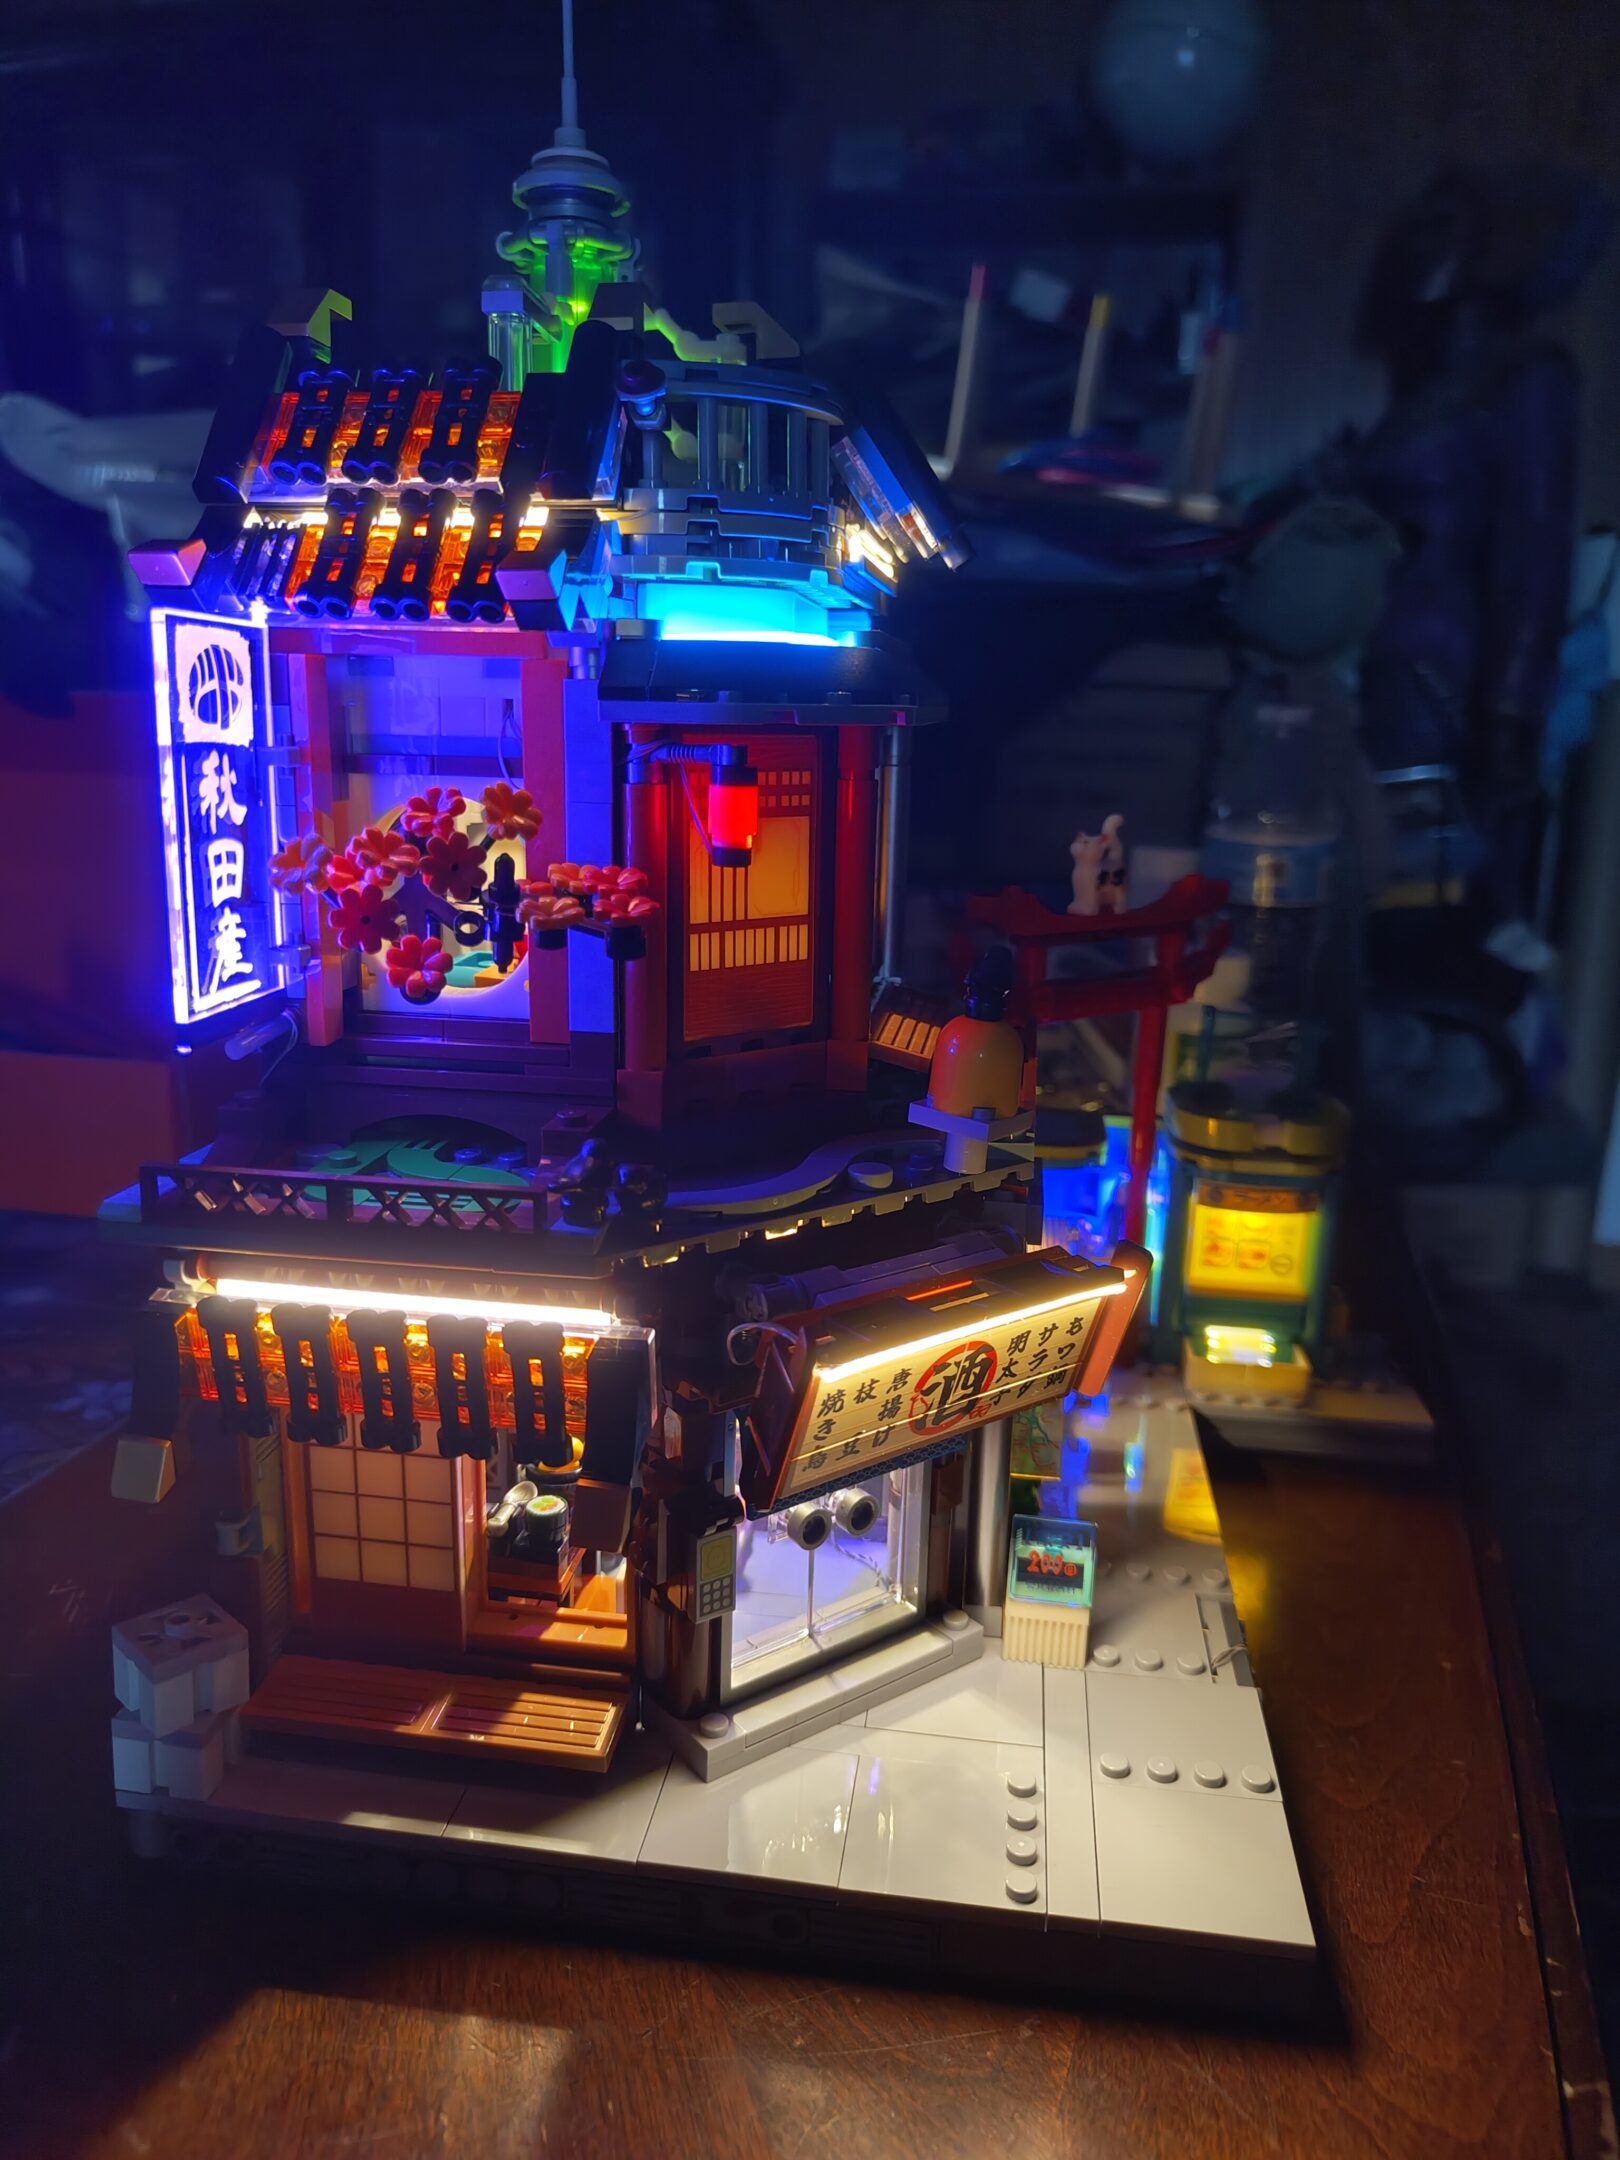
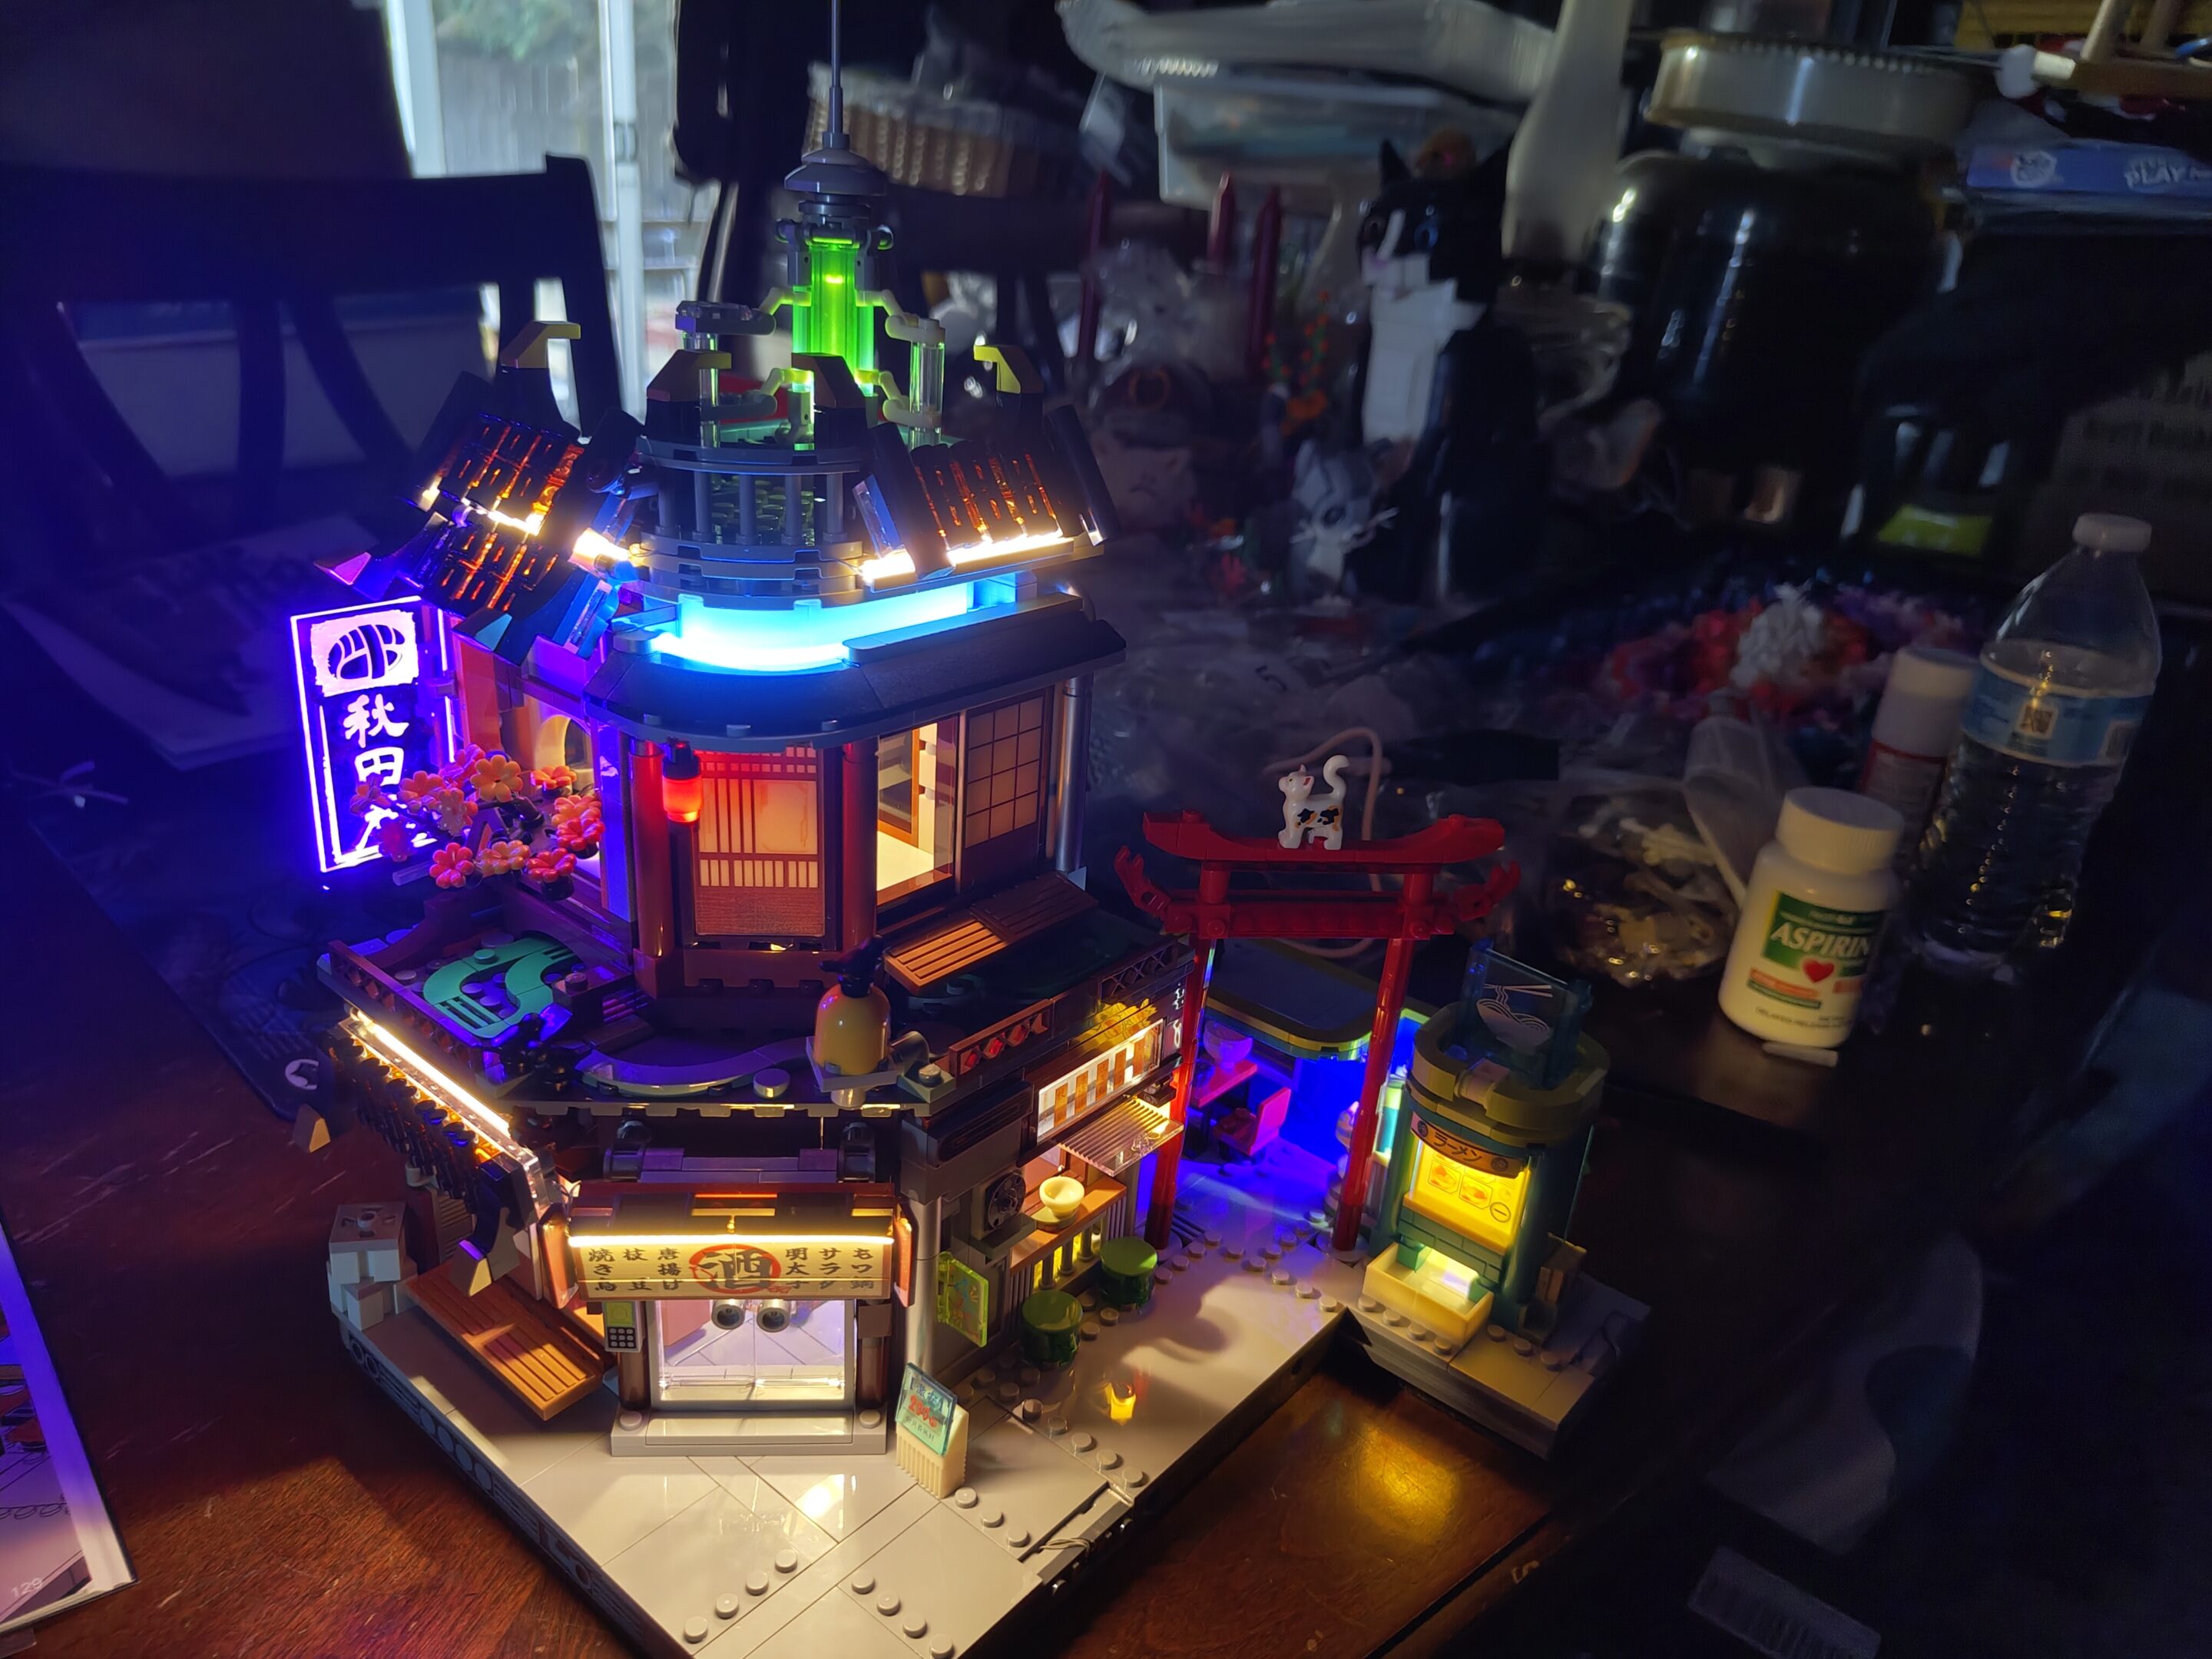
A final virtual walkthrough of the full Izakaya set block. I’m very excited to work on the next set, ApartmentStarting outFirst wiring placedInside the IzakayaVending machine vibesIzakaya walk-up window2nd floor tea houseMore progressAnother angle of progressFront door viewAlley walk-up windowChecking out more lightsBack alley viewTakoyaki hutAnother alley viewCompleted and displayed
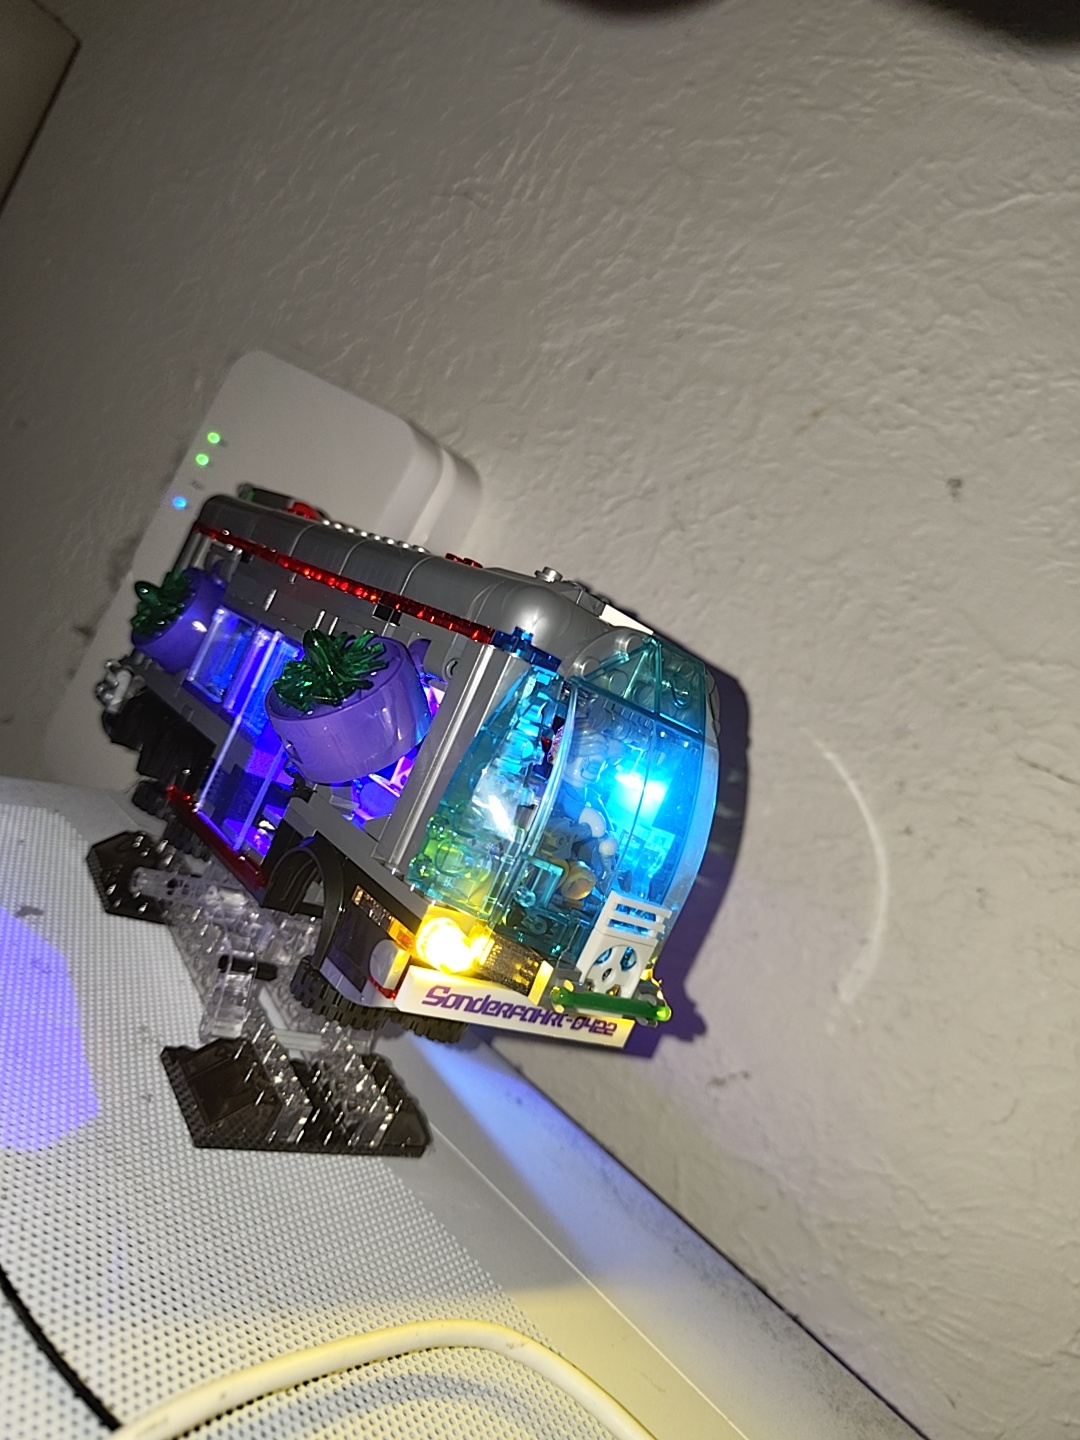
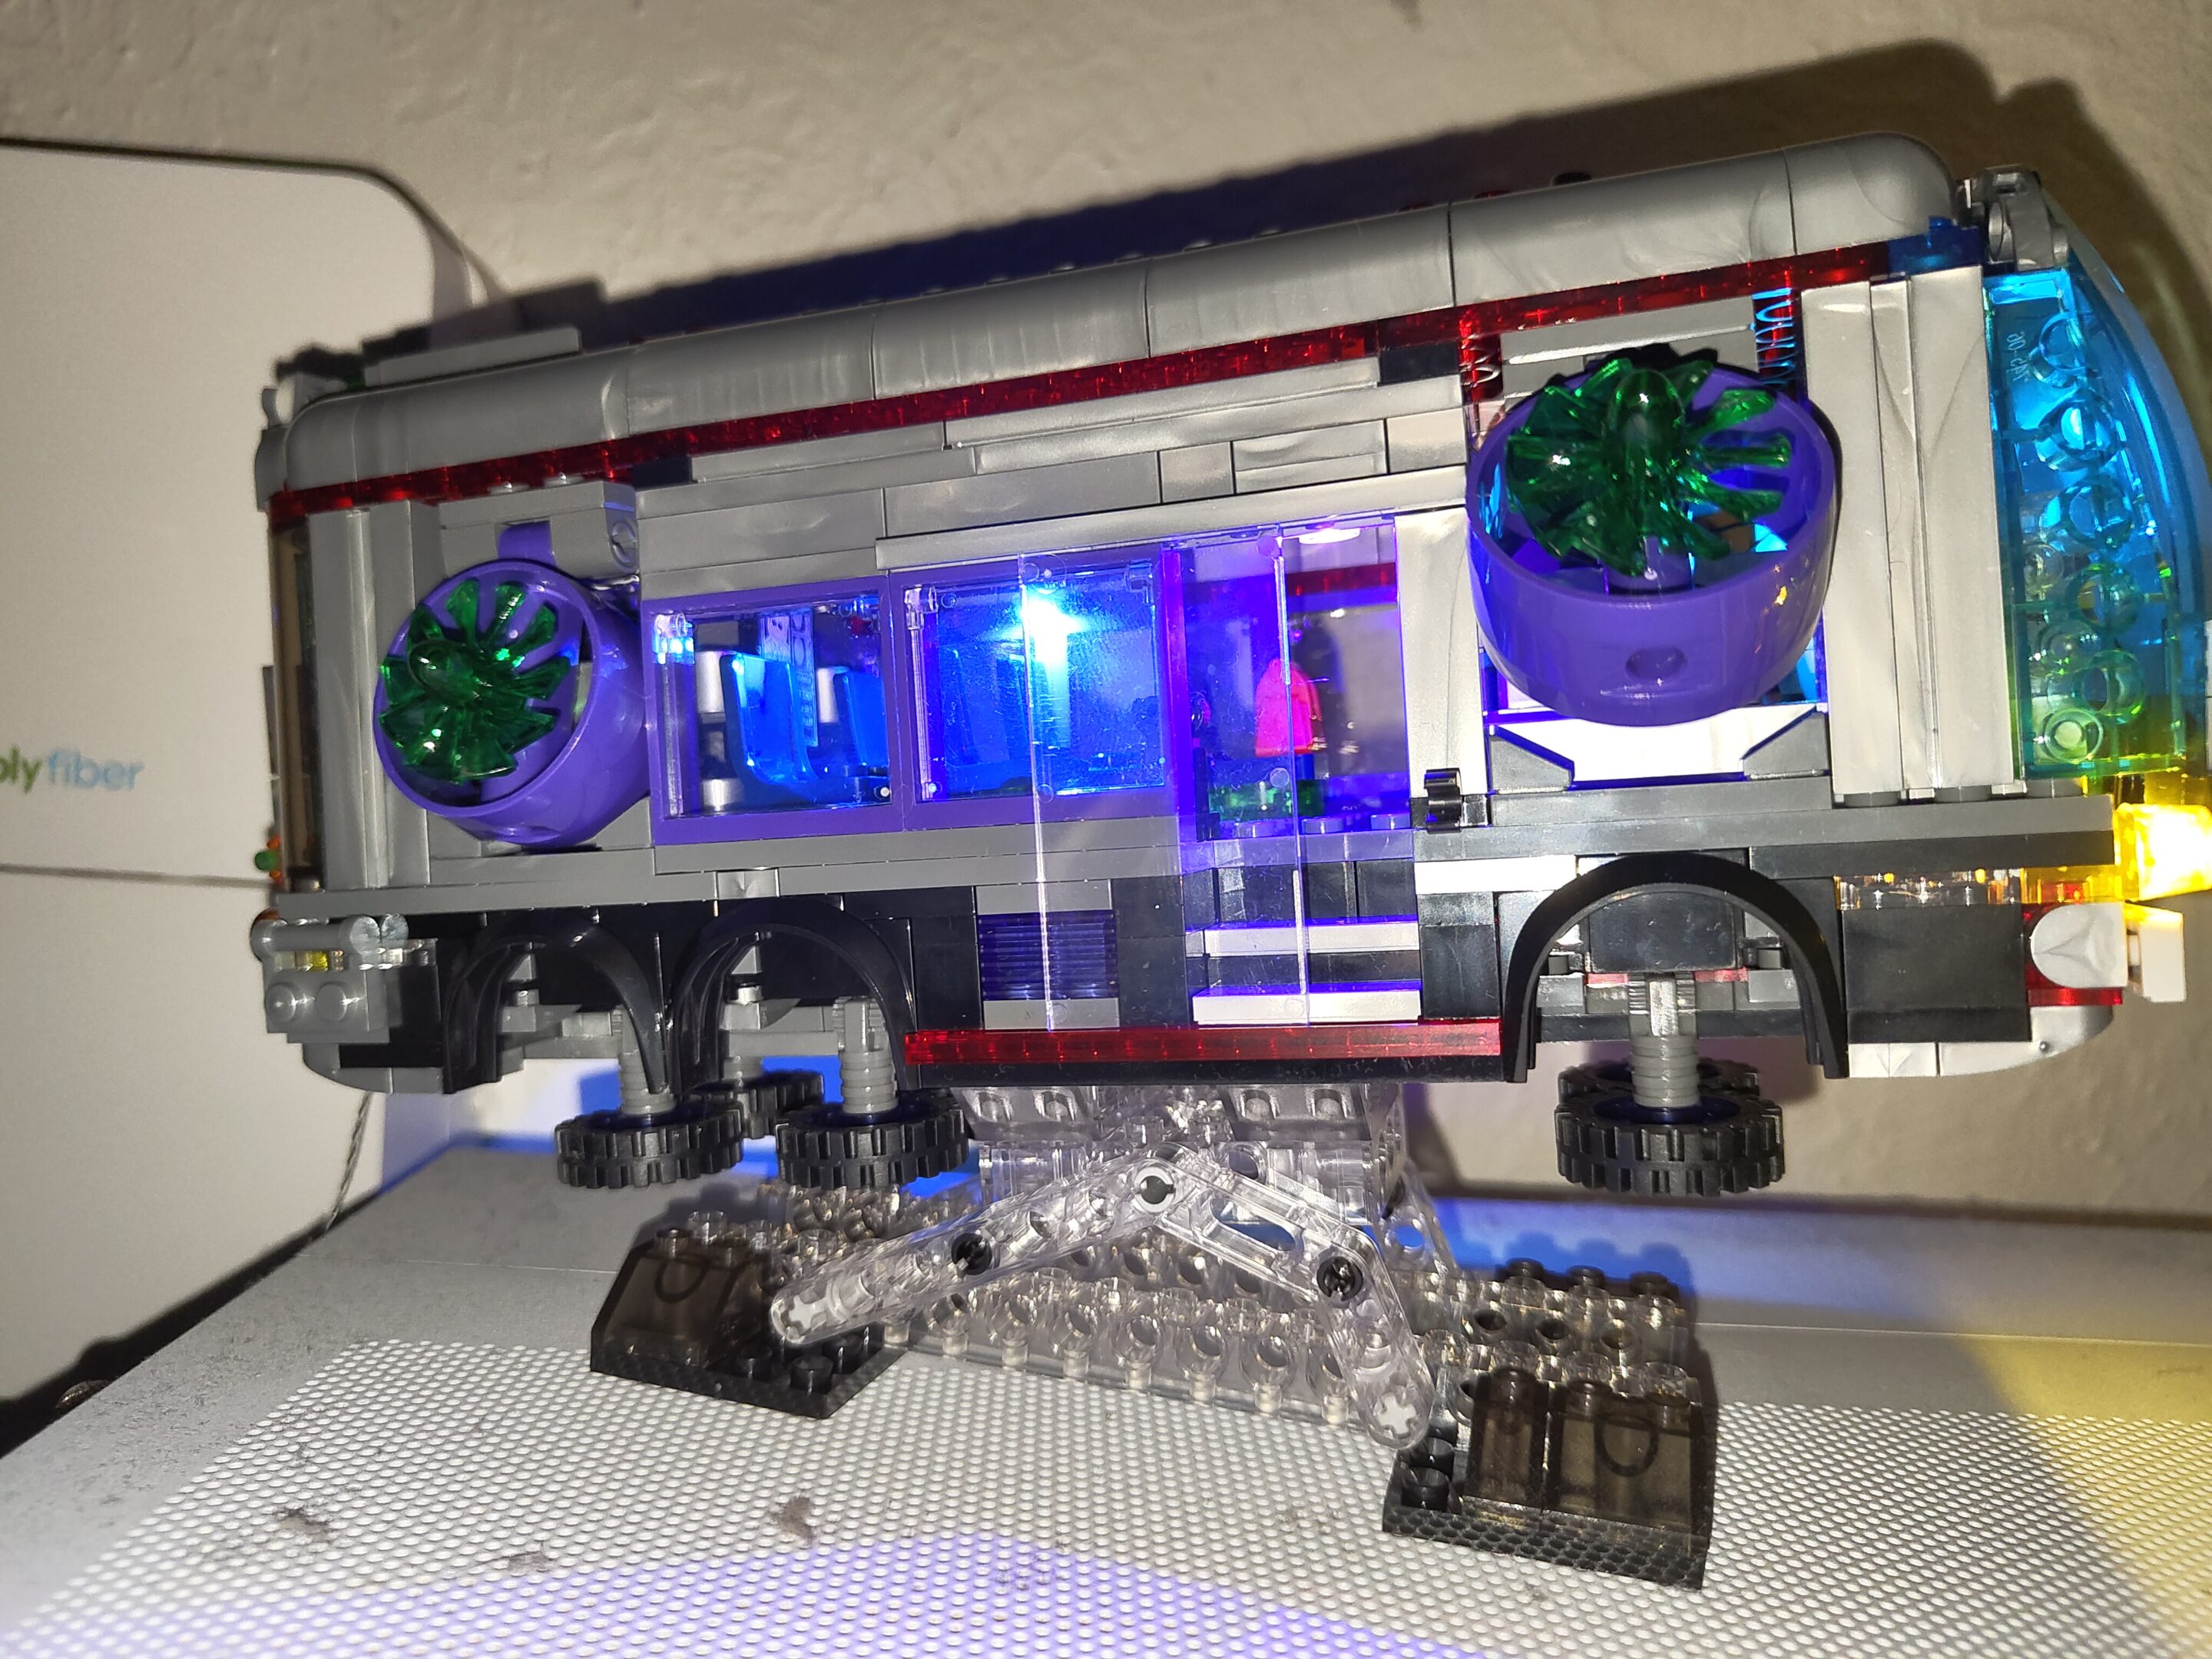
i think i saw these on an instagram ad and well, they got me. i picked this set to go first as it was the smaller of the three that i picked up. funwhole on amazon link i got the bus, izakaya, and “mansion” (apartment?) link isn’t even a referral i just want them to sell more so they make more of these cyberpunk sets. i did these lighted ones on my own as the light wiring bits is really small and technical
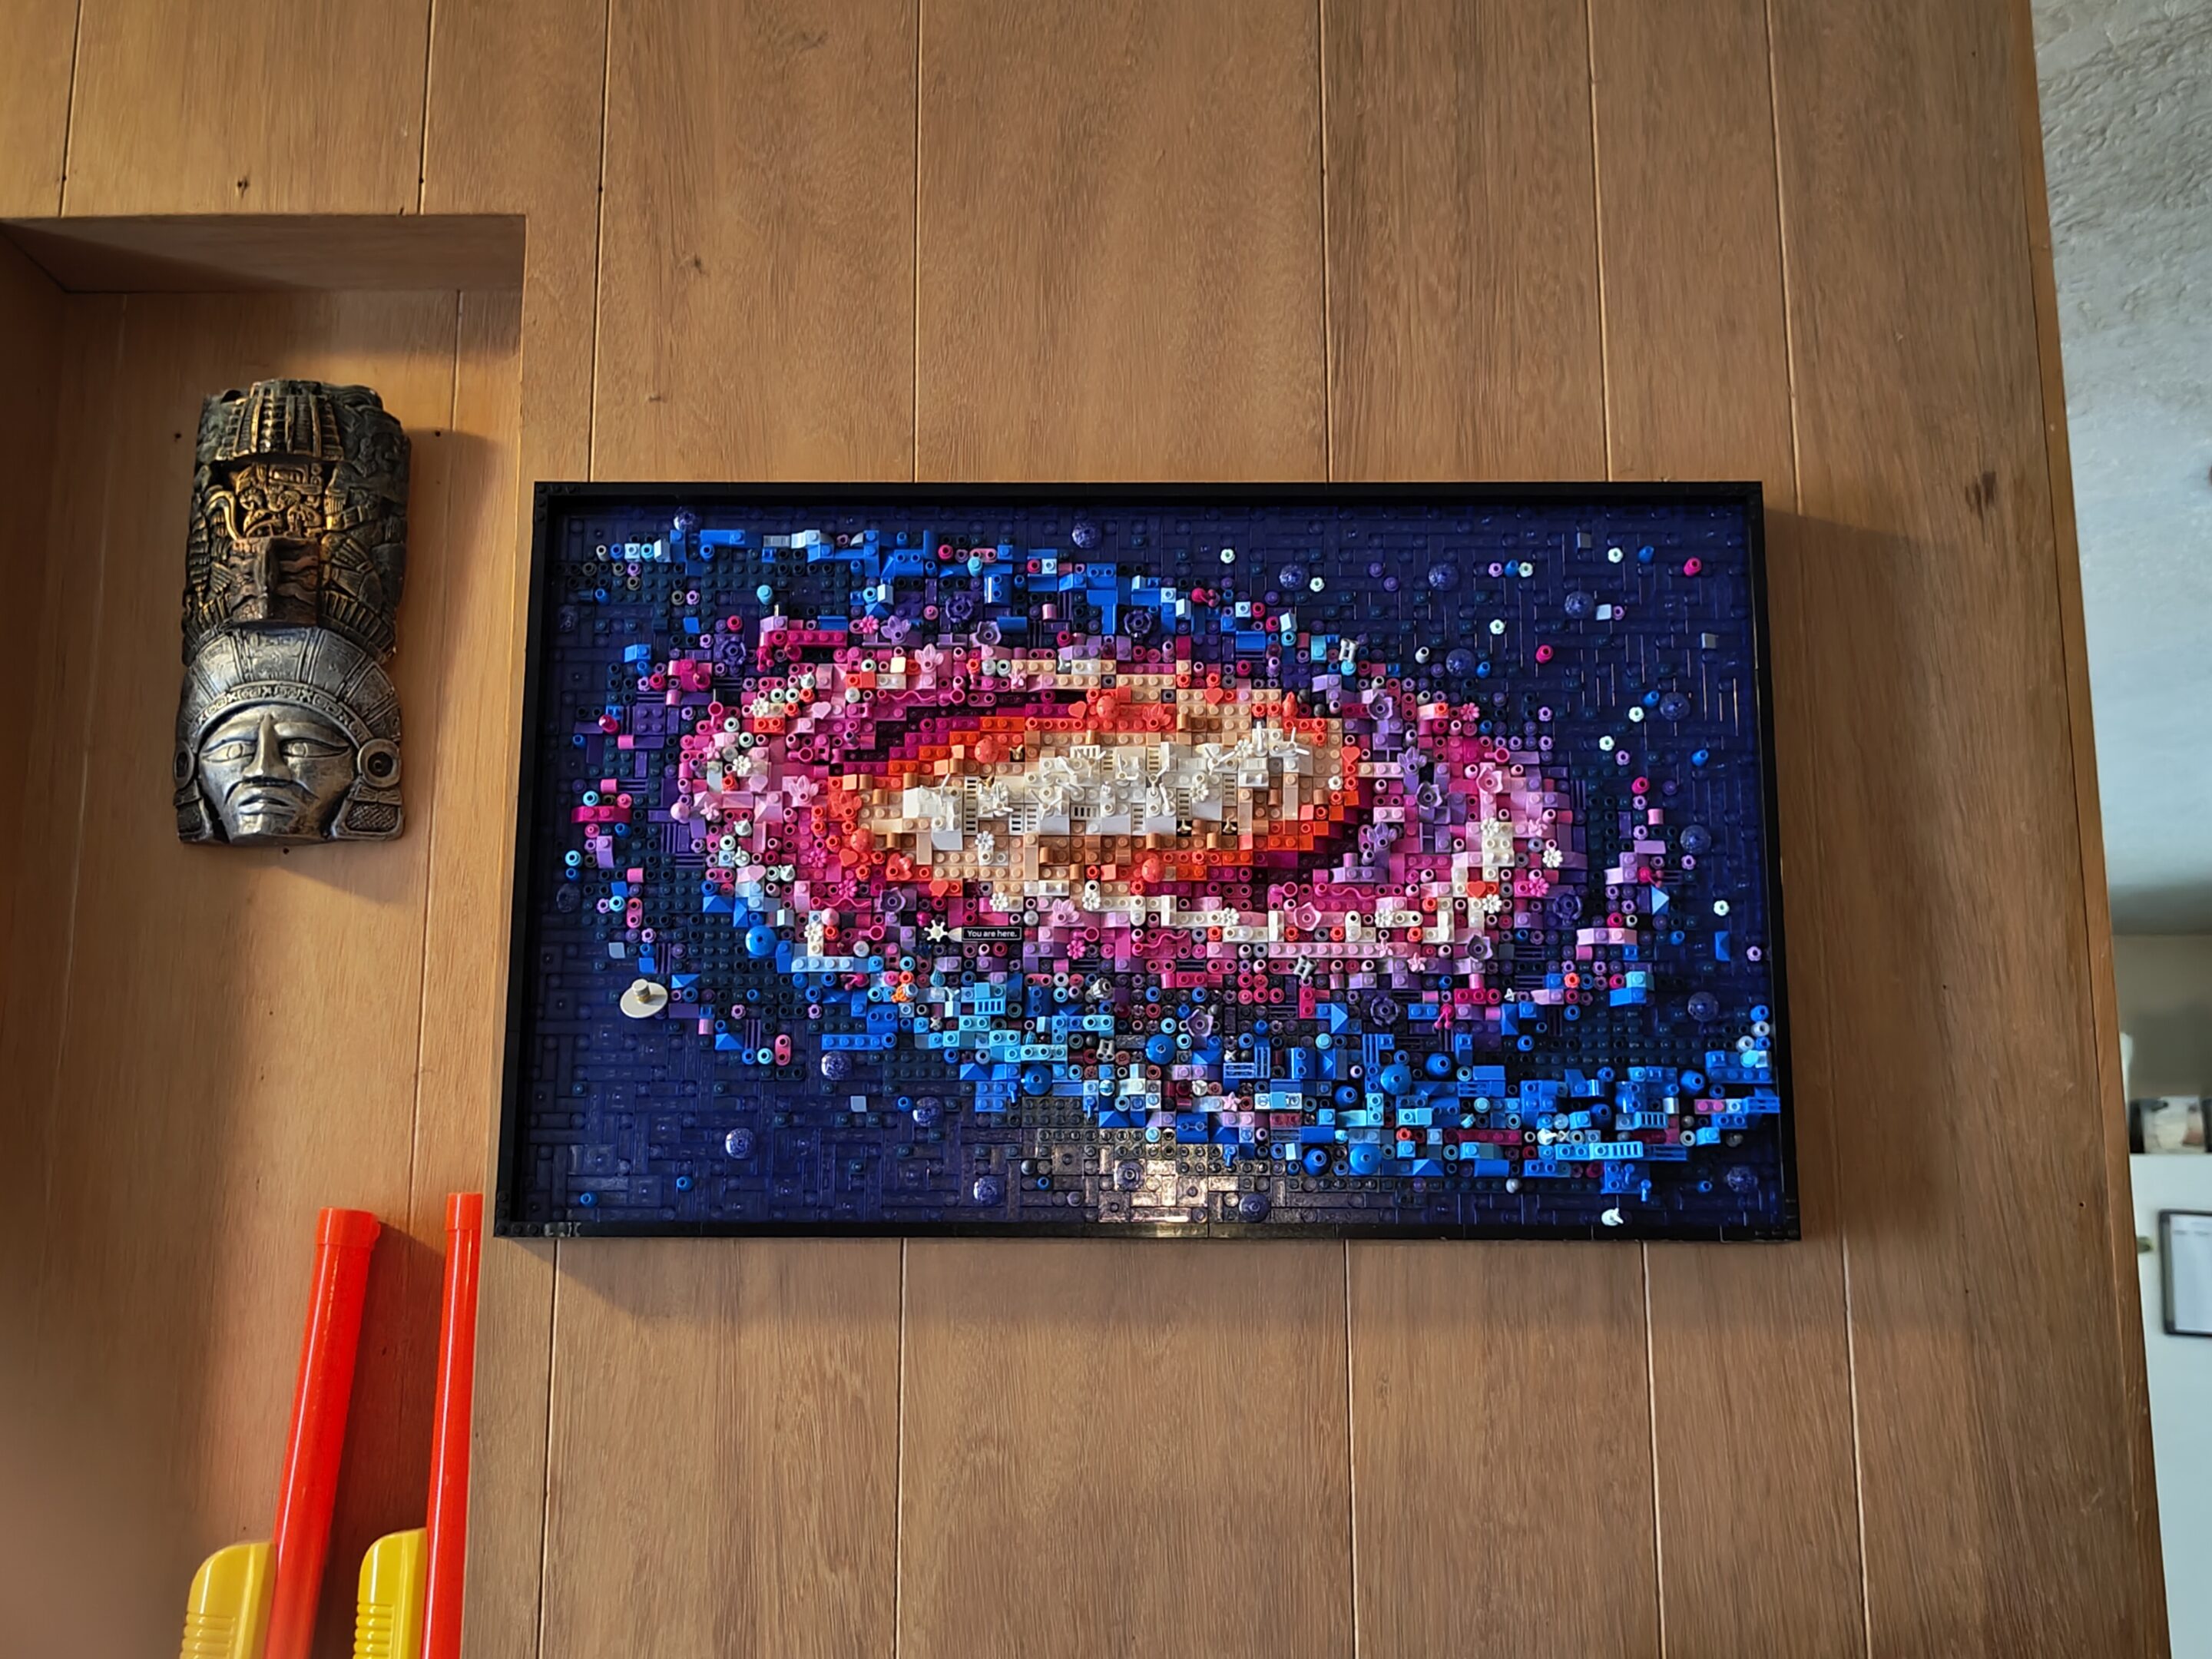
ooh this one was a good time and i really liked how it all came together. enough to hang up on my wall, as a matter of fact… unfortunately, this set was short a brick that went under other bricks so we had to wait a while for a replacement to get mailed in from denmark. lego is super cool that way though and is eager to fix any missing pieces!
How it started2nd set of panels coming in2nd column in placeColumn 3 placed inAlmost all there! (notes in post)Everything’s in placeUp on the wall today!
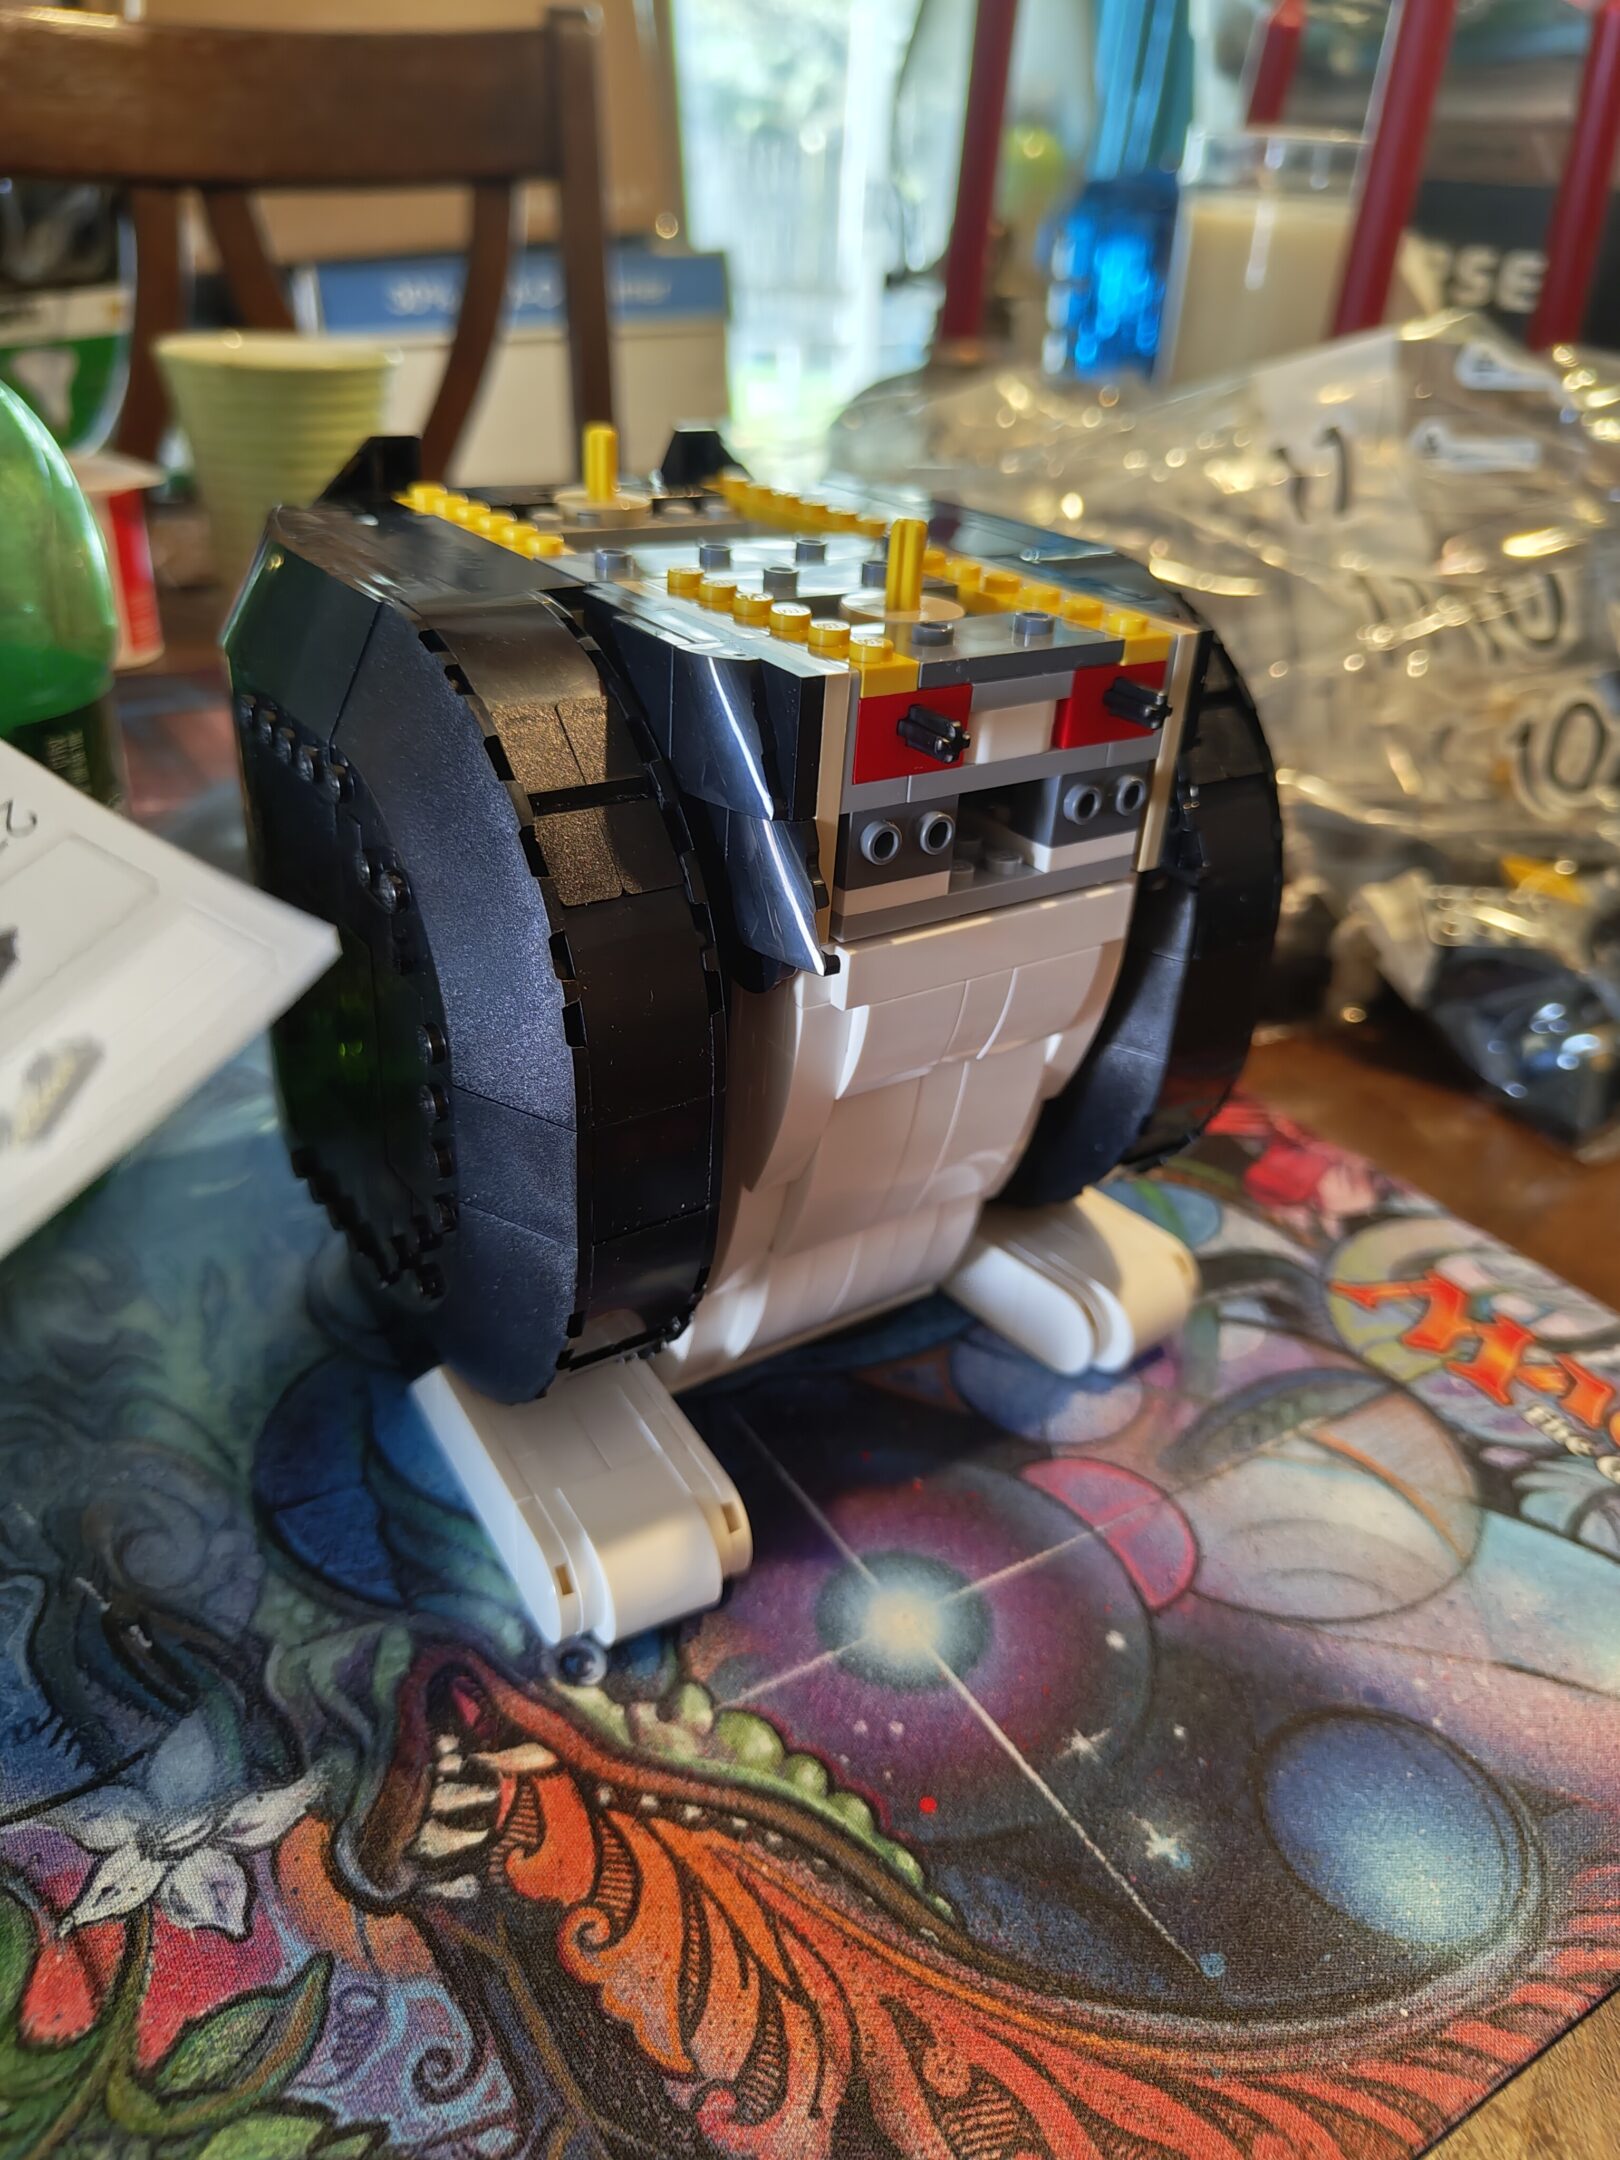
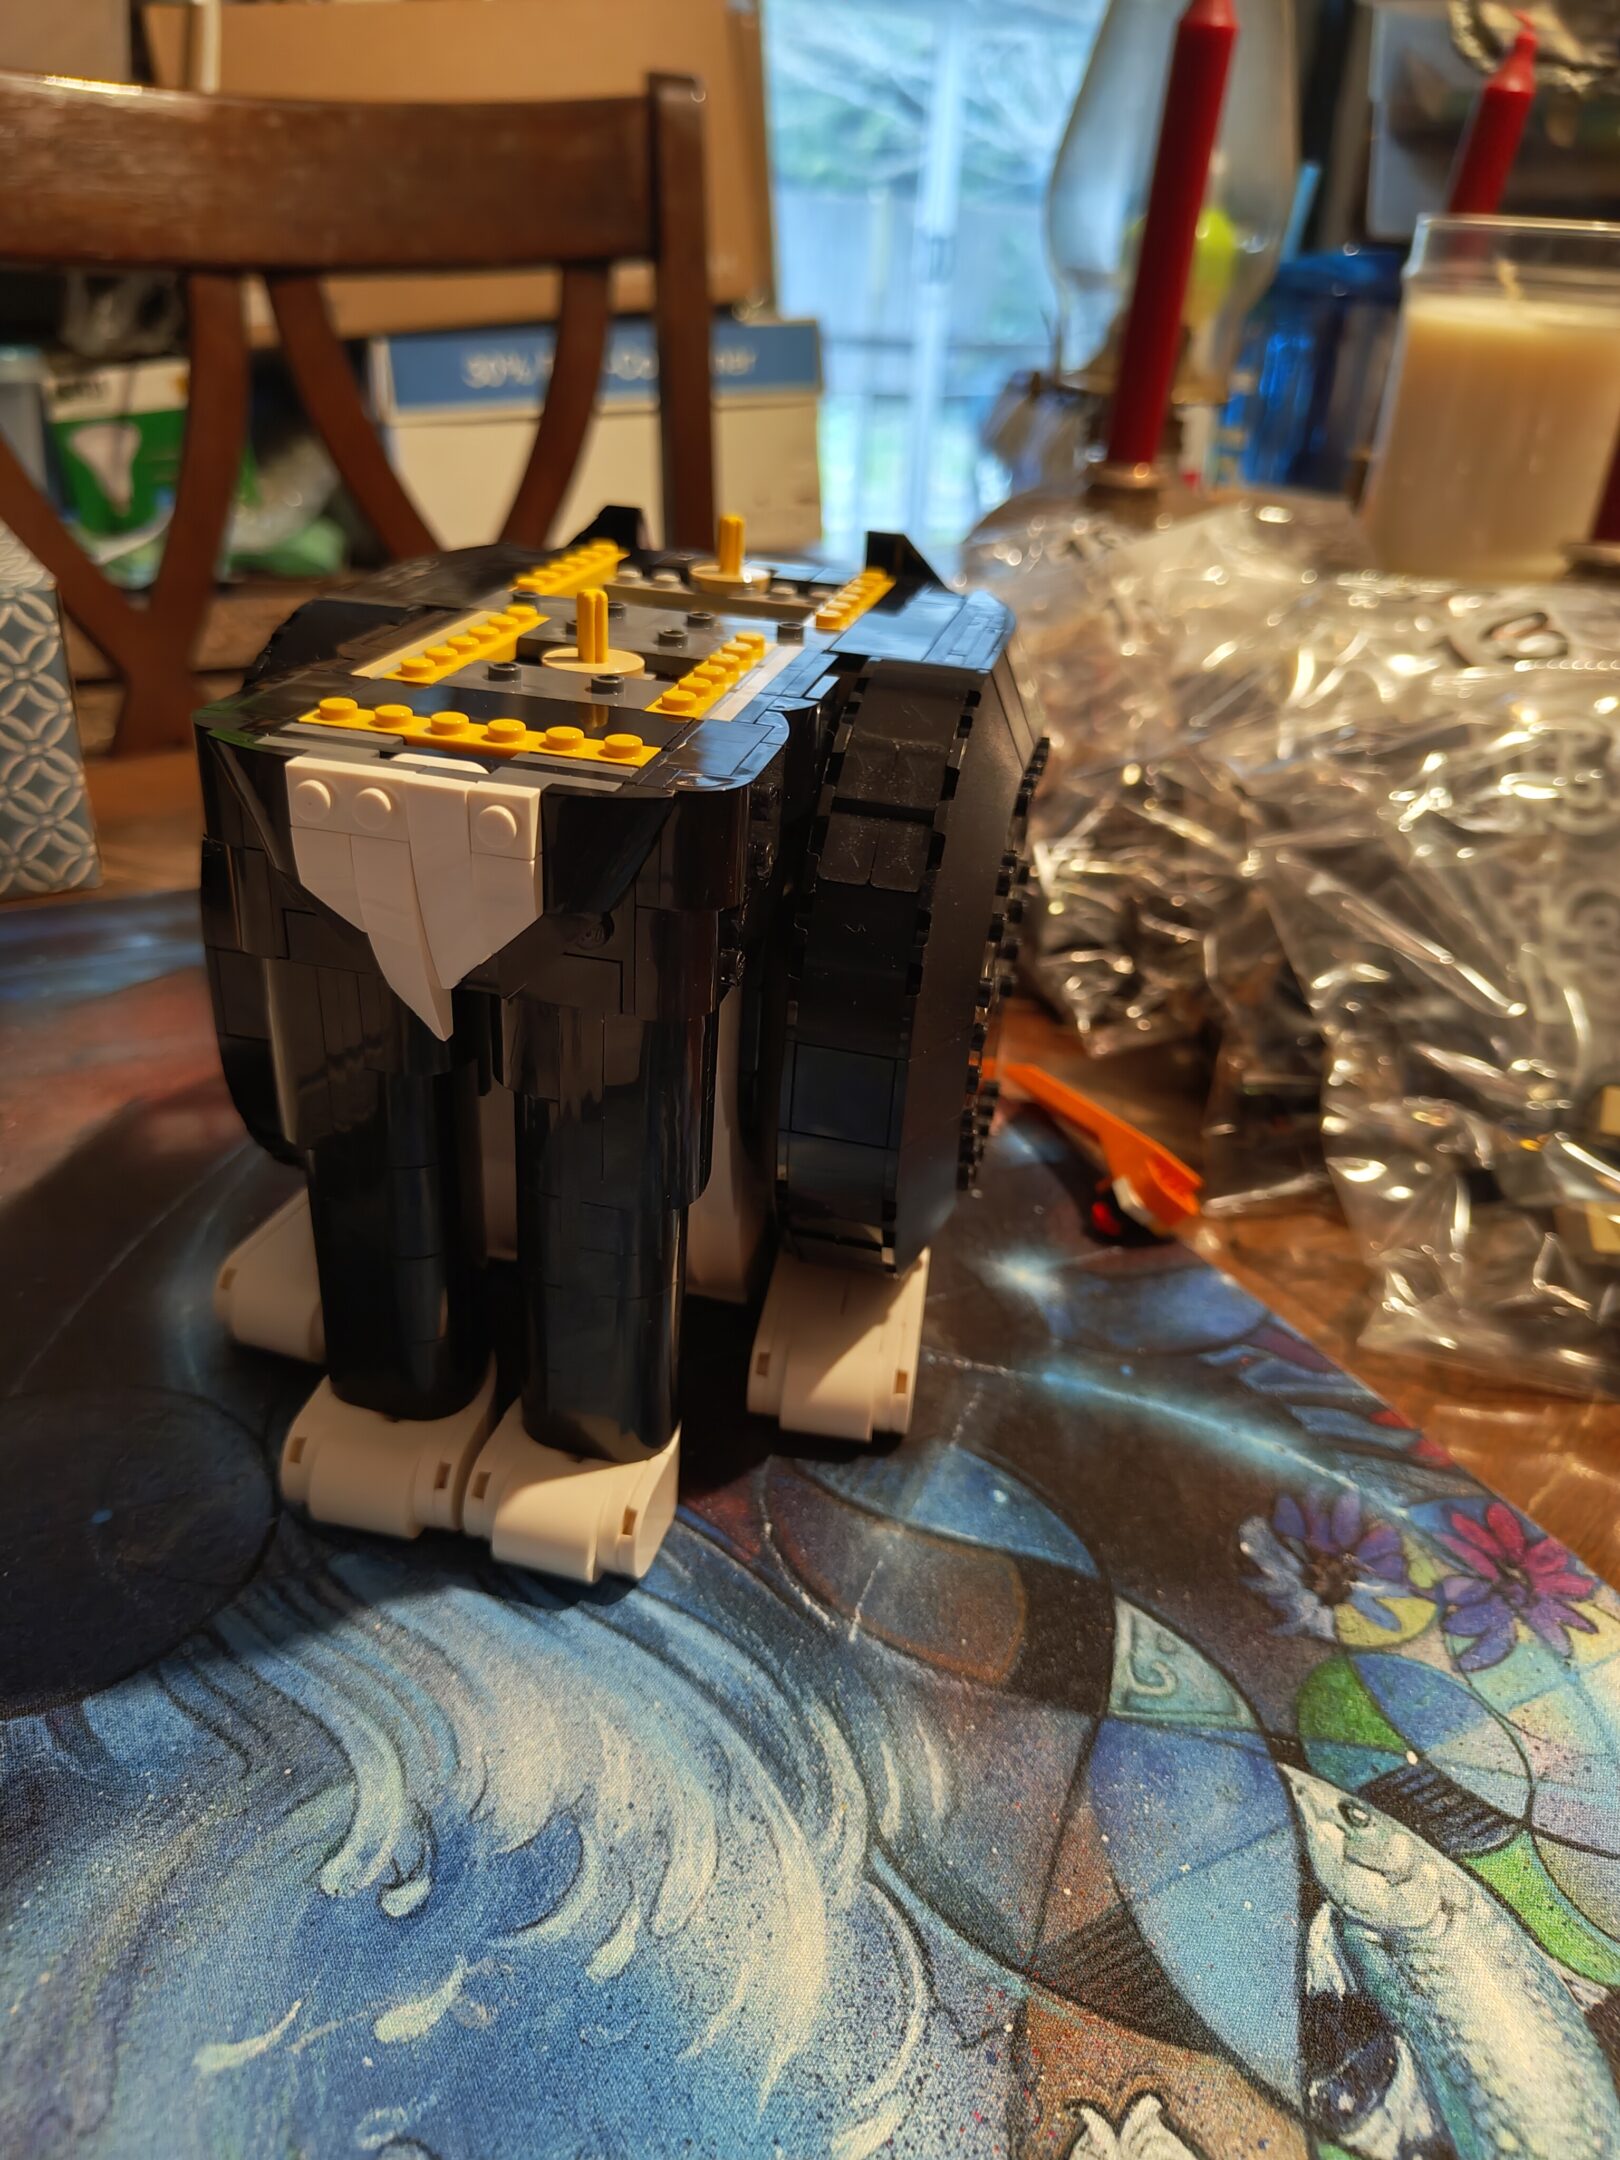
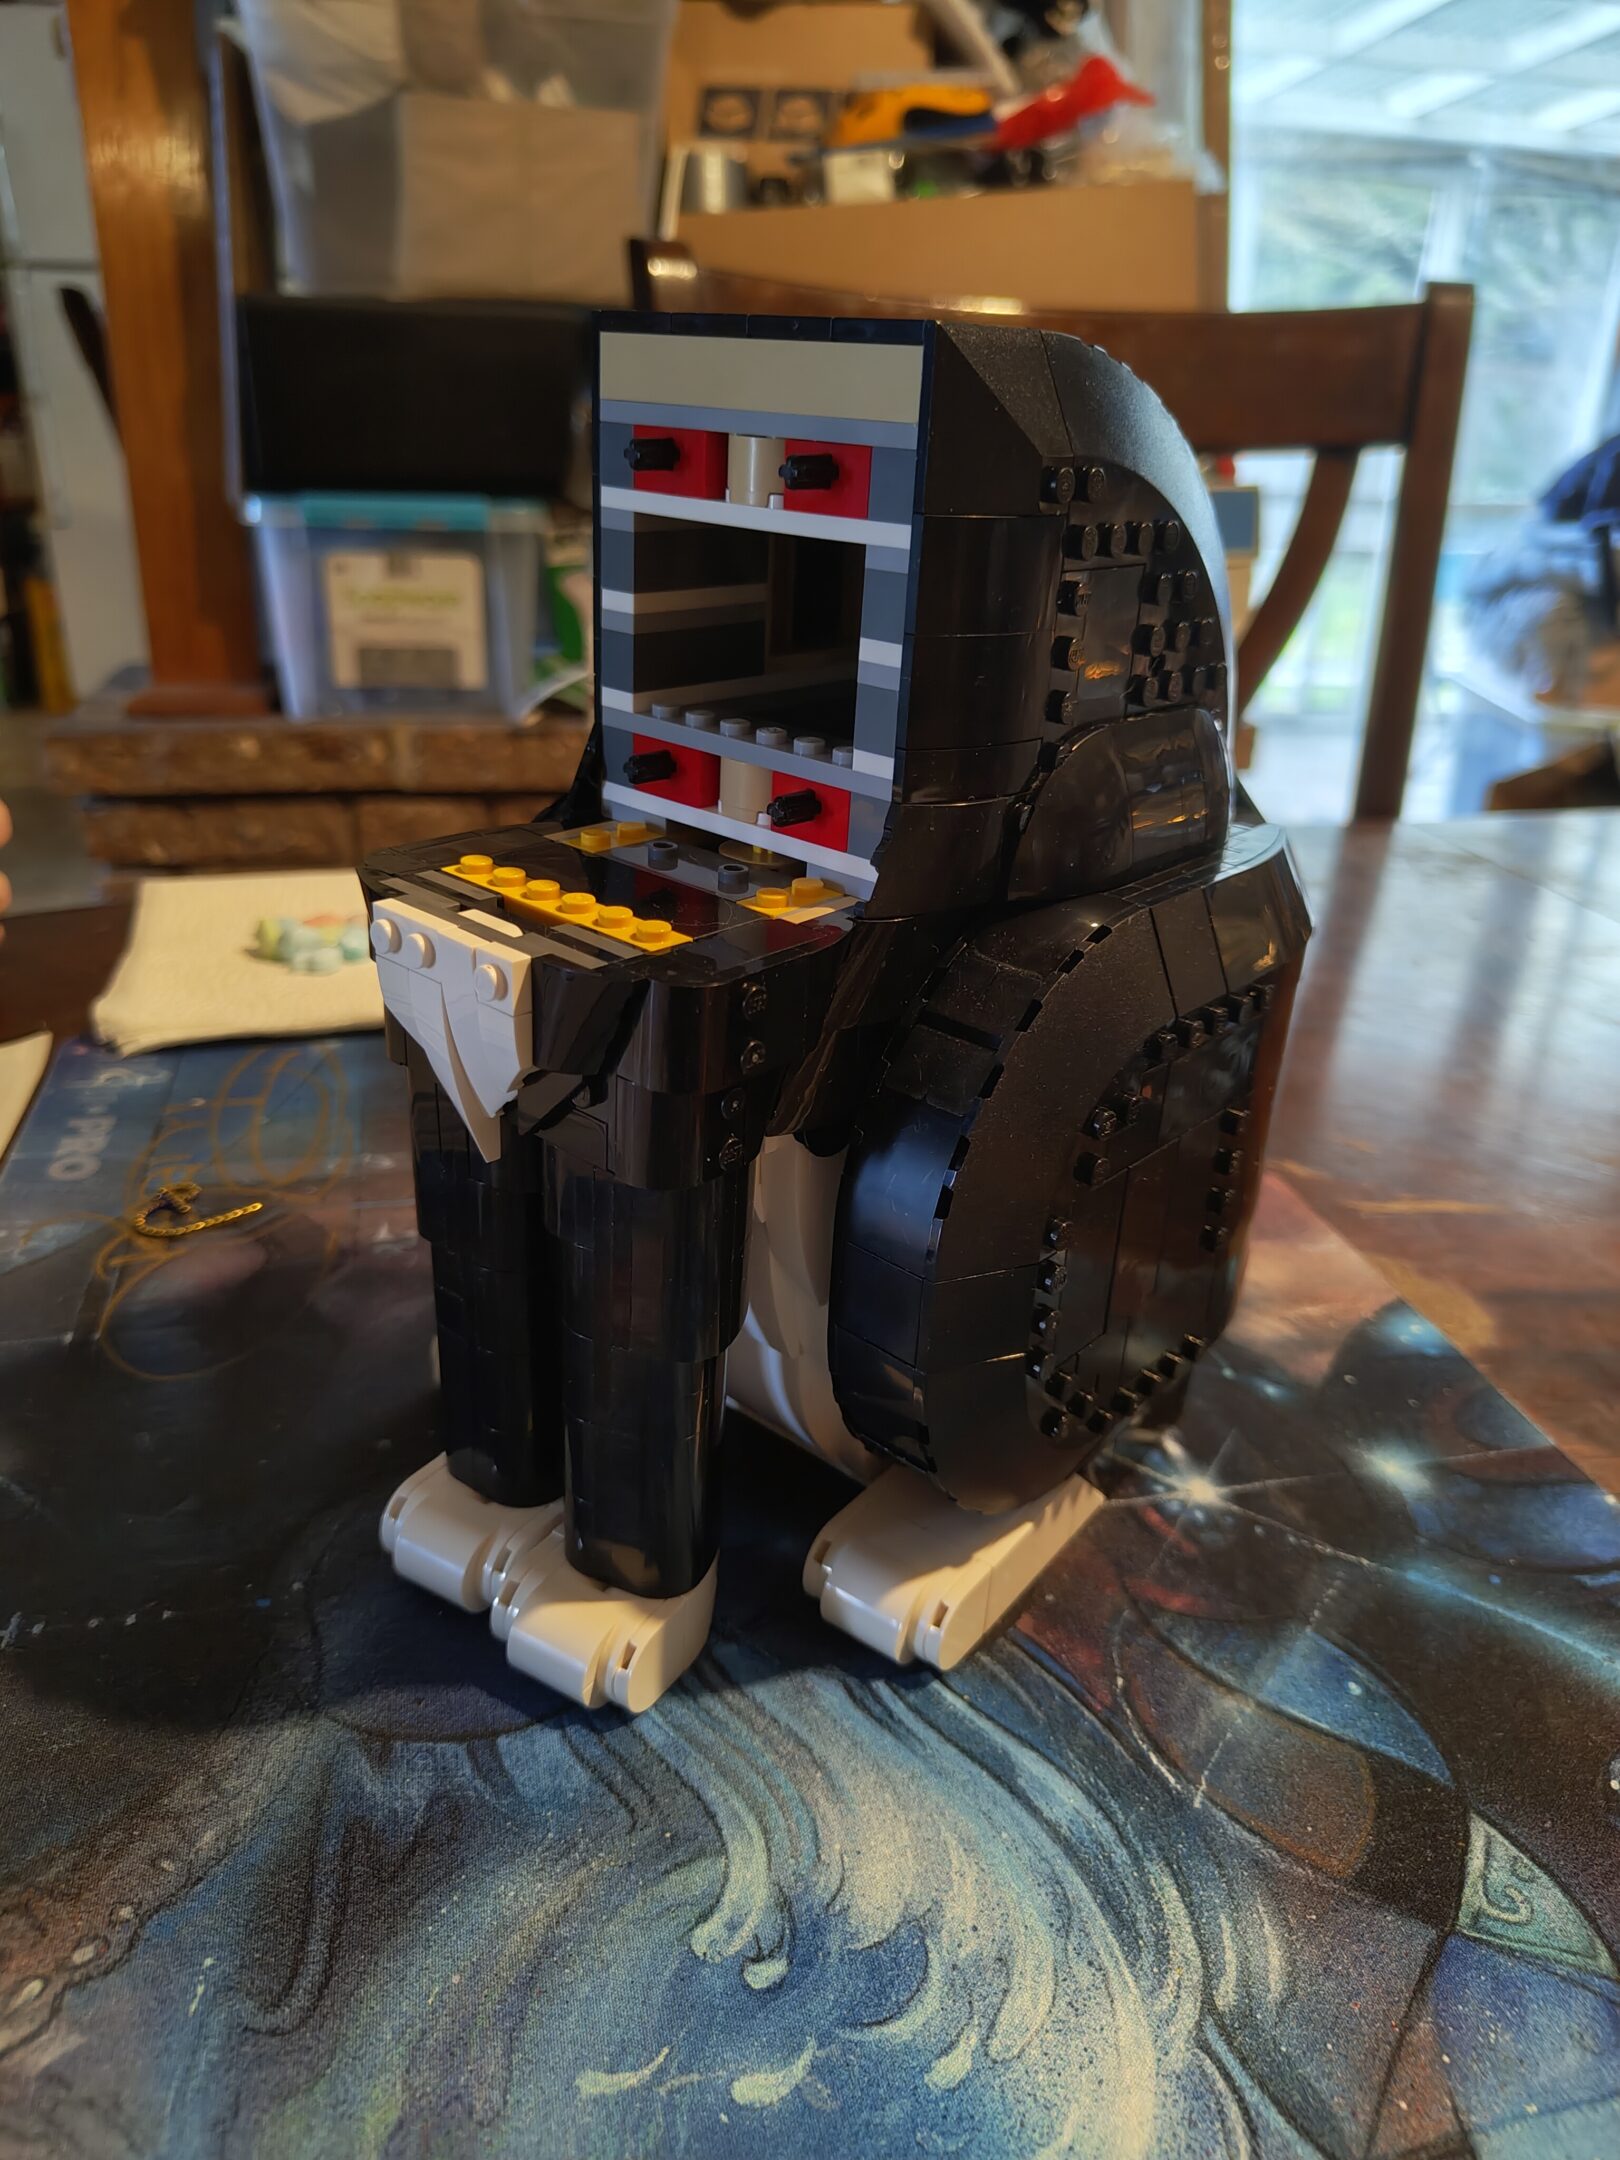
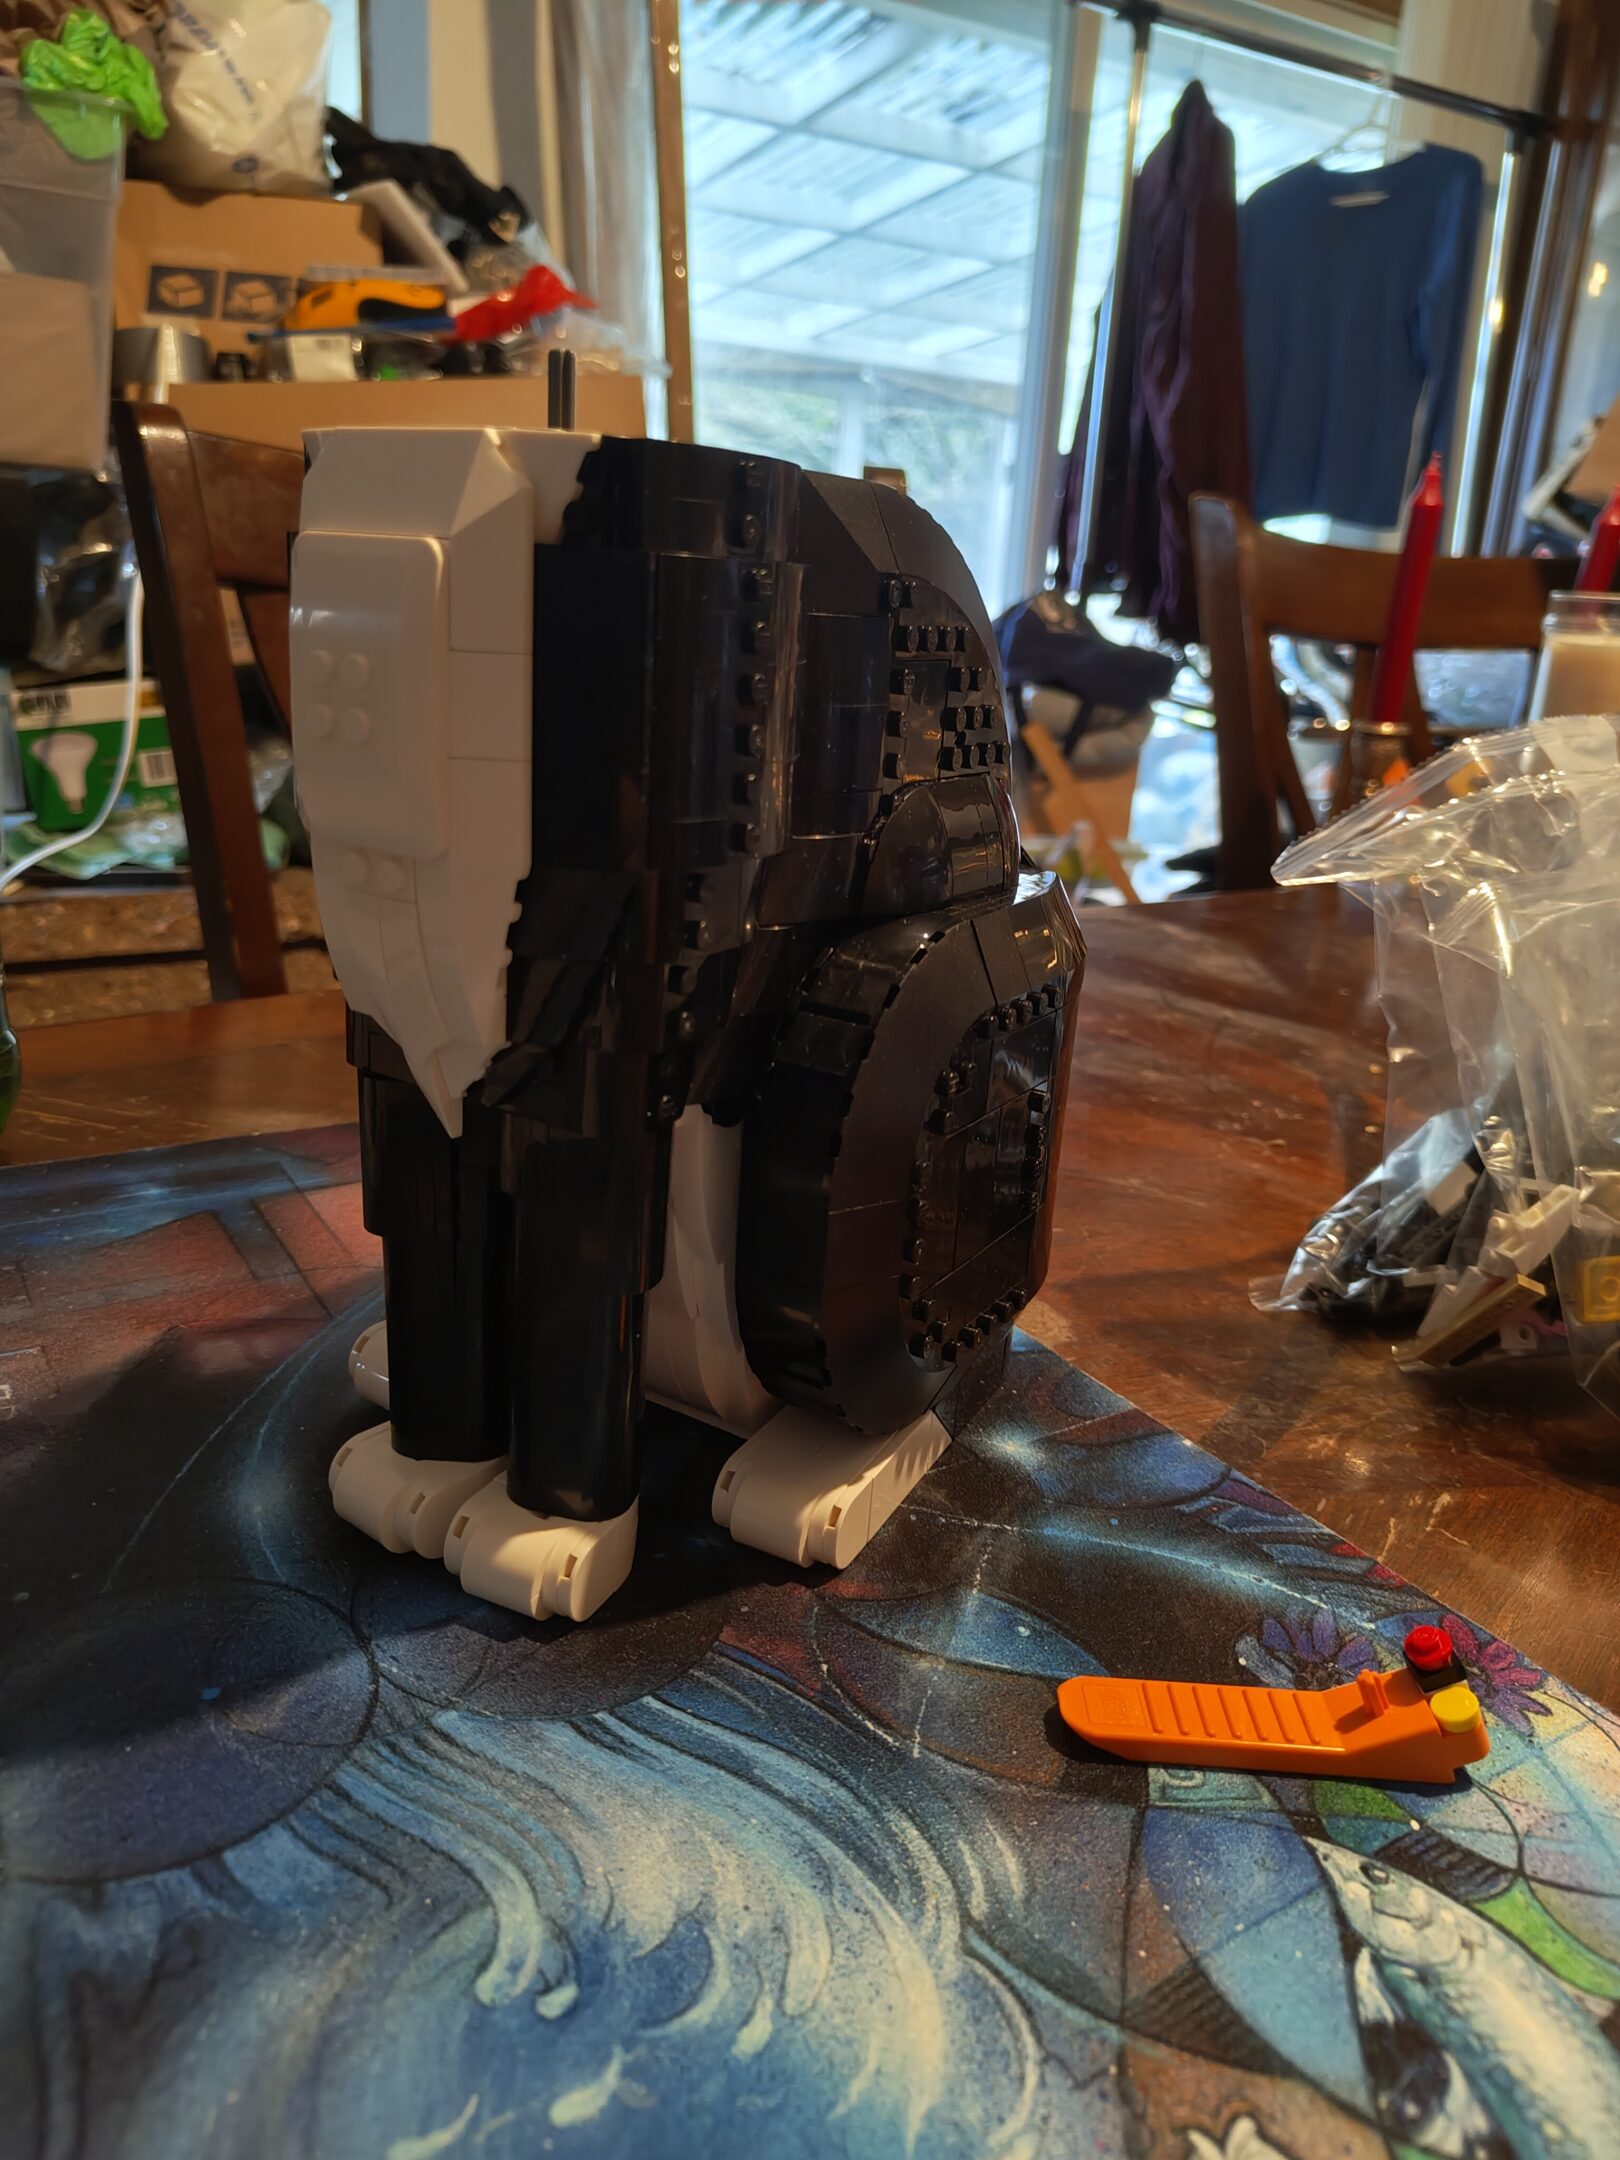
got this one as a gift with purchase of some of the other sets i picked up, figured it would also be a nice little milky way project intermission. it was.
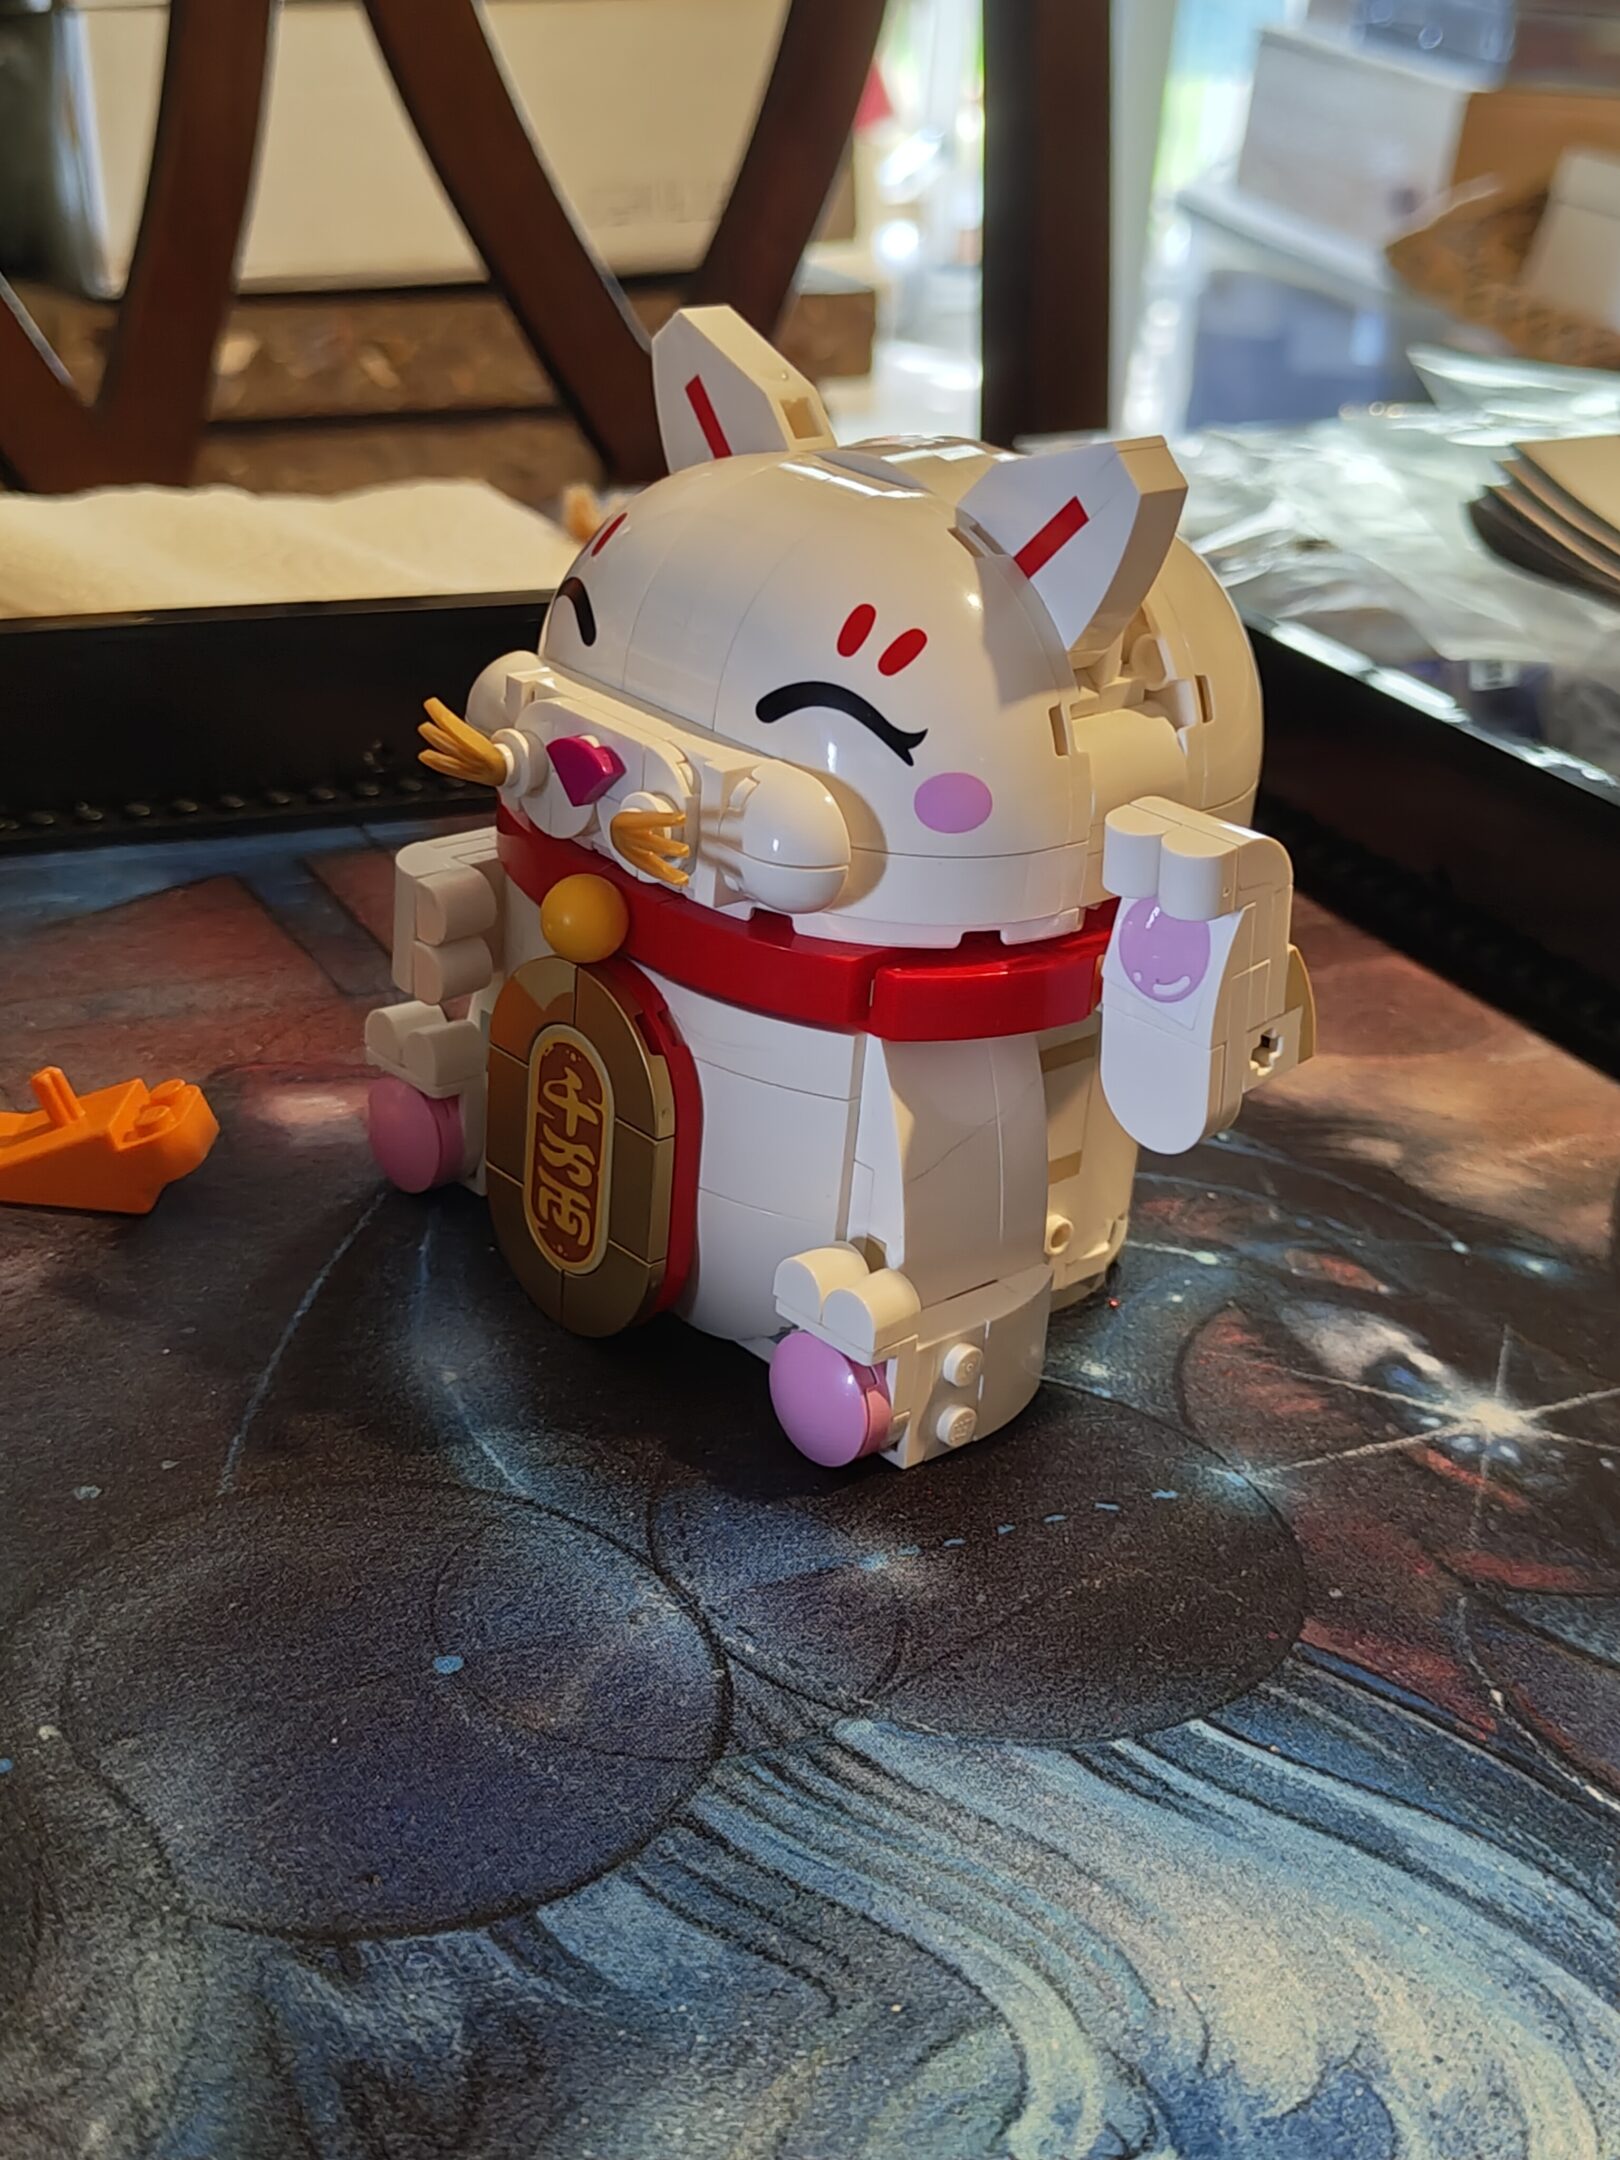
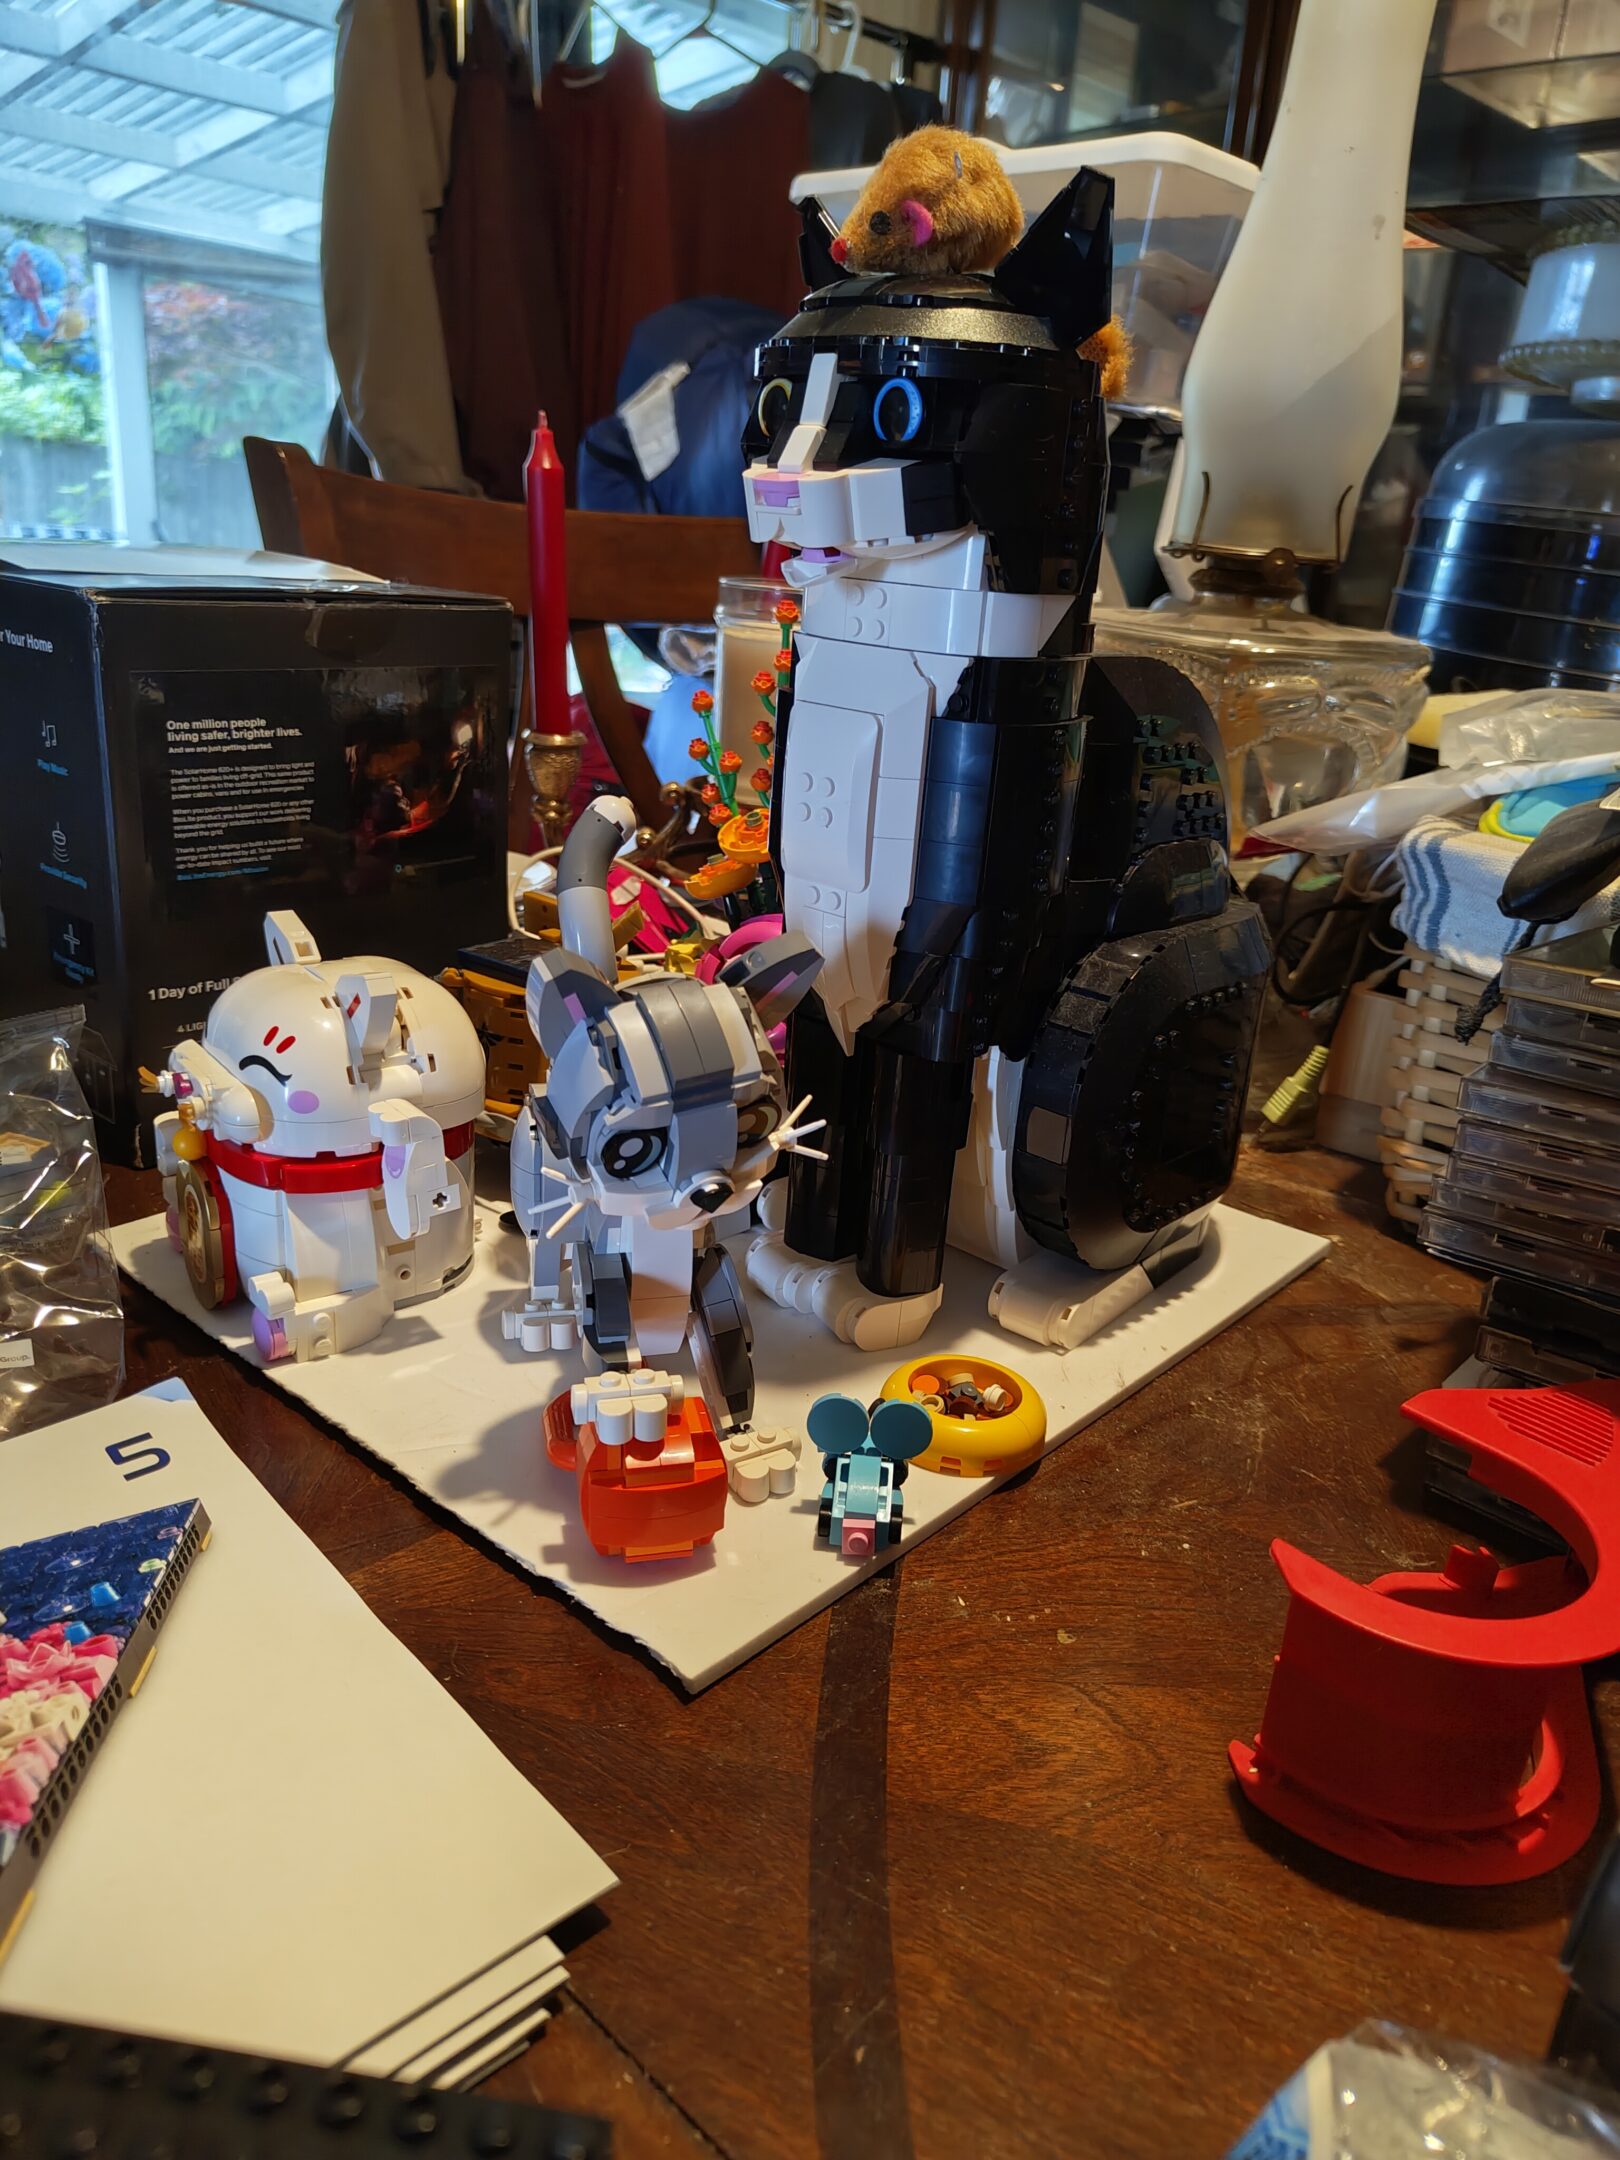
these two were pretty quick and we did them during intermissions of the next post (above this one) which was a nice little break from how detailed that one was. these were building up instead of specific placing on a grid idk they required different skillsets
Maneki-neko halfwayManeki-neko completePlayful cat and gubbinsCat collection!
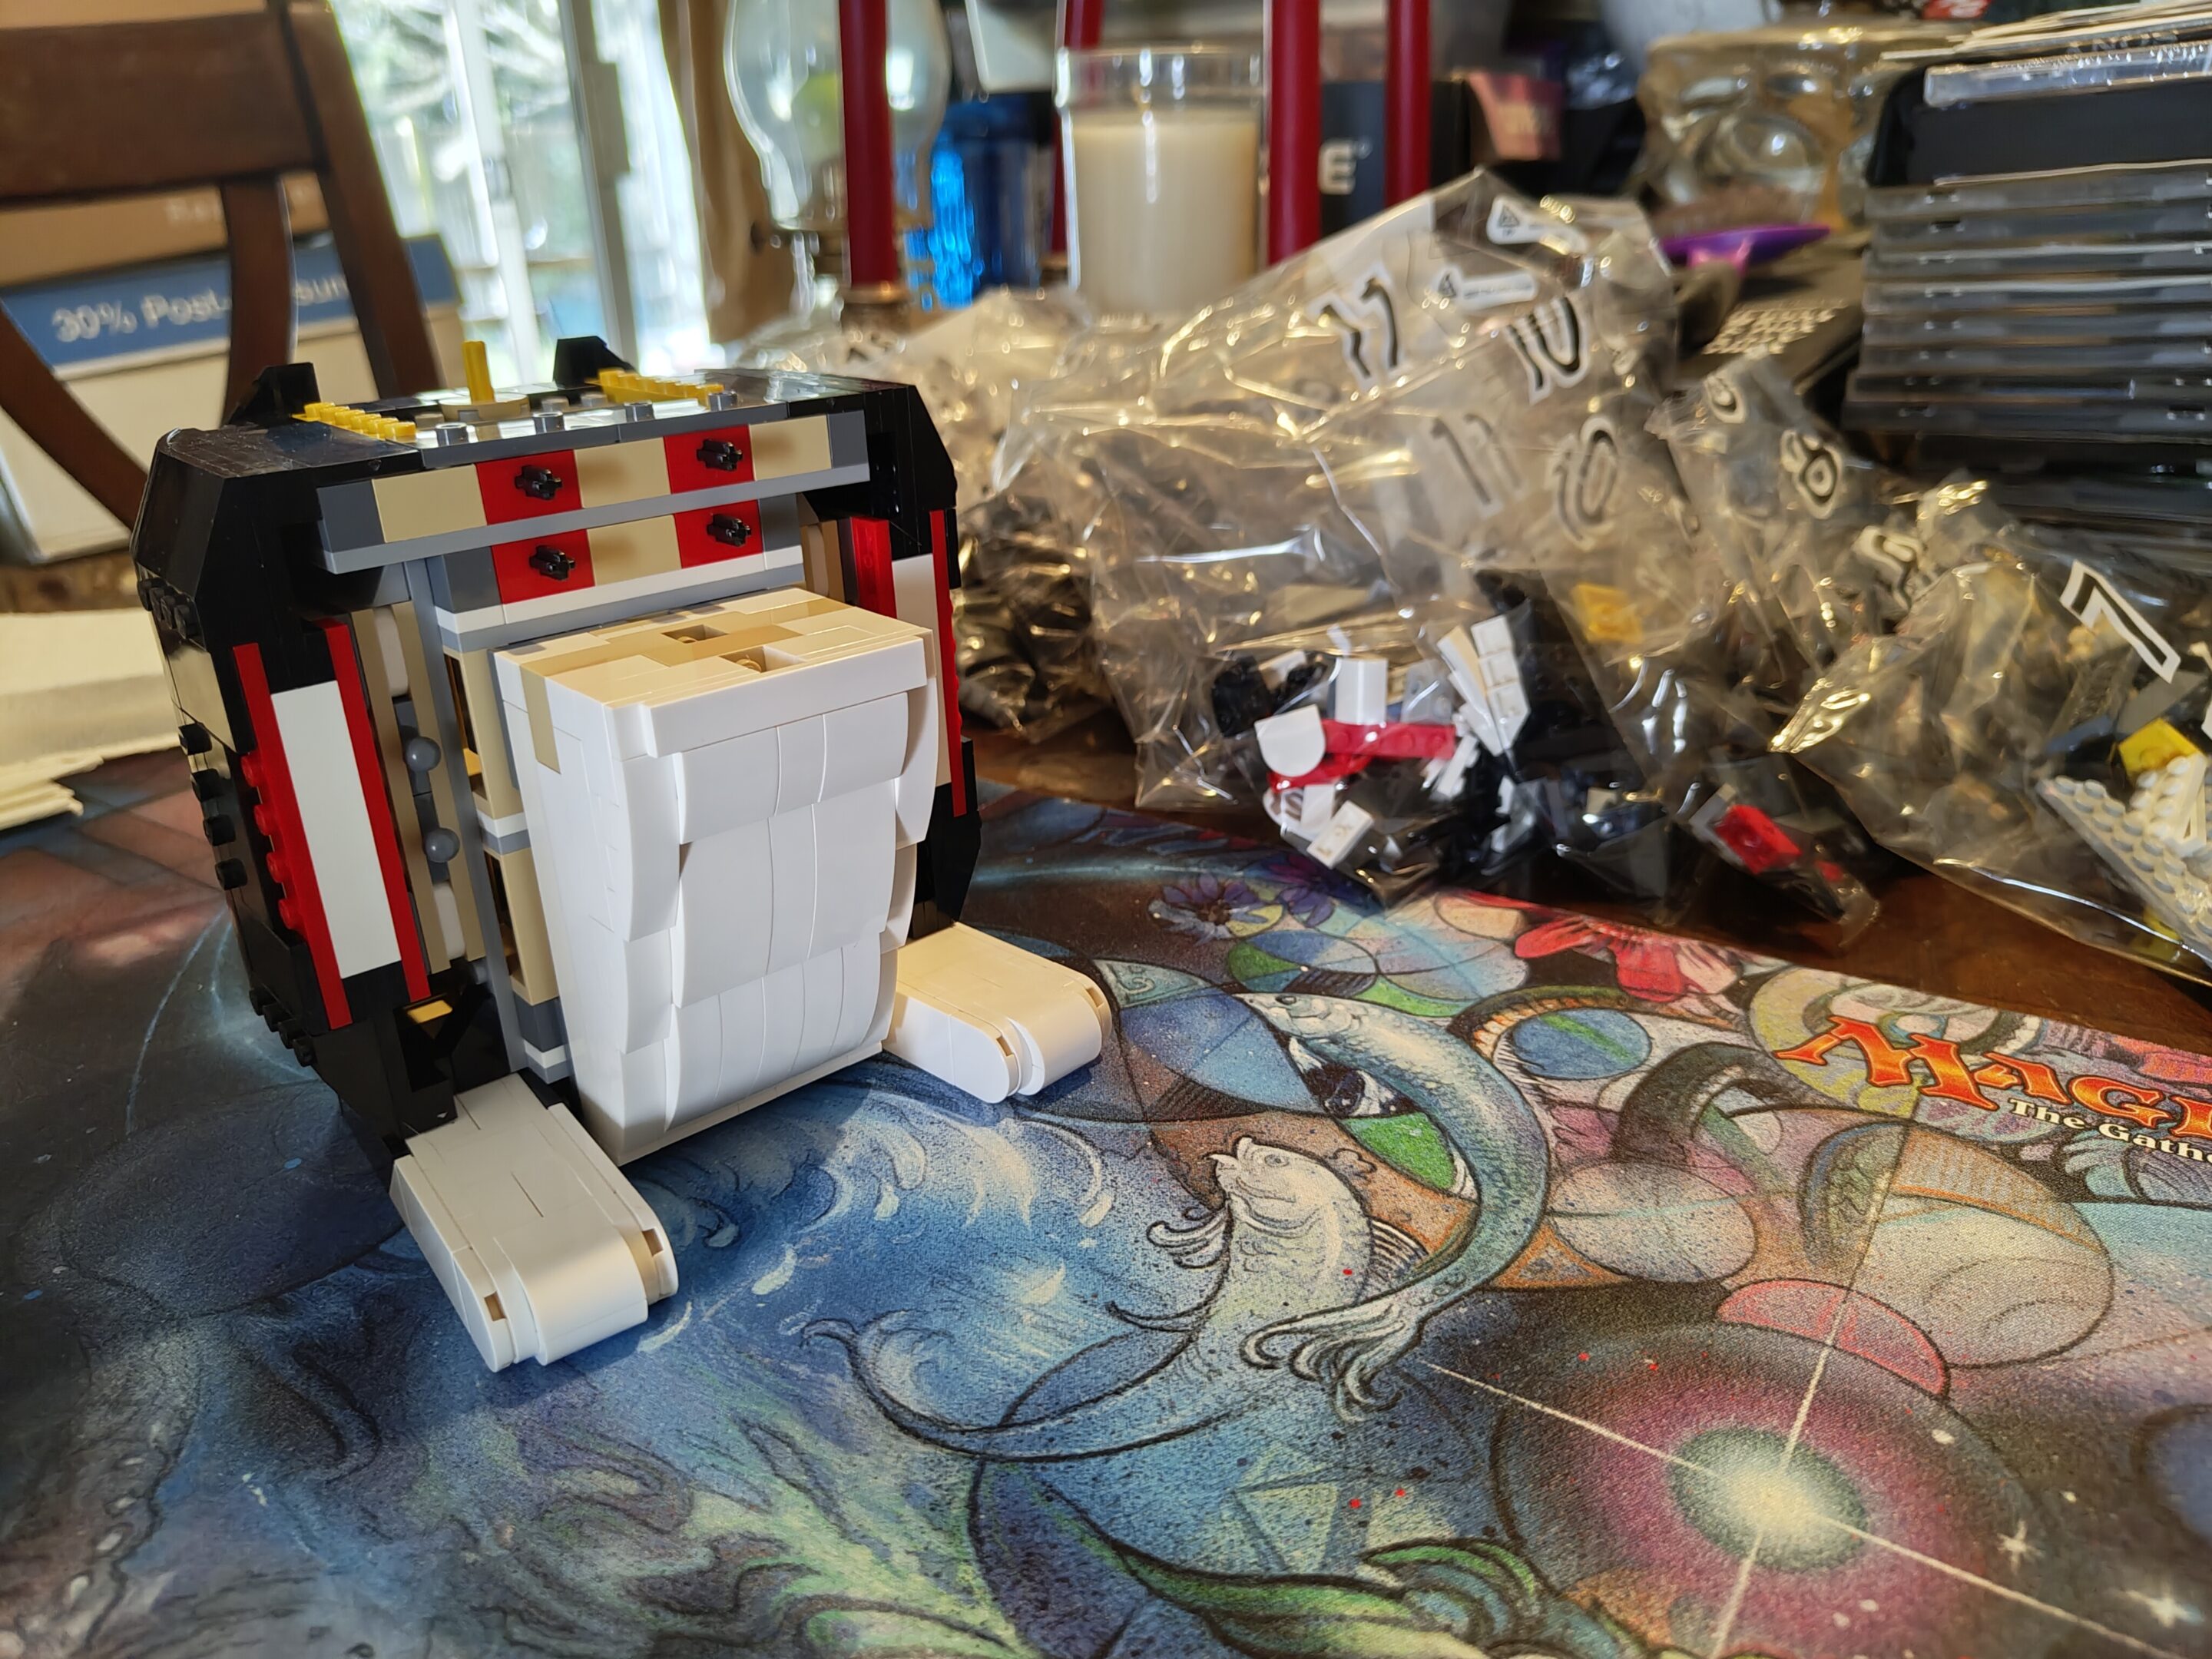
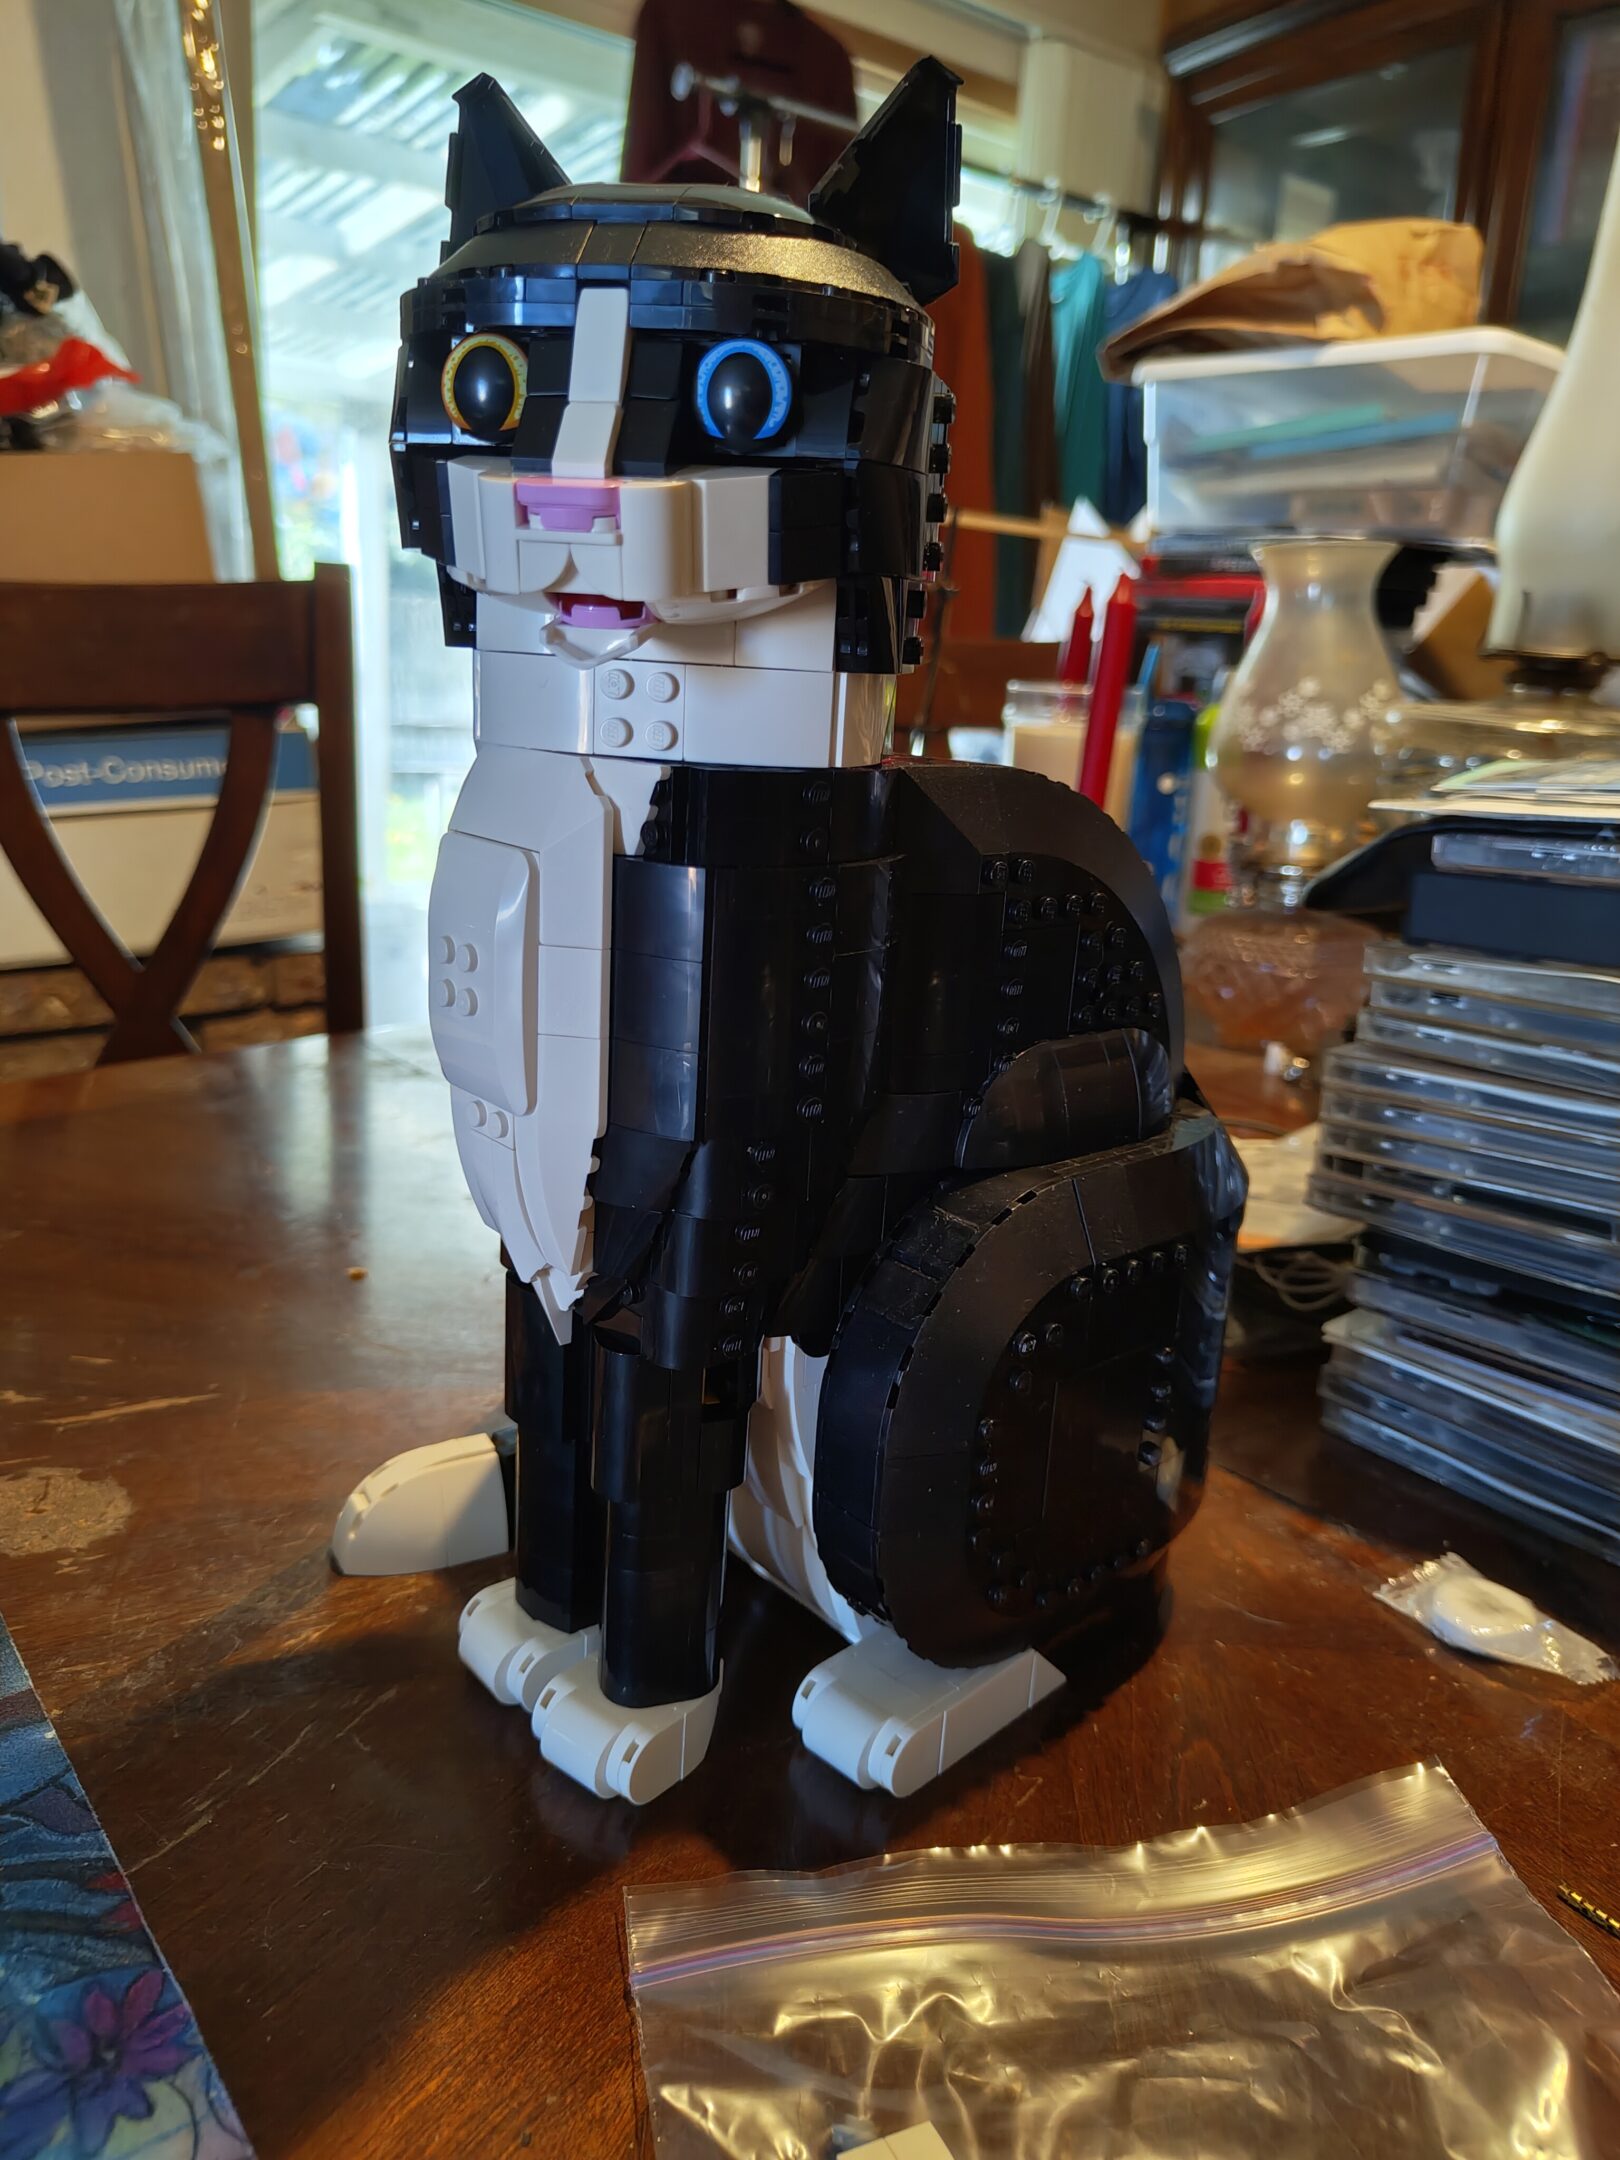
mom had a couple strokes, so we figured we build some lego projects together to help with her dexterity. i had a good time so i picked up some other brick projects with lights and have been really enthralled with those too.
The box that everything came inStarting out…In progress…Getting there…Coming together…Almost done…Heterochromia!